Above Toilet Cabinet
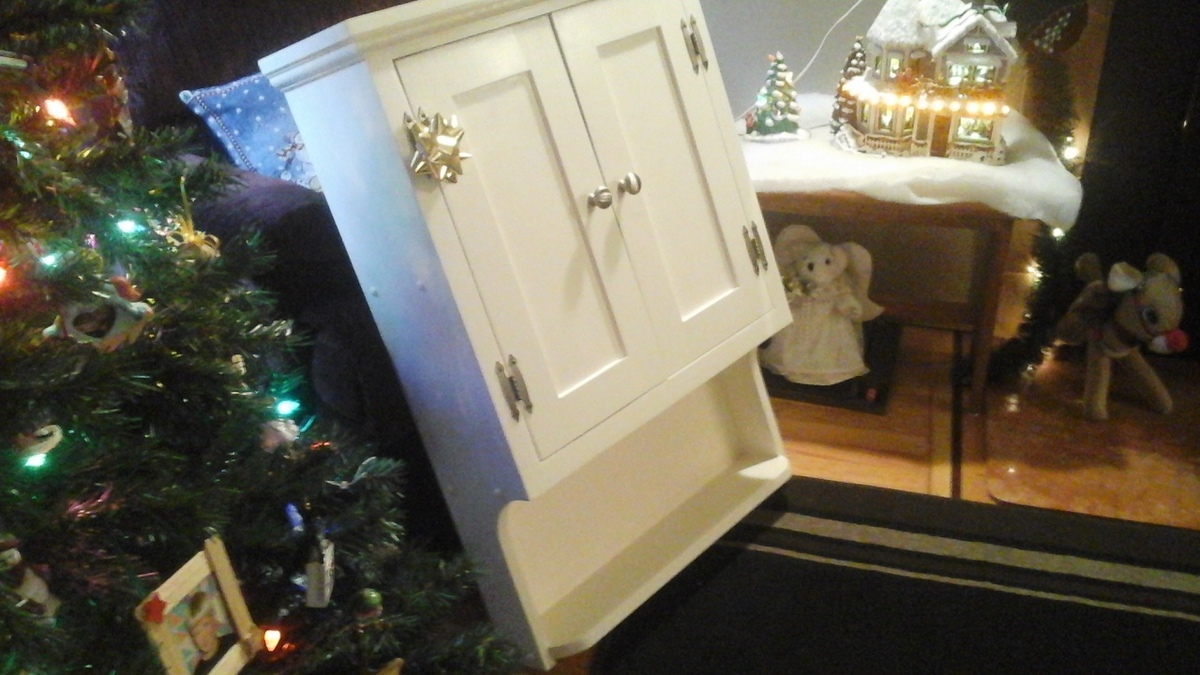
I built this above toilet cabinet for my son and his wife for Christmas. They moved into a new house and wanted this additional storage space. Turned out pretty good!

I built this above toilet cabinet for my son and his wife for Christmas. They moved into a new house and wanted this additional storage space. Turned out pretty good!

Used 4x4's for the legs to make it more "beefy" and therefore had to add an extra 2x6 on top. Also used a 2x4 for the upper side trip instead of 2x2. Used a dark walnut stain and several coats of clear gloss polyurethane.
This was so much fun to build. I couldn’t decide on a finish, so I used three different ones.
Thanks for the plans!
I had finally had it with the generic drawer organizer that we had. I decided that I would spend a few dollars and make it custom made! I took me aboout an hour and $5. It is amazing how little effort can make your kitchen look like it was a custom created space! I love it!
Tue, 10/04/2011 - 09:31
I was just thinking about doing this with my drawers! Thank you for sharing!
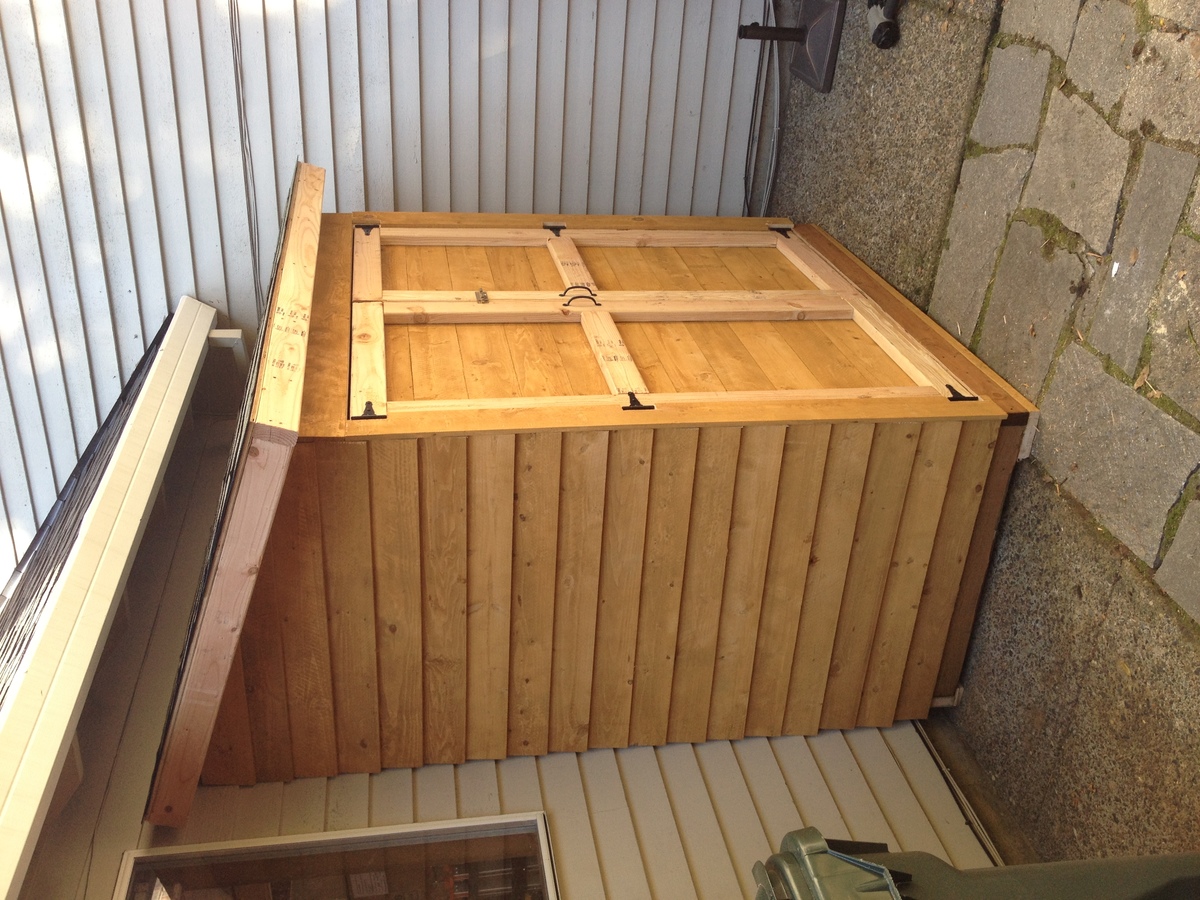
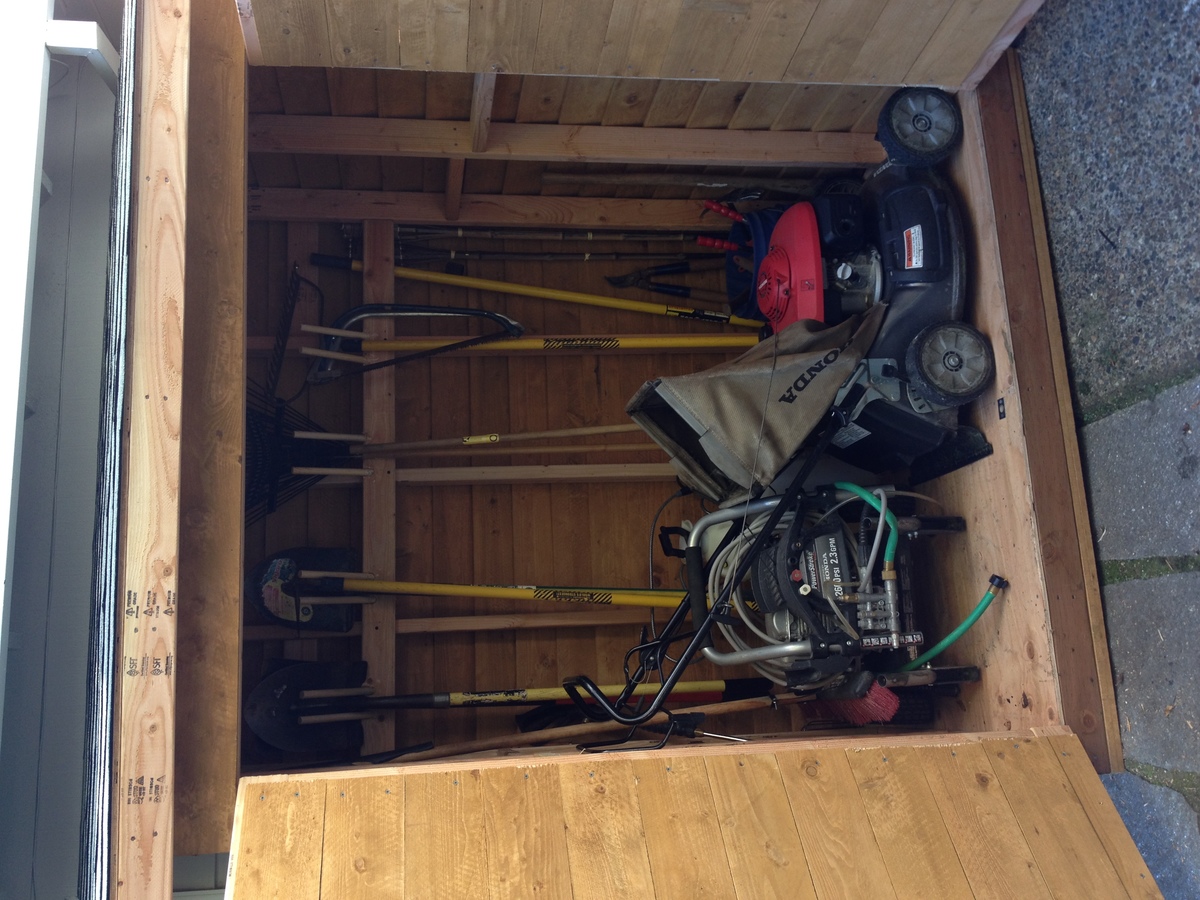
Built this in a weekend, took about 1.5 days. I ended us using 2x4's instead of 2x2's, I think it resulted in a much stronger frame. I also built a base for it to sit on. I got pre-stained cedar fence boards, and overlapped them 1" instead of a 1/2". Pretty easy project, I ended up siding the back on the ground, installing it, and then adding the side walls without the siding (just the framing), and then sided them in place. The doors work perfectly. I took my total inside dimension between walls, made sure the opening was square, and then divided that by two to get the width of each door. I then took another 1/4" off that, so each door had an additional 1/8" gap, it worked perfectly. When I set the doors, I put them on a piece of roofing closed as I screwed in the hinges, and then opened them and removed the roofing. I opted to run the door siding horizontal to use up a bunch of waste wood. I'm happy with the outcome. I also found some 6" self starting lag bolts and lagged through the back of the shed into studs (through the siding) into the garage behind it.
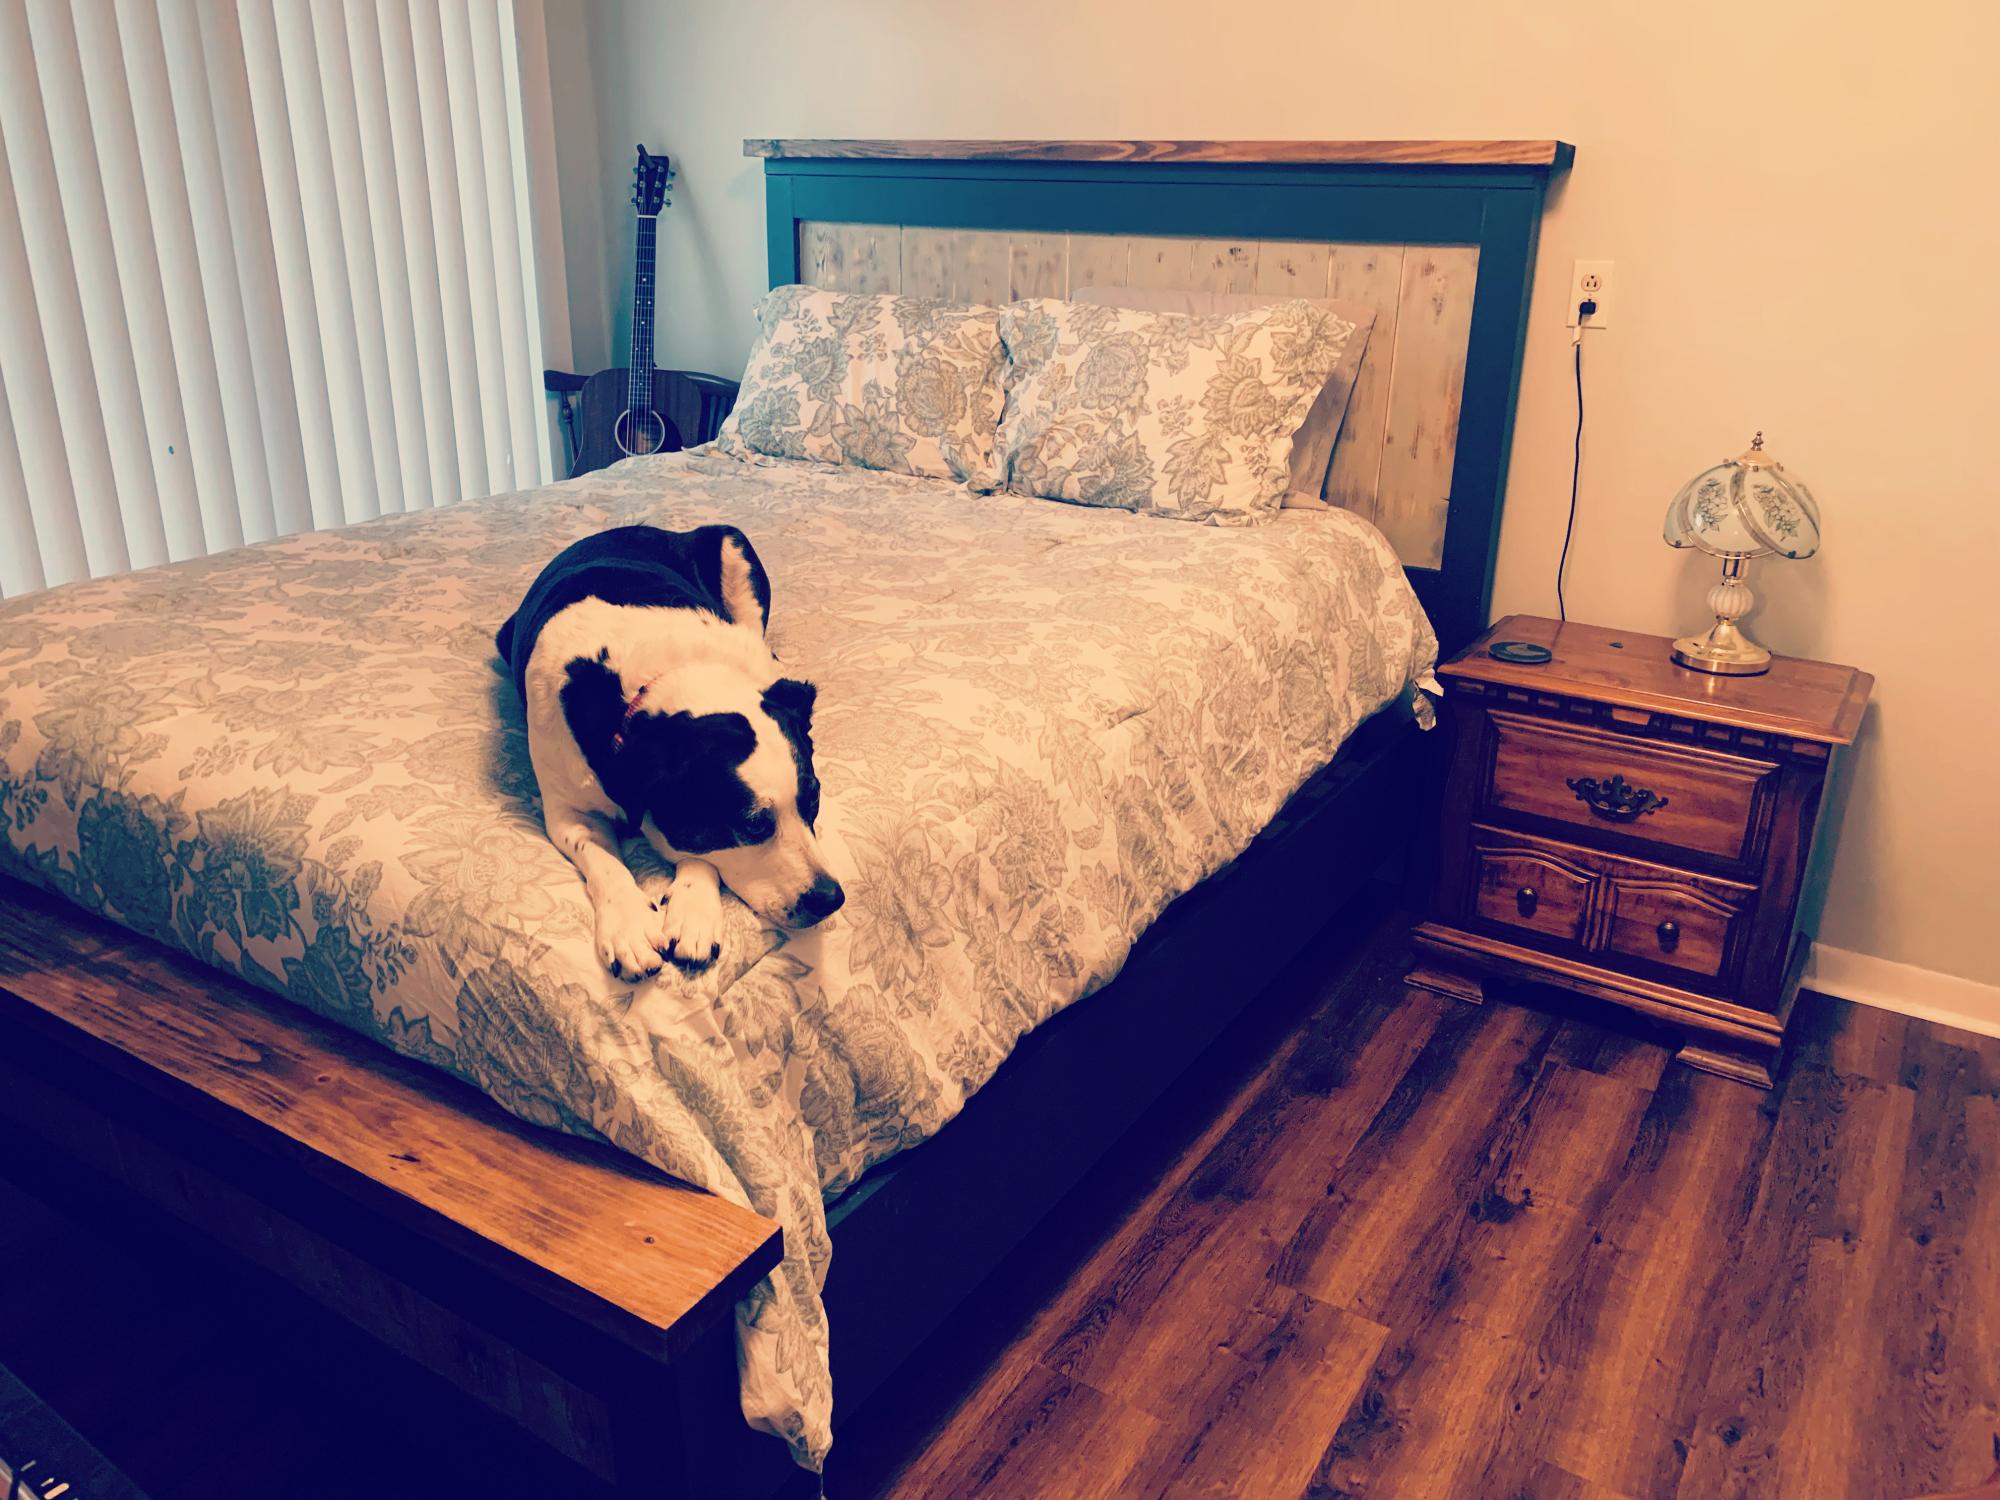
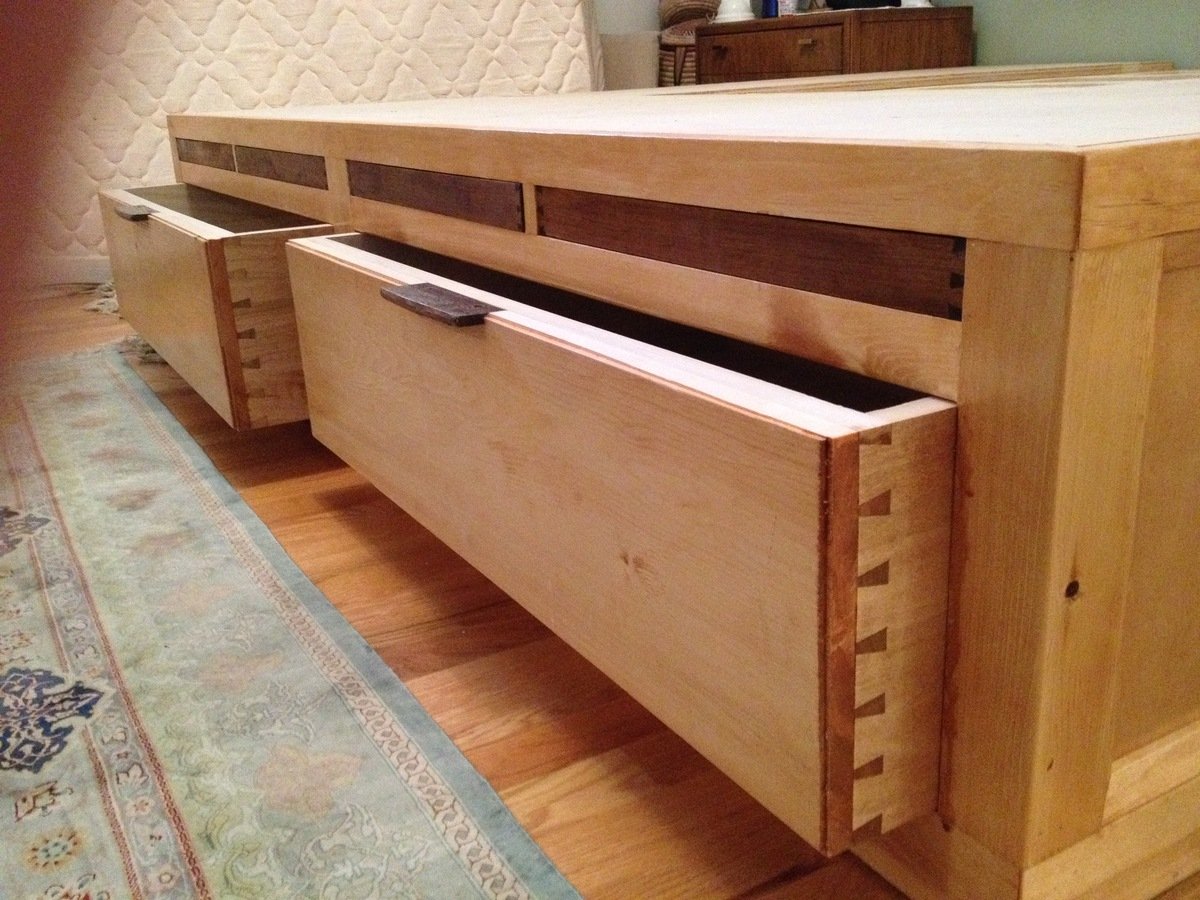
Variation using your King Bed Storage plans. Made from pine plywood and solid pine for the trim. Drawers made from aspen with pine fronts and 1/4 inch pine plywood. Took about 60 hours in my garage. Two large drawers (with bottom sliders) and 4 jewellery trays on the end piece. 2 smaller drawers (Custom fit without sliders) plus an open bin space on each side piece. Contrasting teak wood jewellery trays pop out with magnetic push catches. All joinery is with hand cut dovetails. Total of 144 dovetails.
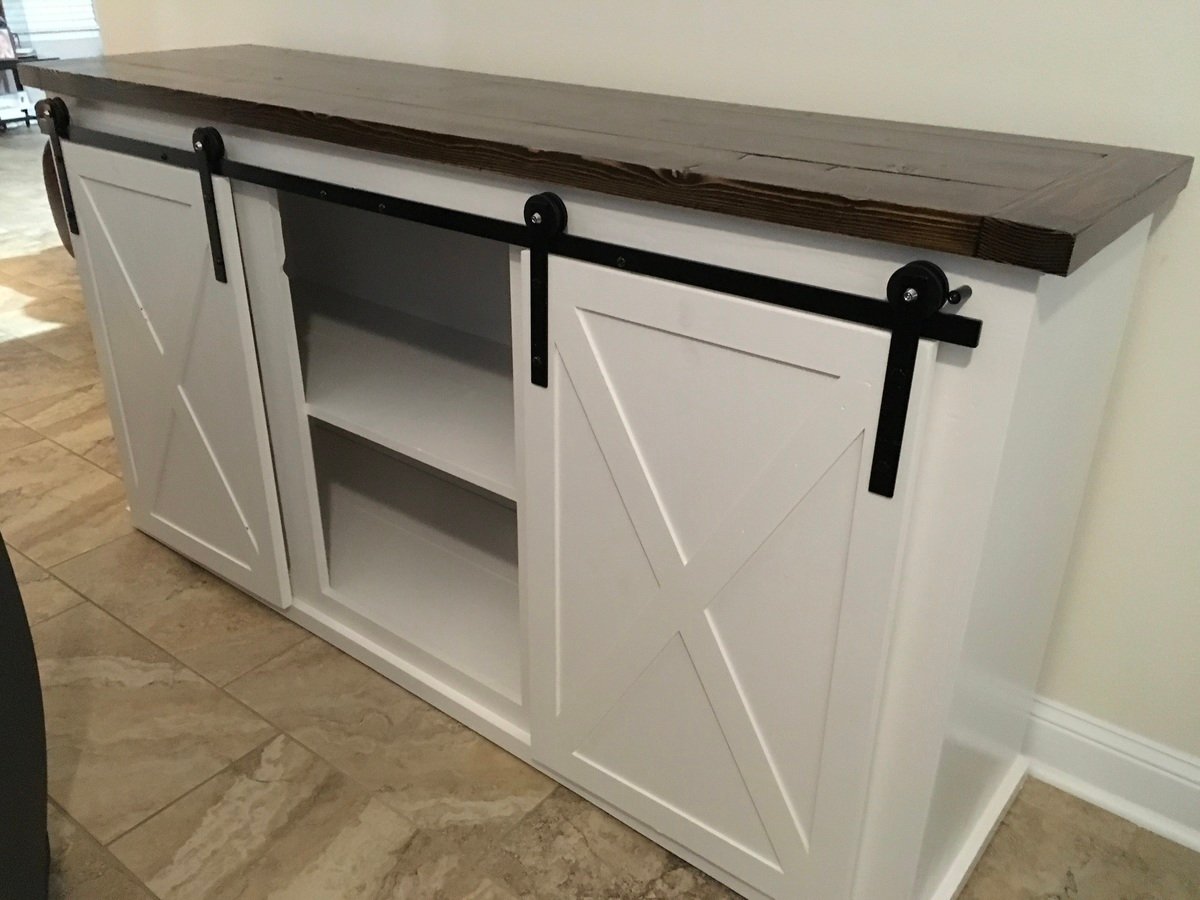
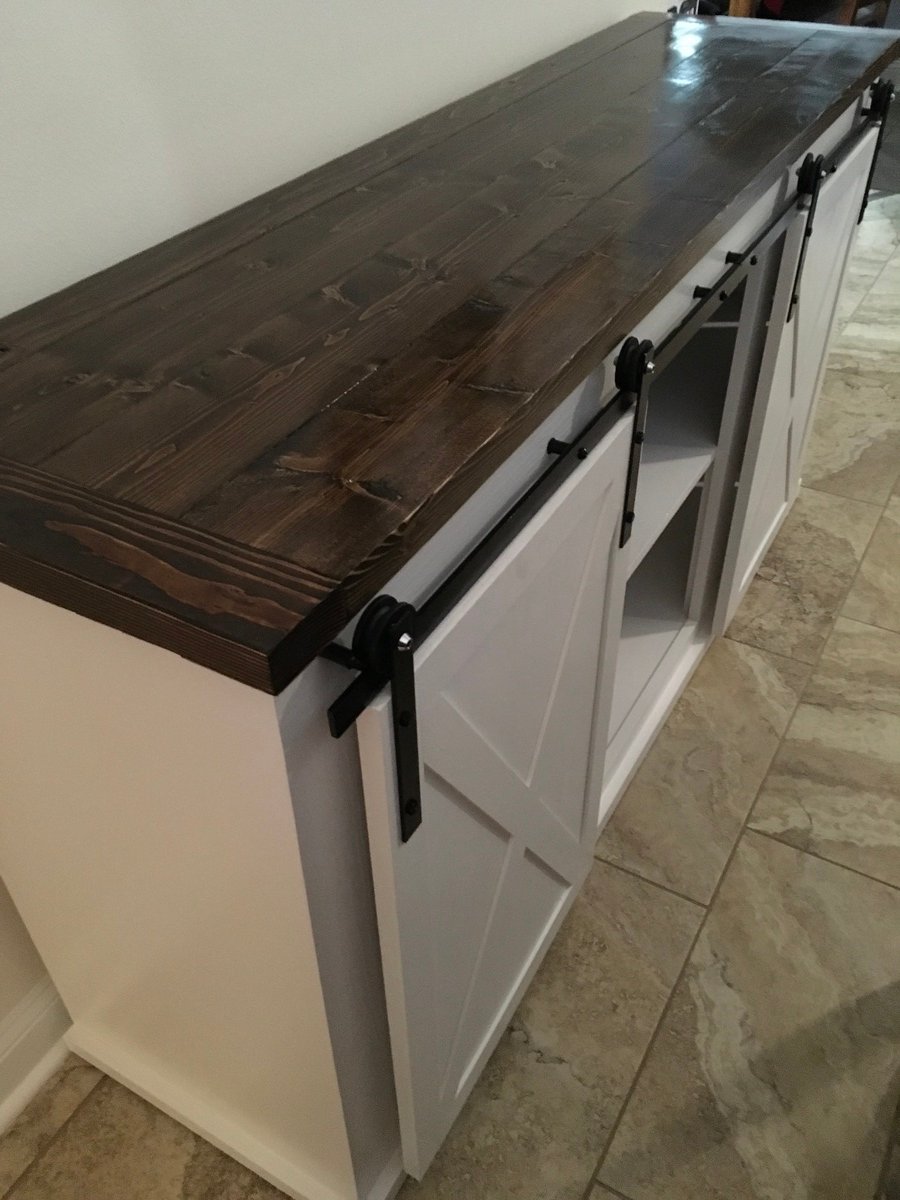
I had to rescale the Ana White plan to an overall length of 72 inches. All joints are Kreg pocket holes.
The most difficult component was engineering the barn door slides. I used:
1/8” aluminum flat bar for the door mounts
1/4” aluminum flat bar for the fixed bar
Polyurethane spacers from Lowe’s
Lind Kitchen Mute Pulley block from Amazon.com 4 each
The pulley blocks were disassembled and only the wheels and axles were used. Thin poly washers from Lowe’s were used as shims to take up play after being mounted to the flat bar.
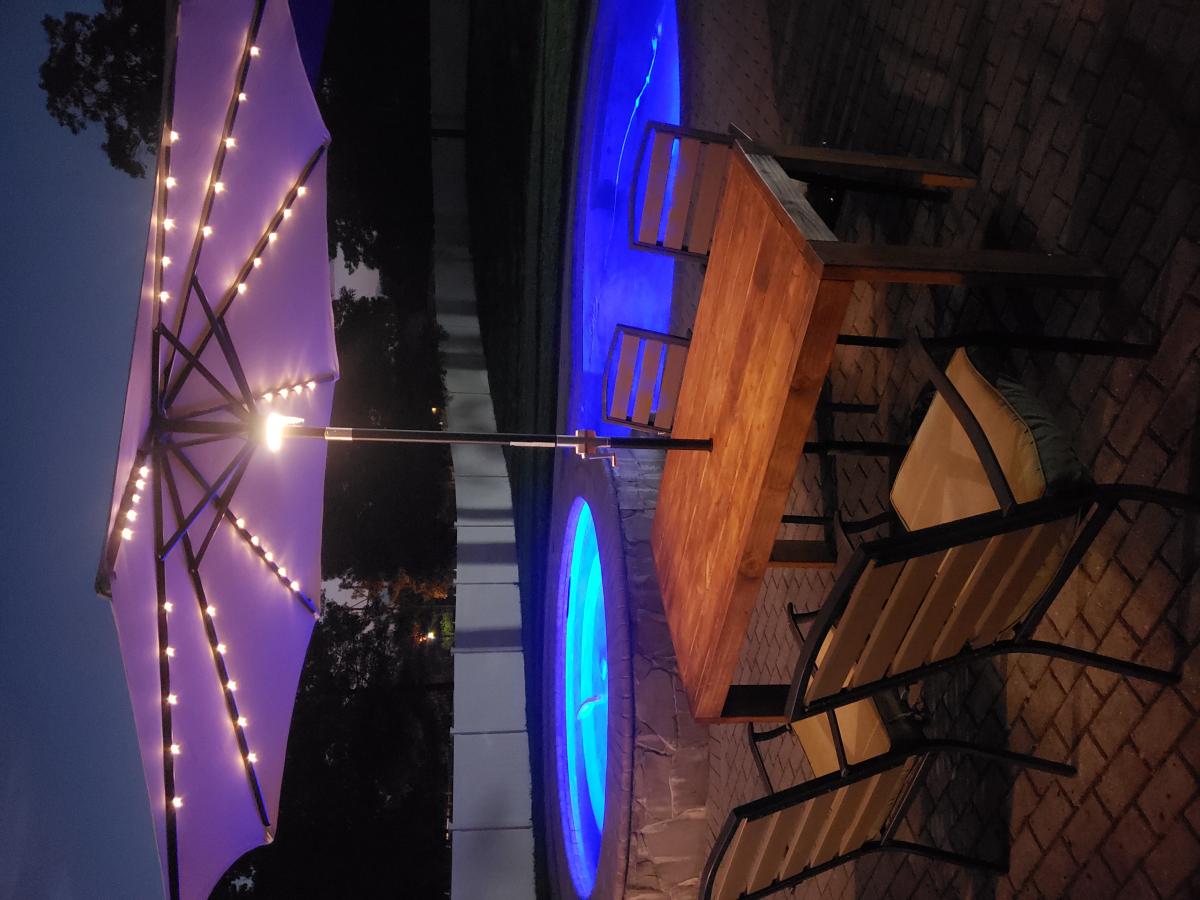
Inspired from outdoor sofa and farmhouse table
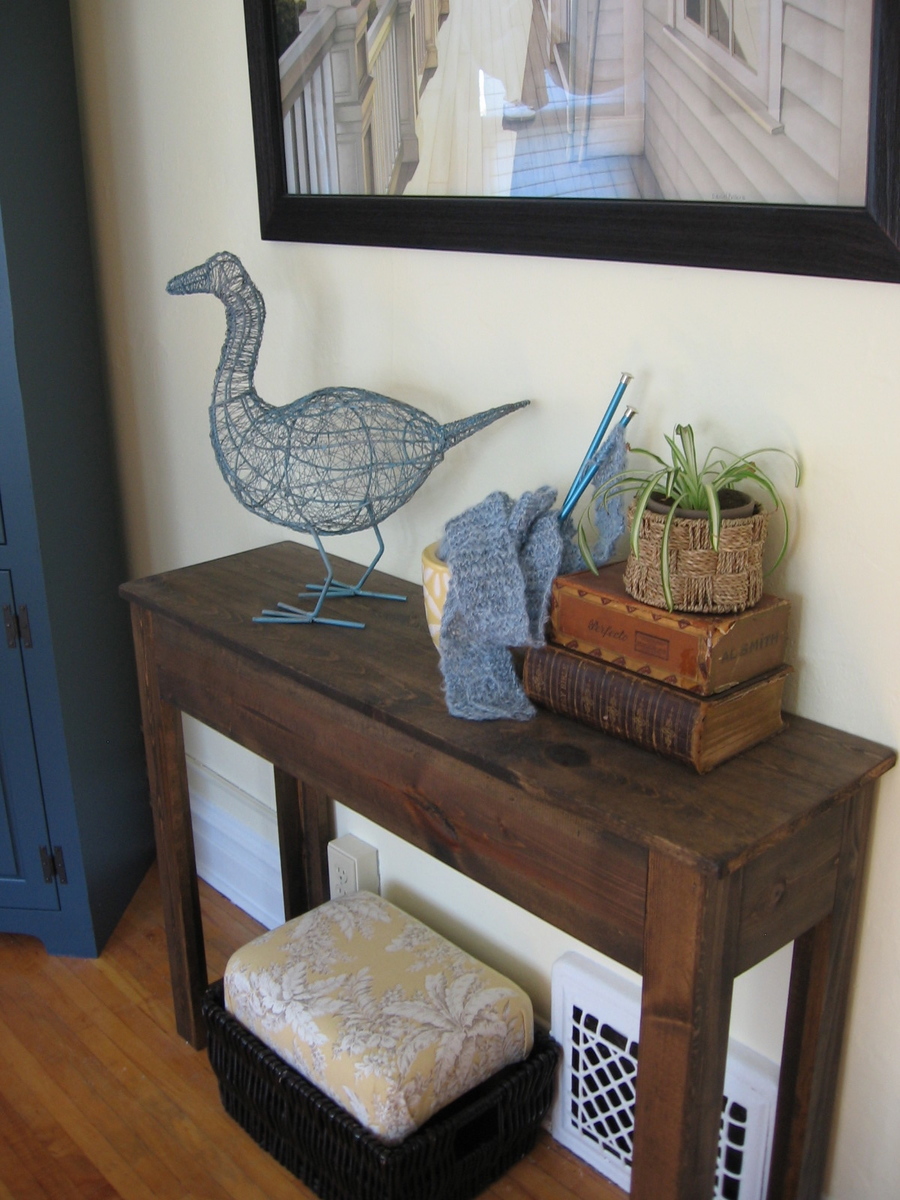
Please tell me I’m not alone…!! I must admit that I have found myself (on more than one occasion) just staring at a room for what seems like an eternity…trying to figure out why the space isn’t functional or just feels a bit “off”. It was during one of these “I dare you to blink before I do” staring sessions that I decided to build a table for my guest room.
Lucky for me, I can always count on Ana’s plans to rescue me from decorating madness! Well at least when it comes to the furniture part. (For everything else…I probably need lots of therapy!)
But seriously…anyone else get caught up in the time-warp-room-stare?! I can’t be the only one… :-)
My console table's complete story: http://gleeinspired.blogspot.com/2011/03/console-table.html
Sat, 10/15/2011 - 21:49
How did you go about finding the wood that you purchased? I'm a newbee and all i have are Lowes & HD around me, also since I'm just starting out I don't have a saw- any suggestions?
Sun, 10/16/2011 - 02:22
Lowes and Home Depot both sell wood. However, it's worth finding a local lumber yard to get a better quality of material. Trying to build a table with material from a big-box store will be an exercise in frustration, because it will warp on you, and your nice flat table will develop some interesting twists that will probably keep all four feet from touching the ground at once. I've been there plenty of times, and it's very frustrating to tear something apart to replace wood that warped after everything was assembled.
If you go to a lumber yard and ask for #2 pine, you should get something pretty stable.
You'll also definitely need to pick up some tools. Anyplace that sells lumber has a saw that they can cut material to length with, but none of them will make cuts accurate enough for building furniture. The only cuts you want made for you are those necessary to get material into your vehicle.
There are hand tools of acceptable quality sold at Lowes and Home Depot (well, mostly acceptable quality: nobody sells a decent chisel). They're cheaper and a lot less intimidating than the power tools, and with a little practice it's easier to do accurate work. The downside is that you'll have to hunt a little more for resources to learn how to use them.
Thu, 10/20/2011 - 15:03
I love the table - it looks great!
And the time-warp-room-stare??? Yep. That's why I'm on Ana's site! We just moved into a new house about 2 months ago and I need some furniture to help pull some rooms together!
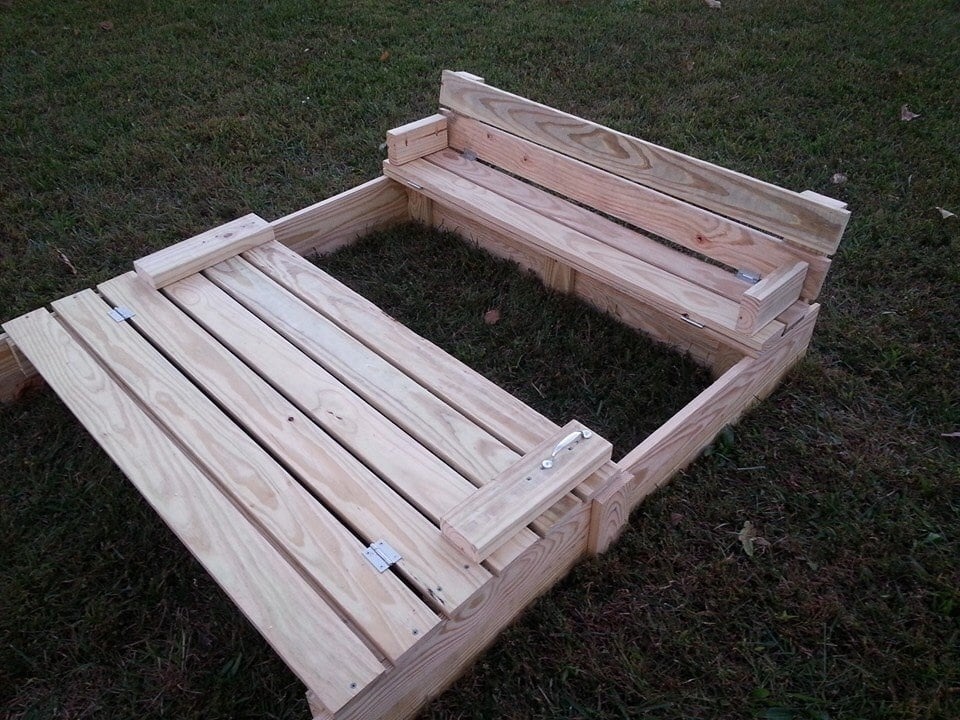
I modified this a tad from the original plans to suit my needs. I will eventually be adding a platform with attached slide and swing set.
Plans were easy to follow. My store didn't have 1x8's so I stacked 1x4's and used my Kreg jig to join them together and then I added extra bracing.
I had seen this on Pinterest a couple years ago and thought it was the coolest thing! Io excited I was able to build it myself!


Loved this plan, decided to use it for our living room TV console. Planning to add handles to the crates during a weekend when we have some free time. Very impressed with our final product :)
Wed, 12/30/2015 - 12:40
Love that console in your space, great job and thanks for sharing!

Giant version of our adironadack chair plan by Ryan Zielinski


we put a few bolts in the legs for a bit of added strength, and extra back supports.
Fri, 06/08/2012 - 09:49
Hi there! Love it! We built one of these too but cannot find cushions for the back, considering it's rather short. Any advice or did you make them?
Tue, 07/17/2012 - 23:24
Hi, only just checked messages. I got the cushions from and outdoor furniture supply store off ebay Australia. They are replacement ones for a manufactured style of setting they sold, but worked perfectly for the sectional.
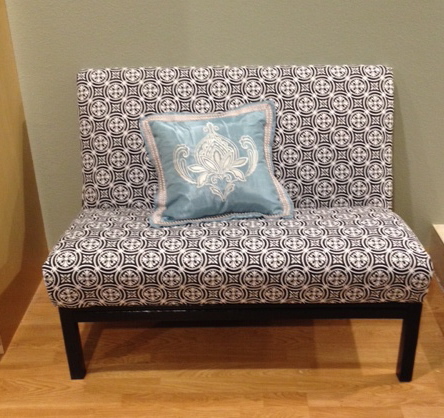
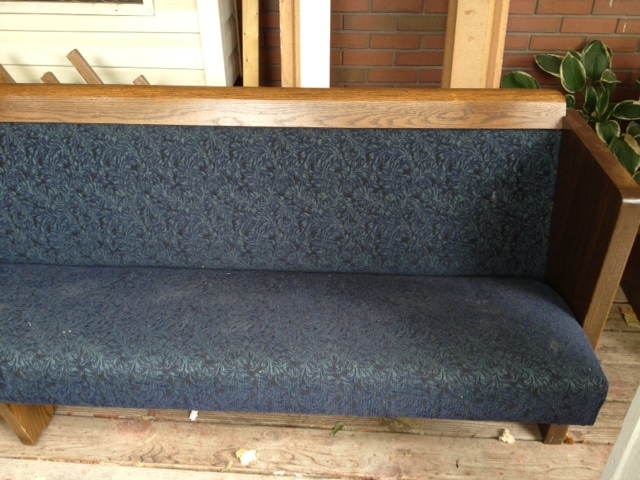
My church was getting new pews and asked if anyone wanted the old ones so I decided to take one and see what I could do with it! The second picture is what it used to look like. I had to take it all apart and cut it to the shorter size that I wanted. I then recovered it with some fabric I found for about $10. I then made legs out of a 2x4 and supported the legs with some 2x2 across the front, back and sides. I painted them with some black primer/paint that I had. This was so fun to do because I had to figure it out as I went along. It was a bit of a challenge at times and I learned a lot from this project. I really love the finished product.
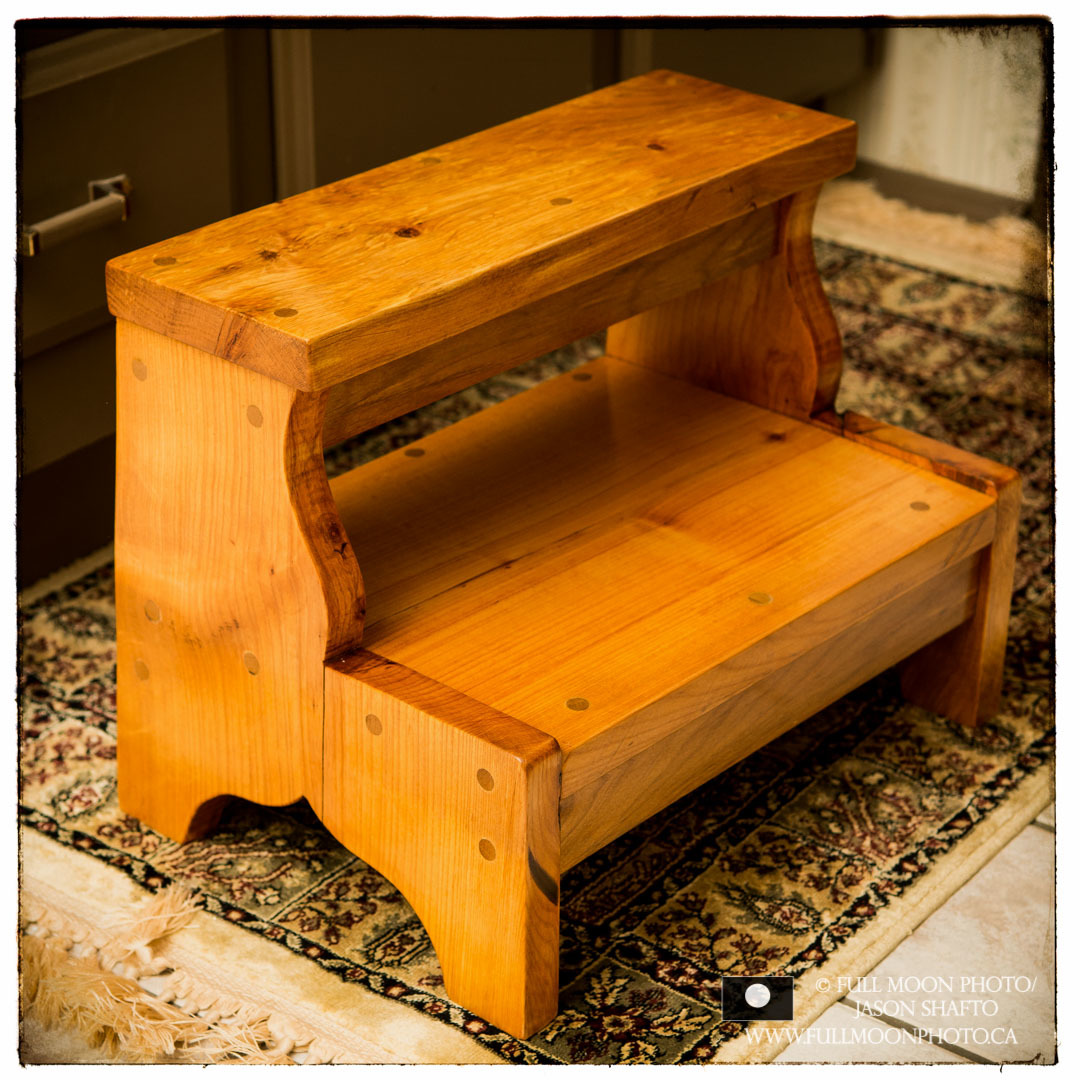
I built this stool for my son of three years. The wood is from Red Alder trees that blew down on my farm a few years ago. I milled the logs with a friend and, while alder can behave badly, I always love working with the wood. The end upright in the image was quite cupped and it cracked when I screwed it down - but it's still rigid and solid. The wood takes an oil finish beautifully! Chose to drill and plug the screws, instead of using pocket screws. Gives it a nice rustic look, and is easy to recoat when a touchup is required.
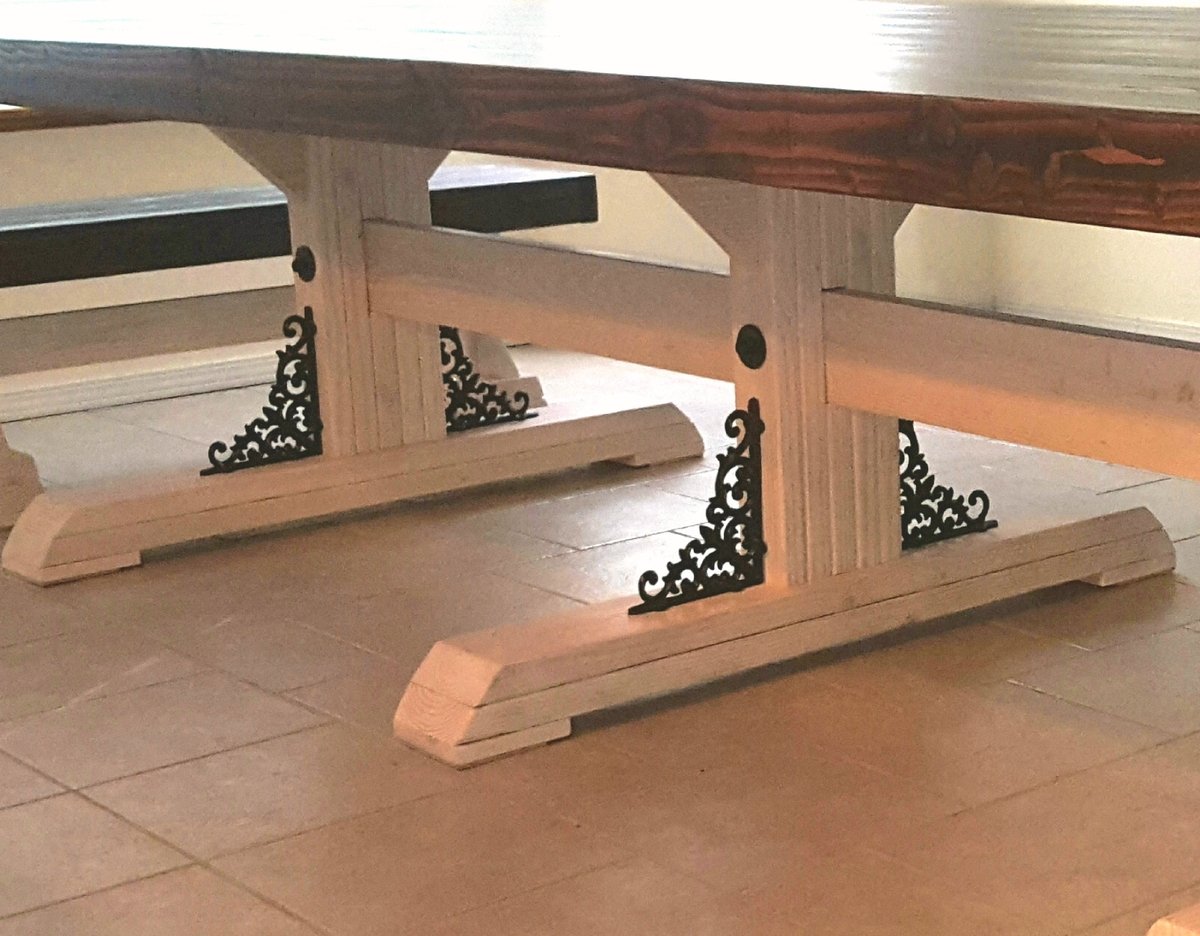
Had to change it up a little..
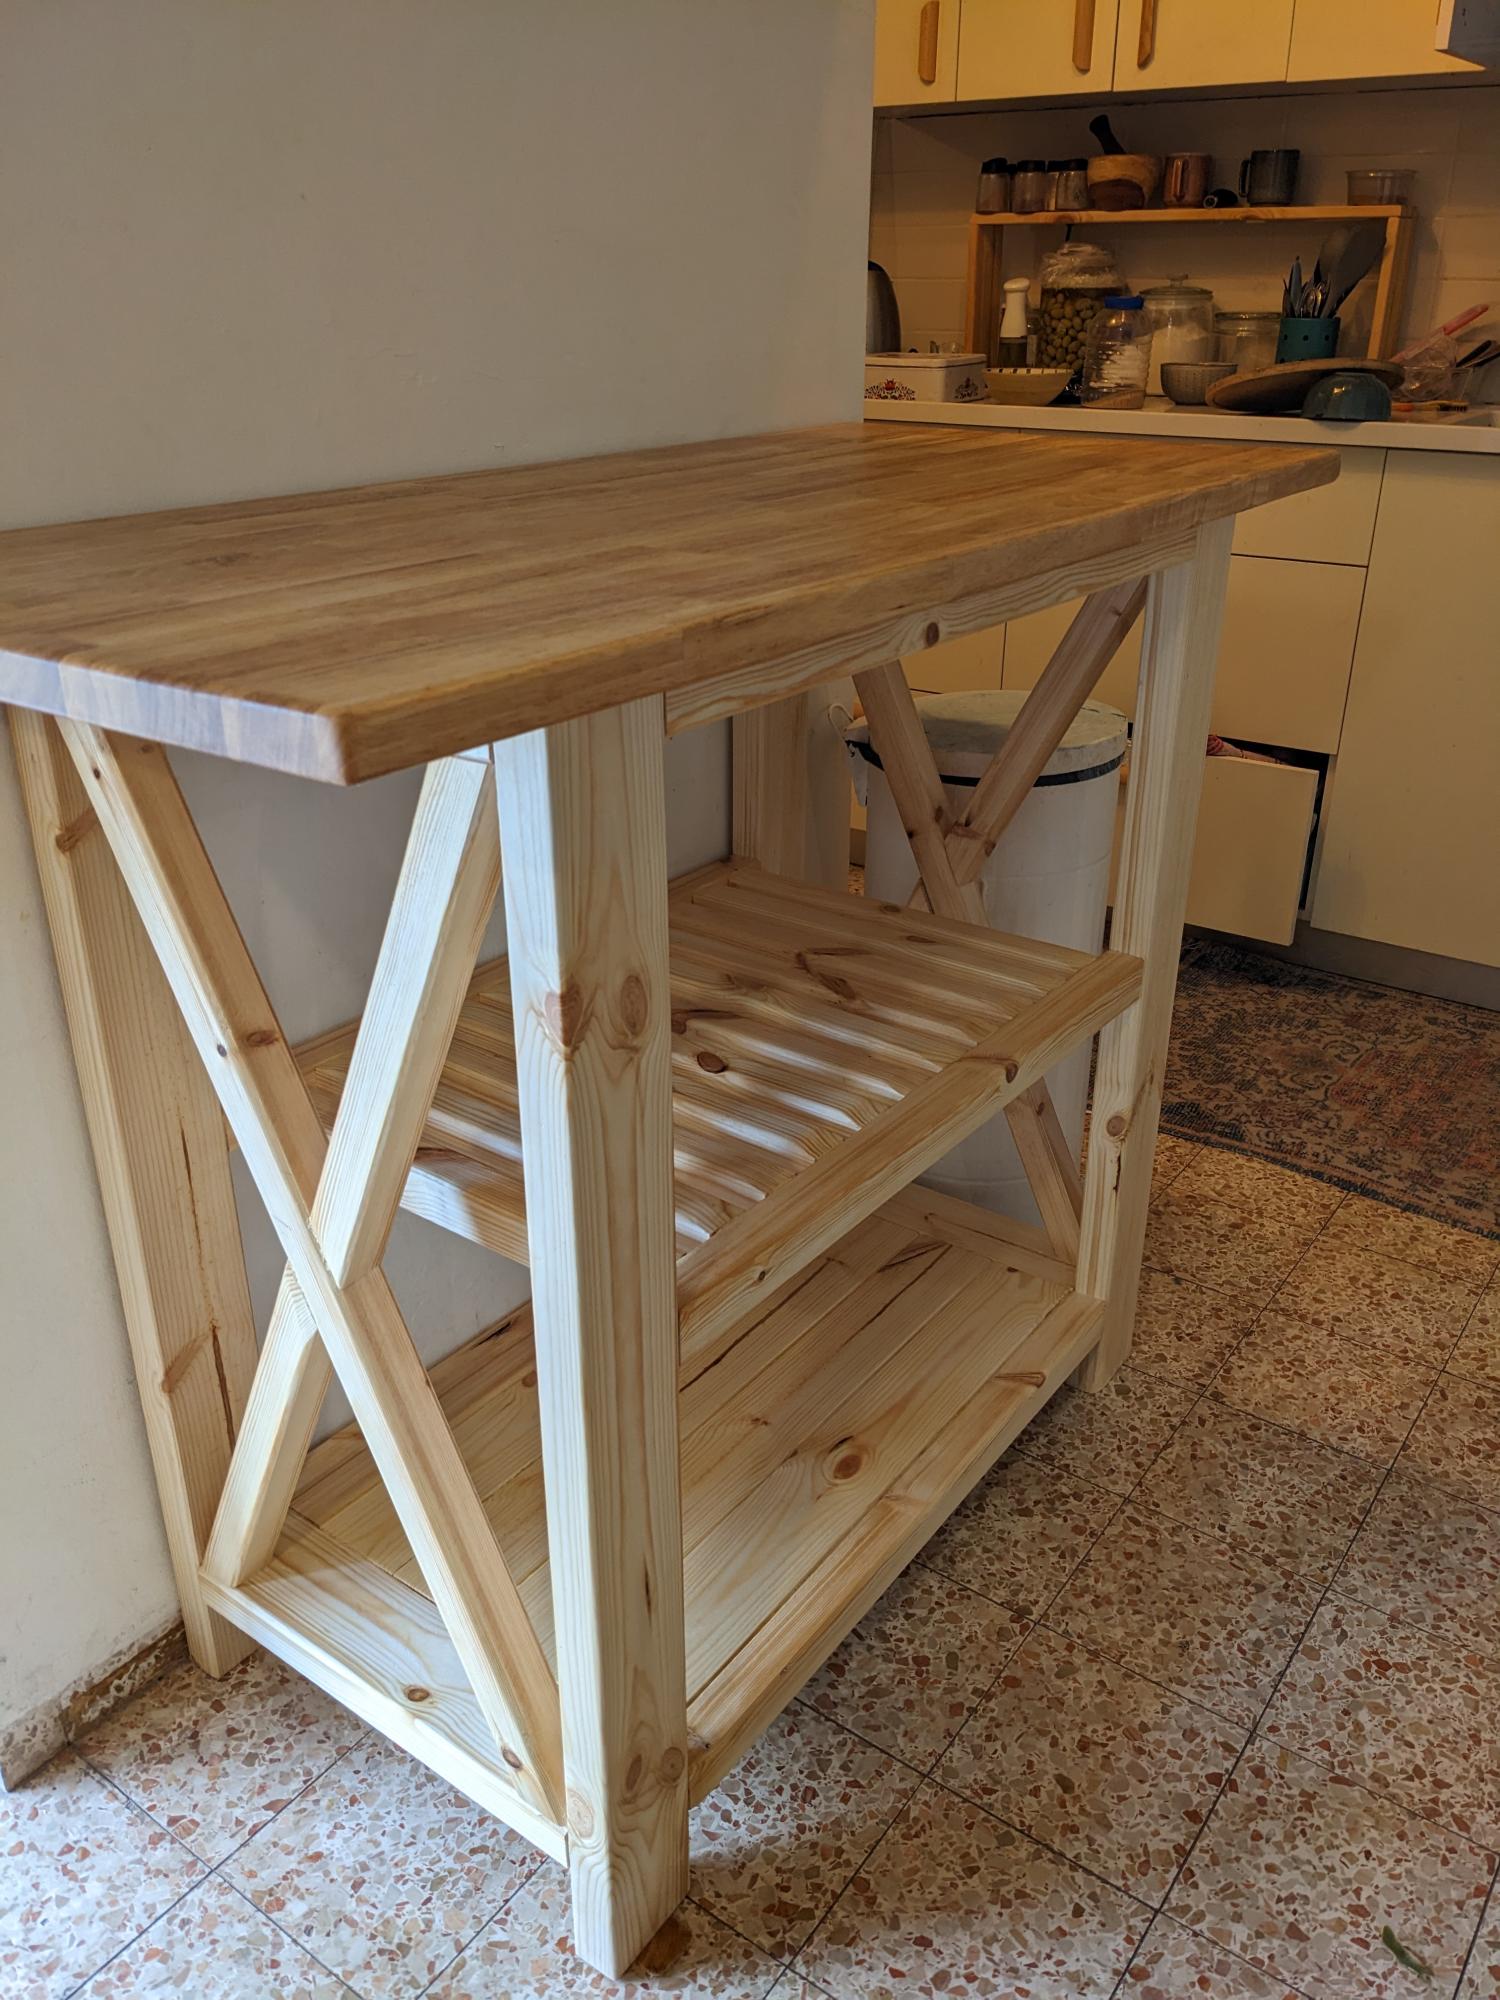
מבוסס על התוכנית של אנה
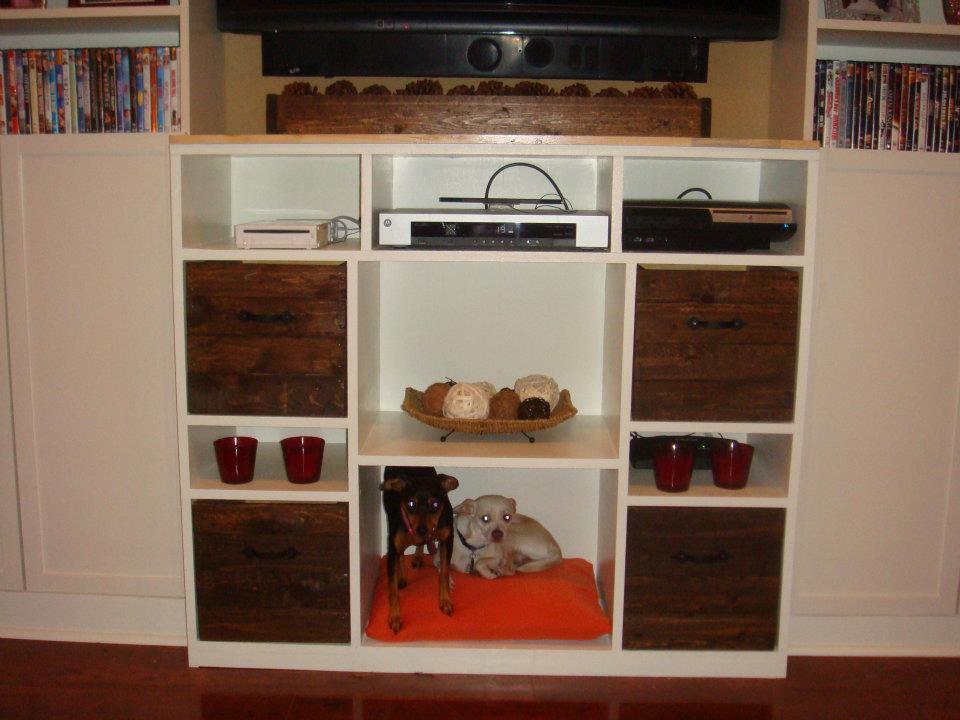
I used the plans Ana offered as a starting off point for this project. I loved the photos of the exact plans, but it was too long and too short for the space I wanted to fill. I ended up building pull out drawers from pallets instead of installing the apothecary drawers in the plans. I used the bottom cubby to place a dog bed (which they love) and still have one one bin to build to fill the center hole. I used a solid piece of butcher block style wood on the top that I sealed Polyerathane. Thanks Ana!
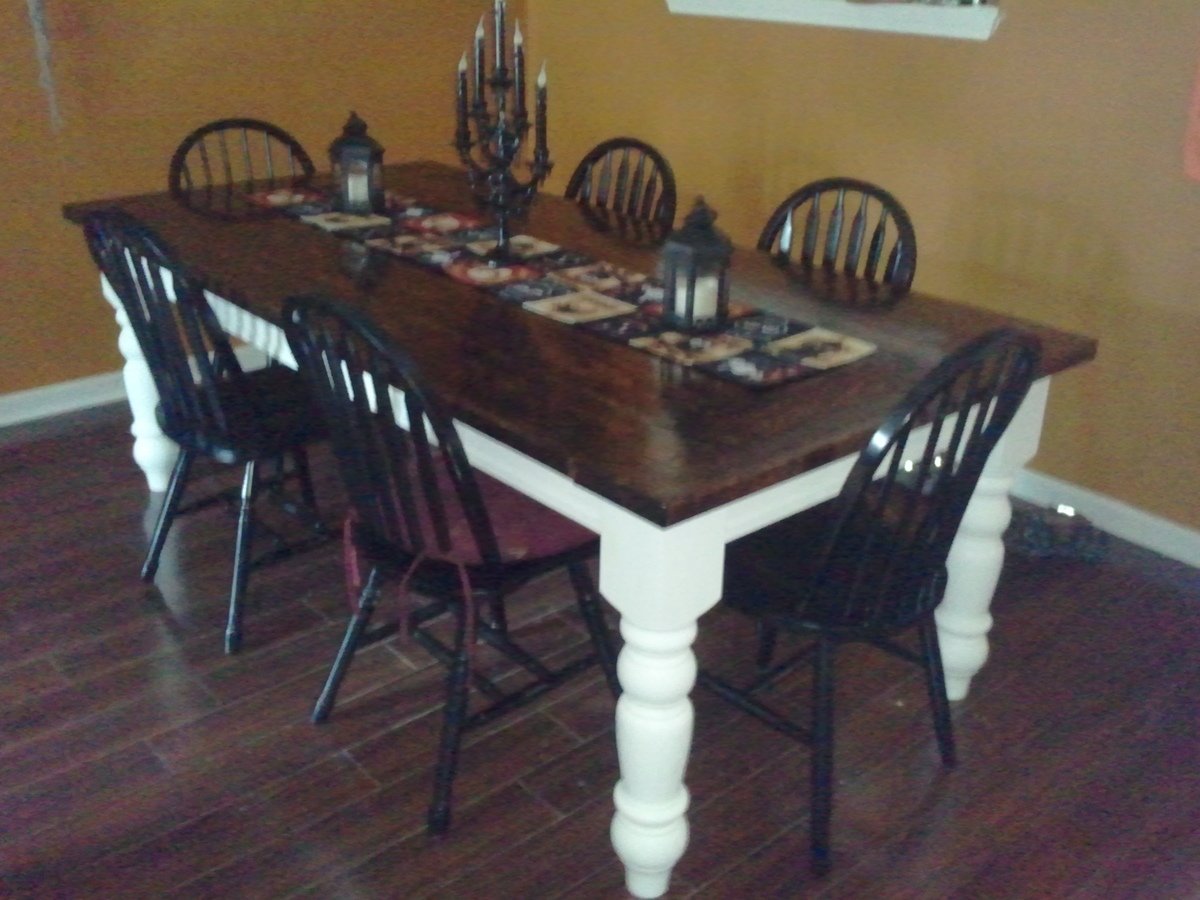
I loved the husky farmhouse talbe and after using a small round dining table for years, I figured it was time to get a larger table. What a great build! I definitely appreciate Ana's plans and ideas. I finished it right before Halloween as you can see and my 4 yr old son loves the new table for our sit down meails.
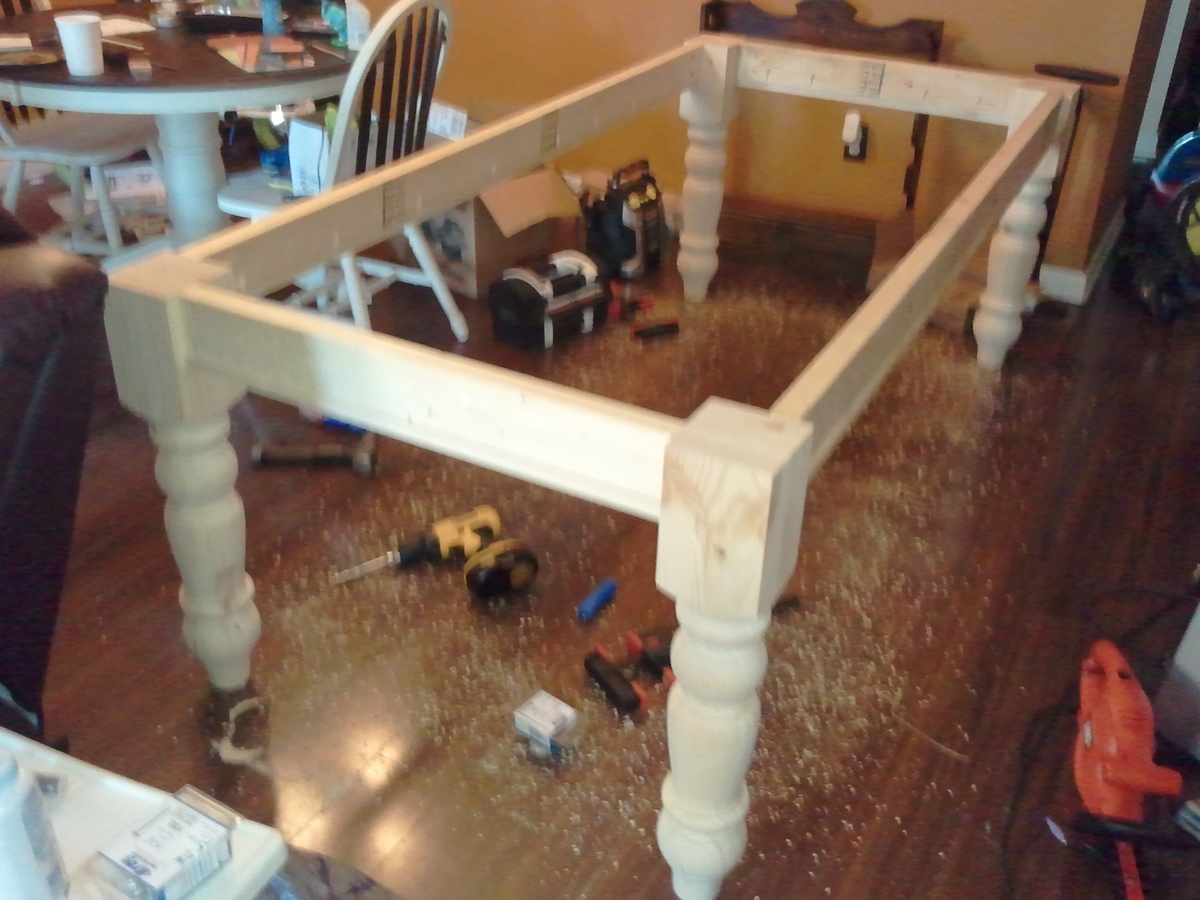

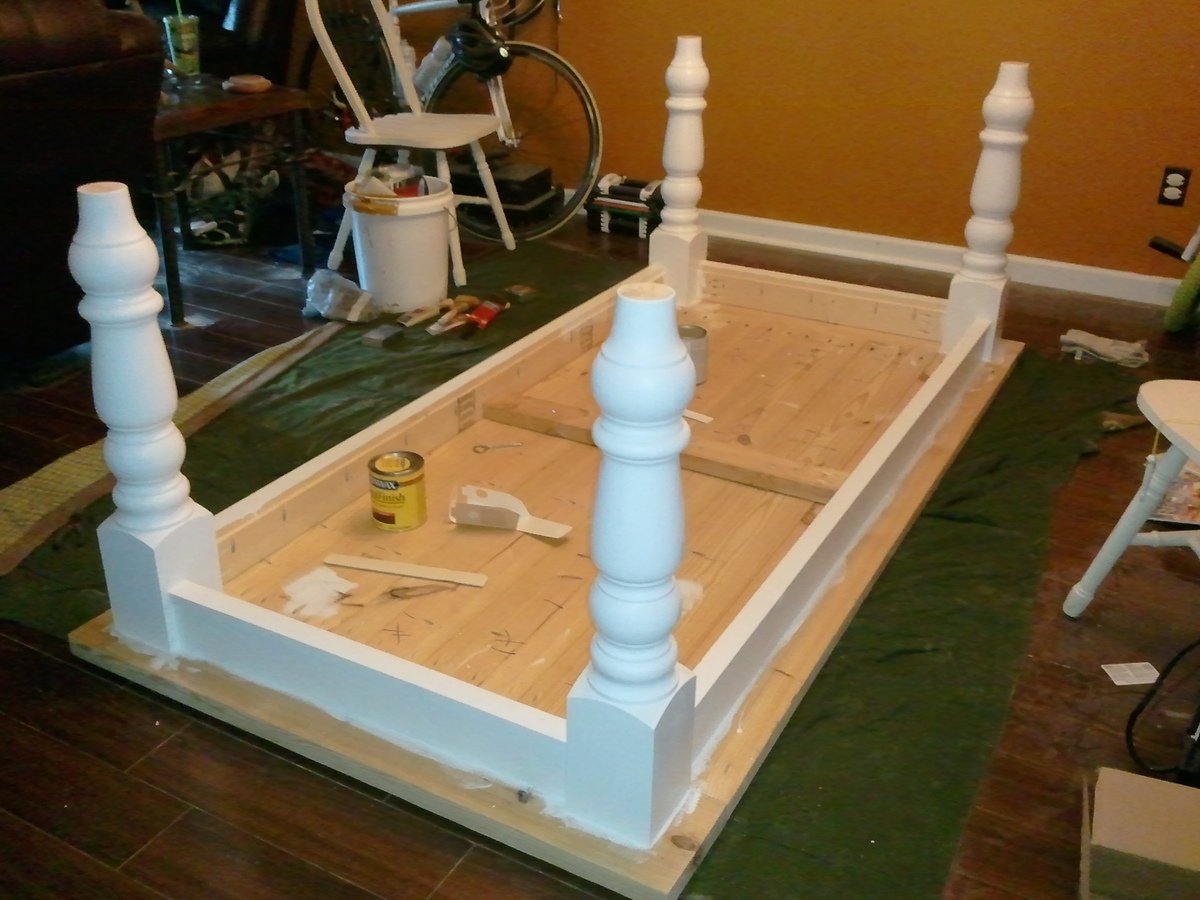
Thu, 10/17/2013 - 09:28
Thank you Ana! Its been a great addition to my home! =)
Tue, 07/07/2015 - 00:27
I love this table and i am trying to find a cheap way to get a dining room set( chairs will be bought and stanined). My husband is good a building things, my only concern how do you get all that detail into the legs of the table? Is there anyway you can pre-buy them made? We don't have a wooden lathe to do anything intricate.
Thanks if you can advise
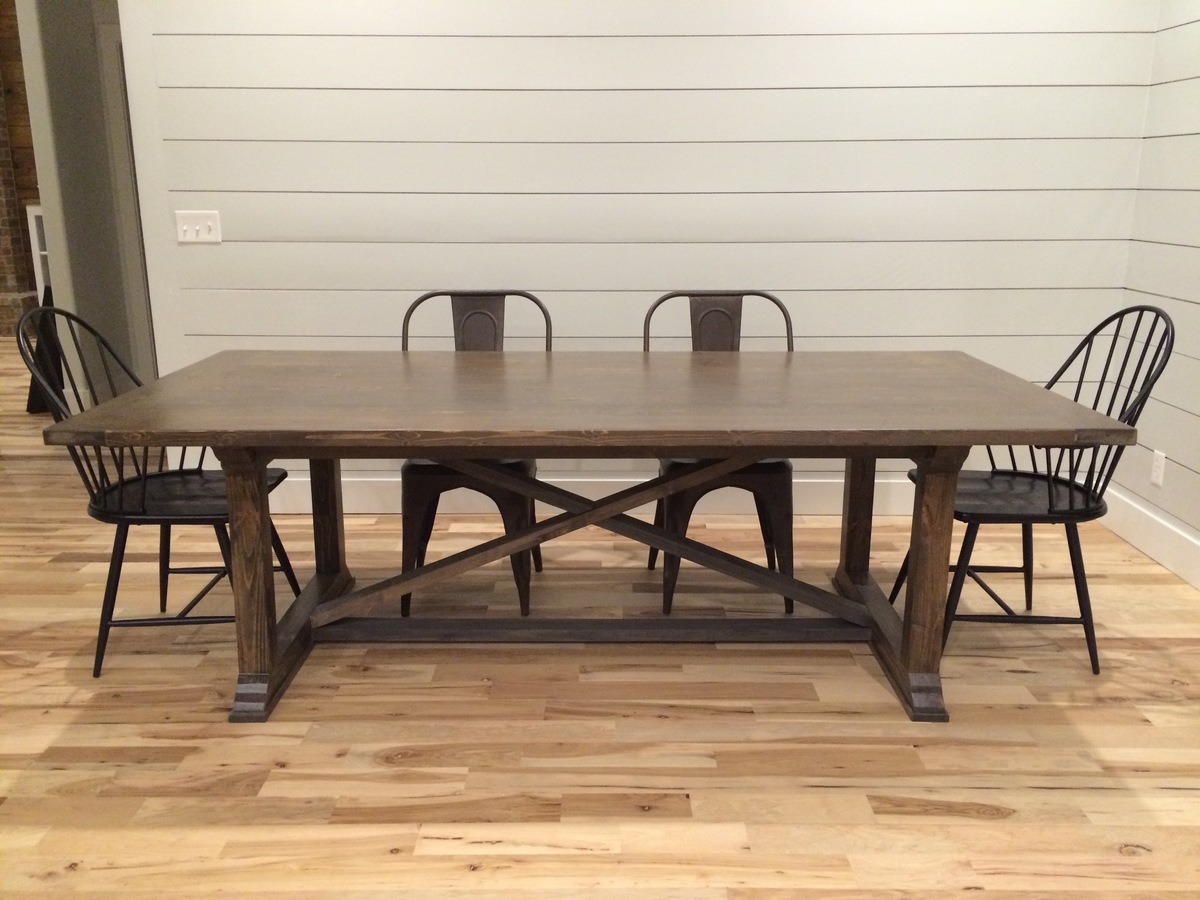
This table is the perfect length for our dining area. Pretty easy to build if you aren't new to building furniture.