My Modern Craft Table
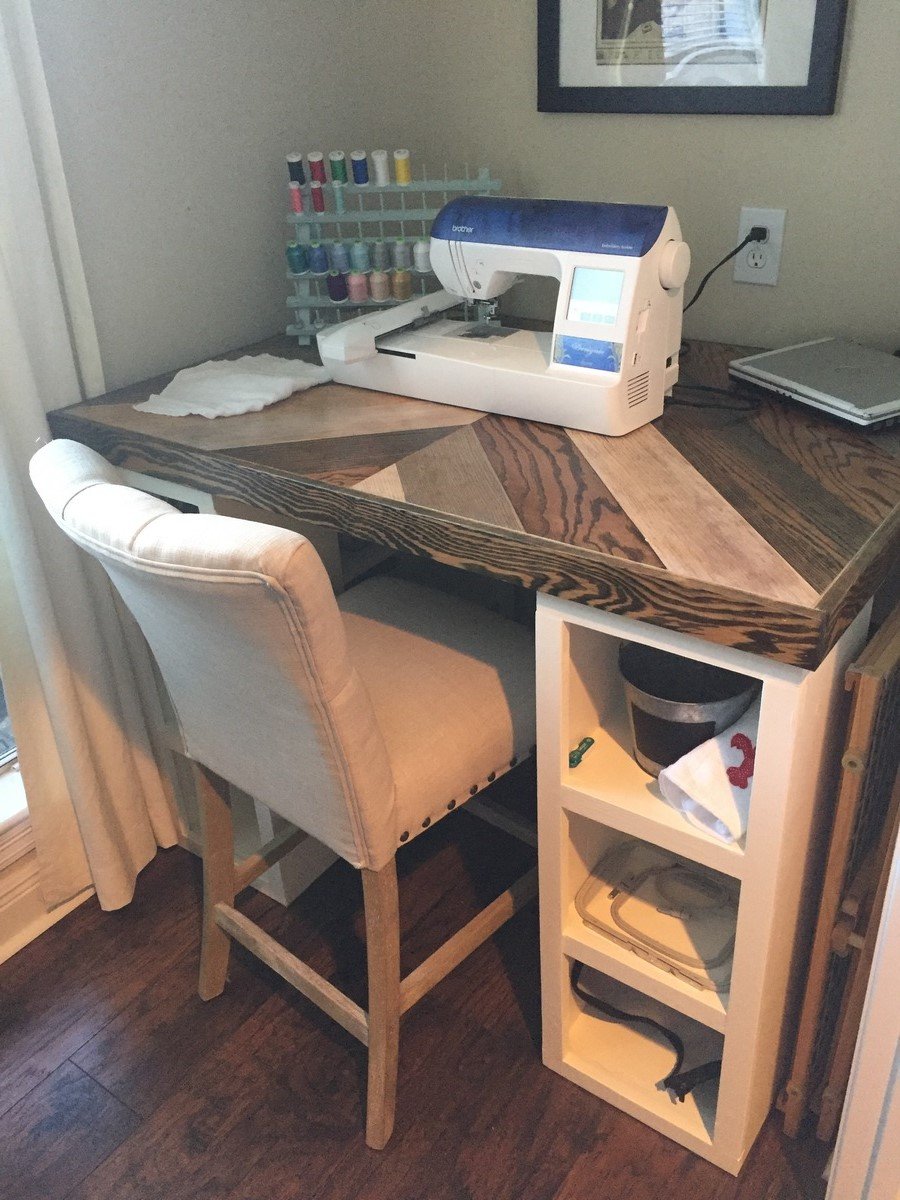
Only change in the plans was decreasing the width by 6 inches to fit our room, turned out to be 48x32in. I used old wood floor we tore up to make the table top. Glued it over plywood.
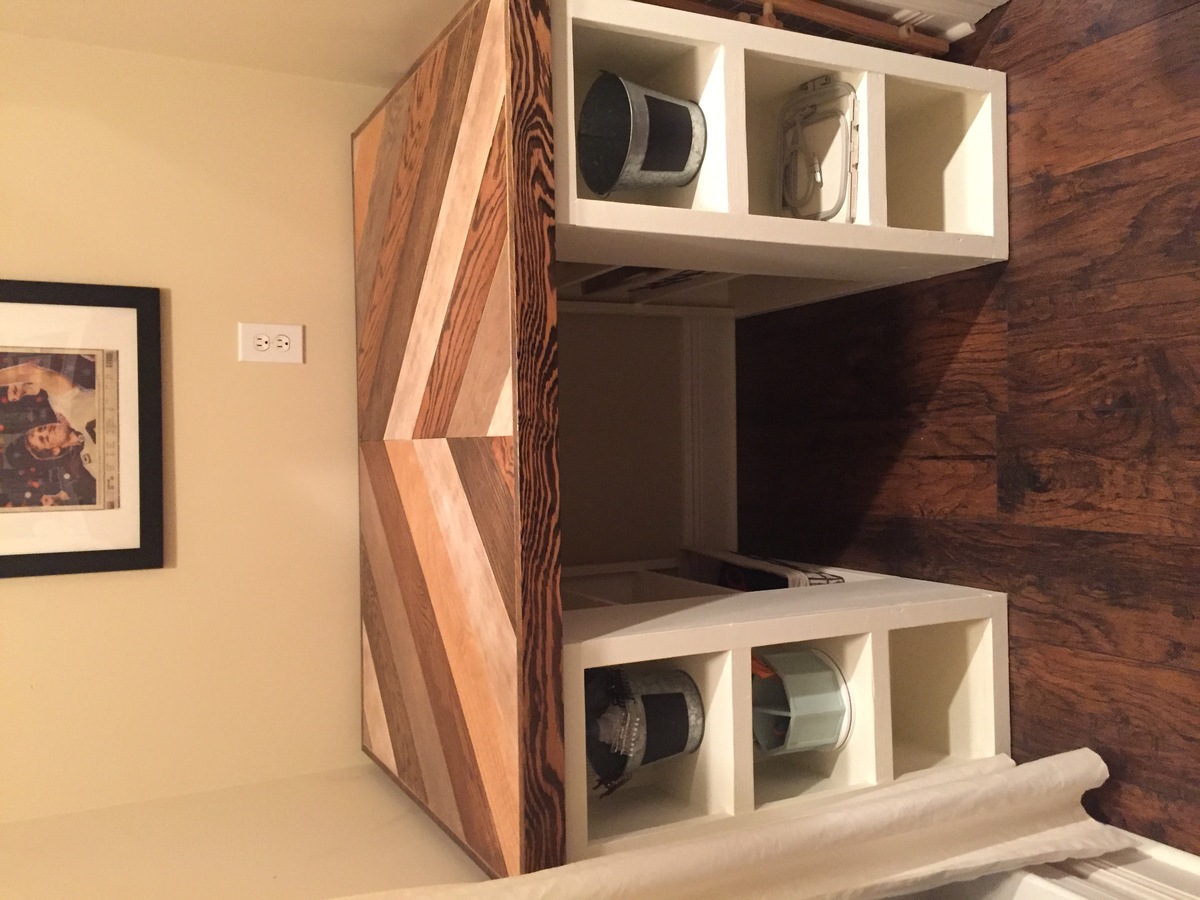
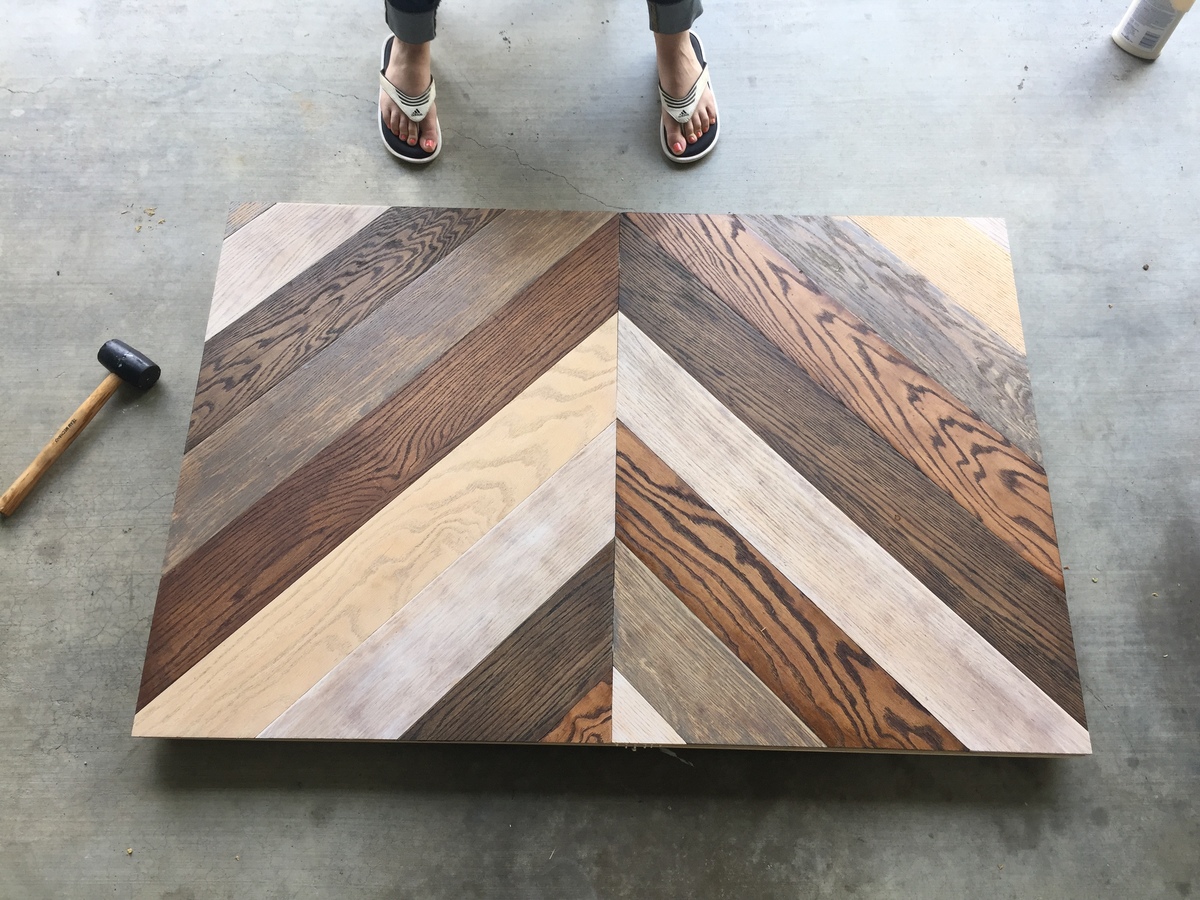
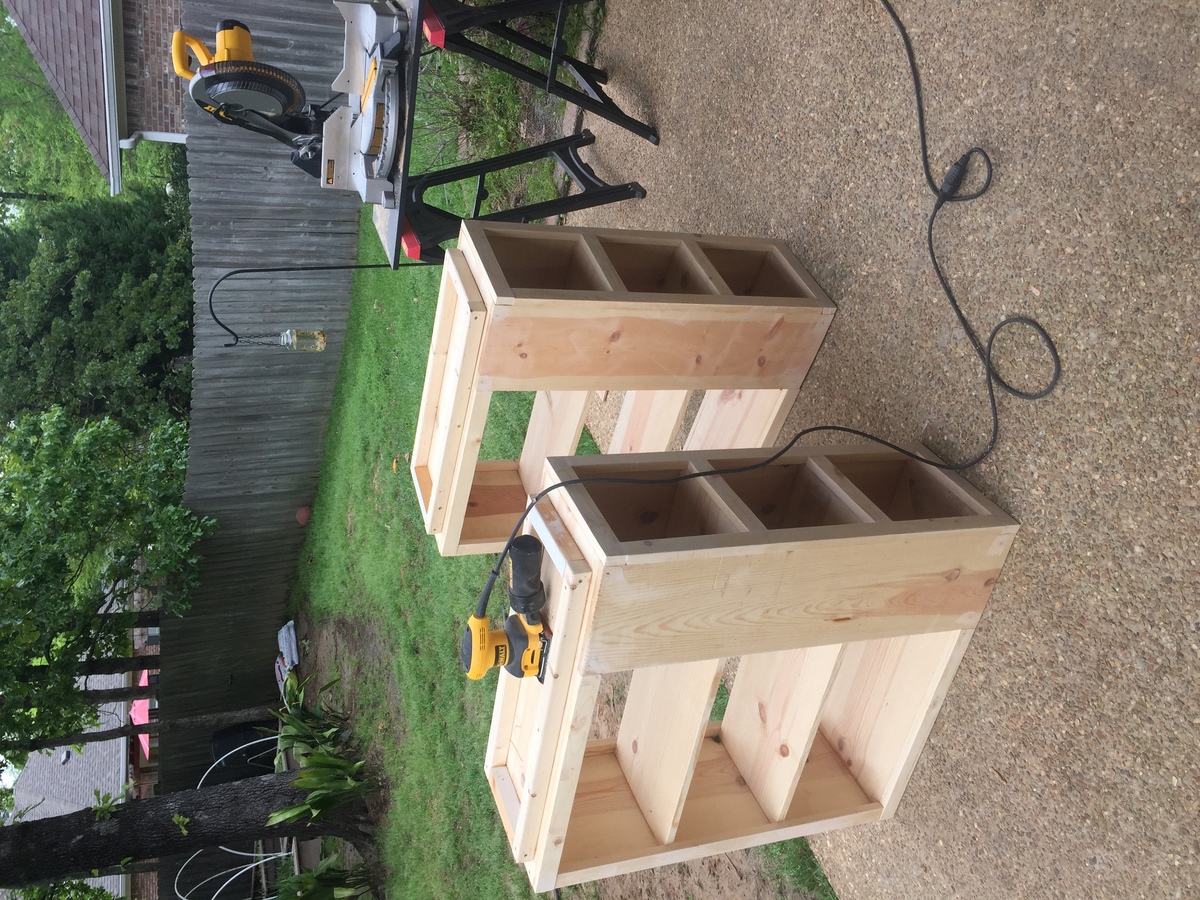
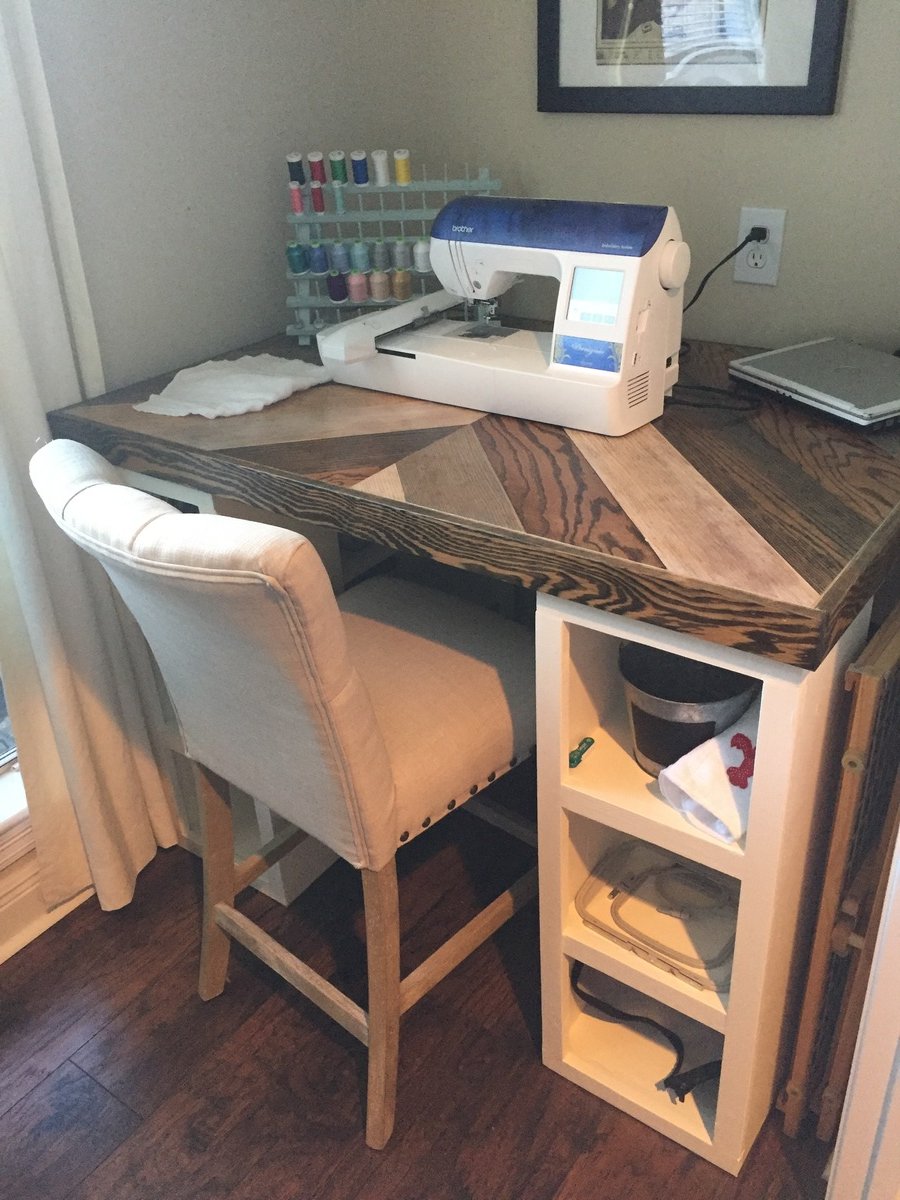

Only change in the plans was decreasing the width by 6 inches to fit our room, turned out to be 48x32in. I used old wood floor we tore up to make the table top. Glued it over plywood.


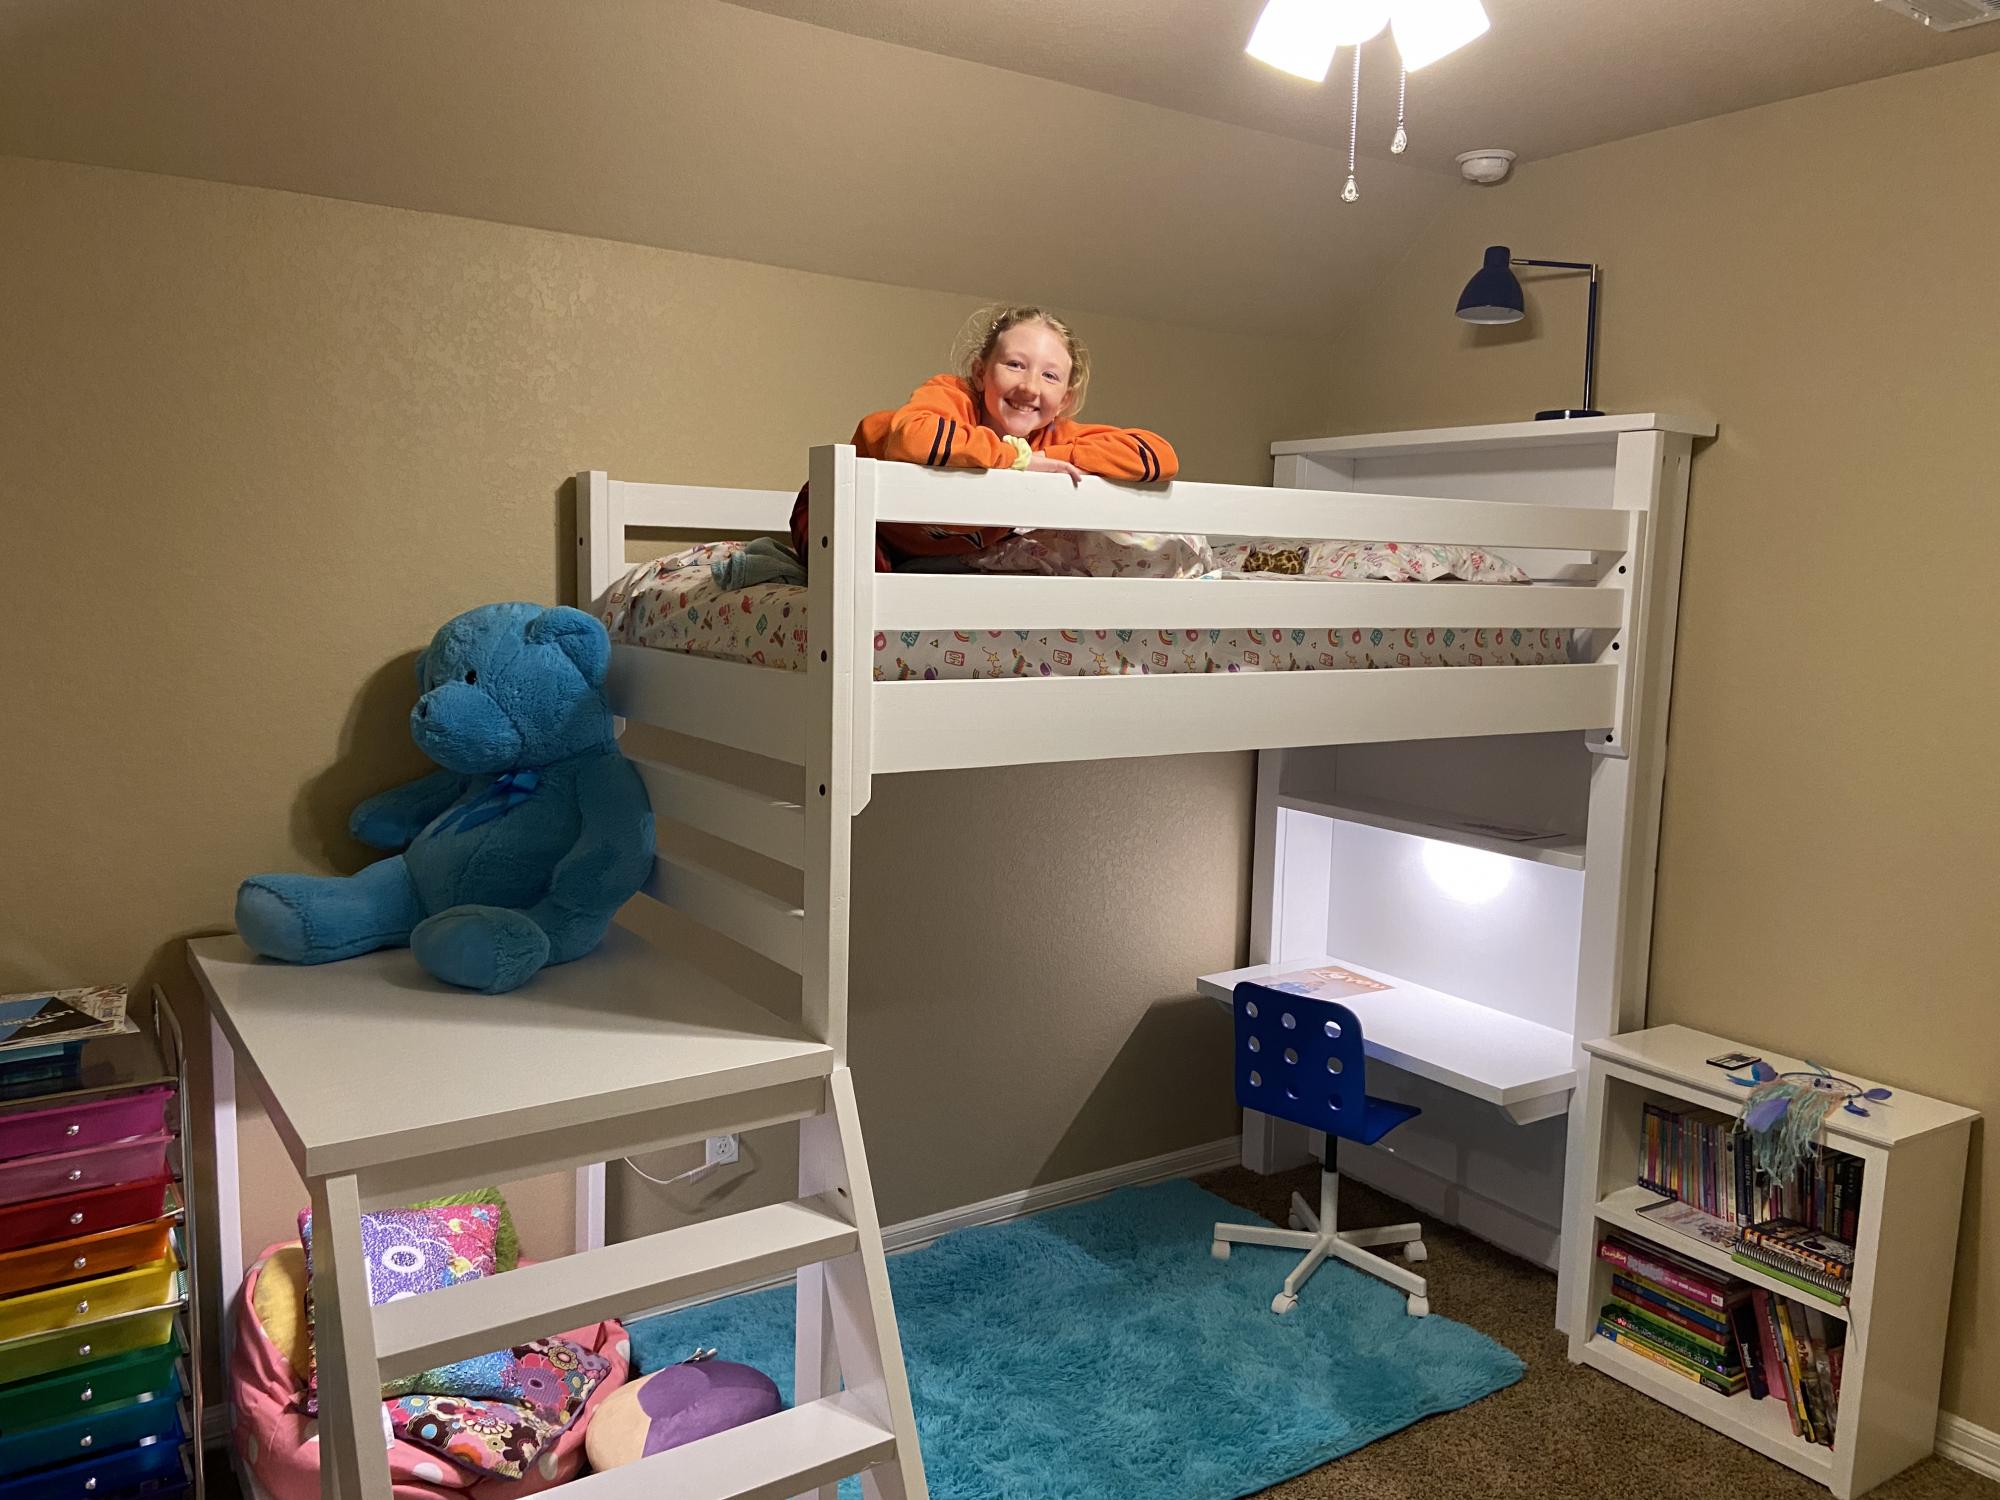
Camp loft bed plan with added headboard/bookcase with built in desk.
Sat, 01/23/2021 - 11:47
ANY SPECIFICS ON THE PLAN MODIFICATIONS?
THIS IS EXACTLY WHAT MY DAUGHTER WANTS!
THANKS,
DAN

Each grandchild gets a bed made by Grandpa. Our granddaughter wanted a "cow bed." It has a fence to keep her tucked in, a happy cow staring at her, a cow jumping over the moon, drawers that are three feet deep, and more black spots than I could have imagined when I started painting. By the end I was so delirious that one of the spots on the back side is the USS Enterprise!
Dave Lund, @r10geico


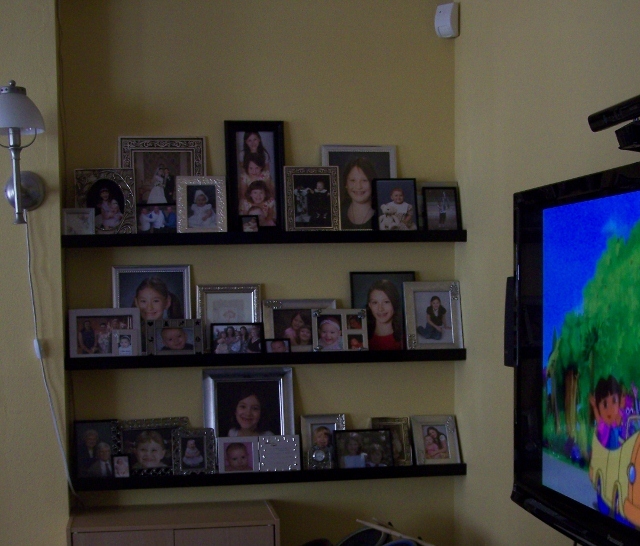
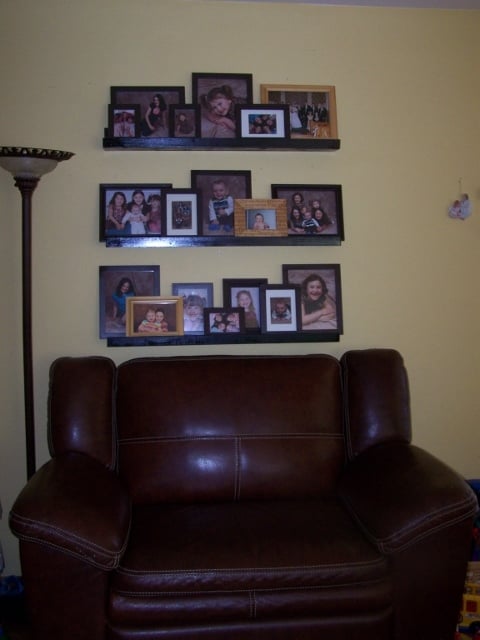
I know there are a hundred brag posts of the $10 ledges, and I have used them before (and posted them) but I am so happy with how these turned out!
Its too bad I don't have a good before picture, because the things I love most about these are the colors and the interchangability and it would be easier to explain with the before picture!
I have had pictures in cute matching frames on the one wall for years, but the frames were too light for the wall color, and the floor and furniture, so I needed to darken them up. Additionally, we got a black tv stand even though the floor and couches are dark brown. (TV is black, so it works) So I made the shelves black to pull that in. Then on the shelves closer to the tv, I used black and silver frames, and on the ones above the brown couch I painted all my light wood frames darker.
As for the interchangability, its a lot easier to pull the frames down and change the picture when you don't have to worry about how they look together - I can just move them around on the shelf. I've always had a hard time getting a "gallery" look just right - something will always hang lower than I want or whatever. So I finally got it perfect with one 10x13 of the kids together in the middle of 4 8x10s (one of each) and a few little ones to mix in. Then we had to go and have #5 and mess my whole system up! :)
So he's 16 months now and his picture is finally on the wall, and was taken last May - so sad..
But my other set of shelves has pictures of everybody - even me, yikes! I decided they look better full so I used all the frames I had, and got some cheap ones and thrift store frames and put them all together. "controlled chaos" just like the rest of the house/life!
Thanks Ana for giving me the confidence to know that I can make it myself, I never would have gone out and spent the money to buy matching frames, but knowing I could just do it myself I was able to get it done for cheap!
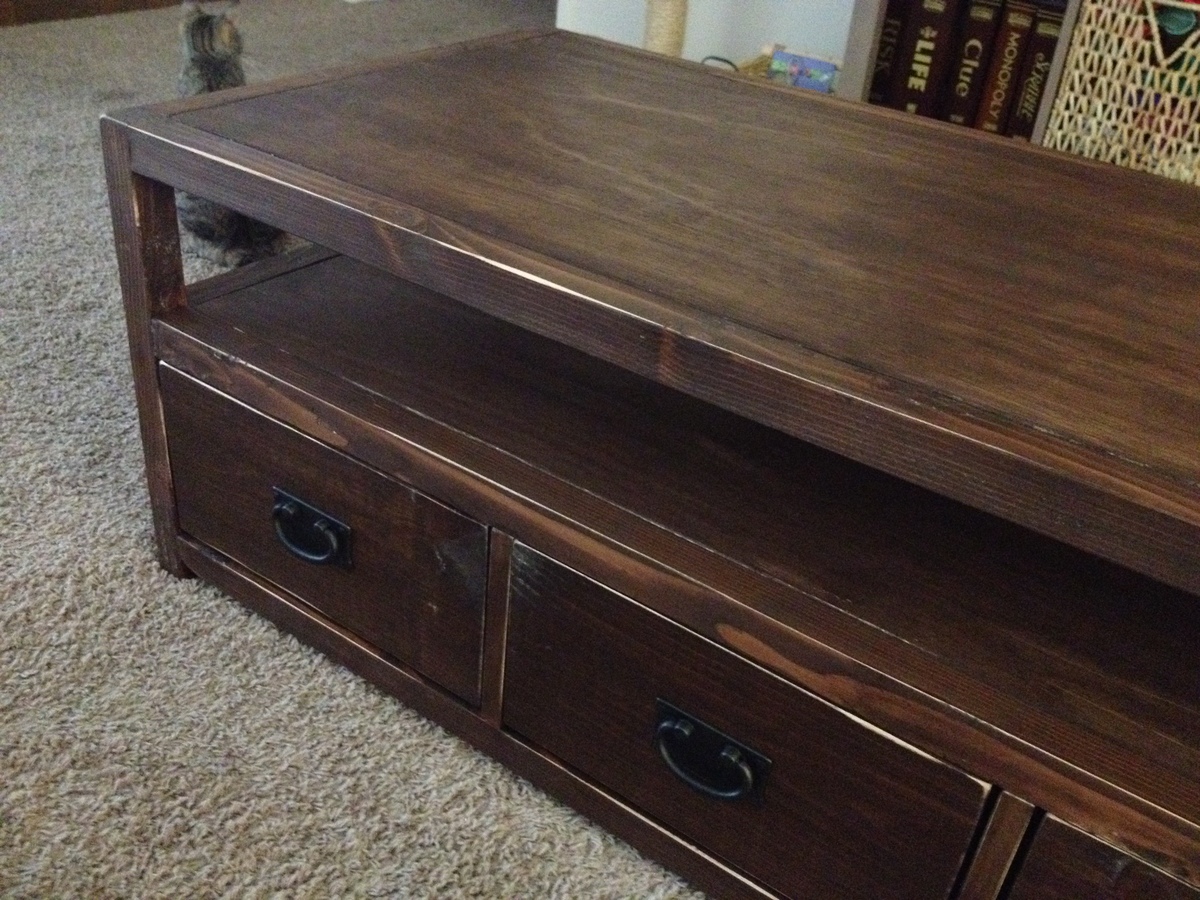
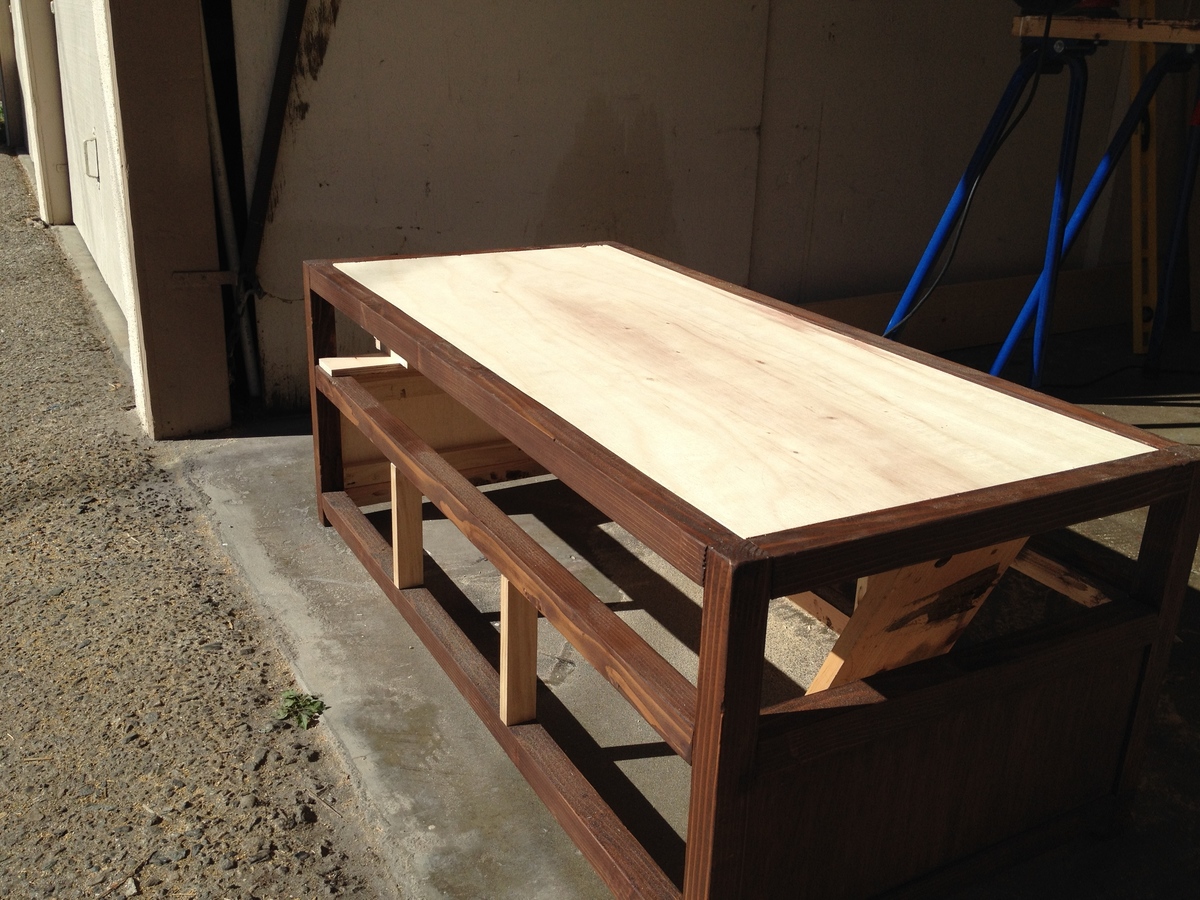
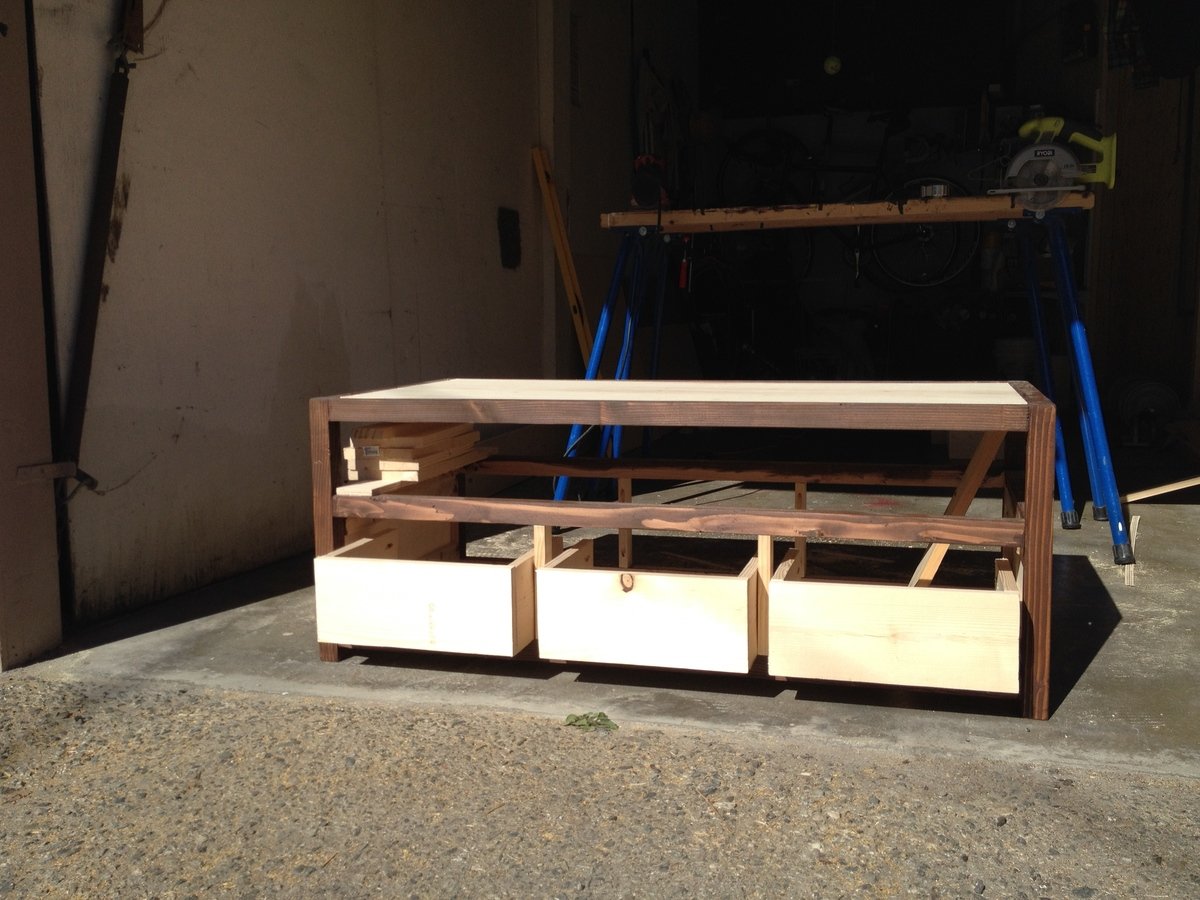
We completed this project over several weekends, but that was mostly because we only worked on it for an hour or two. I was THIS close to purchasing a $499 coffee table from Crate and Barrel, when I saw these plans. I wasn't sure how the drawers would work, since we couldn't find short enough drawer slides, so we kind of had to improvise by making our own. This way, we avoided the extra weight from a third piece of plywood on the bottom-most level. We had the sanded plywood cut at Home Depot, and amazingly it fit perfectly! We used the Kregg Jig on almost everything, except for the plywood, because our screws were just a touch too long for 1/2". We definitely had to measure each drawer individually, because they were not the same! (Can you tell? I hope not). It's a good thing I was going for the rustic look, because every time I had a bad spot, I could just hammer it around a bit and make it look worn. We finished this project with a stain and sanded off the edges to keep it from looking too perfect.
We had a great time with this project, and are trying to refrain from starting on the console table!!
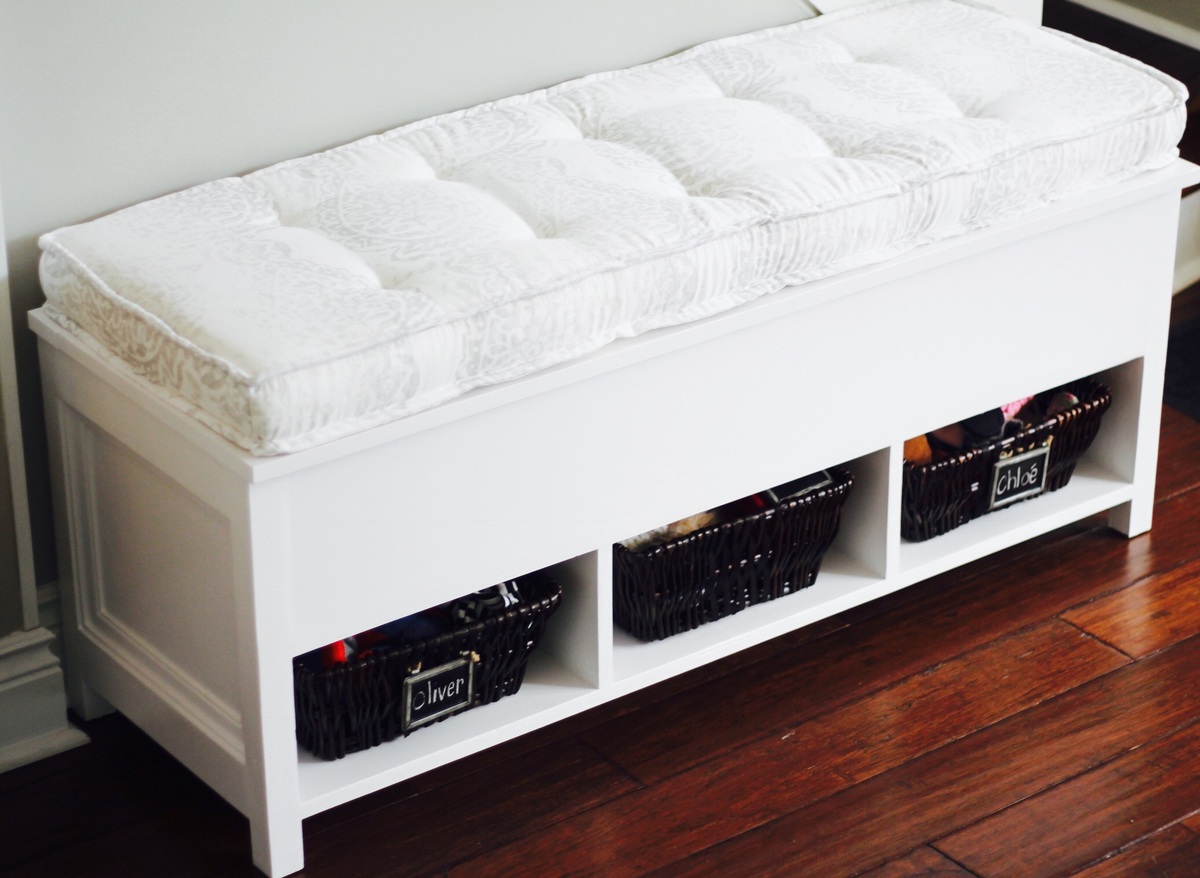
This storage bench is perfect for our entryway. It has both hidden storage and easily accessible cubbies that we use for the kids' outdoor accessories. We modified the dimensions to fit the space, added moulding on the ends and made the French tufted cushion from http://anoregoncottage.com/diy-tufted-french-mattress-cushion/.
Thanks for the pattern Ana.
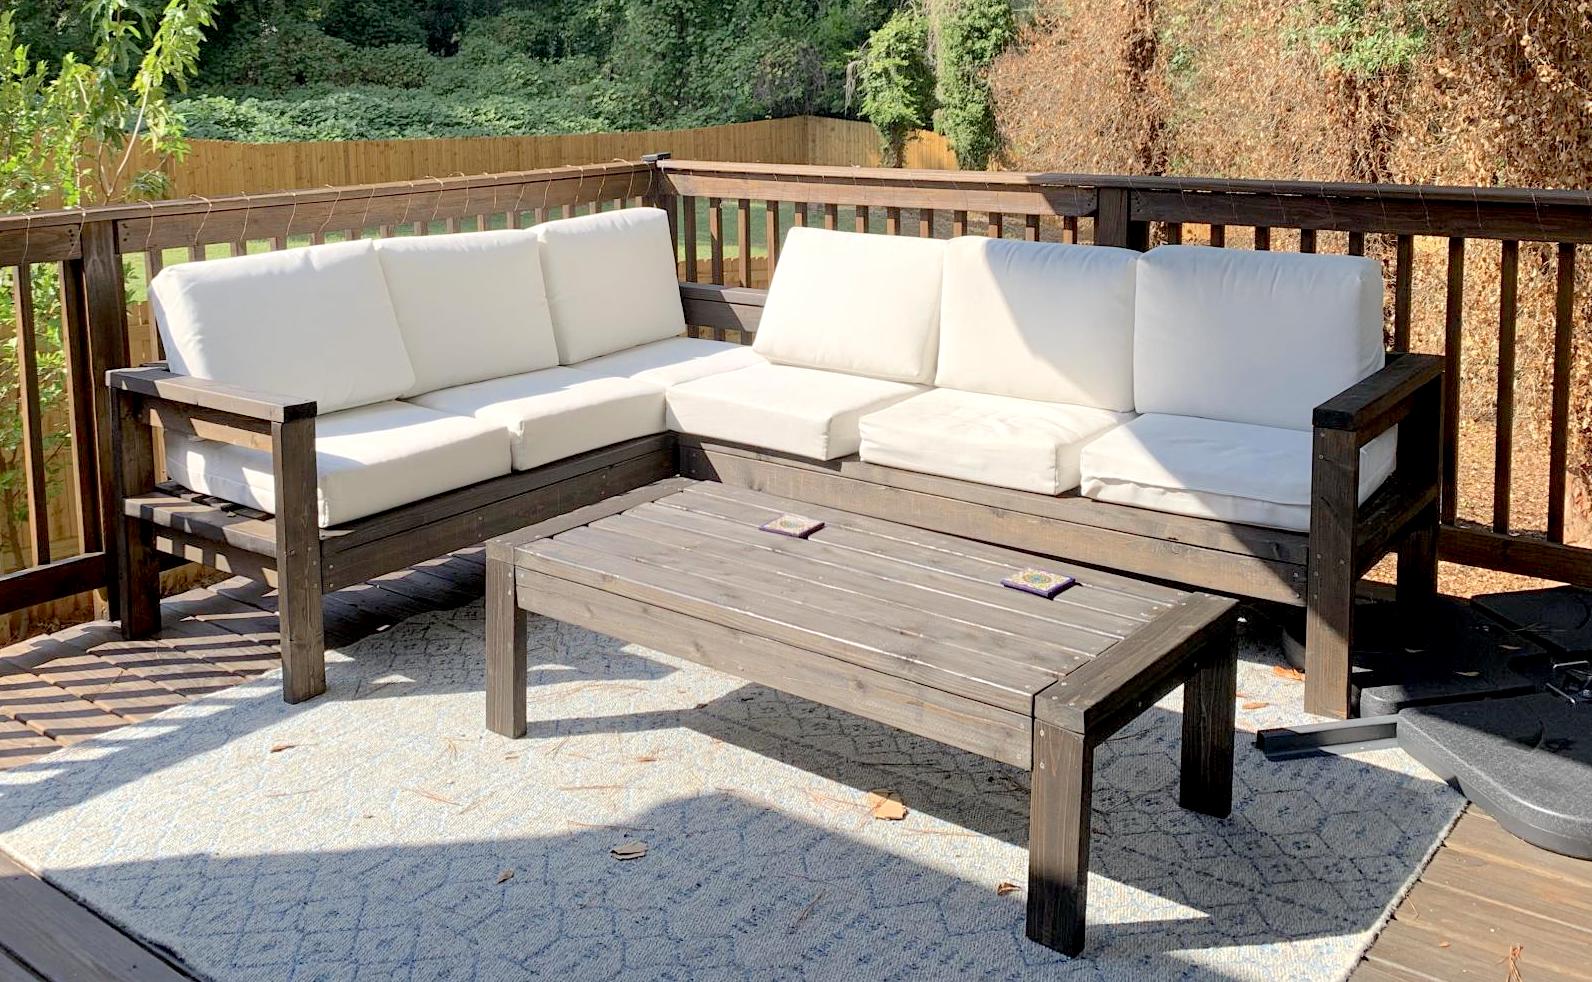
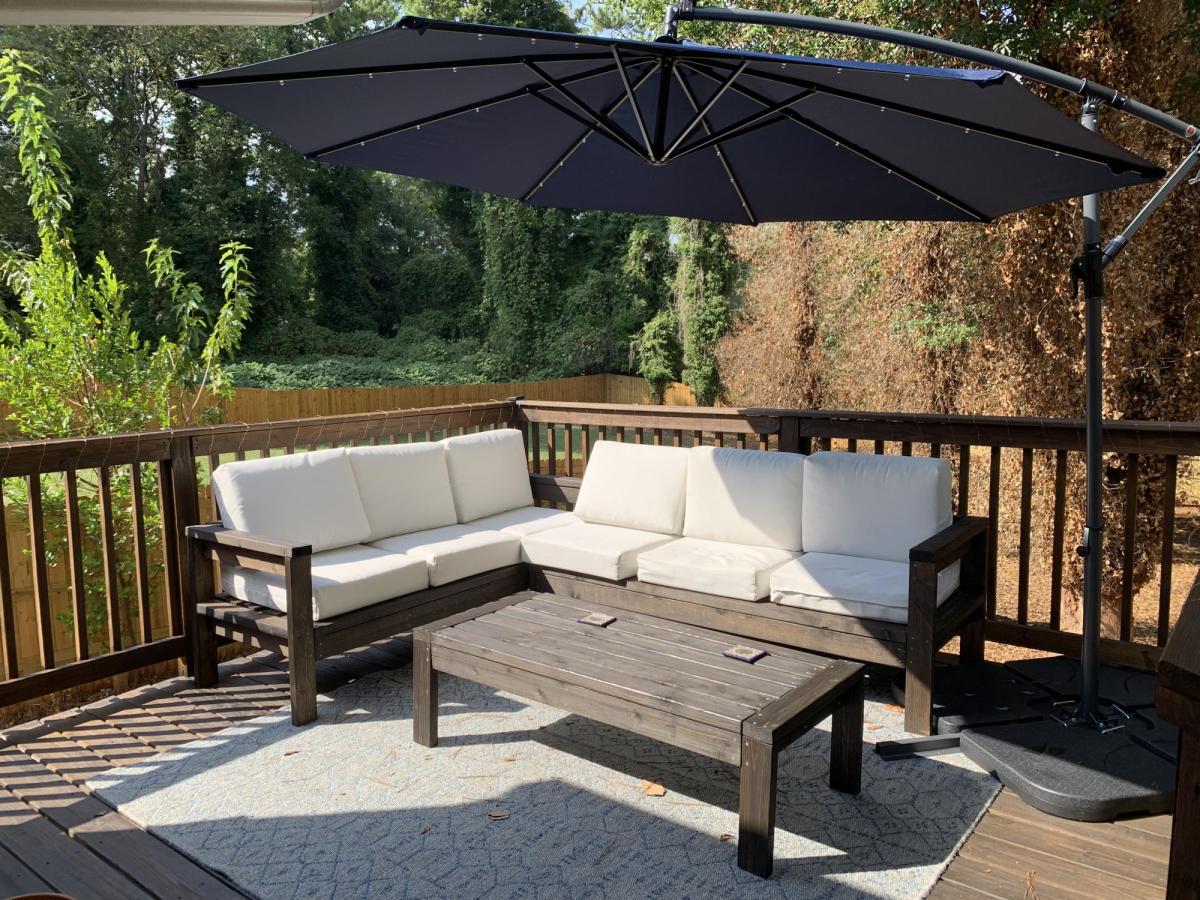
This was my first real woodworking project and was so much fun! I use my deck much more now and am excited to build more!
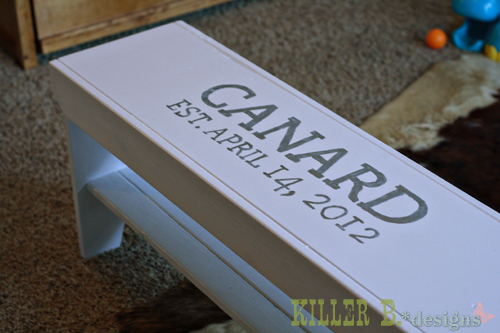
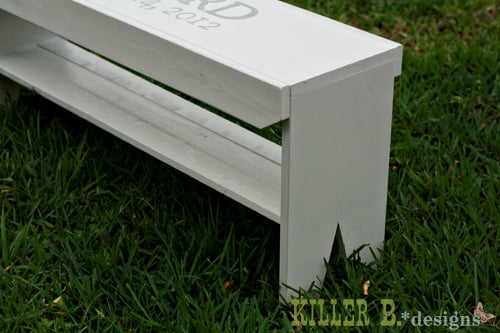
To contribute to an upcoming family wedding, the mother of the groom asked me if I could build the couple a guest book bench like the one we had at our wedding. We only had a few days to build, so instead of using the same Rustic Bench plan I chose Ana’s 5 Board Bench. I had some spare 1×3′s so I decided to add a shelf to the bottom for added stability. It turned out to be a really cute bench! The little details were fun to add. For the art on the top, i traced their last name and wedding date in Cecilia font onto printer paper straight from my computer screen since my printer is out of ink. I taped it in place on the bench, then traced over it with an empty mechanical pencil which indented the outline on the wood. I filled it in with a silver metallic Elmer’s Painters paint pen. The guests used a fine tipped paint pen to sign it at the reception. A bench is so much more fun than a plain old book! Now they have something to display and use in their new home together!
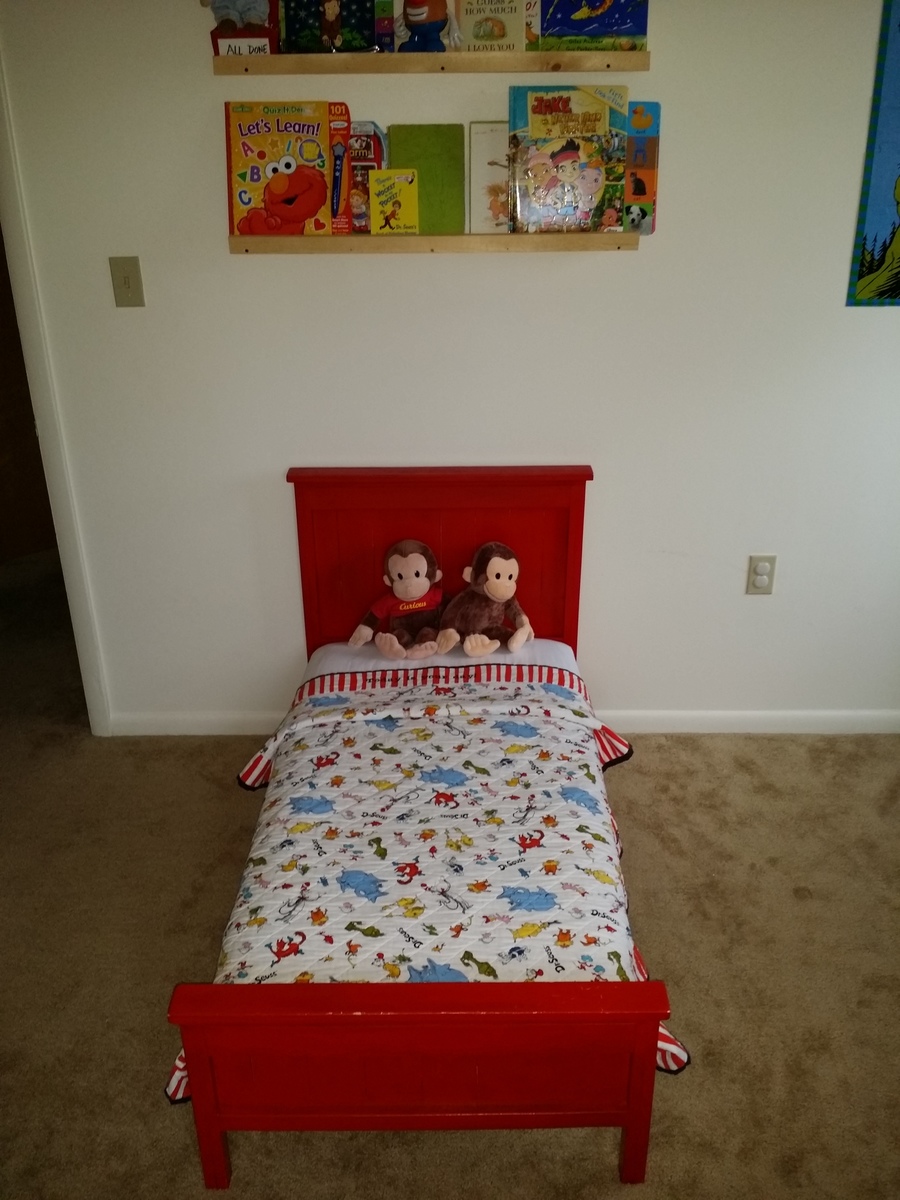
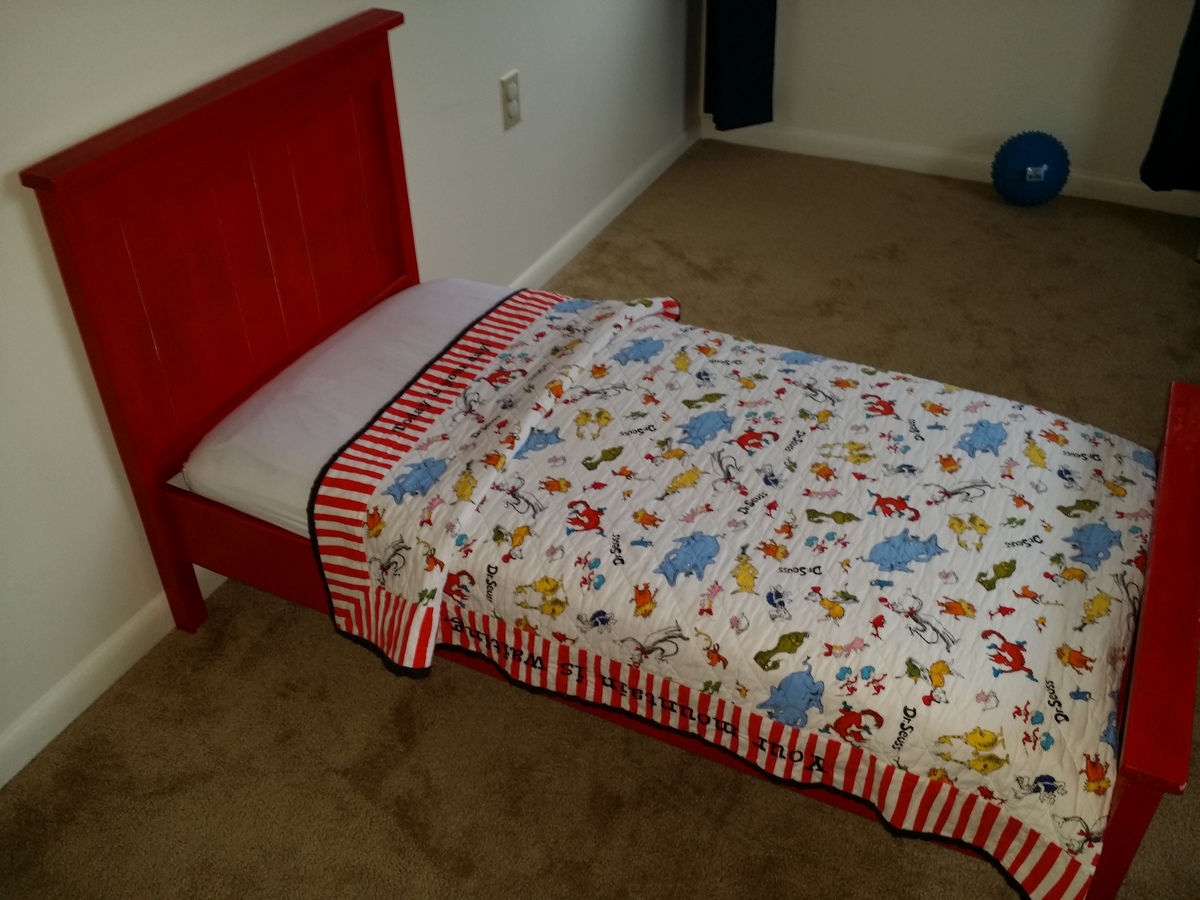
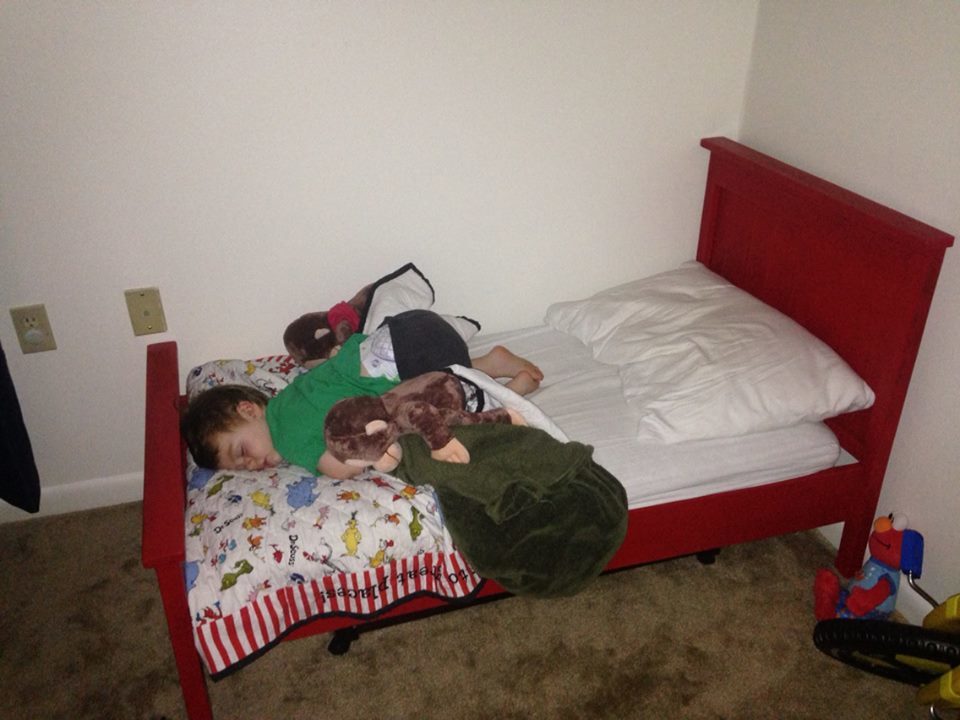
Built this in the summer for my son's birthday, so I don't remember exact details or costs, but it was my first build, ever. It took a few hours to build the bed. Many more to sand, prime and prime. Then I glazed the cracks with an antique glaze, valspar brand I think, for a more rustic look. Sanding and finishing was about a week while waiting for coats to dry properly.

We are building out kitchen cabinets using Ana White's plans. Our kitchen was a galley kitche. It has taken us about nine months, but it is so worth it. We used prefinished maple for our cabinets and these corner shelves are made with plywood and then stained them.
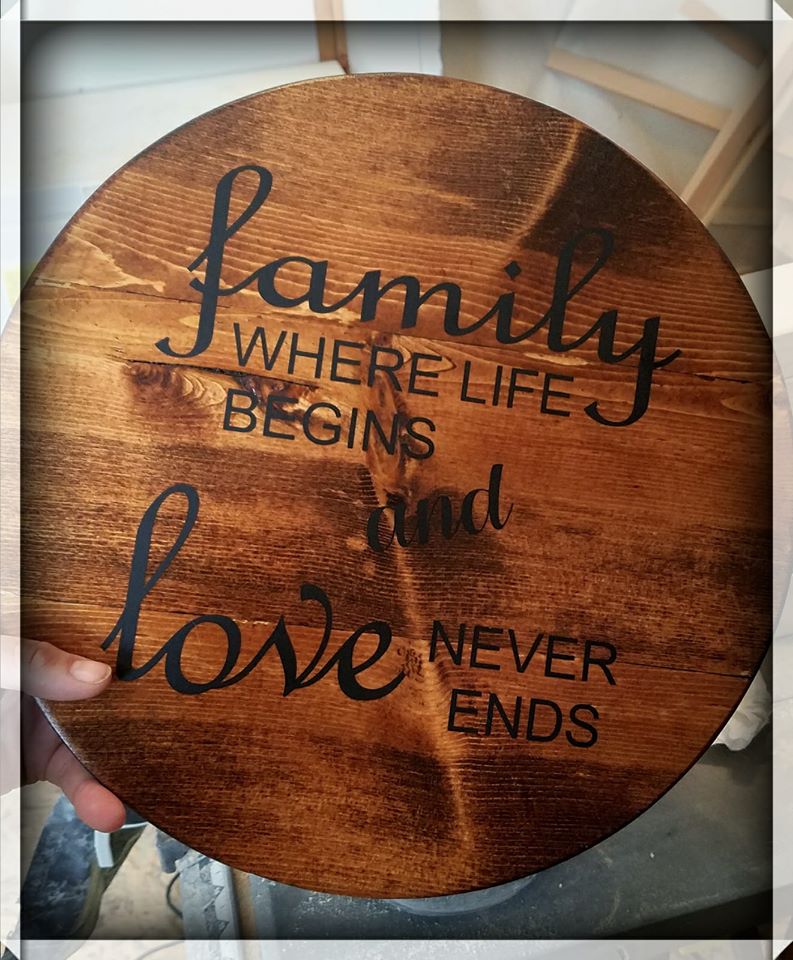
Used a Milescraft Circle Guide to cut the circle, then stained in Minwax Honey and used a Silhouette Cameo for the vinyl wording.
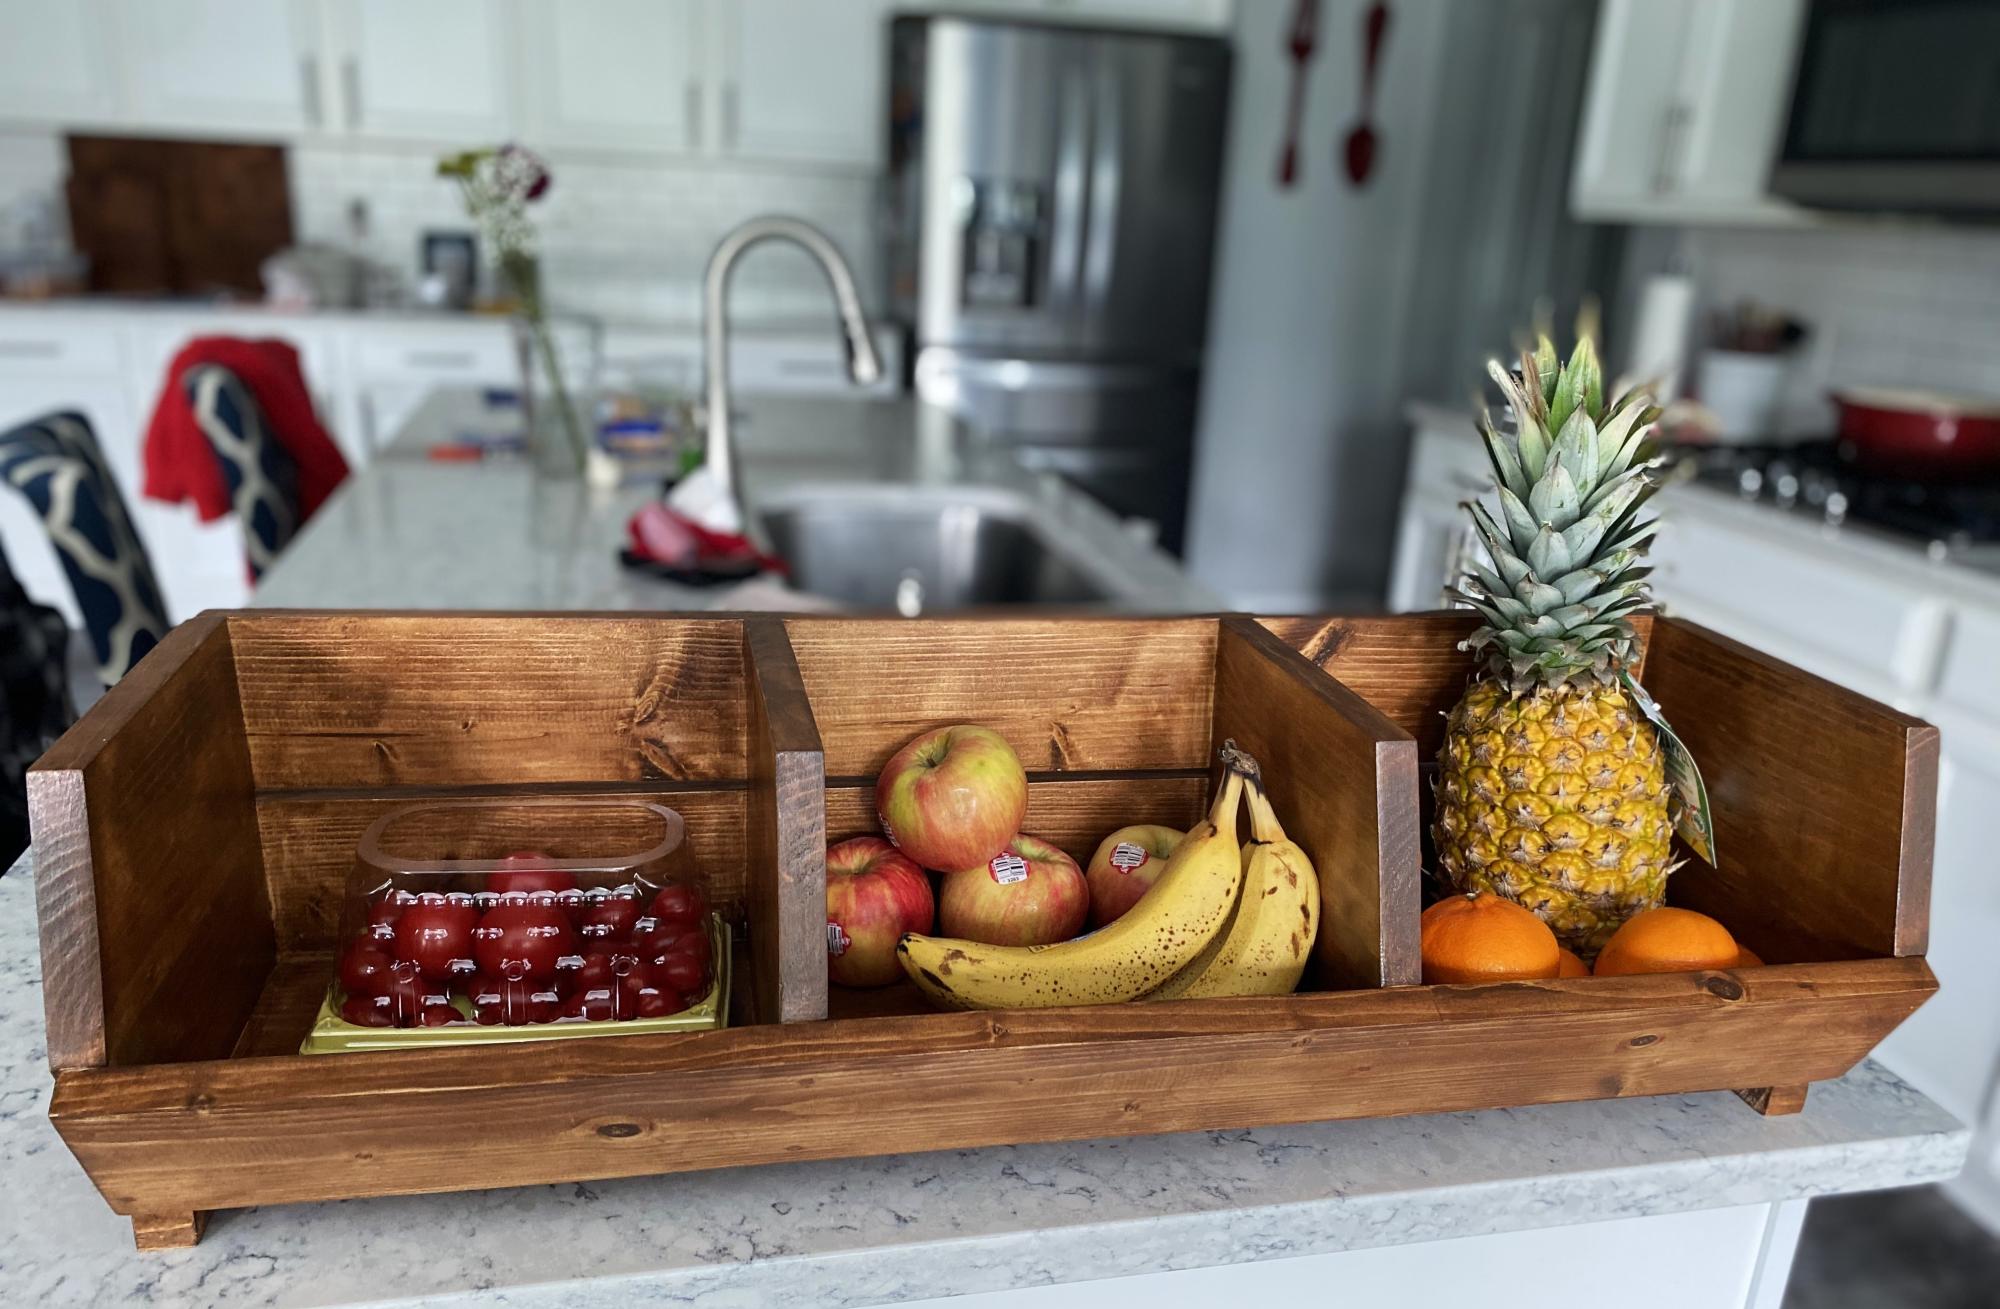
My 16-year-old son is home every other day for school with an on-line course he is taking. We started working on projects we both wanted to learn from cooking to woodworking projects. This is the very first project we made. We are both very proud and pleased with the simple directions, minimal tools required, and beautiful results. We used an early American stain and lacquer finish. We have received many compliments on it. Thank you for giving us something to build our relationship and home with.
Elizabeth
Mon, 09/25/2023 - 09:23
Thank you for sharing, I love hearing about the time spent together and the project looks amazing!
This was my first project. I actually made 2. One for my niece and one for a friend's daughter.
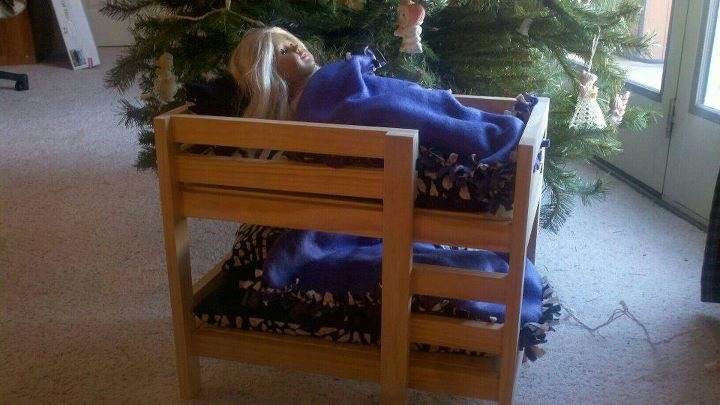
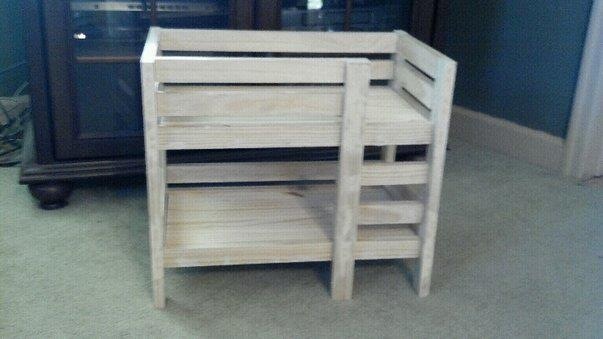
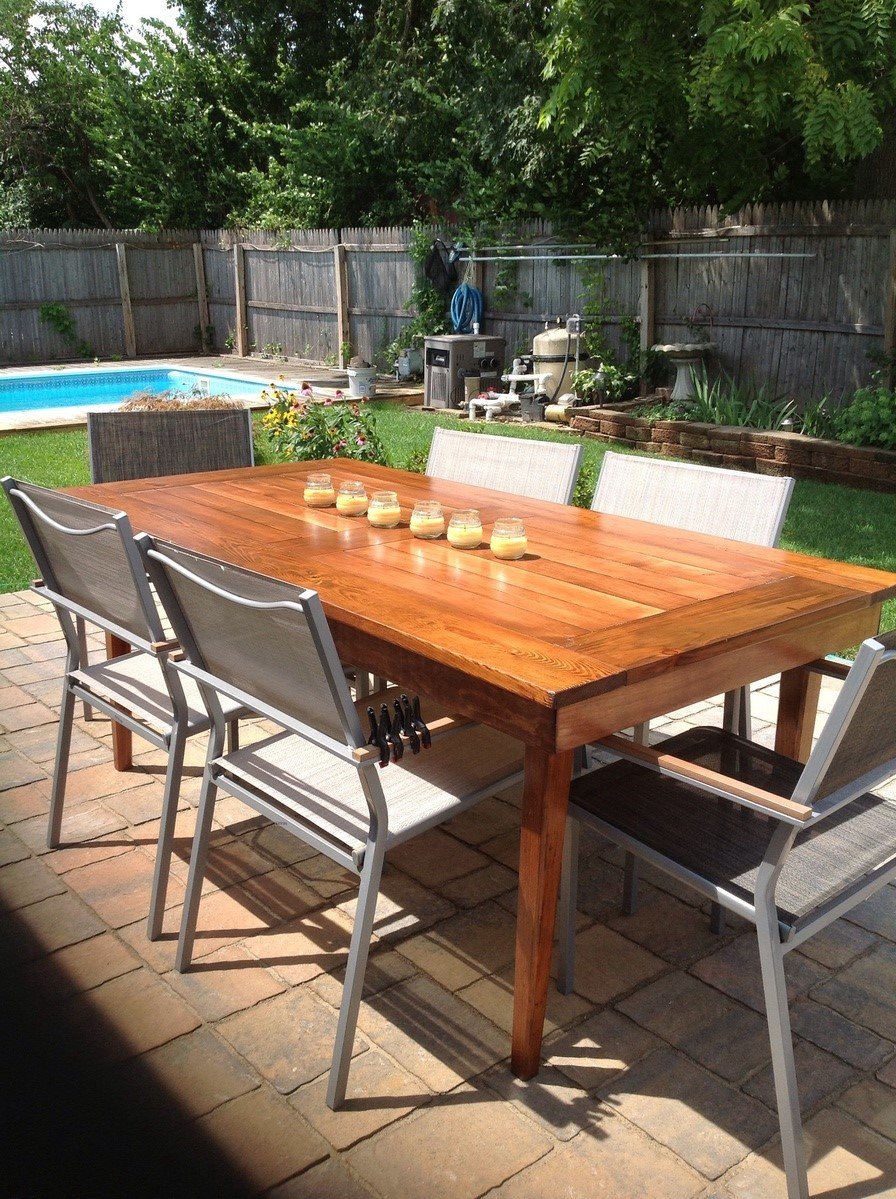
This is my first completed project. I repurposed an old four poster bed frame. I used the posts for the legs (they are a bit skinny). I spent about 10 dollars on the slats. Everything else was from my garage. A pocket hole jig and an orbital sander would have made this a lot easier. Sorry about the photo rotation. I can't seem to change that!
Thu, 07/17/2014 - 13:20
You did a great job on this! Can't wait to get started on my own! :)
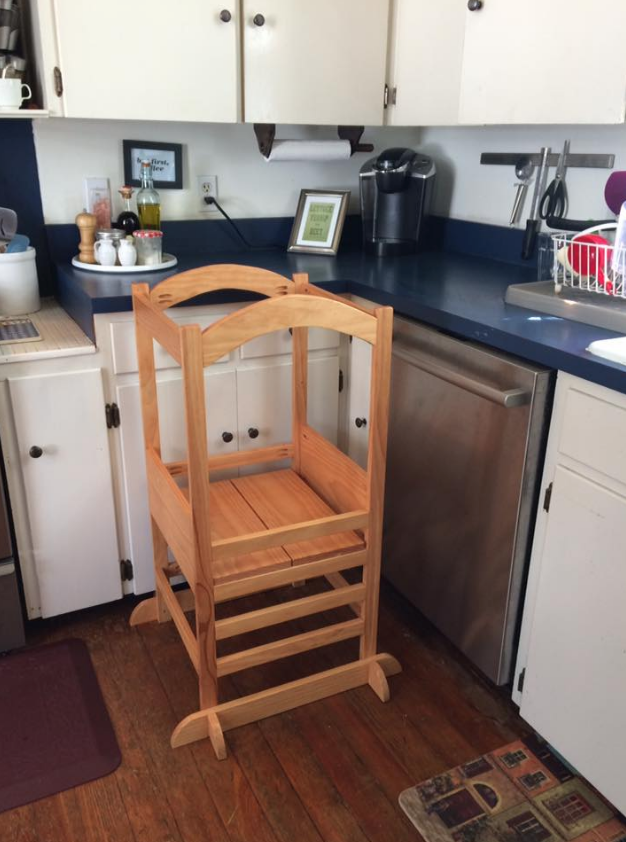
Really enjoyed building and using this "Little Helper Tower" so our two kiddos could join us doing kitchen work and play.
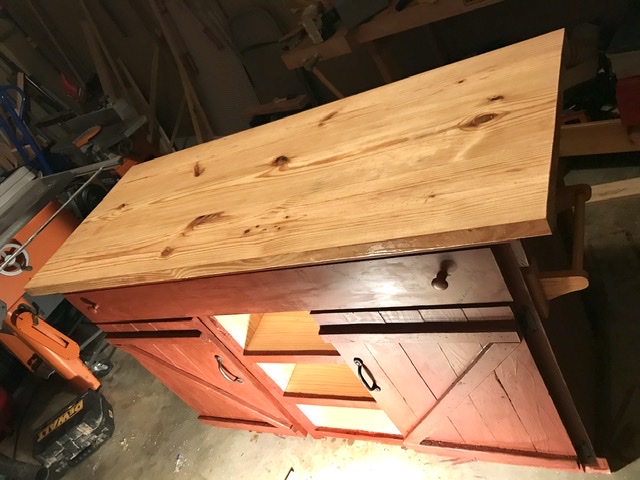
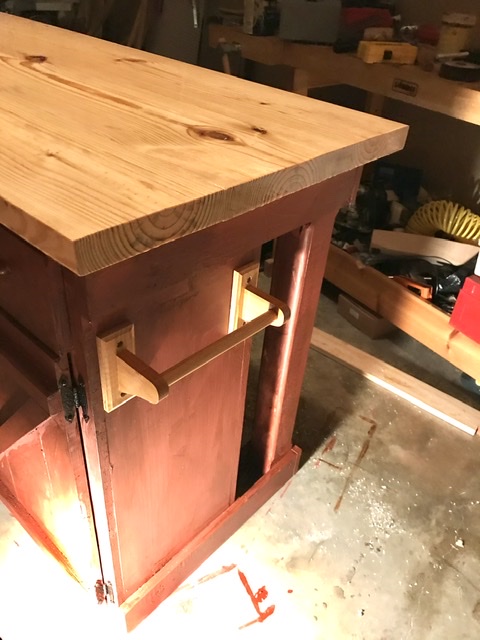
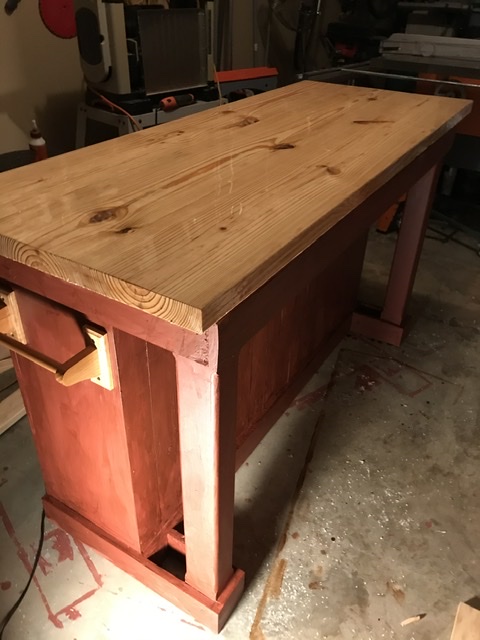
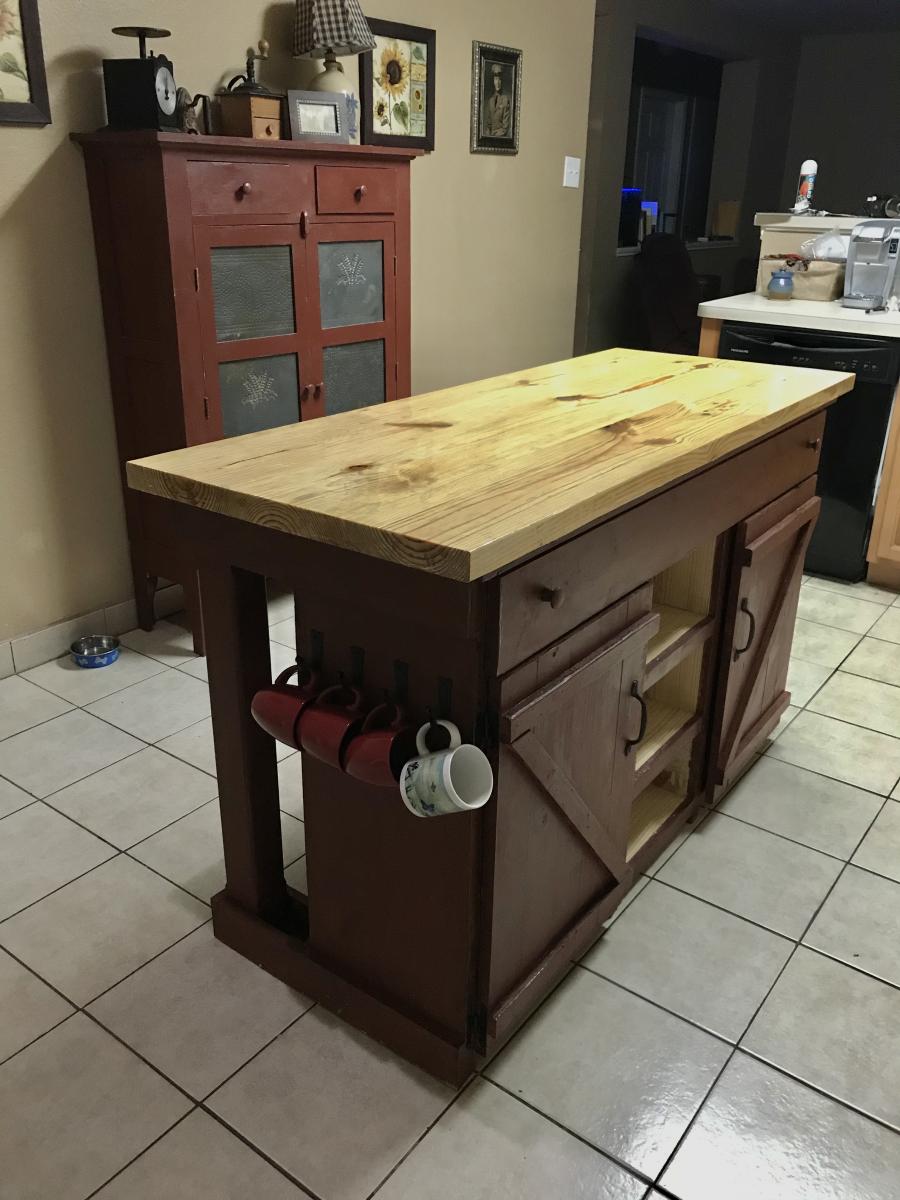
Just about finished with the kitchen island. I got a surprisingly good Home Depot to match the look of the milk paint on the pie safe that I have with a dead flat latex paint for not much money. Had some leftover burnt umber age effect glaze.
I finished the top with a couple coats of Epoxy resin for a nice glasslike finish and added some wrought iron hardware and an oak towel rack. Last thing to do is put furniture wax on the exposed white pine areas. Then I’ll try to figure out how to move it into the kitchen without sustaining any serious injuries, such as a hernia...
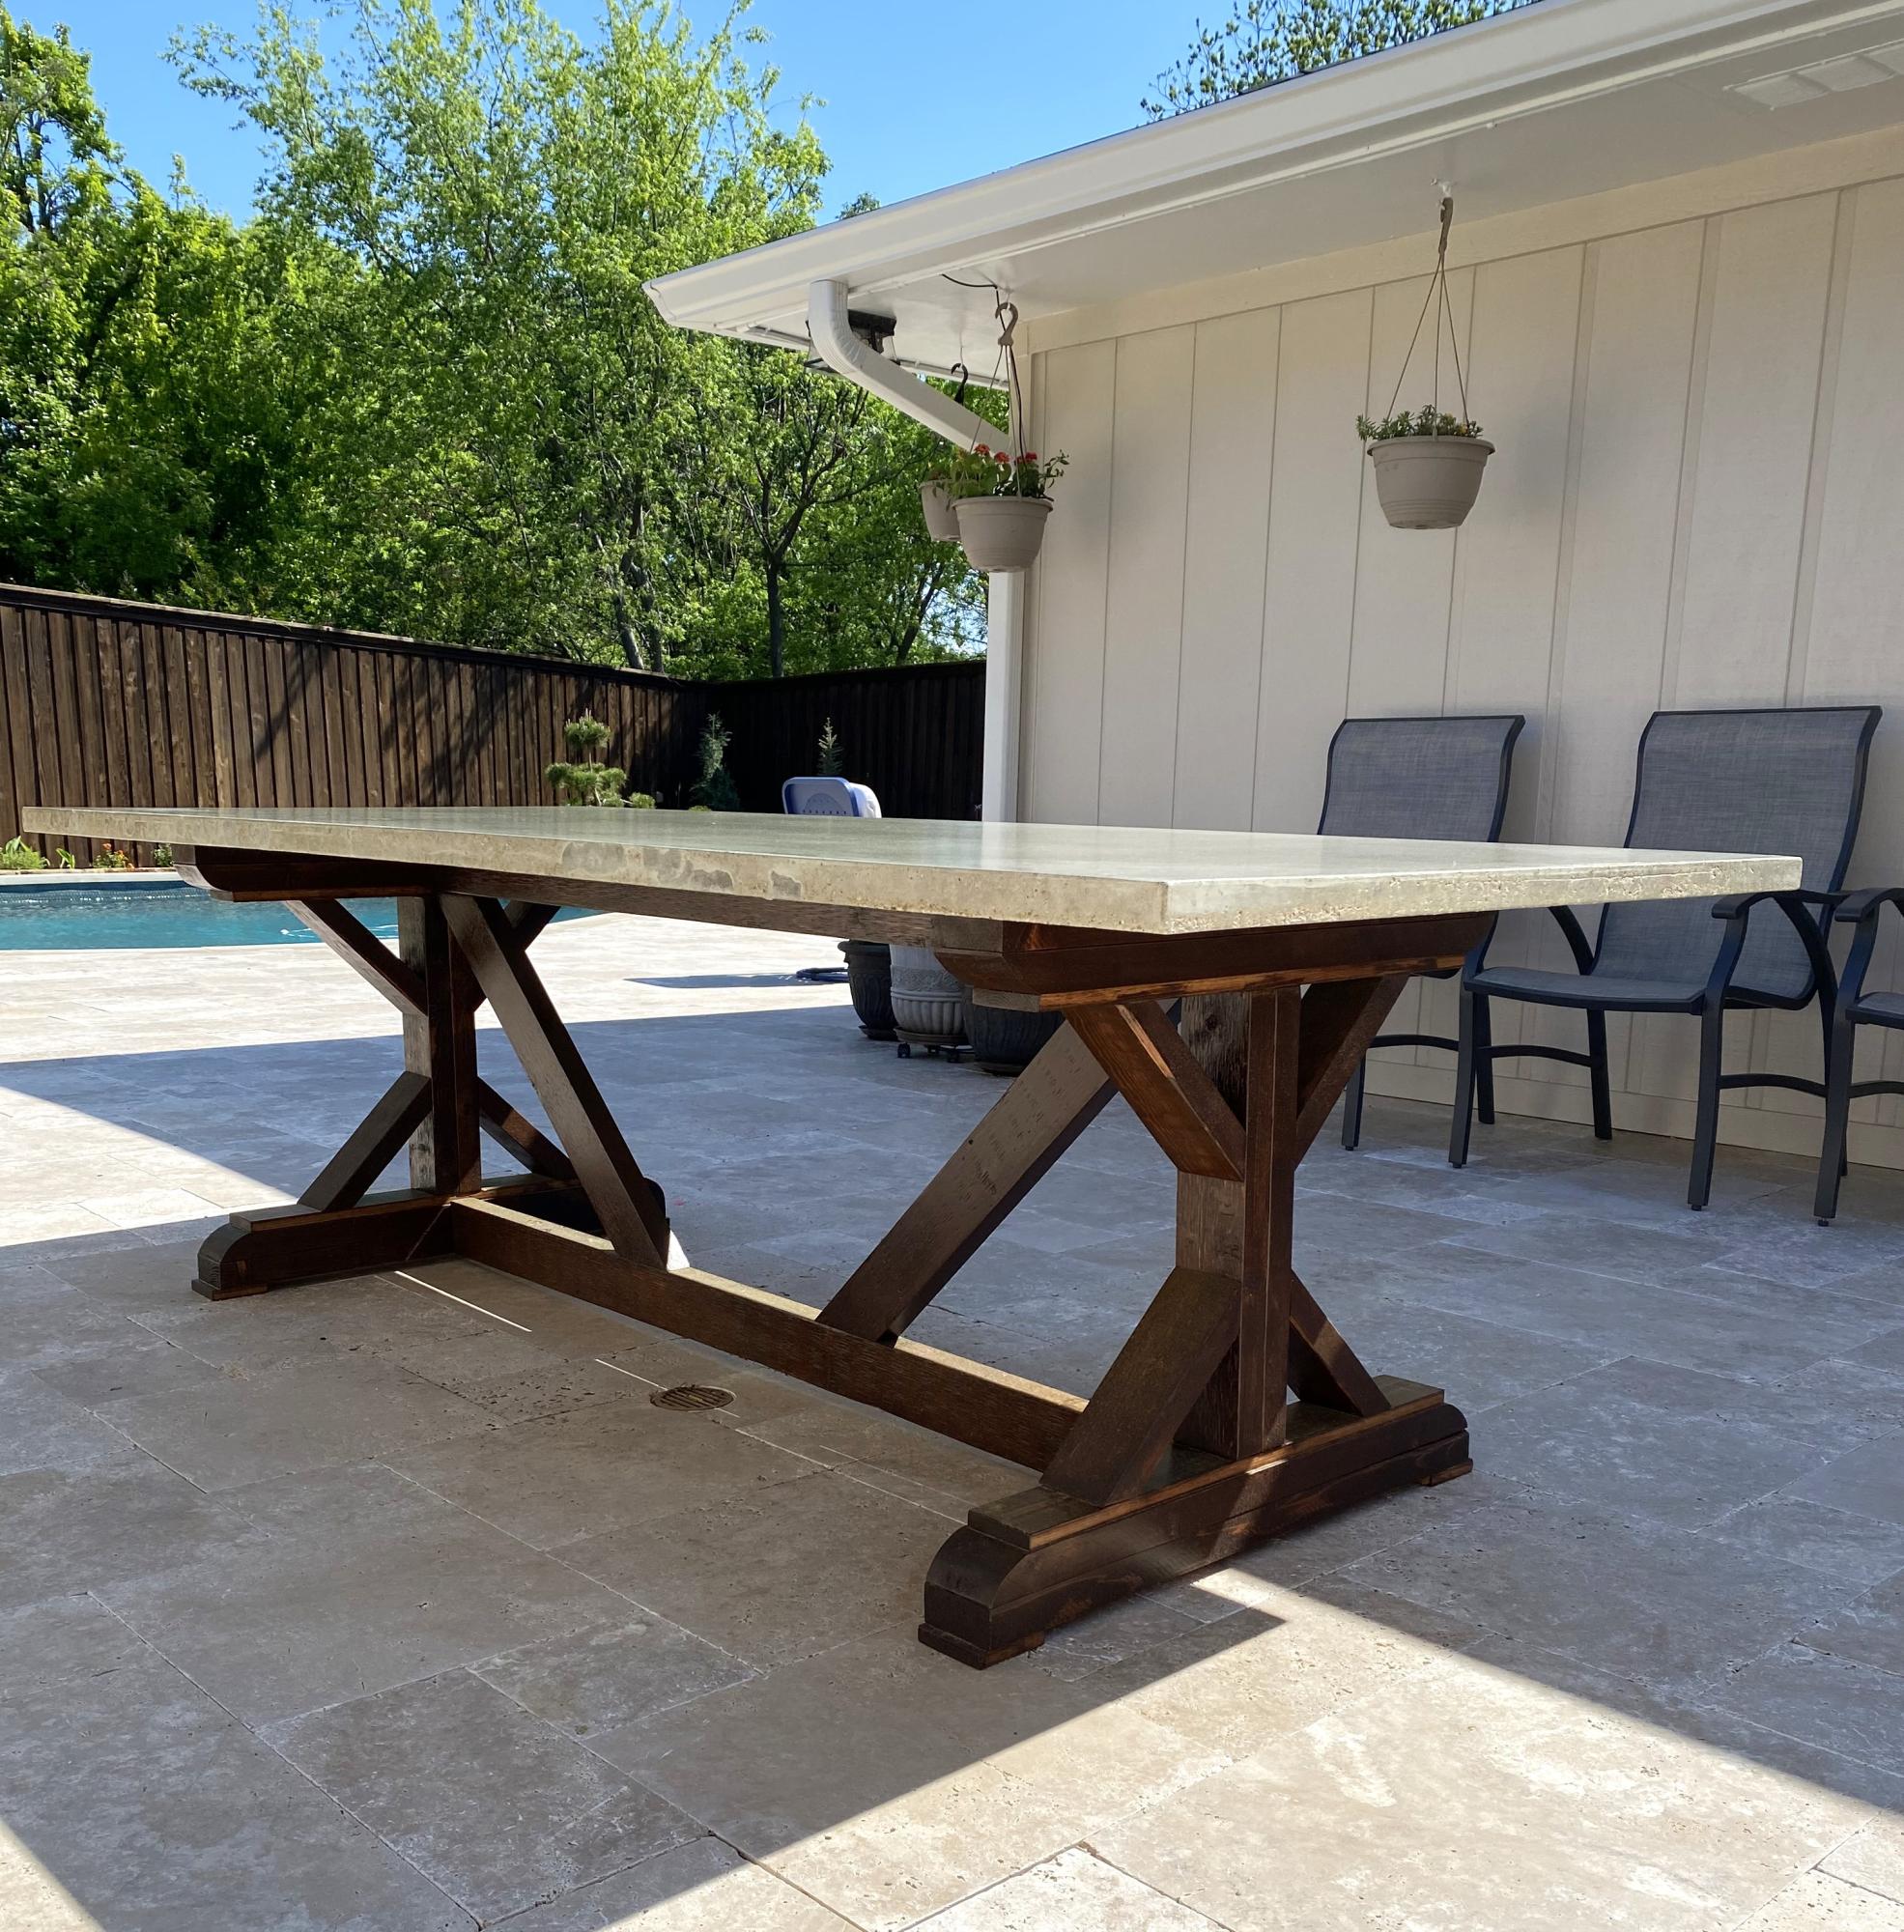
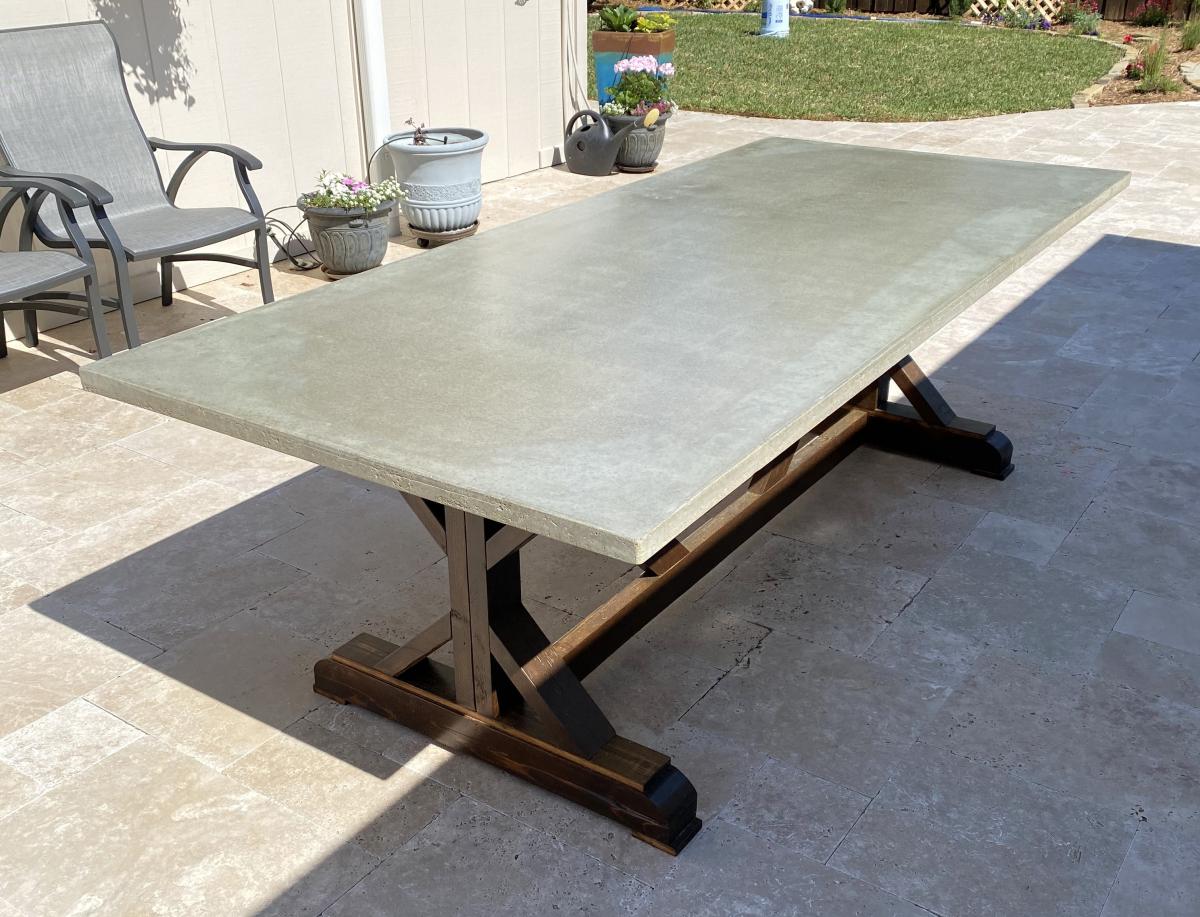
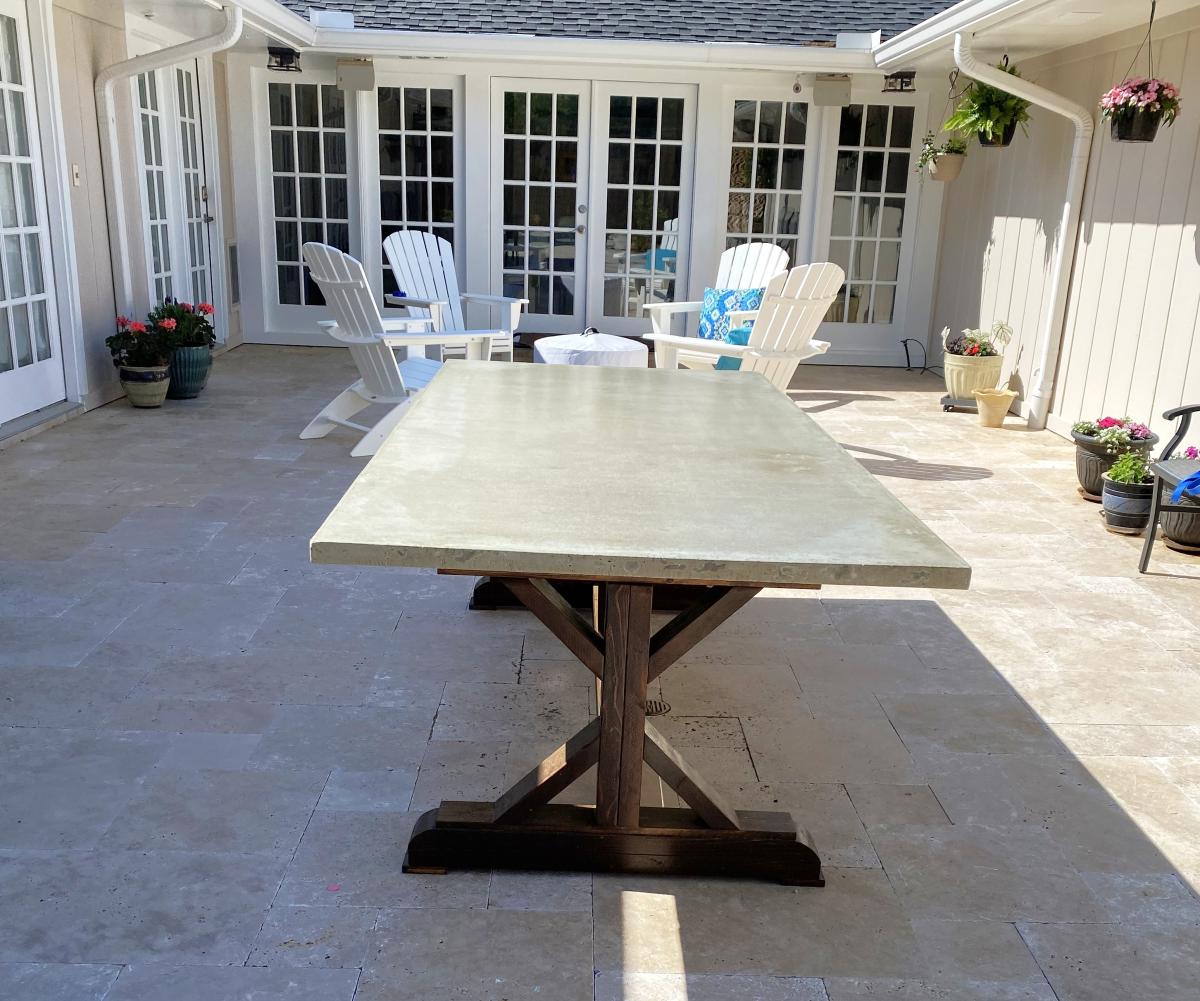
Fancy X Farmhouse Table in stained cedar with concrete table top. Concrete top made using 4’x8’ melamine coated MDF boards for form, reinforced with welded wire fabric, standard Quikrete concrete mix.
MDeMotte
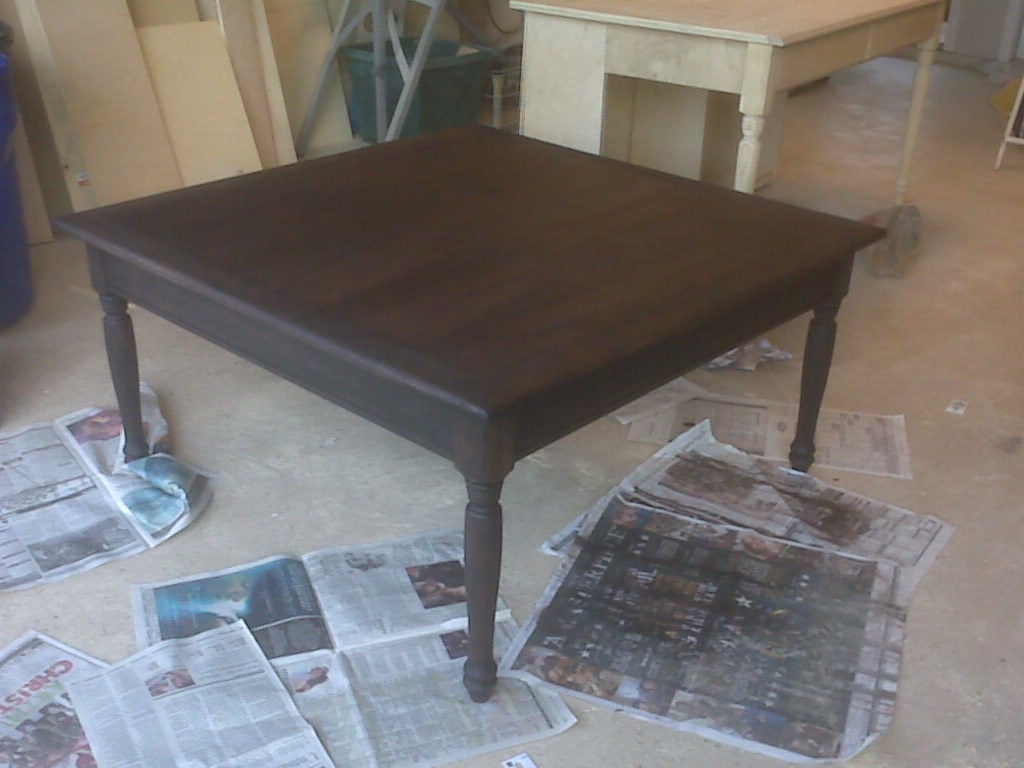
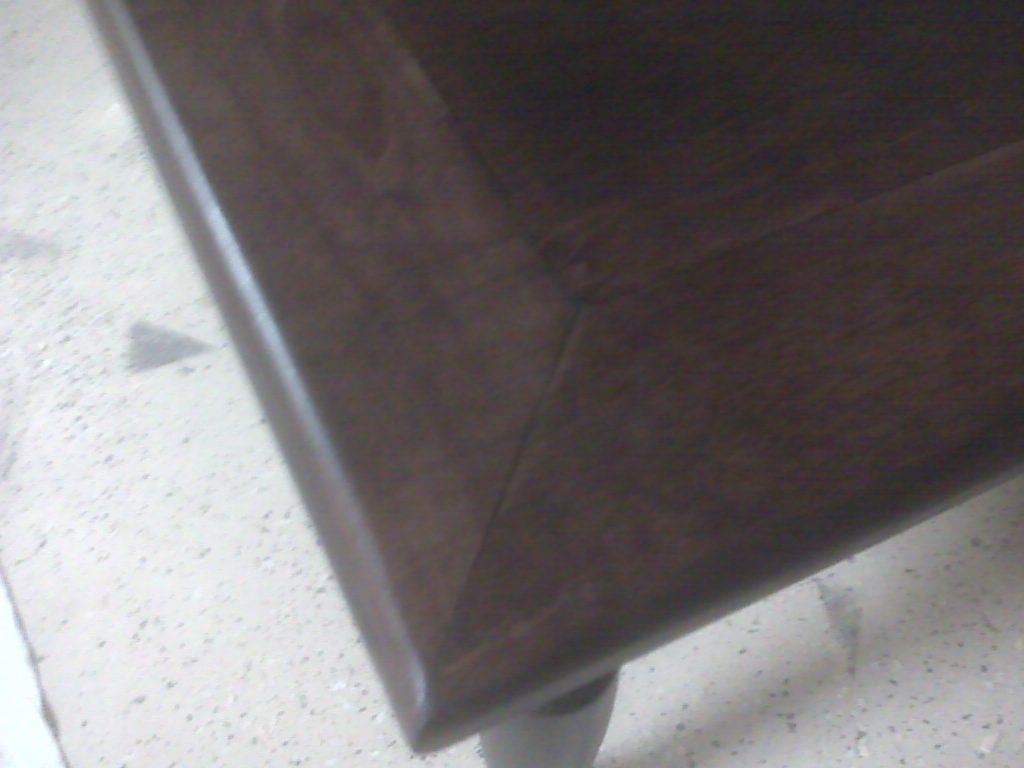
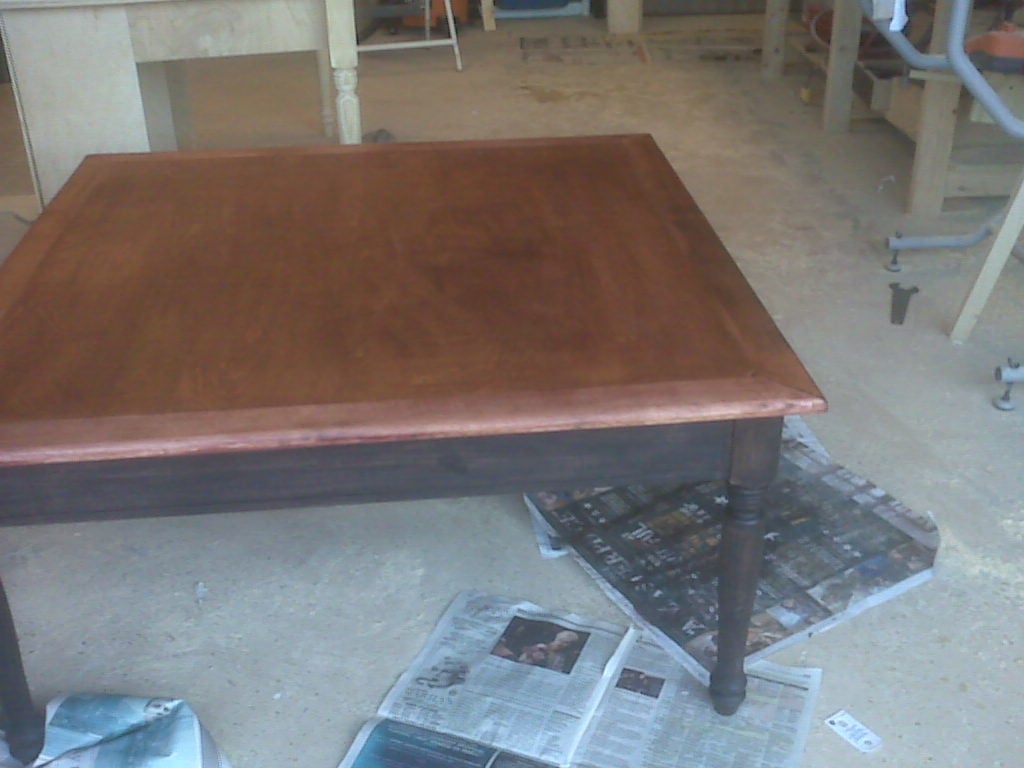
I made this for a friend who just didn't want to spend upwards of $600-1000 for a large 42"x42" coffee table. Hmmmm... I wonder why?
I'd seen Ana's plan for the turned leg table and thought I could make something nice that would be more in their price range.
I always tell the people I build for that they'll have something pretty and functional - unless or until they decide to add it to their burn pile. So far, there haven't been any fires.
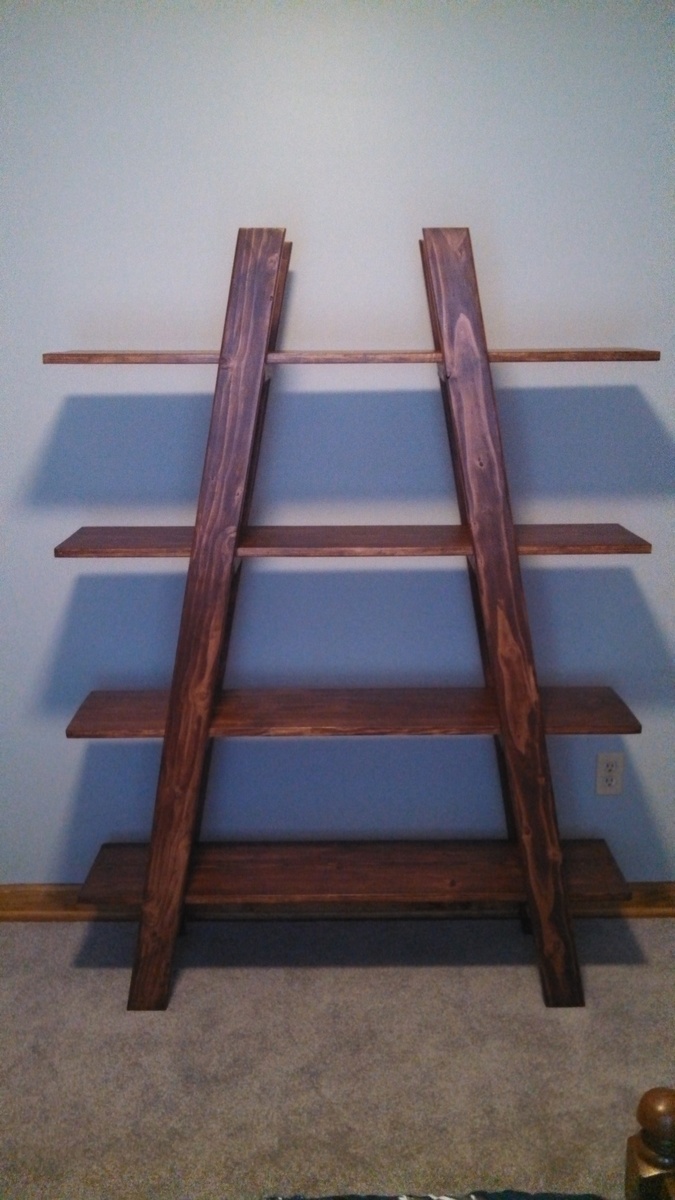
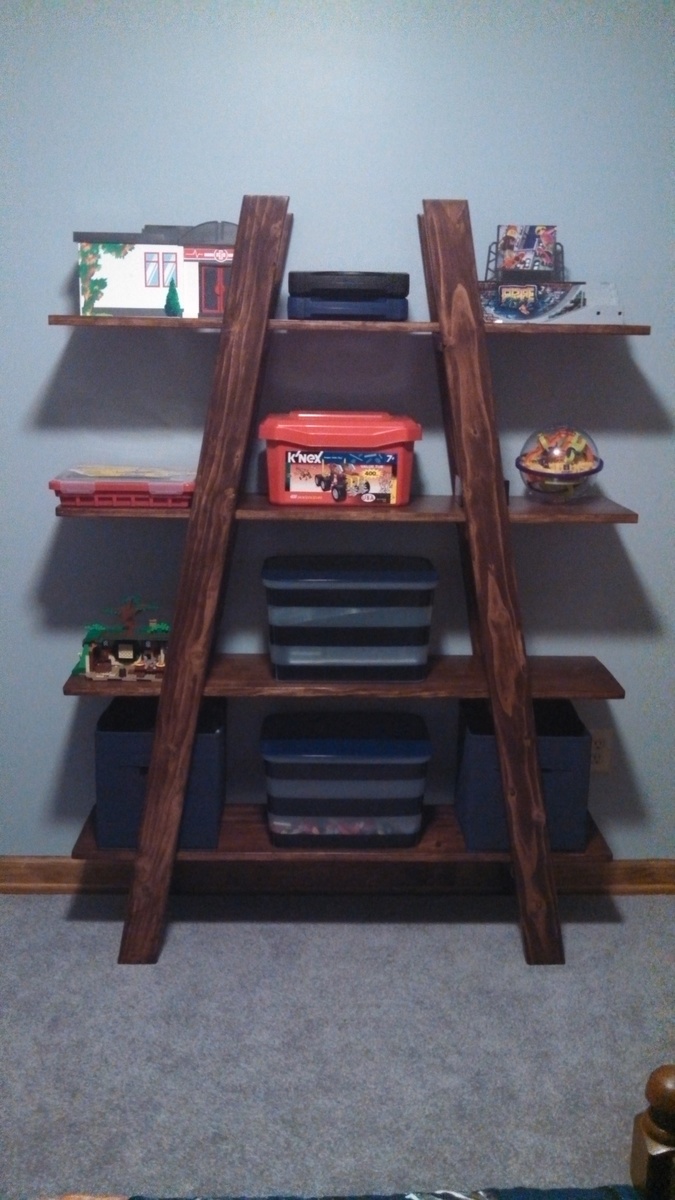
We needed storage for my son's room, and this project provided the perfect shelves for all those legos.
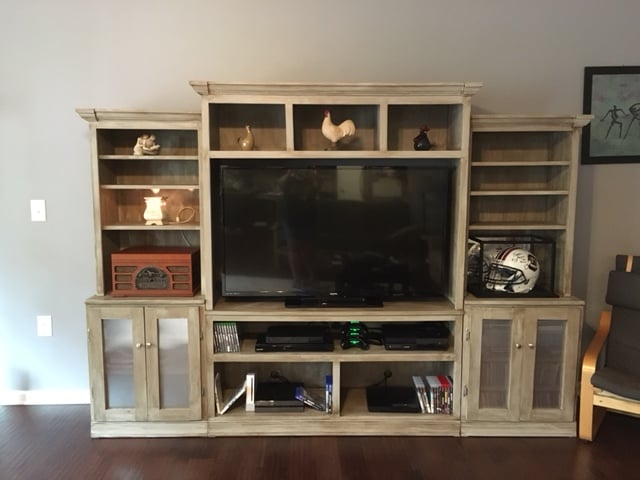
We recently moved into a new home and needed extra space to store some of our "stuff". I've built several of Anna White's designs and looked here to find one that would suit us. This plan was relatively simple to follow. I did alter the plans a bit to fit our needs (mainly making the center console piece wider and the sides a bit thinner). The crown molding was by far the hardest thing for me to master.
