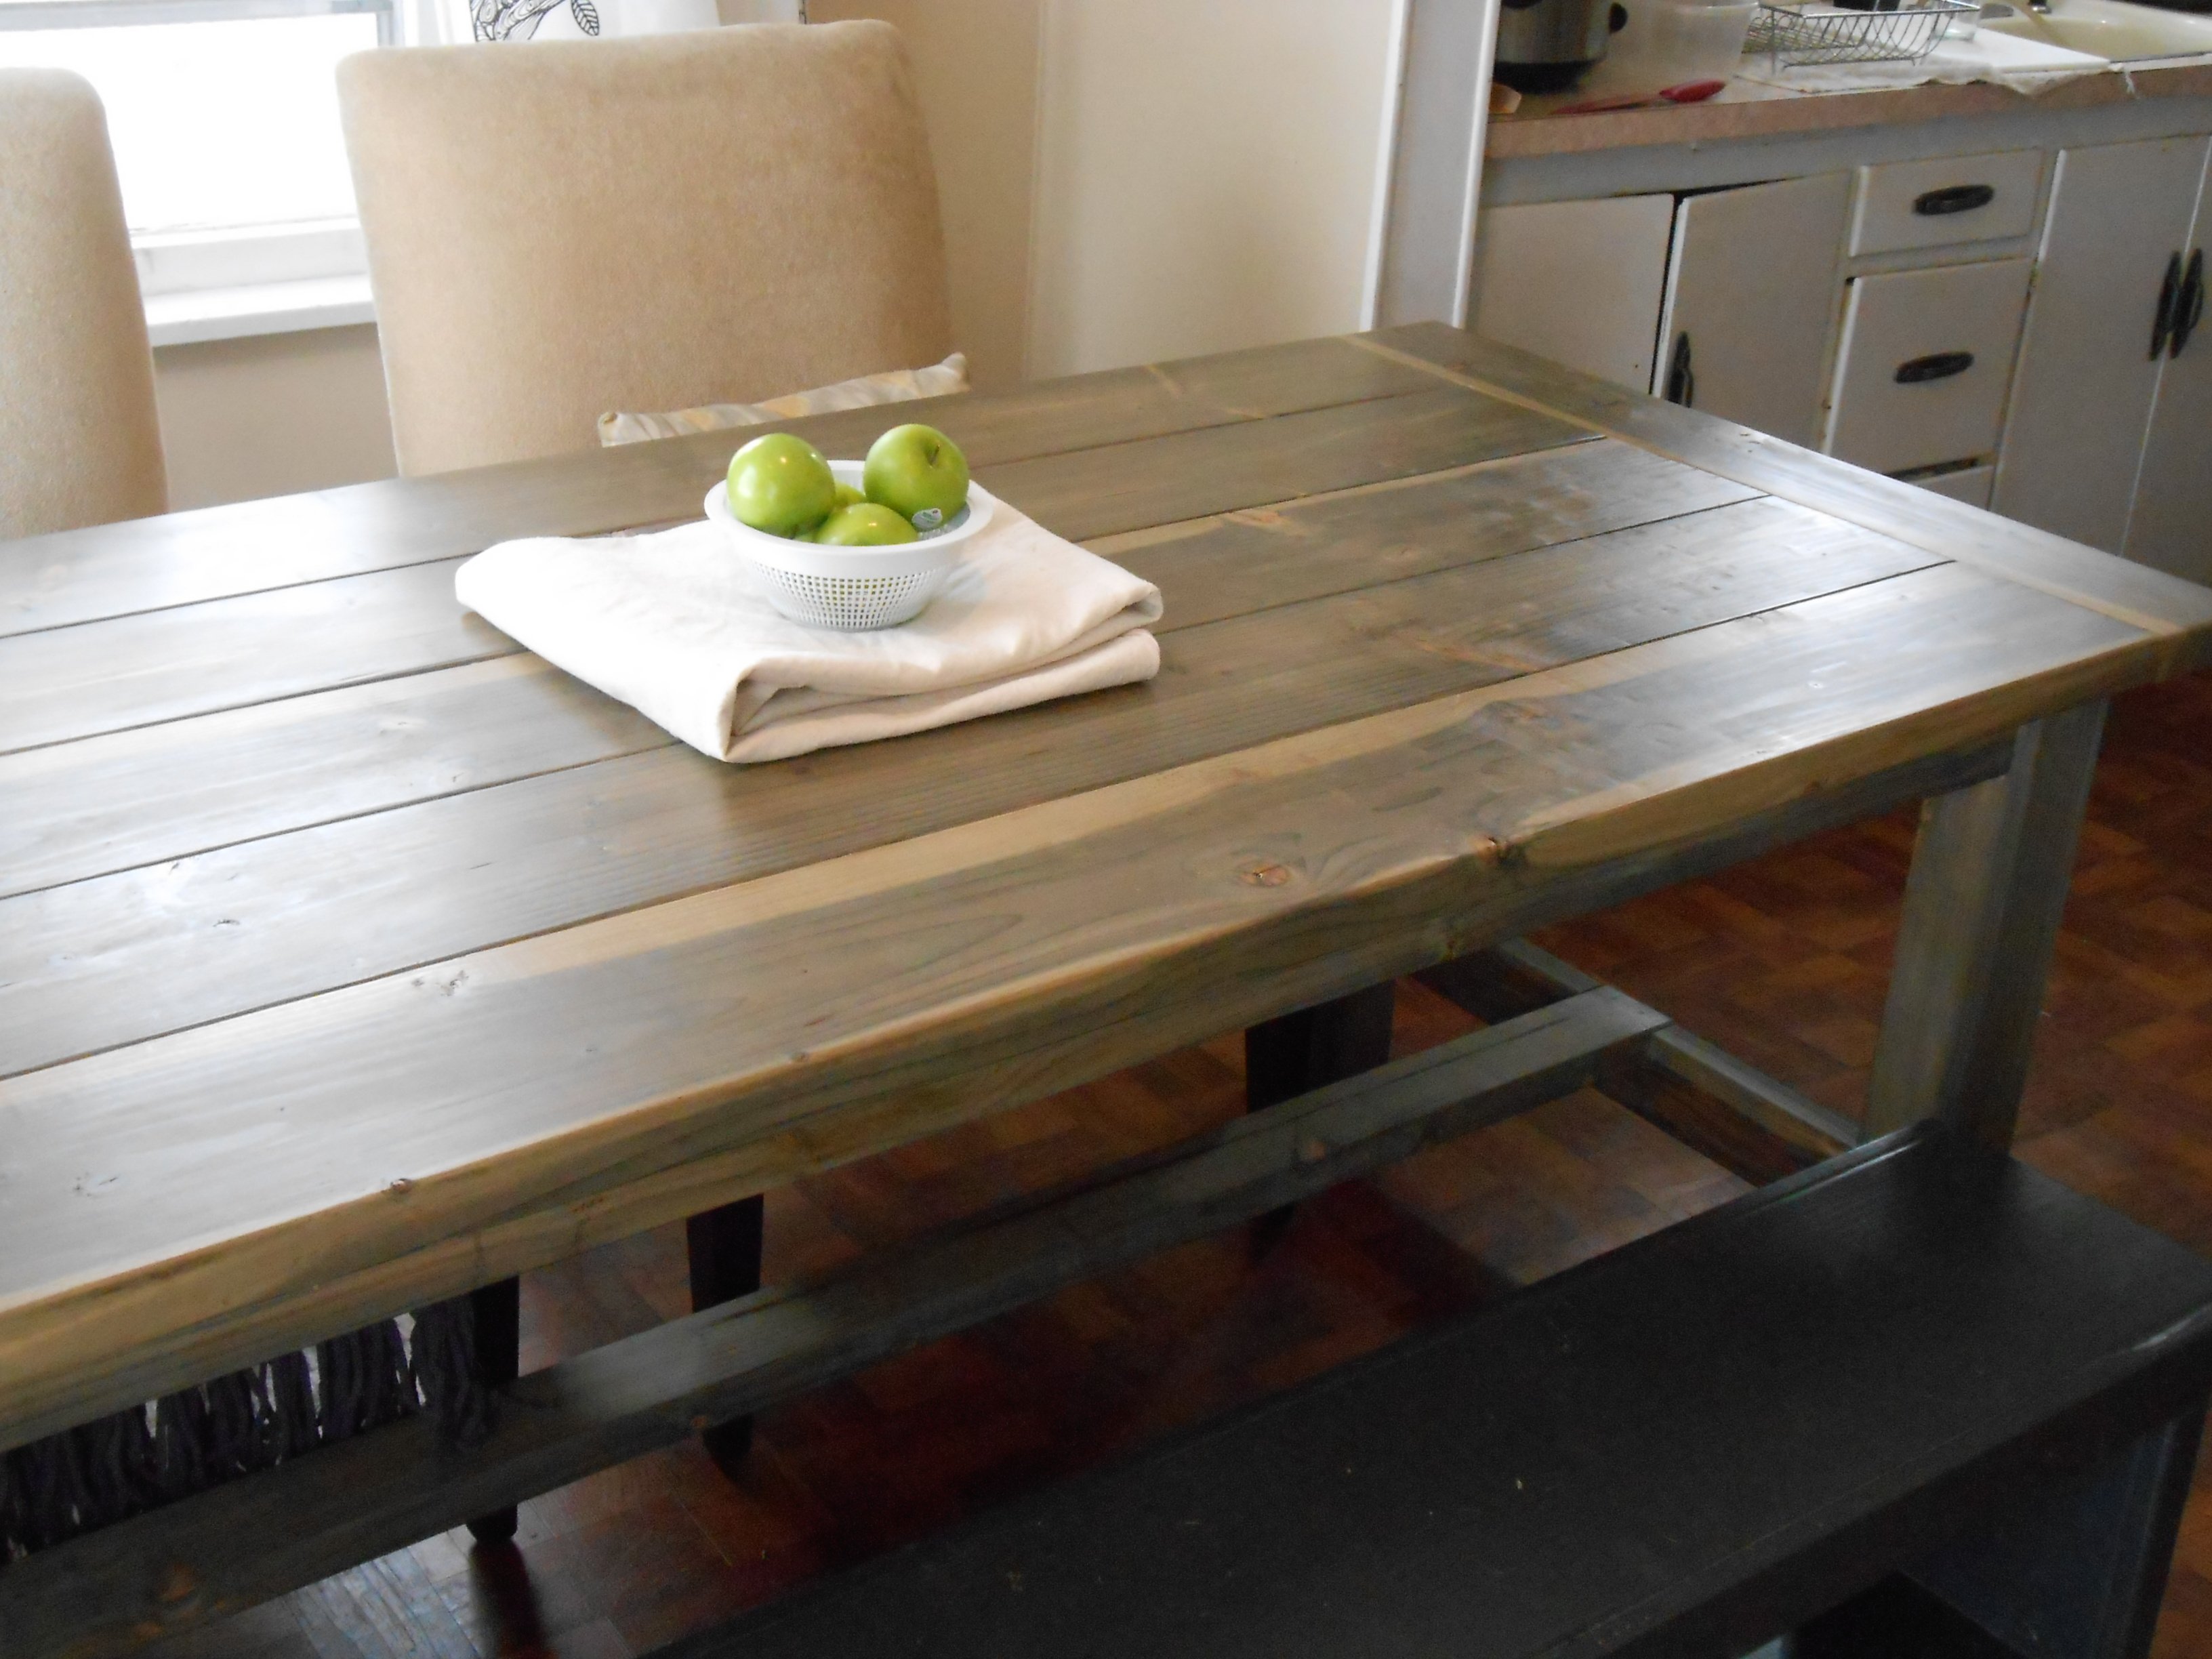
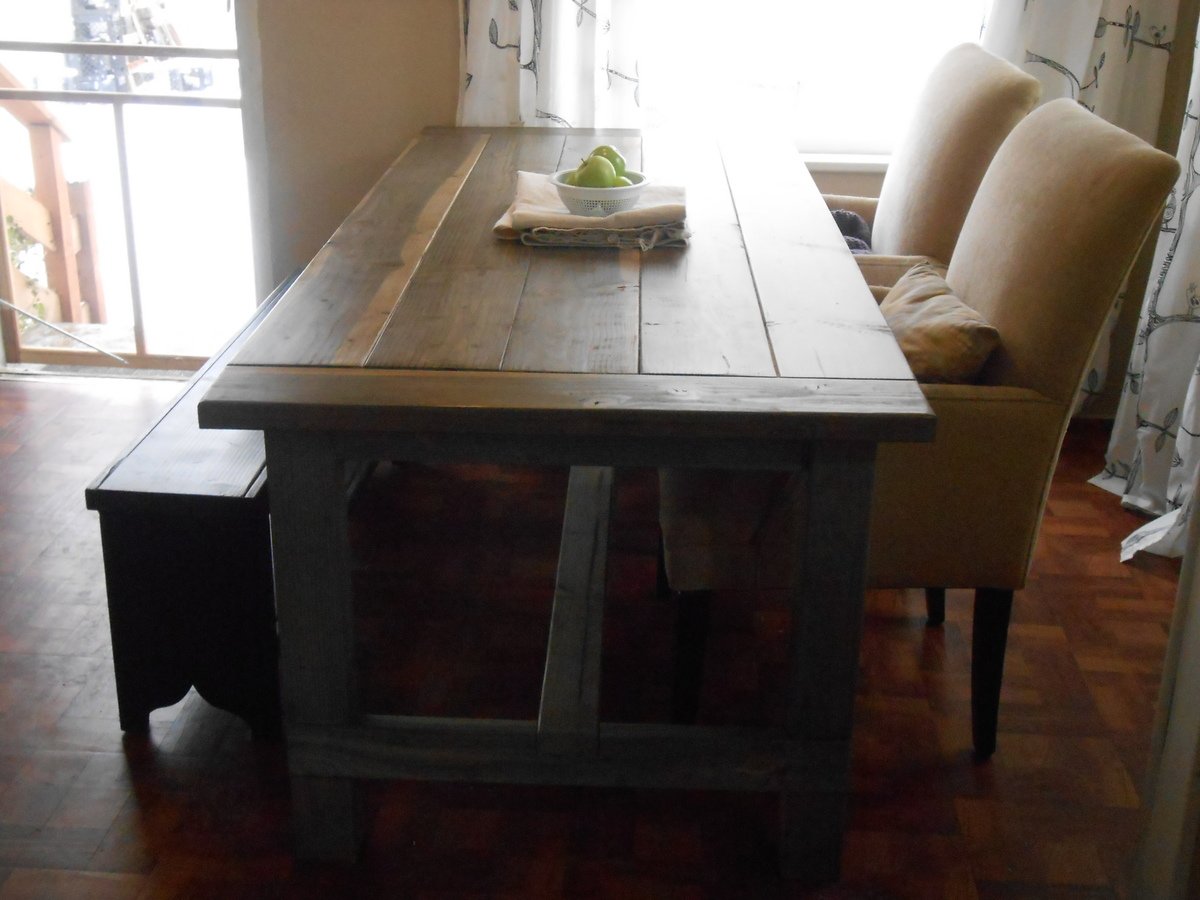
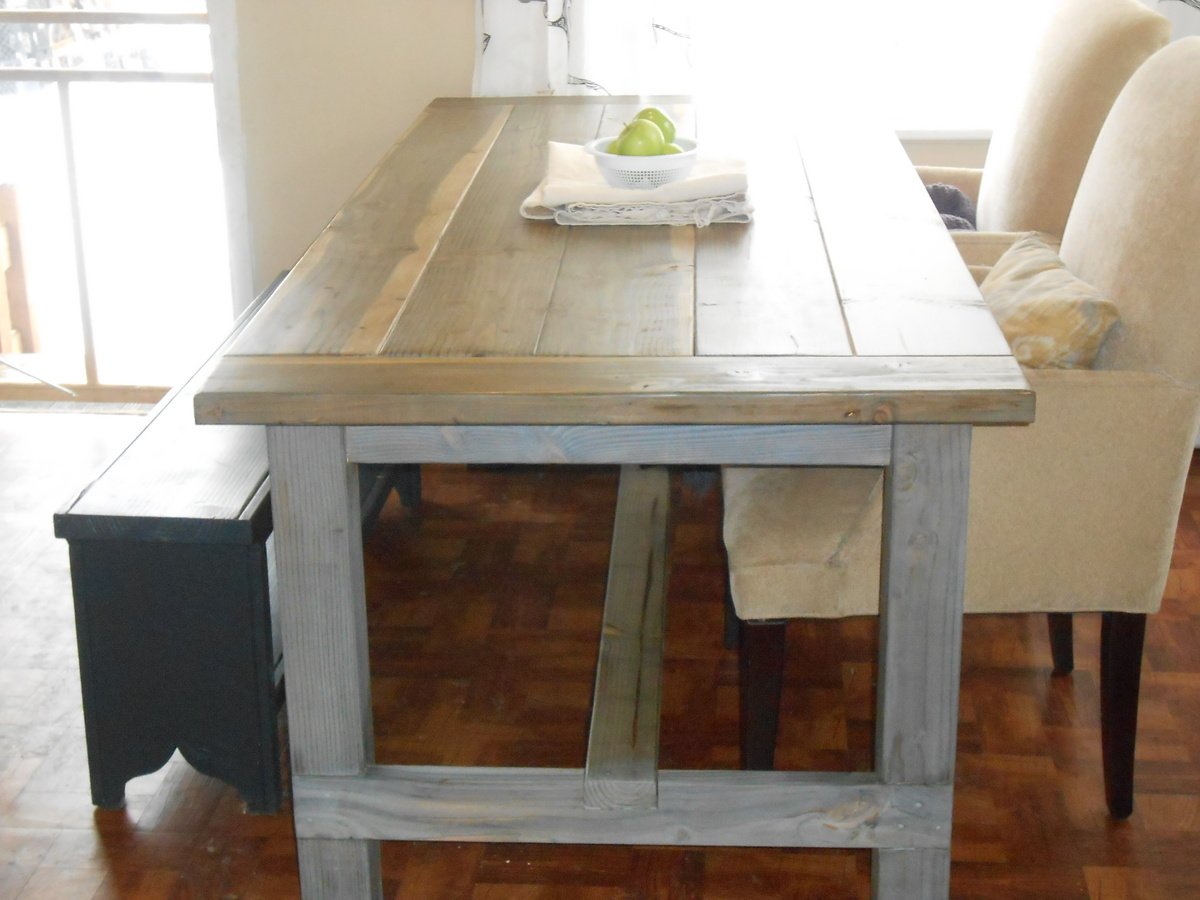
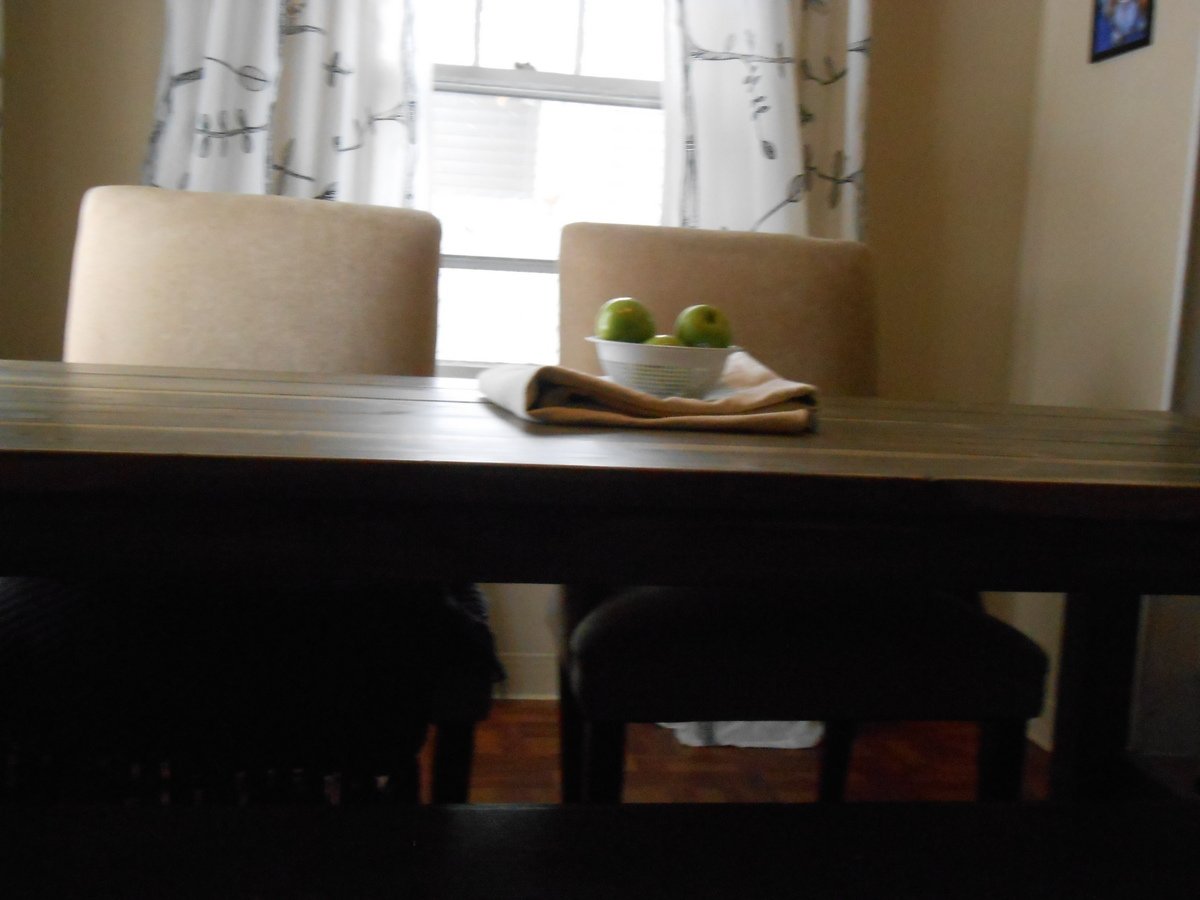
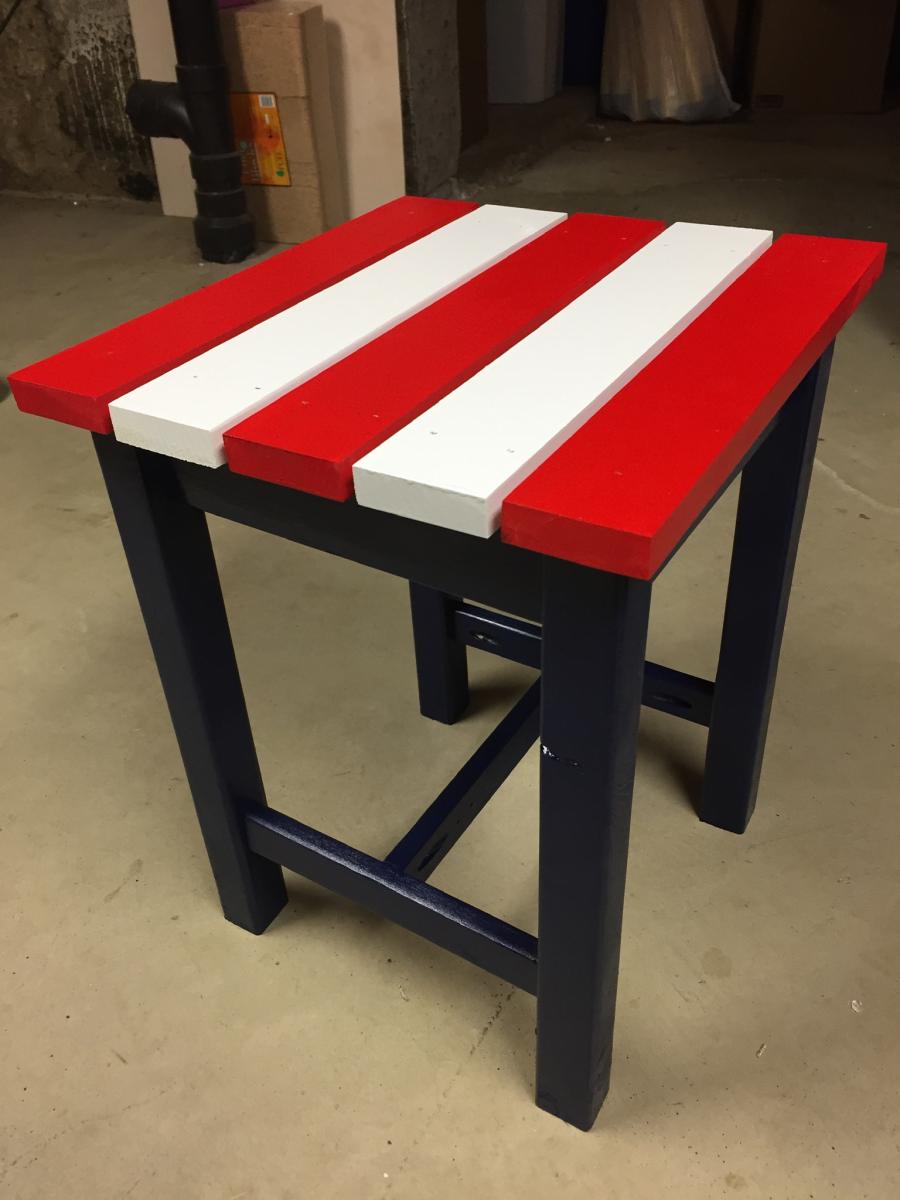
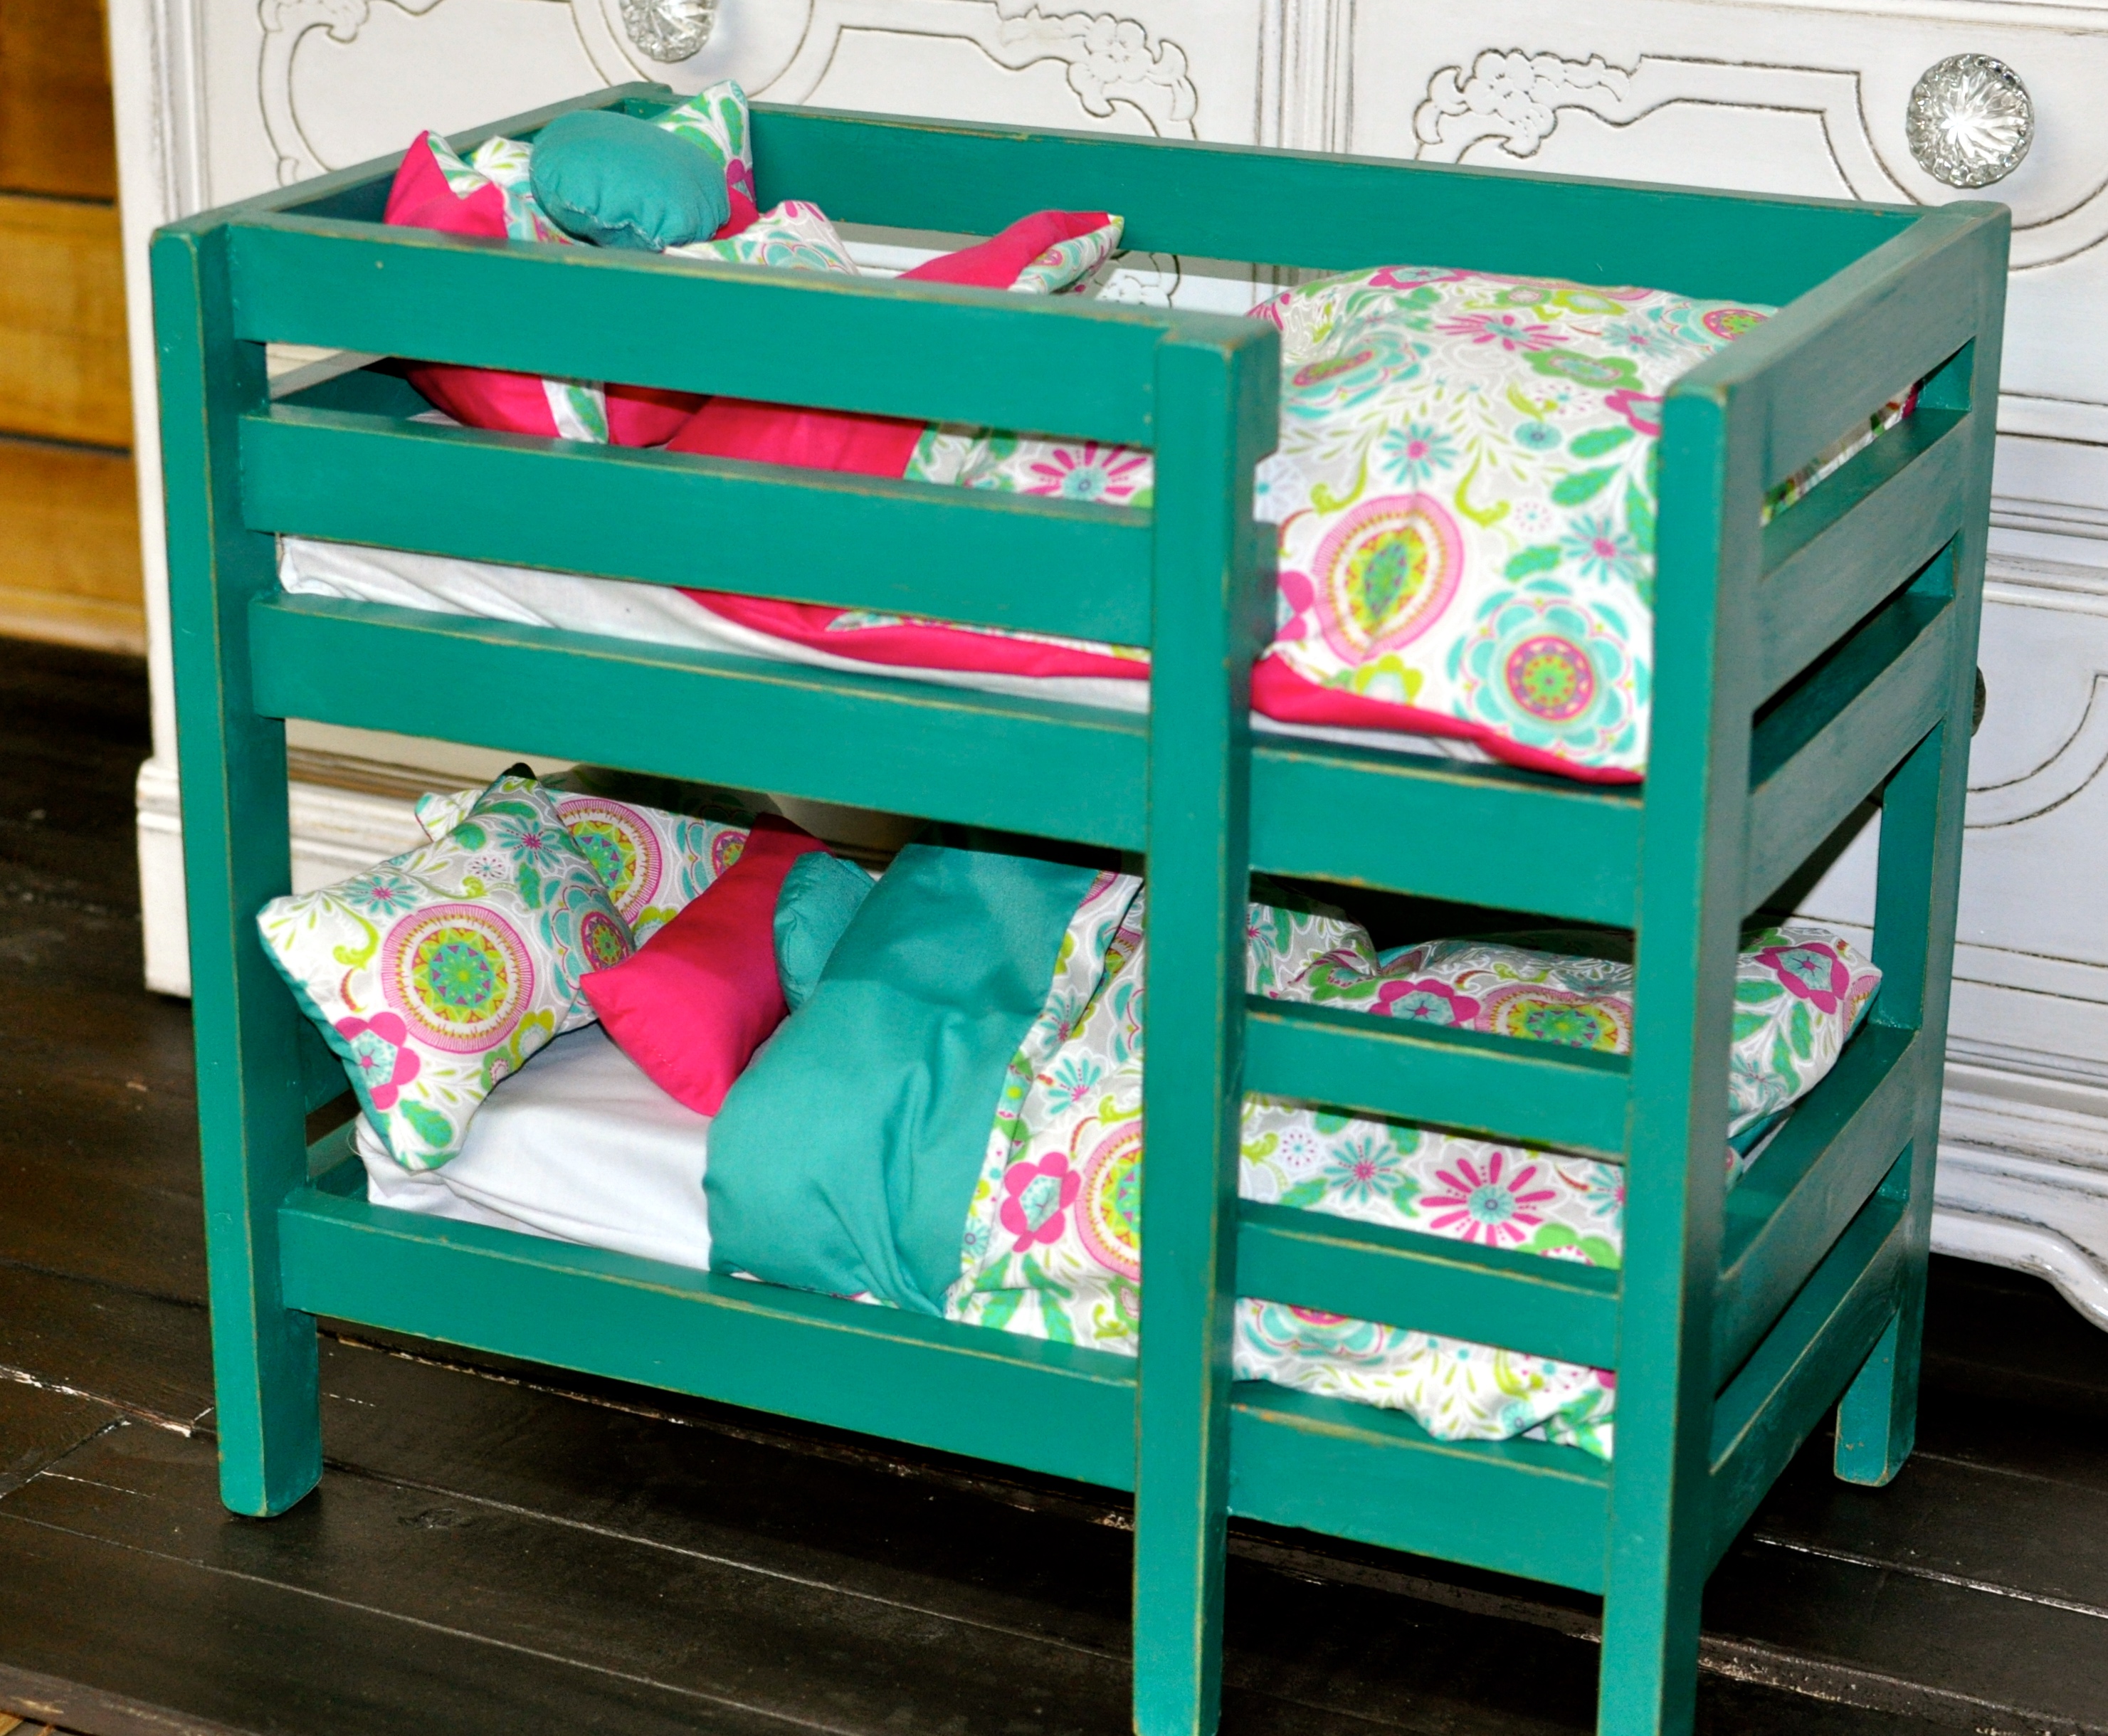
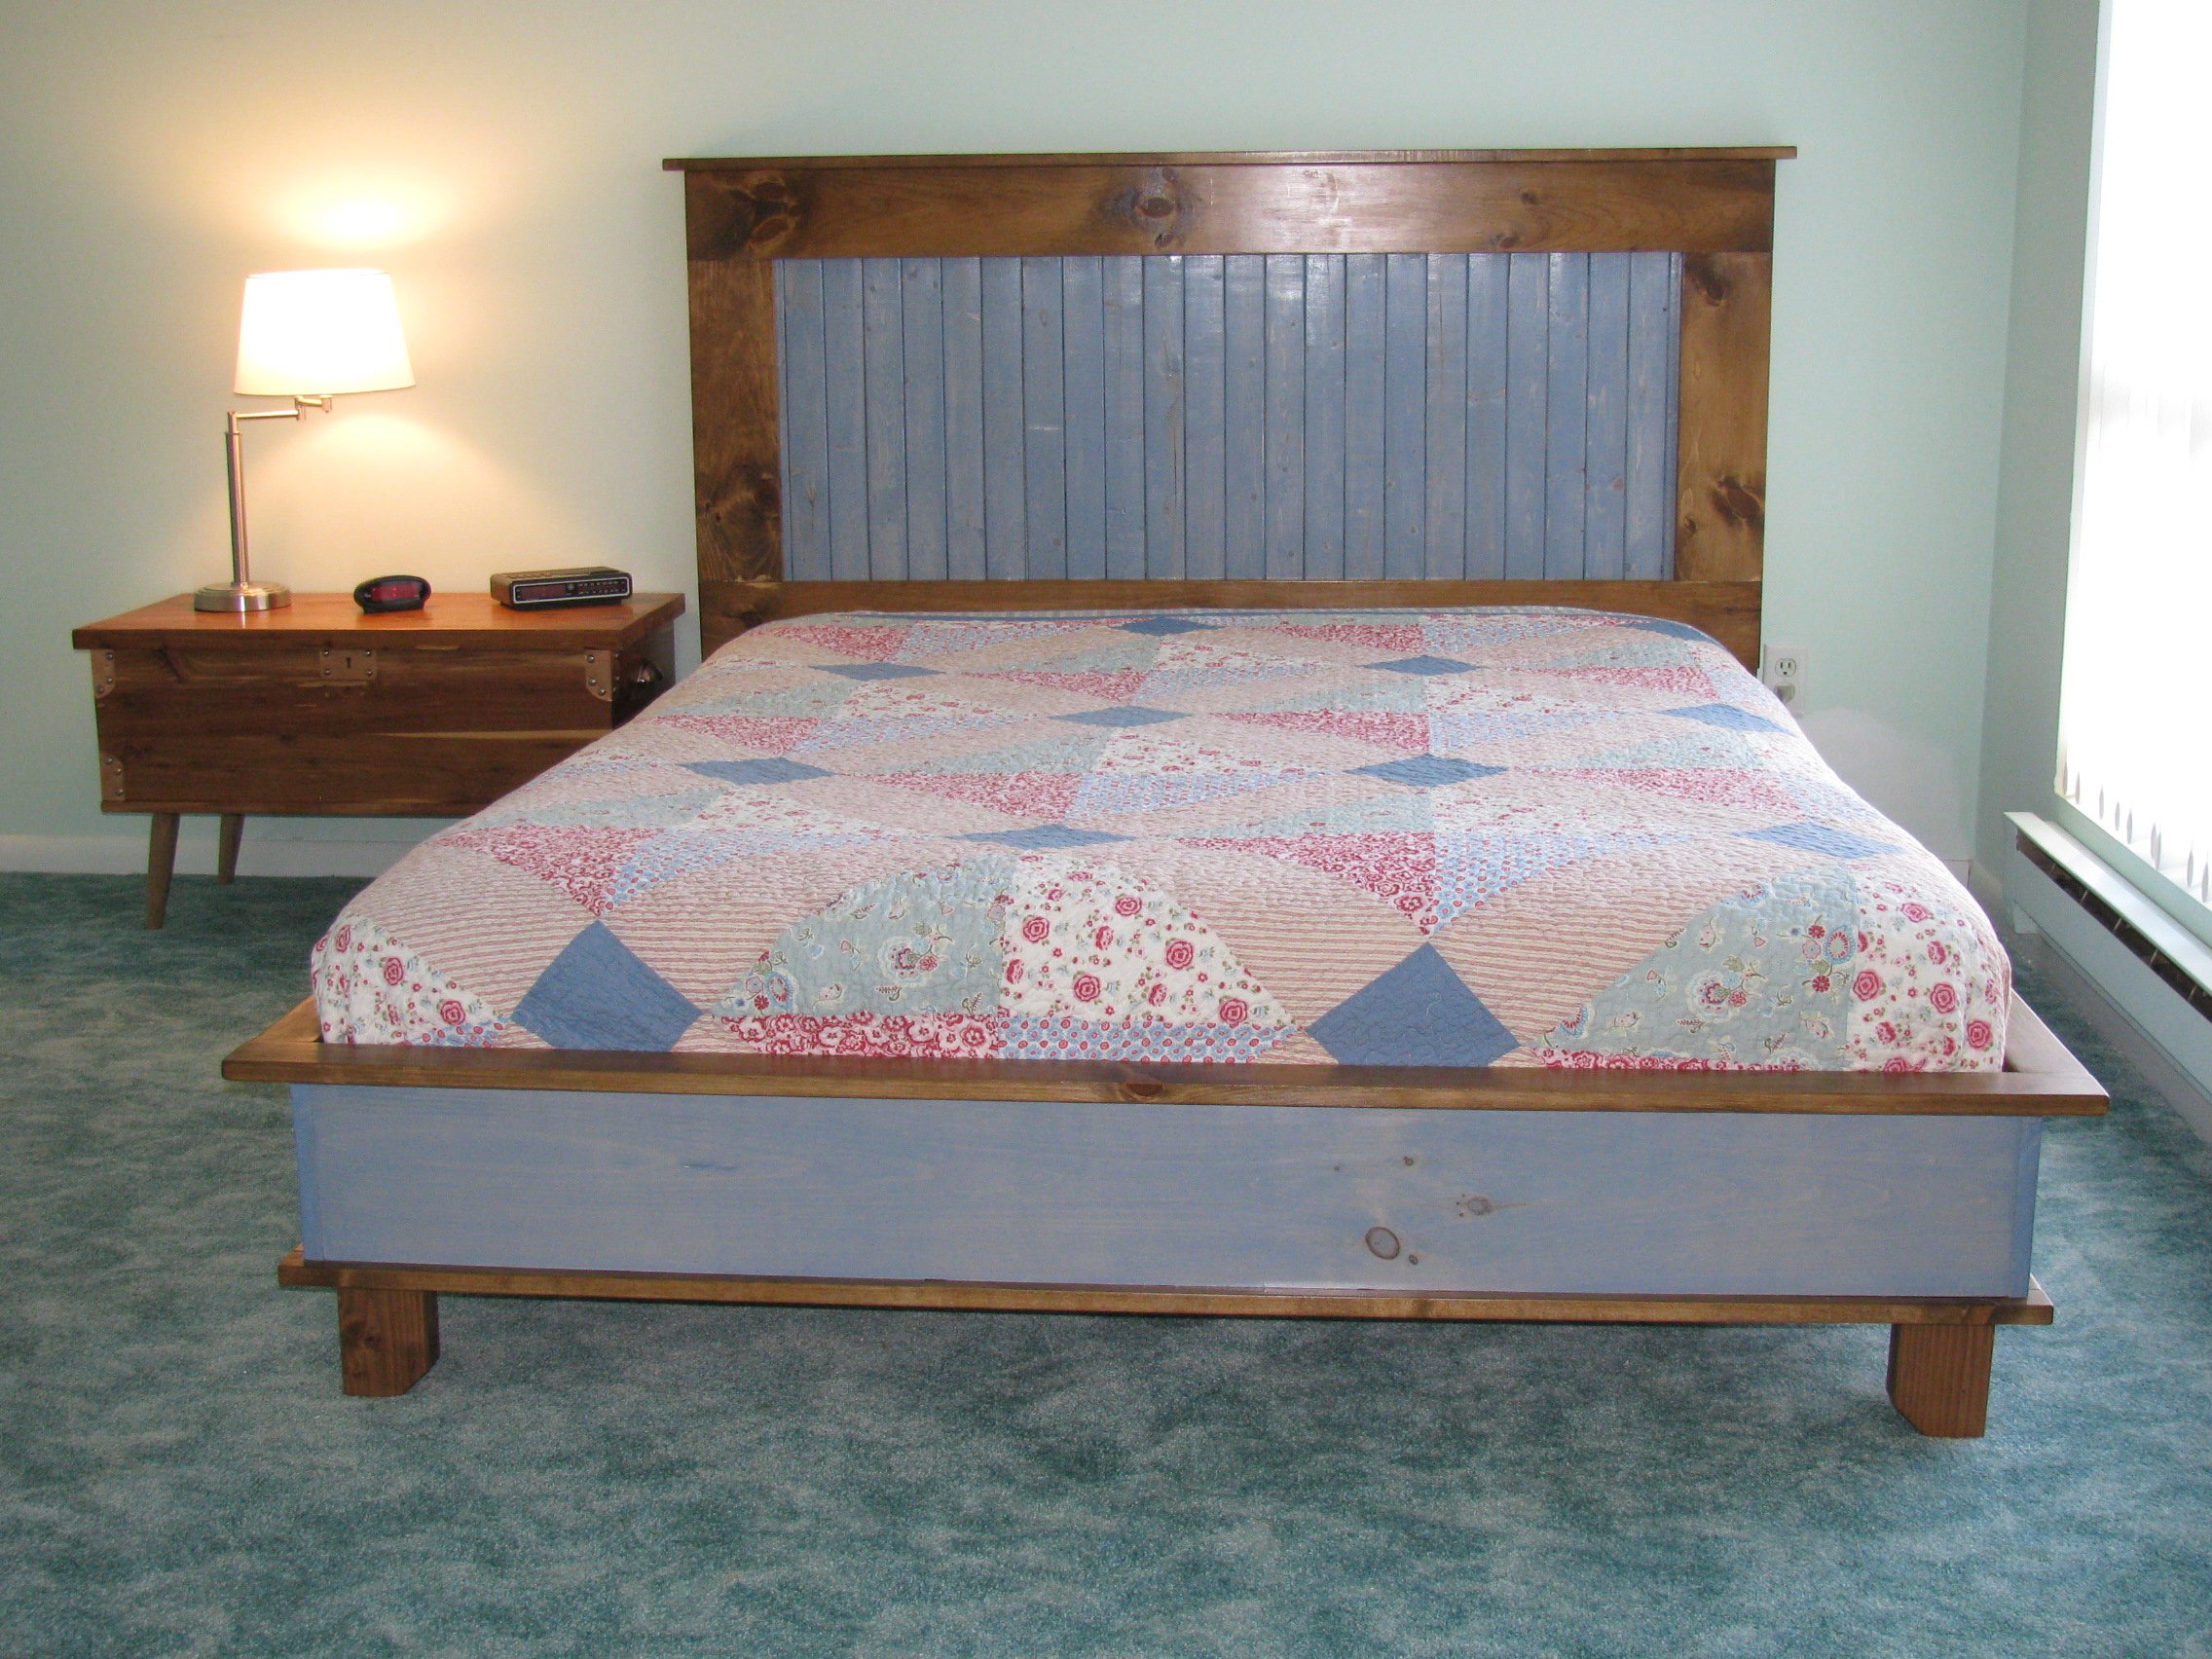
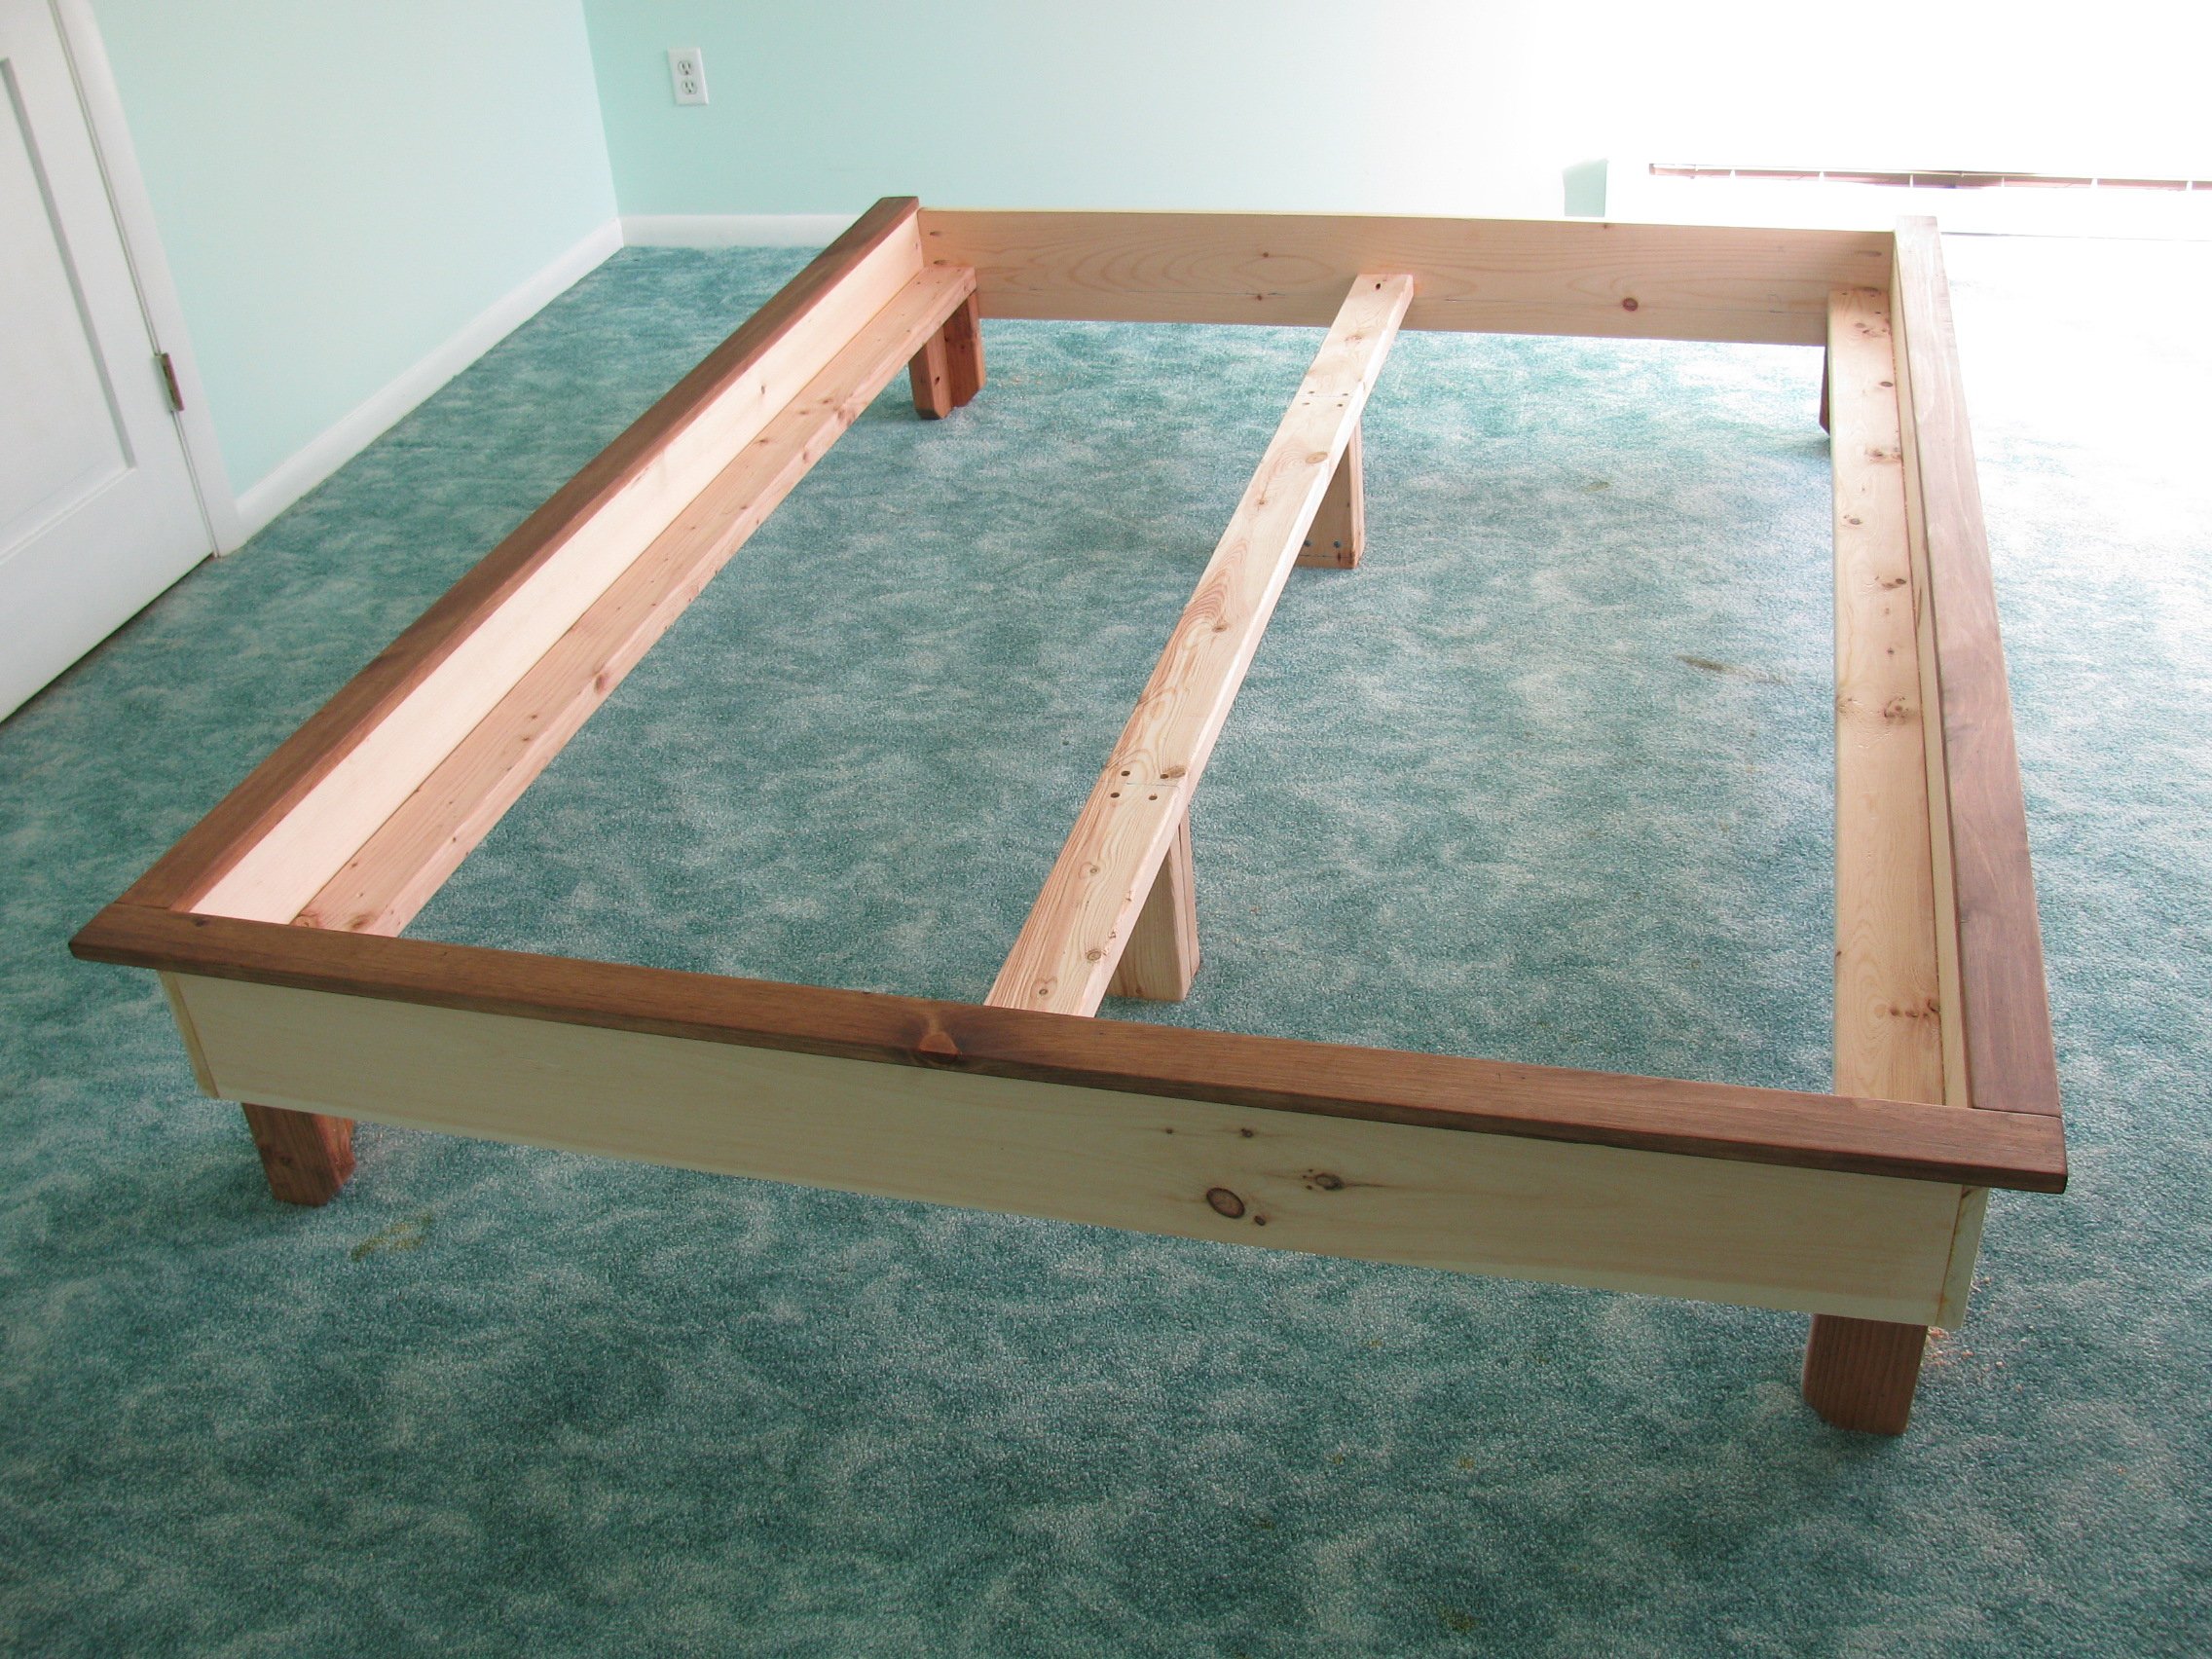
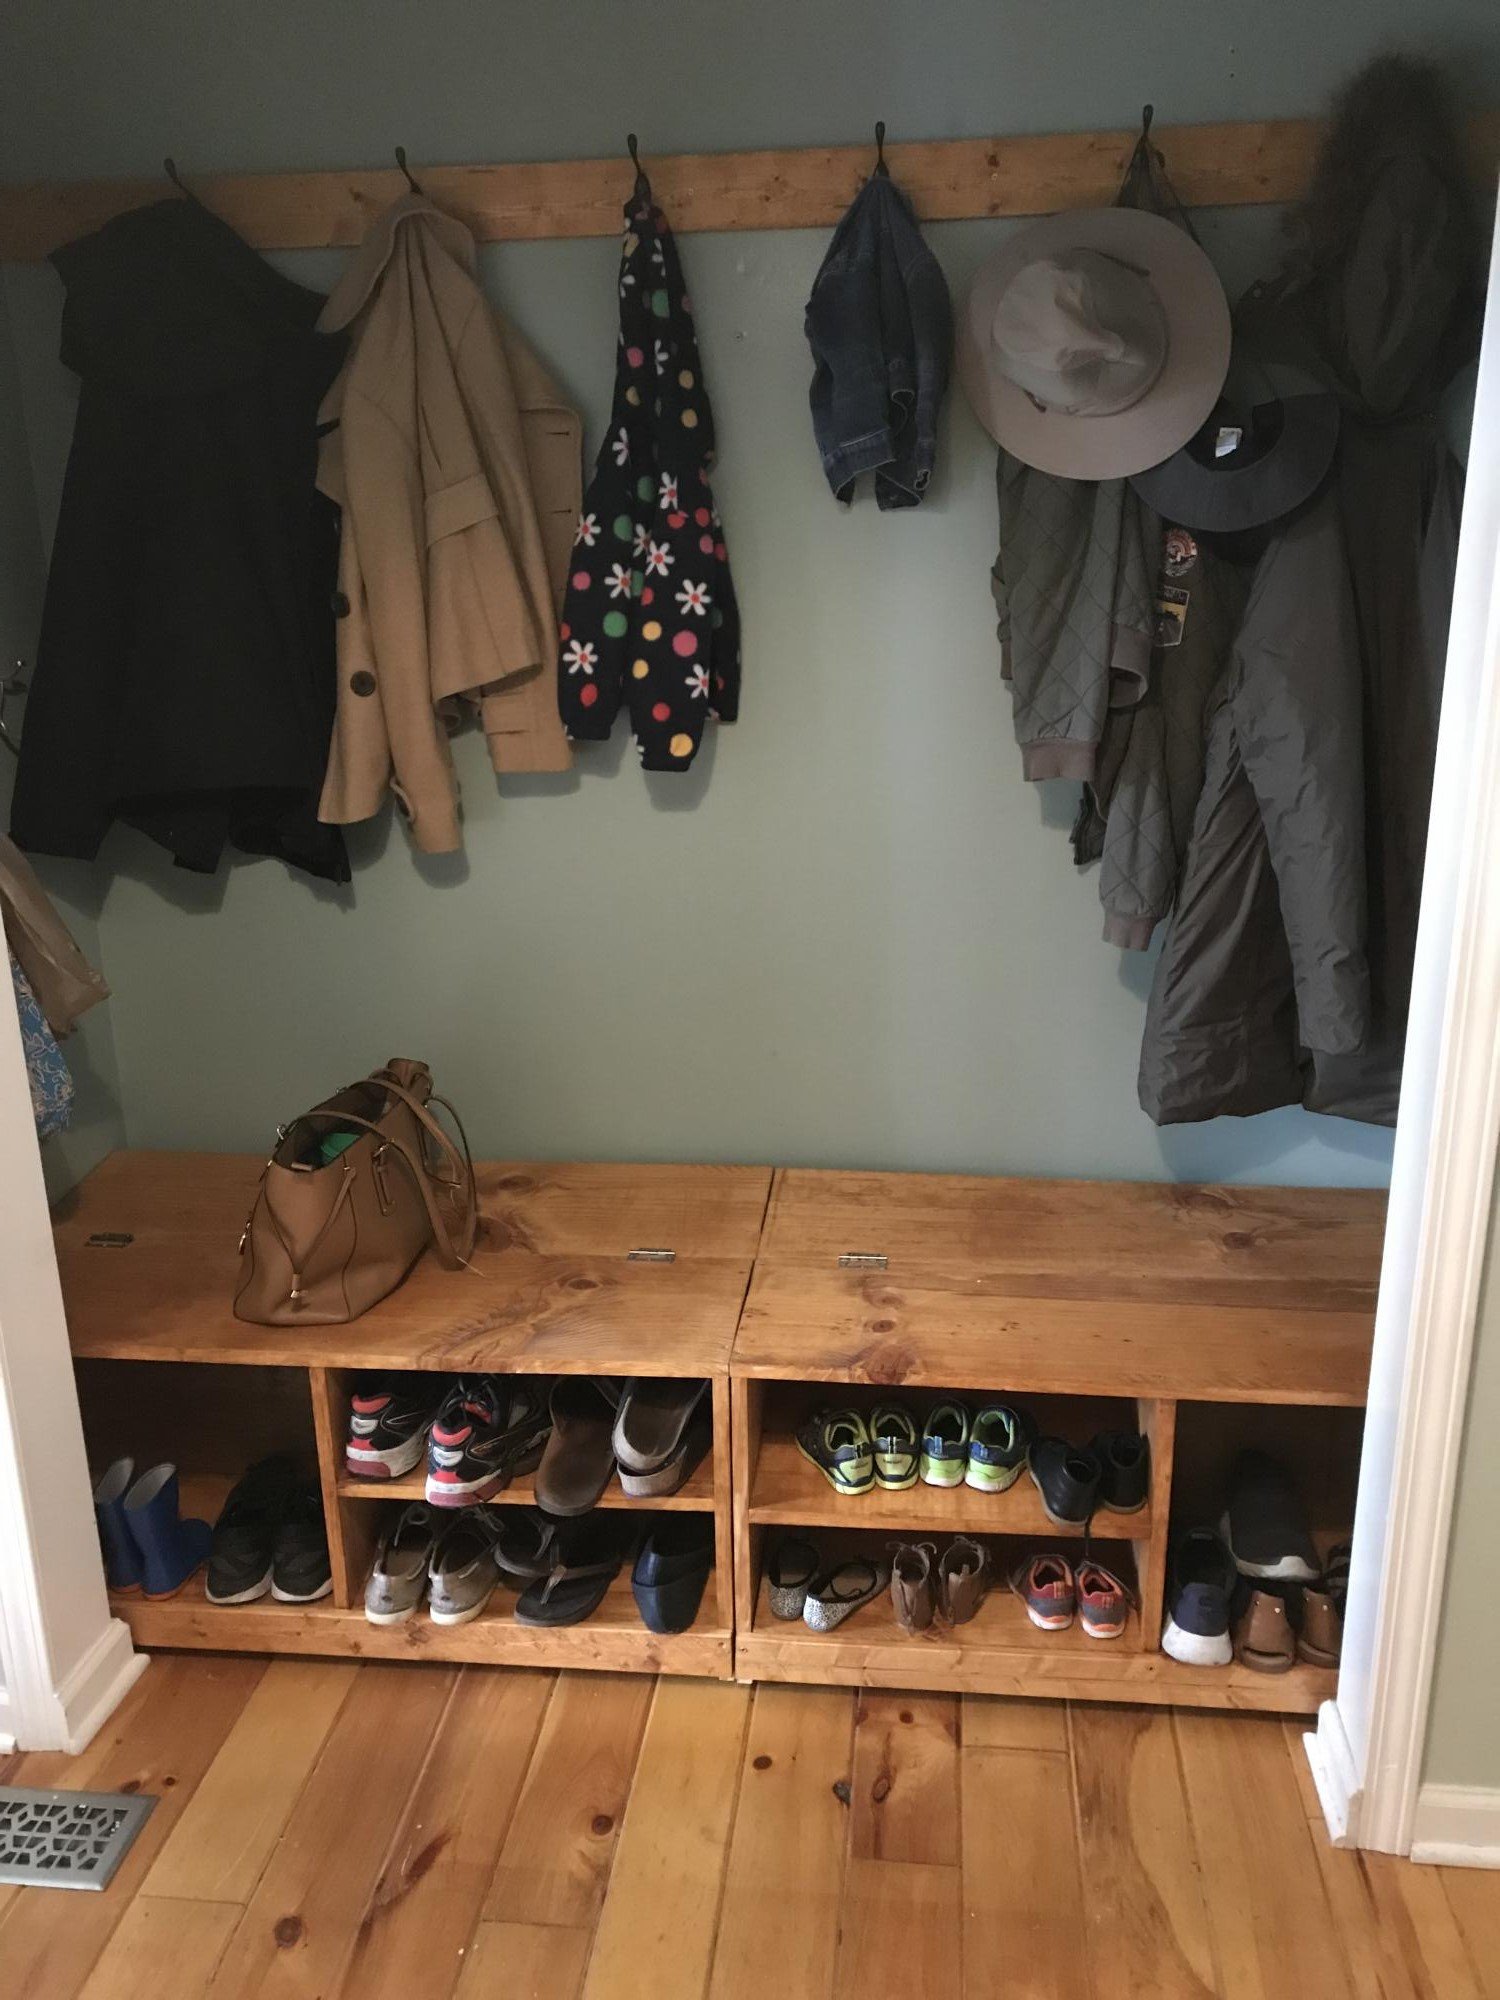
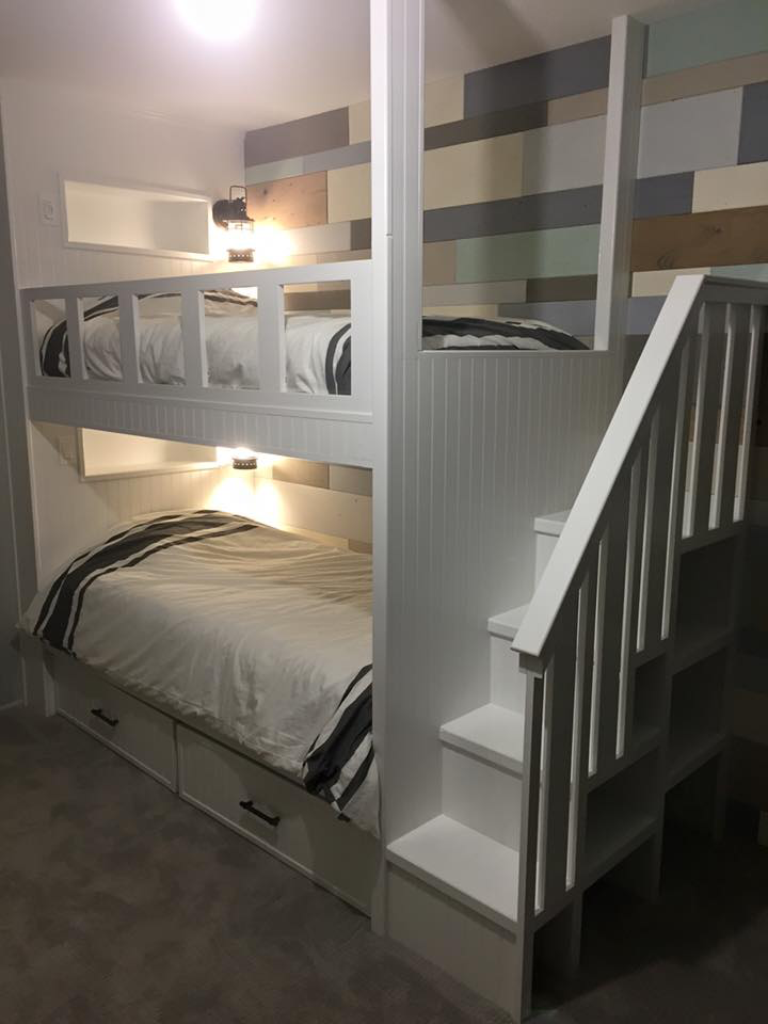
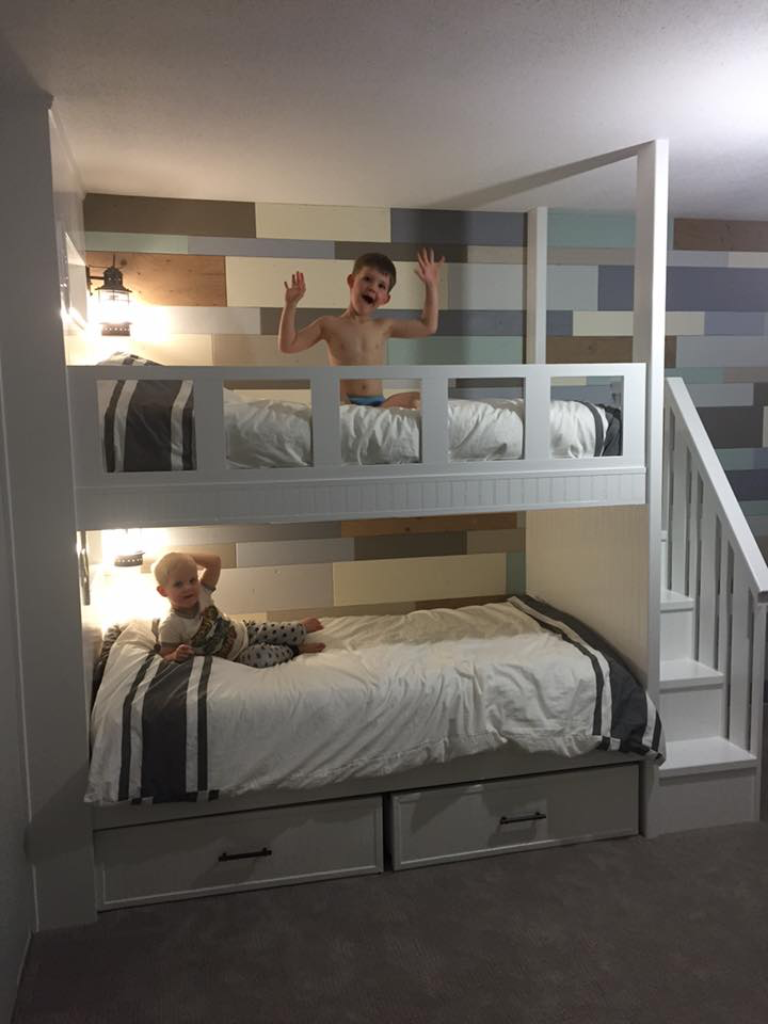
Slightly smaller version
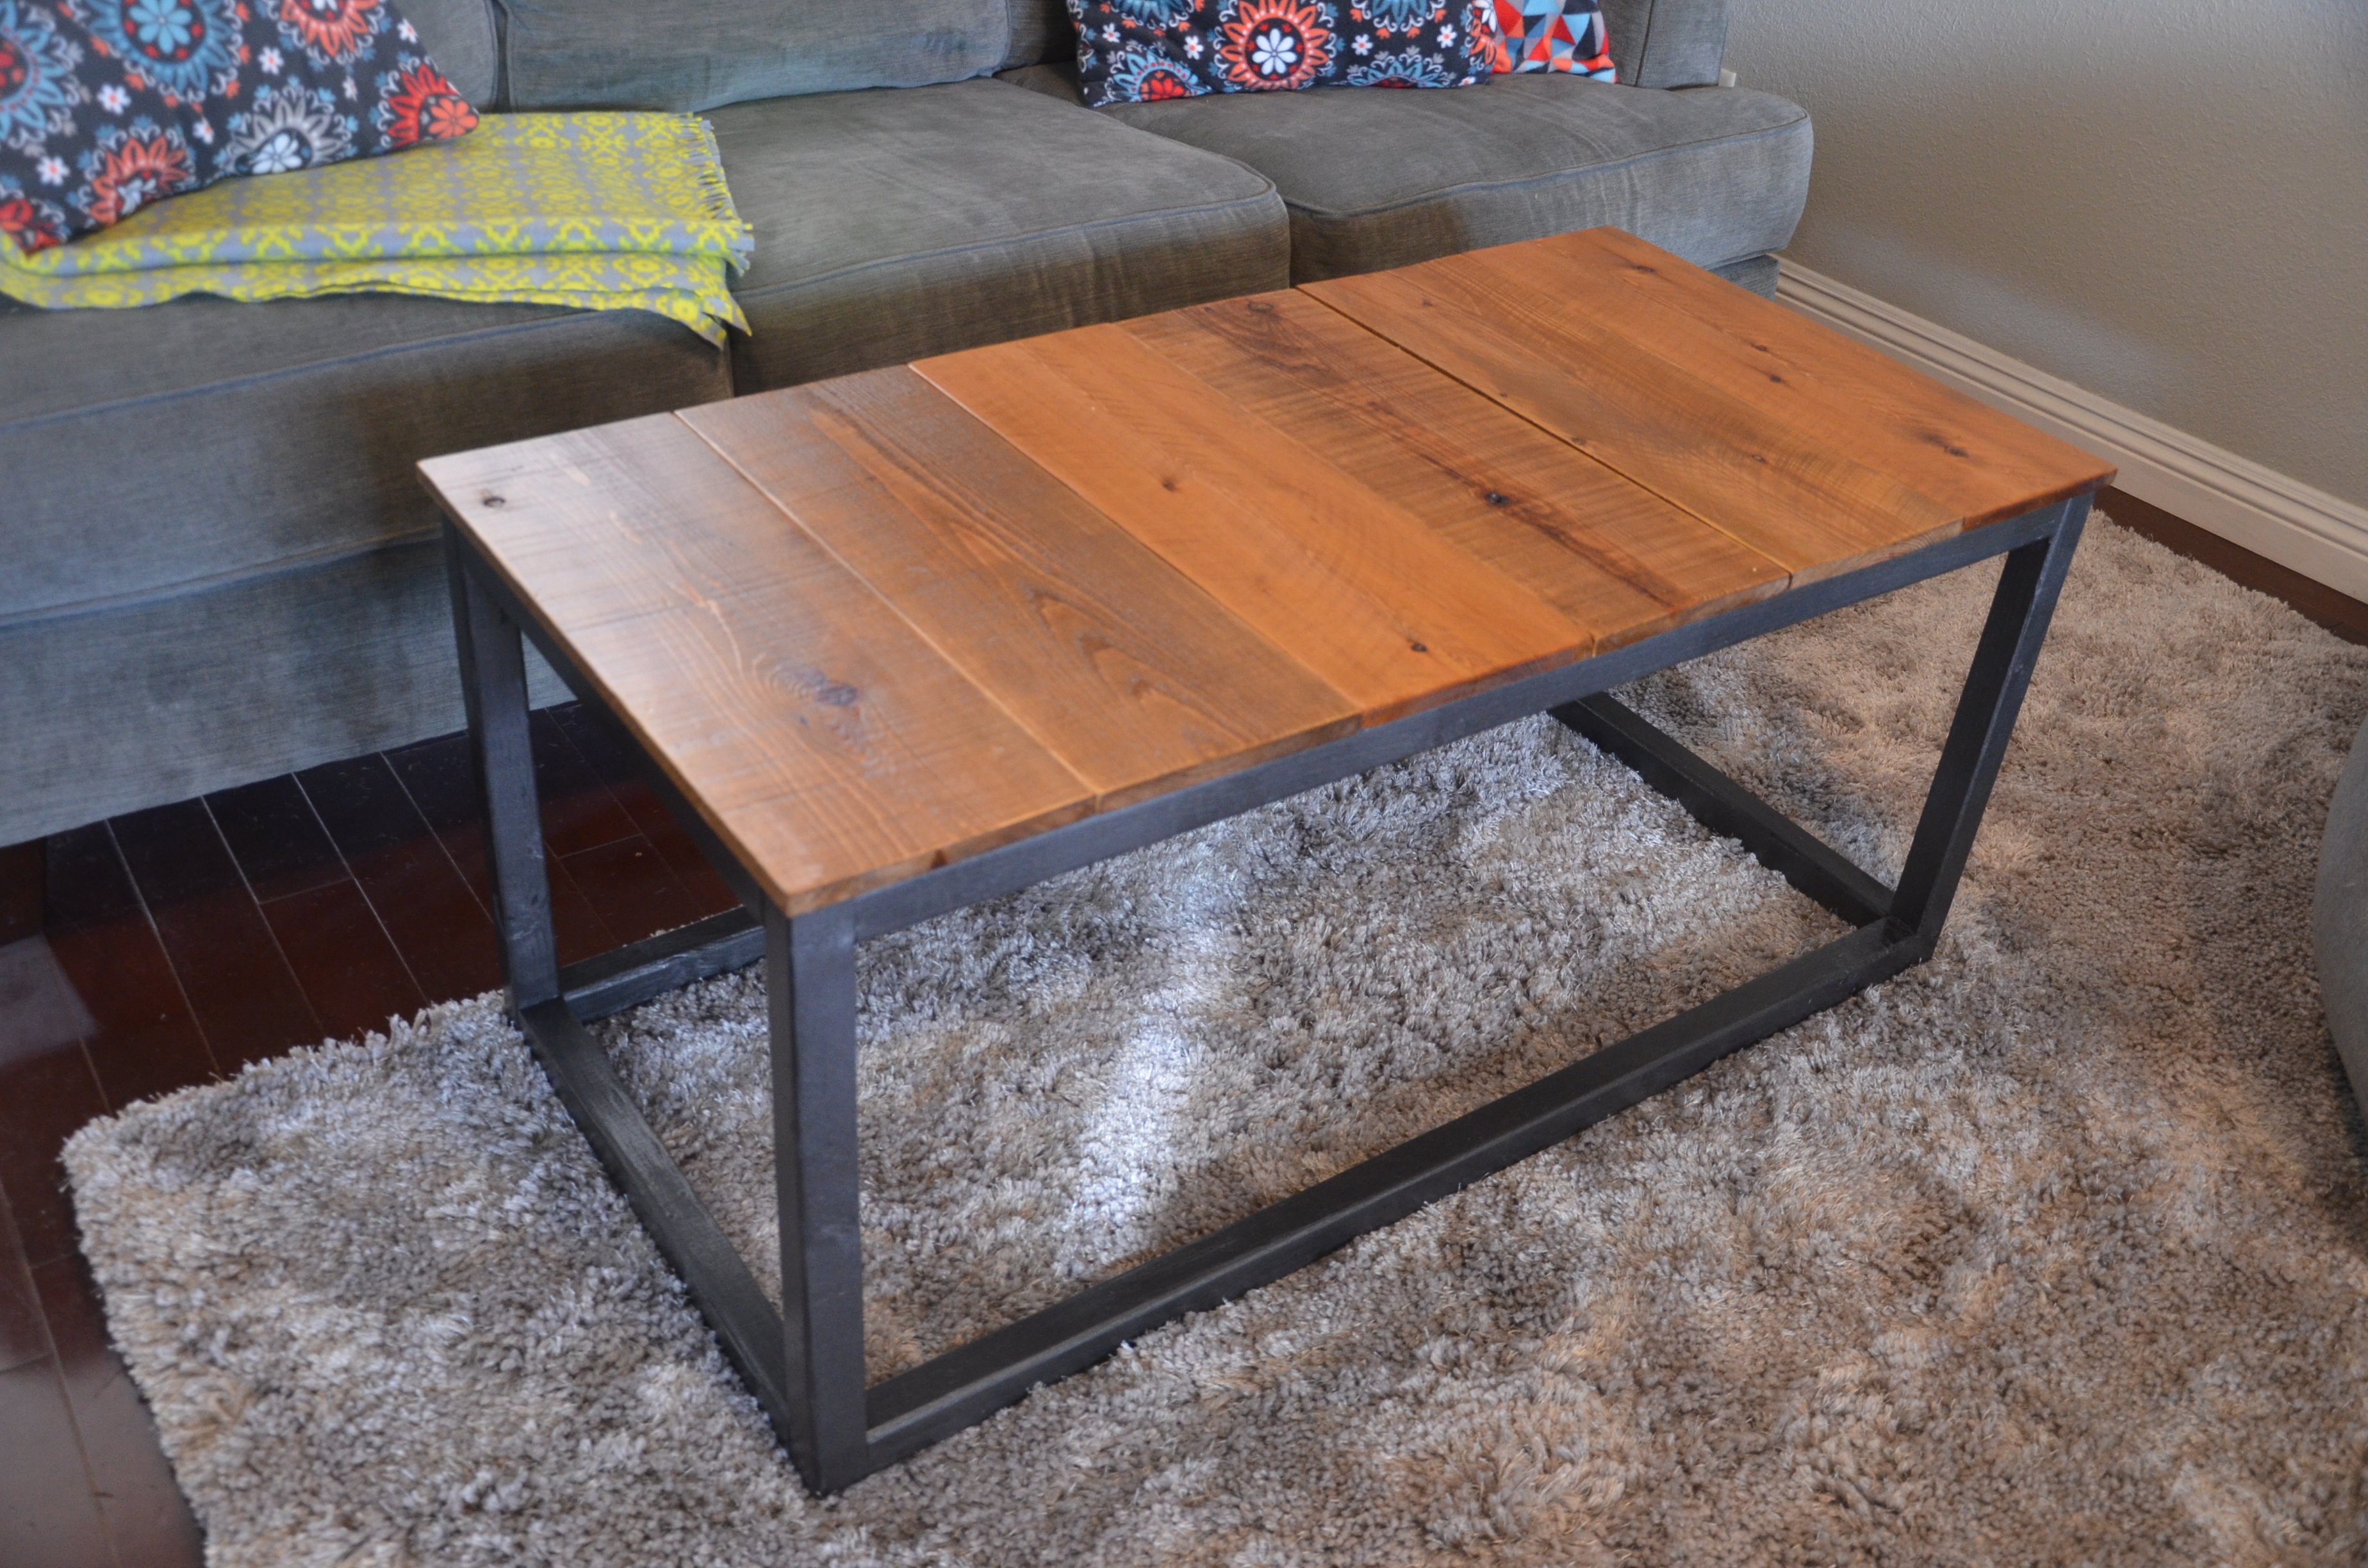
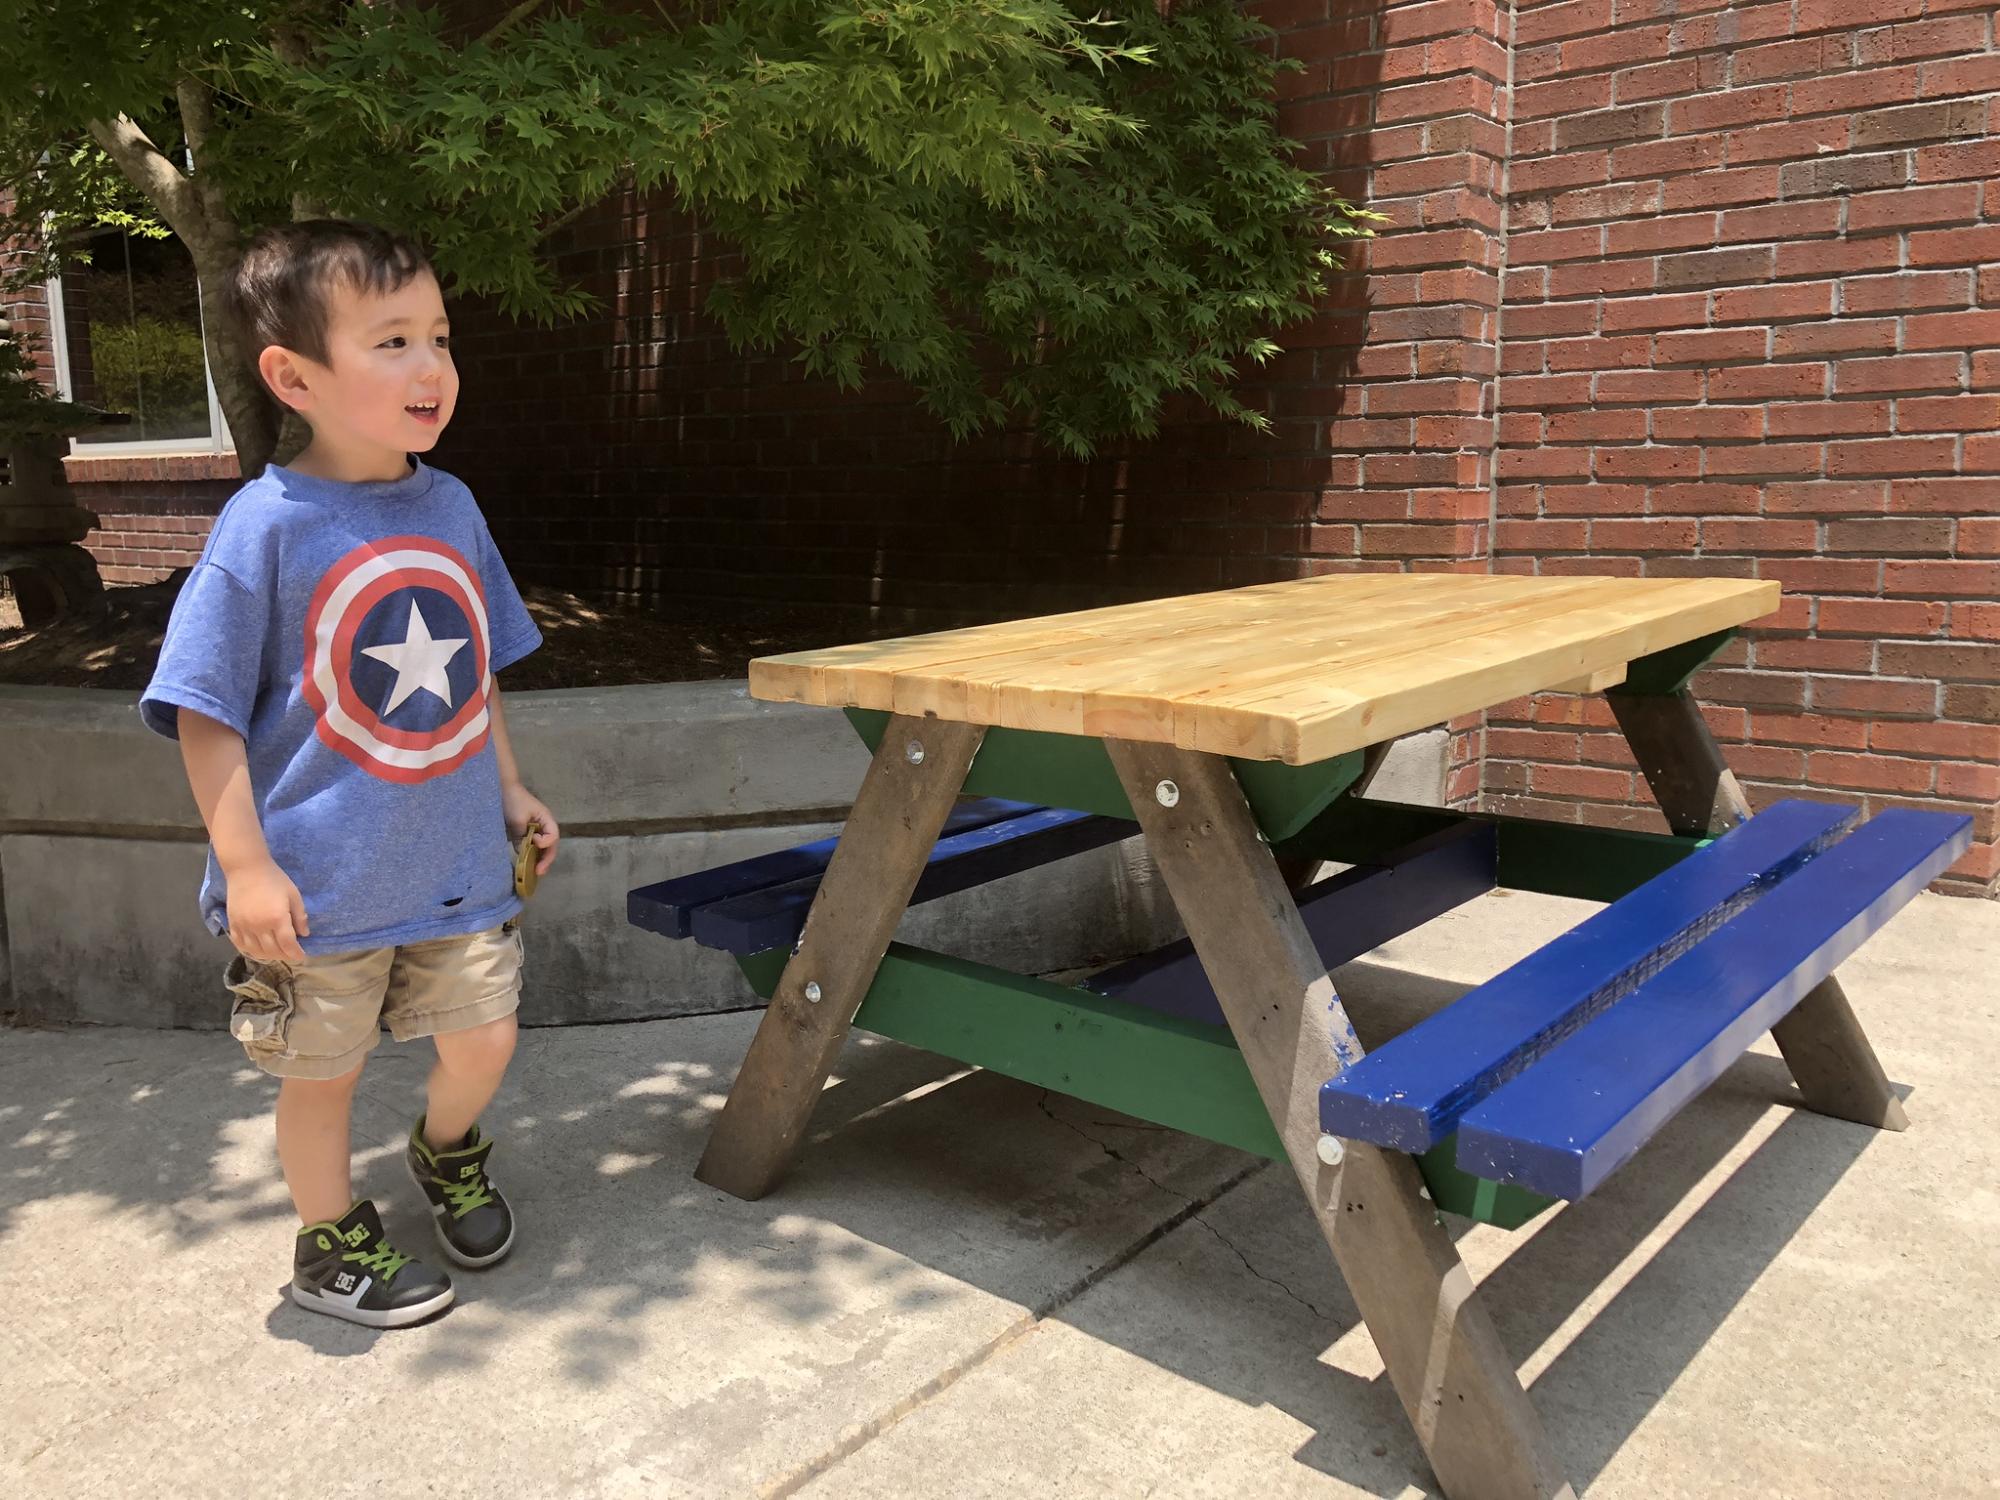
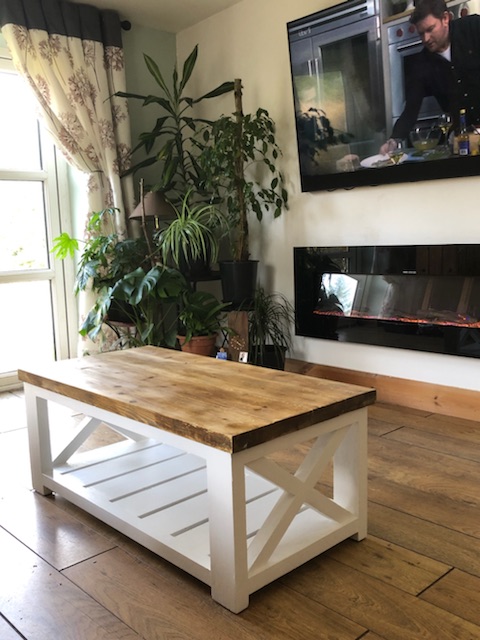
I love how this fits our space. I shrunk the measurements to help use up some of the scrap fence board pieces I had left over. Holding up to the pounding of a 2 year old and his legos pretty well.
Built from Plan(s)
Estimated Cost
$25
Estimated Time Investment
An Hour or Two (0-2 Hours)
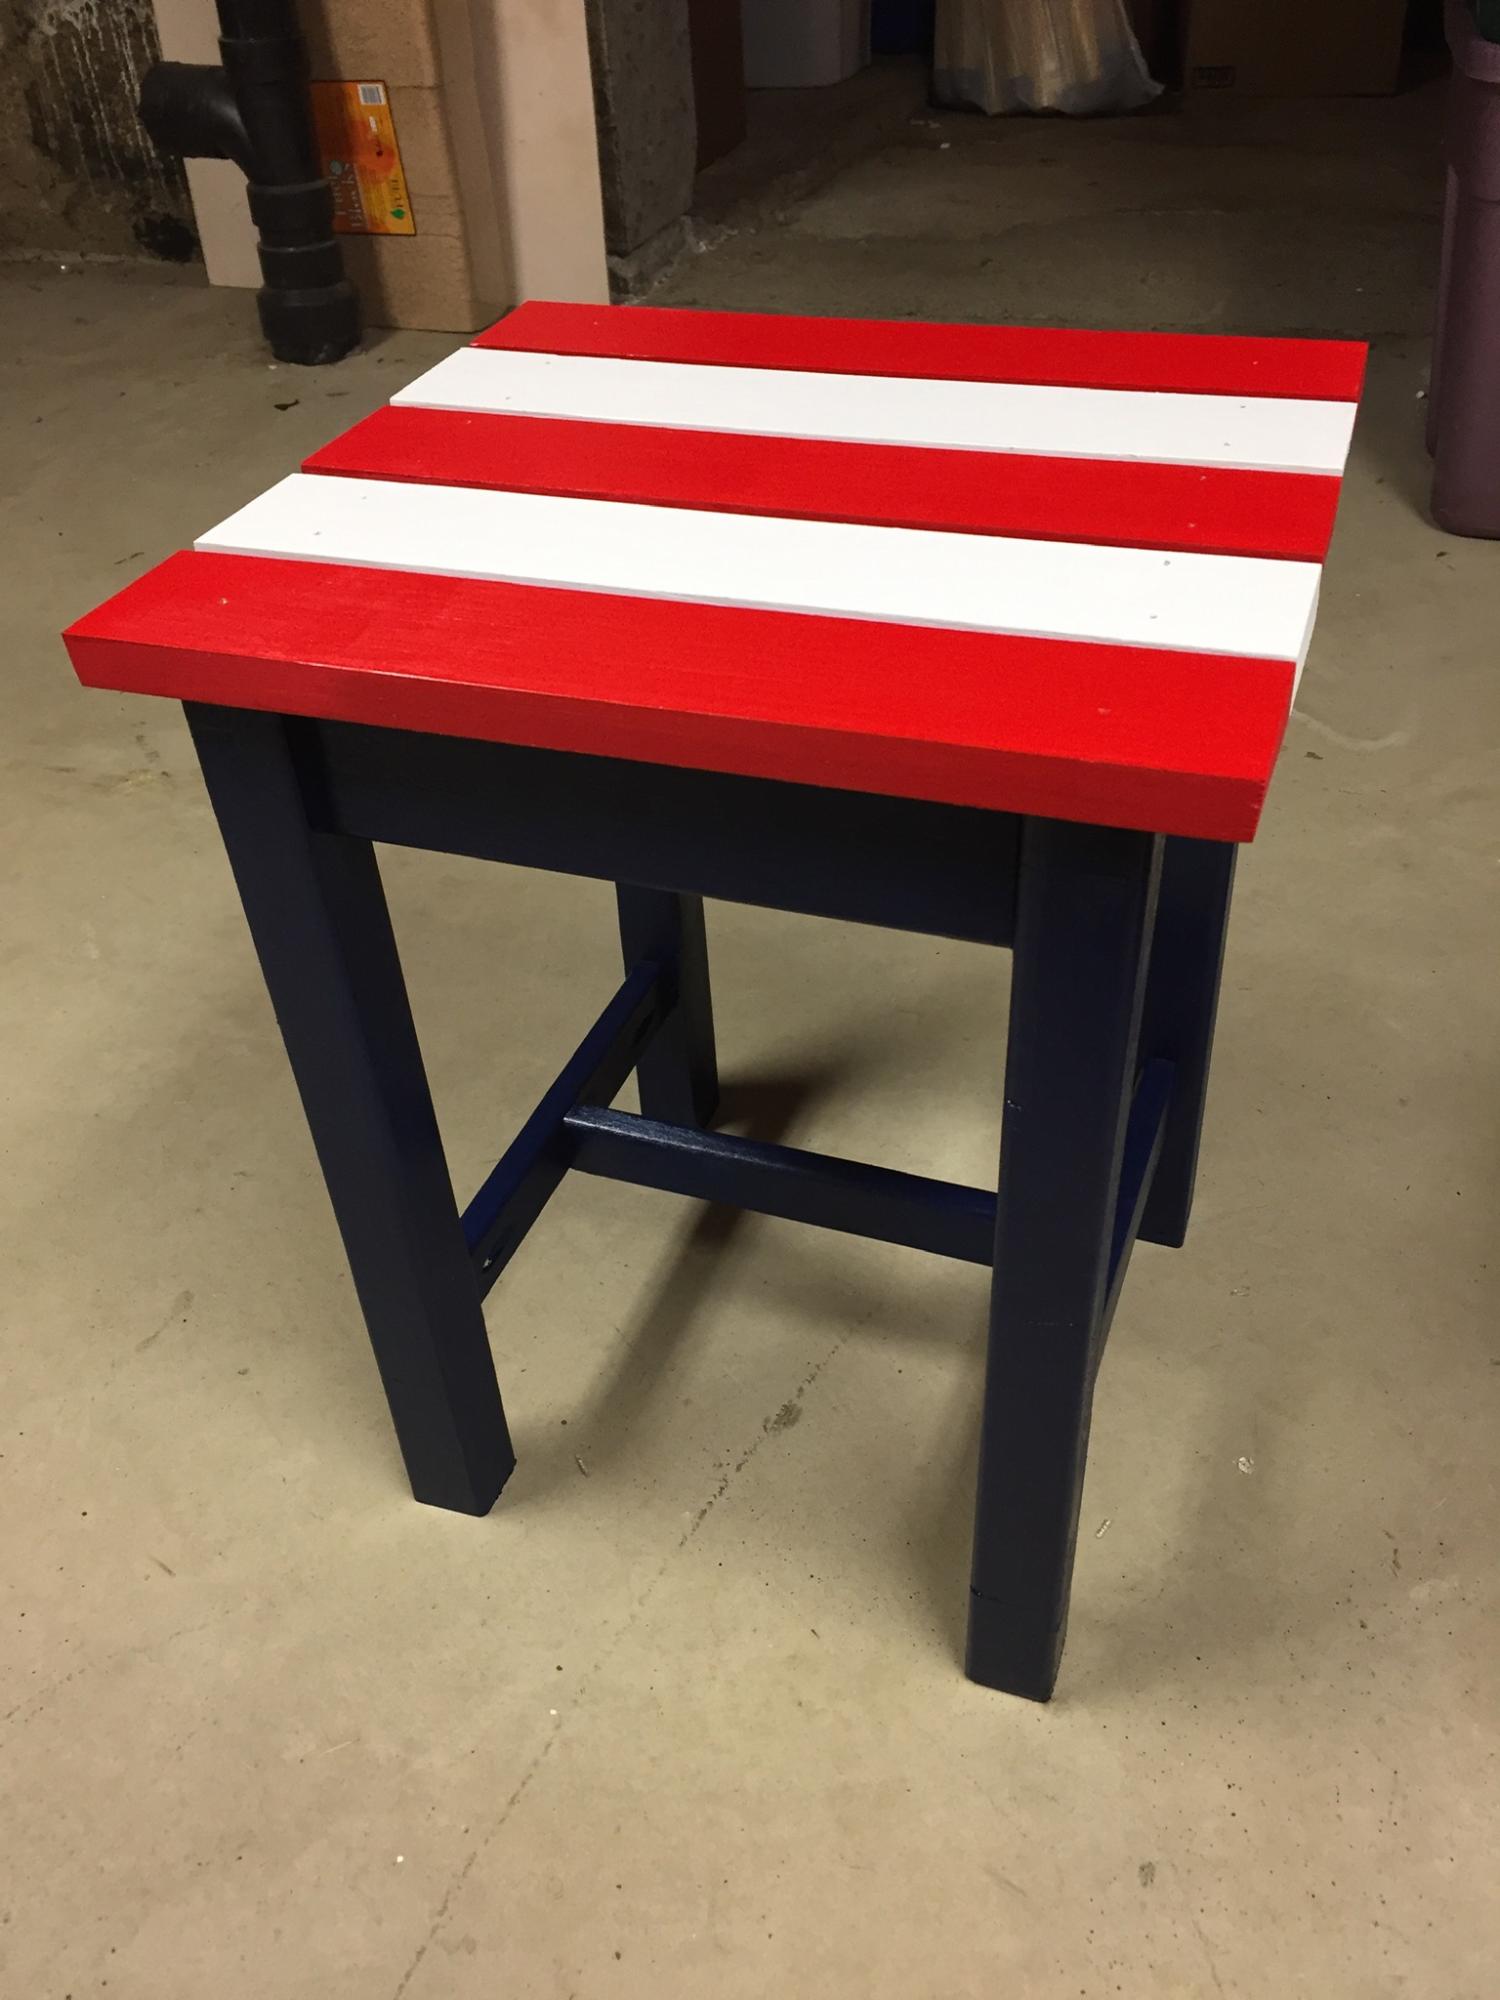
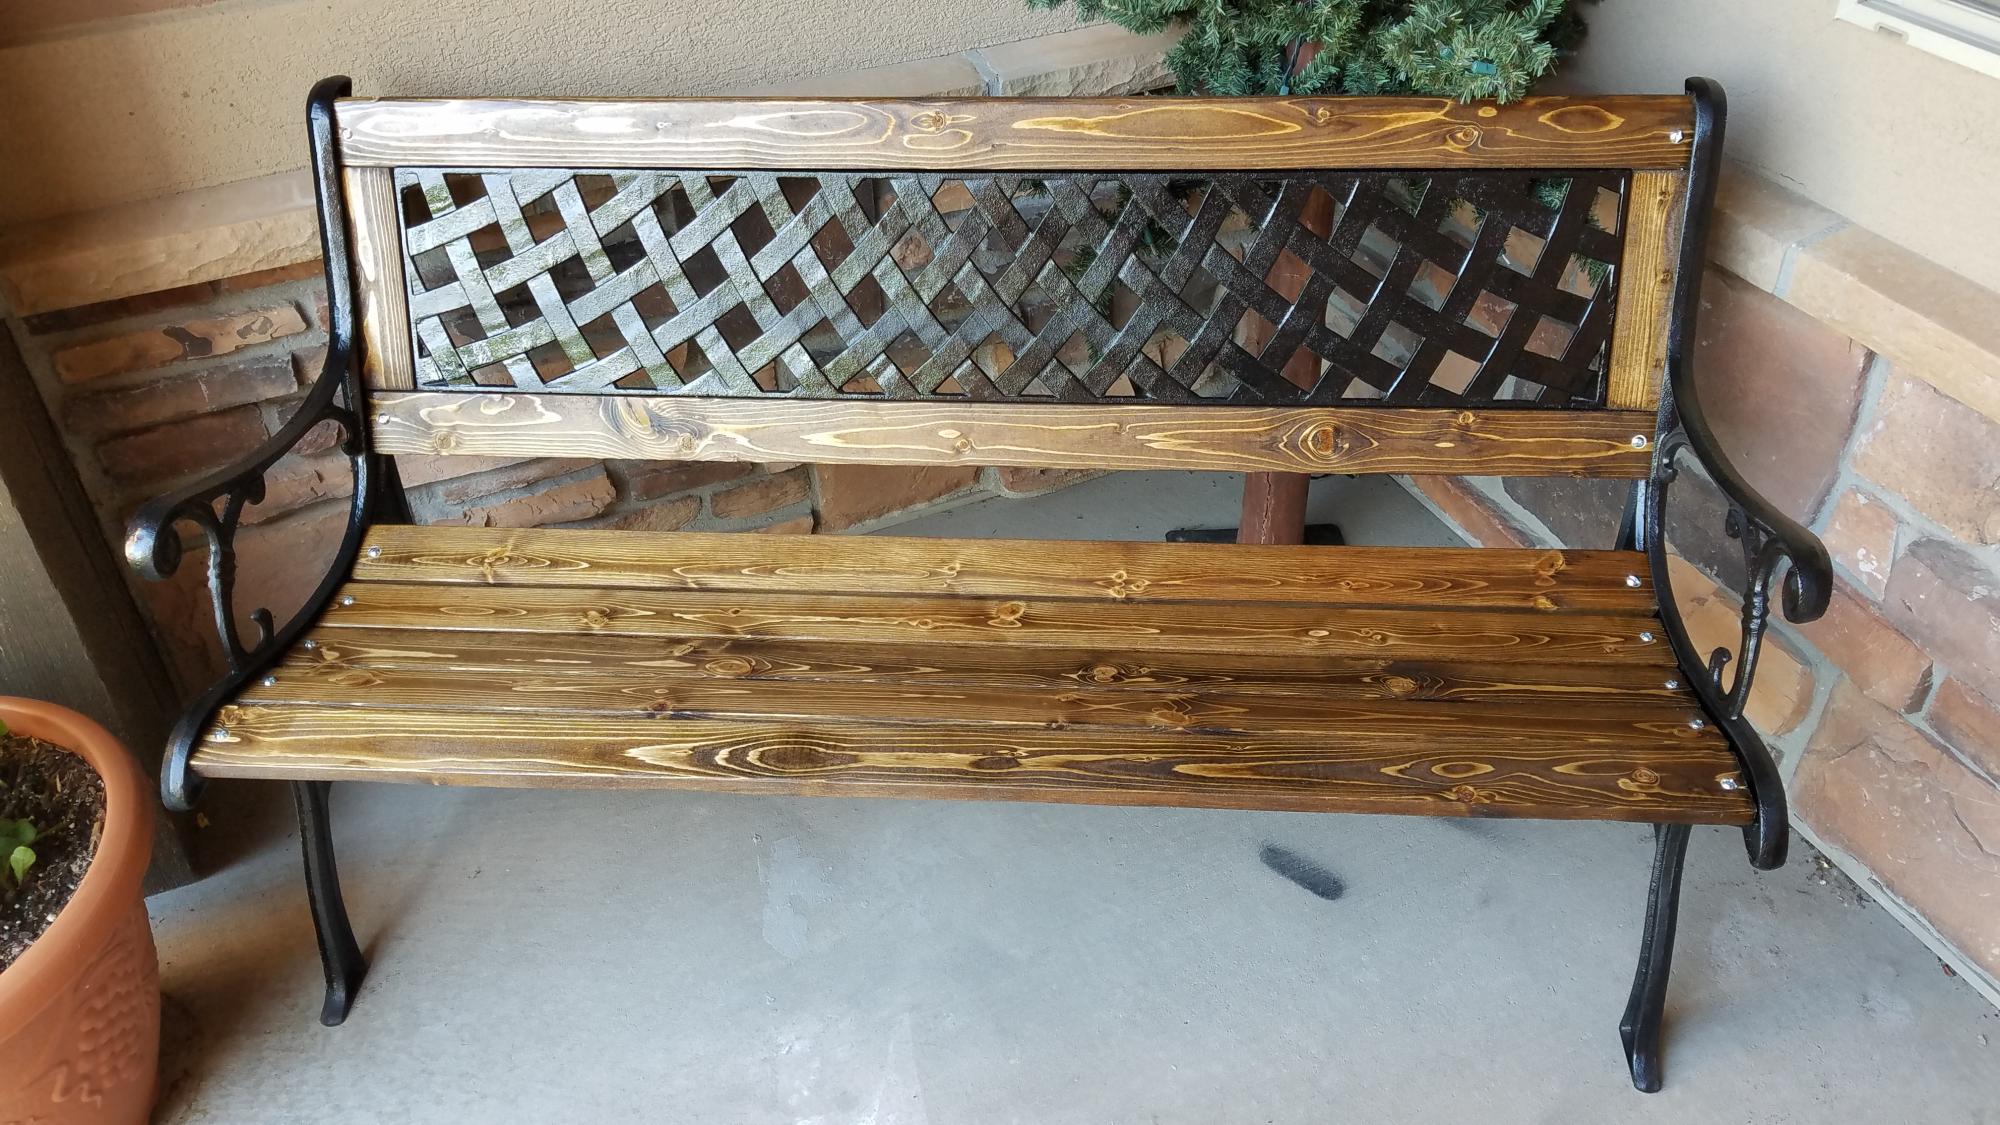
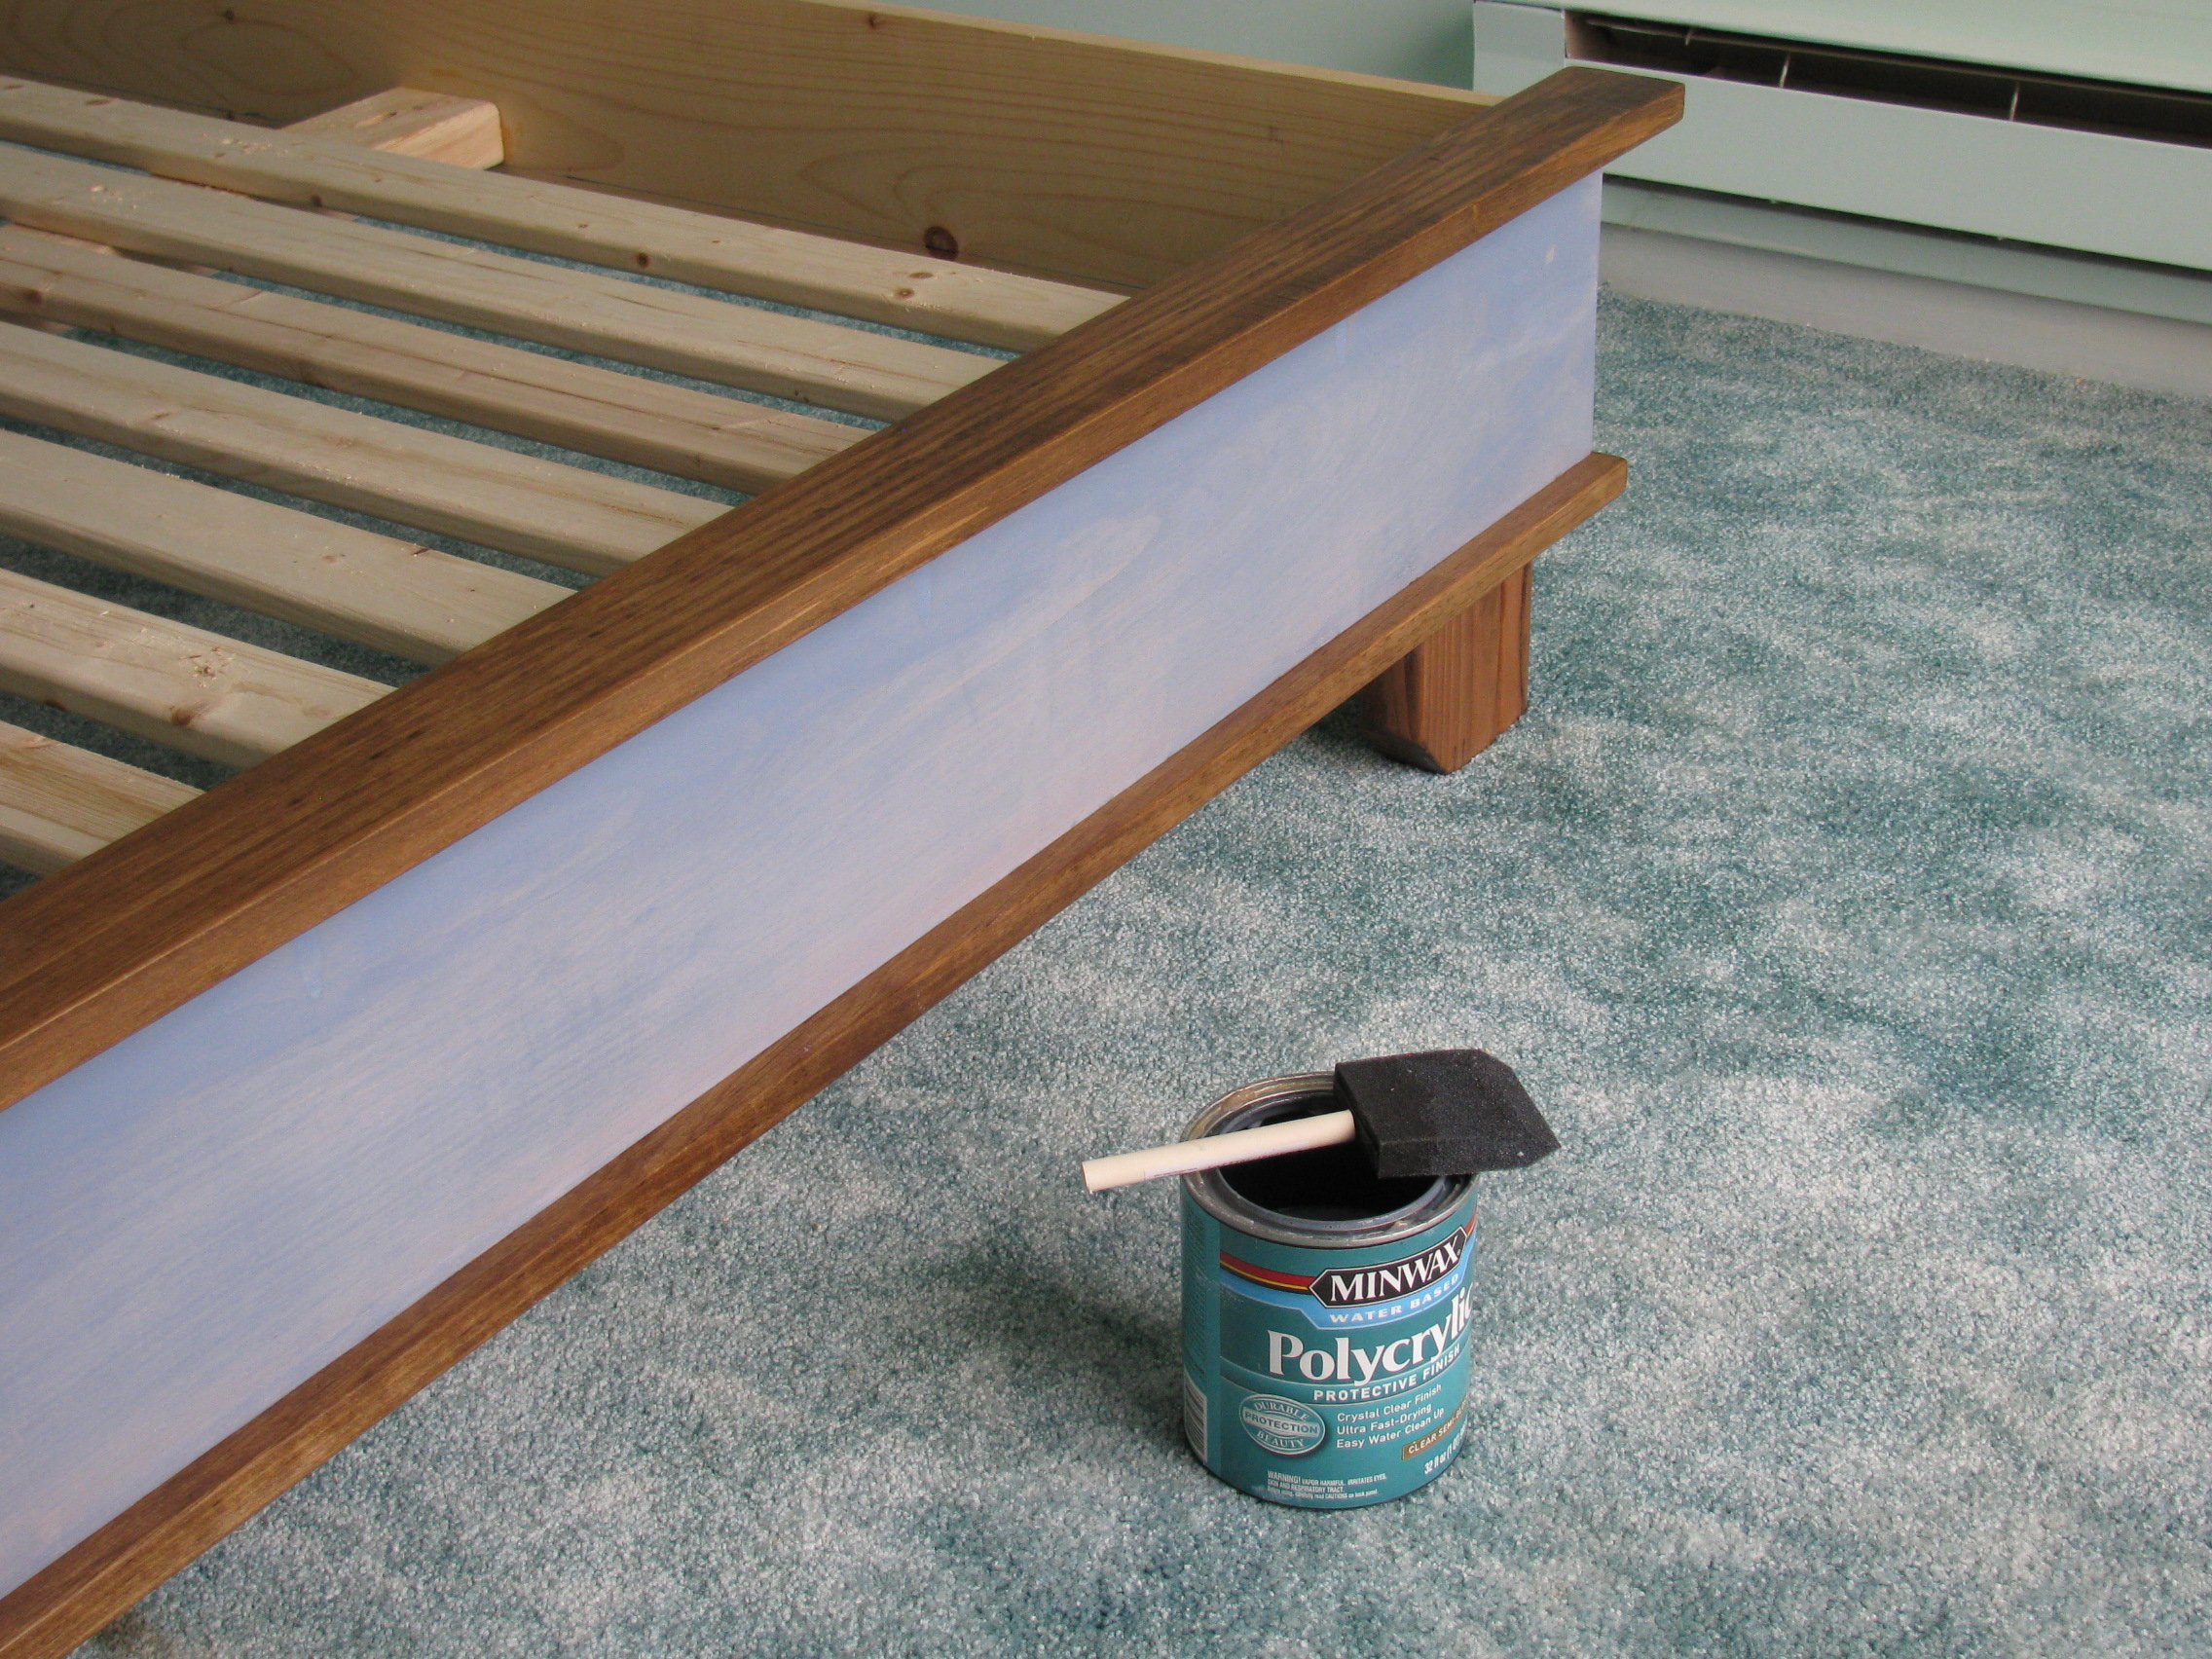
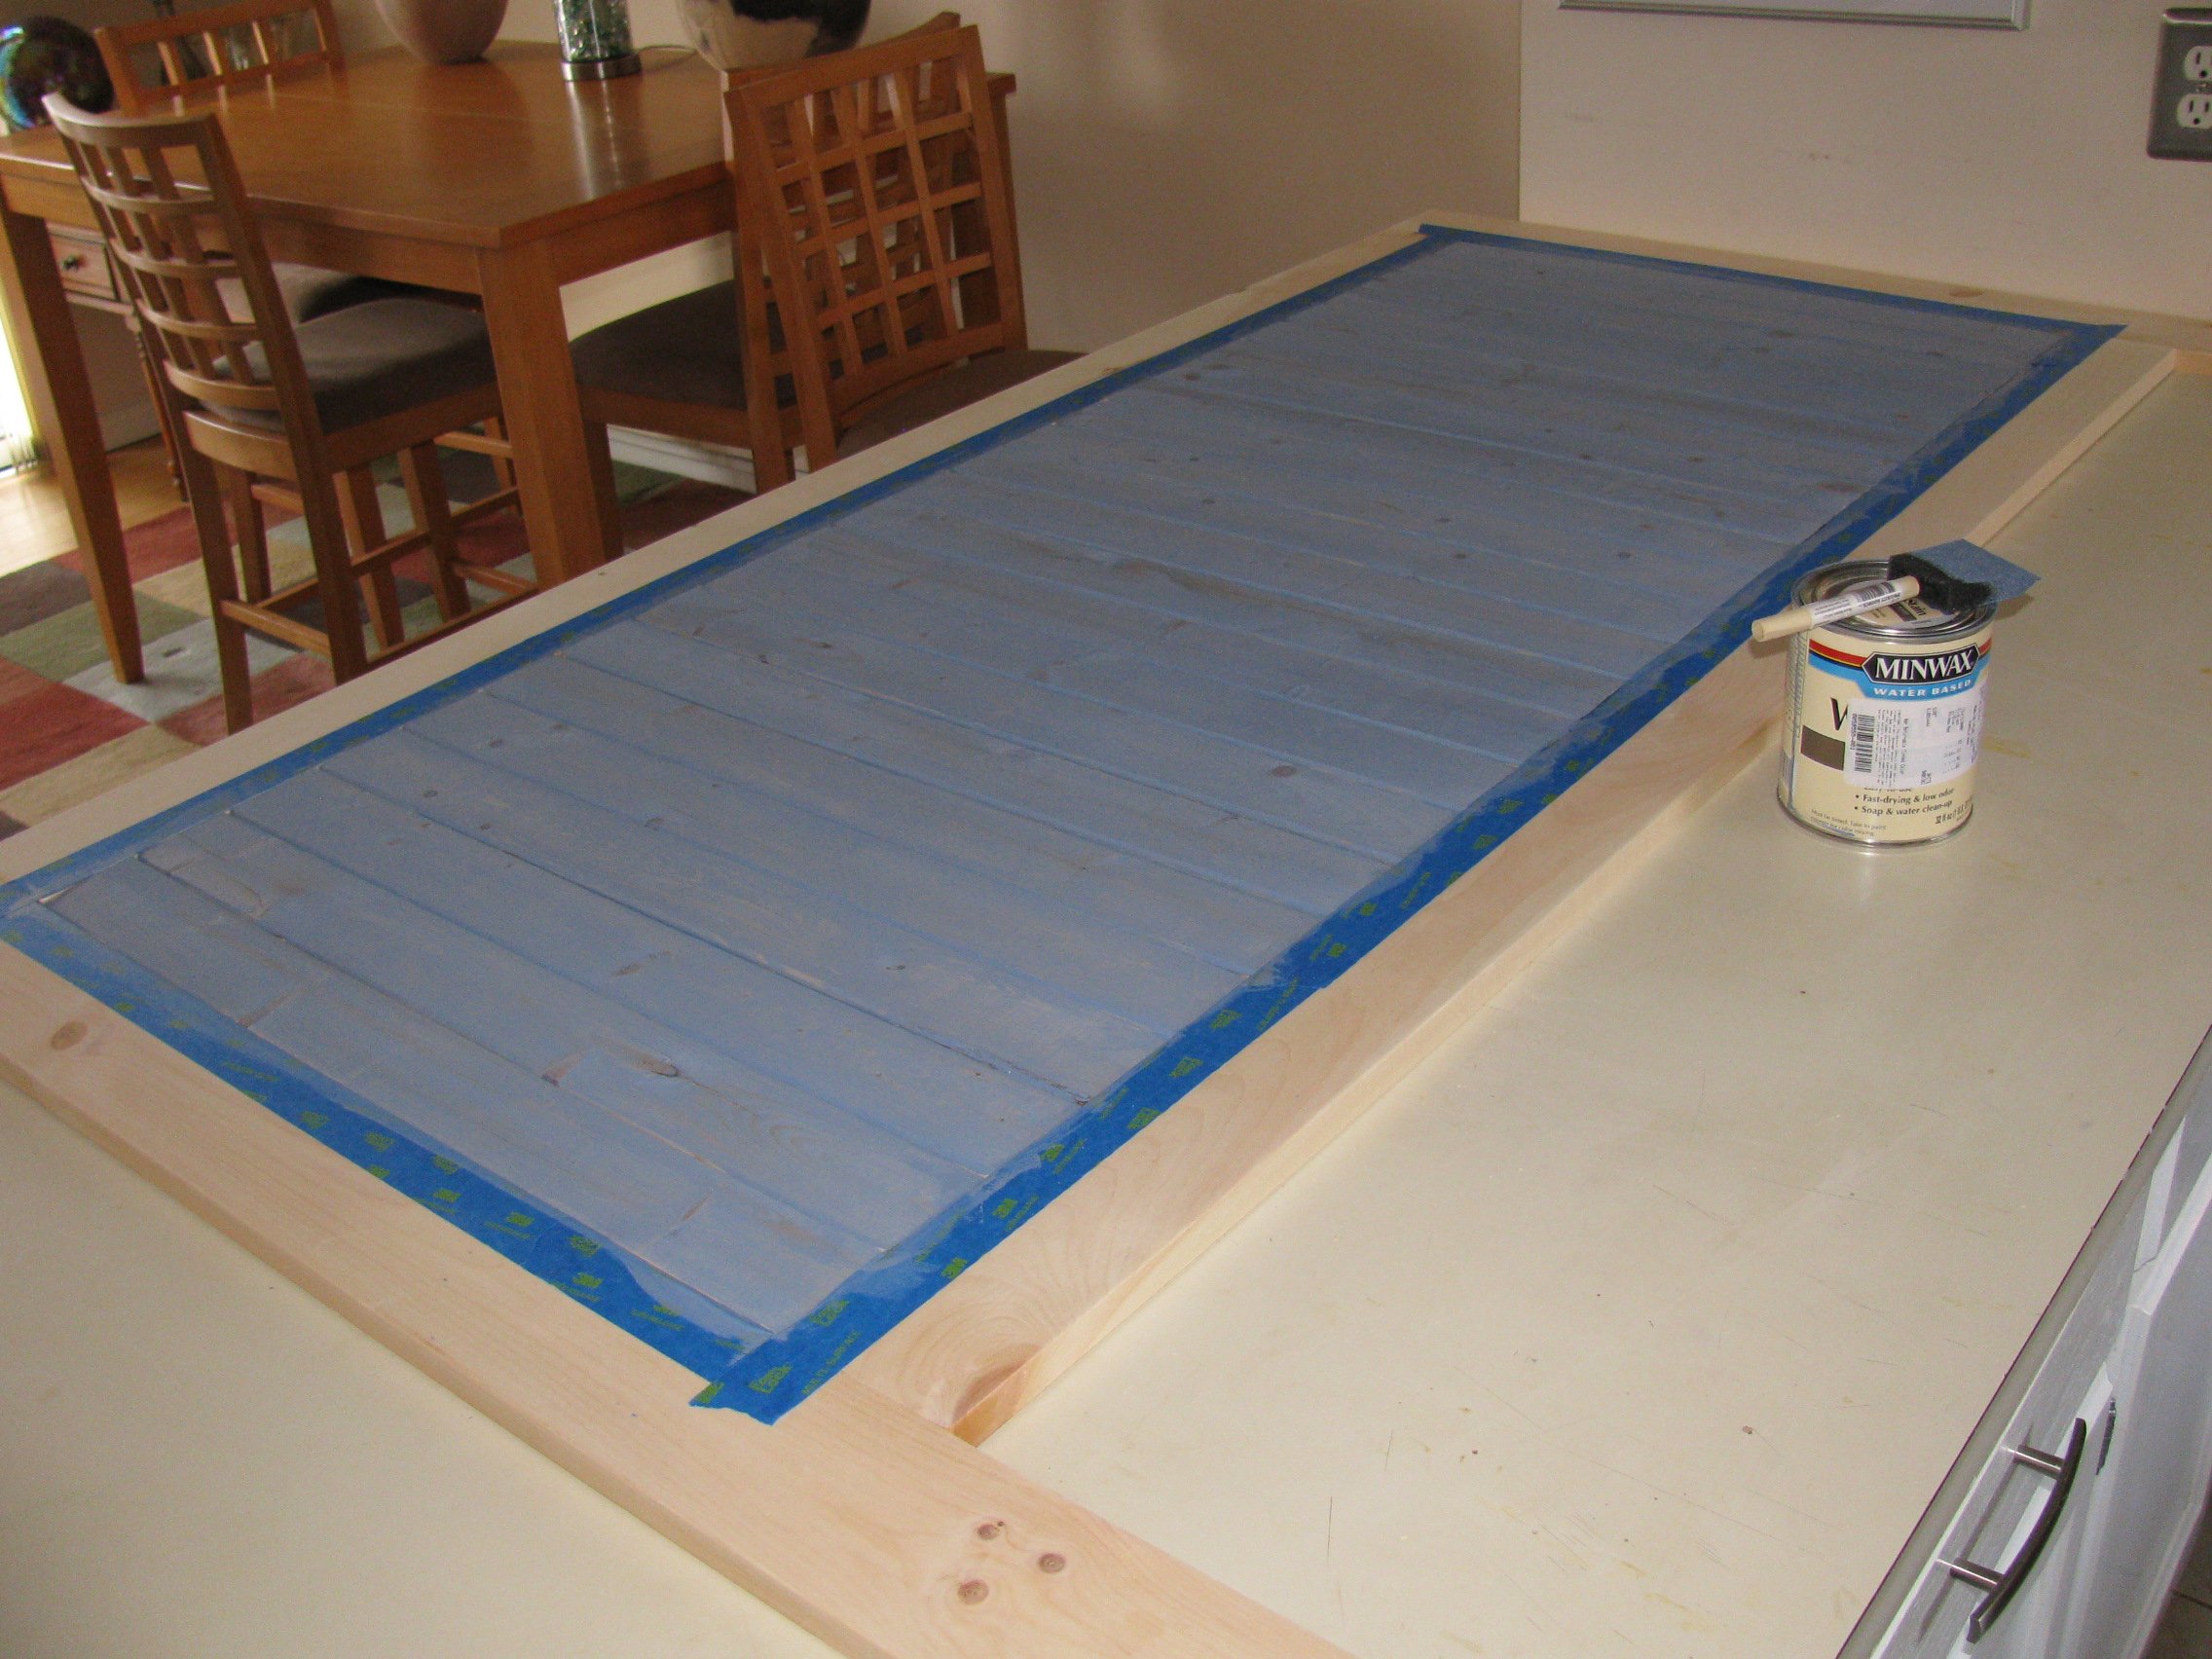
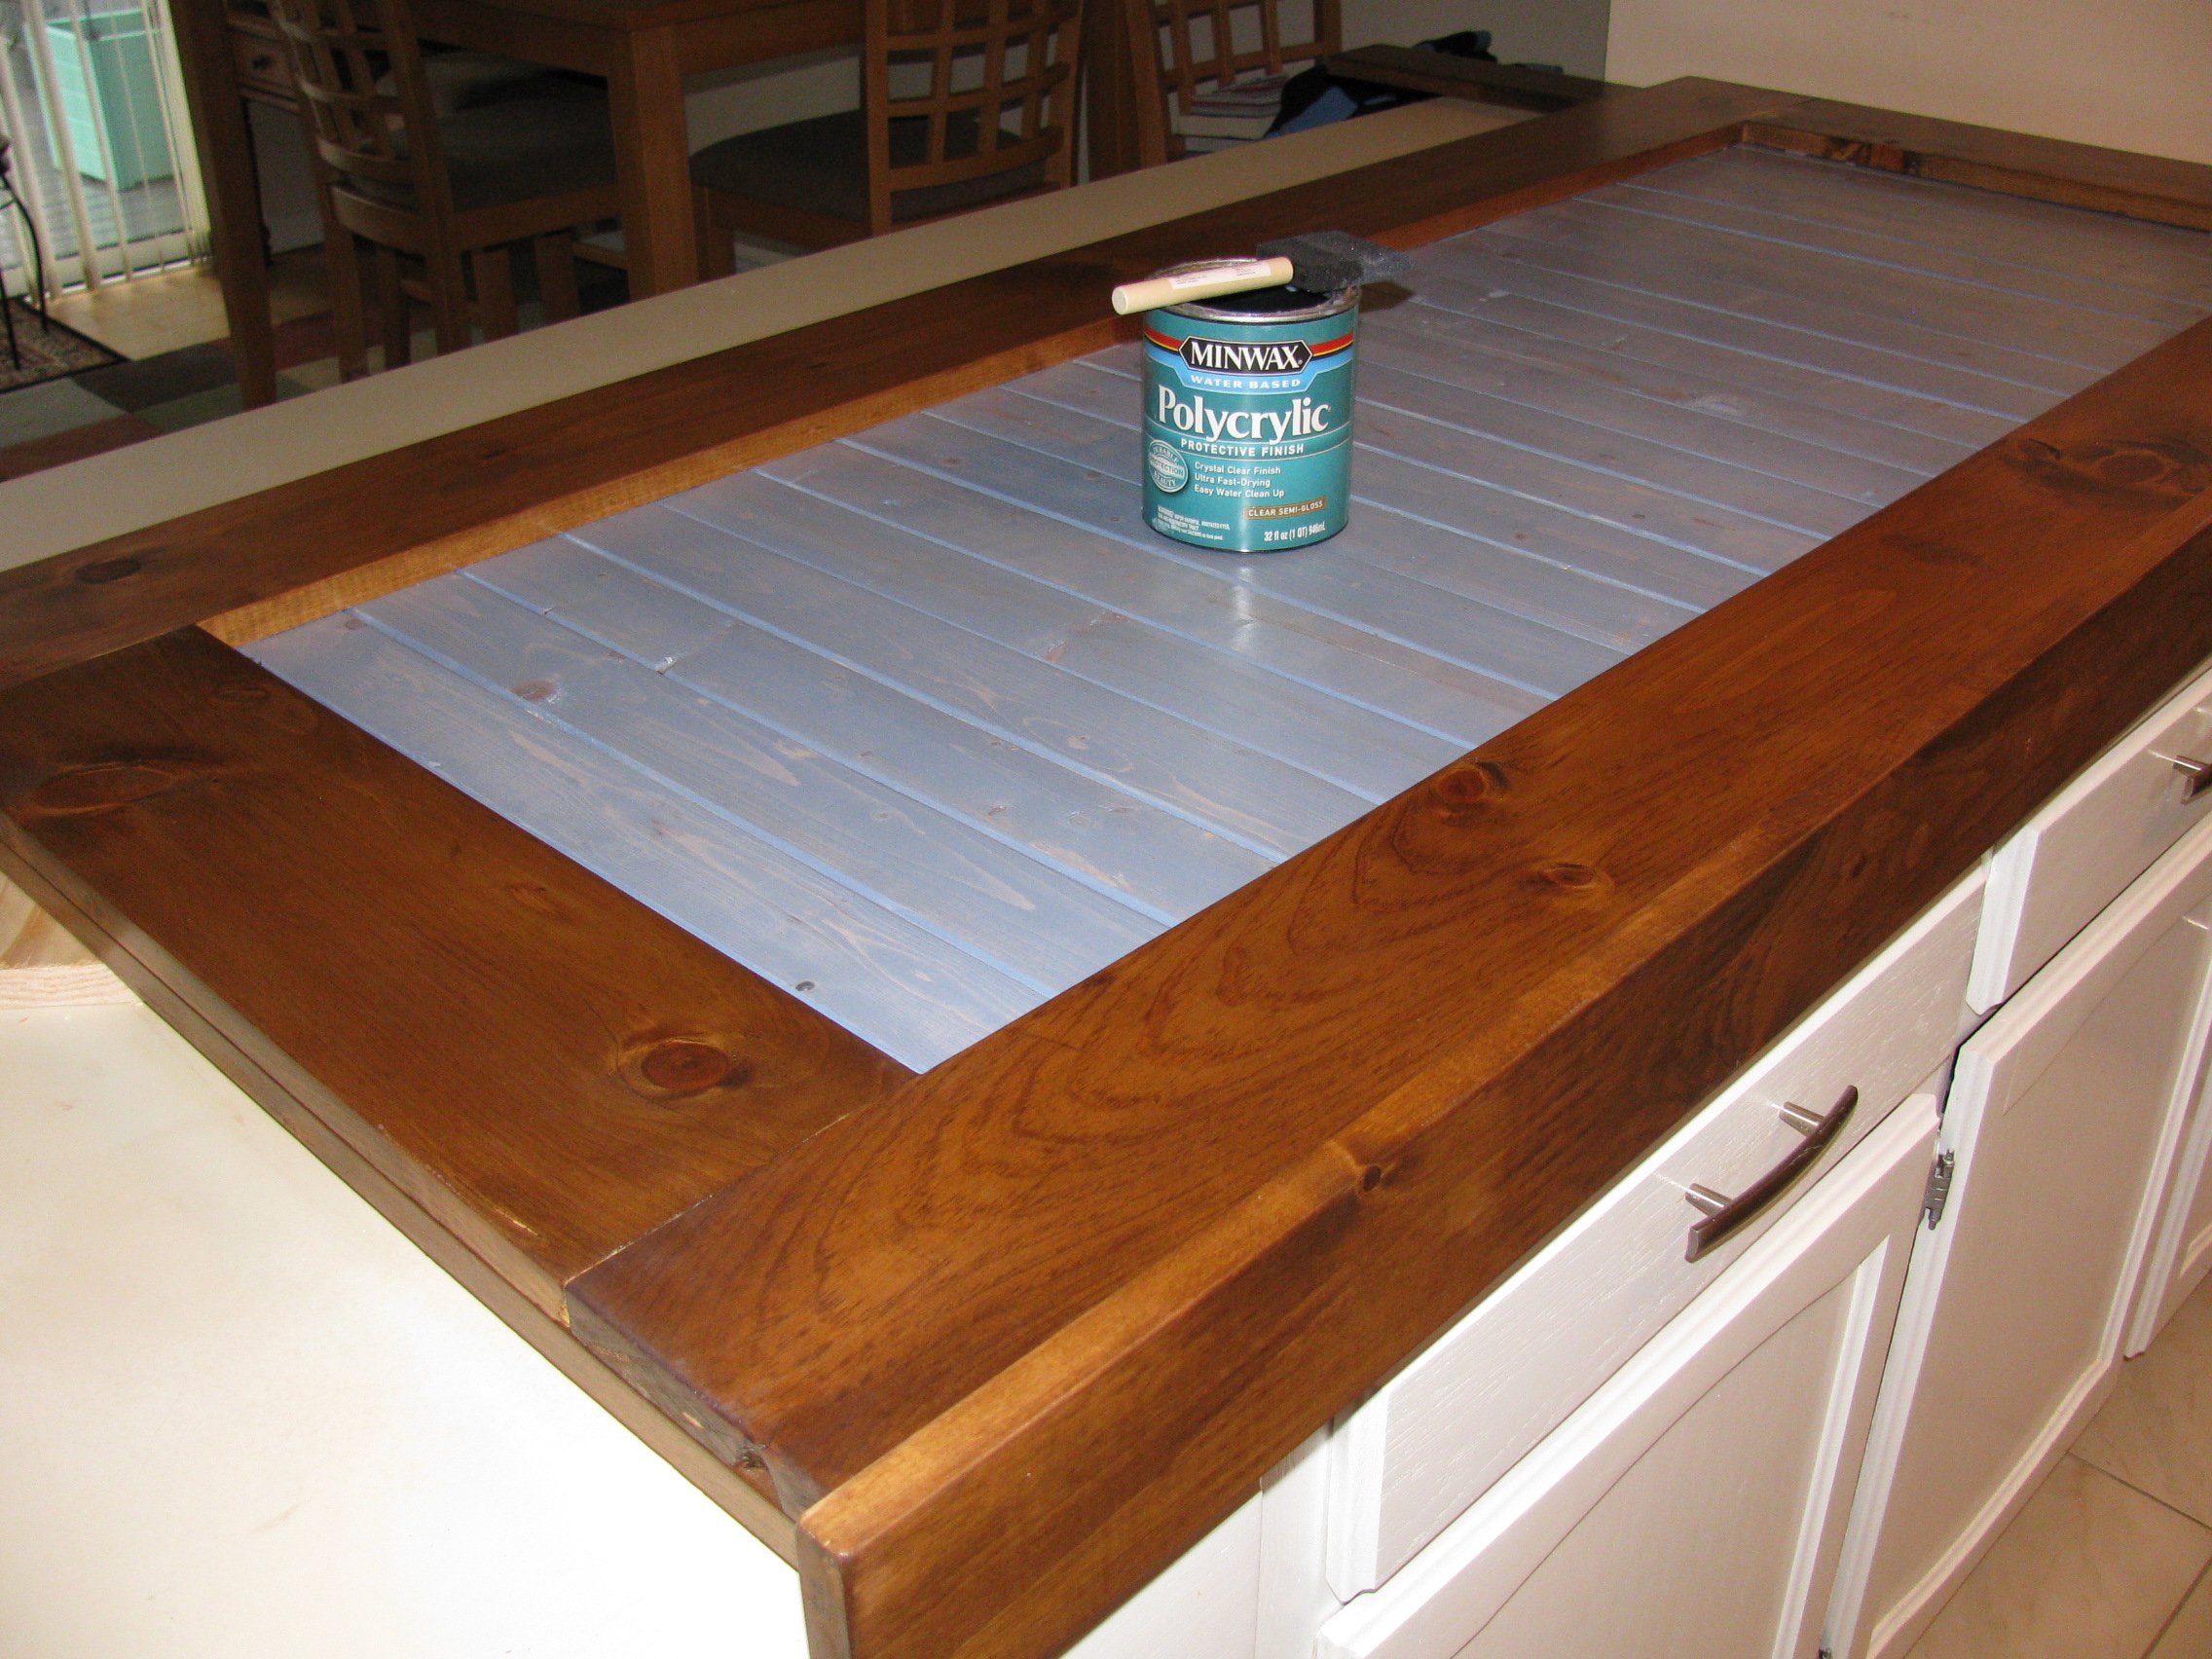
Finish Used
spray paint, and minimax stain with poly on top
Recommended Skill Level
Beginner


Comments
Ana White Admin
Tue, 01/19/2016 - 14:22
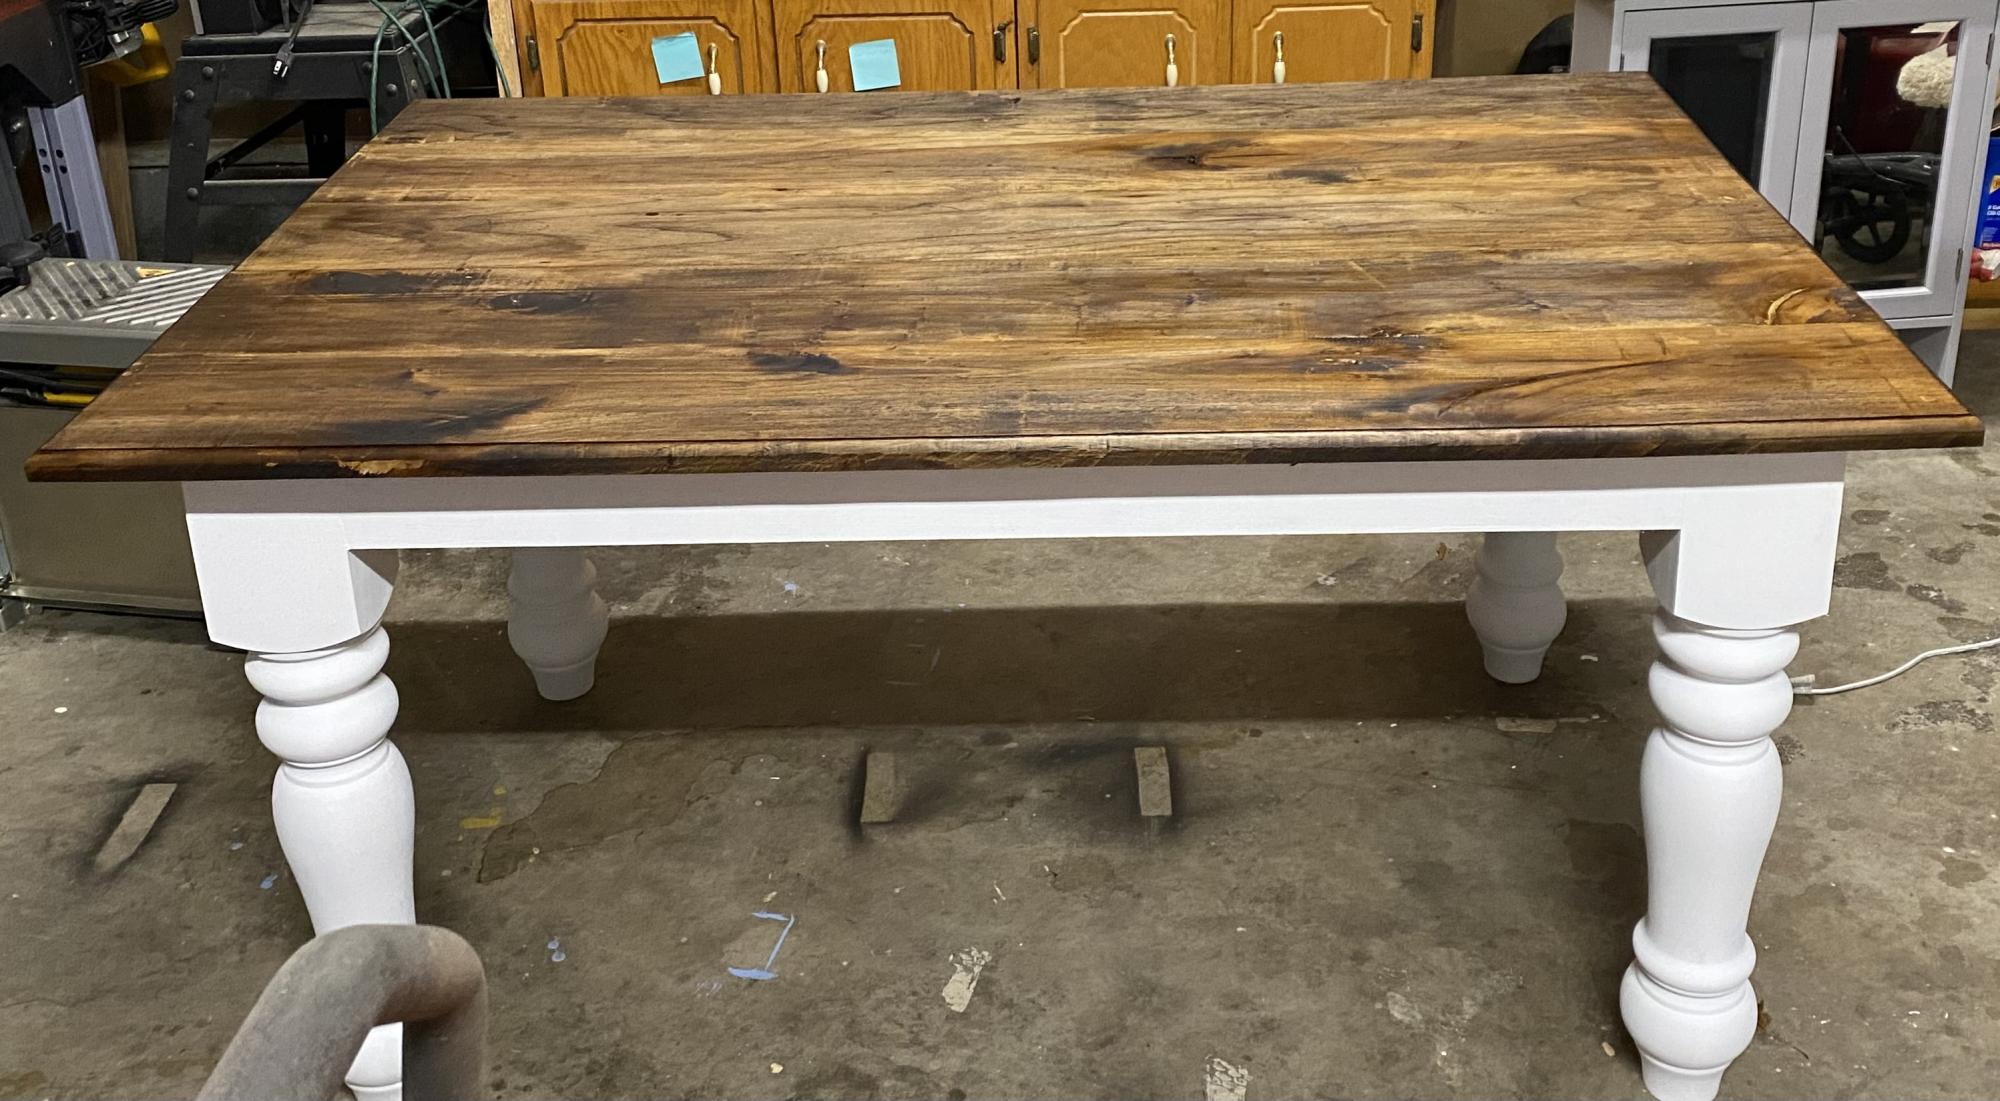
Love the cedar top
Just beautiful, thanks for sharing!
Ren
Wed, 01/20/2016 - 05:25
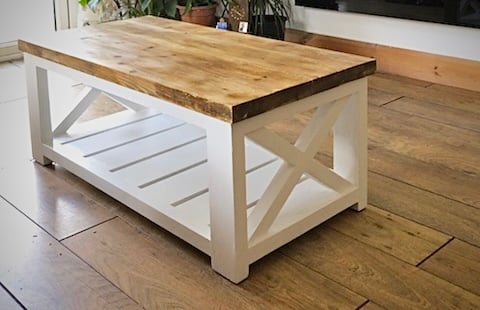
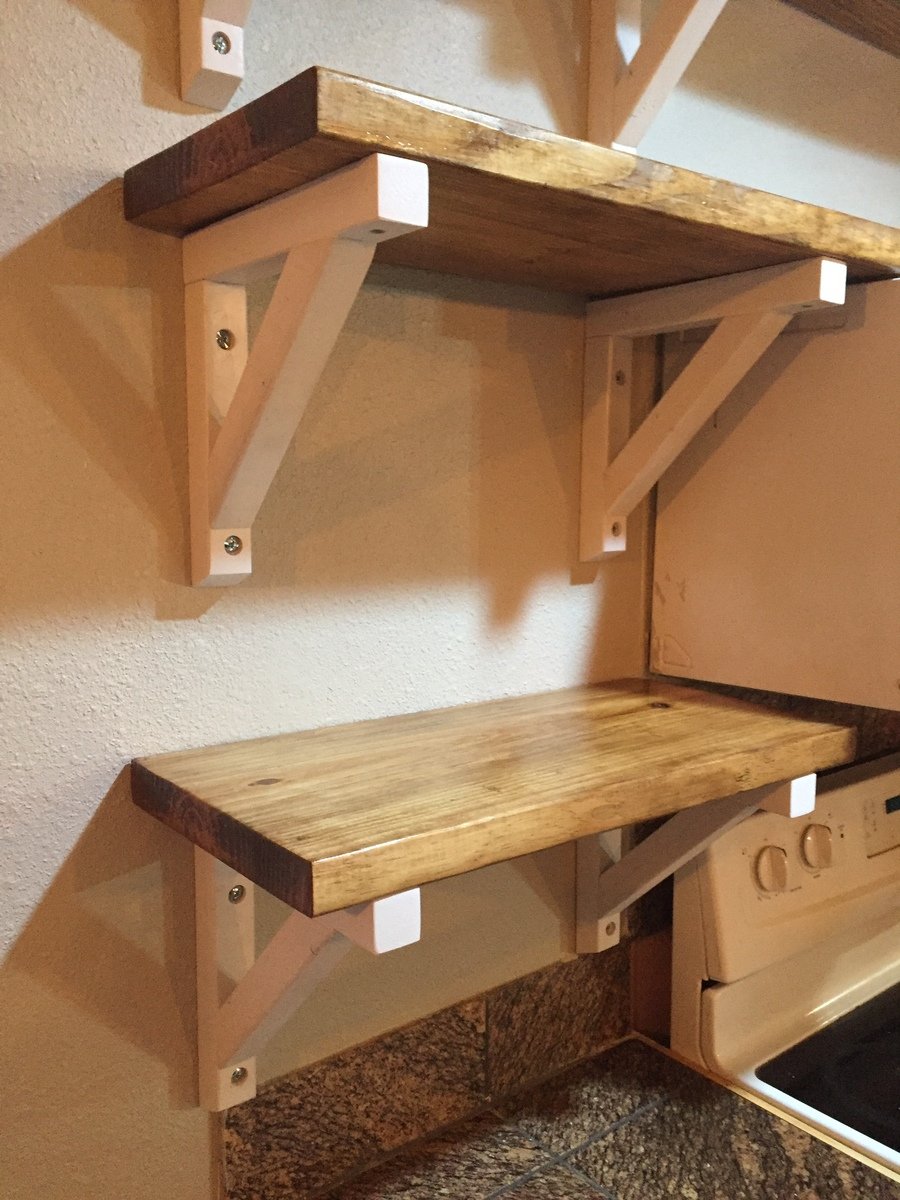
The frame
What kind of wood did you use for the 2x2's?
ikexcrunner
Sun, 02/14/2016 - 05:52
stain
what minwax stain did you use for the top