Community Brag Posts

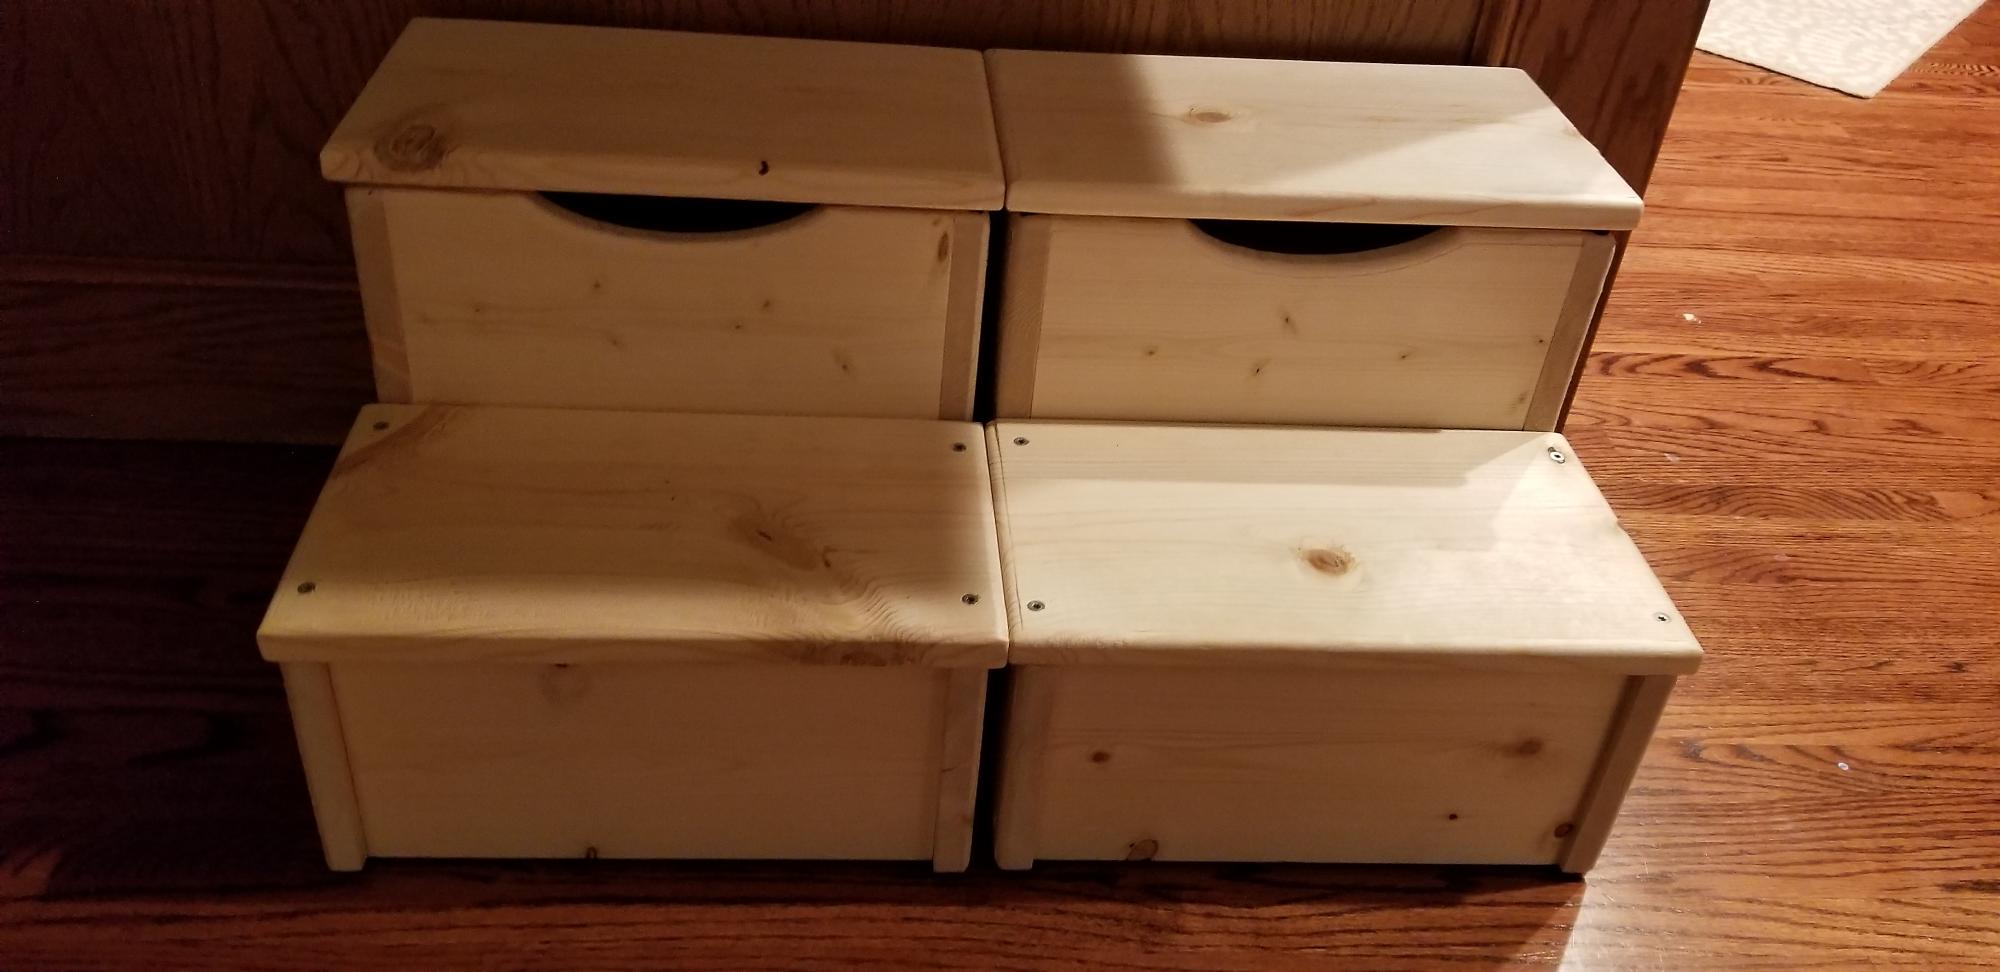
Kid's Storage Step Stool
Submitted by Anonymous (not verified) on Mon, 07/27/2020 - 07:54

I'm a beginning wood worker enthusiast. I've been slowly collecting plans, tools, supplies and I'm certainly not efficient when it comes to projects- even "beginner" projects like this.

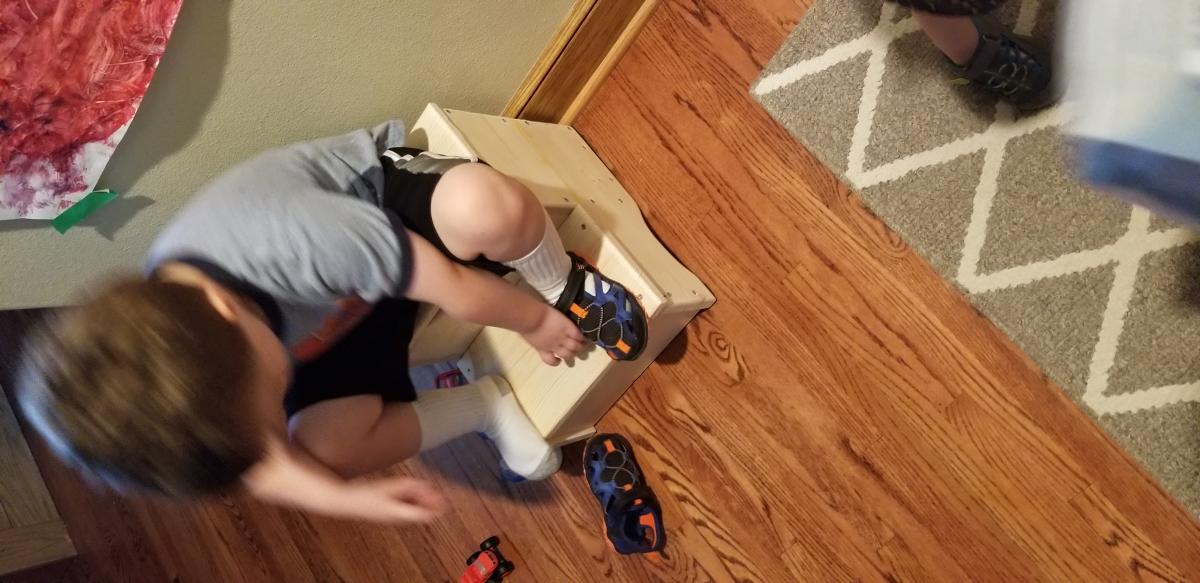
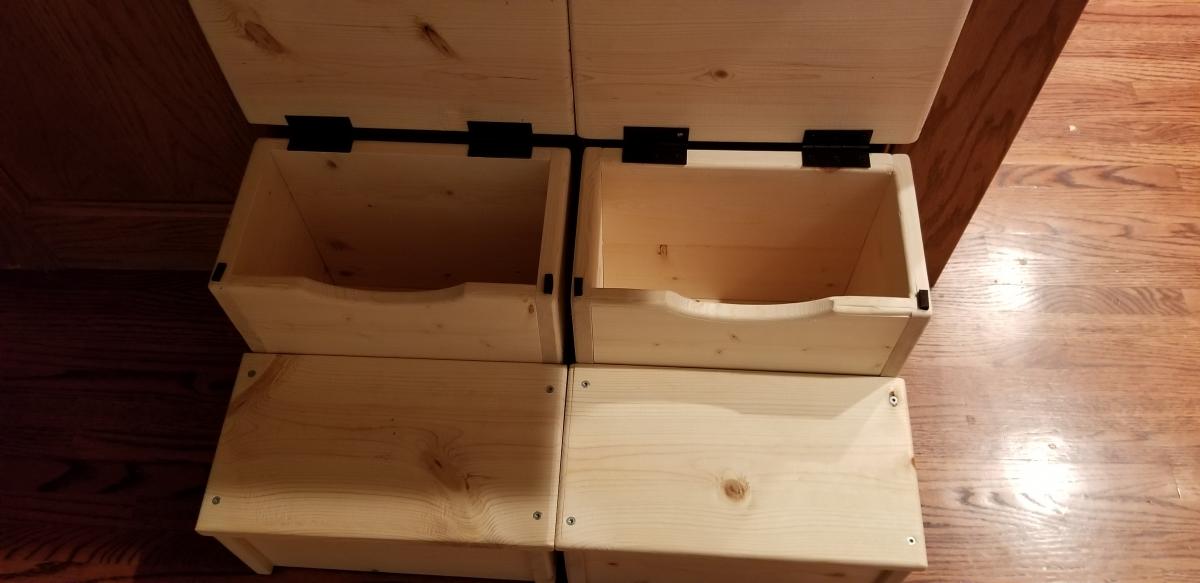
While there's still more finishing to do, I cranked these out over the weekend with a myriad of interruptions - so it's hard to say how long these would really take. I didn't have 12" boards, so glued 1 x 6" pieces together into the shape I needed. Then assembled each with 1 1/4" screws, routed the sides, sanded and cleaned them. The kids will paint them their favorite colors and then I'll put a clear coat on top to finish them up. Once painted and ready, I'll add hands to each side as well as rubber runners to the bottom for stability. These are really nice for toddlers to use while they put on or take off their shoes and put into the storage bin.
Built from Plan(s)
Estimated Cost
~ $30/stool
Estimated Time Investment
Weekend Project (10-20 Hours)
Finish Used
A few things:

1) Assembly of the stool- I assembled mine by fitting them together and using 24" clamps to hold them in place, adjusting each part so it was square to the other parts (sides to front/back pieces, etc. then pre-drilled and assembled with 1 1/4" screws placed at even intervals. Many of the brag posts look like people glued them together. Wood gluing is great which is often stronger than screws- the wood itself will give way before the glue does, I've seen proof of it. At the time of my construction, I needed to assemble them and use them right away so I opted for screws instead.

2) Adding the hinge- Duct-taping it to test out the best fit works really well, but there are at least 3 ways to attach this:
a) hinge on the inside of both the stool and top step
i) non-flush - allows for a felt stopper to minimize wood to wood noise when closing.
ii) flush - mortise or rout out the 1/8" (or whatever the depth of your hinge is) space for the hinge by tracing the hinge location and using a short depth mortise bit OR using a set of wood chisels- not everyone has a router (I had to borrow one from the in-laws...)
b) hinge on the back side- no mortise needed, but be aware of how far back you want the step lid to be able to go, full or 90 degrees from the start.
c) hinge on the inside of one side- i.e.: have the hinge on the outside of the stool and the inside of the step or vice versa.
3) The finish- Mine is still a work in progress- My kids are going to do a family project day with me and paint them their favorite colors. Once they finish painting (with touch-ups by Dad) I'll finish it with a top coat to seal/protect the paint.
Recommended Skill Level
Beginner

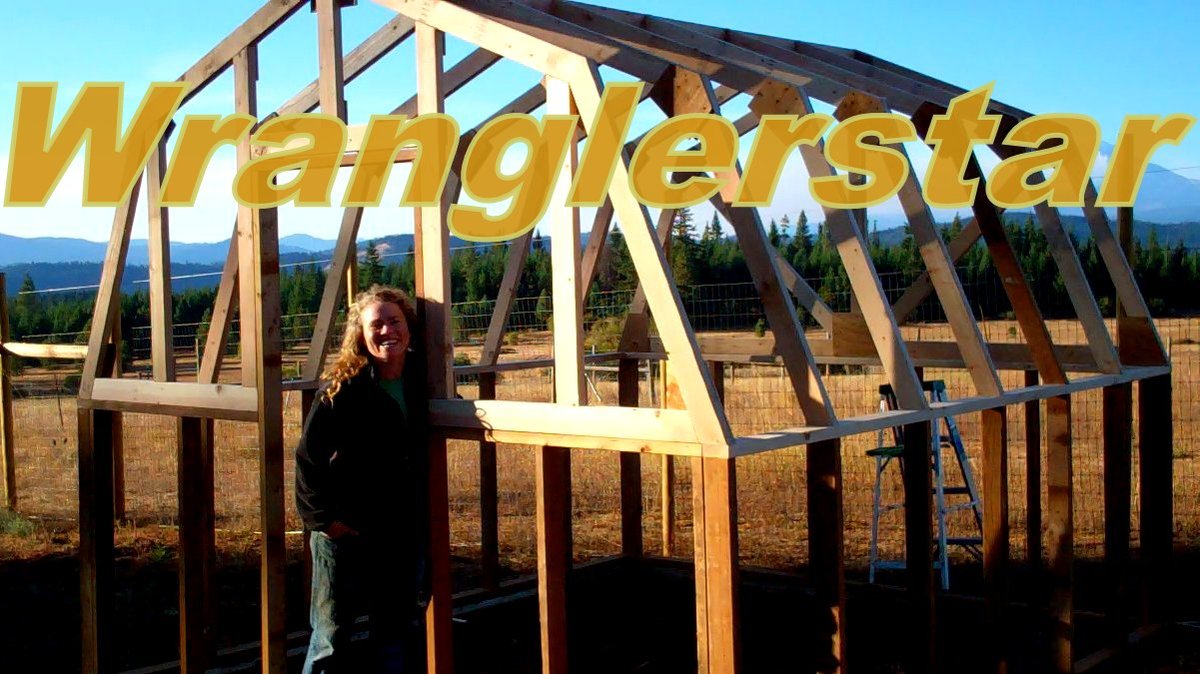
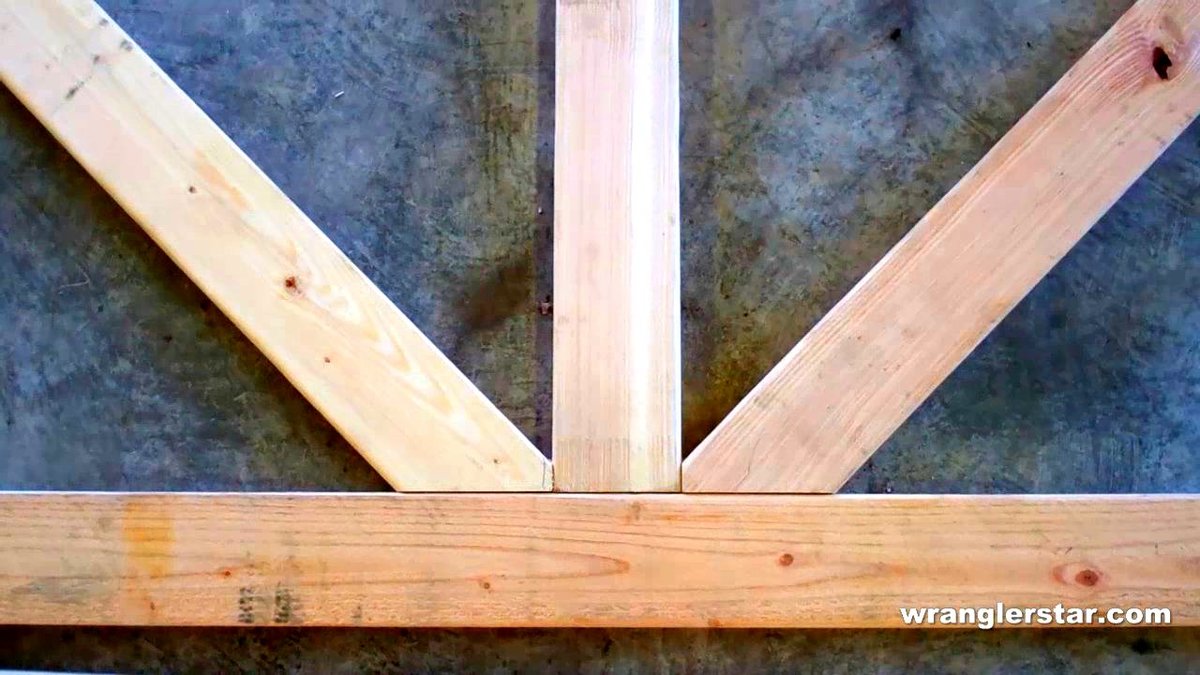
Wranglerstar Greenhouse

Thank you Ana for the excellent plans. We have been talking about this for months and are excited finally have a greenhouse. We live in the mountains and this will help extend our growing season. Please tell Ram thank you from the Wranglerlerstar family.

Built from Plan(s)
Estimated Cost
$750
Estimated Time Investment
Week Long Project (20 Hours or More)
Finish Used
stain
Recommended Skill Level
Advanced

Comments

jnow8687

Sat, 08/31/2019 - 12:34

Did you extend the base height? I want a greenhouse to enclose trees that do not do well in the winter and I think I would like to raise the base height a foot or so.

Skyscraper desk and modified locker

Submitted by ibthemom on Mon, 07/28/2014 - 17:57

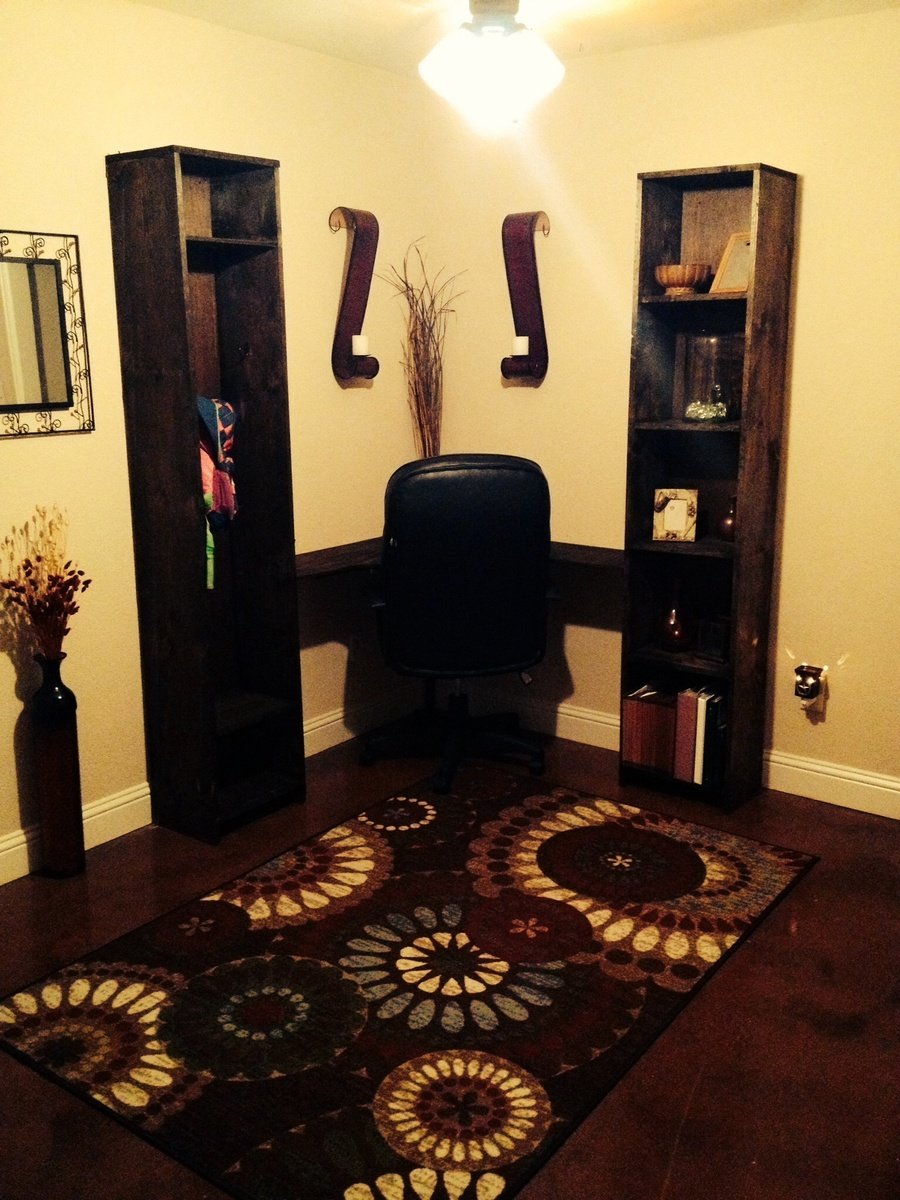
This was my first ever project! I built the skyscraper bookcase and then built a second one, only modifying it to make a locker style cabinet for backpacks!

Built from Plan(s)
Estimated Cost
$80
Estimated Time Investment
Weekend Project (10-20 Hours)
Finish Used
Minwax Jacobean
Recommended Skill Level
Beginner

My helper tower

Submitted by minhnguyen on Tue, 11/08/2016 - 07:20

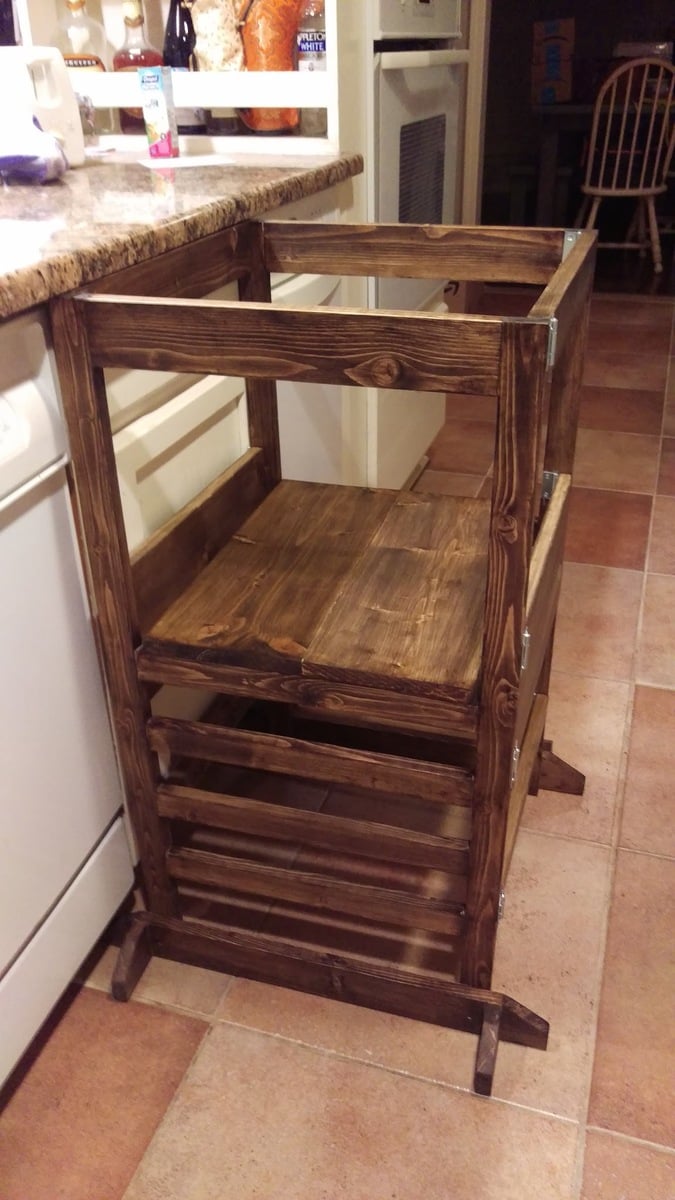
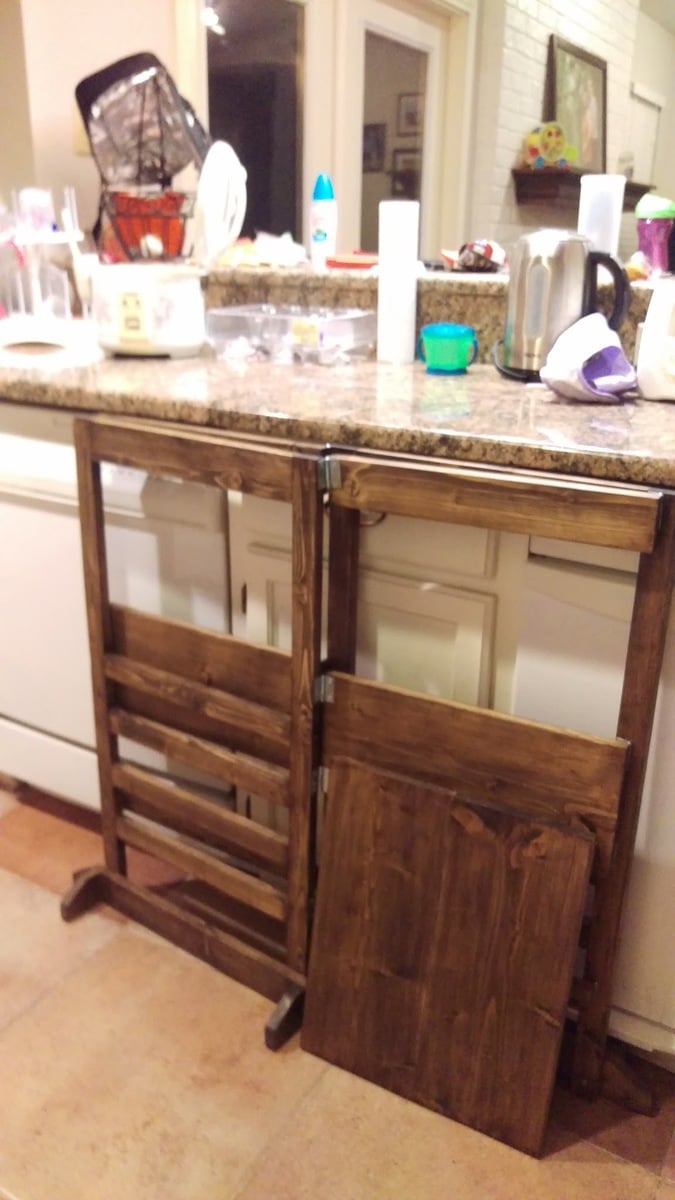
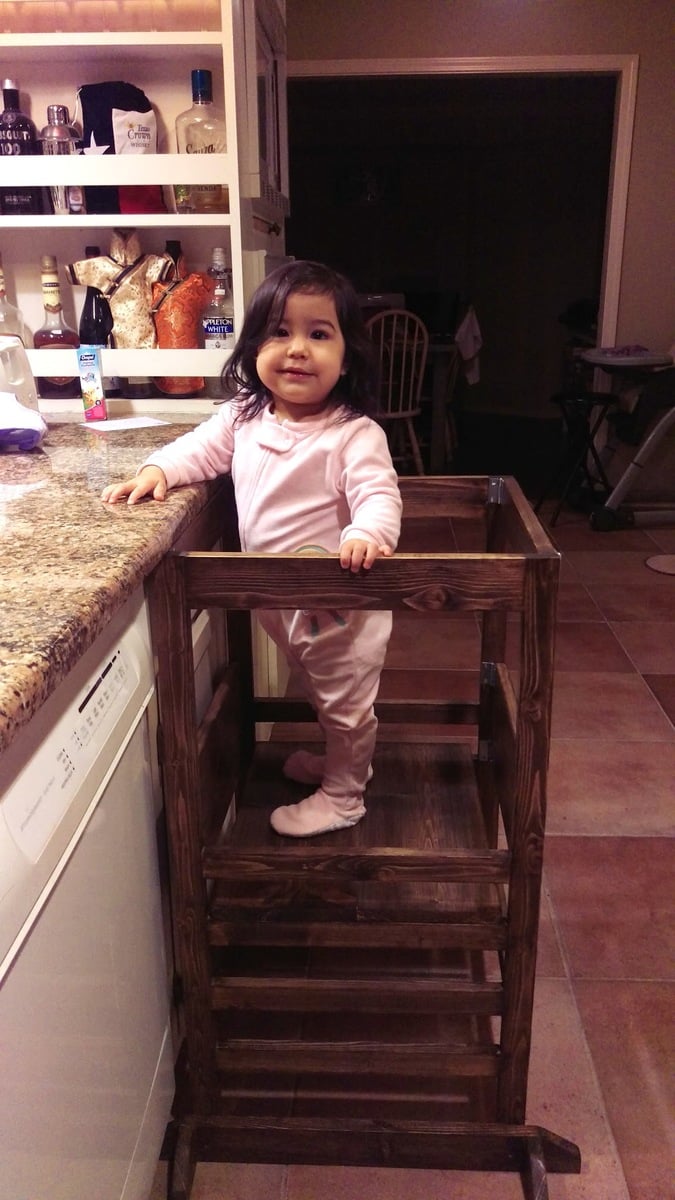
So glad I found these plans! I couldn't bring myself to spend $200 on the commercial ones. I built this for my 17-month old daughter since she always wants to be in the kitchen with me but always ends up under-foot. This gives her a safe place to be contained and up high so she can see what I'm doing. I don't have a jigsaw so no curved top or anti-tip feet for us but I wanted it straight anyway so that it would slide neatly under the counter over-hang. I did round off the ends of the anti-tip with the sander. I also shortened the height to 34 inches; all other measurements are as instructed.
 

I had to do my cutting in the garage during naptime since she always has to be where I am. Same with the drilling. So this project spanned several days but altogether did not take too long at all. I used 2-1/2'' screws instead of attempting pocket screws - I have a mini Kreg jig but after reading the comments and other people's pictures, I decided I didn't want to risk splitting the wood and having to make another trip to Lowe's with the toddler.


I assembled the ladder-rung sides & platform pieces then gave everything a once-over with my orbital sander before handing it over to my husband for staining (he enjoys it - it gives me a headache). After 3 coats, he did a final "sand" with fine steel wool which left a super smooth surface. I finished the assembly with the 1-1/2 narrow hinges - USE CLAMPS! 

Built from Plan(s)
Estimated Cost
$50
Estimated Time Investment
Weekend Project (10-20 Hours)
Recommended Skill Level
Intermediate

Nice little coffee bar for my wife

We are running low on counter top space so I built this little coffe bar to house all things coffee for my wife!

Built from Plan(s)
Estimated Cost
$40
Estimated Time Investment
Afternoon Project (3-6 Hours)
Finish Used
Minwax provincial 211 stain and a couple coats of Minwax clear gloss poly.
Recommended Skill Level
Beginner

Simple White Patio Sofa

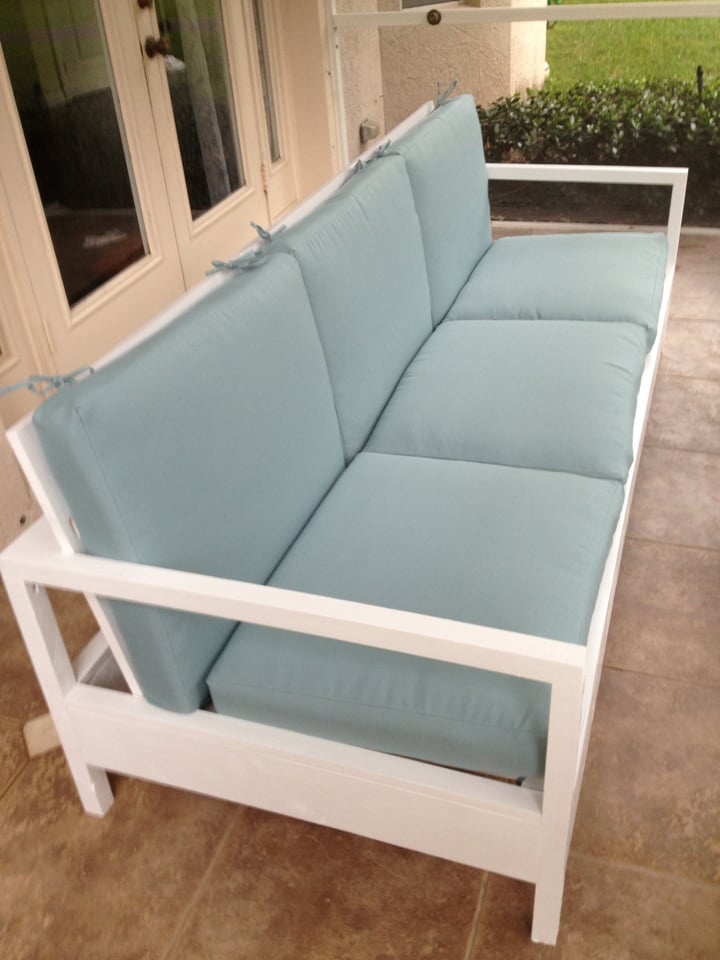
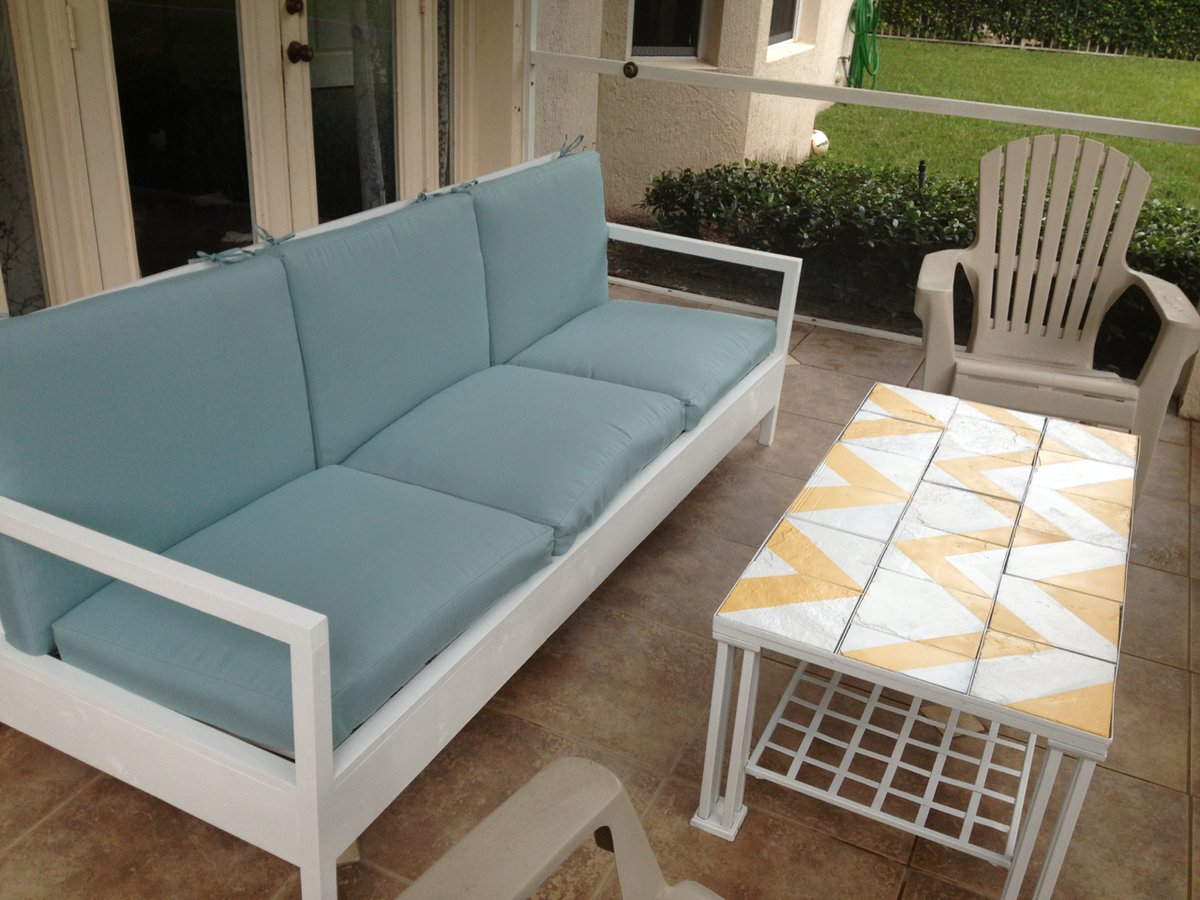
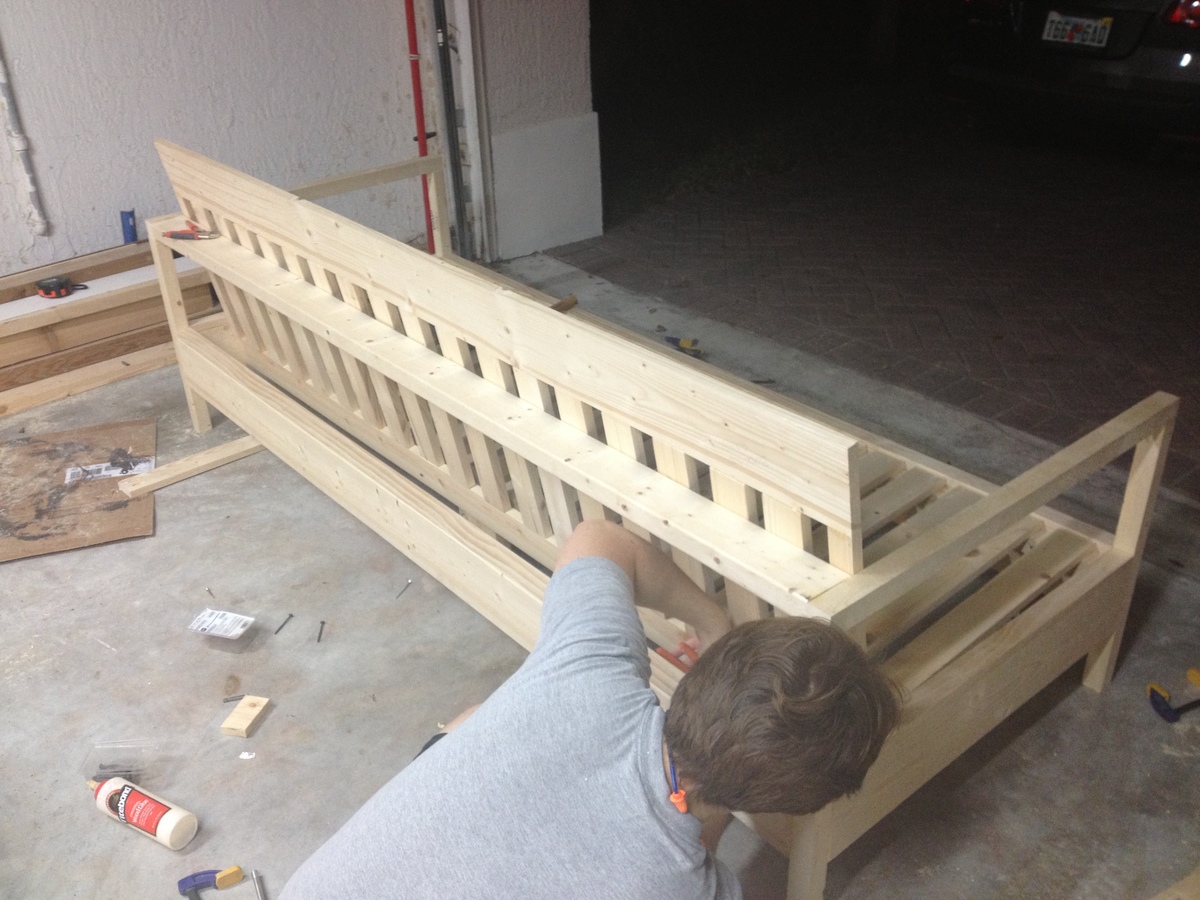
This was one of my favorite DIY projects. It's so much more affordable than buying patio furniture, and the building instructions make it sturdy as ever.

I built this with my fiance, who you'll see in the image of the in-progress bench. It was a snap for us, since we have a fair amount of experience building our own furniture. With the right tools, this project can take only two days, including wait time in between coats of paint and varnish.

We made our sofa to fit the cushions we found, and thus, the sofa is actually 84" wide, instead of 72" wide. By doing this, we also eliminated the need for a love seat, and instead are in the process of making two chairs to match this sofa. All in all, our patio will seat 6, which is what we were aiming for.

TOOLS
The most important part of making this an easy, fun project is having the right tools. I highly recommend you purchase or borrow:
- Compound miter saw
- Kreg jig
- Square head screws (stripping these is nearly impossible)

Estimated Cost
$300 (including cushions)
Estimated Time Investment
Weekend Project (10-20 Hours)
Finish Used
Exterior satin white (stay away from spray paint, since it's less efficient and more costly)
Exterior spar varnish in aerosol can for extra outdoor protection
Recommended Skill Level
Intermediate

Comments

Modified Simple Rolling Bar Cart

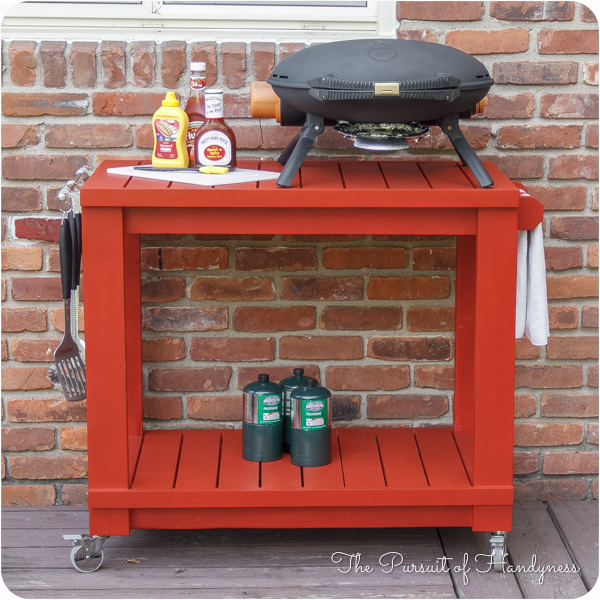
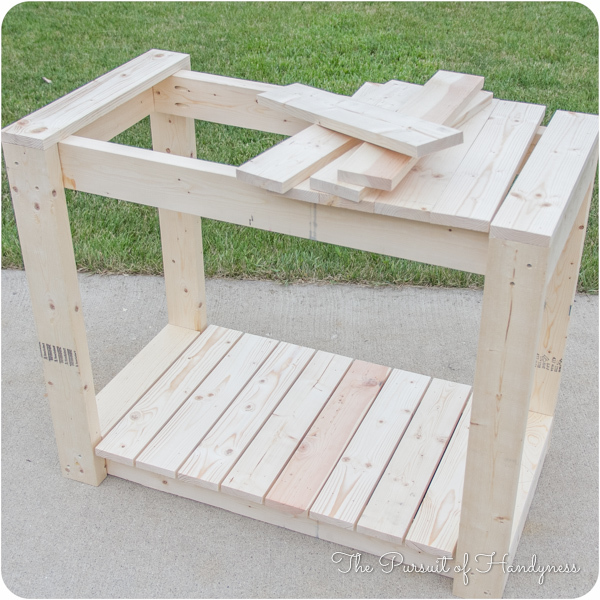
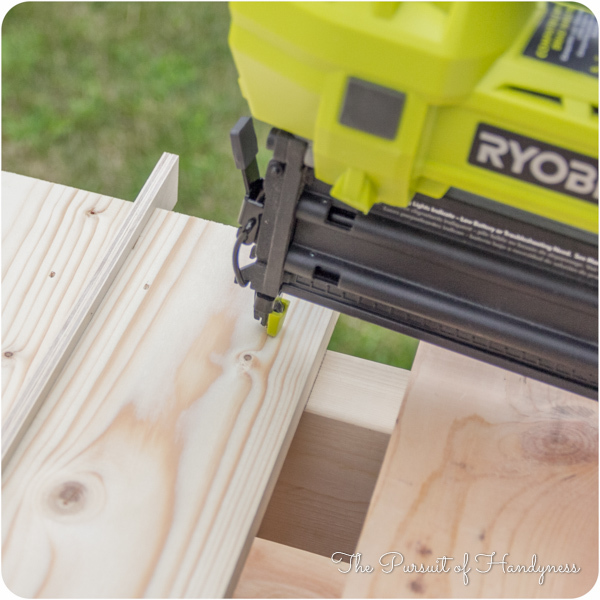
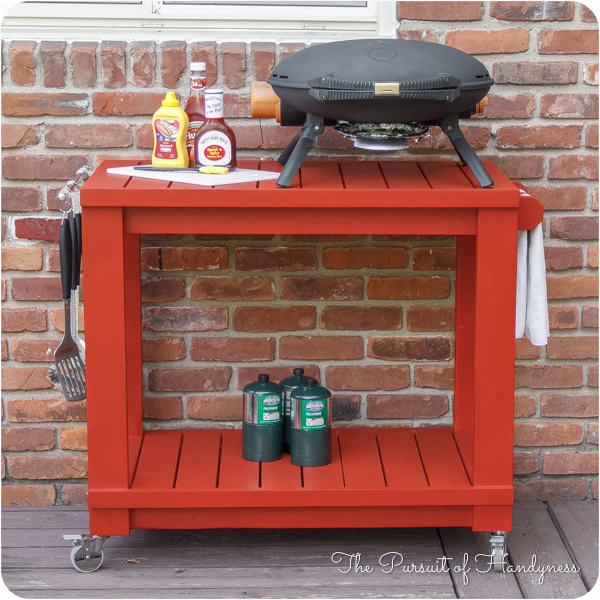
I honestly think Ana is a mind reader. Whenever I need plans for a particular piece of furniture, they magically appear on her site. Of course if she was a true mind reader, everything will be exactly as I need it requiring no modifications. That's what makes her plans so amazing. I can build bigger and better because I've learned to modify her plans to fit my current needs.

This Cart was no exception. I had to make mine a few inches deeper and change the height of the legs and it was a piece of cake. I put this together in less than 2 hours and finishing was easy too.

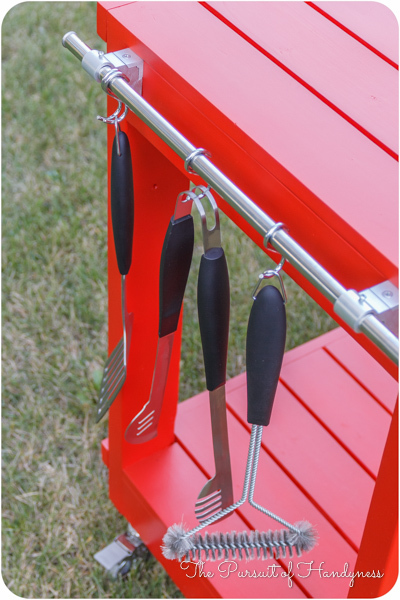
I did a blog post all about what I did differently including how I constructed a towel bar instead of the pipe. Check it out at www.thepursuitofhandyness.com

Built from Plan(s)
Estimated Cost
$25 Depending upon the type of casters used
Estimated Time Investment
Afternoon Project (3-6 Hours)
Finish Used
Oil Based Primer & Rustoleum Painters Touch Spray Paint in Paprika Satin
Recommended Skill Level
Starter Project

Farmhouse Media Cabinet

Submitted by Anonymous (not verified) on Sun, 11/13/2016 - 19:05

Super excited for my new media cabinet!  I painted my cupboard doors white and added L brackets on the inside of the doors for support.  I had never worked with crown molding before so this was a great starter project on how to cut crown.  My cost was kept down by using supplies such as paint and hardware that I already had. 

Estimated Cost
$80
Estimated Time Investment
Day Project (6-9 Hours)
Finish Used
Sherwinn Williams Pro Classic - Extra white
Recommended Skill Level
Beginner

Comments

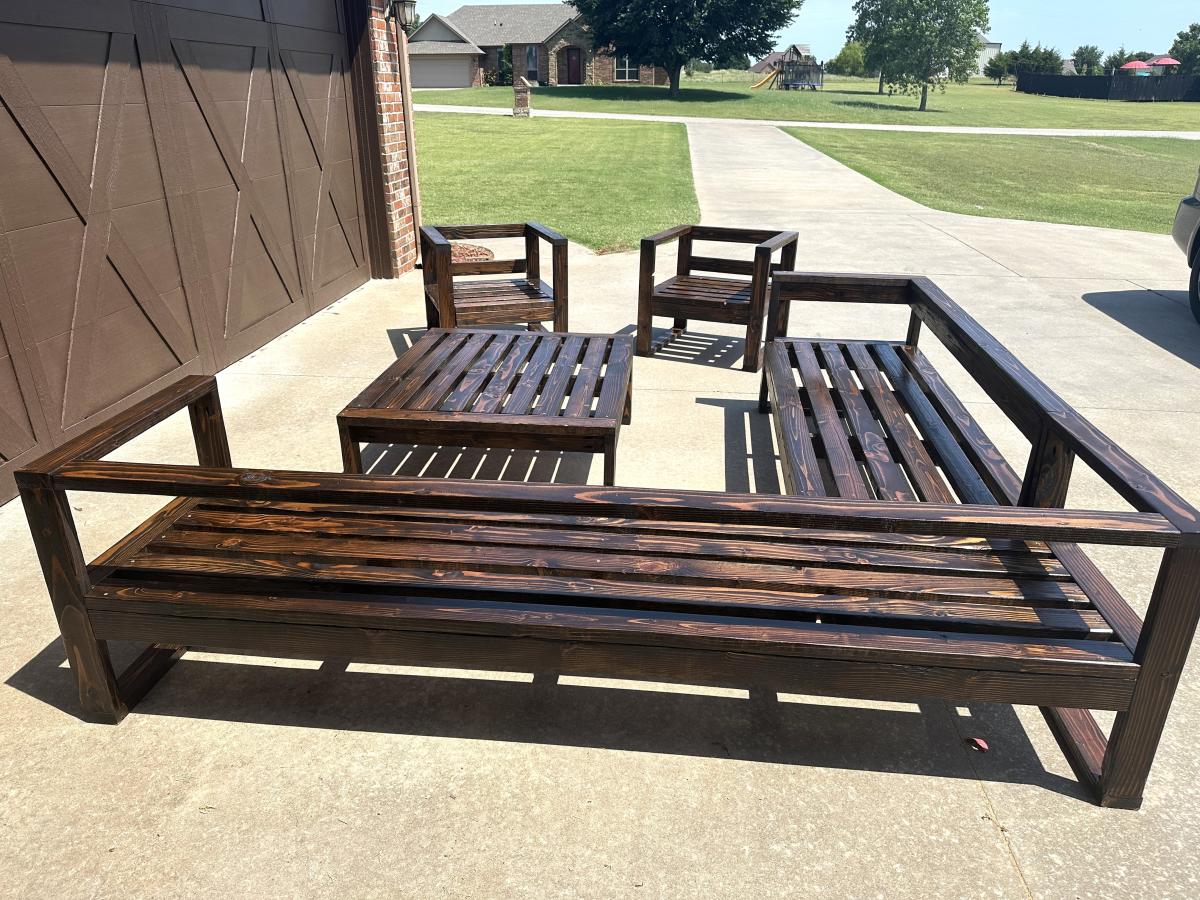
Simple Outdoor Chair

Submitted by mhineman on Thu, 10/11/2012 - 08:56

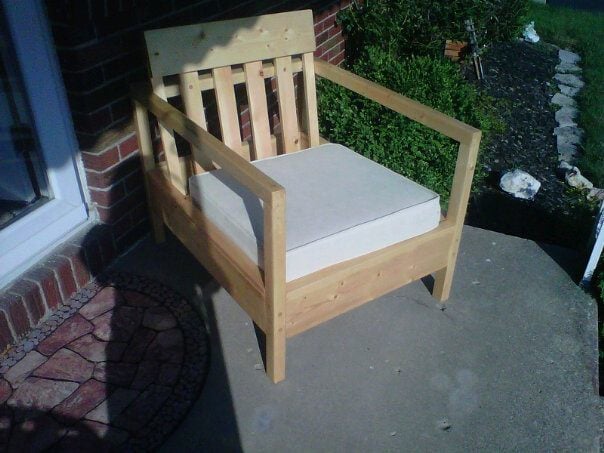
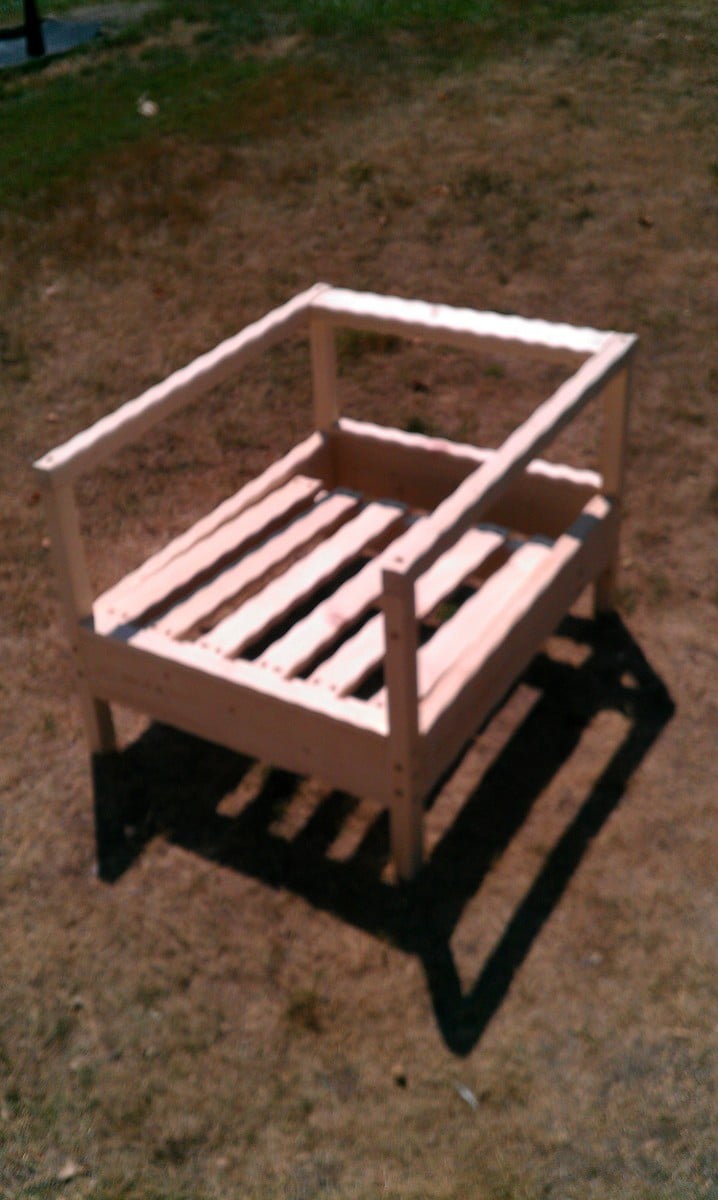
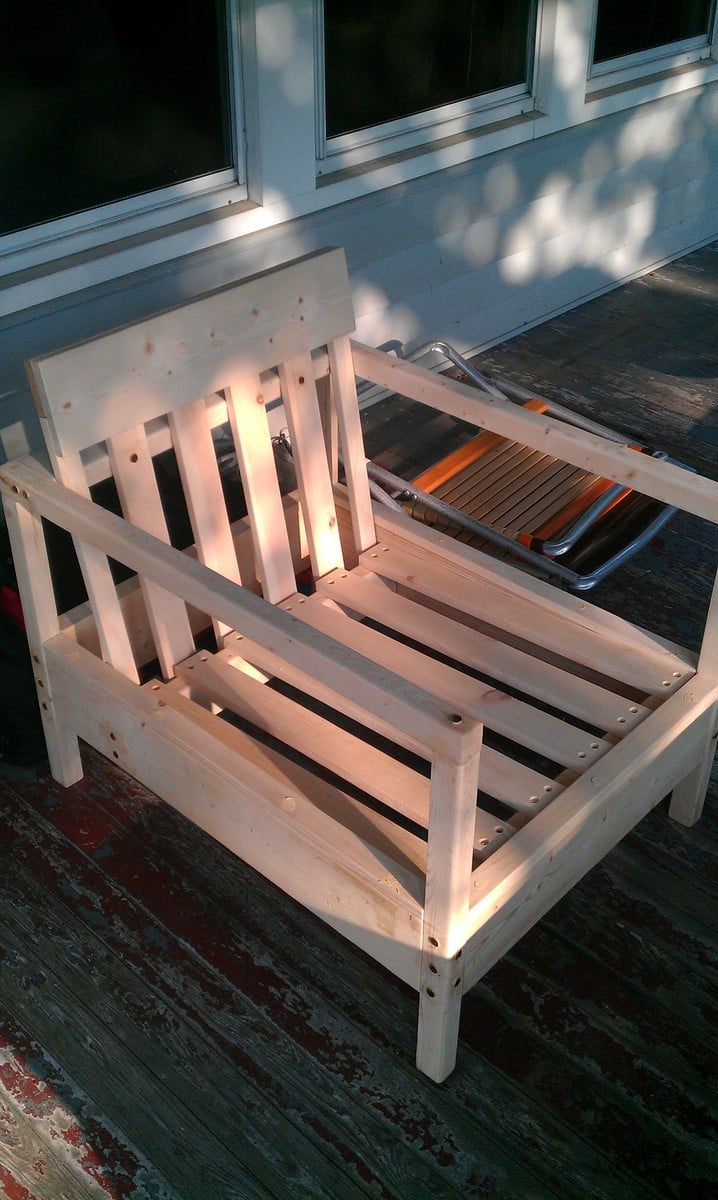
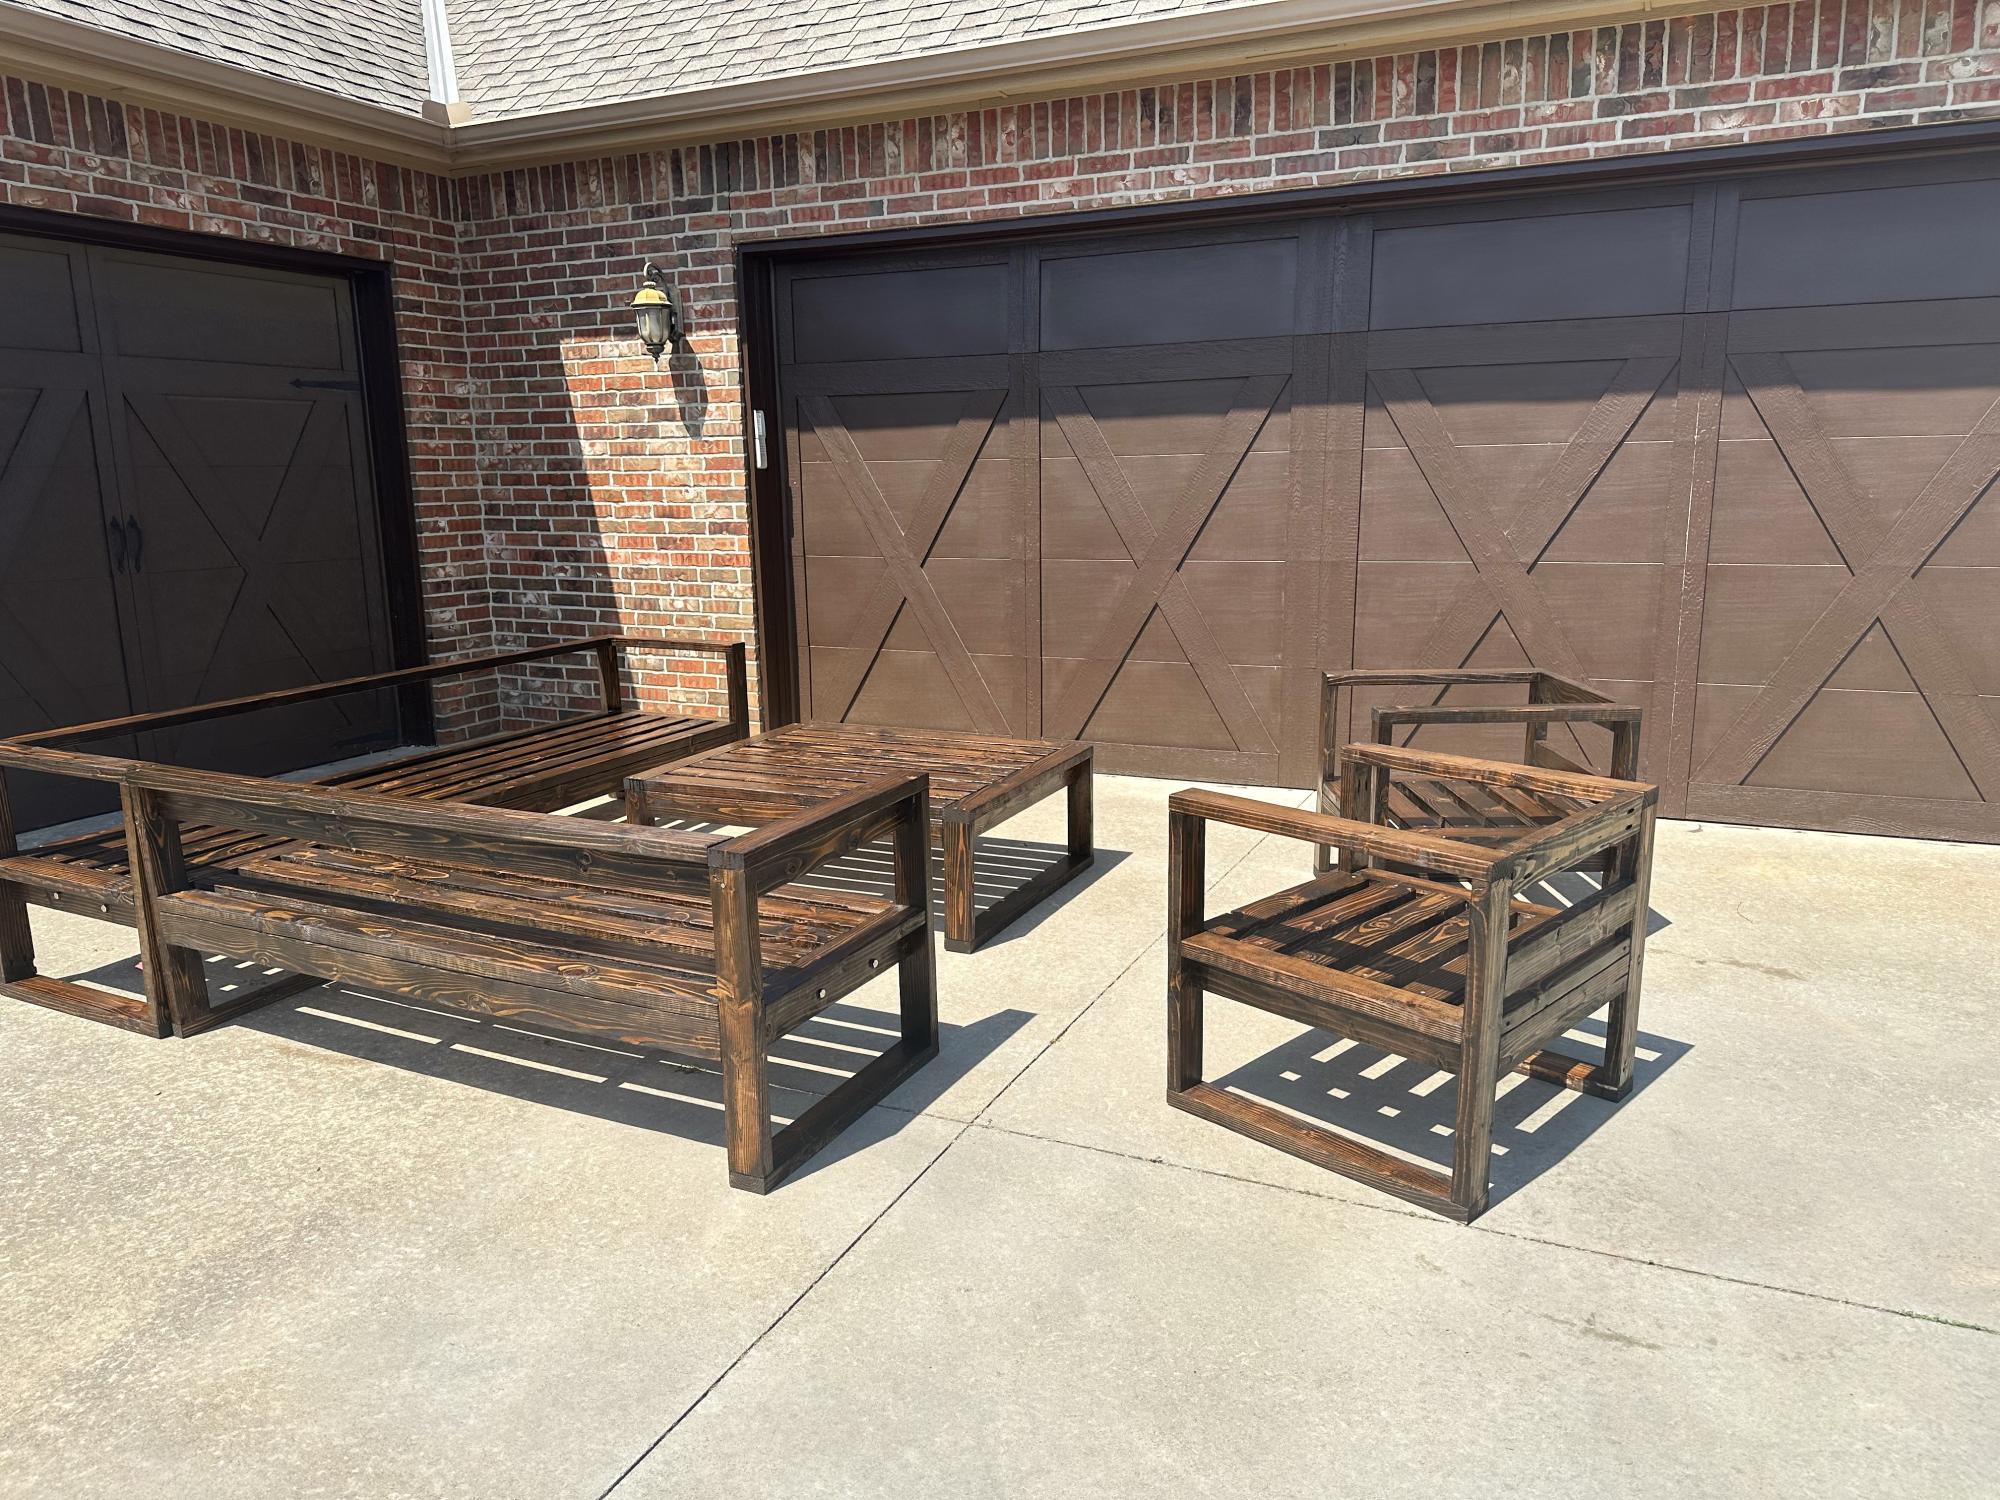
I made this chair as a part of an outdoor furniture set including a loveseat and coffee table (also featured on this site). Very simple and easy to follow instructions..I did not have a jig to create the pocket holes, so I decided to leave the screws exposed and then cover them with wooden dowels sanded down. It created a little more work but added a little more character.

Estimated Time Investment
Weekend Project (10-20 Hours)
Finish Used
Shellac only
Recommended Skill Level
Beginner

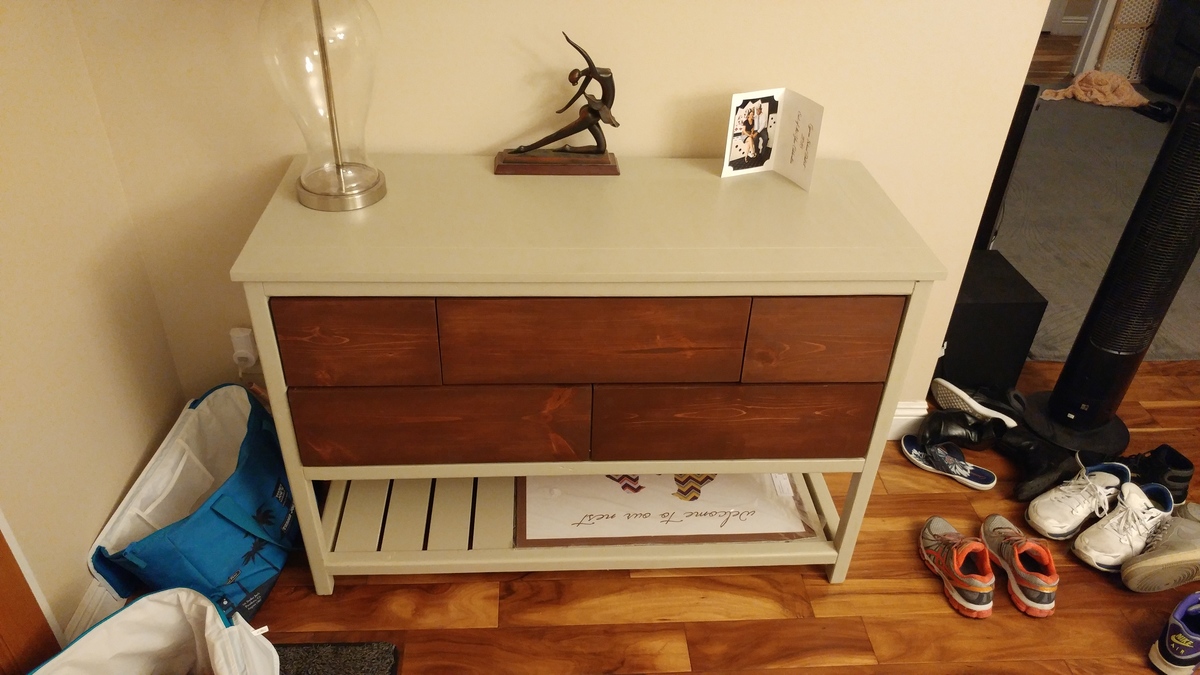
Chest of drawers

Submitted by charae22 on Mon, 08/04/2014 - 08:35

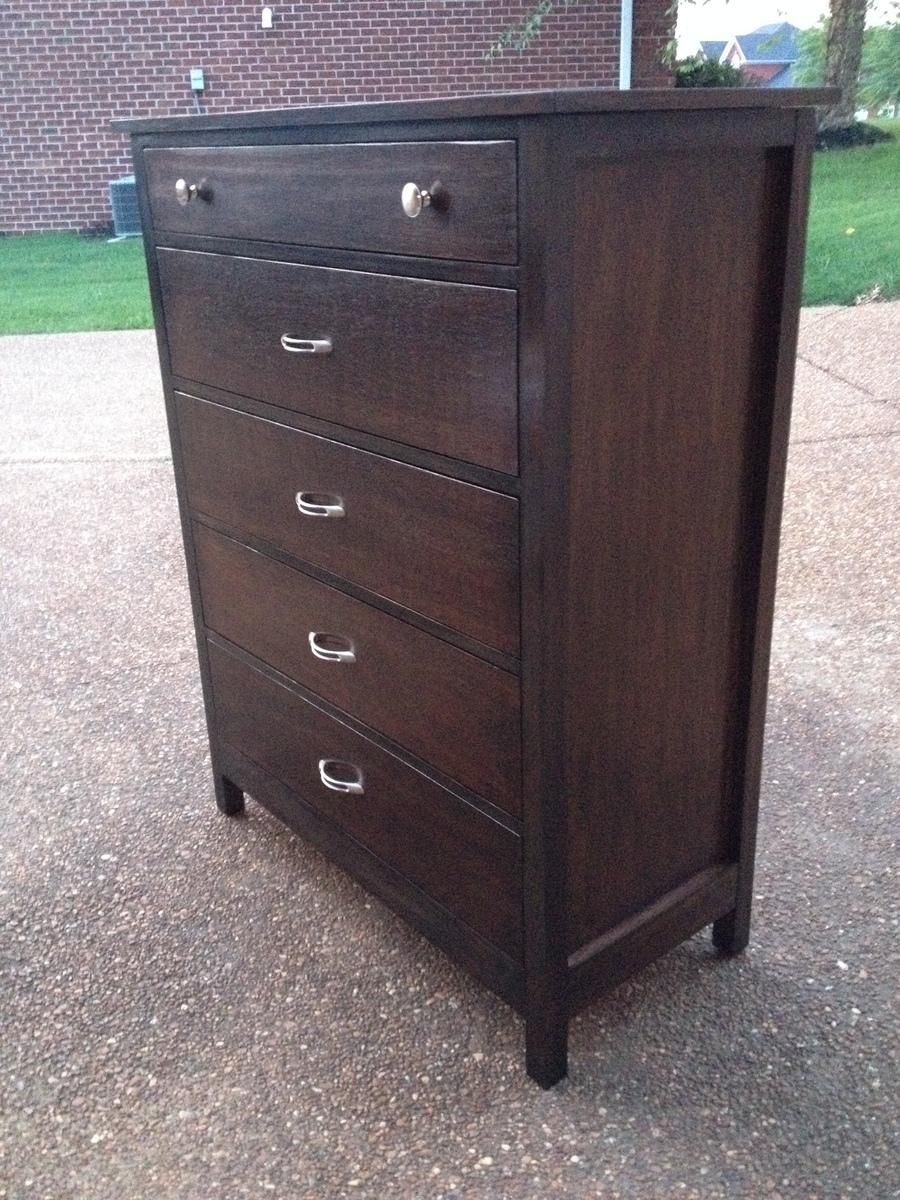
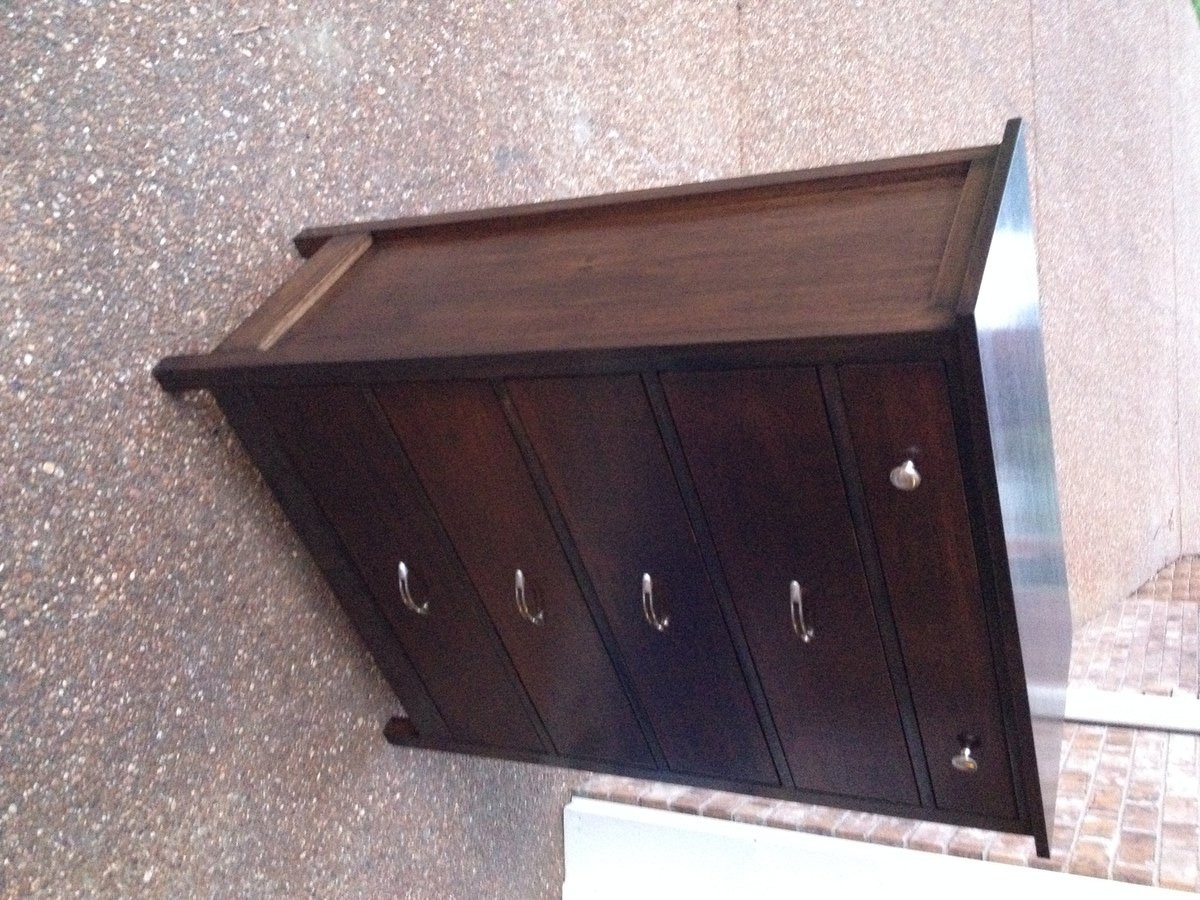
I needed this to be a little taller, so I added another drawer. Other than that, all the other dimensions were the same. I built it in one weekend, but the finishing took about 5 days (for drying time between coats). I was trying to match a baby bed (expresso) so I stained it dark. I also used plywood on the sides, top and drawer fronts instead of pine boards. It really turned out great and matched the bed perfectly.

Estimated Cost
$90
Estimated Time Investment
Week Long Project (20 Hours or More)
Finish Used
Minwax Wood Conditioner, 3 coats of English Chestnut, 2 coats of Ebony (Minwax), 3 coats of Minwax Wipe-On Poly.
Recommended Skill Level
Beginner

Comments

sharshar1960

Mon, 08/04/2014 - 11:11

LOVE the finish on this piece! Can you elaborate on the two stains? Did you alternate?

In reply to by sharshar1960

charae22

Mon, 08/04/2014 - 11:43

No, I didn't alternate. I needed the base color to be a deeper brown so it took 3 coats of English Chestnut. Then 2 coats of Ebony over the English Chestnut, to get the black, layered look. I put each coat on, then wiped it off after a few minutes. On the last layer of Ebony, I only lightly removed the stain. The brown shows through in some areas which is exactly what the bed had. I used the oil-based Minwax.

tmclifton

Tue, 09/09/2014 - 19:43

I love the finish!  Did you use the satin wipe on poly, or gloss? 

cirkit1

Wed, 10/21/2015 - 11:44

can you comment on the stain with sandeply.  did you use sanding sealer?

i have read many a comment on issues with staining sandeply but yours looks awesome.

i like the approach.

Triple Pedestal Farmhouse Table

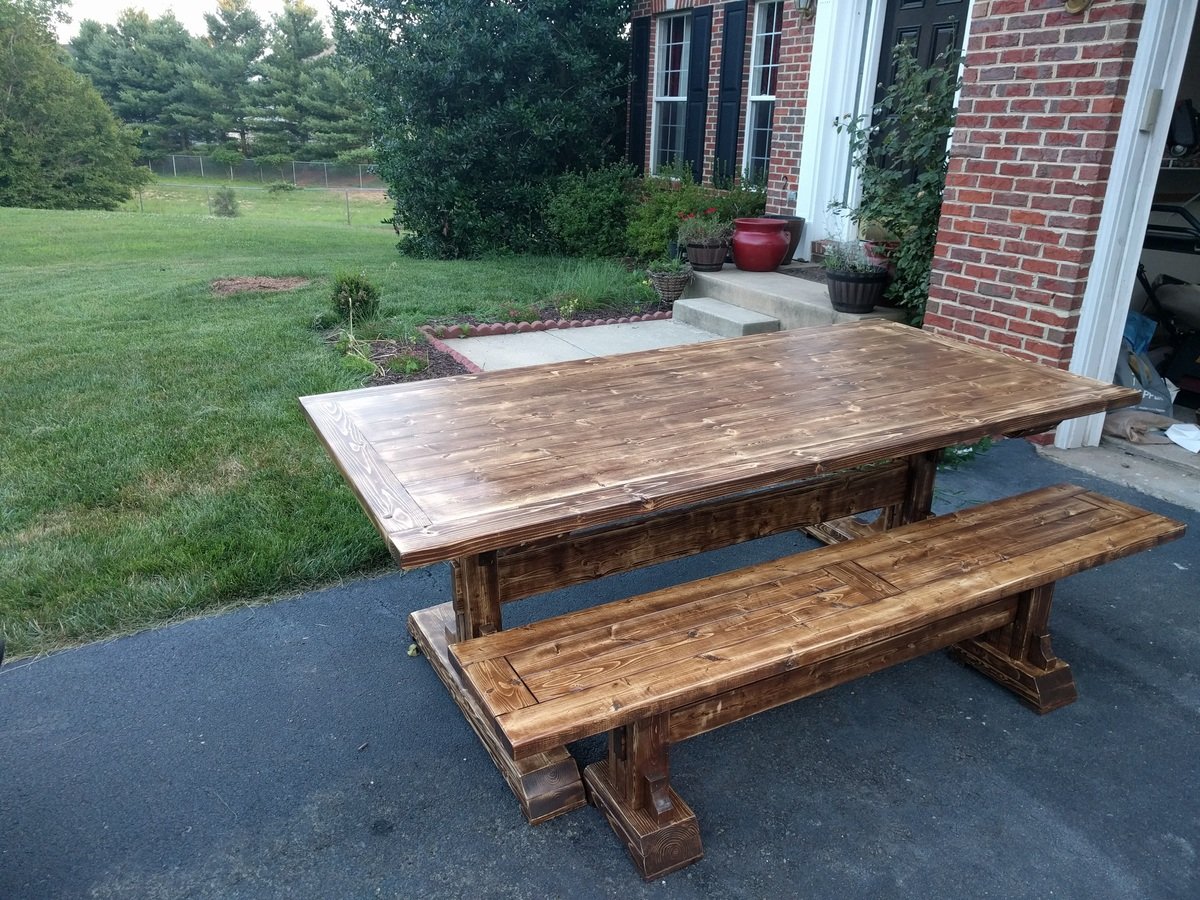
I modified it slightly by leaving off the trim around the perimeter. I also shortened the table to 84" which then only required 2 legs for a custom fit for the mom space. The finish was distressed to conceal heavy use (more like spills :-D) from kids which turned out to be a home run with moms

Check out some tips during my build @ charitybuilds

Estimated Cost
$200
Estimated Time Investment
Weekend Project (10-20 Hours)
Finish Used
General Finishes Antique Walnut Gel Stain
General Finishes Water based Poly
Recommended Skill Level
Intermediate

Rustic Farmhouse Console Table

Building this console table was built over two weekends. Cutting the wood and assembling the pieces was fairly easy but choosing the right colors for the stain was not. We finalized on hickory for the frame and mocha for the top and X's. We decided to build it 6 inches taller then the plan and als to trim the inner edges of the 2x6's to eliminate the crumb catchers. We also rounded the feet because they were chipping on the garage floor during the build.

We loved the final result!

Modified/designed Farmhouse bed

modified that bed, it is higher. We also paid our neighbor, who is an artist, to design and paint our foot board. Our cats love this bed too! We are putting the sideboards to cover up the mattress tonight.

p.s., If you live in GA and want to do something like this, let me know and I will give you the name of our artist

Estimated Time Investment
Weekend Project (10-20 Hours)
Recommended Skill Level
Advanced

Comments

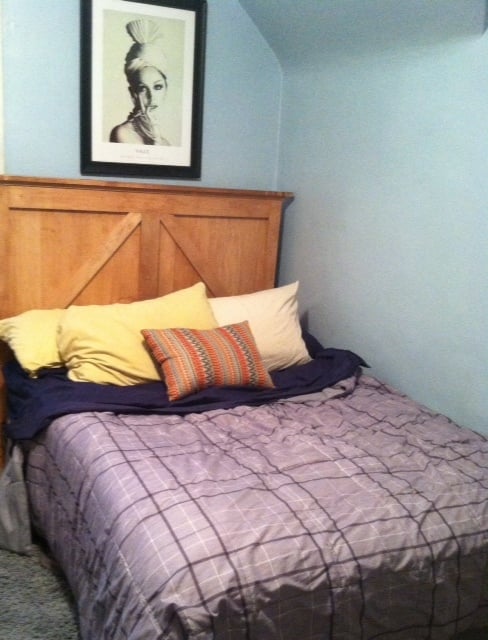
Full size Brookstone Headboard

Submitted by Speedi58 on Wed, 08/06/2014 - 07:53

We built this out of solid Maple for my son's 30th birthday. He has a full-size bed, so we had to adapt the queen size plans. It turned out great....he was thrilled...but it was heavy to carry upstairs to his apartment!

Built from Plan(s)
Estimated Time Investment
Afternoon Project (3-6 Hours)
Finish Used
Colonial Maple - two coats of stain and two coats of ply
Recommended Skill Level
Beginner

Grey console table

Submitted by damrobin on Sun, 11/20/2016 - 00:30

This was my first attempt at furnature. I didnt use the best quality wood, and had a hard time finding straight boards at my local Lowes.

Built from Plan(s)
Estimated Cost
$110
Estimated Time Investment
Weekend Project (10-20 Hours)
Finish Used
Grey paint and Minwax dark walnut stain.
Recommended Skill Level
Beginner

2 Piece Kids Wood Outdoor Chair

Submitted by Anonymous (not verified) on Mon, 07/22/2024 - 10:54

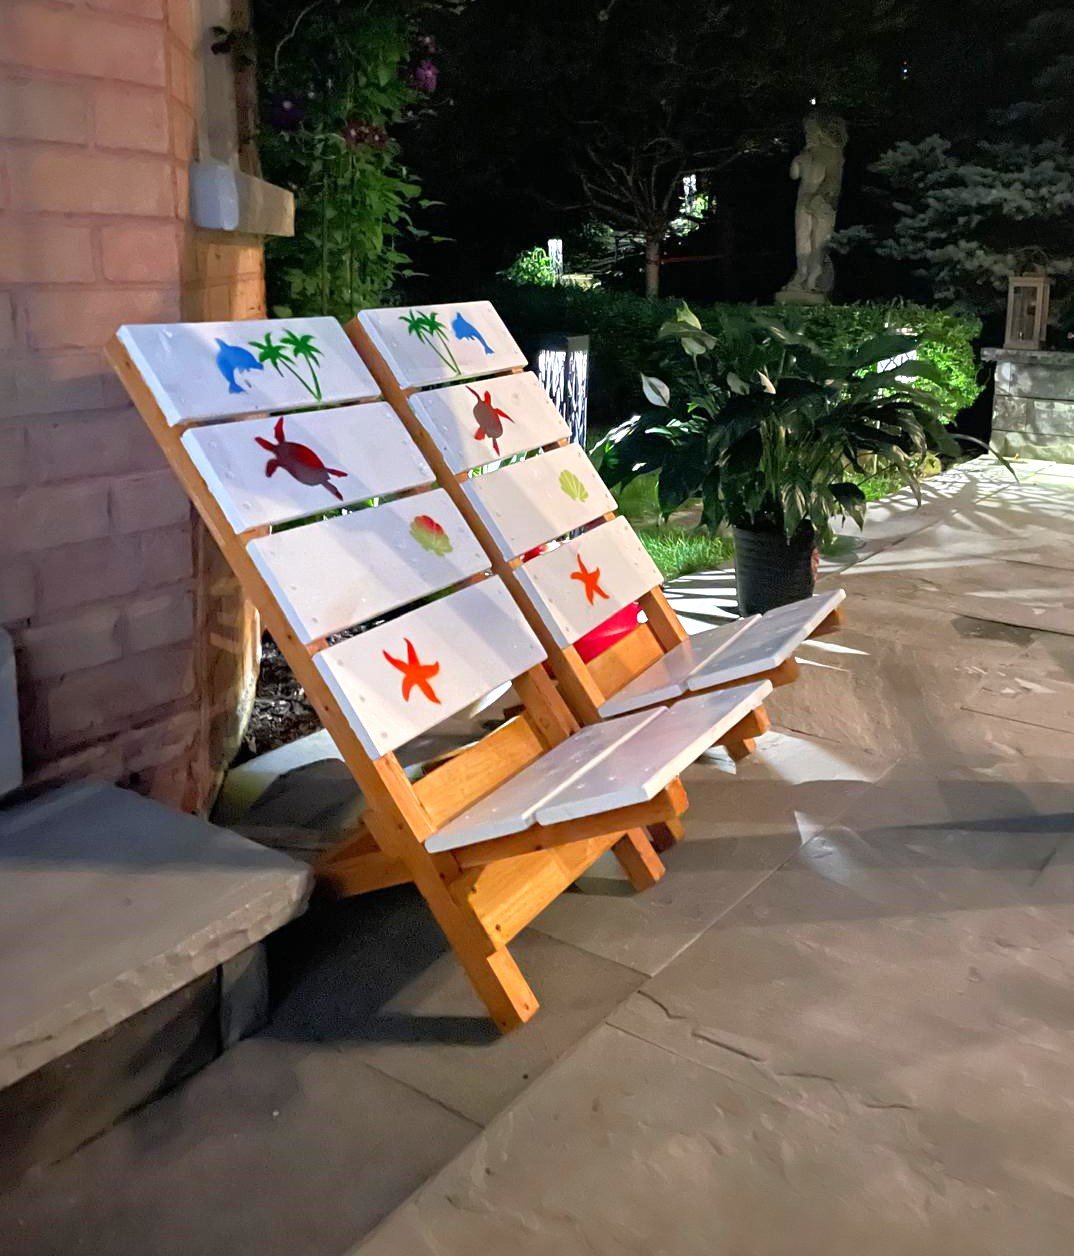
I made a pair of these beach chairs from recycled lumber. I extended the back rests by one board. They will add to my grandson’s tree house furniture. The frame is treated with Australian oil stain and the boards are rolled on acrylic paint decorated with sprayed on marine shapes aided by paper cutout templates.
Ana White plans are excellent! Thank you!
Noel

Back