Farmhouse Storage Bed
Beautiful showcase of maple wood. Love the storage
Beautiful showcase of maple wood. Love the storage
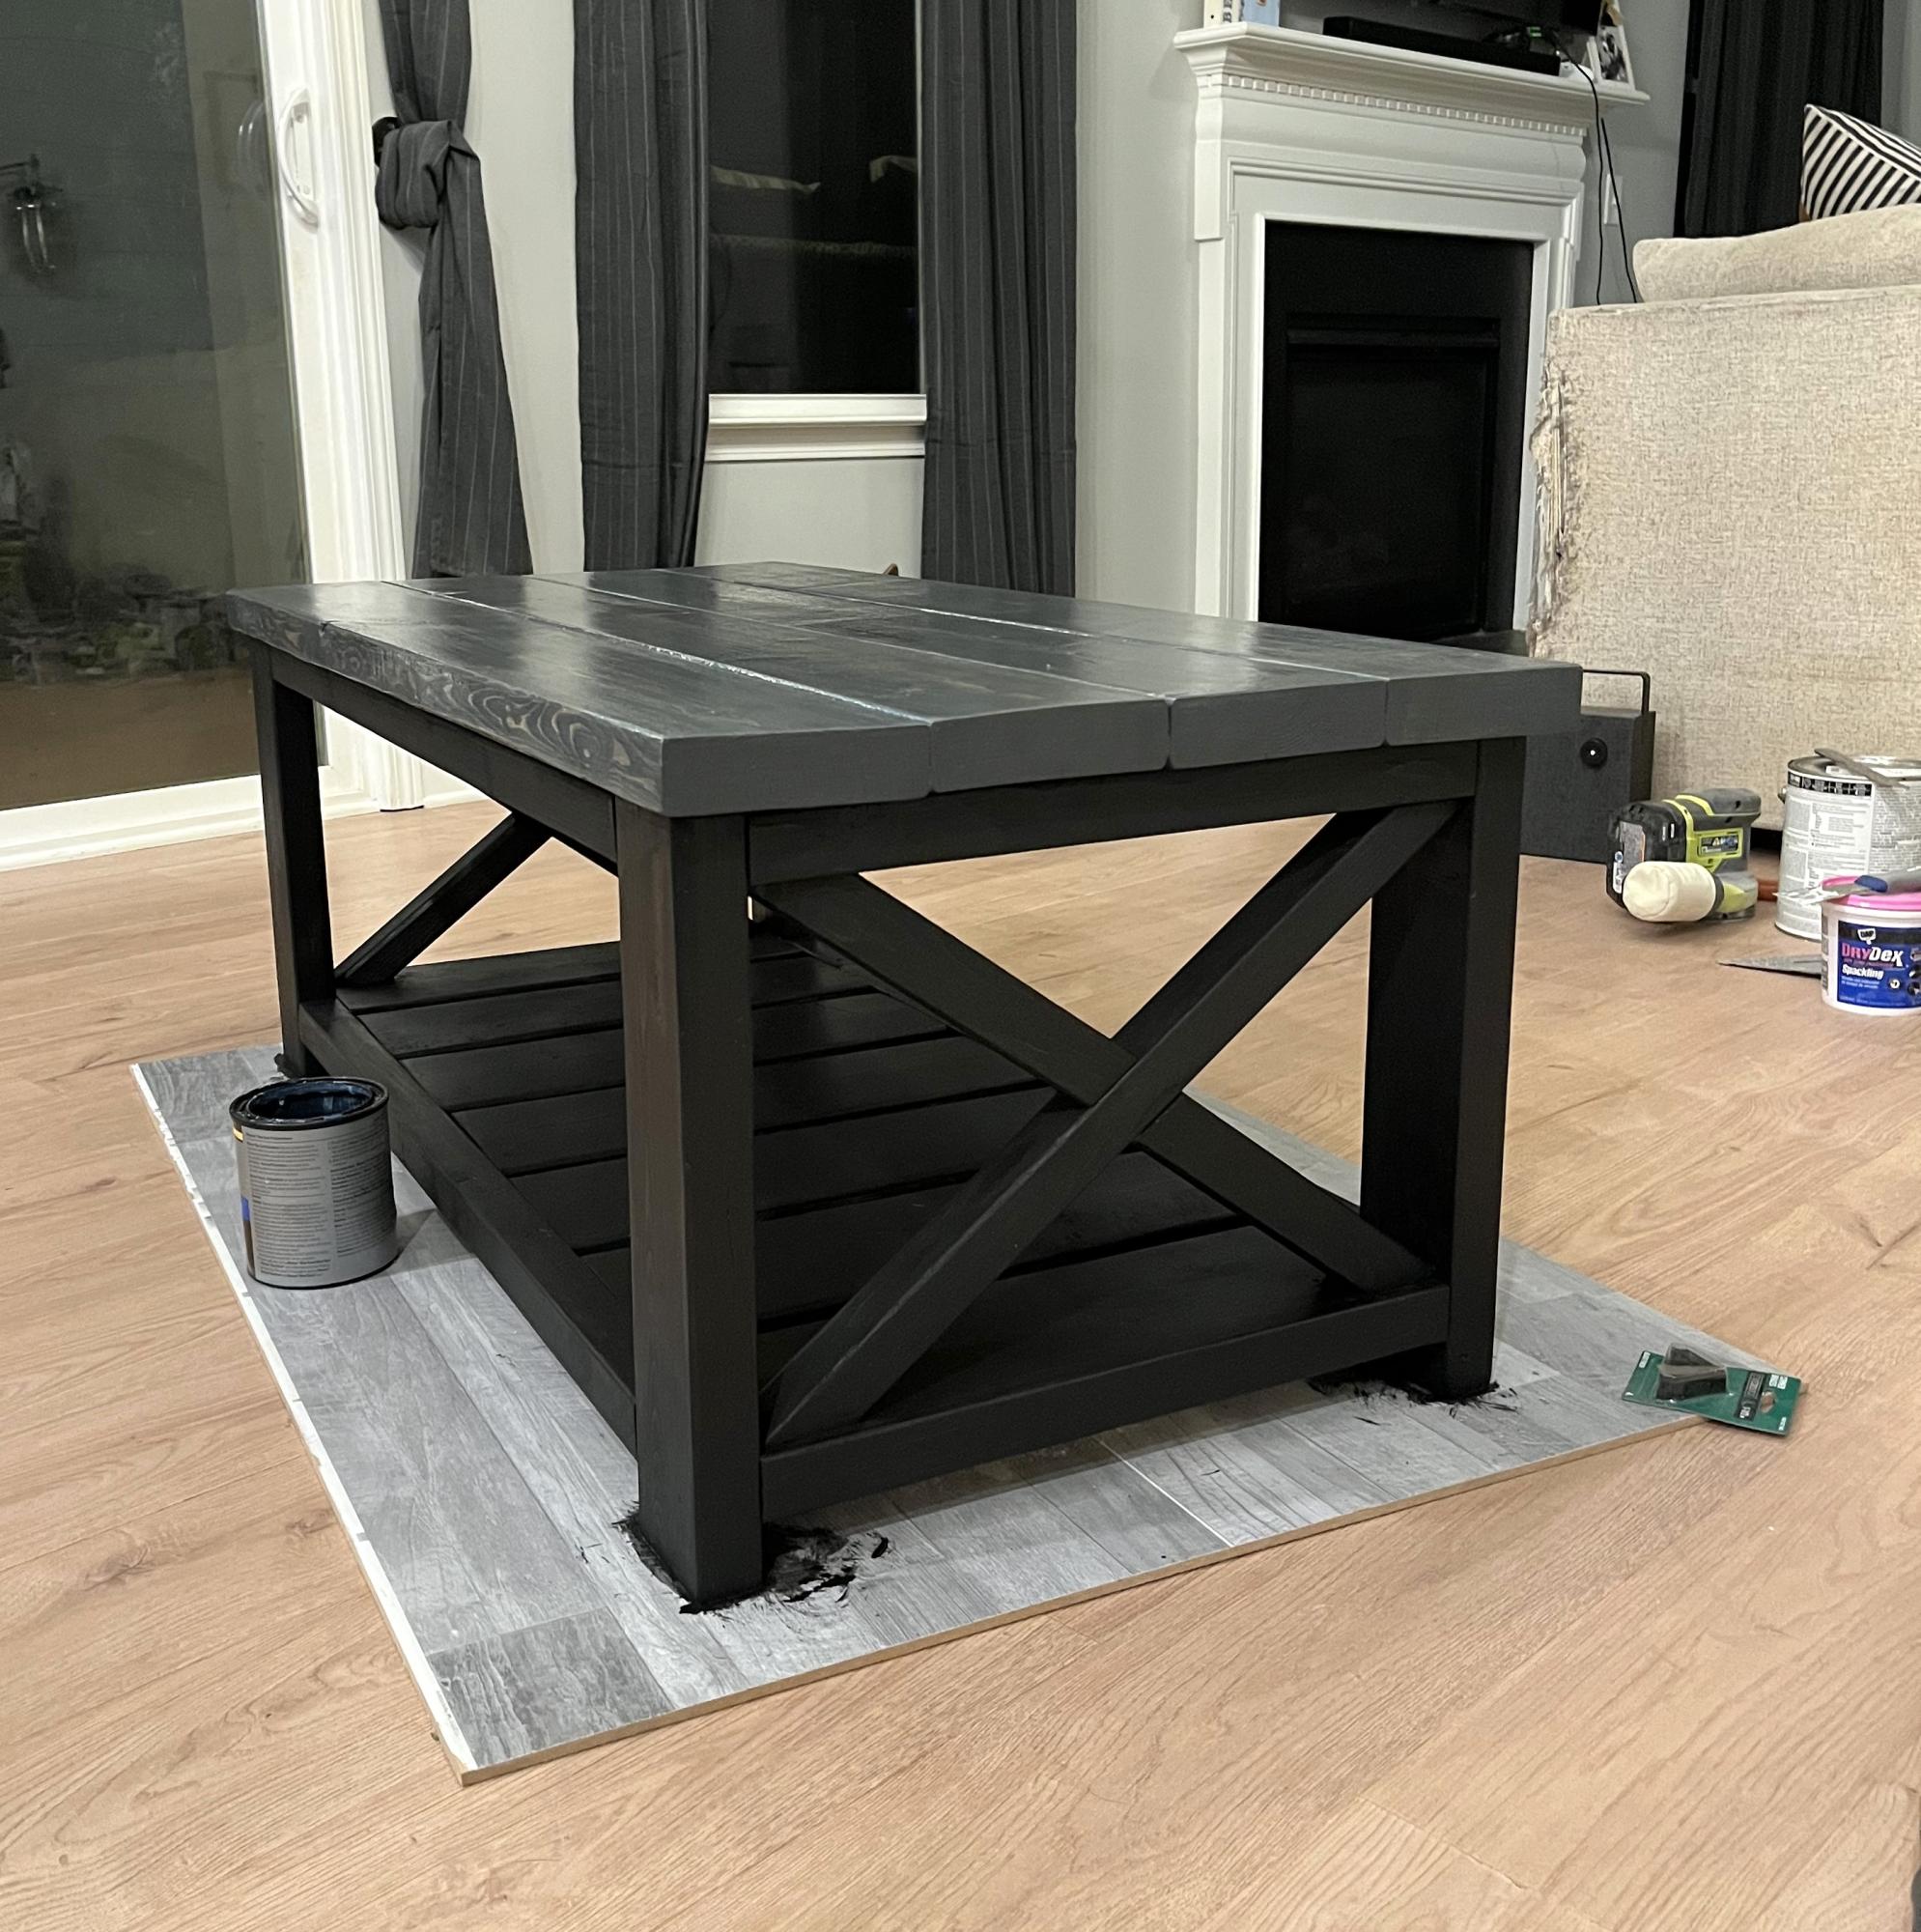
Farm house coffee table. I painted the bottom black and stained the top a dark gray color. I don’t ask happily surprised on how easy it was to build this table and how strong and sturdy it is! From start to finish it took me 9 hours, paint and all. Highly recommend this plan.
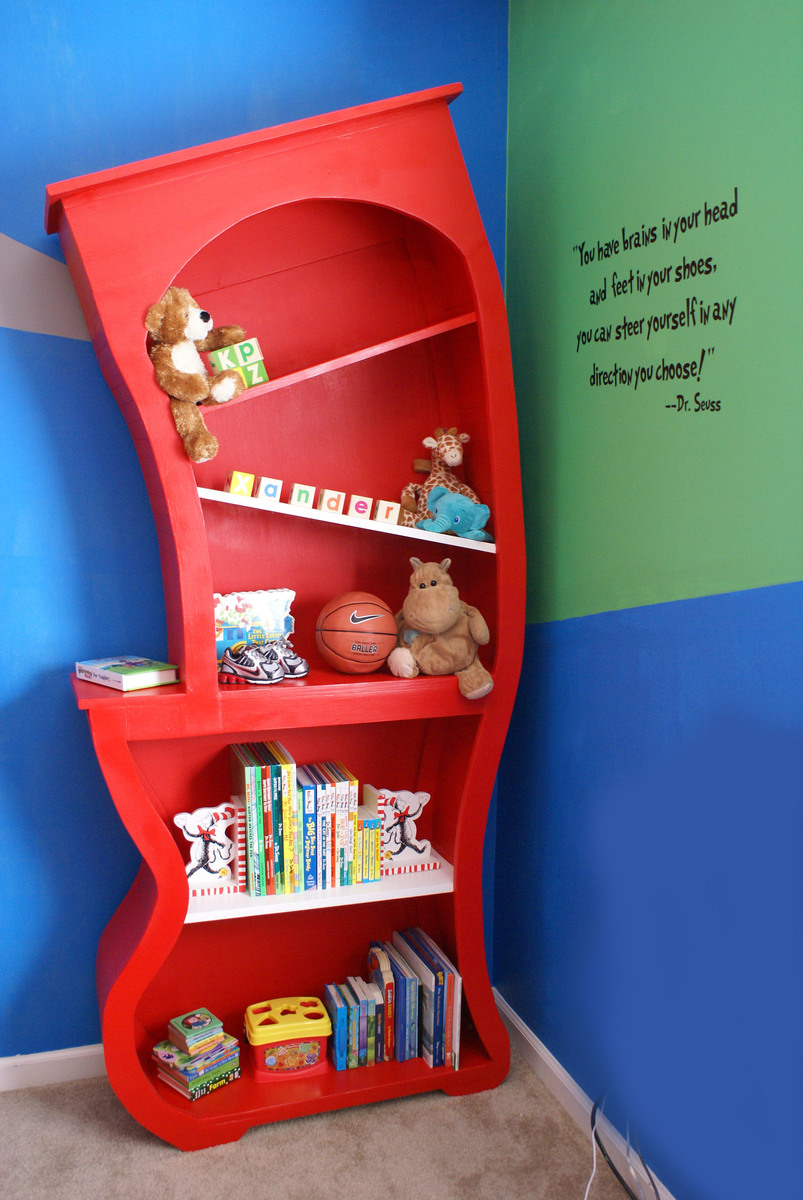
This was a Baby Gift for my sister and her little boy, Xander who was born just a couple weeks ago. I wanted to do something special that would last for my sweet nephew. She found a bookshelf similar to this on cool-rooms.com and we decided to try to make our own version. I've posted about it on my blog if you're interested in the process.
Sun, 03/18/2012 - 16:03
The best 'plans' I could come up for this are described here on my blog post for this... not too specific, but hopefully gives you a good idea of the process: http://alabahamians.blogspot.com/2012/03/dr-seuss-bookshelf-for-sweet-b…
Thanks for the sweet comments!!!
Mon, 01/22/2018 - 17:52
I would love to see the instructions you have in your blog, but it says you must be invited to see the blog. May I have access? Thanks! Brooke
Mon, 01/22/2018 - 17:52
I would love to see the instructions you have in your blog, but it says you must be invited to see the blog. May I have access? Thanks! Brooke
Sun, 03/18/2012 - 19:22
Clever cute creative. Cant stop looking at it. I love it. Thank you so much for posting.
Sun, 03/18/2012 - 19:52
Thank you so much for posting .You did a beautiful job. Your a good sister and a Terrific aunt.
Sun, 03/18/2012 - 22:16
WOW!!!!!! Wow wow wow wow!!! This is just beyond cool.
Sun, 03/18/2012 - 23:30
I love how you have taken a typical shelf and gave it a spark that is SO ONE of a KIND! WOW! This gives me ideas! There is just not enough time in the day thought.
Thank you for sharing your Awesome creativity. Your Family is SO lucky to have someone as talented as you! Keep up the good JOB!!!
Again AMAZING!!!
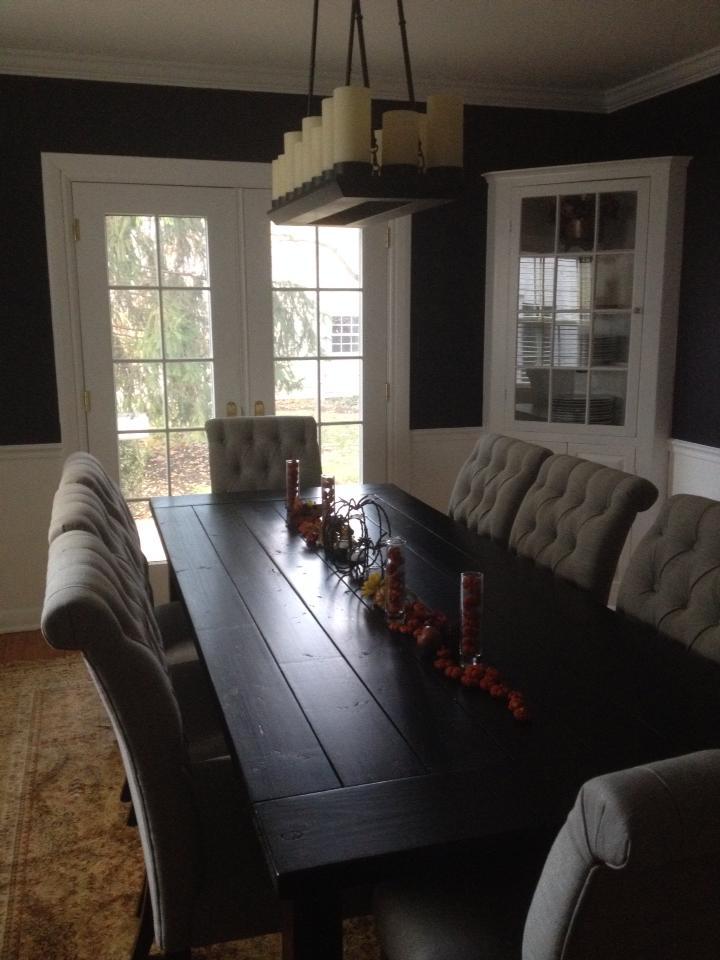
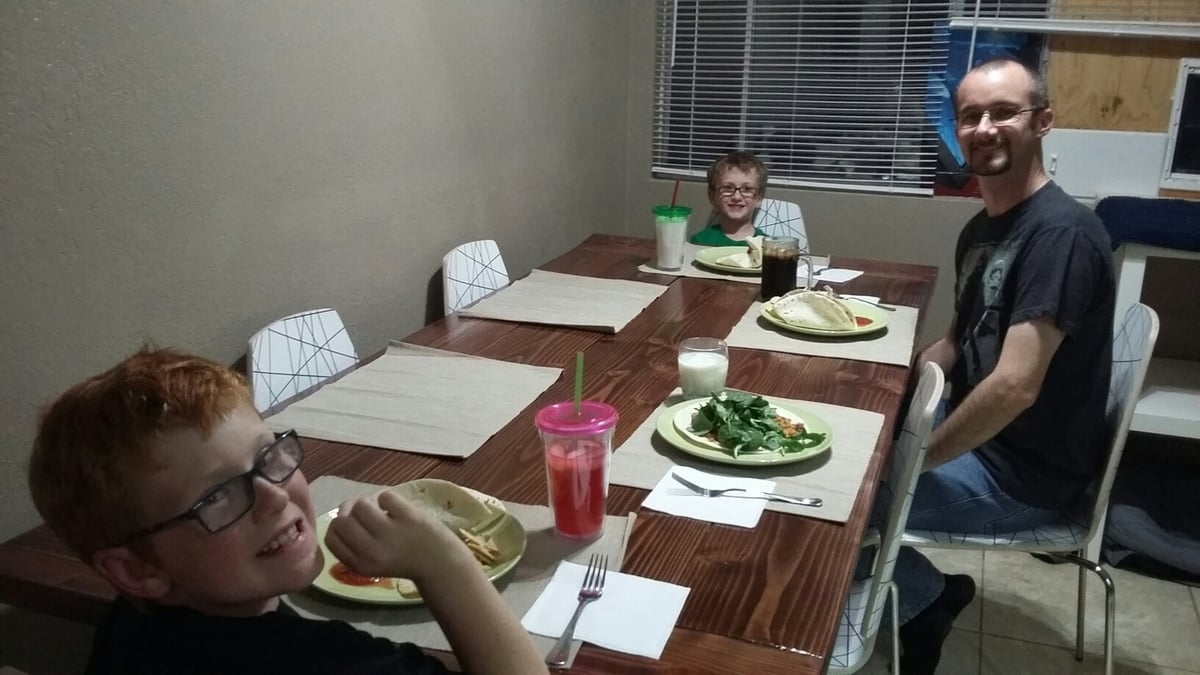
This is our first project from the site and we are in LOVE with our table. We spent a few weekends building it and another weekend staining. We always wanted a table large enough to seat a big group for holidays or events. We can seat 10 comfortably (4 on each side with smaller chairs and 1 on each end.) Not only was this inexpensive (around $100 total), but it is a great sense of pride in our house. Knowing we built this with our own hands and telling others that we did so is amazing.
http://ana-white.com/2009/12/plans-farmhouse-table-knock-off-of.html
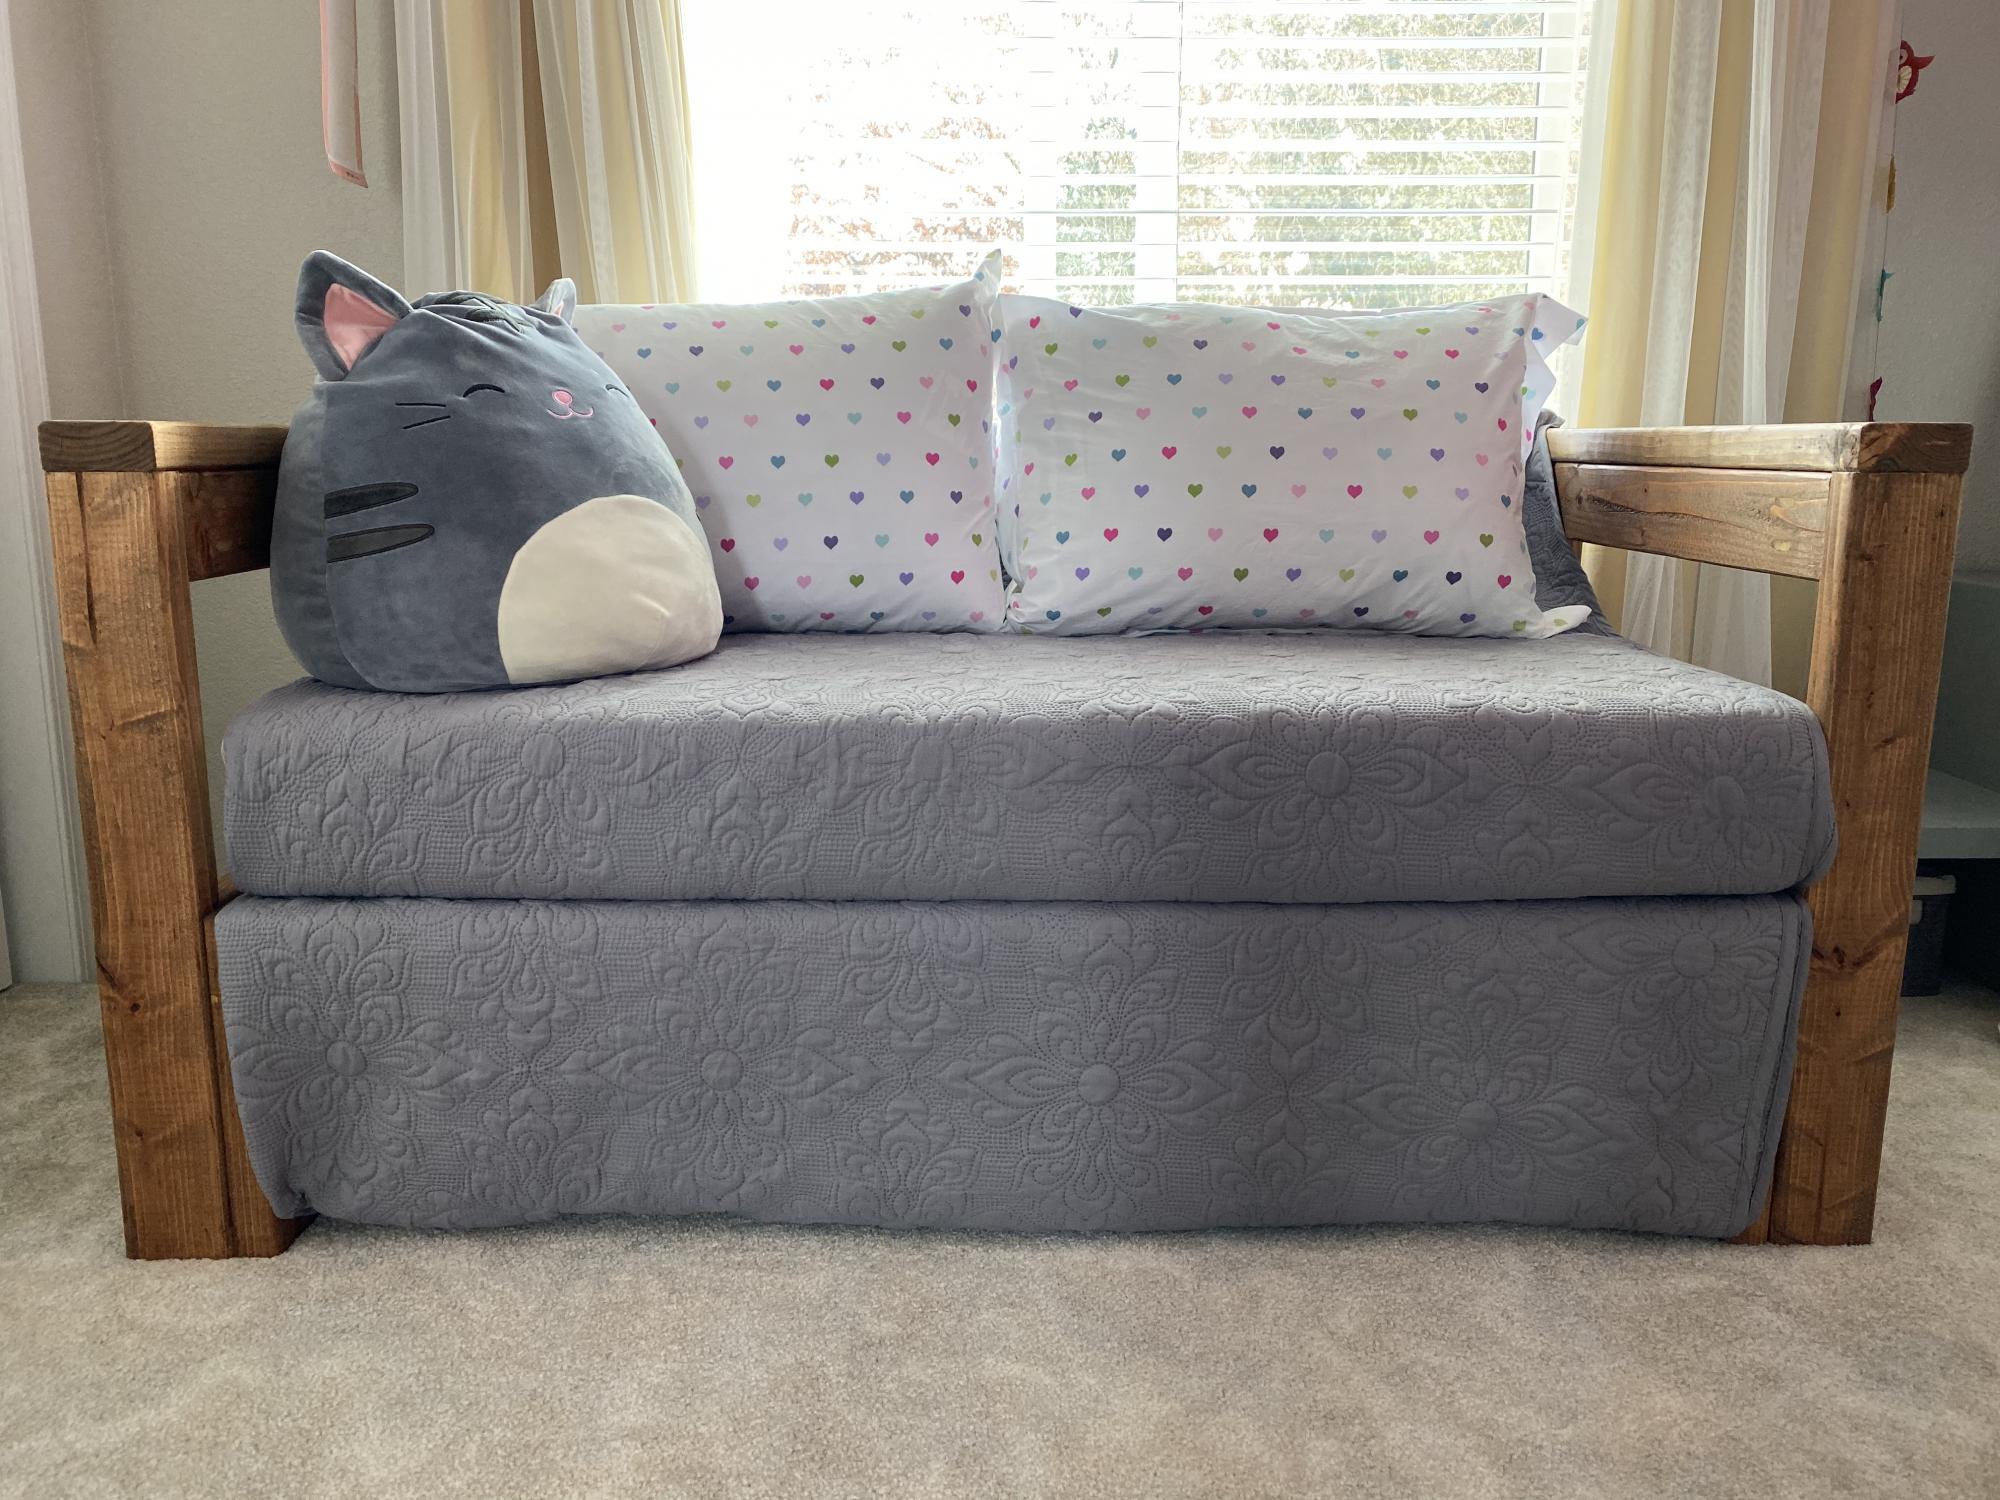
My daughter loves her new couch! This was such an easy project and a great way to reuse an outgrown crib mattress.
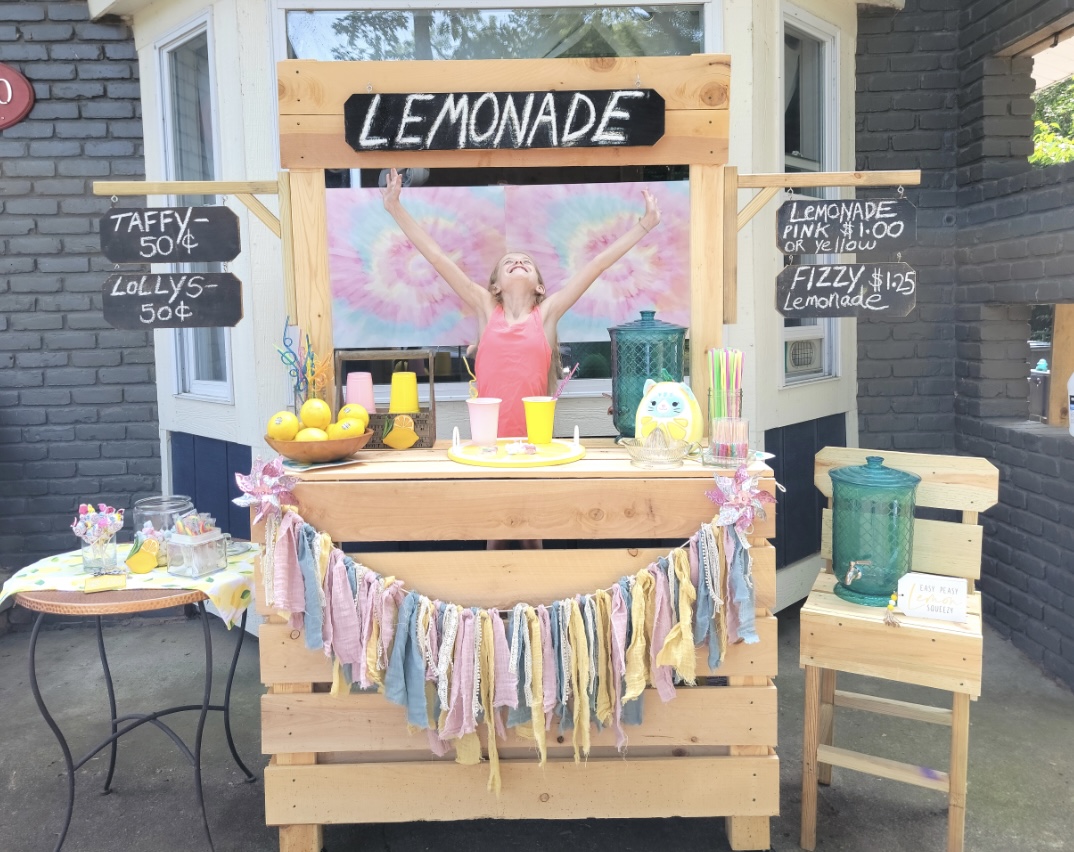
This is based on Ana's Lemonade Stand project- I made it taller and wider, added casters. It was a hit with the birthday girl and the customers!
Amy of The Navy House Goods Co. @thenavyhousegoodsco
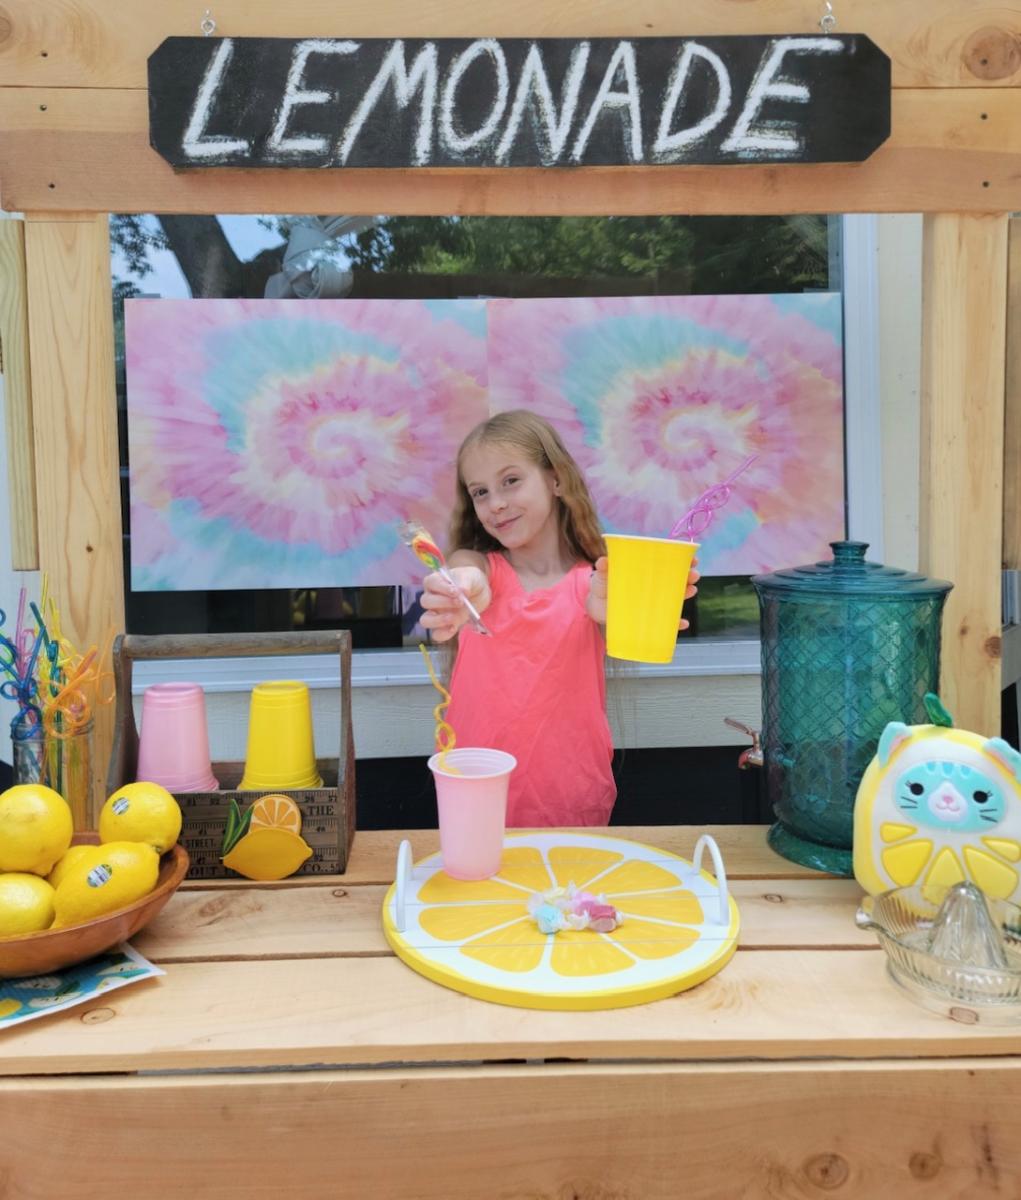
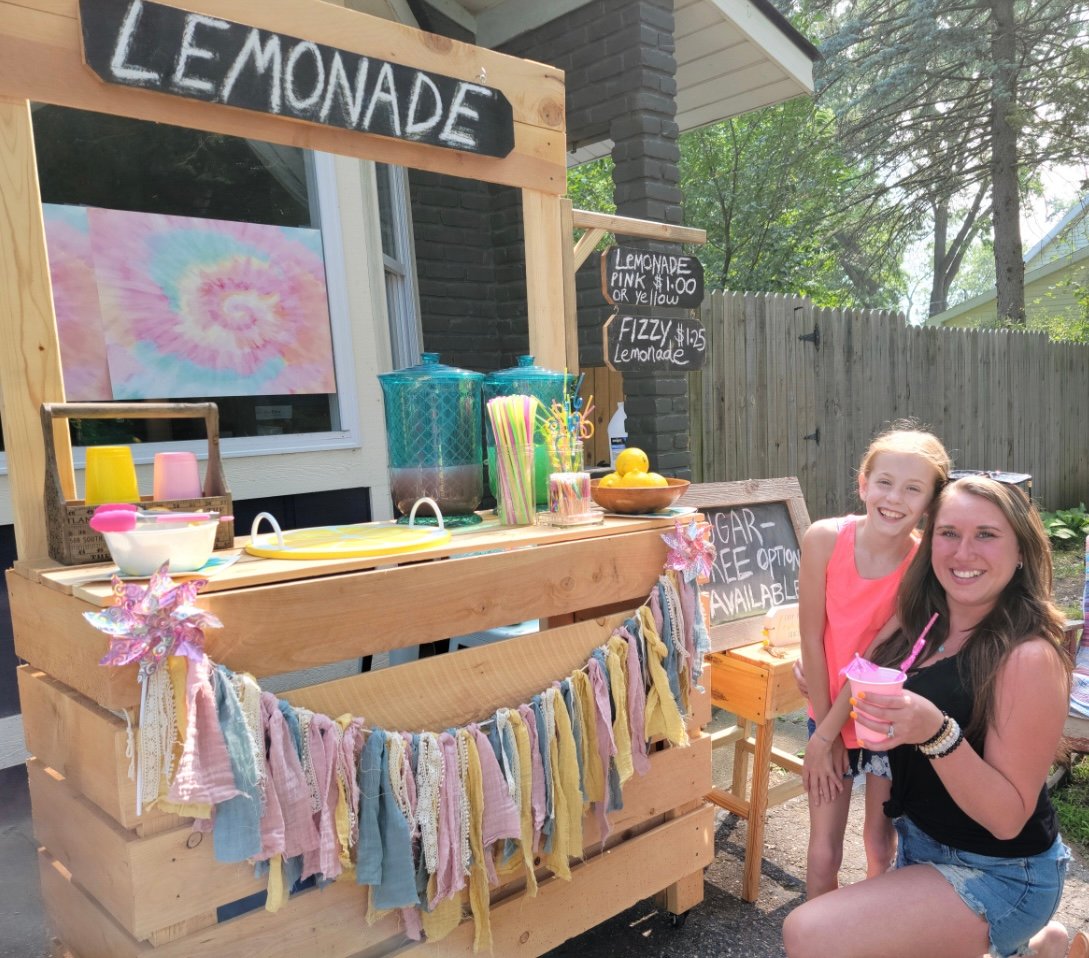
Sun, 07/30/2023 - 15:47
Love your mods and the outcome is fantastic, thanks so much for sharing!
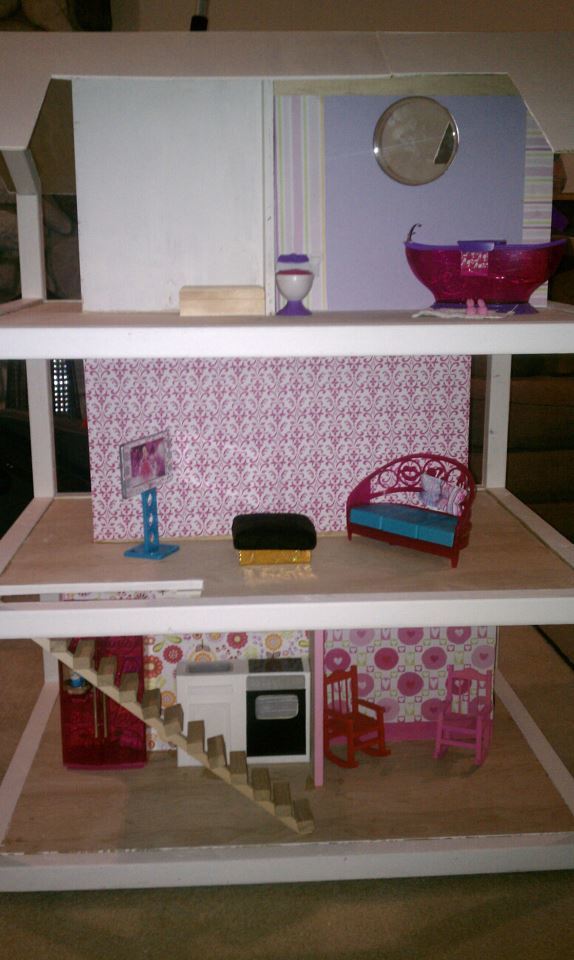
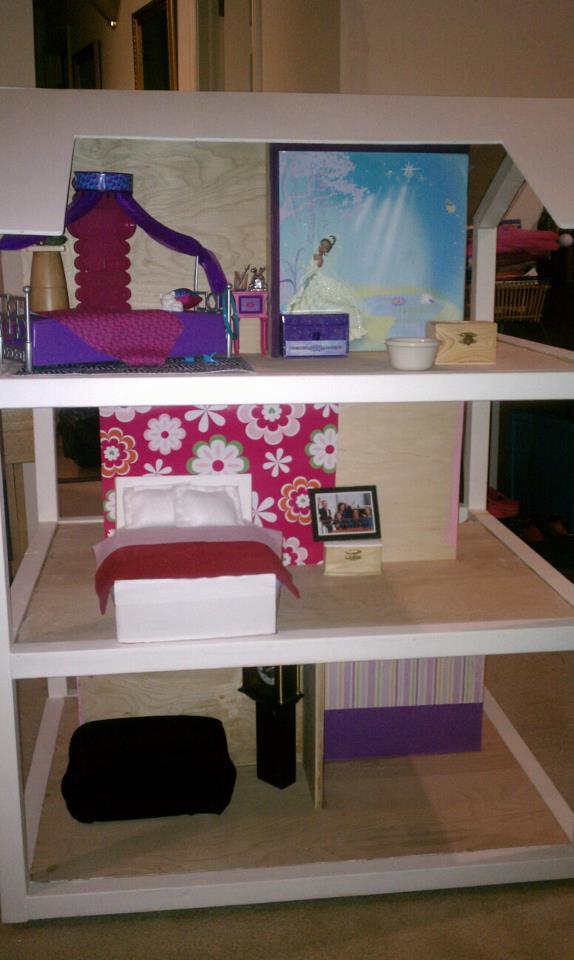
I built this dollhouse for my daughter's sixth birthday. It was a great experience and my first time using a KregJig. I ventured from the plans a bit and built cantilevered staircase with dollar store Jenga-type blocks.
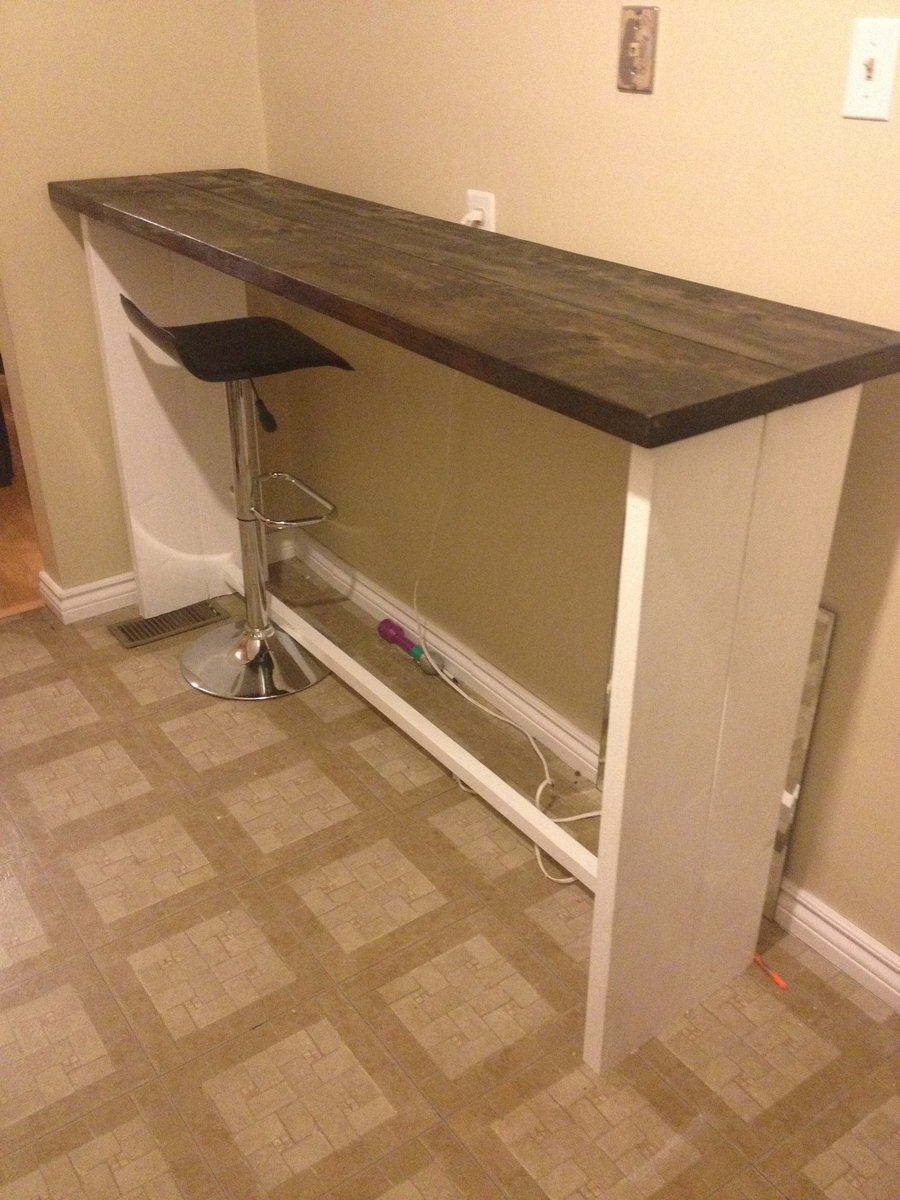
I got so inspired by Ana White I just assumed I can make anything just like her :D
But deep inside I knew, I wasn't nearly as good as her :(
So when we needed a bar table of definite length and height and type and color and way out of our budget, I thought to myself "hey girl! you can do this ;)"
So I came up with this super easy plan.
You can read all about it from the link below
Sat, 02/13/2021 - 06:51
Hi Anna I have enjoyed coming to your page and have made many things from your plans but your page is so over run with pop up adds that it is jumping all over the place and give me a headace from all the movement sorry to say I must leave
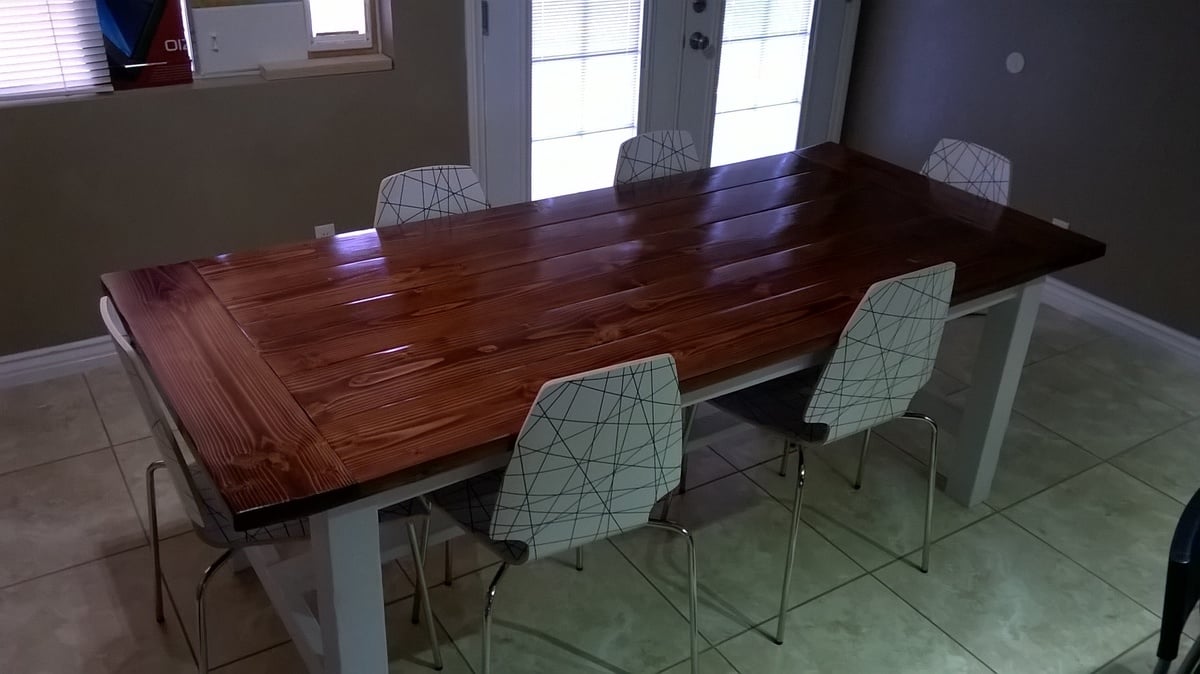
Built from the
Farmhouse Table - Updated Pocket Hole Plans. I used pine for all the wood, painted the bottom with white
Valspar Storm Coat, and table top with Miniwax Red Mahogany stain.
It's not purfect but, it turned out great.
Lessons learned
I need is a planer to make the boards straight, Belt sanding took a long time.
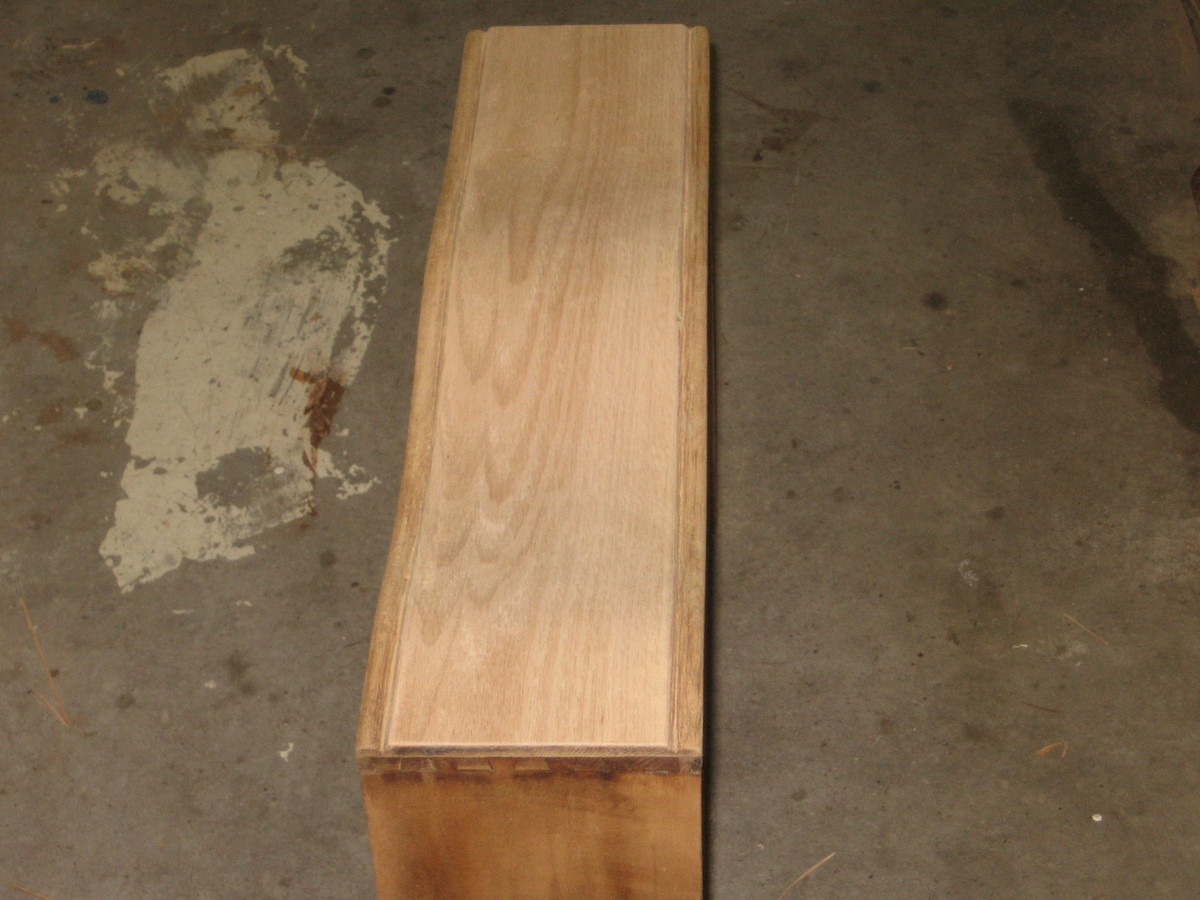
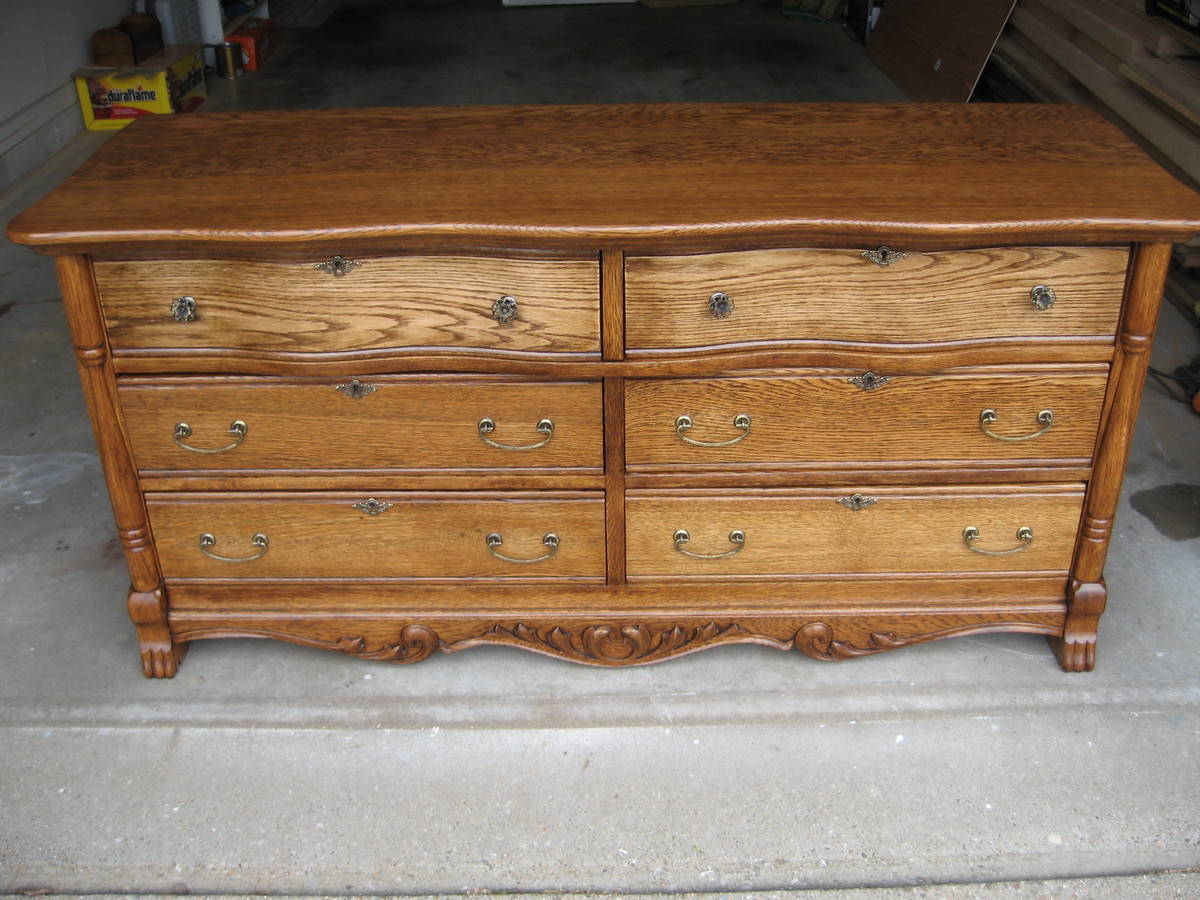
This is an antique oak dresser I recently purchased. I had some rebuilding to do. I replaced the bottom and fixed/rebuilt the dovetail drawers. I did replace the veneer on the top two drawers. It isn't a difficult task. Just ask and I will explain the process. I do wish though that I had gone online and purchased some quarter sawn oak veneer. It would have matched better than what I purchased from a local home improvement store. I replaced all of the hardware. I purchased it from Kennedy's online. The hardware finish is called aged brass. If you have solid brass hardware you can purchase a "brass ager" quite cheaply. There was a mirror attached to the dresser at some time. I am going to build a mirror to match that I will hang on the wall above. I am also looking to build a back splash for the back of the dresser. I think I may purchase an antique oak pediment (decorative door header) to make the back splash from.
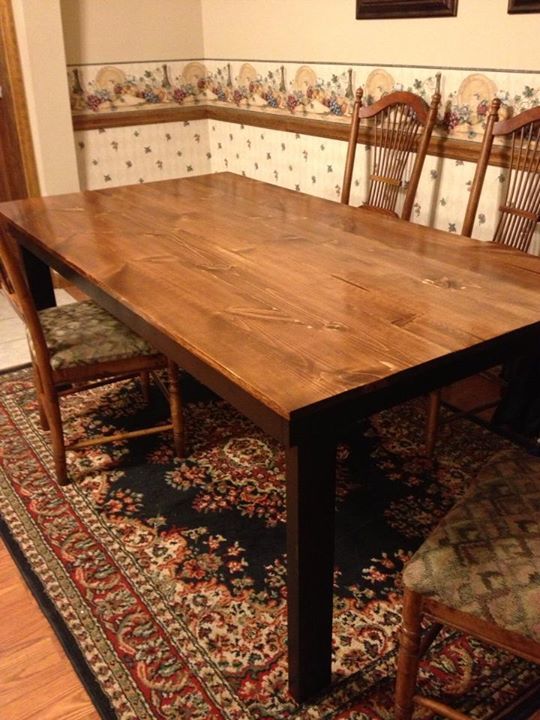
I built the table to fit my space and made a few changes!
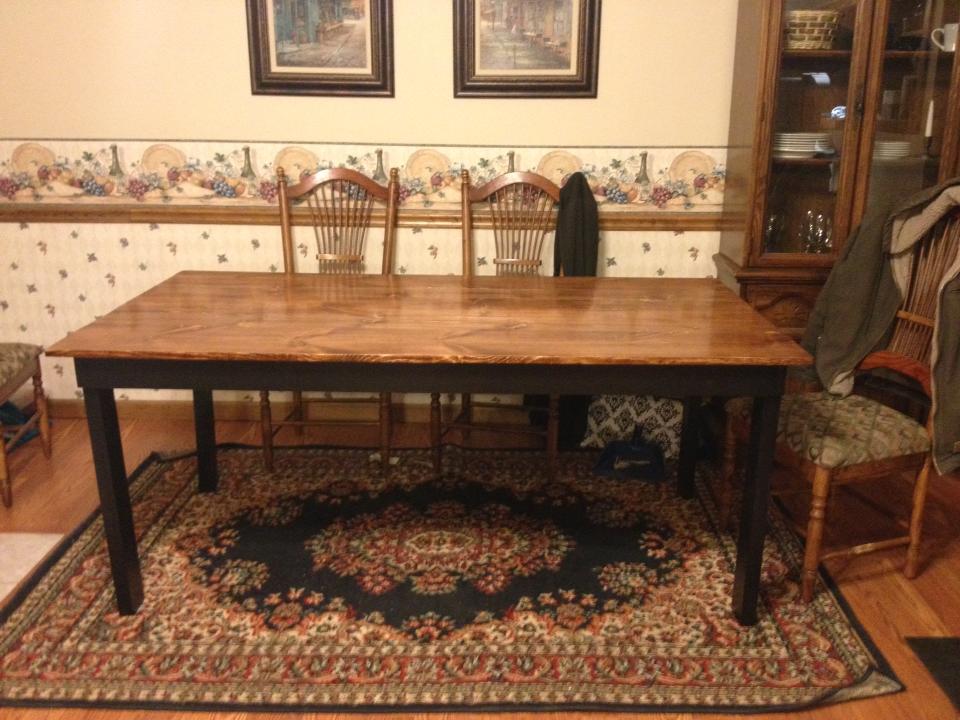
We have a huge sectional and loved this table, so we modified it a little to fit our needs. Took out the center shelf, made it 10 feet long, and added breadboard ends to the top. Came out perfect! Couldn't be happier.
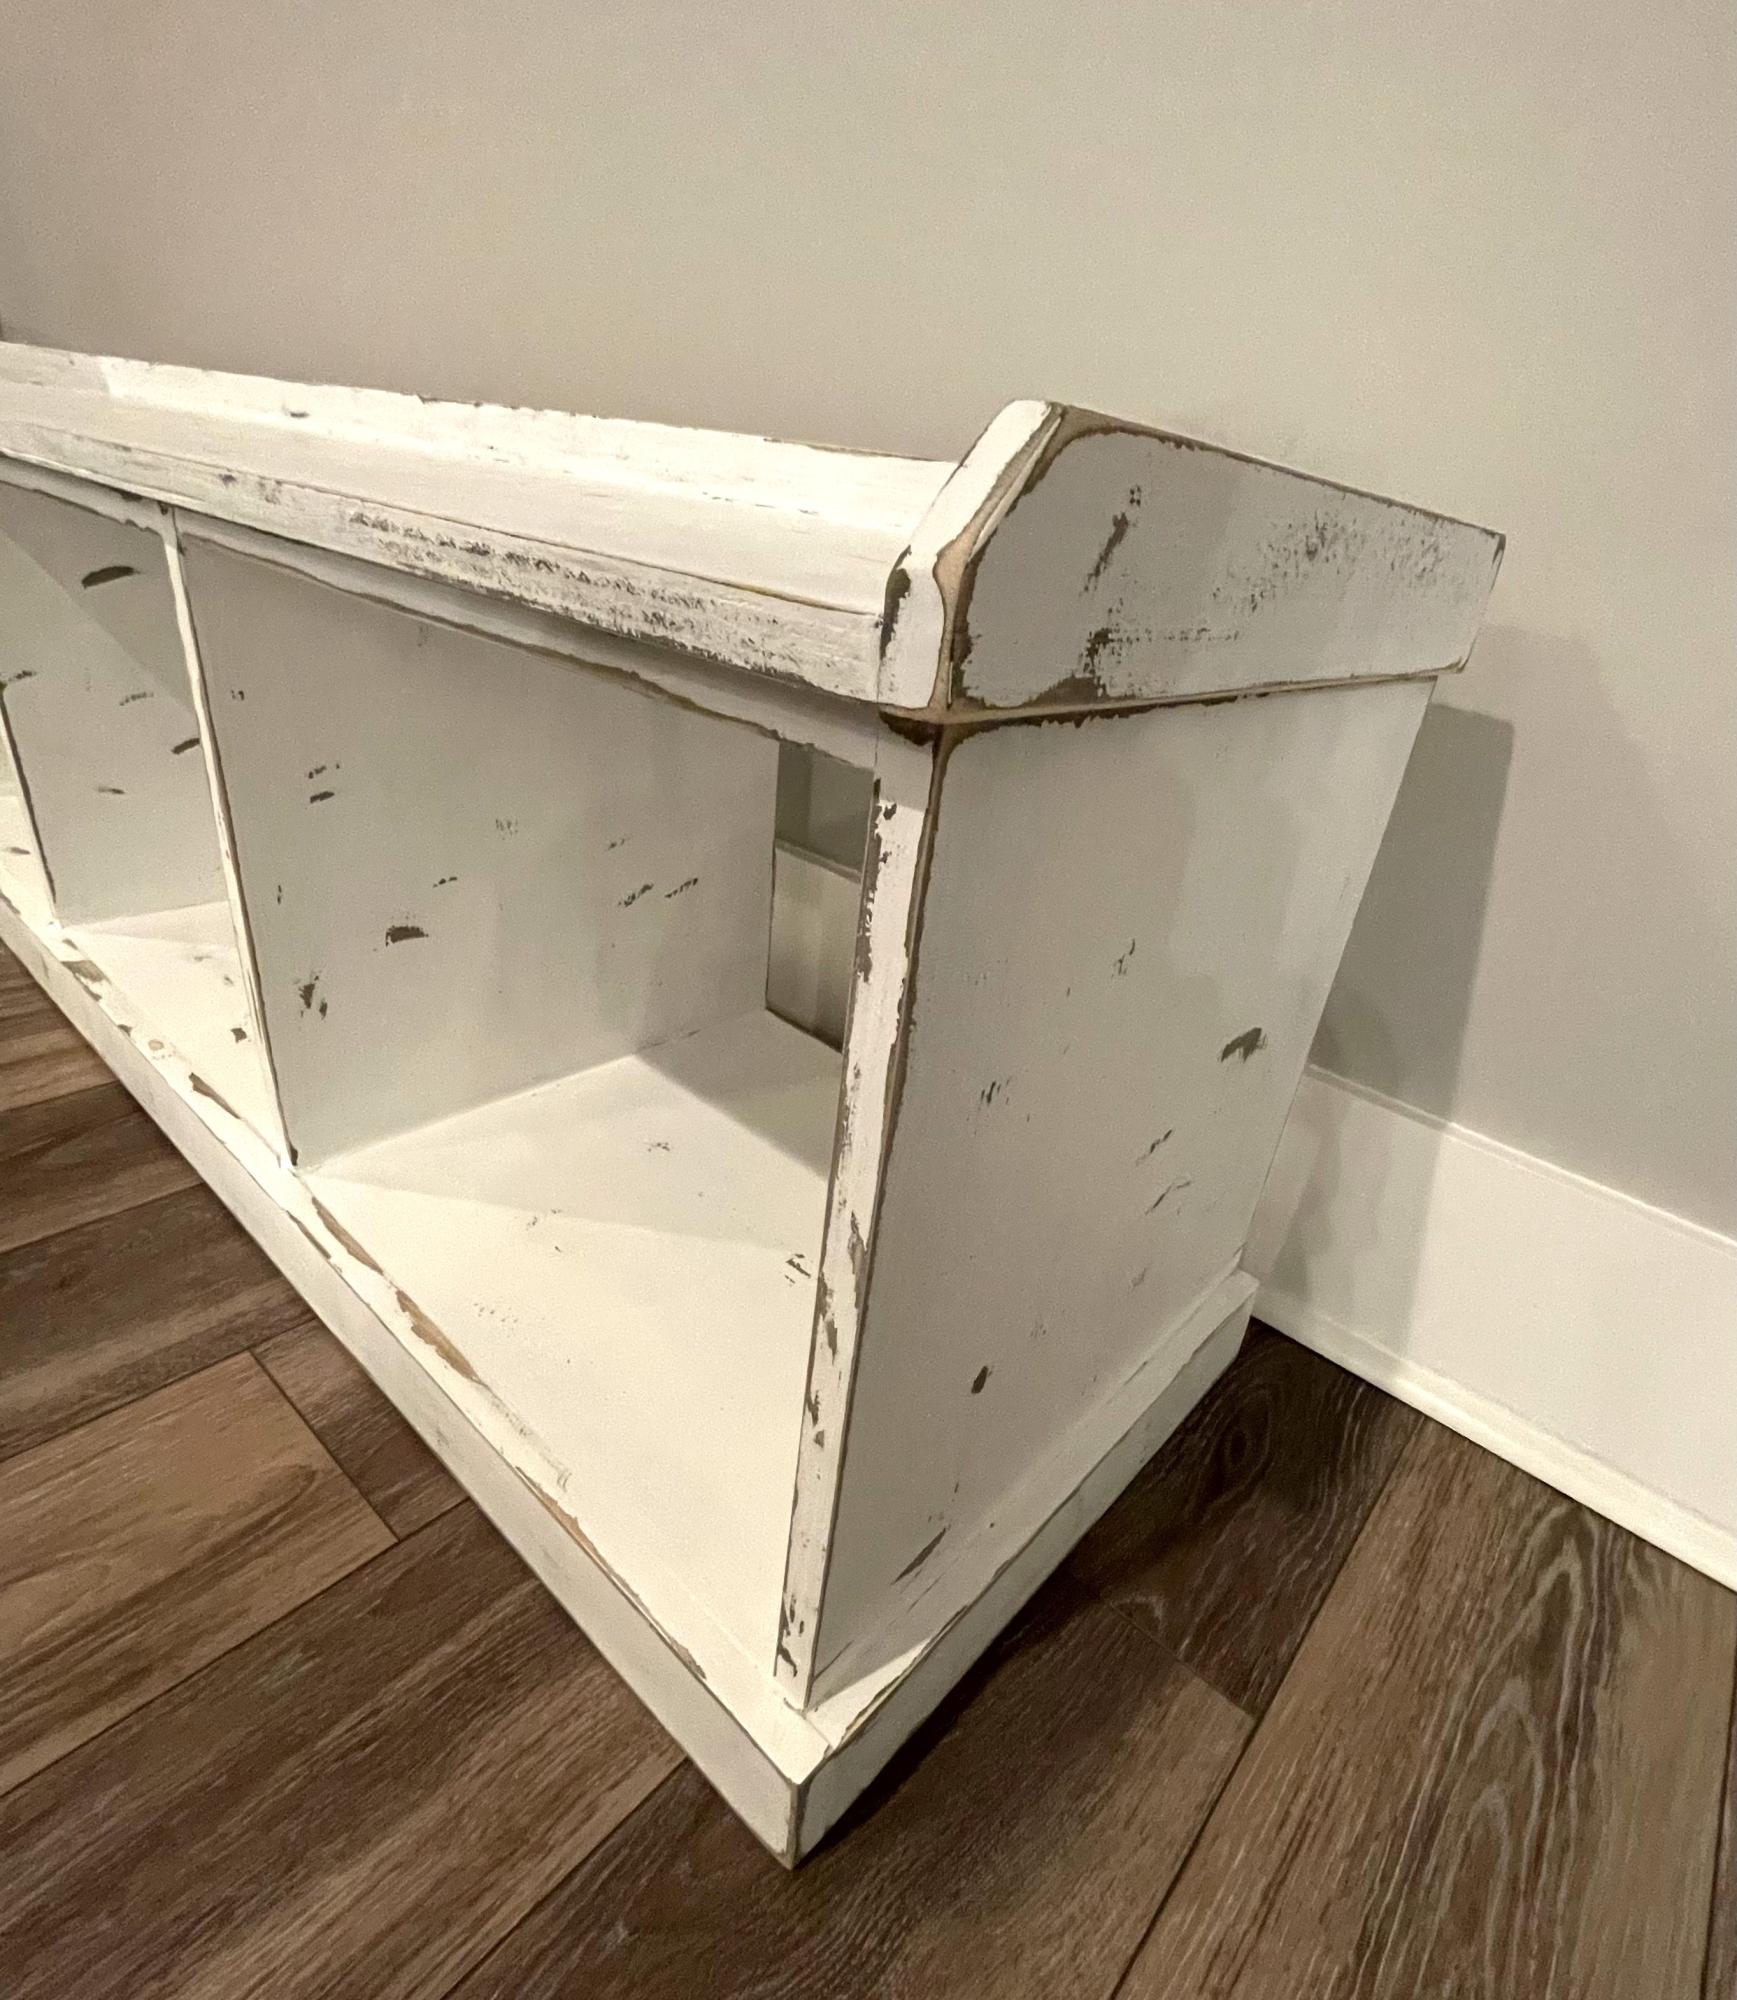
This was our first attempt at making furniture and even though the difficulty rating was ‘intermediate’, the detailed instructions made the process less complicated. Our version of Anna White Essential Entryway Bench turned out better than we expected! Once it was built, I stained it grey, painted it white, then distressed it to make it look antique. I added a custom made foam cushion to the top and, voila!
TammyA
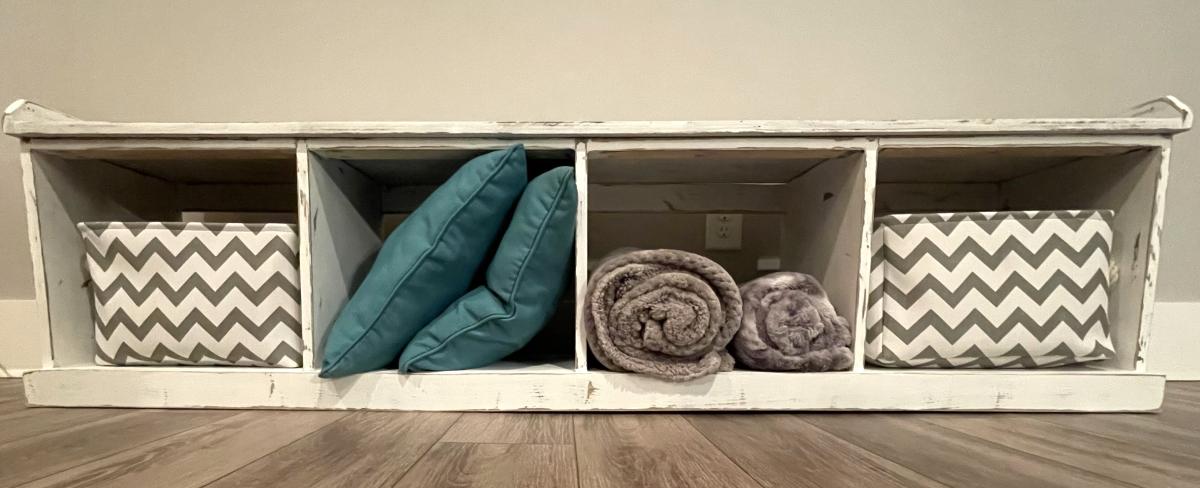
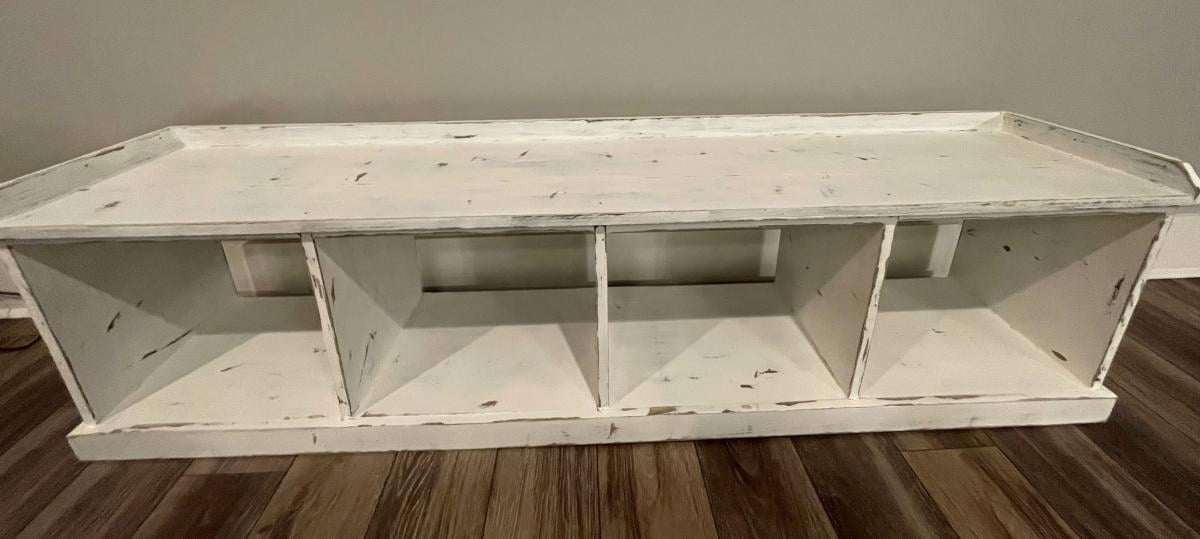
This is my second build. I used the Benchright plan but had to modify it for one drawer. The Dimensions are 39 long, 25 wide, and 19 tall. I have heard others comment on how difficult drawers are. I thought I would just jump in head first with the kind of drawer that closes flush with the rest of the table - really had some trouble with making it square. I ended up shimming the face onto to the drawer because even though it opens and closes smoothly, it isn't square with the rest of the table...
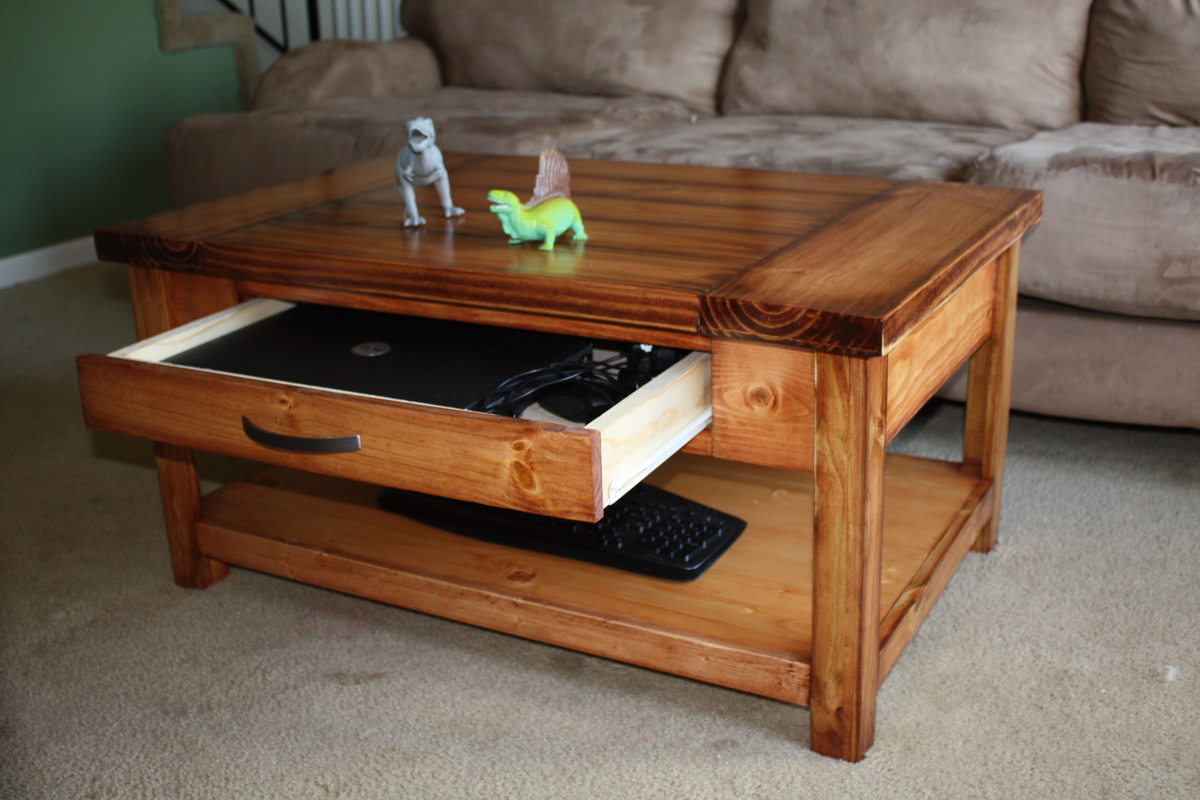
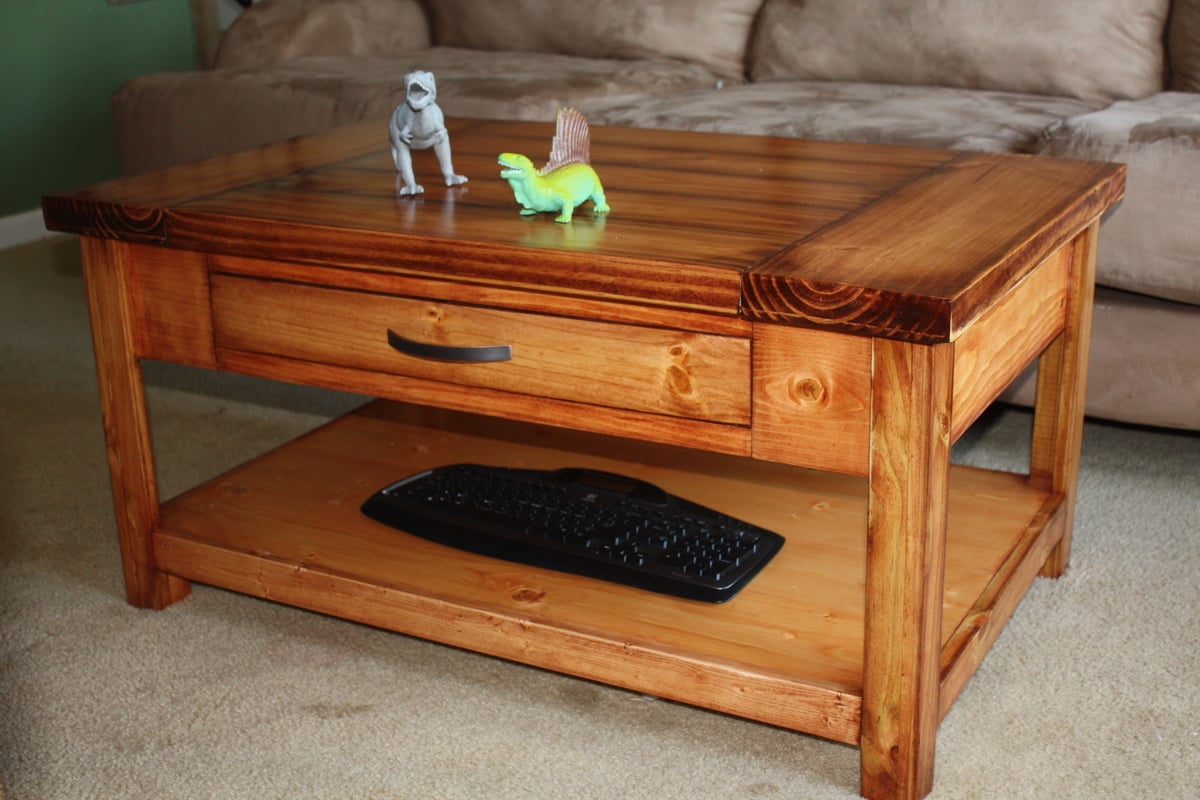
I had originally planned to make the 20 second tidy up table for my living room and begun purchasing materials. However, I was let go from my job last Sunday, so changed my plans. I took inventory of all the supplies and materials I had on hand and tried to find a plan that would not require any more spending to build... to sell... to pay rent.... and thus the new table was born. And I love it. And I hate to sell it.
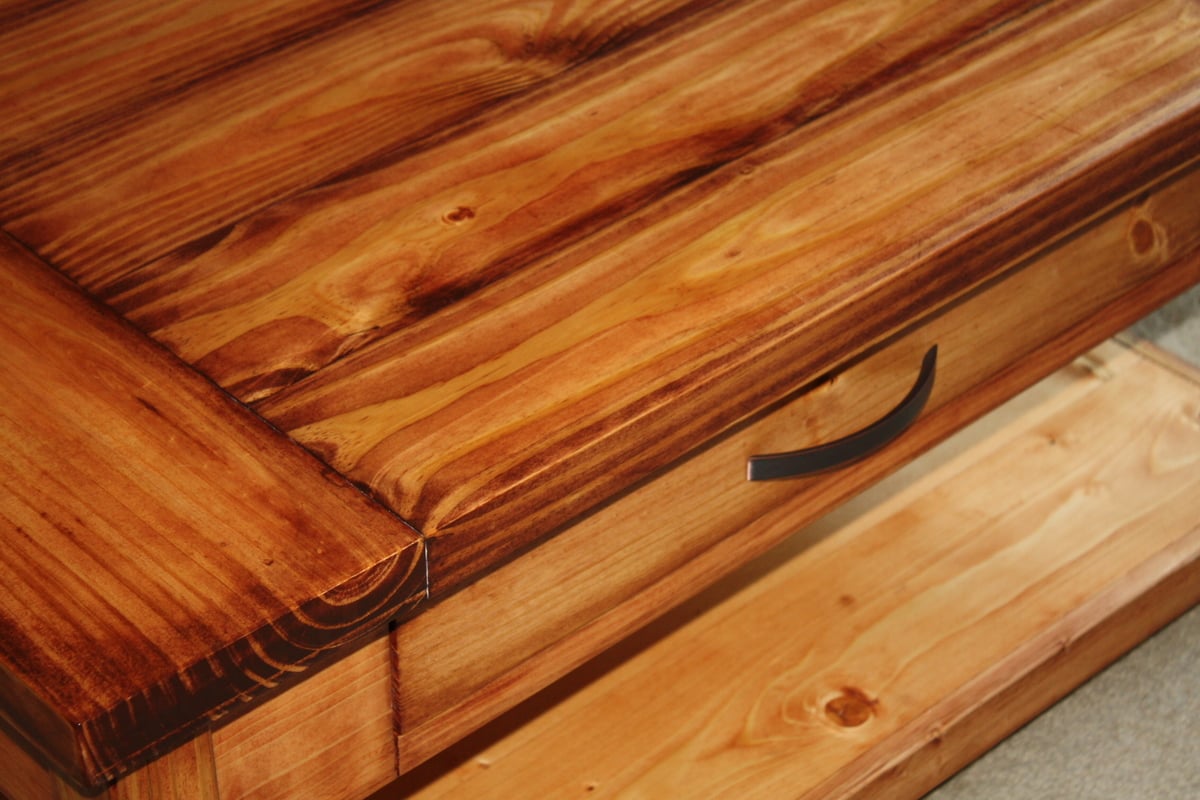
I tried to copy the finish on the 20 second tidy up table, and this is how it ended up. I used Minwax Golden Pecan for the base color and Red Oak for the accent color. The colors got a little blended together through the staining process. I really love how it turned out though because it's a nice warm color. The only thing I don't like is the grain in the pine didn't take much if any color, so it's still a bit yellow, which seems slightly out of place when I look at it. I think it will darken with age and look a little better. Otherwise, this was a super fun project!!
Tue, 03/27/2012 - 04:43
Stain it all! You will get more money for it stained than painted or unfinished.
Tue, 03/27/2012 - 06:09
I will try to do that this weekend... if I can find some money to get stain with. Hehe. I think it would look really great stained with the same method that Ana used on the 20 second tidy up table... rubbing the edges with a darker color... I love that look.
Tue, 04/10/2012 - 04:58
This is awesome! I love it. You did a great job. Do you by any chance have the construction process on this? I would love to try it for my "first" project!! thank you.
Mon, 05/14/2012 - 15:30
I love the 20 second tidy up table and have plans to make 1 but I've been so busy with work that I've been commissioned to build. Nothing for me for a while.... So goes unemployed life. No complaints!!!
The first of hopefully many more projects to come!
Thu, 01/16/2014 - 05:00
Get ready to build more because with each successful project comes the need for another one. The hobby is addictive. You will need stations for your new miter saw, band saw, drill press, and of course tool storage. Looking forward to your future projects.
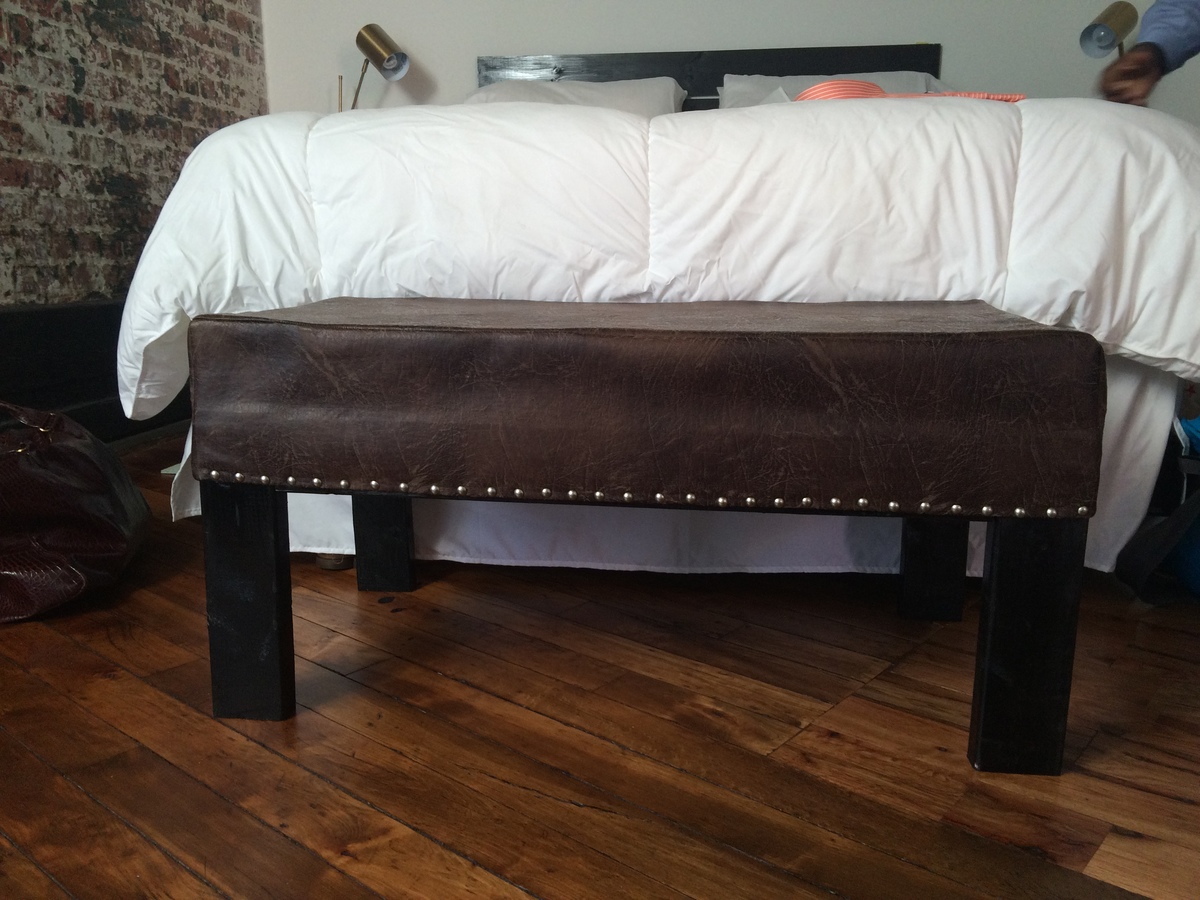
This is the second bench made from these plans. For this bench, I altered the plans, decreasing the length from 55" to 36". I'm a little uneasy about using the jigsaw so I did not taper the legs. I love this bench it fits very nicely into our warehouse loft apartment.
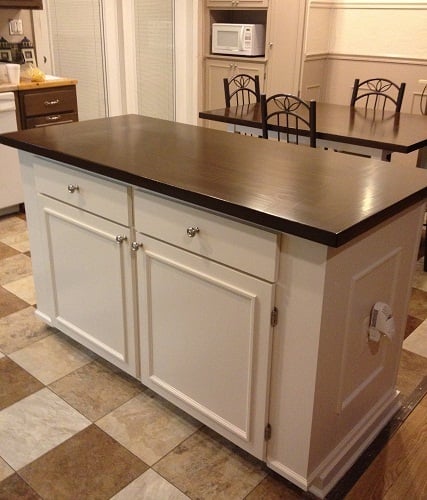
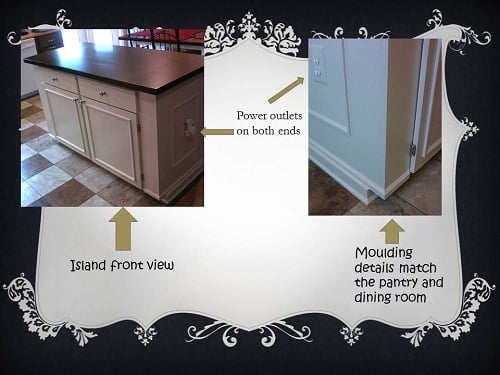
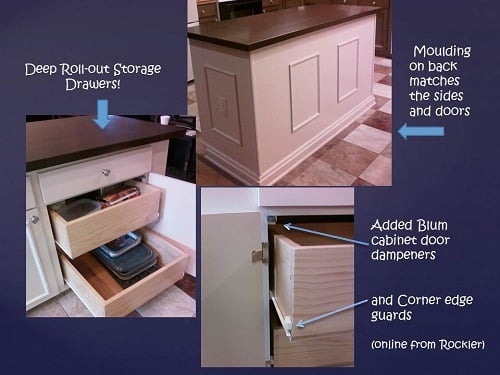
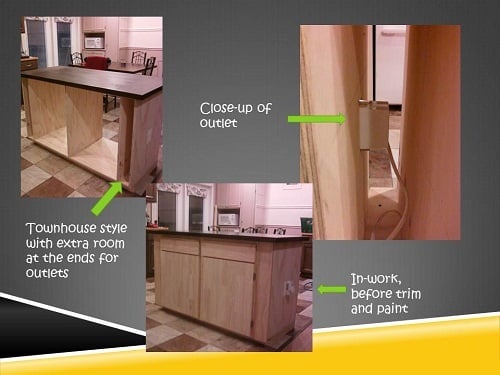
I’ve wanted a new island for awhile but wasn’t quite sure what I wanted it to look like, until I saw Ana’s cabinet plans for the Momplex kitchen! We wanted a fairly large island, so we did two 24” base cabinets “townhouse style” (from Ana’s Kitchen Cabinet Base 101 post) plus we added a little extra space at both ends, so Hubby could install some electrical outlets and we’d still have plenty of room for the drawers. The old island had power already, so he got the outlets wired pretty fast. Behind the doors are some deep pull-out drawers to hold all the stuff you’d usually have to bend down and reach for. Now it’s so convenient! I built a Farmhouse Table top for it and love it! We built flat doors and trimmed them up to match the island sides and back (also matches our pantry and dining room). This project took us about 40 hours to build and finish, and it was so worth it! Ana, you are a rockstar in our house! We now have a real showpiece for our kitchen, thanks to Ana White!

Fri, 03/30/2012 - 21:14
Absolutely stunning! I'm in the process (sooo sooo close to being done) of making a banquette seating area with the creamy colored drawer base and the top stained in walnut. I put the same half round trim on my drawer fronts too. I saw a vanity on display at Lowes with this detail and had to copy it. I love the look! I am also building a trestle table from plans from www.thisoldhouse.com to match. I bought some beautiful matching chairs from Target.com. I can't wait to get it finished. I'm about to go paint the drawers right now. The table components were just primed 15 minutes ago. :-)
Sat, 03/31/2012 - 08:04
Brigitte and Pam, thank you very much for the nice comments! :) I'm having a ball building projects from this site. This is our favorite one so far (we say that every time haha). I have to smile and run my hand across the top whenever I walk past it - I guess when the novelty wears off I'll stop doing that :) Now I'm ready to add those door dampeners to all the cabinet doors in my house (so cool not hearing a slam when you shut them). Brigitte, your project sounds beautiful, can't wait to see the pictures of it!
Sat, 03/31/2012 - 18:57
Absolutely gorgeous! I really love the colors. I've never tried the color express stain - and I have to try it now! The top is so seamless. Love it!
Sun, 04/01/2012 - 05:33
Mebohn, thanks very much for the nice comment! You'll love the color express when you try it. Walnut is my favorite and I've used it for lots of projects. I like brushing it on to get a nice dark first coat, and then on this one, rubbed on a 2nd coat (needed to wait an extra hour for the first coat to dry). I used lots of wood glue and Kreg screws to assemble this top (it's 5 pieces of 1x10, 3 across and 1 at each end) and then added 1x4 underneath (around the edges and across the center for attaching) to make it 1 1/2 inches thick. Then a whole lot of sanding :)
Sat, 05/26/2012 - 06:46
Mariah, Thanks very much for the nice comment! I'm really happy with how this turned out. Now I want to re-do all my kitchen cabinets with Ana's plans. :) PS -- I saw your jugsaw puzzle table this morning on the brag board -- super creative!!