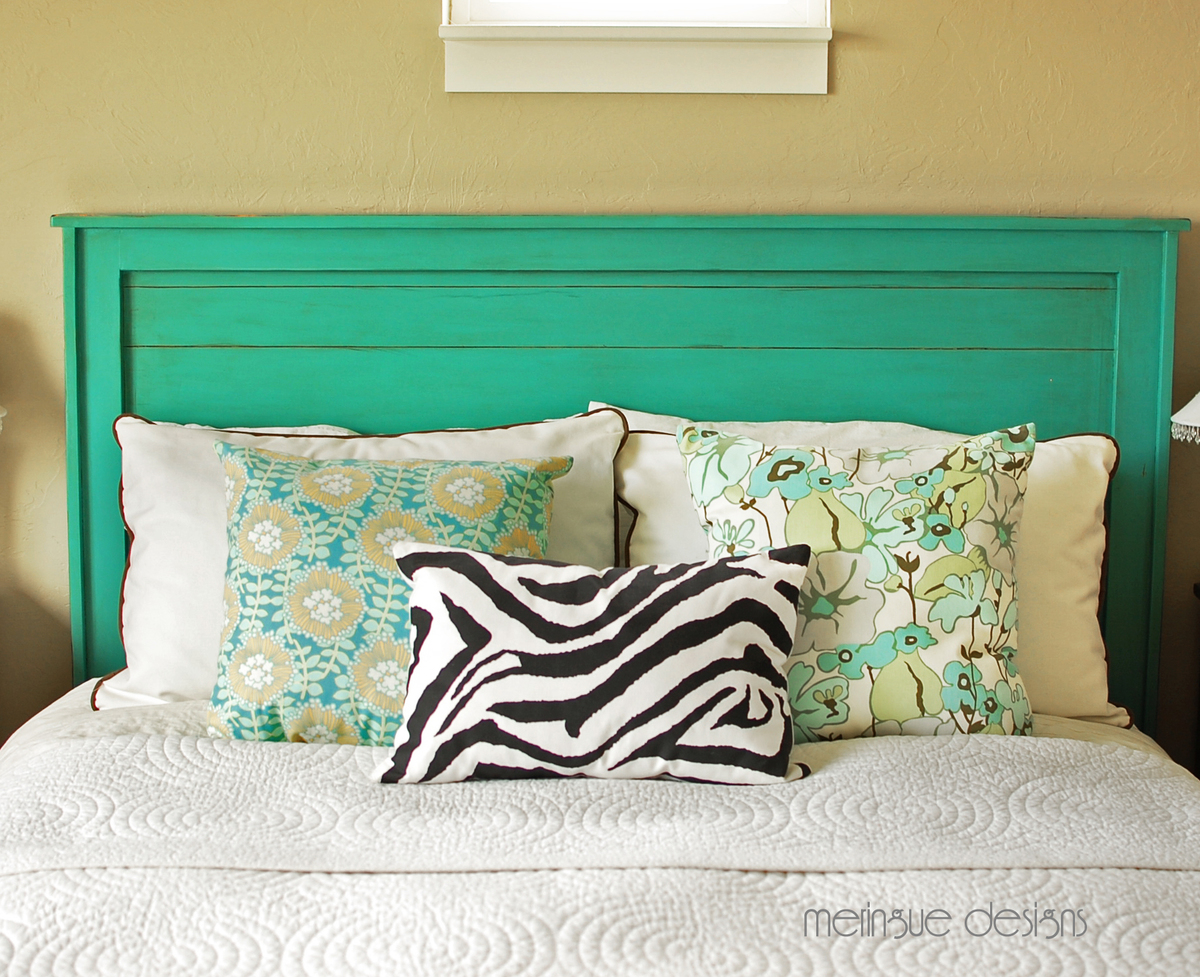
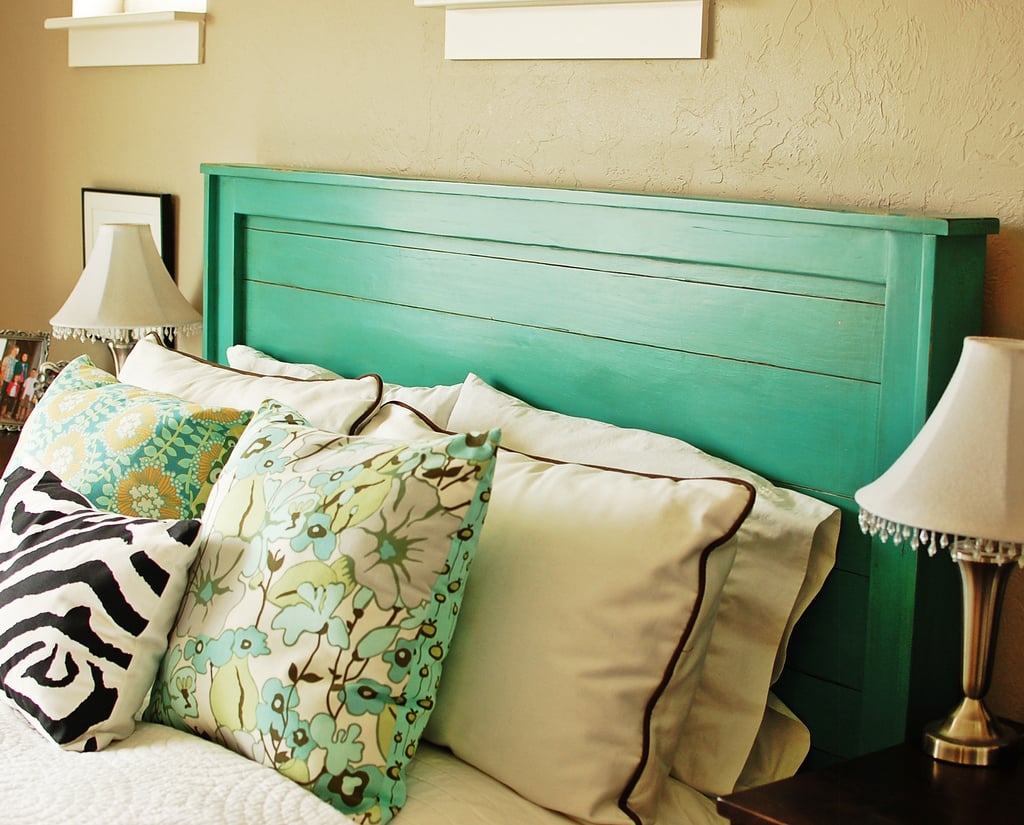
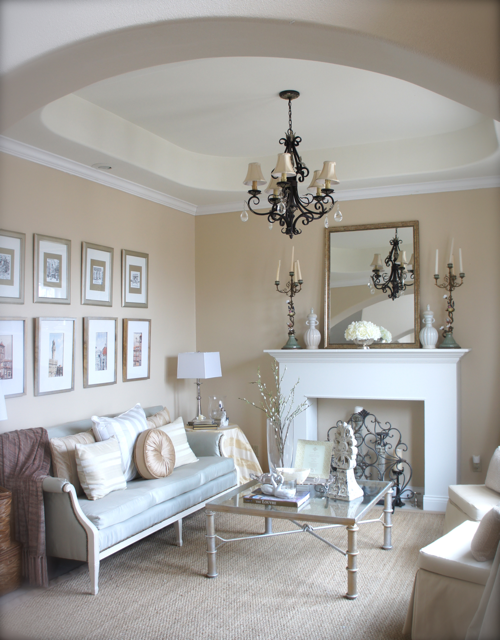
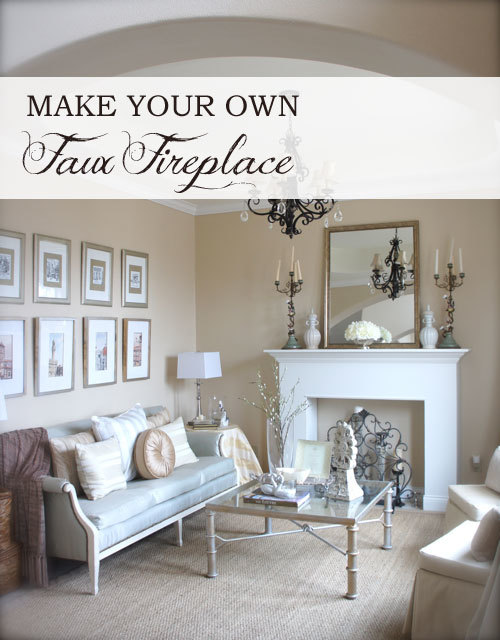
Reclaimed wood headboard
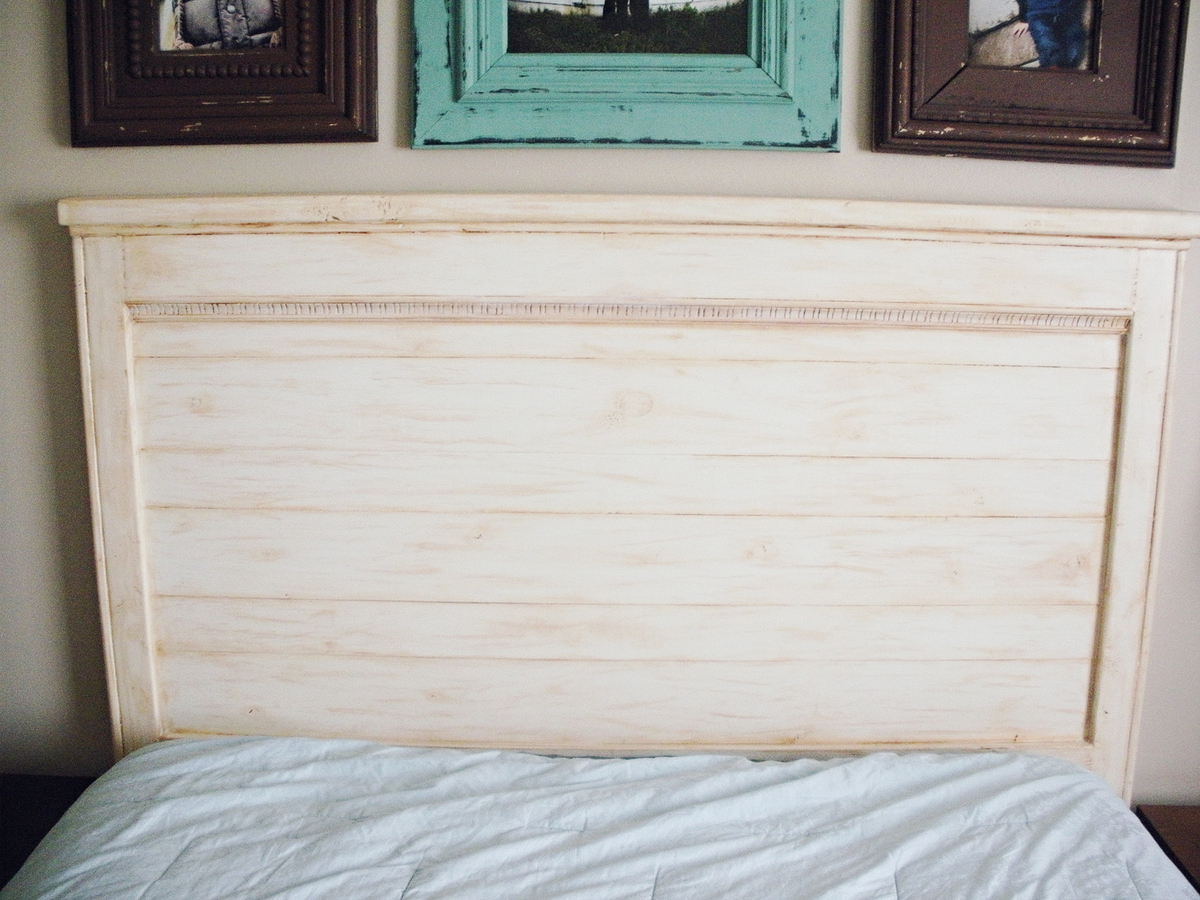
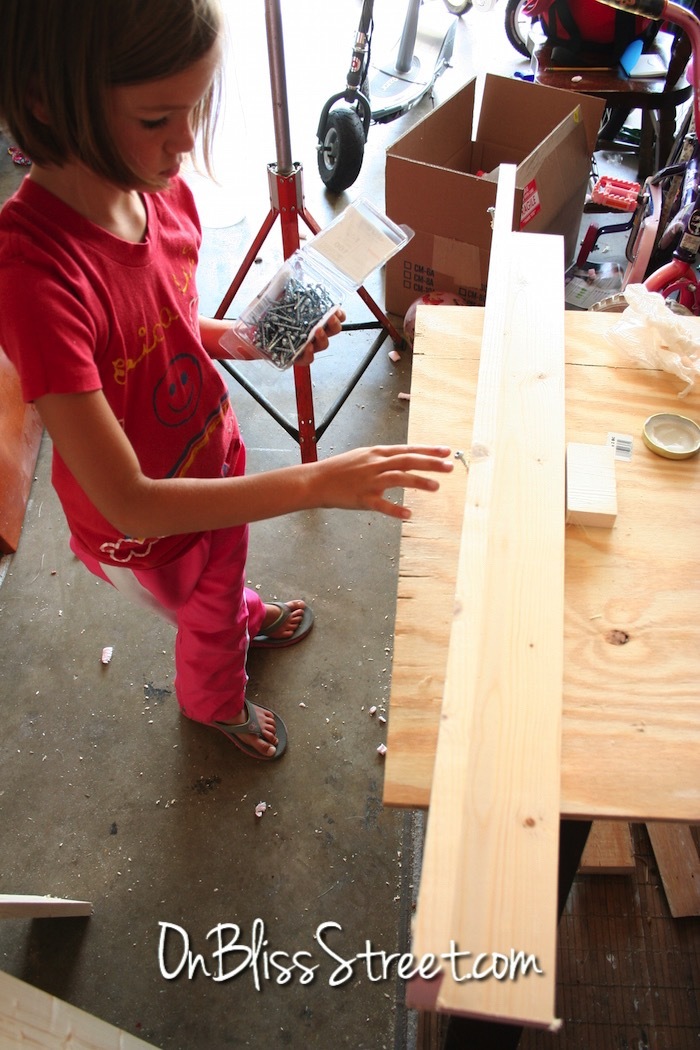
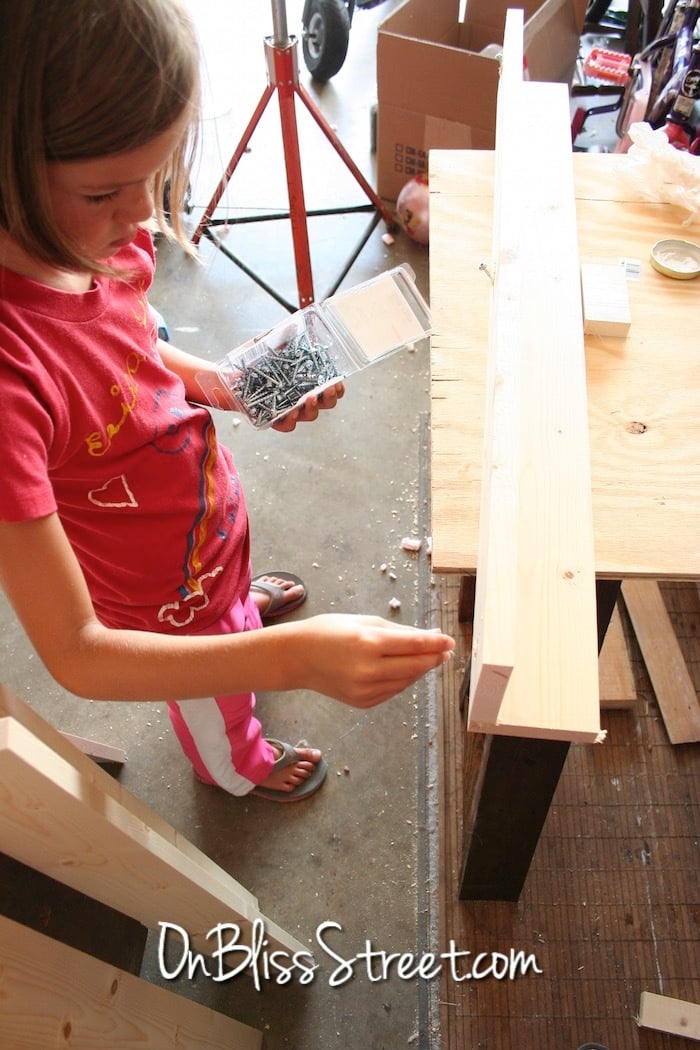
This was my first building project. It turned out better than I thought it would!
I used the reclaimed wood headboard plans. The only things that I did different was added a decorative trim piece to it & did some wood filler to areas to fill in. I painted it a cream color, then antiqued it. The stuff I used was folkart antiquing medium that I got at a local craft store.
A few things that I learned...
*Make sure the wood you buy it straight. Check it at the store that it lays flat on the ground.
*Don't take a 4 & 5 year old with you to the hardware store!
*For some areas screws work better than finishing nails. AKA the top pieces of the headboard (pre drill a hole a little so that the screw head will fit in. When done add wood filler after to fill in the hole)
*measure your bed frame rail to make sure that the headboard will fit where the holes in the frame are.
The antiquing was done with Folkart Antiquing Medium 811. You can get it at your local craft store that sells Folkart paint.


Comments
Ana White
Sun, 06/26/2011 - 11:07
BEAUTIFUL! Love the
BEAUTIFUL! Love the turquoise frame too!
mom24boyz
Thu, 06/30/2011 - 07:43
:)
Thanks Ana!
Shanda McKeehan (not verified)
Fri, 09/07/2012 - 09:36
love the finish
This looks great! I just finished my headboard and TOTALLY agree with the make sure your wood is straight thing. I didn't and it really screws things up!