Community Brag Posts
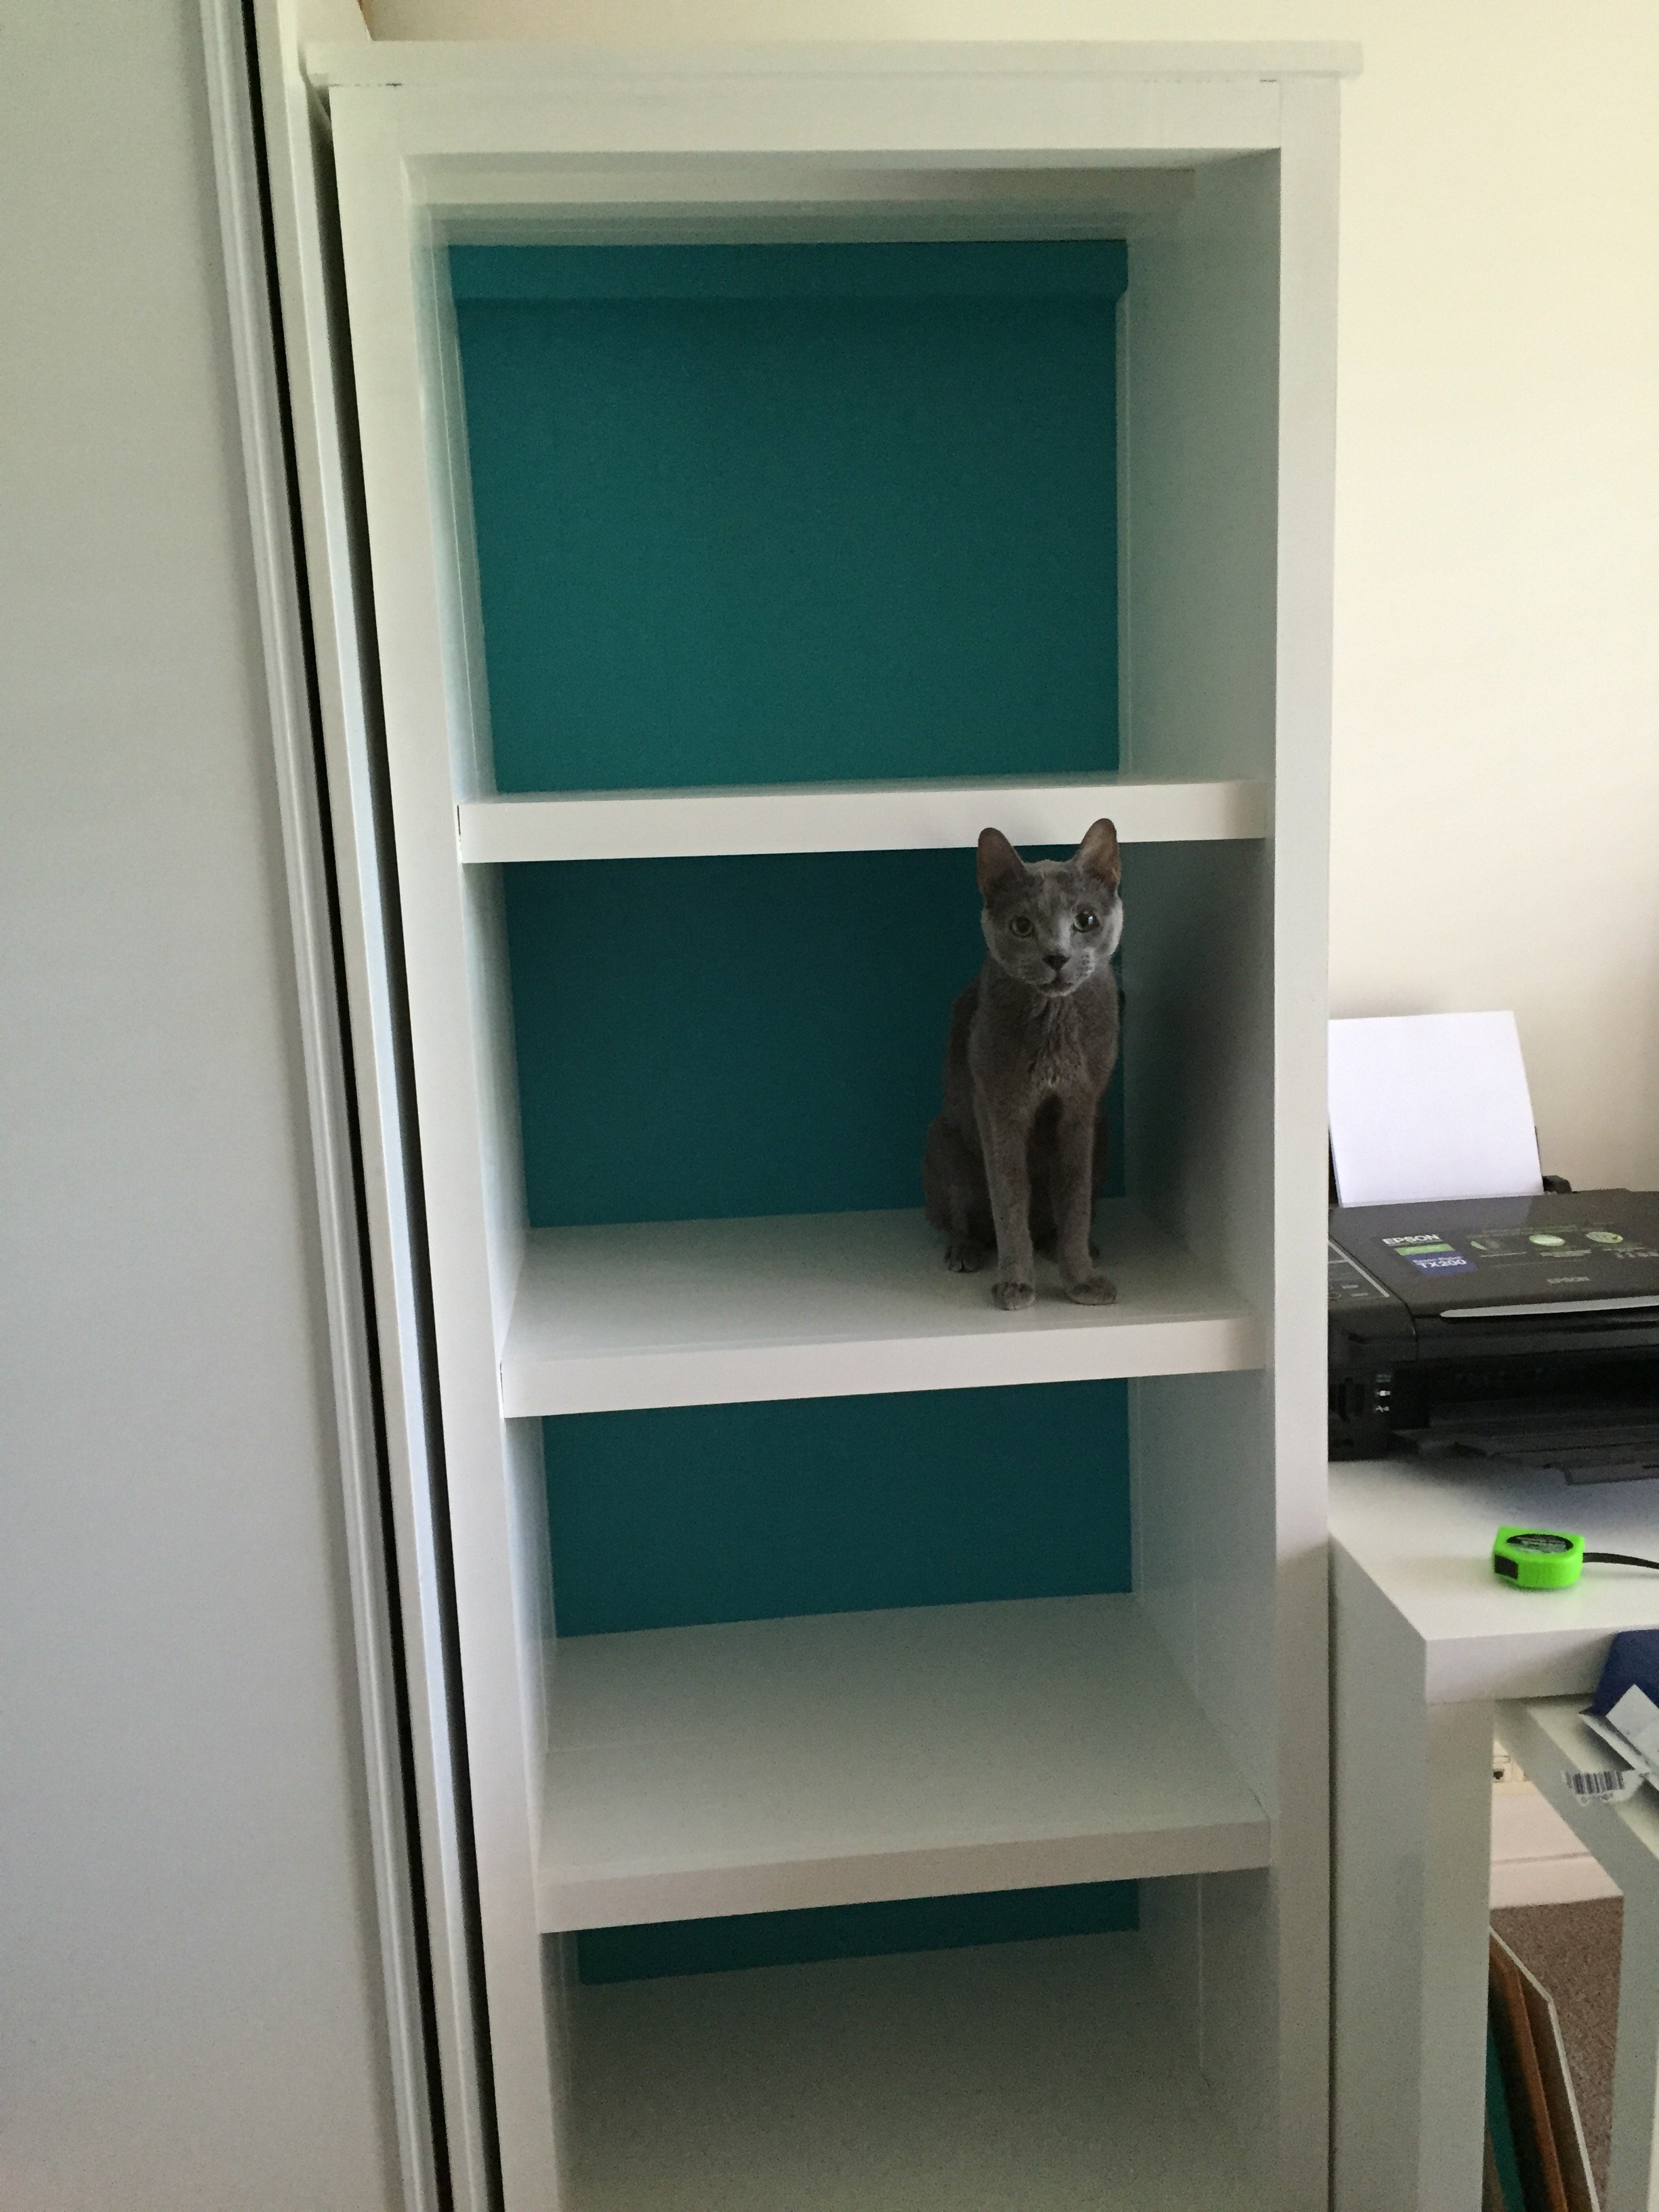
Kentwood Bookcase
A great plan that was so easy to follow! My hubby and I had a great time building this, even though it took us about a year from start to finish, actual work time on this project was not huge. The Kreg jig was brilliant and made everything so easy.
Built from Plan(s)
Estimated Cost
I would put the estimated cost at around $400 AUD. Looking back at the project I'm sure we could have cut costs by buying recycled timber.
Estimated Time Investment
Weekend Project (10-20 Hours)
Finish Used
Dulux Whisper White Semi-Gloss
Dulux Colour matched Turqoise Low Sheen
Dulux Colour matched Turqoise Low Sheen
Recommended Skill Level
Beginner
Comments
Tue, 01/20/2015 - 13:43
This is beautiful! I love the
This is beautiful! I love the picture of your cat. :)
Farm Table
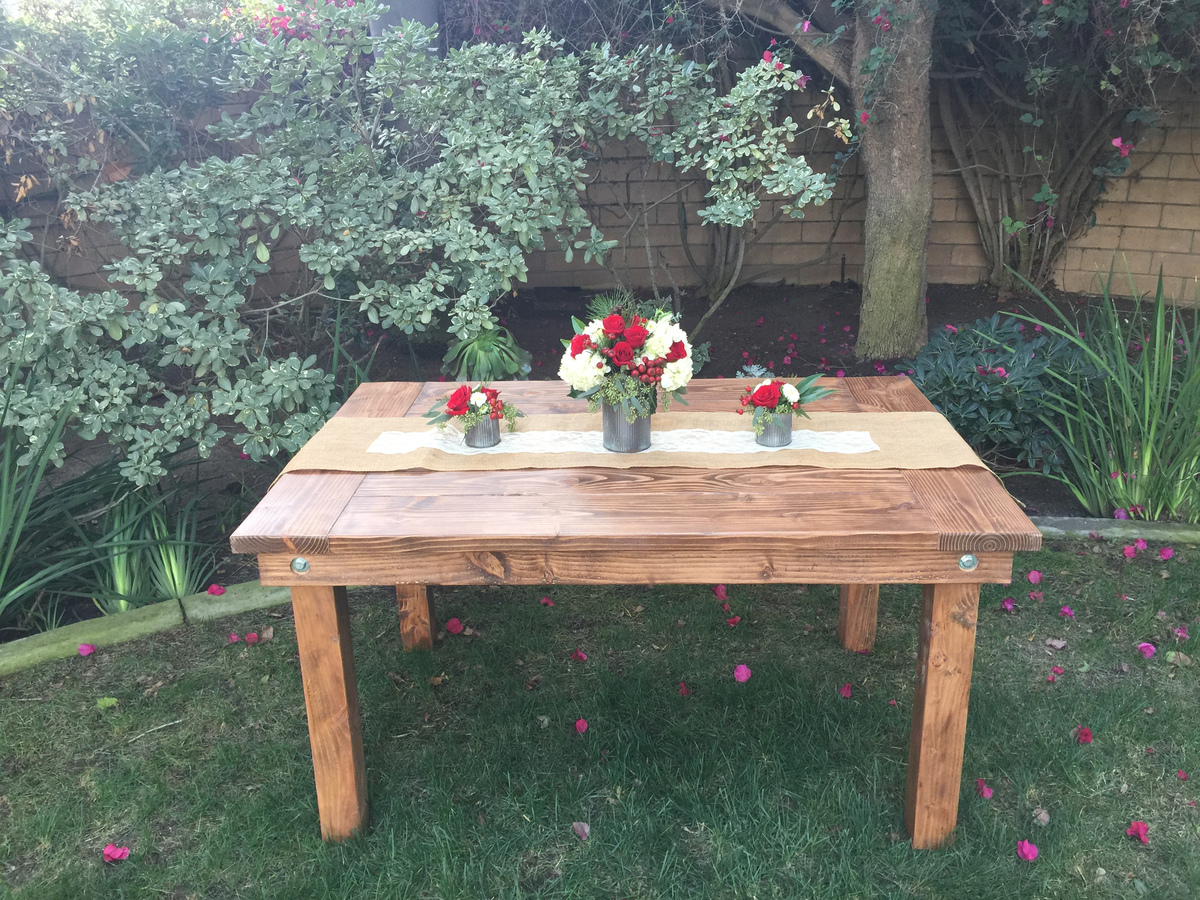
We started building farm tables just recently and used the great plans from the Ana White site along with all the helpful other brag posts. The main construction of the table was based on the plans from here: www.ana-white.com/2012/11/plans/farmhouse-table-updated-pocket-hole-plans along with some other modifications made along the way. The table turned out great and just wanted to give thanks for the plans and this community.
We built more than just the picture uploaded if you want to see more versions/sizez you can check them out here: http://backyardcedarsevents.com/gallery/
Thanks for the great DIY website - the projects and plans here are great for everything!

Built from Plan(s)
Estimated Time Investment
Weekend Project (10-20 Hours)
Finish Used
Minwax Special Oak
Recommended Skill Level
Intermediate
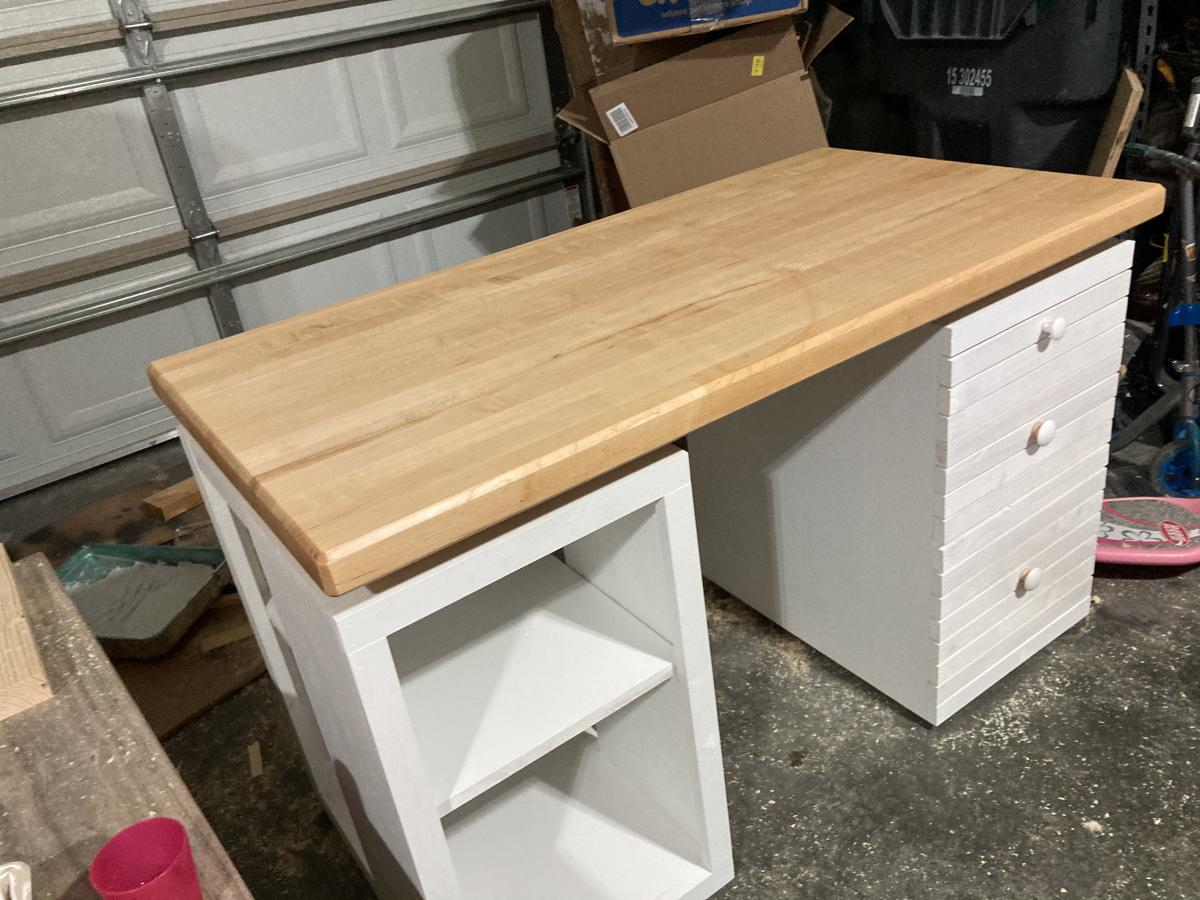
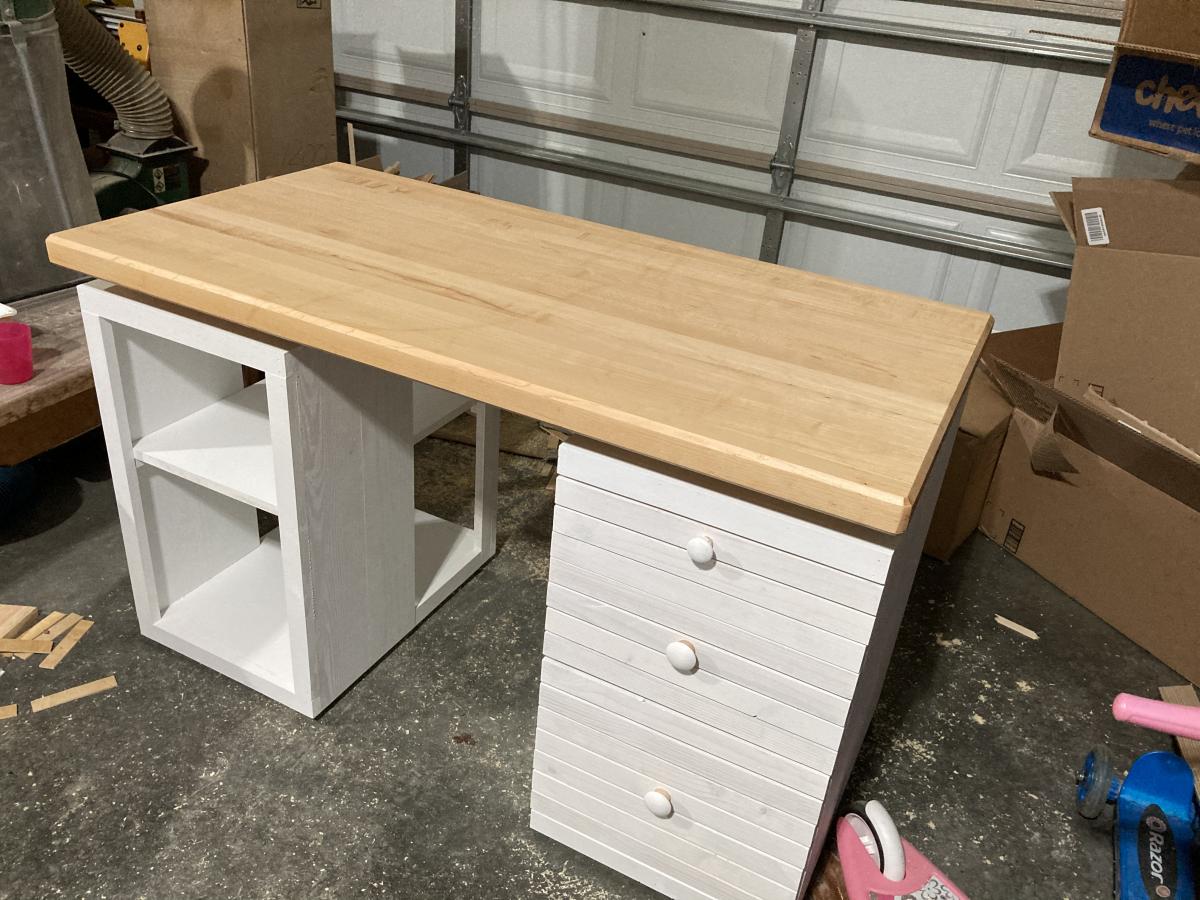
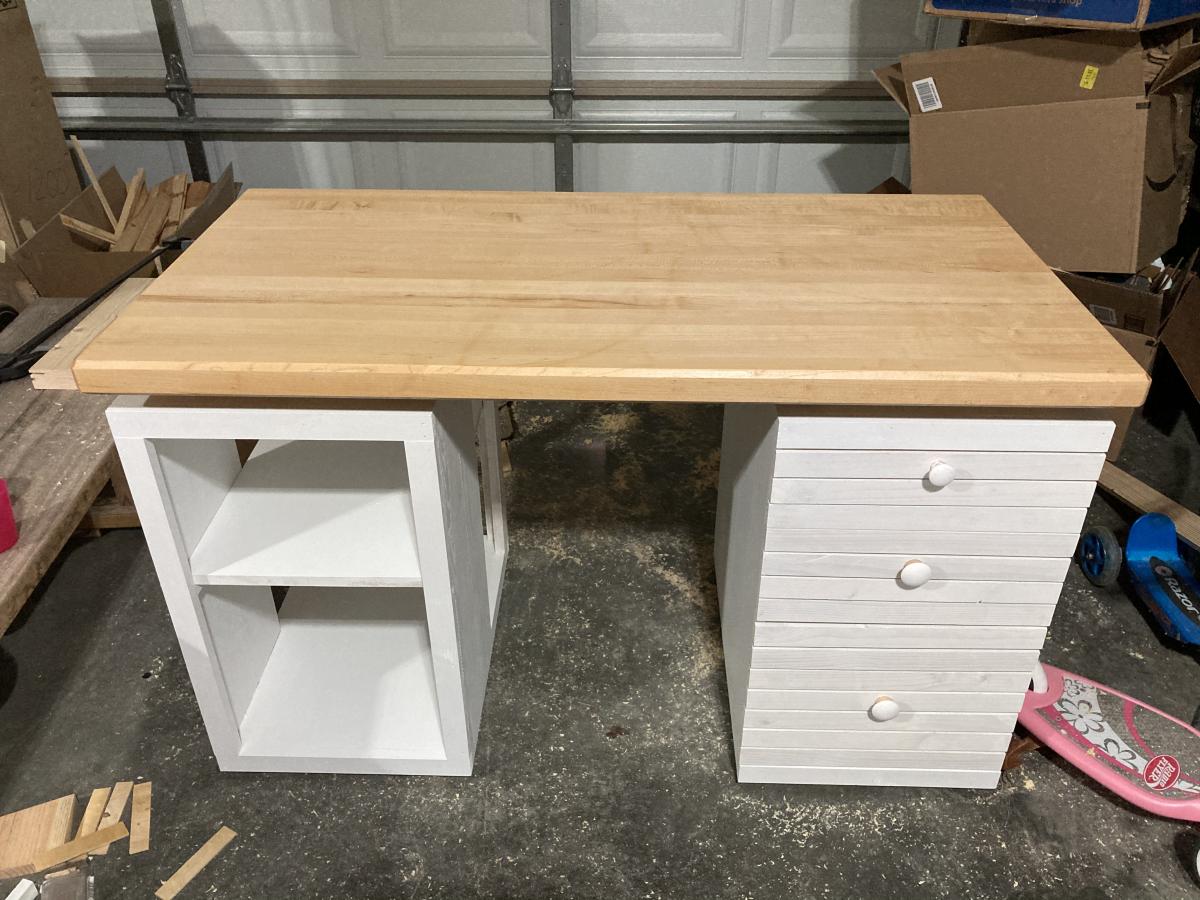
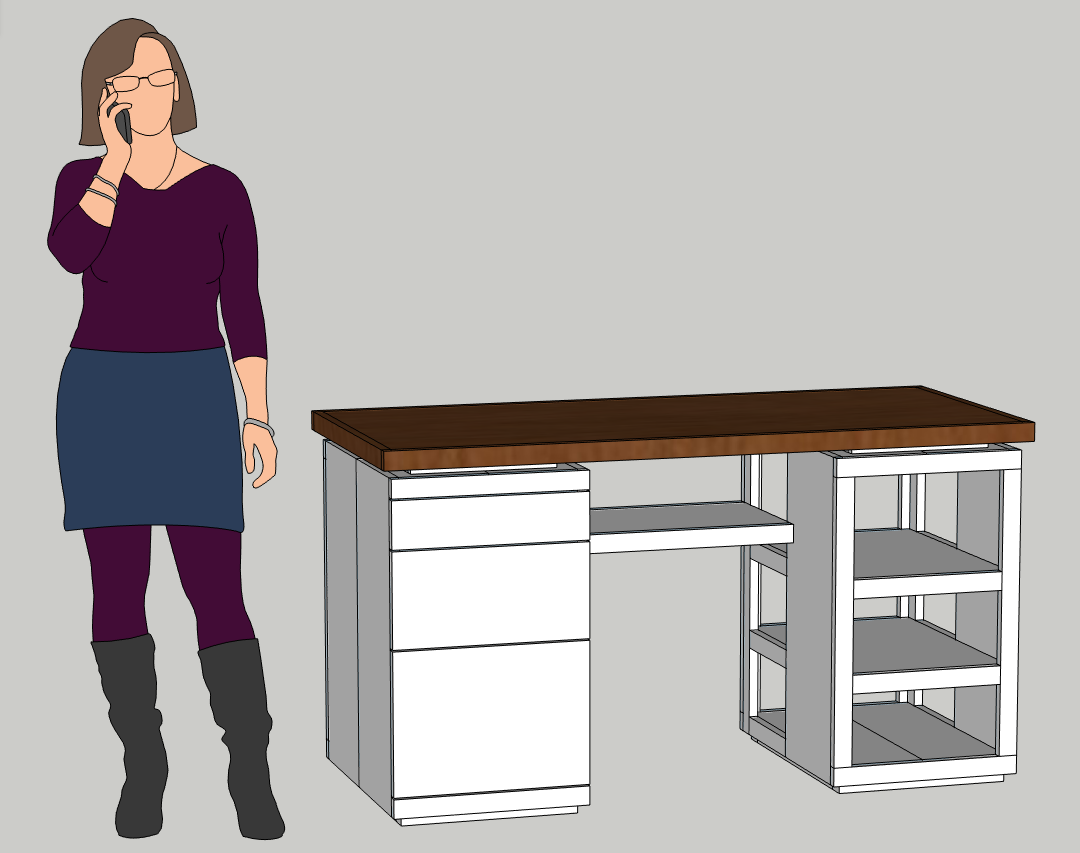
Modern craft table inspired desk
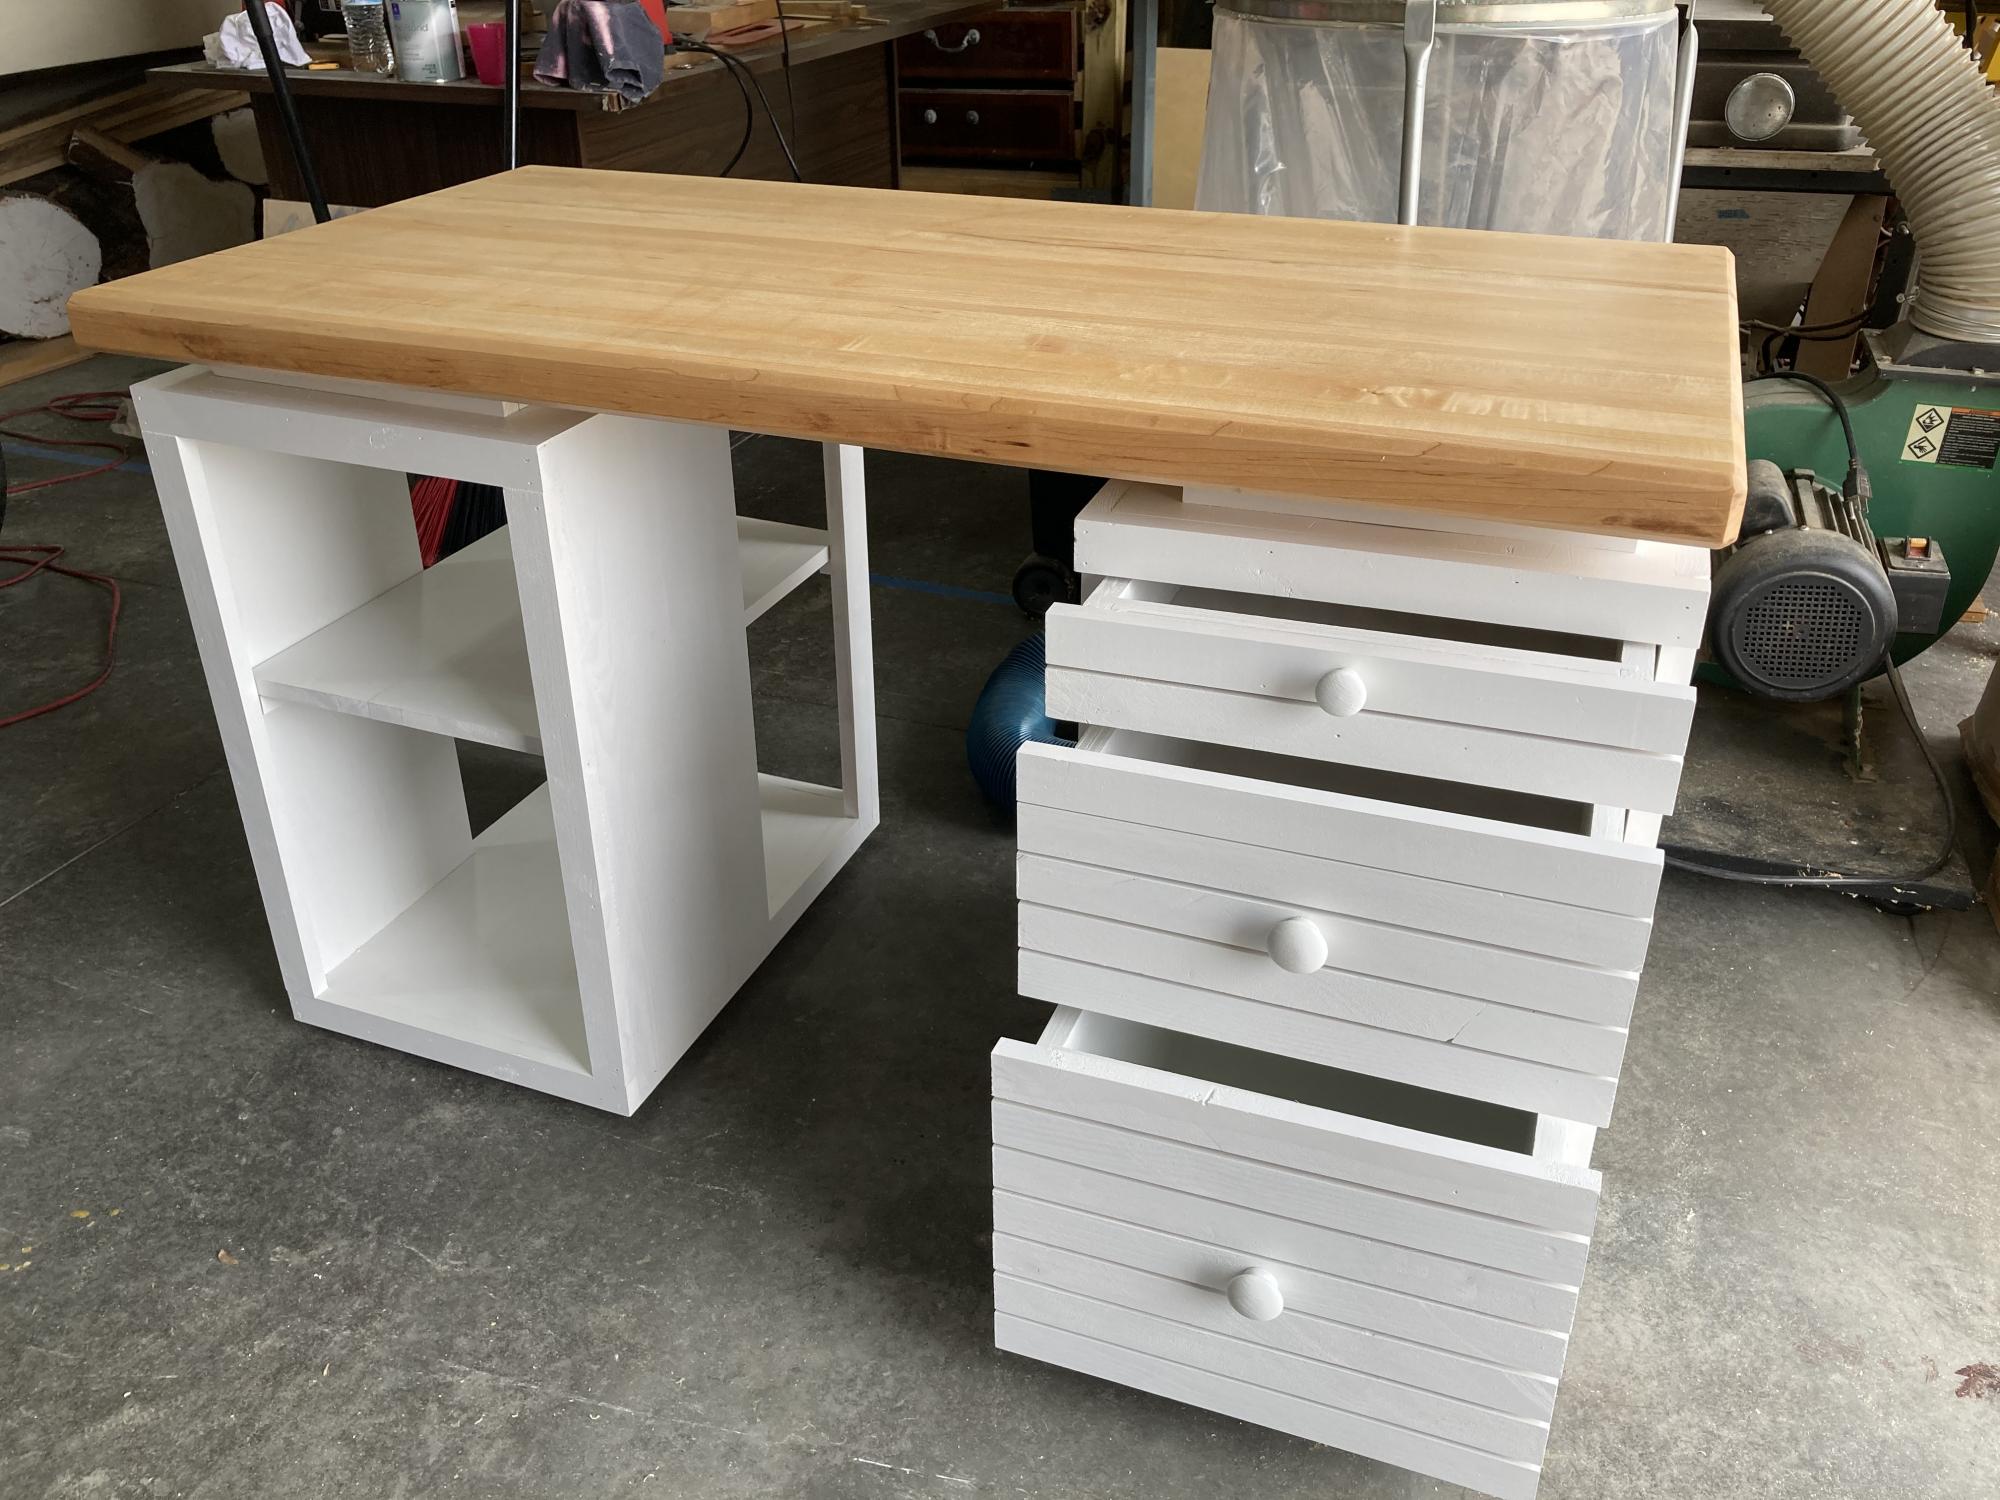
Your craft table was the kicking off point for this desk. Pine cabinets, plywood drawers, maple top.
Built from Plan(s)
Estimated Cost
I already had the materials, the paint was about $50
Estimated Time Investment
Week Long Project (20 Hours or More)
Finish Used
Sherwin Williams Pro Classic White paint & Minwax wipe on poly for the maple top.
Recommended Skill Level
Intermediate
Comments
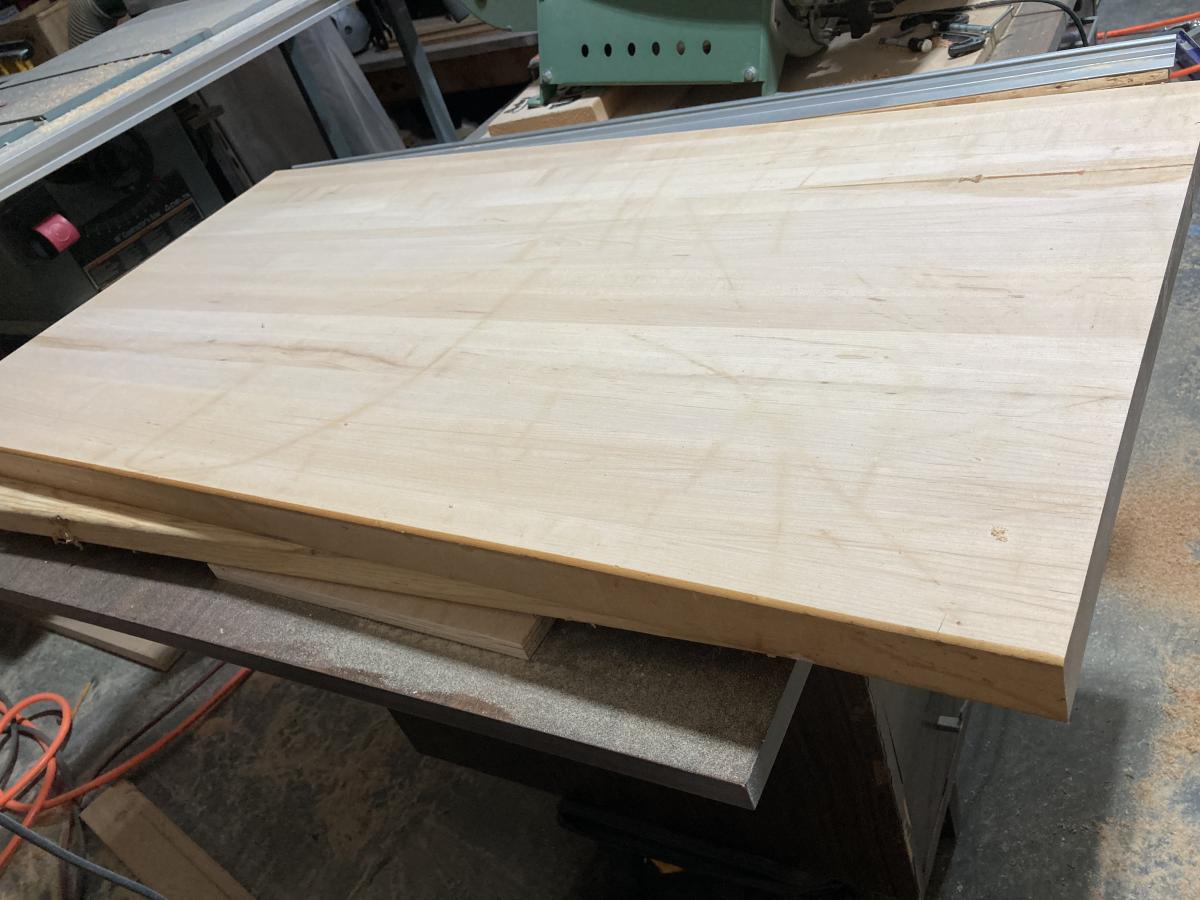
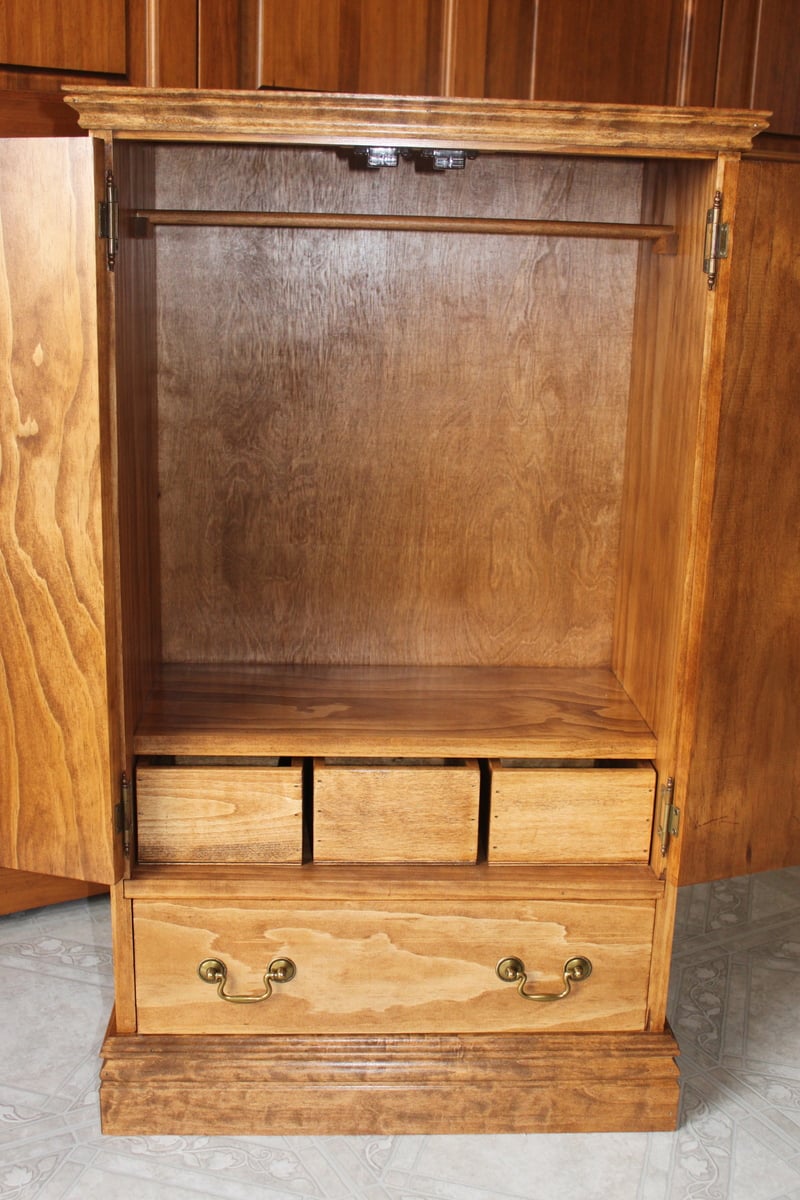
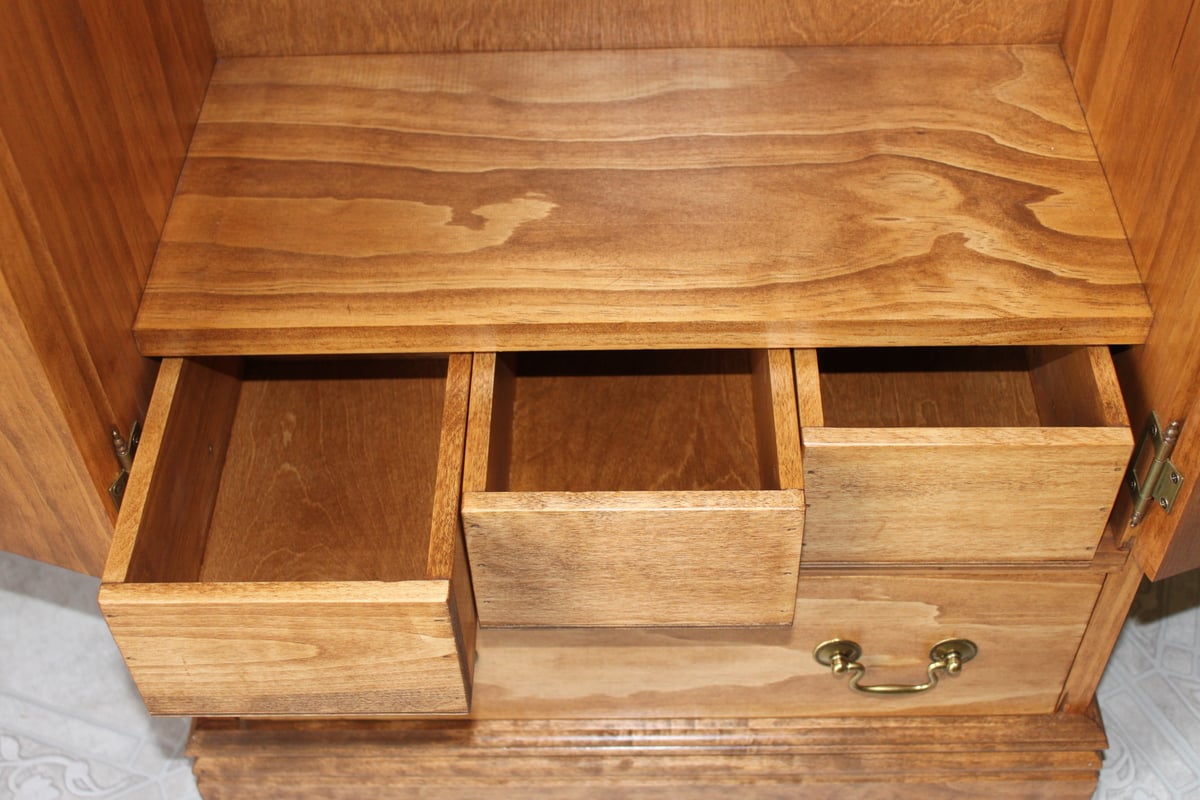
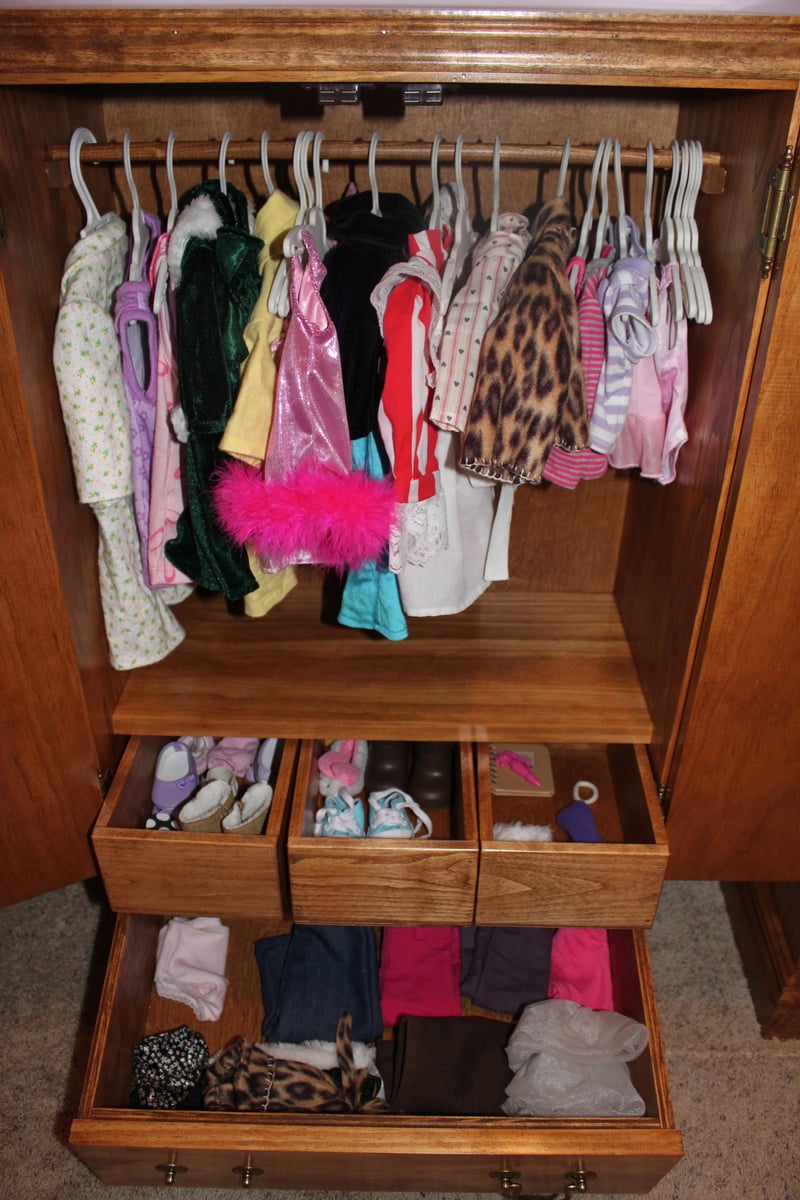
Star Closet
My husband made two of these star closets for our girls and all of their American Girl Doll clothes and accessories. He added a drawer to the bottom so that they could fold pants, shorts, and swim suits and keep them there. He also built three small boxes to hold the smaller accessories, like shoes, hair bows, and hats. It turned out beautiful!
Built from Plan(s)
Estimated Time Investment
Weekend Project (10-20 Hours)
Finish Used
Stain and polyurethane
Recommended Skill Level
Intermediate
Comments

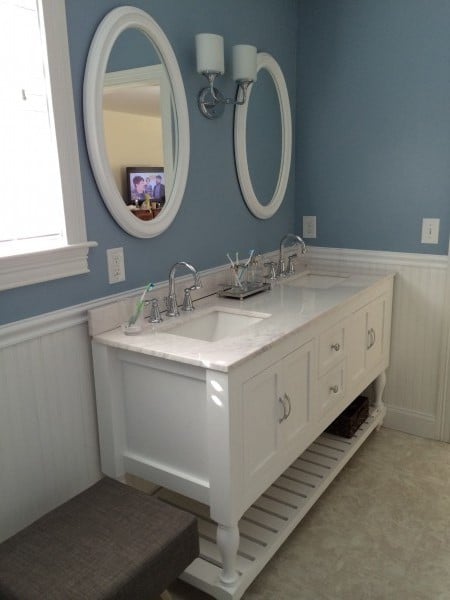
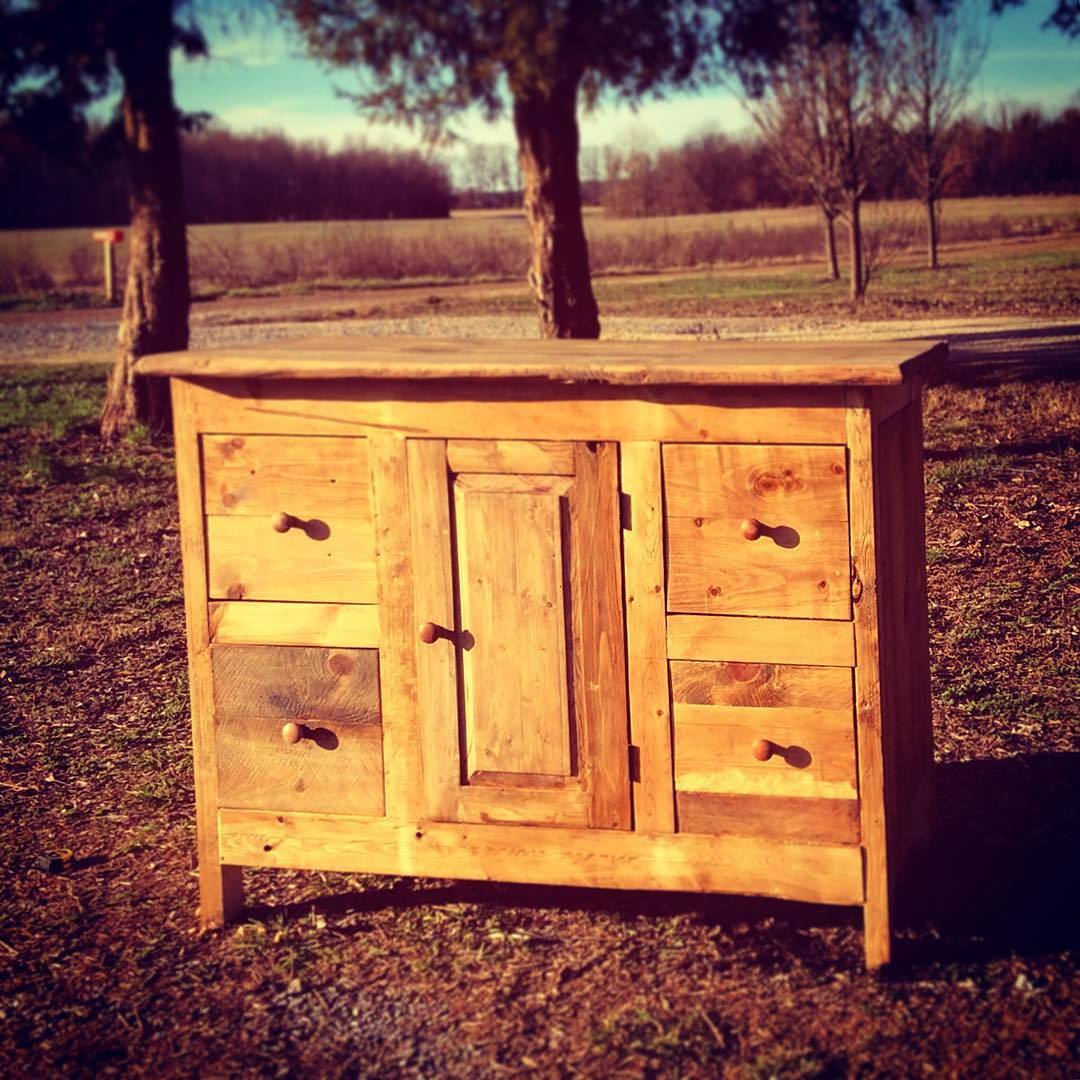
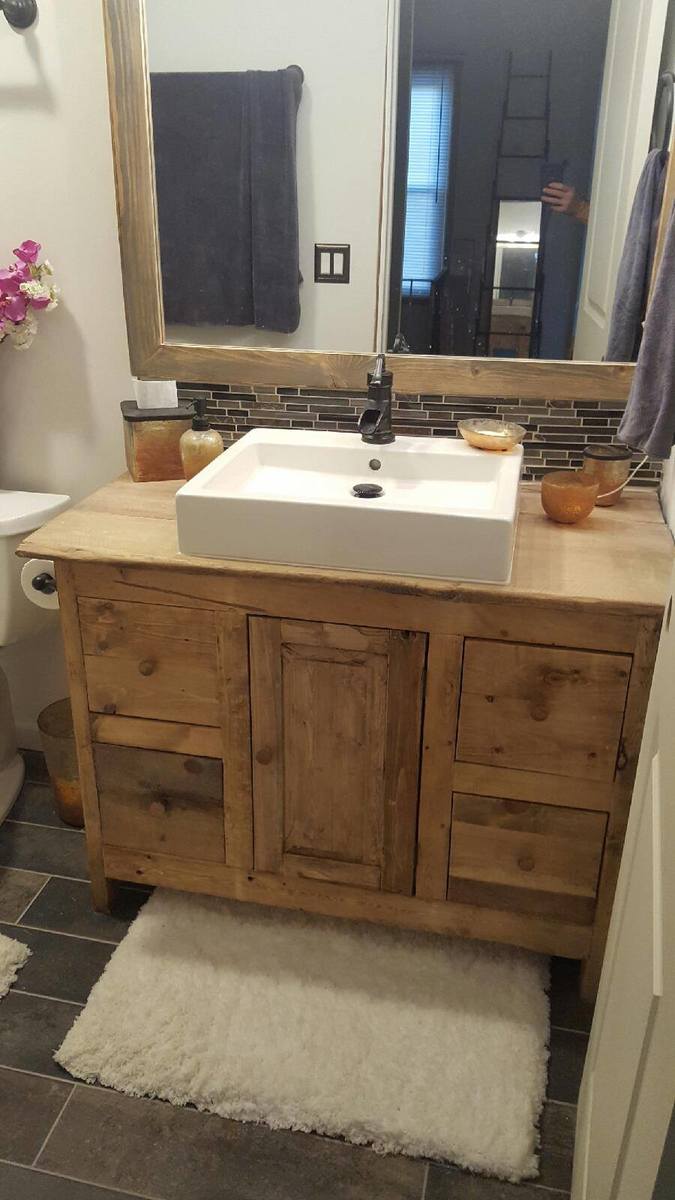
62" Turned Leg Vanity
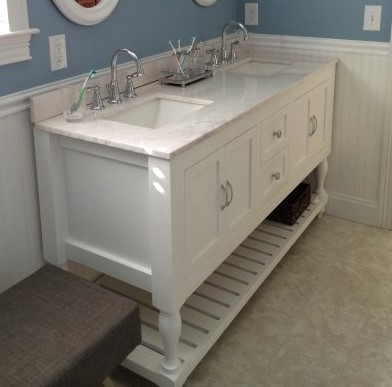
First time visitor. I recently built this modified 48" Turned Leg Vanity for my wife.
We expanded it to a 62" double sink with drawers in the middle and opening below the sinks.
Thanks for the great site Anna.
Built from Plan(s)
Estimated Time Investment
Week Long Project (20 Hours or More)
Finish Used
Paint
Recommended Skill Level
Intermediate
Comments


Wed, 01/21/2015 - 13:51
Beyond beautiful!
Great job! Such a beautiful bathroom, I bet you can't stop smiling!
Wed, 06/10/2015 - 09:35
Plans
This looks great! I am going to work on one very similar and use this sink http://www.us.kohler.com/us/Ceramic-Impressions™-61-rectangular-double-bowl-vanity-top-bathroom-sink,-single-faucet-hole/productDetail/Styles-of-Bathroom-Sinks/1006992.htm?categoryId=651428&skuId=1006846&hash=id%3Dfilters%26chk-183%3D183%26startIndex%3D20%26scrollTop%3D411
Did you save your plans for this size vanity?
Fri, 10/23/2015 - 09:55
Plans for this?
Gwphoto, do you have plans for this project that you would share? Have been wanting to modify this 48" vanity just as you did. Thanks so much!
Mon, 03/14/2016 - 07:47
Hi Schuzog, looks like I can
Hi Schuzog, looks like I can't find the plans on my computer. Sorry.
Greg
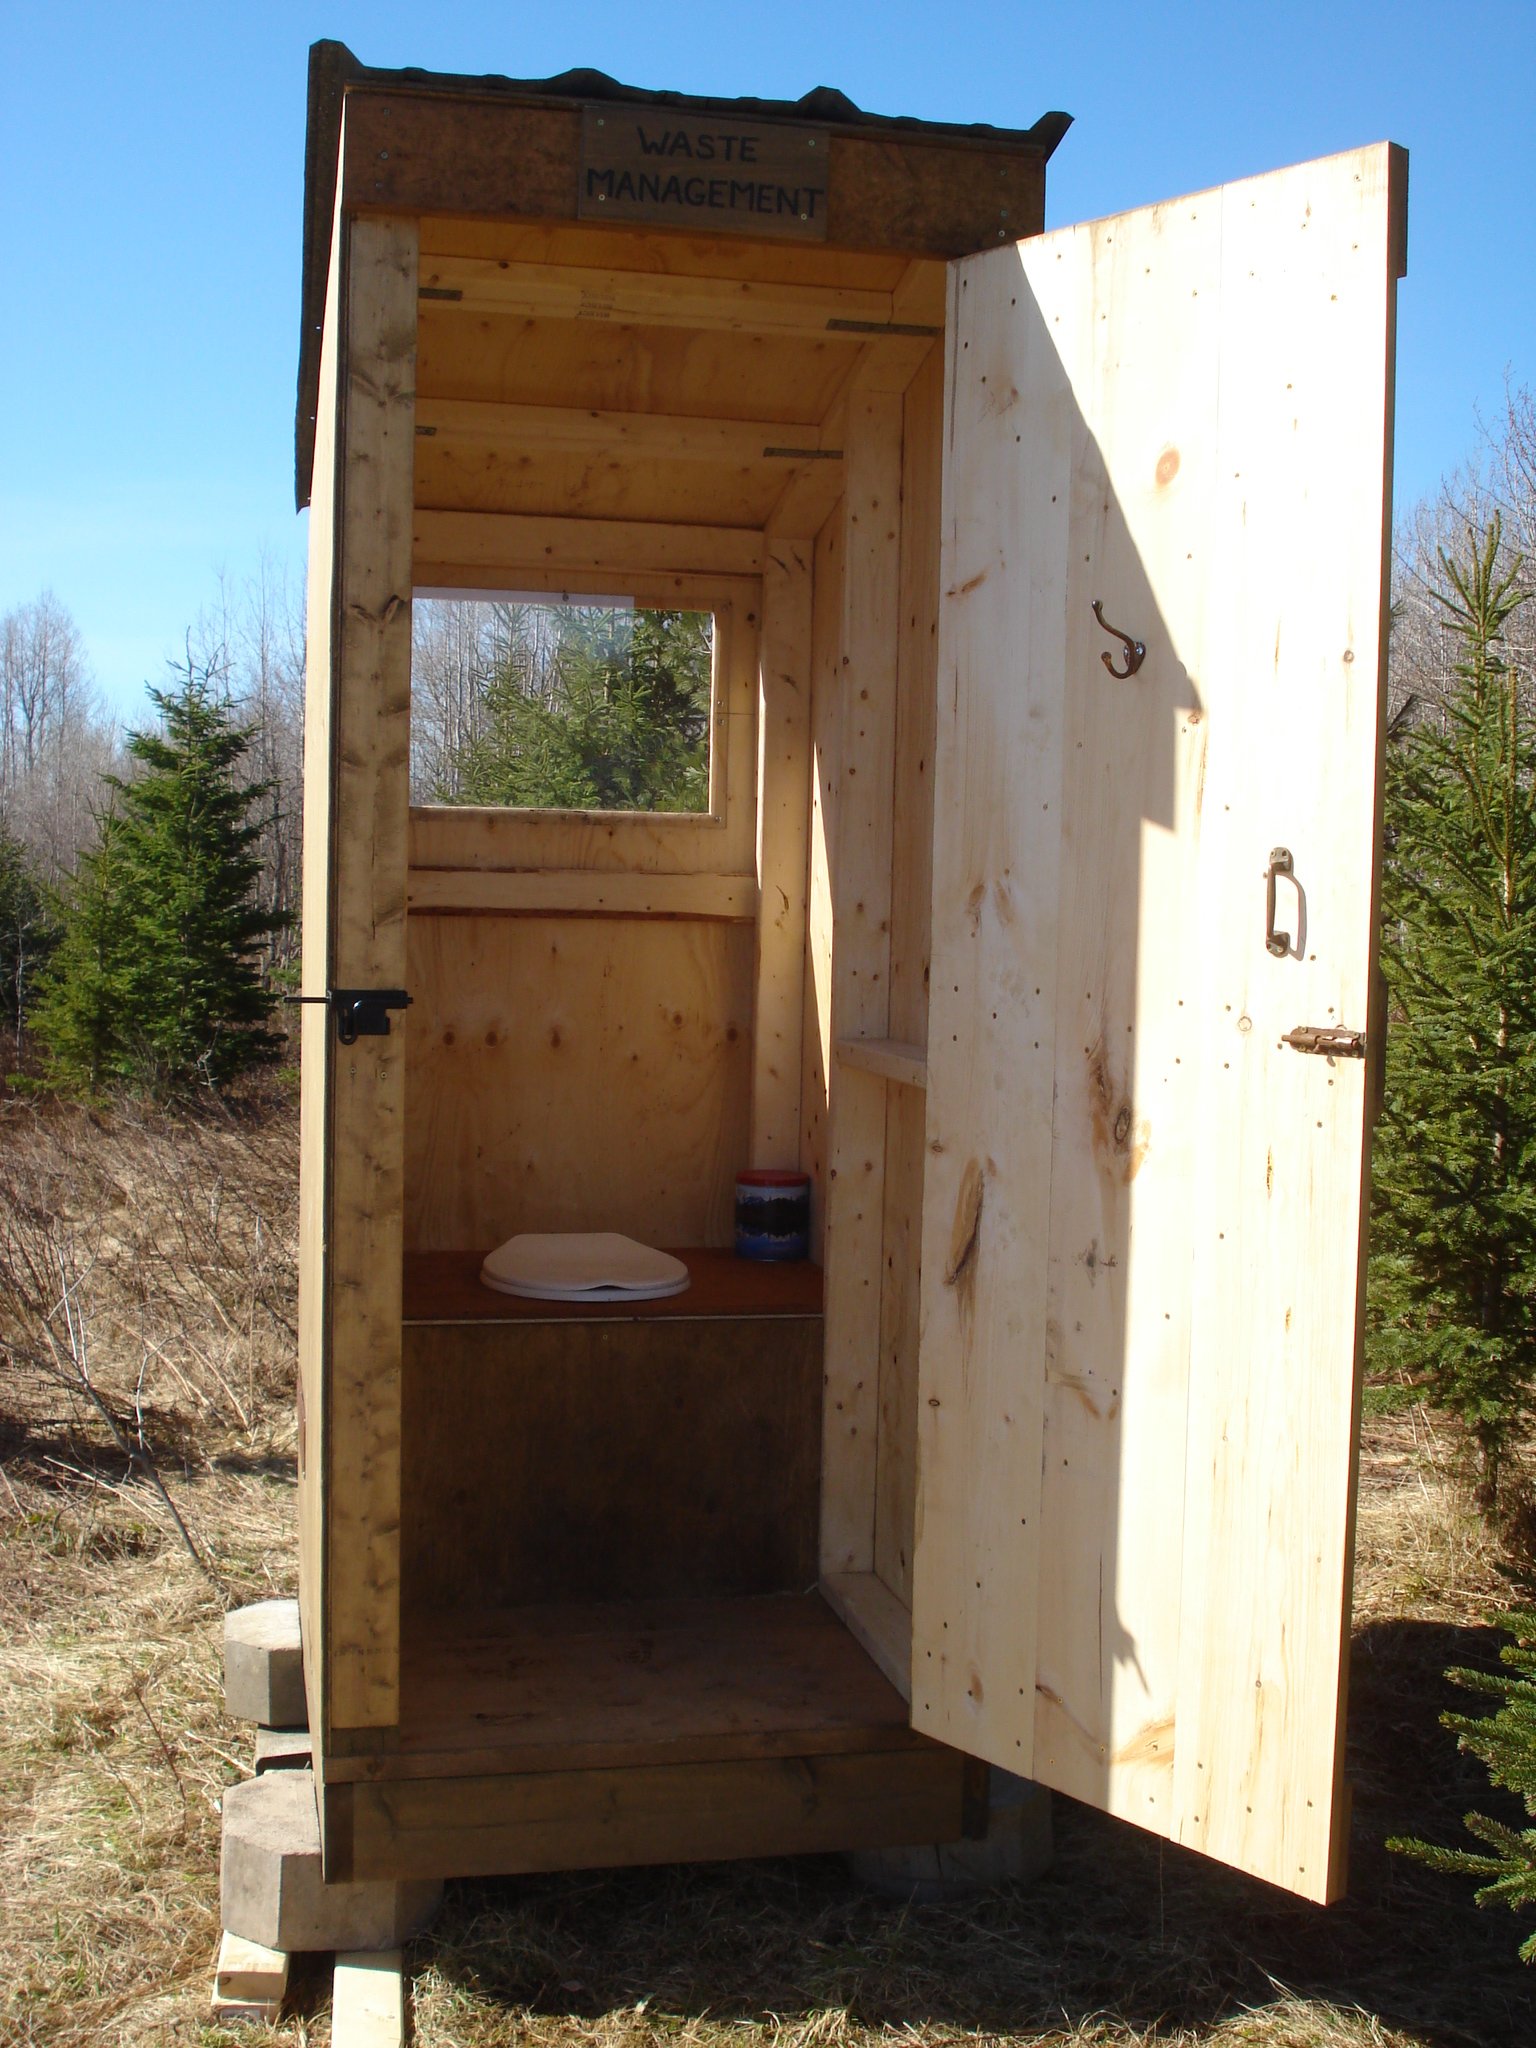
Simple Outhouse
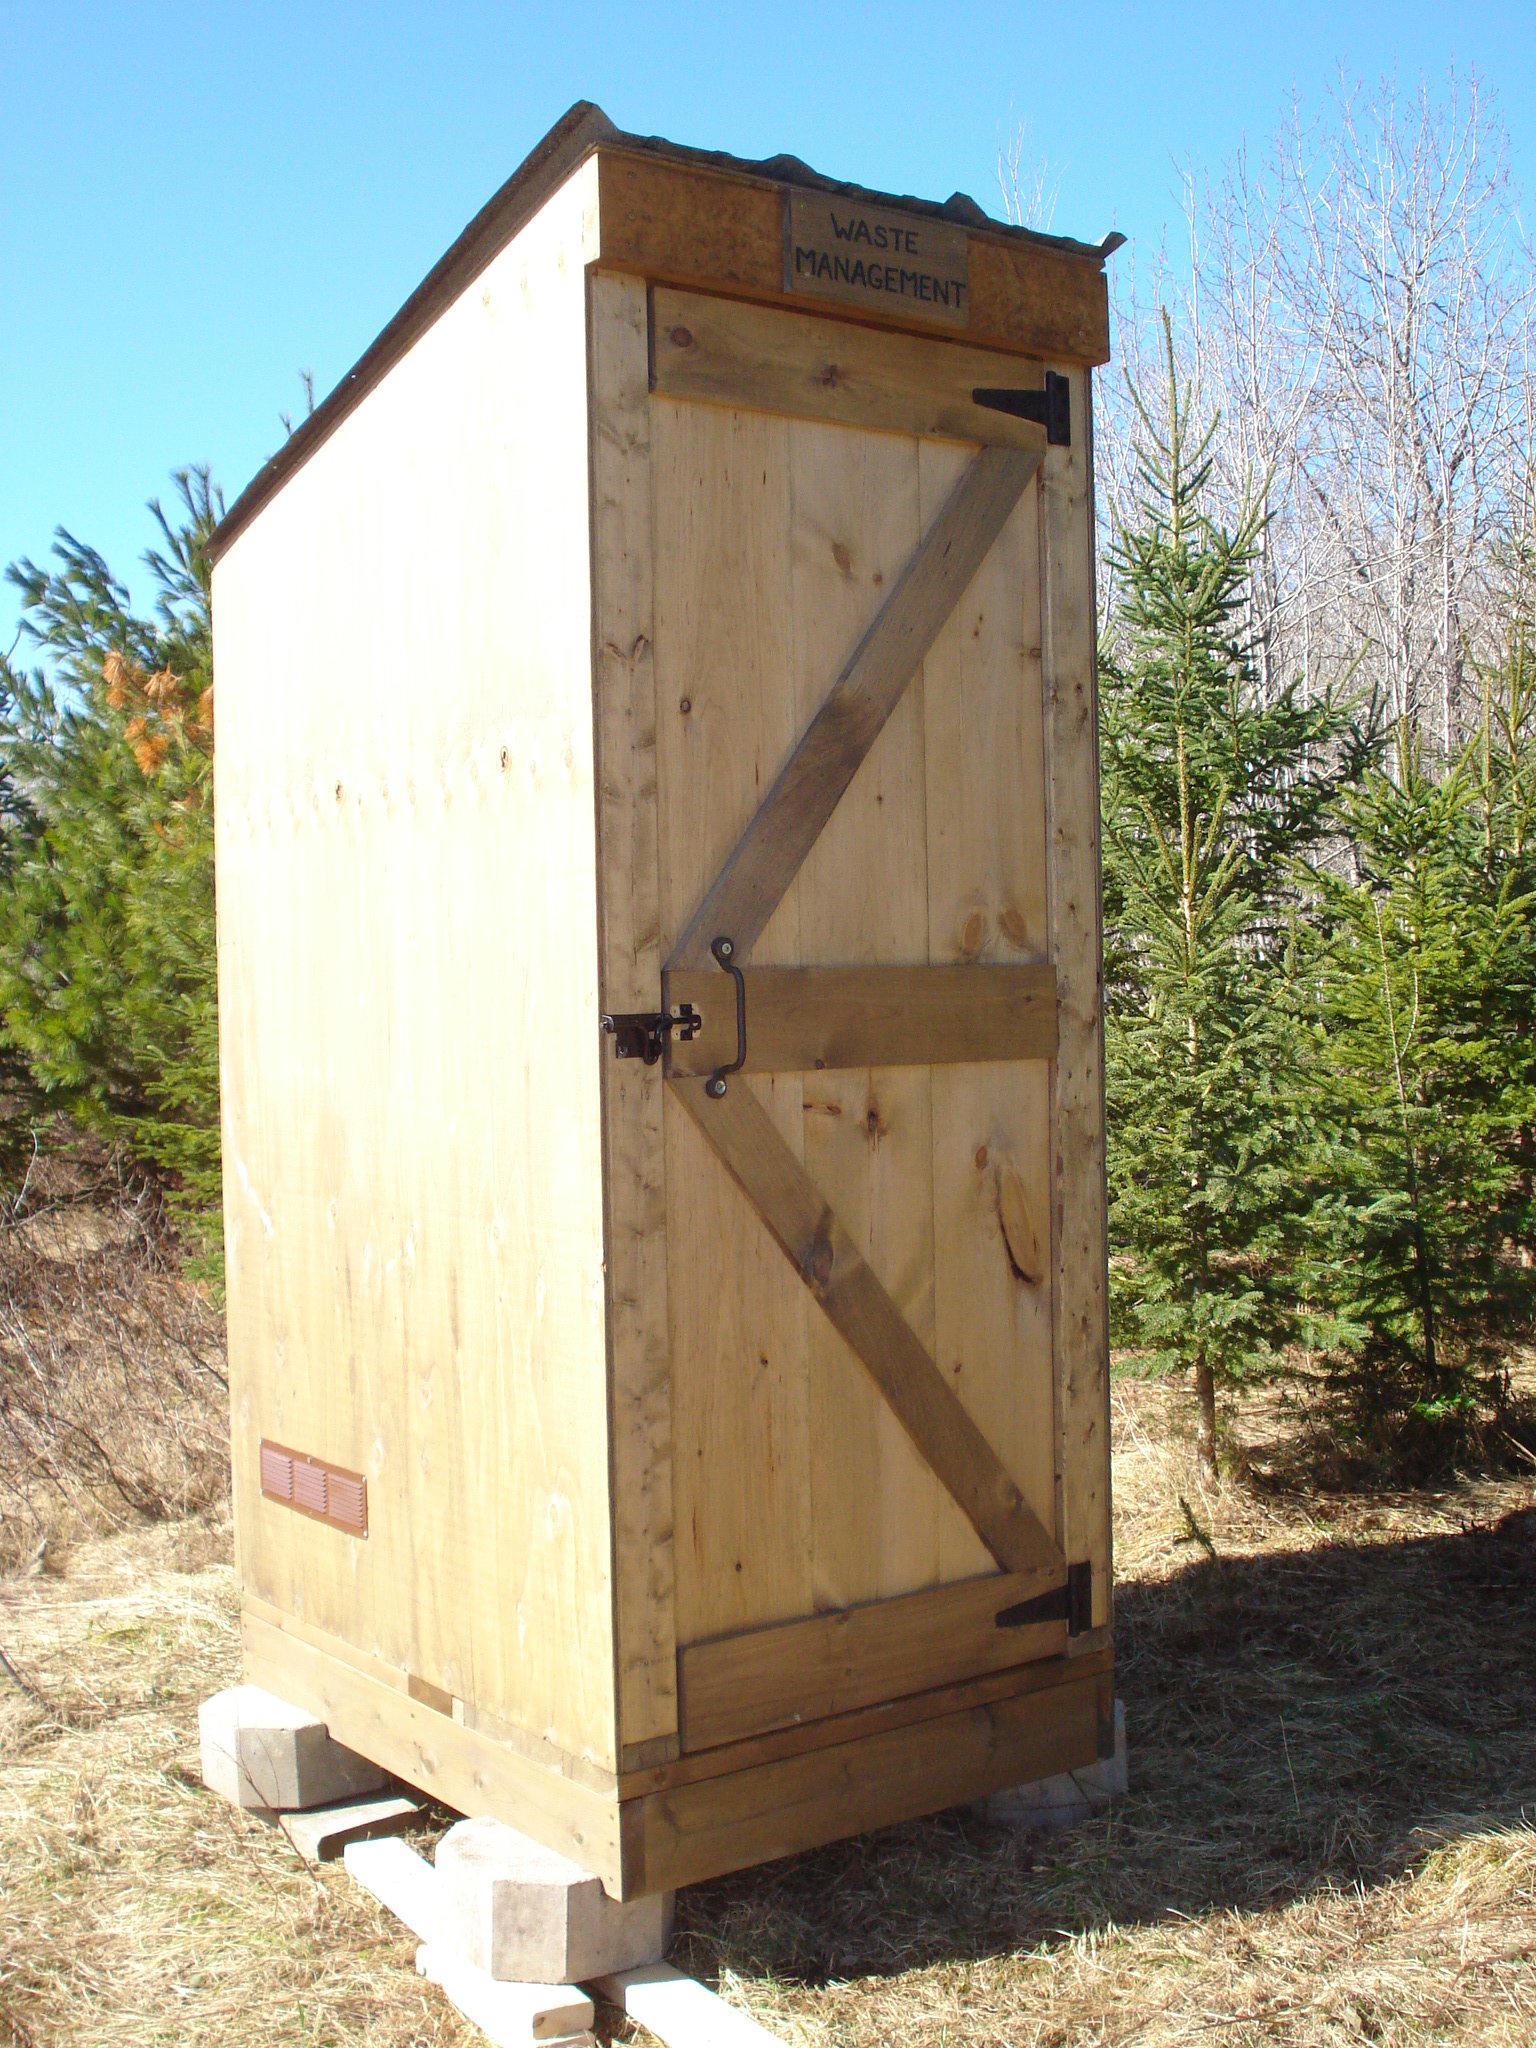
I had my nephew build this outhouse for our new 70 acre lot - no neighbours in sight so I had him put in an acrylic window (with a view). I left off the deck and had him put the boards tight together so 'critters' didn't get in as easily. I made a sign for above the door - 'Waste Management' for a touch of humour. The plans were easy to follow and I love it. Thanks, Ana.
Built from Plan(s)
Estimated Cost
Approx. $300 for material and $250 for my nephew's labour.
Estimated Time Investment
Weekend Project (10-20 Hours)
Finish Used
sealer
Recommended Skill Level
Beginner
Comments

Thu, 04/20/2017 - 16:45
So excited to see this one
So excited to see this one built! Your nephew did a great job, love the window in the back!
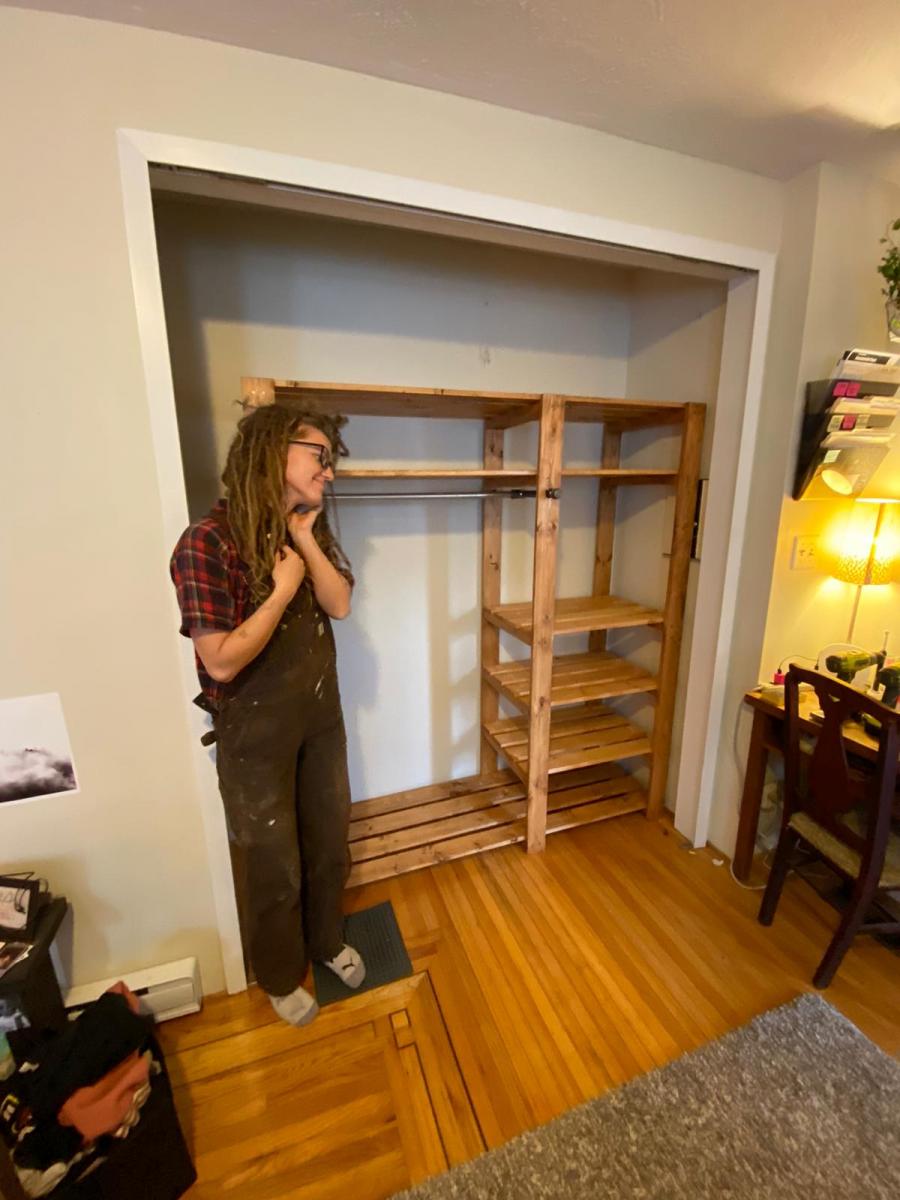
Free Standing Closet
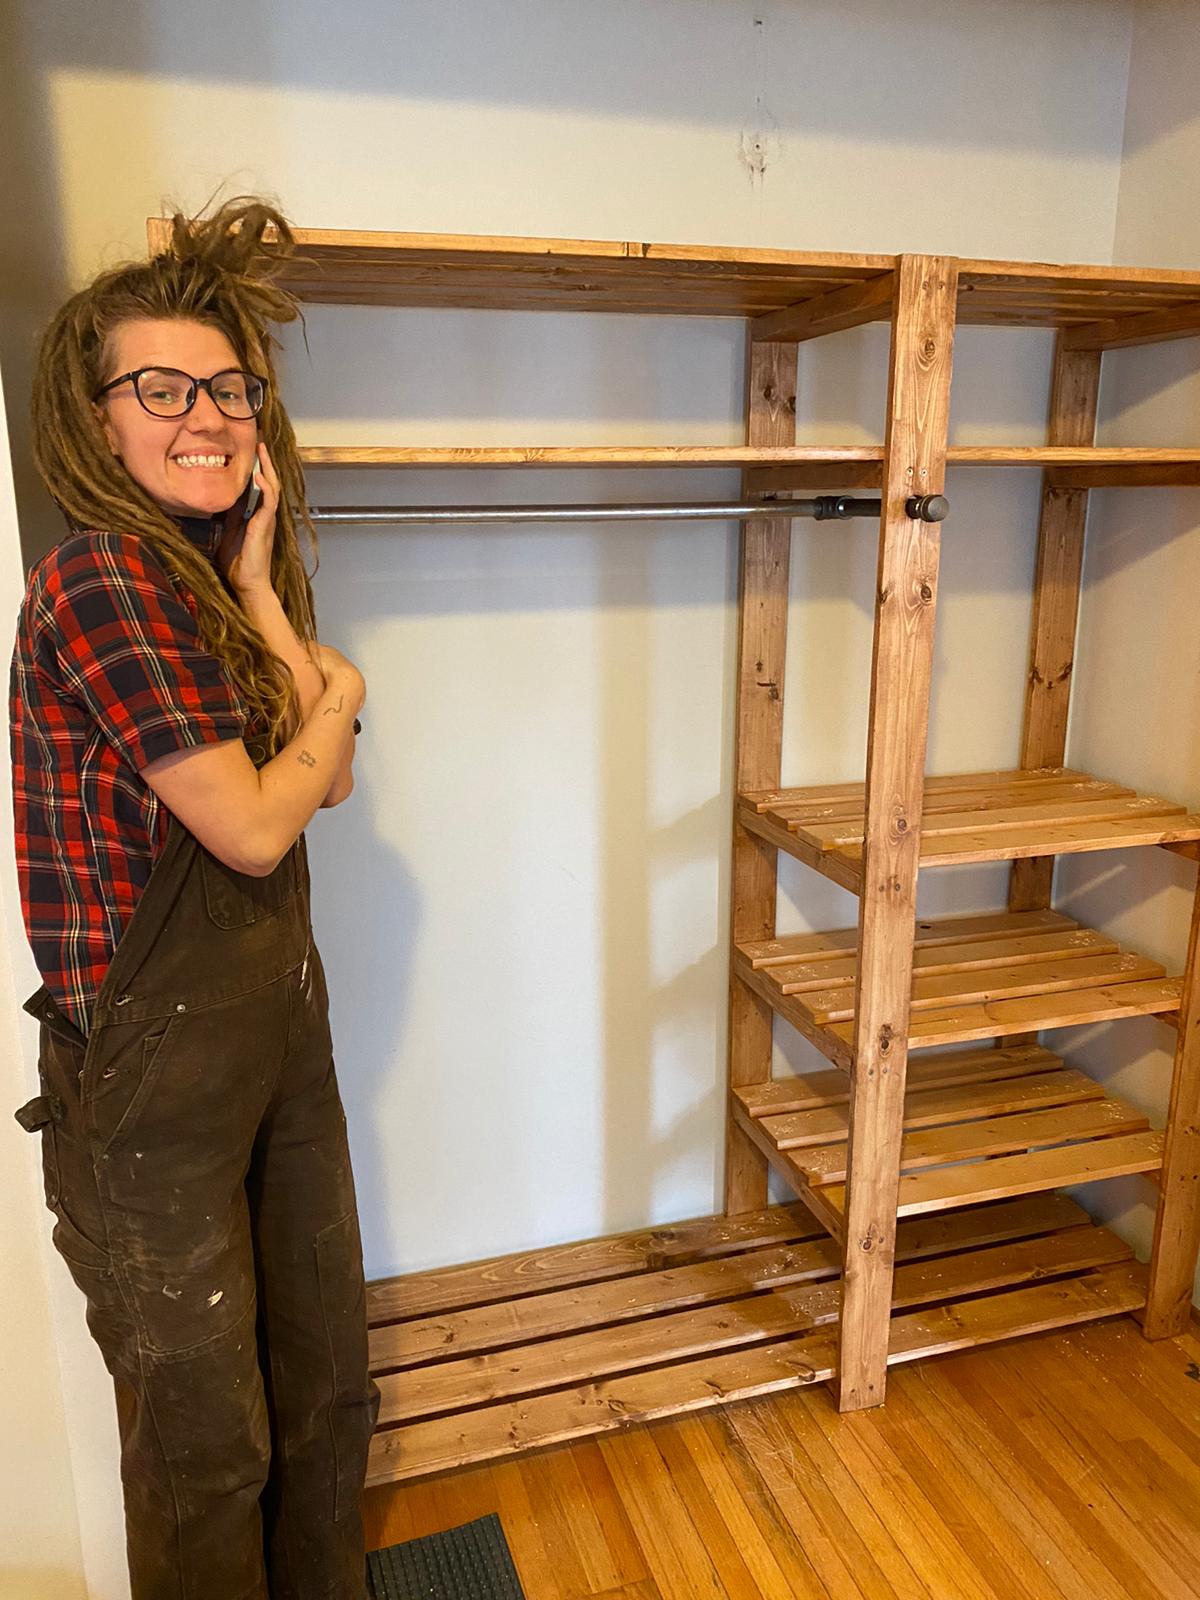
thank you so much for these plans! We cut the original design in half, so it would fit the space- we used pine so the boards were a little warped but eventually everything screwed down into place and now it really does free stand and its all level! We may add a crossbeam at the back for extra stability. Stained with Ipswitch Pine by Verathane , 2 layers with sanding between, basic piping from the hardware store. Well under $200 total!
5.5 feet tall, 6 feet wide, 2 feet deep
Thanks again, your plans were thorough and easy to follow.
Built from Plan(s)
Estimated Cost
200
Estimated Time Investment
Week Long Project (20 Hours or More)
Finish Used
Laquer - semi gloss
2 coats, sand in between
2 coats, sand in between
Recommended Skill Level
Beginner
Comments
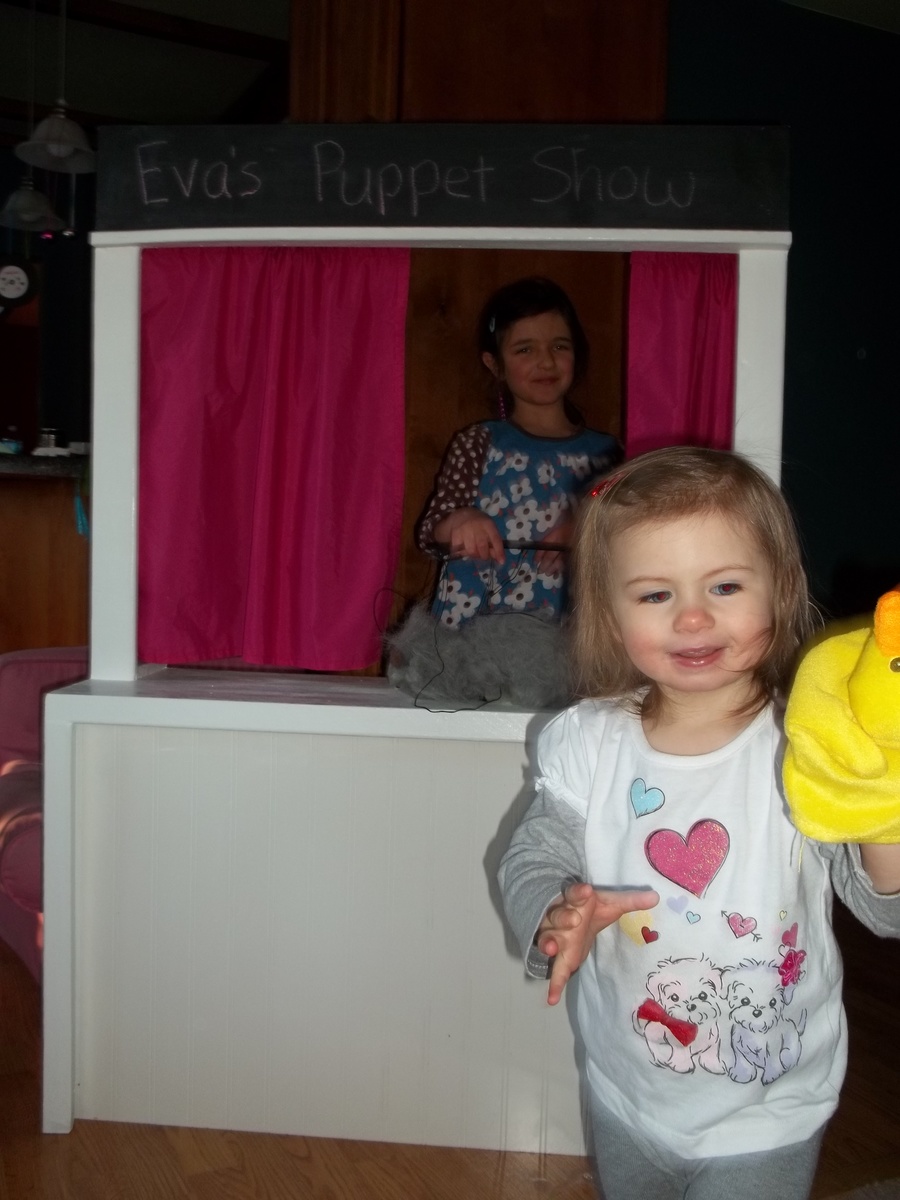
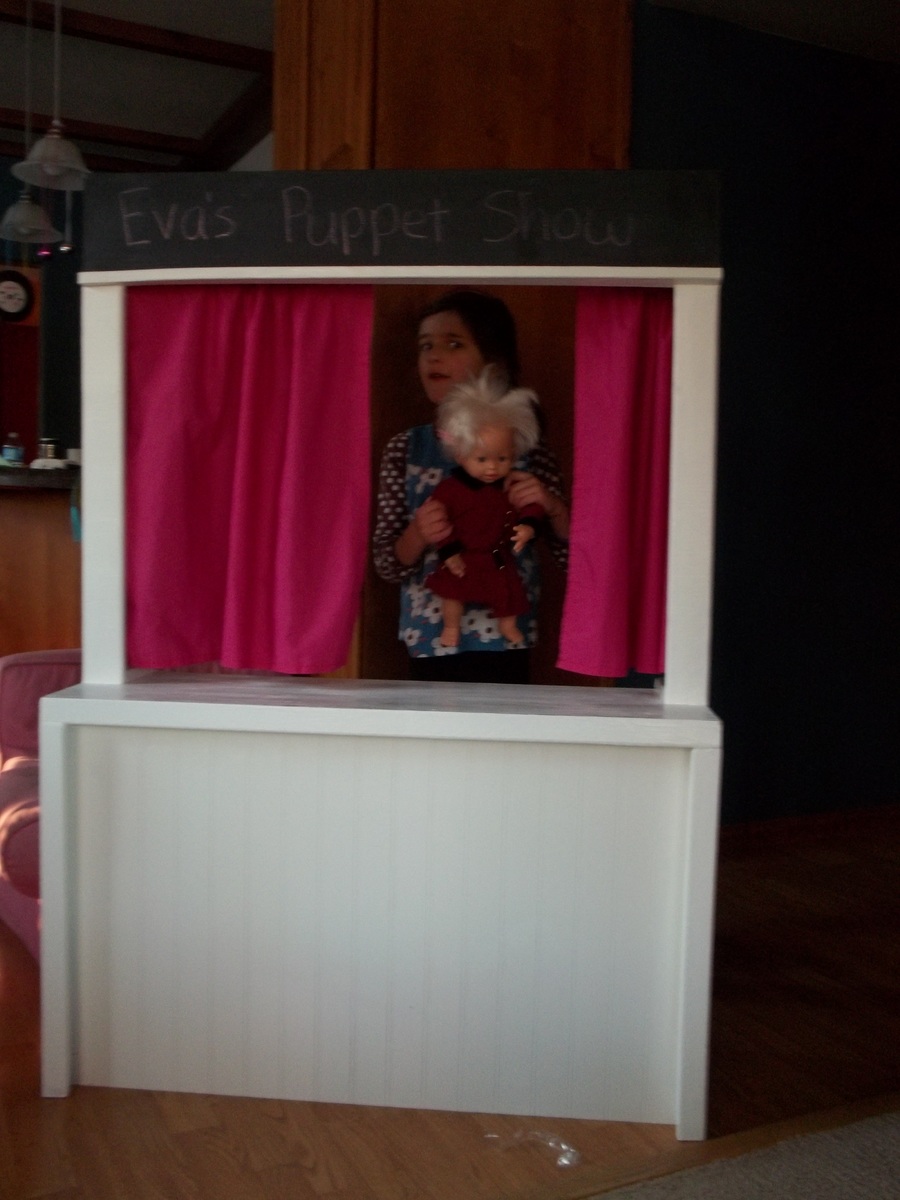
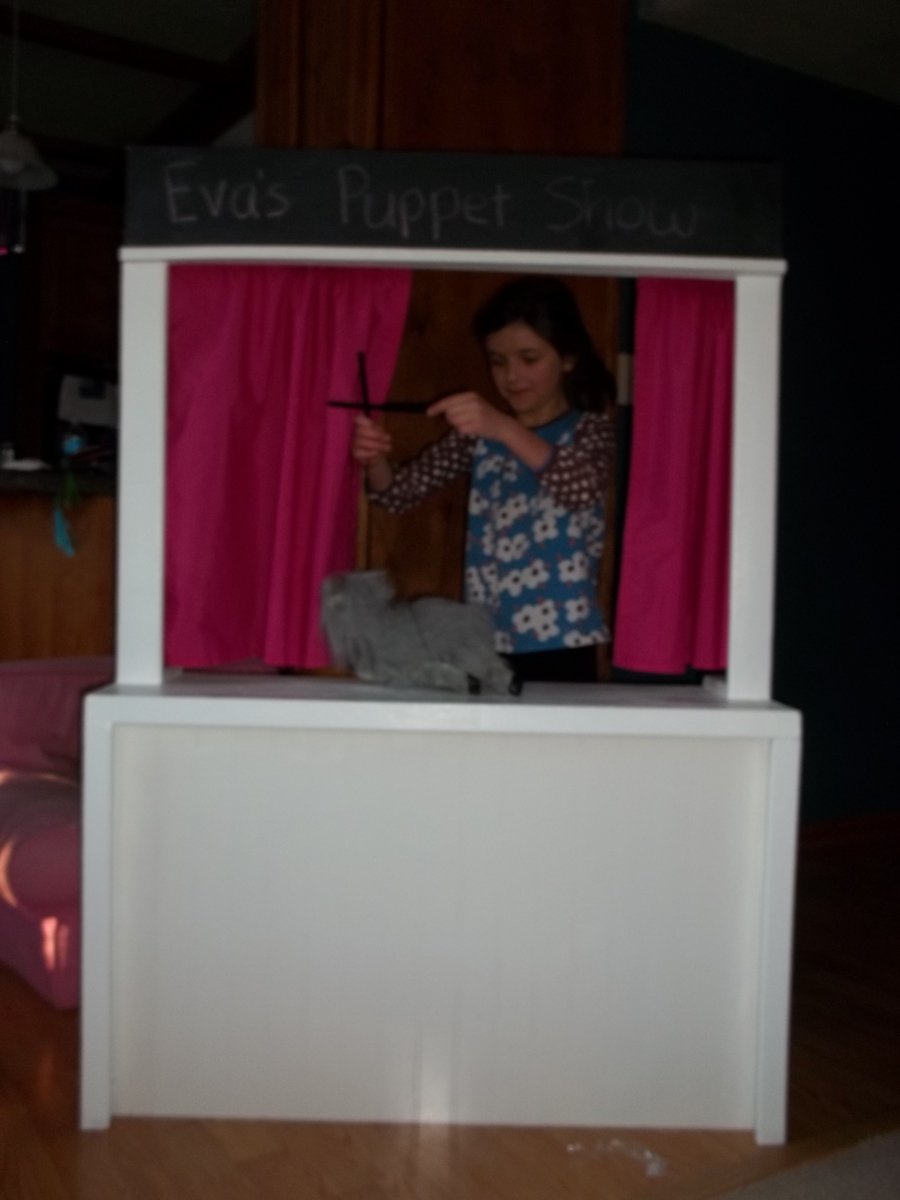
Puppet Stage
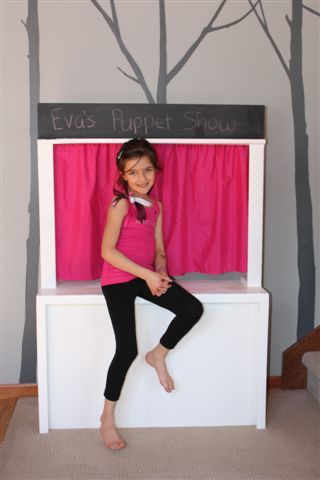
I changed the this plan to make it into a puppet stage for my niece's birthday.
I added a curtain rod and made some curtains to fit. I put two shelves in the back, but I put dowels in along the shelves so she could put her puppets on them for easy storage. I used a piece of a sheet of wainscotting for the front of the bottom.
I also put chalkboard paint at the top to allow her to write the name of puppet show that she is performing.
I was able to use some scraps that I had around for quite a bit of it, so it was pretty inexpensive.
The pictures are not great and I wish I would've taken pictures of the back before I gave it as a gift, but the kids are having lots of fun with it. I'll have to take some better pictures the next time I visit.
Built from Plan(s)
Estimated Cost
around $25, but I was able to use scraps that I had and paint that I already had.
Estimated Time Investment
Weekend Project (10-20 Hours)
Finish Used
Cabinet paint, chalkboard paint
Recommended Skill Level
Beginner
Doll Bed for Coworker's daughter
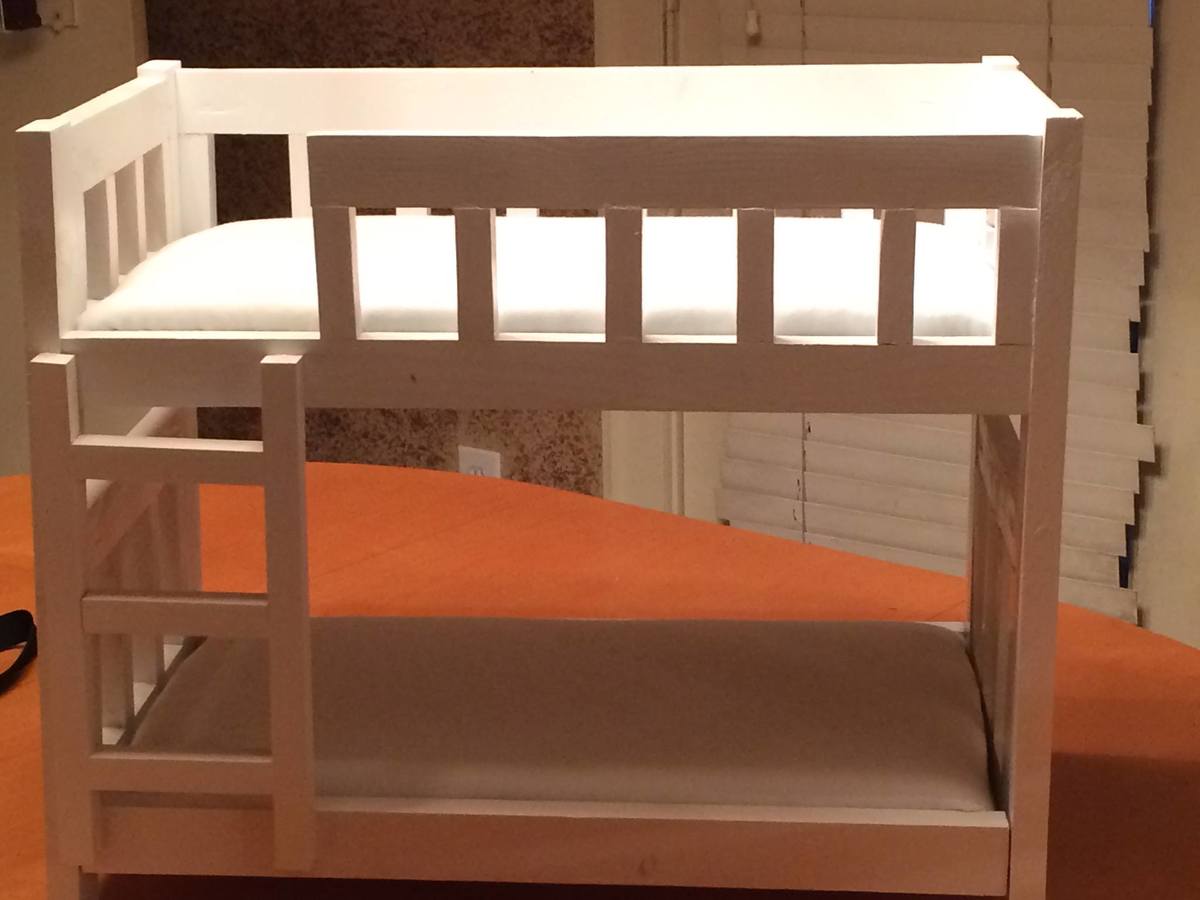
A coworker wanted bunk beds to give her daughter for Christmas for her American Girl Dolls and and asked me to build some. She was happy with the result
Built from Plan(s)
Estimated Cost
$25
Estimated Time Investment
Afternoon Project (3-6 Hours)
Finish Used
white spray paint
Recommended Skill Level
Beginner
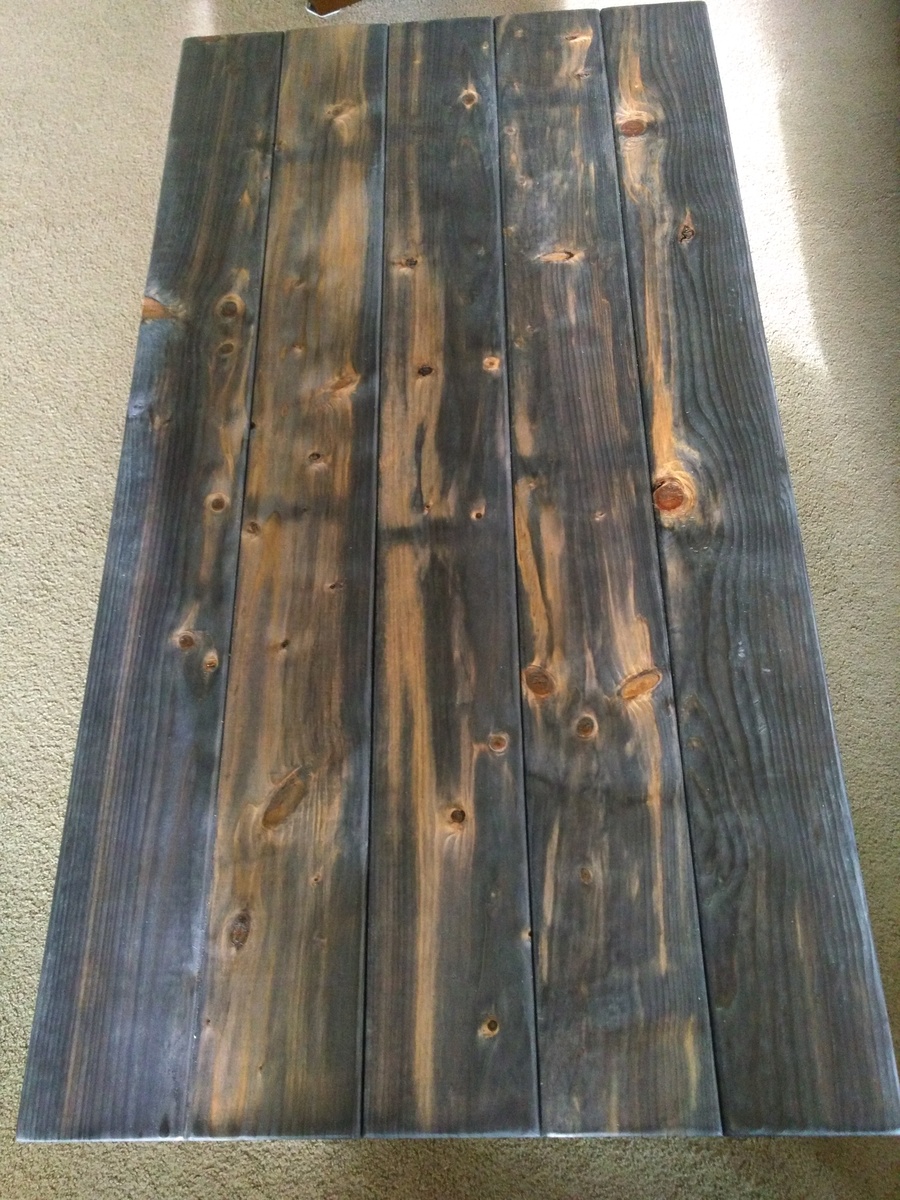
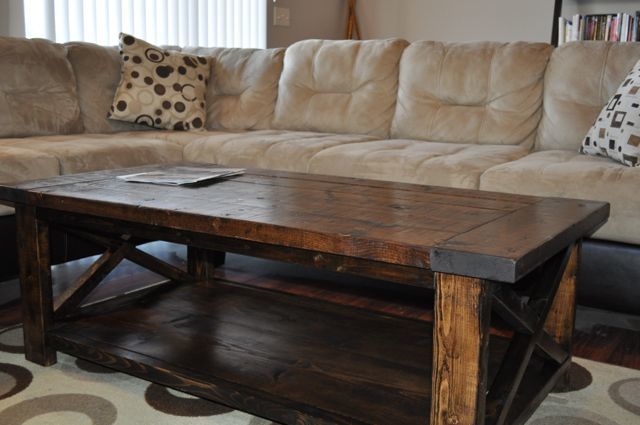
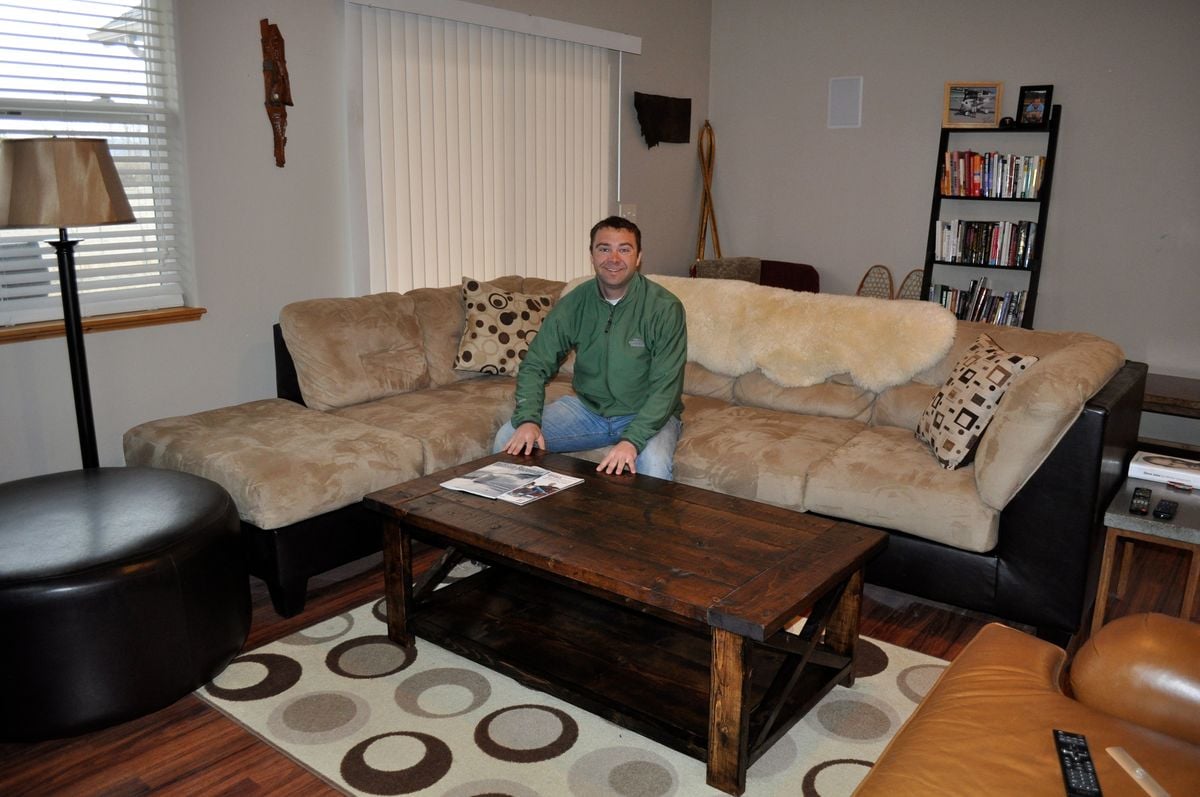
Rustic X coffee table
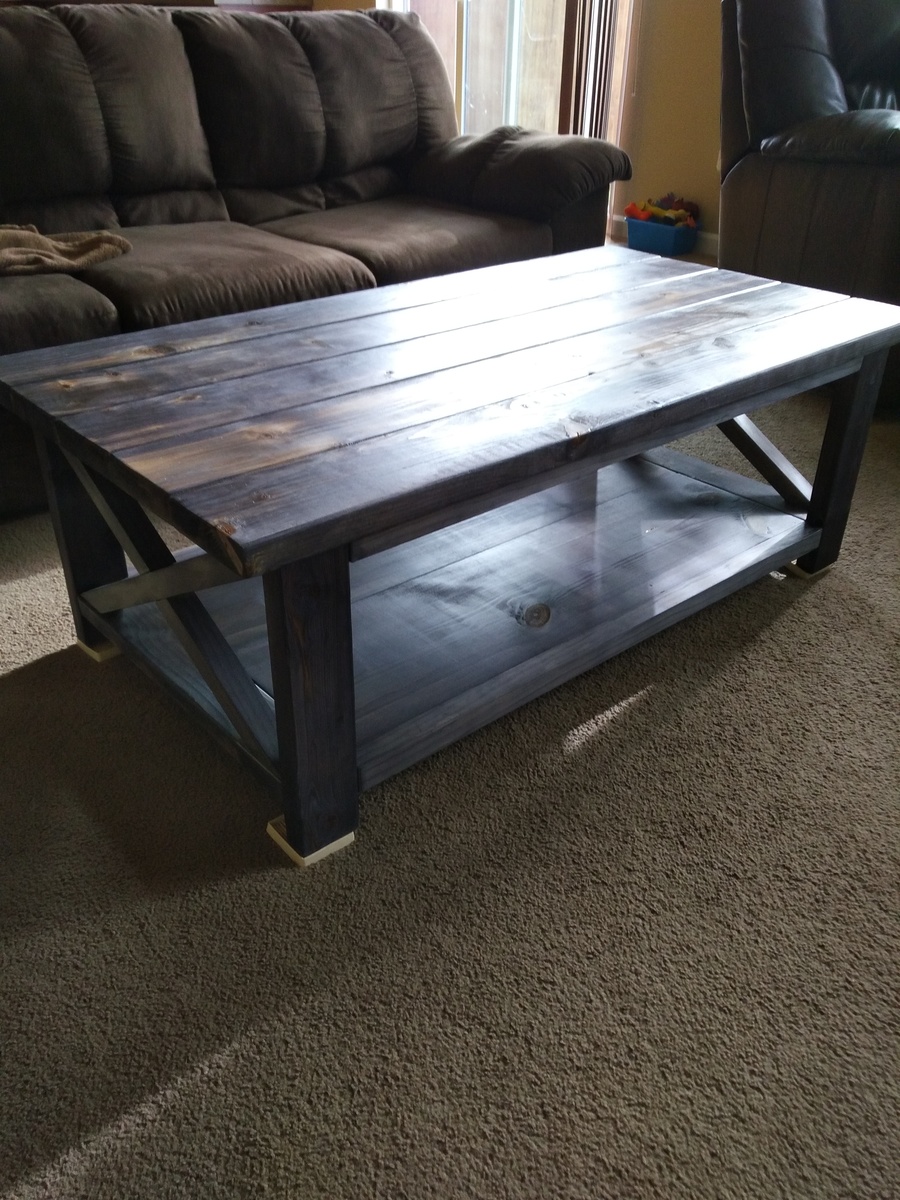
Hi all,
Joining a large group who have already done this coffee table. Hope you like it.
Built from Plan(s)
Estimated Cost
110 inlc stain
Estimated Time Investment
Day Project (6-9 Hours)
Finish Used
Weathered wood oxidizer by varathane, Deft aerosol satin laquer
Recommended Skill Level
Intermediate
Comments
Tumbling blocks Cassidy Queen bed
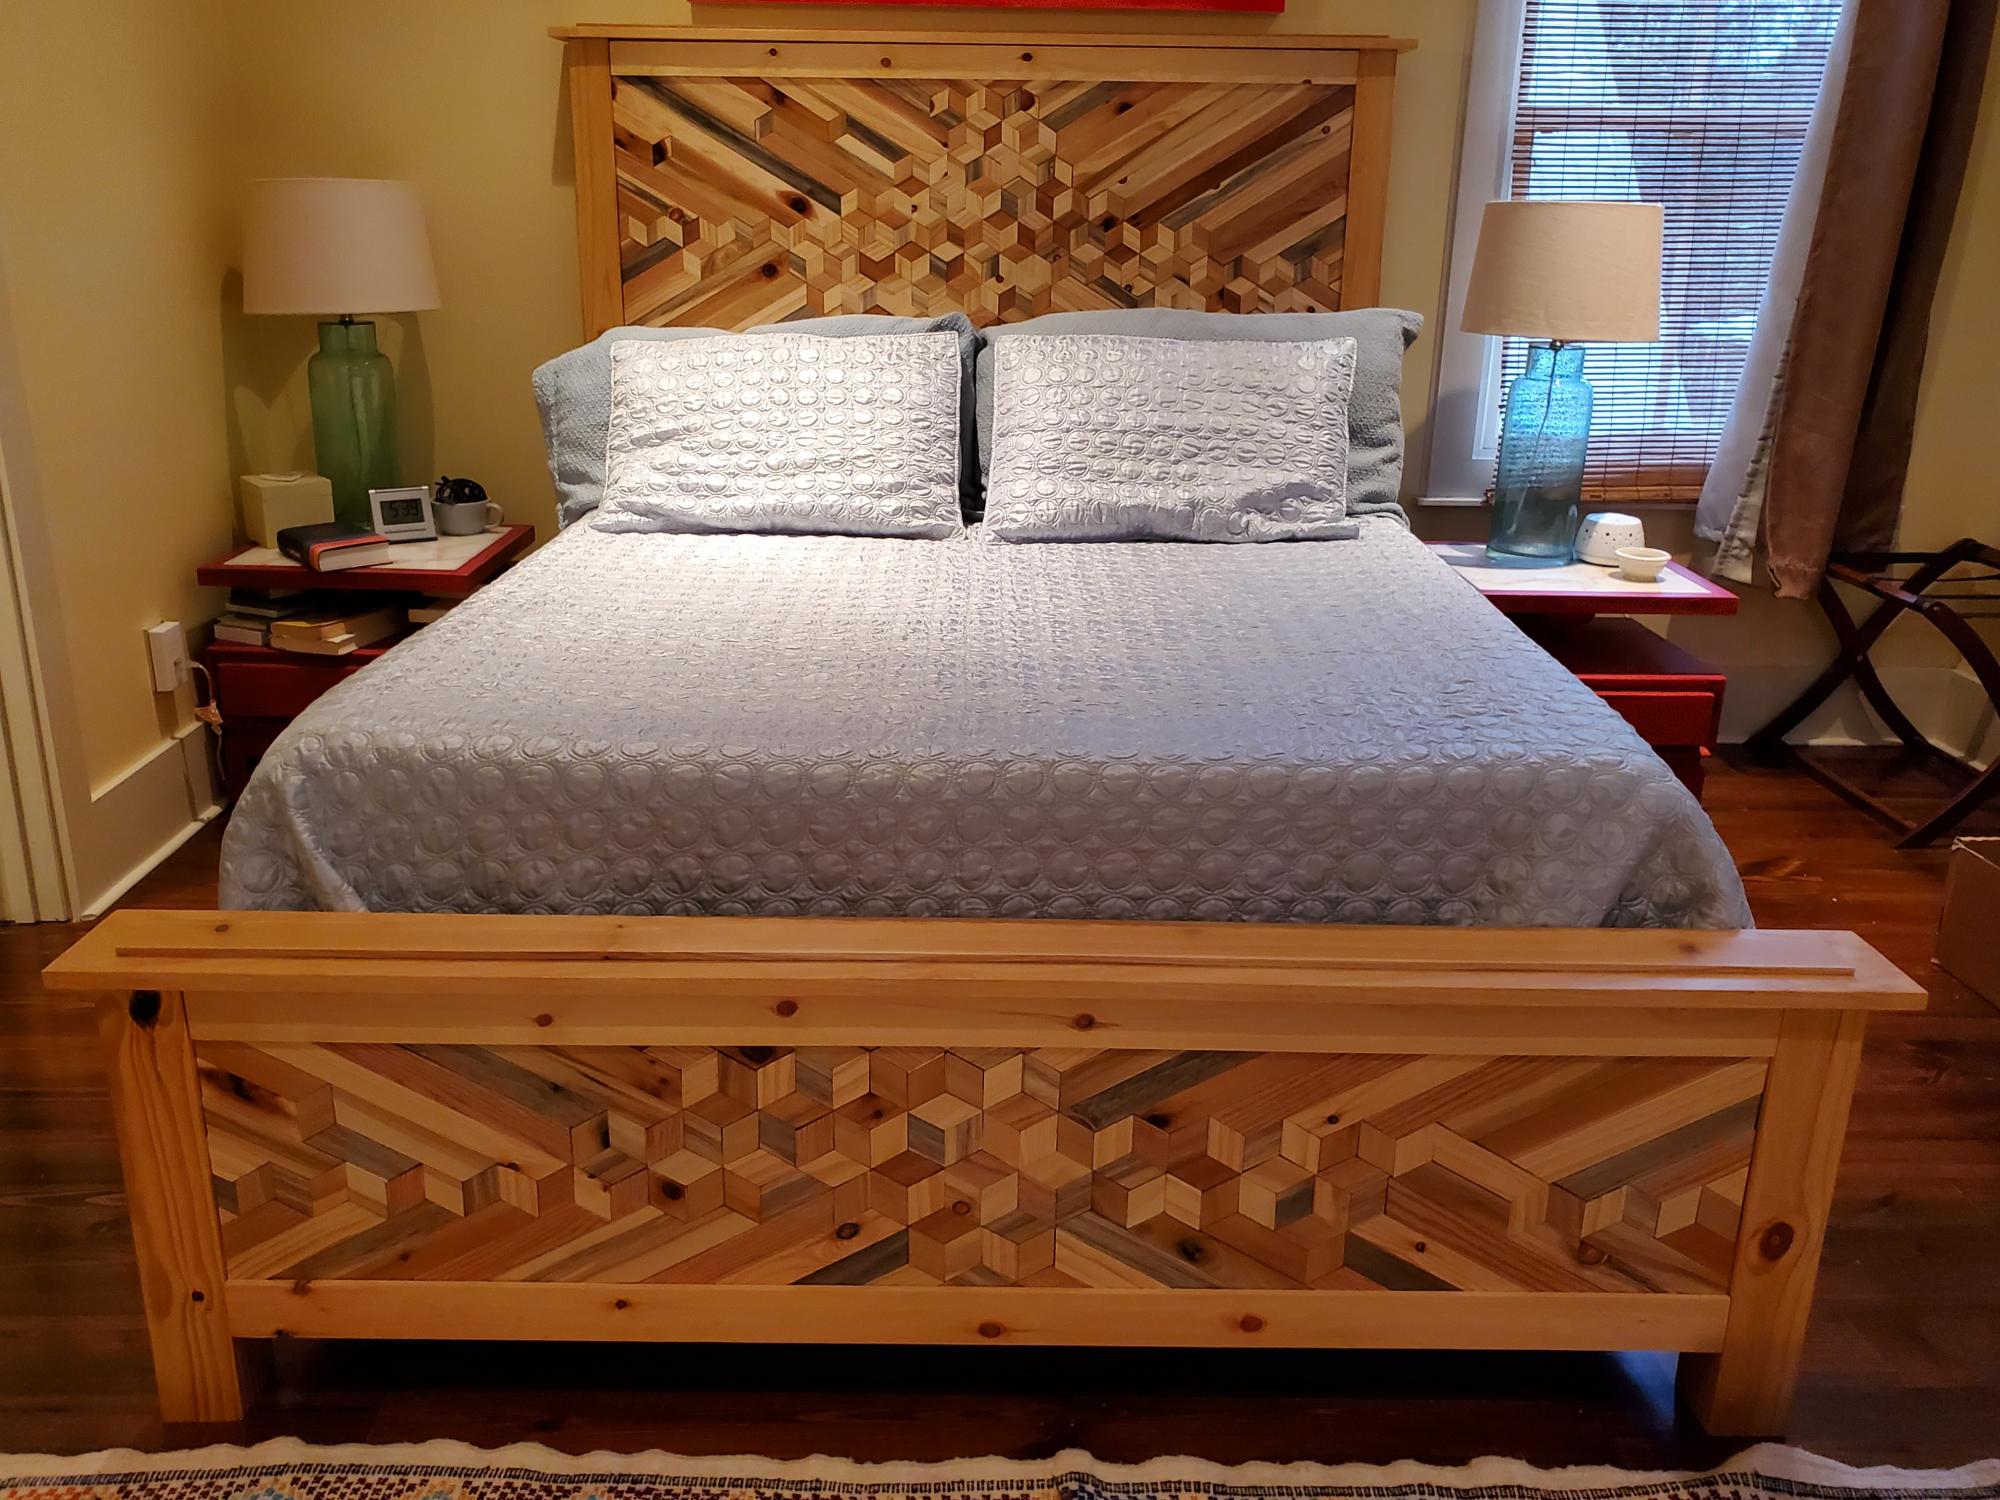
This required lots of tiny parallelograms. It was great fun to make!
Built from Plan(s)
Estimated Time Investment
Week Long Project (20 Hours or More)
Finish Used
The finish is Natural and a bit of Golden Oak mixed.
Comments
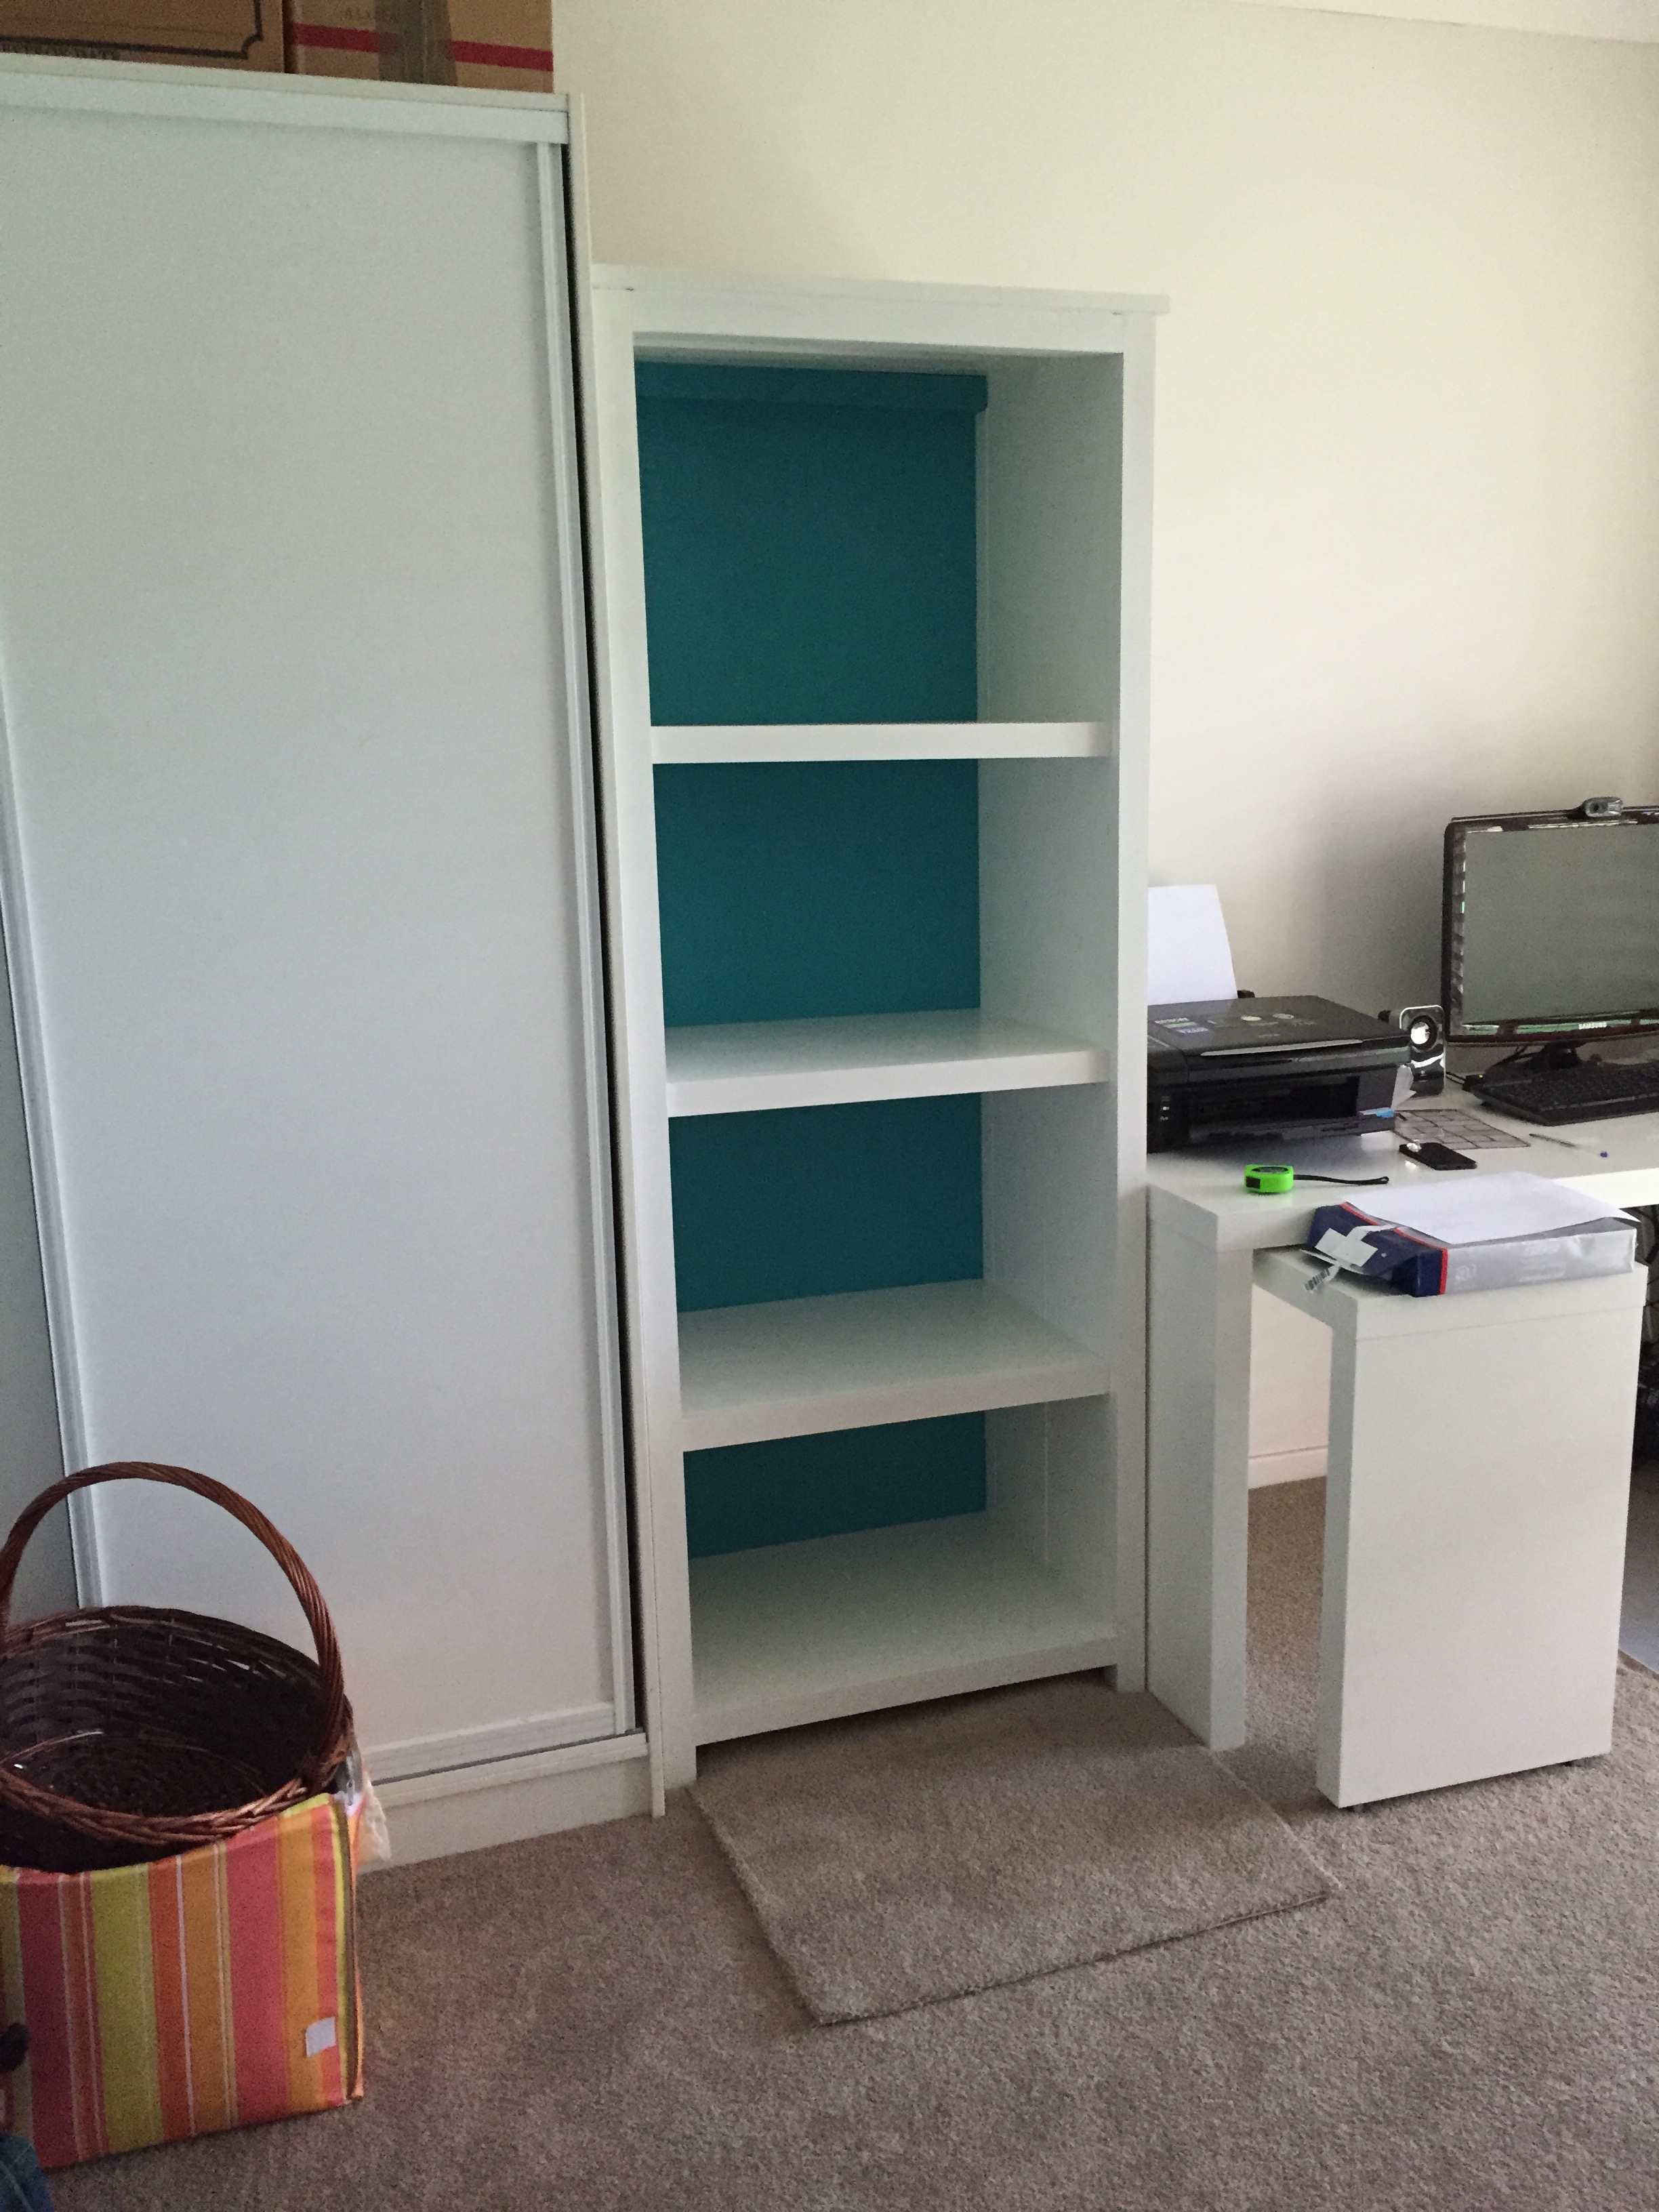
Kentwood bookcase - upsized
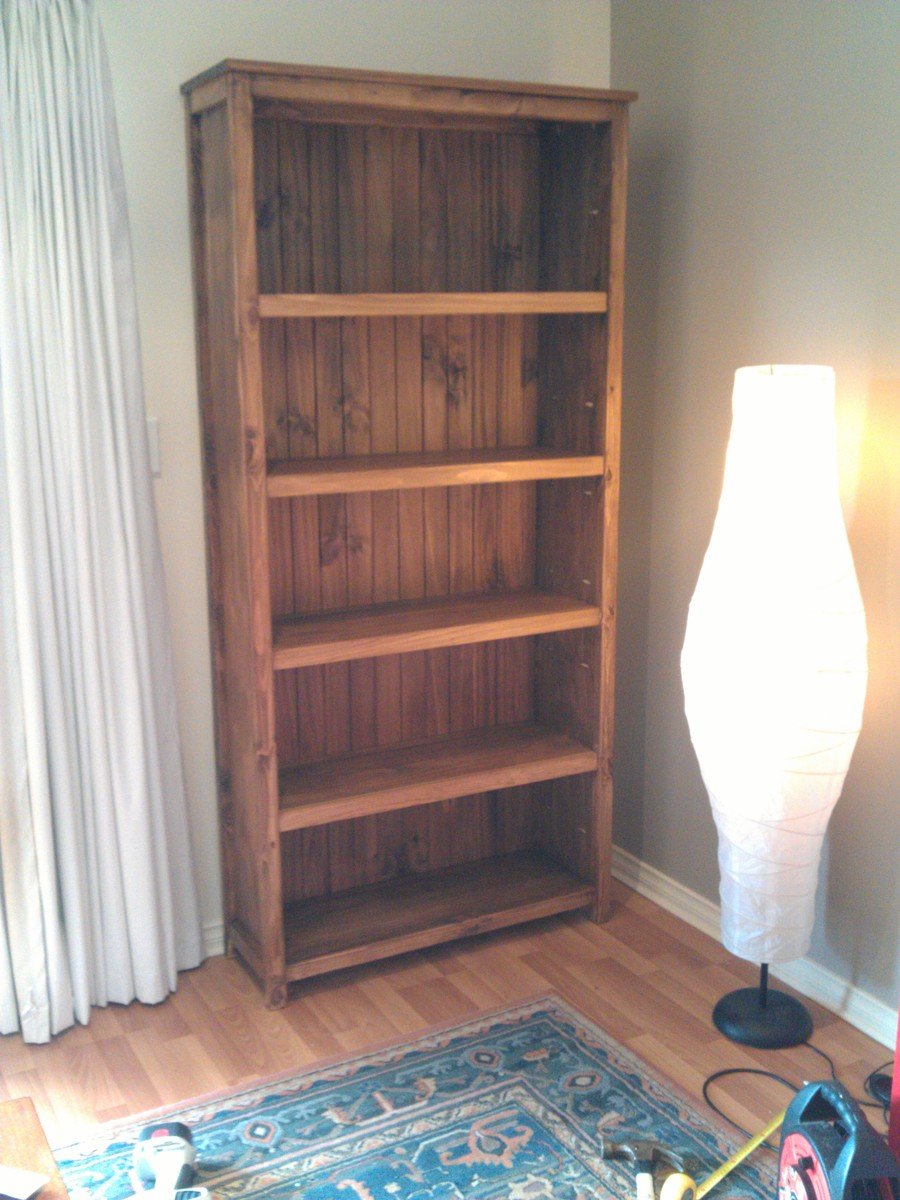
I made the original plan higher and wider, and added an extra shelf. Very pleased with the outcome!

Built from Plan(s)
Estimated Cost
AUD $200
Estimated Time Investment
Day Project (6-9 Hours)
Finish Used
Water-based stain (Walnut) & water-based satin varnish
Recommended Skill Level
Beginner
Comments
Wed, 02/12/2014 - 09:11
This looks sweet. Do you have
This looks sweet. Do you have the dimensions to this upsized kentwood bookshelf? I'm afraid I'll screw it up if I try to add lengths to the original plan.
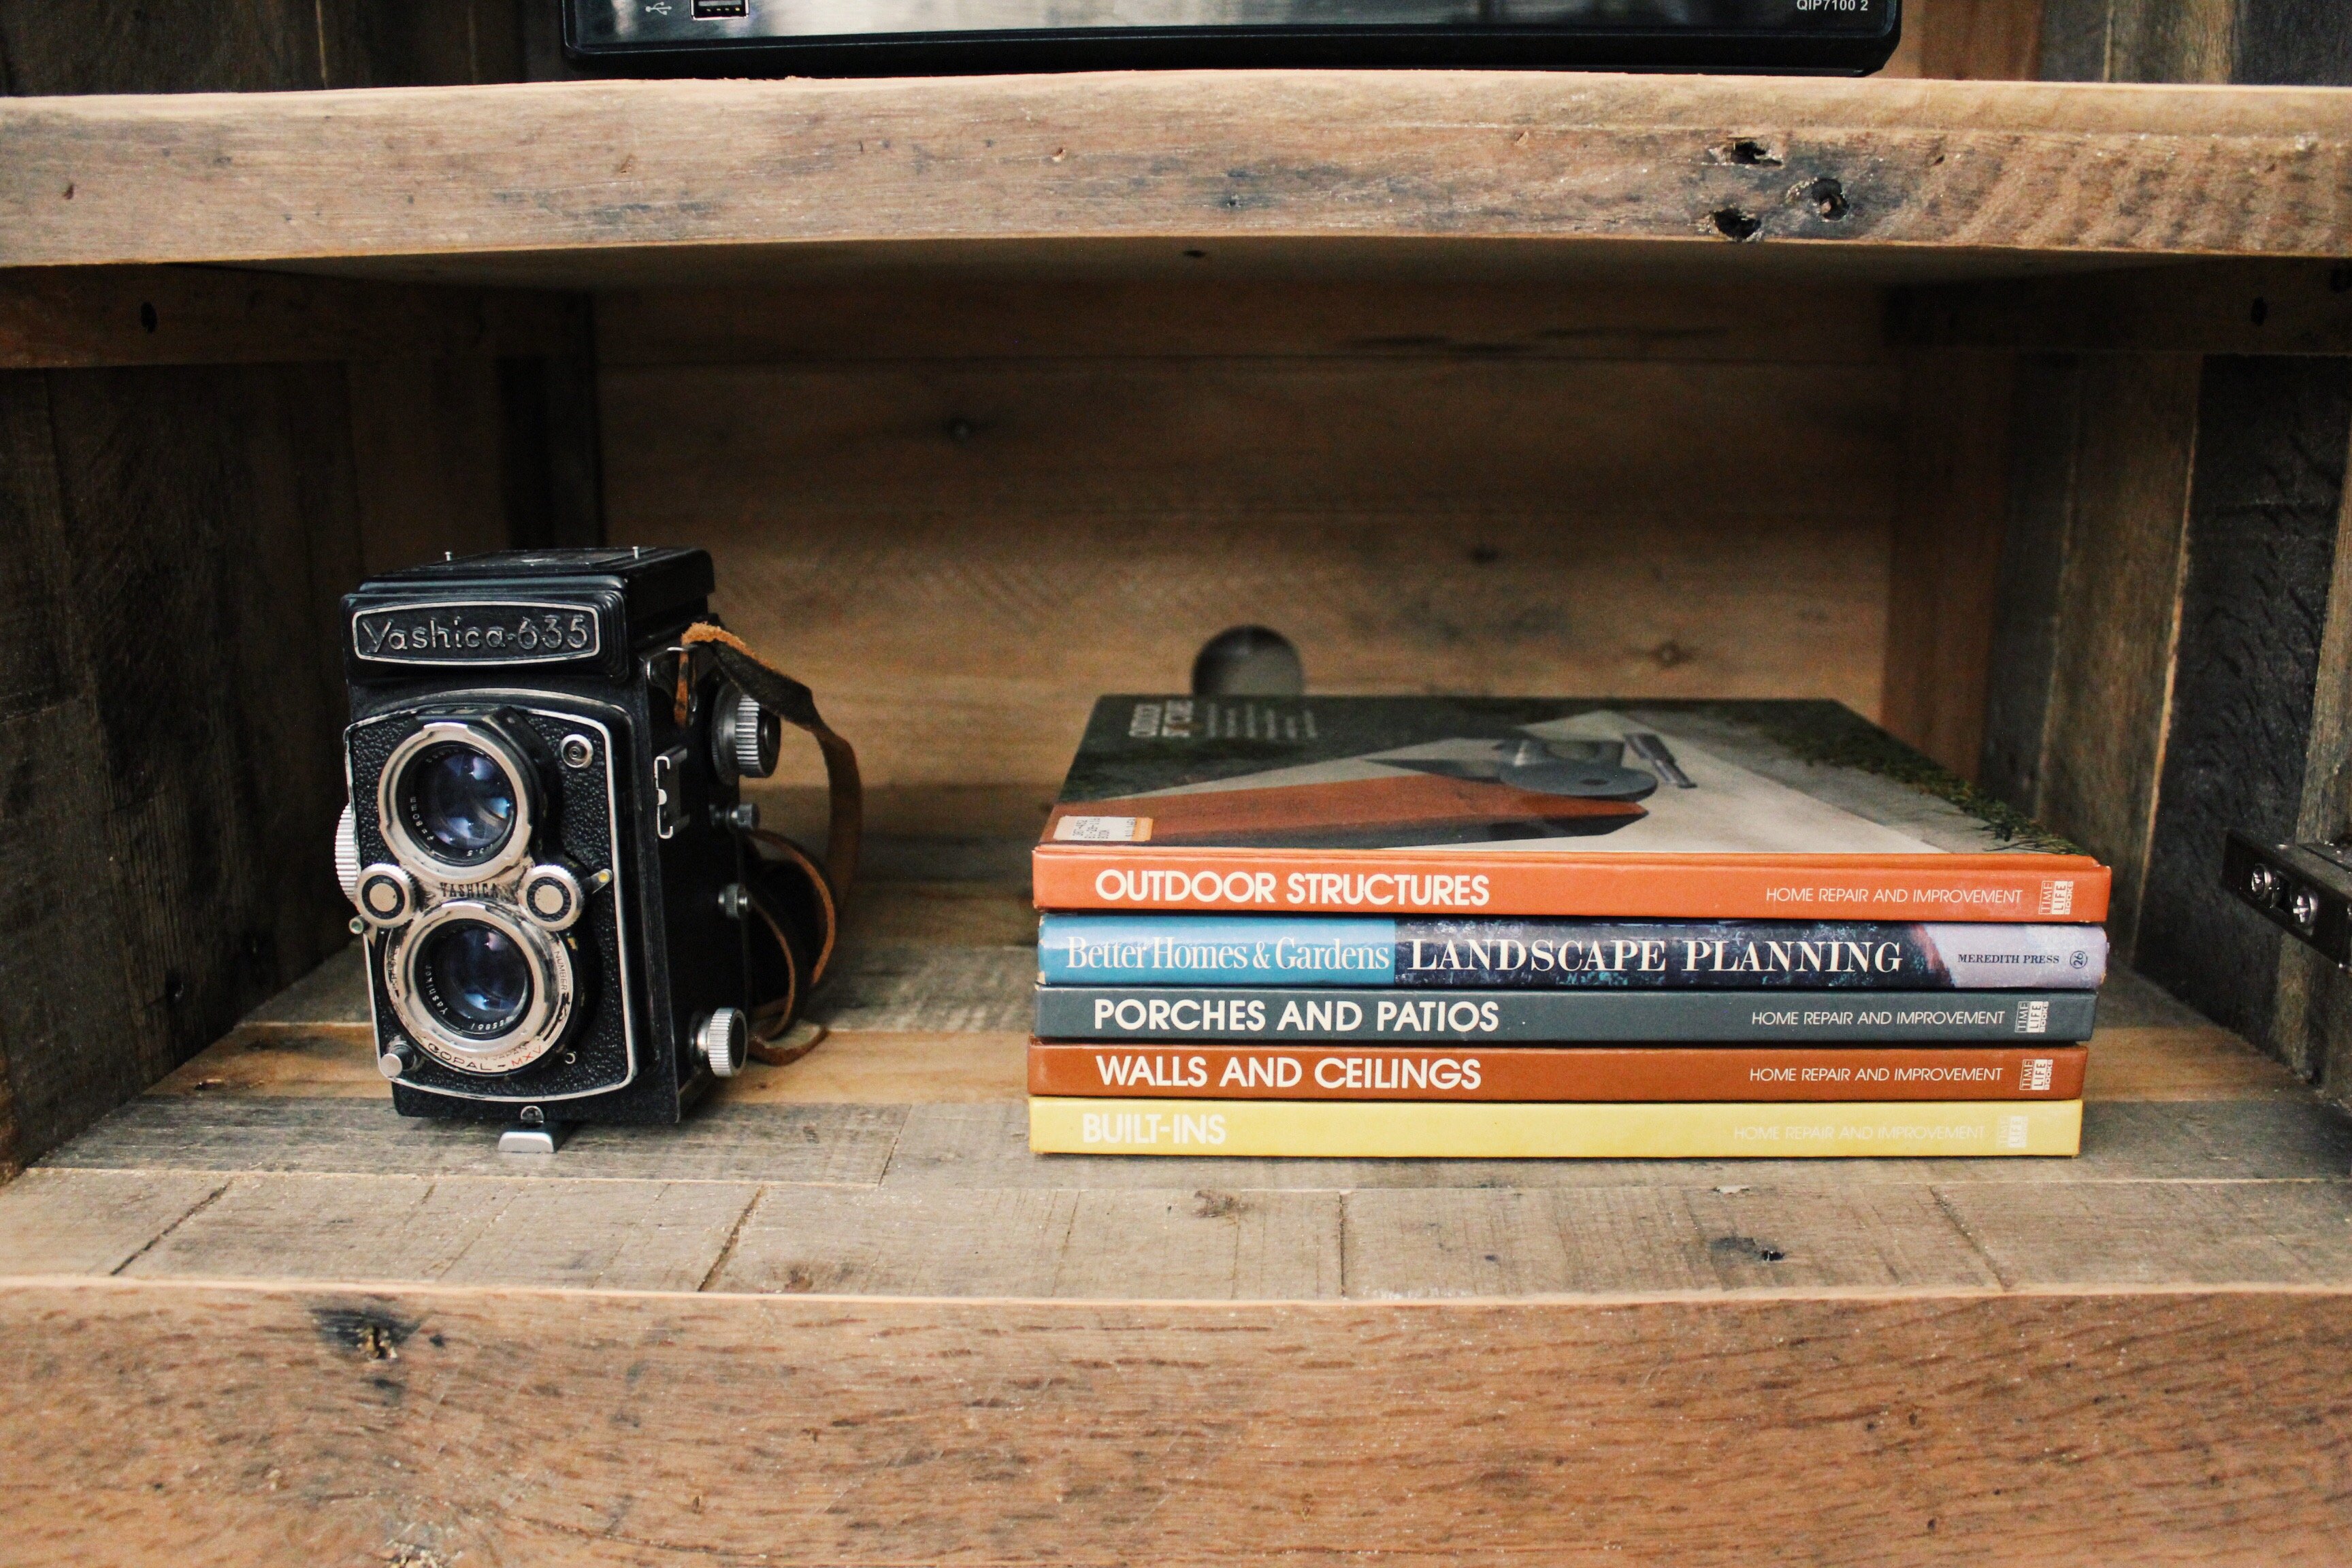
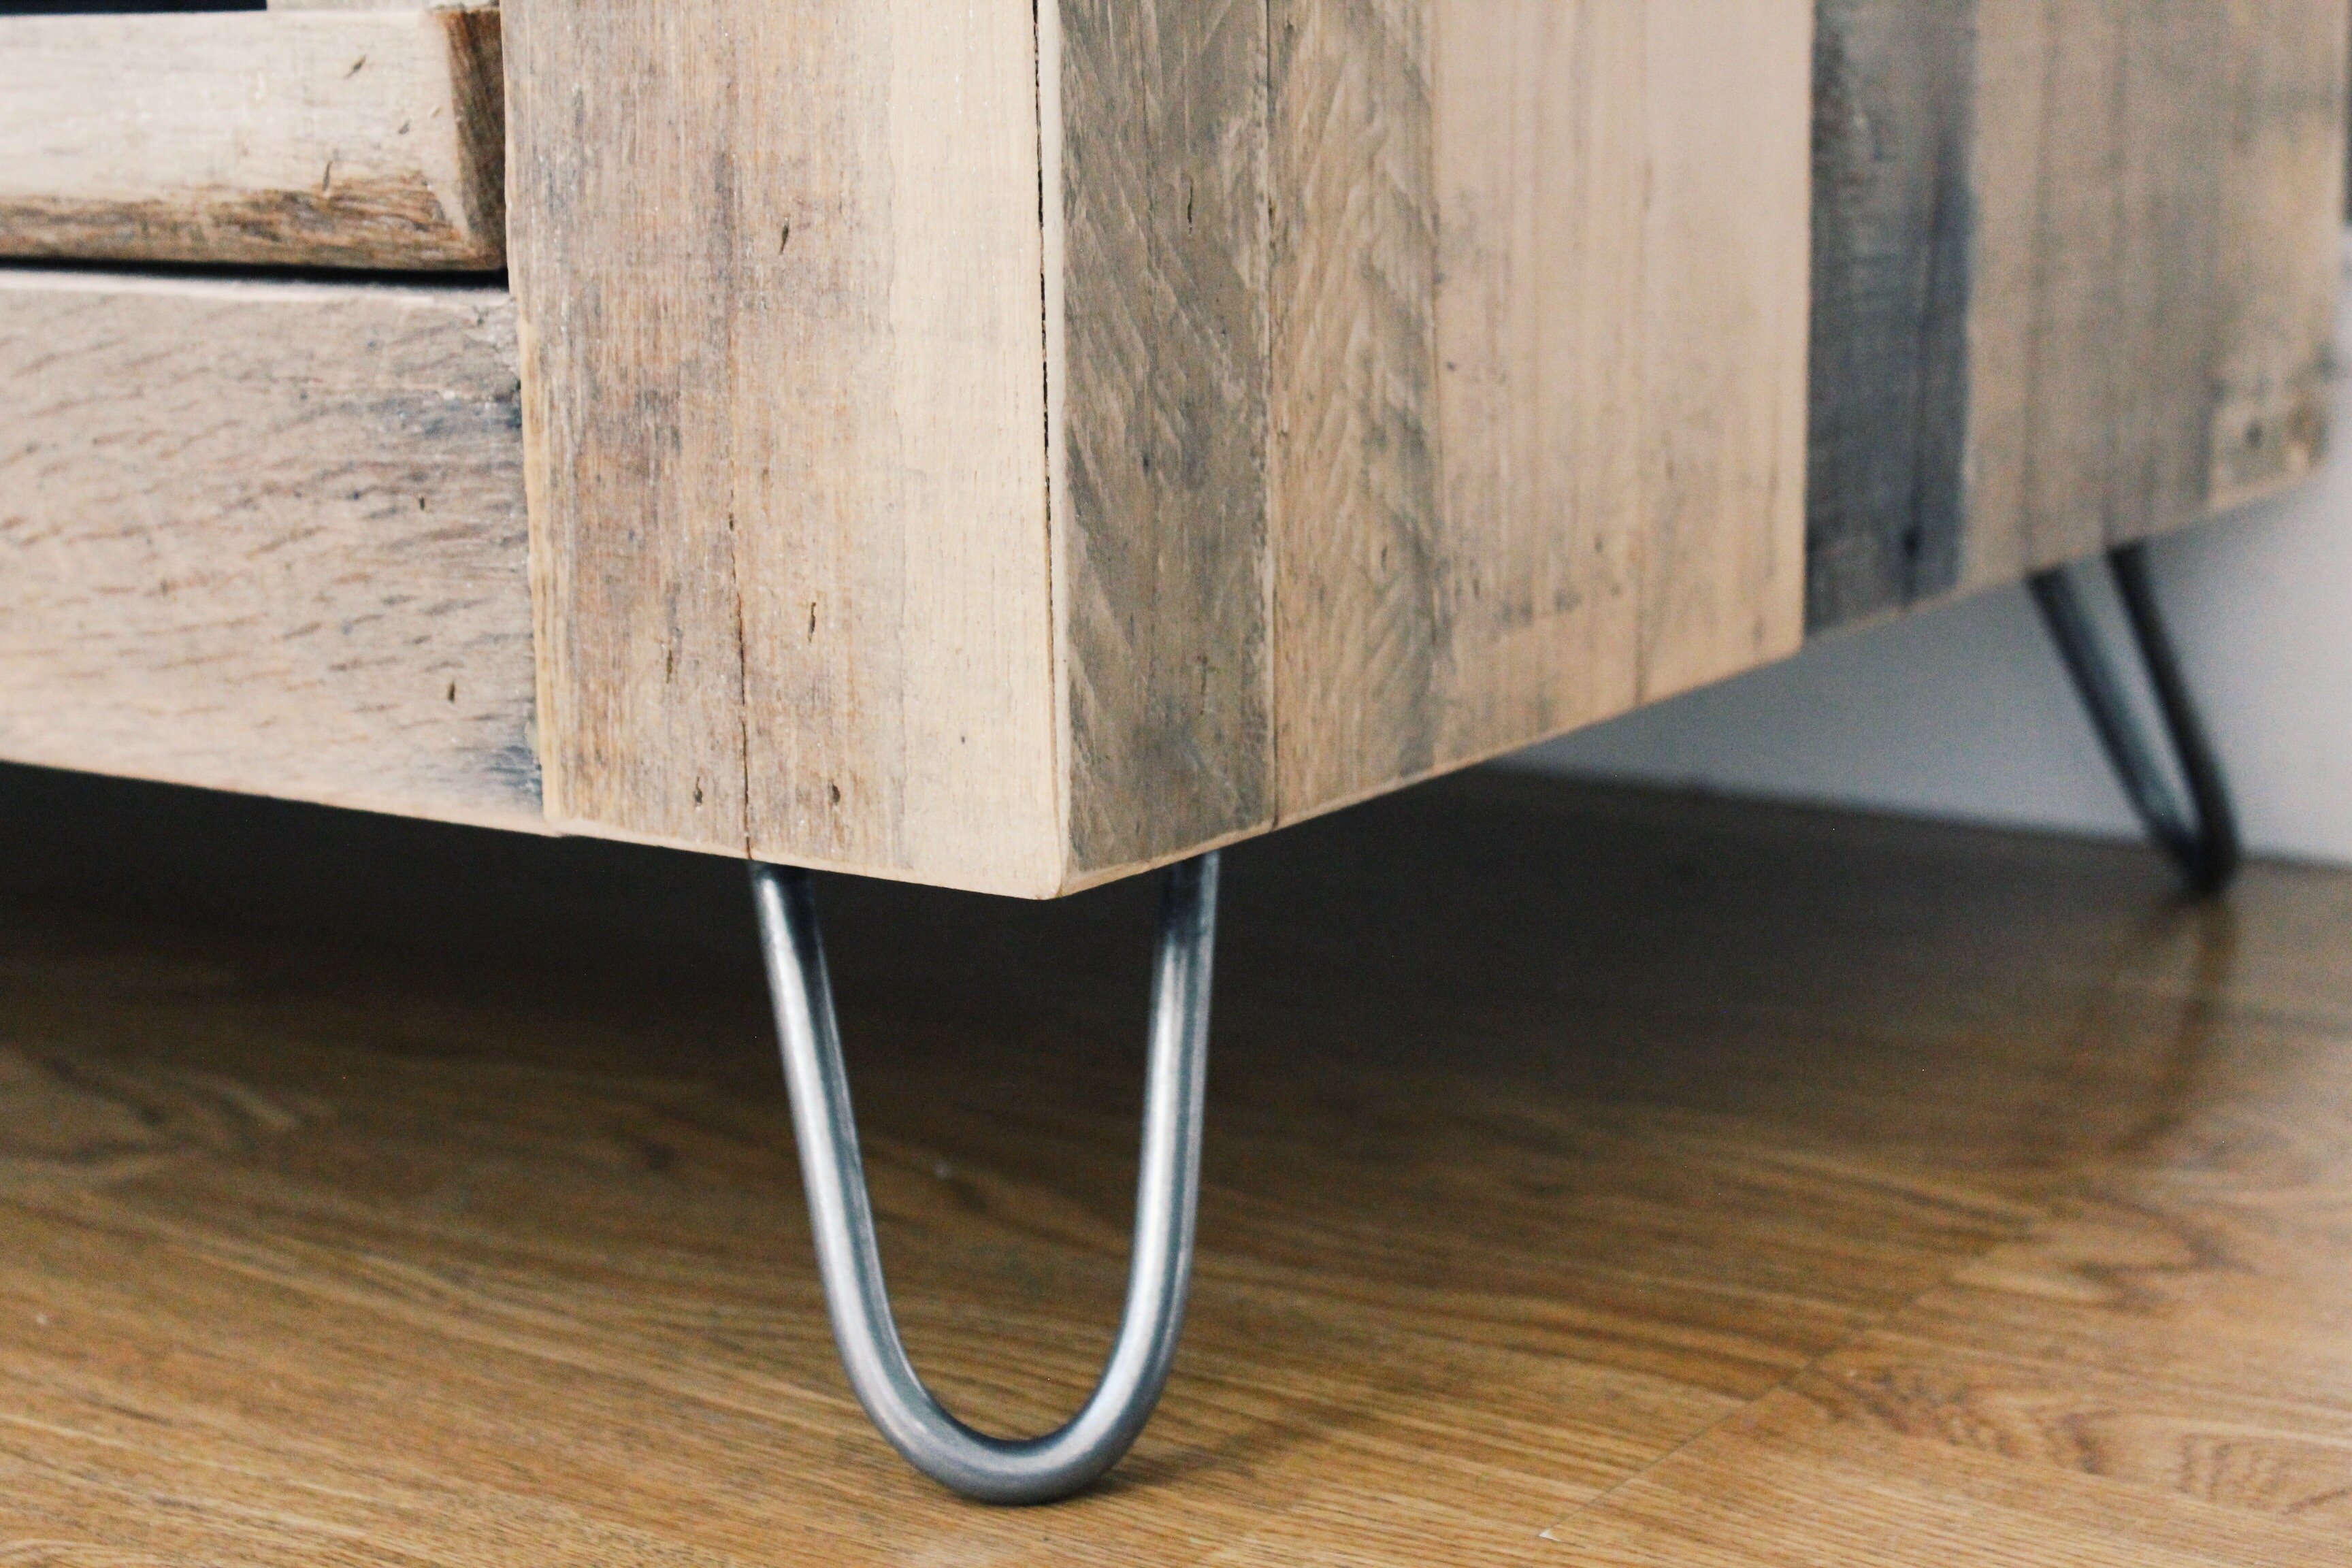
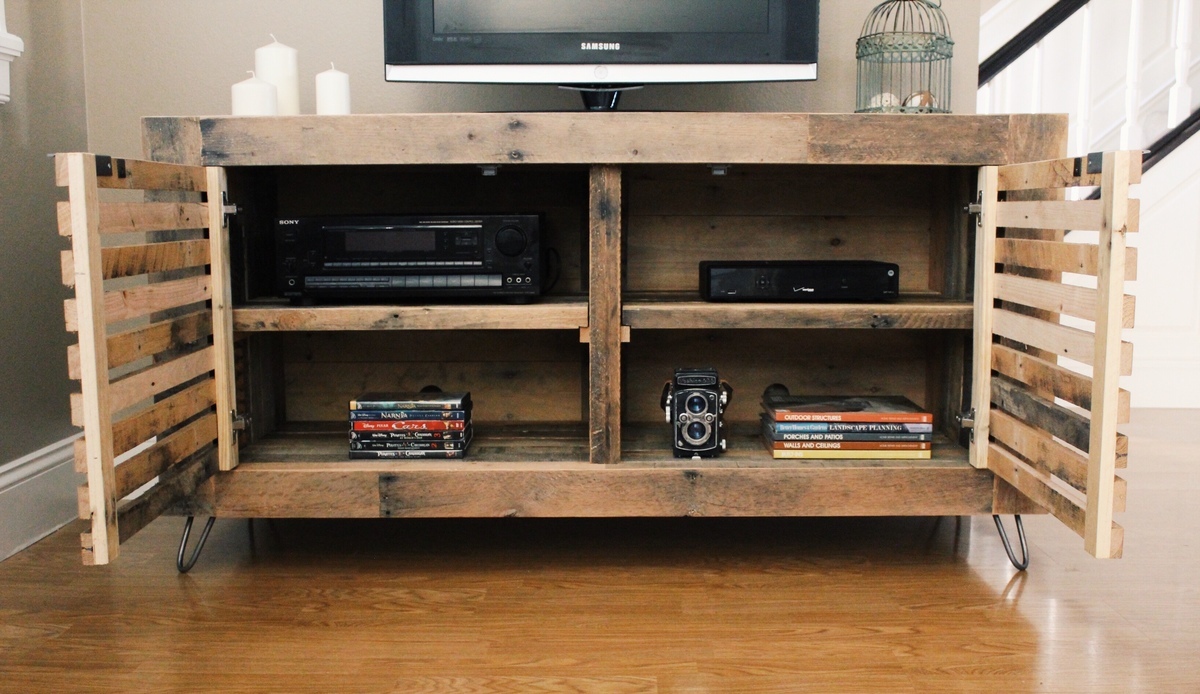
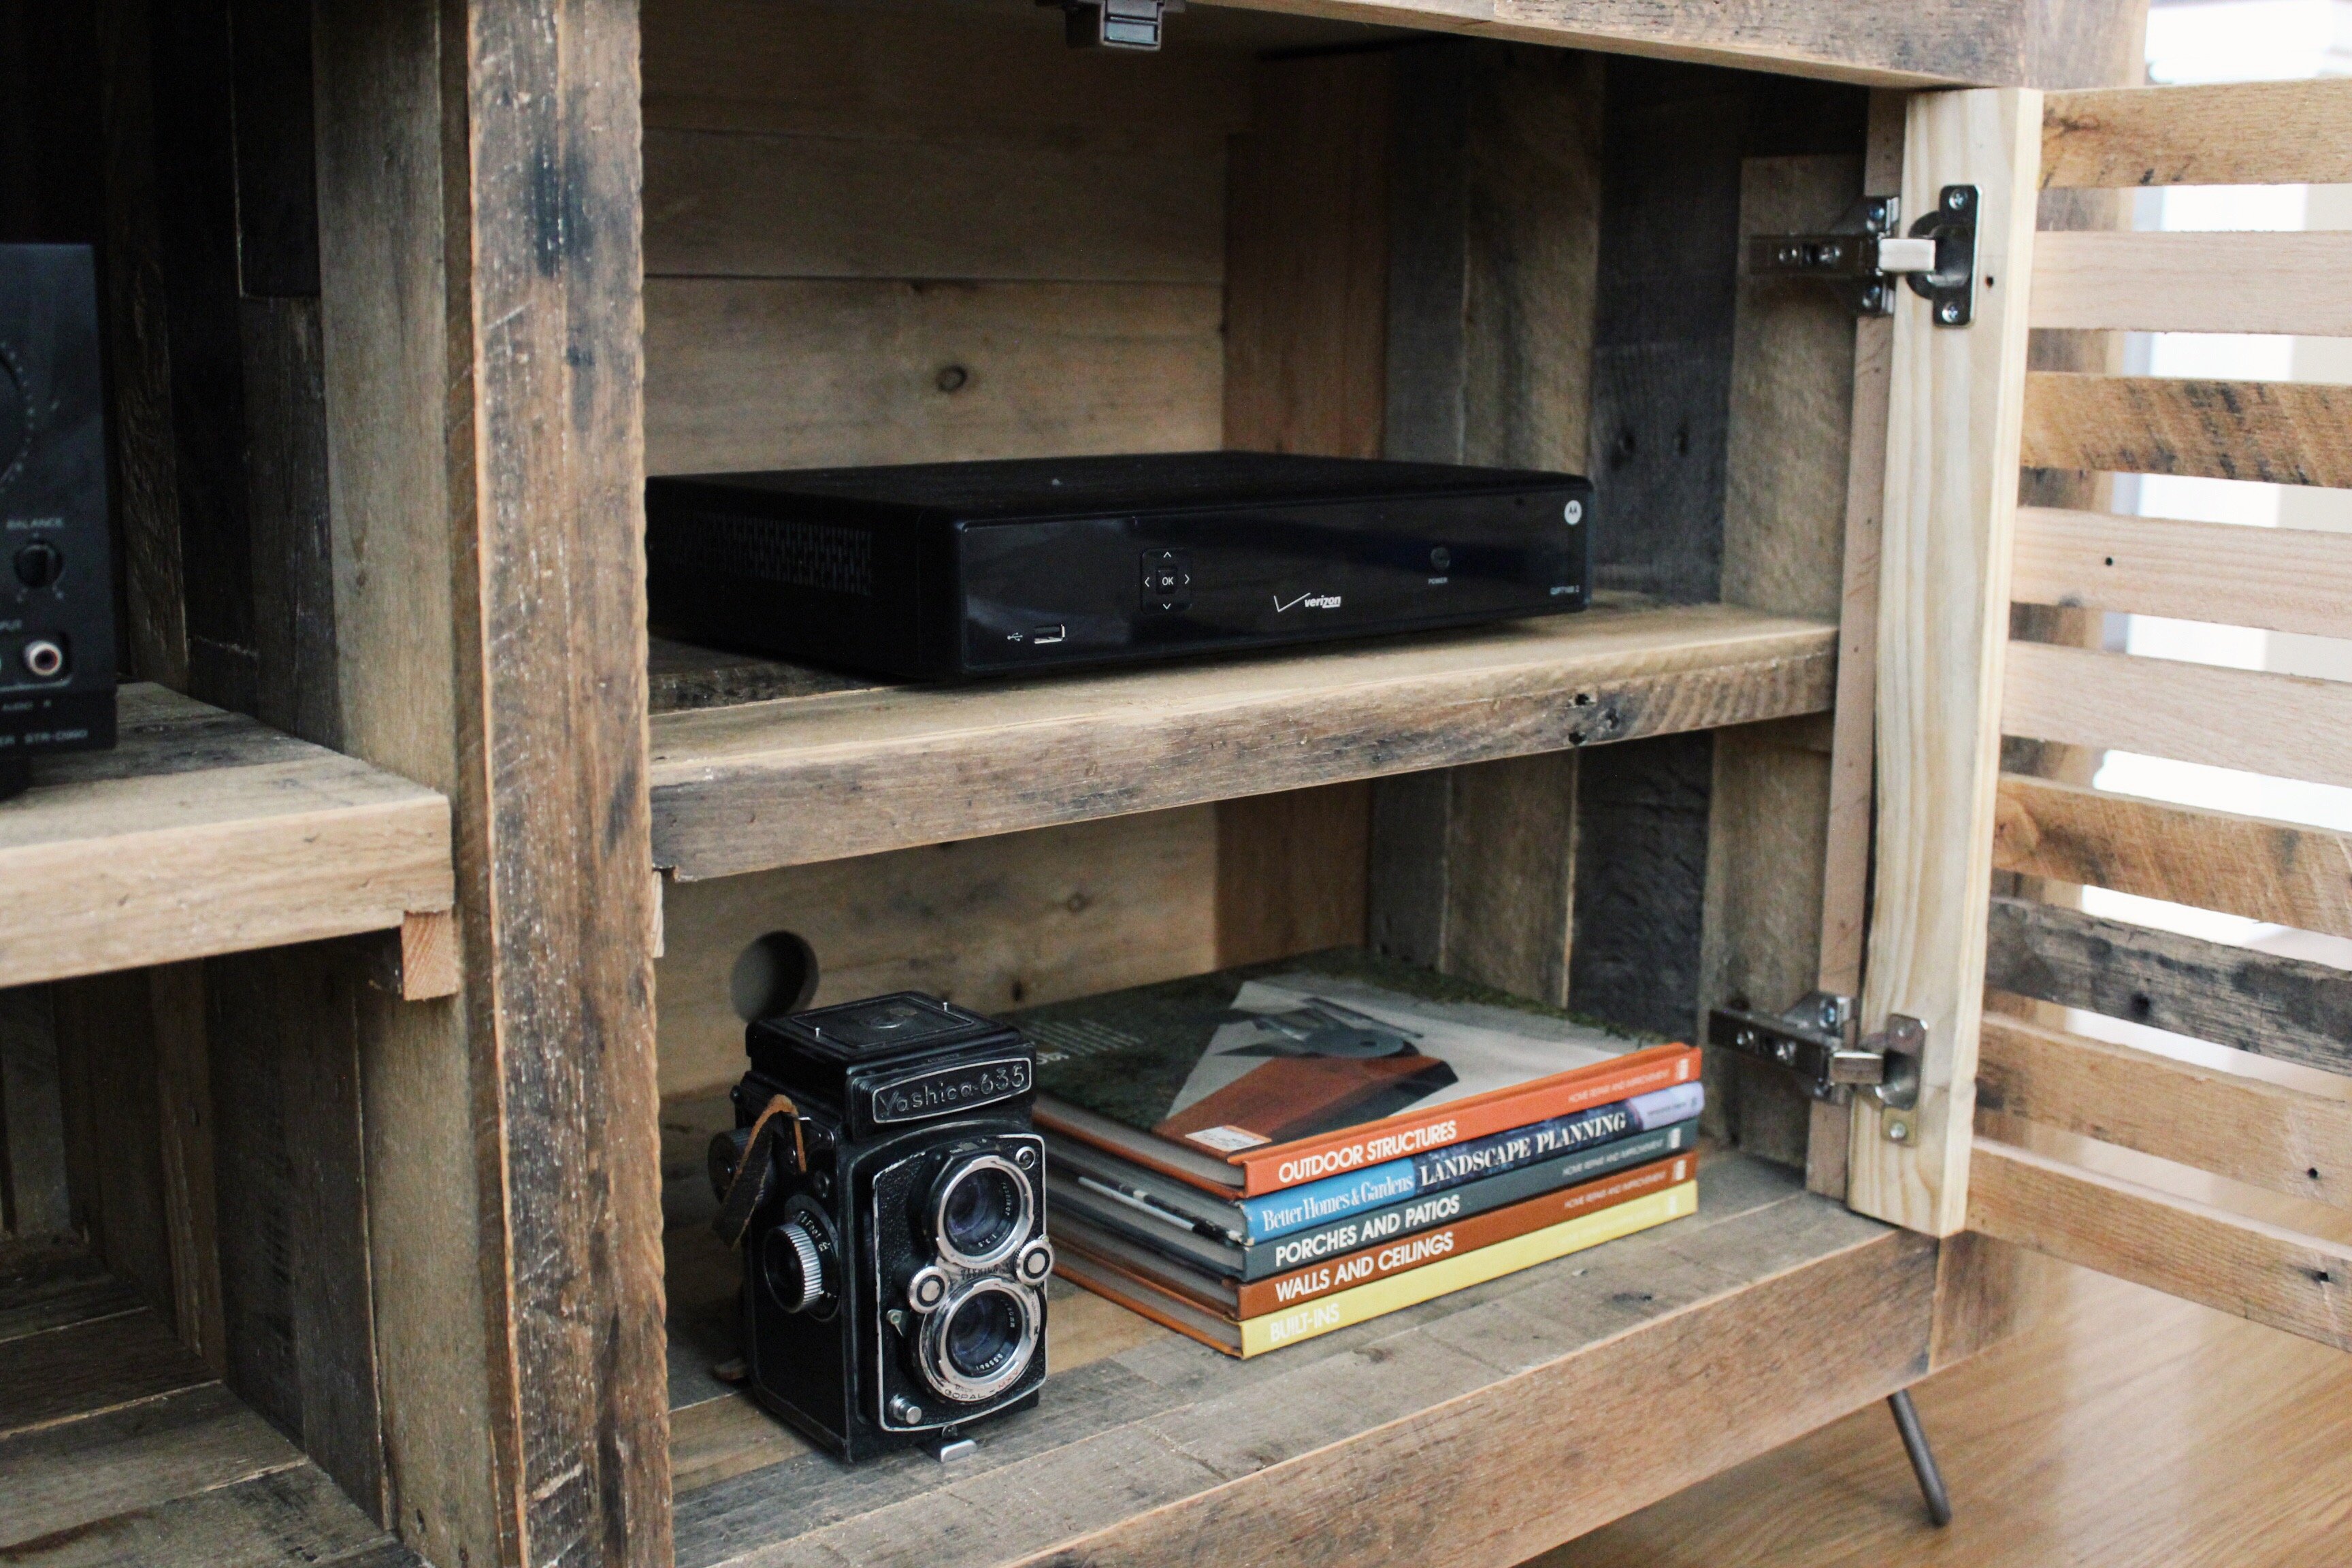
Reclaimed media console
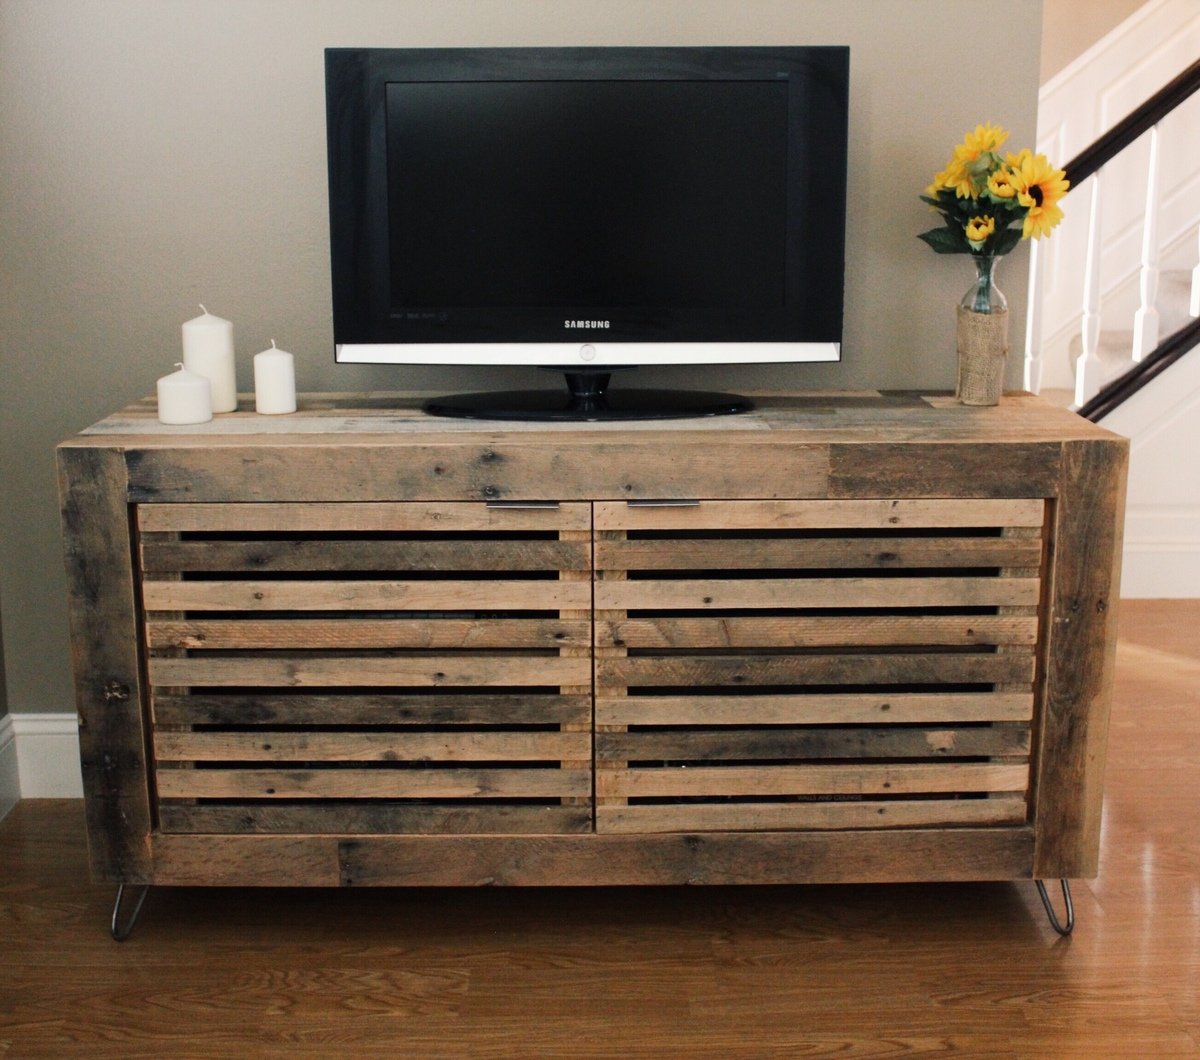
I built this media console from 100% reclaimed shipping pallet wood. I added 4" steel hairpin legs which I thought went well with the rustic appearance of the wood. The shelves that are in place are removable. Although this is not built from one of Ana's plans I really enjoyed working with reclaimed wood and I hope this post will inspire others to do the same.
- Brad
Instagram: Timberandsoul
Estimated Cost
$40.00
Estimated Time Investment
Weekend Project (10-20 Hours)
Finish Used
2 coats of hand rubbed wax
Recommended Skill Level
Intermediate
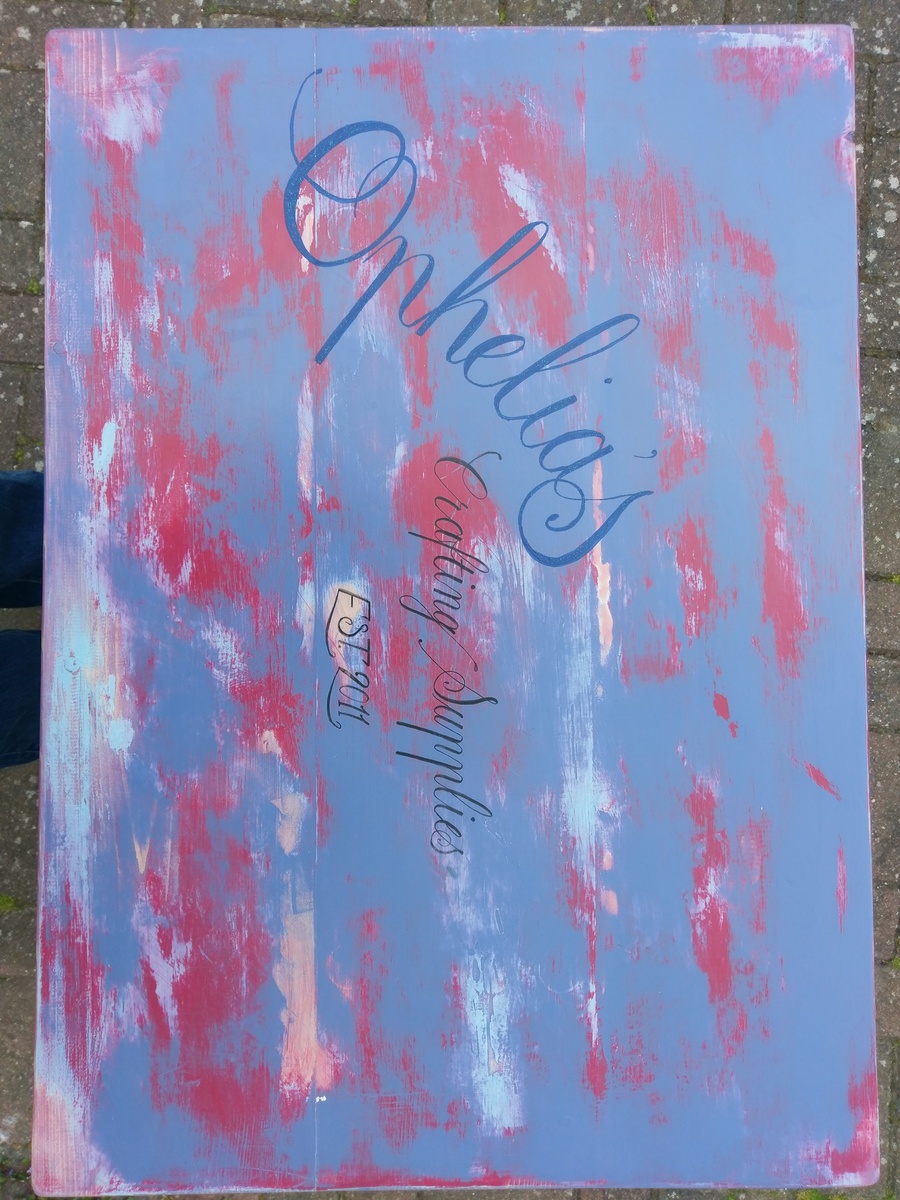
Craft table for 6 year old
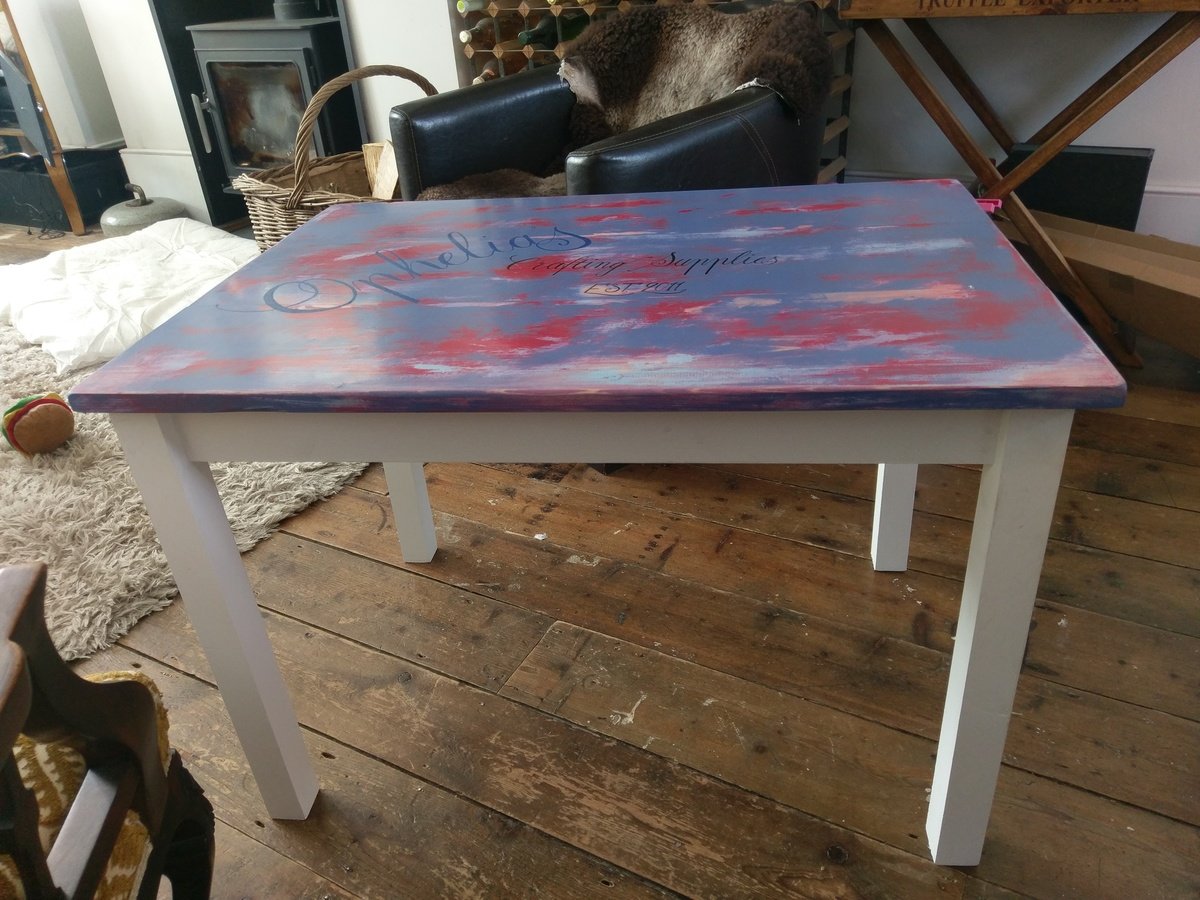
Since my daughter turned 5, she has joined the ranks of those children (un)fortunate enough to have 2 bedrooms to furnish. In approaching her 6th birthday I asked her mother if there was anything she needed for her new room at her house, and she suggested a new table to do colouring/craft etc at. I was actually searching to buy a table and chairs, and was decidedly underwhelmed by the selection and the quality/cost ratio on offer.
Thankfully I stumbled across the plans for the Clara Table, and it was precisely what I was after. I have made various tables before, for garden and dining, and have always gone with reclaimed wood and a rustic style, but for this I did just use the plans as-is, and I bought new pine timber purely for the convenience of it.
The table is simple to build, I already had a pocket hole jig, and the table itself took about 90minutes to build. Most of this time was spent sanding off the foaming glue I decided to use between the planks used for the top. If you are considering using this sort of glue, or indeed any glue, I'd say it isn't necessary. I had neverade a table top of this construction before, and went for the belt and braces approach. In my opinion it's totally unnecessary, doesn't add much security, but adds plenty of time to the project. If you really want, I'd go for bog standard wood glue, but by the time you screw it onto the legs, it's solid as a rock anyway.
It is mentioned to set the aprons back a way, to avoid splitting the legs. I did this, by using an off-cut of the 3x1 as a spacer on the face of the aprons as I screwed them in. Worked a treat, set the aprons back, but not all the way, and gives the illusion of a little more heft to the dimensions.
I then painted the top with chalk based emulsion, distressed and did the signwriting to personalise it, finished it with wax and my daughter was more delighted than I ever thought any child could be by having a table daddy made for her birthday, and at a fraction of the cost of a shop bought one of far lower quality.
Am.so.pleased I stayed on this website, and have already lined up the matching chairs for her as my next project!
Thank you for inspiring me to get back to making things again...it's been a while!
The timber cost me about £20, and the biggest expense was all the paint tester pots for the top!
Built from Plan(s)
Estimated Cost
Wood - £20 from timber merchant
Finish - £30 on various tester pots of paint, beeswax and another 2 days of literally watching paint dry!
Finish - £30 on various tester pots of paint, beeswax and another 2 days of literally watching paint dry!
Estimated Time Investment
An Hour or Two (0-2 Hours)
Finish Used
Base - off white chalk based furniture paint (already had in the shed!)
Top - various chalk based emulsions, wet distressed, signwriting in tombo brush marker for the black, and chalk emulsion with added sparkle for the blue, painted with narrow flat ferrule brush.
Adding the glitter to the paint was a mistake really...was a nice idea, but made the paint very difficult to get clean lines with on the scale I did it. Also, required a huge amount of wax and polishing until the bumps weren't raised anymore.
Bees wax to protect and finish
Recommended Skill Level
Beginner
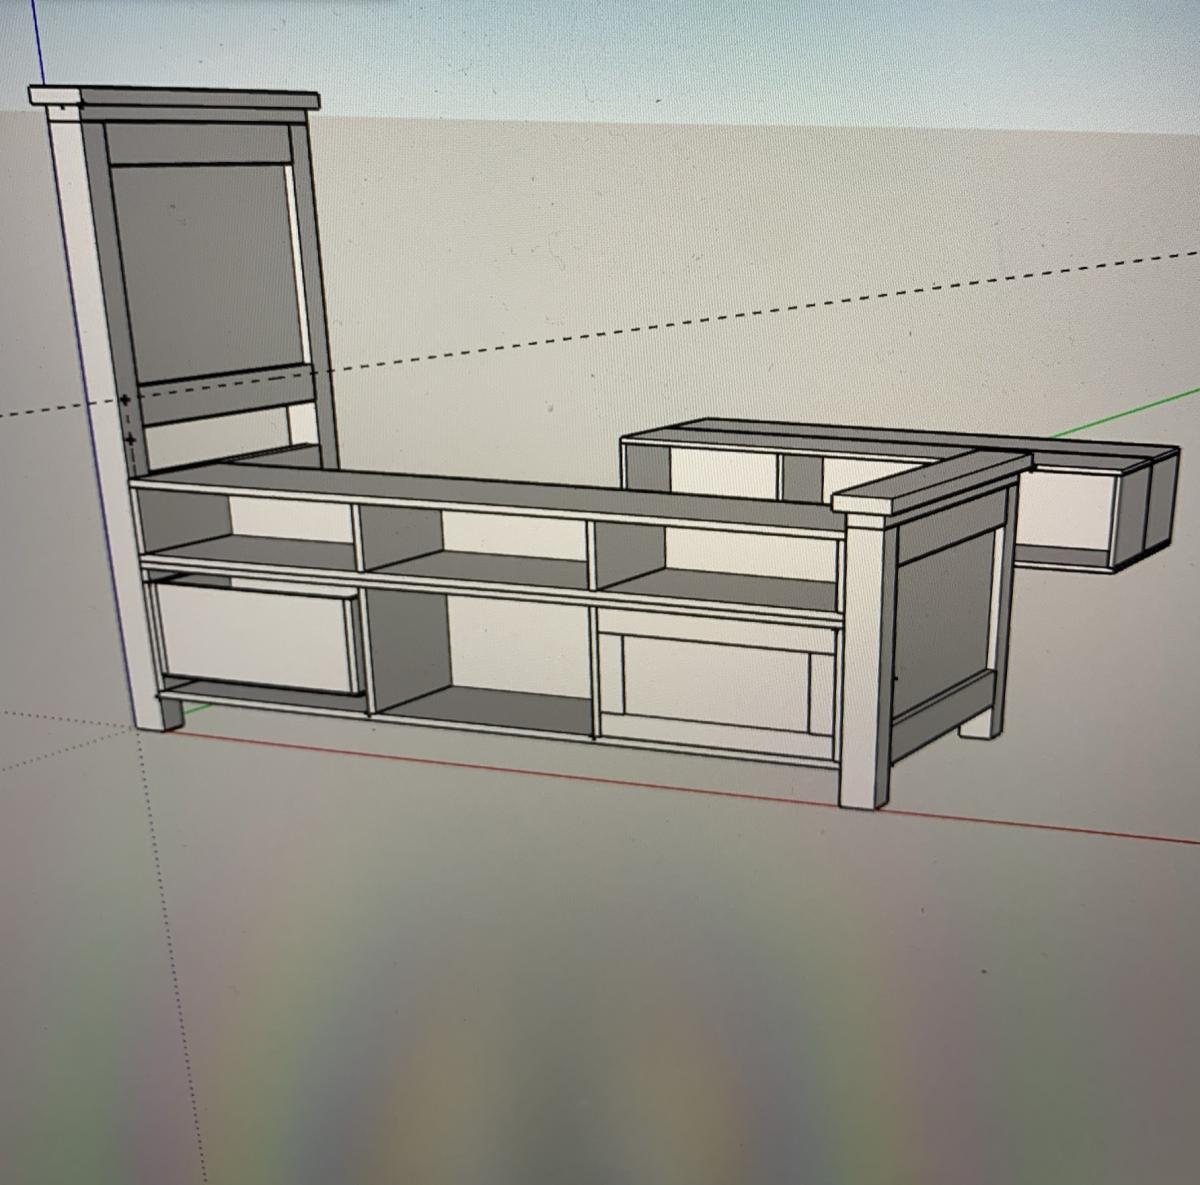
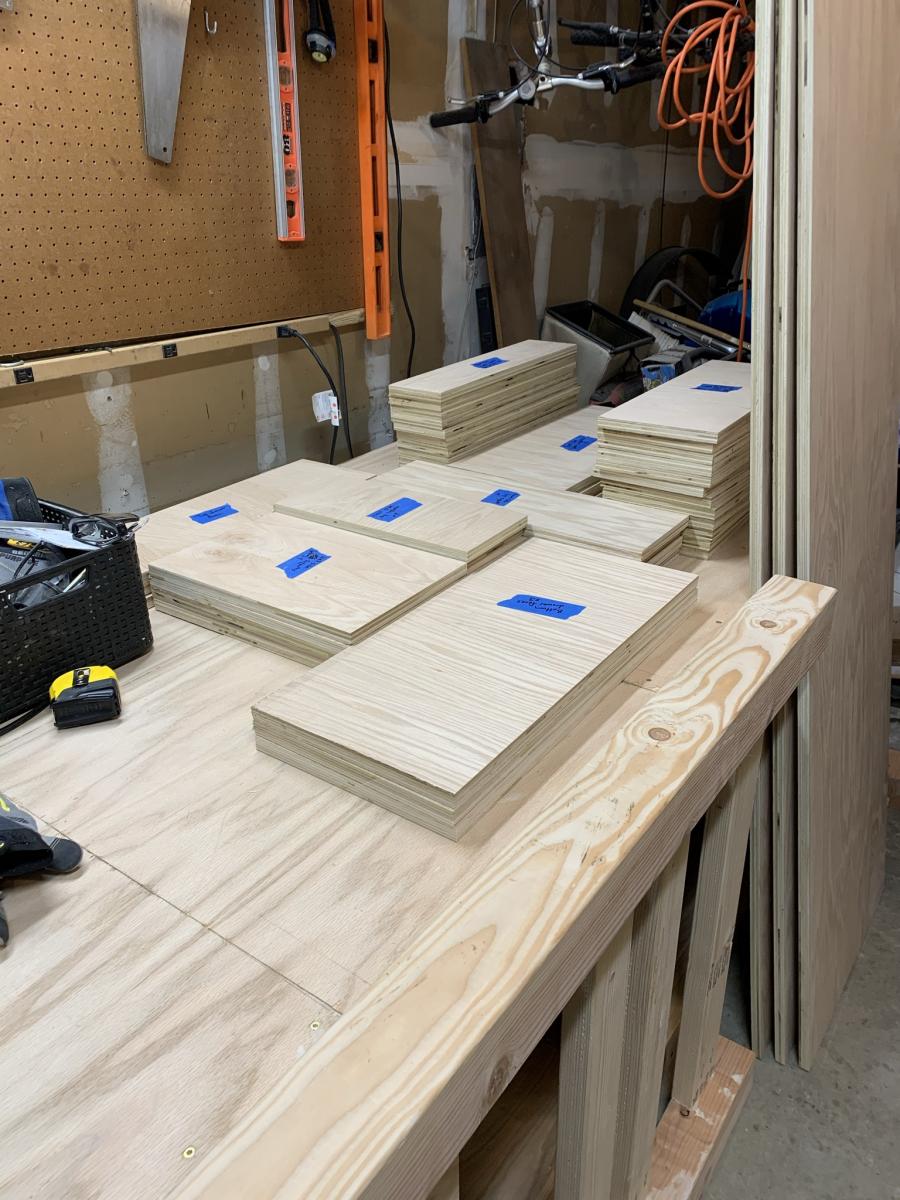
Twin storage bed, but with extra storage!
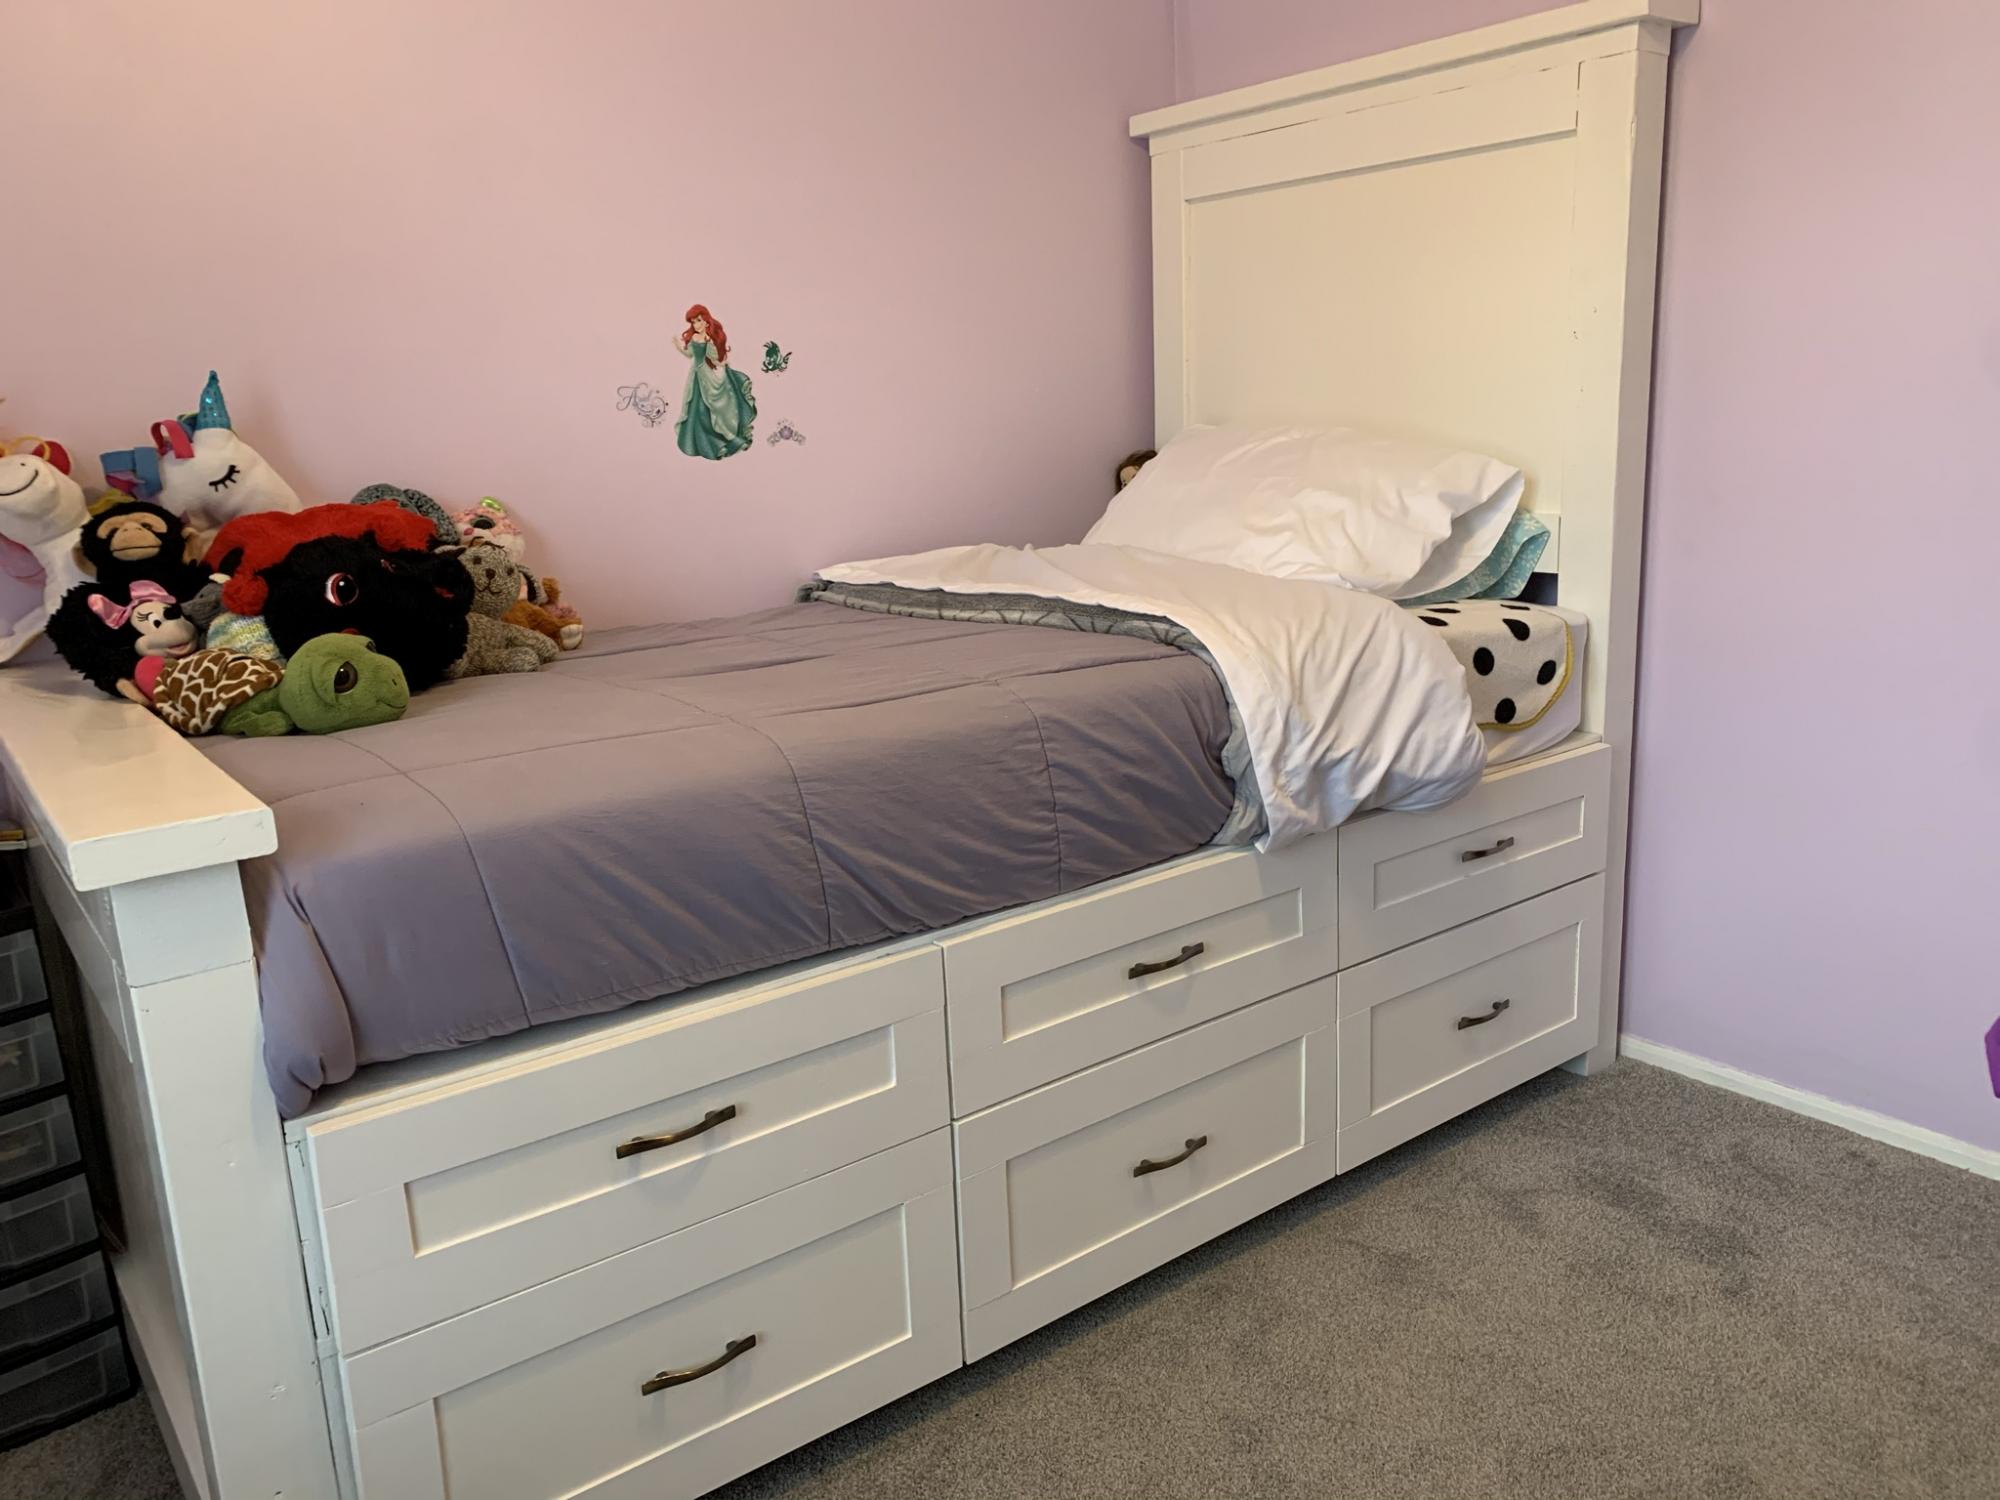
I just finished this bed and wanted to thank Ana White for the plans and directions. I didn’t understand the purpose of the gap between the storage cabinets so I extended the drawers making them deeper. This makes more sense to me rather than having dead space under the mattress. Who couldn’t use more storage?!? I also decided to make a second layer of drawers, so the bed is raised much higher. It was a bit of a challenge, but using the plans from Ana and SketchUp helped me plan. The bed looks amazing and my 6 year old loves the space she has not without a dresser in the room. Thanks, again!

Built from Plan(s)
Estimated Cost
$450
Estimated Time Investment
Week Long Project (20 Hours or More)
Finish Used
Semi-gloss white paint
Recommended Skill Level
Advanced
Comments
Thu, 04/08/2021 - 08:36
Doubled up!
Love this build and the finish is beautiful too, thanks for sharing!
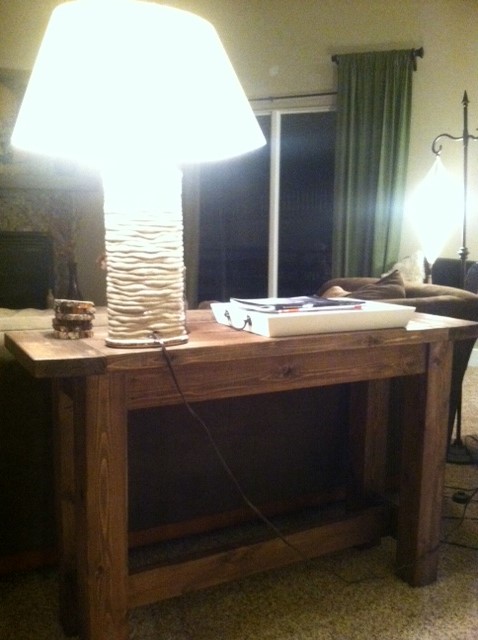
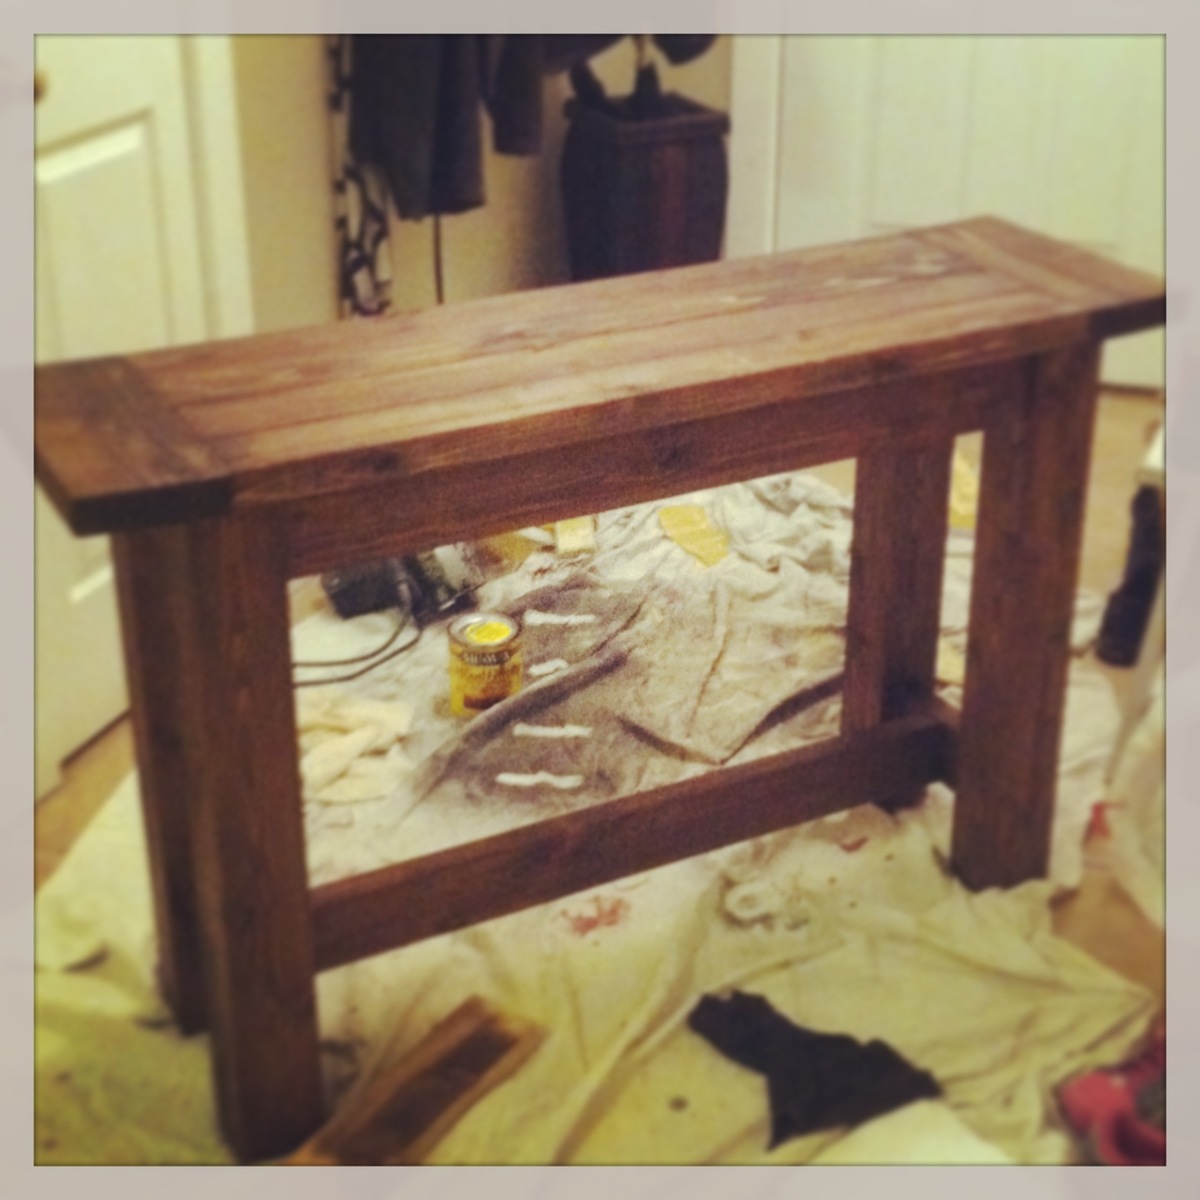
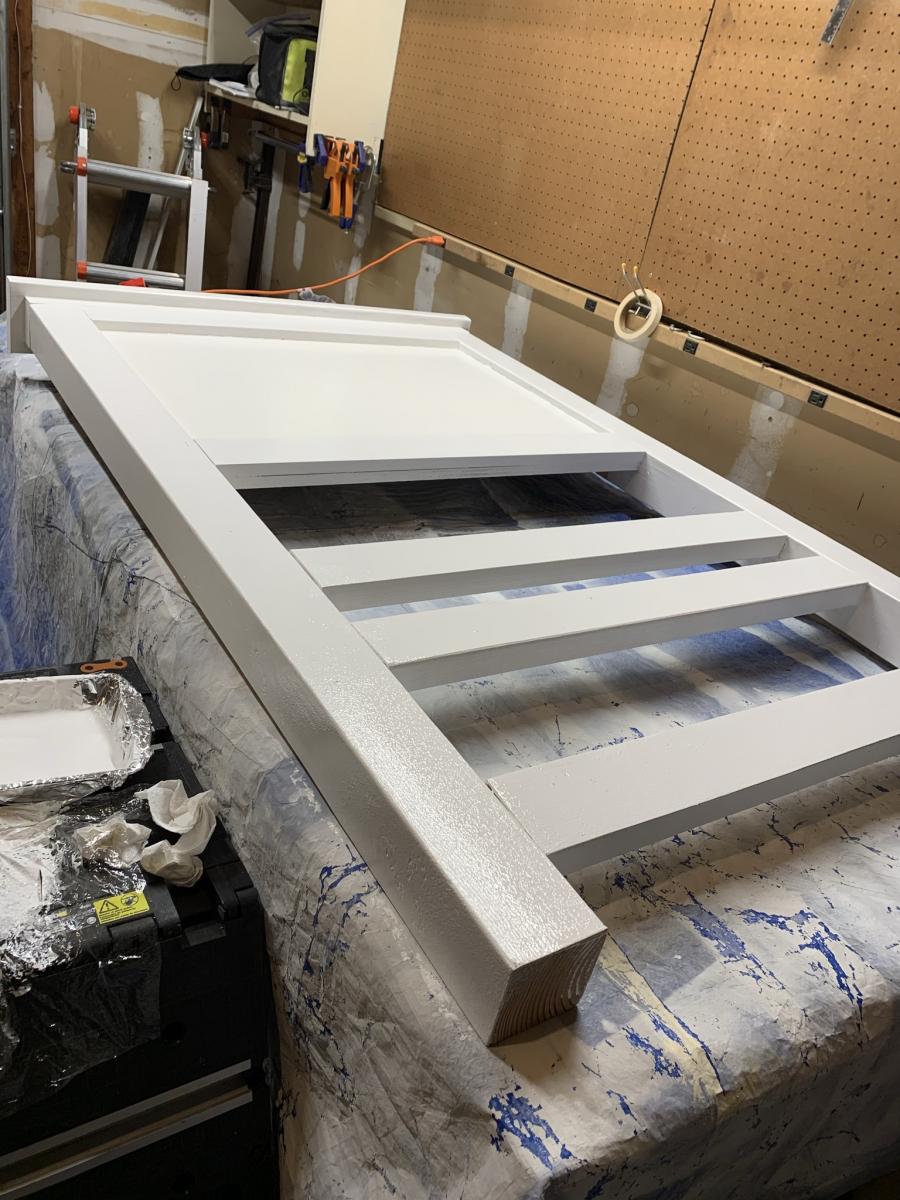
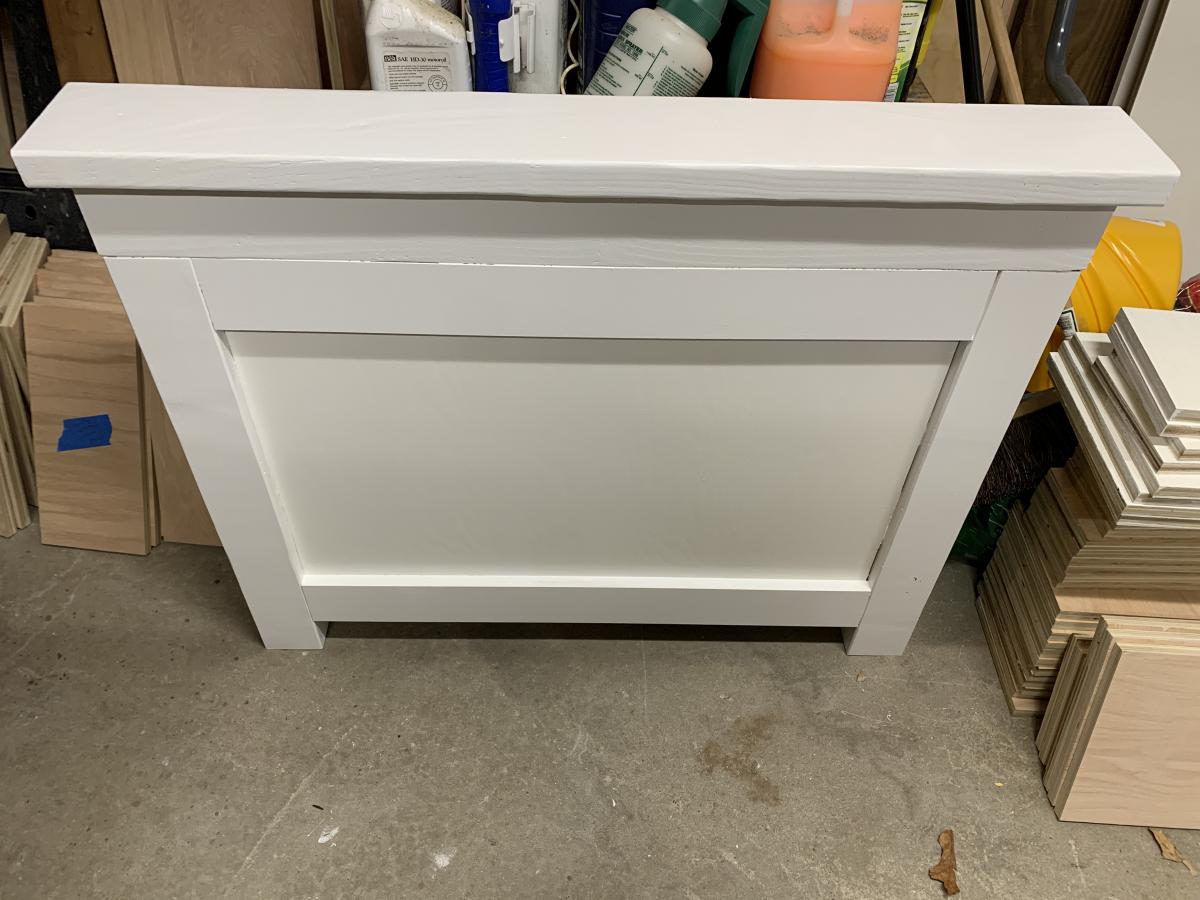
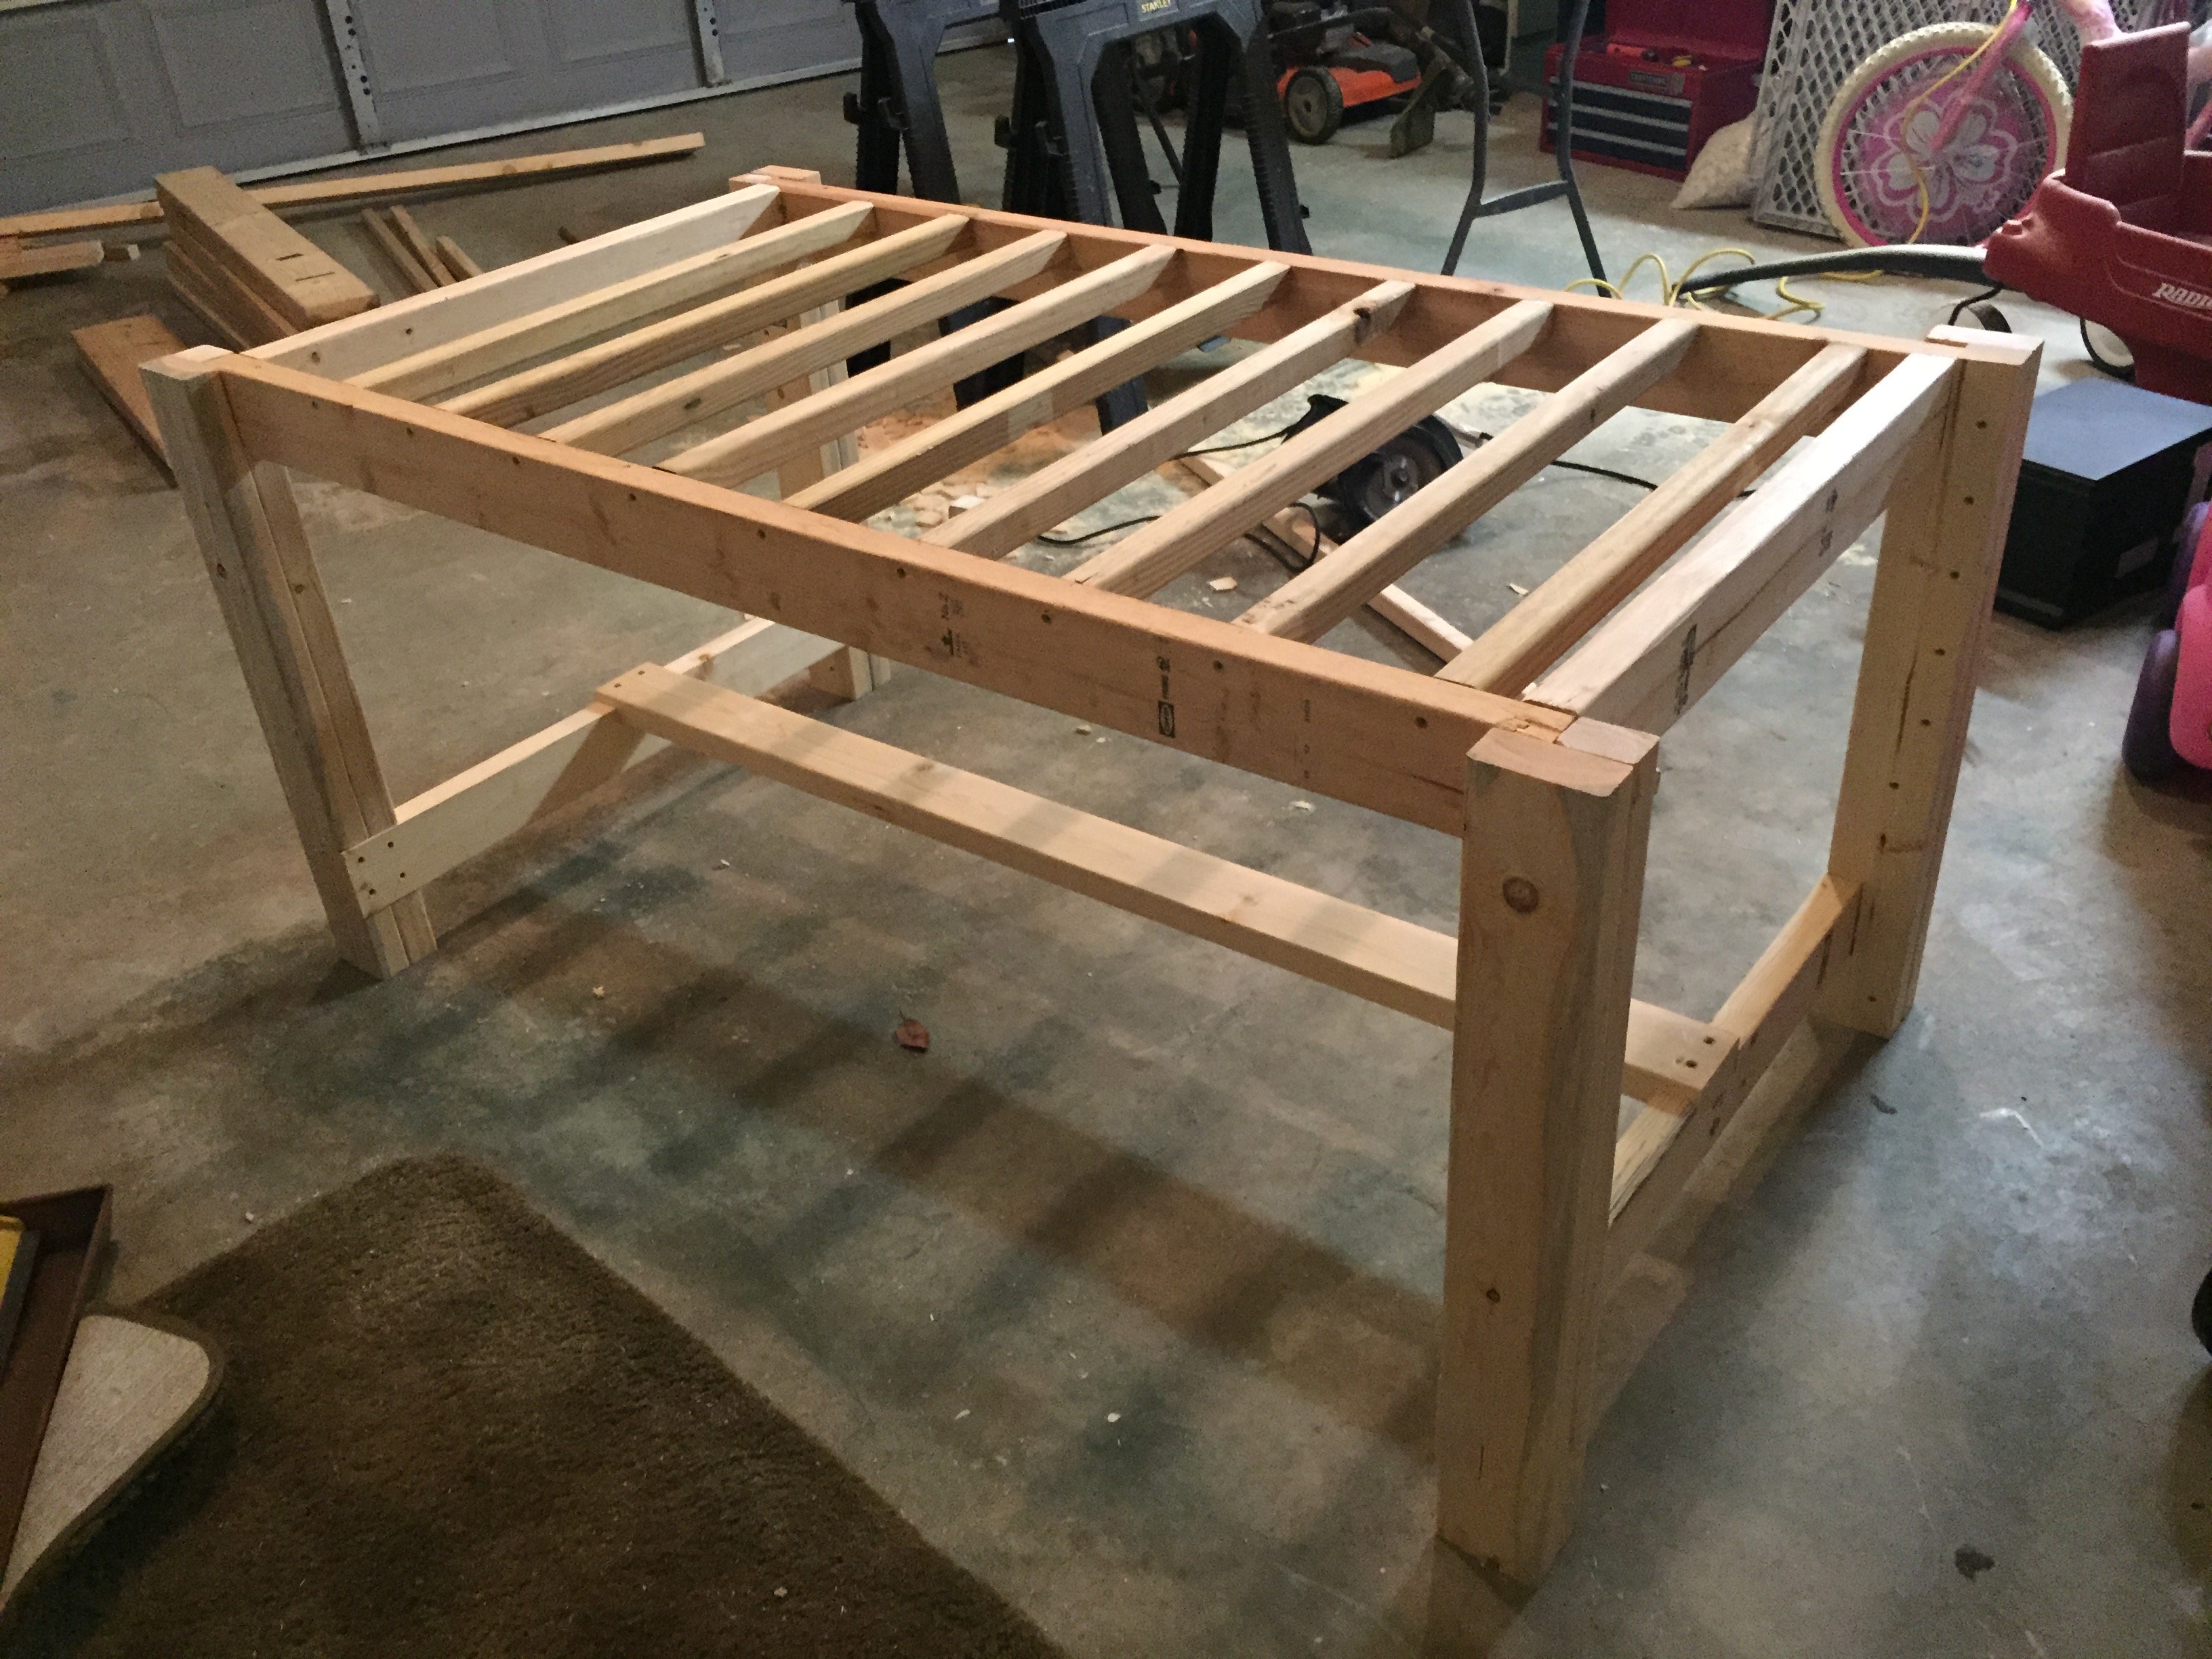
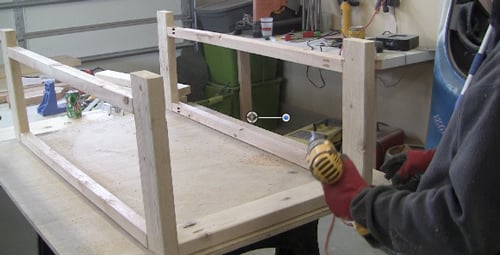
Workbench Console

When I first saw this and showed it to my wife it became number one on my Honey Dew list. I did not like the open space between the bottom shelf and top, saw on this site where someone put a wine rack of shorts as a second shelf. So I did the same I used 1x4 instead of the 1x10 used on bottom shelf. I also used 1x4 for the top to help eliminate the gaps between the boards that the 2x4’s would cause. To help give something for the 2x4’s and the 2x6’s to attach to I screwed 2x2’s to the 1x4’s around the edge. Gives the illusion of 2x4’s and makes for a very smooth and flat surface for the top.


Built from Plan(s)
Estimated Time Investment
Weekend Project (10-20 Hours)
Finish Used
Sanded and Sanded started with number 60 grit and worked to 220 grit then used 320 grit by hand. I used one coat of Miniwax English Chestnut hand rubbed
I haven’t put on the Polyurethane yet due to Cold temps but will as soon as it warms up if that is ever going to happen
I haven’t put on the Polyurethane yet due to Cold temps but will as soon as it warms up if that is ever going to happen
Recommended Skill Level
Intermediate
Comments
Fri, 03/29/2013 - 17:52
You Fooled Me!
When I first saw your build I thought what a nice small workbench. You even put in places to store clamps!! Then I noticed the girly stuff on the top and realized that it was really inside the house. Really good work. When you can put the poly or antique oil on it the piece will really shine.
Sat, 03/30/2013 - 13:11
Thank You Jake yes my wife
Thank You Jake yes my wife loves it I am finishing up on the hutch for the top now and soon I will get the poly on this and then if I can keep the wife from looking on here I might be able to build a work bench for the shop LOL
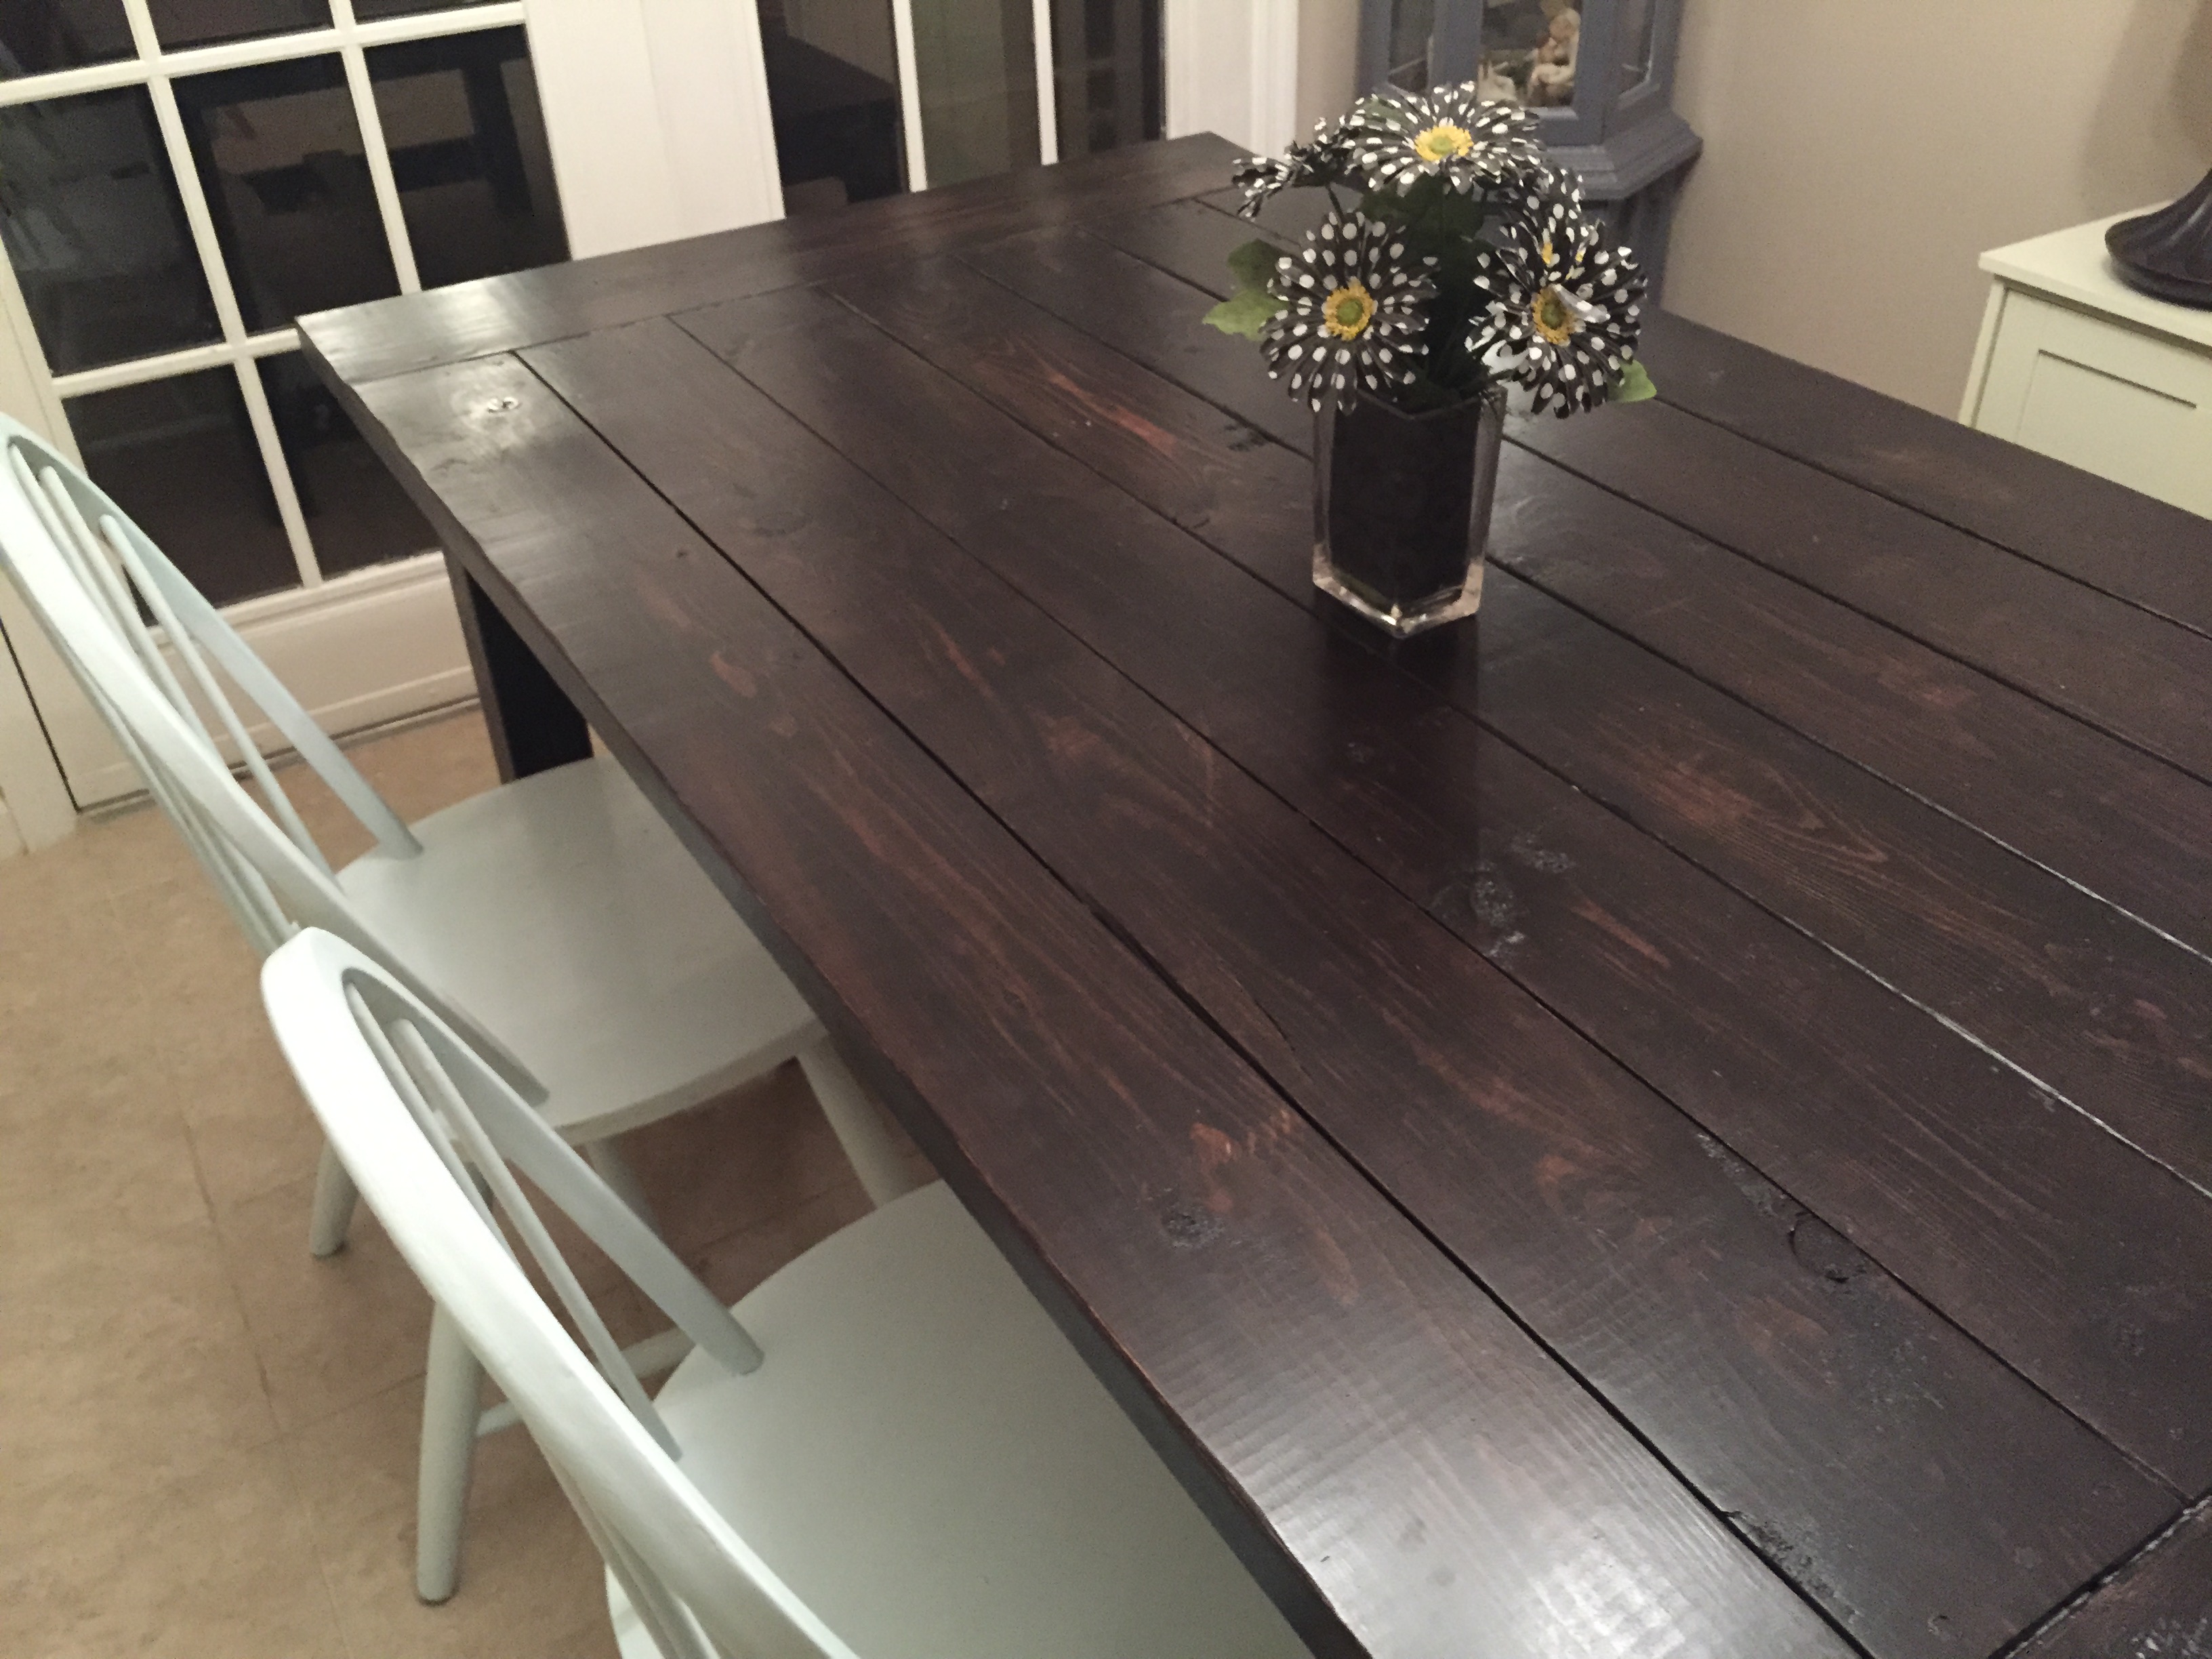
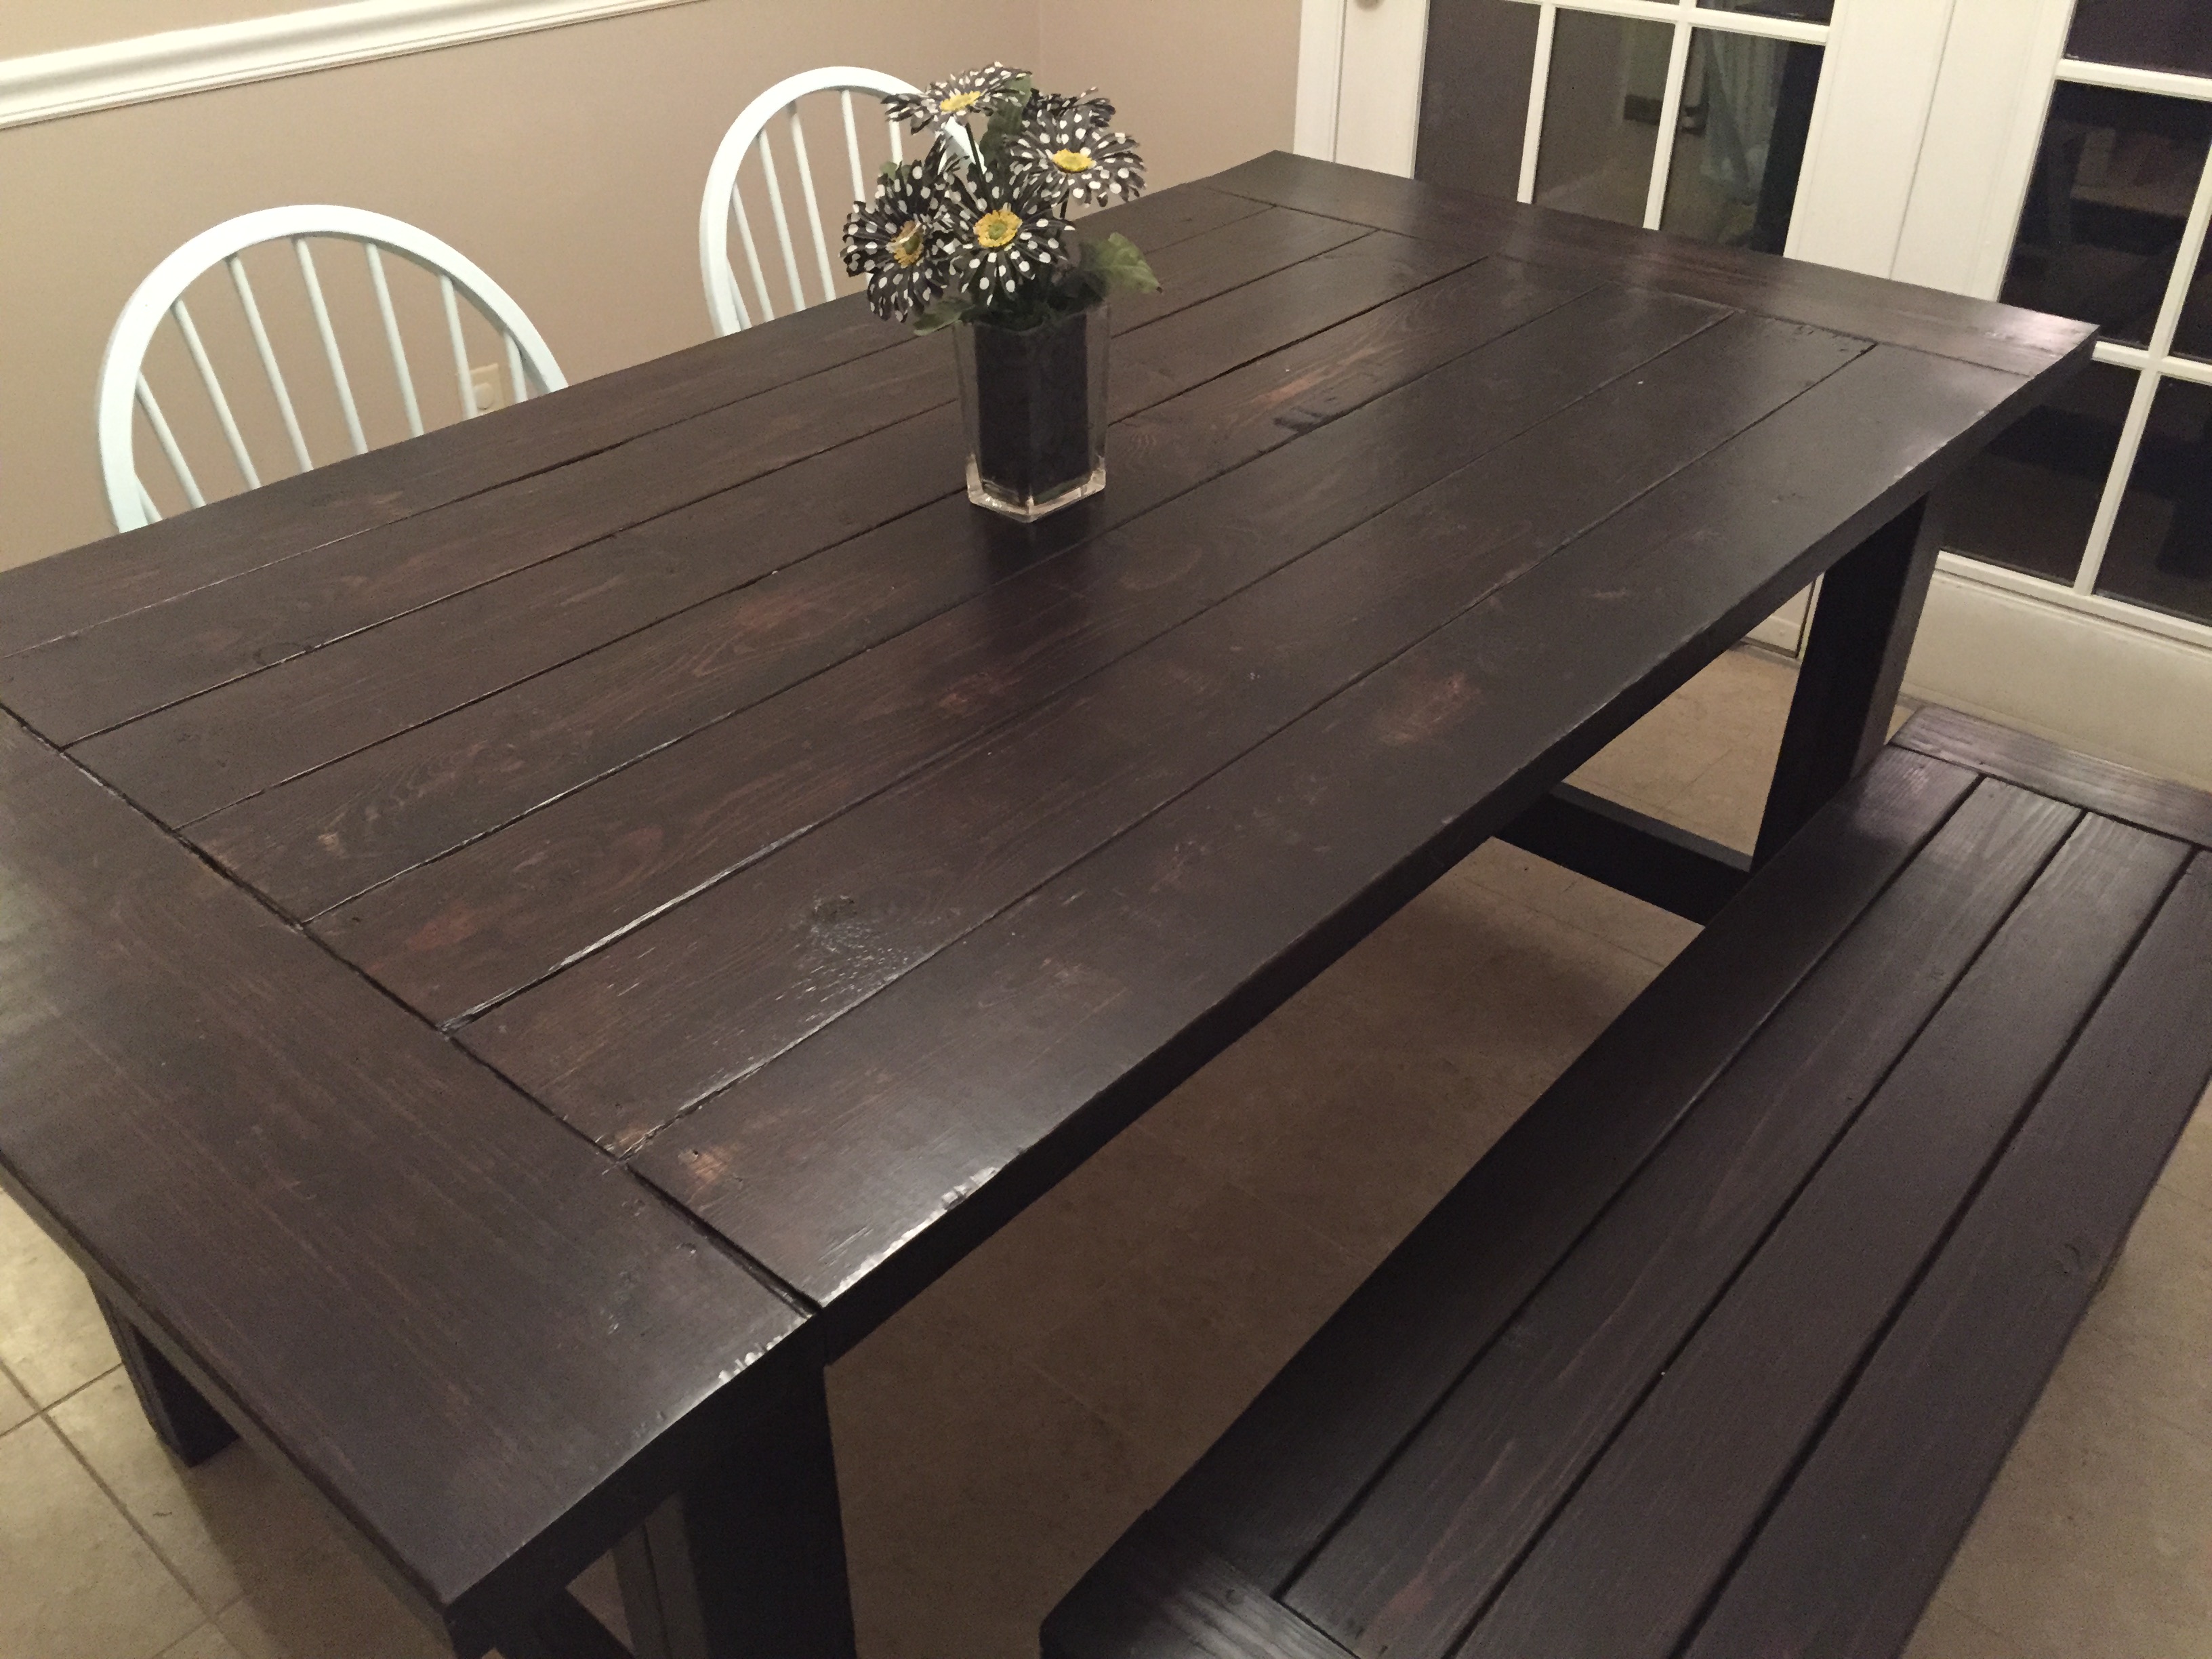
Successful First Project
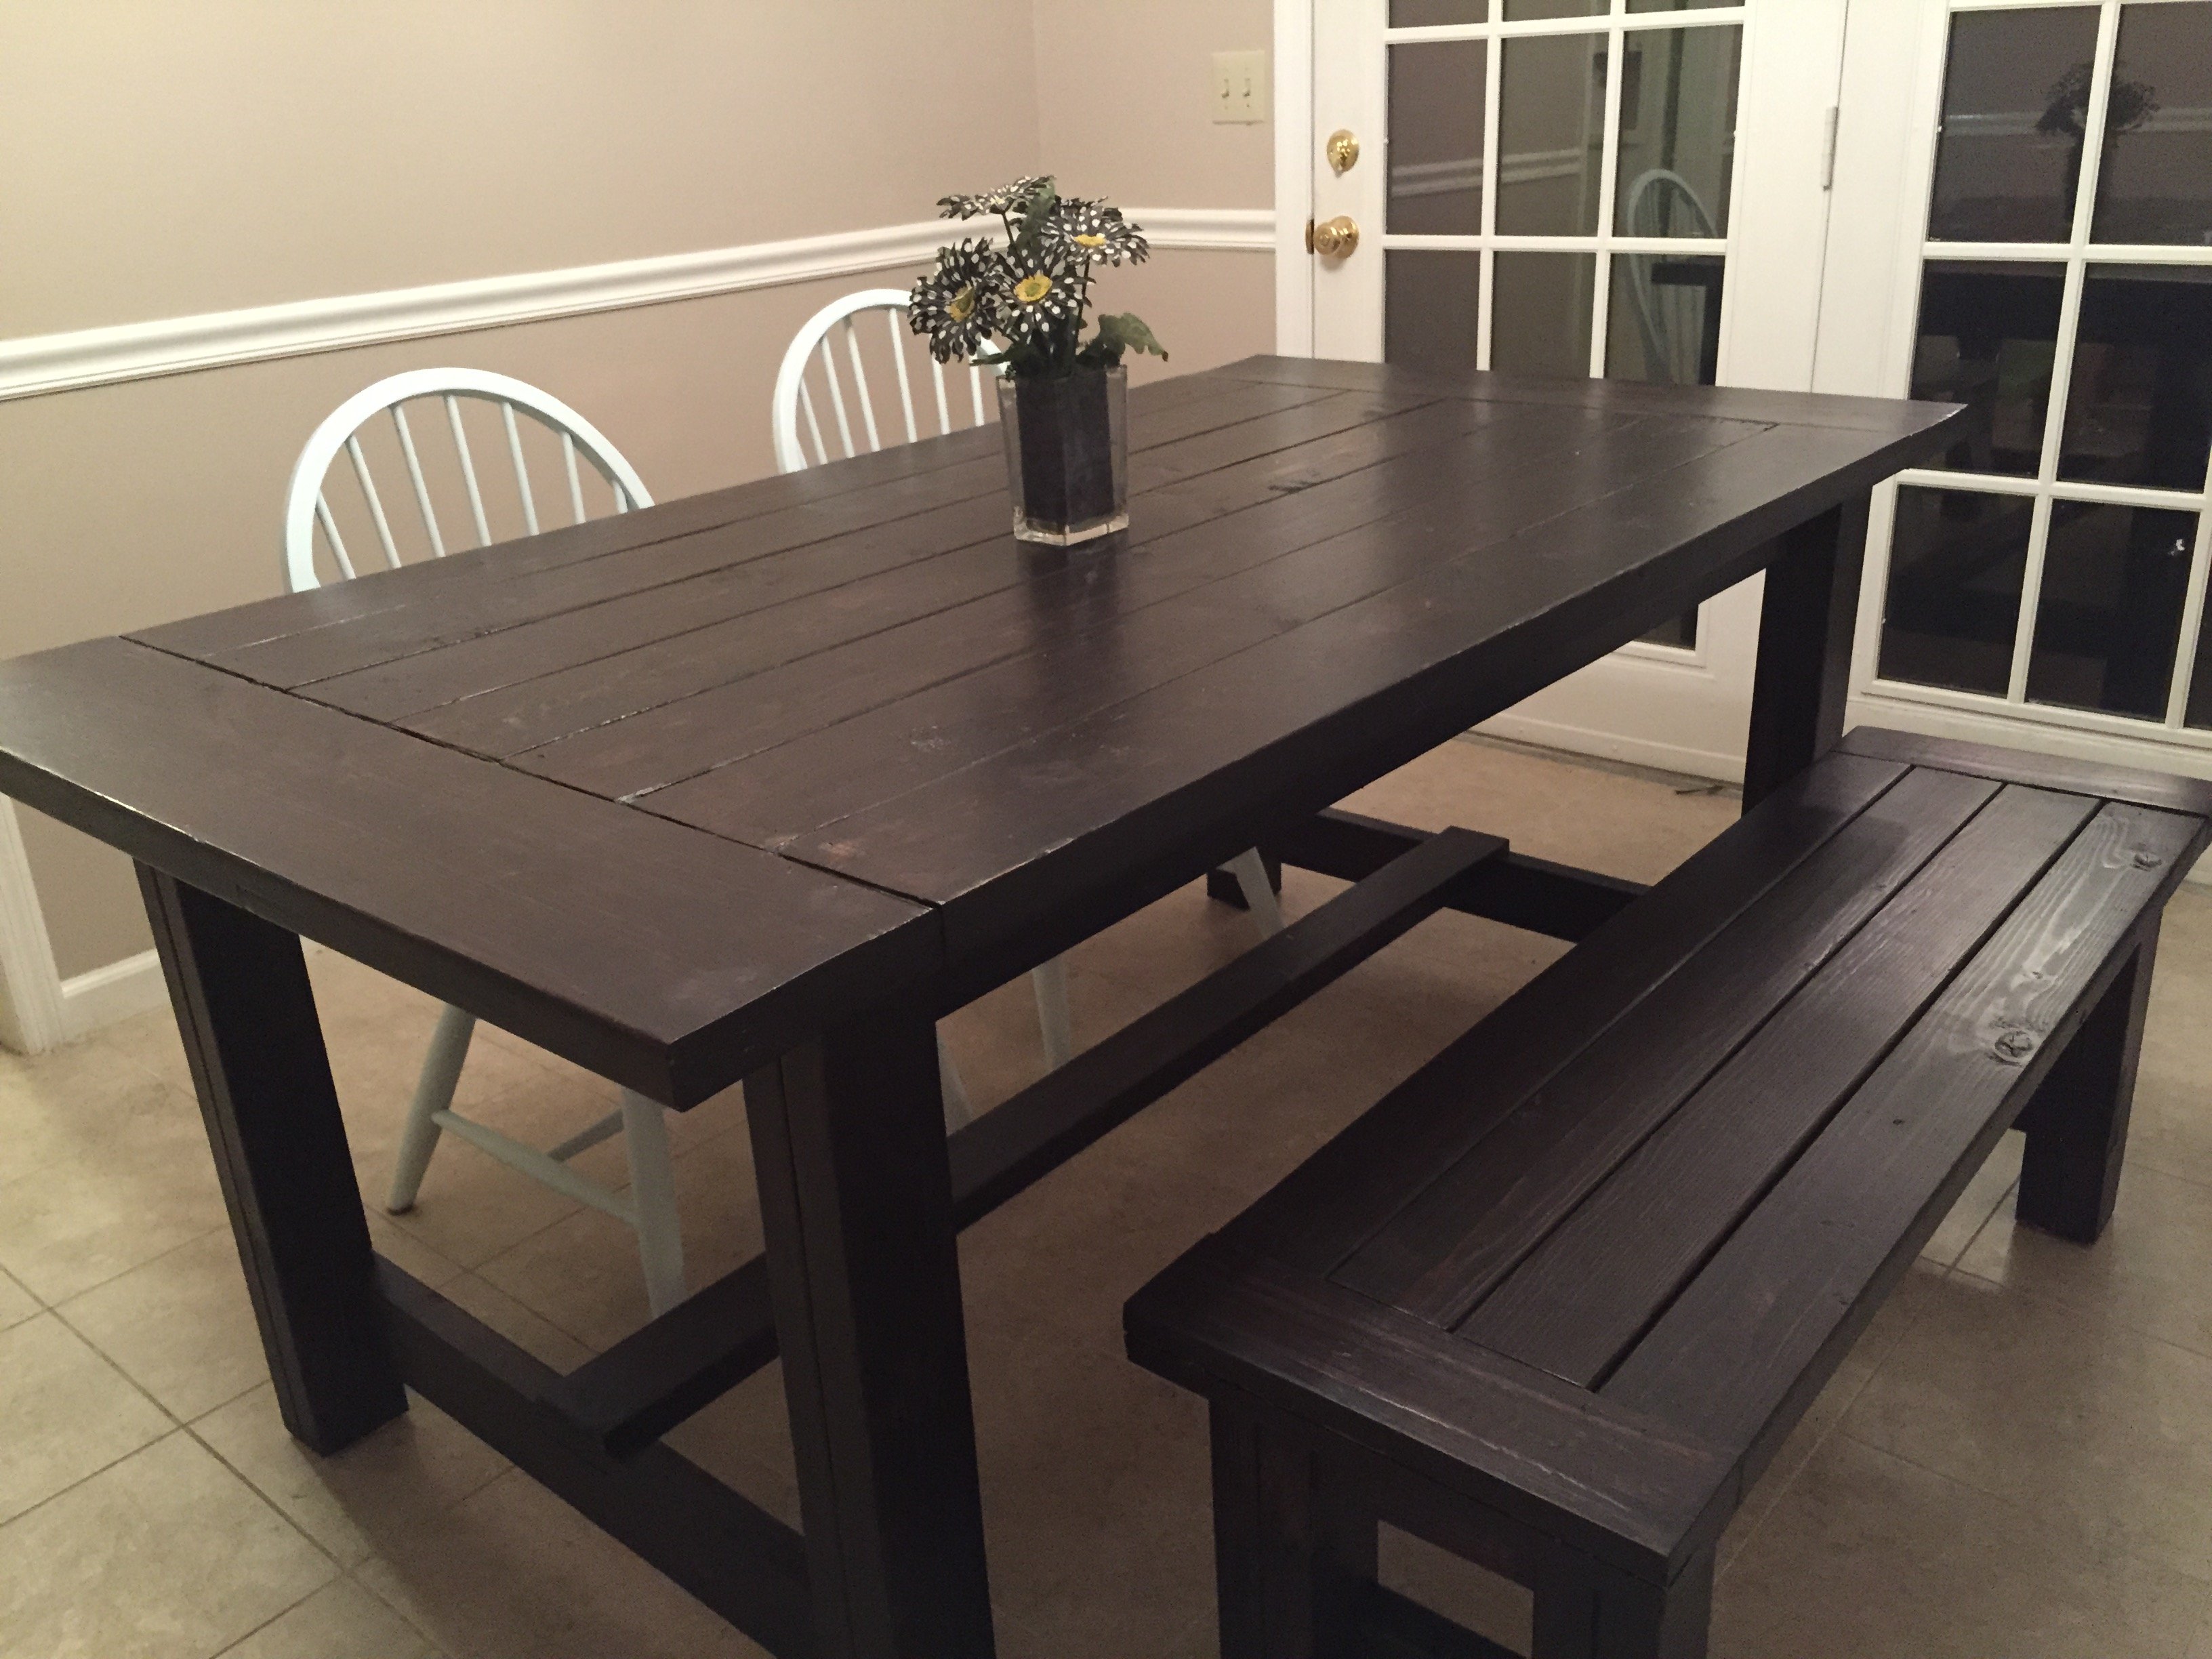
My first real furniture DIY project. My wife has been asking for a farmhouse table for a couple of years and I found Ana's site 3 weeks ago. By reading the plans the project seemed simple enough to give it a try. I modified the plans to shorten the table to 72" to fit in our dining room. I bought lumber from Lowe's and lumber costs for the table was approx $65 and the bench was right around $20. My wife loves it and I have had multiple requests to make more tables for other family members. The project took a week to complete working a few hours each evening after work. Stained with Rust-Oleum Ultimate in Kona and 4 coats of a Rust-Oleum Polyurethane in Satin finish. A big thanks to Ana for the free plans and for my new hobby of furniture making! *EDIT* The table and bench are not as dark as the pictures show.
Built from Plan(s)
Estimated Cost
$100 - $120
Estimated Time Investment
Weekend Project (10-20 Hours)
Recommended Skill Level
Beginner
modern Adirondack chairs
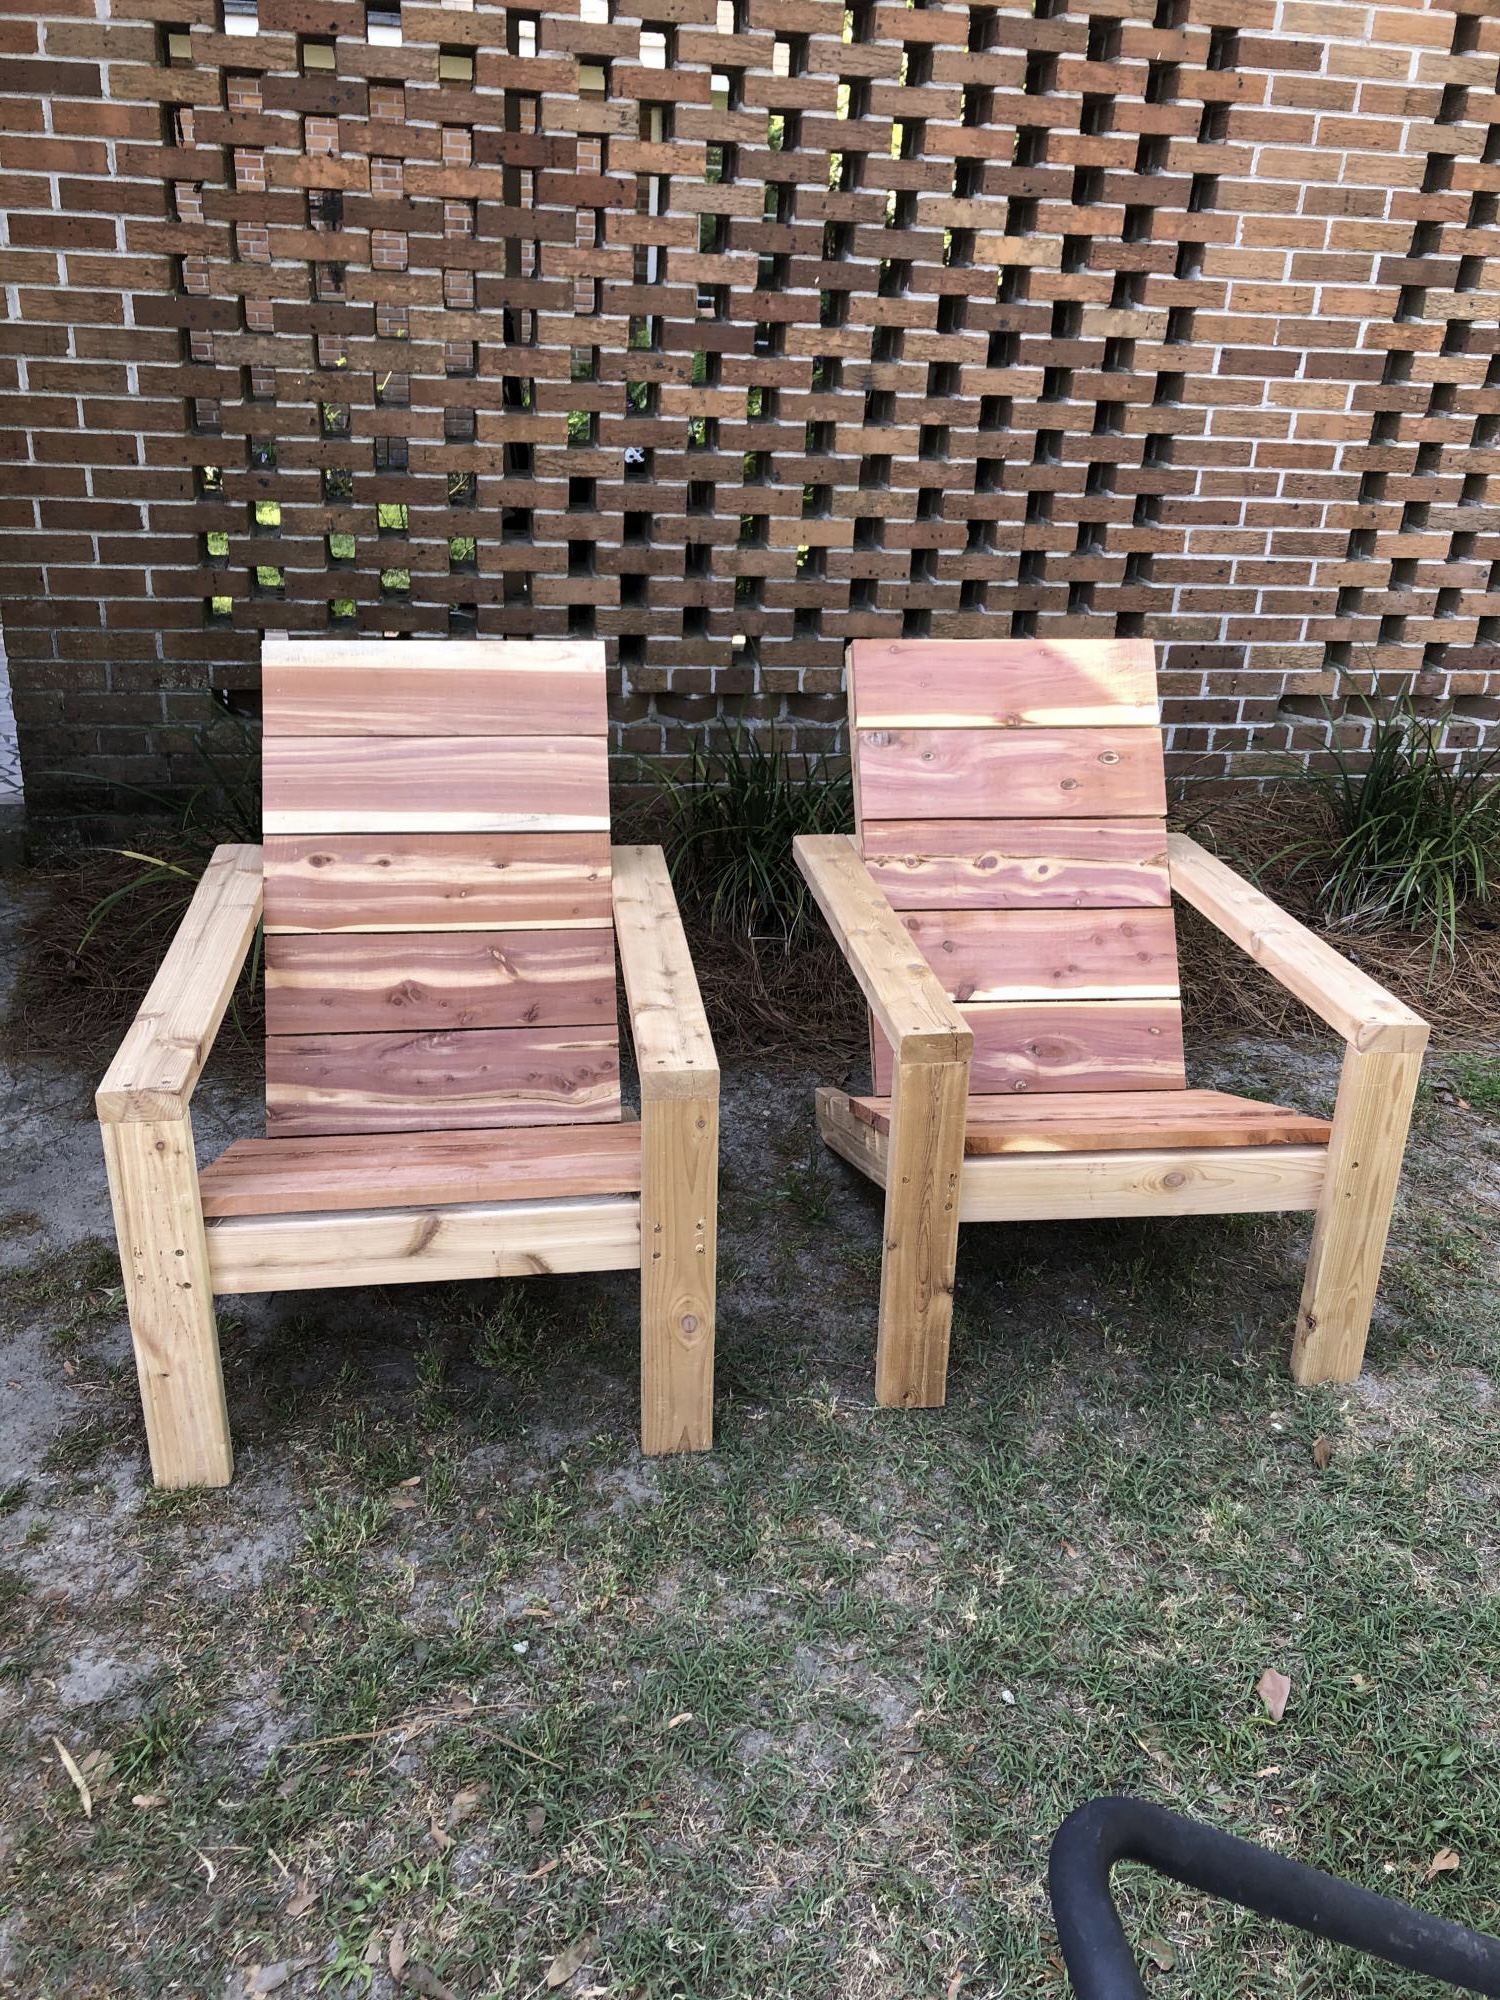
After a cabin remodel I had some left over 1X6 red cedar that I wanted to use and these chairs looked like a great project. After buying some white cedar 2X4's , here's my first 2. Thanks for the plans.
Built from Plan(s)
Estimated Cost
about $50 a chair
Estimated Time Investment
An Hour or Two (0-2 Hours)
Comments
Farmhouse Style Rustic X Coffee Table
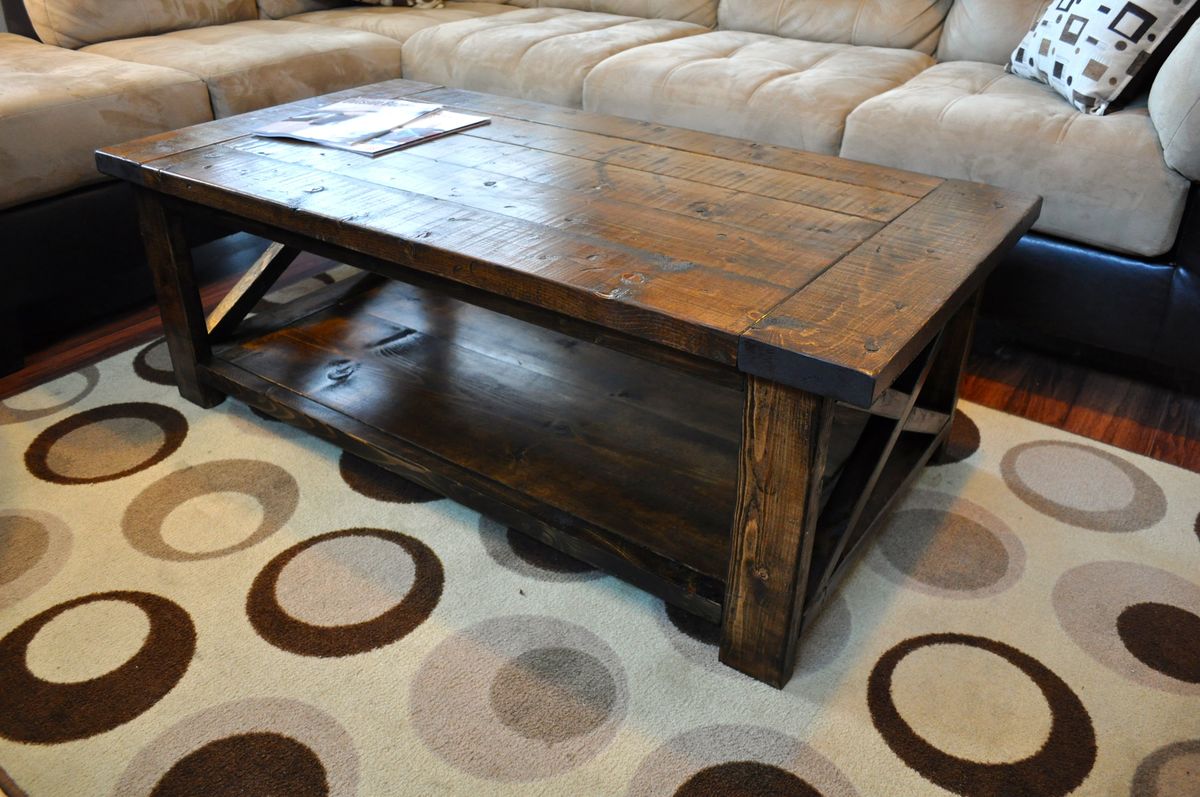
Ana's design caught my eye and I had to build one that was similar. I decided to modify the top because I really like the look of breadboard style tops. So the main difference is that I cut the top boards 41" long and added two 2x6 pieces for breadboards (about 27-27.5" long). So the total width still comes to 52". Turned out pretty cool!


Built from Plan(s)
Estimated Cost
$45 for wood - Stain/poly extra
Estimated Time Investment
Weekend Project (10-20 Hours)
Finish Used
I distressed it with nails, a hammer, some scratch marks, and a saw blade. I then used a vinegar/steel wool mixture to bring out the distressed areas a bit more. Then followed with 1 coat of dark walnut stain (applied with towel) and 3 coats of semi-gloss poly. I applied the first two coats with a brush and then lightly sanded between the second and last coat. The final coat was applied very thin using a towel.
Recommended Skill Level
Beginner