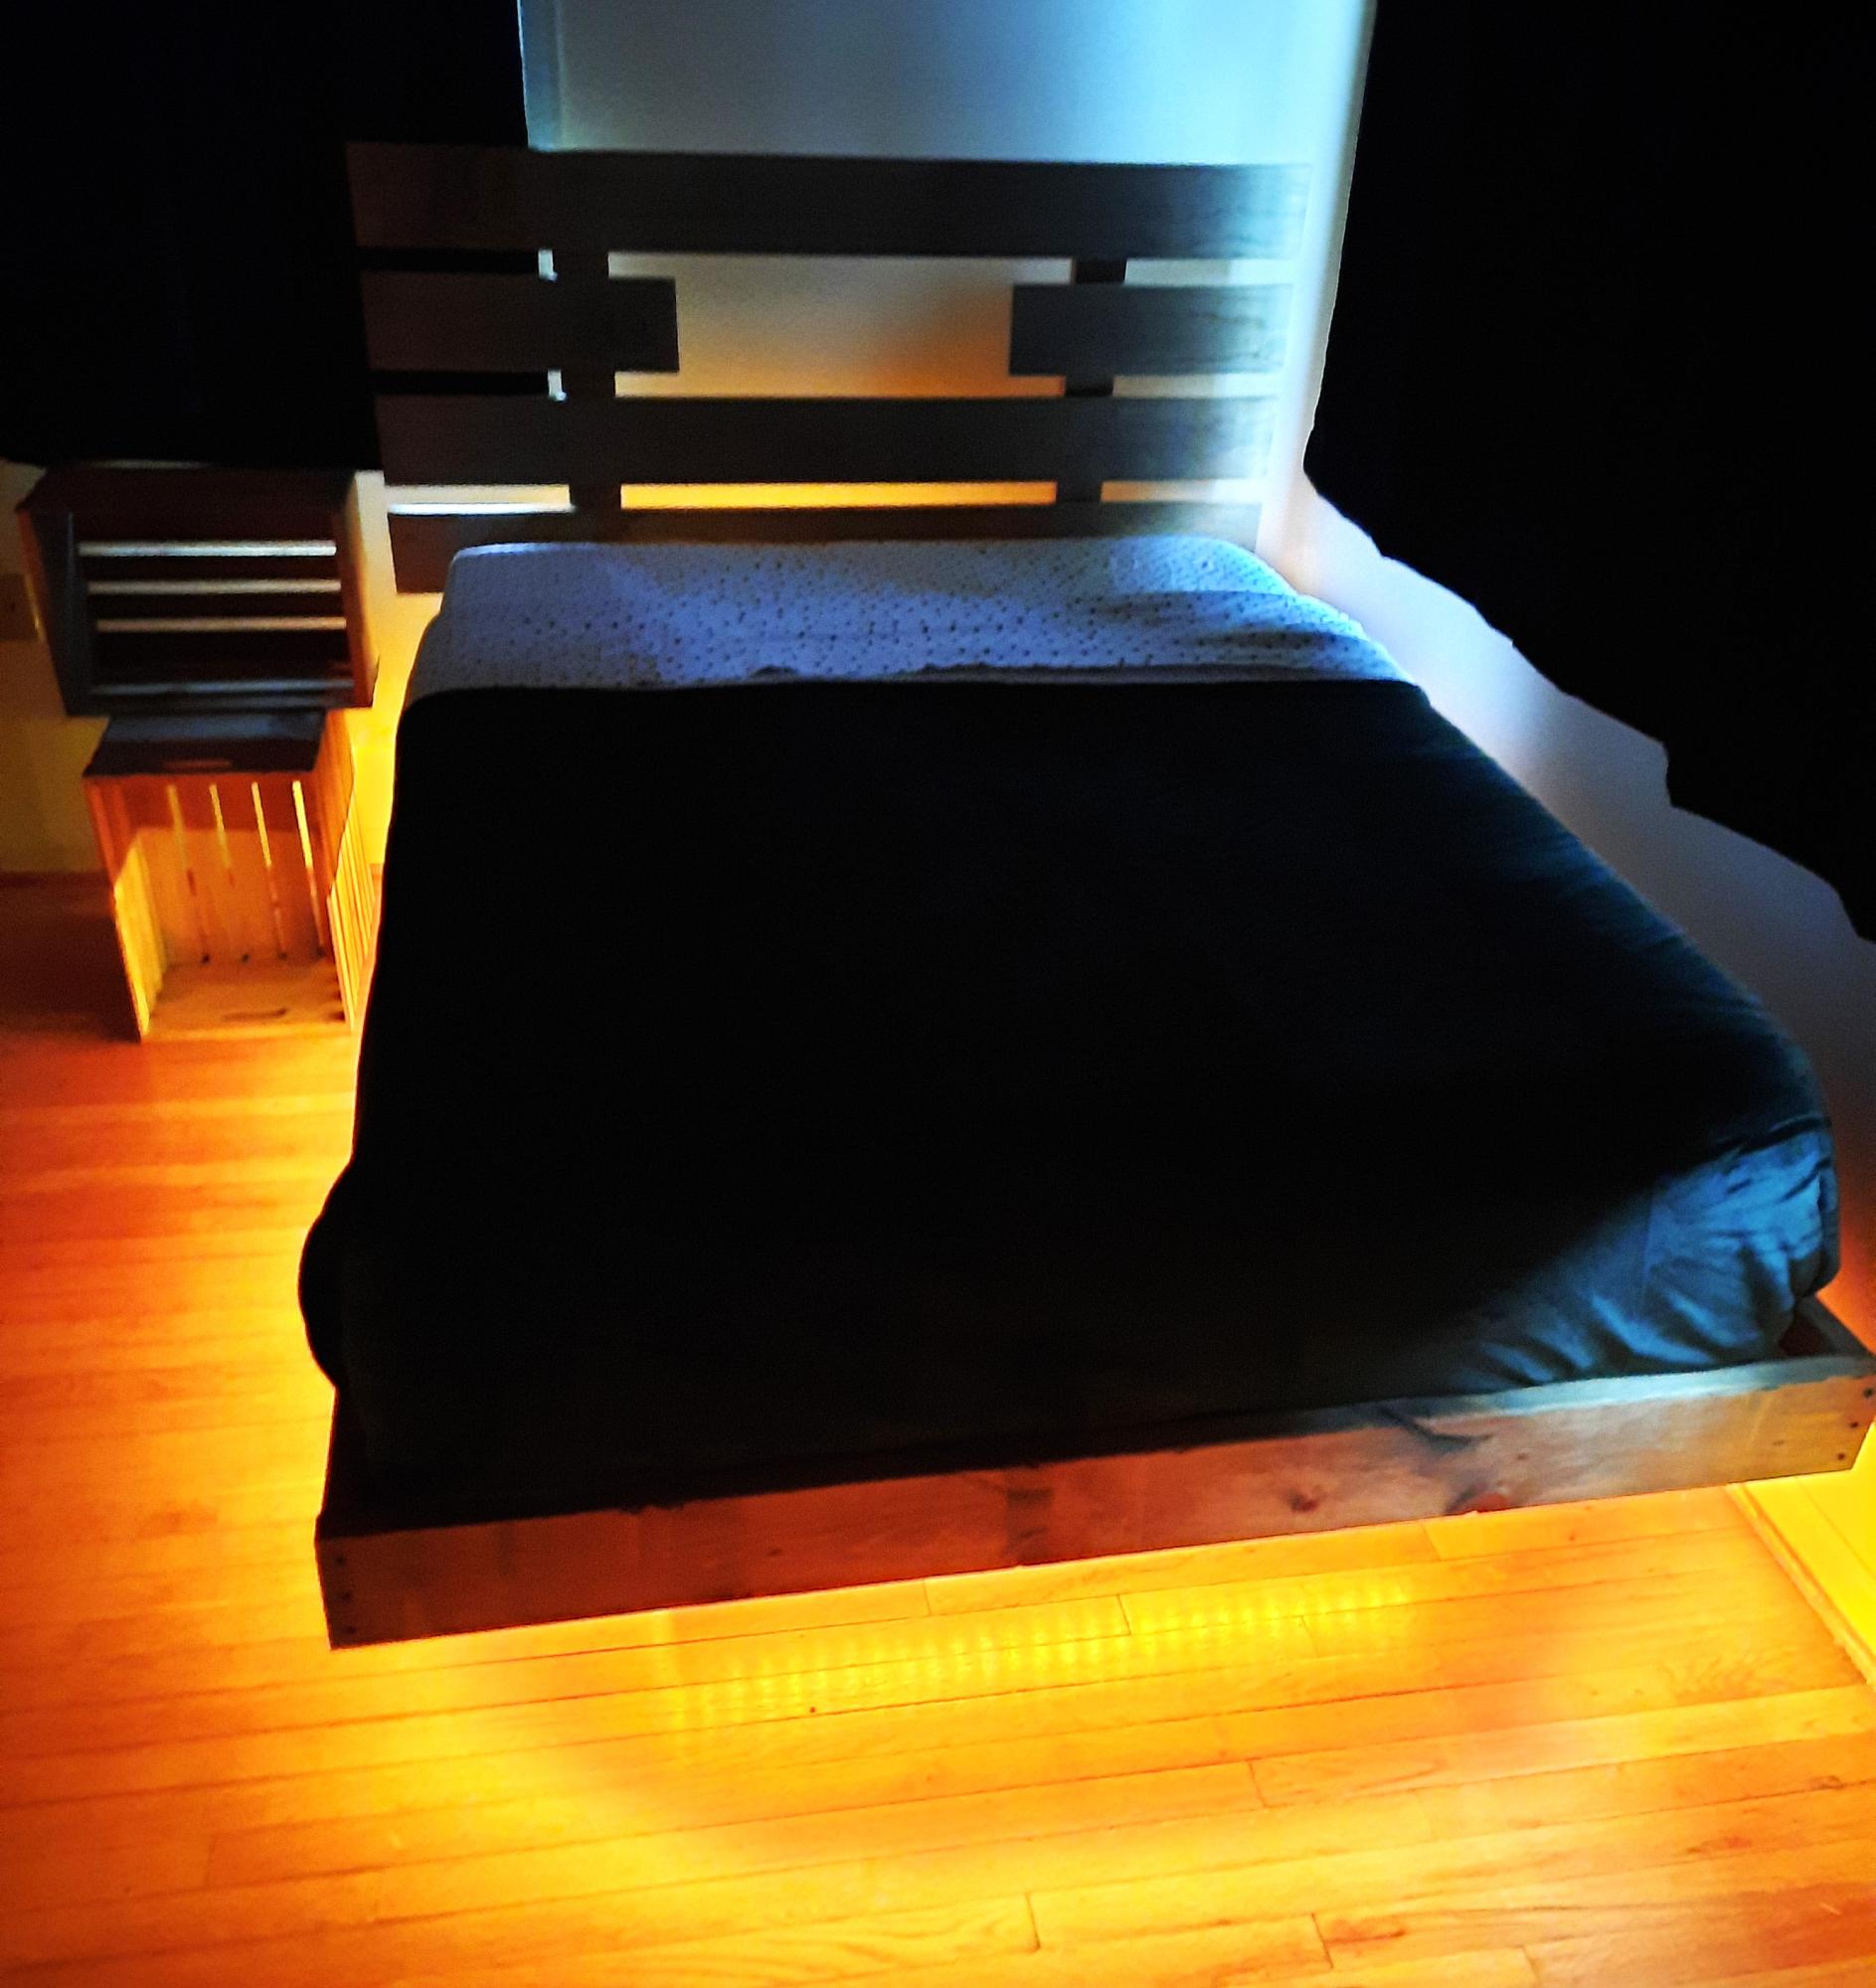
Pallet Daybed Sectional
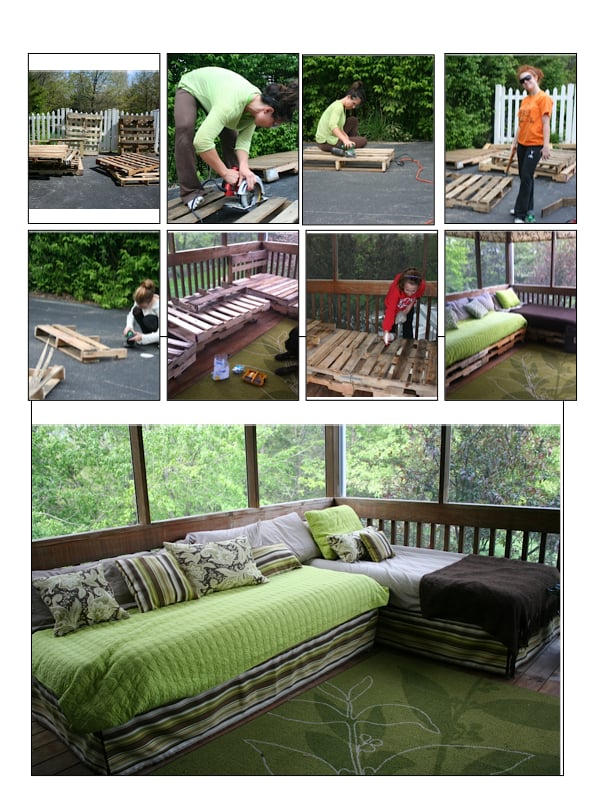
These are just a few of the photos we took while we built our first project. My daughters and I did it over a weekend.
We got 8 pallets from Lowes for FREE, and cut them down to fit two twin sized air mattresses (standard size) from Wal-mart ($15 each). We used about 1.5 pallets for the length, but stacked them two high for a total use of two full pallets, two half pallets, and then the remaining half pallets were used as back supports.
We sanded them after we removed any bad boards or nails.
Then, we used a circular saw to cut them to the appropriate length, added casters to the bottom pallets.
Secured the pallets together with brackets. Secured the back supports together with brackets.
Treated the wood, hated the stain we got at a special price from Menard's, so I decided to cover them with outdoor fabric.
Make the daybed skirts out of a flat sheet and outdoor fabric I got half off at Joanne Fabrics. Haven't sewn in 25 years!
Pretty happy with the first project. Still need to get cuter blankets, but I used what we had in the house.
Pricing:
Pallets free
Brackets and screws came to about $25
I didn't have the circular saw or sander so I had to purchase ($120 with some extra sanding pads)
Fabric $75
Air matresses $32
Sheet sets $20
Total: $275ish but I had sold some of my old patio furniture for $275, so it was a wash! And now, I have a circular saw and an orbital sander! Also, the fabric was optional. Had the pillows at home. Just recovered or took from the storage closet.
Now, onto other pallet projects! I have more pics if needed.


Comments
melanie dahlan (not verified)
Fri, 05/04/2012 - 09:52
What a great job and so
What a great job and so creative. I think it's awesome that you and your daughters did this together. Now, I'm going to go collect pallets.