Modified farmhouse table
I combined a bunch of different table plans to come up with this. But essentially I used 4x4 cedar legs, 1x4 pine for the aprons, and 1x10 and 1x4 pine for the top.
I combined a bunch of different table plans to come up with this. But essentially I used 4x4 cedar legs, 1x4 pine for the aprons, and 1x10 and 1x4 pine for the top.
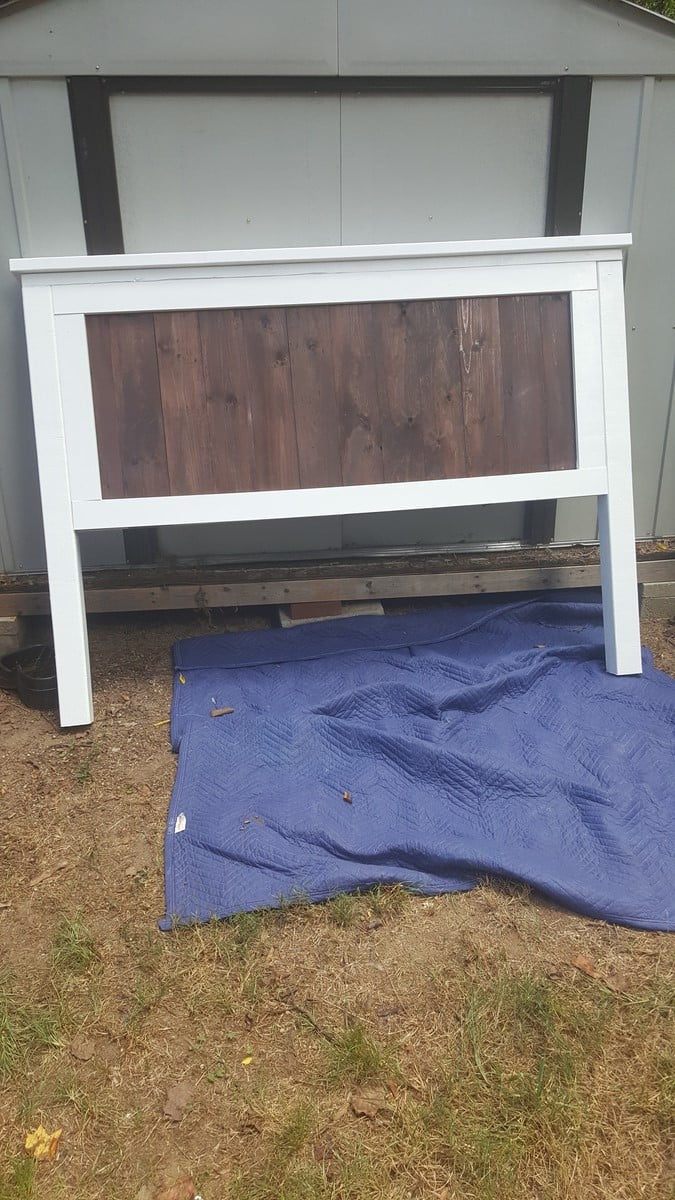
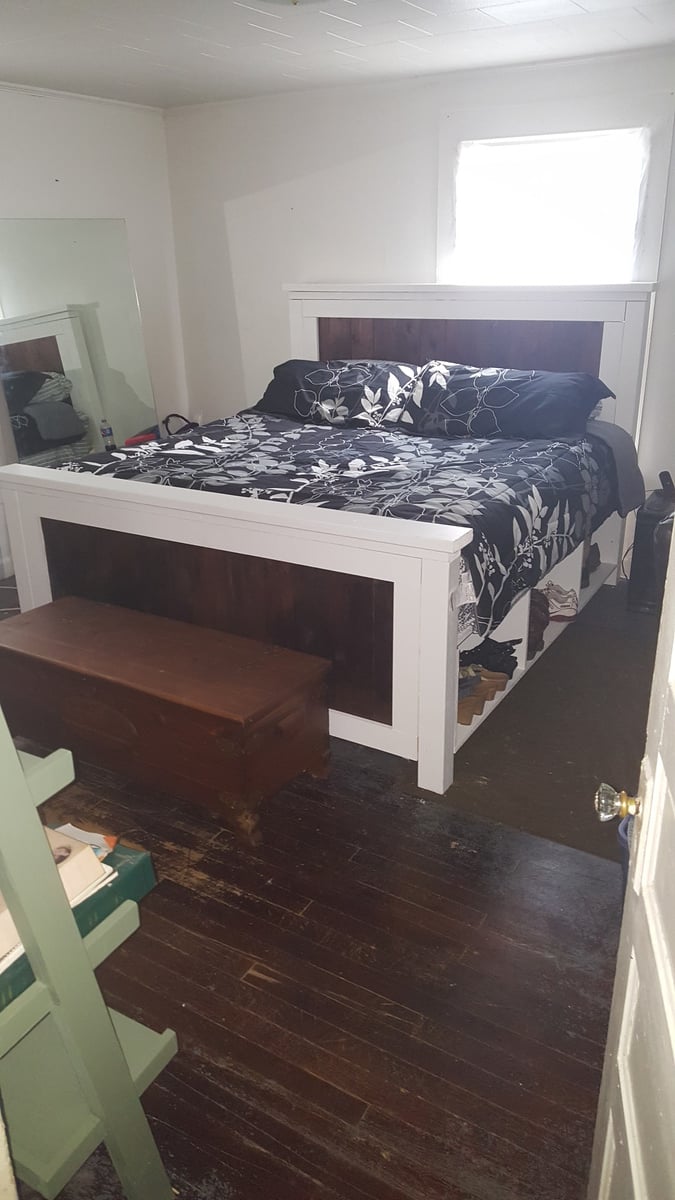
I modified this bed plan. Decided to go flush with outside of bed post and wanted footboard same height as mattress
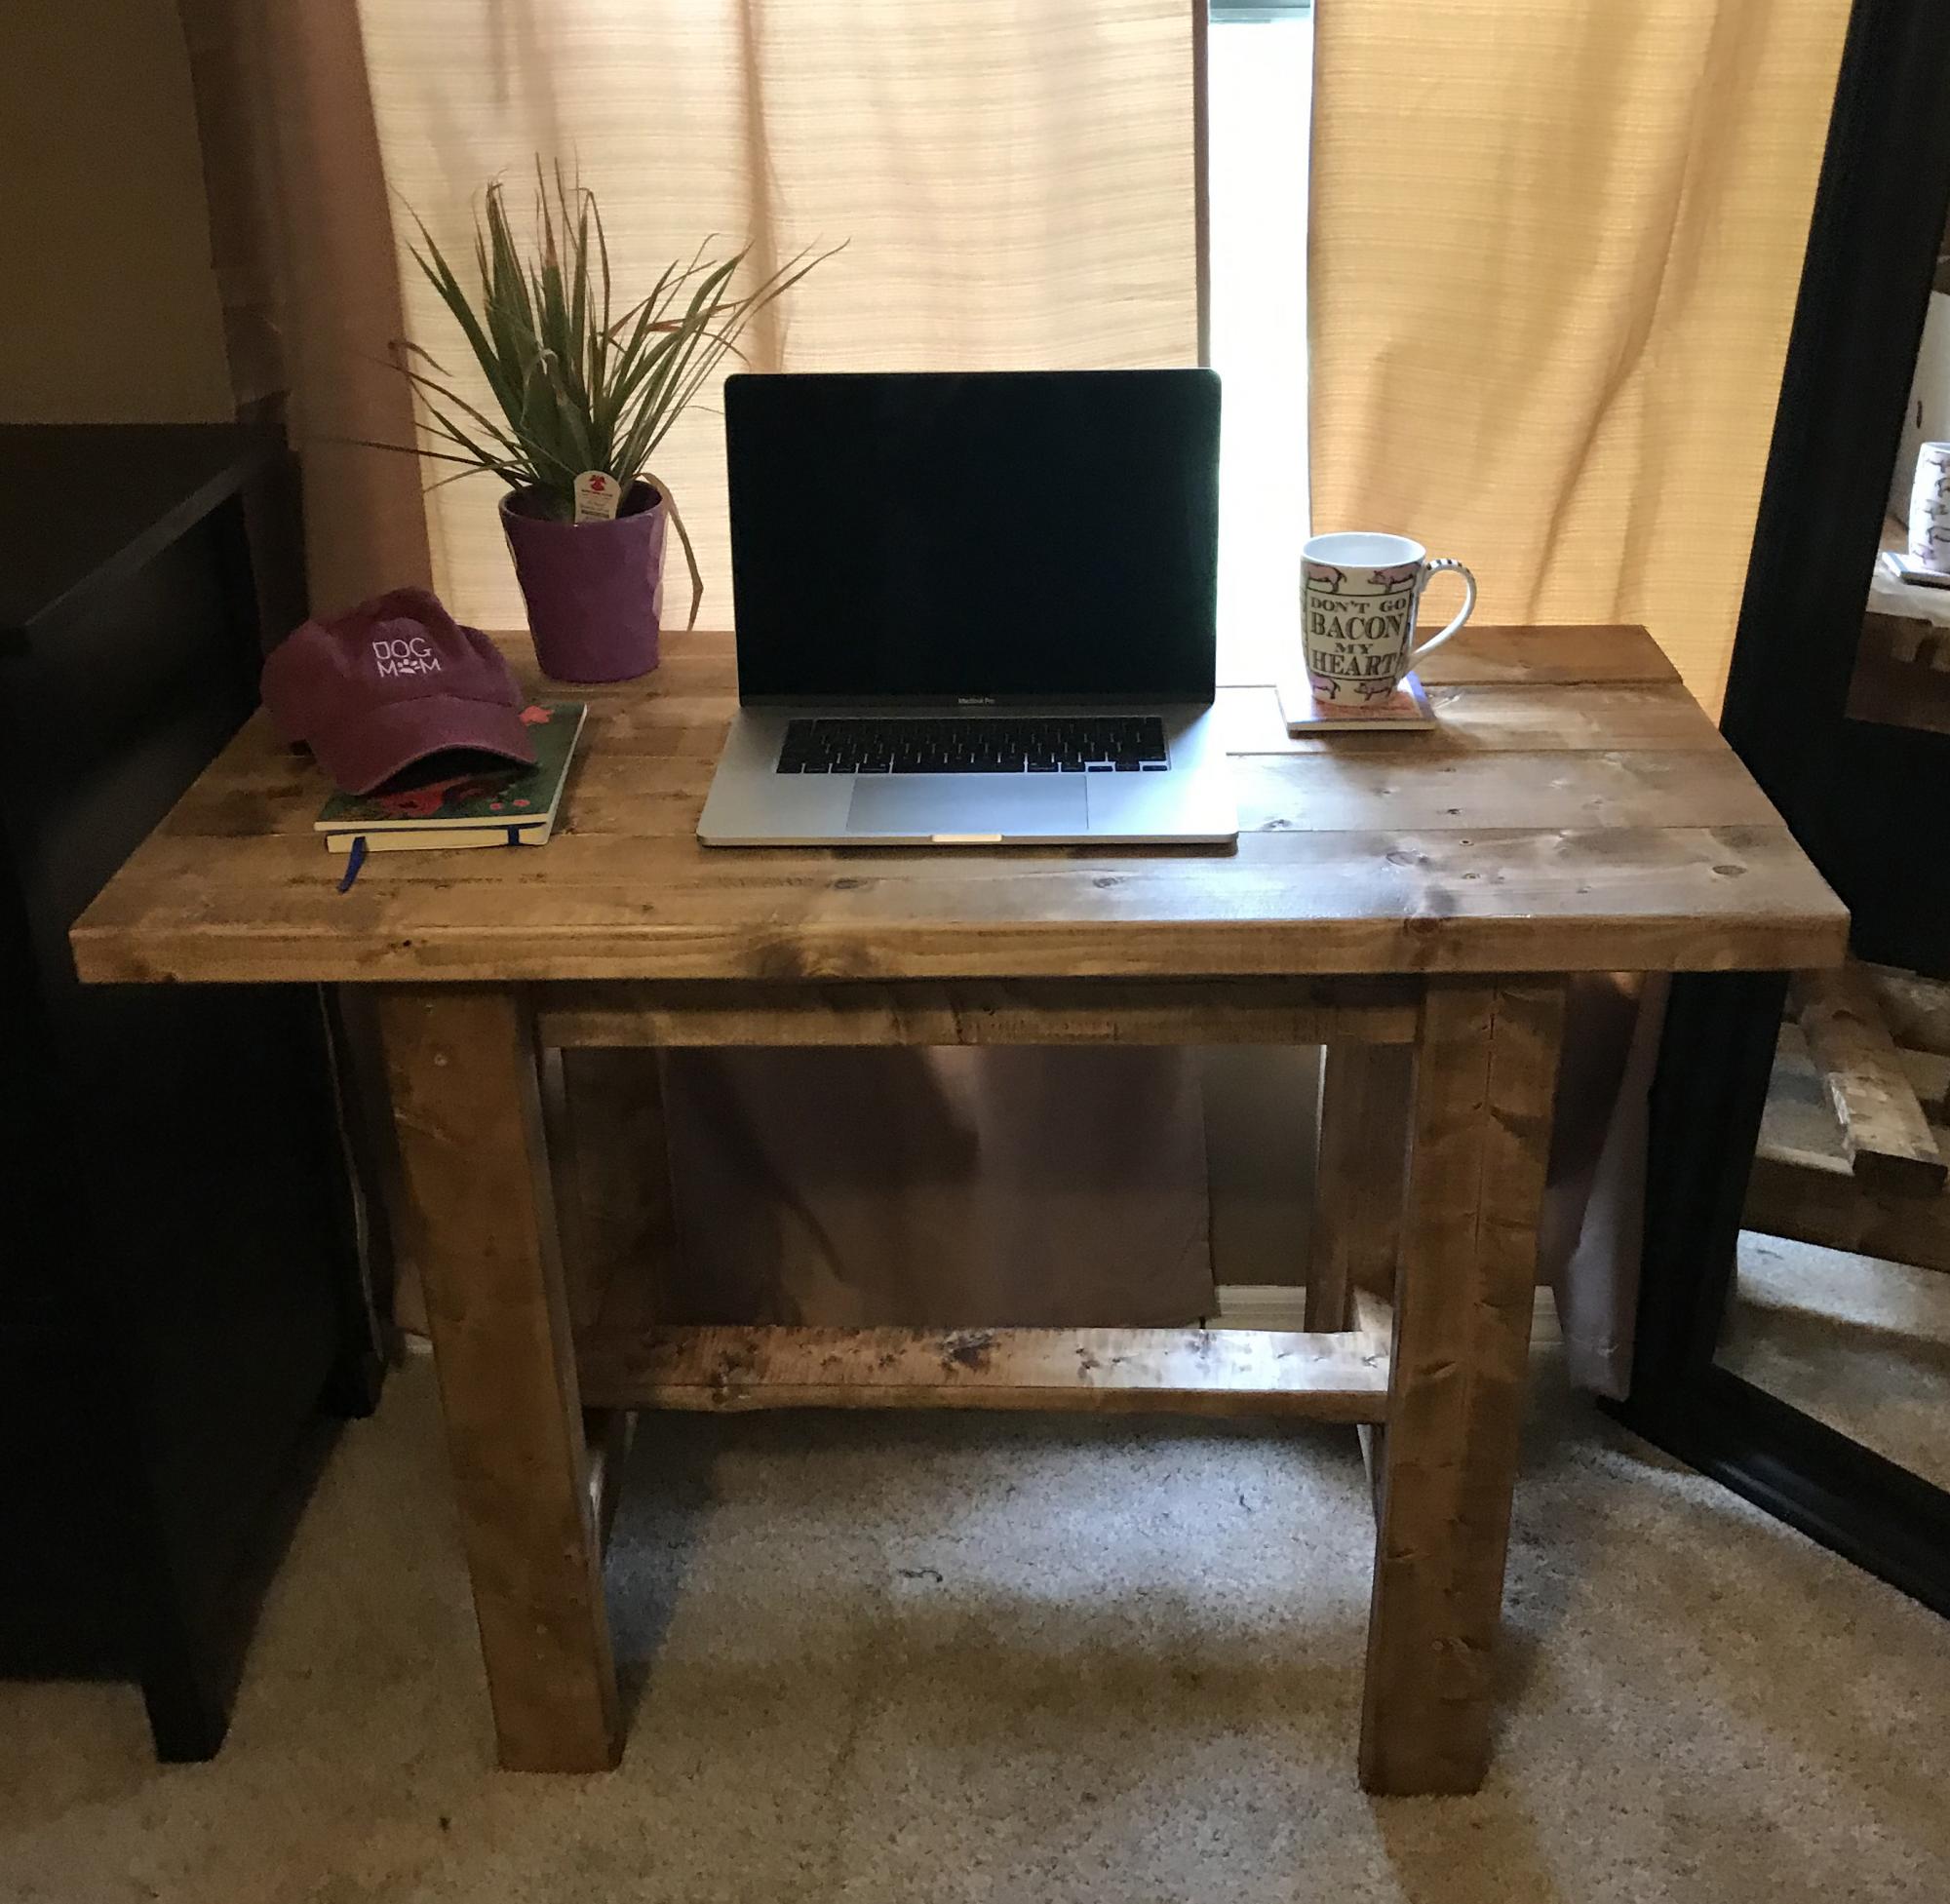
I modified the Beginner Farm Table plans into a work-from-home desk! It is perfect for my little office. This was my first project. It was a breeze to build - total time was just under two hours.
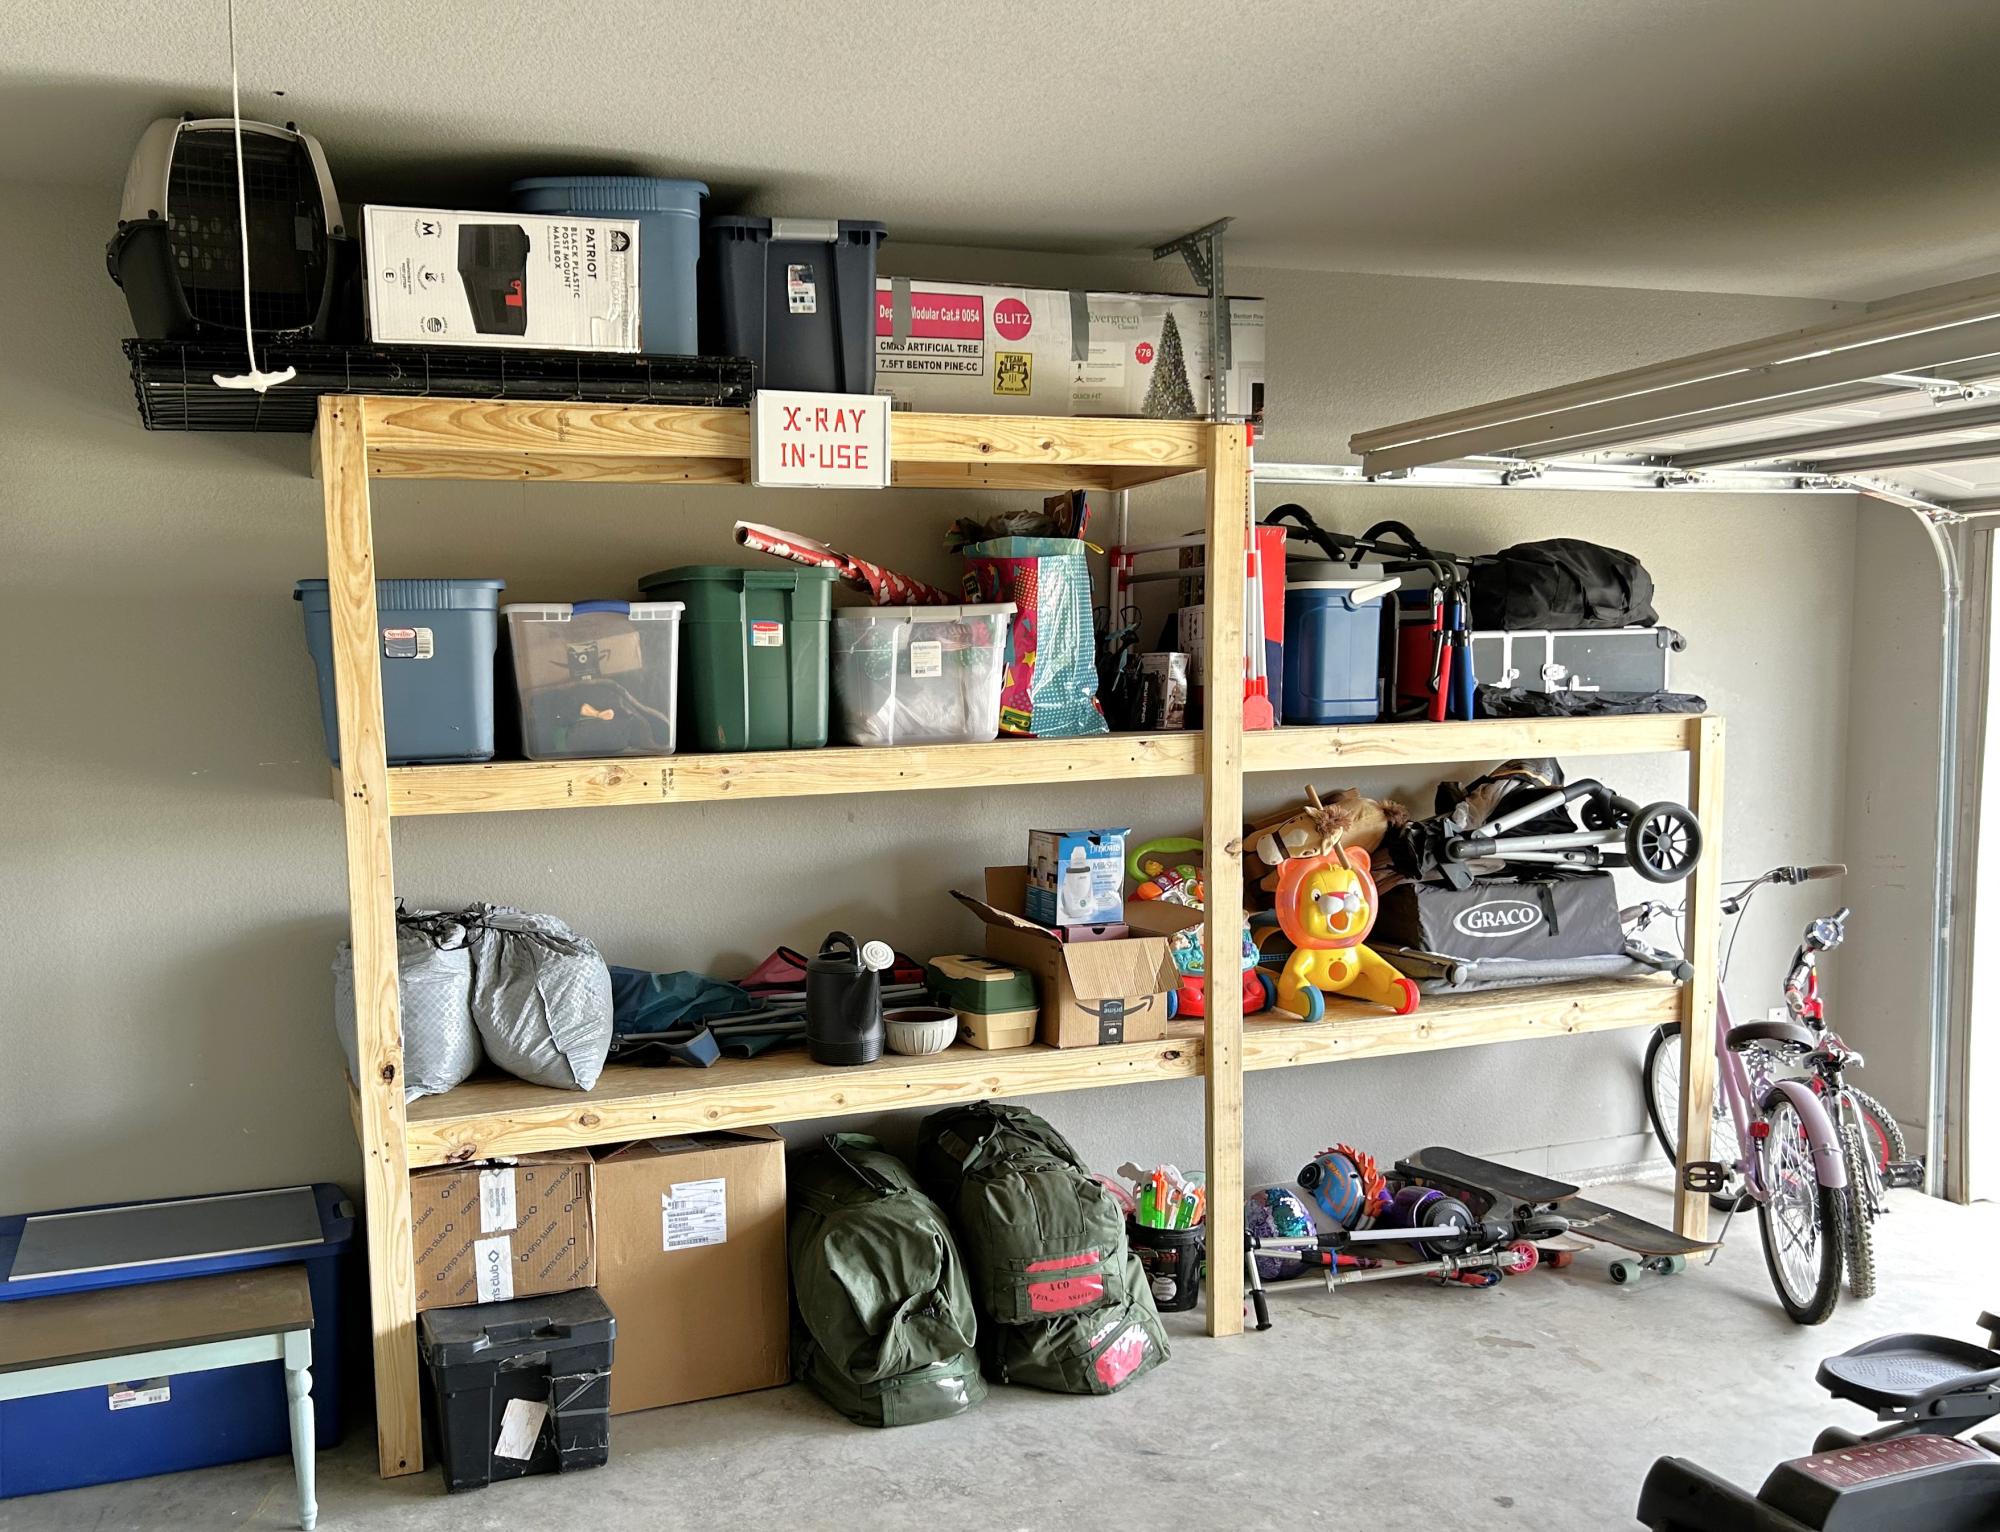
Kinda new at working with wood but I enjoyed this one and did it in under a day. I also just recently built a complete wooden fence before I did this so building frames was fun.
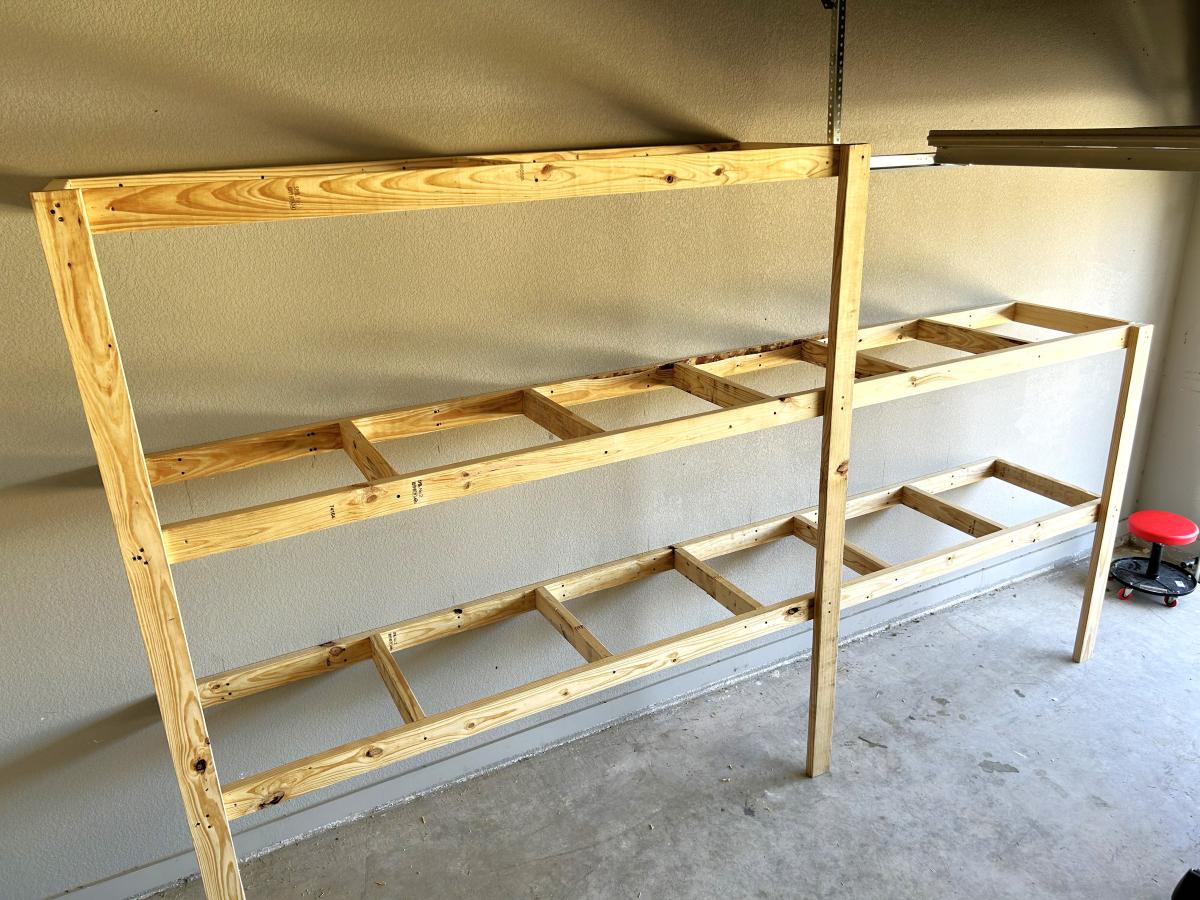
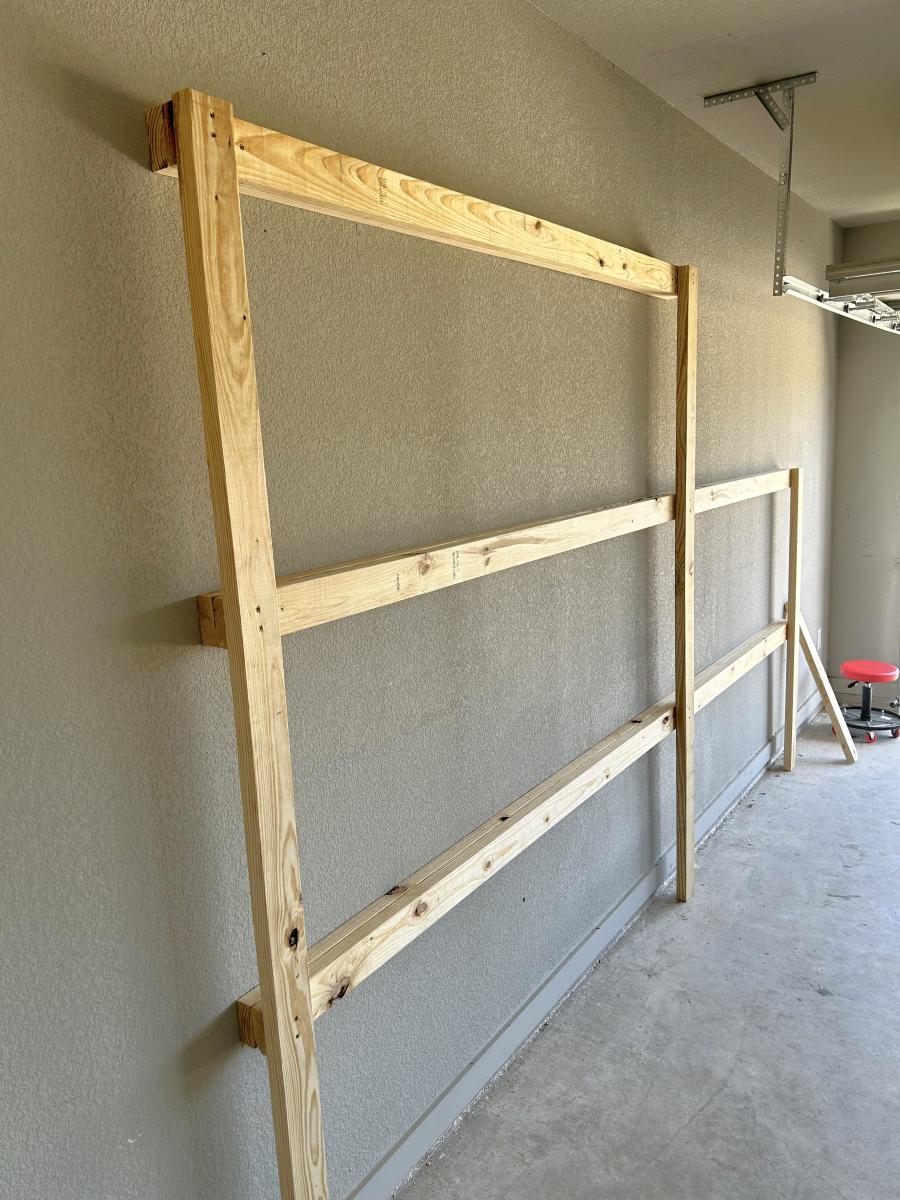
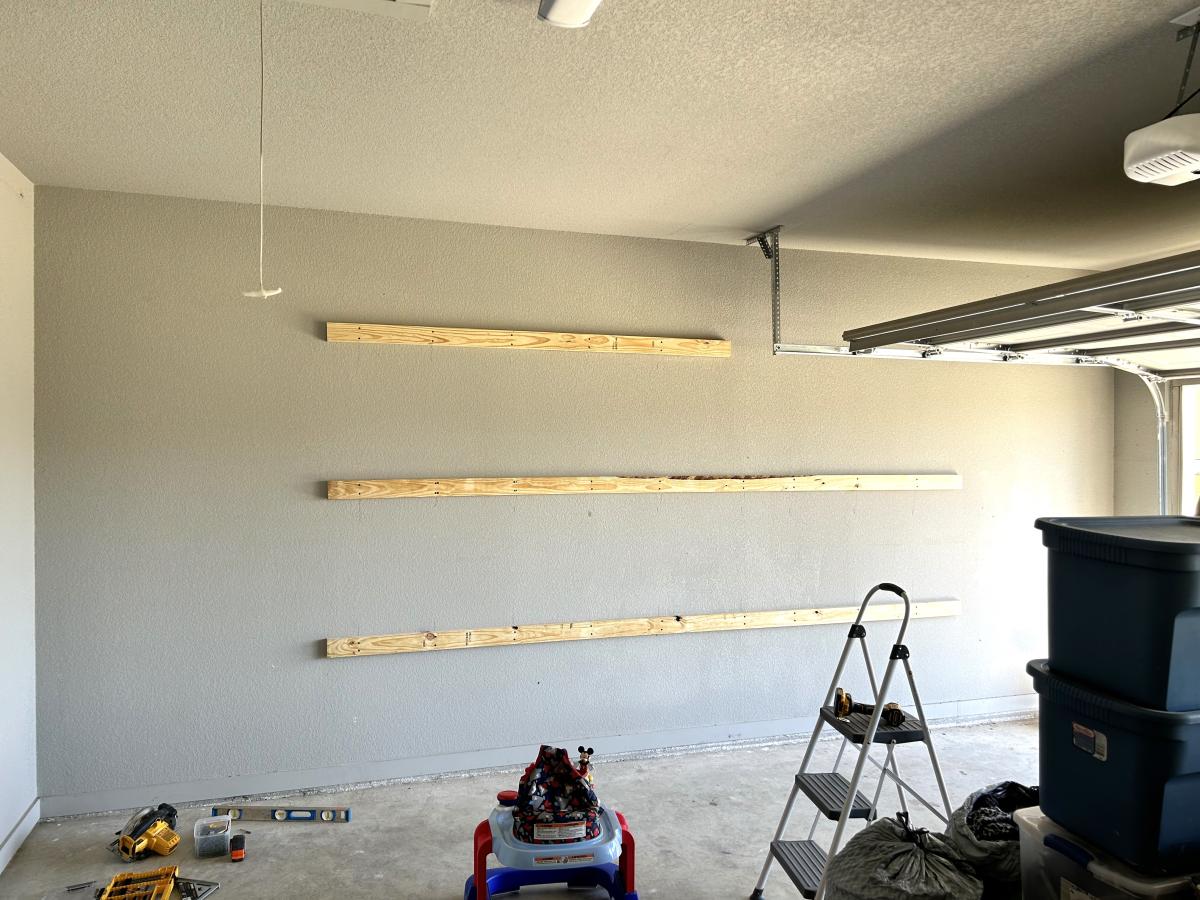

We modified the Weatherly Sofa plans to fit the 29" cushion covers we found on sale at Pottery Barn, and we filled the cushions with the DIY inserts from Cushion Source. Instead of using 1x2's for the X's, we used 1x3's and my husband spent the better part of an afternoon trying to figure out the angles!
The wood and paint came to about $100, and the cushions were $500 for the inserts and covers (6 cushions and 14 pillows) when all was said and done. A bit expensive, but we love it!


Tue, 07/31/2012 - 08:49
I am surprised at how good white cusions look on white wood. Where did you get the cusions and how did you build the feet?
Thu, 08/02/2012 - 17:03
We got the cushion covers from Pottery Barn during their summer sale and used a 20% off coupon, then filled them with inserts from Cushion Source (DIY section)
The feet were just feet from Lowe's - we just screwed them on!
Thu, 04/11/2013 - 13:07
I'm gearing up to build my own sectional and I'm wondering if you changed any other dimensions besides the ones for the X's. I think it looks amazing and I'd like to know what size lumber you used for yours. Thanks!
Wed, 03/12/2014 - 16:03
I would REALLY like to get these new measurements from you. I like the way this looks better with the 1x3's and I don't trust myself to be able to figure out those new angles. Could you please give me the measurements you used to make these X's out of 1x3's? Also, it looks like you used 3x3's for the posts? And maybe 2x3's for the sides and bottoms of the x's. I'm not sure and I'm dying to know because this is beautiful. I'd like to make it soon. I really appreciate your help. Thanks!
I have been trying to attract more birds. I built and put up some more birdhouses, added a bird bath, and wanted to add some more feeders. I found this quick and easy plan and I had to build it.
This took me less than an hour to build. I bought my picket from Menards when it was on sale for $1.18. That's not a bad price for a bird feeder!
You can see the steps I took to build this on my blog.
http://jaimeofalltrades.blogspot.com/2014/05/make-bird-feeder-for-under…

Sun, 03/01/2020 - 17:05
I can tell just from looking at this wood it was treated with a copper based chemical (note the green/blue blotches) while cedar is a good natural resistant wood these can sometimes be treated a well check for those greenish blotches around the Heartwood lines, chemical won't penetrate the tree sap in the wood and builds up along these lines. *I've worked in the pressure treated industry as a chemical tech for 3 years, and industry as a whole for more than 7.
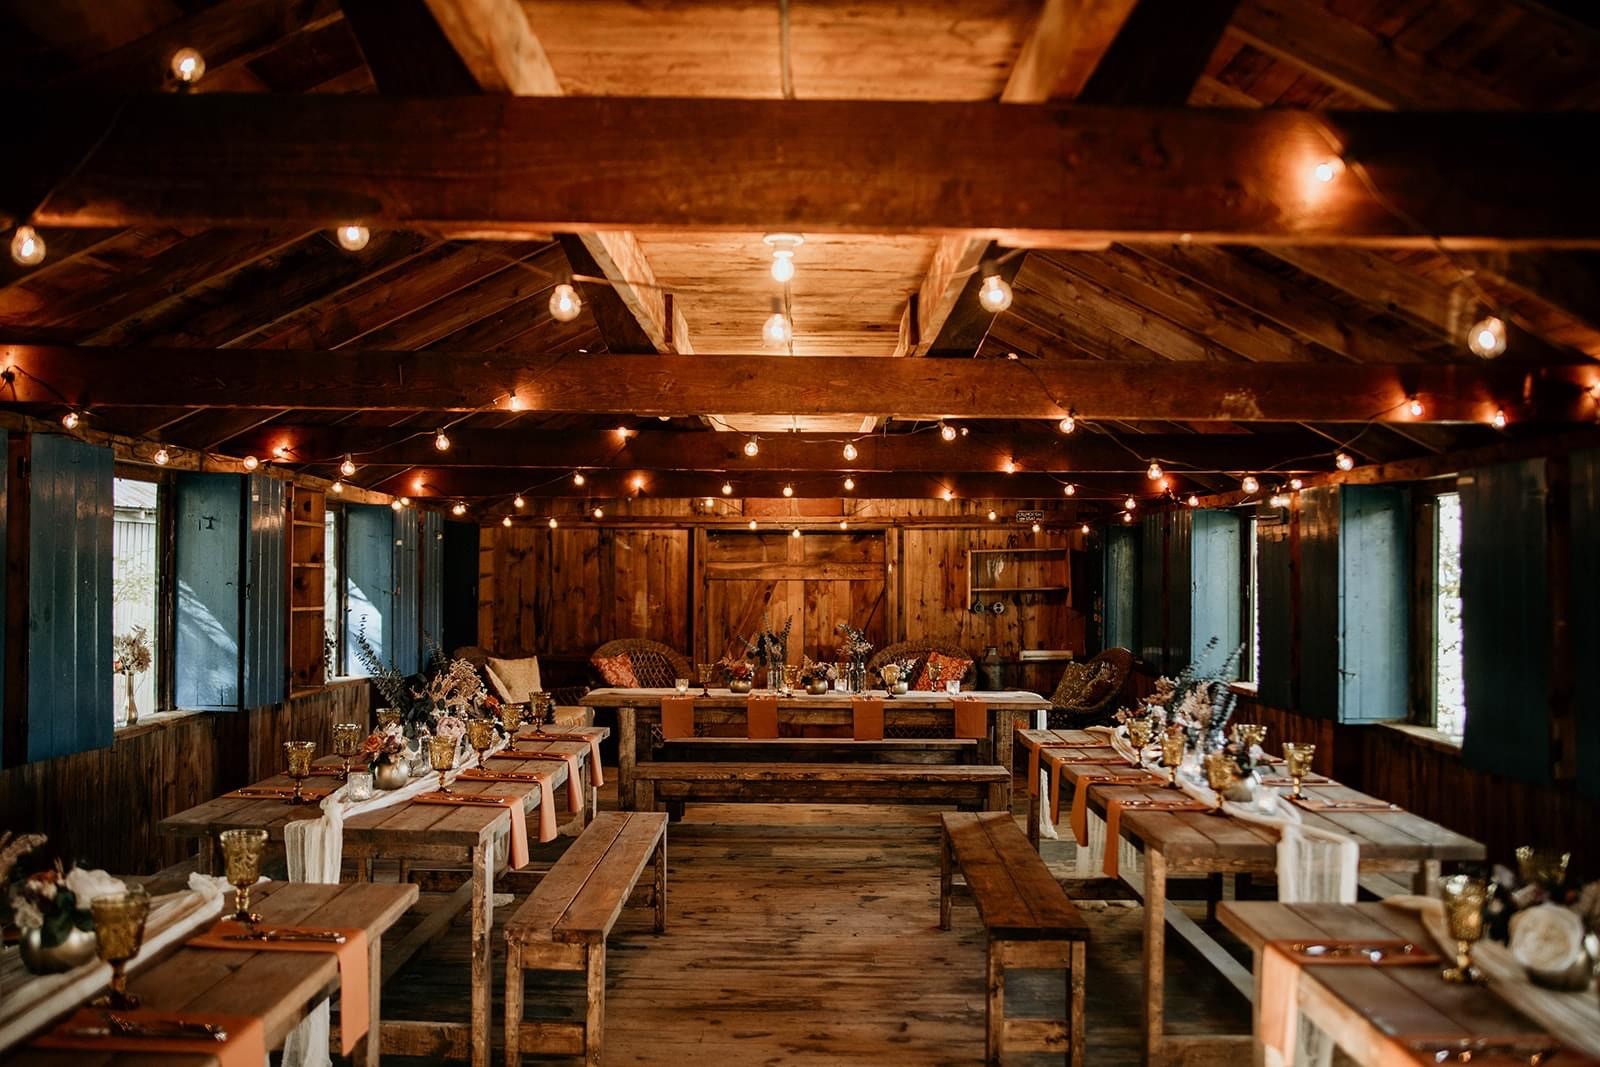
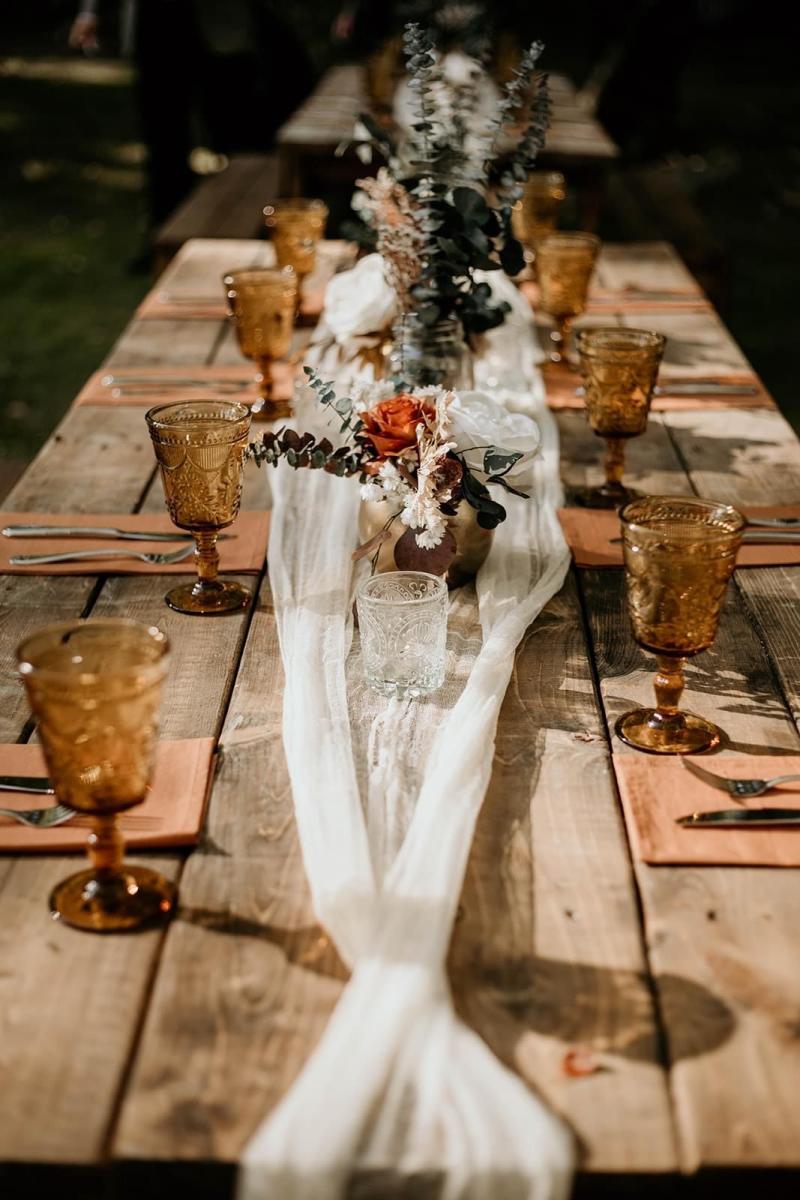
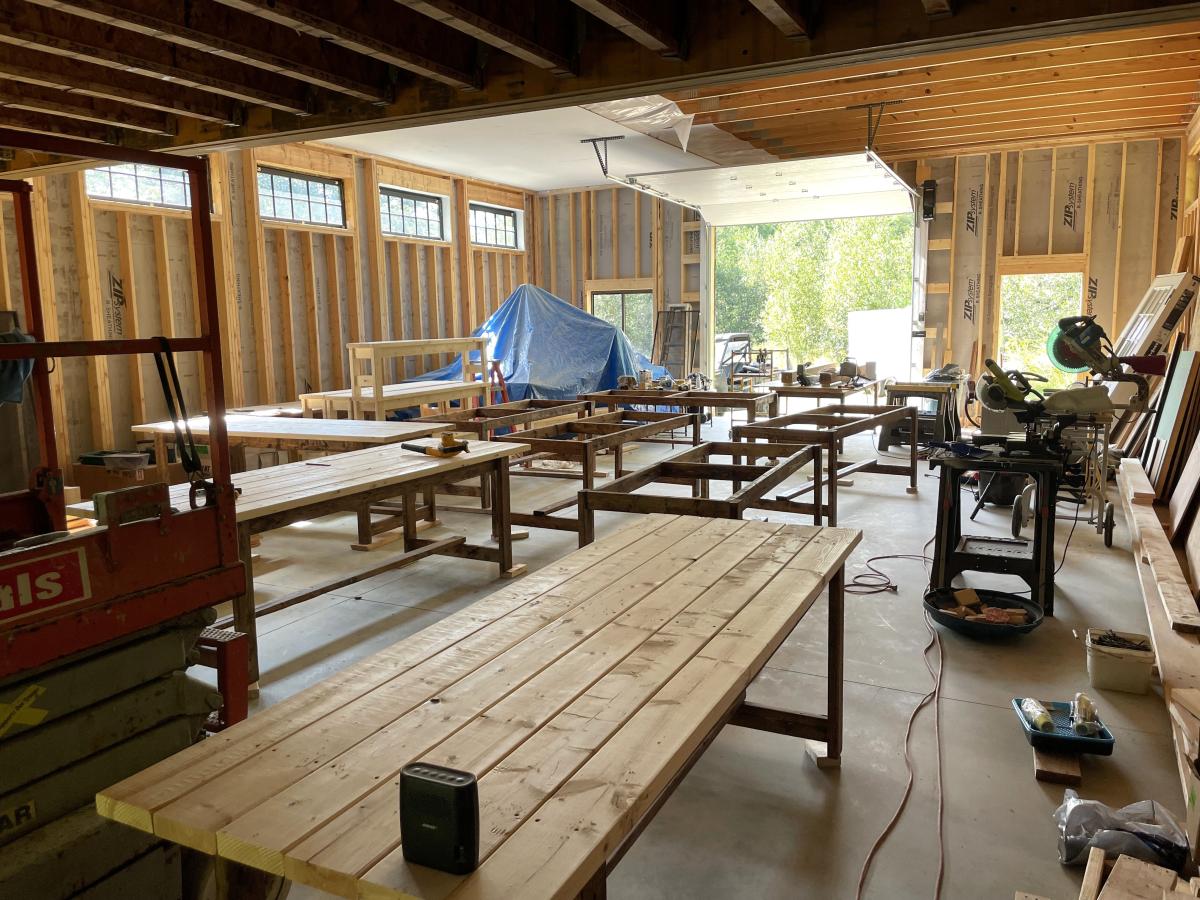
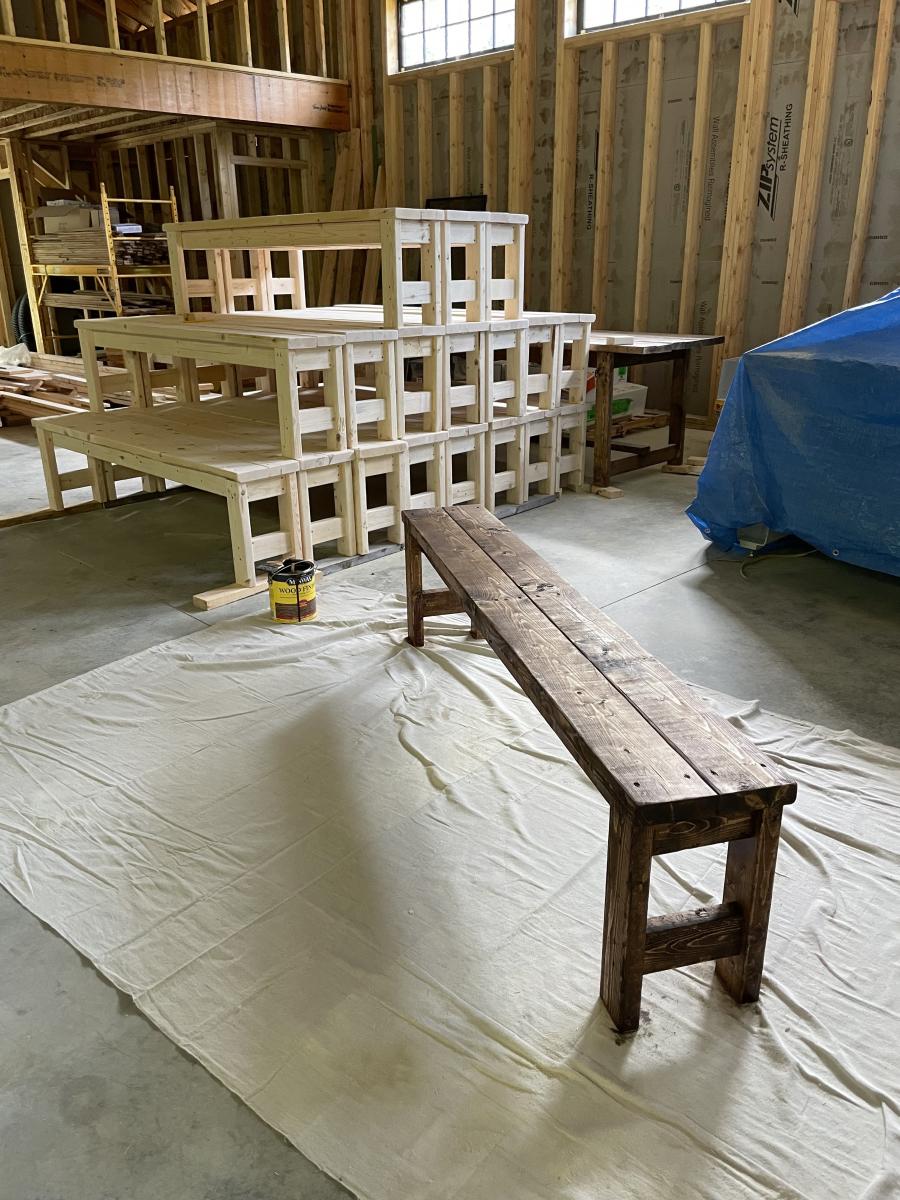
We made these tables and benches for my daughter’s wedding. They made setup for dinner just what she wanted!
Cindy Prescott
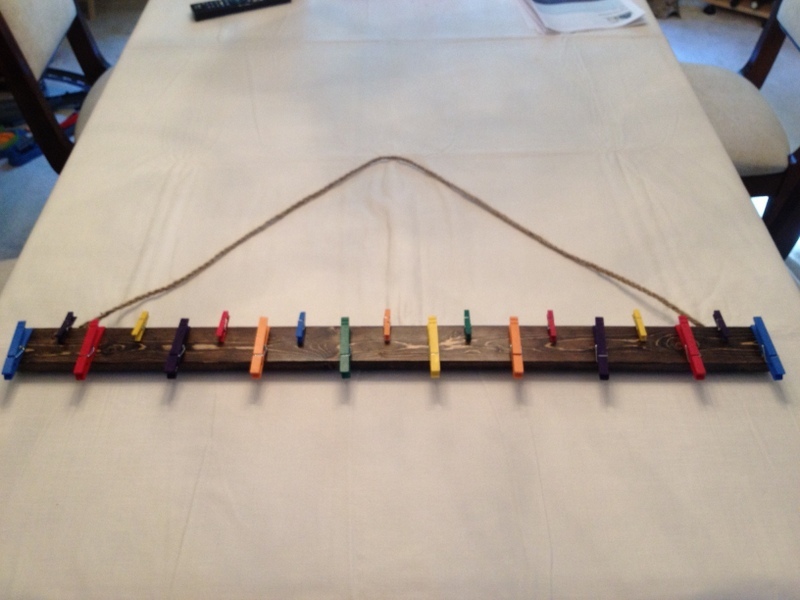
This is such a great way to show off art from school. I used scrap wood and regular and small clothes pins. I thought I could put photos in the small clips on top and the artwork on the bottom larger ones.
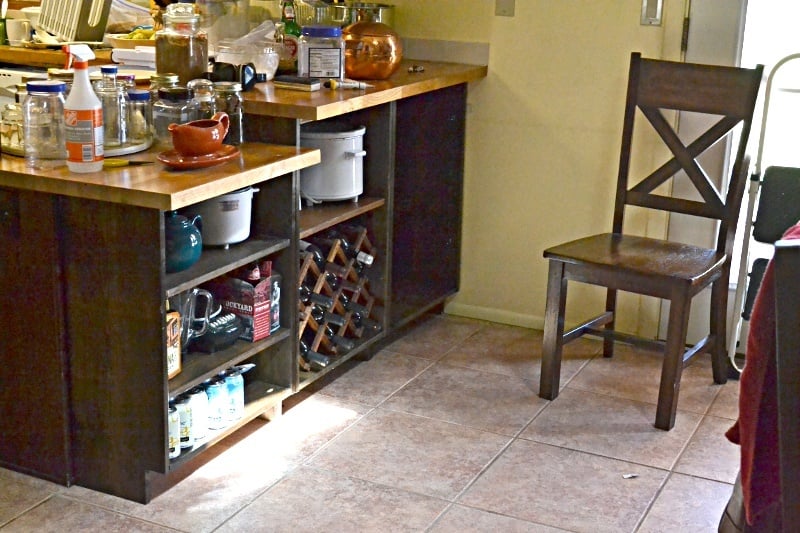
Added kitchen and dining room storage by building bookcases / shelf units to fit under the peninsula breakfast bar overhang. It's the simplest possible "box with a toe-kick", loosely based on Ana's plans for a bookshelf and the closet master system.
Much of the "working time" was stain and finishing time. Actual cutting and assembly time was under 3 hours.
No dimensions: every breakfast bar is different.
1 - The boards were cut to fit under the overhang, with 1/8 or less clearance. Top and bottom of unit is between the upright pieces.
2 - Width of units was also cut to fit. One unit is the width of the lower section of countertop (appx 23 in), the taller section was divided into 2 equal units (appx 21 in)
Shelves were cut about 1/4" narrower than the insiude dimension of the unit, to allow for insertion and the shelf pegs.
3 - Toekick space cut to match the cabinet on the far side of the peninsula. Used a circular saw and then a hand saw to finish the corners.
4 - Drilled pocketholes in the top and bottom boards.
5 - Used Rockler's jig for drilling shelf pin holes in the 6 uprights. Oops! I should have drilled every possible hole. I drilled every other hole and don't have the shelf flexibility I really need.
6 - Stained and topcoated everything, let it dry.
7 - Assembled each shelf unit, using corner clamps and a carpenter's square to make sure it was square. The bottom shelf is screwed at the same level as the toe-kick.
8 - Slid units under the overhang, shimmed them firmly under the countertop.
9 - Added shelf pegs and shelves
DONE!
Doors could be added, using the hinges for inset doors on frameless cabinets.
==========
NOTES:
The units are backless. I considered nailing a 1/8 hardboard back onto them, but because the finished back of the peninsula is visible behind them, and they are shimmed into place to prevent slouching it was not needed.
Cost is low because we had some 1x12 boards in the attic. Already had the tools and stain from earlier projects. 3 1x12 x 6ft boards were new, the rest were salvage.
This was my first prject of this scale. First time making doors and drawers. Took about 3 months of working after work and weekends to finish. I'm pretty happy for how it trurned out as new wood worker. Time for a drink.
Took this same plan, but for the inlay, used a bunch of different scrap woods and make the brick pattern. Then stained the frame and legs with a weathering grey stain to go with the striation gray board that I found in a lumber mill. This was a great project to learn some skills from my uncle and work on together with him, and best of all, I get this beauty for my home, and I have not had a true bed frame (only the metal ones that come with a mattress) in almost 15 years. Thank you for the wonderful plan. Will be able to enjoy this for years to come.
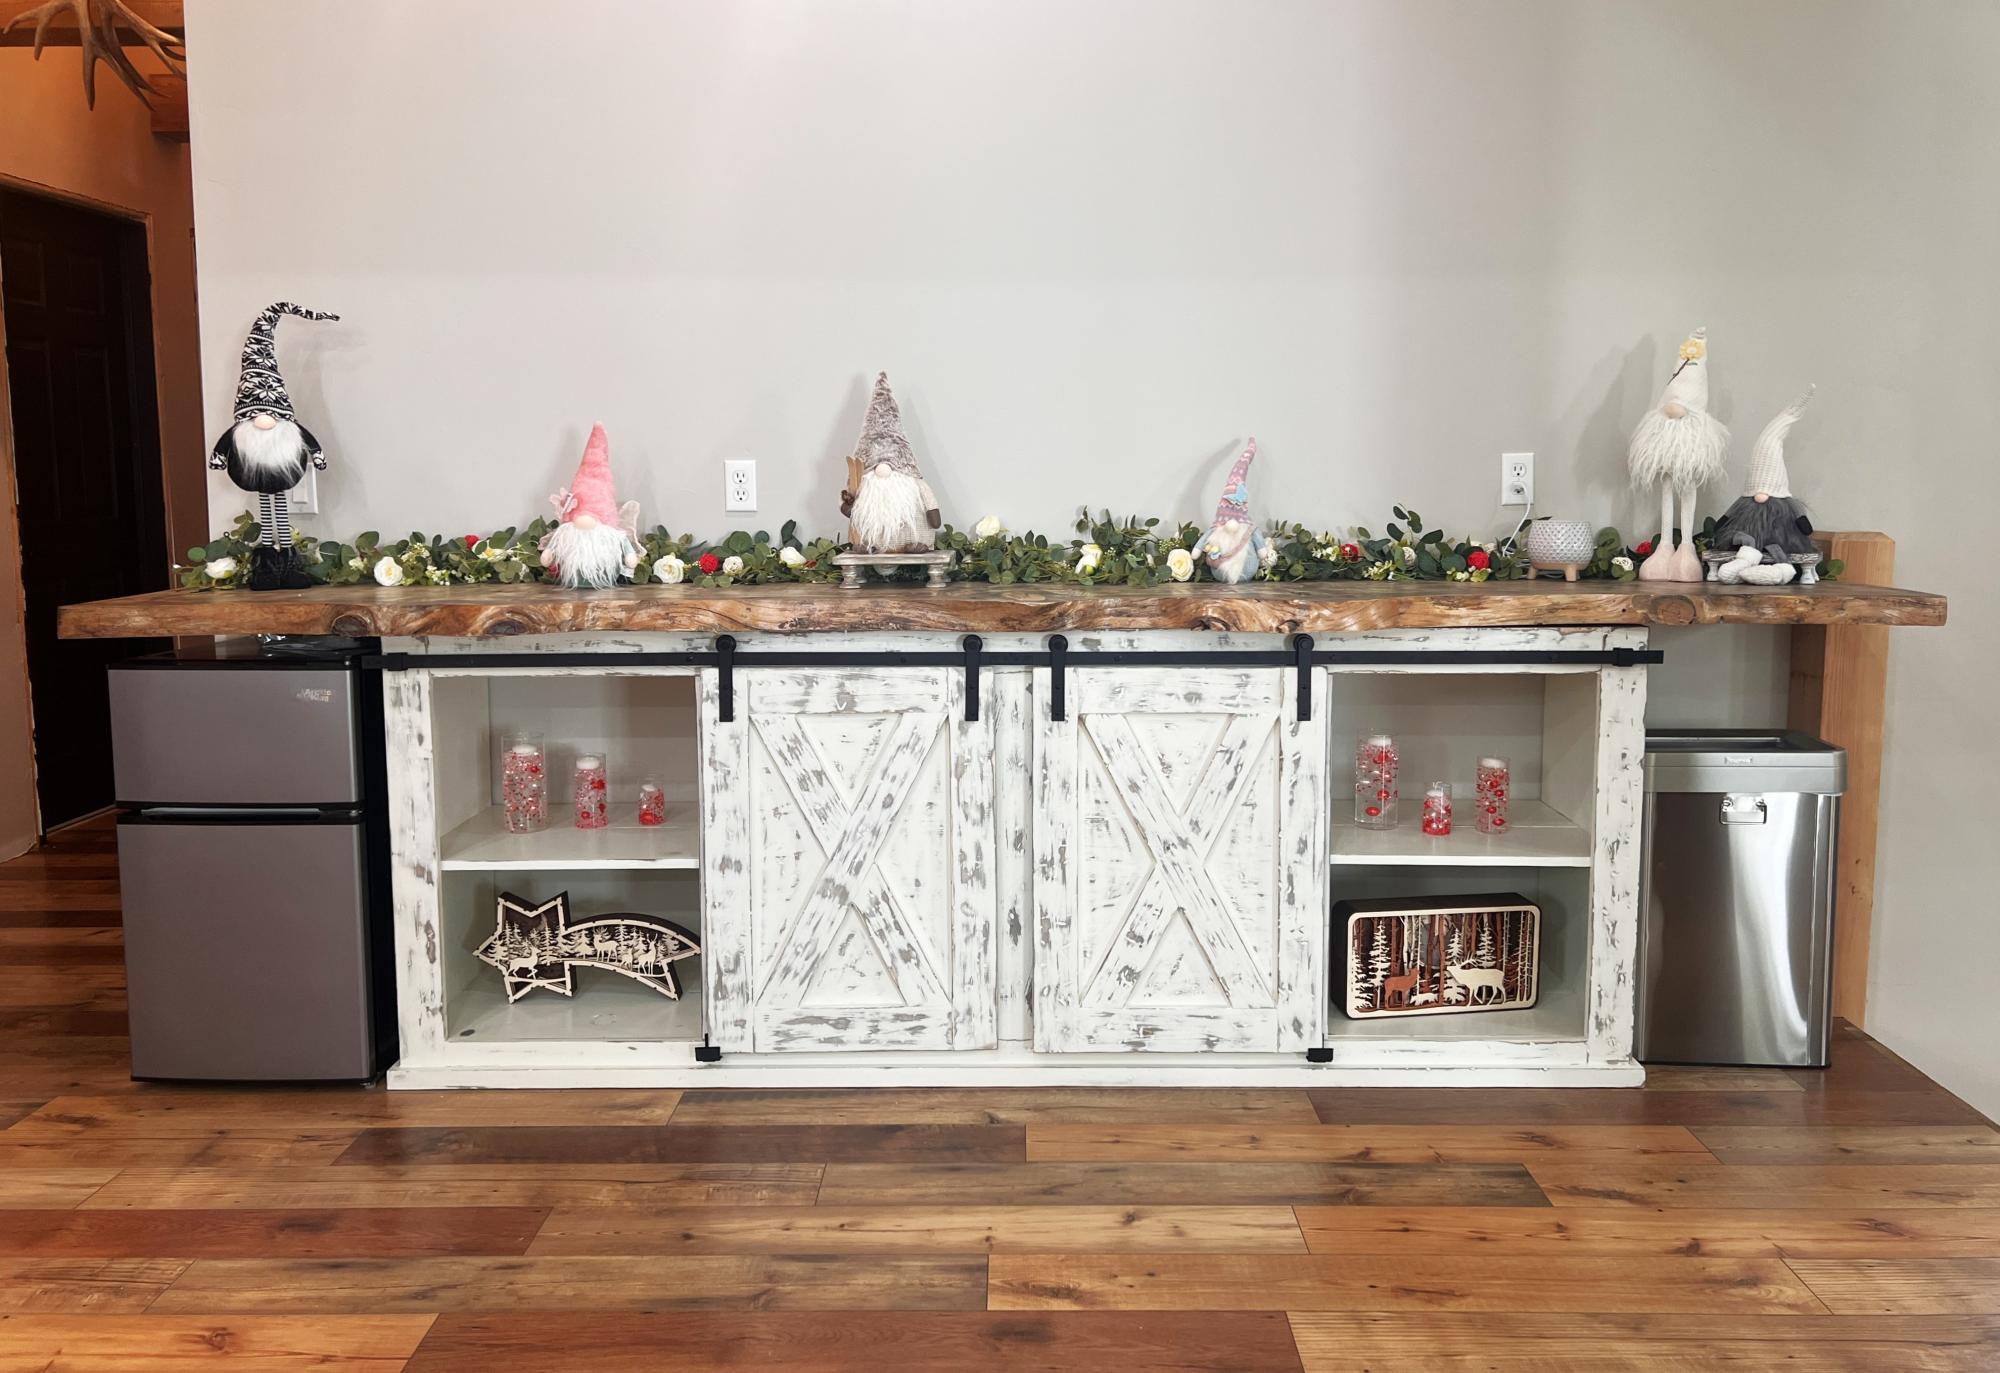
My version of the 8’ Grandy Barn Door Console. I made it deeper to accommodate a sink that we haven’t put in yet. It was so fun building again. I haven’t built a piece of furniture since high school. Thank you for your amazing plans!
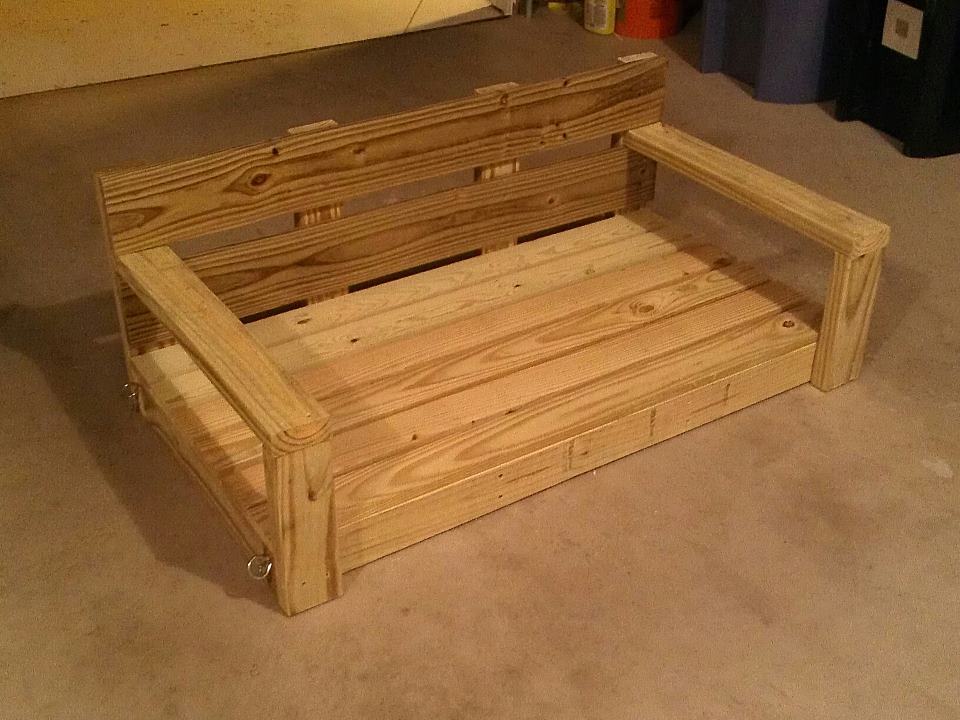
I wanted a place to sit and watch the koi in my pond. I have a bi-level home and the bottom of my deck is about 5' from the ground; the support posts are 6'3" apart. The joist layout made hanging a 4' swing absolutely perfect. So, I took the simple design and modified it to be shorter to fit my space. This swing could hold a small car - I just hope the chain and connectors I bought will! I used treated wood and plan to use an opaque stain for lower maintenance when it has dried out (3 weeks). Now, to pick the color! Love this plan! Thank you!
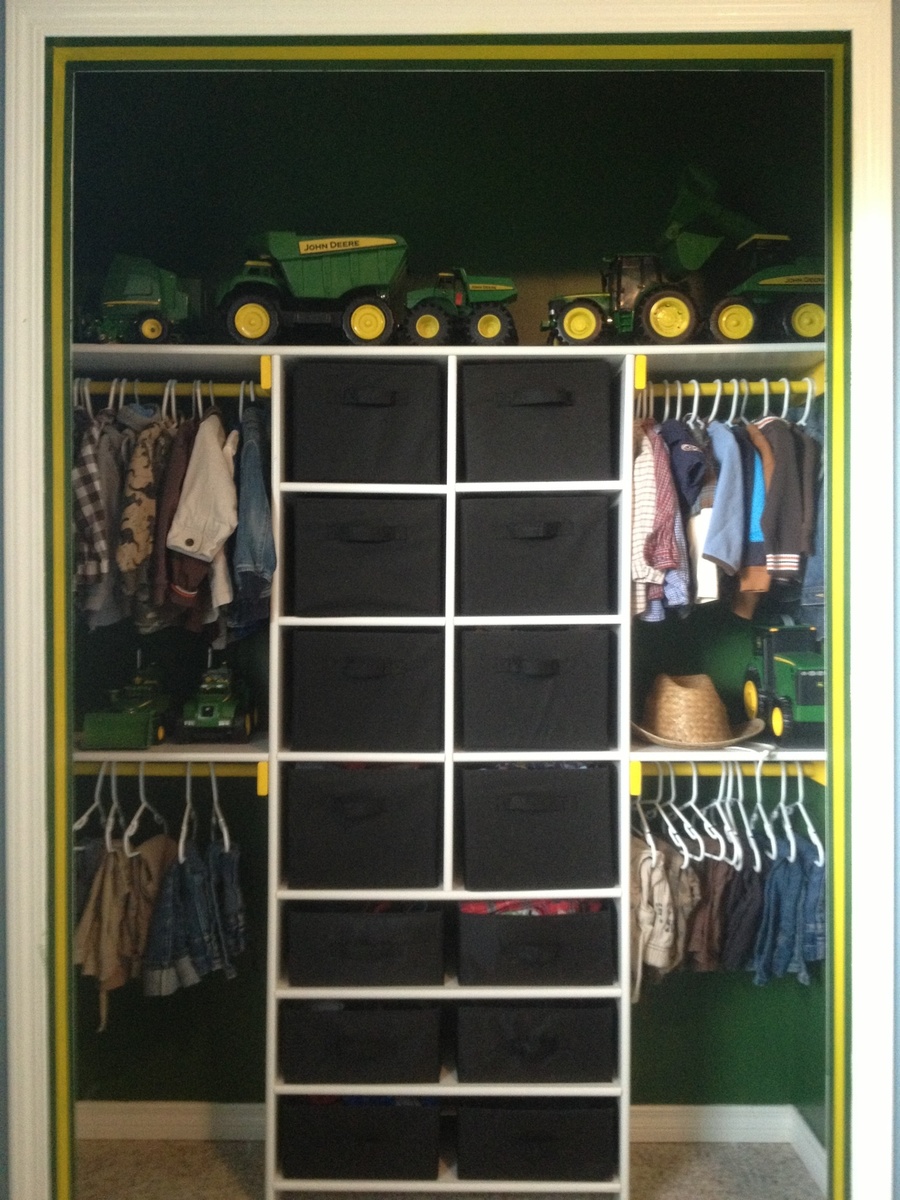
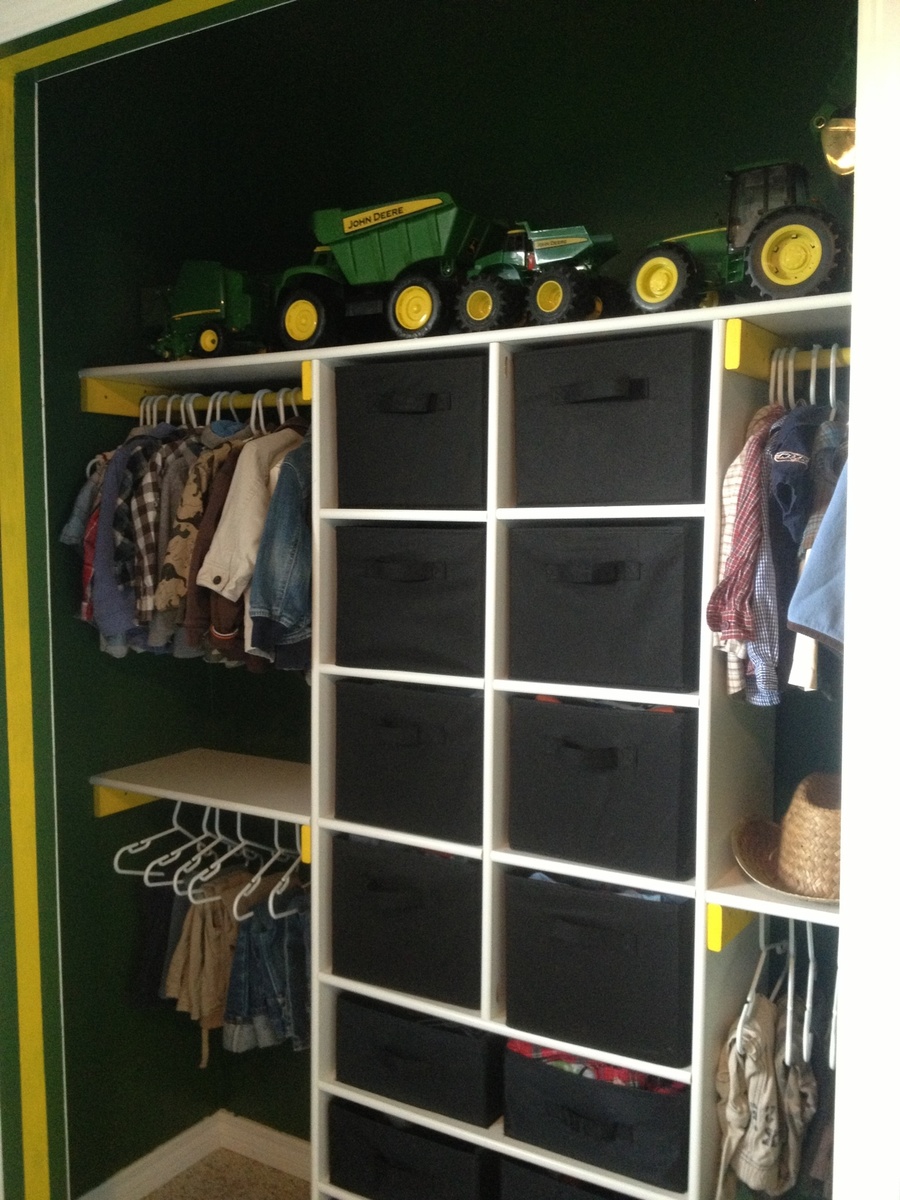
With a new baby boy on the way, my big boys (1 & 3) are moving into a big boy room. They requested a tractor room so here's the first project, the closet.
Sun, 02/15/2015 - 15:26
I love how you have done their room! It is so awesome! Is there anyway I could get your plans for this closet? I am new to building and my ocd wants it to be perfect. Thank you so much in advance!!
Please e-mail to: [email protected]
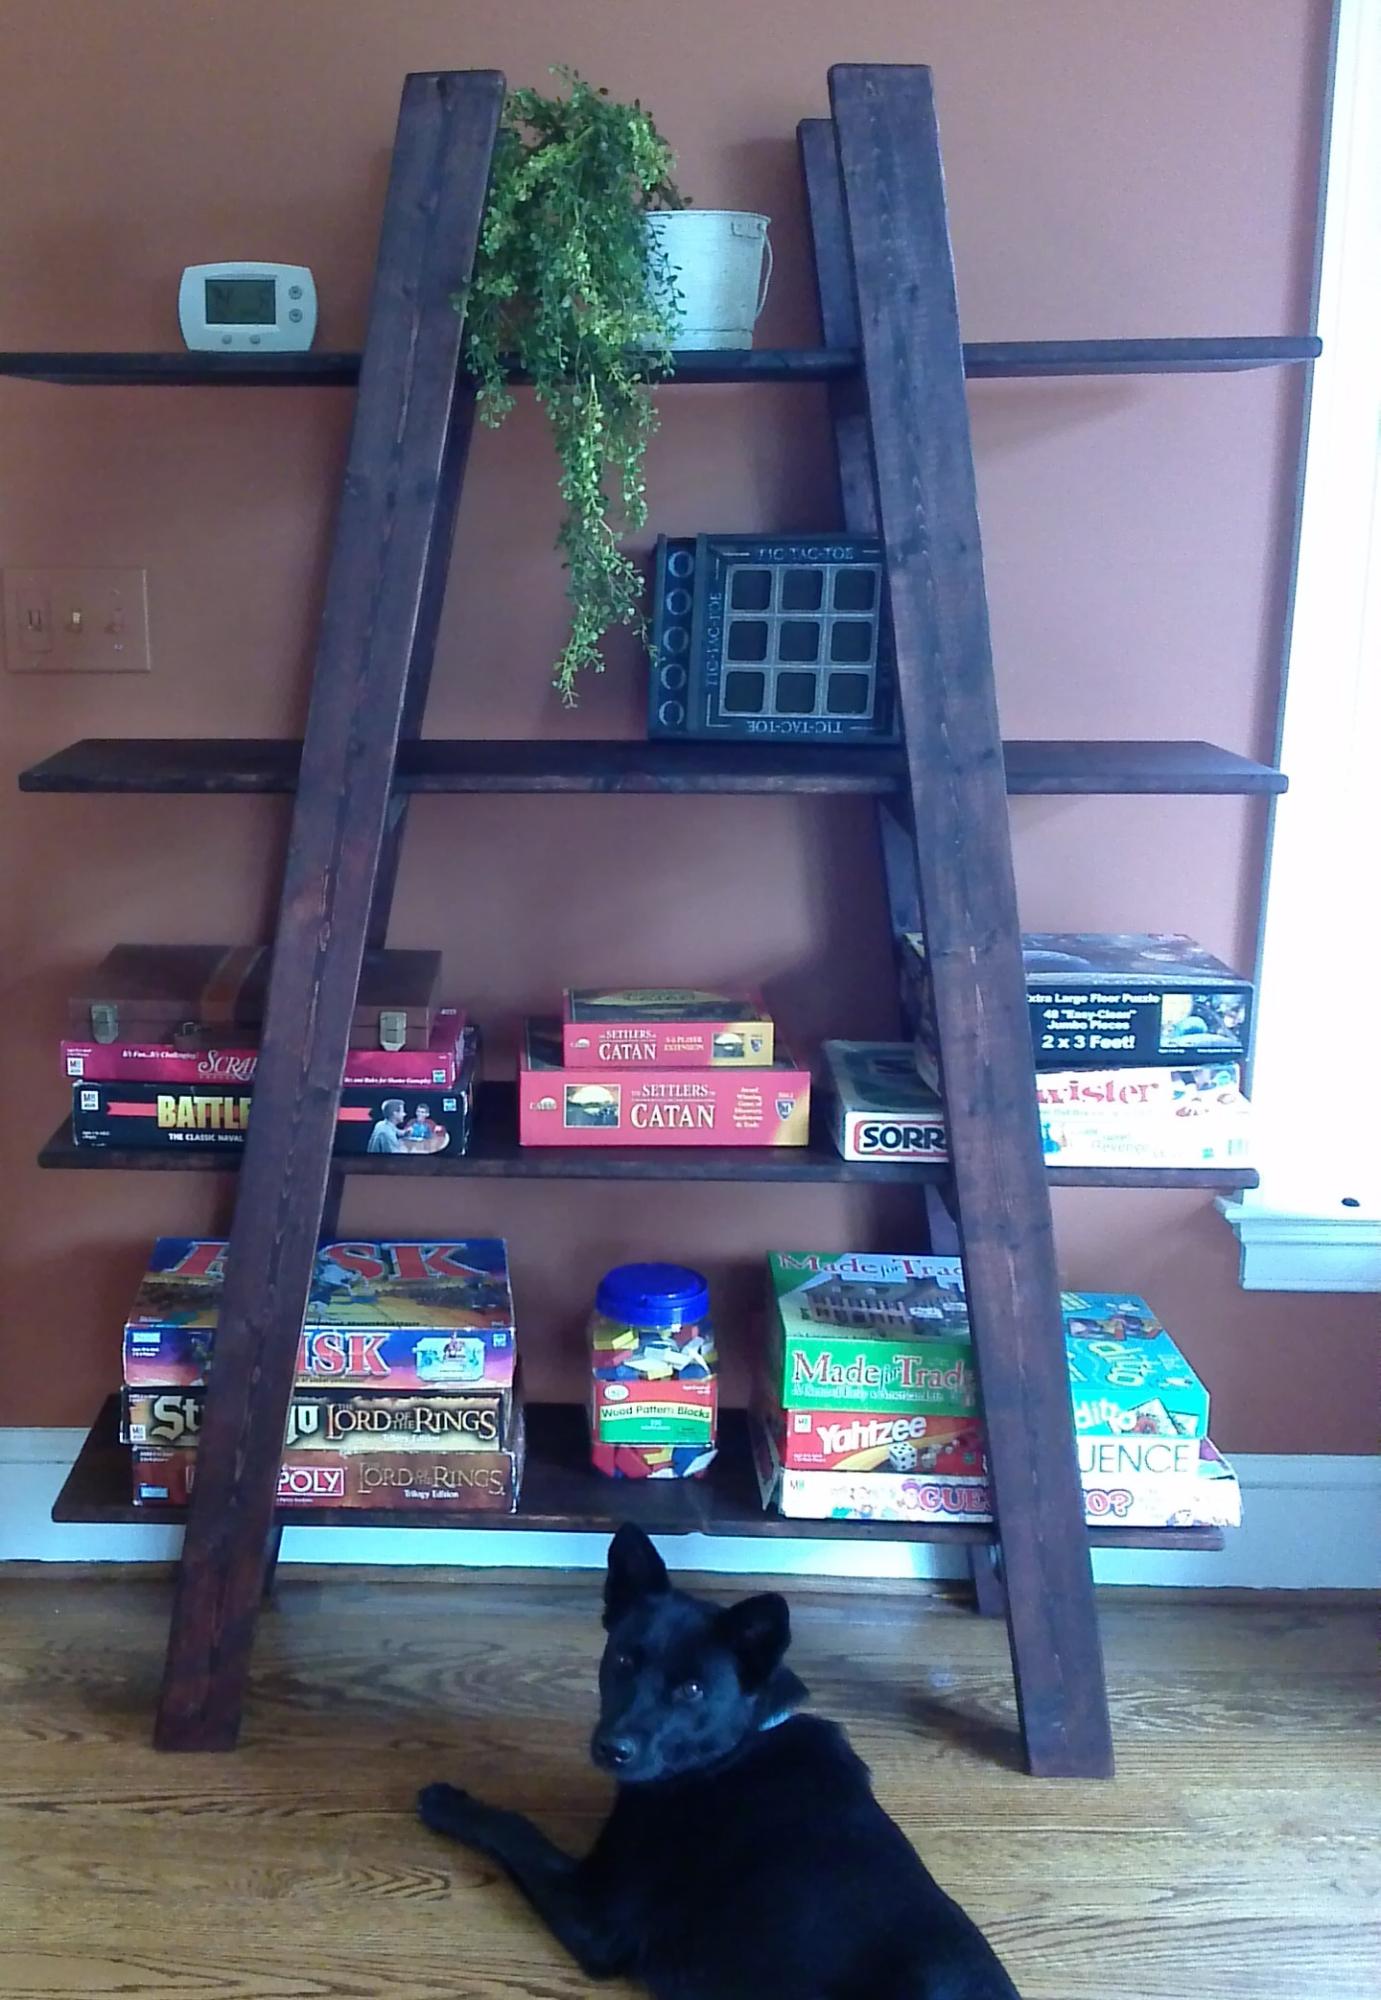
I have not built a project in a while but we needed shelves for our homeschool room. I decided to pick something and build it so we started with this one! I love working with my hubby doing these things and he still loves me after we're done ;) so I guess we did alright!
It looks great in our room holding our games and will add some books soon. Thanks Ana for empowering me to go again in building!

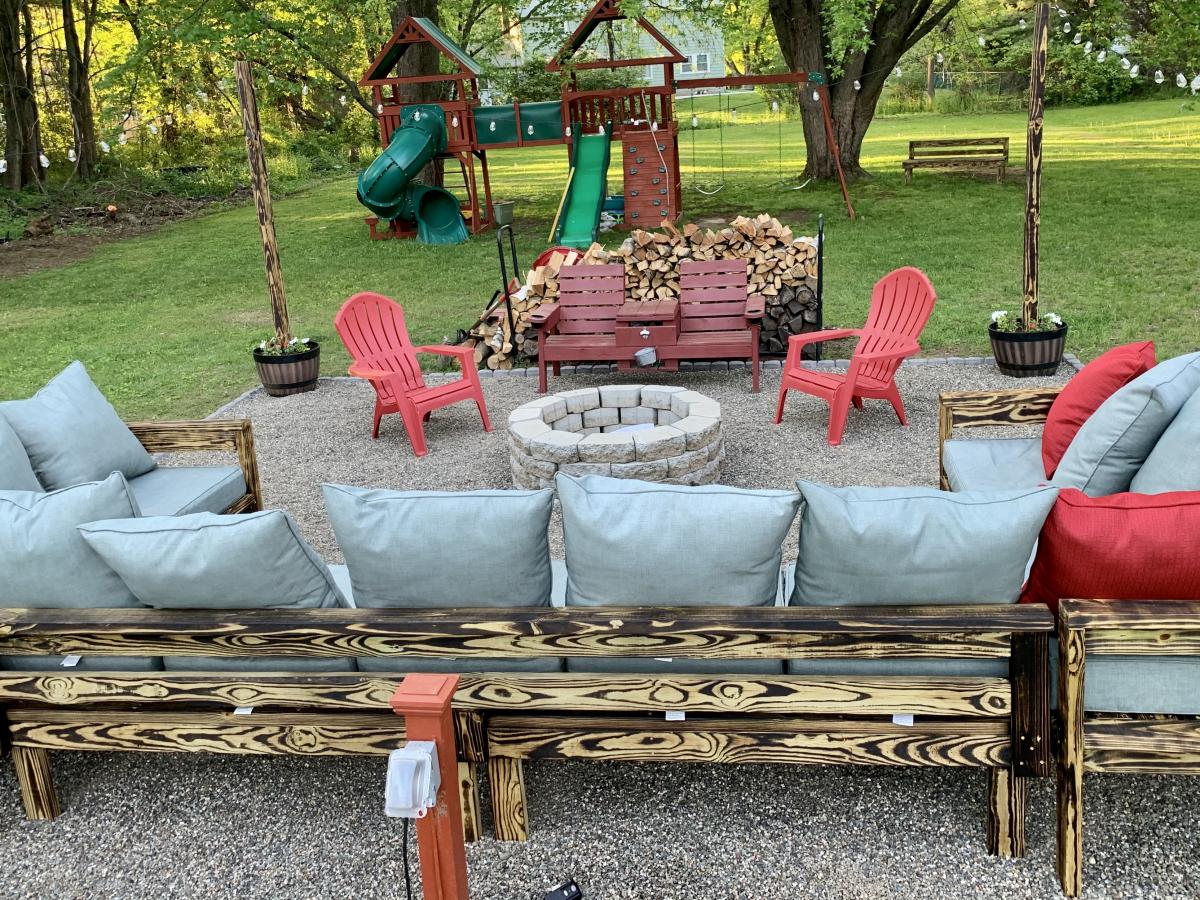
My husband and I made 2 outdoor couches and one armless. Tweaked the plans a little. The armless one is 10 ft and we made it from pressure treated. The plans were easy to follow and change to suit our needs!
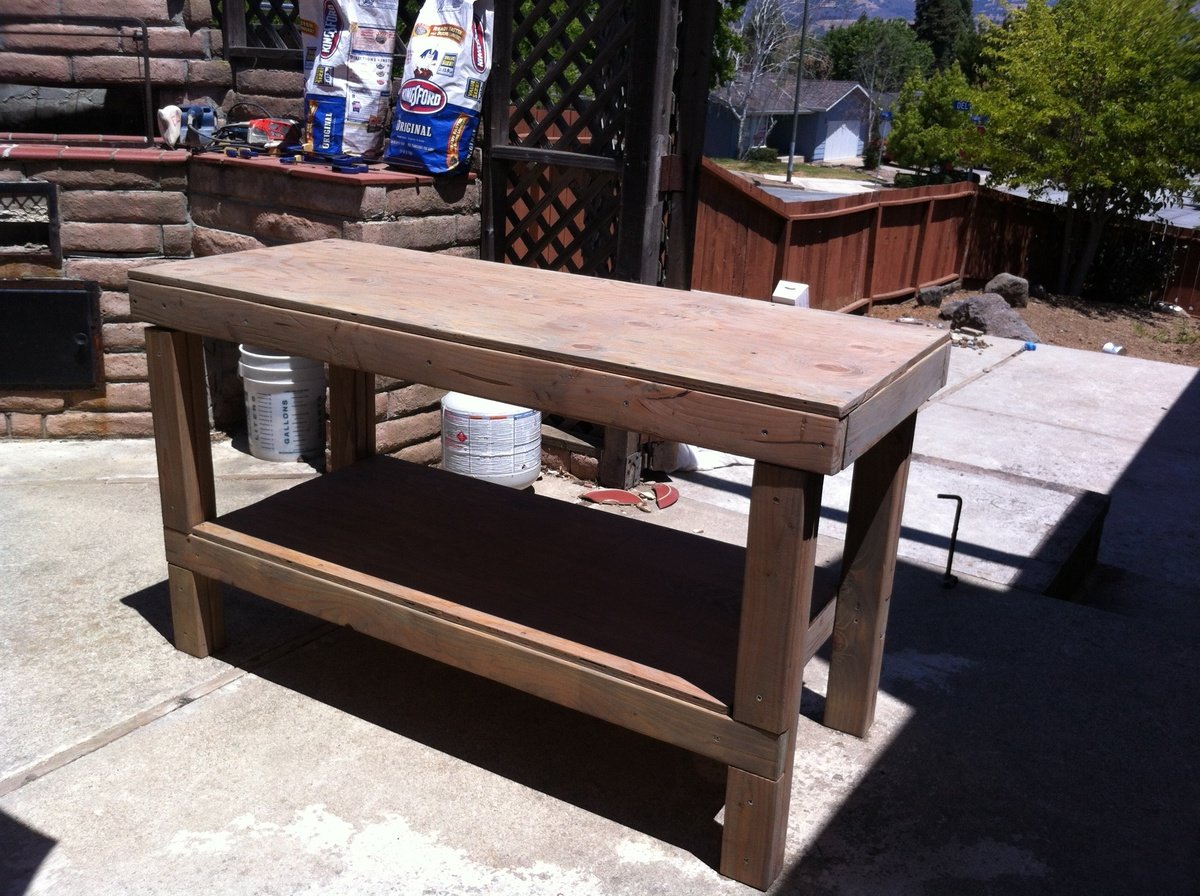
* I have tred EVERYTHING to get this picture right side up!!! So sorry it is upside down! This was my first every woodworking project and I am very pleased with the result. I have used it many time since for other projects now too. The plans were easy to follow and although it took me some time it was easy to make. Very sturdy and a great size to work on. I made it out of wood from orange and stained it with weathered oak stain.
I built this bed for my two year old son and it is super sturdy! I used some Rockler bed rail hardware to attach the rails to the headboard/footboard for easier disassembly later. I attempted the tea/vinegar/steel wool staining technique with fairly good results. The plywood turned a little more gray than I wanted though. I spent around $100 for all of the supplies (wood + pocket hole screws), but a huge chunk of that was the 3/4" Maple plywood, and I only used half of the sheet. So, I guess the actual cost of the bed was closer to $75. Luckily, I'll be able to use the rest of the plywood for some beds for my daughters. This bed was super easy to build and my son loves it!


