Round Table
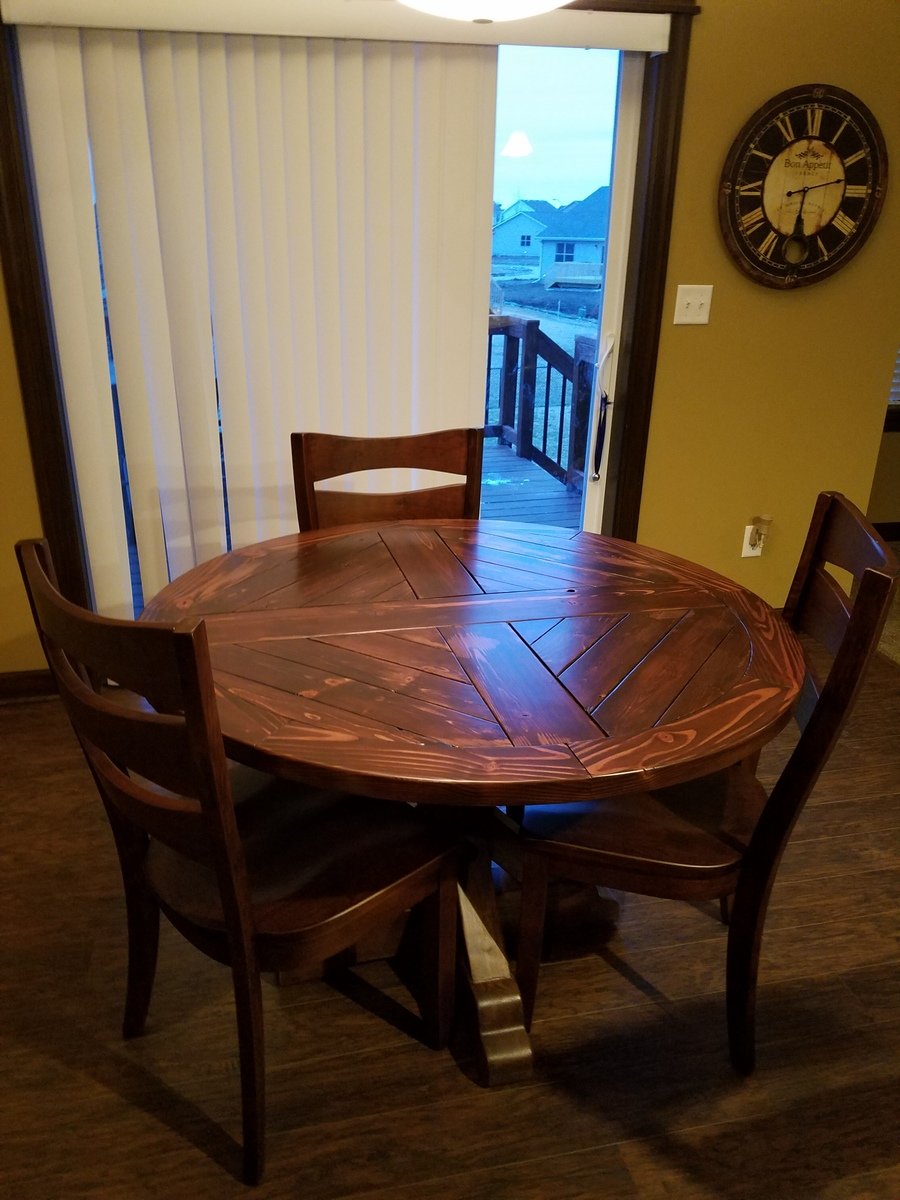
I moved to a new house and the table I had was way to big. I decided to make one. I found a picture on here of one I liked. I made some changes to the design and built it myself!
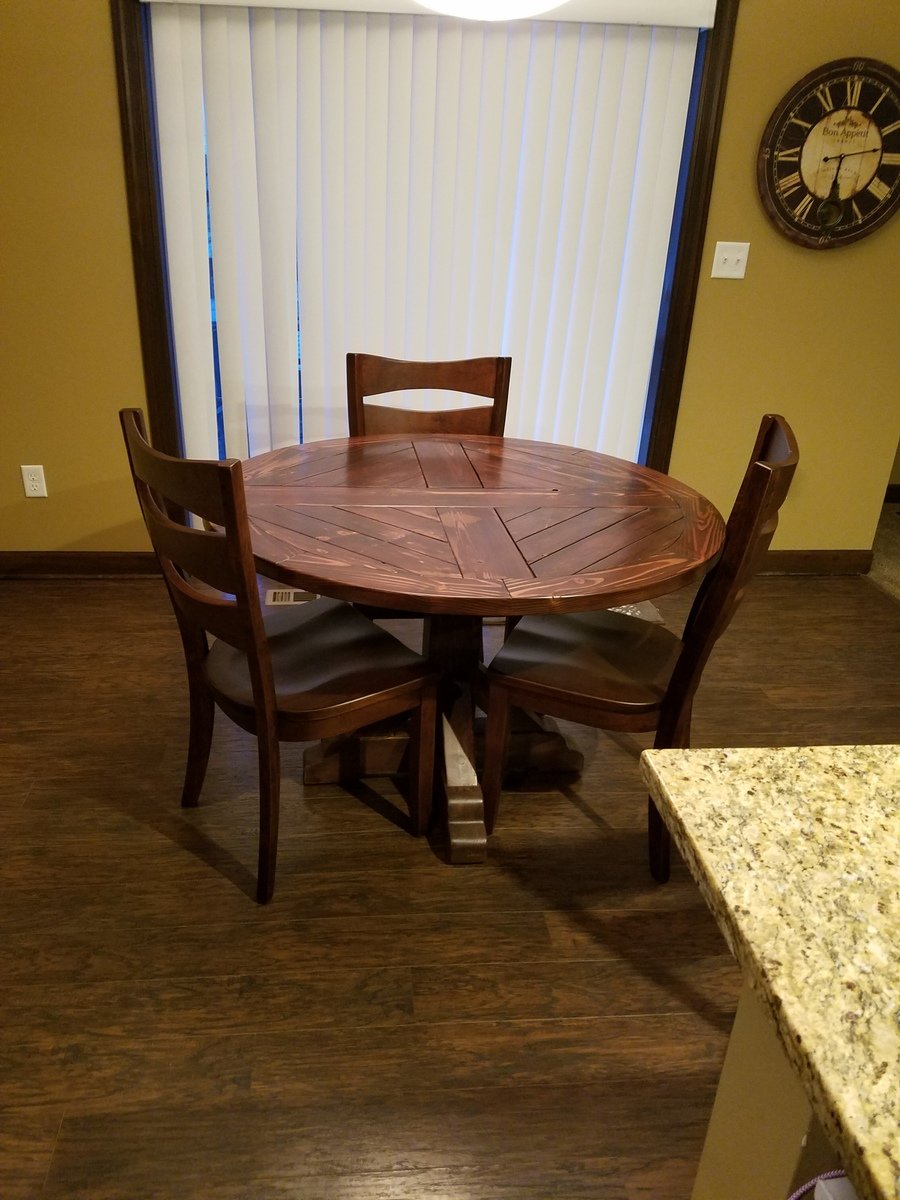

I moved to a new house and the table I had was way to big. I decided to make one. I found a picture on here of one I liked. I made some changes to the design and built it myself!

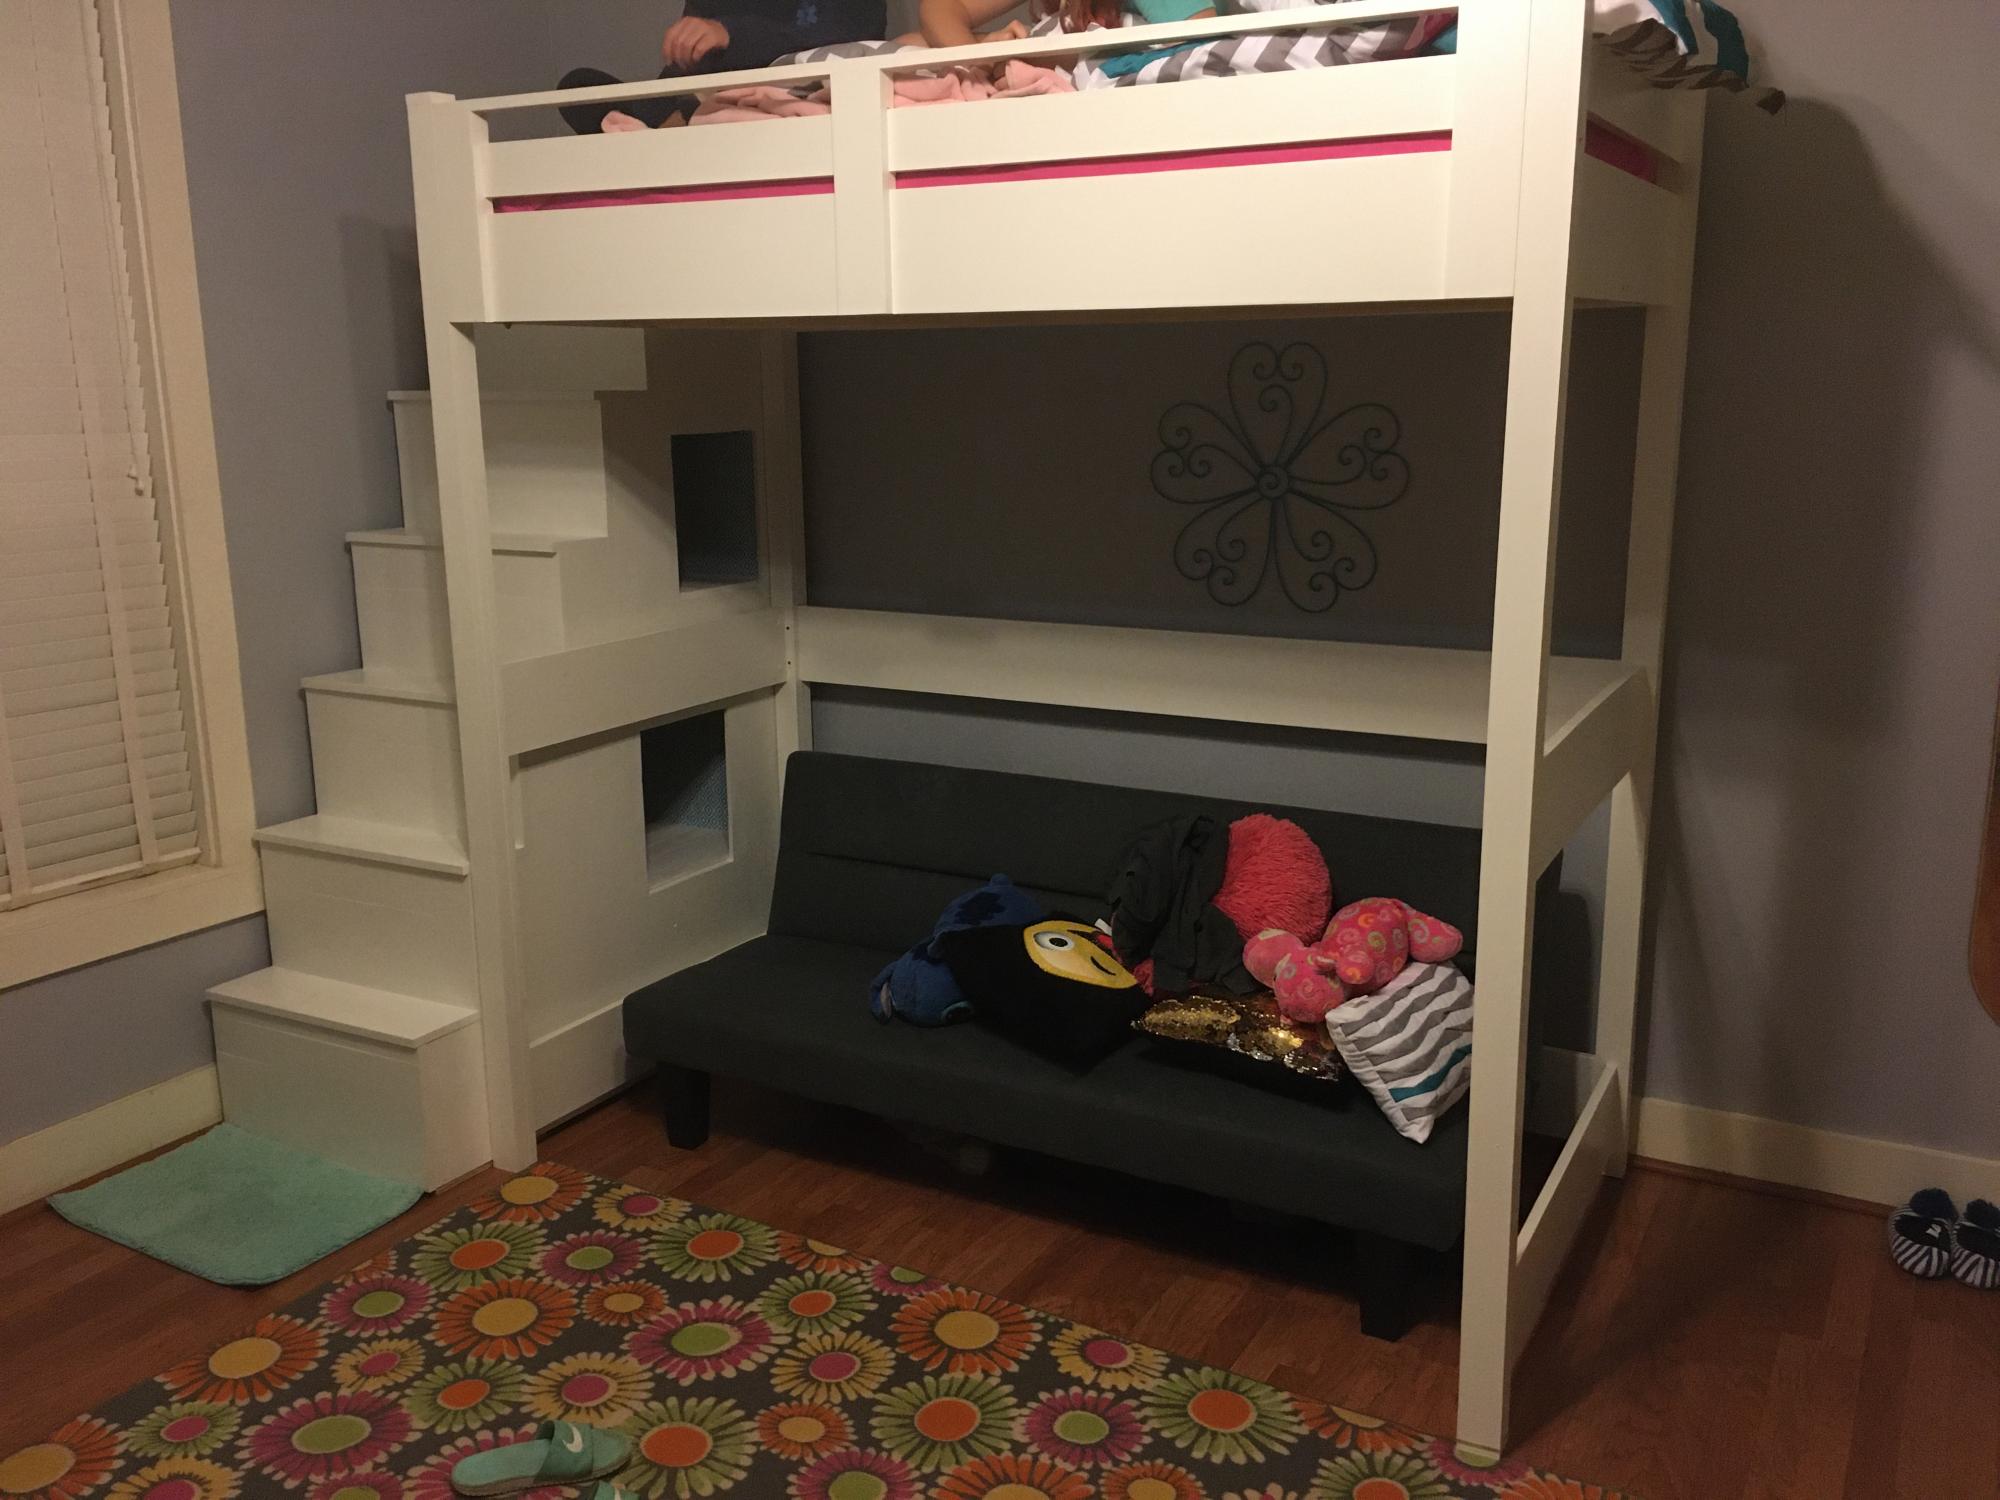
My daughter had been asking for a loft bed that she could place a futon under. This plan was exactly what I needed! I made the bed taller so she would be able to stand under it (we have 10’ ceilings - old house). And, I replaced the ladder with a staircase with built-in cubbies.
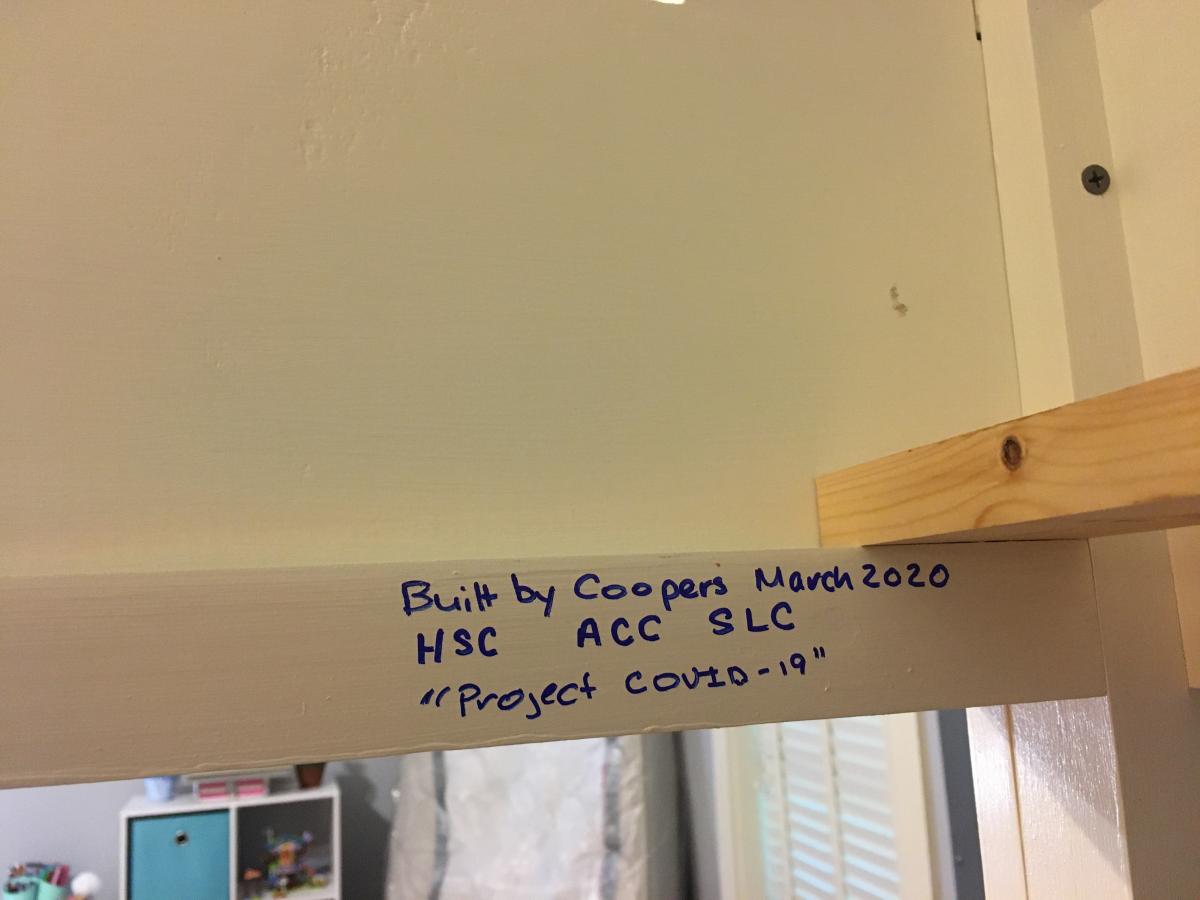
This was our first project of 2020 and we started it during the first part of the quarantine, so it got named “Project COVID-19.”
Sat, 01/09/2021 - 09:49
Great mods making it higher and the stairs look great too! Thanks for sharing:)
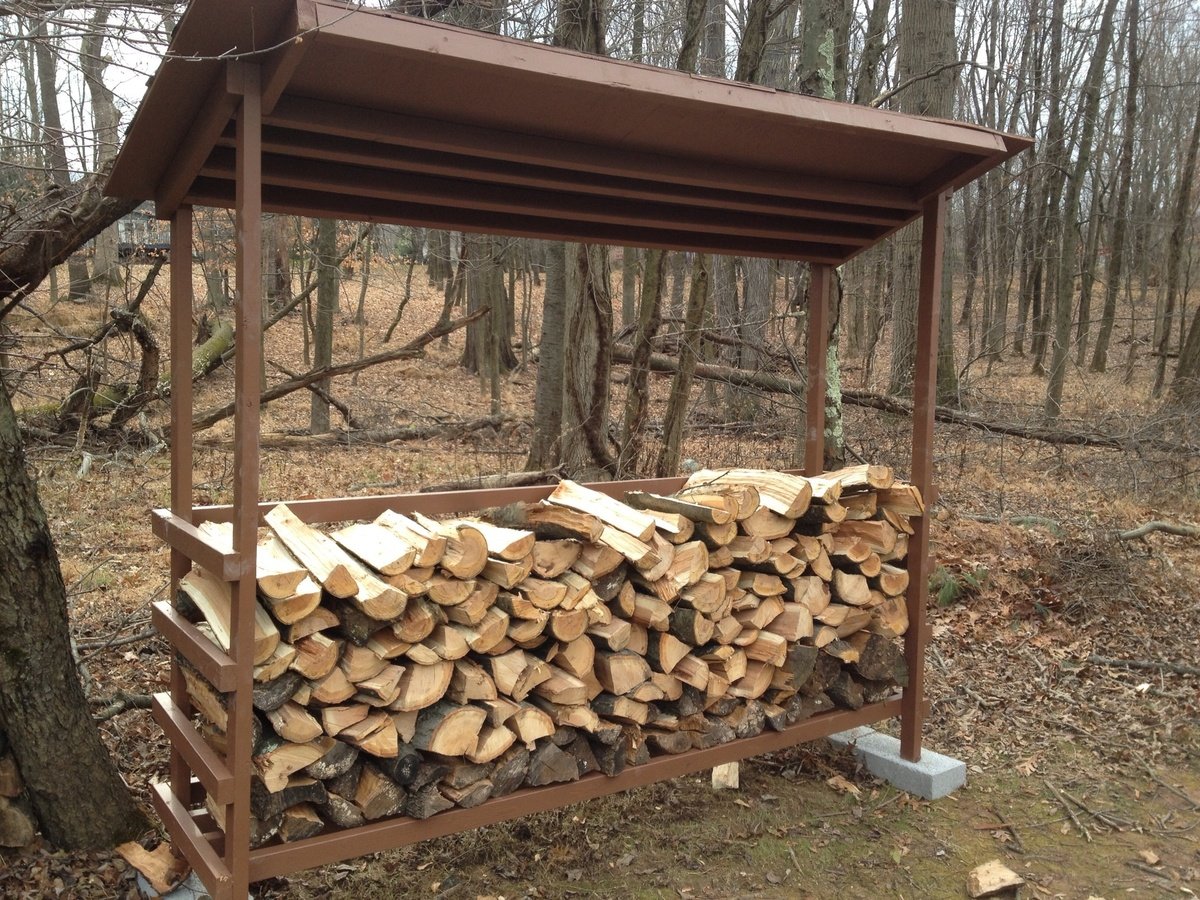
Build this firewood shed over one weekend and stained it the following weekend. This was my first project and I only received a little help from my boyfriend. Can't wait to start my next project.

13 hours First wood project Learned a lot! I surprised my boyfriend with them and he loved them!
Tue, 12/16/2014 - 15:40
Love this. The chairs are on my to build list! Great job!
Made this dresser for a friend. She has 2 boys and wanted a sturdy dresser. The Hudson plans are clearly written and the illustrations are great. I used 100 pound full extension drawer glides and reinforced the areas where the glides mount with 2x2's to ensure the glides would not rip loose. I modified the drawer construction using finger joints for increased strength.
The flush mount drawers offer a challenge to get the spacing right and that the drawers are flush.
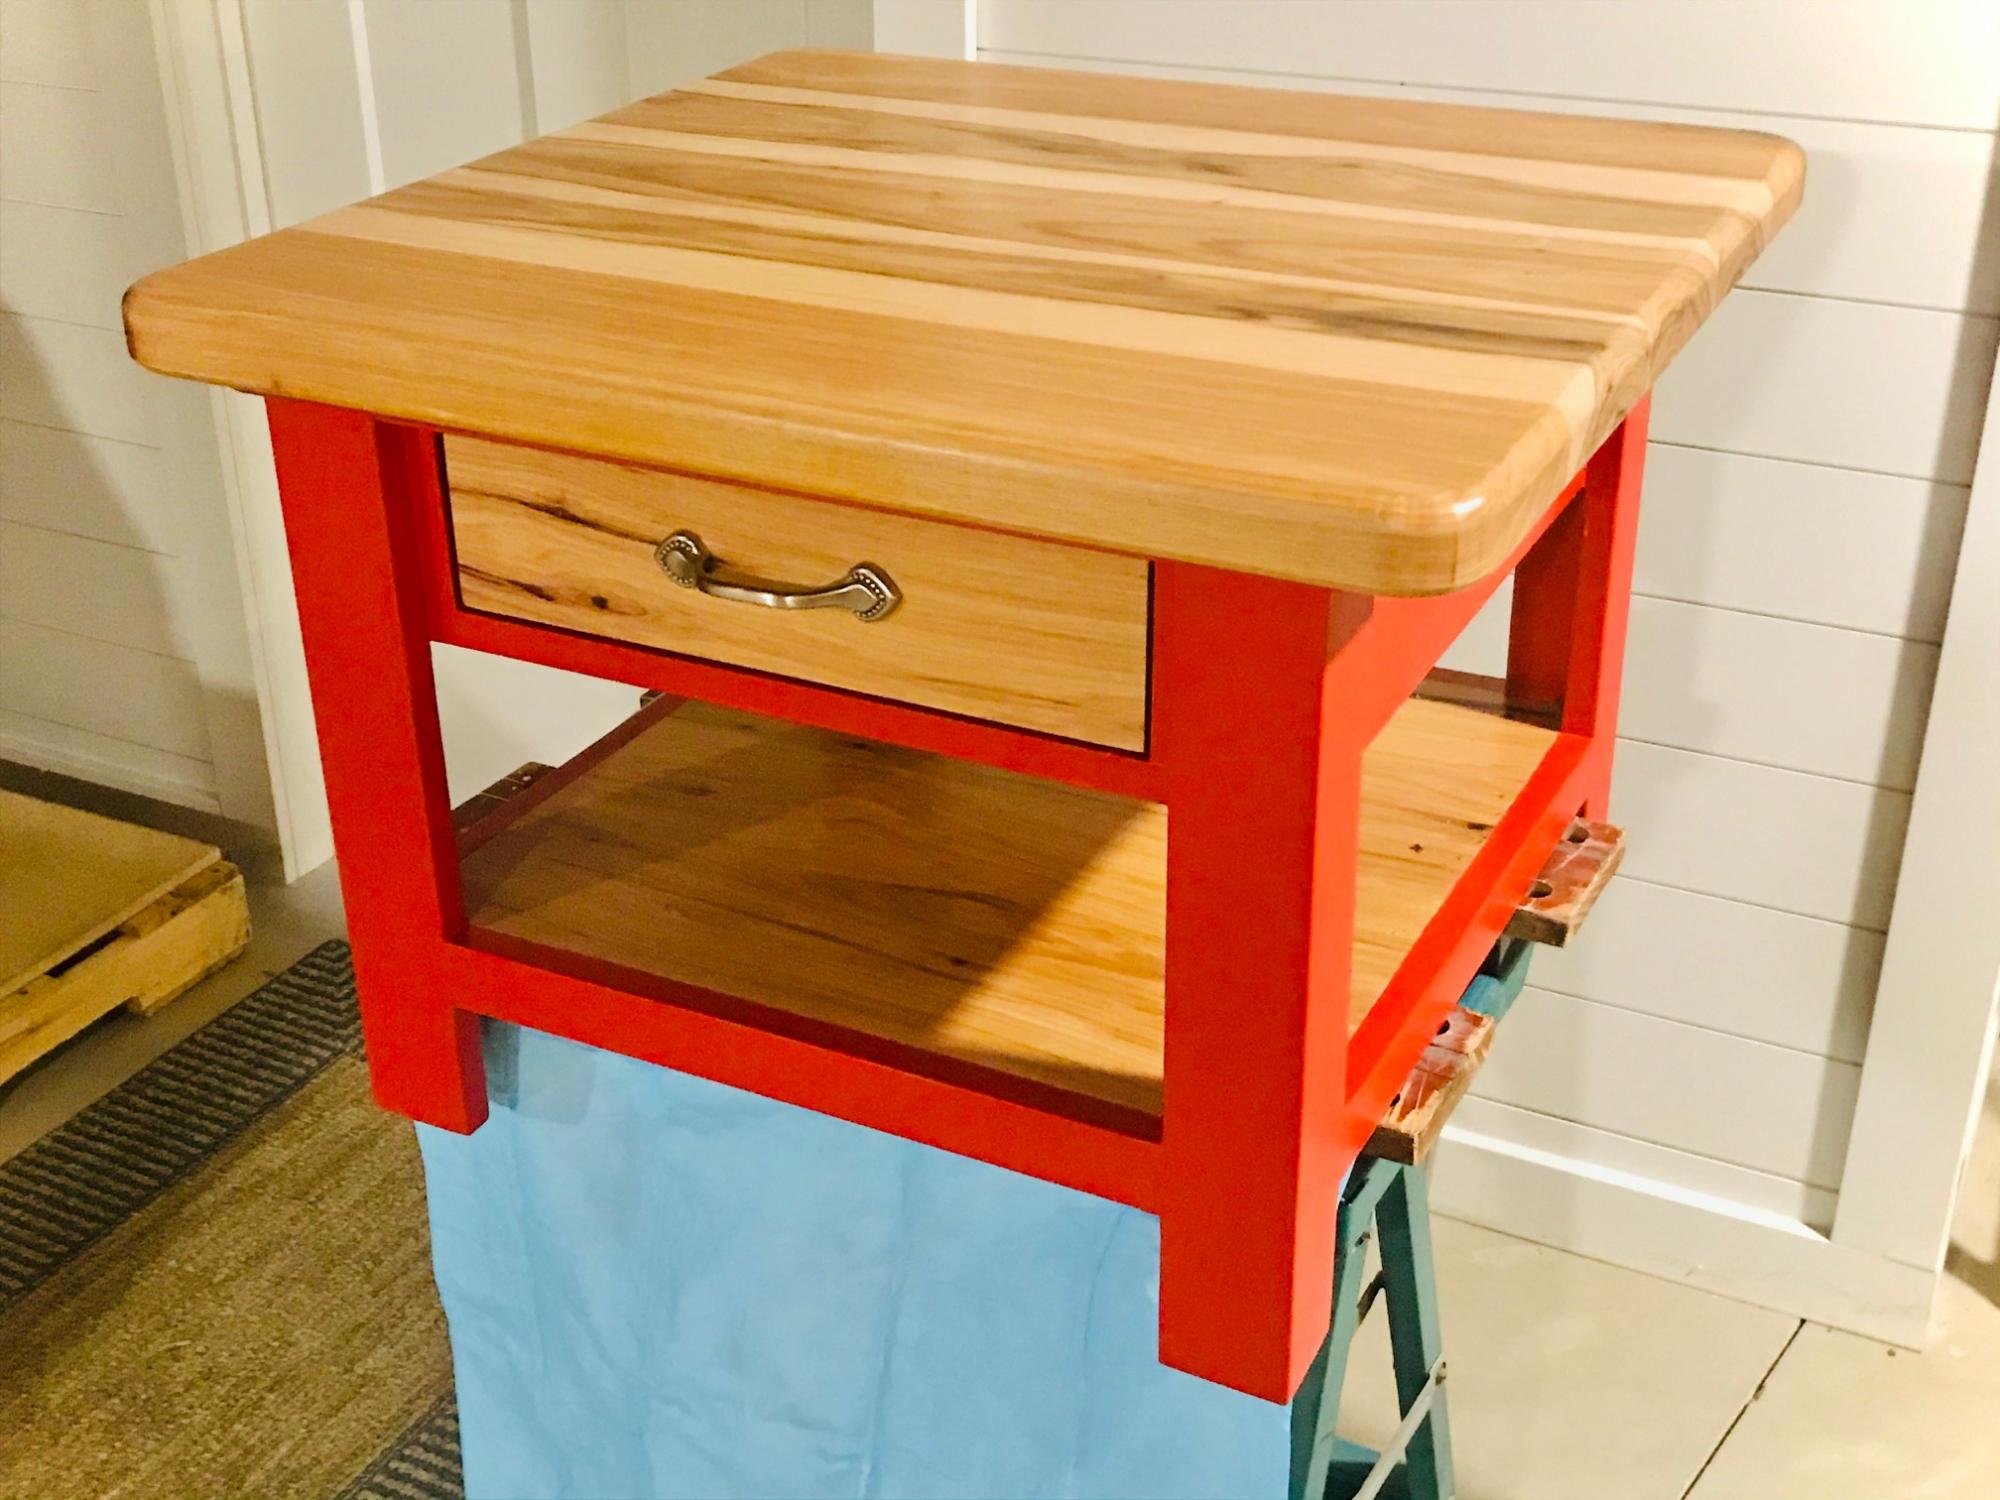
Redrew plans to accommodate an approx 1/2 sized Benchwright Coffee Table. Decided to make it slightly less farmhousey in style. Used poplar for the carcass and hickory for the shelf - 3/4 inch -and table top -1 1/2 inch. 1 1/2 inch was really too thick for the top, it looked too chunky so had to deceive the eye by making a 1/2 inch roundover on the top and a 45 degree bevel on the under edge. I do not recommend using hickory, it’s a heavy, difficult wood to work unless you are an experienced woodworker (I am not!) with good sharp tools and not to mention expensive! The table top caused me all sorts of grief.
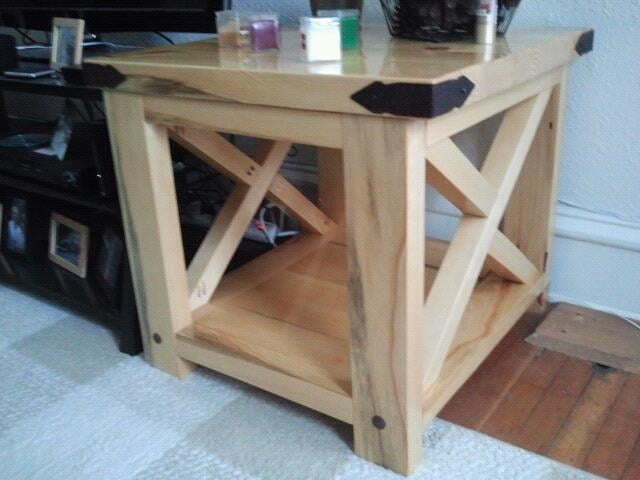
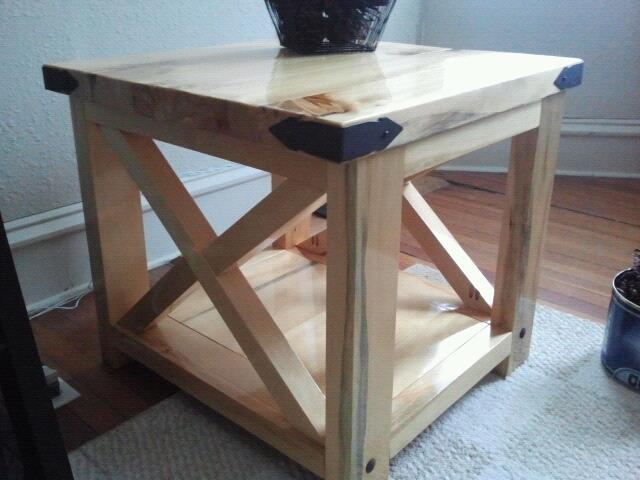
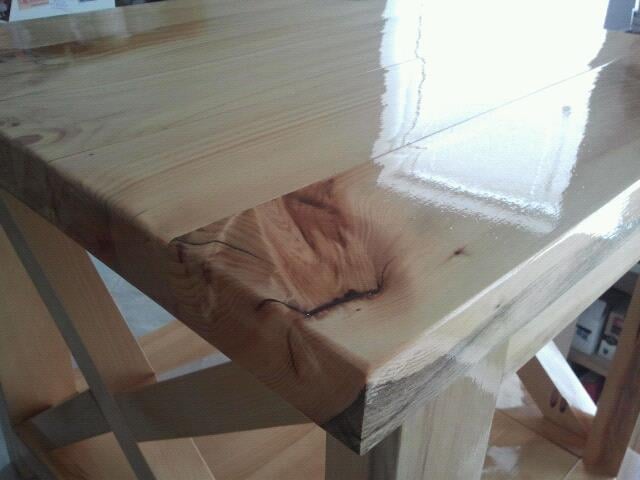
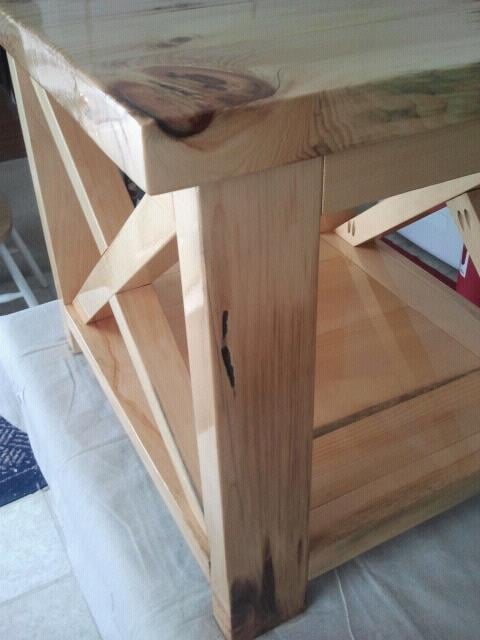
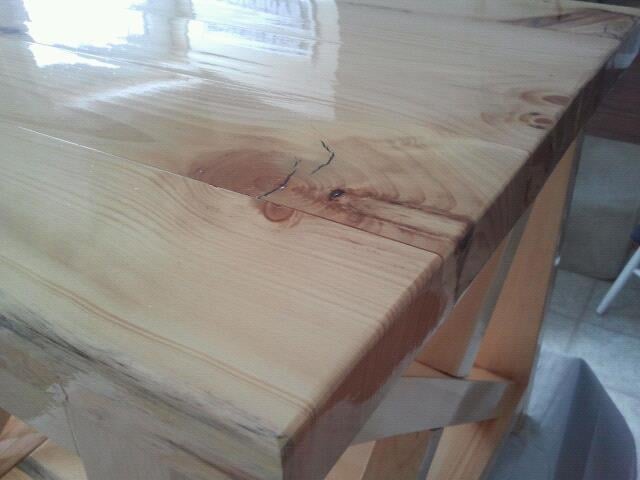
This project was taken from the Rustic X End Table plan. This is my second big project that I have attempted and I am still learning from my mistakes made from making the Rustic X Coffee Table. Hope you enjoy!
Mon, 02/11/2013 - 22:25
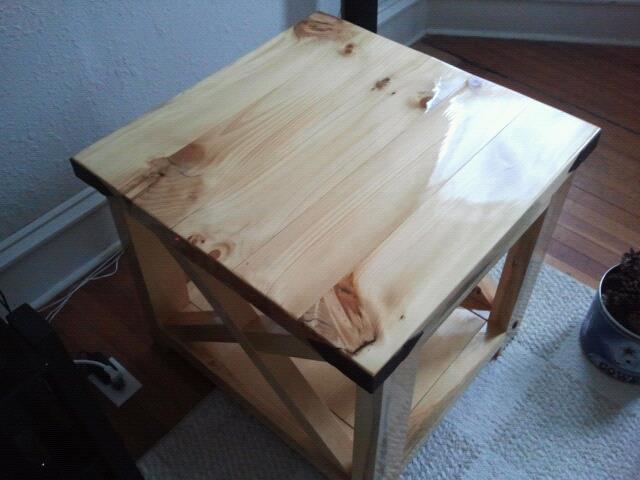
Working around my work schedule and dry times of the poly these 2 end tables took me quite sometime! But I am super happy with the result! They go so perfect with my Rustic X Coffee Table!
Tue, 02/12/2013 - 07:01
Table looks good. I like the natural wood color with the black add ons. I noticed the one "X" is a little off. You might want to check the squareness of your chop saw. If the fence is perfectly square to your blade when set at 90 degrees it will throw everything off. You are off to a good start though.
Sat, 02/16/2013 - 14:01
Love the natural stain and the shine of the poly!
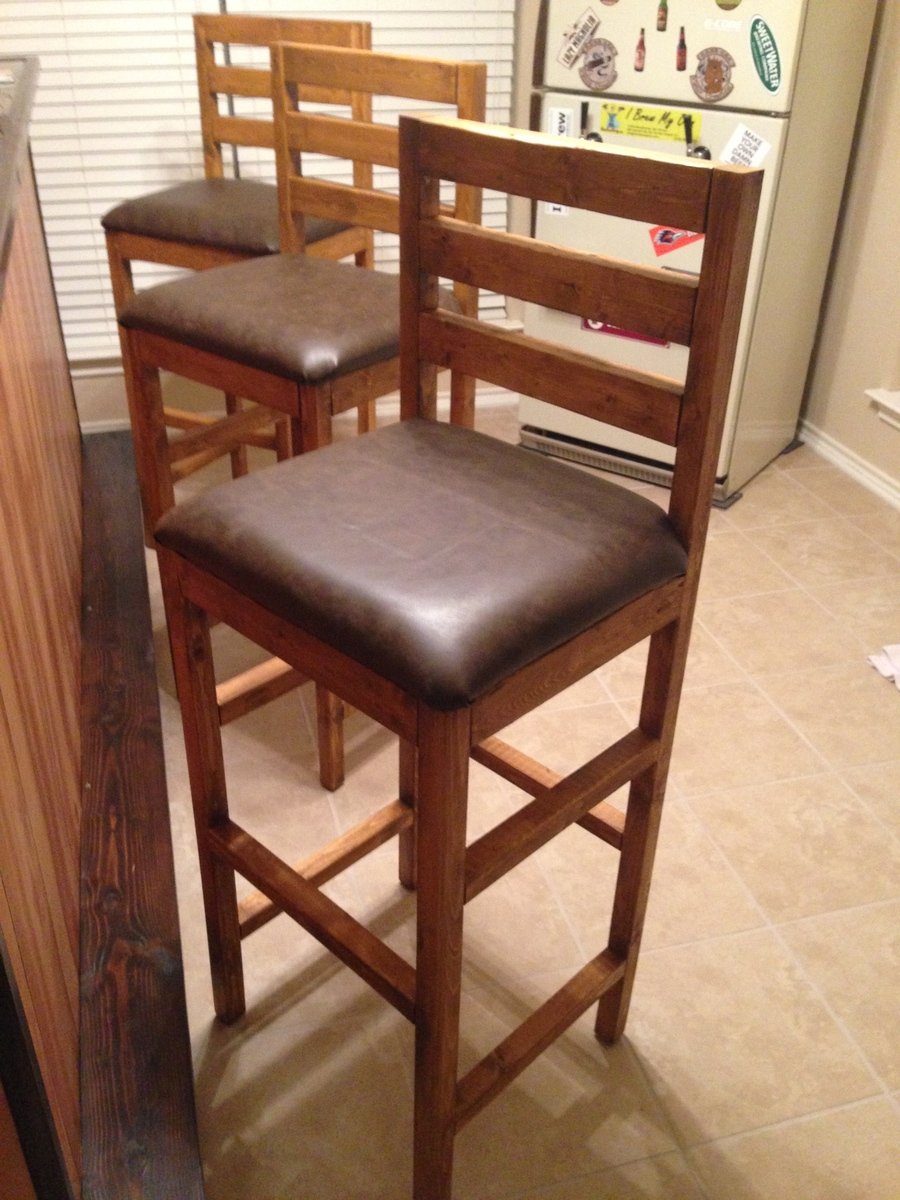
My wife and I built our whole bar, from the shelves, bar, and the kegerator! We needed stools to round out our endeavor but we werent willing to shell out the kind of money required. My wife found this plan and we morphed it a bit to meet our needs. The KREG JIG saved us big time! The seat upholstry took us a bit of time, but we figured it out thanks to YouTube. Great project for a weekend, took us a tad bit longer due to the arrival of our daughter but, we still got it done!


My wife used the benchmark media console plans with her own idea for the doors

Easy weekend build. Turned out great. Needed a small table for my small space. Stain turned out fine, but I tried the poly/stain combo and don't like how it applies. Will go back to stain then poly in the future.
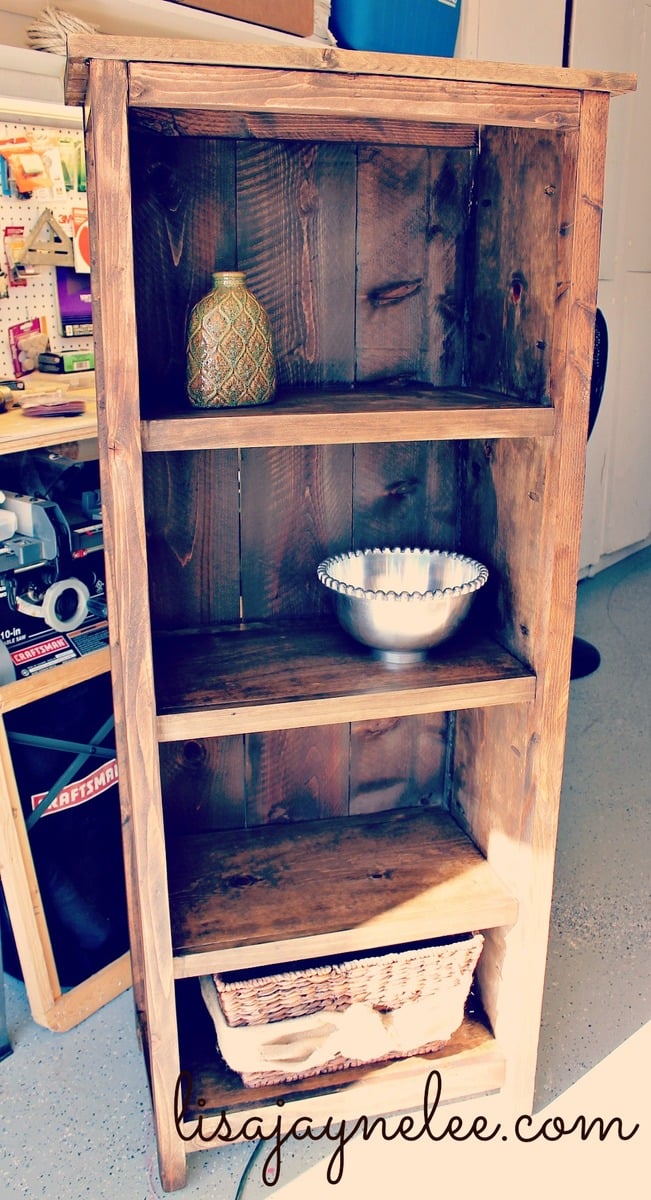
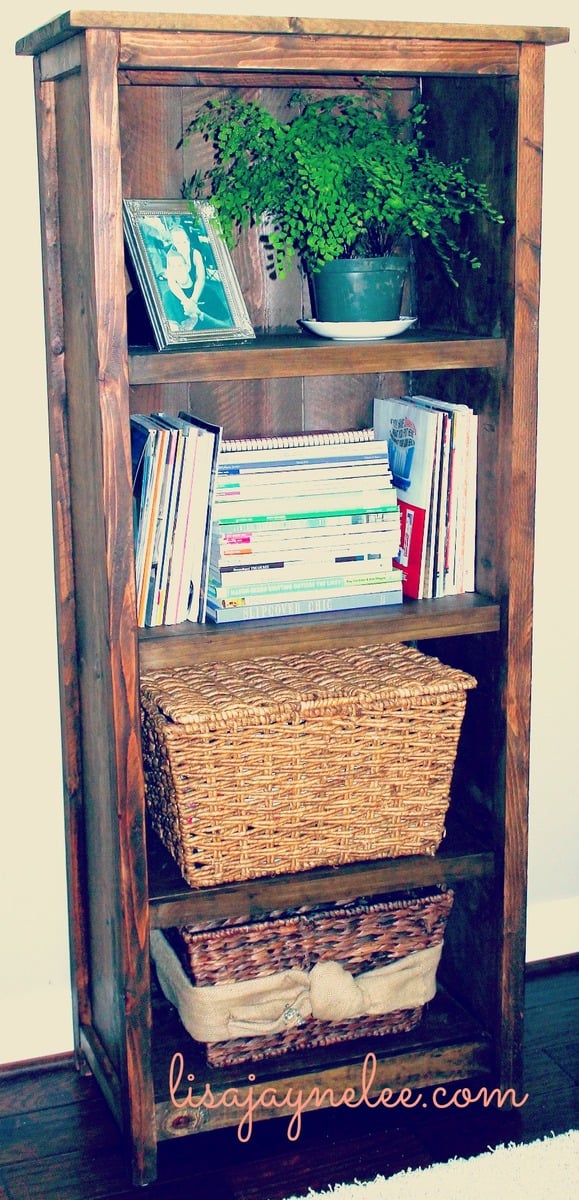
This was my first major build with plans from Ana. I actually found this bookcase via Shanty2Chic. It went smoothly and all in all took me a few evenings about an hour at a time. I have 3 kids so it did take me a little longer to finish. I am so impressed with myself and so is my husband. I used a 10" chopsaw for most of the cuts. I also used my KregJig. Thanks Ana!
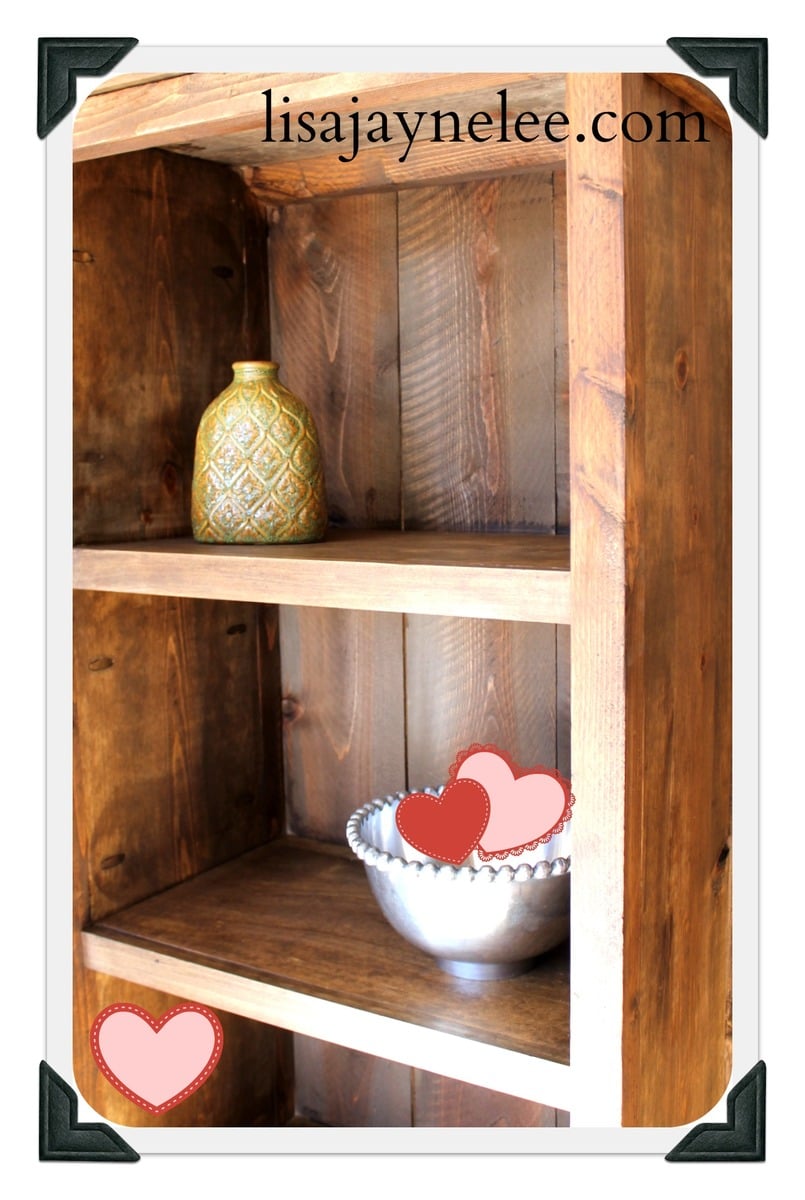
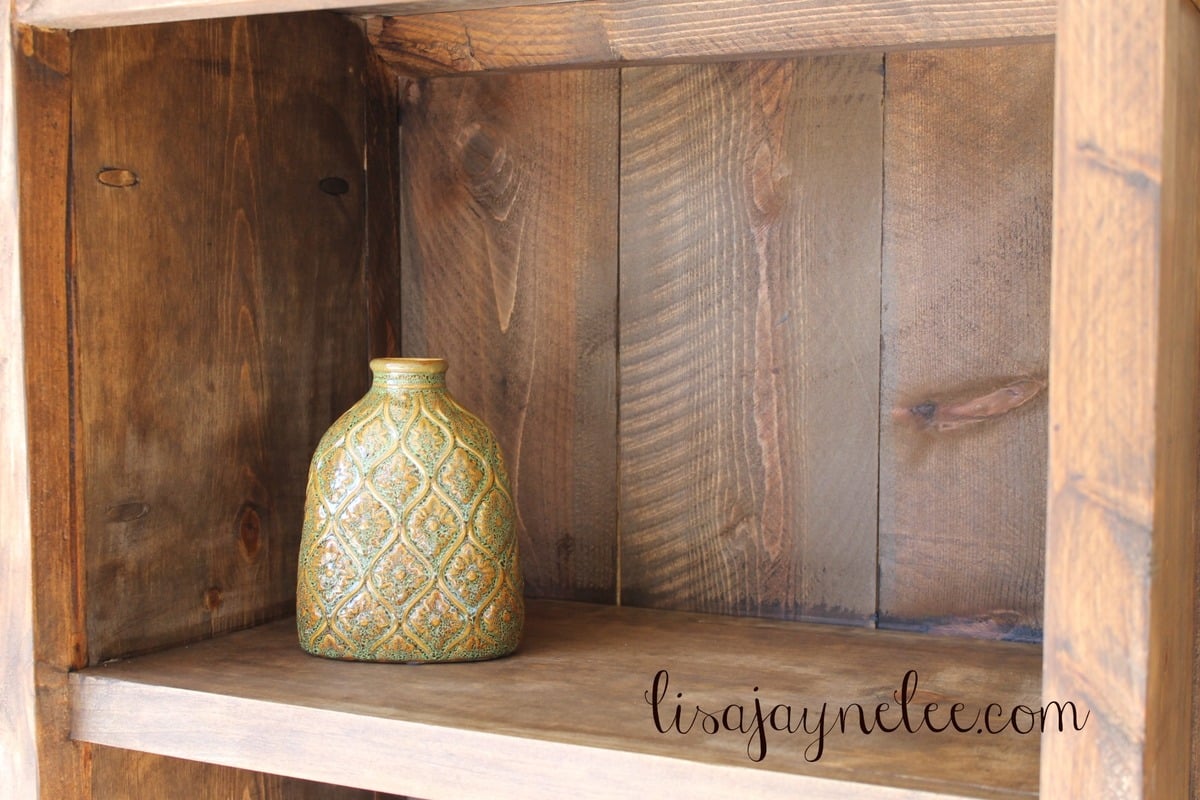

I did not like the way the X looked with our other furniture so I decide to replace it with 2 upright 2x2's.

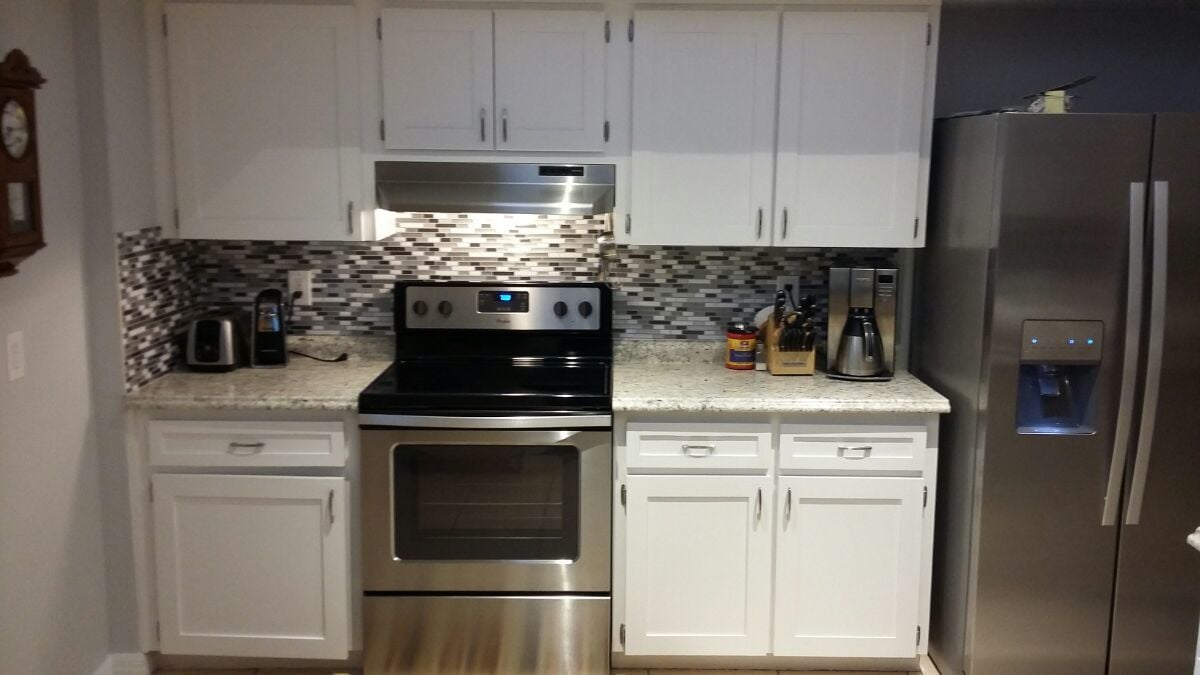
My brand new $1500 kitchen! New countertops, new peel & stick backsplash, new homemade diy real wood doors to cabinets, new self-closing hardware and pulls, painted old body of cabinets to match doors, painted accent wall and area behind fridge. With appliances, total cost was more like $3000. Also, pics do not show other side of kitchen, with sink, bar & dishwasher. Still looking for "before" pics of that. Will update as I find them.
LOVE my "new" kitchen! <3
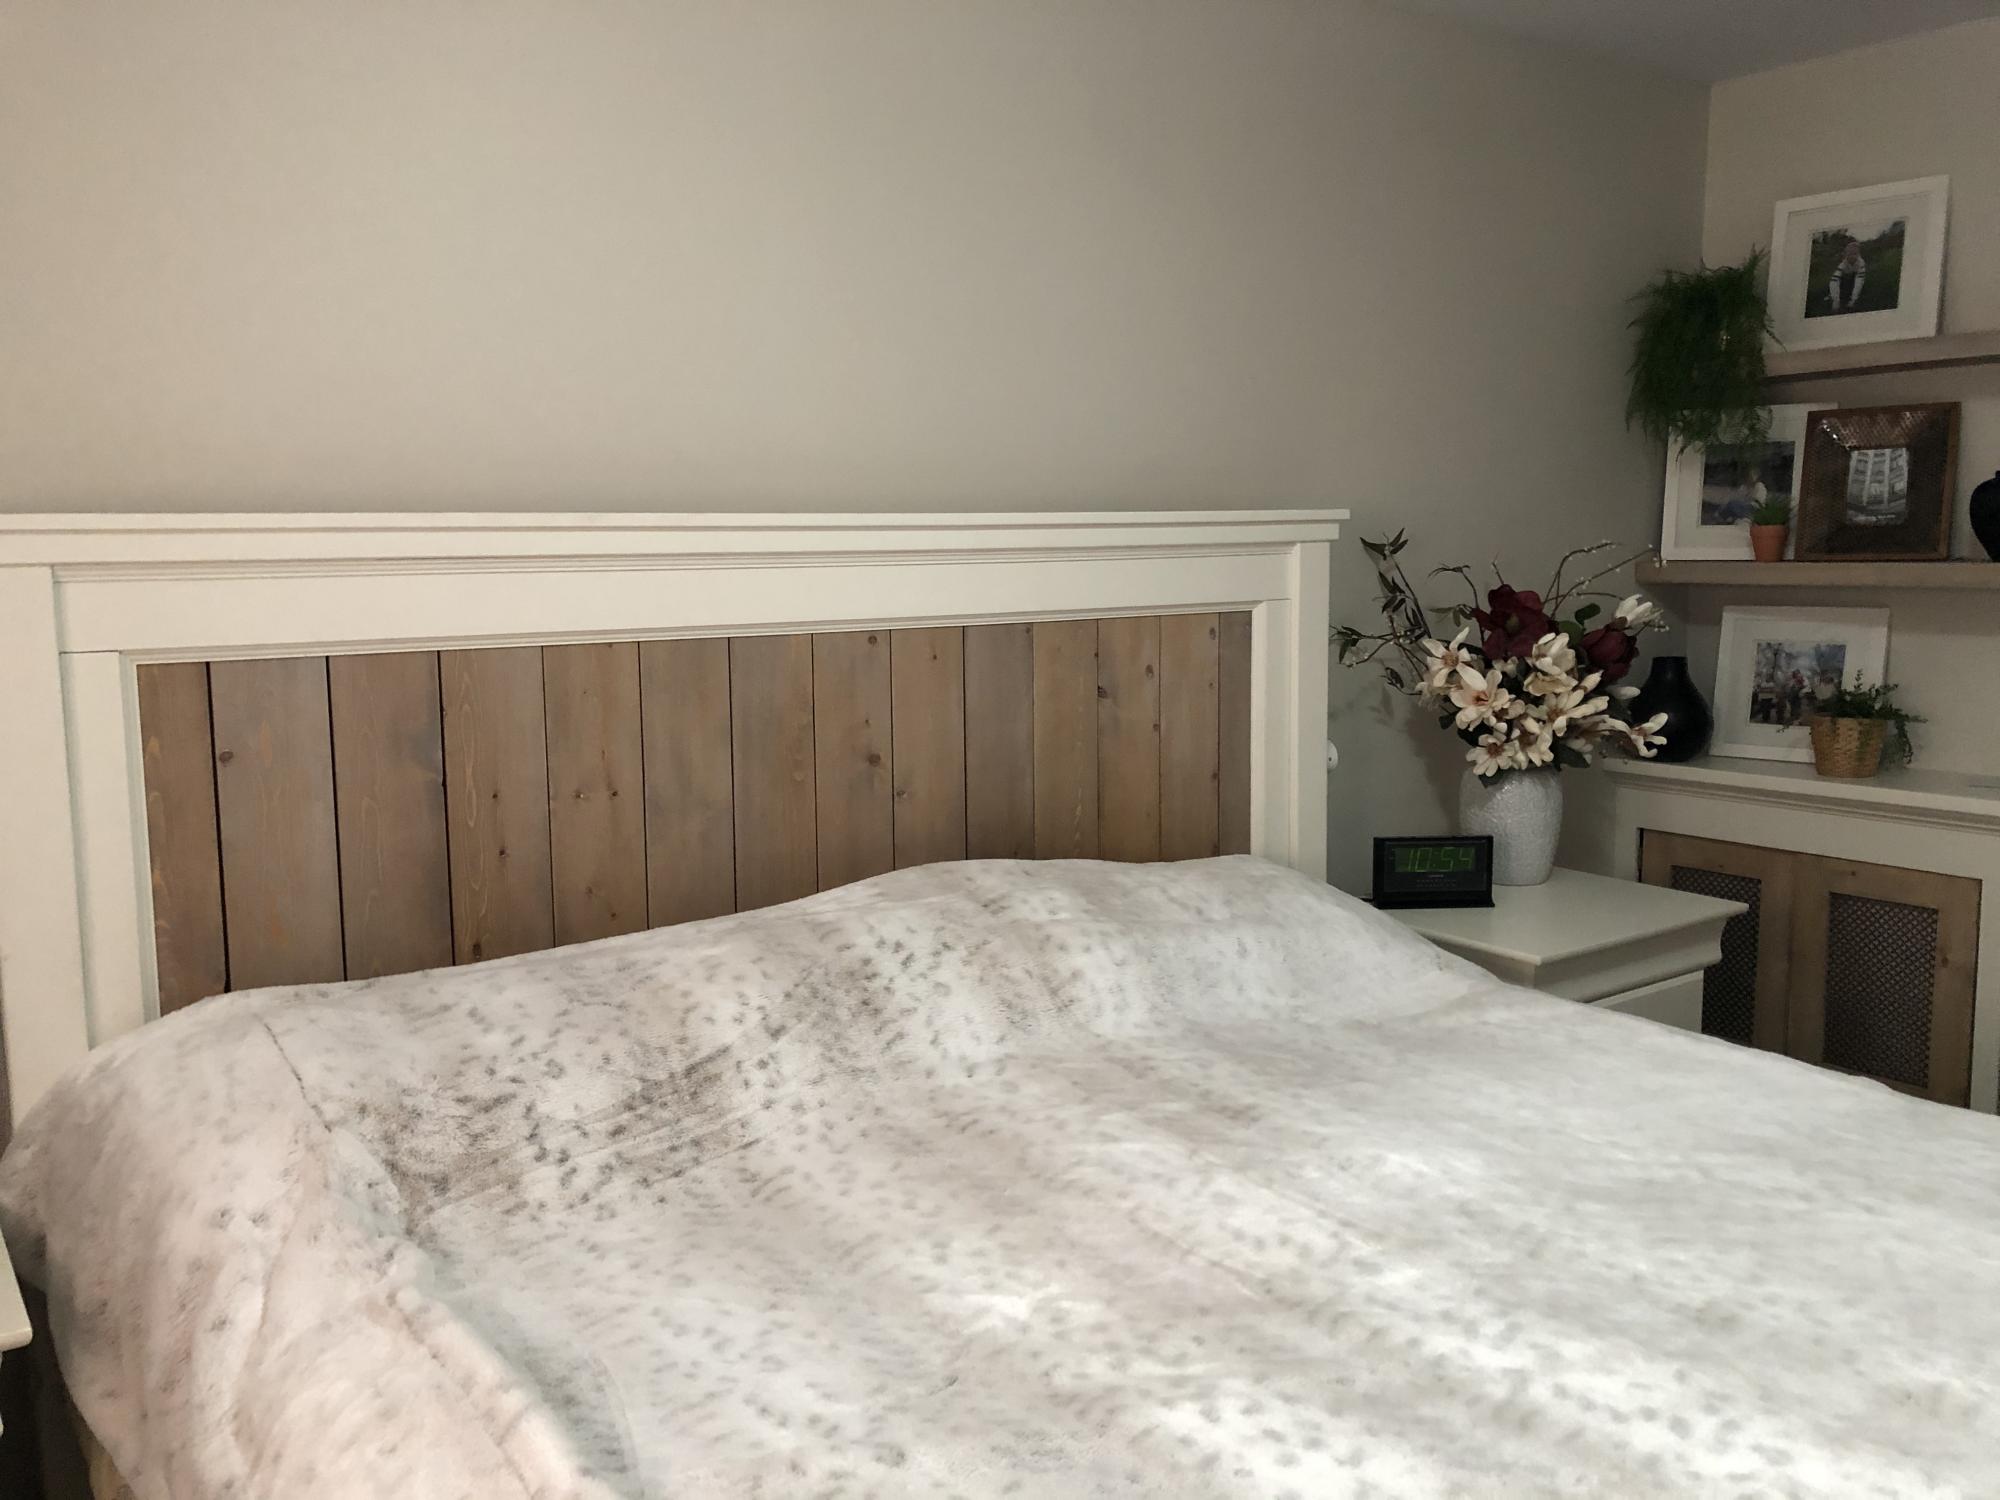
Thank you Ana White! This is the first piece of furniture I built! Finding your plans opened up a whole new world for me!
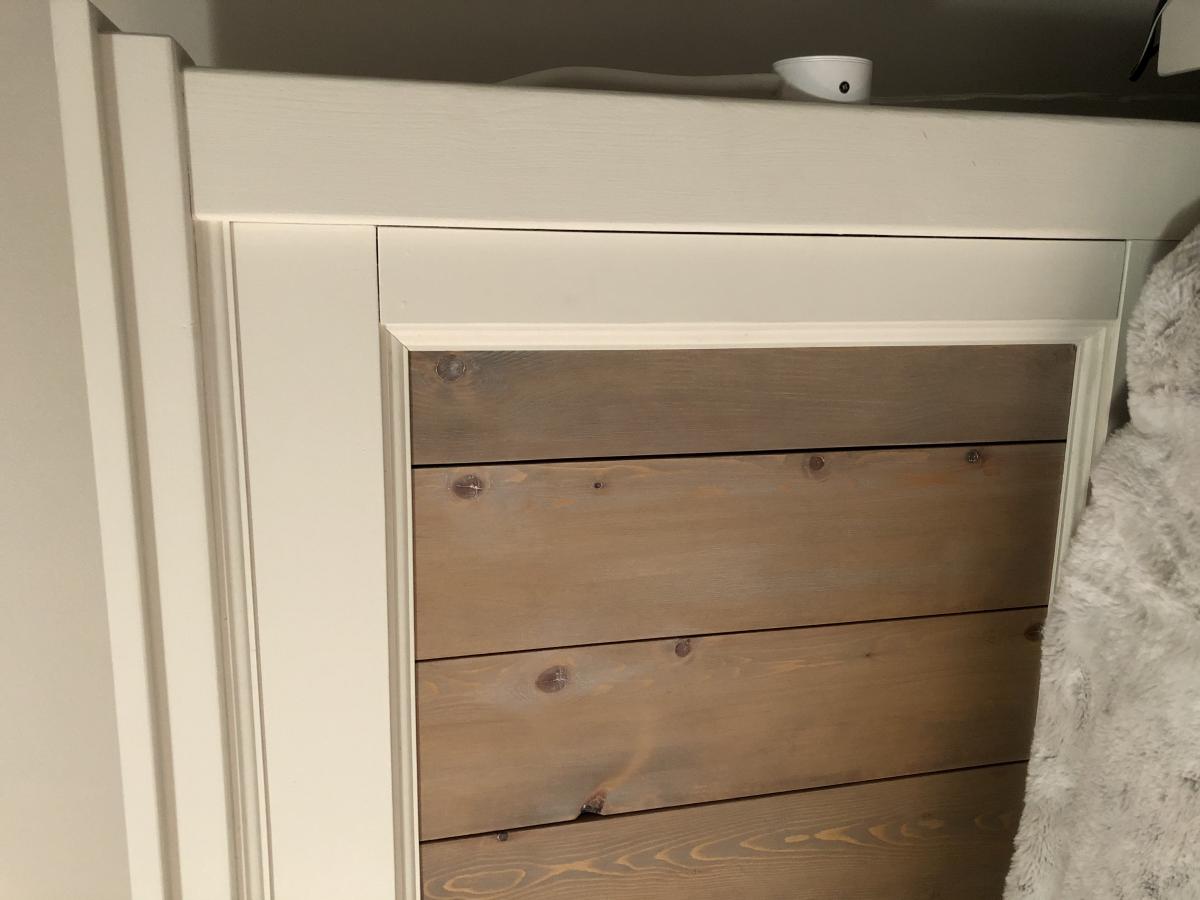
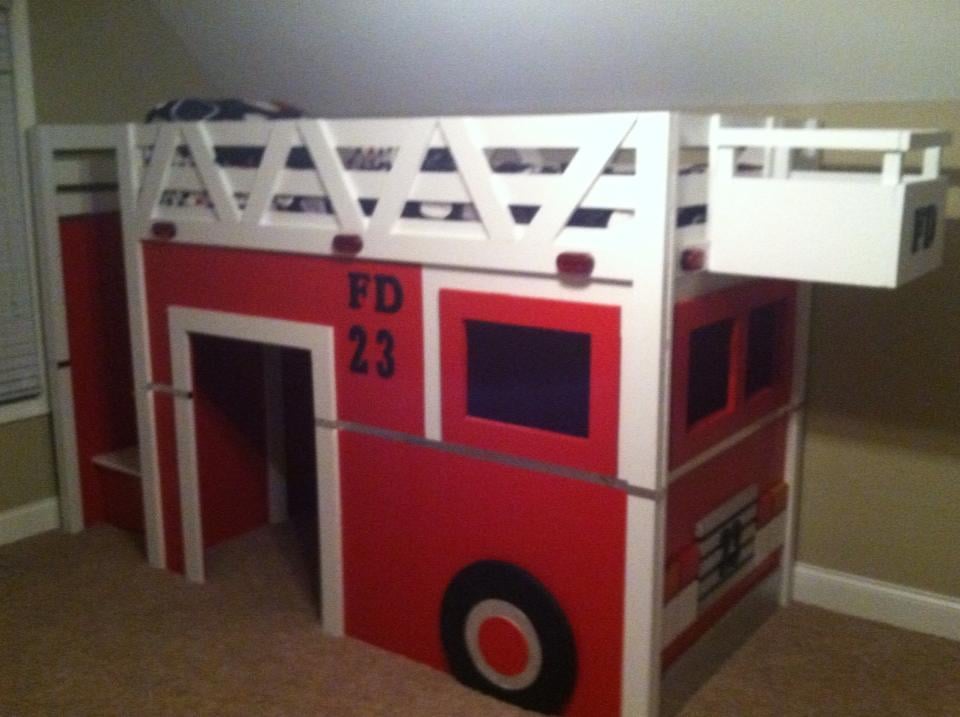
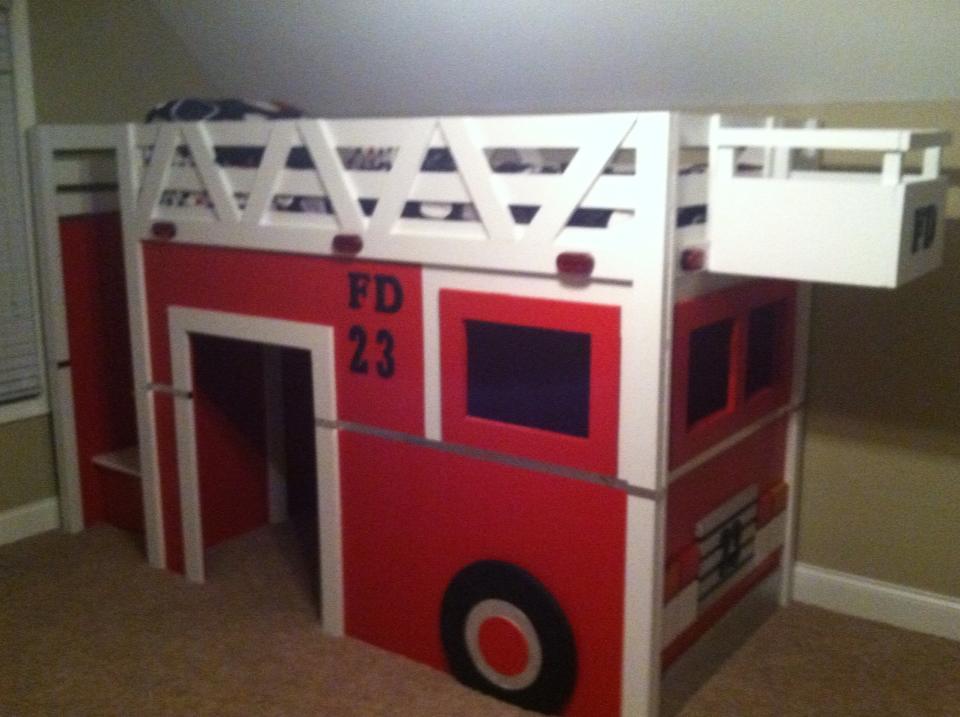
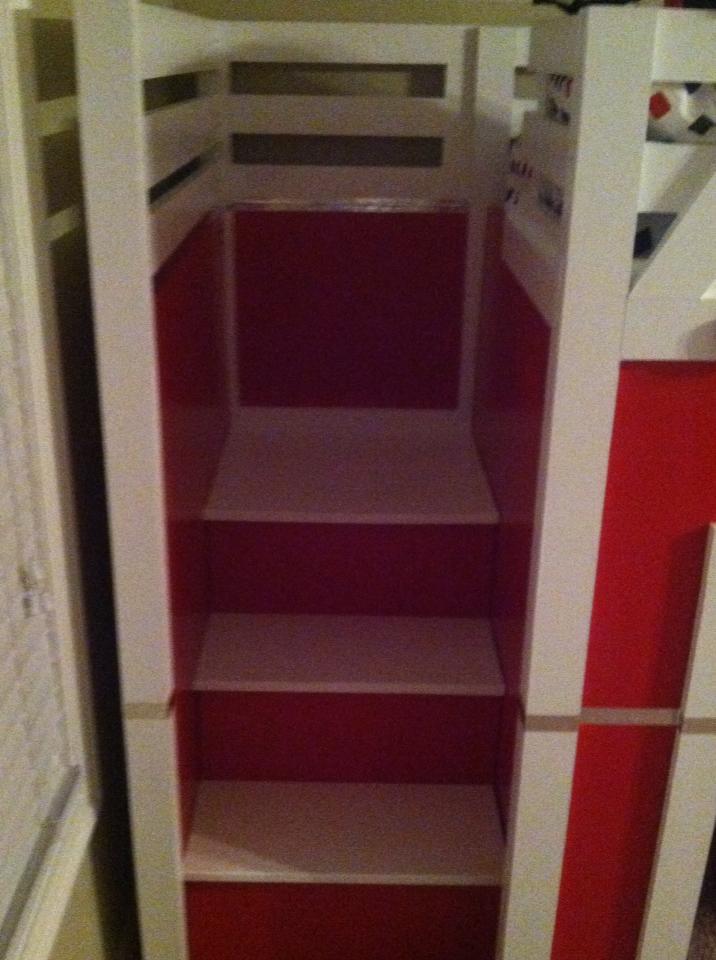
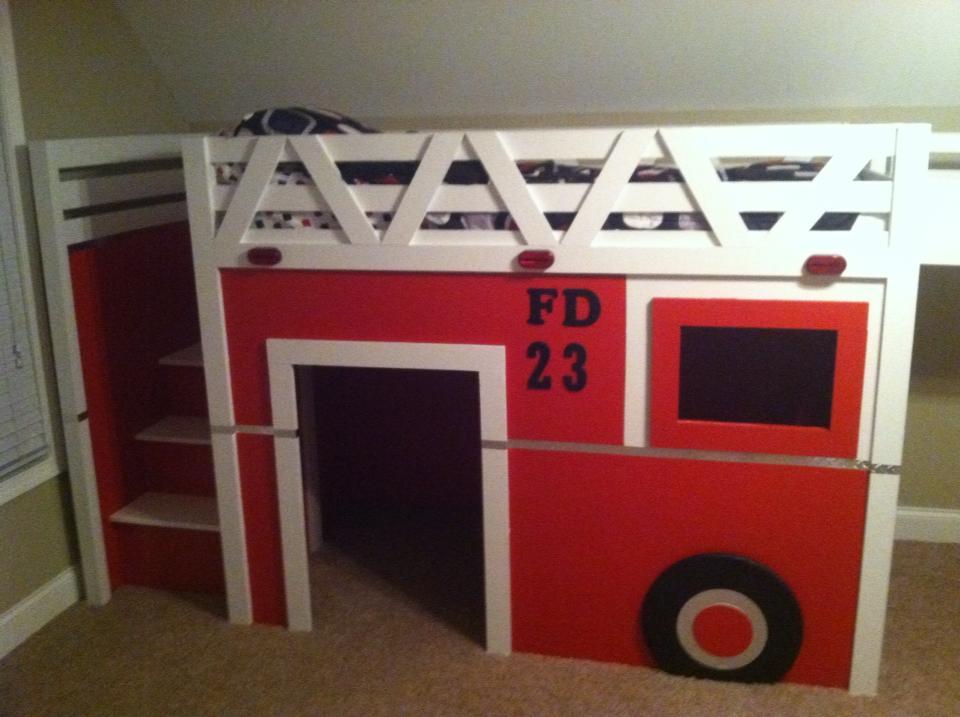
I have always been interested in some kind of projects and just to see what I can do with my hands. I am a father of 3 and hardly have the time to sit down must less pull off a huge project but I set aside some time and worked on this late at night after the kiddos went to bed. I came across this site when my wife was on pintrest one night and have been hooked ever since. I was at work one day and saw all these different projects that I wanted to do and that's when I ran across this bed and I could not wait to start working on it. I called my wife and sent pictures of the plans and said meet me at Lowes we got a project to work on lol. I had a blast working on this and yes I did run into a few problems here and there but overall it came out great. When I went in I originally was going to follow plans to a T but decided that I would make changes here and there as I went. Due to height contstrictions in my son's room I lowered the overall height by two inches which worked out perfect. I did build the steps but I also made the back where it would come apart for east movement. I only used actual pine boards on the steps and the rest is 3/4" MDF board. I ripped everything on a table saw to exact width and length and drilled all my holes with a Kreg Jig. Alot of people are afraid to use MDF but believe me I could shake that bed as hard as I can and it doesn't even budge one bit. It is heavy duty built for a monkey child like I have. The project overall took around 30 hours from start to finish. My only suggestion would be to paint every step of the way instead of waiting to paint until the end like I did. If you have any questions about the build feel free to ask and I will help out the best I can. Thanks Ana for the plans and thanks to atouchofarkansas for the original inspiration for you guys have gave my son years worth of enjoyment. Can't wait for the next project to start.
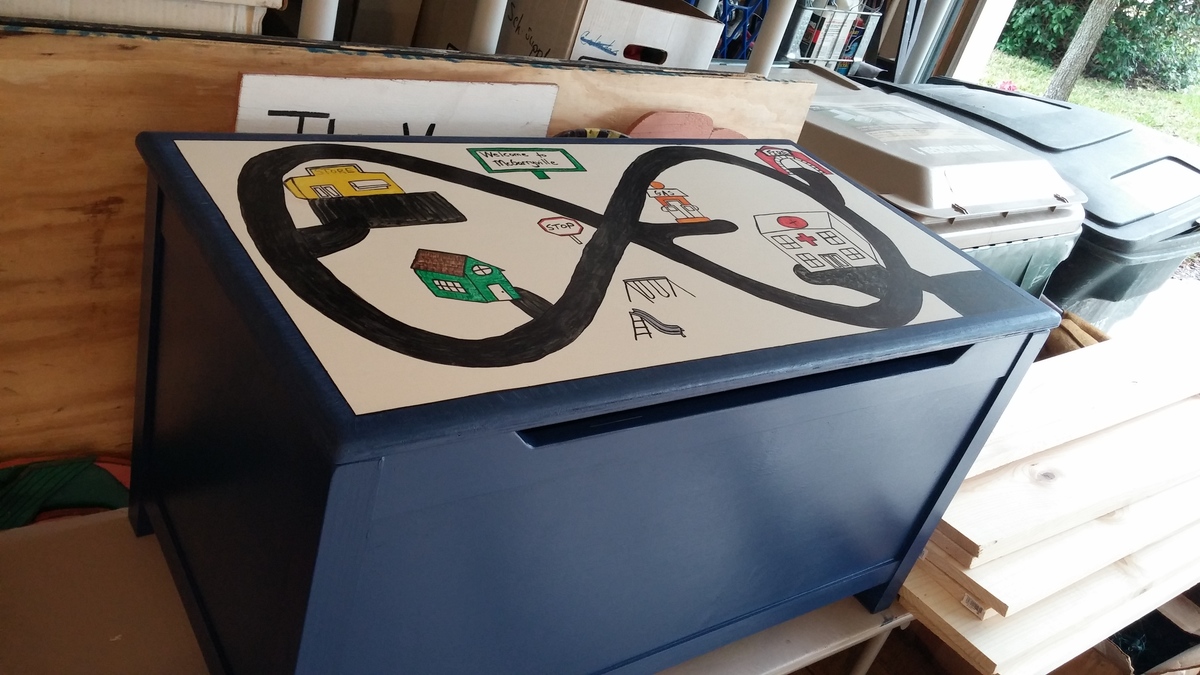
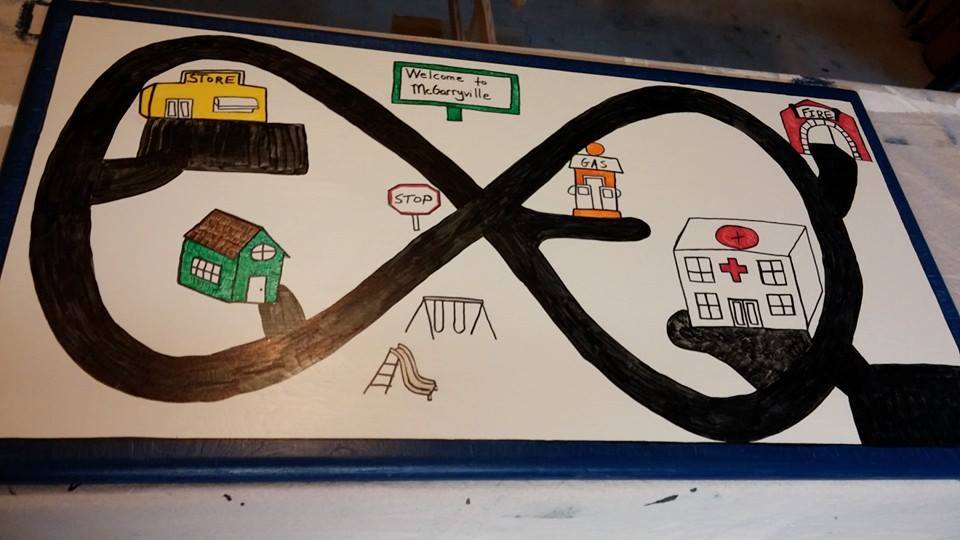
This is a toy box I made for my cousin's son for Christmas.
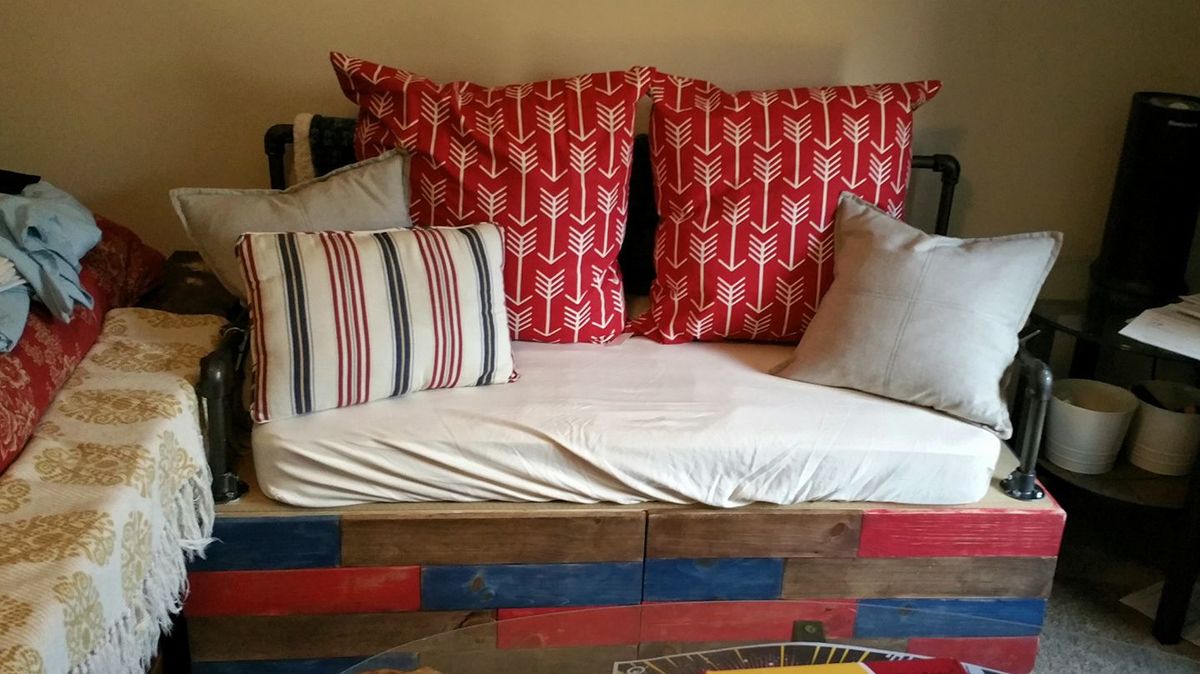
Wanted a couch that could also fix my storage issue for all my paperwork. I saw a plan for a filing cabinet bench and some plans for a storage couch and used them as inspiration to make my own. The railings are made with PVC pipe because of my budget, they hold up under my weight, but probably wouldn't work for a heavier individual. I'll eventually upgrade to iron pipe when it's in the budget. Still trying to figure out what to do for the armrests.
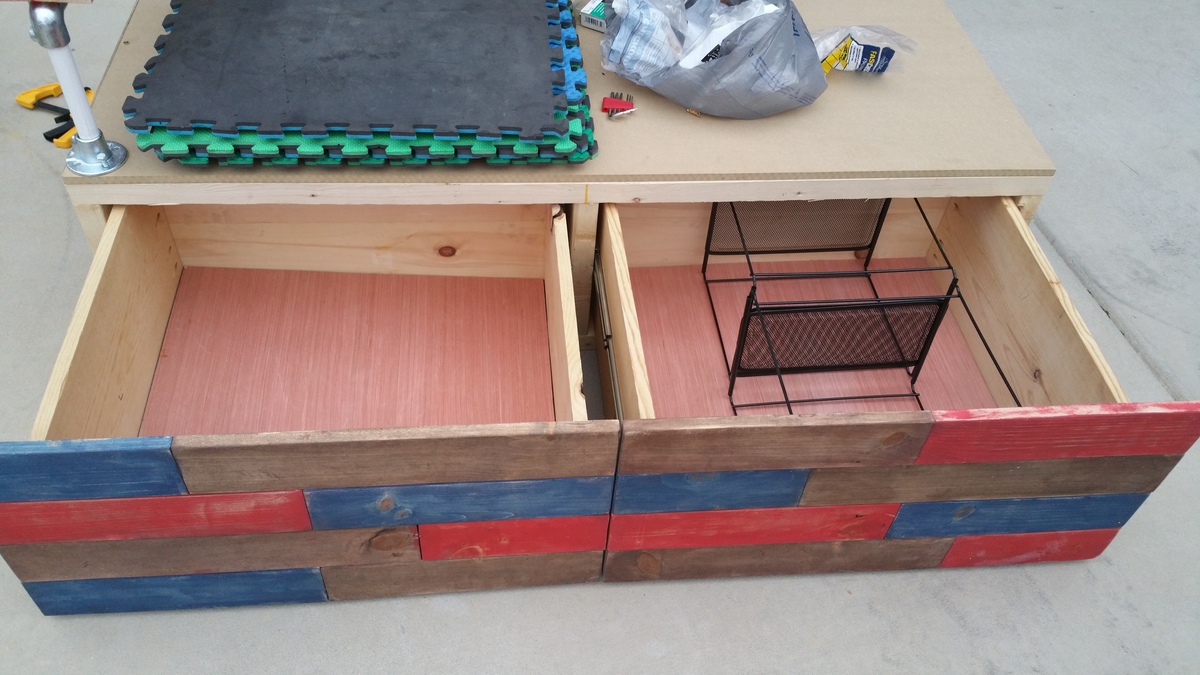
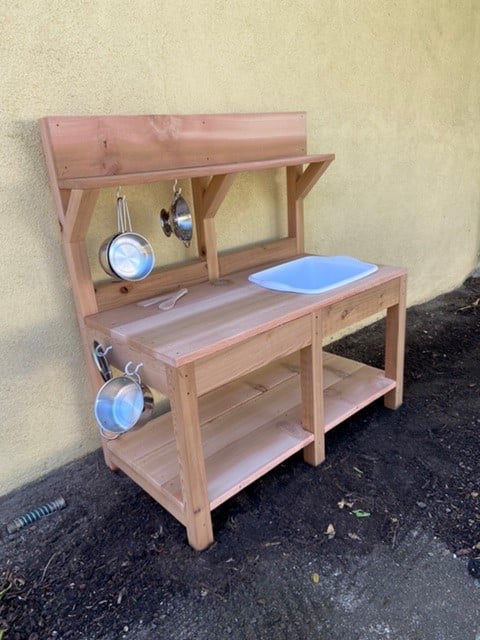
This was so easy and fun! We splurged a bit on nice cedar because apparently the cedar mills are down due to covid so the less expensive fencing isn’t so readily available. The hubs helped me rip down the larger boards, then I cut and assembled it all. Not including the buying and ripping, this took me maybe 4 hours to complete and we ended up with a beautiful kitchen for my daughter’s 5th birthday! Thanks for these super easy to follow plans!
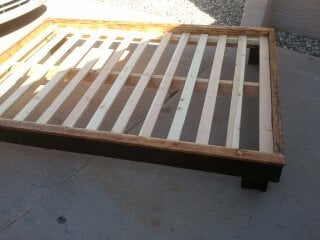
Easy Peasy!
Materials & cost: Framing grade pine and 1x3 furring strips. $110 including finish materials.
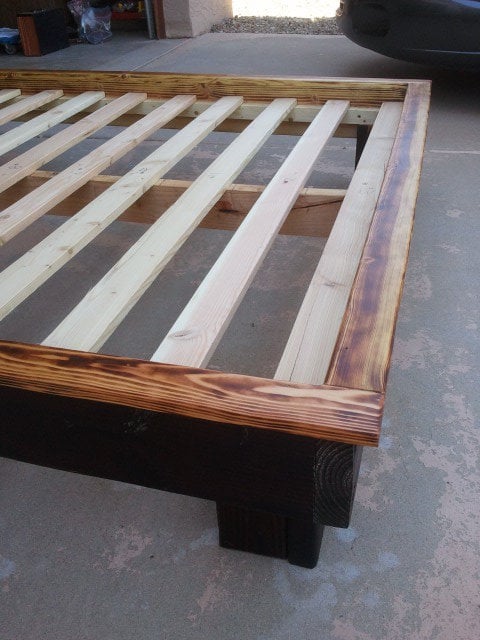
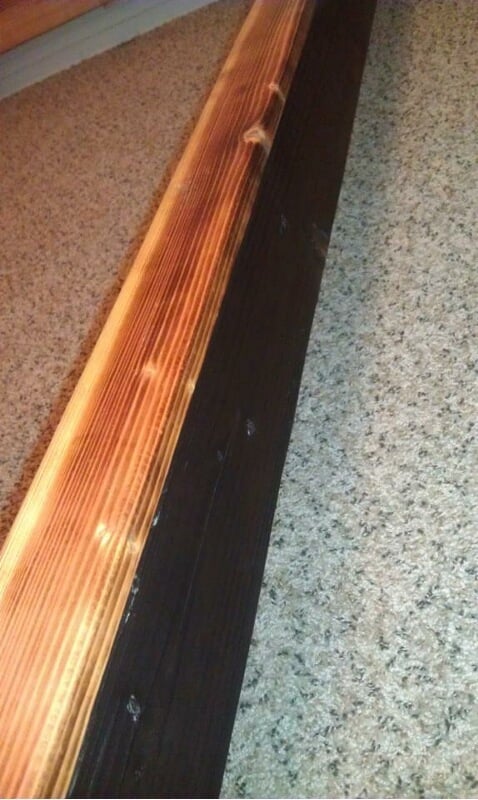
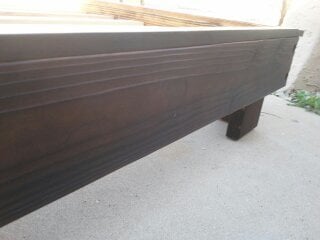
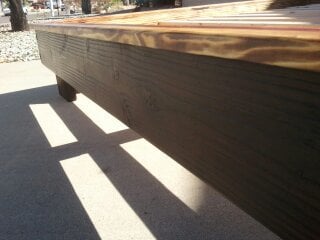
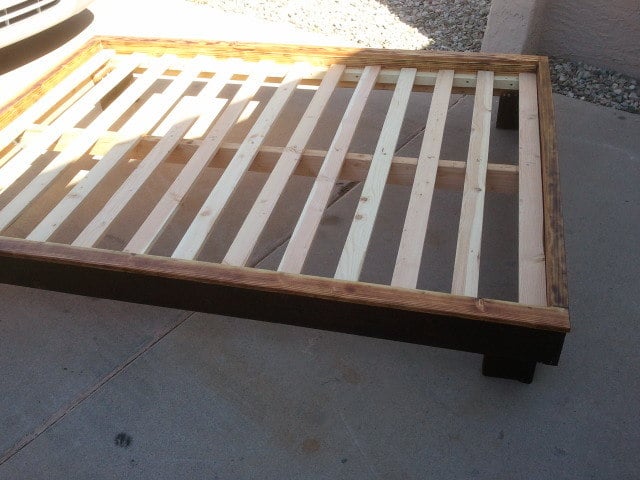
I used some of the excess 2 x 6 that I had left over to make the feet square instead of just using 2x4s like in the plans. just cut them to the same length as the 2x4 feet, then butt them up against the 2x4 feet and mount them to the frame.
Also, I made the support beam removable by using face-mount 2x4 joist hangars to hold it instead of bolts.
Total build time = less than one week
Next project will be a custom headboard for it..
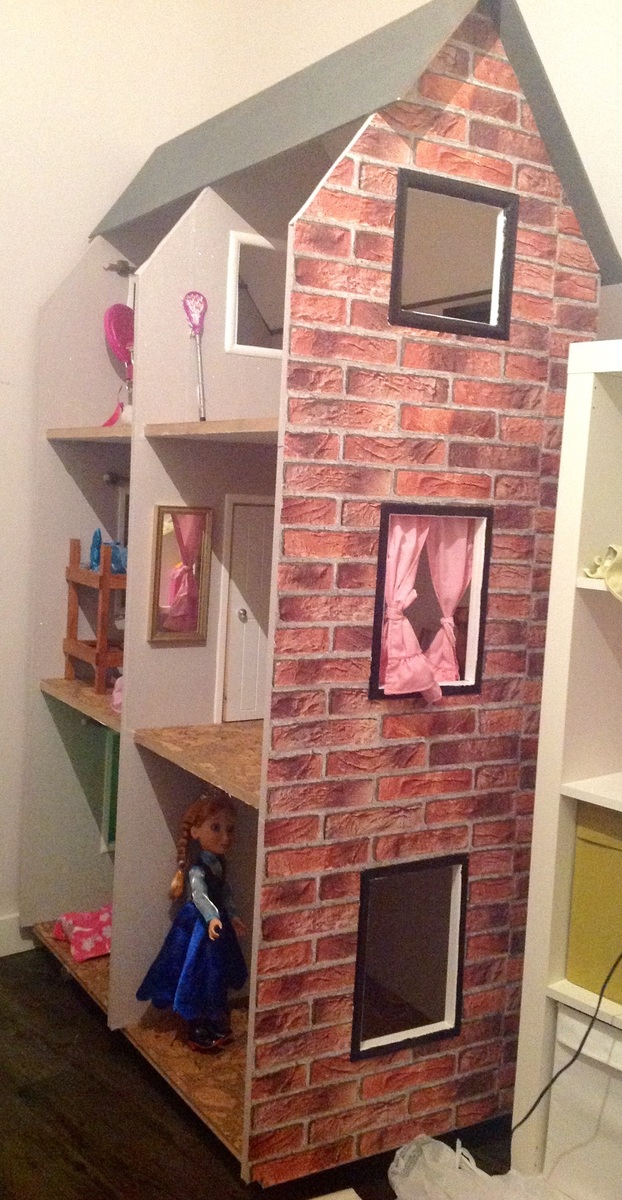
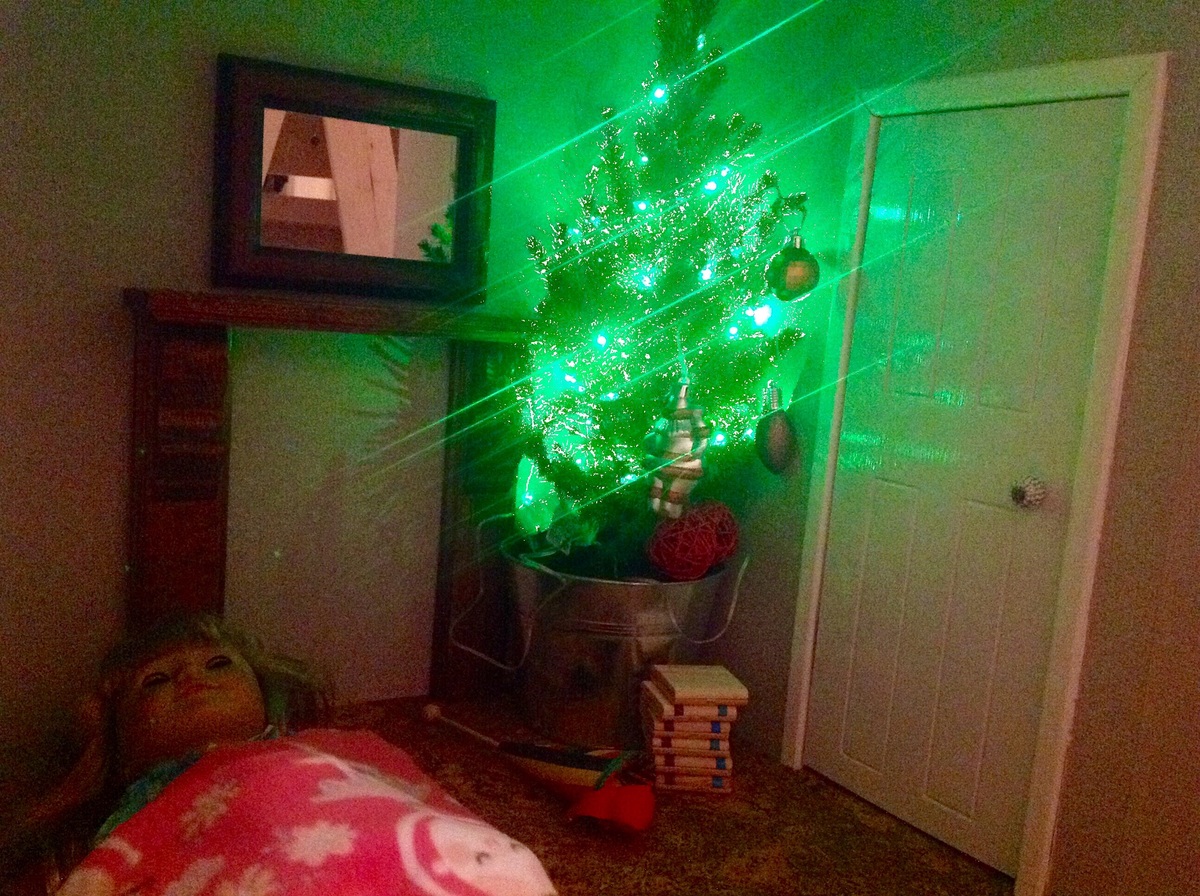
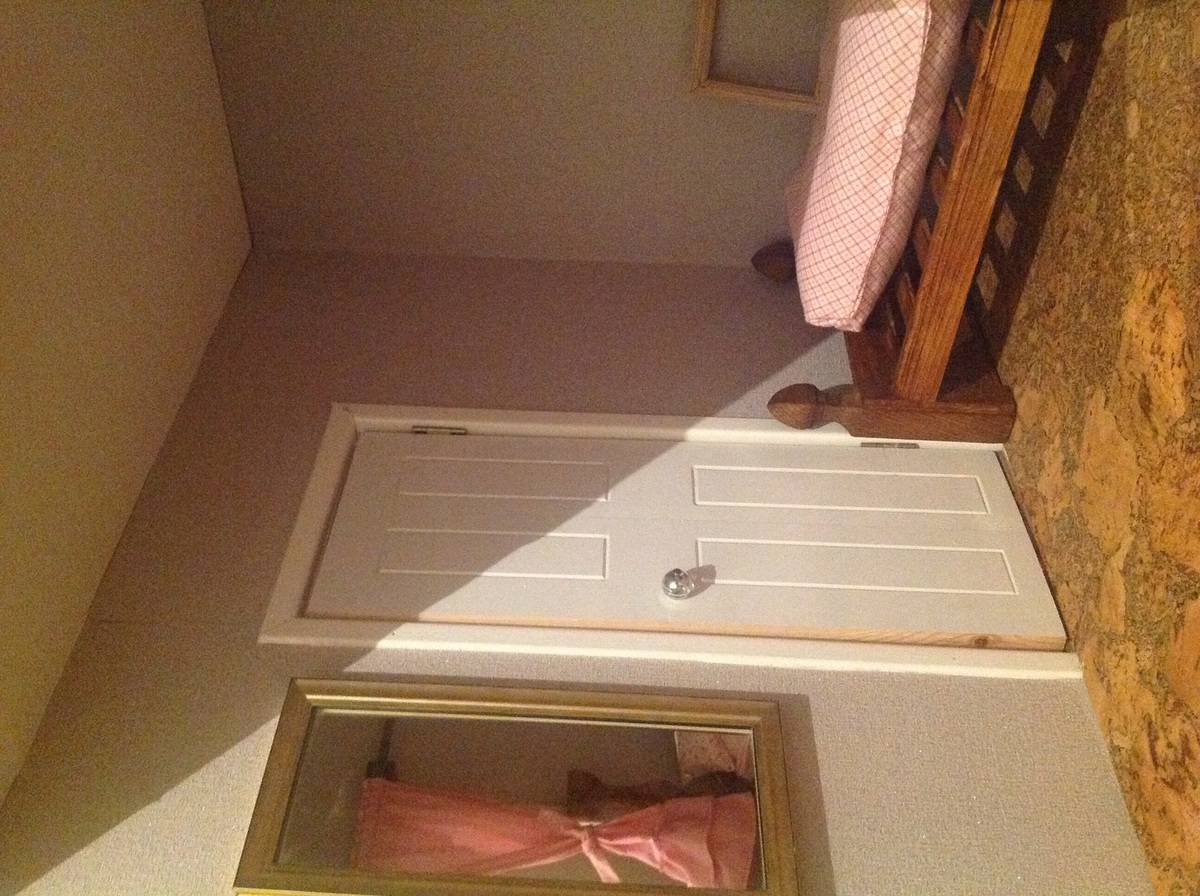
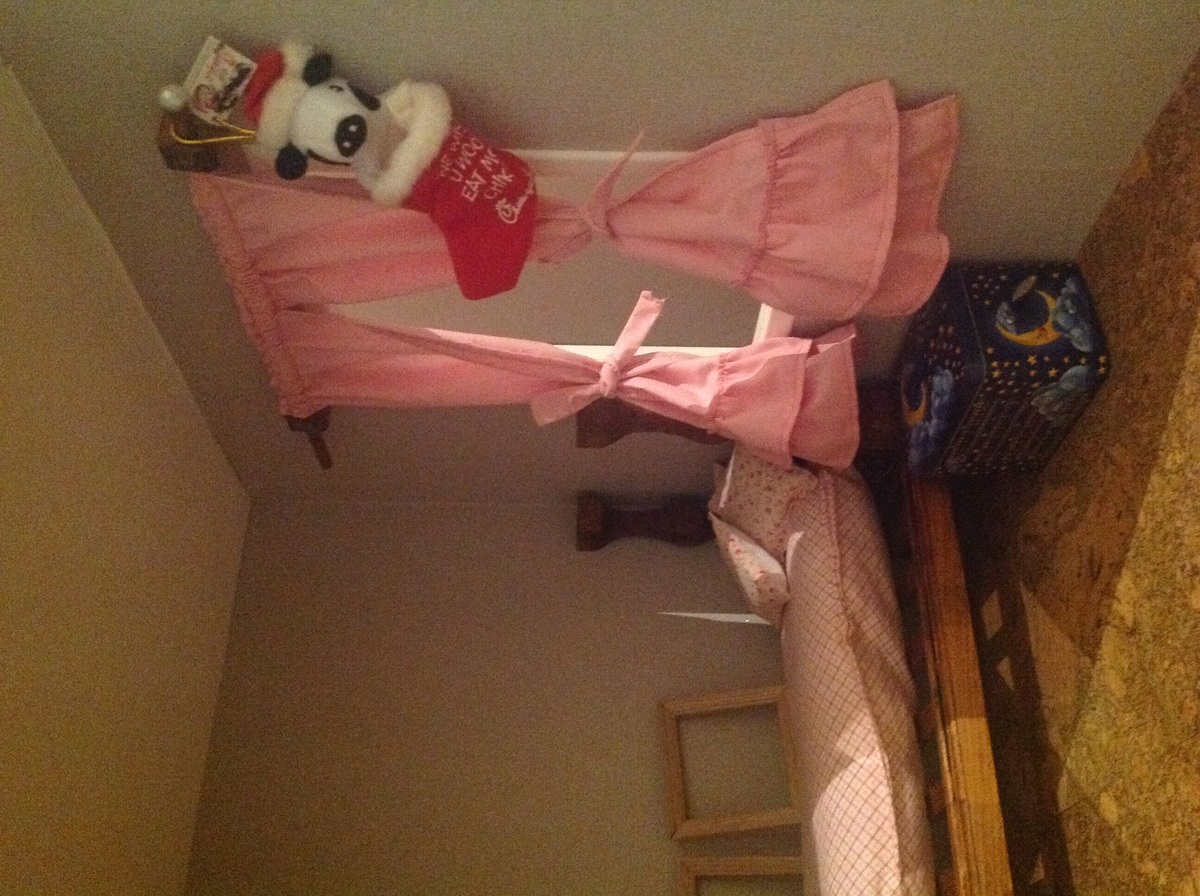
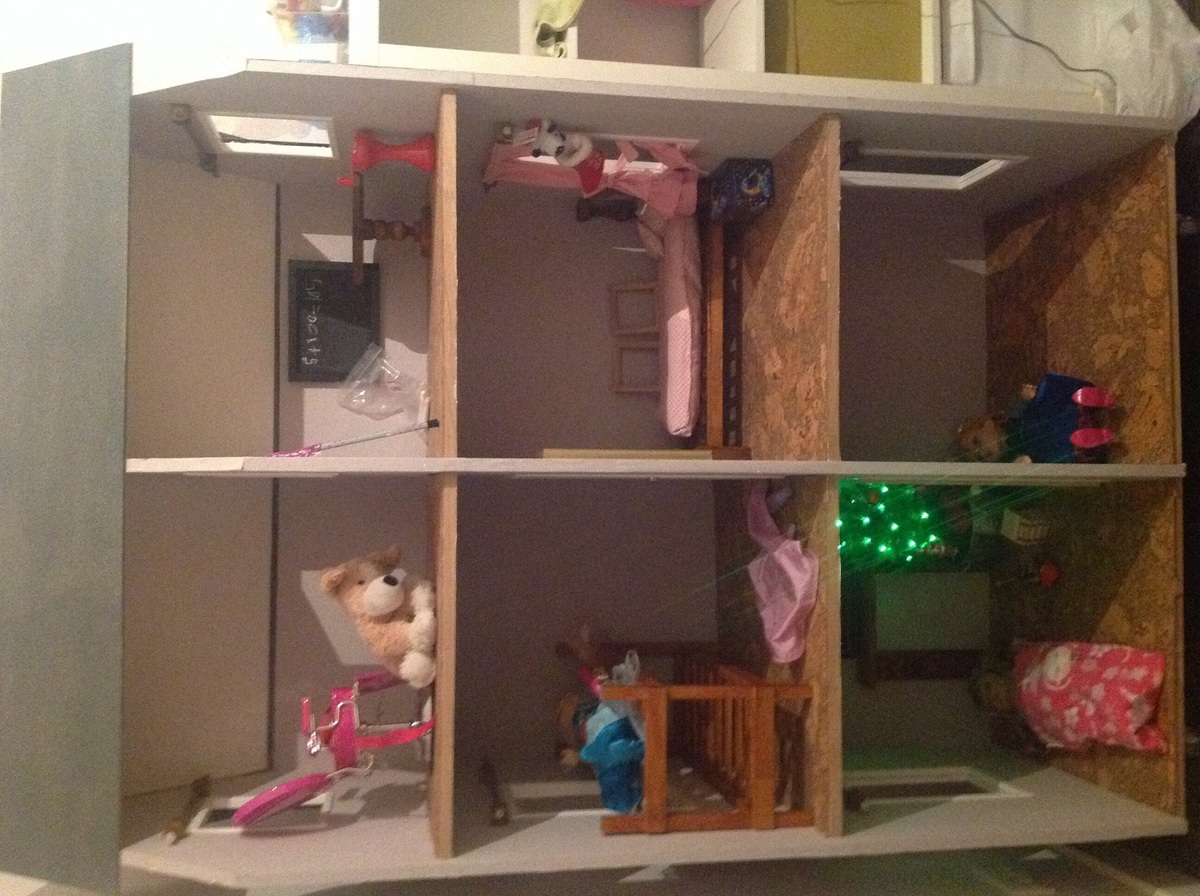
I followed the plan for making the shell of the house, but since I have access to help and the on-post woodshop I made a few changes. We cut a 2x4 to fit the doorway, and then used the lazer cutter to make the panels, after sanding and painting, I used a necklace bead as the doorknob. We also cut some 1" square blocks and drilled the center, the used the grinder to round them out to make a holder for the dowl curtain rod. I also used scrap frame wood for the window/door trim. Then I covered the entire house in wallpaper! The outside is a brick wallpaper, the inside is a gray/silver with sparkles, and the ceiling is white with sparkles. I used cork for the floor so it would be soft and warm feeling. It took me a long time, but I am very happy with the results. My daughter was thrilled to recieve this on Christmas morning!

Built a pair of these for the master bedroom as my first project... Not too bad, very functional, and I was able to use mostly wood I had laying around...