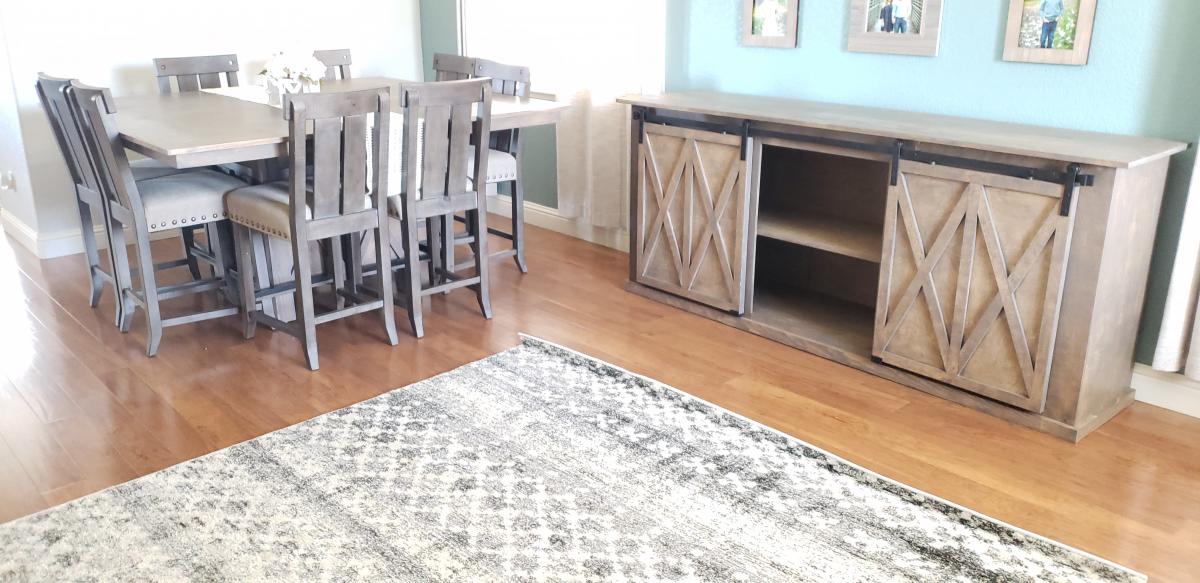
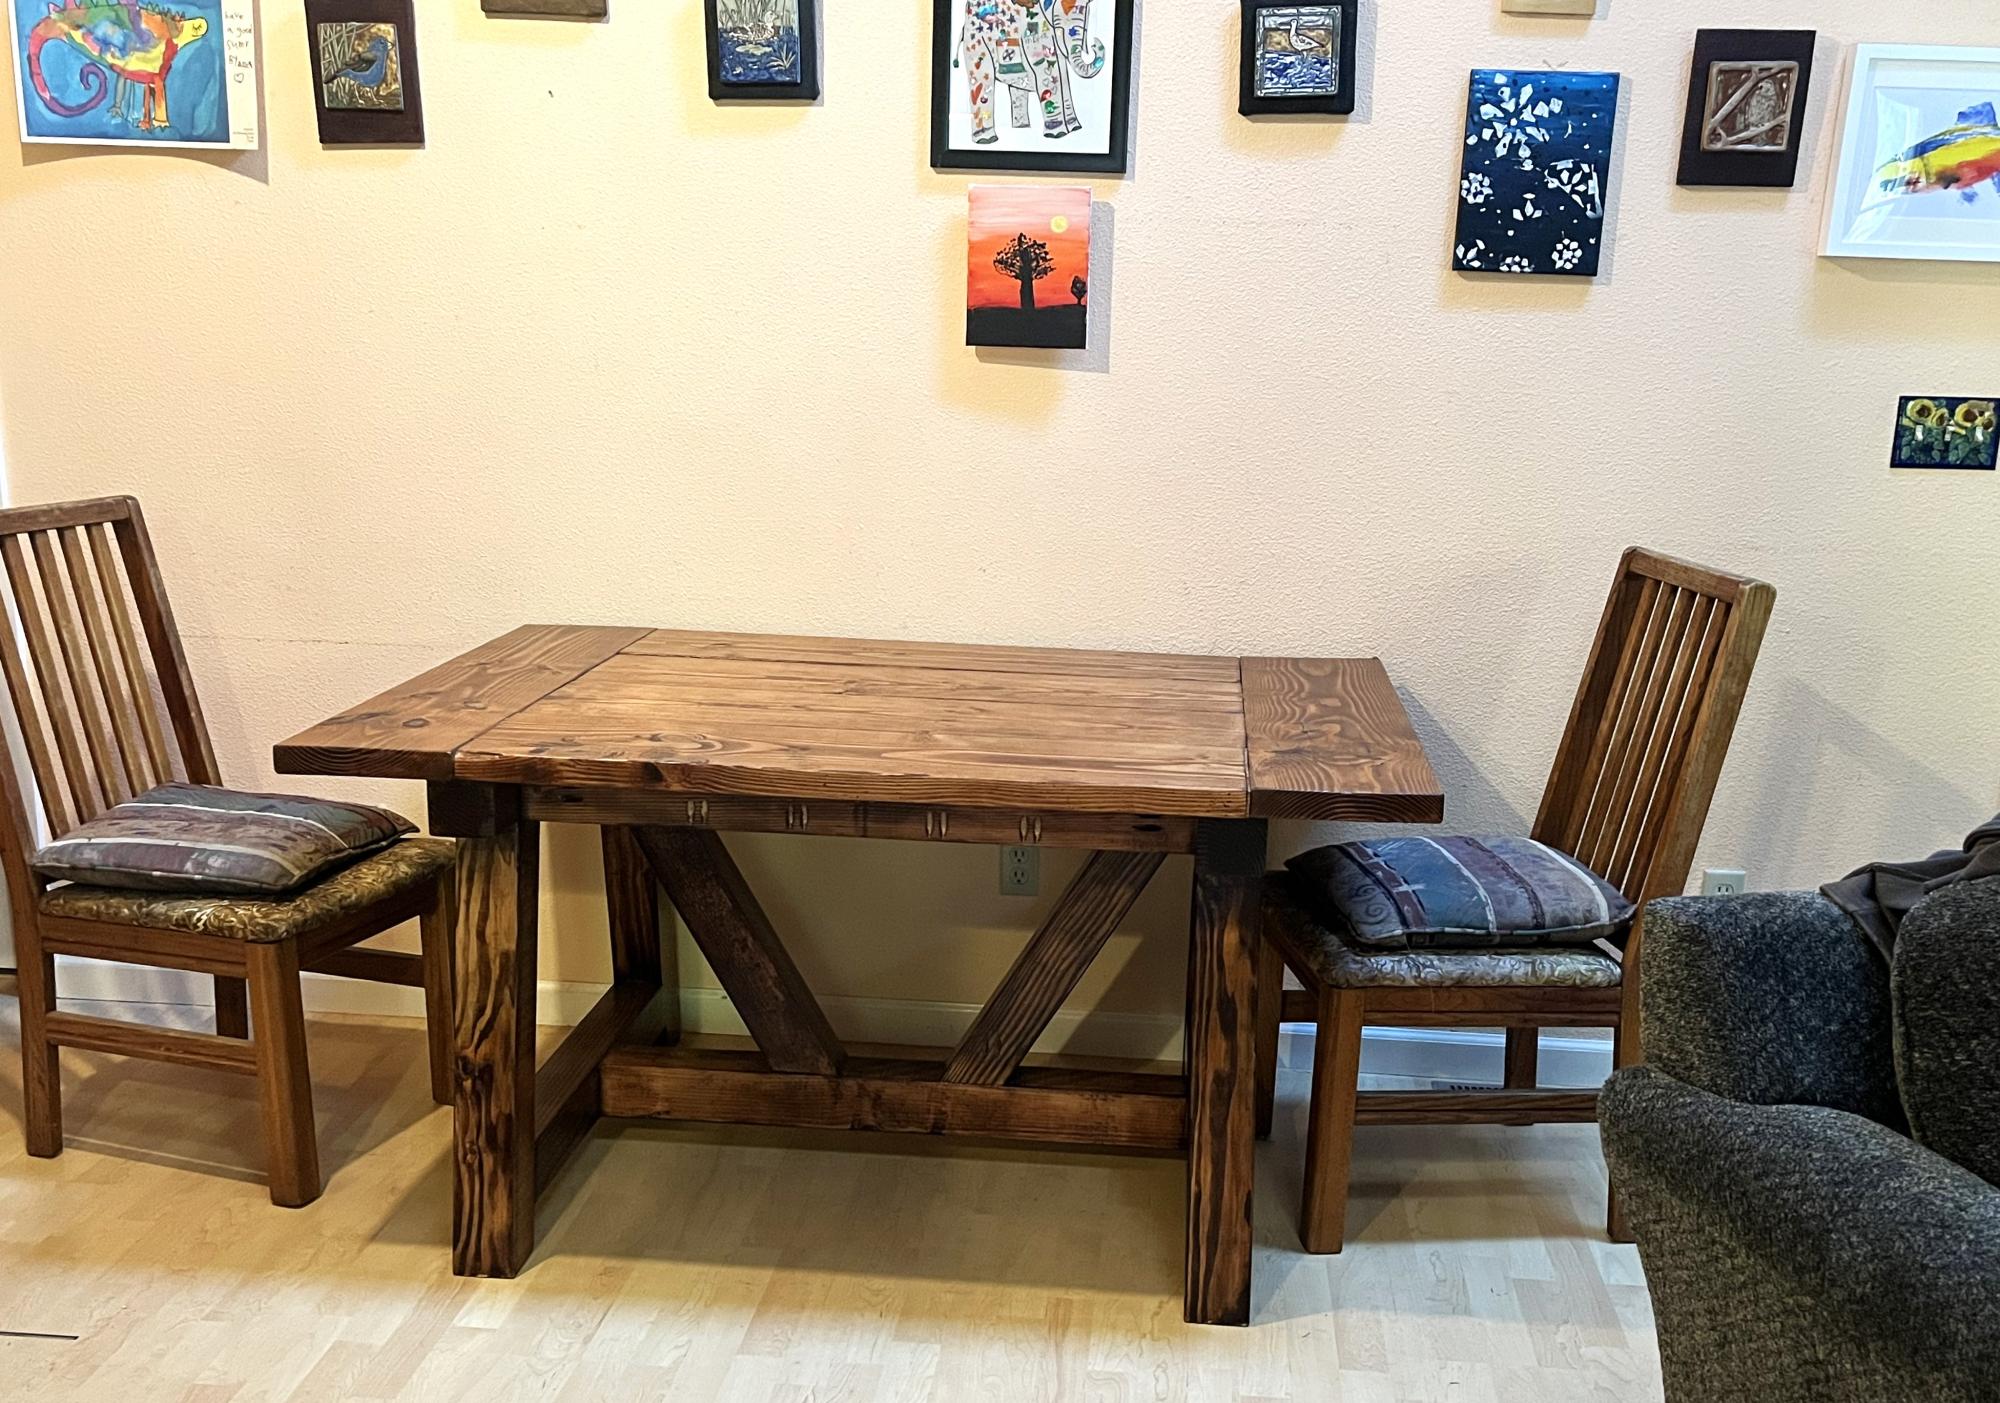
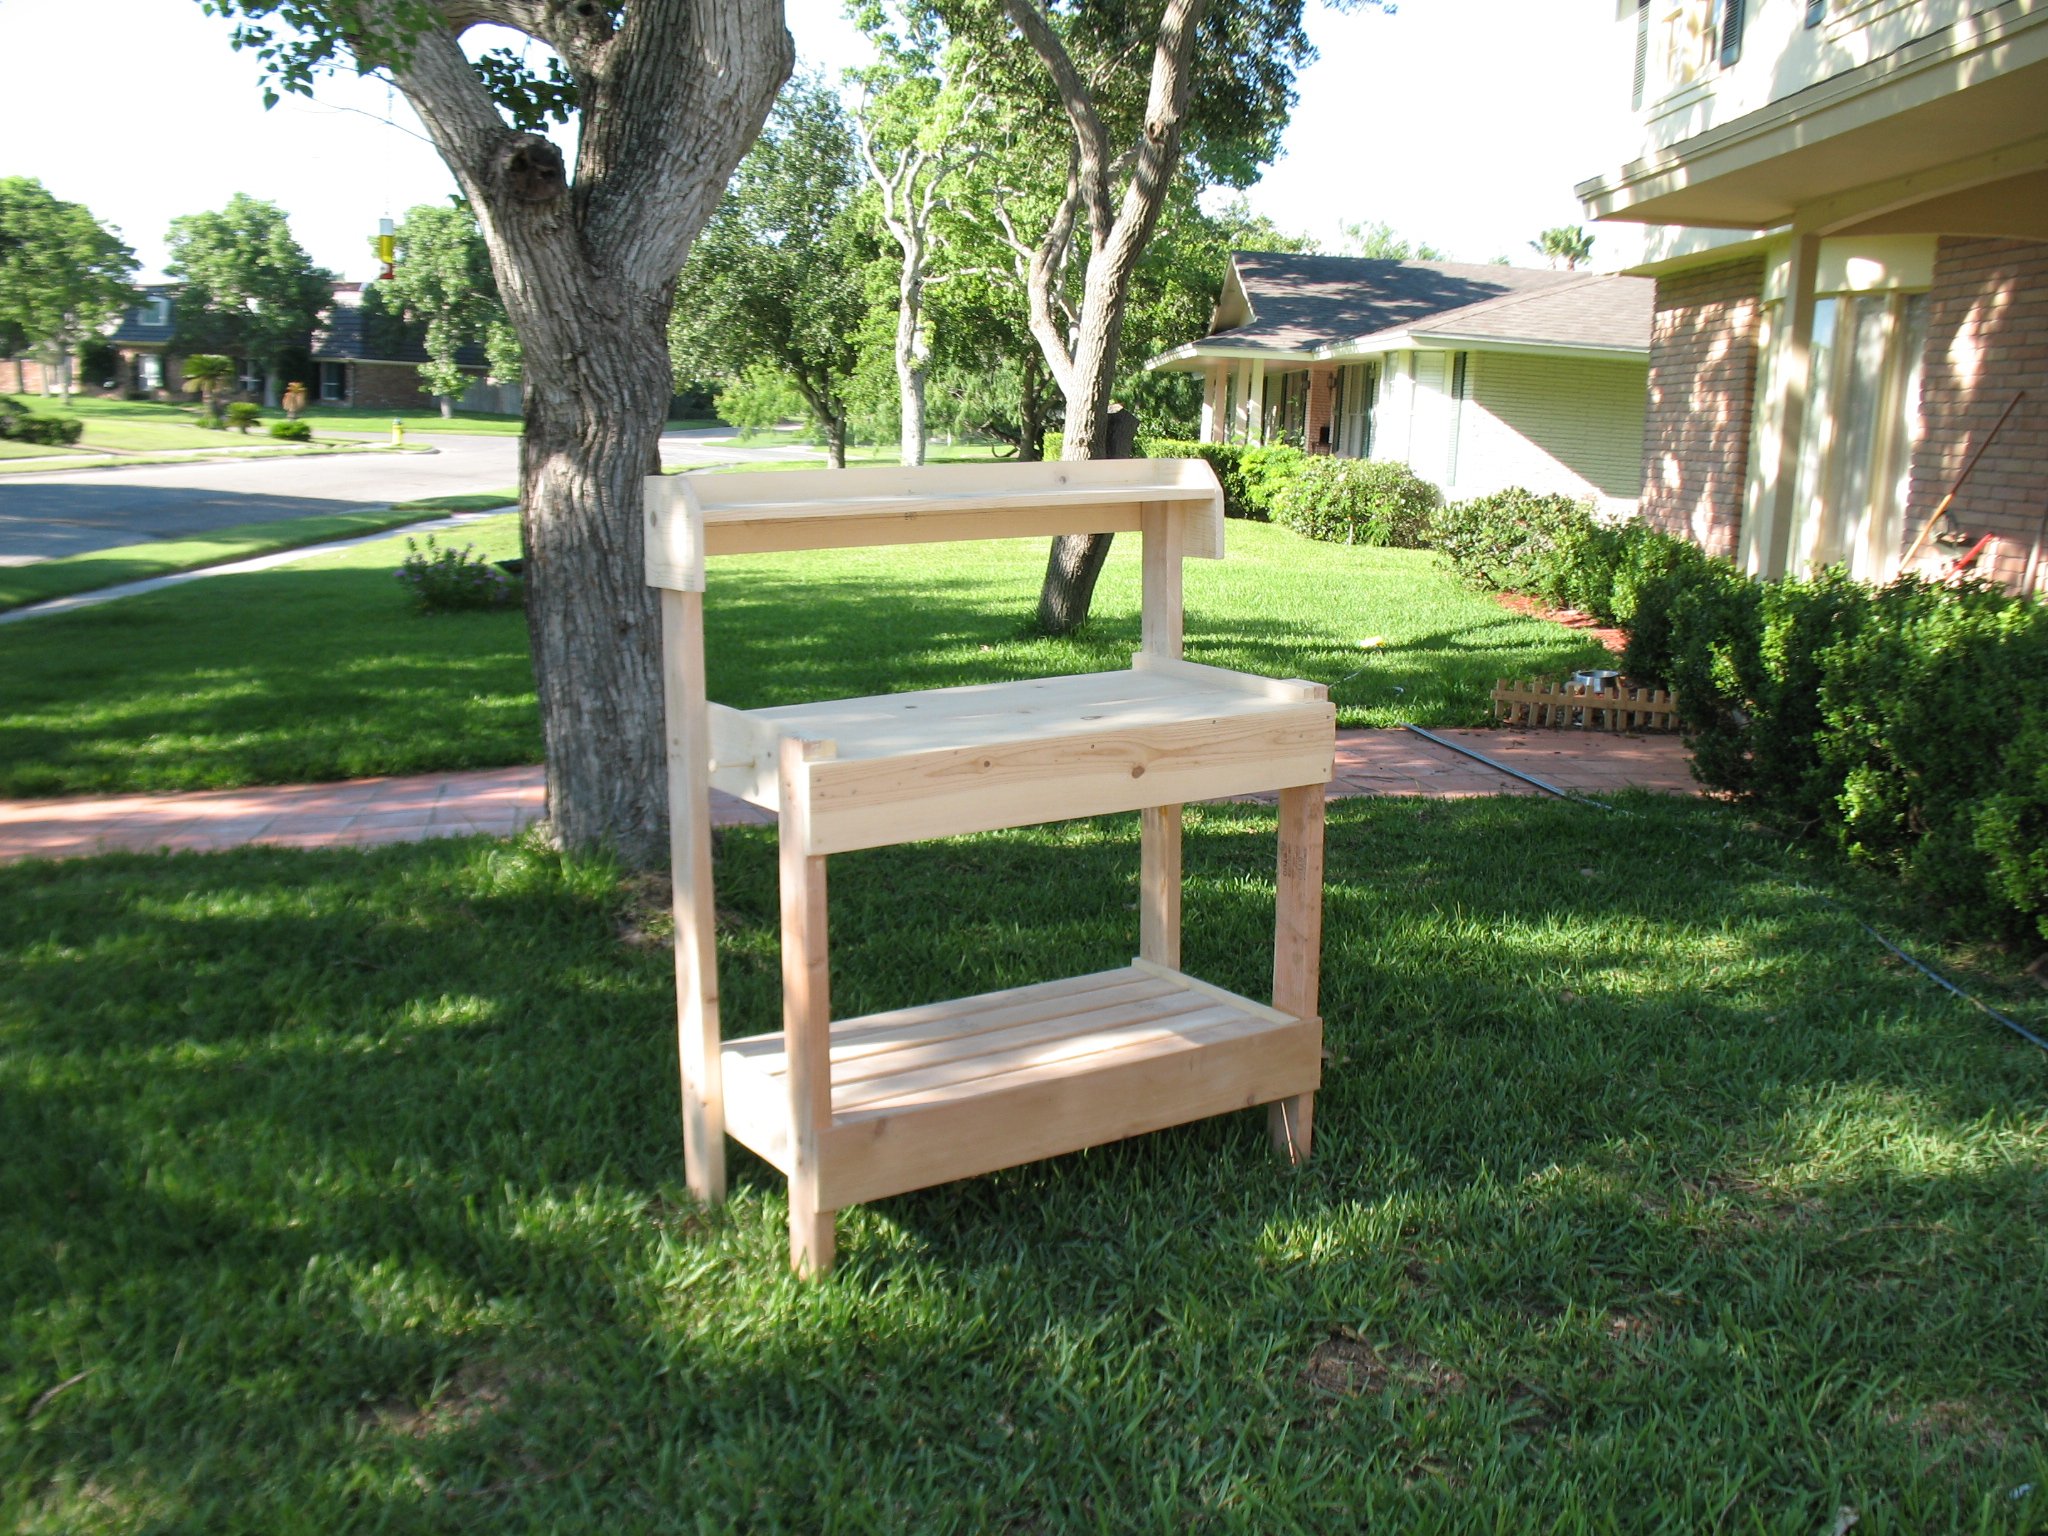
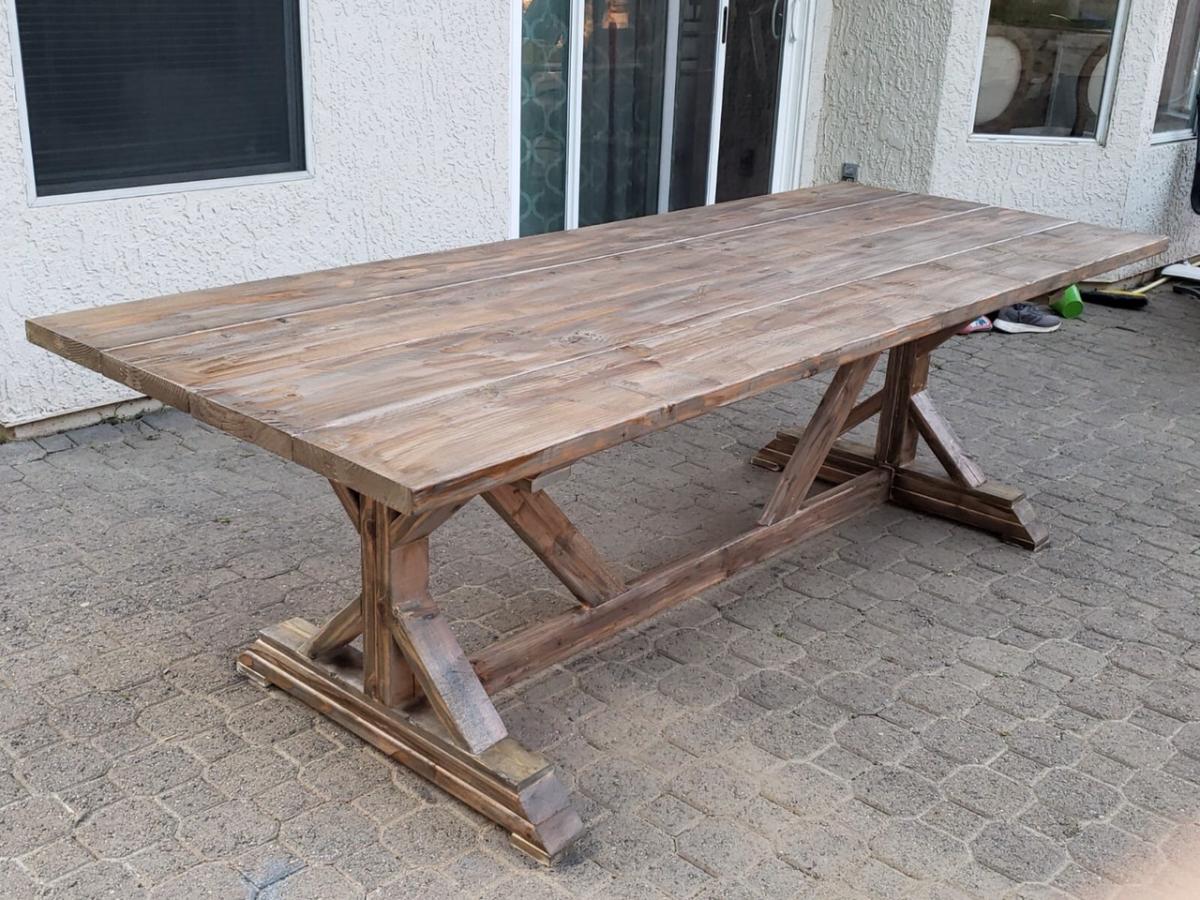
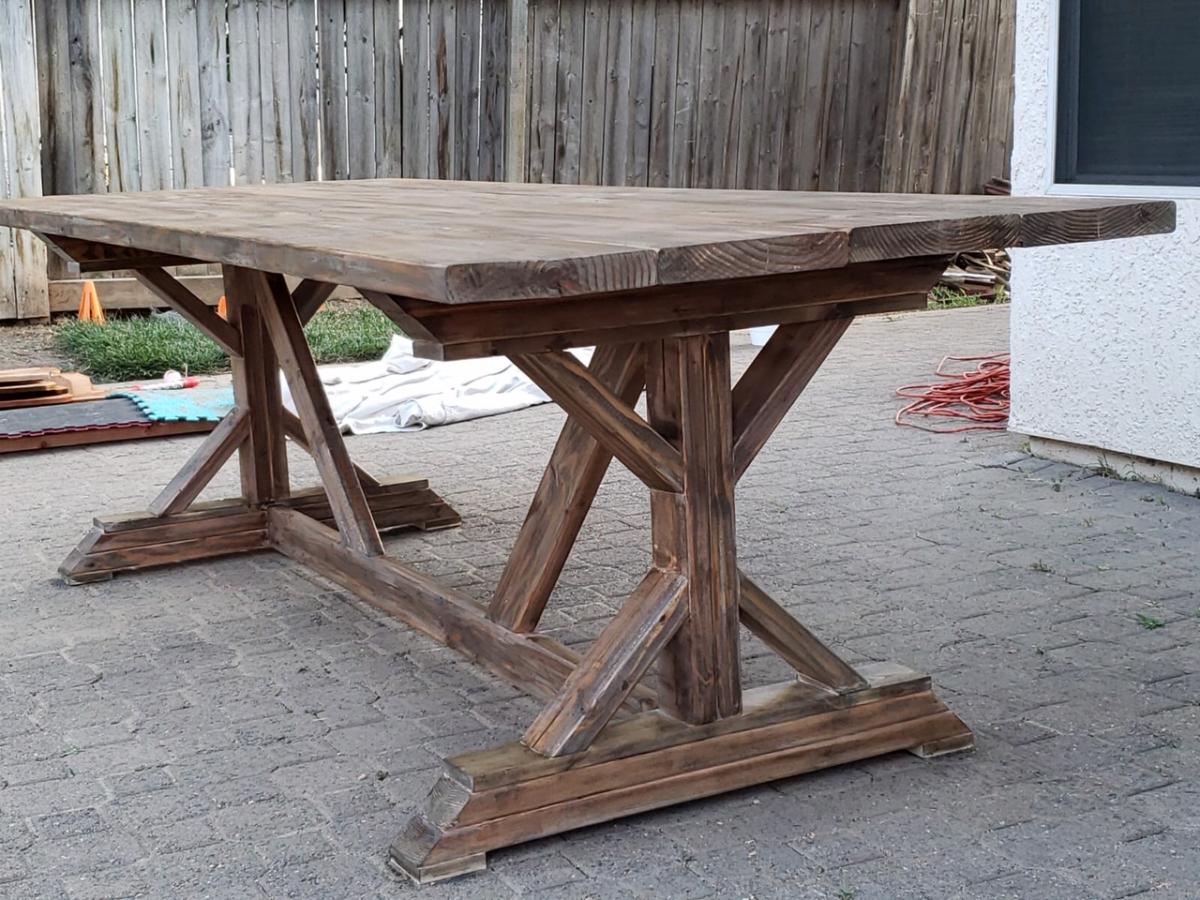
Farmhouse Table
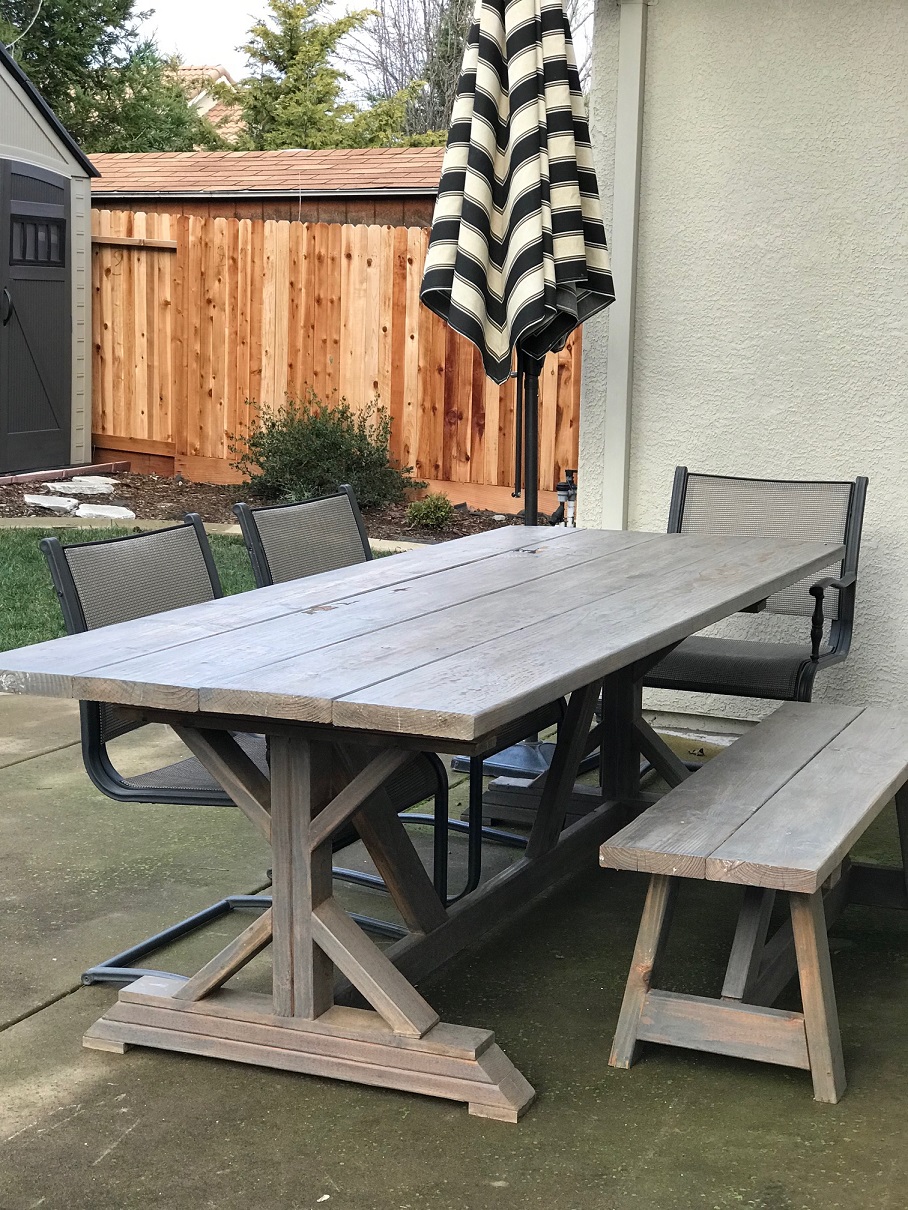
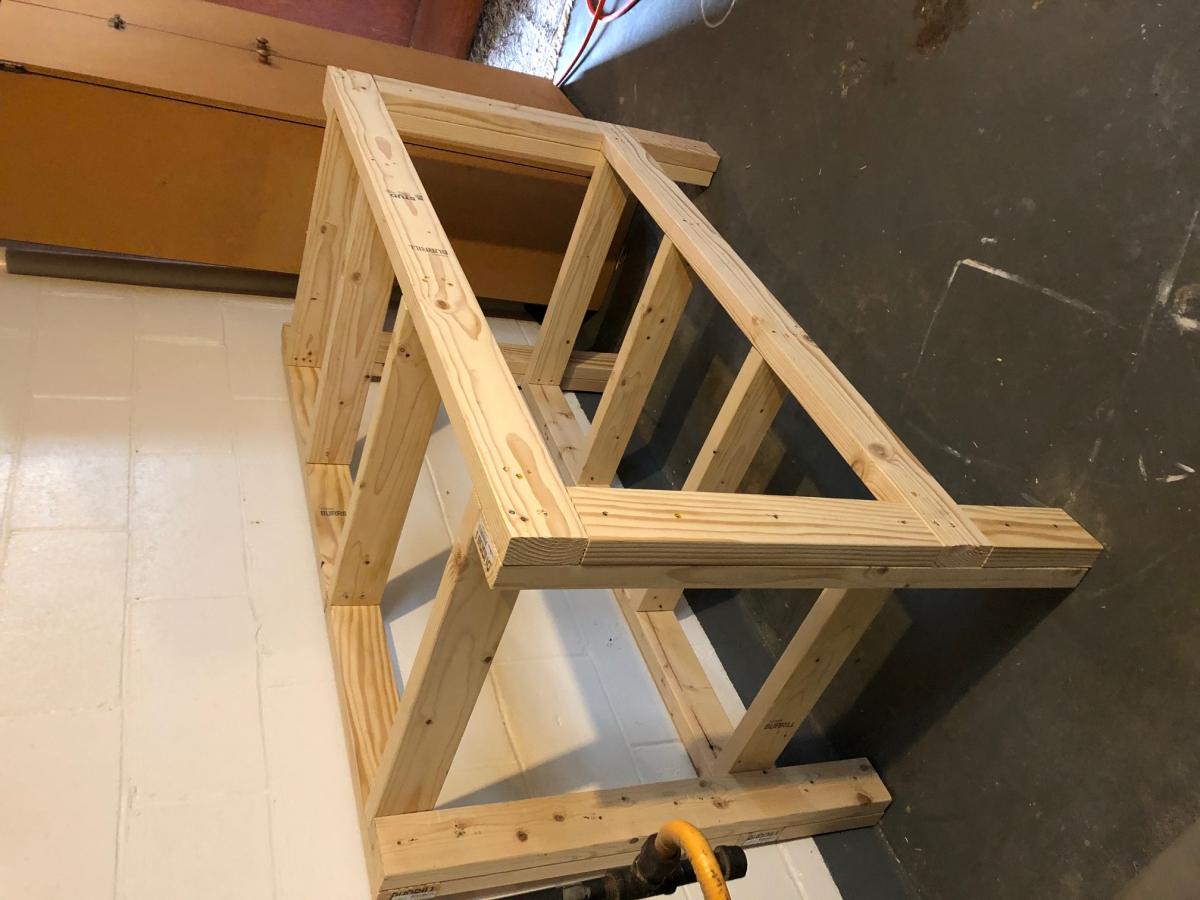
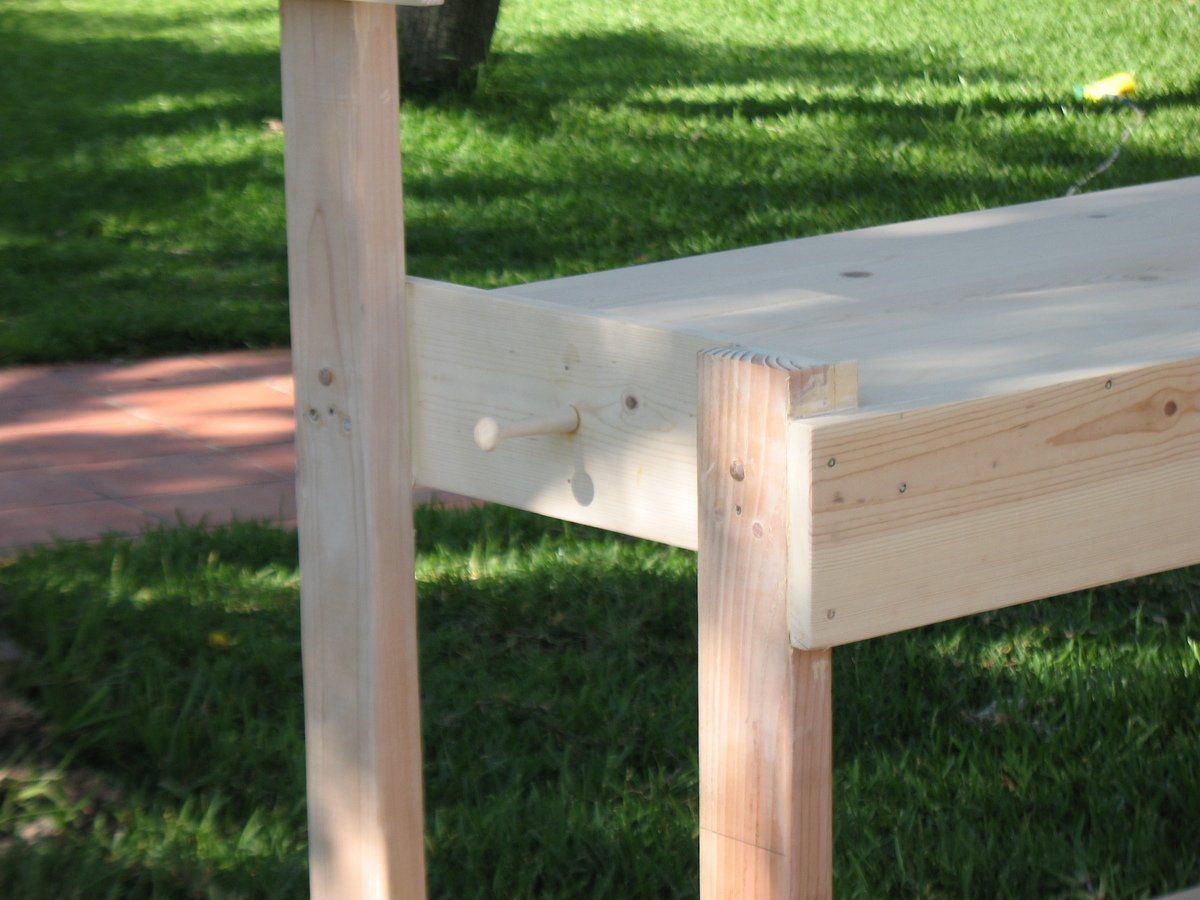
This table took me working on it on and off for two days. The most difficult part was getting the legs leveled. After adjusting a couple times,I got them right and the rest was easy.
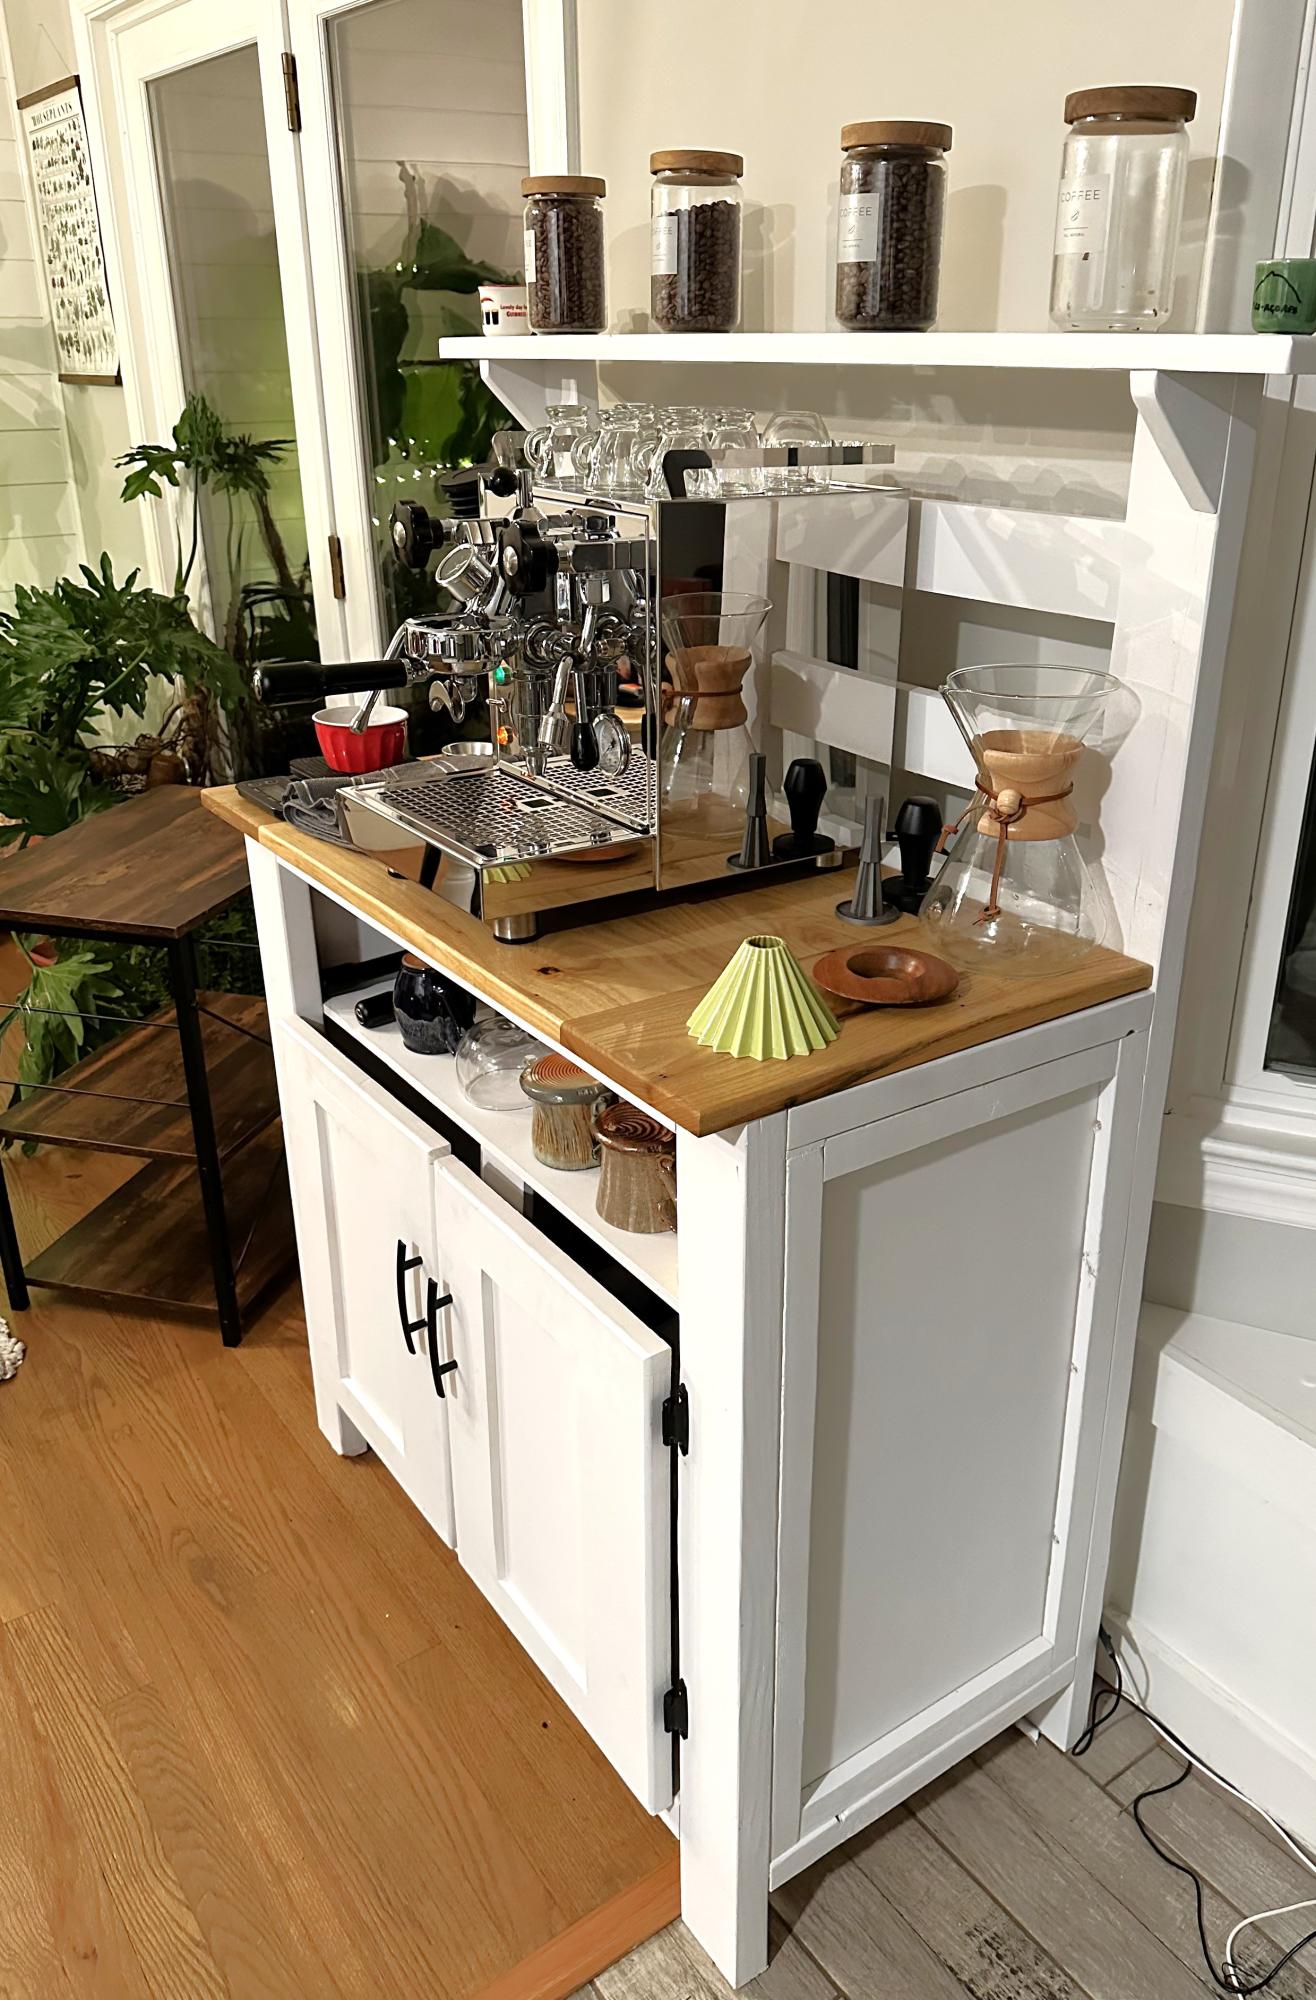
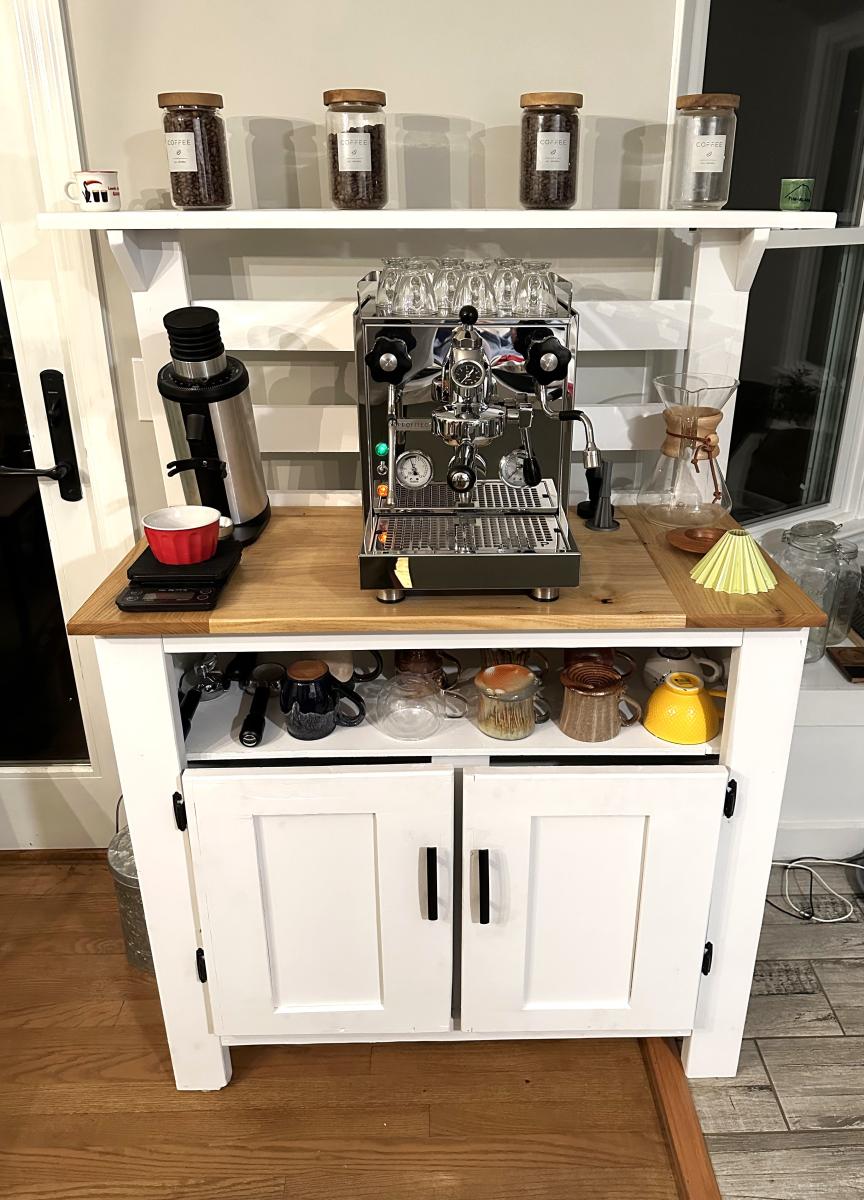
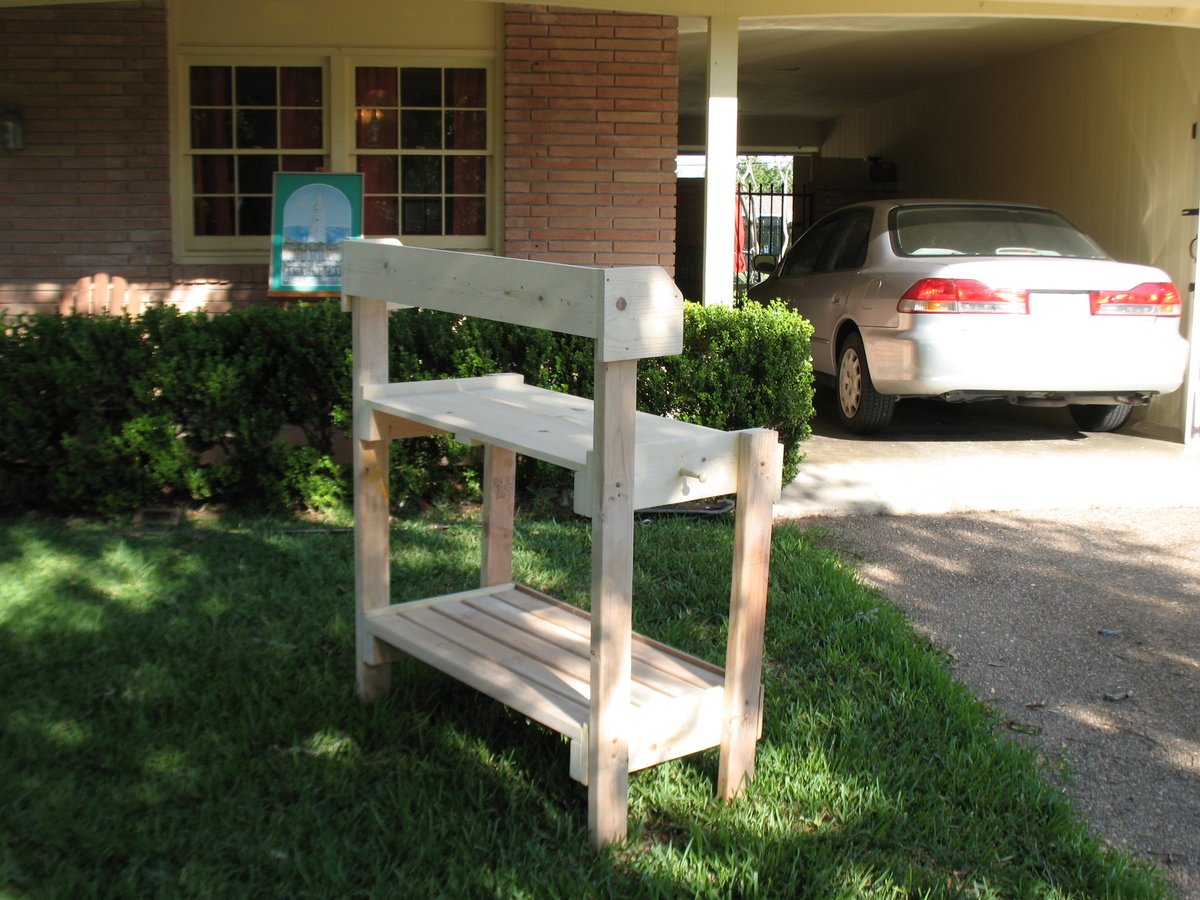
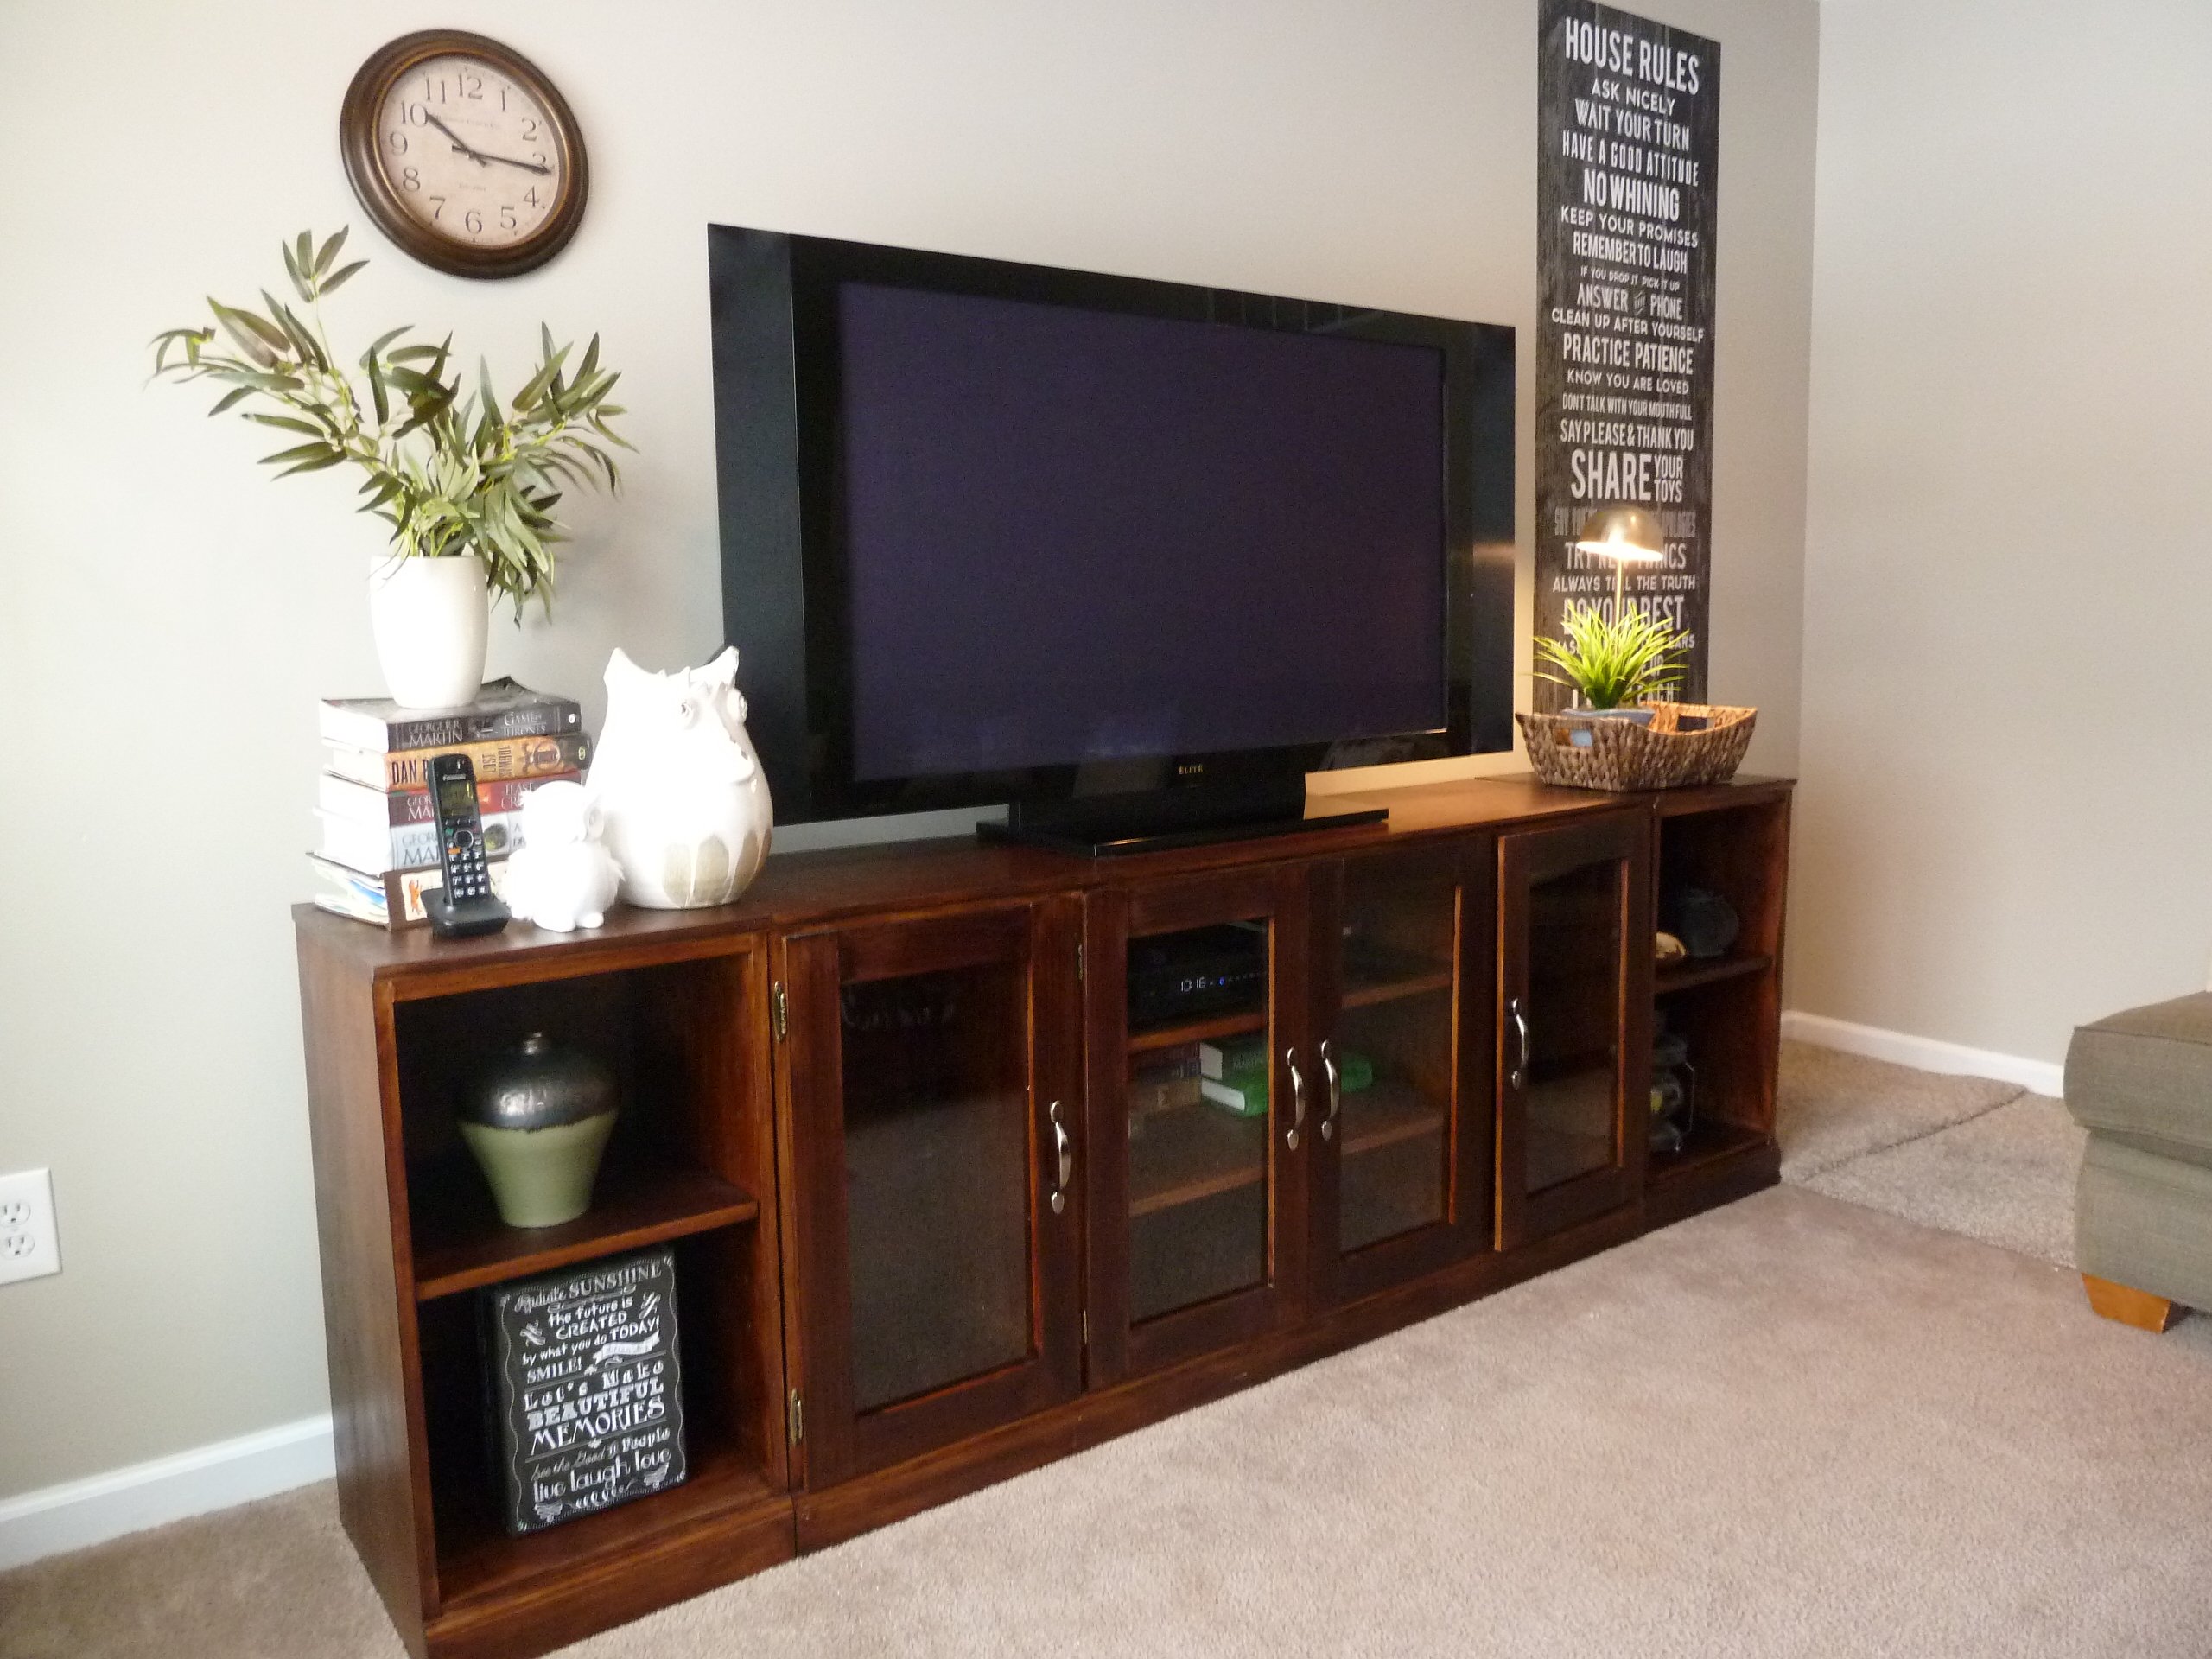
It is a solid and heavy piece and we enjoy having family meals on it.
I had the stains and spent a total of $80 for the table and bench material.
I think a beginner like myself can tackle this project- As long as you can use a miter saw. I don't have that much experience with woodoworking, but was able to tackle this project
Built from Plan(s)
Estimated Cost
$80
Estimated Time Investment
Weekend Project (10-20 Hours)
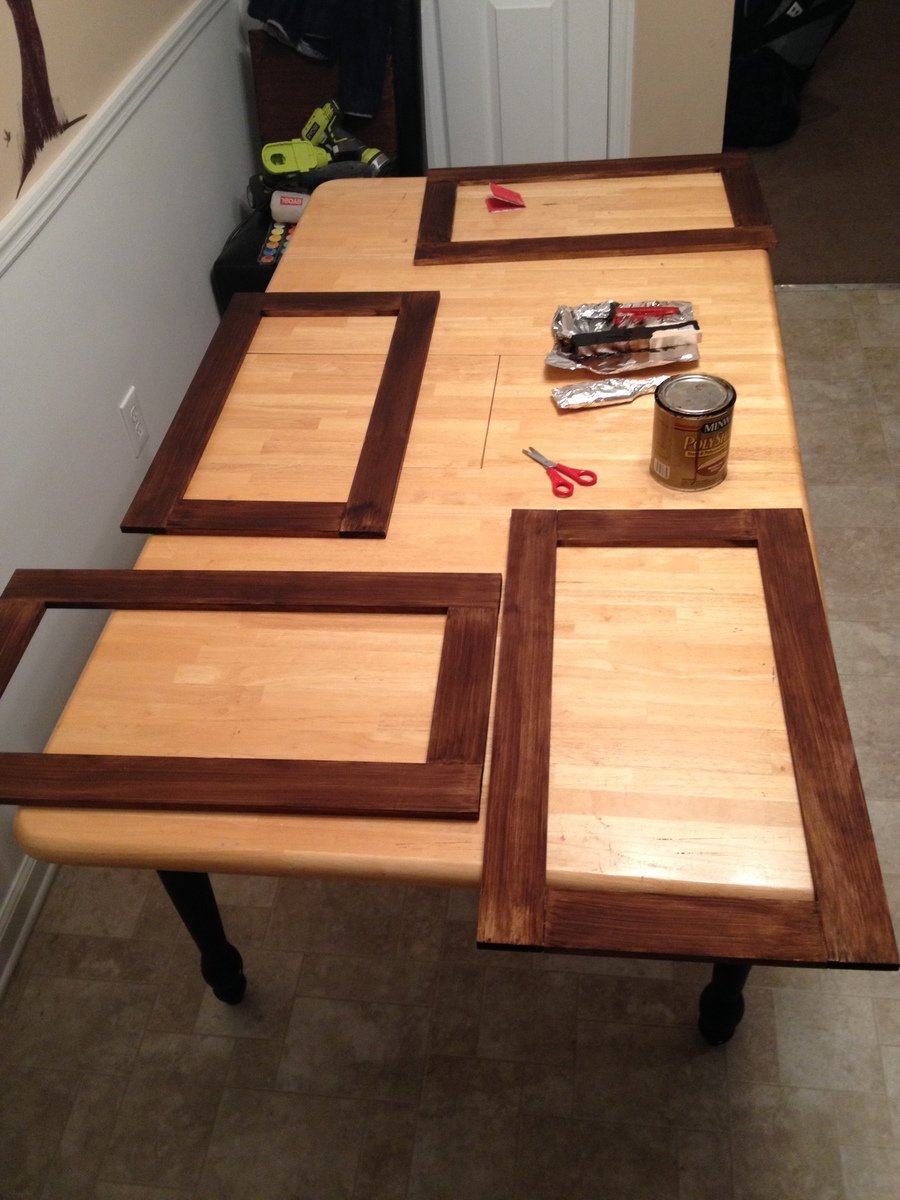
Finish Used
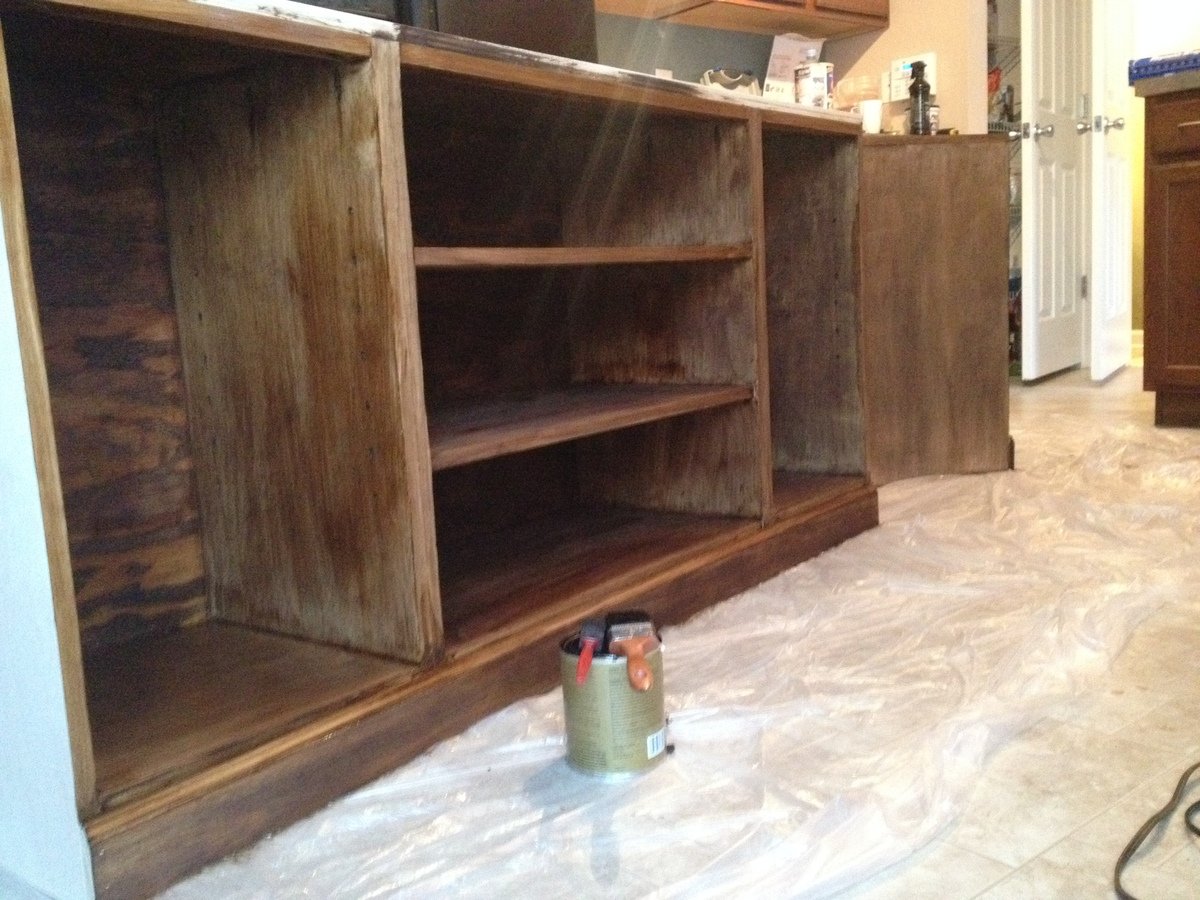
minwax stains, a white wash and olympic guard for waterproofing
Recommended Skill Level
Beginner