The x desk
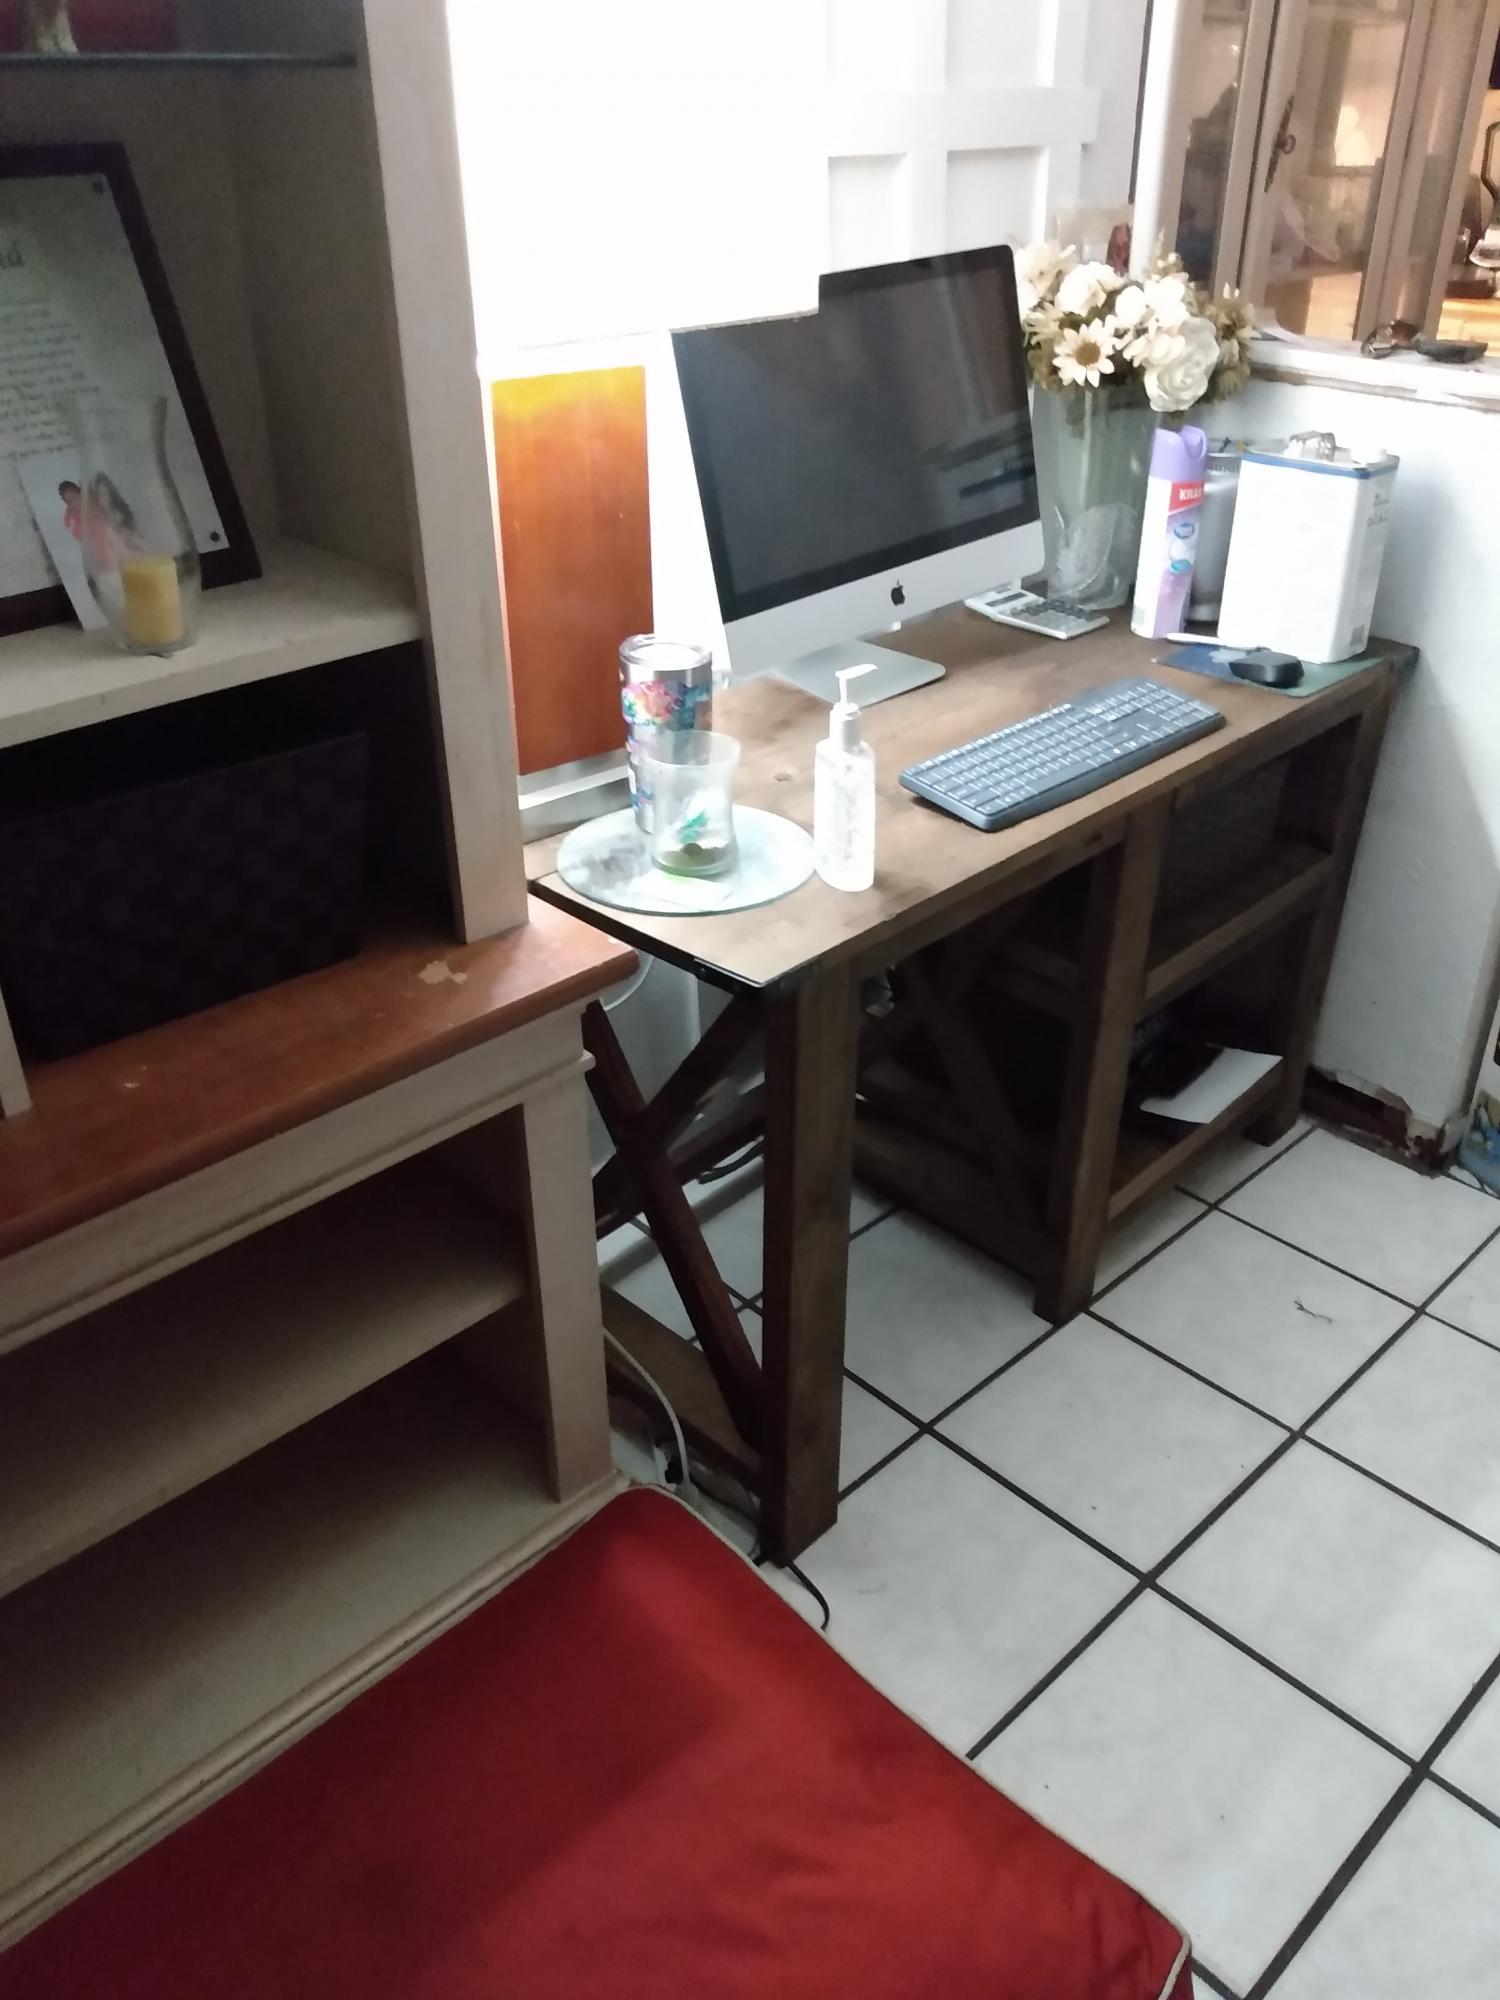
Had a little bit of time to do it
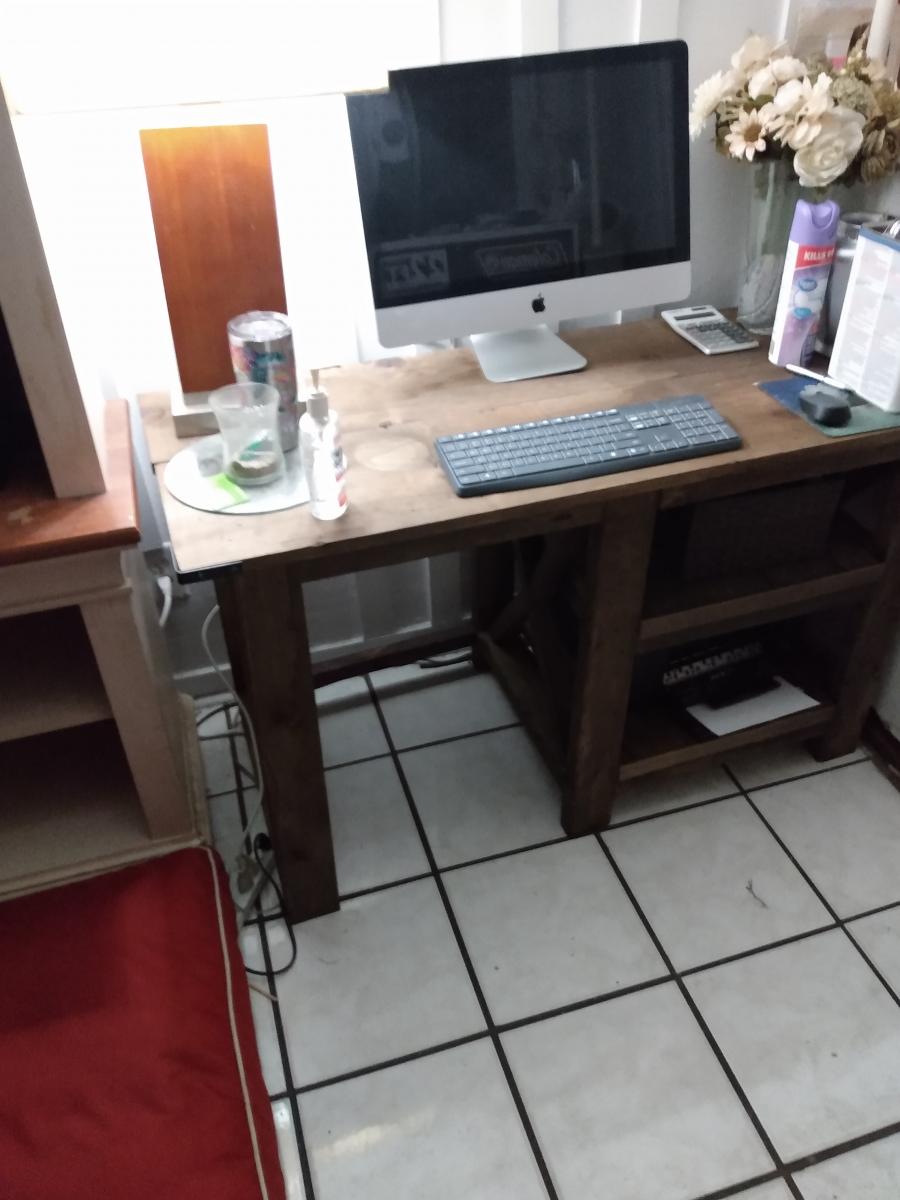
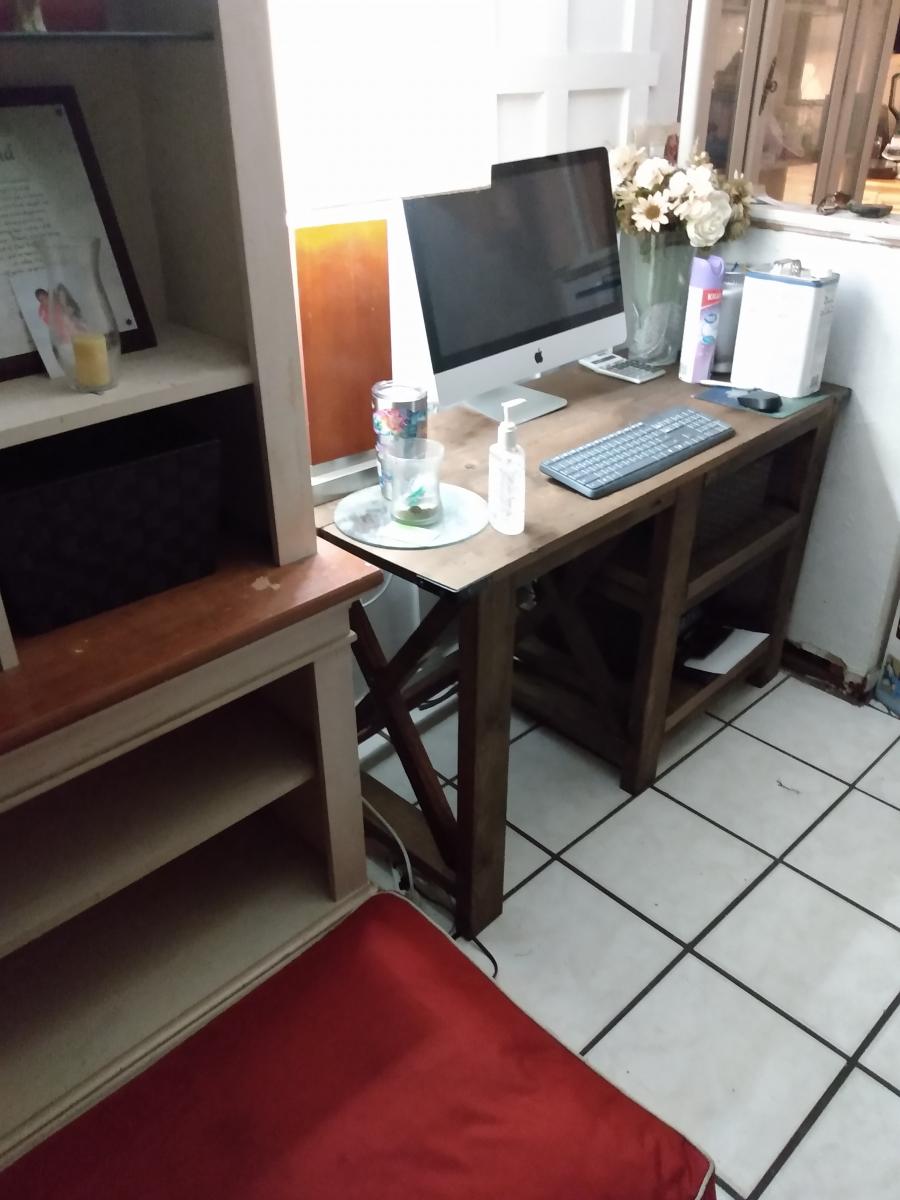
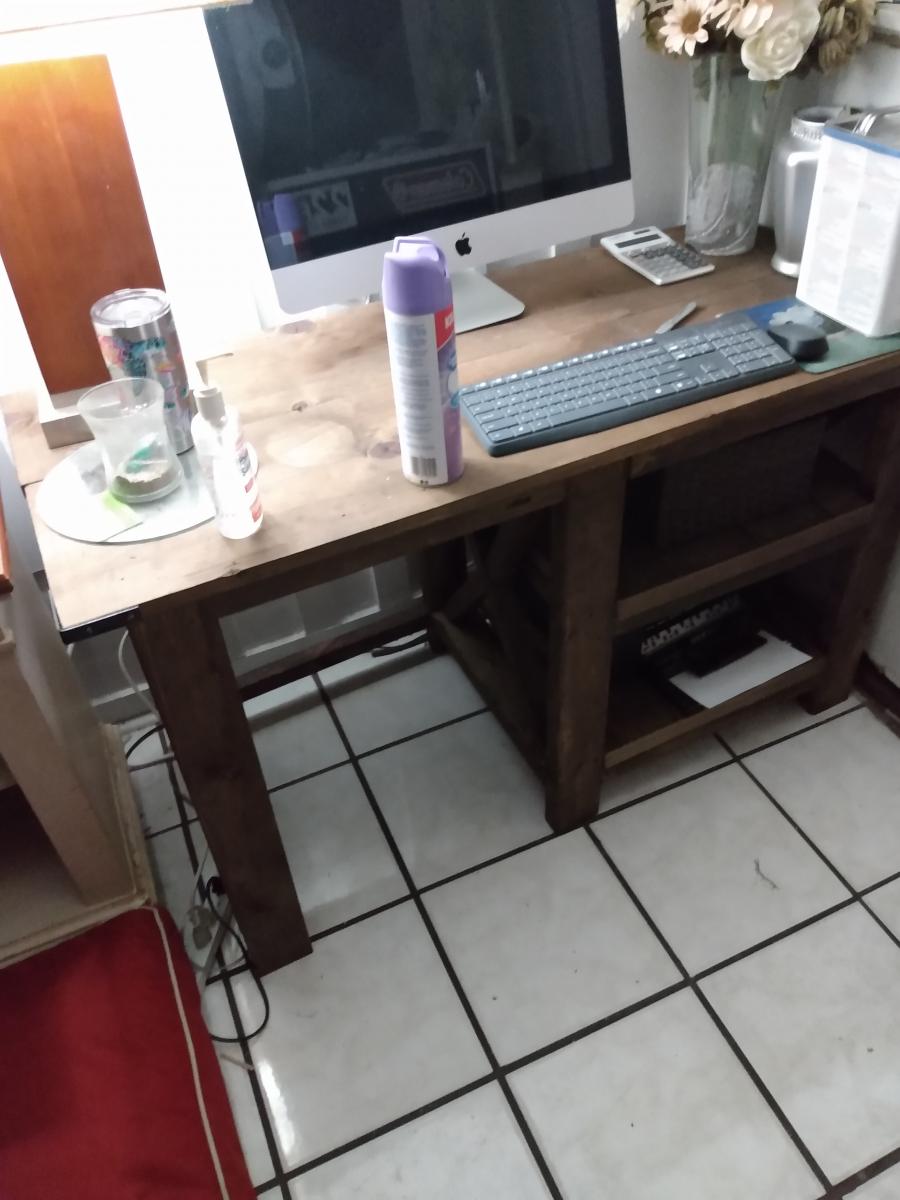

Had a little bit of time to do it


This was the first time that I built anything from scratch and I must say that I was really surprised by how good it came out. It’s not perfect but I’m really proud of the finished product.
Thanks Ana for making it easy.
Tyra Williams

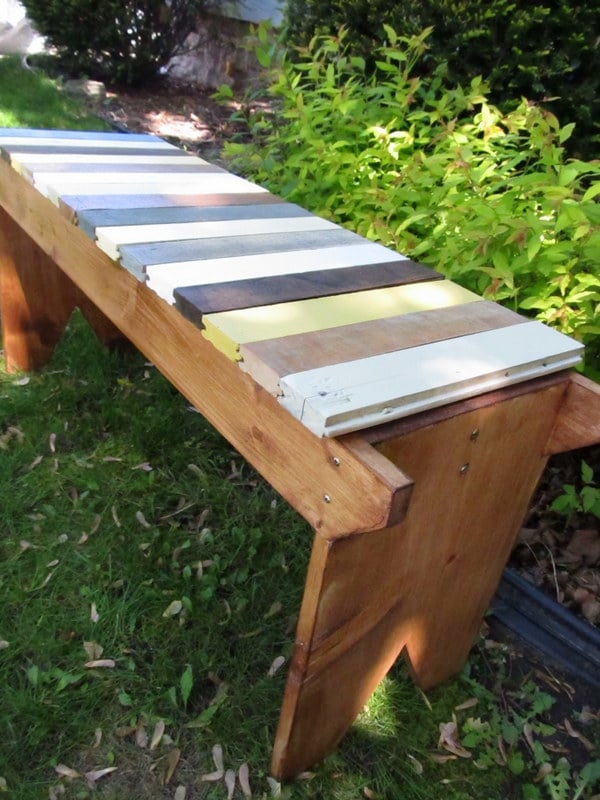
5 board bench with a few extra boards.
I had some leftover hardwood flooring pieces that i cut for the seat of the bench. I love color so this was a lot of fun!!!
Thanks!
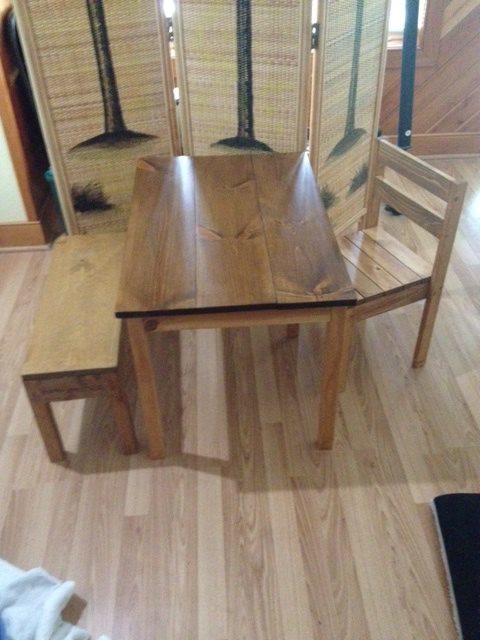
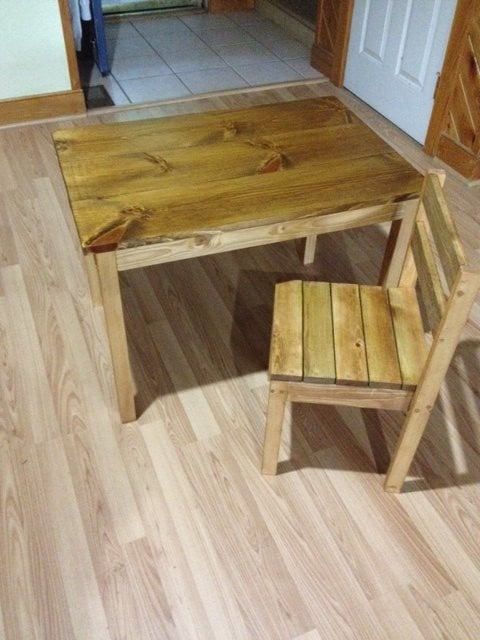
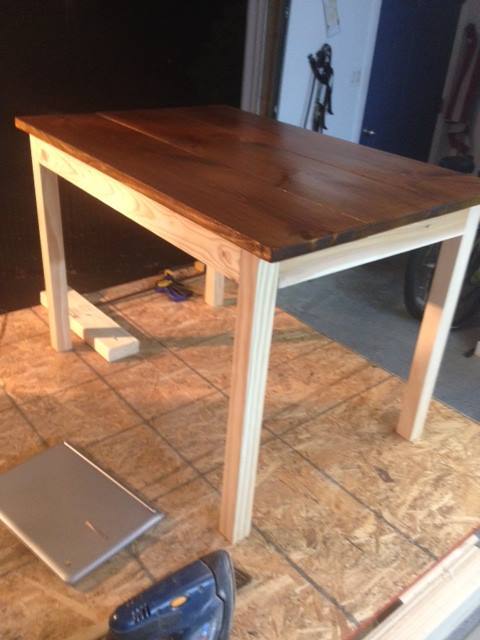
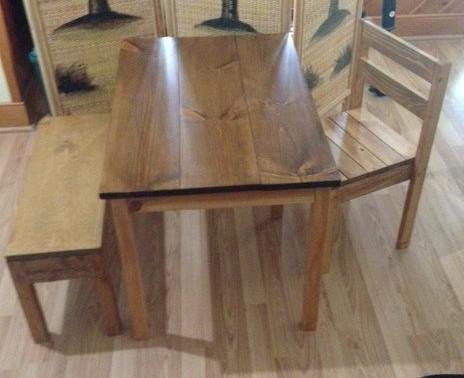
another clara table and chair.
Wed, 09/16/2015 - 07:46
I love that you put a bench with it. I need to build one for my daughter.
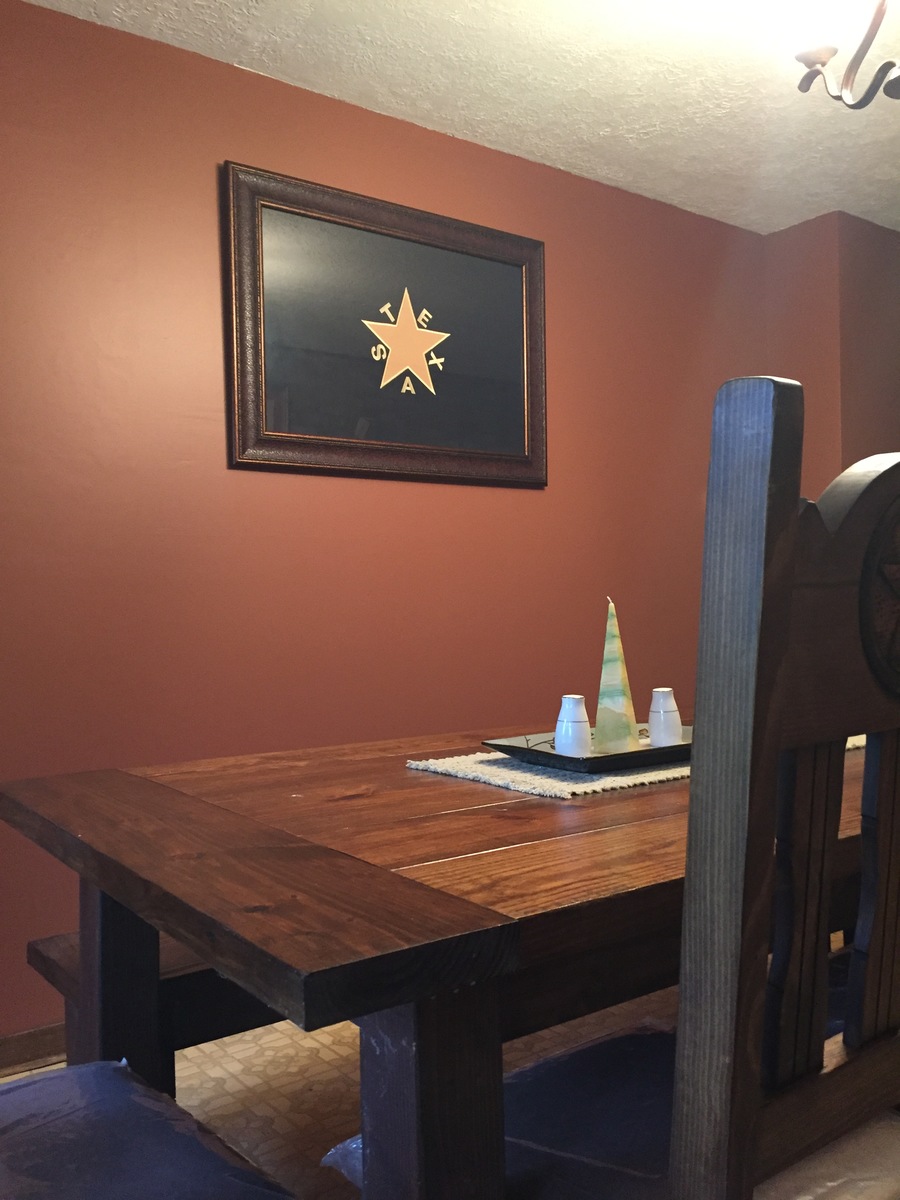
My wife and I built the farmhouse table and bench. We then followed the plans and made smaller versions for the living room - creating a coffee table and end tables.
There was a horrible bartop seperating the kitchen from the dining room that was yellow 70's linoleum. We ripped that bar top off and made another small version of the farmhouse table for the bar top! Looks great!!
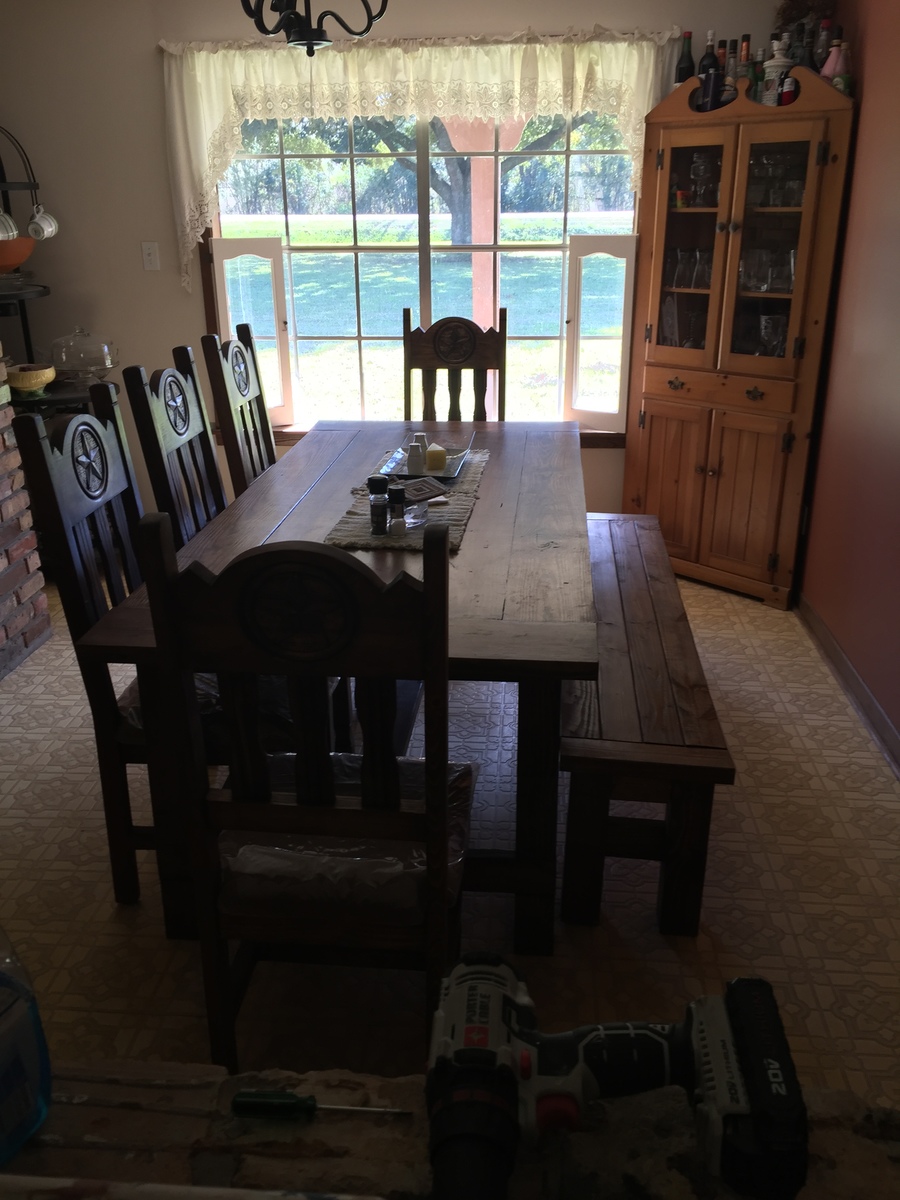
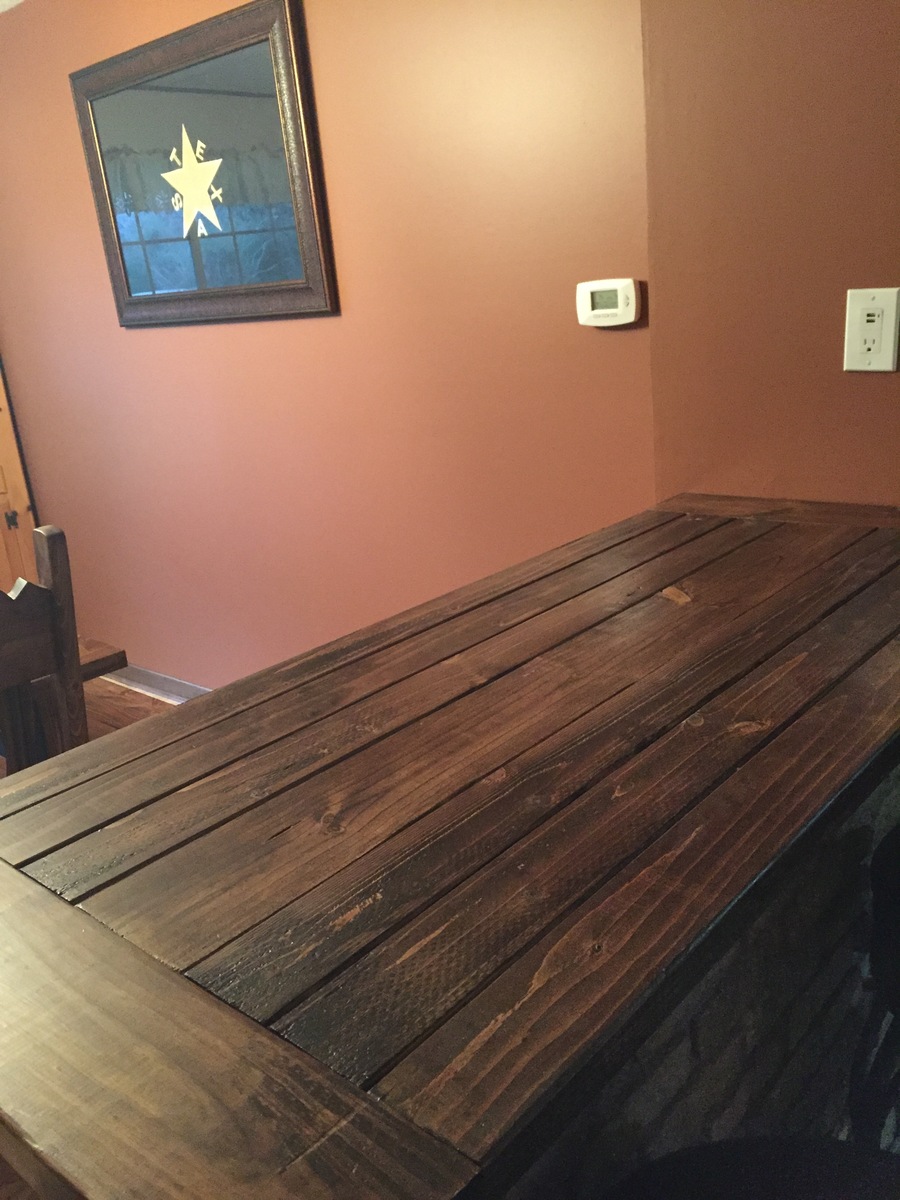
Thank you for these really easy, step by step instructions. This was my first ever wood project and did it with borrowed mitre saw and few other tools I had at home. I'm now hooked and already planning my next project, twin beds for my kids.
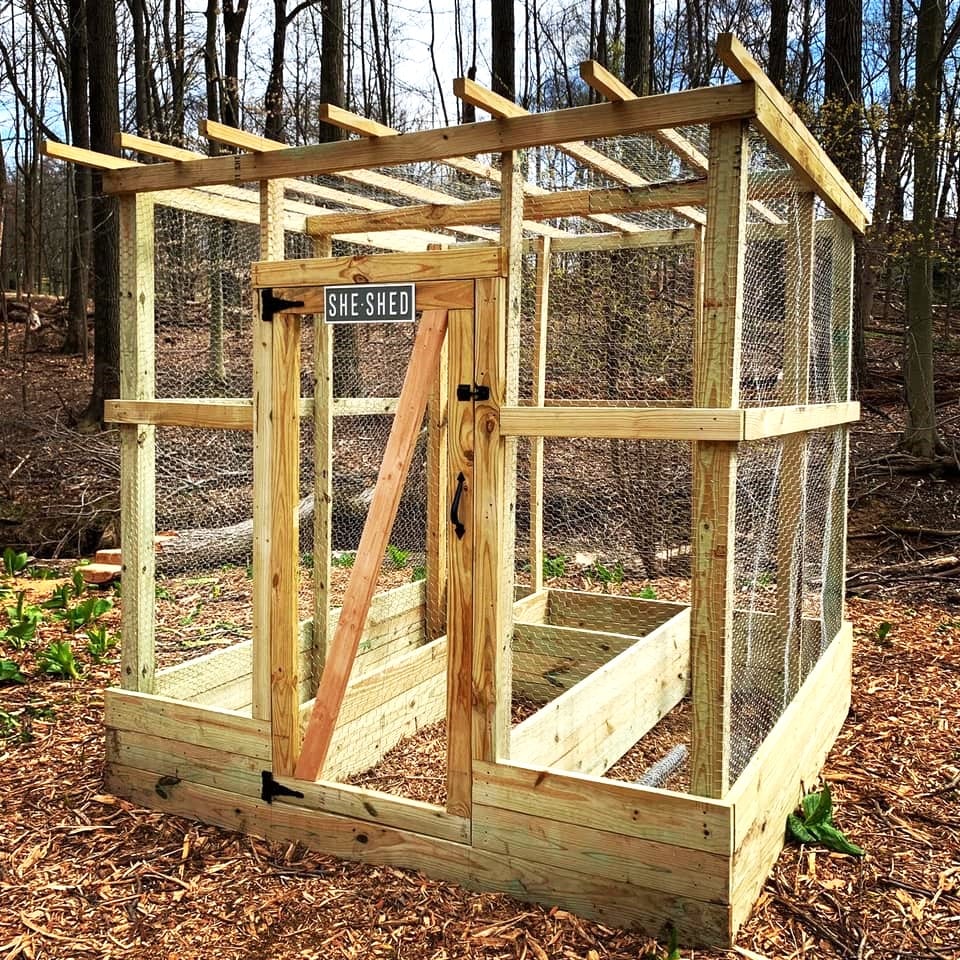
This is our riff on your plans. Two seasons in and not a single animal has breached our fortress.
Jan Perrone Greco on Facebook
Here is my very first project.
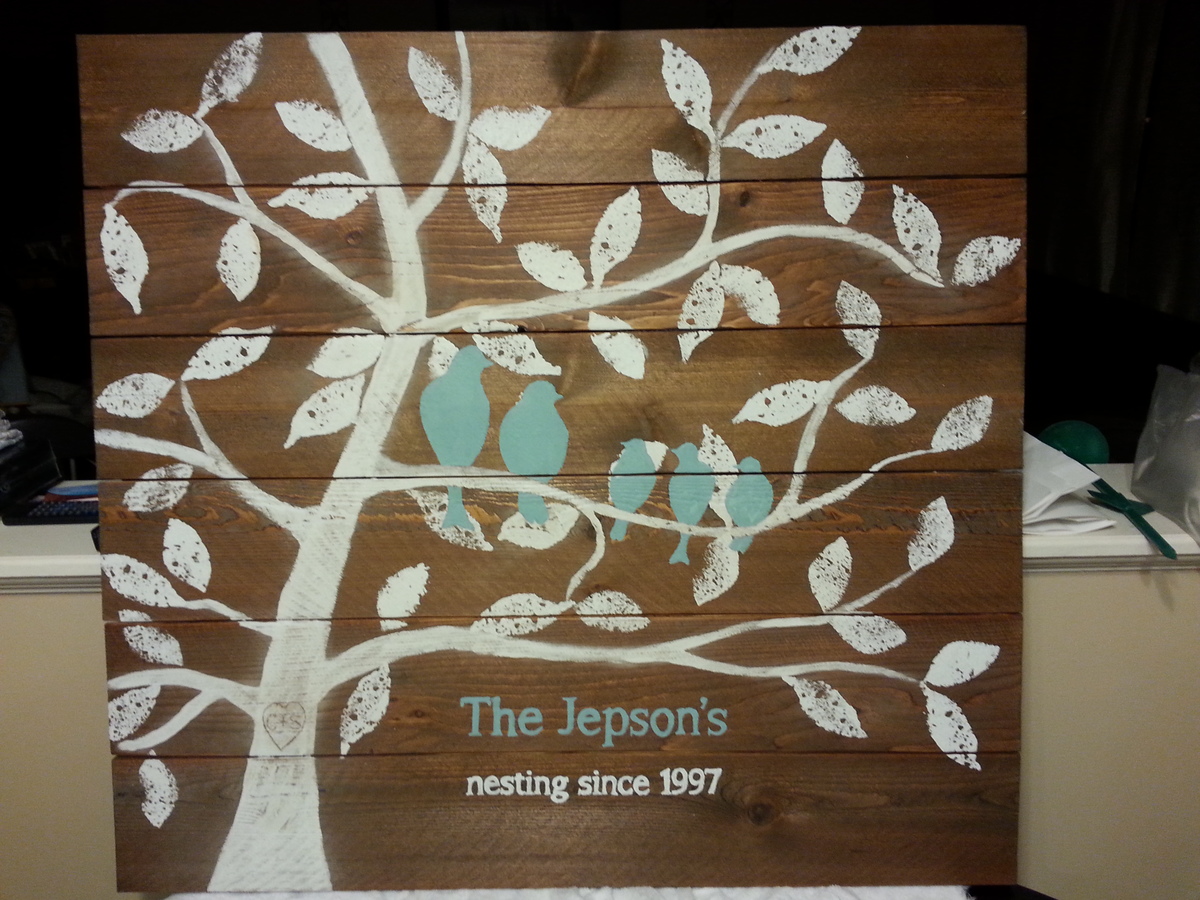
Loved Ana's original of this and we saw cedar plans on sale over the holiday weekend we had to give it a shot. Loved how it turned out. Thank you for the inspiration.
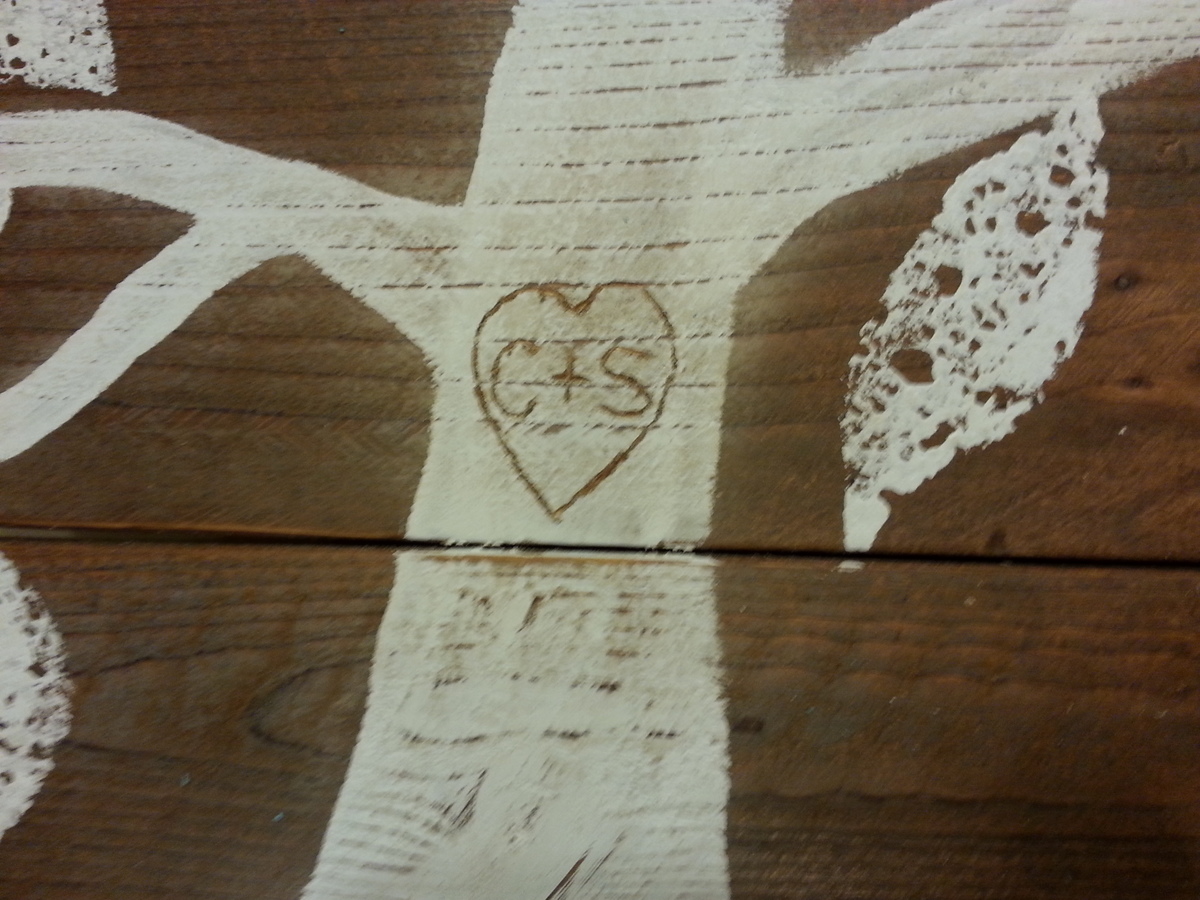
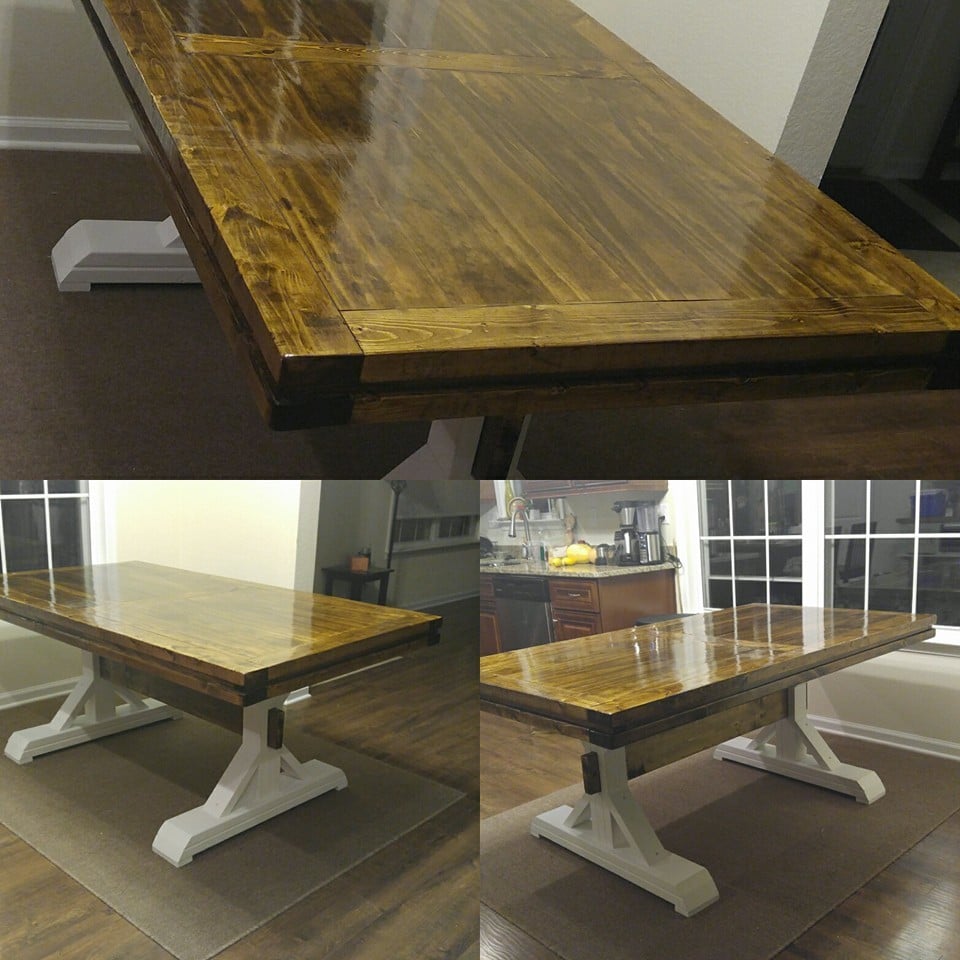
Modified plans to accomidate a smaller eating area. Took us about a week working on it a little bit a day. Wood cost was about $110. Dark Walnut stain, primer and linen white chalk paint over primer on the bottom.
I used somebody else's design photo from this site and inserted my own numbers when figuring out the top dimensions and cuts. I wish I could remember whose for proper credit. Legs were completed using the ana white legs from the original plan with no alterations.
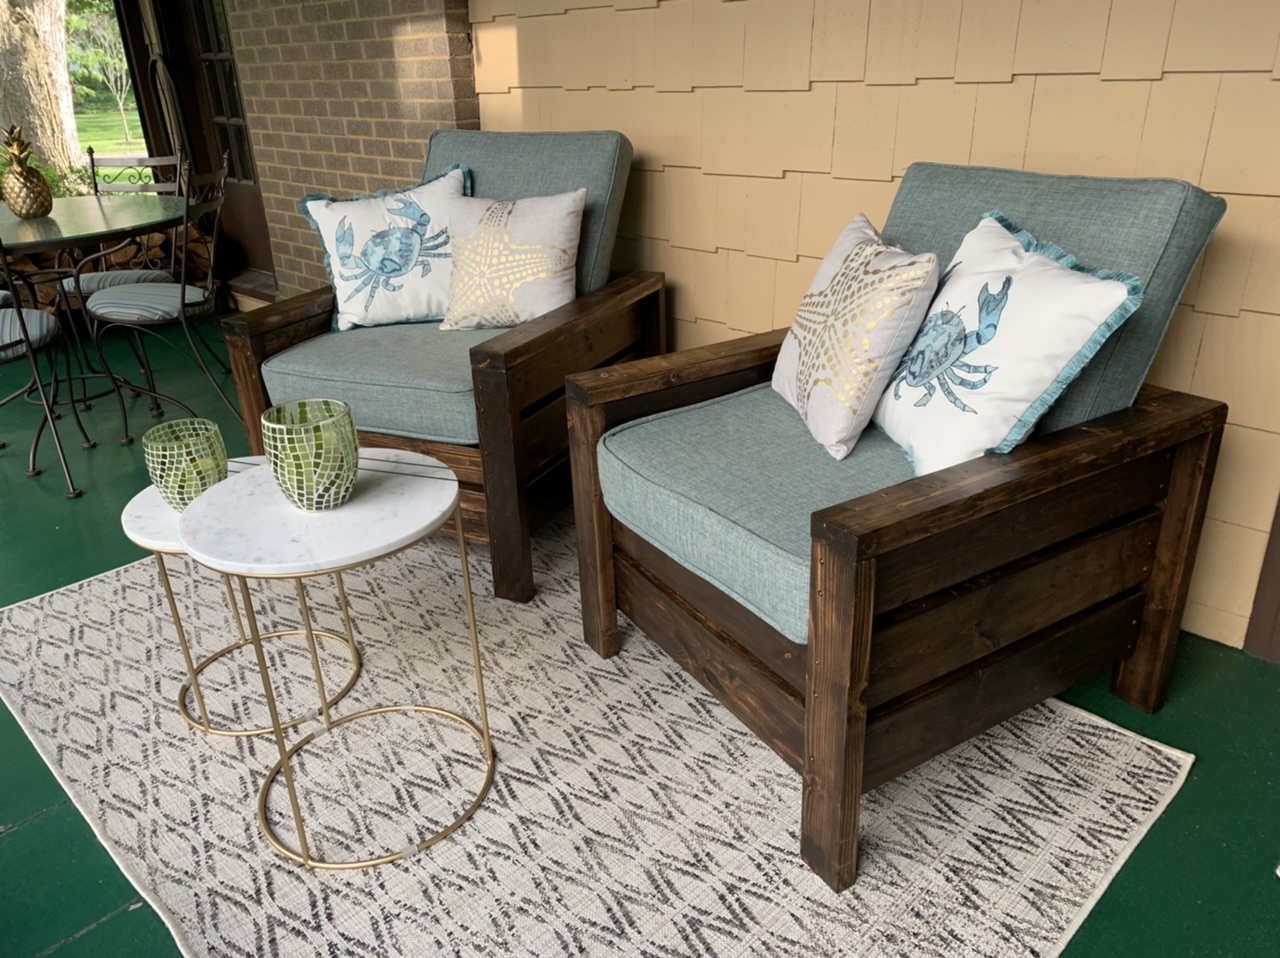
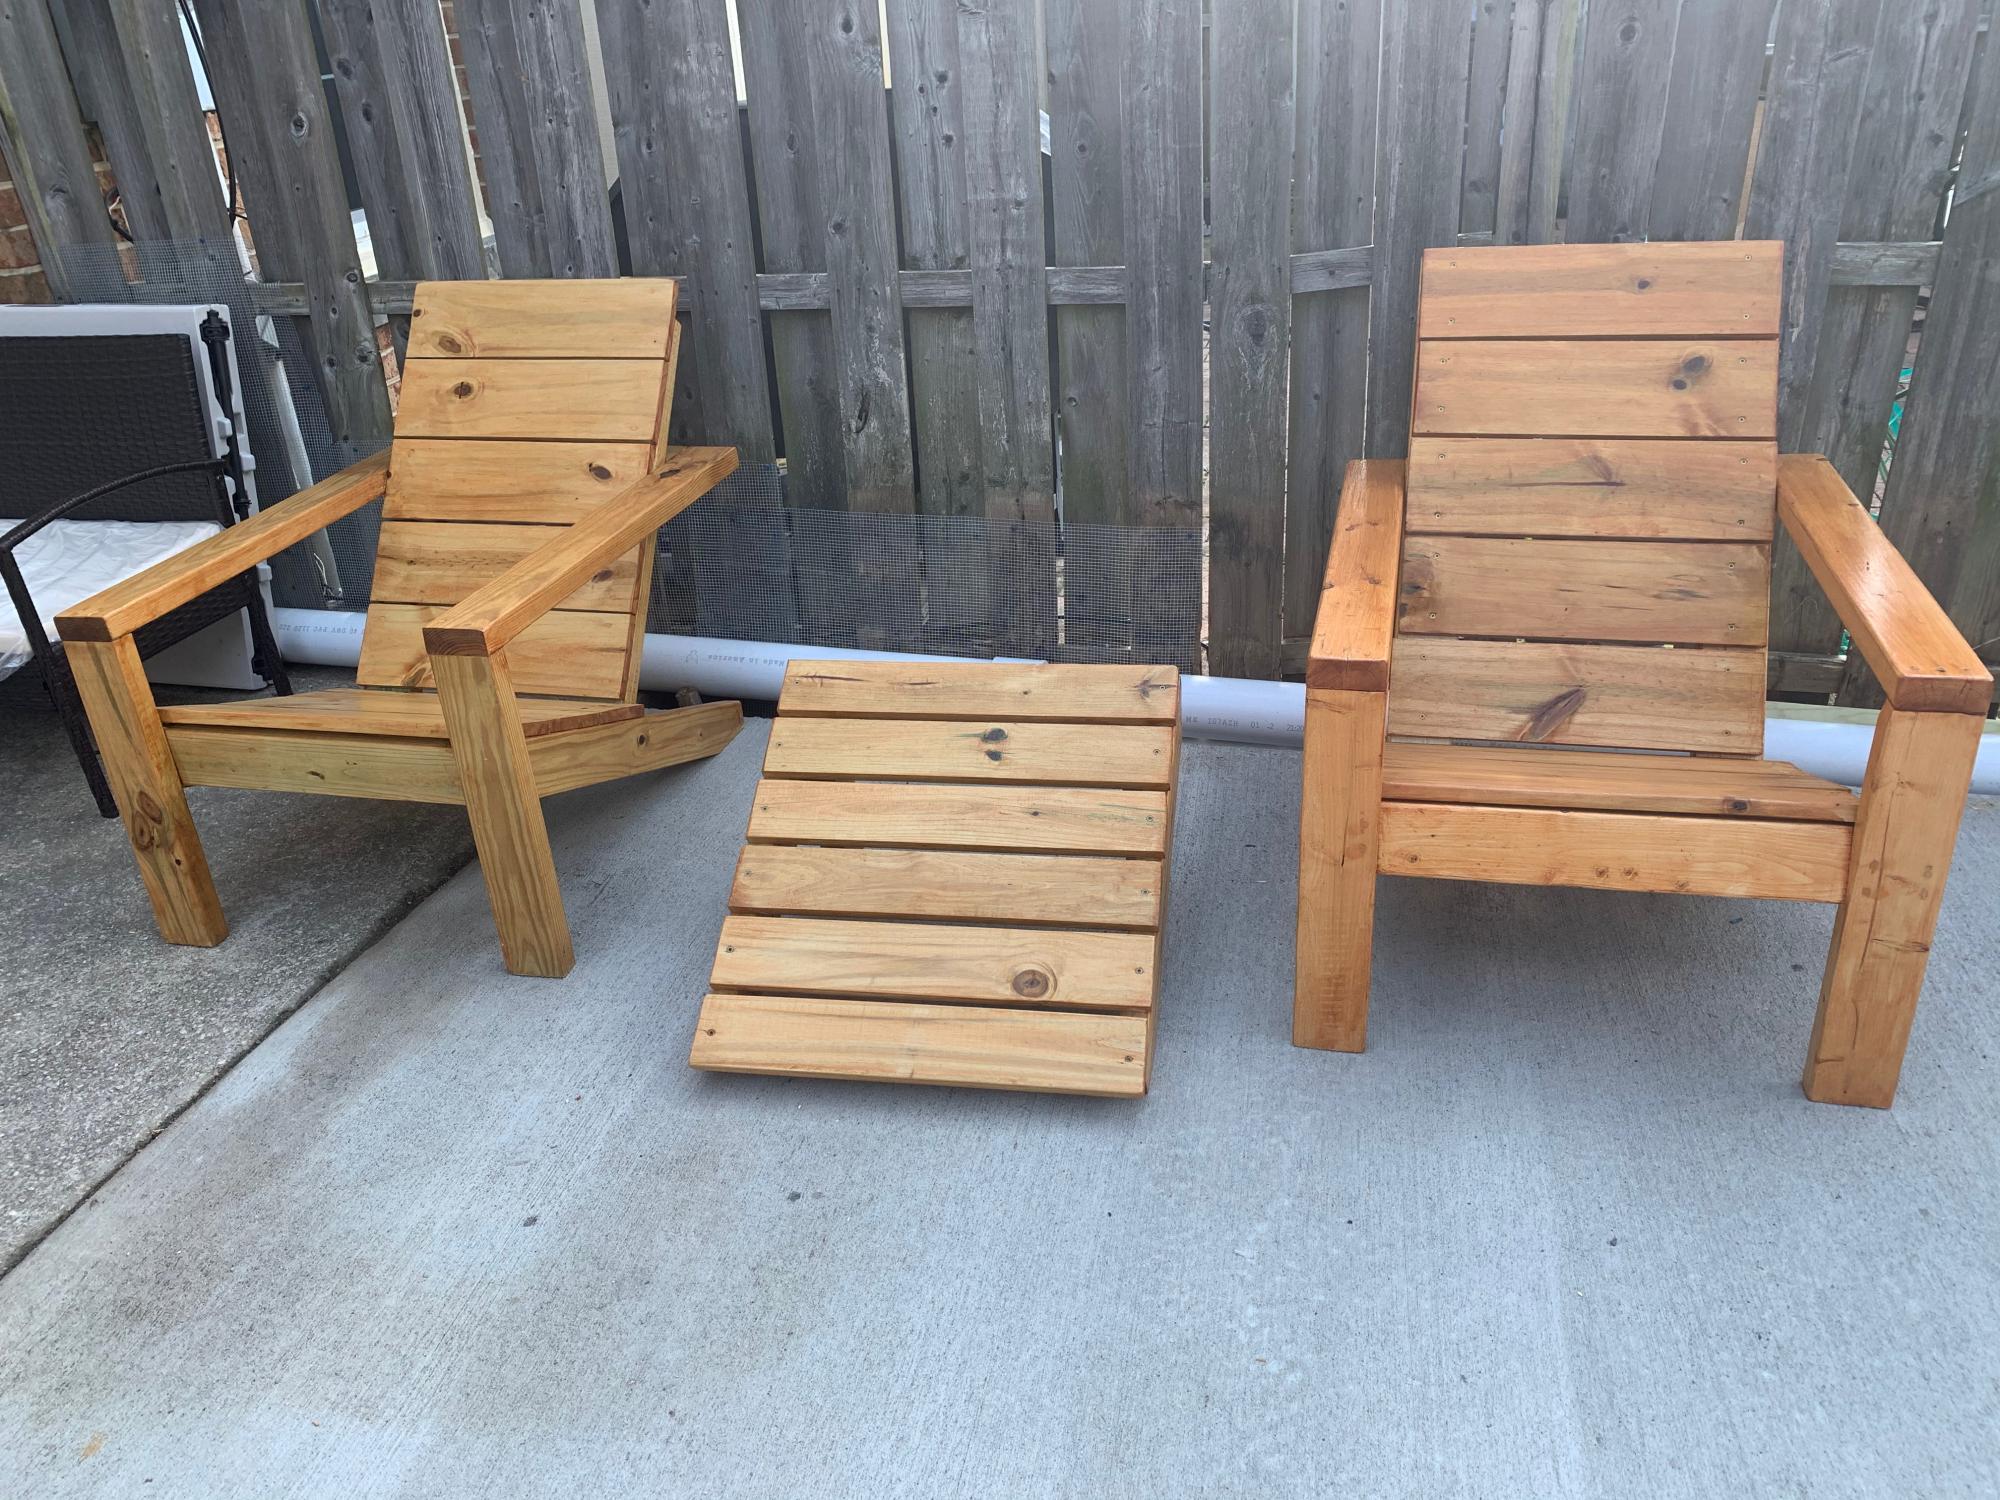
When I told my husband we were going to make patio chairs instead of buy them - he thought I was crazy!
I started looking for chairs during the tail end of the pandemic’s stay-at-home order, but after looking for something that was a nice quality yet reasonably priced, we soon realized the options just weren’t there. In my 20’s, I had made a dining room table when I could really afford anything nice! Man I loved that table! So I decided to google DIY patio chairs and found your site! OH. MY. GOODNESS. I want to make all the things. In addition to these beauties, we’ve also made counter height garden boxes, and are getting ready to start on the Farmhouse Potting Bench. Your videos are great - and make everything look incredibly easy. I stained and polyurethanes before assembly, but in hindsight might have opted to wait until the end! All accessories, including cushions are from at home. Make these chairs! You will love them!!
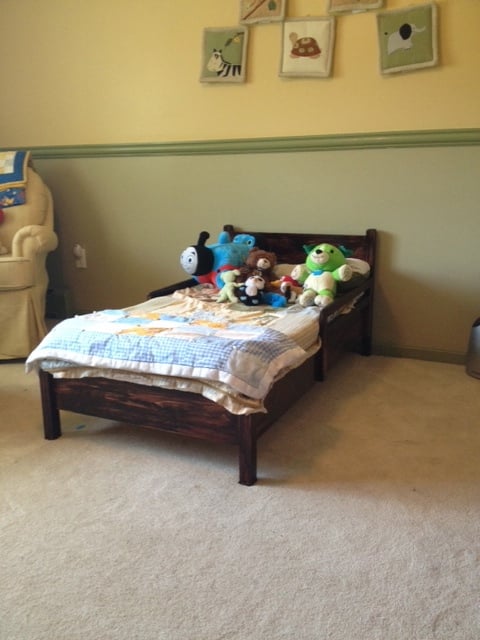
I made this without the fancy headboard, but I'm very happy with how it turned out! See my blog for complete details.
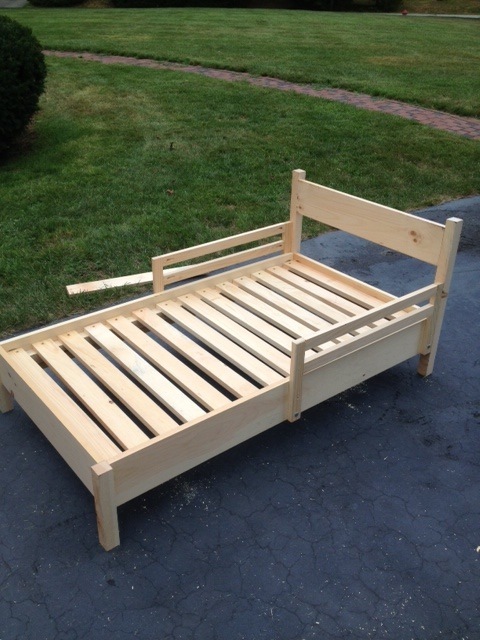
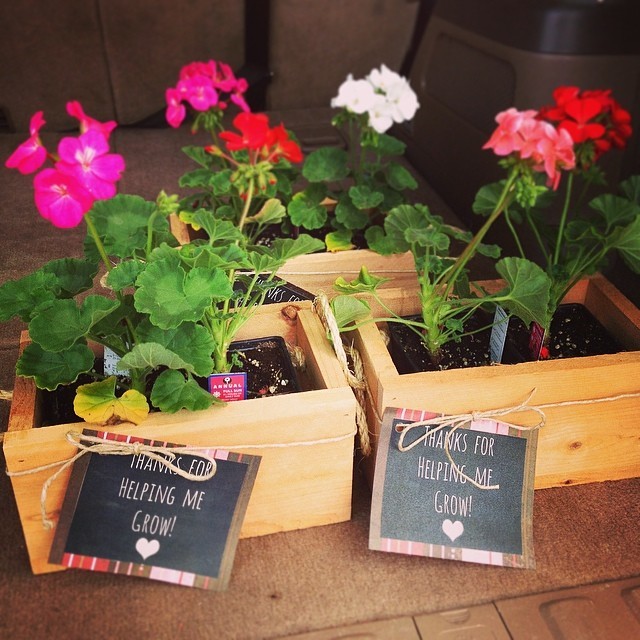
My daughter is finishing her last week of preschool. I wanted to make a small "thank-you" gift for her 3 teachers. I pieced together different ideas from ana's site and other places on the Internet. The printout is from shanty 2 chic's website. I created 3 boxes using 2 six-foot cedar fence panels. I cut mine down to size based on the dimensions of the flowers I used. Drilled a few holes on each edge and used 1/4" sisal rope to make handles. Used hemp to tie the label's to each box. Each box took approximately 15 minutes to make. Including the cost of the flowers, each box cost less than $5 too!!
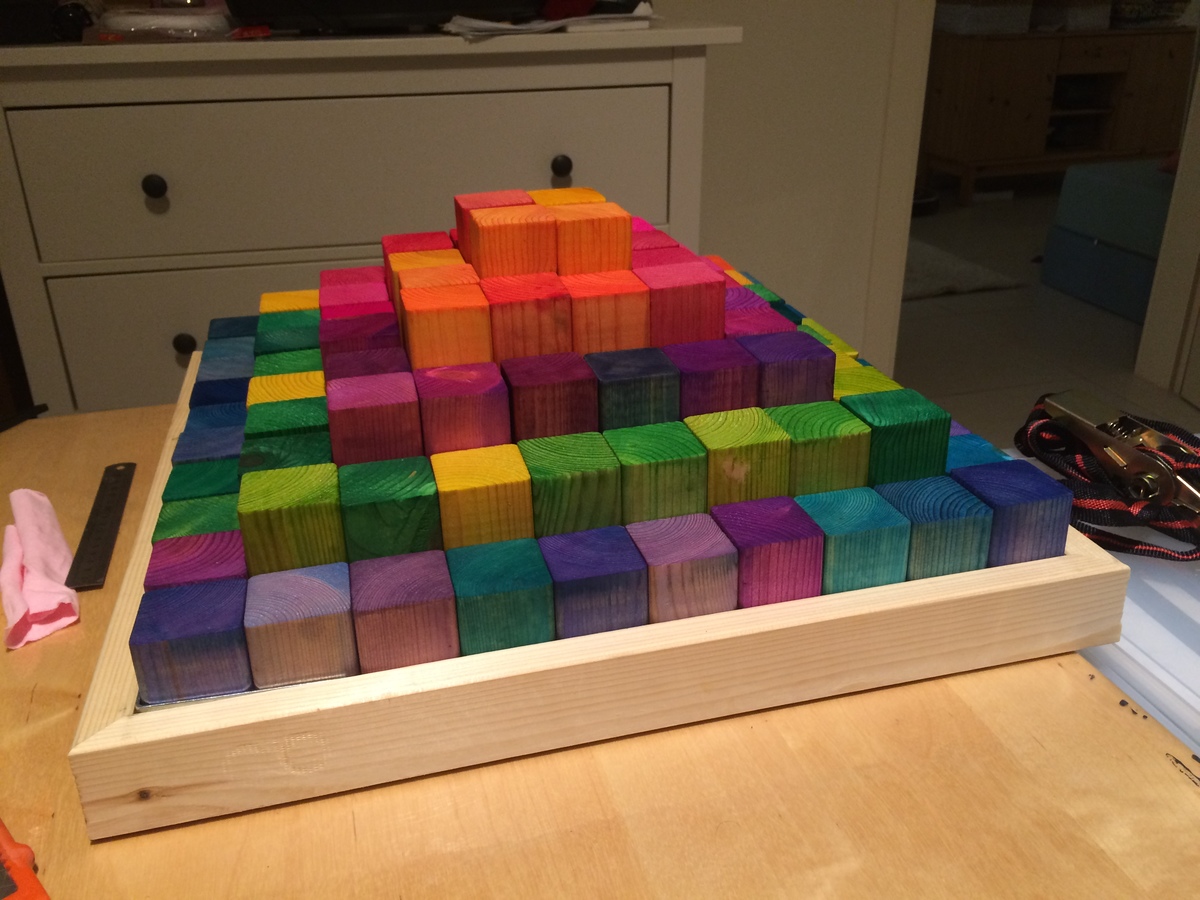
Really enjoyed making this and the end result is impressive. Wouldn't categorize as a starter project because the frame is a bit more advanced.
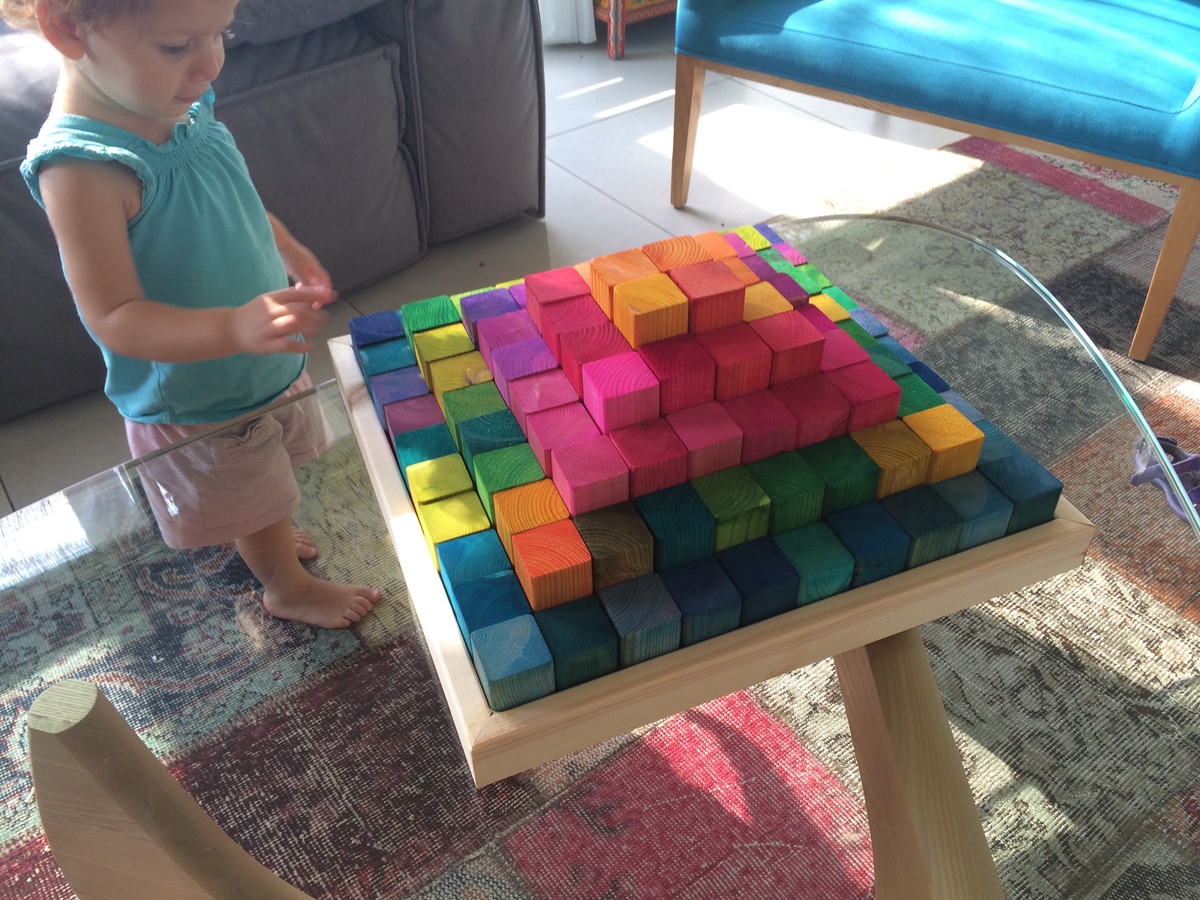

A coworker asked me to make this for his daughters. He supplied the lumber and I got it done in less than an afternoon. I didn’t have all of the required dimensional lumber so I improvised using only 2x4s for the lower shelf. I also extended the length by about 6” in order to make a small center shelf. That provides enough room to be able to lock the lids on the containers and for the kids to put some toys. I used 1x3 scraps to make the center shelf. They didn’t want stain so I just sealed it with Valspar deck sealant.
I saw this plan and knew that I had to build it for my home office. The top of the desk is the perfect size for my HP printer/scanner. I added the cork backing as suggested in the plan - works great for adding notes and papers to the back of the desk.
Because I am taller I modified the plan by not adding the middle drawer to the desk. This gave me the knee room I needed to be able to get my desk chair underneath and close enough that I could type. I also cut a hole in the desk top to place an cable grommet in so that I could run wires for my electronics through it. I added two pocket holes in the back plate to further secure it to the desk bottom.
The only disappointment I had was not with the design but with the stain. While I like the color, at a distance it ends up looking like paint rather than stain. I don't know if the wood was drier than normal and soaked the stain more, or if it just stained darker than I thought it would (i.e. should have stayed with one coat rather than two). But, when I'm sitting at the desk I can see the wood coming through the stain so the dual character of the stain isn't so bad.
The design is quick, simple, and easy to follow. It came together in no time.
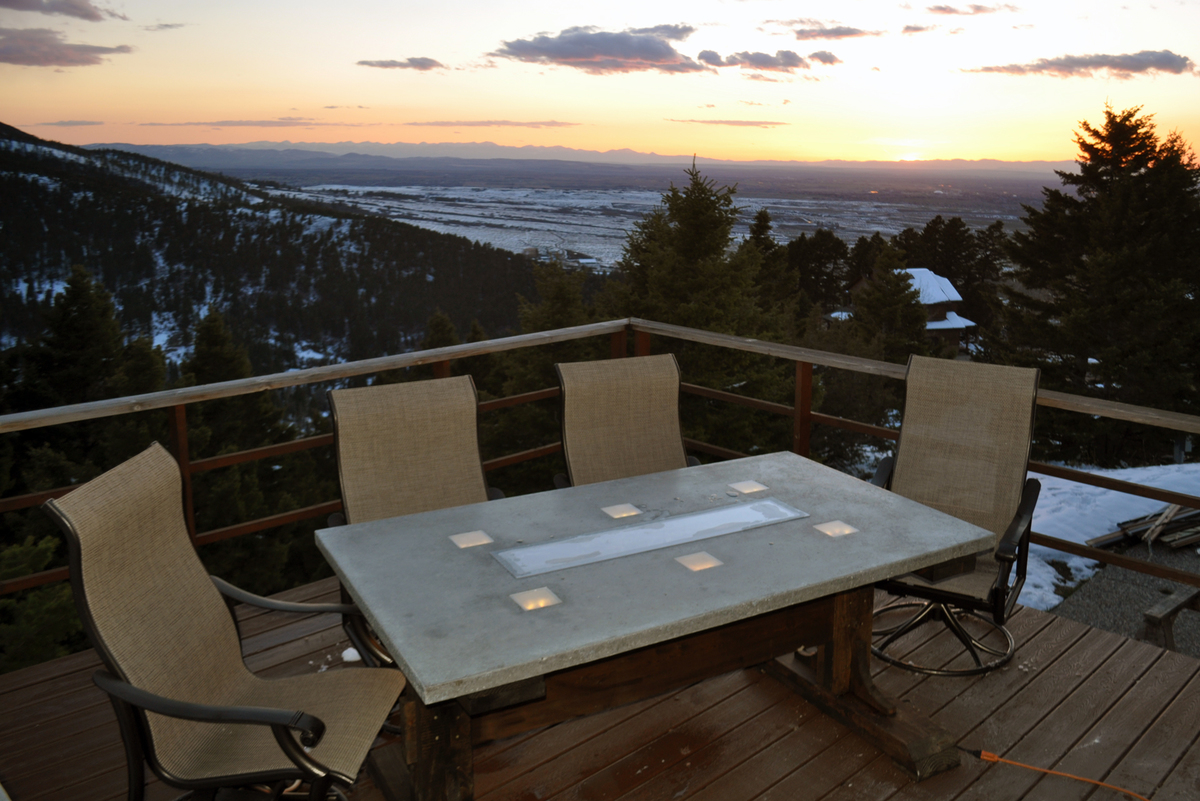
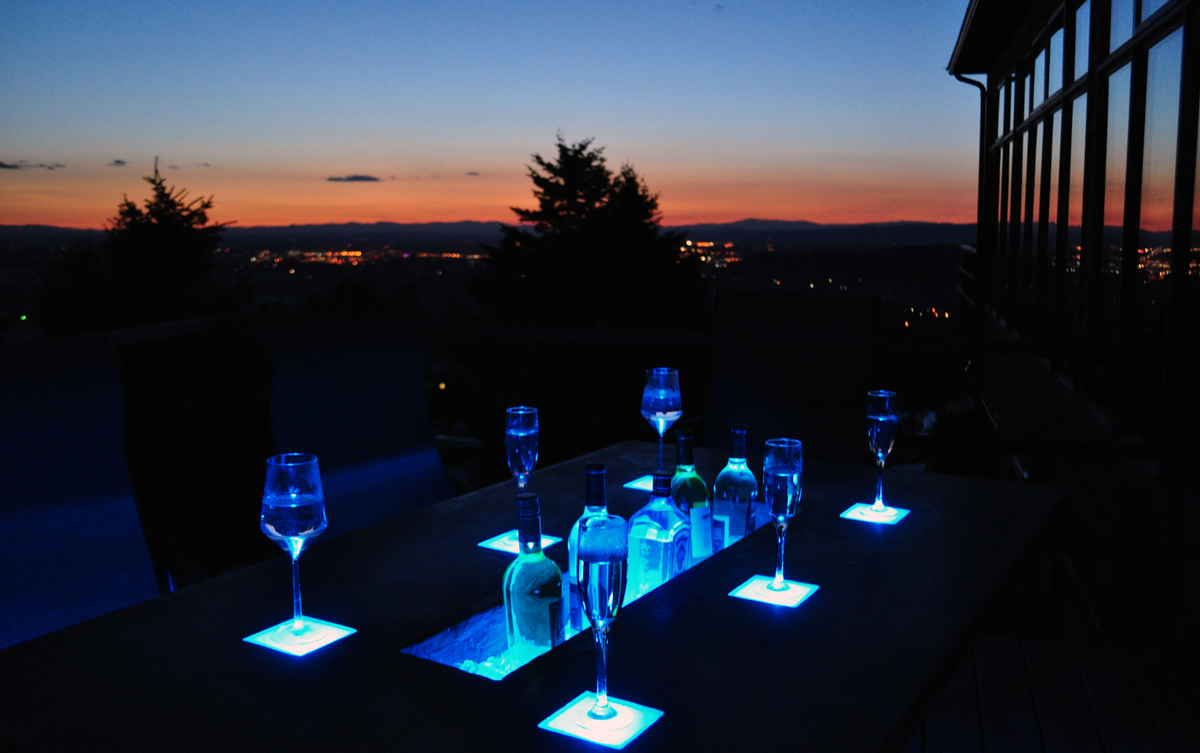
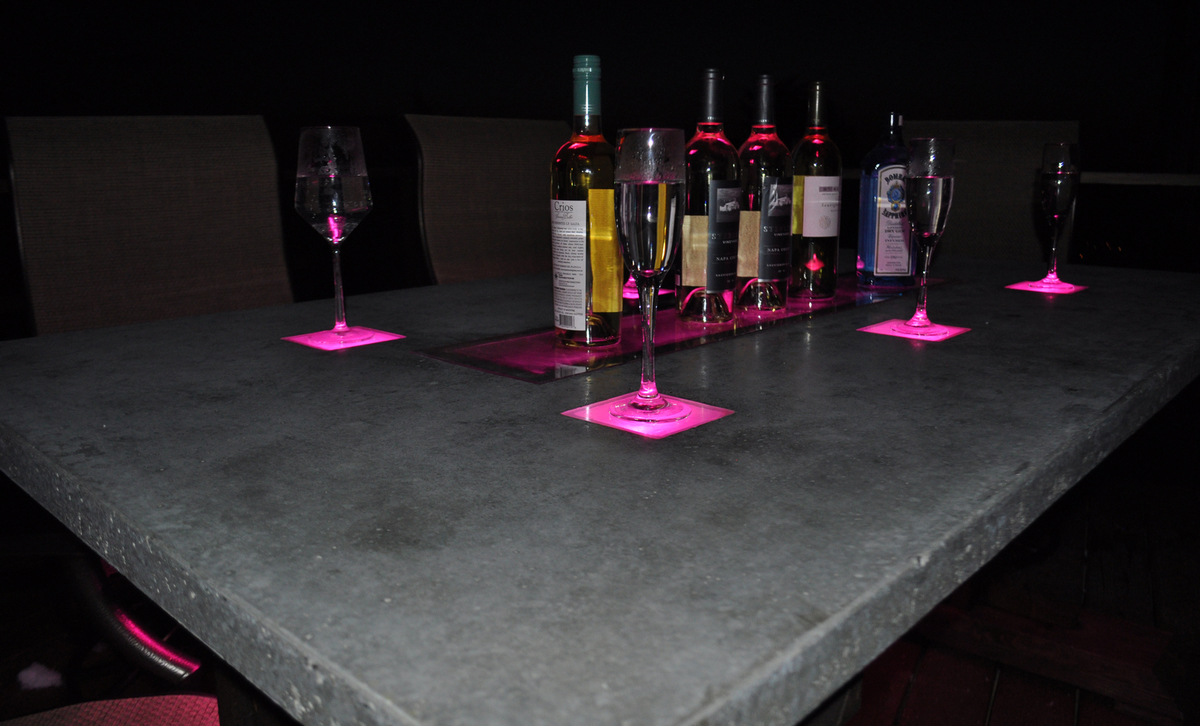
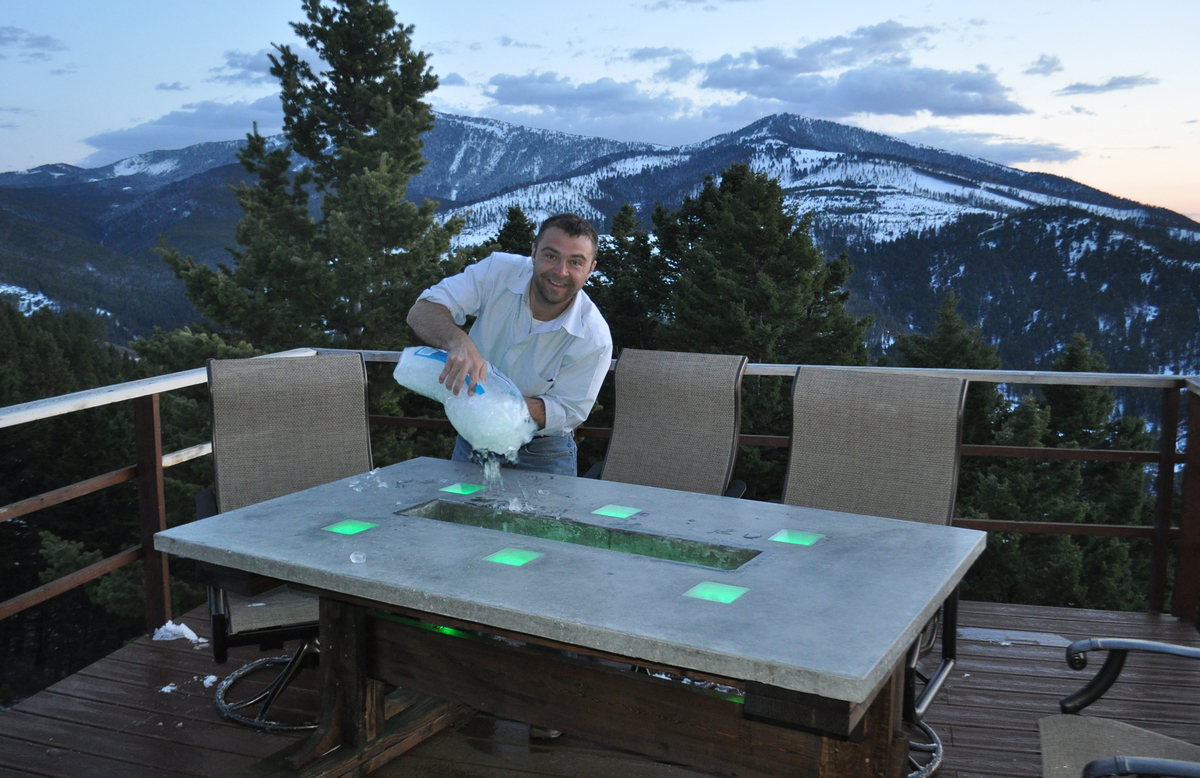
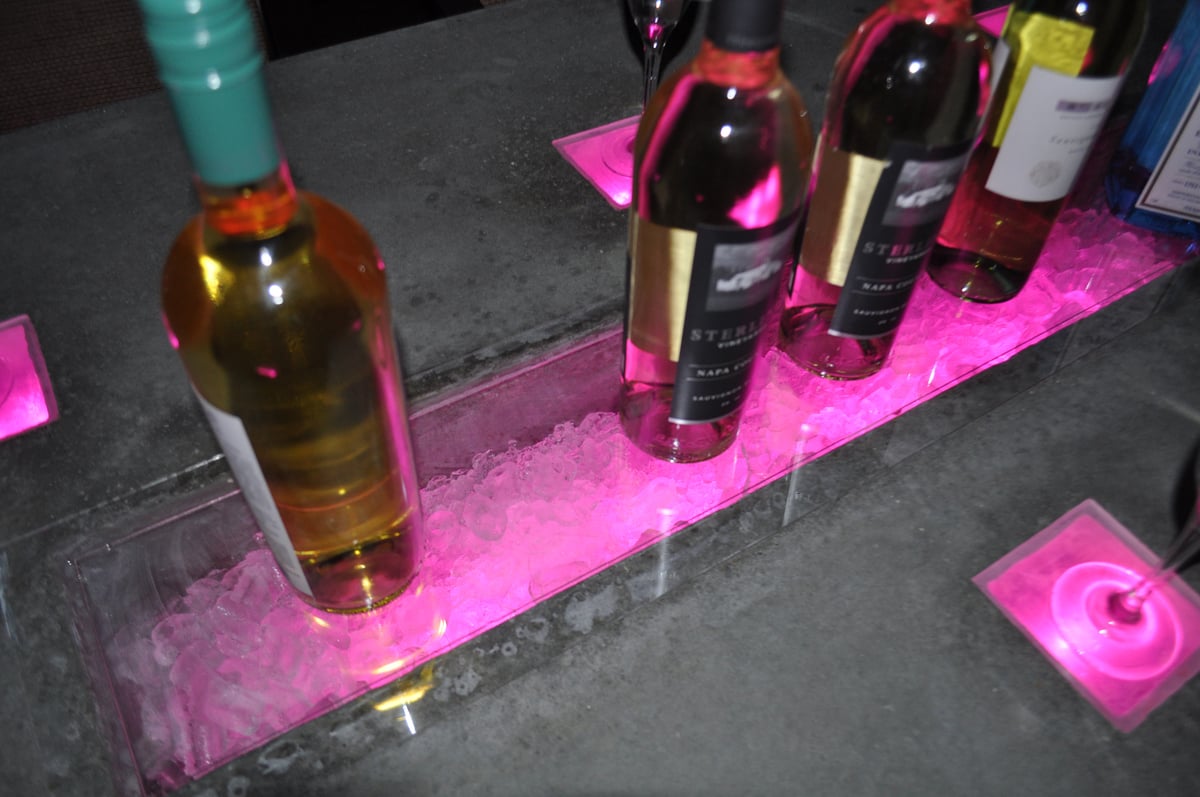
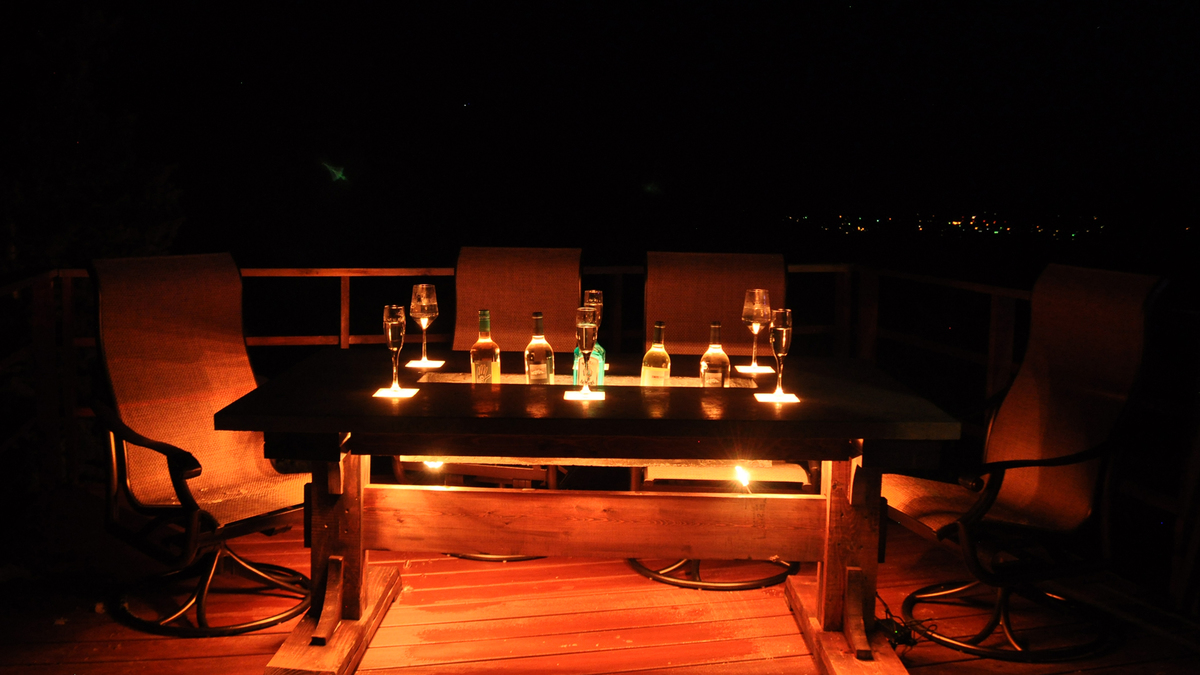
I wanted to build a really neat table for the patio and came up with the idea to do a concrete top with LED lights and a built in cooler. I loved Ana's plans for the pedestal base and so I used her plans to create the base. I did modify the plans a bit to help it hold up the the heavy concrete top. I have the modifications listed on my blog. There is also a complete 17 minute tutorial showing how to do the concrete top.
In reply to Beautiful Creation! by Ana White Admin
Sun, 06/01/2014 - 12:31
Thanks Ana! It was a lot of fun to do and your base plans were perfect for it! Love your site!
In reply to Beautiful Creation! by Ana White Admin
Sun, 06/01/2014 - 12:32
Thanks Ana! It was a lot of fun to do and your base plans were perfect for it. Love your site!
In reply to Beautiful Creation! by Ana White Admin
Mon, 06/02/2014 - 11:54
Thanks Ana! It was a lot of fun to do and your base plans were perfect for it! Love your site!

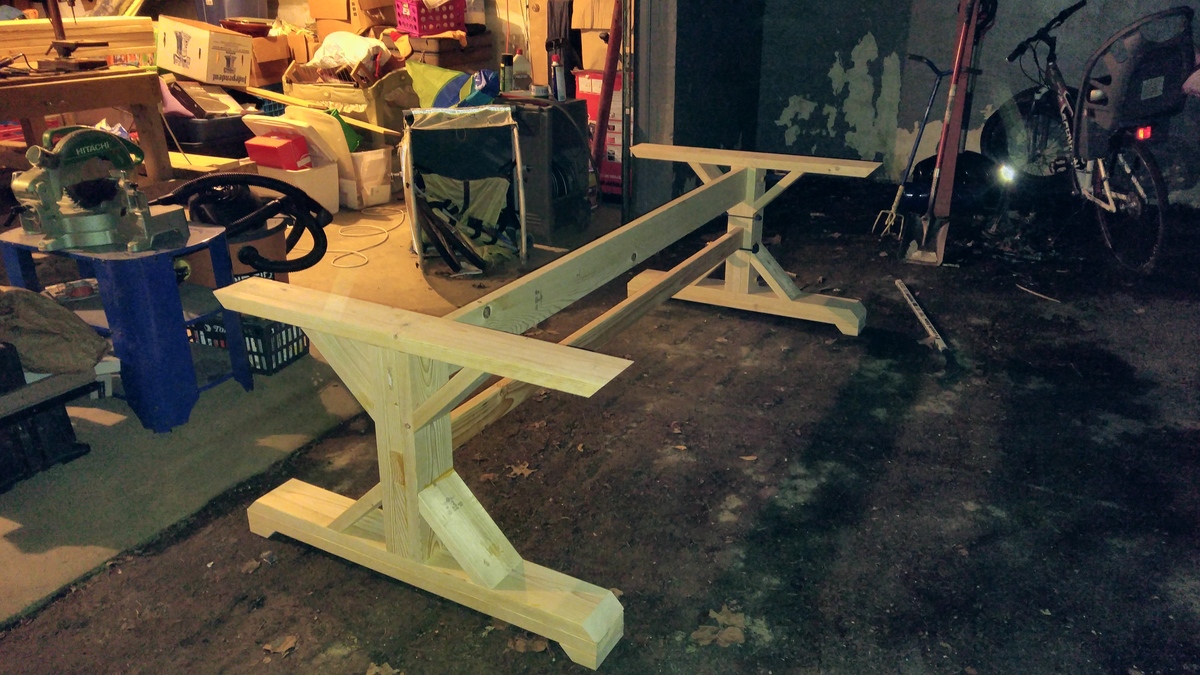
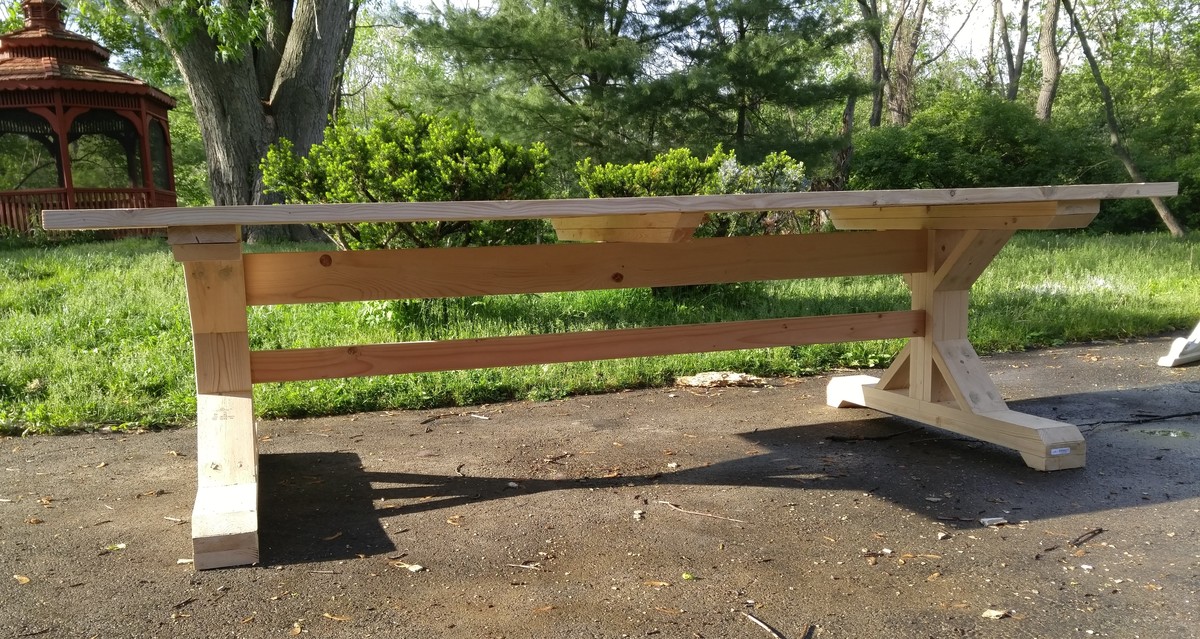
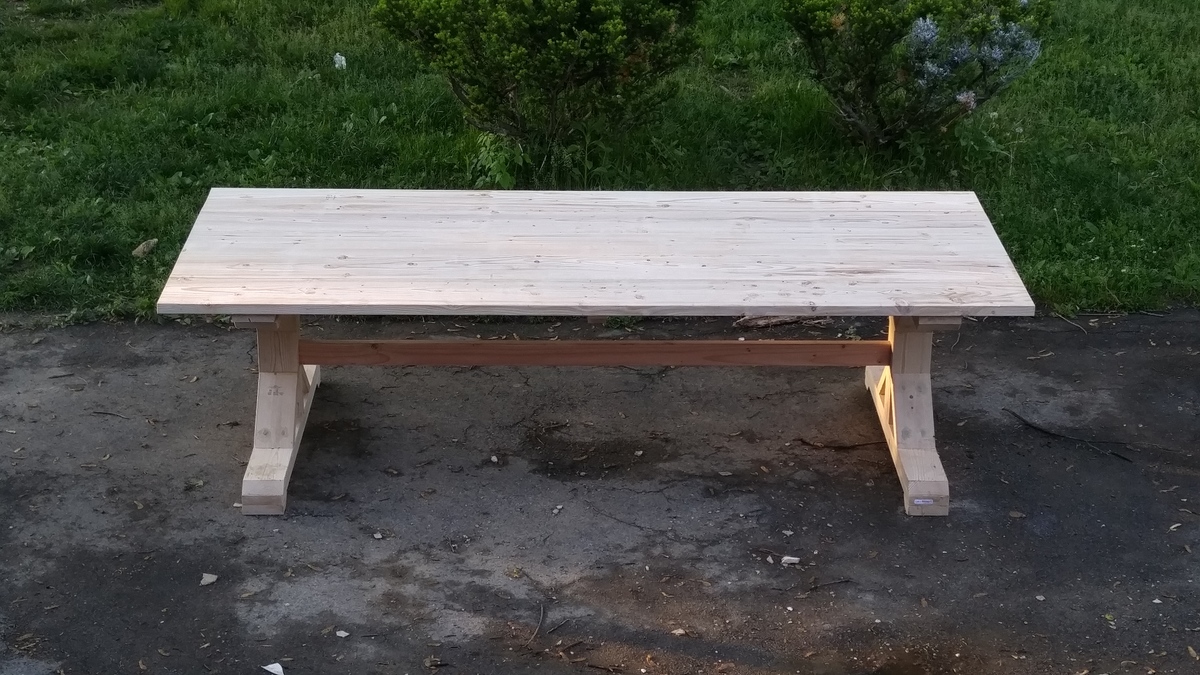
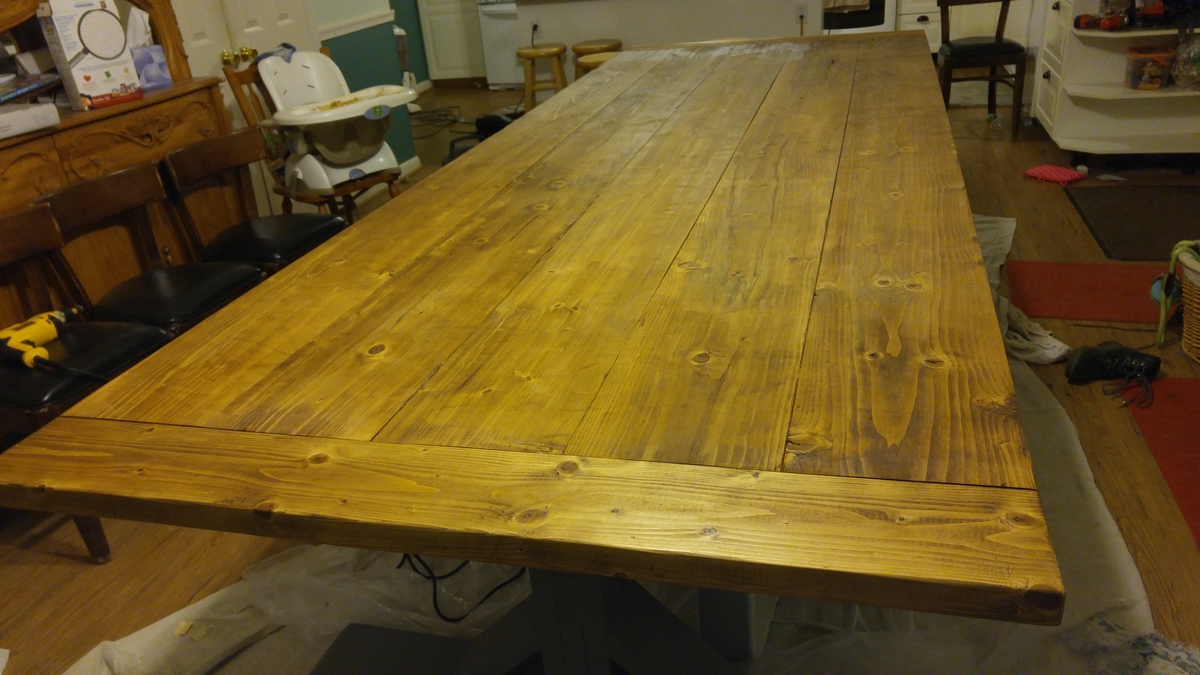
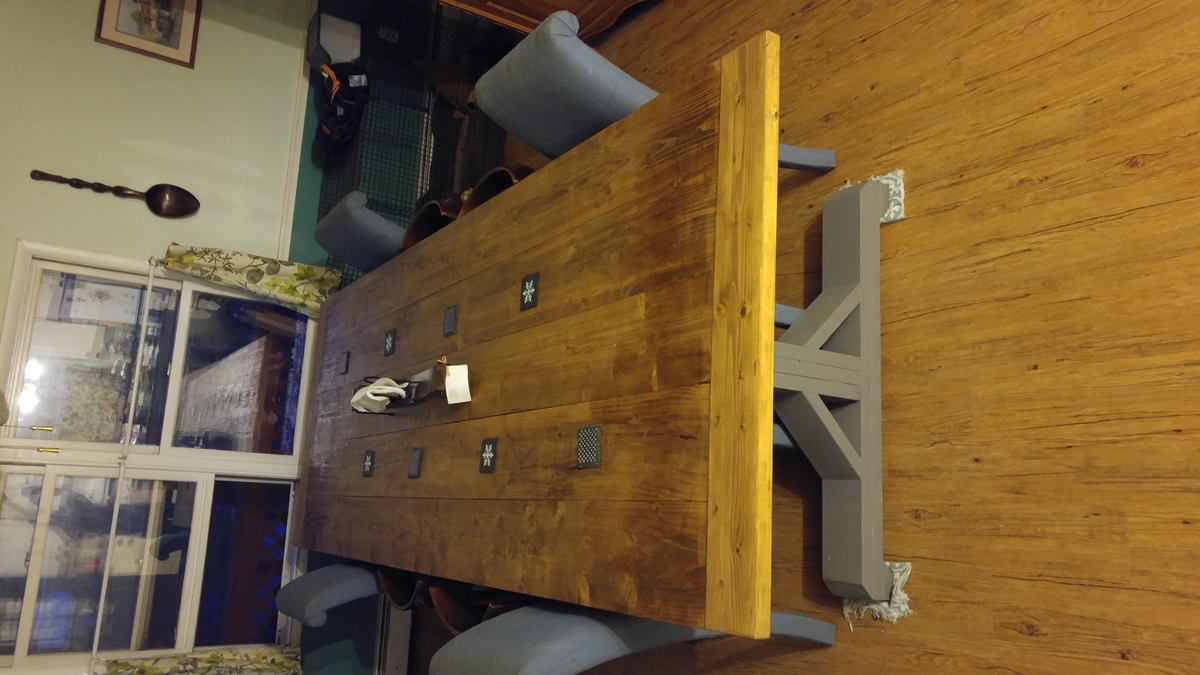
This was my first Ana White project, I modified the plans a bit because I didn't want the 2nd stabilizing bar on the floor. I also went a bit bigger, my table is 10ft 5.5in.
Overall I am very happy with how it turned out.
Thu, 10/27/2016 - 05:59
Looks great. We were planning on doing a similar build where we get rid of the x braces in the middle and use the pedastals you built with the long boards in between. But the plans called for 3 of those pedastals. I was curious of the 2 pedastals/legs are stable enough? I like the look of just having 2 instead of the full 3.
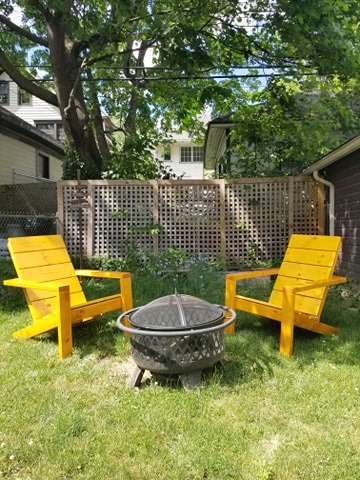
Modified 1x6 slats for seat and seat-back. Purchased four 1x6x8s for both chairs to replace 1x10s
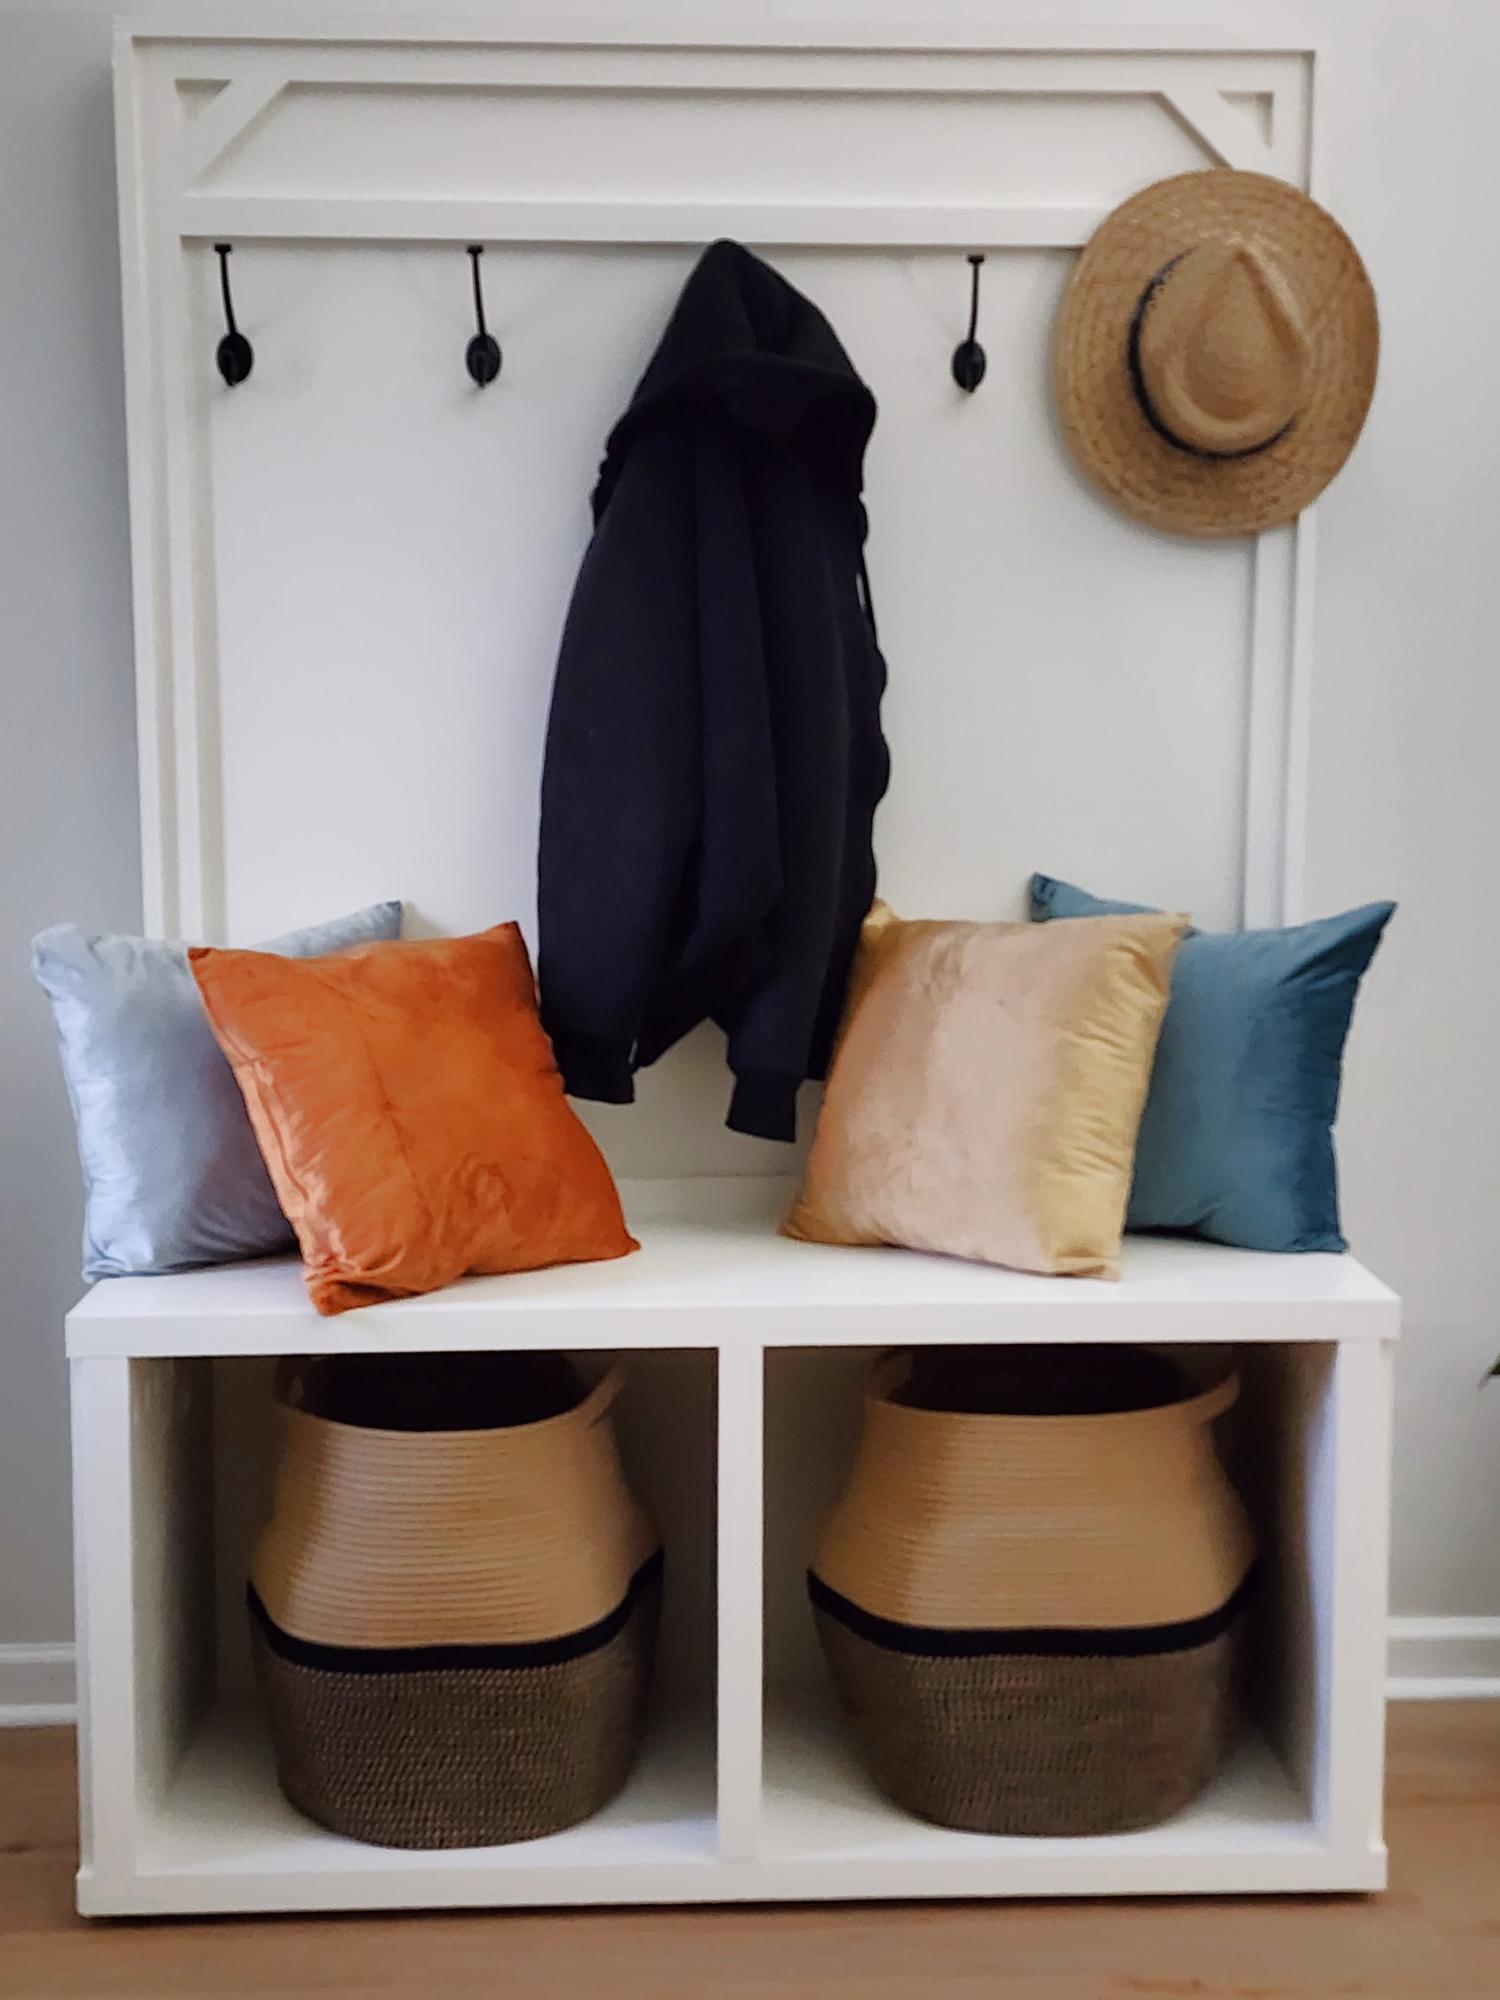
My husband built this coat rack and it is amazing and beautiful.i love it. I know the hooks look crooked in this picture but they are definitely straight.
Tracey and Wilbur Fawbush