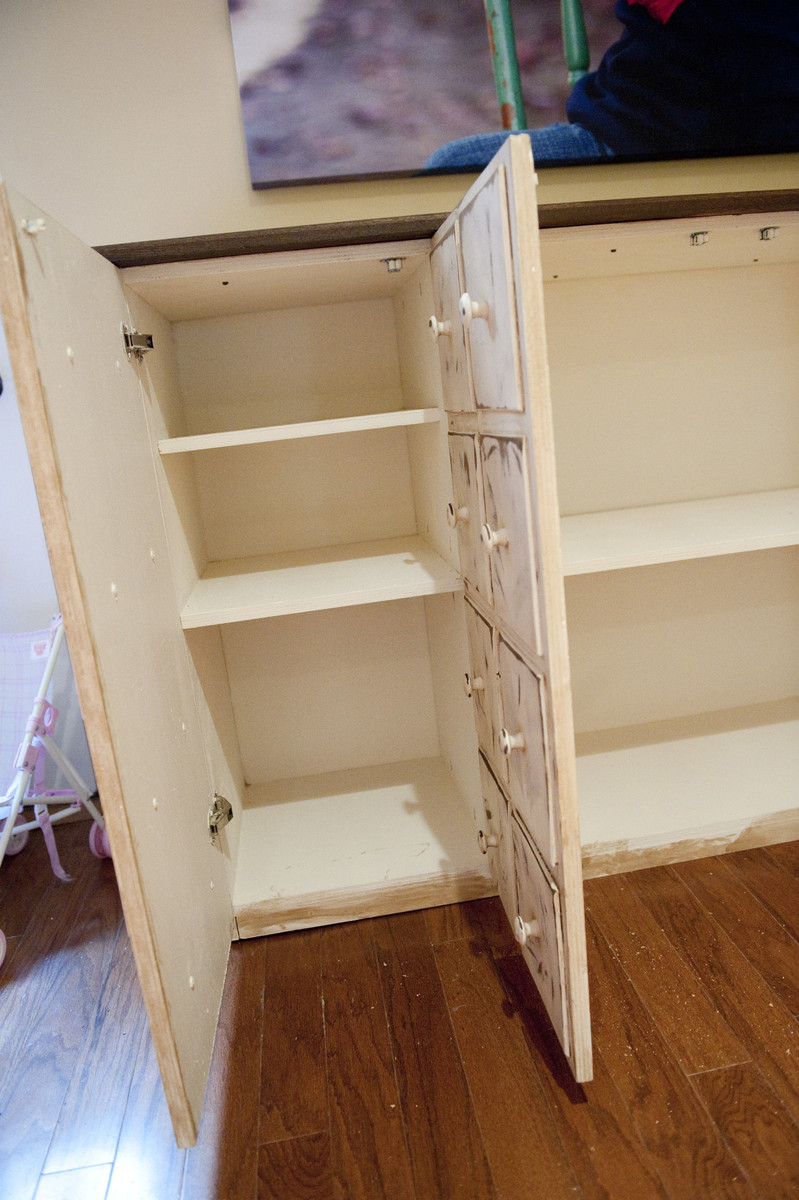
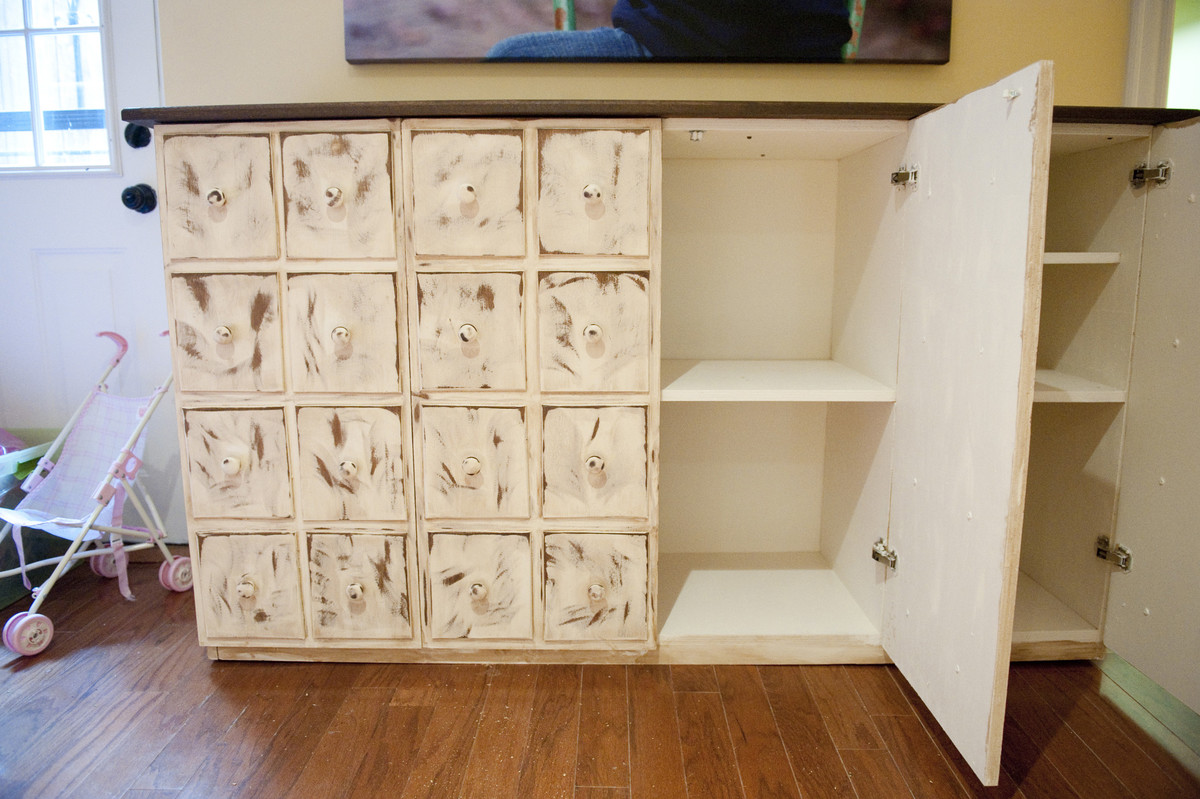
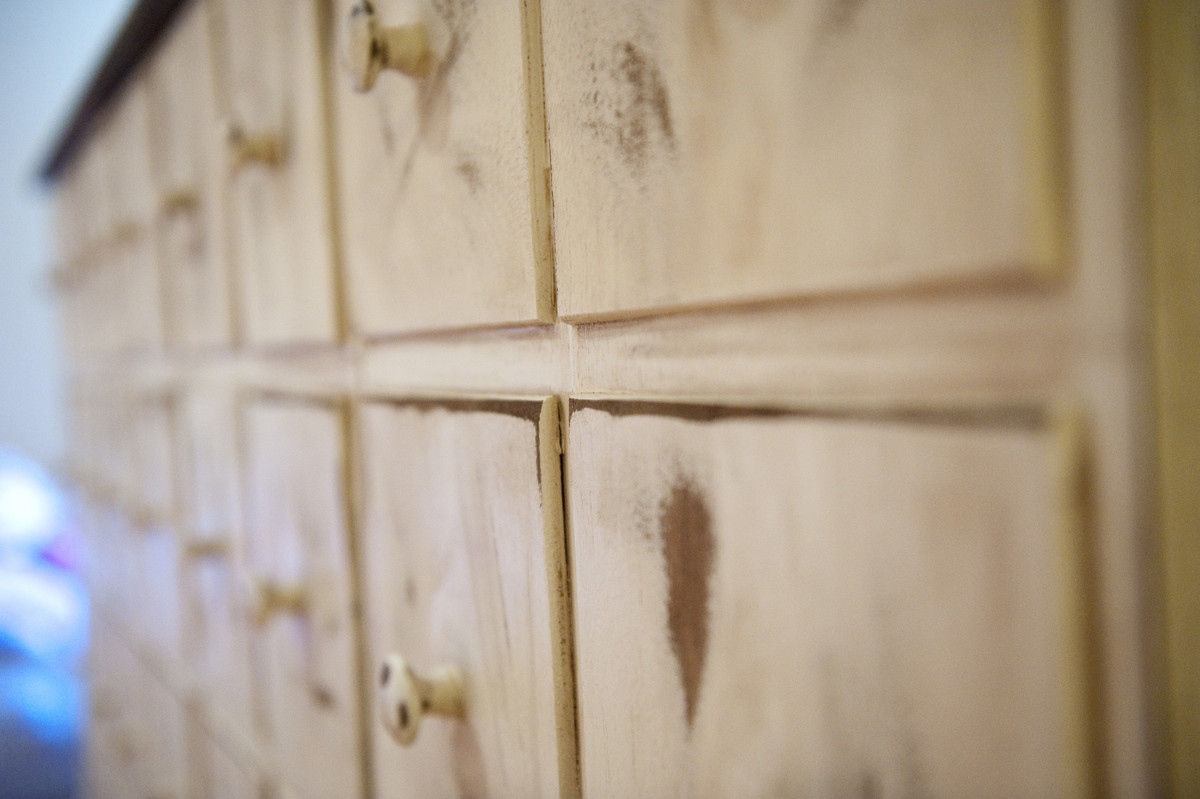
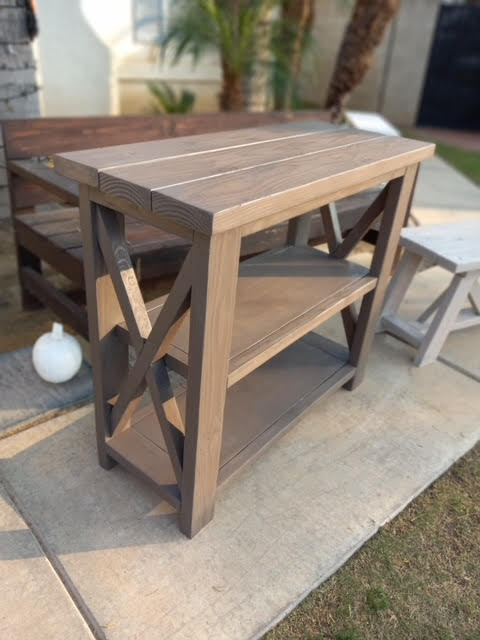
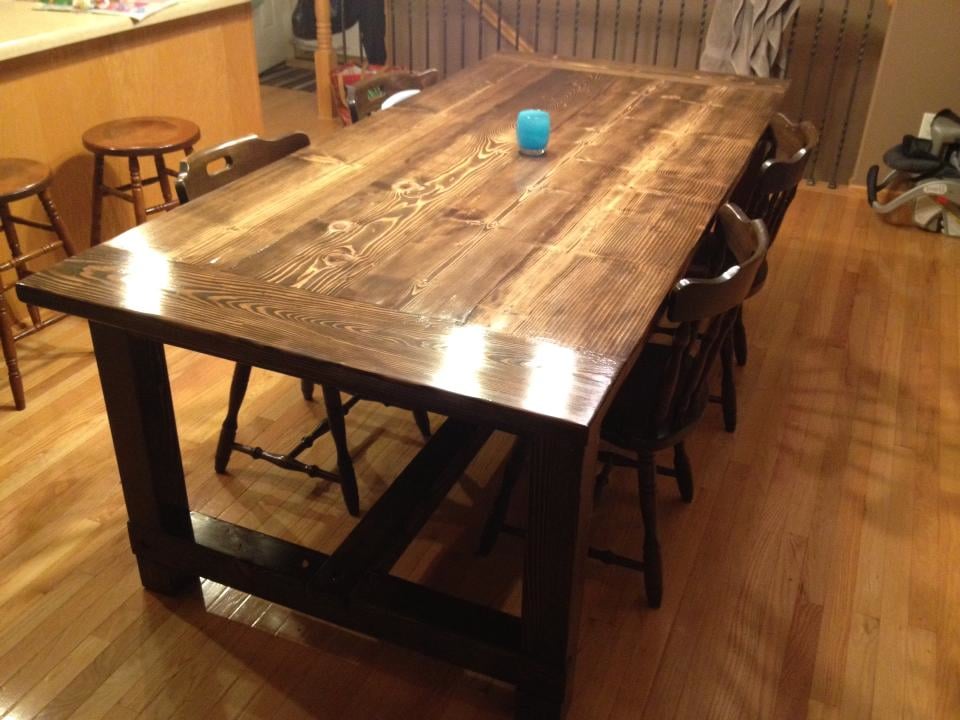
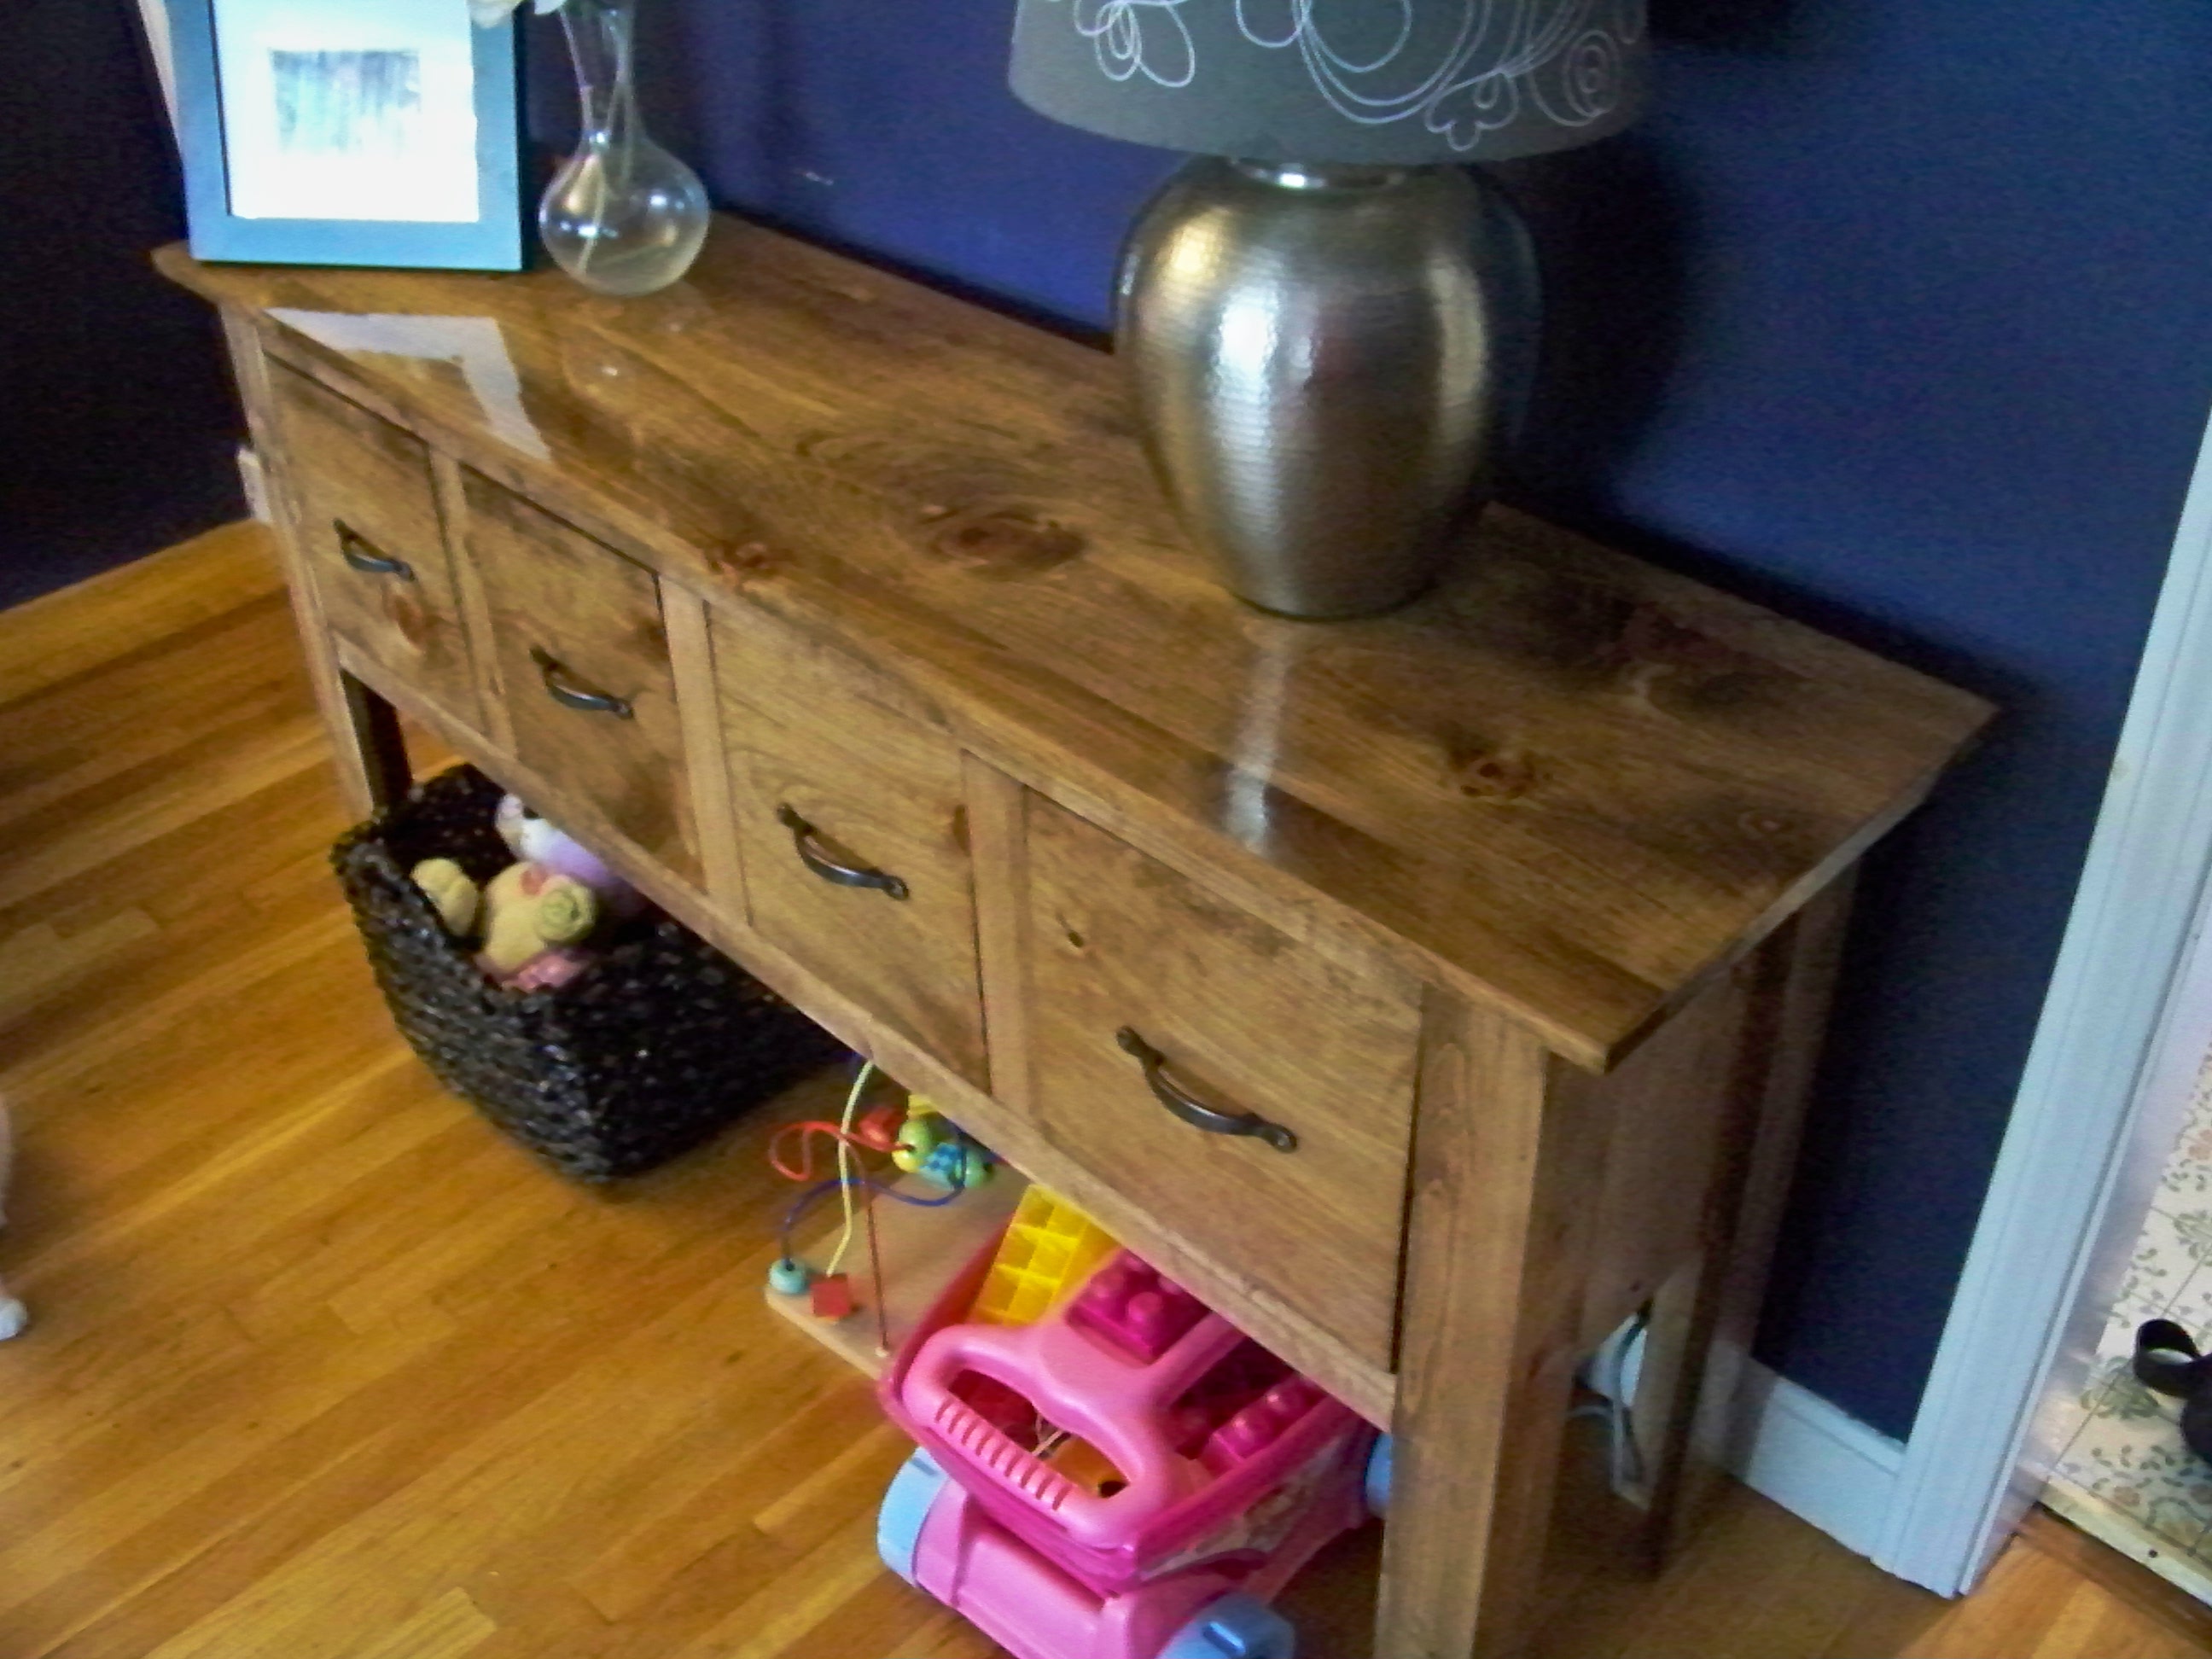
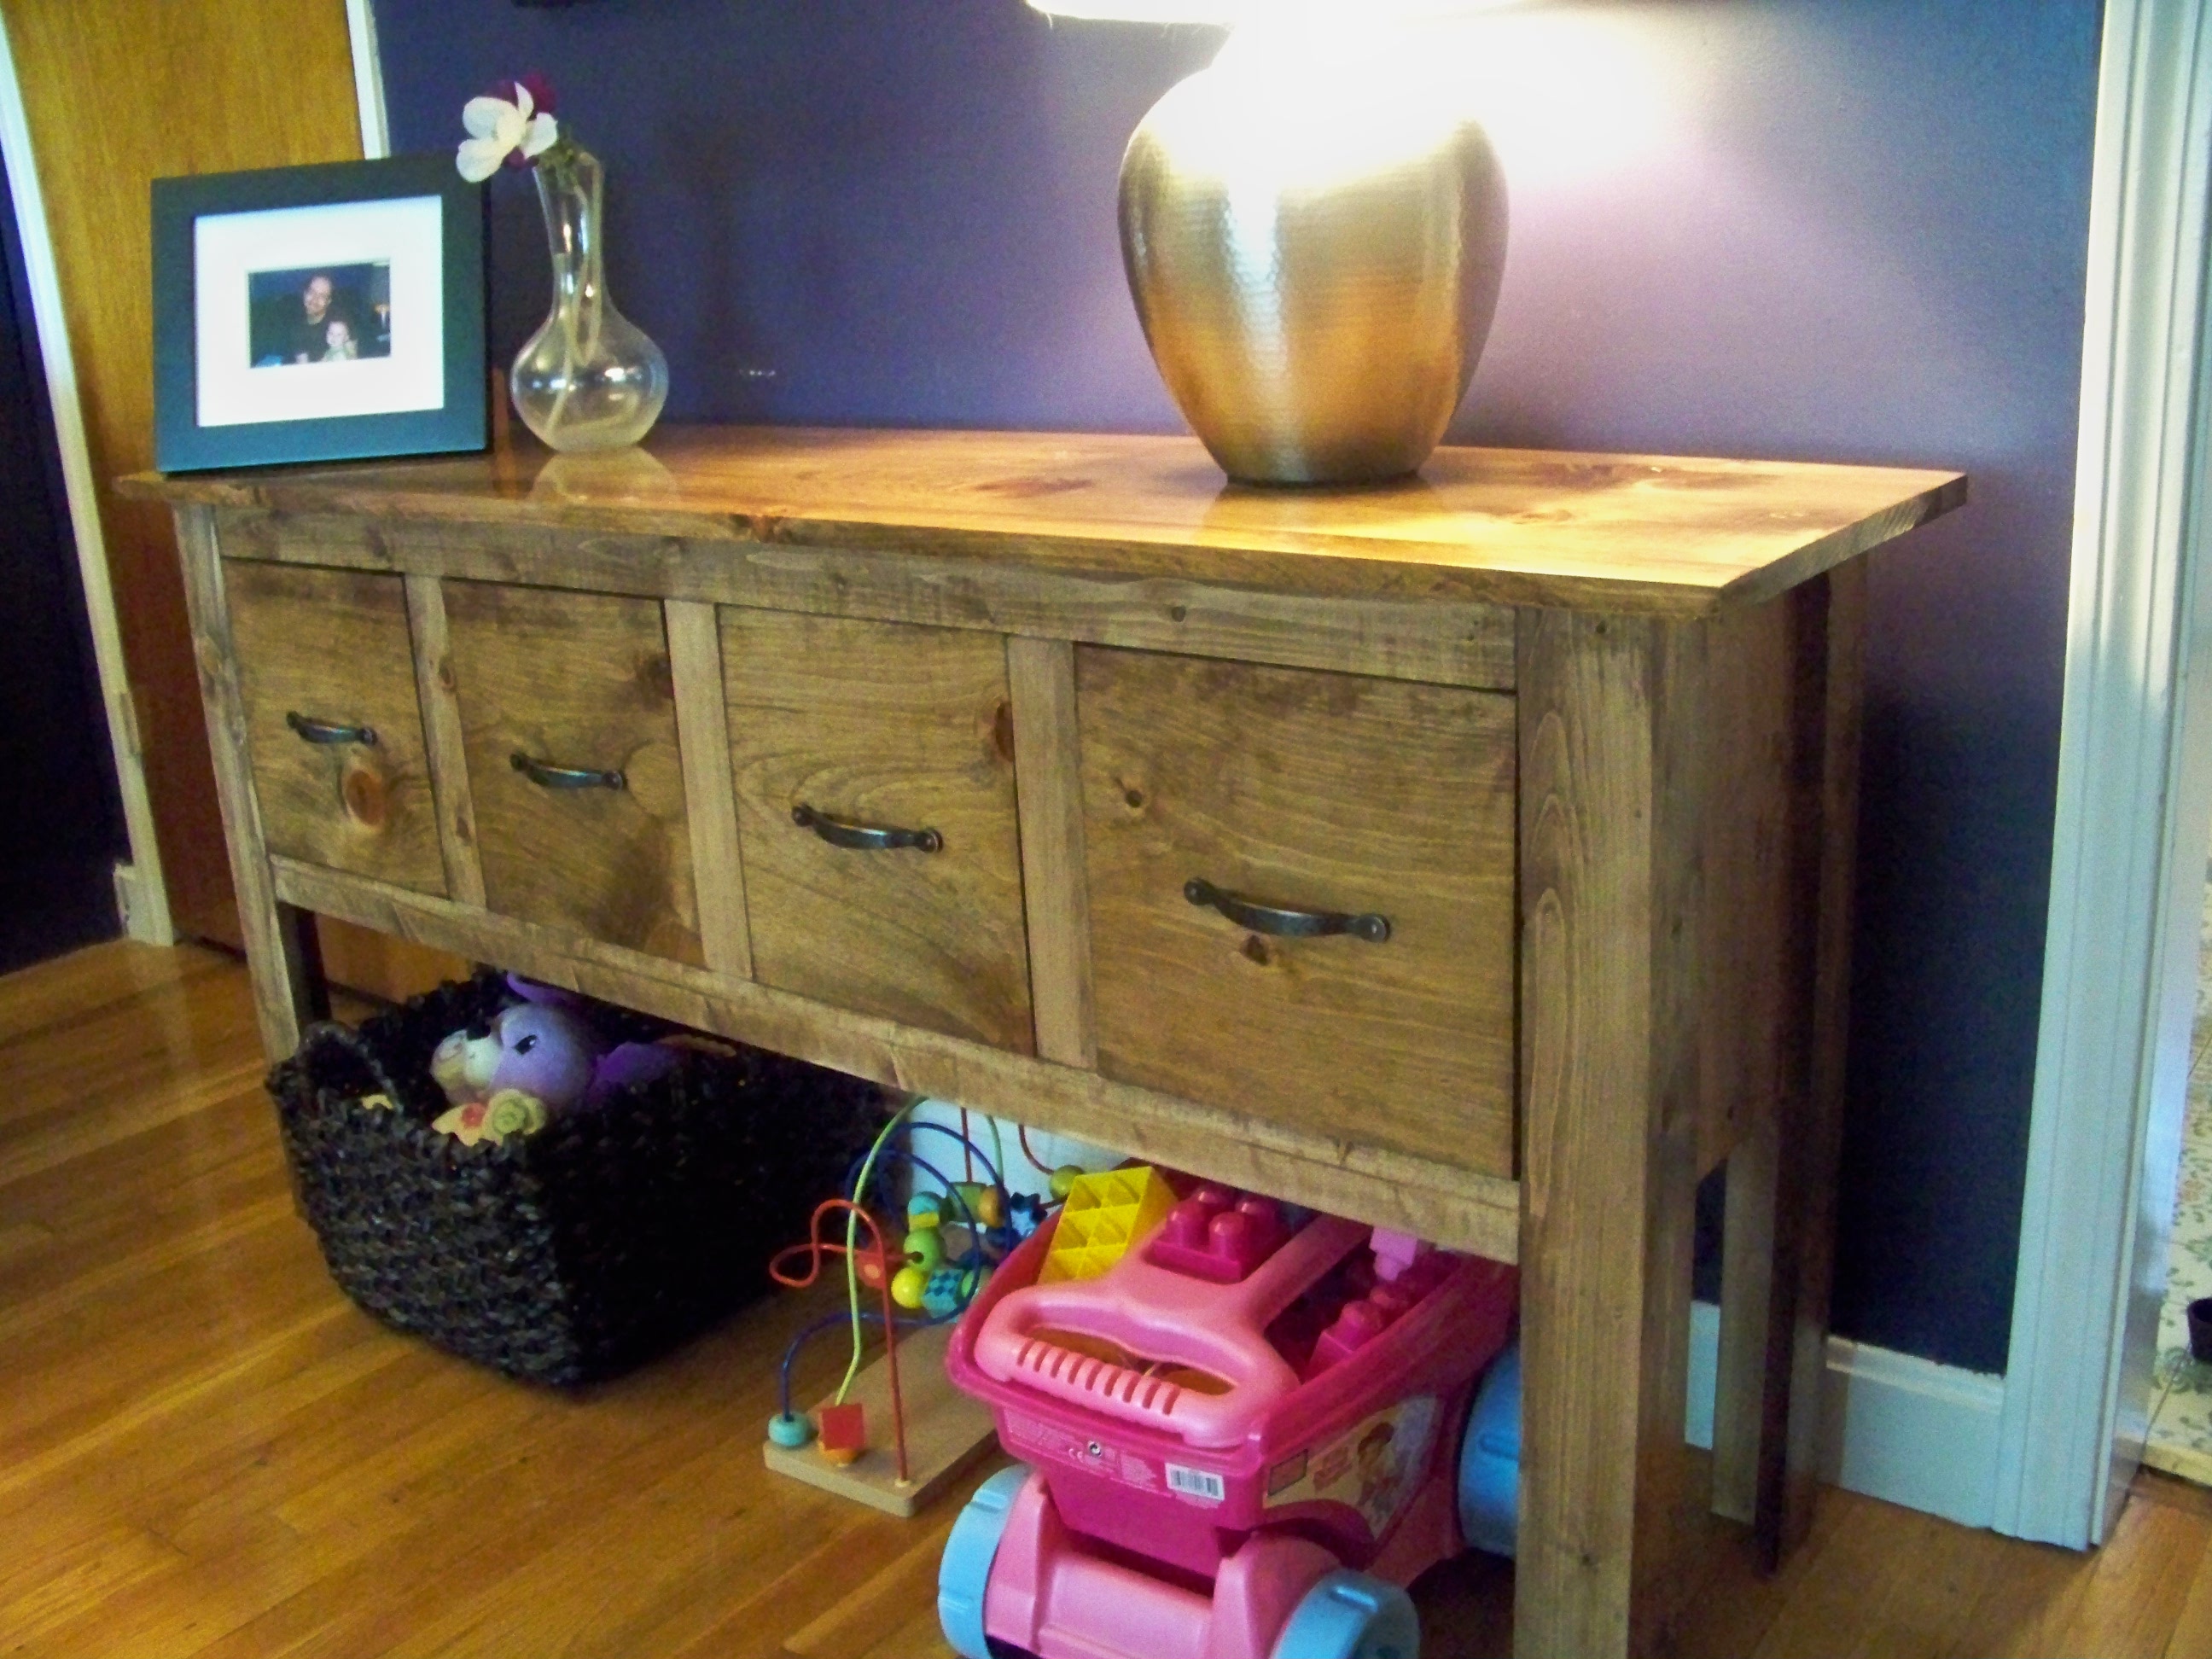
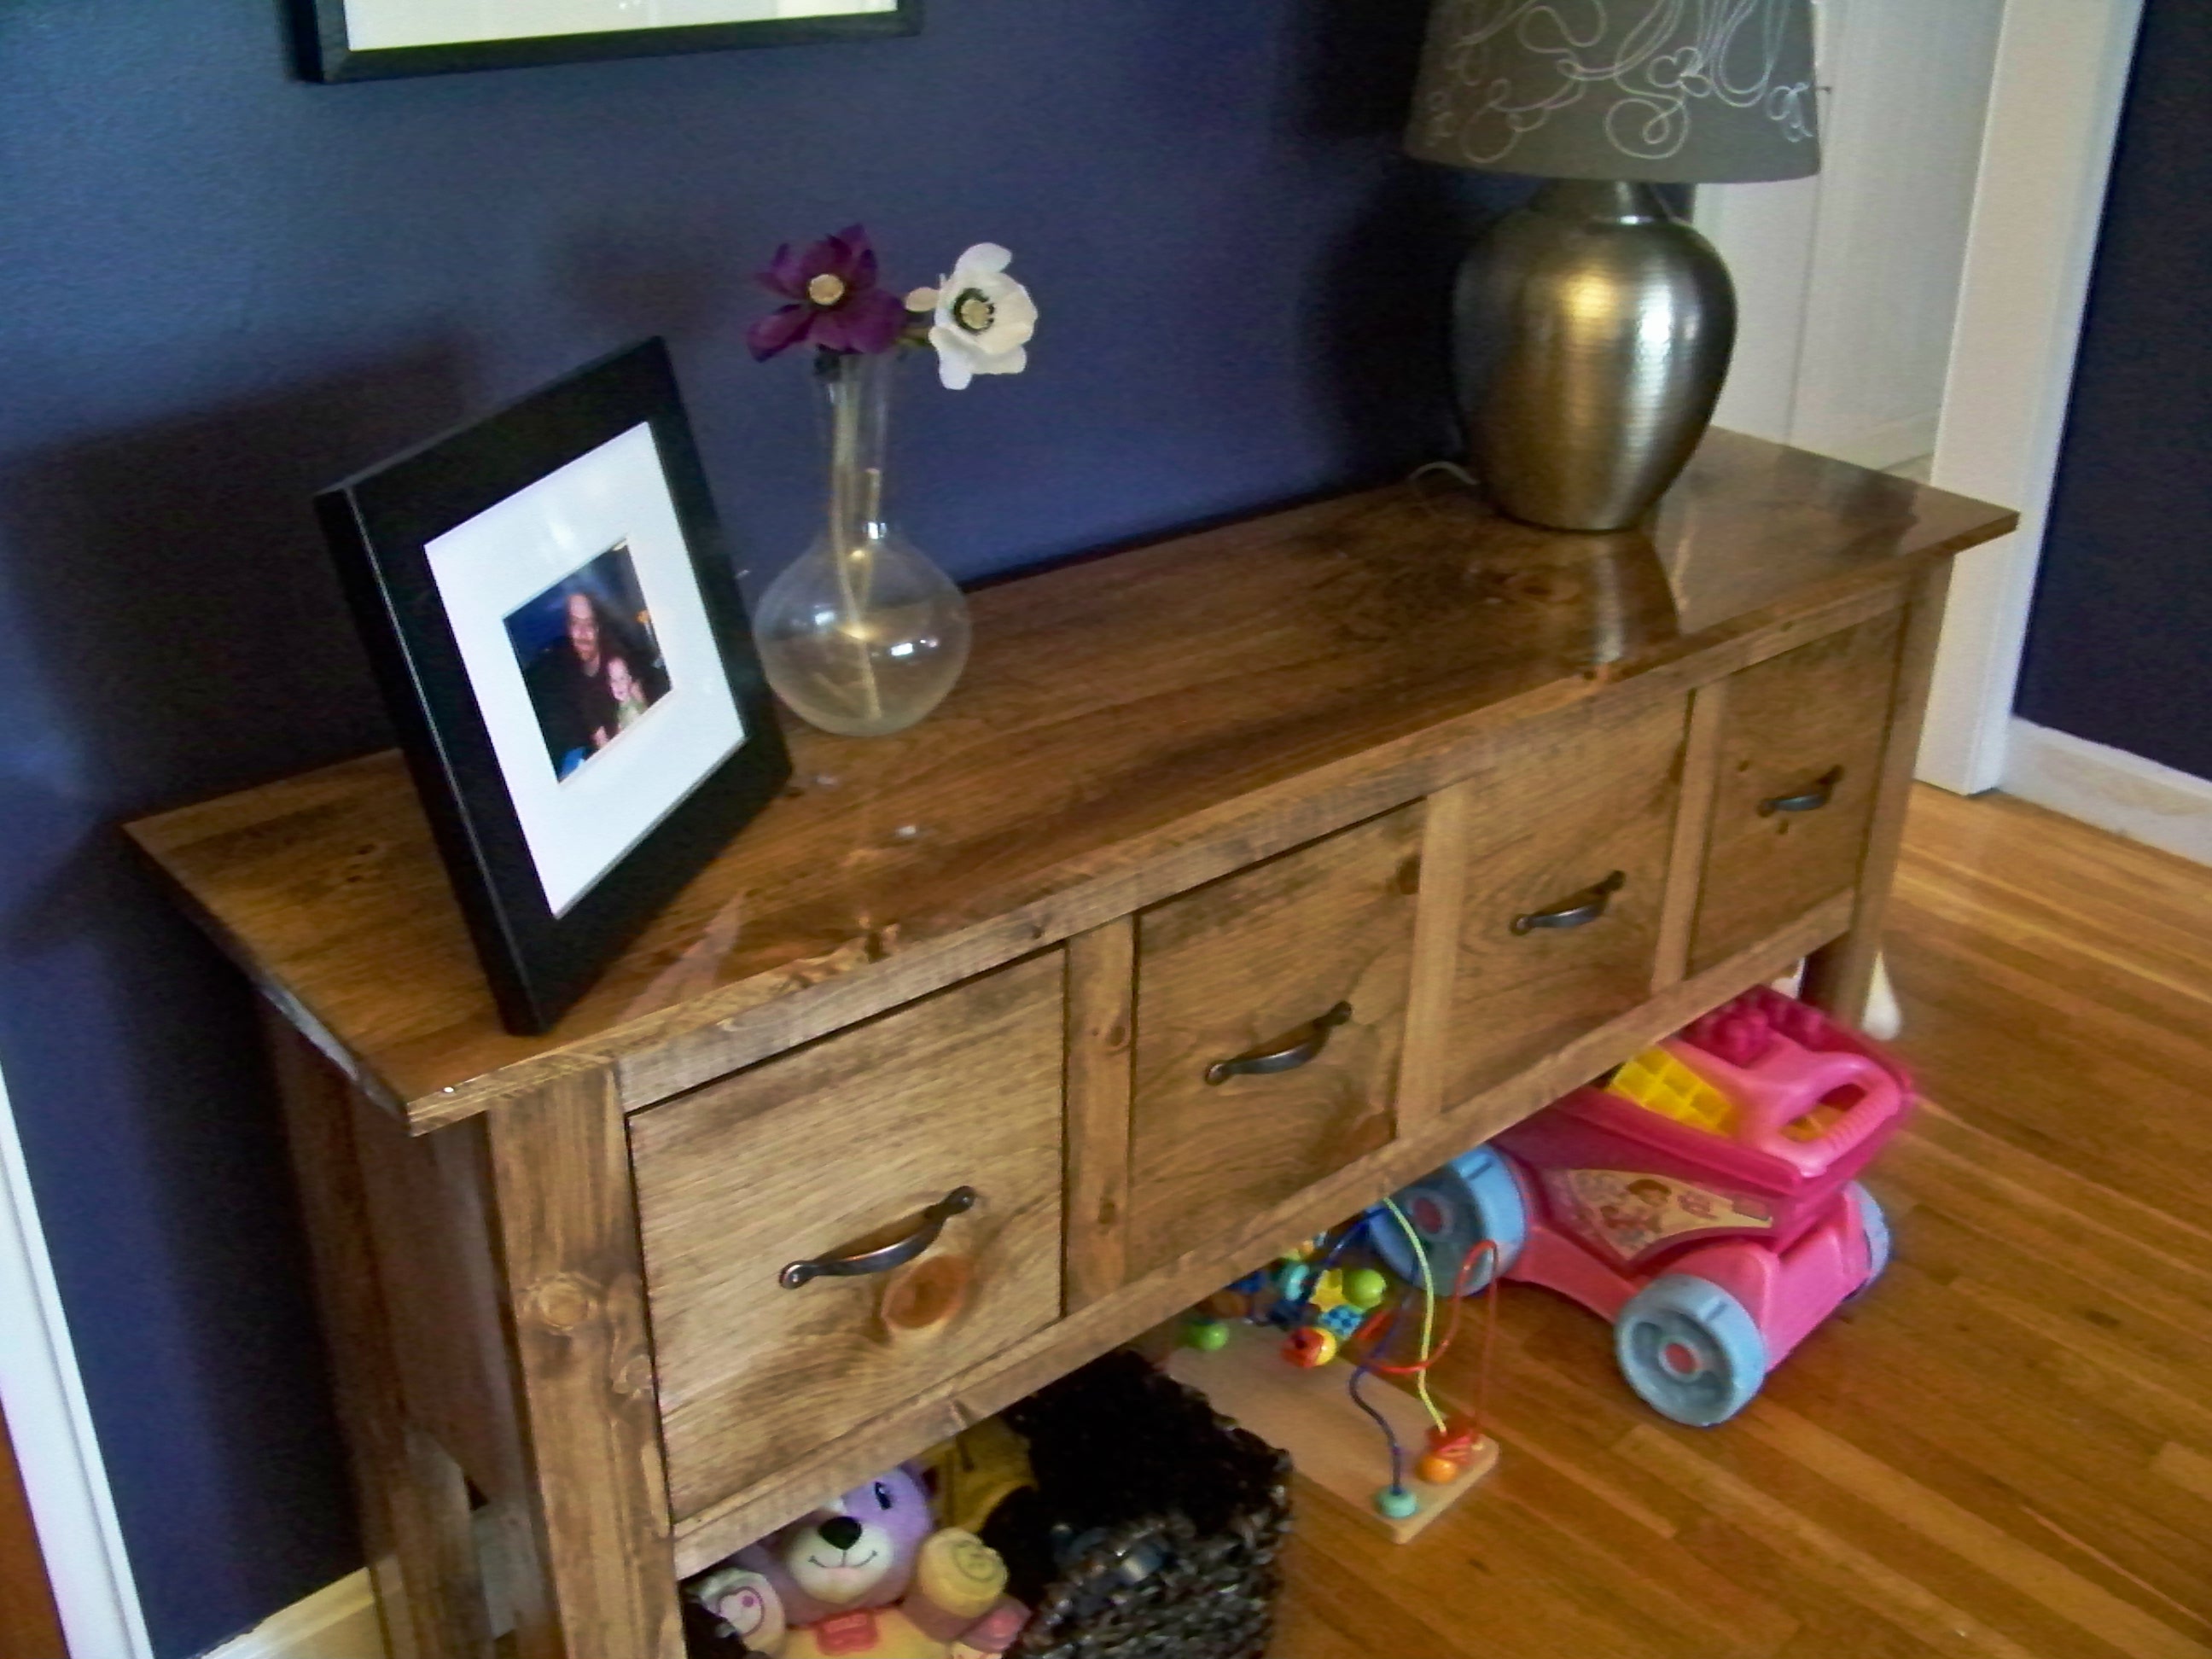
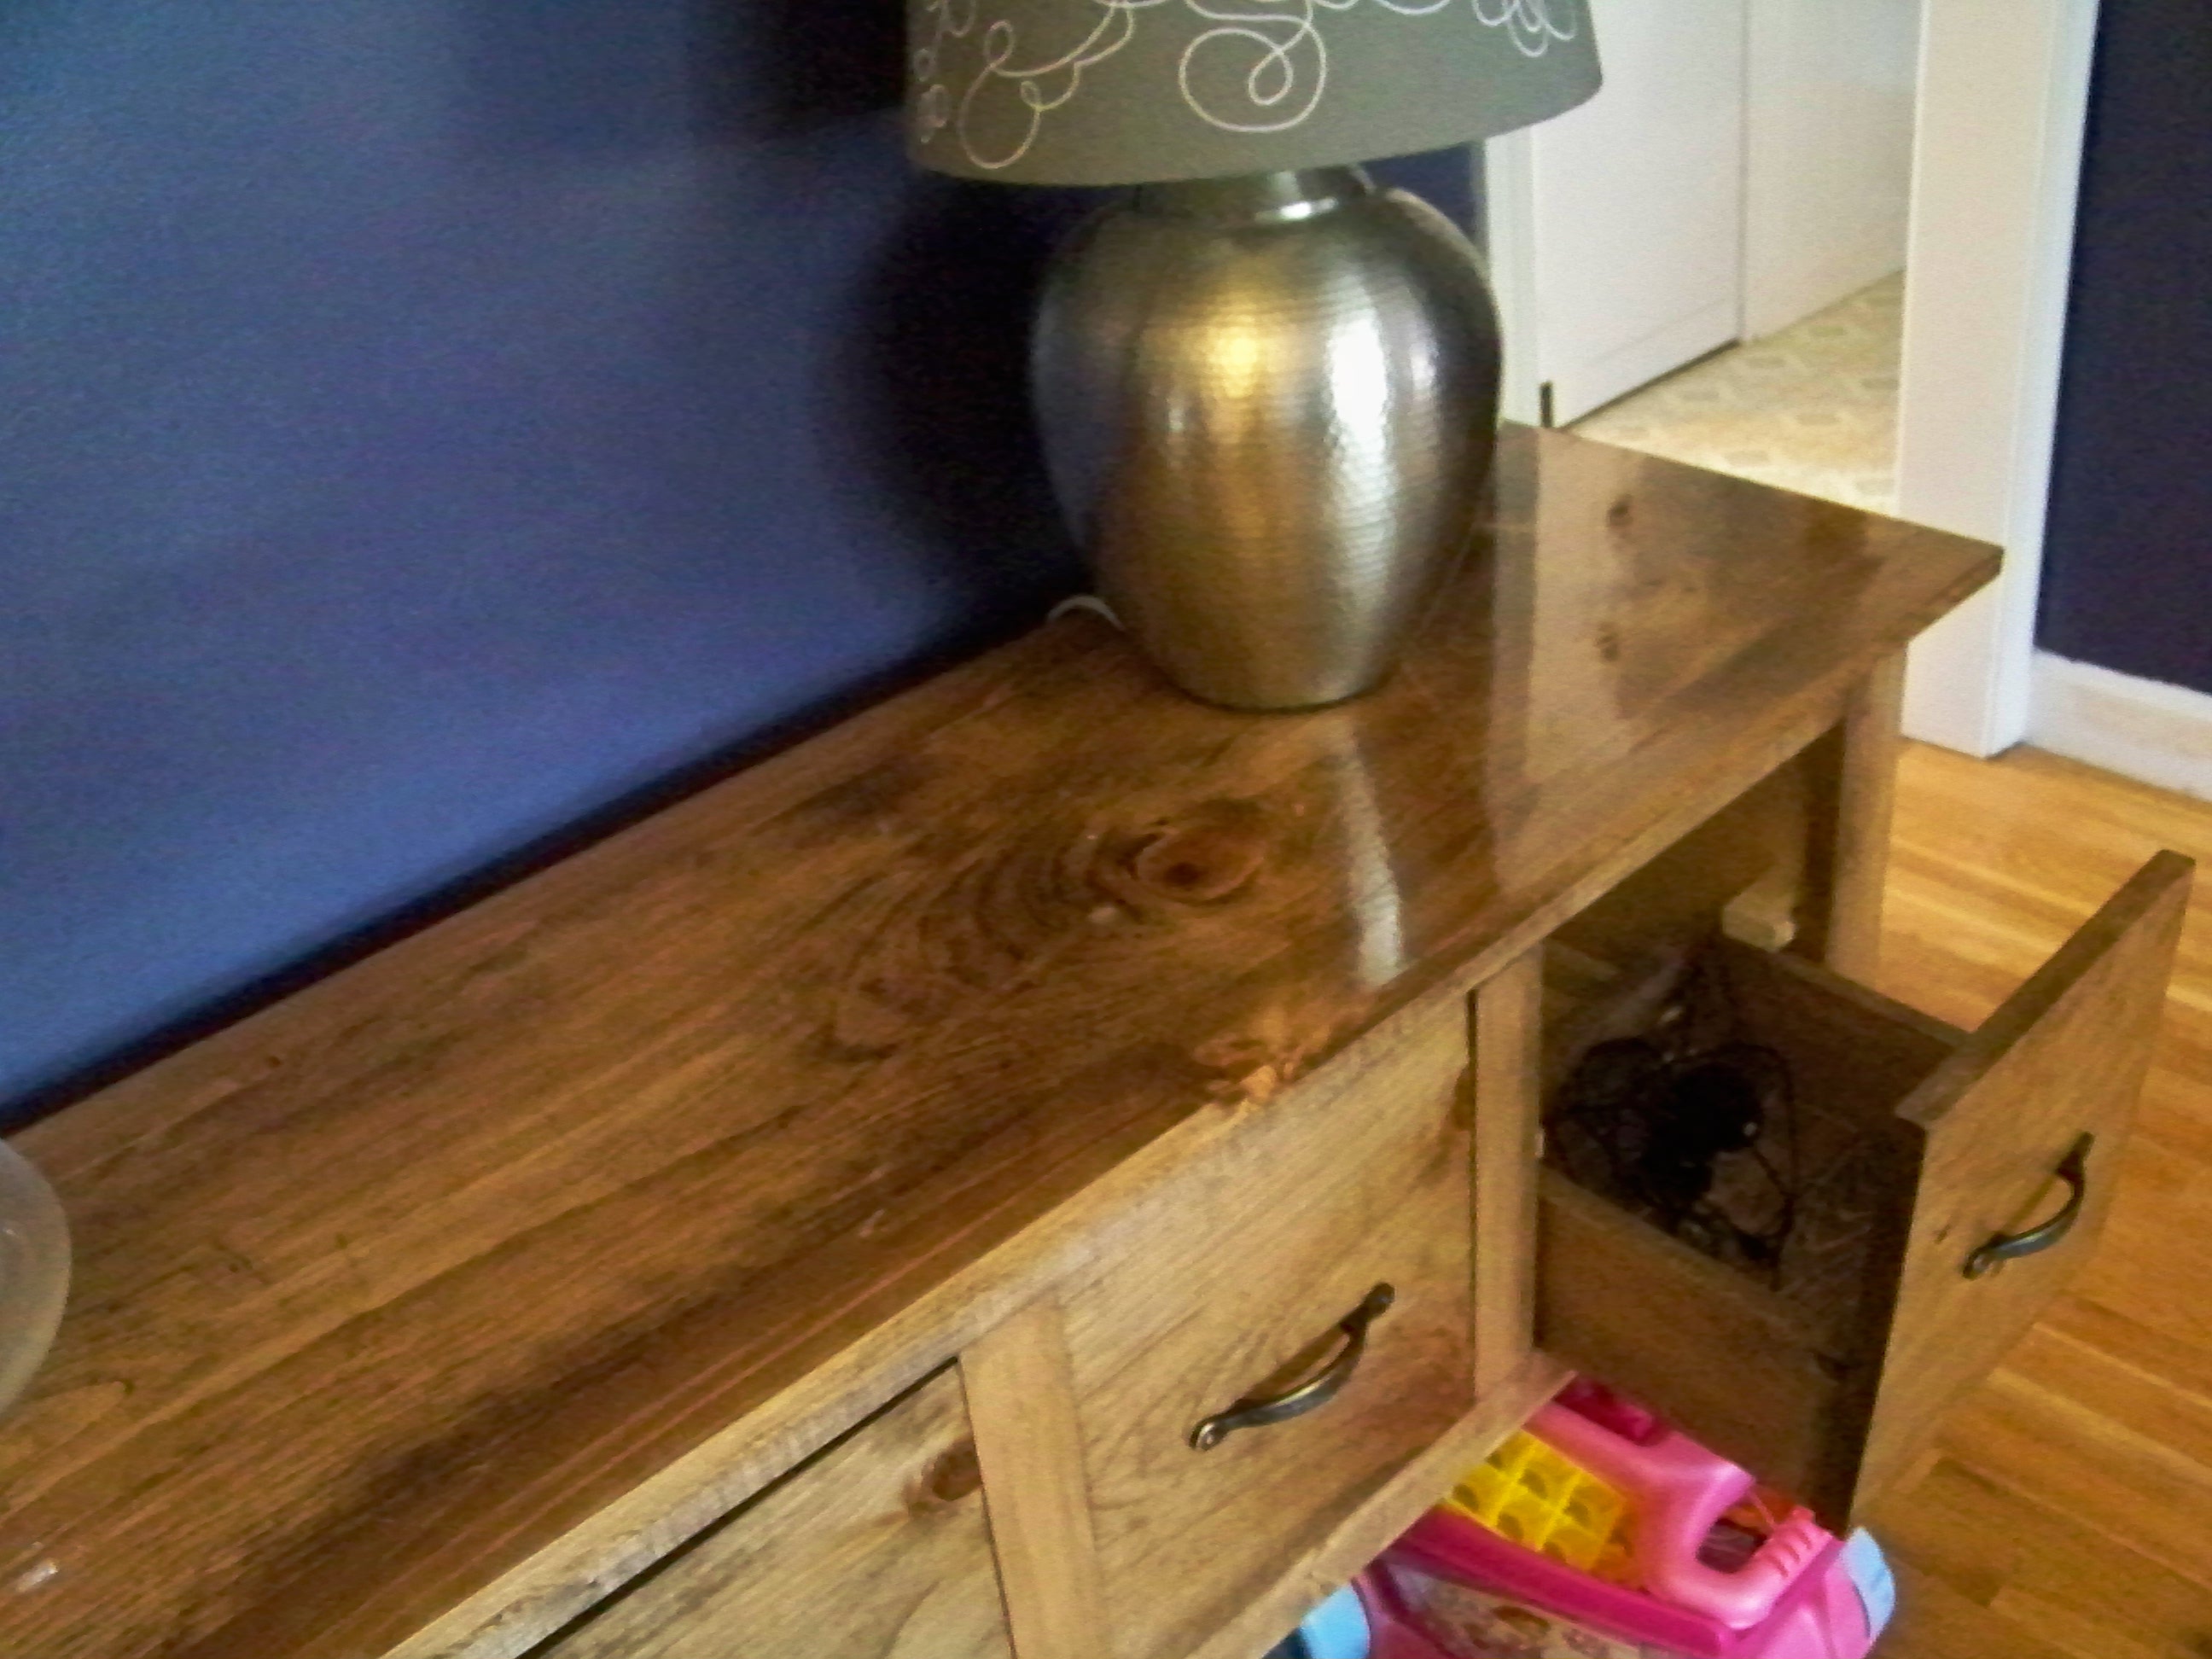
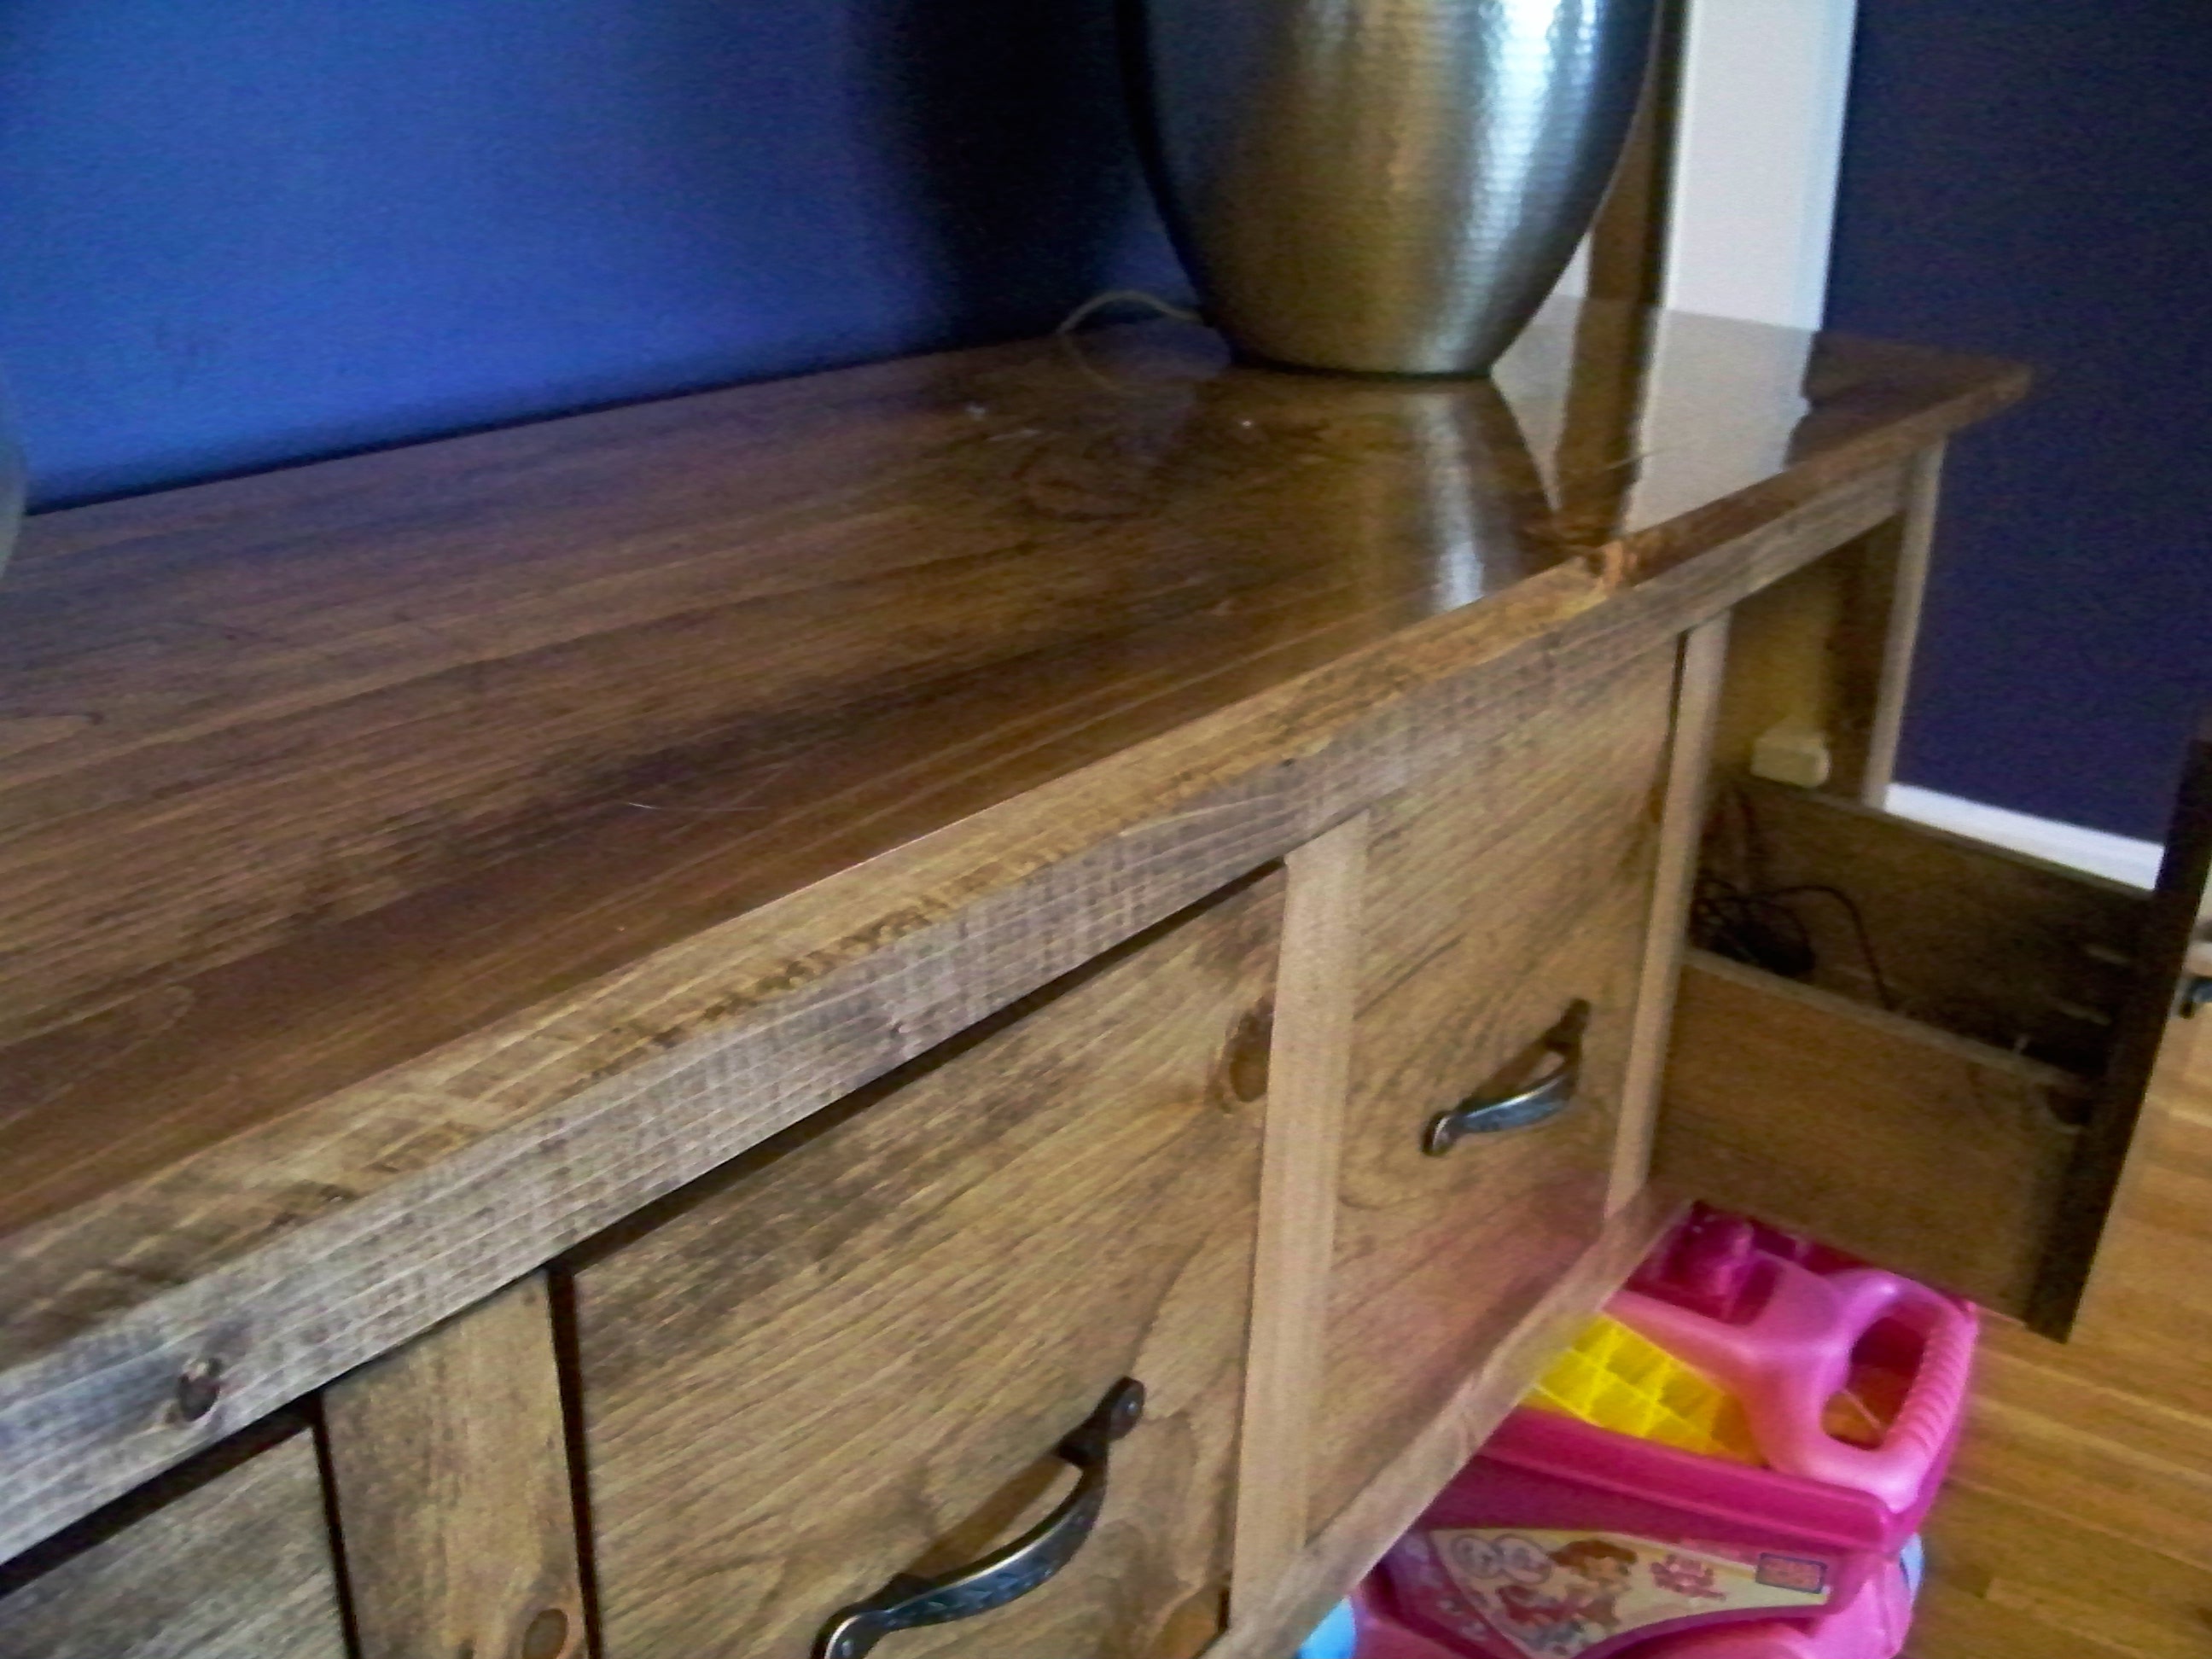
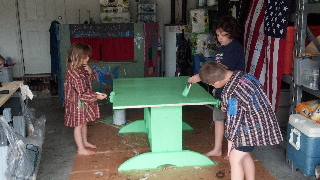
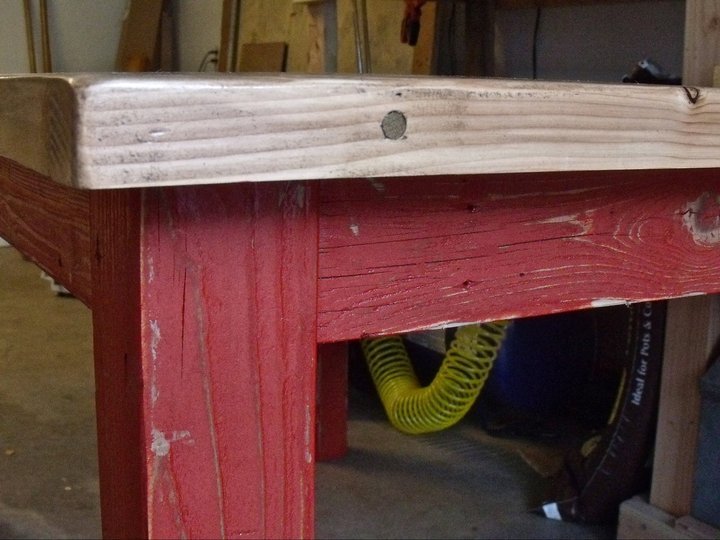
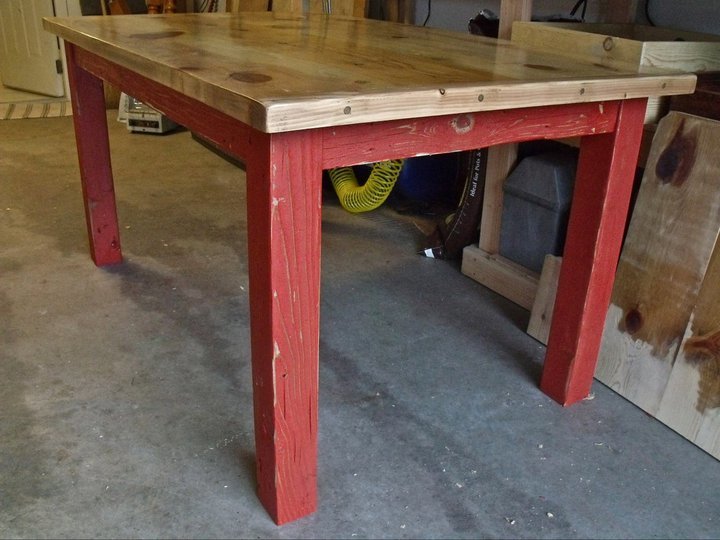
Apothecary Storage Console with full overlay doors
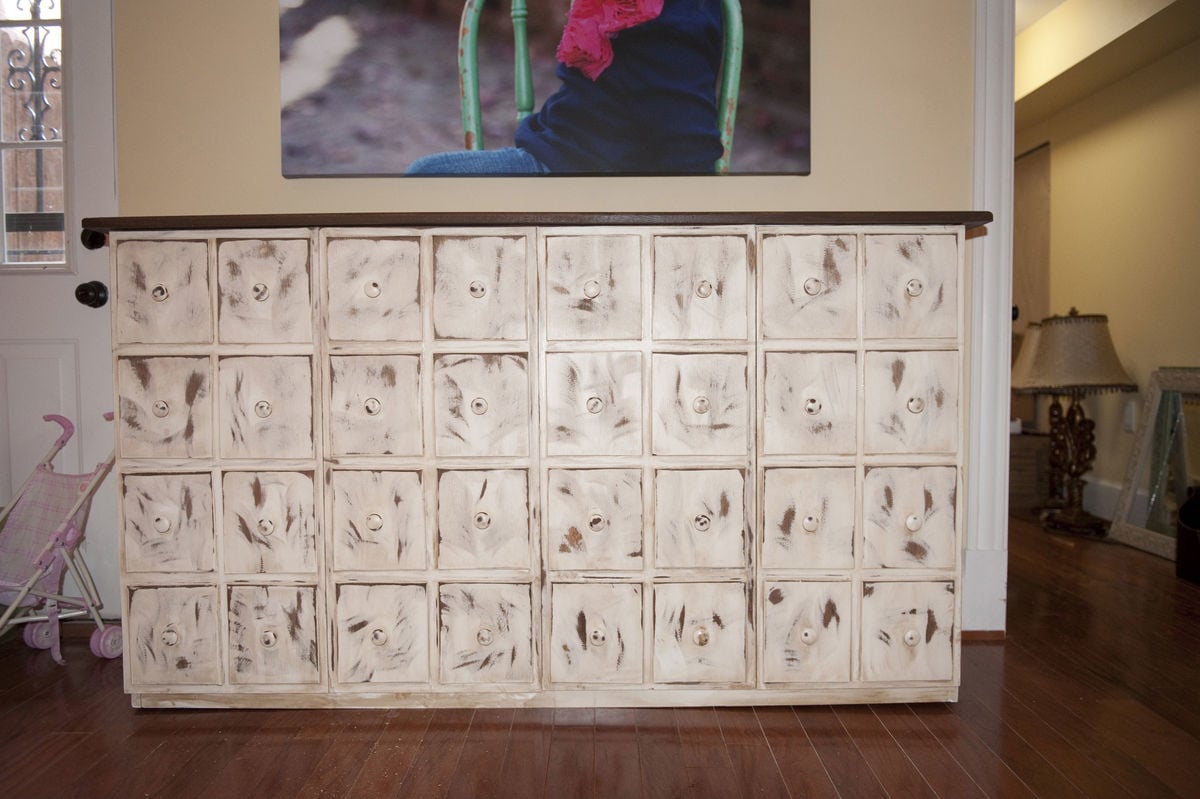
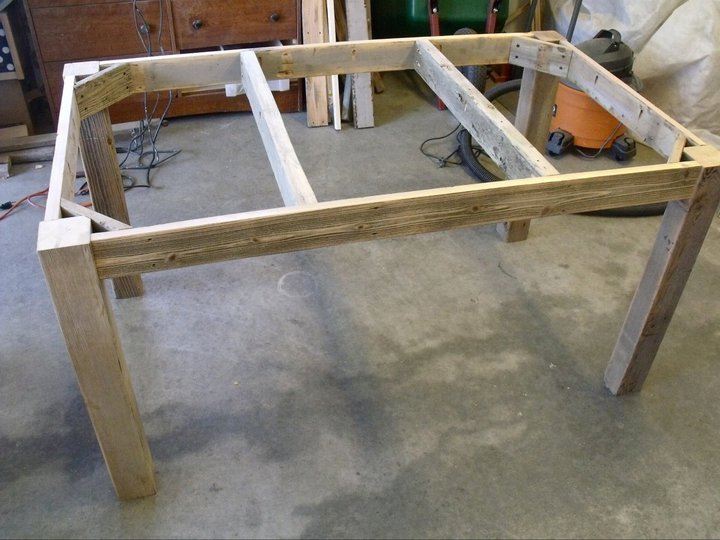
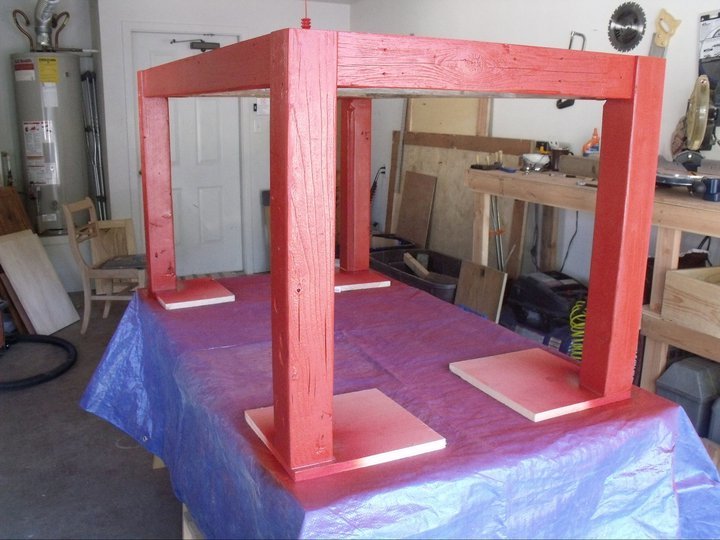
I liked the apothecary plans and loved the look. My wife really liked it and needed somewhere for our daughter to keep her toys. For our anniversary I told her I would redesign it and make it as she liked. This is what we came up with and I think it turned out great. We used full overlay door to prevent the visible lines on the original and are really happy with the results.

Built from Plan(s)
Estimated Cost
250-300
Estimated Time Investment
Week Long Project (20 Hours or More)
Finish Used
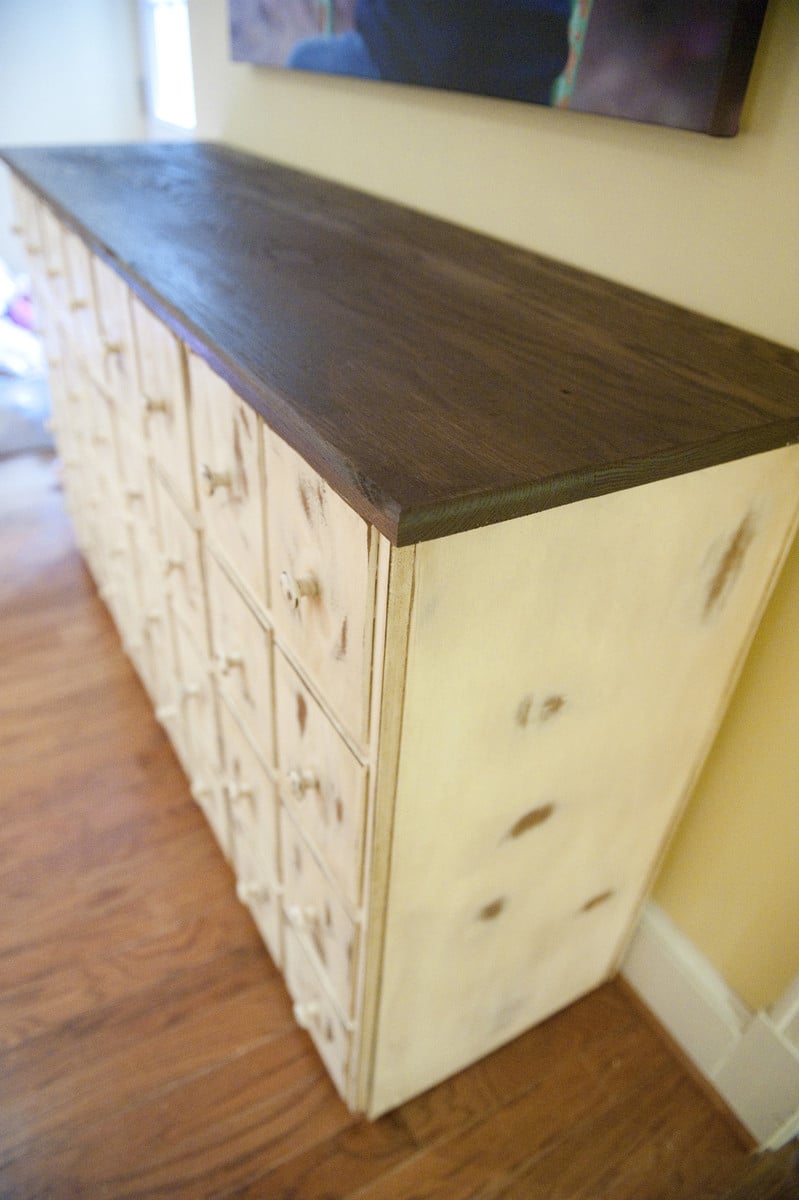
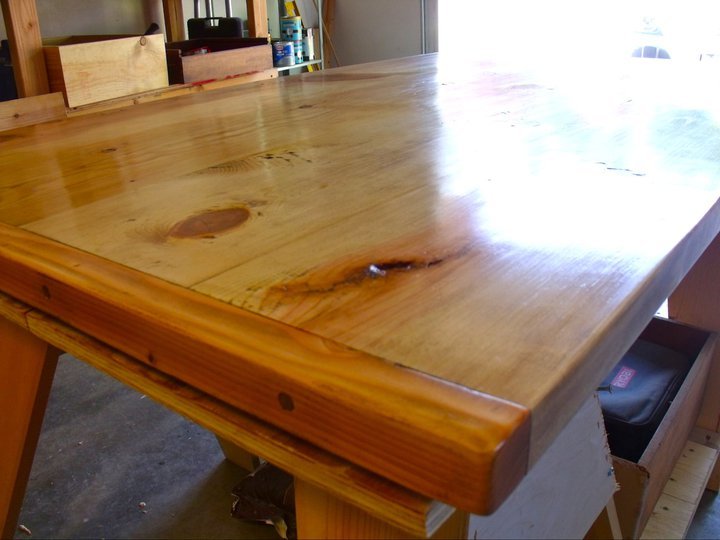
We used Aura in "Collector's Item", Two coats then sanded it quite a bit. Then glazed with Min-wax in English Chestnut. For the top we beat it with a hammer and some chains to distress it then stained with Pecan.
Recommended Skill Level
Intermediate


Comments
mandylynn523
Thu, 06/16/2011 - 21:08
very pretty!
I love it!! great job!