Side street bunk beds

We just finished 2 sets of bunk beds using the side street bunk bed plans. The end result was gorgeous. We stained these in min wax classic gray. We also countersunk the bed slats on top and bottom.

We just finished 2 sets of bunk beds using the side street bunk bed plans. The end result was gorgeous. We stained these in min wax classic gray. We also countersunk the bed slats on top and bottom.
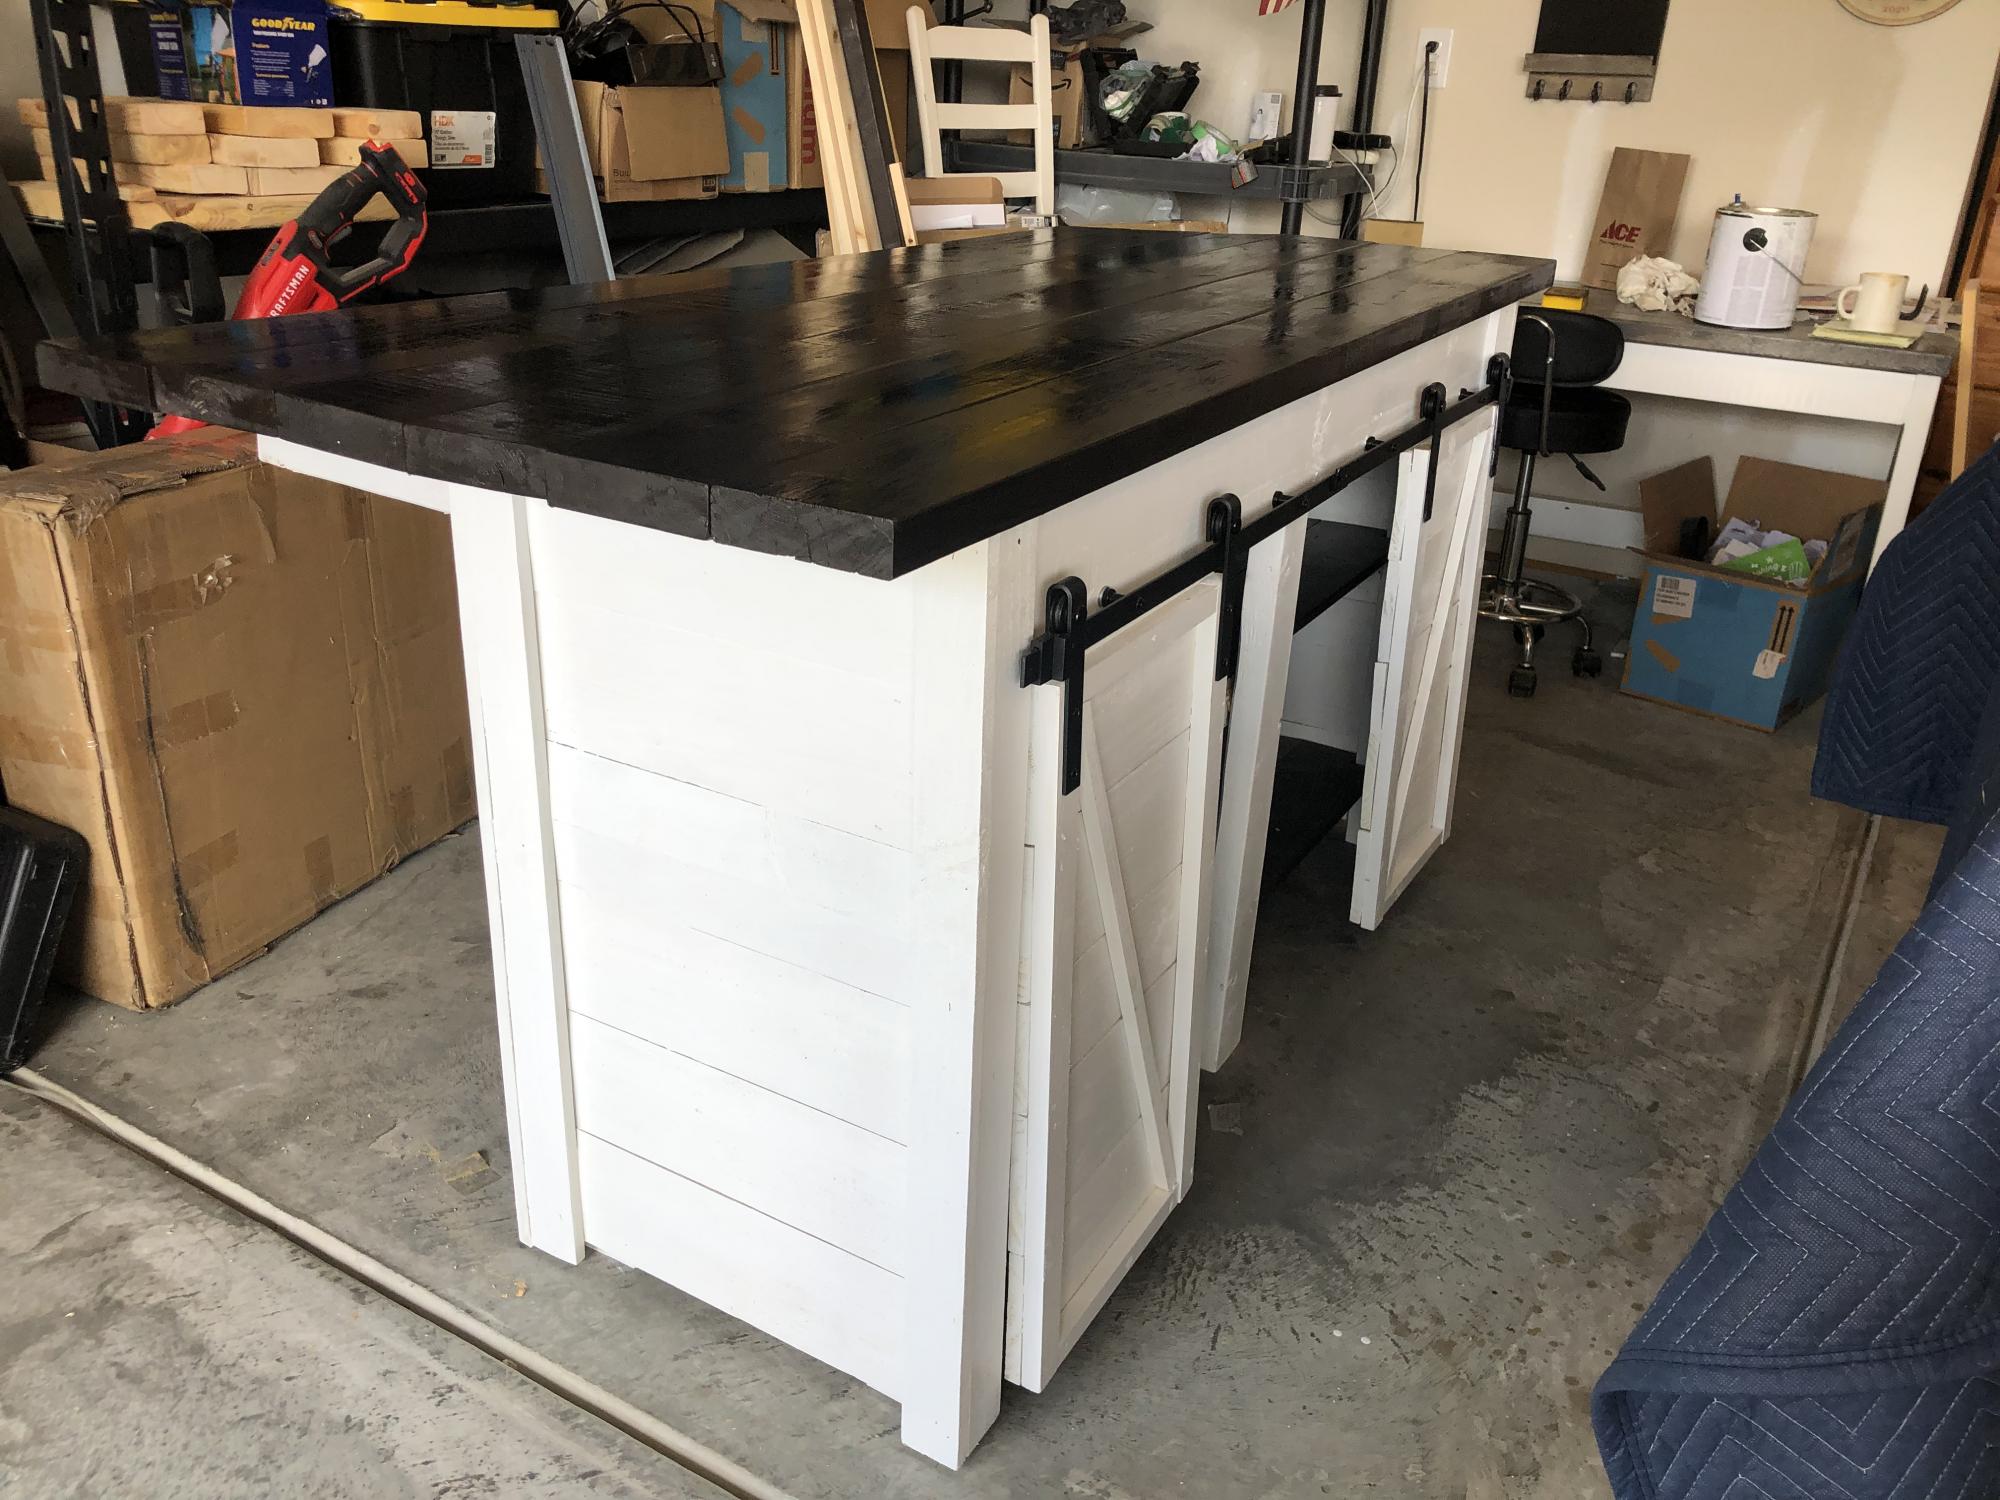
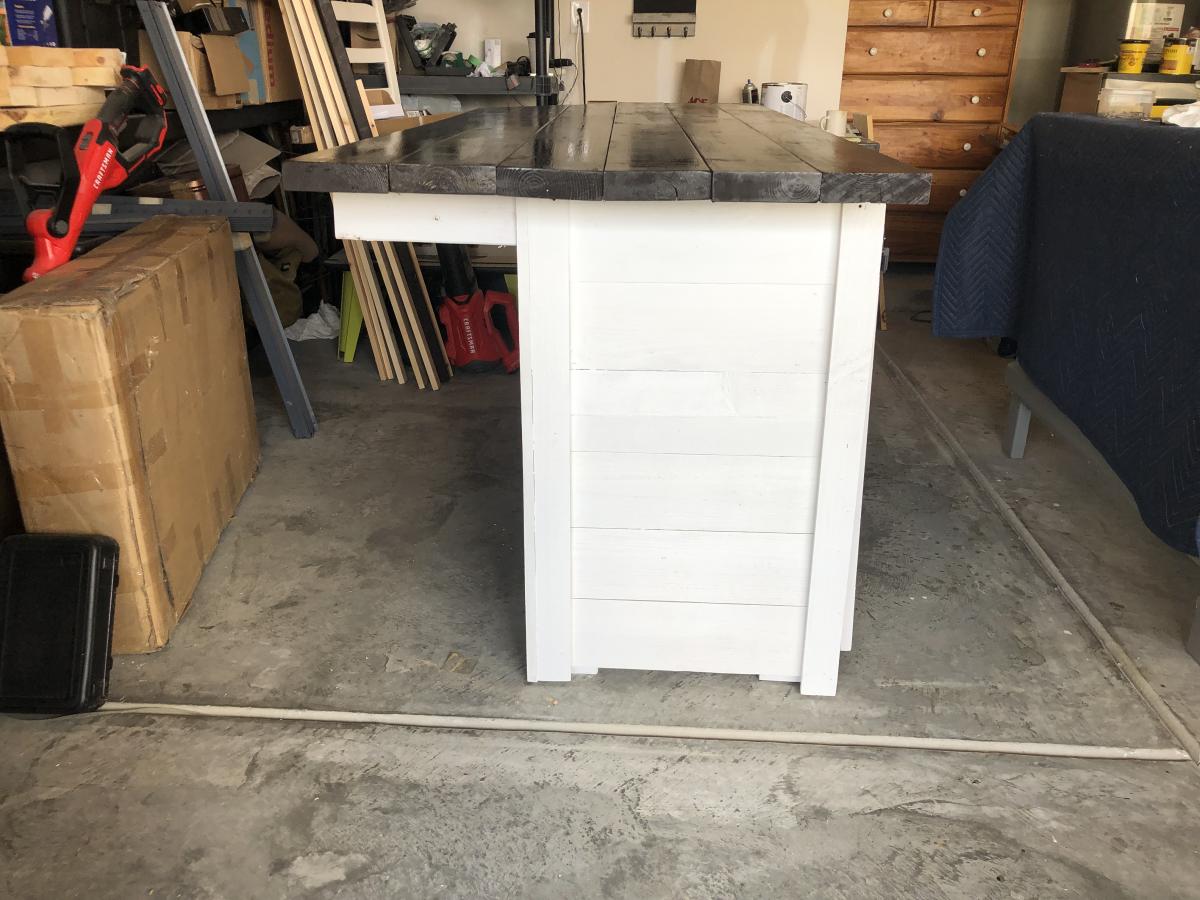
Used several plans to put this on together. Individual wood slats to build siding. 36”h. 32” d 72”l.
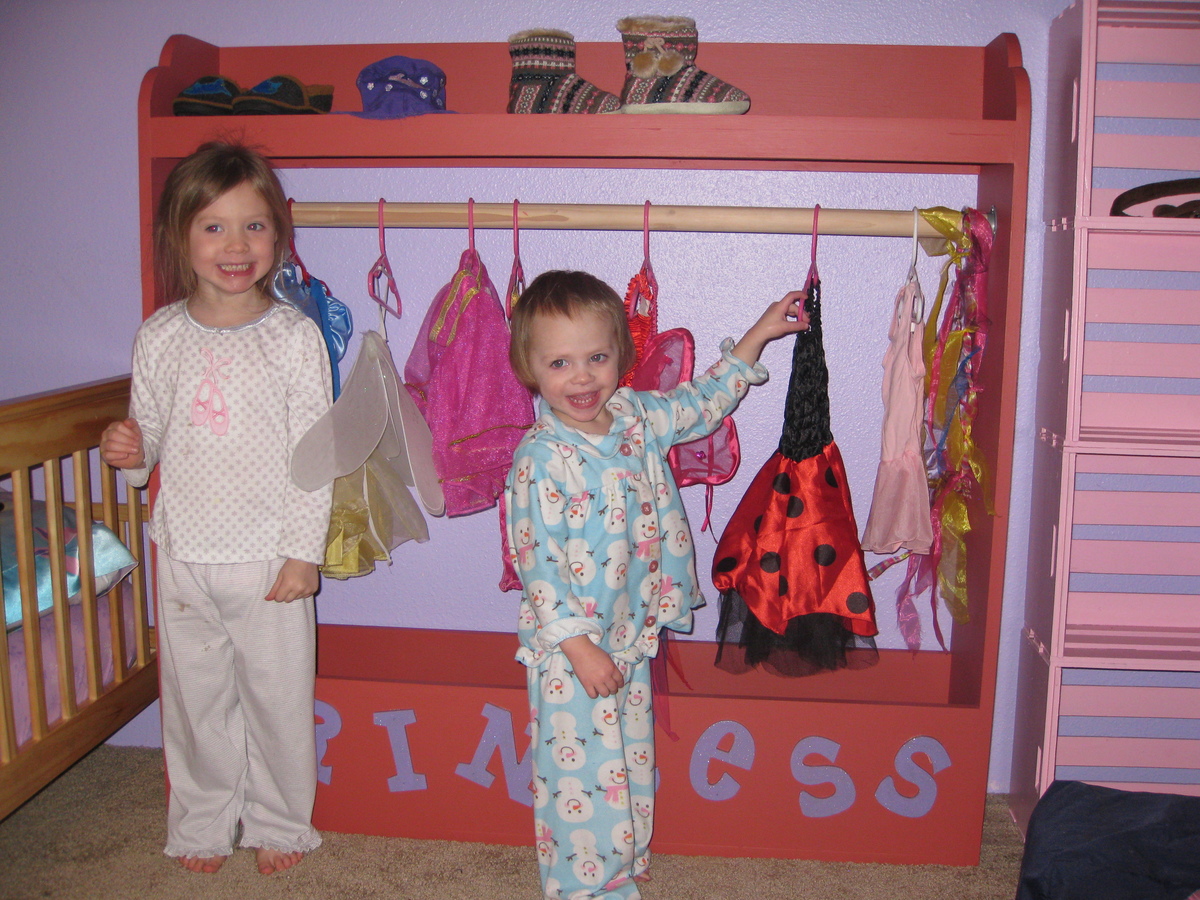
This was a last minute, first completed, wood project right before Christmas! I wasn't sure about my own skills and if I would complete it in time, but behold it only took 3 evenings (spare time) to complete! This was really simple and gave me time to learn what I was truly capable of and any areas I could improve upon. We finished it and on Christmas morning our little girls, 2 and 3 years old, got their very own princess dress up area. I'm excited for those two girls to make the best sister memories together. Thank you so much for the plans!
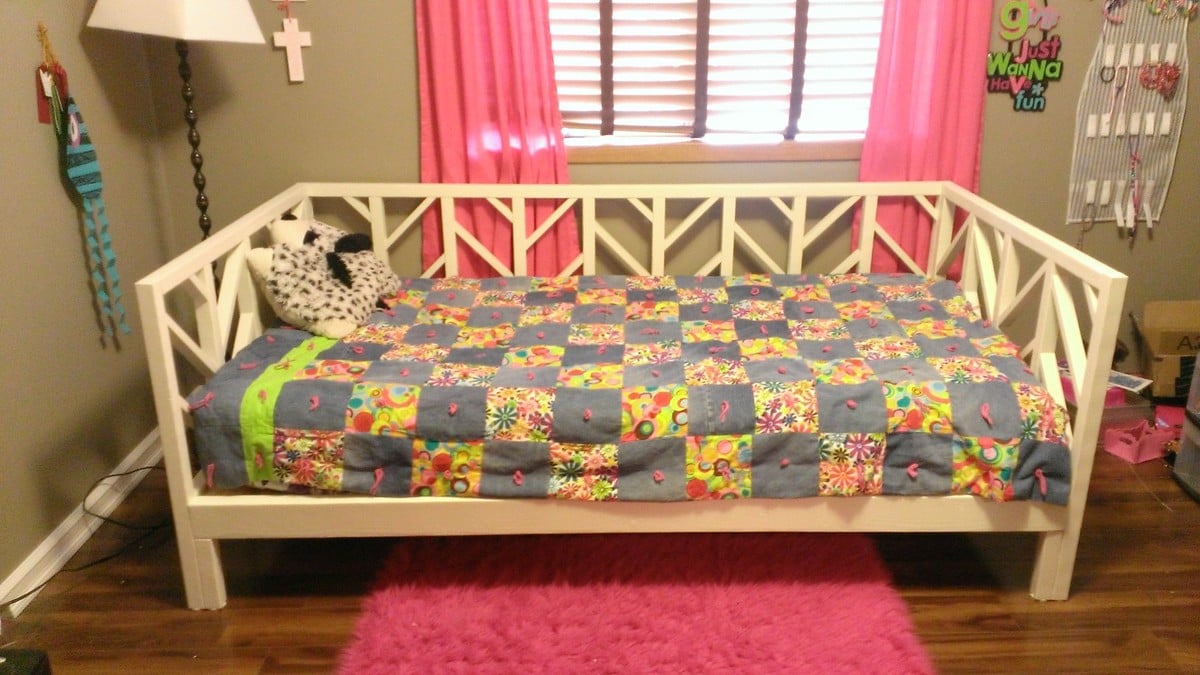
My daughter needed a new bed and I needed a project, so we headed to ana-white.com to find a plan that filled both of our needs. We settled on the Stacy Daybed and got to work.
I followed the plans pretty much on par, but made a few minor changes to make it easier to take apart and put back together. You can also see that I added width to the legs in front, allowing the weight of the sleeper to set on the legs instead of being supported solely by the furniture bolts and metal thread inserts I used to hold it together. I duplicated this in back to keep the design balanced.
This project was fun and challenging and the plans were very easy to follow as well as modify to my needs.
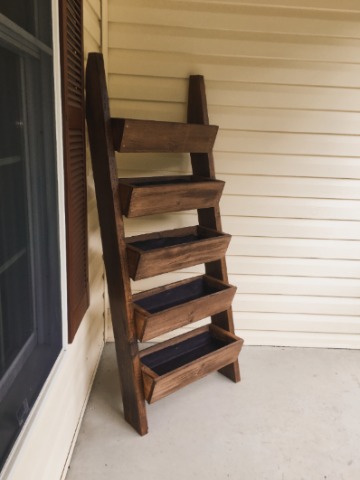
This plan was easy to follow, accurate and came together in just a few hours. I used some reclaimed barn wood for the 2x6s and dog-ear pickets for the remainder.
I made it harder for myself than it had to be. I didn't follow the directions closely enough and cut the box ends at 5 1/2" instead of 5 1/4". That meant that the bottoms had nothing to press-fit against. So, I had to do a little workaround to fix that. I made a 1" shelf at each end of each box so that the bottom could sit on these little shelves. The upside to this mistake is that there was now a drainage slot all along the front and all along the back of each planter box.
I stained and sealed it. Finally, I lined each planter box with weed matting that I'd cut to size and cut drain slits in. The matting doubles as a way to keep the planting mix from falling out of the long drainage slots while allowing water to drain through the little slits I poked in the fabric. (I poked drain slits only along the front edge so that water would drain into the planter box below instead of onto the ground.)
I'm happy with the plan and the finished planter!
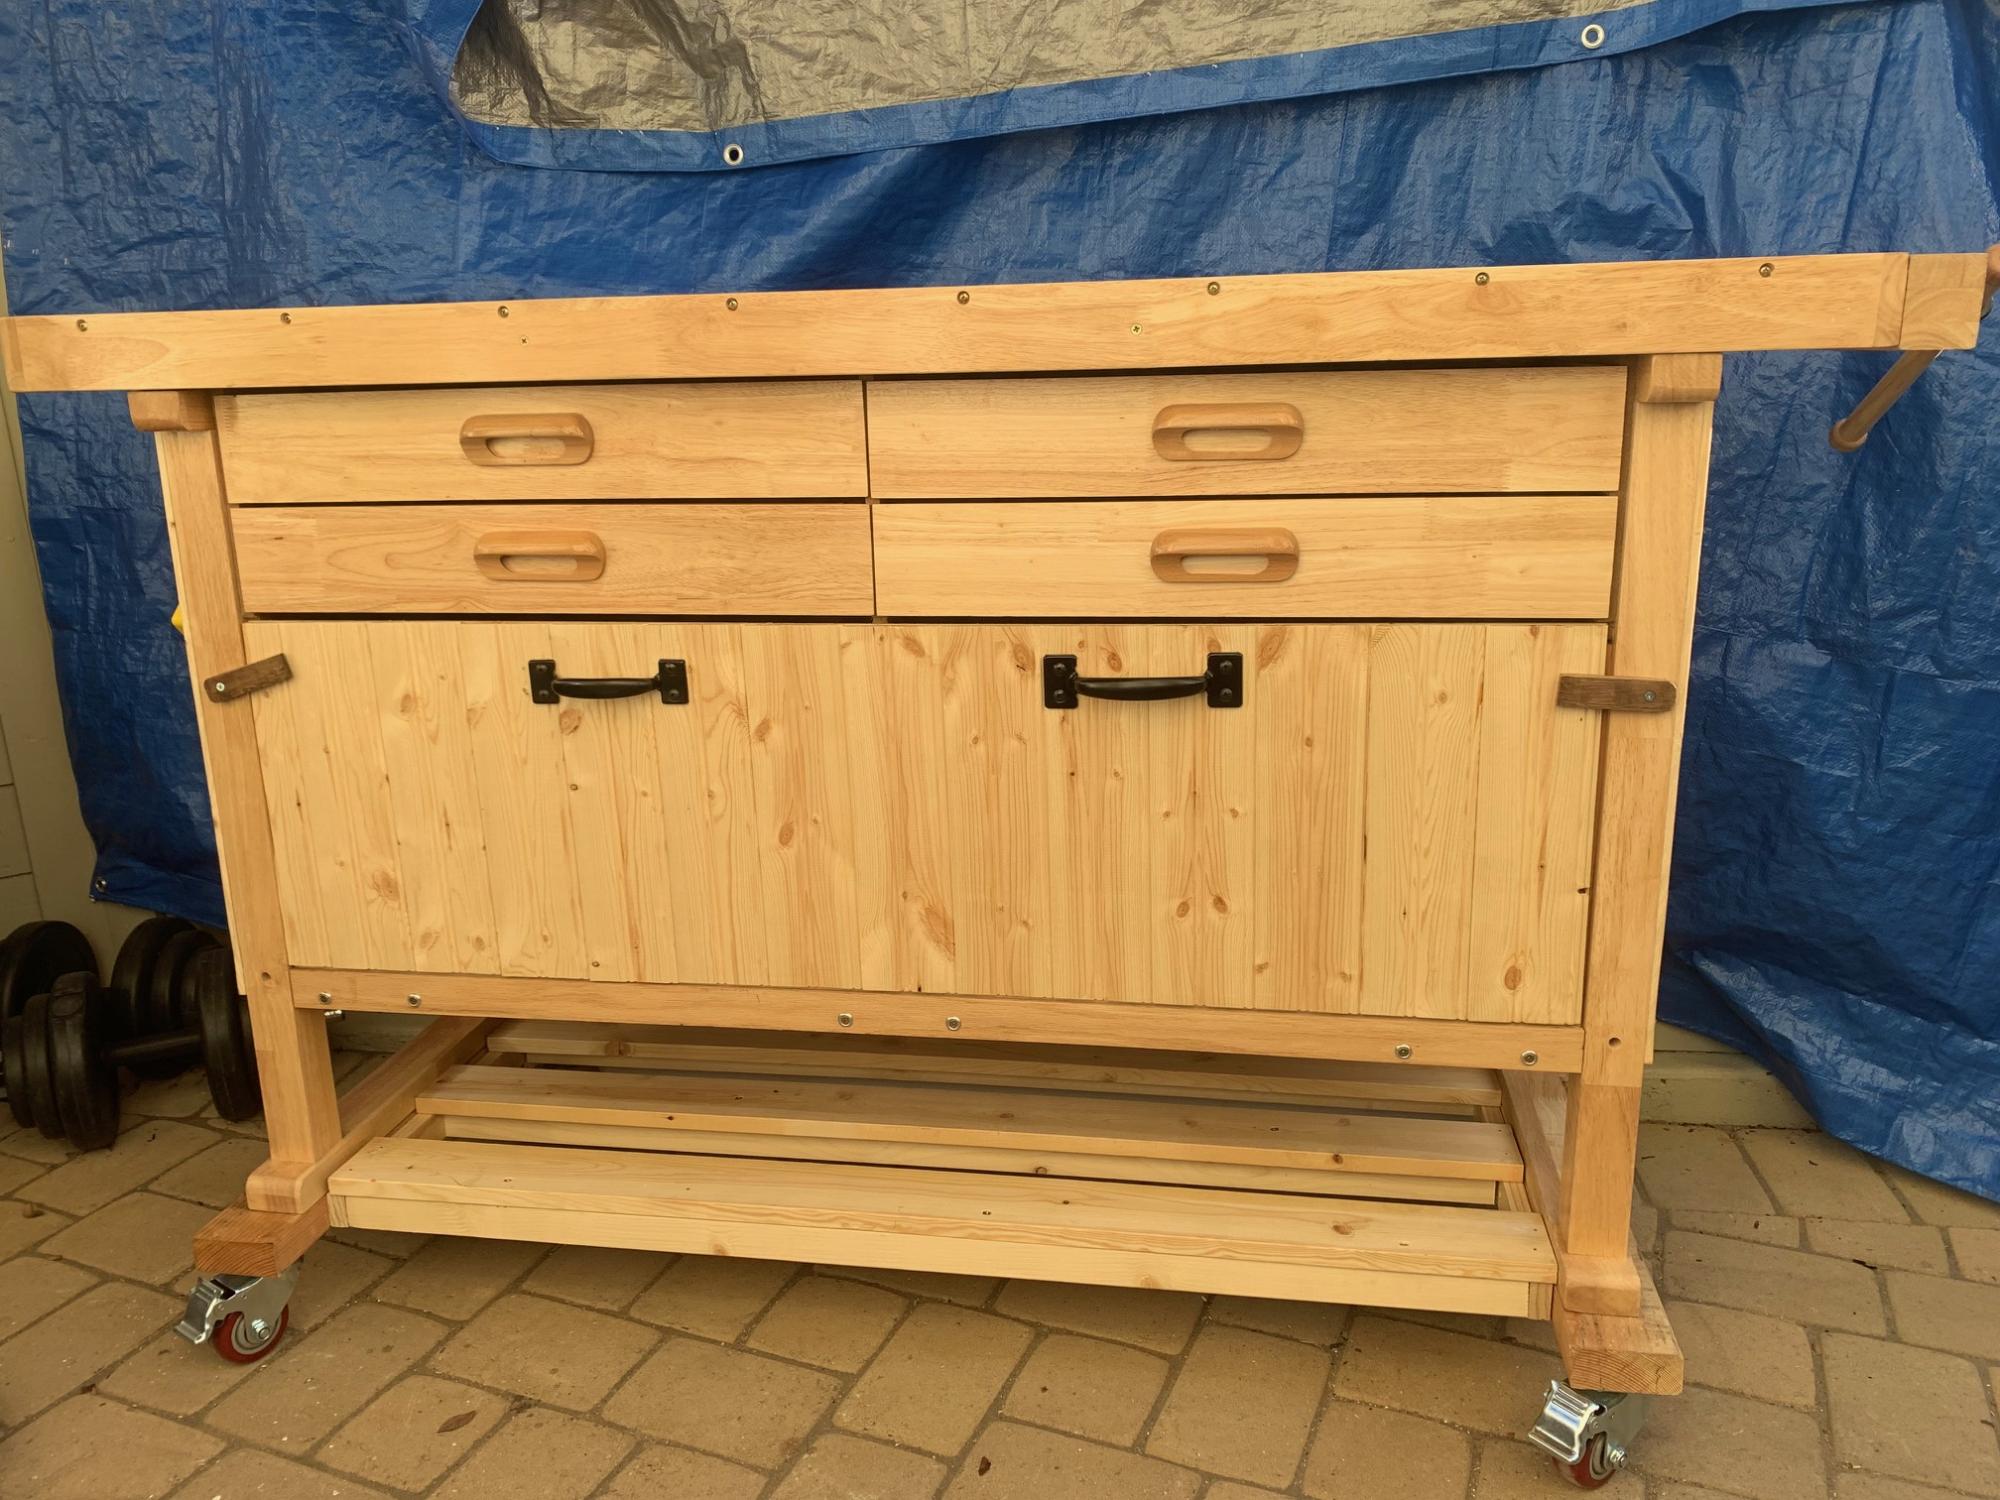
I started with a table bought at Harbor Freight and added the lift off front door, lower wood rack, and added wheels. It has worked so great for me.
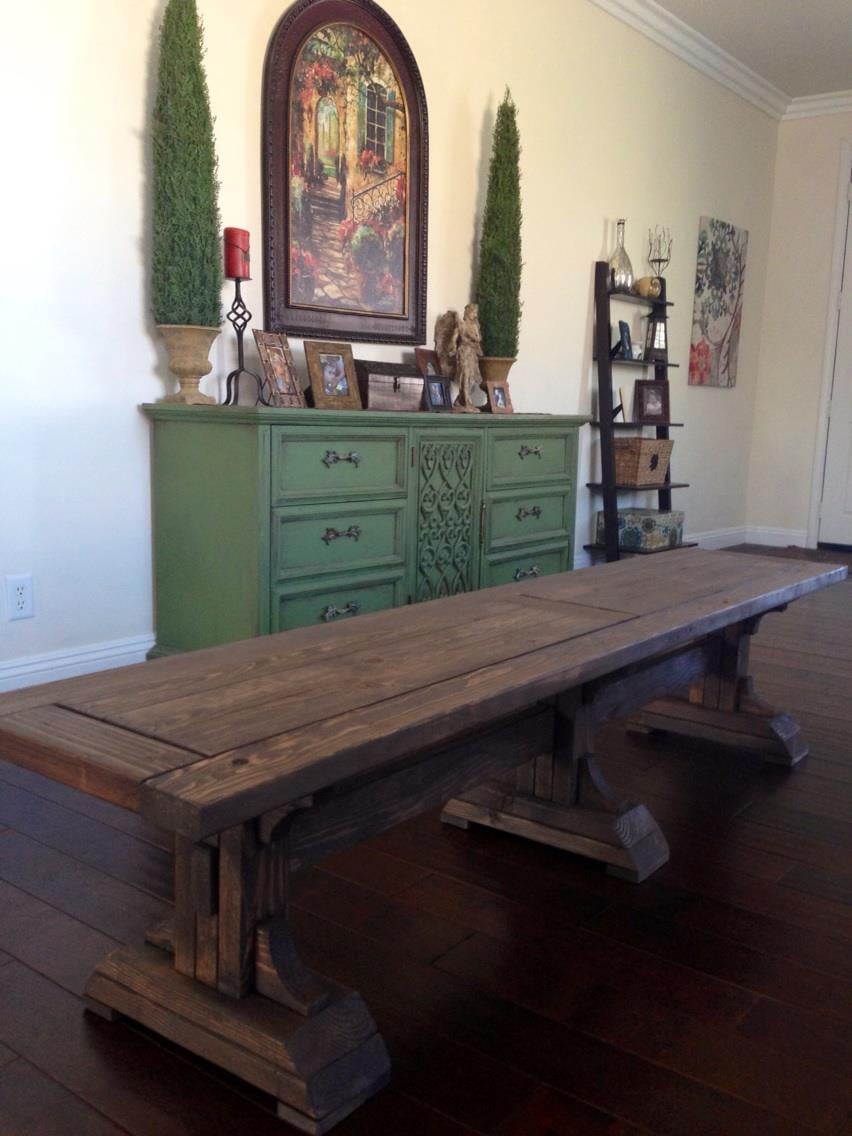
Well I told my sister that I bought a saw and some tools and I was going to attempt to build my own dining room bench... being the snarky "younger" sister that she is, she suggested I start with a cutting board instead. :)
But hey... go big or go home I figured, so I tackled my first ever carpentry project: the Triple Pedestal Bench from Ana's plans!
I attempted to cut down the measurements for the top from 106" (in the plans) down to 70" (to fit my table) BUT I screwed up my measurements (I suck at math...shocker!) and ended up with an 86" long beautiful beast of a bench
somehow... so beginners mistake! At least now I have some practice under my belt for when I have the time to tackle this project again and start over and make a new one that actually fits my dining table...
And while it's far from perfect, I absolutely love it... it turned out better than I had hoped and I still have all my fingers and limbs attached! Thank you God !:)
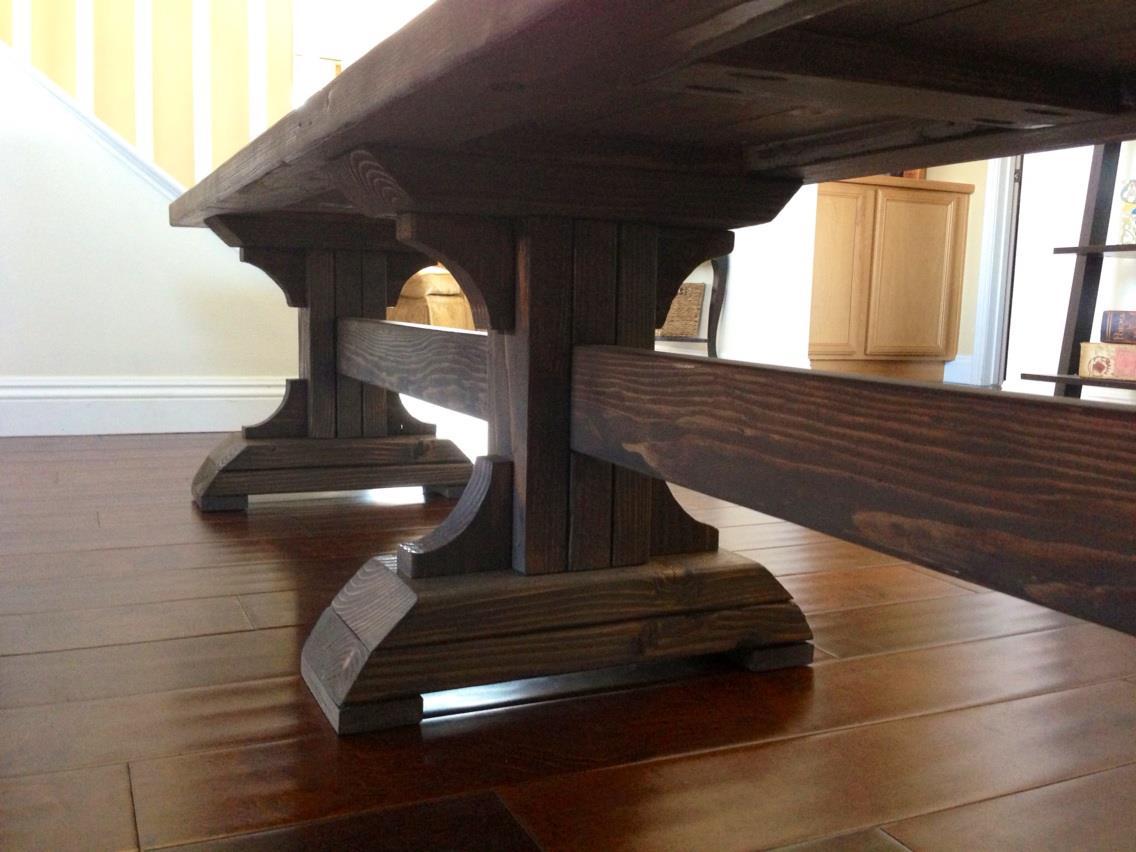
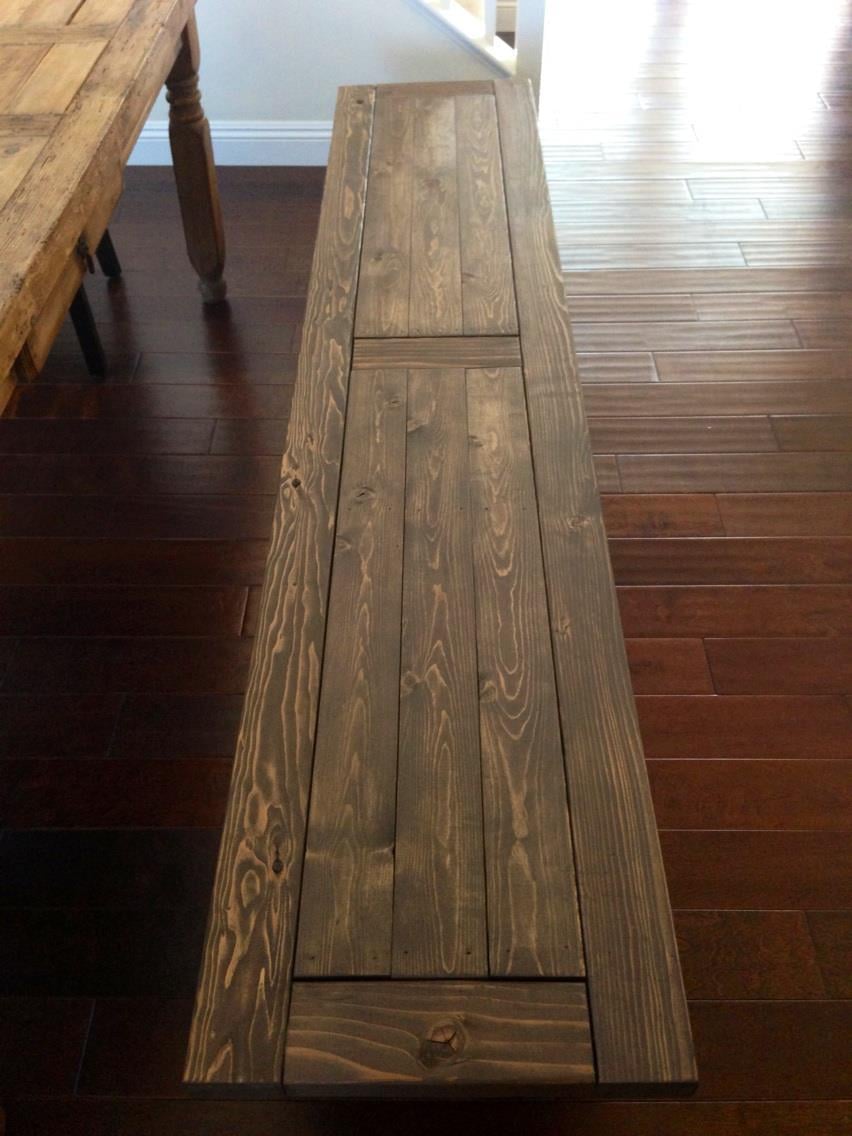
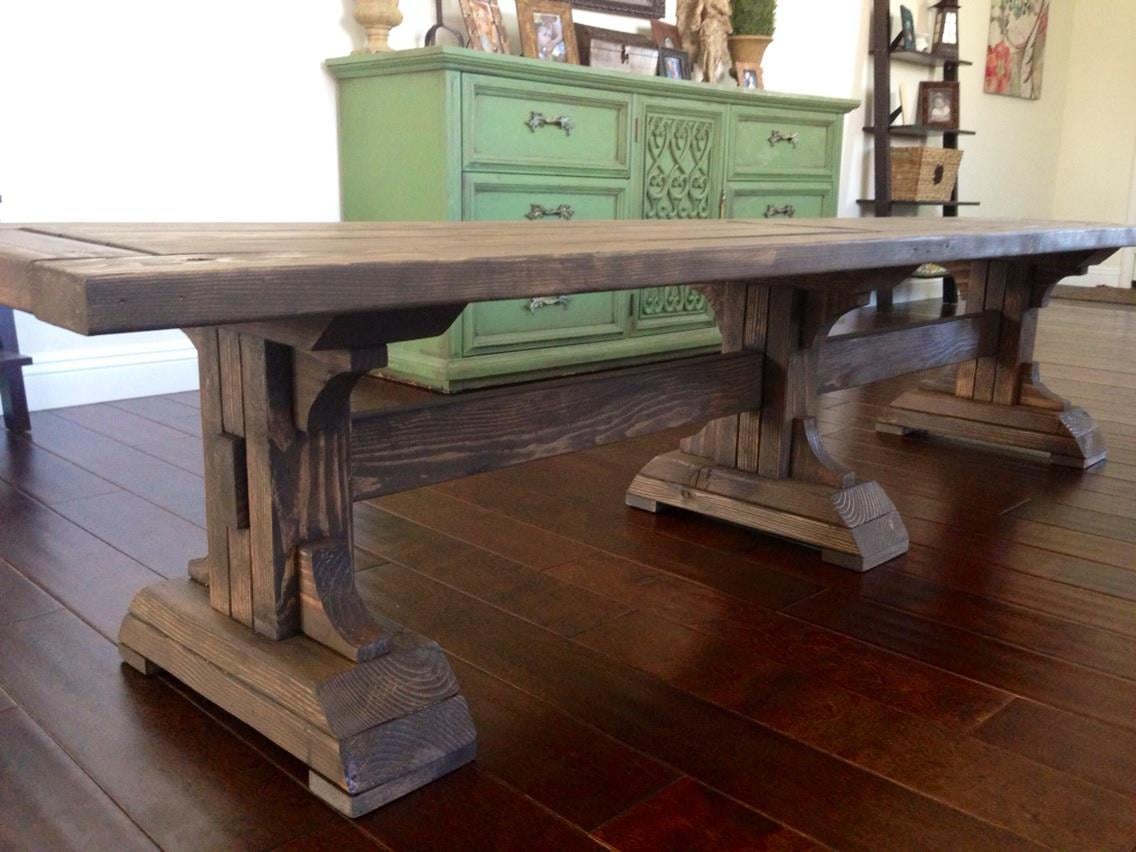
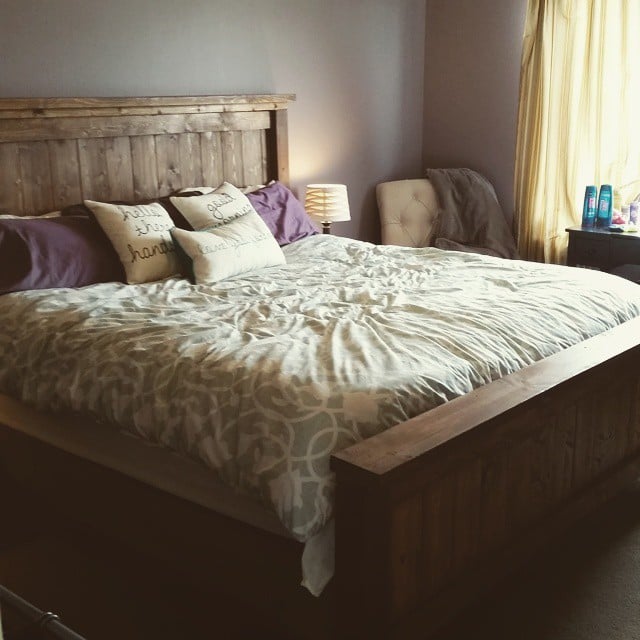
We finally built the #1 Project on my to do list. Took about 3 Days total with finishing and all. Love it so much, defintately my fave project to date! Have to do nightstands next!
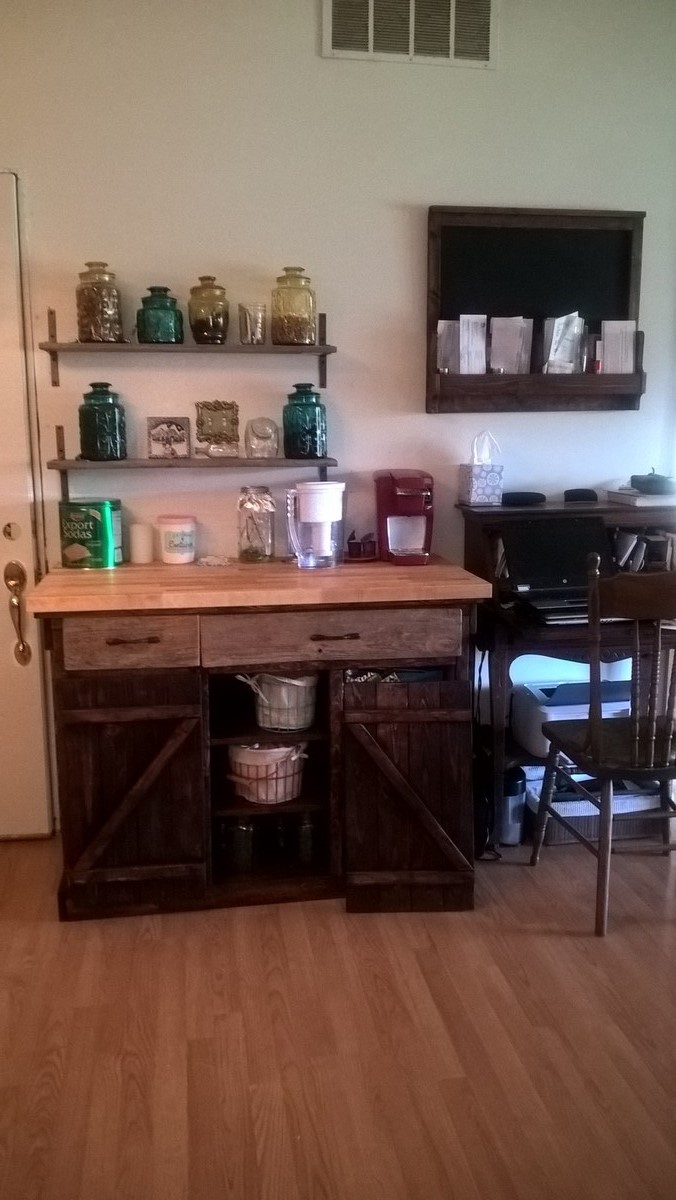
My kitchen is huge but has little counter space since I pulled out two oversized peninsula(6'x3') island things in my kitchen that had no storage. I also found out there was an outlet behind each one. The only outlet on the wall I am showing was covered. I was relieved to find it. I decided to build the Farmhouse Kitchen Island & Bar Plans and put a few shelves over it for coffee and tea. I made one drawer and one flip down drawer face. I put a large bowl in the cabinet below the drawer to catch coffee grounds. I alos made the cabinet 4 feet instead of 6 due to the space. I also trimmed a 1x3 down to cover the bottom foot plate so stuff doens't collect under it. I also added wheels so I can move it out if we have a lot of company for extra seating. The drawer faces are recycled barn wood from my sisters property. They are clearing out what was a 100+ year old barn that had fallen over. The shelves are from the same wood (I used bronze spray paint to paint the brakets on the shelves). I sanded it down just enough to get the splinters off. I used 4x4's for the bar side and bought a pre-made butcher block from Menards for the top. I stained it with carrignton stain from rustoleum except the barn wood I just clear coated. Oh, I added 12 in drawer slides to the drawer. The mail sorter plan is from http://www.shanty-2-chic.com/2016/02/rustic-chalkboard-mail-organizer.h… I made it bigger to fit the space. The organizer took a day the shelves to a couple hours and the Island took a week off and on. The secretary is an antique passed down to me along with the chair. I am planning on making the full size Island later on, with a few adaptations.
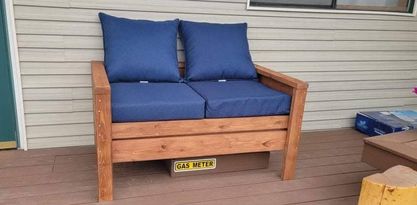
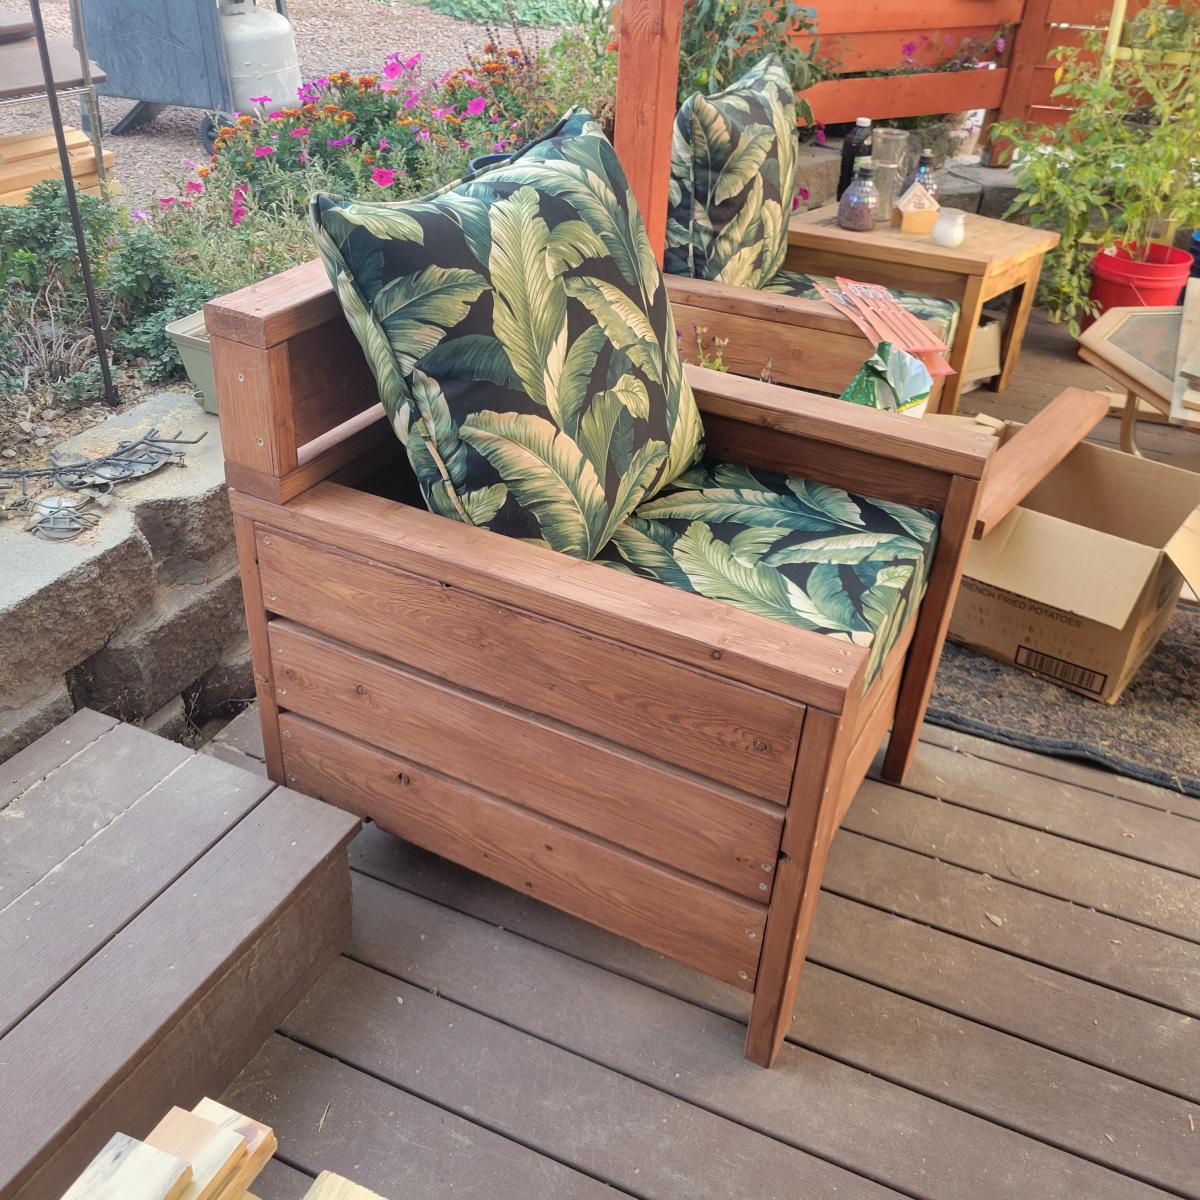
Love, love, love your projects and plans! I have made 3 of the Modern Outdoor Chairs so far, as well as the Modern Outdoor Loveseat and they are amazing. I purchased both the seat and back cushions for my chairs before realizing that the back cushion had nothing to lean against, so I modified the design and gave the chairs alittle more personality. Keep those plans coming, I can't wait to try more.
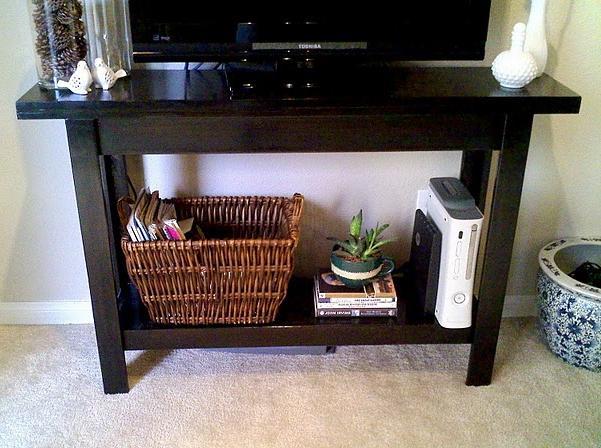
I just wanted to send in some photos of the simple, cheap, and easy console table that my father and I made a couple weeks ago. It only took us 3 1/2 hours to build, and your plans made it incredibly easy for beginning carpenters like us! We modified the plans slightly by adding a fully functionable shelf to the bottom, and used the Minwax stain in Ebony for a sleek Pottery Barn meets Cost Plus look. The total cost for this project was less than $50, and we still have leftover wood for future projects! Your tutorials are great, they make carpentry not-so-scary for beginners like us!! Thank you, thank you, thank you!! For more pictures, feel free to drop by my blog http://www.jamesandkelsey.com/ Thanks again!

Gave the plans to my father-in-law who built it for our daughter. Turned out great with no real issues with the plans! I love having the lid/seats built into the design.
Thu, 05/09/2013 - 13:06
I love seeing all the toys in there. There's no denyin' that's gettin' some good use!
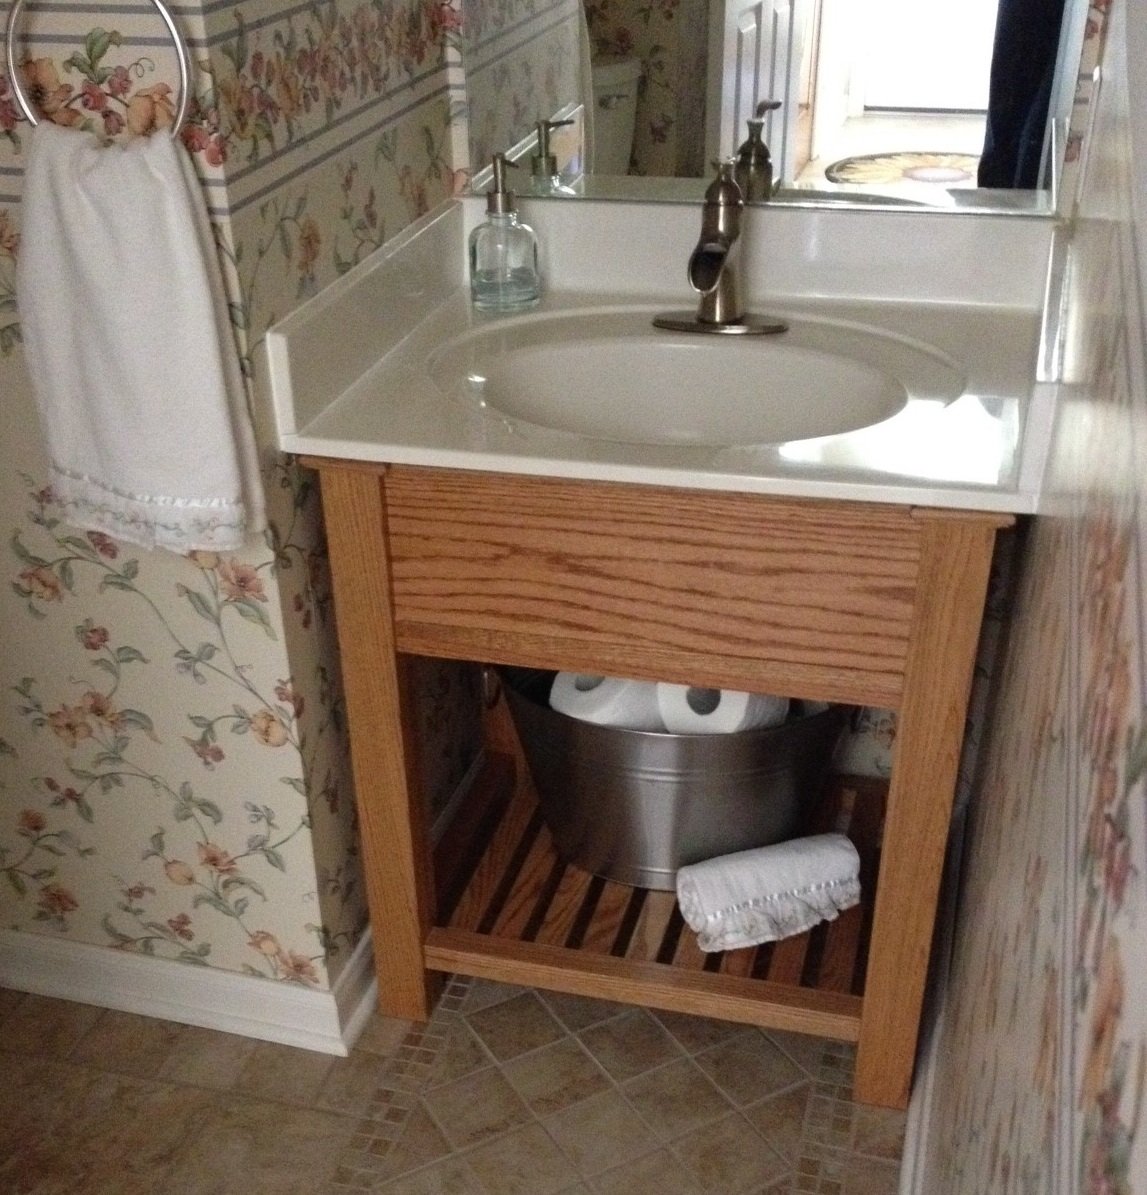
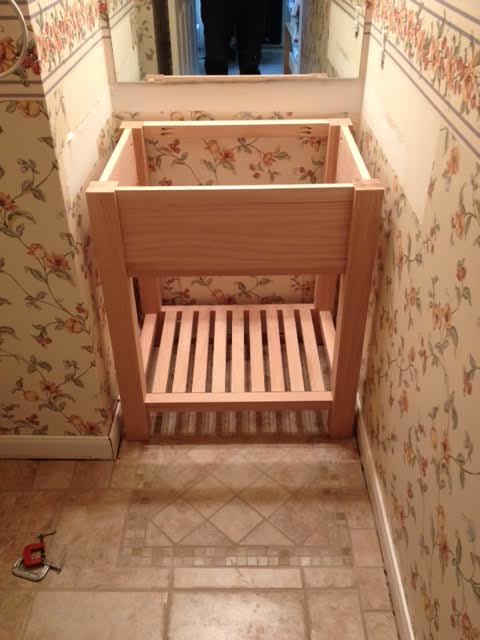
I changed the height of the Connor Side Table to that of a bathroom vanity and added an apron to hide the underside of the sink. I carefully built the vanity to be level, then discovered that the underside of the sink surround is wavy (apparently they are made by being poured into an upside down mold, hence the wavy surface). I added trim at the top of the vanity to hide the shims stabilizing the sink top. Thx to Rogue Engineer for the well-written plans, and thx to Ana White for your Kreg pocket hole jig video. It made me feel confident I could pull this off!
Still waiting to add the stained jail sign. But a dad's twist to a mom's honey do project added the porch to the front to catch my youngest if he falls out of bed.
My husband I built this kitchen set for my daughter's 2nd birthday. She just loves it. For the sink I used the same plans as the stove and changed them a little. There is not enough room below but we used the Cute Play Pie Hutch plan too. The double door fridge we use as a pantry. I can't find the plans for the fridge but we used Ana's plans for that too.
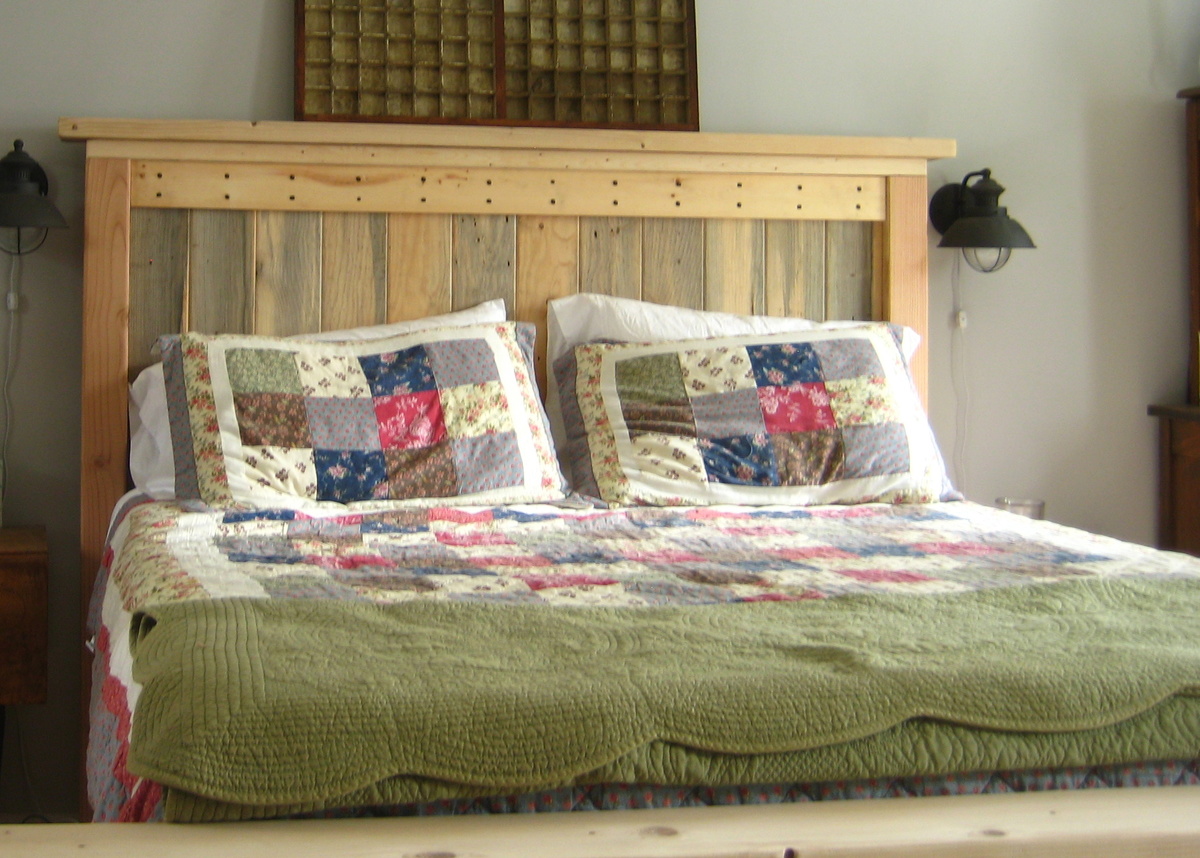
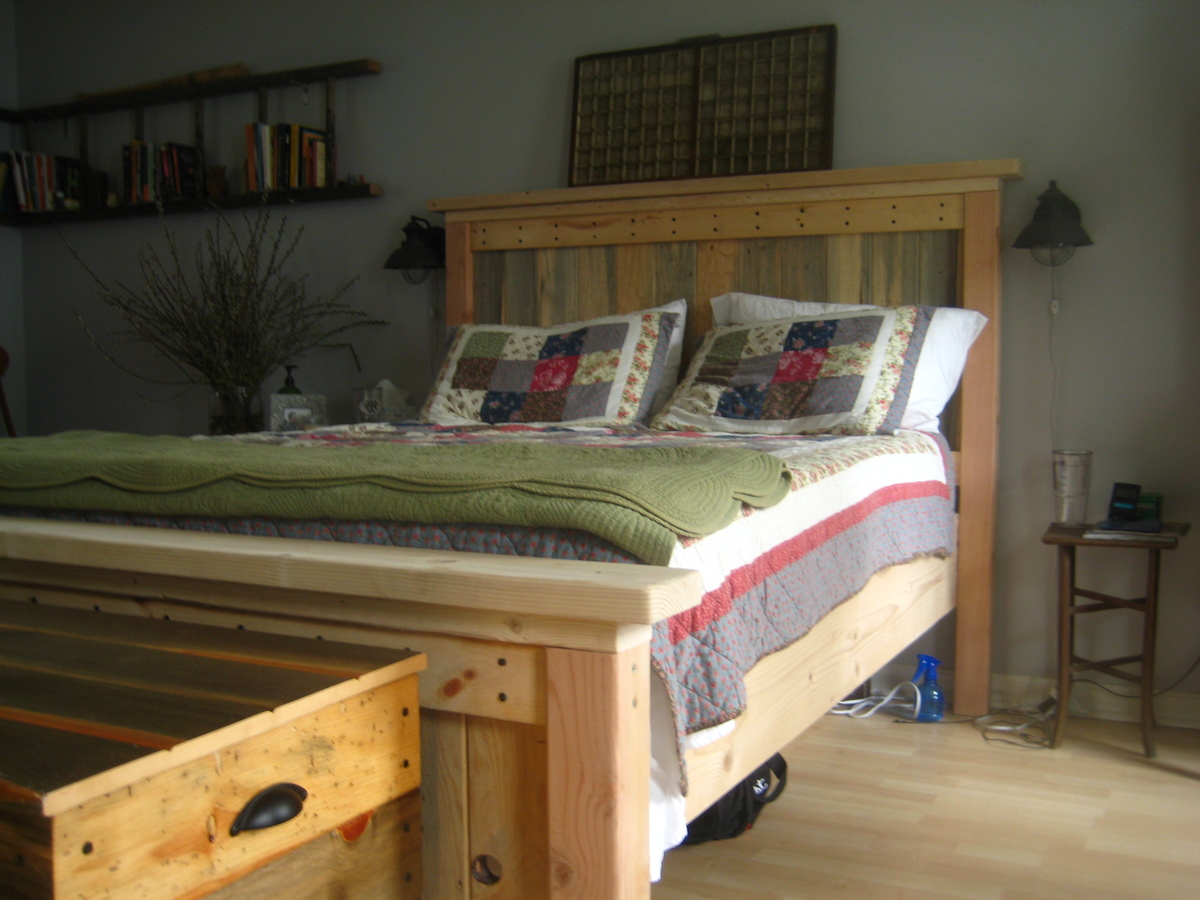
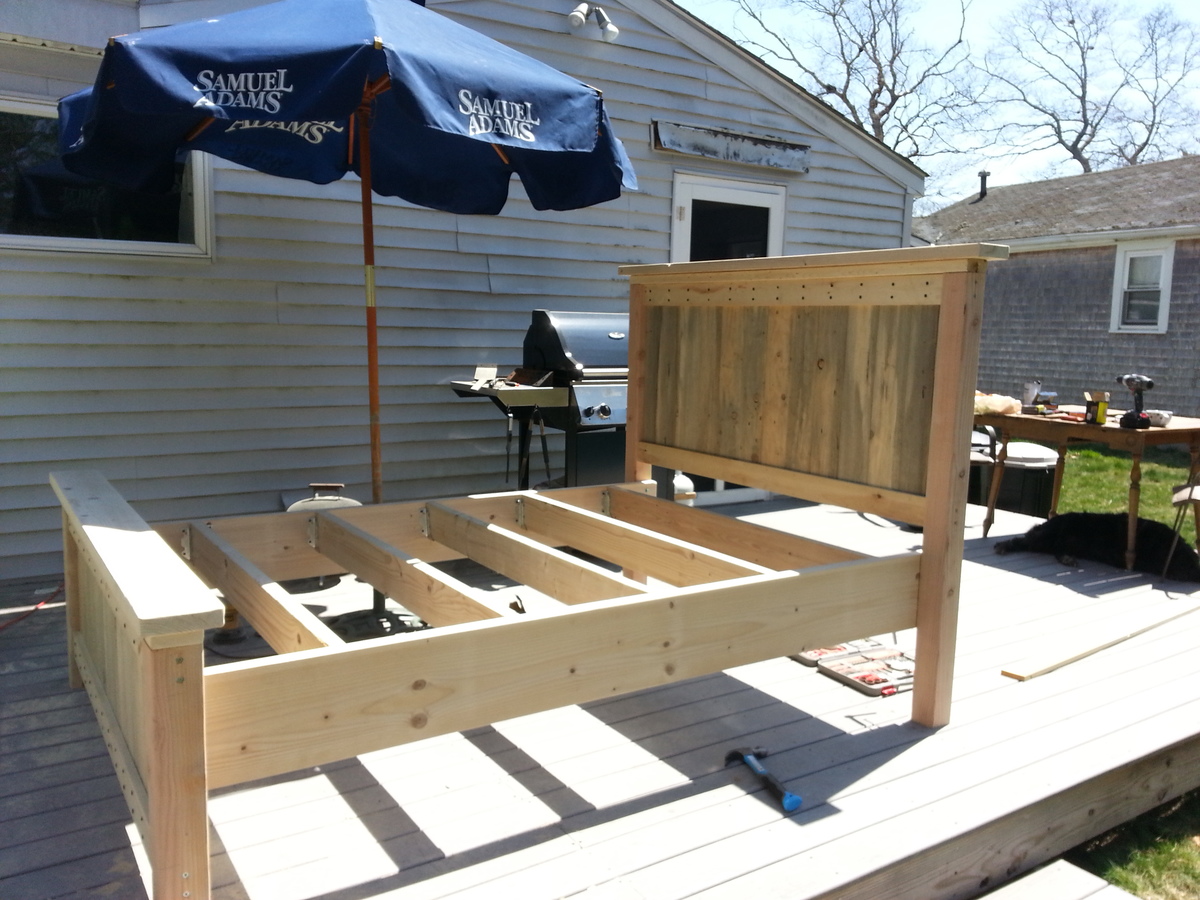
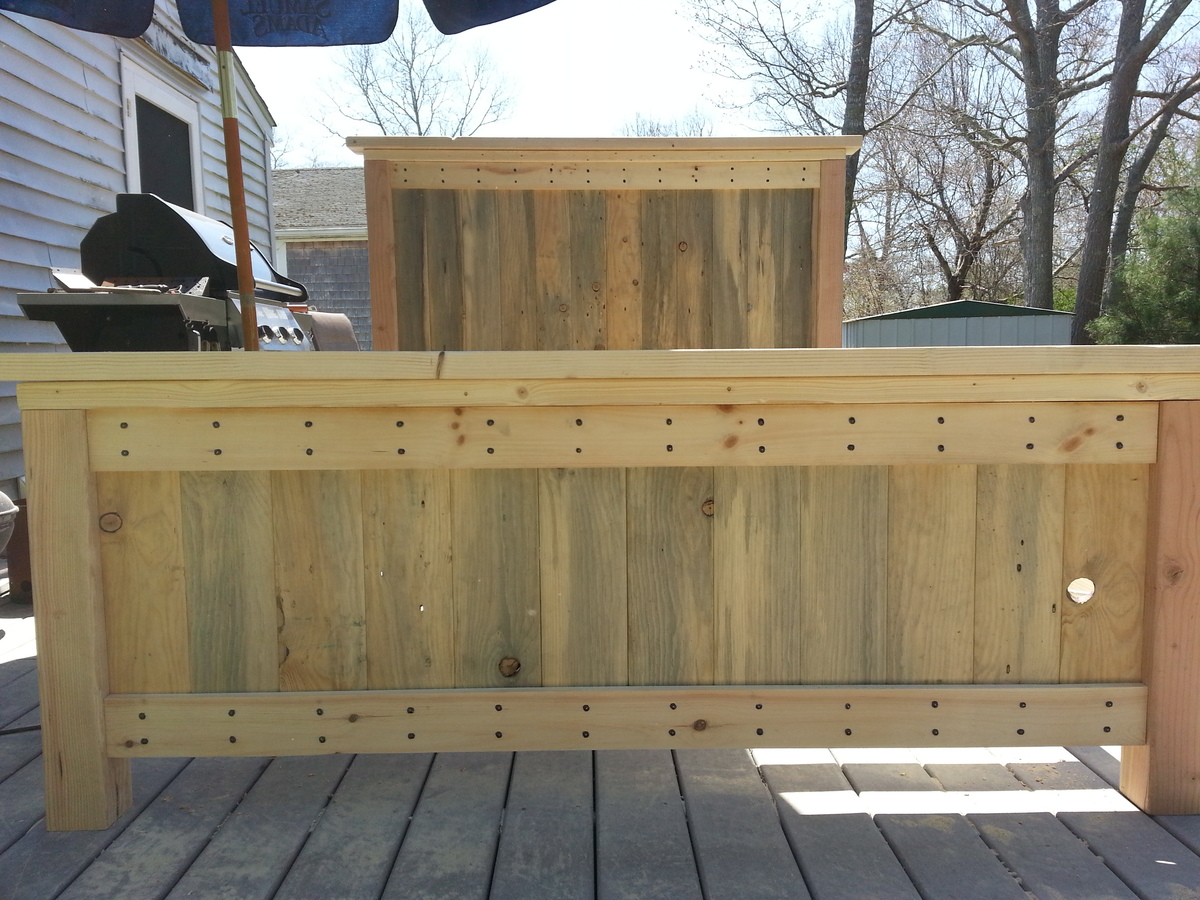
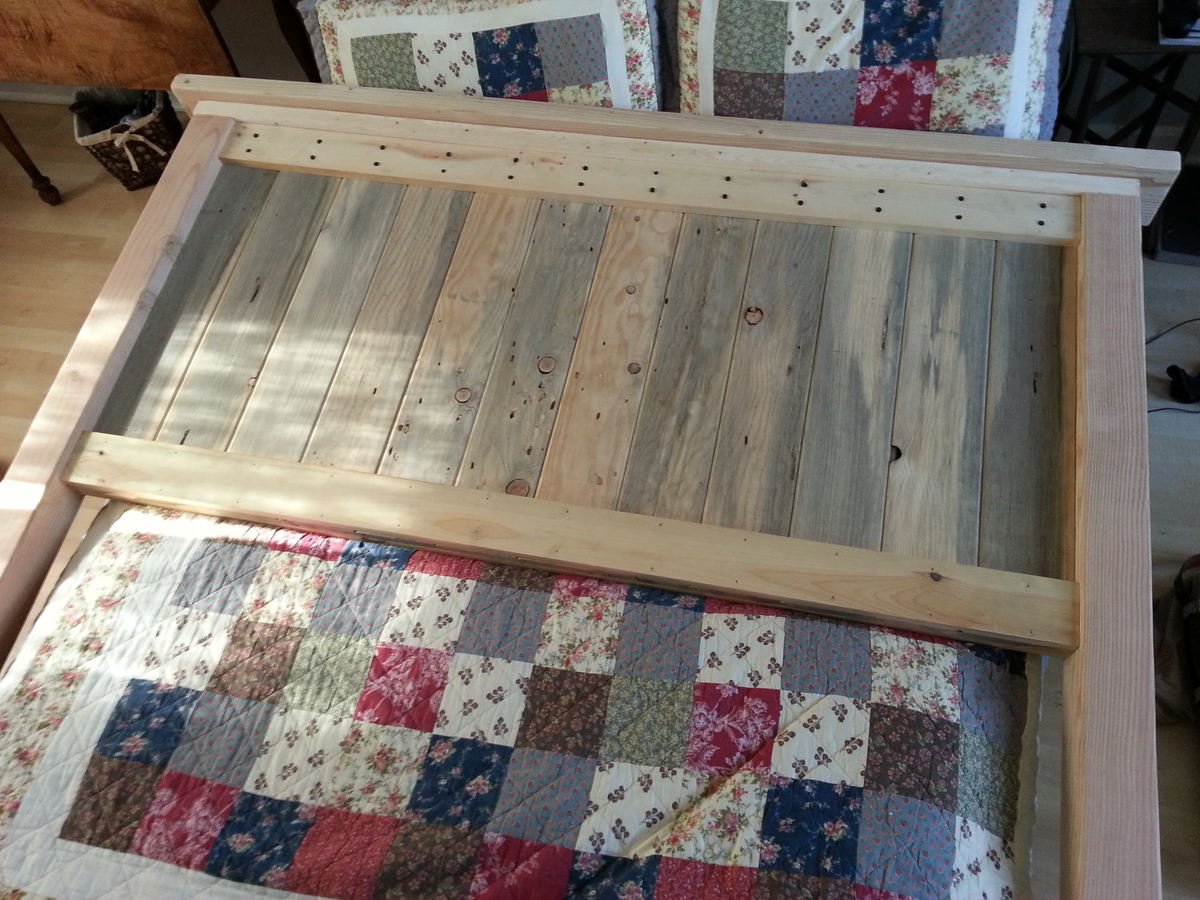
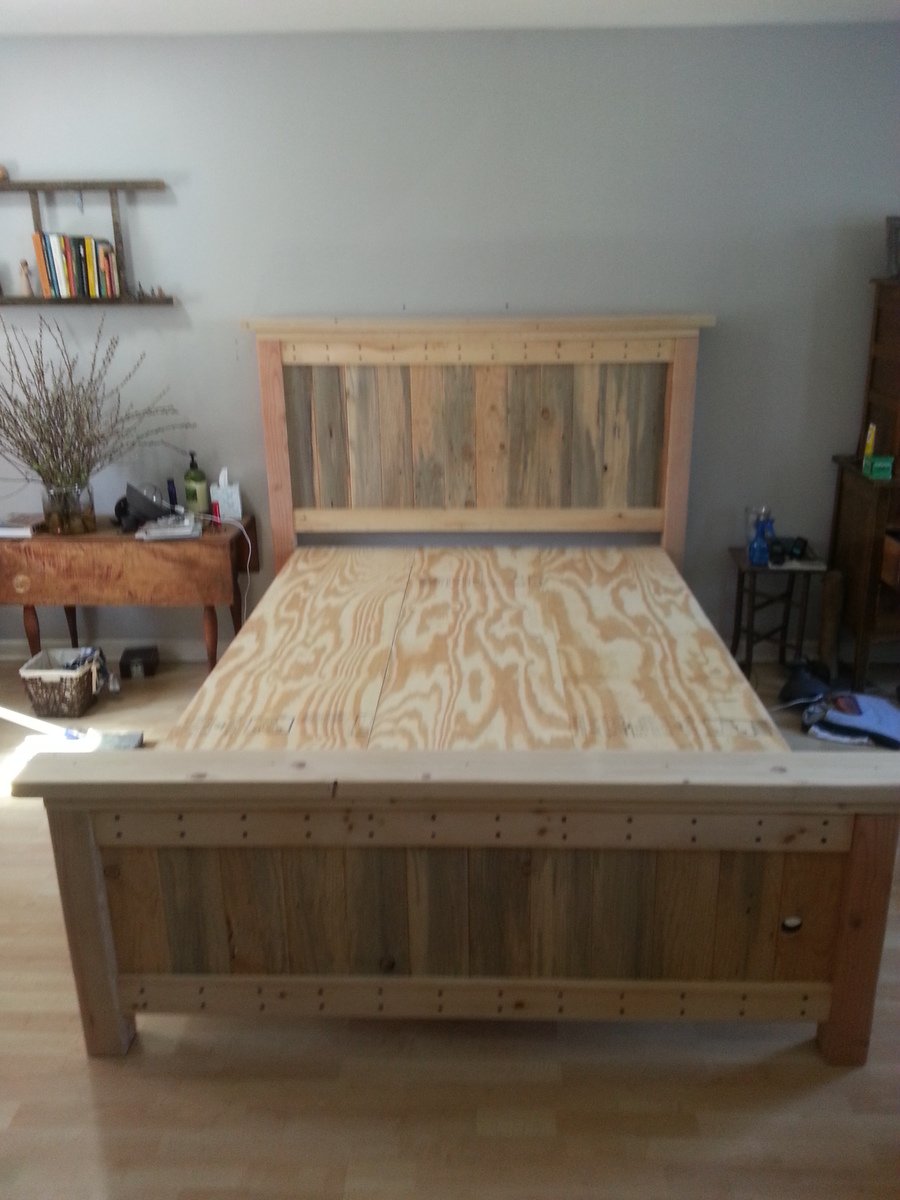
I admired this project the first time I saw it, I thought about building it for a few months and got the opportunity when my Fiance left town. I completed this project in a weekend with a had from my friend (more just to hold the pieces where I needed them). I had previously built her a hope chest out of a Rare and Beautiful tongue and groove pine, I used the same wood for the head and foot board so they would match. Overall these plans were great, I changed a few things to make it a little more what I wanted. I made the foot board 24" in height with a total of 20" of tongue and groove. I also used some wrought head nails to give a little more character to the piece as well, you can find them here, http://www.rockler.com/product.cfm?page=1152 . I wont do too much to the piece, more than likely just add a couple coats of shellac to match the previously mentioned hope chest. I hope you all enjoy this project as much as I did.
Wed, 07/03/2013 - 08:44
Did you need to pre-drill the nail holes? I am worried the wood will split with these types of nails. Thanks
Thu, 07/11/2013 - 12:36
Yes you do, I made a jig so I knew all the nails would line up with my wood and be in the same place. The bit was half the size of the nail, they are really just for a decorative look. Good luck with everything.
In reply to Yes you do, I made a jig so I by capecodfarm
Thu, 07/11/2013 - 12:51
I figured out my biggest mistake was not lining up the nails with the grain of the wood. Once i had the nails lined up in the right direction they went in mostly without a hitch. One of the panel boards did split but was hidden by the 1x4 face board. Thanks again for the idea and i'll post pics when completed.
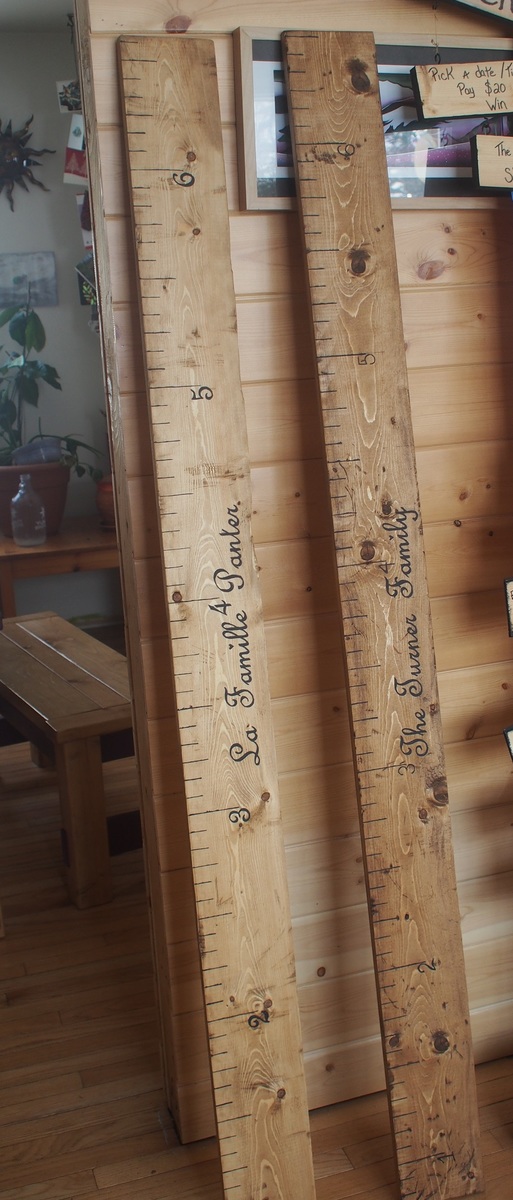
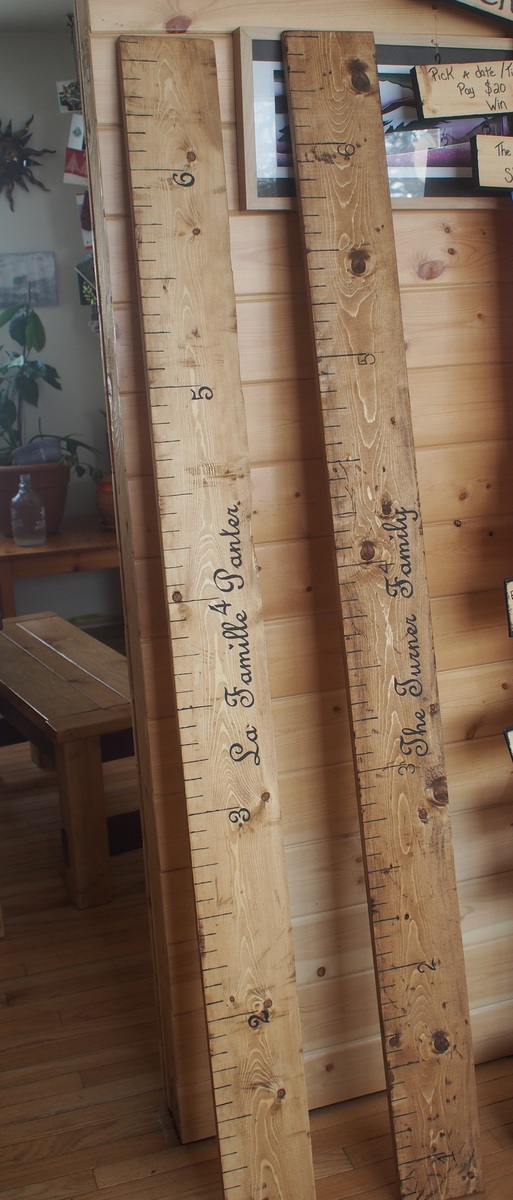
My friends are all having kids these days, and I had a lot of scrap 1x6 kicking around.
After applying a stain on the boards, I printed the letters and numbers as large as I wanted them. I used ''French Script MT'', size of font 185 and I cut them out to make a template.
I happened to have some chalk board paint, which gives it a nice mat color.
I recommend to leave enough space for baseboards, in my case Ive started numbering the charts at 8'' high. A picture hook is set in the back to hang it on the wall, you could also simply screw it on the wall.
Its quick to make and doesnt require a lot of cutting!
Wed, 04/01/2015 - 22:04
very nice :) I think growth charts like these are a wonderful gift!
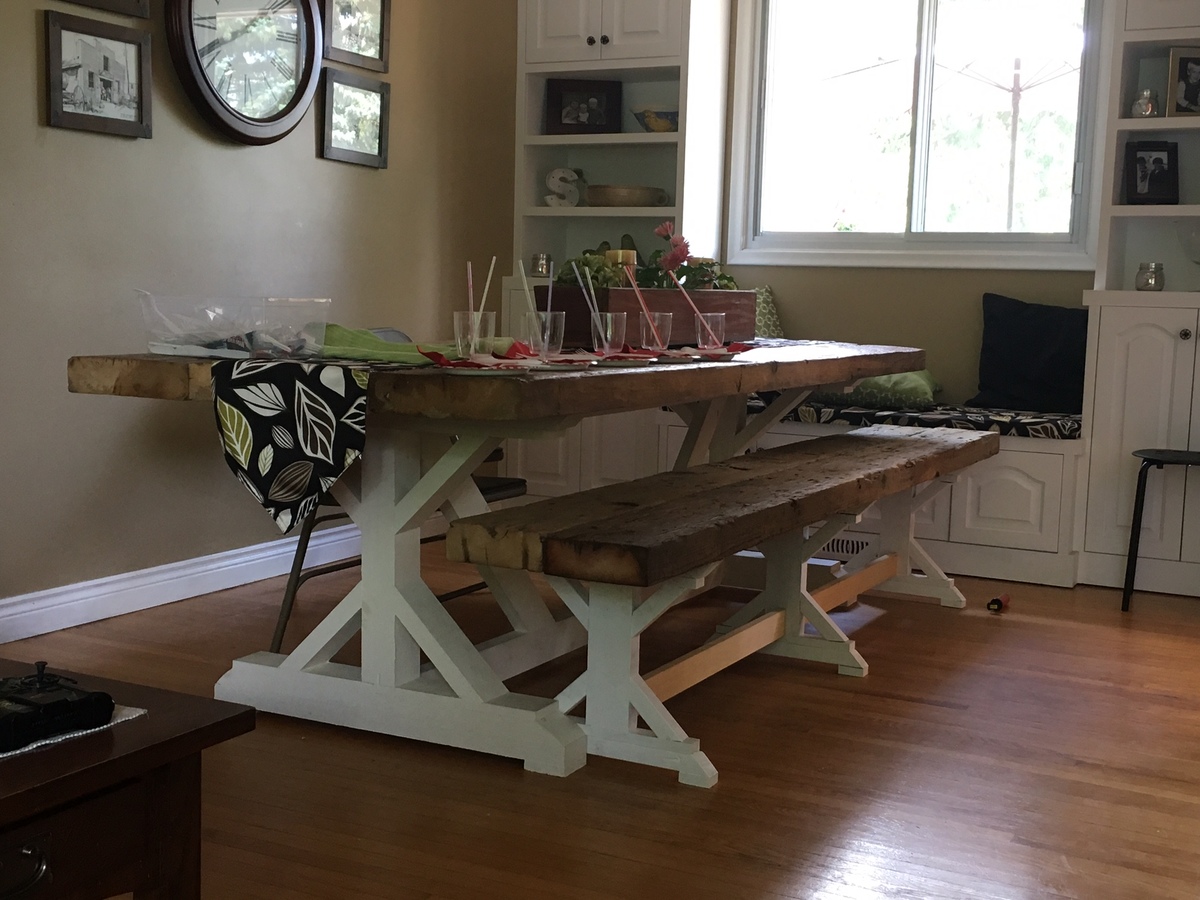
This table and bench was a first build for me and my husband. We had so much fun working on it together that we can't wait to figure out what our next project will be. Would probably not take as much time the next time we did something. Fairly inexpensive but we splurged on the thick reclaimed wood for the tops to add the character we wanted.
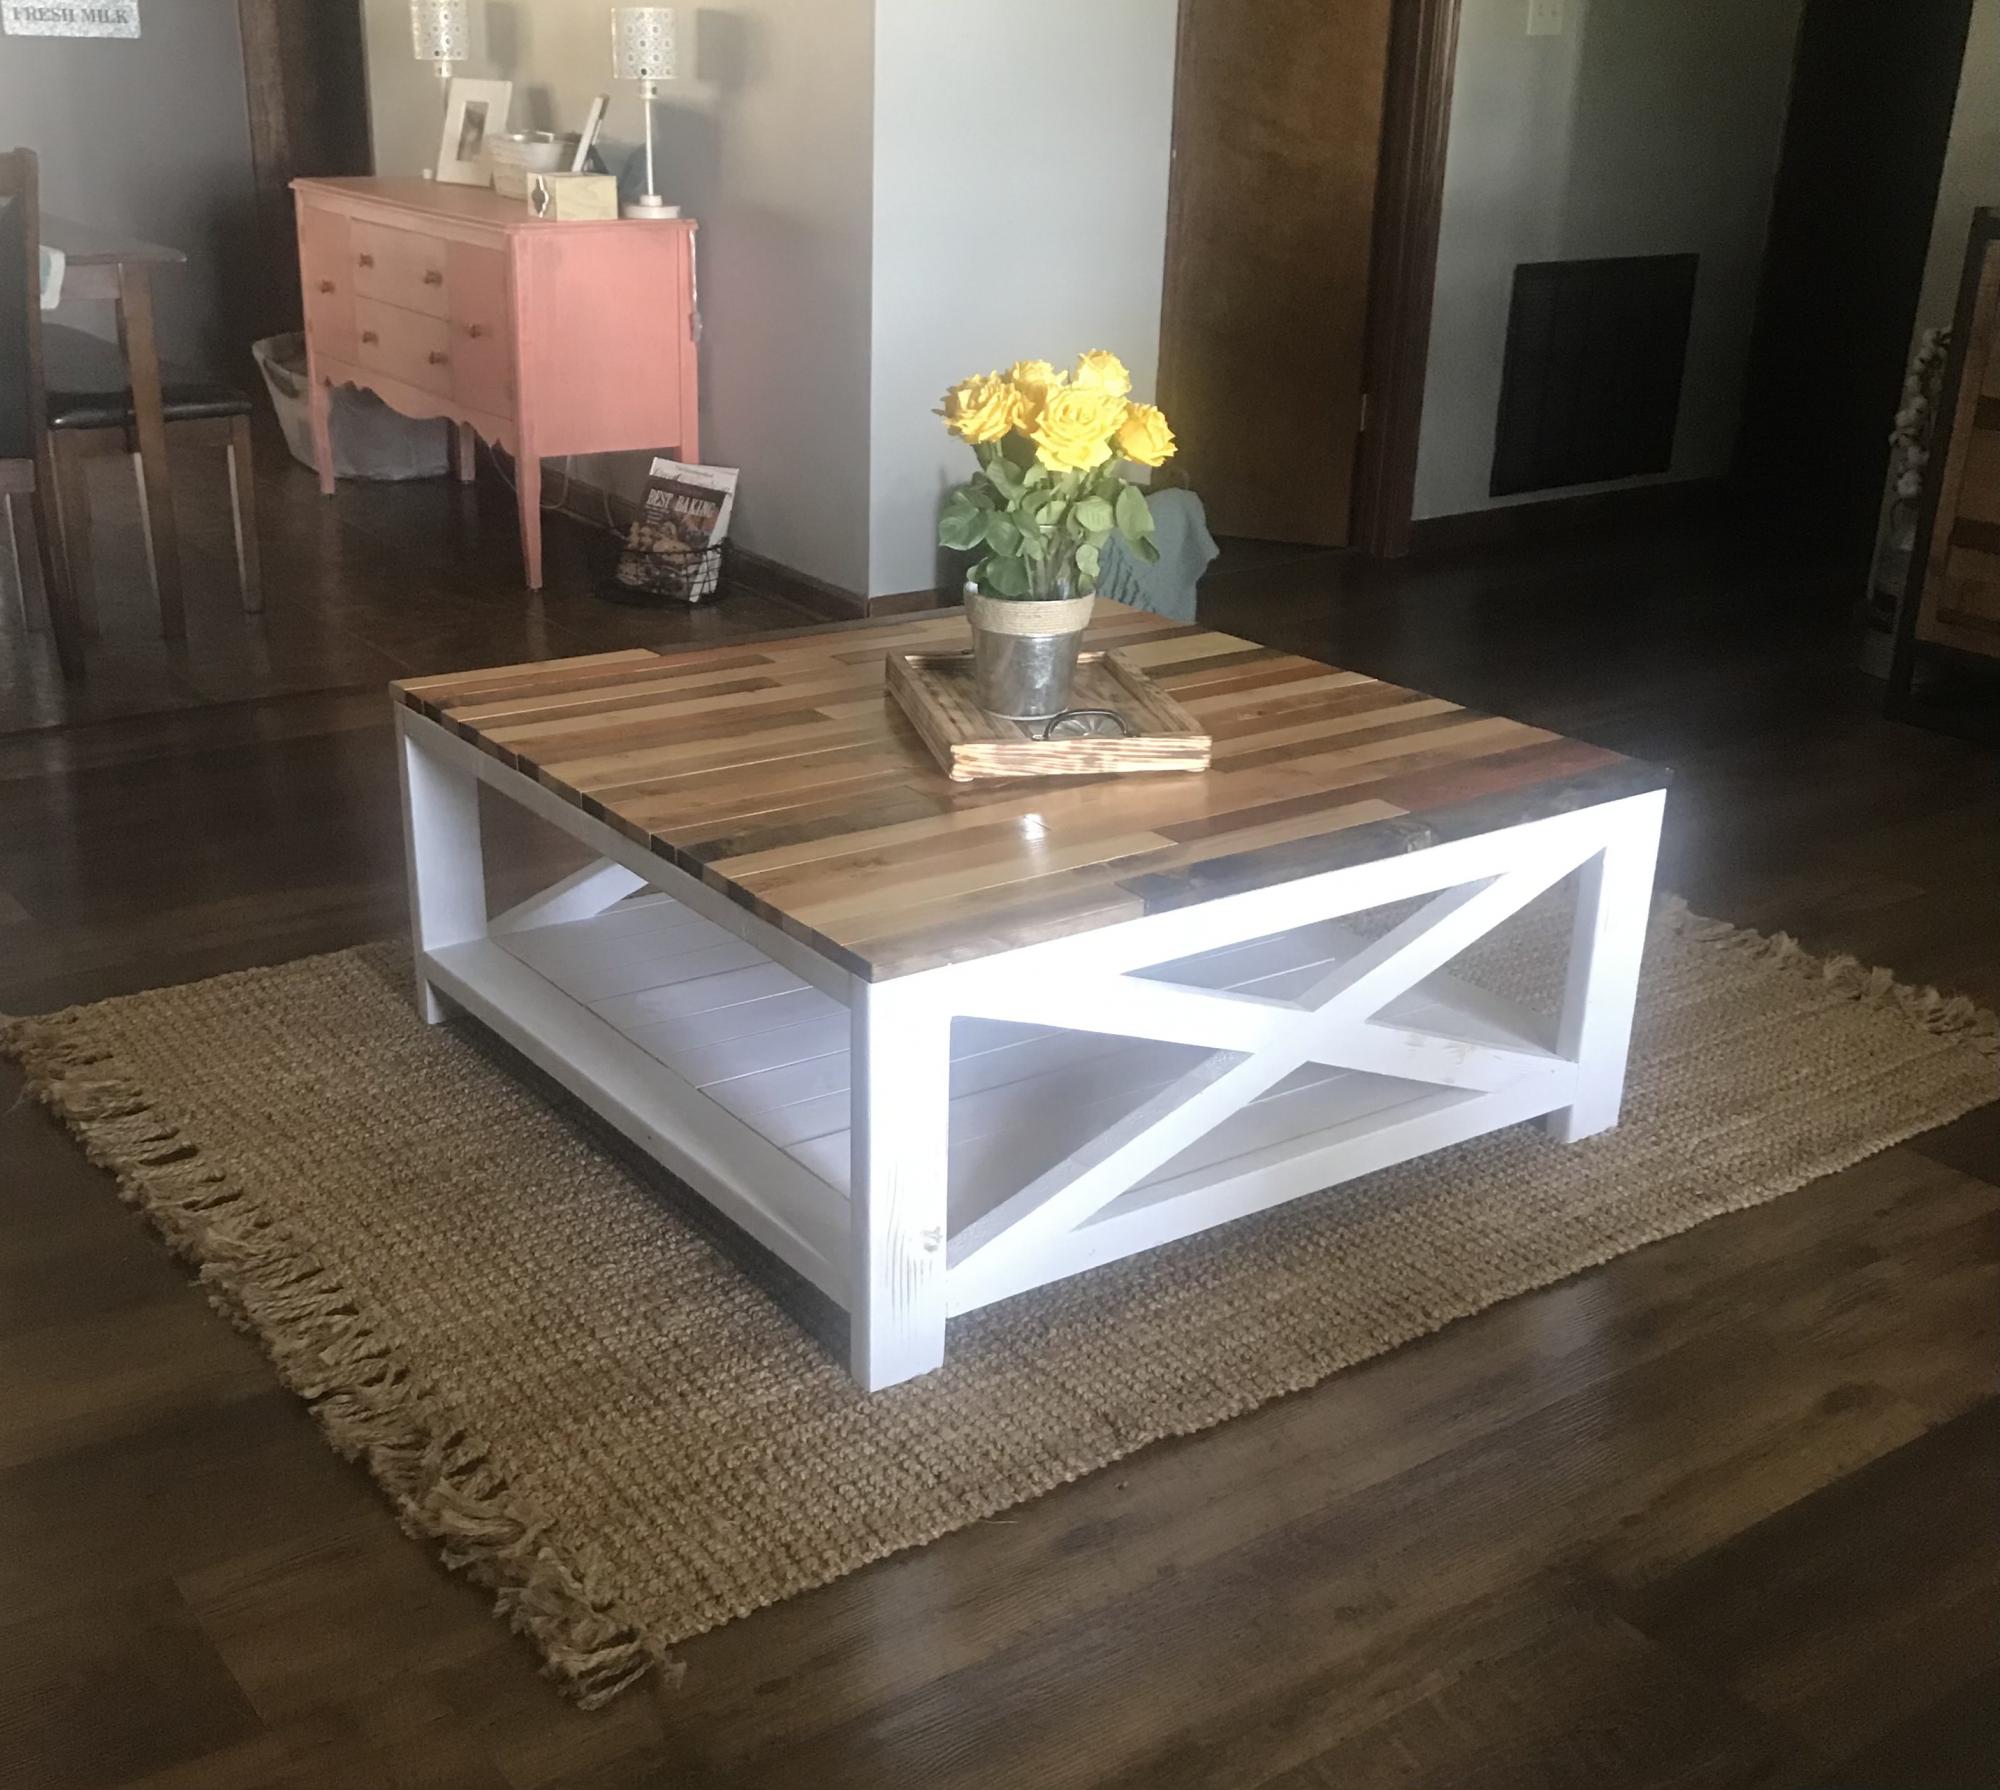
Farmhouse coffee table, sofa table and end tables, plans from farmhouse but added a twist to the tops, 2” strips each stained a different color.
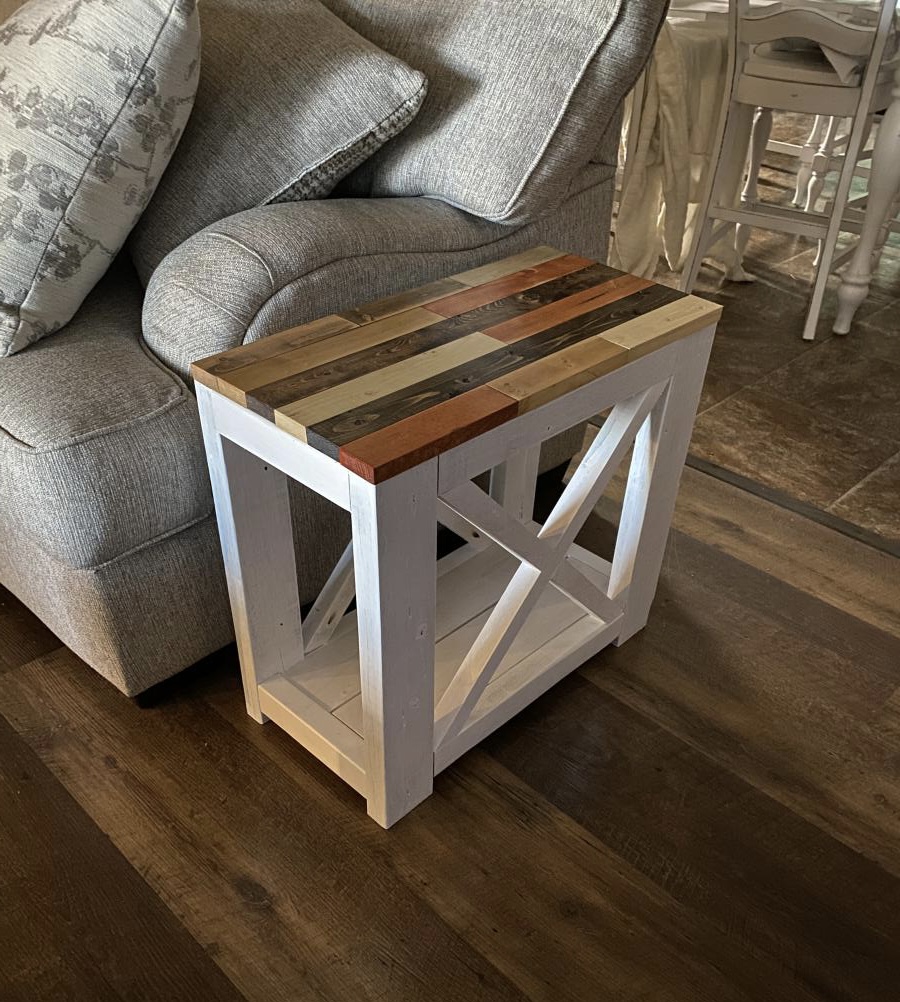
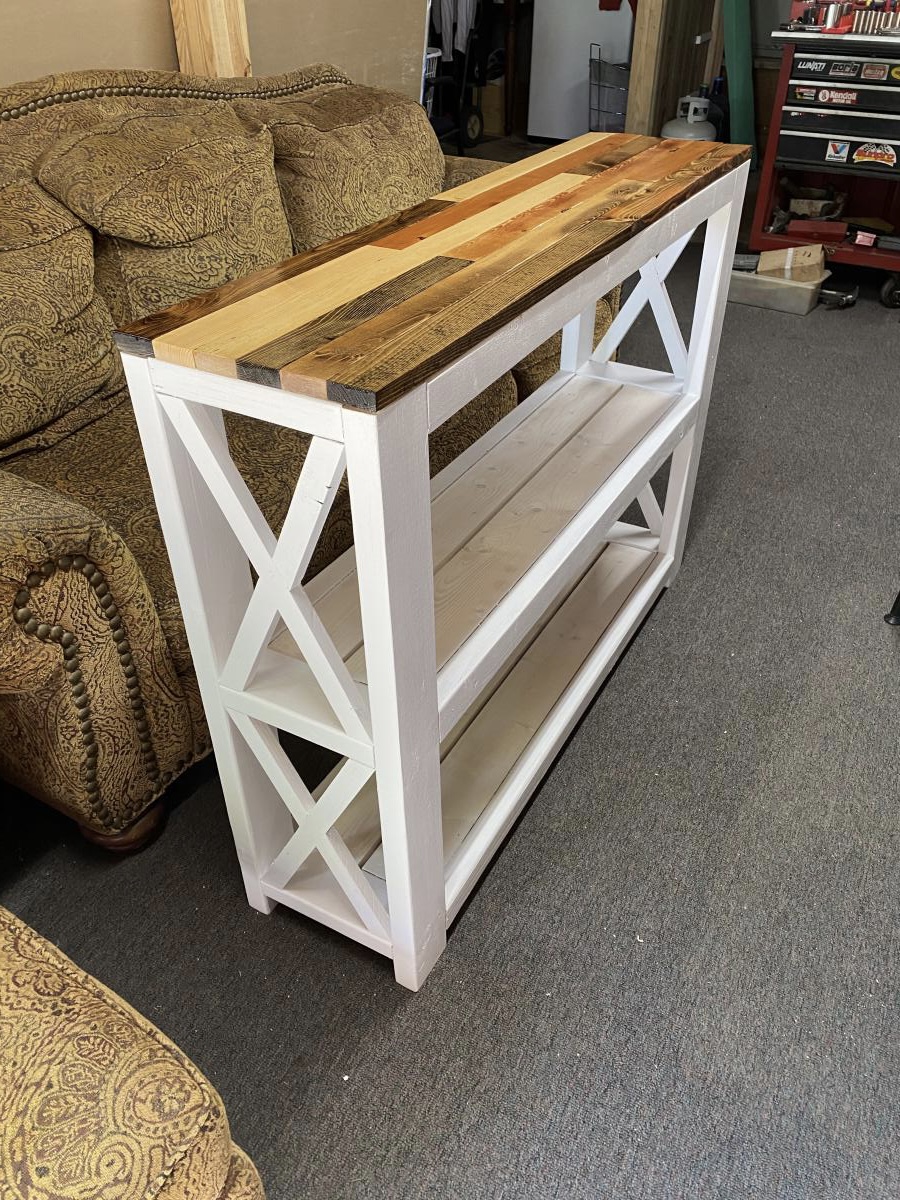
Tue, 10/05/2021 - 10:27
The color choice and variety of top boards really make this pop! Thank you for sharing!
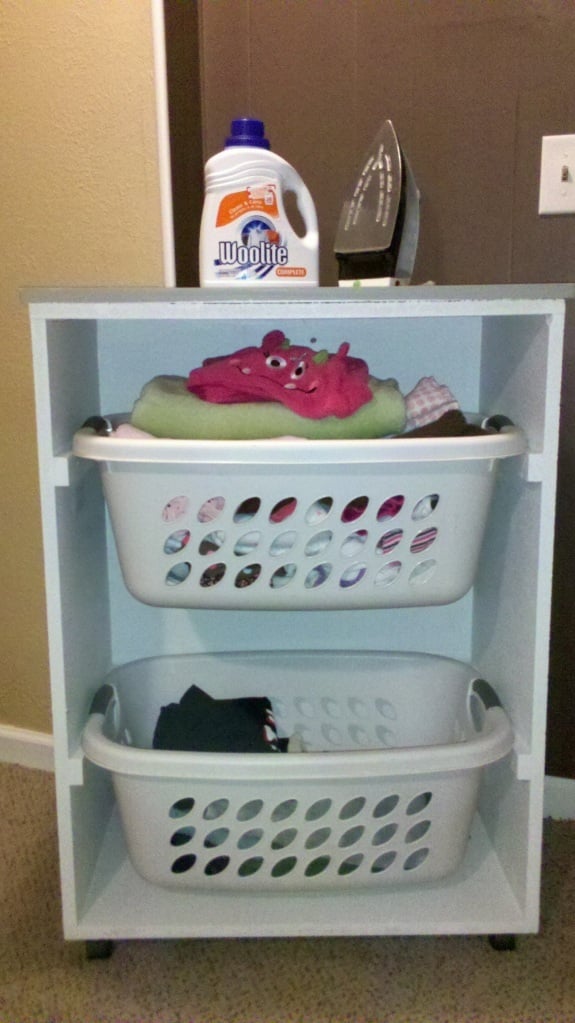
I built this entire project out of the scraps from the closet organizer and a 1×2 that I had. You could use the metal brackets Ana suggests, but the 1x2s are working great for me. The wheels are from an old rolling Target TV stand.
We used two tracks, instead of three, because I do huge loads of laundry in my front loaders. If you want to do the closet organize and this, do the closet first.This will be a free project. That's right, $0 out of pocket! Oh, and the top is scrap wood, just glued, and screwed (counter sunk).It made for a more finished “island” look. This step is completely optional. It's just for looks. I would love to add a towel bar to the side of this and a bracket to hold my iron too. The mini ironing board does fit on top!