Community Brag Posts

Modern Outdoor Chairs (2x4s & 2x6s) w / Matching Tables

My mother had a cheap particle board sofa style table on her back porch that was coming apart. She said she'd like to replace it, so I told her I would her one.

I decided to make her a few end style tables to go with it as well.

Finally, I had seen these chairs and decided to make her a few of these also. I liked the Ana White plan, but I didn't like the idea of seeing all the screw holes, so I developed my own method using Kreg and my own assembly method that allowed me to make them strong, without seeing all the screws.

I (and my mother) were very pleased with the final project.

Estimated Cost
~$200 (Cushions cost me ~$80)
Estimated Time Investment
Weekend Project (10-20 Hours)
Finish Used
Olympic Stain (1 coat white), slight sanding, wiped down with Minwax Dark Walnut.
Recommended Skill Level
Beginner

Comments

TerDickison2

Mon, 06/10/2019 - 18:49

Thank you for posting this! I built the chair as is from the plans but I realized it really needed a backrest. I like how you added one and if you don’t mind, I think I’m going to “borrow” your idea. I lucked out on the cushions-I got mine from Home Goods for $40. I don’t think everyone has a Home Goods near them though. Love the tables too!

Farmhouse Storage Bedroom with Drawers

I started this bed months ago, thinking I would have plenty of time to get it done in a weekend. Ha! Well actually to tell the truth most of it was done in a weekend...but, maybe I should start at the beginning... Beware this is a picture heavy post, I tried to do collage photos as much as possible to cut back...

Comments

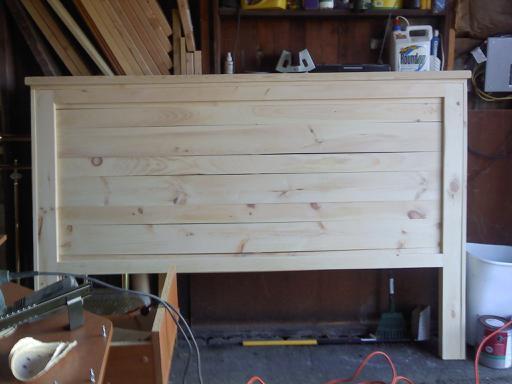
My first Easy Build Headboard, King Size

Submitted by andreak on Thu, 05/12/2011 - 16:15

This was my first project and it come out beautifully. I did learn a valuable lesson - if you are going to build something in the basement, make sure it fits up the stairs. Not sure if you can tell from the picture but this ended up 6 inches shorter than the plans. Can wait to find my next project!

Estimated Cost
$150
Estimated Time Investment
Day Project (6-9 Hours)
Finish Used
MinWax Wood Finish Red Mahogany 25 - Minwax Polyurethane
Recommended Skill Level
Beginner

Queen Farmhouse Bed

Submitted by Ktosaka on Fri, 07/03/2015 - 15:50

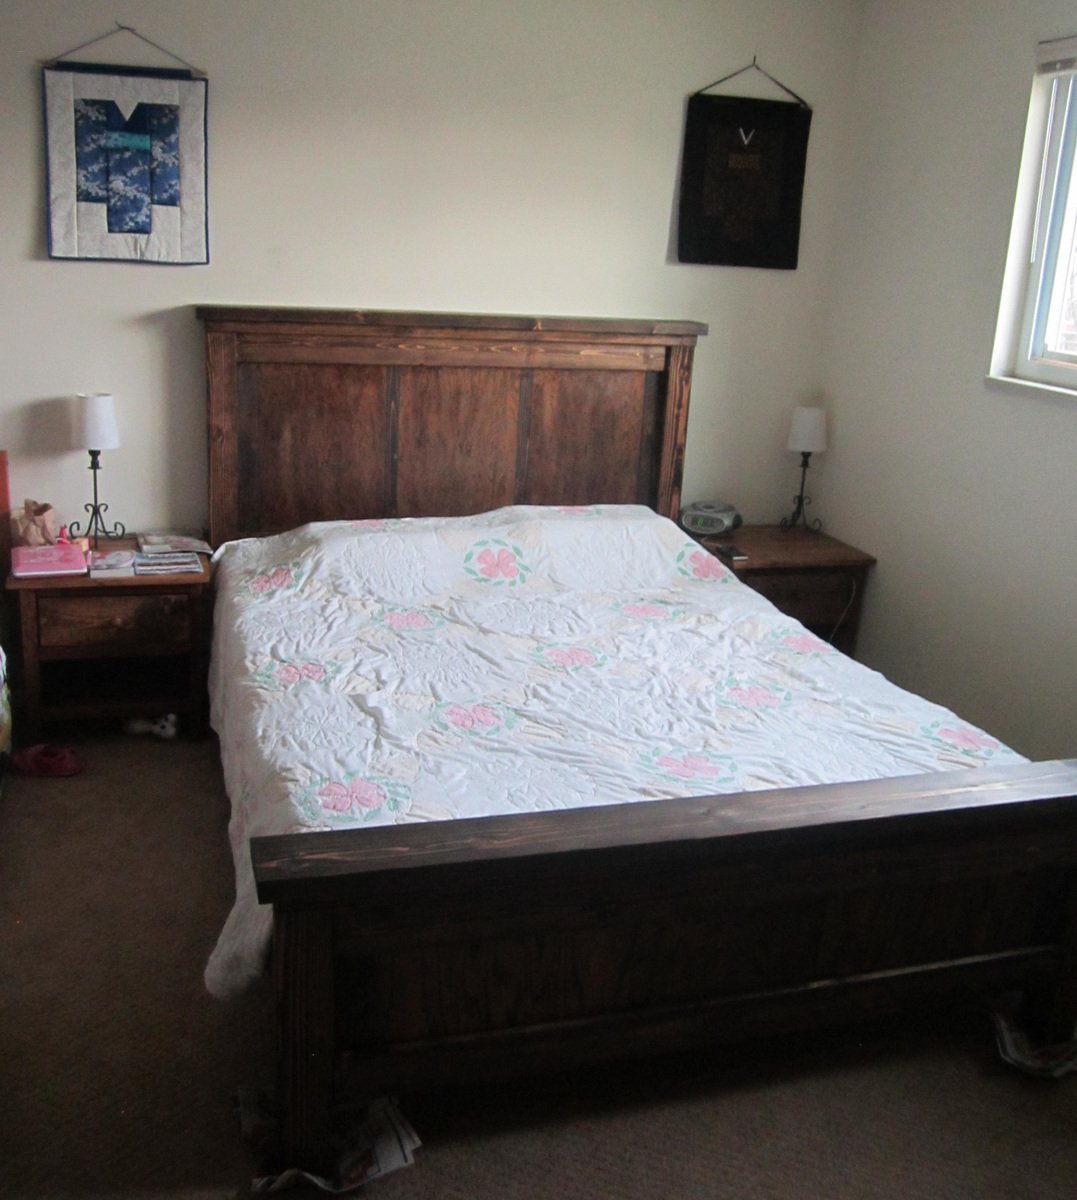
This bed is made using the Farmhouse Bed plan from page 136 in Ana's book. We just had our kitchen remodeled, so I took the cabinet doors and swapped those out for the 1x10's in both the headboard and foot-board. The cabinet doors took a while to strip the paint off and I used paint stripping sandpaper for that. Once the cabinet doors were stripped, I cut 1x2's for the two center dividers and 1x3's for the two outer dividers to get the desired width. I then stained the cabinet doors and dividers before attaching them to the 1x4 trim. I did not get 4x4's, so I cut 2x4's to length and glued and screwed them together.

Our mattress does not use a box spring, but slats, so I borrowed slat directions from Shanty 2 Chic's platform bed and our old IKEA bed frame. I used 2x2's for the supports and 1x4's for the slats. I used scrap 2x2's to support the center slat support and attached the side 2x2's to the bed rail (1x6 vs. 1x10 due to matress depth) with glue and screws.

Estimated Cost
Wood and screws were $130 total as I used low end wood and reclaimed cabinet doors. I also used stain from our local county recycle center.
Estimated Time Investment
Weekend Project (10-20 Hours)
Finish Used
Minwax Jacobean in two coats with cabinet doors stained before assembly to prevent gaps in color. I used Minwax Wipe-on Poly, also two coats to finish off the project. I followed the directions on all the labels and applied the finishes with old socks thanks to donations from my kids.
Recommended Skill Level
Beginner

Toy zoo

Submitted by Oksana on Sat, 01/20/2018 - 17:45

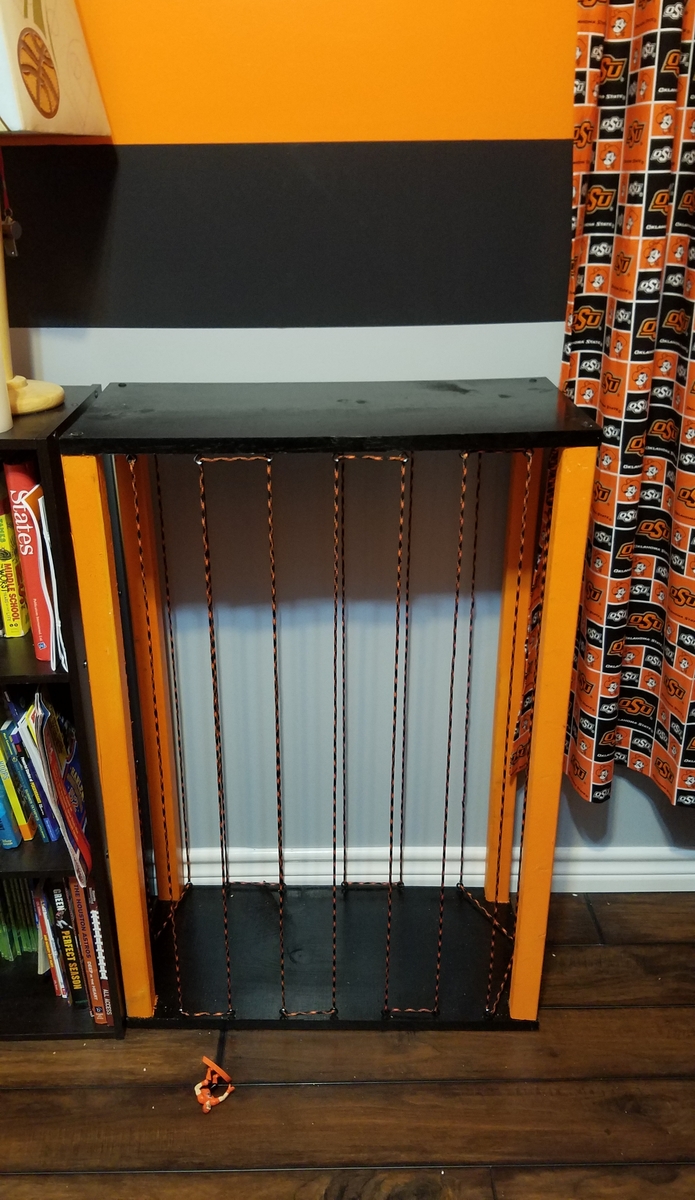
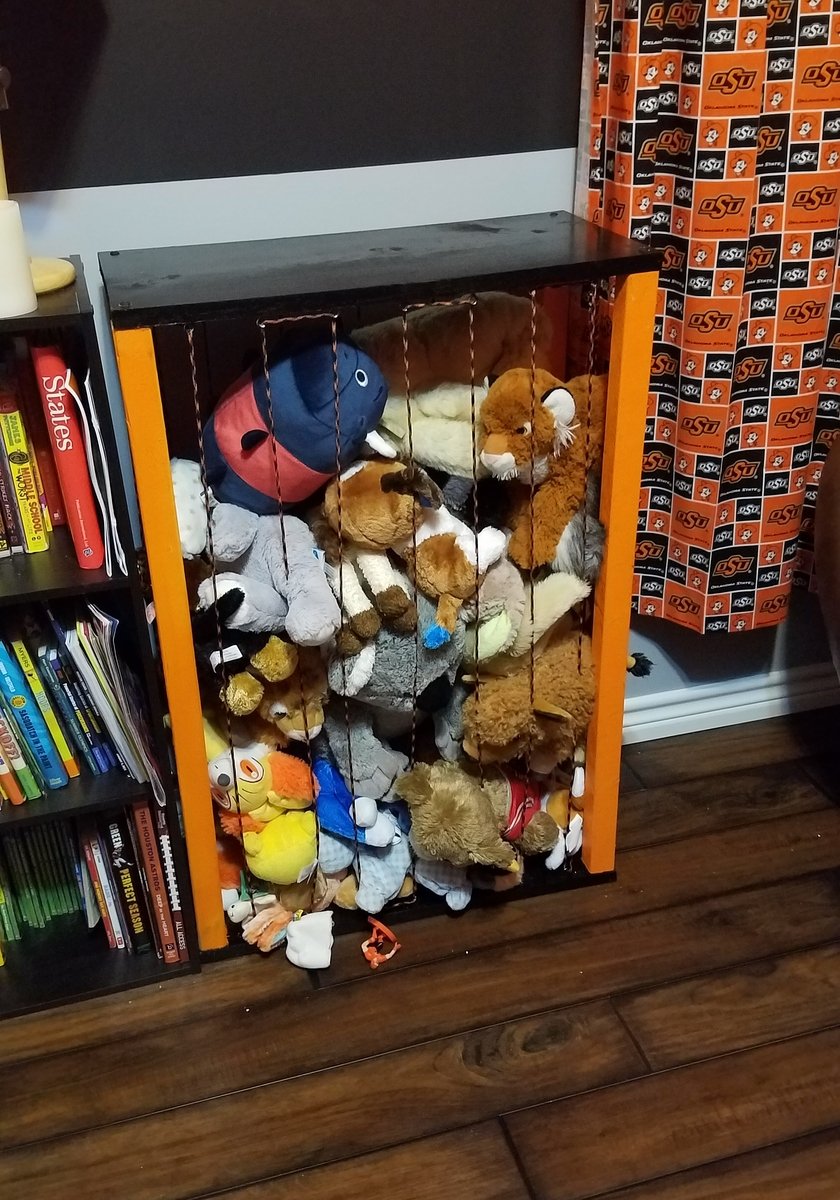
My son has a very specific color scheme in his room (Go Pokes!), and finding something to keep his toys in, that looks like it belongs, is simply impossible. I chose to do it cheap and quick way, but it came out exactly like I hoped it would. I really liked the eyelets idea, and since I wanted the zoo to be movable and able to serve as a shelf, I just screwed them in directly into the top and bottom

Built from Plan(s)
Estimated Cost
$35
Estimated Time Investment
Afternoon Project (3-6 Hours)
Finish Used
Spray paint
Recommended Skill Level
Starter Project

Wood Closet Shelving

Submitted by Anonymous (not verified) on Thu, 01/13/2022 - 09:01

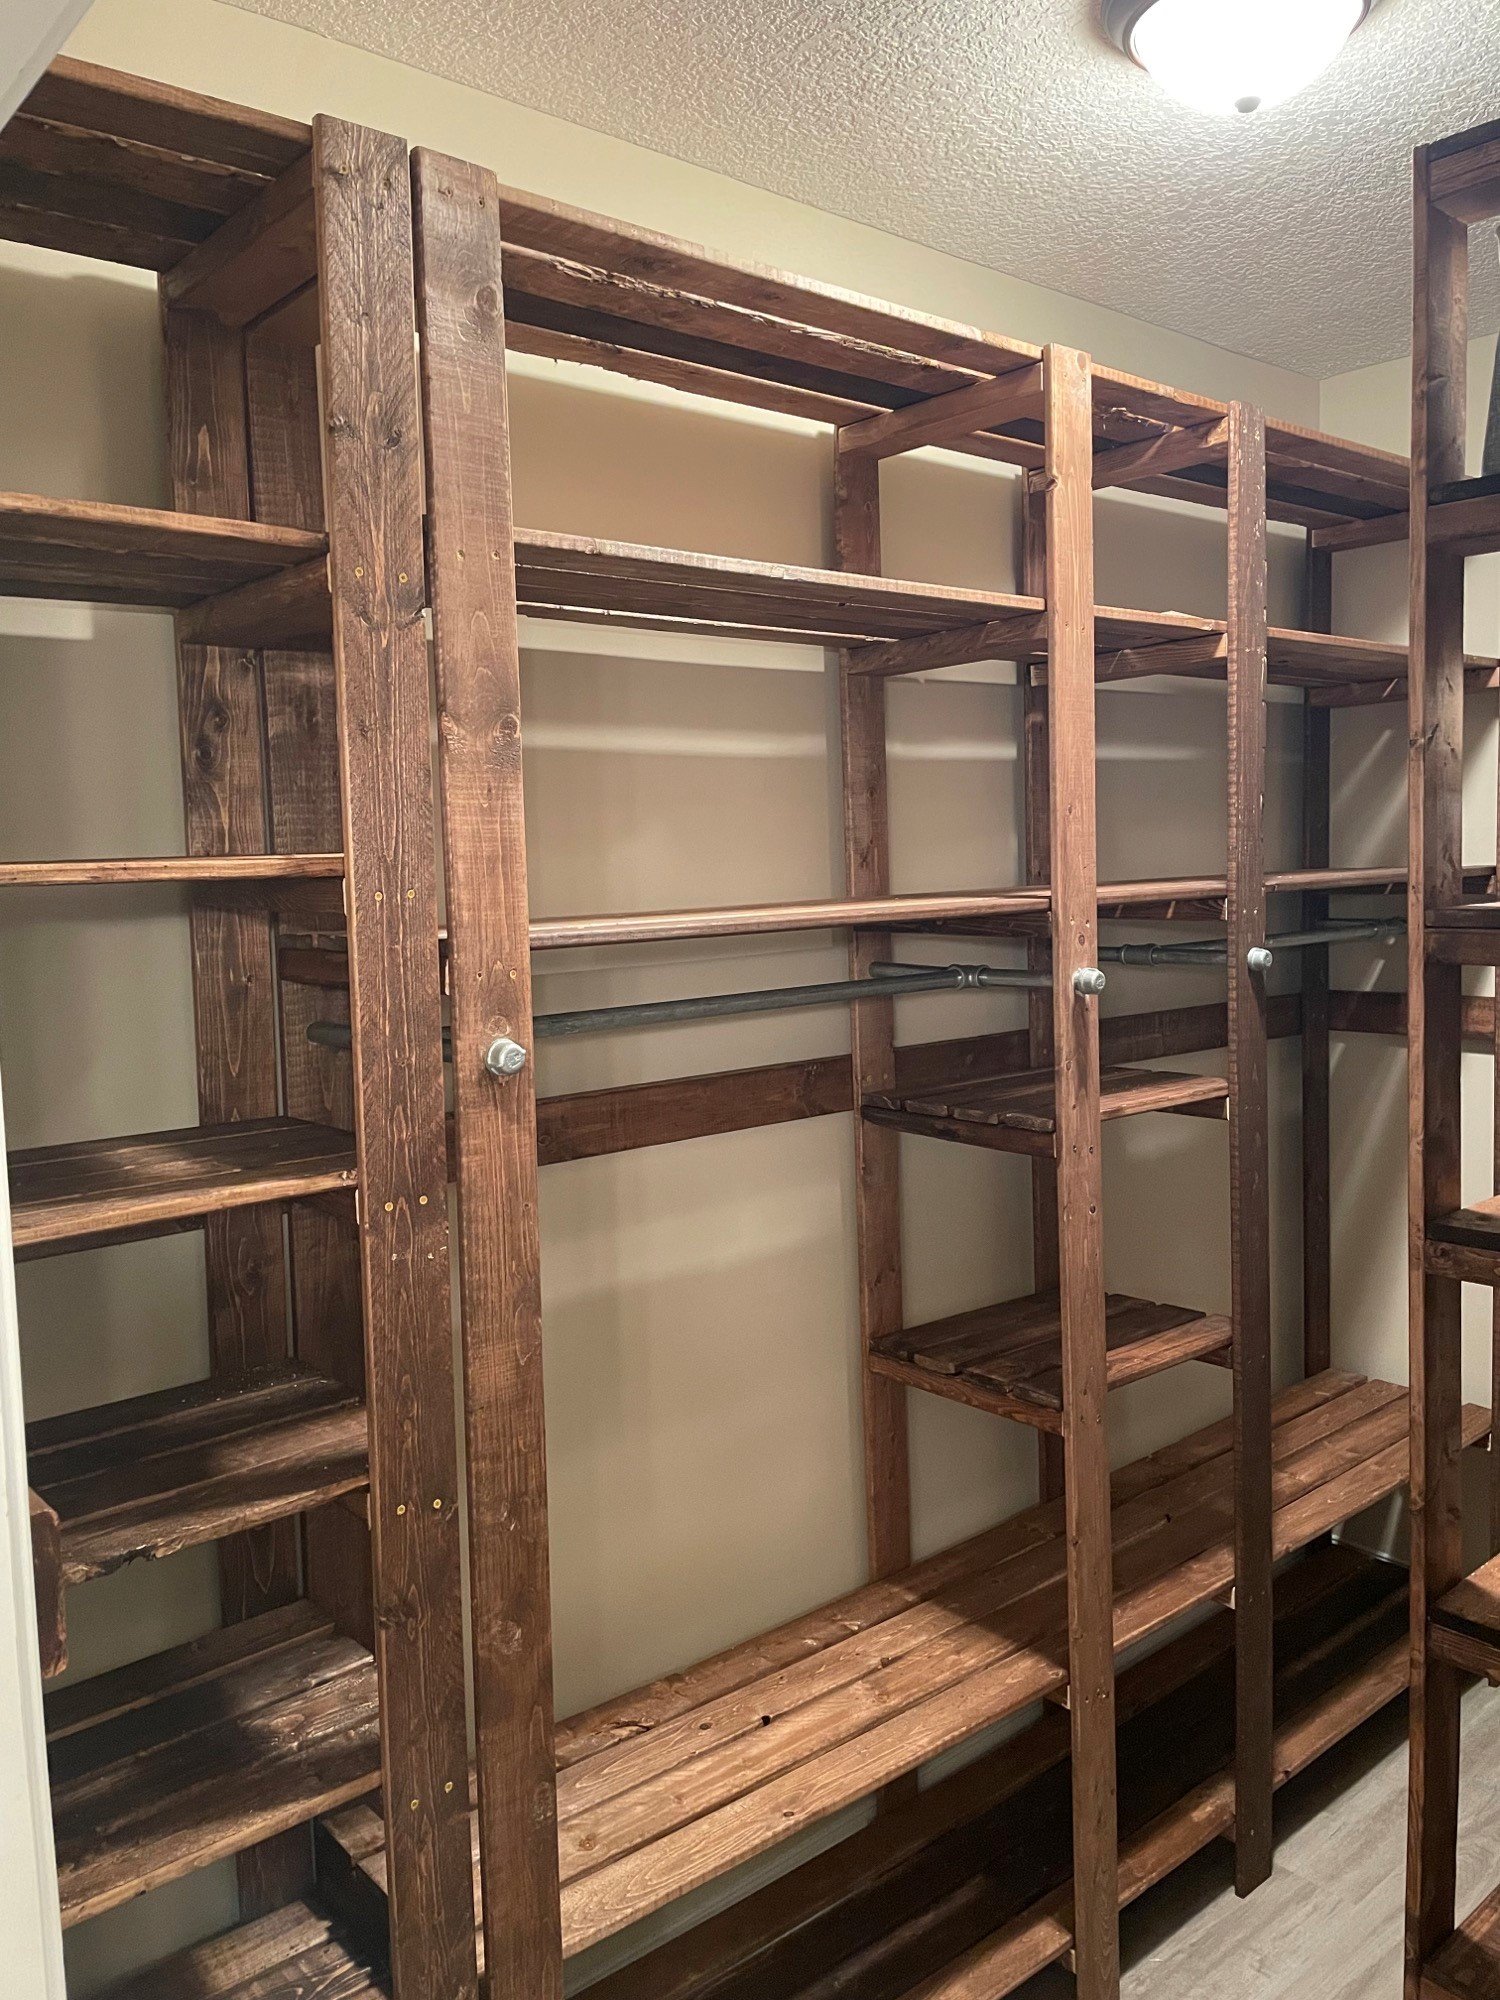
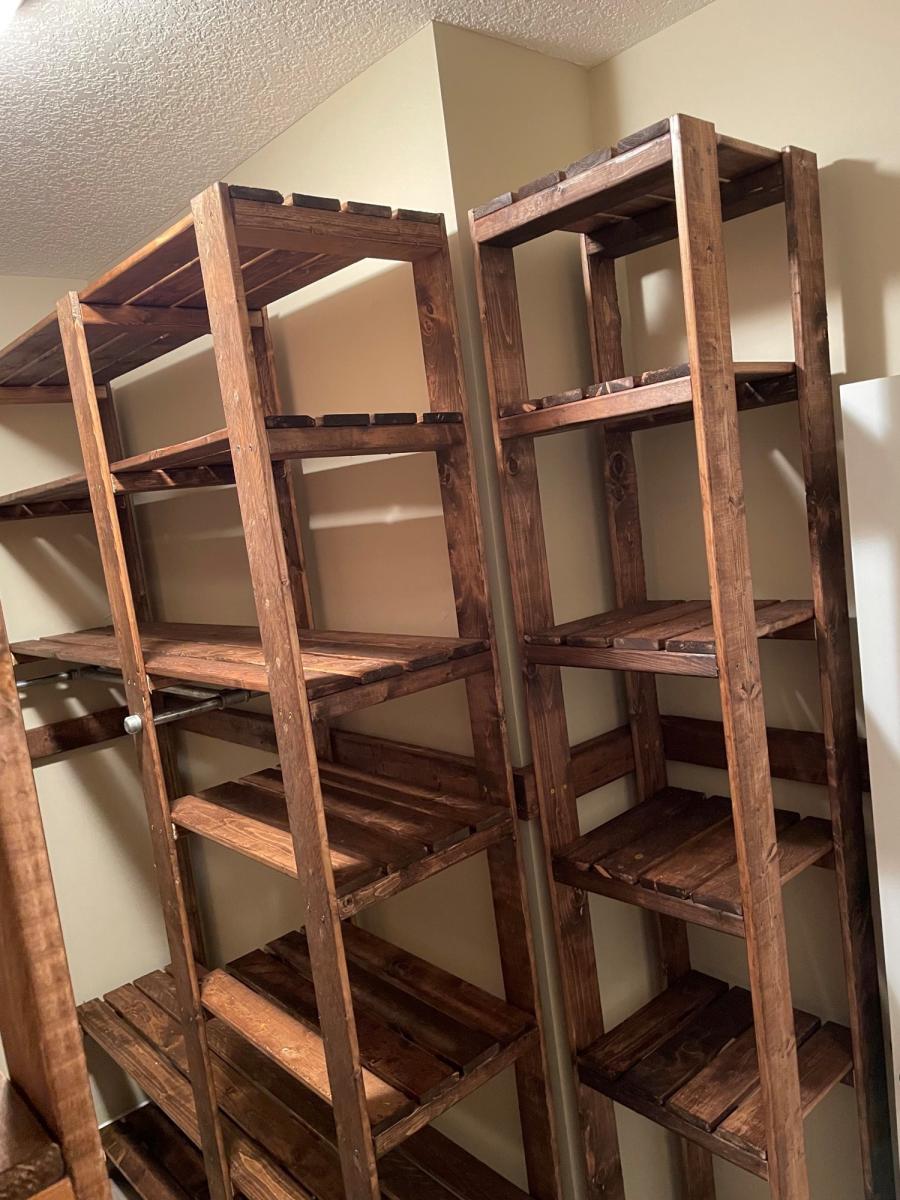
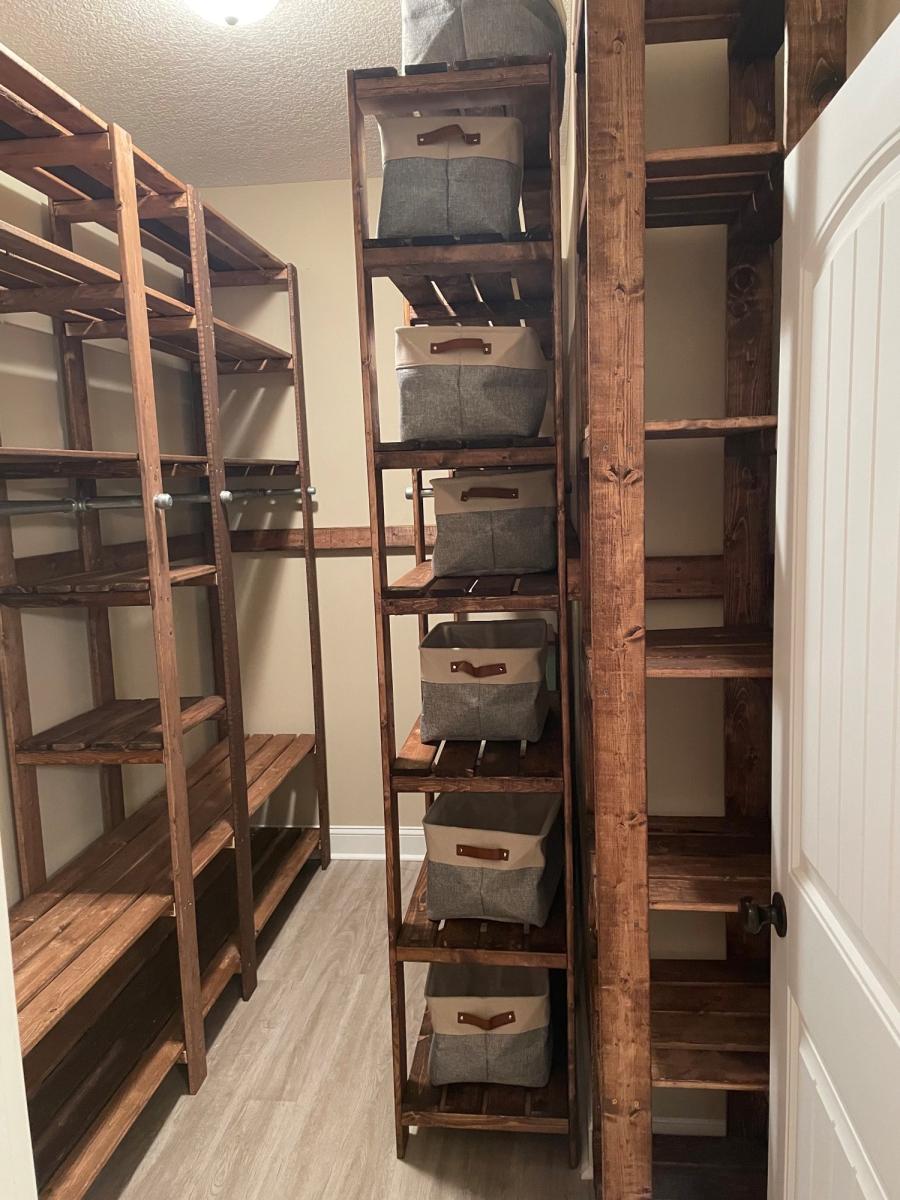
My closet system is four separate units that I butted up together and attached to the wall with a "decorative" 2x4 railing around the entirety of the closet. The main unit looks the closest to the real design but is 8 feet long and 8 feet tall to avoid extra cutting of boards. The smaller unit only has one area for hanging up clothes and is around 5 feet long which is just the length of the wall. I also built a unit for holding sheets and towels and another for my wife's shoes.

The plans are really easy to follow but I would suggest a few things:
-Do stain and boards before cutting; this would have been a nightmare otherwise.
-If you use the metal clothing rods (if I could go back in time I would have used wooden dowels) make sure that you put those in before you attach any boards between the support structures. I ended up having a 35 inch gap instead of a 36 inch gap and it killed my momentum.
-I made mine 8 feet tall because it was less to cut and then re-stain; time wise it probably was a scratch cause I had to build it in place and at the end it was very tight to work in the space.

Built from Plan(s)

Comments

Reclaimed Wood Headboard - Florida Style

Submitted by millpherd on Tue, 05/17/2011 - 11:13

After moving to Miami from a Log Cabin in Western Pennsylvania, I wanted to have a bedroom that was decorated very "Miami." The best option was to build a bed and finish it myself. The body of the headboard is whitewashed and the trim is a cactus gel stain. Thanks Ana!

Estimated Cost
$125.00
Estimated Time Investment
Weekend Project (10-20 Hours)
Finish Used
White washed and gel stain.
Recommended Skill Level
Starter Project

Hannahs Barbie house

My wife wanted me to make this. The frame was meant to be coated in polyurethane but as the wood did not look the best, i painted it. I think the colours work quite well.
The stairs are different, i wanted something unique for those.
My daughter loved it as it was a birthday present for her.
The project took about 3 weeks in the evenings after work for a couple of hours most days.

Estimated Time Investment
Weekend Project (10-20 Hours)
Finish Used
Paint, Polyurethane, Wallpaper
Recommended Skill Level
Intermediate

Project Complete!

Here is my patio sectional made of 2x4s. Used my Kreg Jig for the first time to complete this project. I used pocket holes in as many places as possible, then finished it with two coats of leftover fence stain and two coats of semi-gloss outdoor Varathane spar urethane for a nice sheen. I modified the dimensions to fit the cushions that my wife purchased before I began the project. I made the back substantially taller to support the cushions and left the arms off of both ends of the sectional so people could sit facing sideways too. I left the corner of the sectional without a cushion so people would have a place to set drinks.
Estimated Time Investment
Afternoon Project (3-6 Hours)
Finish Used
Two coats of Behr transperent weatherproofing all in one wood finish stain in "chocolate" (leftover from our fence) and two coats clear semi-gloss outdoor varathane spar urethane.
Recommended Skill Level
Beginner
Seasonal And Holiday

Workshop Now in Session!

Submitted by Ahlinn3 on Thu, 01/25/2018 - 18:46

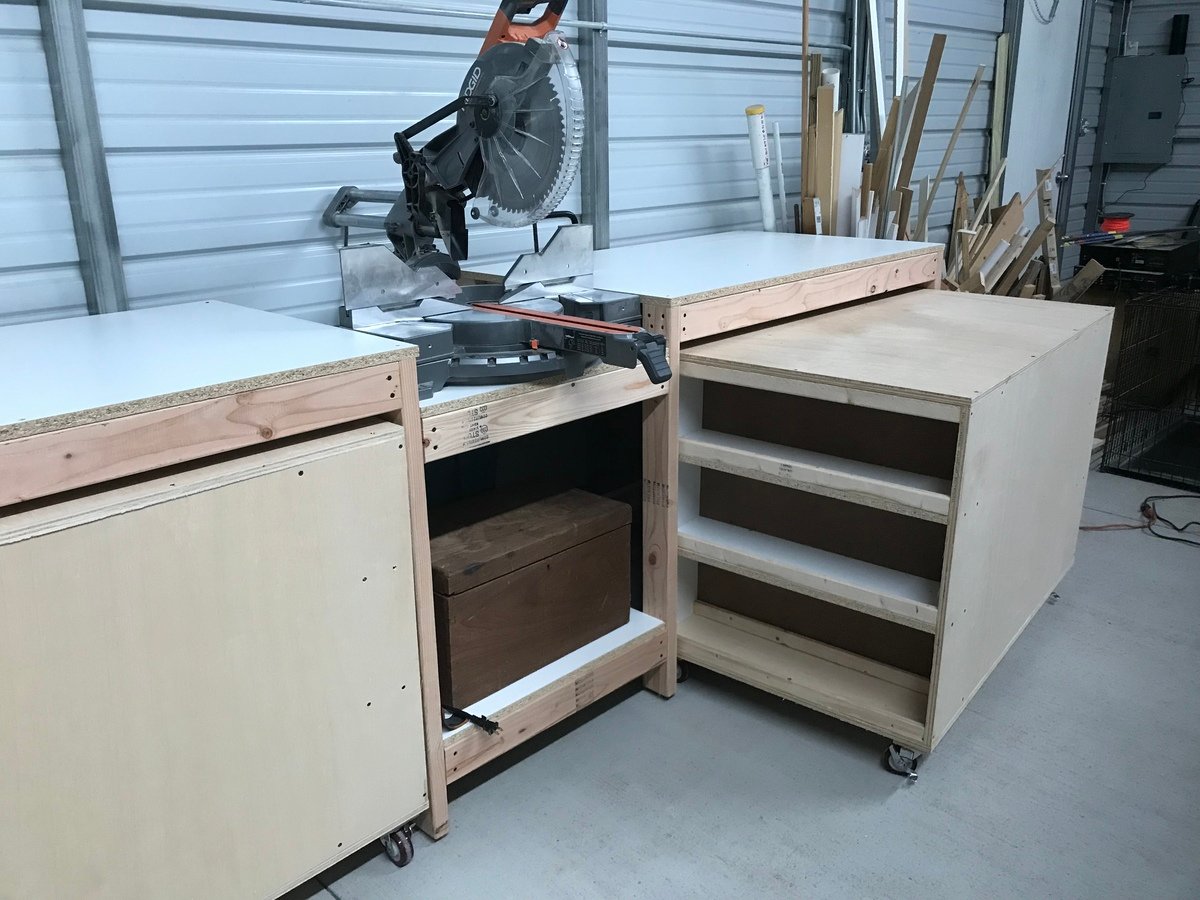
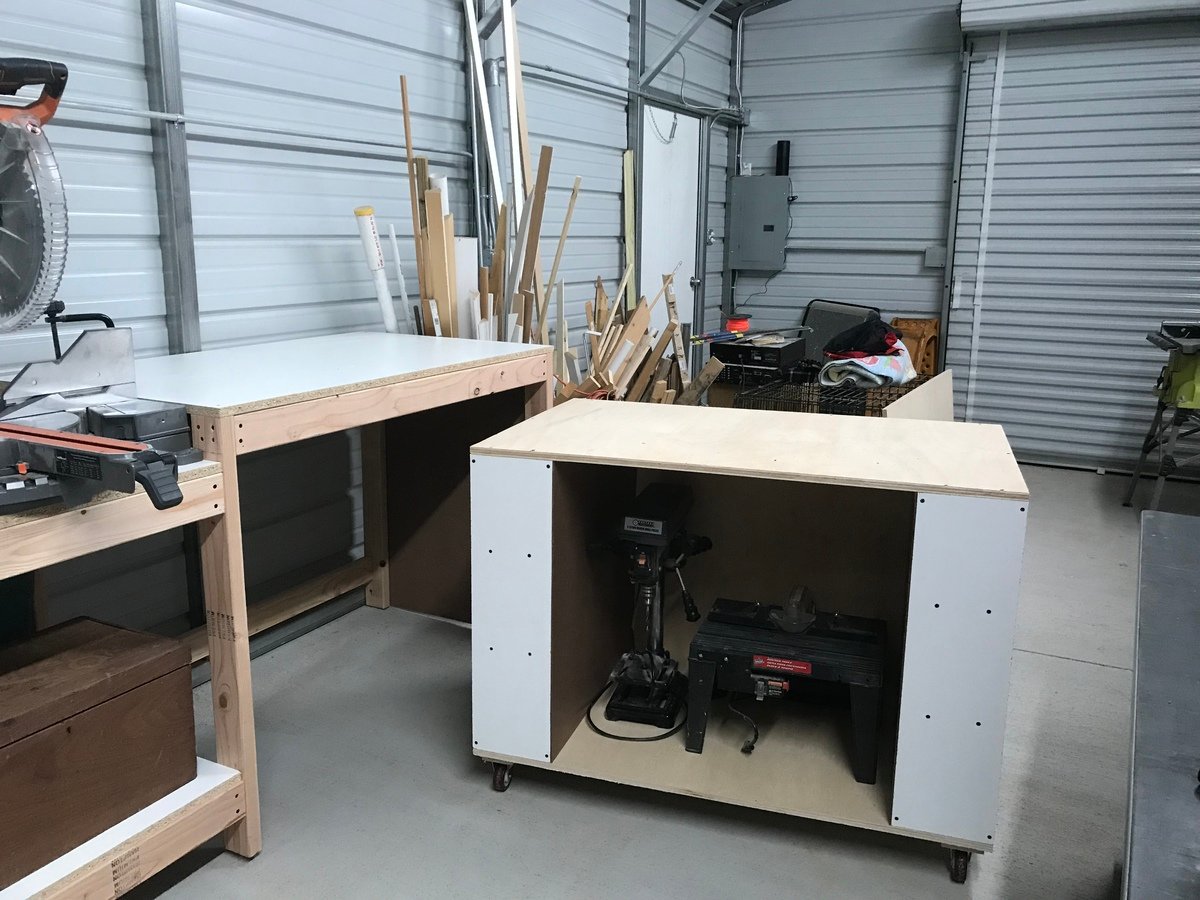
Easy instructions and simple design. One cart houses table saw, and the other I plan to make a router table. I did make a slight modification in design by adding T-nuts and 5/16” bolts for feet. (My shop floor is crowned). I also used 3/4” melamine white panels for table tops. Difficult to work with but cheaper and has a smooth surface. (Be careful using for structural parts due to glue not impregnating through melamine) 

Estimated Cost
$250
Estimated Time Investment
Weekend Project (10-20 Hours)
Recommended Skill Level
Starter Project

Comments

Farmhouse King size bed frame

Submitted by Anonymous (not verified) on Wed, 01/19/2022 - 08:00

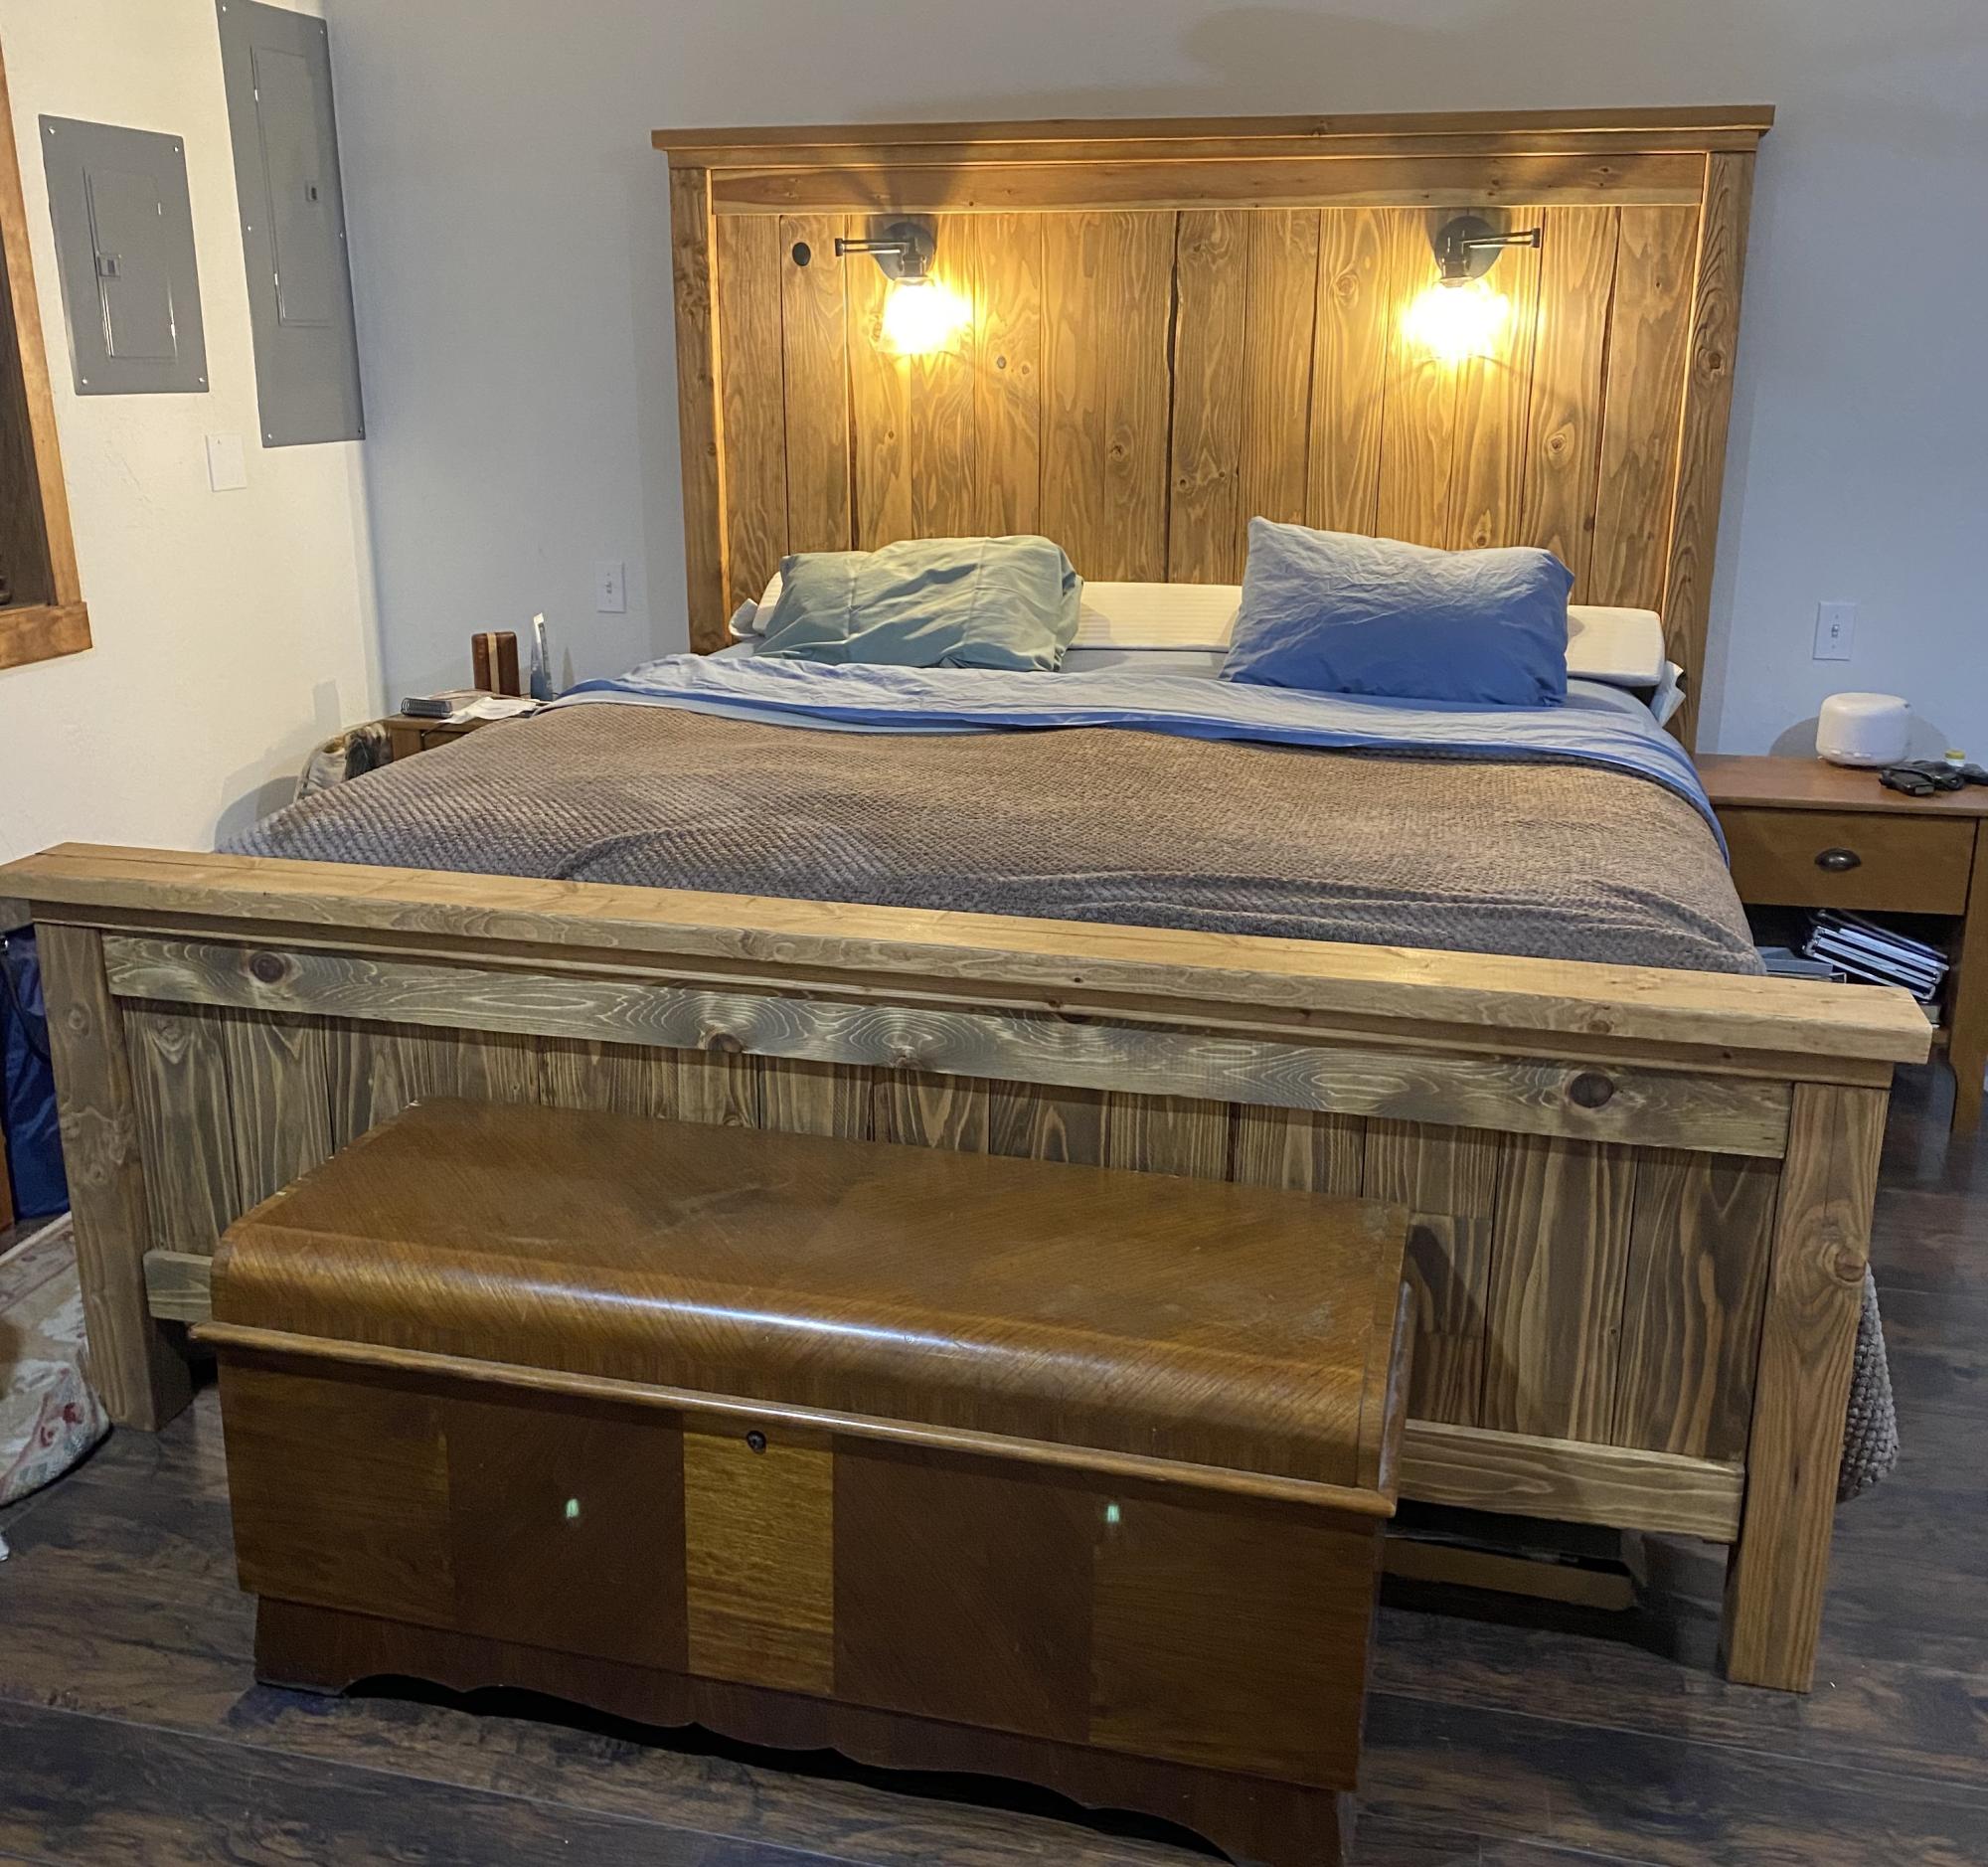
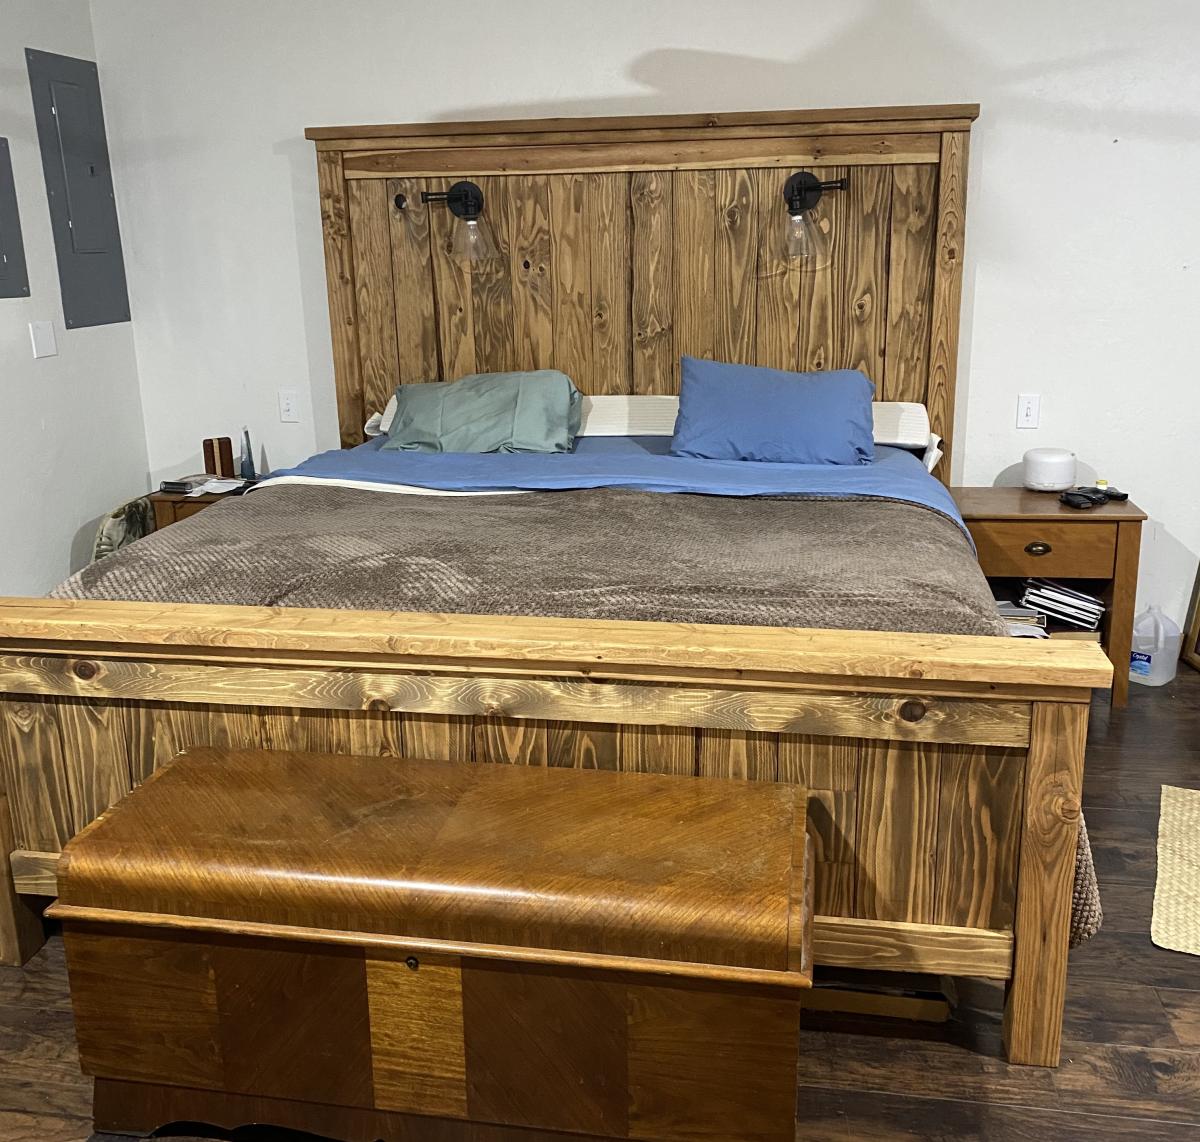
Found the plans on your site for Farmhouse bed frame, thank you!

Made a spectacular Christmas gift for Hubby!
I ended up buying a few more pieces of 1x6 as I opted not to waste the 4x4 posts, and added 14” height to the headboard and 7” height to the footboard.

I actually forgot about my lights on the wall, so what to do? Drilled holes in the headboard and wired them through! Love opportunity solving! 😂👍🏼

I should’ve moved the Hopechest for the photo, but you get the idea. Next project, matching side tables!

Comments

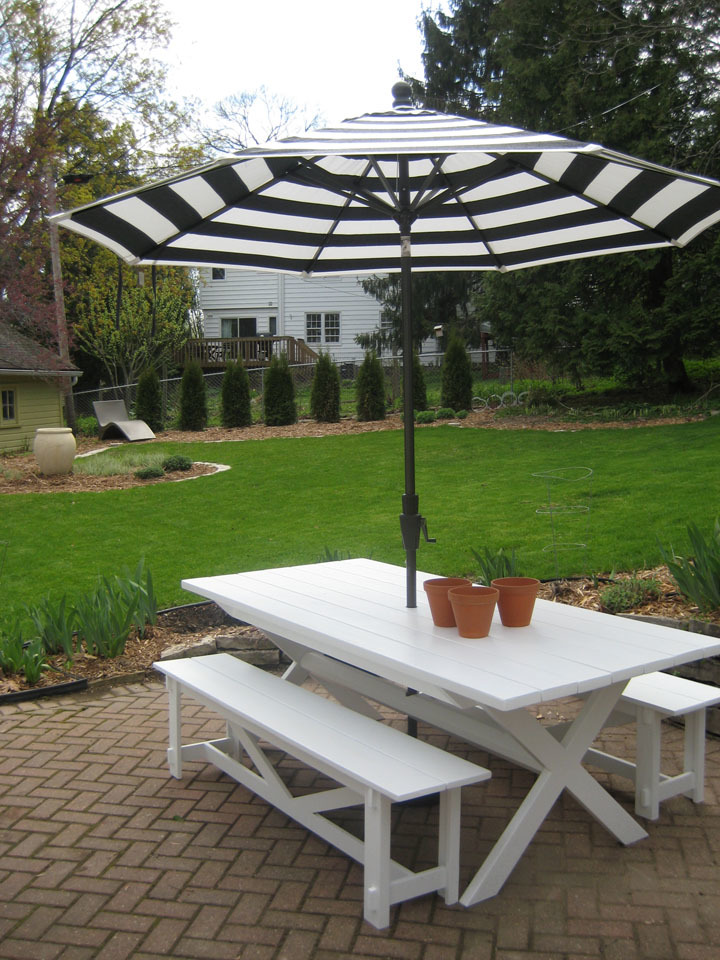
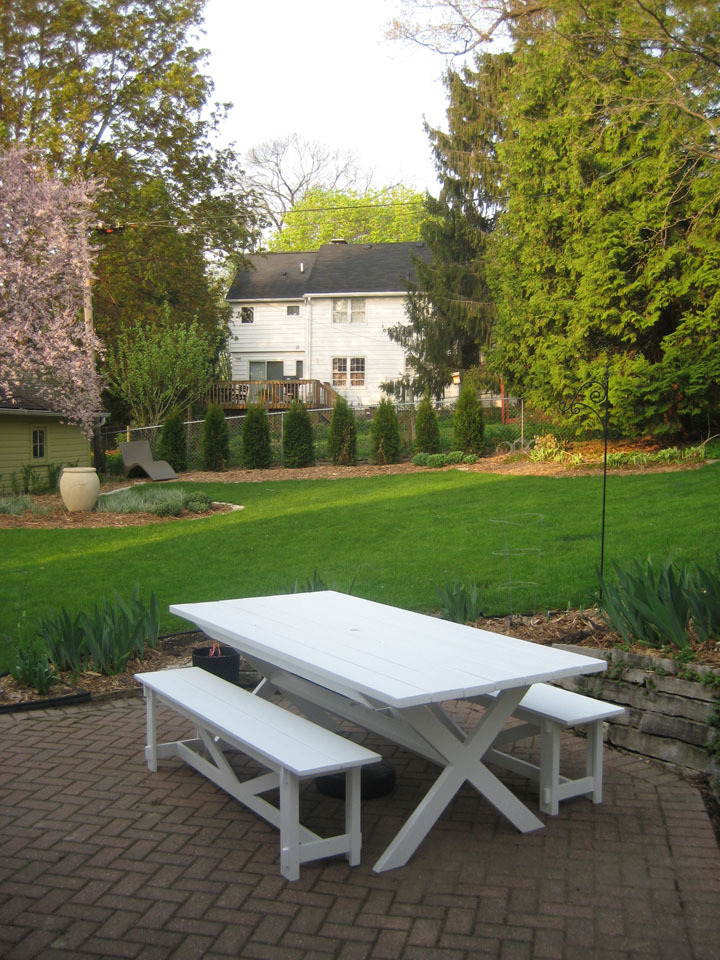
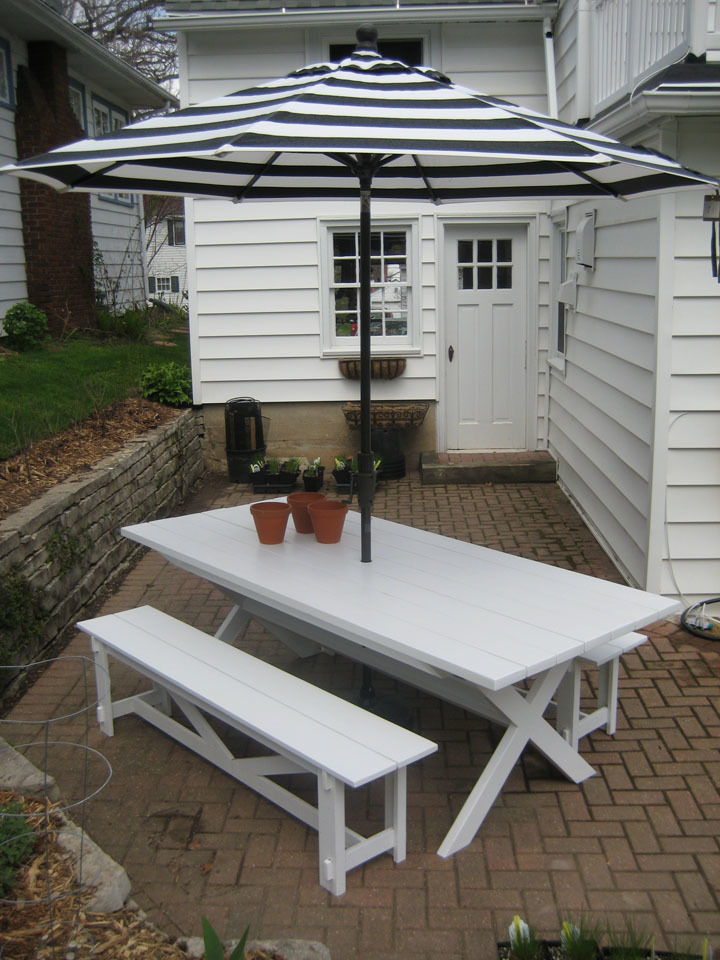
Pottery Barn Benches with X Table...Modified

Submitted by AJW on Thu, 05/19/2011 - 13:18

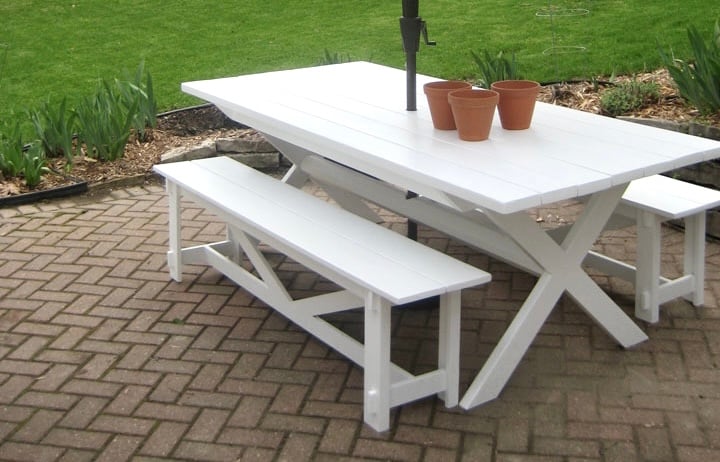
Pottery Barn Bench: Length Modified and utilized 2-1x6s for seat. X Table: Length Modified, utilized a 6x6 for the stretcher and drilled a hole through both the 1 top material and 6x6 stretcher beam. Holds the Pottery Barn umbrella real well. All made of Cedar and painted for good measure. Everything counter sunk and plugged, sanded to high heavy and ready to last.

Estimated Cost
$350
Estimated Time Investment
Week Long Project (20 Hours or More)
Finish Used
Oil based primer with 2 coats of acrylic over top.
Recommended Skill Level
Intermediate

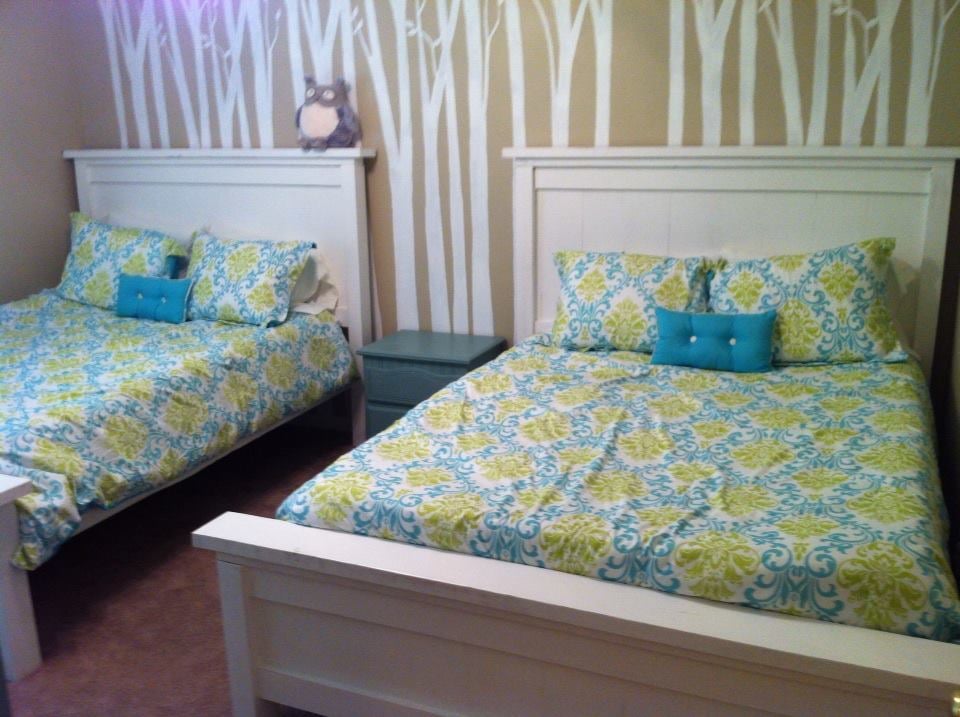
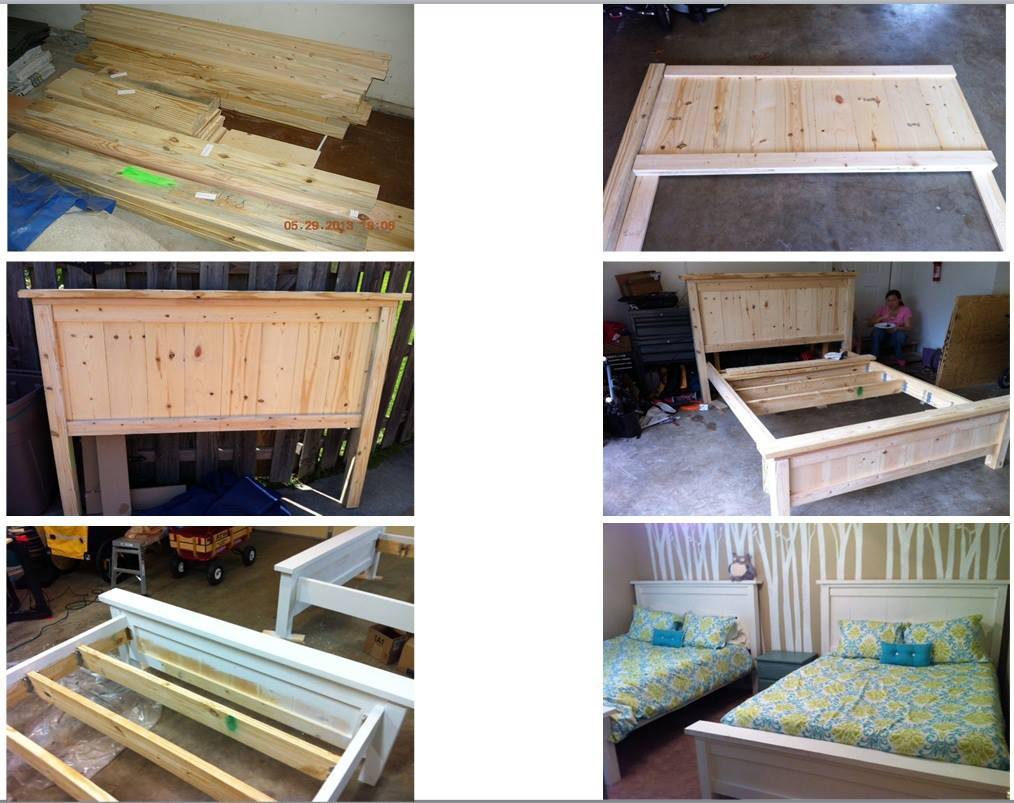
Built two queen sized farmhouse beds for my daughters.

Submitted by bh2469 on Sat, 07/13/2013 - 13:11

Decided to build beds for my two daughters. We went with two queen sized farmhouse beds that I hope they can keep with them for a very long time. I used joist hangers and attached the head board and foot board so that they could be disassembled easily for moves. The beds came out great and I painted them using Chalk Paint. The project took about three weekends to complete.

Built from Plan(s)
Estimated Cost
$500
Estimated Time Investment
Week Long Project (20 Hours or More)
Finish Used
Annie Sloan Chalk Paint
Recommended Skill Level
Beginner

Comments

sandbox with benches

Submitted by nananana on Fri, 07/10/2015 - 13:18

This sandbox has been around for some time BUT it is still a great project to build The plans were simple to follow and would be an excellent project for beginners. We built this for our grandson and future grandbaby. Was easy to complete in one day, including painting

Built from Plan(s)
Estimated Cost
Estimated cost was $75.00 including the wood, hinges and paint.
Estimated Time Investment
Day Project (6-9 Hours)
Finish Used
We used a flat exterior paint. paint color was Cool Bamboo. We put on two coats to preserve the wood.
Recommended Skill Level
Beginner

Comments

Seasonal And Holiday

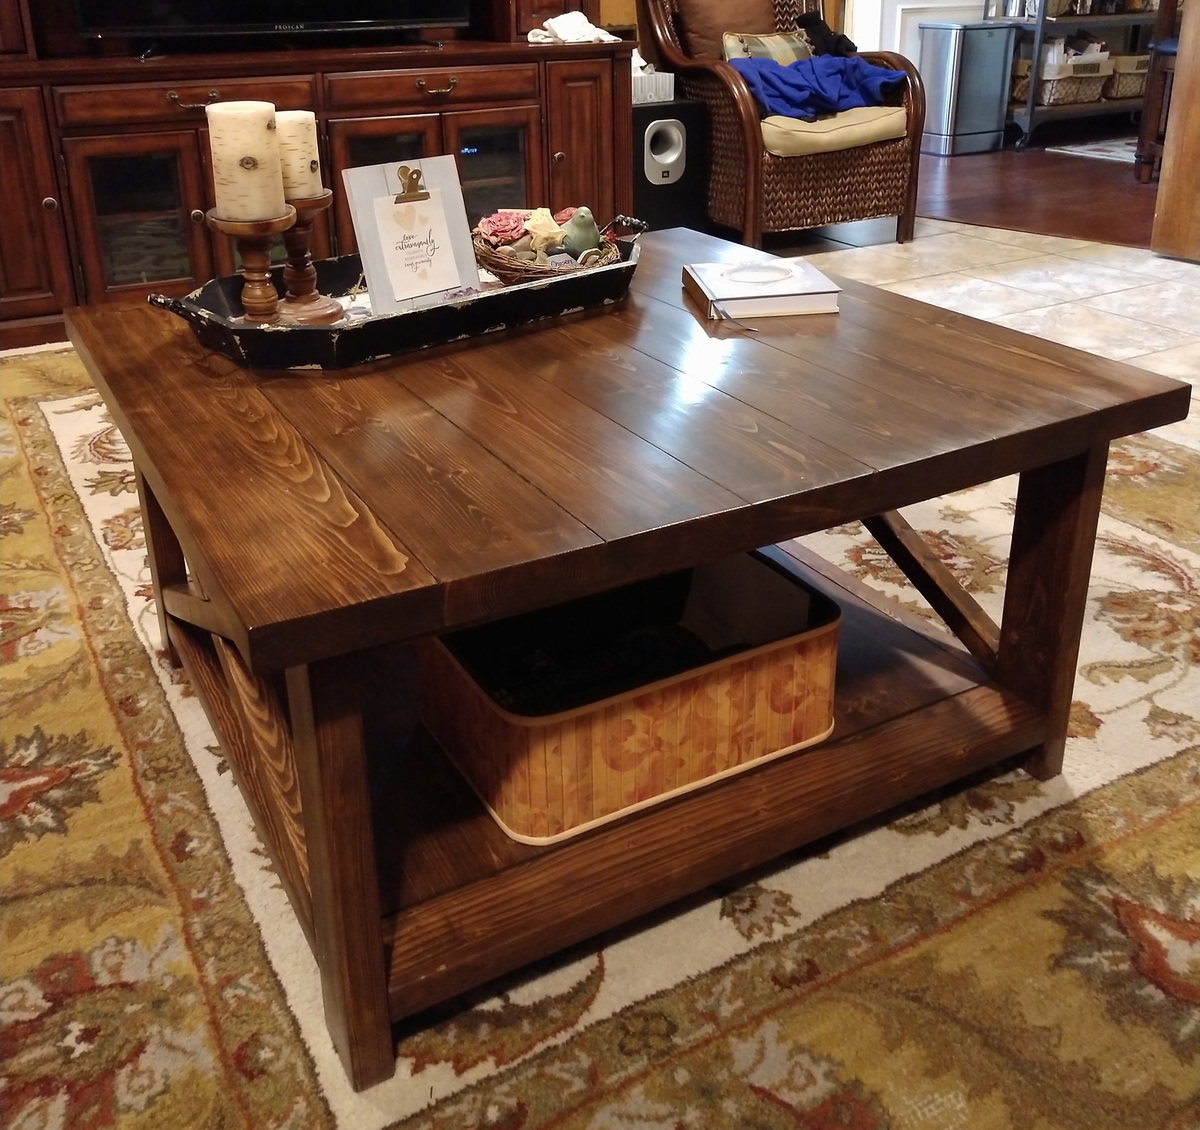
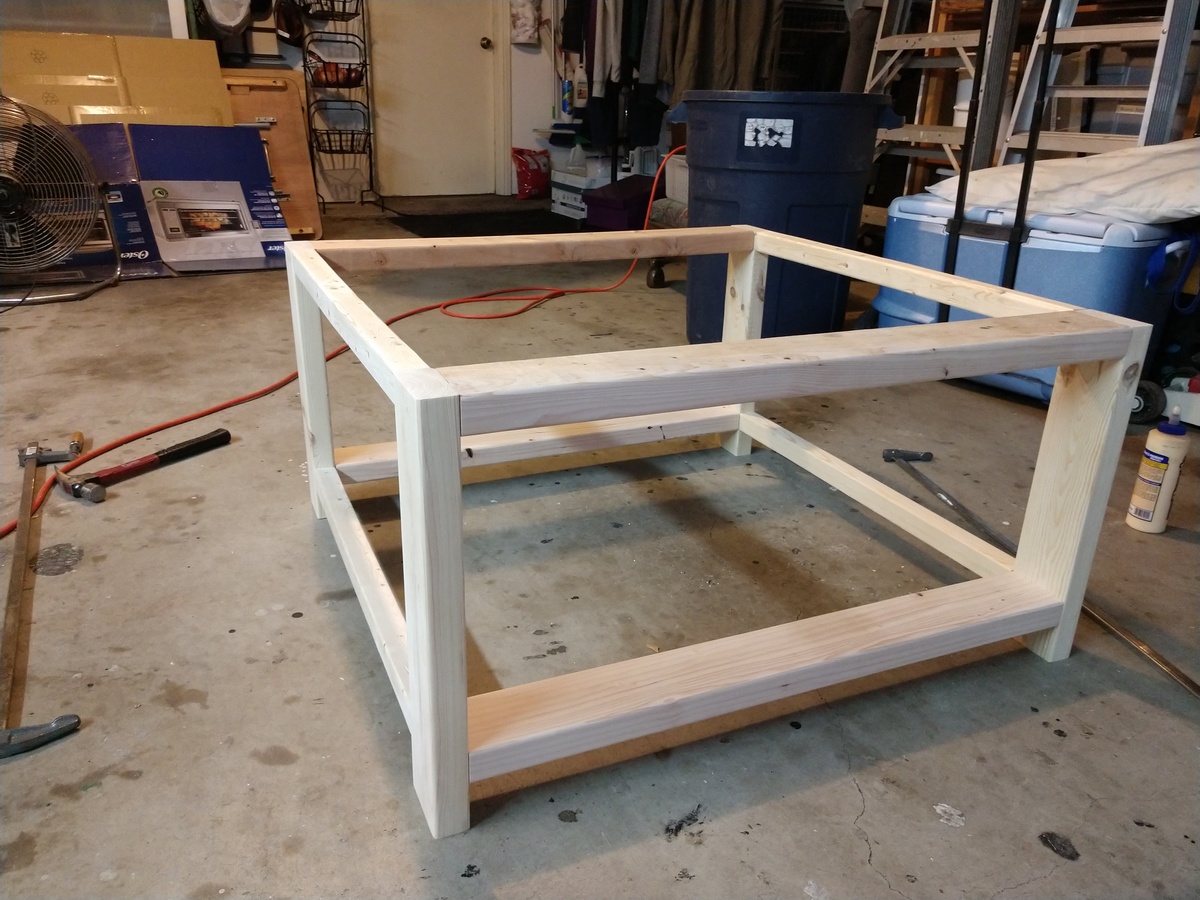
Square rustic X coffee table

Submitted by Borknard on Tue, 01/30/2018 - 06:54

I wanted a square coffee table, so I adjusted the Rustic X Coffee Table plans to fit my dimensions.  The table top is 38.5 by 38.5.


Built from Plan(s)
Estimated Cost
$90.00
Estimated Time Investment
Day Project (6-9 Hours)
Finish Used
Varathane quick drying dark walnut stain.
First coat of varnish was spray on shellac, then 2 coats of wipe-on poly.
After the poly was cured, I rubbed it down with 0000 fine steel wool and wax then buffed it out after the wax dried.
Recommended Skill Level
Beginner

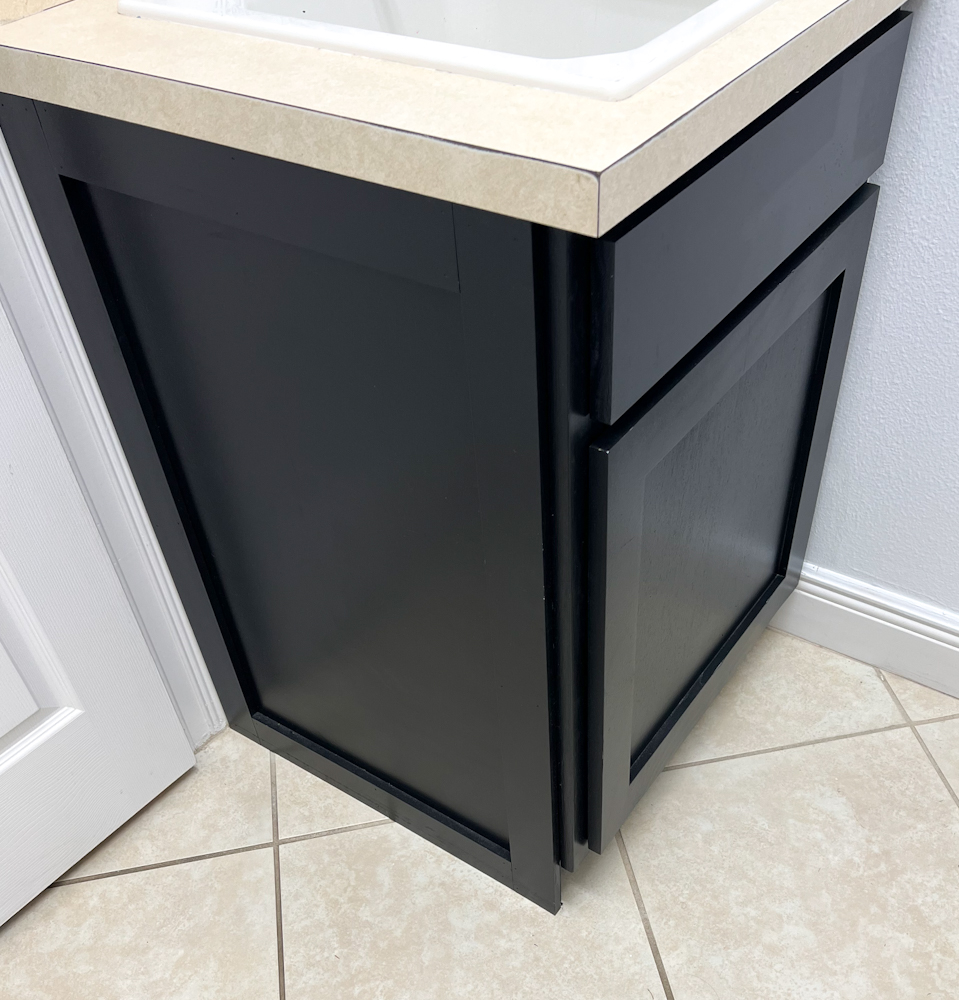
Shaker Style Cabinet Redo for Laundry Room Renovation

Submitted by Anonymous (not verified) on Fri, 01/28/2022 - 19:02

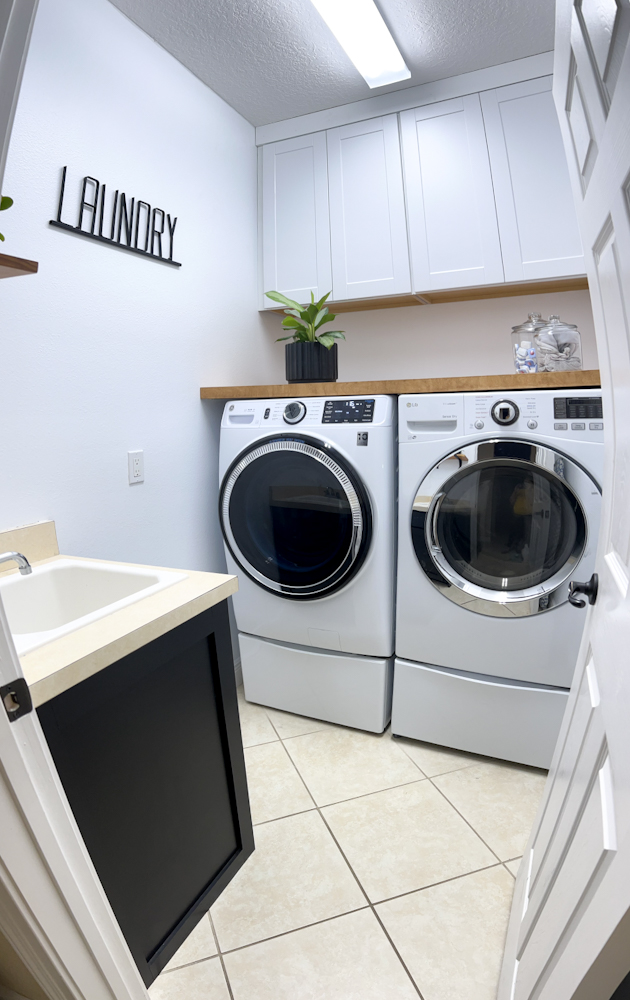
This was my first time being involved in a renovation. At our last house, my husband (who works in trim carpentry) did all the work to my decor instructions. This time I wanted to be involved and do the work alongside him. Using Ana White's instructions we were able to reface our laundry room cabinet to be the shaker style cabinet that I love. Keeping with a modern theme, we painted it black. I've included the before and after photos of the cabinet as well as the cabinet in context to the entire laundry room that was renovated. It came out awesome. Thankful for all of her helpful posts.

Comments

Doll Picnic Table

Submitted by dhrider33 on Sun, 05/22/2011 - 18:09

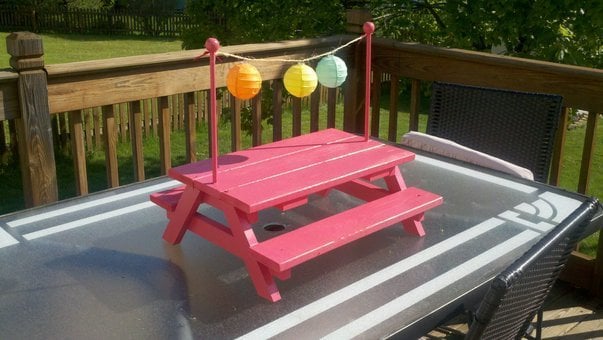
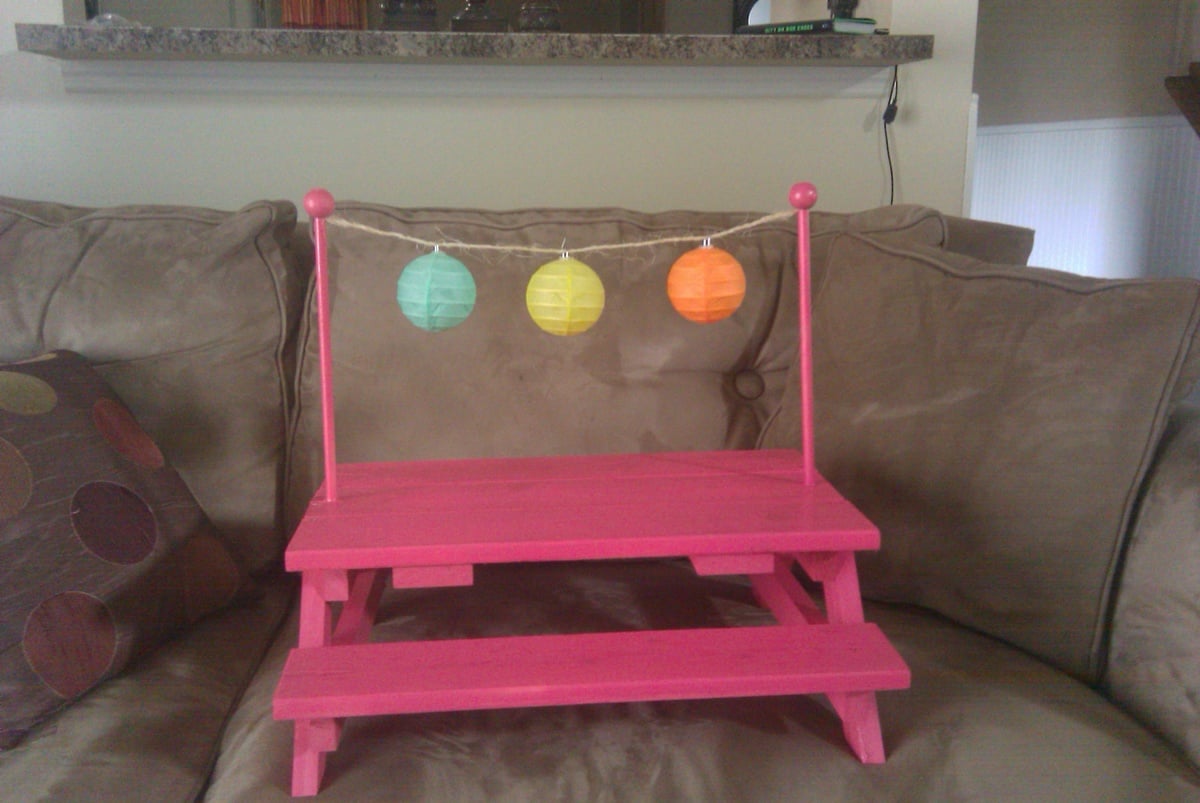
My 10 yr old son and 8 year old daughter really loved helping make this for their cousin. They've never been so excited to give a gift!

Built from Plan(s)
Estimated Cost
~ $15 ... although I had various scrap wood laying around from other projects
Estimated Time Investment
Afternoon Project (3-6 Hours)
Finish Used
Sanded / Primed / Painted
Recommended Skill Level
Beginner

Noah's Shelf

Submitted by LadyBird on Sun, 07/14/2013 - 20:49

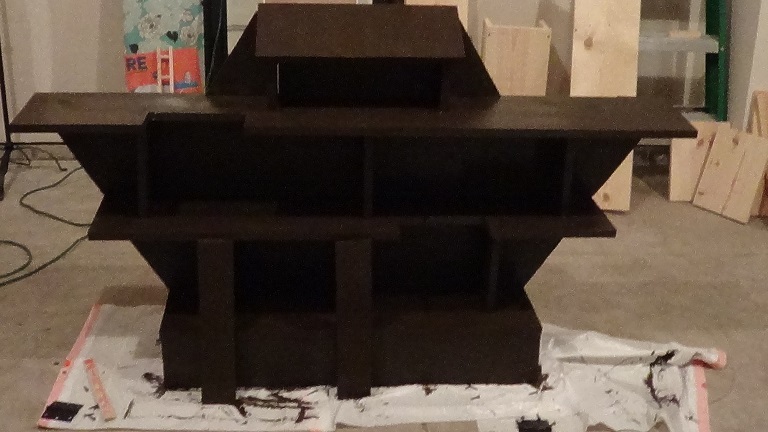
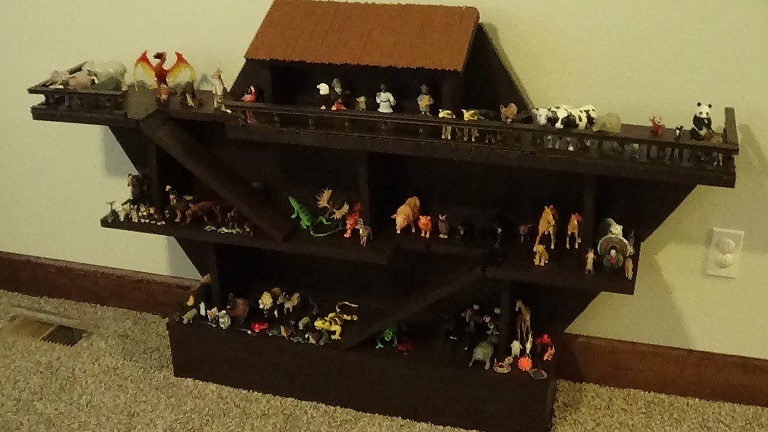
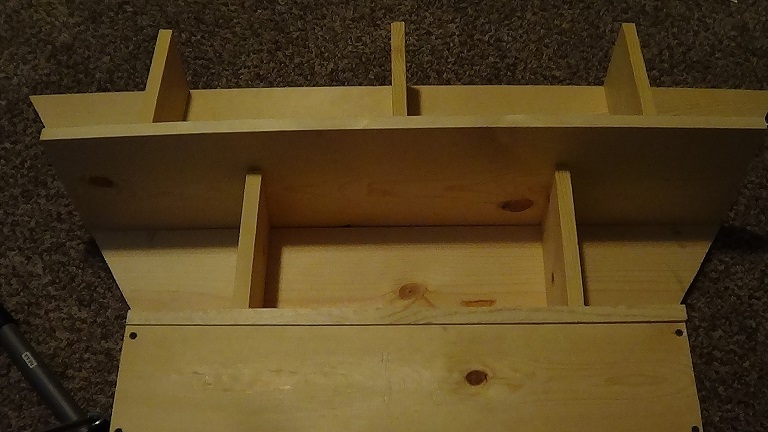
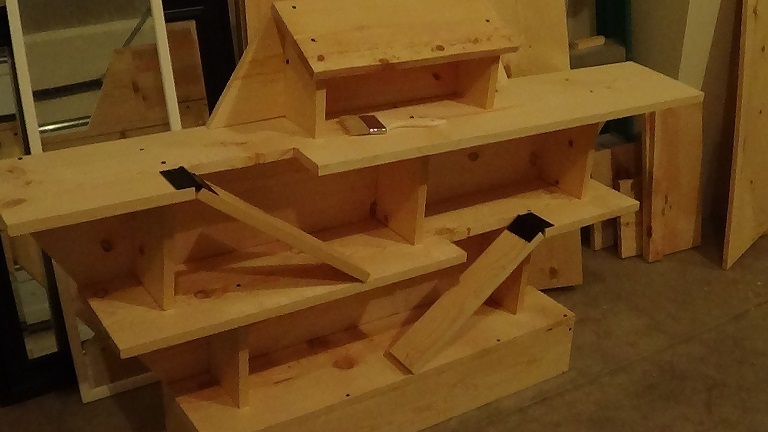
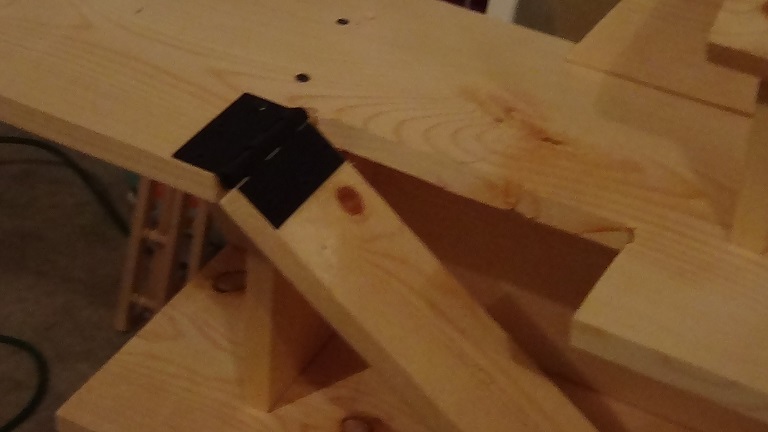
My son is three and loves animals. His collection of animals keeps growing. They were originally sitting on his toy chest. This made things difficult because we could not use his toy chest storage. He liked having all his animals lined up. So I thought I would build him some shelves. But something cool and fun for a little boy with a growing animal collection. So I set out to build the Noah's ark. It didn't take me a hundred years but I kind of know how Noah felt because we messed up and had to rebuild. There was supposed to be sides with a drop down bridge so he could load his animals on to the arc. It was supposed to be attached by hinges and have a latch to hold it up. My husband and I are beginners at cutting wood and were unable to make the proper cuts. So we decided to go without sides. If anyone does this arc with the drop down side please let me know. I would love to see it like I originally imagined it. I first set out to make it 4 feet long but after building it and messing up some of our wood; I thought my son will need a bigger arc. The final product is 5feet long at the top and 3 feet at the base. I used 6 inch wide base because we have baseboards close to that wide. The shelf width is 10 inch. I would recommend attaching to a wall. I used some left over railings I had from another project. You can buy them at a hardware store. I was going to stain it but did not have the time. So we painted it. I used dowel rods for the roof and glued them on.
Estimated Cost
$50-$75
Estimated Time Investment
Weekend Project (10-20 Hours)
Finish Used
Satin dark brown paint
Recommended Skill Level
Beginner

Comments

An heirloom for the youngest grandson

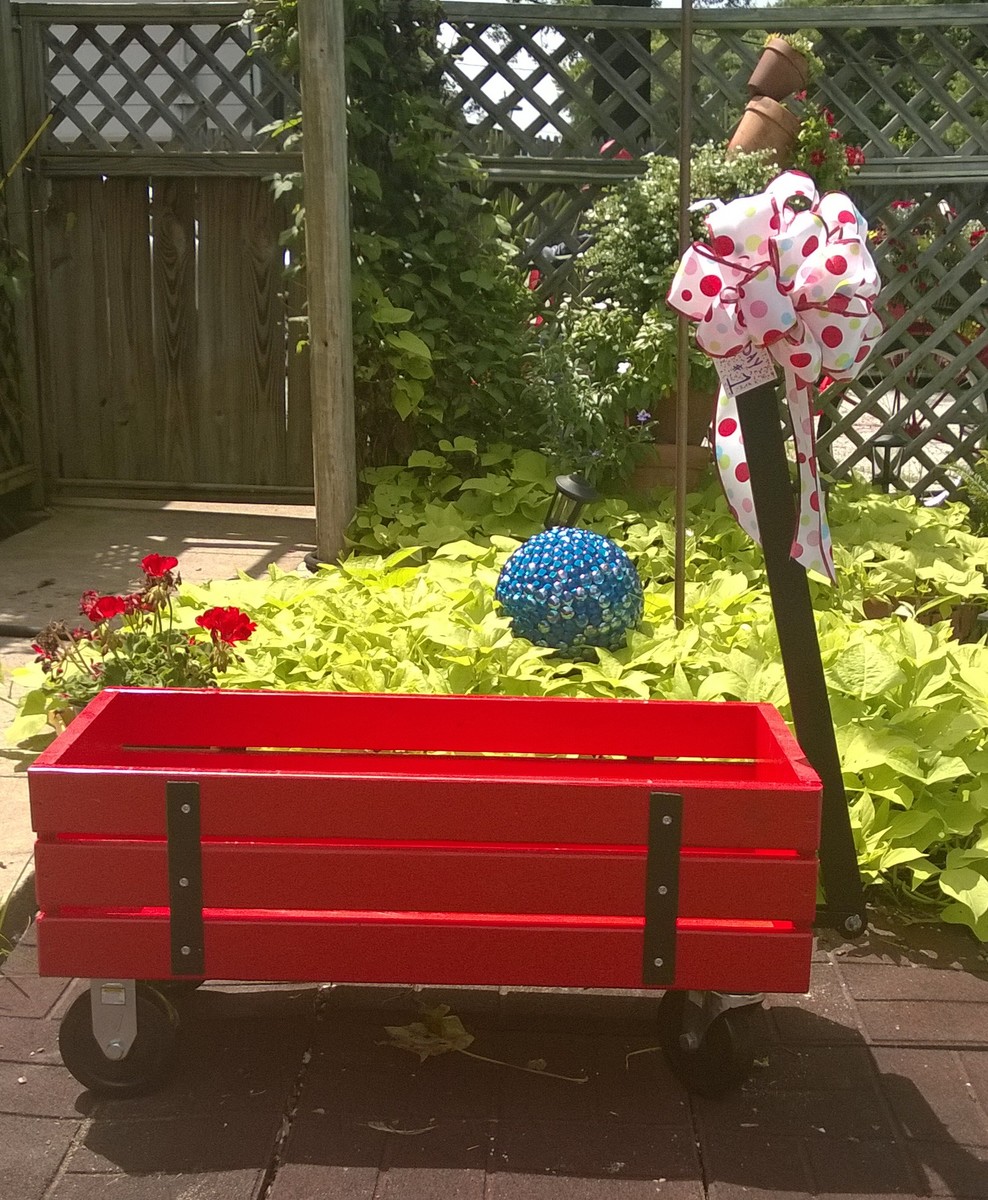
I used 5 inch wheels  as I wanted the wagon to sit a little higher. http://www.harborfreight.com/5-in-polyurethane-heavy-duty-swivel-caster-69852.html and http://www.harborfreight.com/5-in-polyurethane-heavy-duty-rigid-caster-61757.html    We bought these metal pieces for the straps http://www.lowes.com/pd_44138-37672-11662    Our Lowes didn't have snow blower parts in July. But we were able to find a shear pin  in the draawers where much of their specialty hardware connectors are located.  . I opted to screw everything together and not use nails.  Thanks so much for plans that include a seperate shopping list and cutting list and easy to follow directions.  The wagon was a huge hit with the birthday boy.

Built from Plan(s)
Estimated Cost
$69
Estimated Time Investment
Day Project (6-9 Hours)
Finish Used
The body of the wagon was finished with homemade chalk paint. The metal pieces were spray painted in black satin.
Recommended Skill Level
Beginner

Comments

Benchmark Media Console

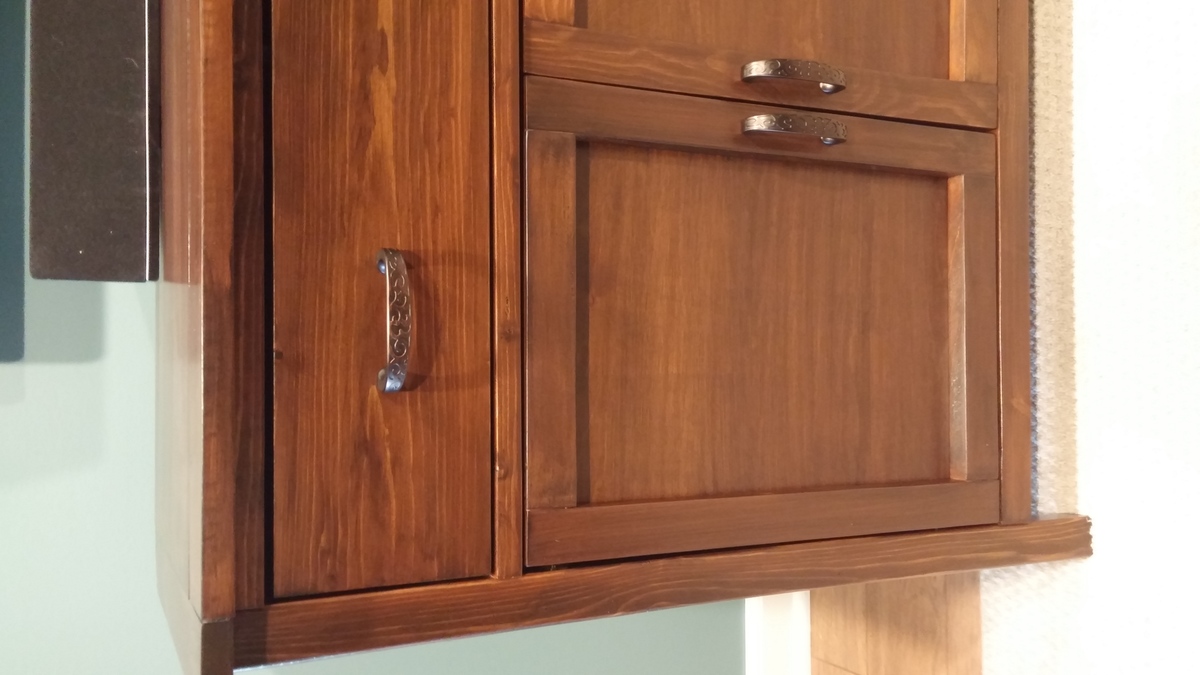
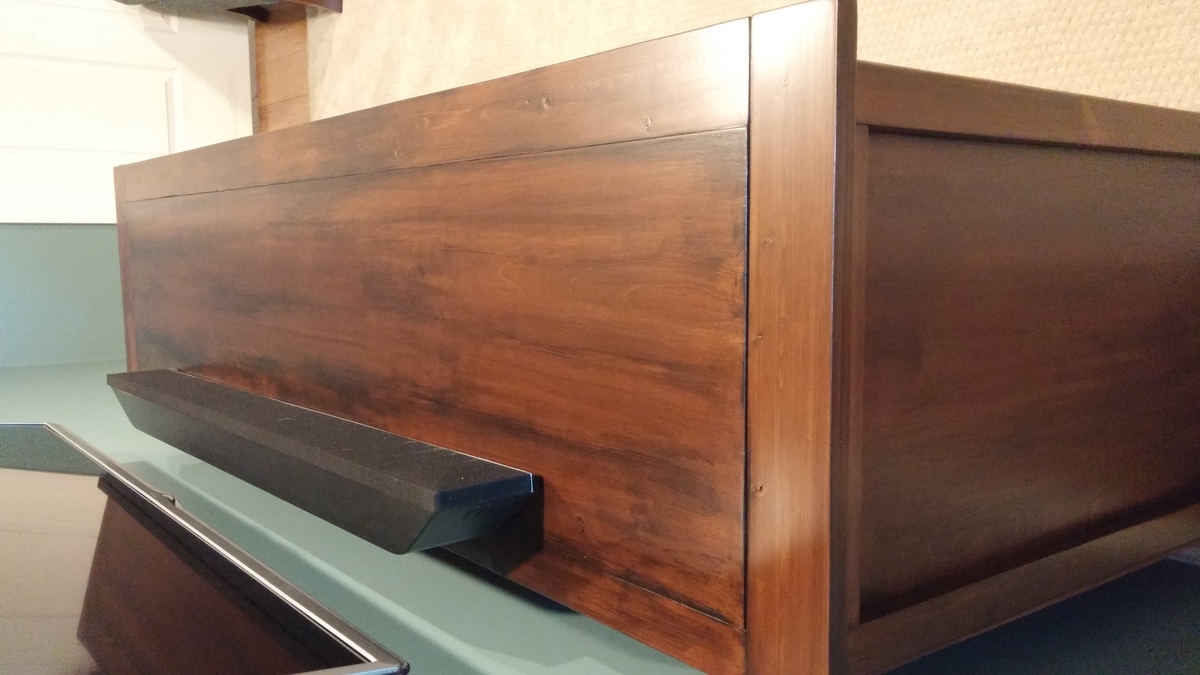
Our version of the Benchmark Media console. We shortened the width to accommodate our space, and decided to do 4 doors instead of two. Had some trouble with them not being square, might redo the doors if we get around to building the matching bookcases, but it's not something I can't live with for now. Used General Finishes light brown dye stain, followed by GF shaker maple water based stain, GF Pitch black glaze, and Endurovar satin.

Built from Plan(s)
Estimated Cost
$250 (not quite sure, but think the wood was around $150, plus screws, hinges, hardware and finishing supplies)
Estimated Time Investment
Weekend Project (10-20 Hours)
Finish Used
General Finishes light brown dye stain, Shaker Maple, Pitch Black glaze, Endurovar satin
Recommended Skill Level
Intermediate