Pottery Barn Inspired Chaise Lounger
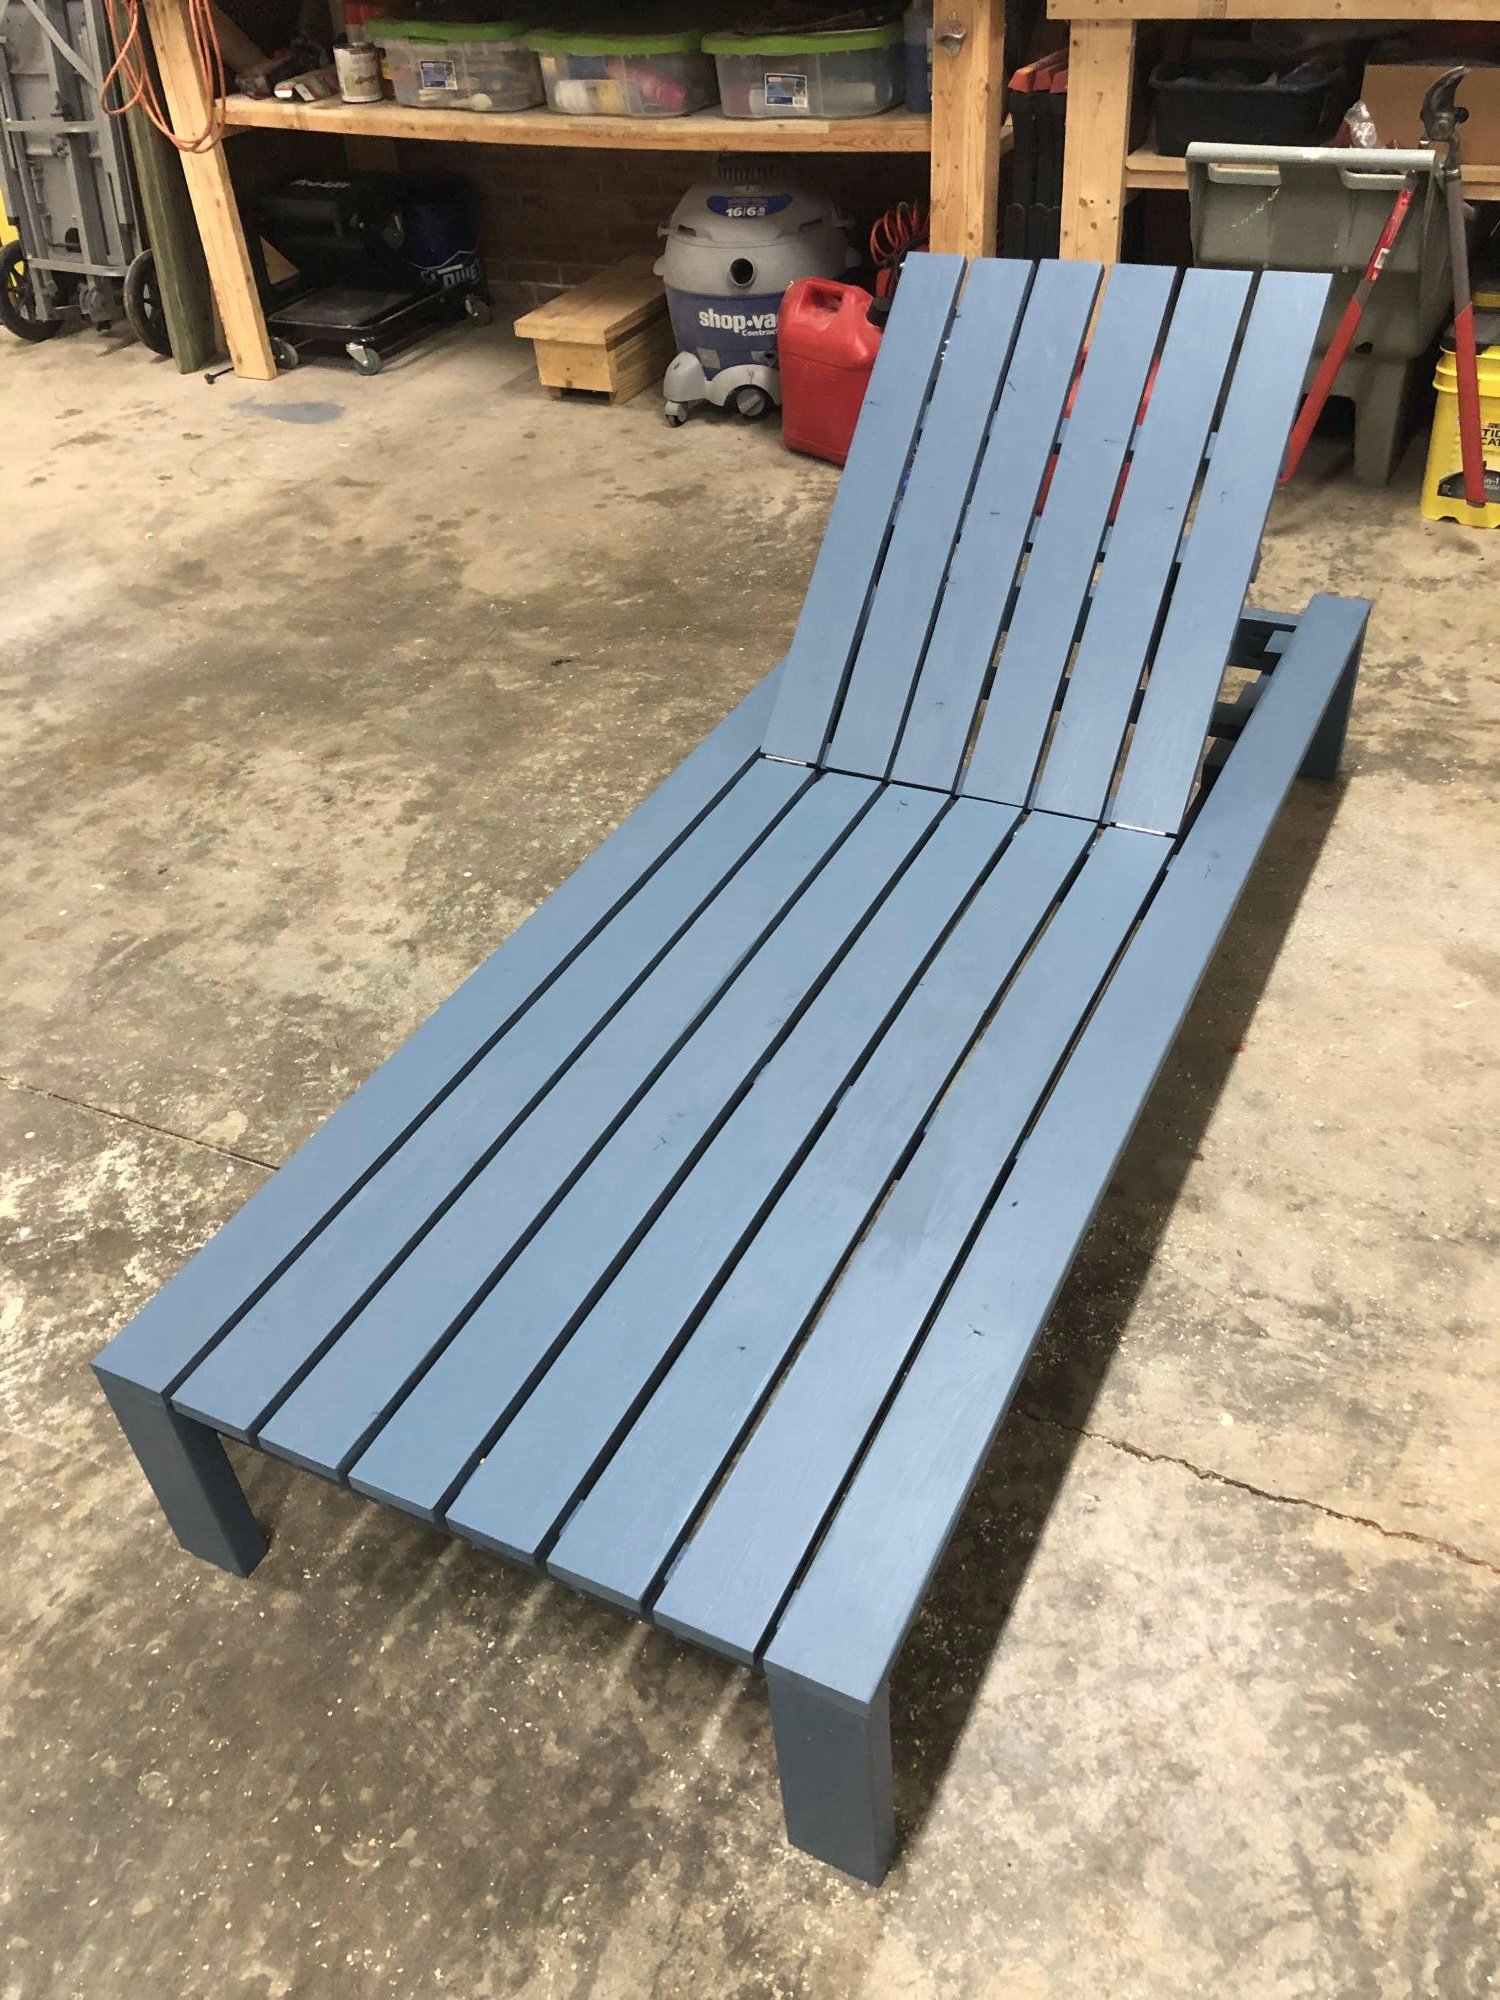
I followed Ana’s Modern Chaise build. The number of 2x4’s specified in the instructions is incorrect. You need 3 not 2. Other than that, a great plan.
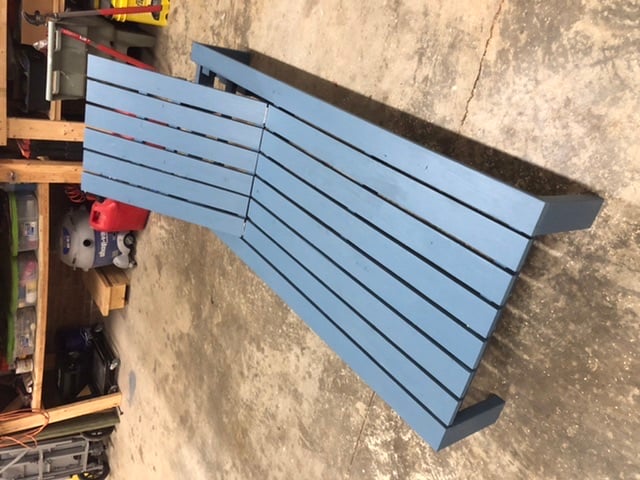

I followed Ana’s Modern Chaise build. The number of 2x4’s specified in the instructions is incorrect. You need 3 not 2. Other than that, a great plan.

Christmas Stocking Stand by Julie Latham on Facebook.
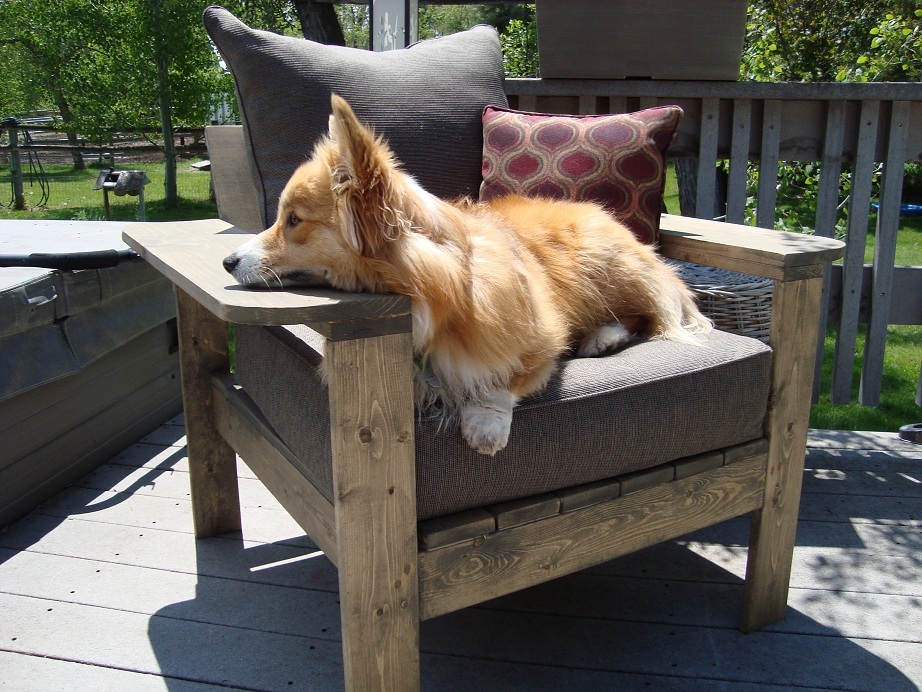
I used the plans for the simple outdoor lounge chair and just made the arms wider, the cushions came from Target.............the dog loves it !
Thu, 05/31/2012 - 07:14
This is BEAUTIFUL!!! Nicely done woodwork and cushions too!
Thu, 05/31/2012 - 07:15
This is BEAUTIFUL!!! Nicely done woodwork and cushions too!
Thu, 05/31/2012 - 09:28
I love how you made the arms wider and rounded. Adirondack chair meets school desk! Bravo!
Sat, 07/28/2012 - 18:06
My husband and I love to sit outdoors and read with a hot cup of tea. The wide are will be perfect for us. Would you mind sharing the cost of your project?
Sun, 09/14/2014 - 22:04
Hi! I would love to make this patio set but I am having some trouble with cushions. I noticed that Ana stated this chair will use a standard size 20x20 cushion. On your notes it says you got your cushions at Target, are they 20x20, I love the deep cushions but cant seem to find any that sized. Are yours 20x20, or did you modify you project? If so, what dimensions did you use? Thanks so much!!!
Sun, 09/14/2014 - 22:05
Hi! I would love to make this patio set but I am having some trouble with finding cushions. I noticed that Ana stated this chair will use a standard size 20x20 cushion. On your notes it says you got your cushions at Target, are they 20x20, I love the deep cushions but cant seem to find any that sized for the bottom ones. Are yours 20x20, or did you modify your project? If so, what dimensions did you use? Thanks so much!!!
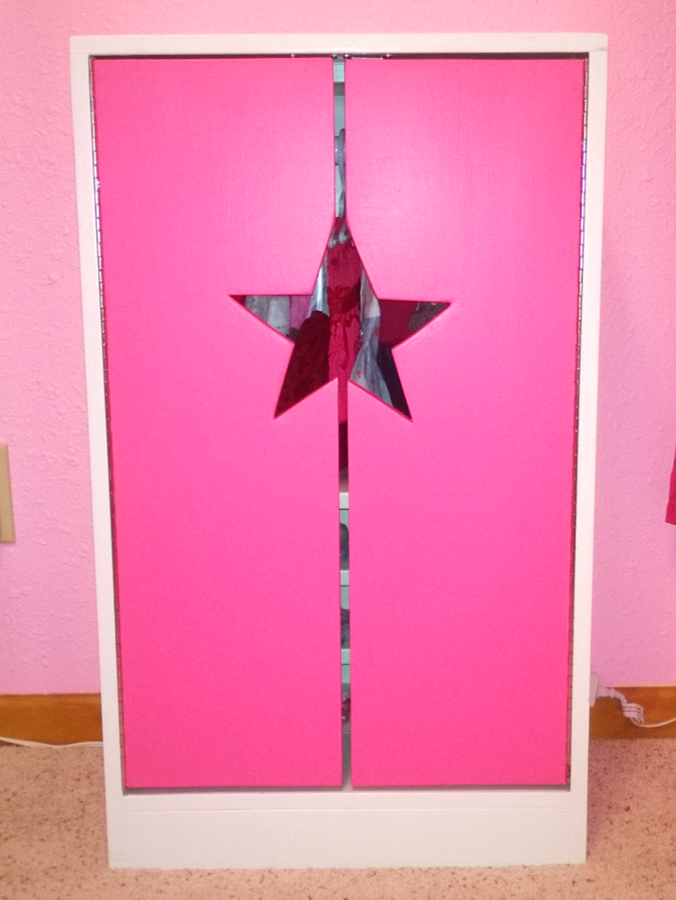
My daughter has been accumulating American Girl doll clothing and accessories since her birthday last summer (2013), and we were rapidly running out of room for all of it. Luckily, her Grandpa ("Pop") is a skilled carpenter and whipped up this awesome closet for her in a weekend (including the amount of time it took to pick out all the materials, paints, and paint everything/let it dry). She absolutely loves it and it is the perfect way to keep everything organized, while still looking great!
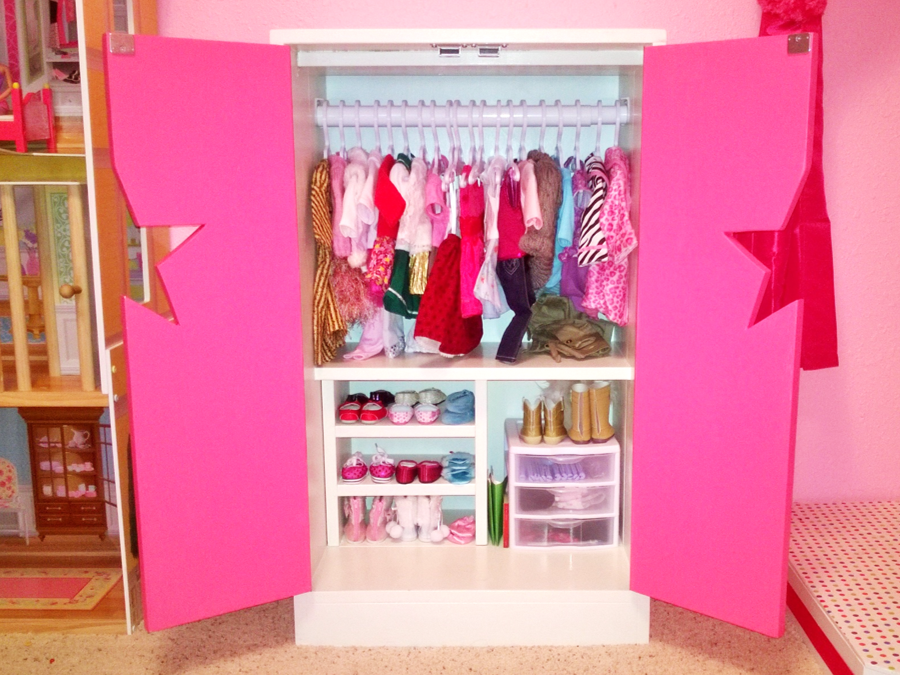
Great design and project! I am working on the second one in my wife's school colors. Thanks!
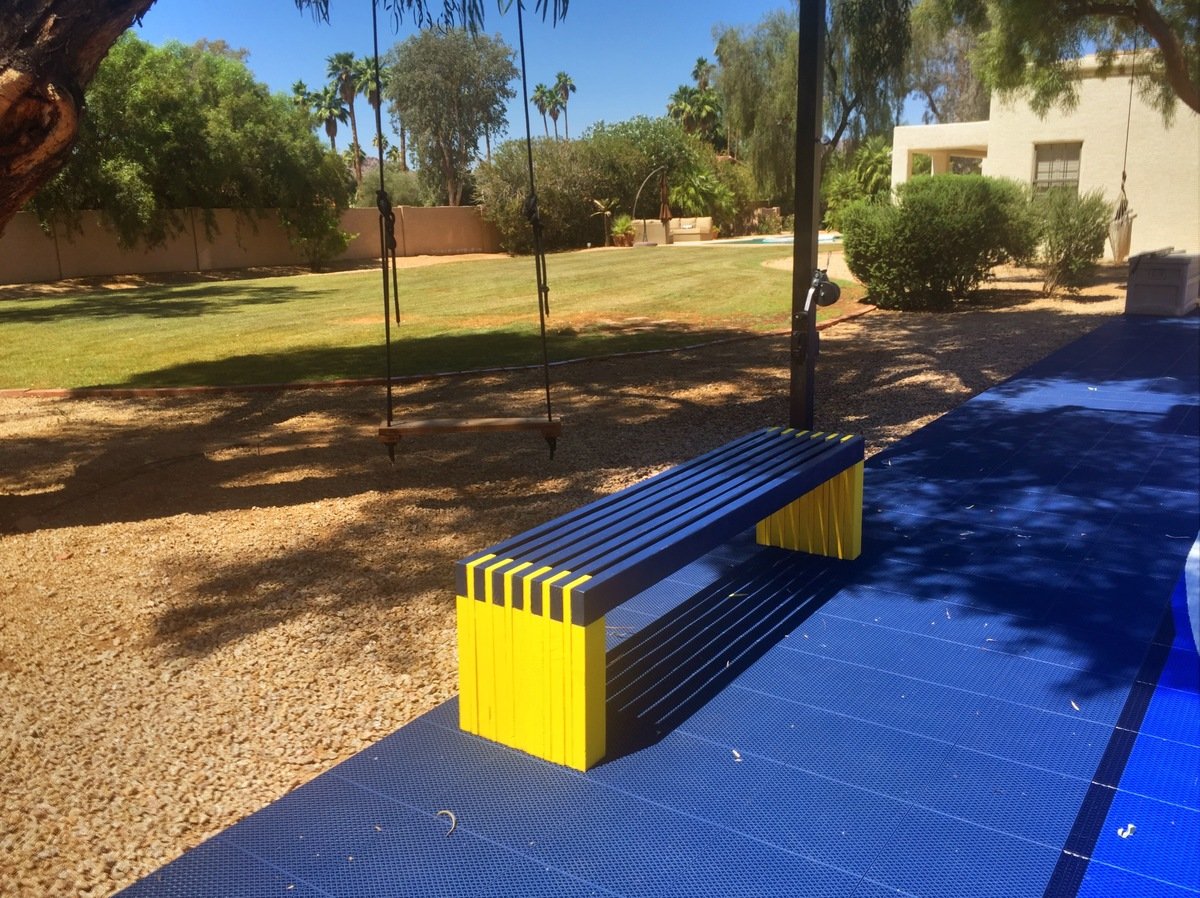
When my kids were stuck between that "baby" picnic table, and the "real" picnic table, we found the plan for this! It was the perfect size, and was a great addition to our backyard!
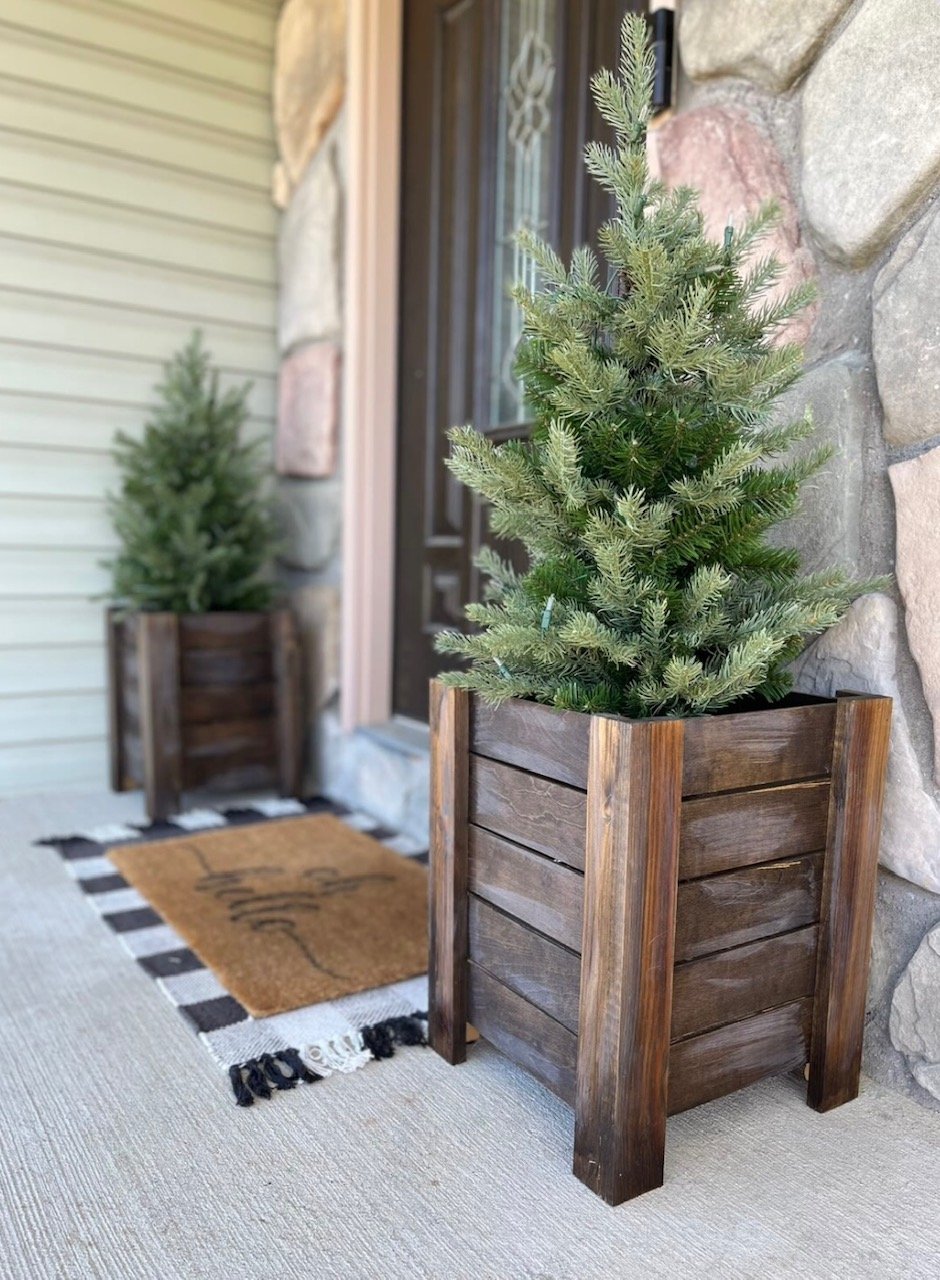
Modified planter size to fit these darling artificial Christmas trees by midmimomdiy on Instagram! Check out more details on her page.
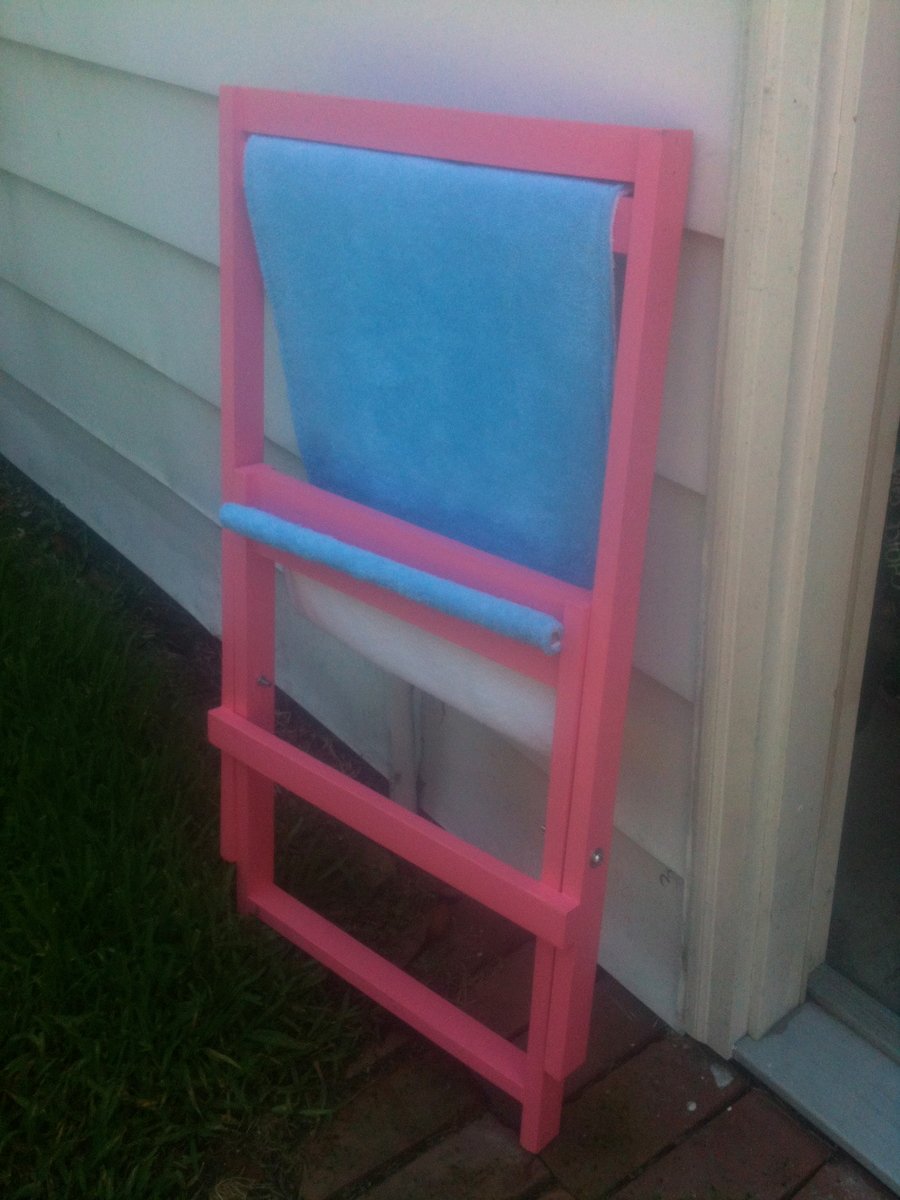
I used two towels to make the sling portion of the chair, instead of outdoor/decor weight fabric. Even though the towels were thick, I did not need to change the dimensions of the dowels or slits in the wood that hold the dowels.
Thu, 05/31/2012 - 16:59
What a great idea to use towels. I have a few extra beach towels that would be great for this.
Thanks!
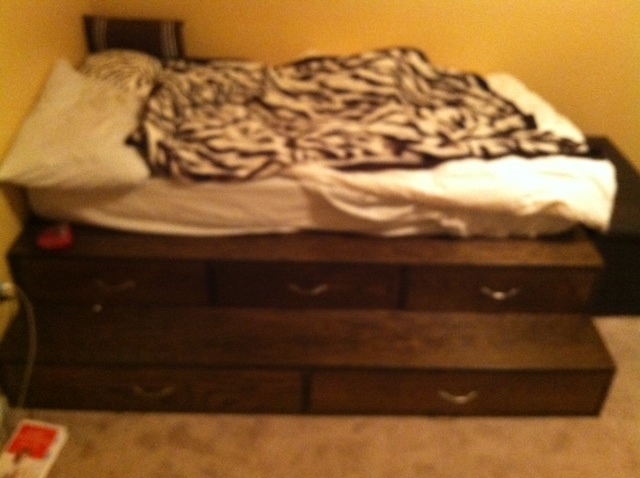
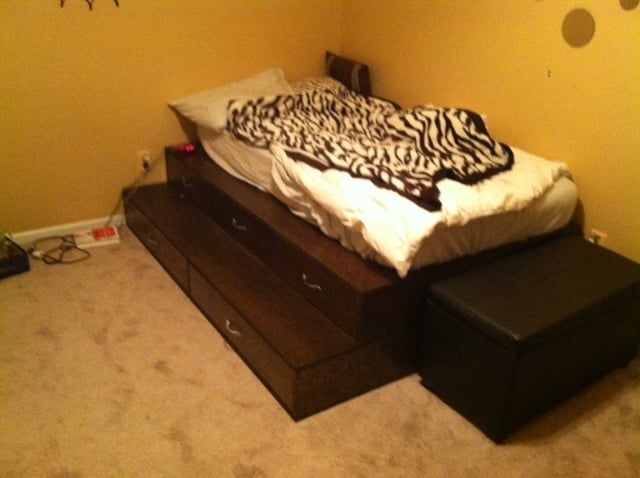
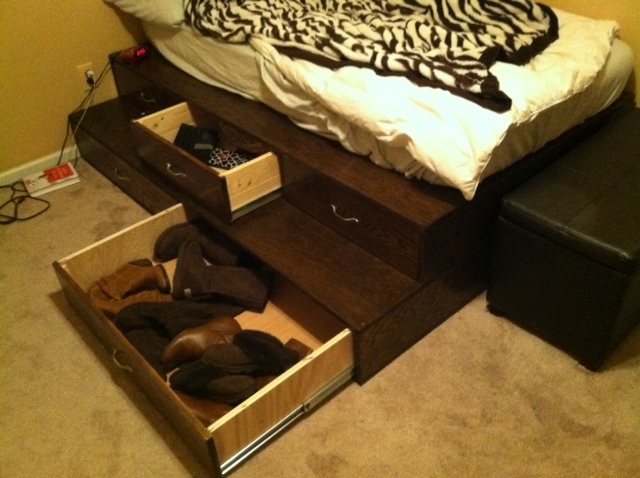
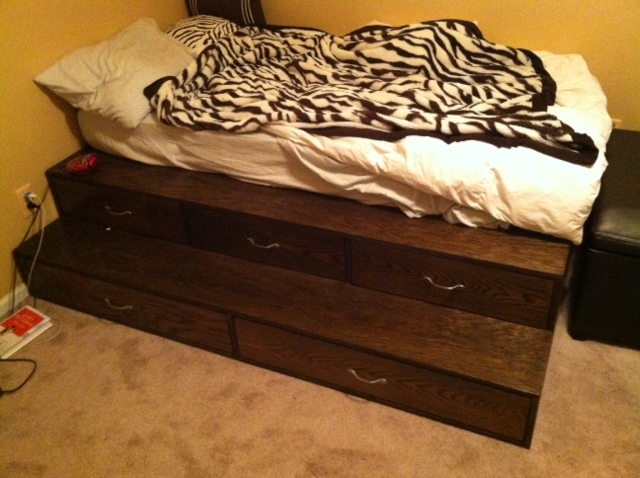
Base was easy to do, drawers were another story! very big drawers, plan a lot of time for these.
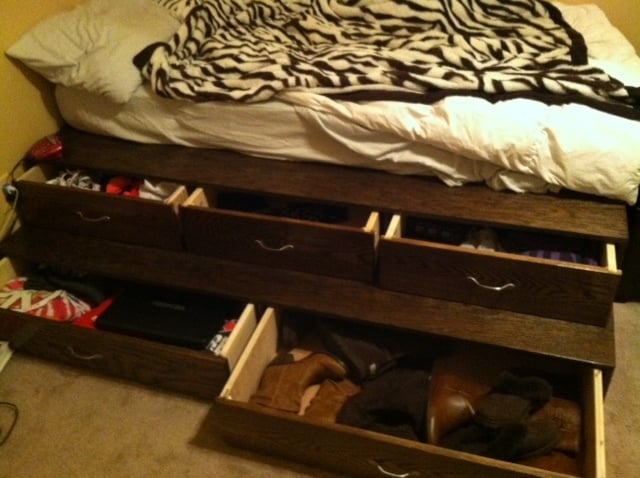
Fri, 10/10/2014 - 18:33
My daughter said that's AWESOME! :) I think it looks fantastic!!!
I started with the Fillman Platform Twin Bed plan and made a few modifications.
With a mitre saw, Kreg jig and nail gun, this project is pretty simple to put together. Obviously painting or staining takes some time, but the bed itself can be put together in 1-2 hours.
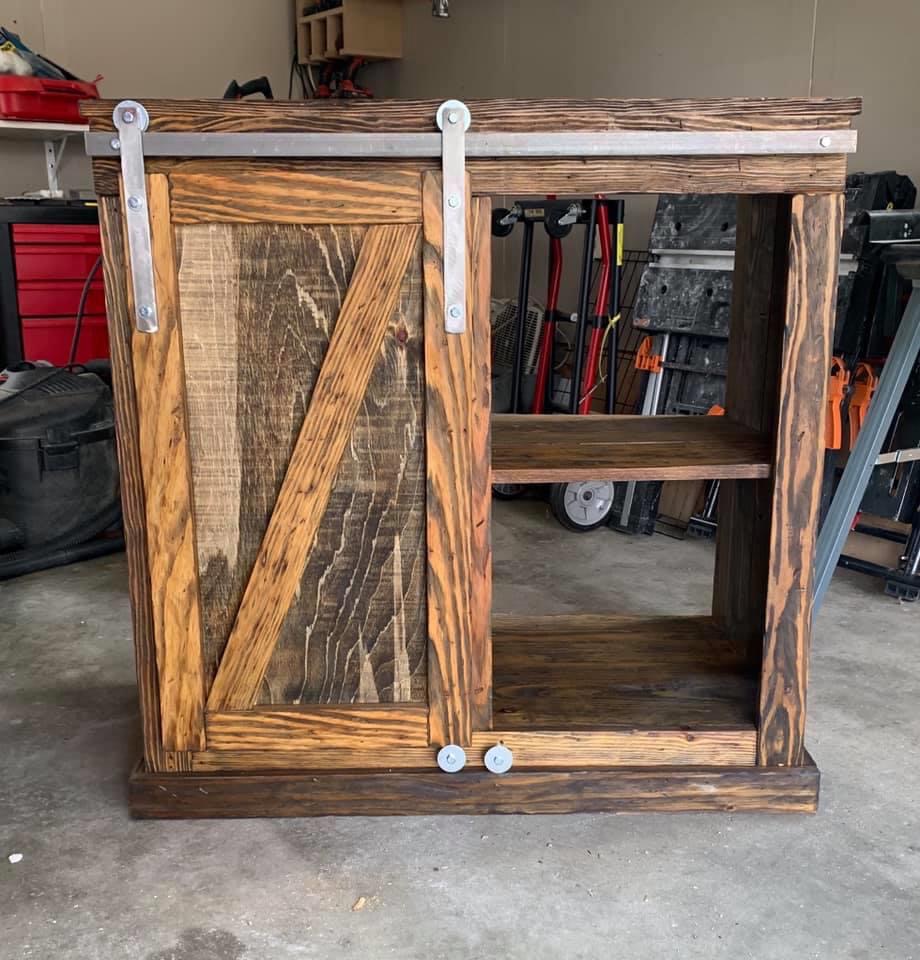
I used the plans for the mini frig/microwave cabinet. I modify the length and width because of the scrap wood I used. The wood I used was from our basement stairs that we retreaded. I used a cup wire brush on the wood to give it the rustic look. The barn door hardware was from Ana’s tutorial video (turned out great). First coat of stain was honey oak, I left it on for a couple of minute then wiped it off. Second coat was ebony, same technique as the first coat. Once the stained dried used a spray matte poly on the top, did 4 coats, sanding with a 800 grit between coats. Hope you’ll like it
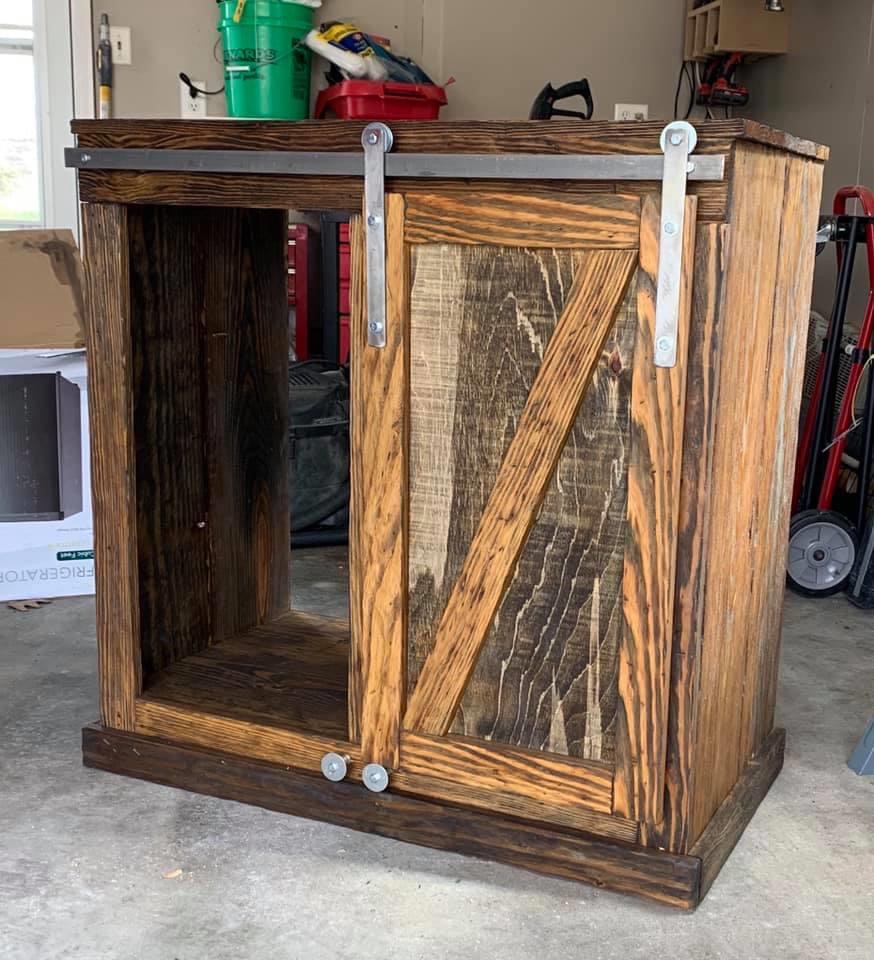
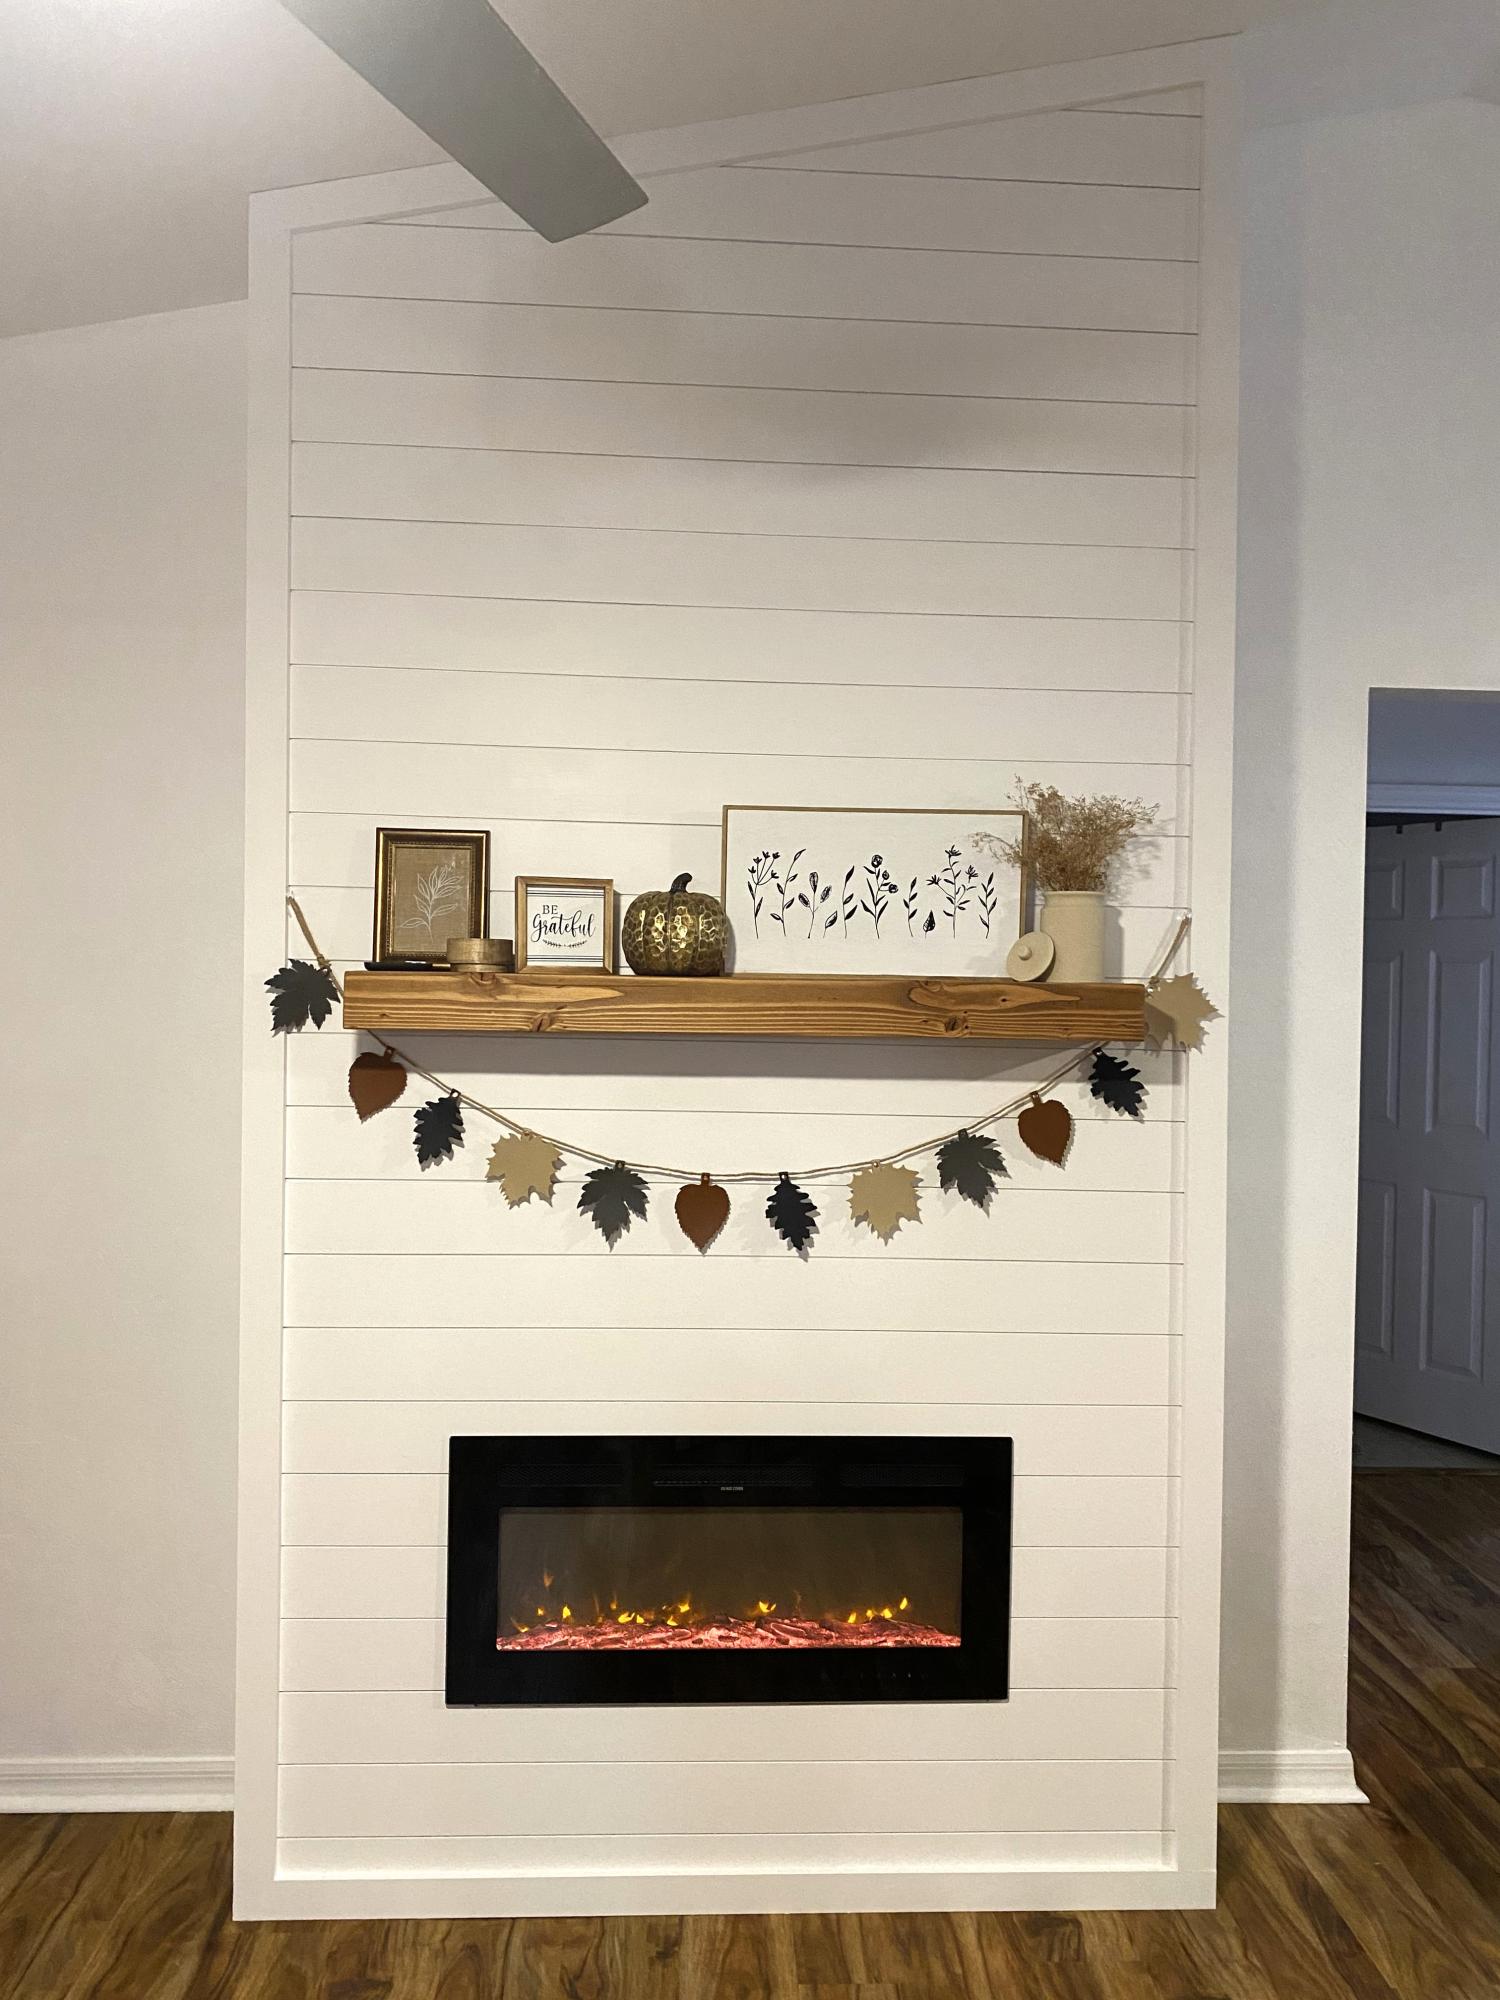
Some parts were challenging, but well worth the effort. My wife loves her early Christmas present. Thank you Ana for such useable plans.
Angel
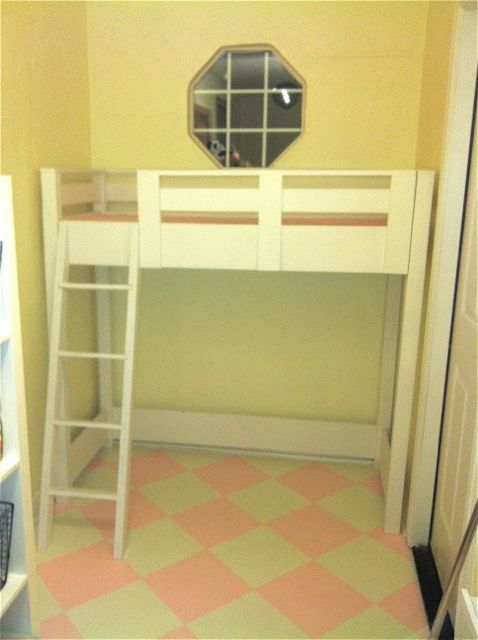
We converted our mud (junk) room into our daughter's playroom. The room is awkward (5' X 12'), but I knew I wanted a reading loft by the window. The area we were working with was 63" wide and 23" deep. I wanted the loft to come right up to the window which is exactly 5'. This is obviously not a standard bed size so we couldn't just buy something. I came across your site (love it!) and found the loft bed plan. I reconfigured the loft using our measurements and my husband is the one who actually built it. It turned out so well! I still have some pillows to make, but my daughter and her friends have already been spending a ton of time up there!
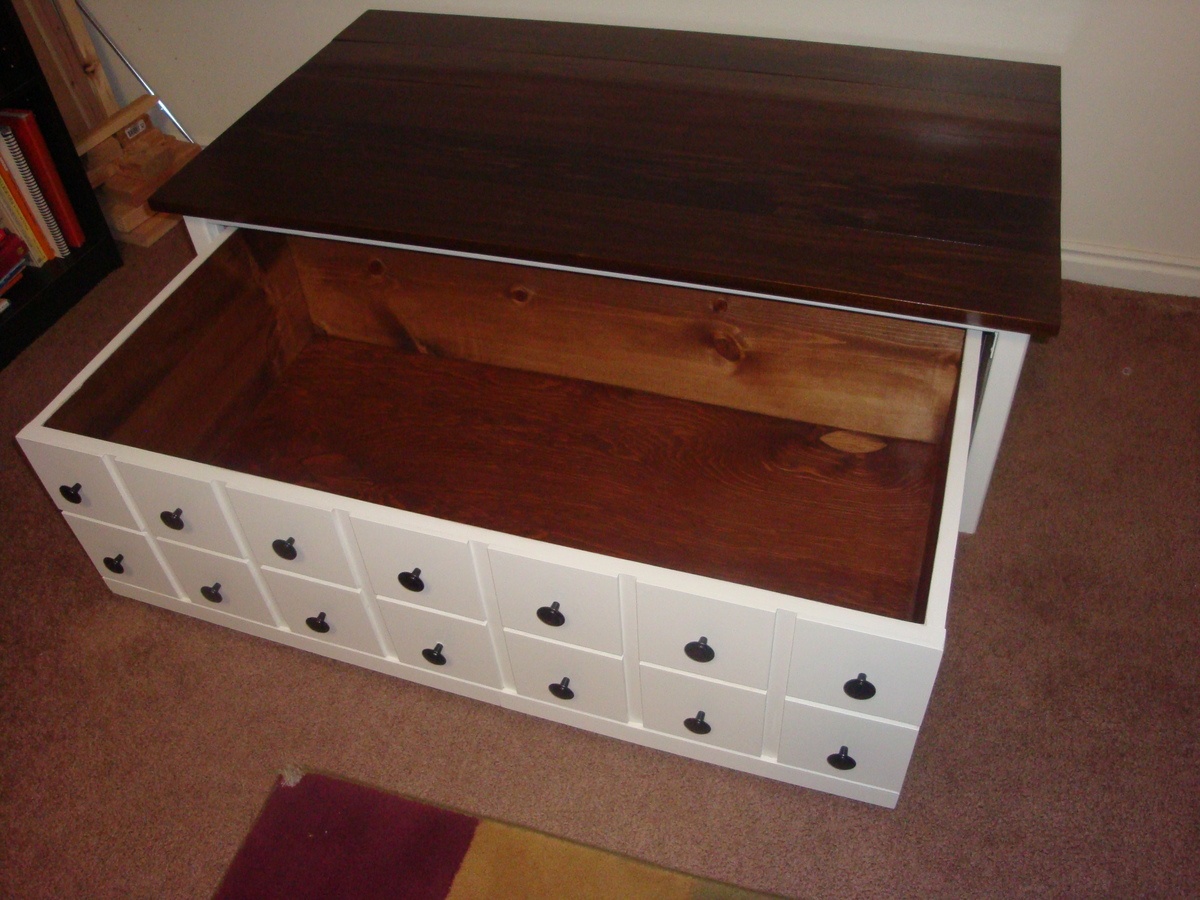
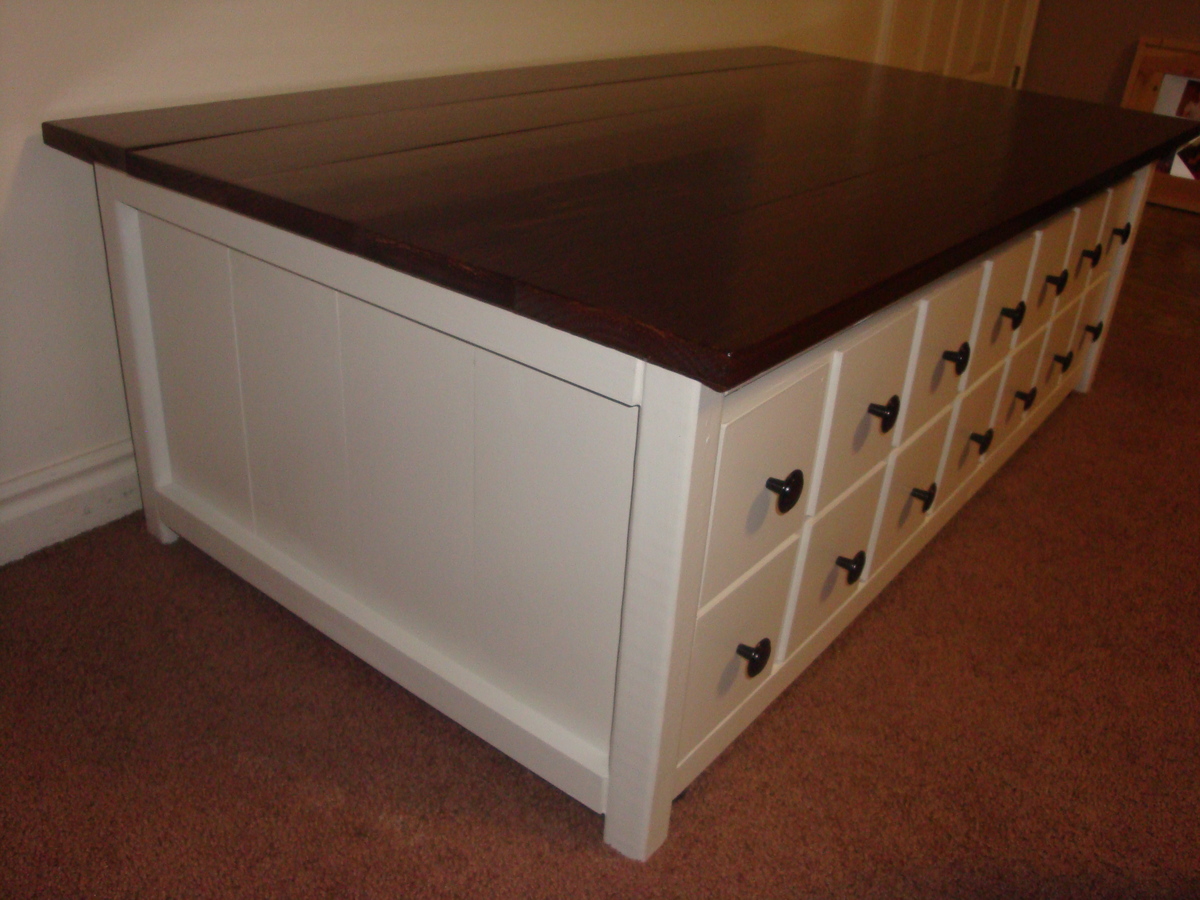
I am happy with how this turned out, but I did run into a couple of problems while building this. First of all there is a typo in the cut list. It says to cut the drawer sides 23 and a quarter inches, but they need to be 21 and 3/4 inches. I built the drawer to deep and then had to take it apart and cut the sides down. Then the drawer was ever so slightly too wide to fit under the table after I put the L-brackets on (which are definitely needed to make the table sturdy enough.) So I had to make a little room under the table by taking the sides back off and adding a little piece of wood as a spacer on either side.
Also I decided to use poplar for the top just to make it a little more dent resistant because poplar is a hard wood. But after I started staining it I learned that poplar acts like a soft wood and can be very blotchy when stained. I had to keep going darker with the stain to try and make it even. It came out okay in the end.
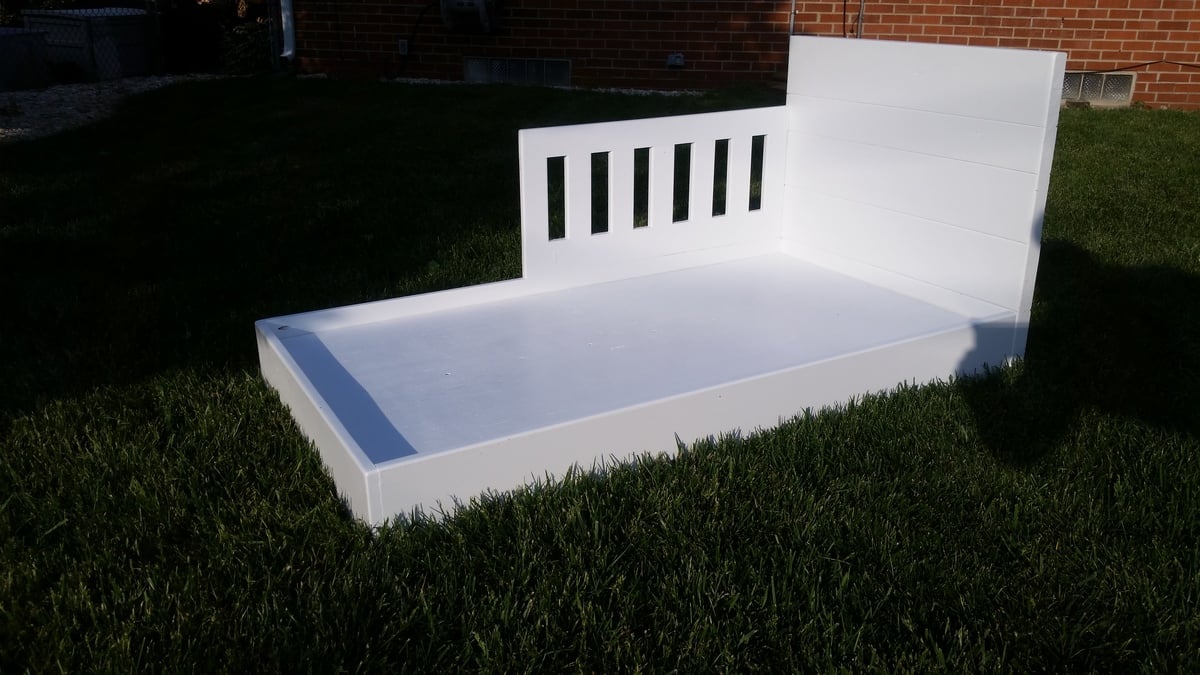
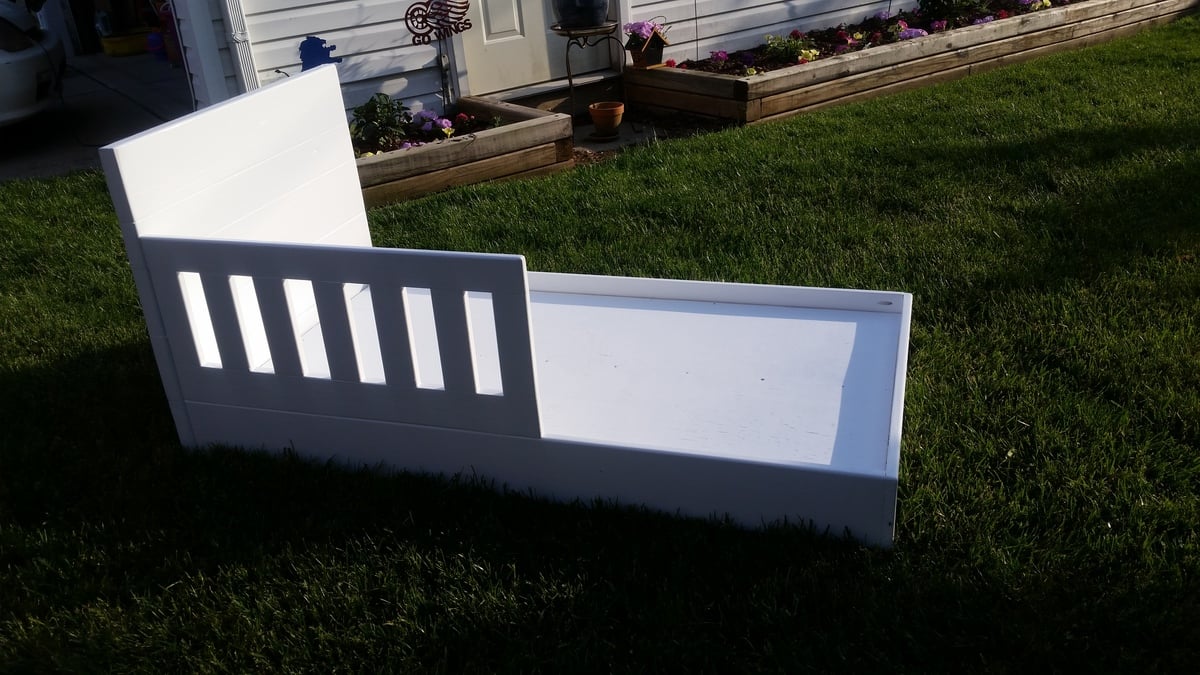
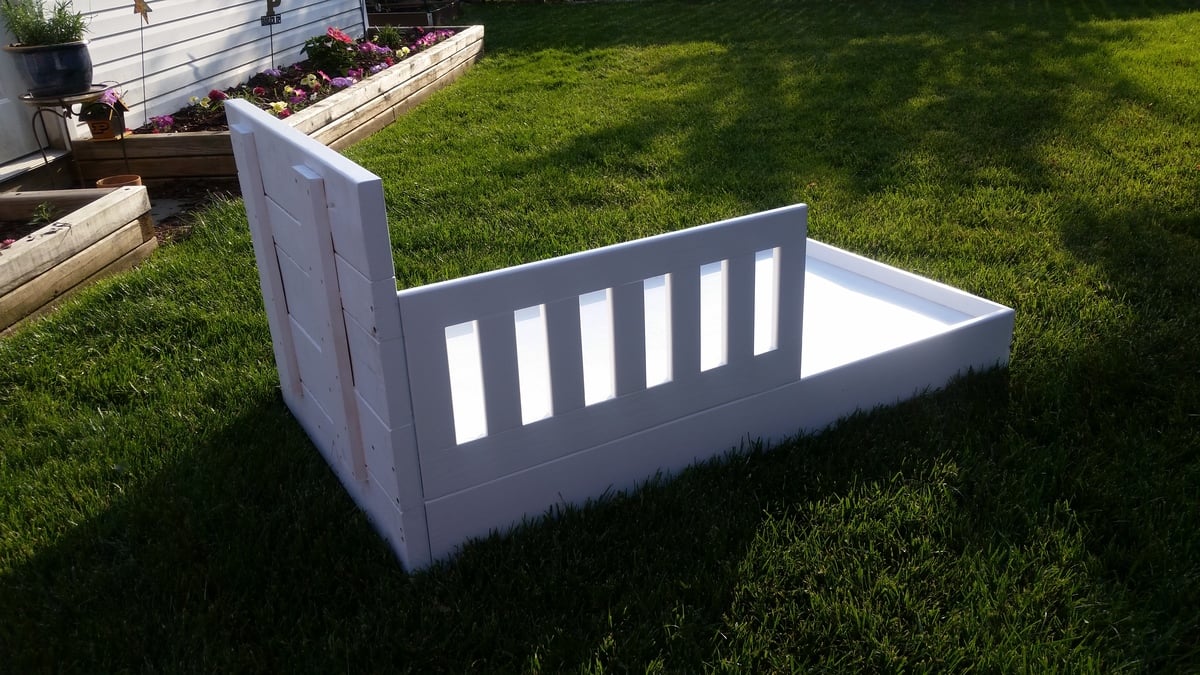
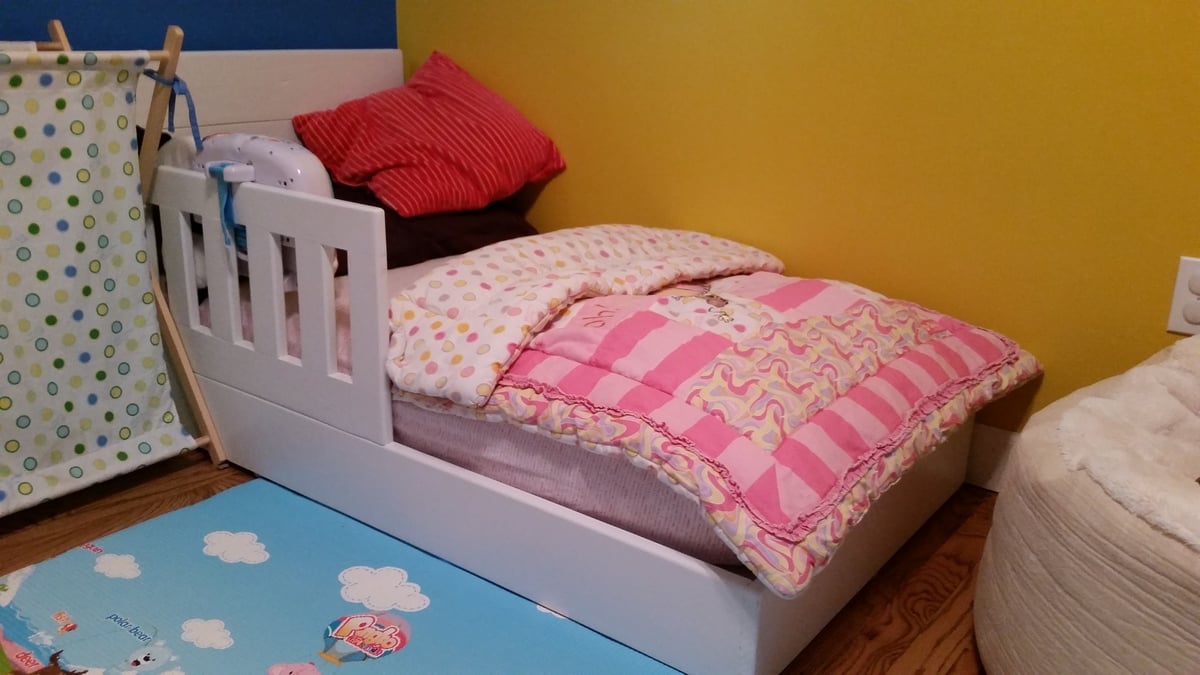
I really liked the design of the Rustic platform bed, and wanted to make a small version for my toddler. So I tweaked everything down to fit a toddler mattress, and then reduced the wood sizes for weight (2x6 became 1x6, 2x4 became 1x4). First built with the slats design but was way too heavy, so went with a sheet of plywood. Headboard is still 2x4 and 2x6. I also got rid of the platforms so the bed could go up against the wall. Finally, added the side rail guard so no rolling out onto the floor. That required a new tool (yay!) and I bought a biscuit joiner to make it. It took some effort to get it mounted to the bed rail, but it works. In the end, my toddler loves it, and was so excited when I brought it in. She loves having her own sized little bed that she can hop into (and out of) as she pleases. Best of all, it's strong enough if she needs us to snuggle her, we can lay next to her.
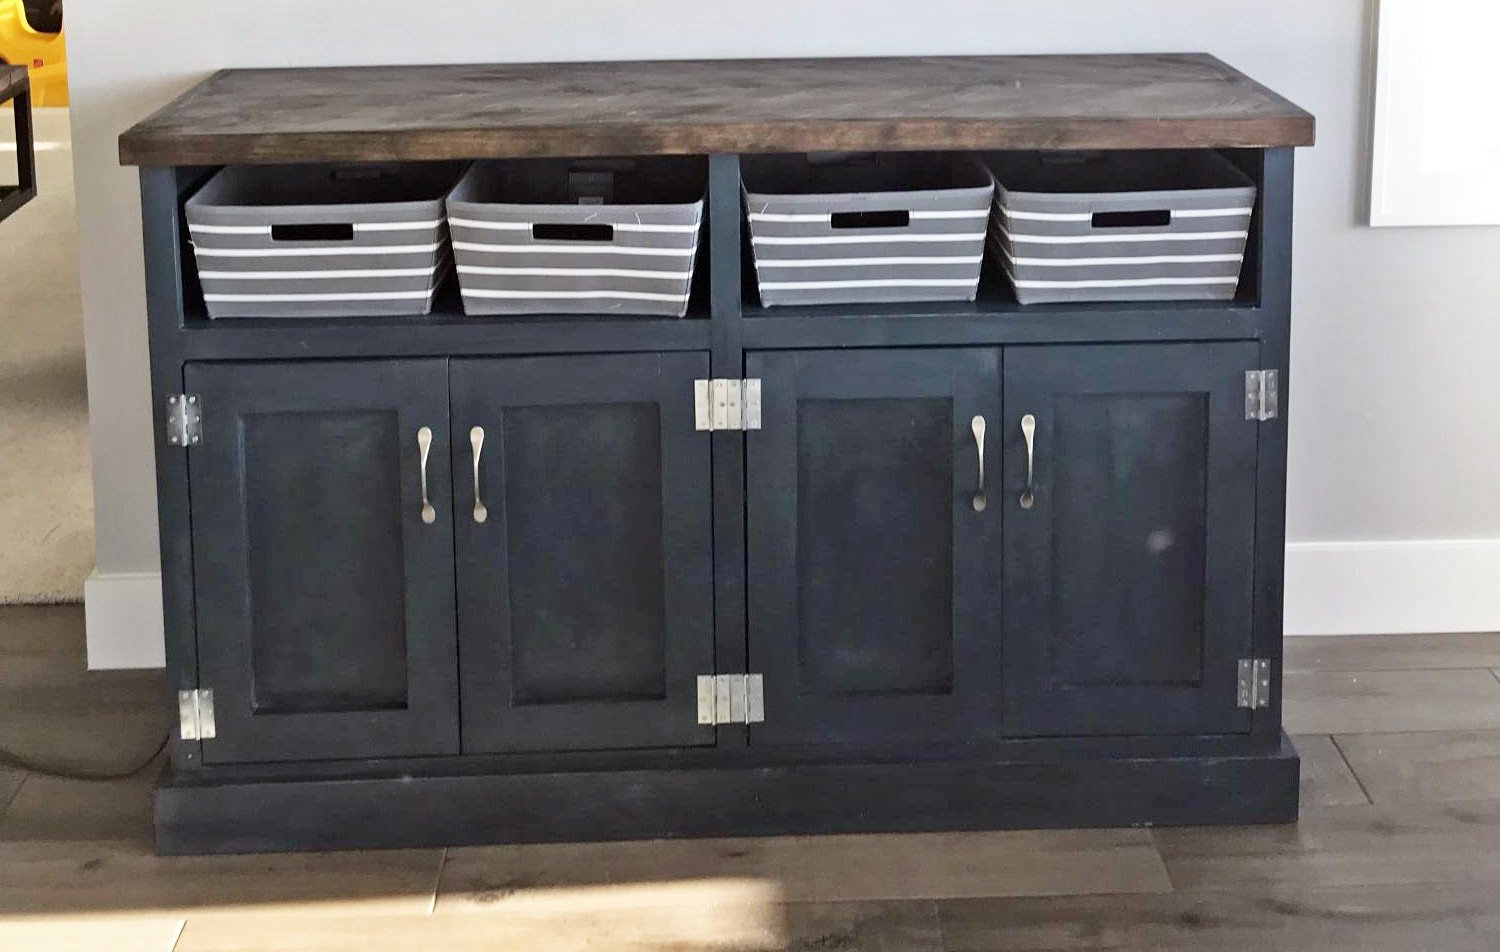
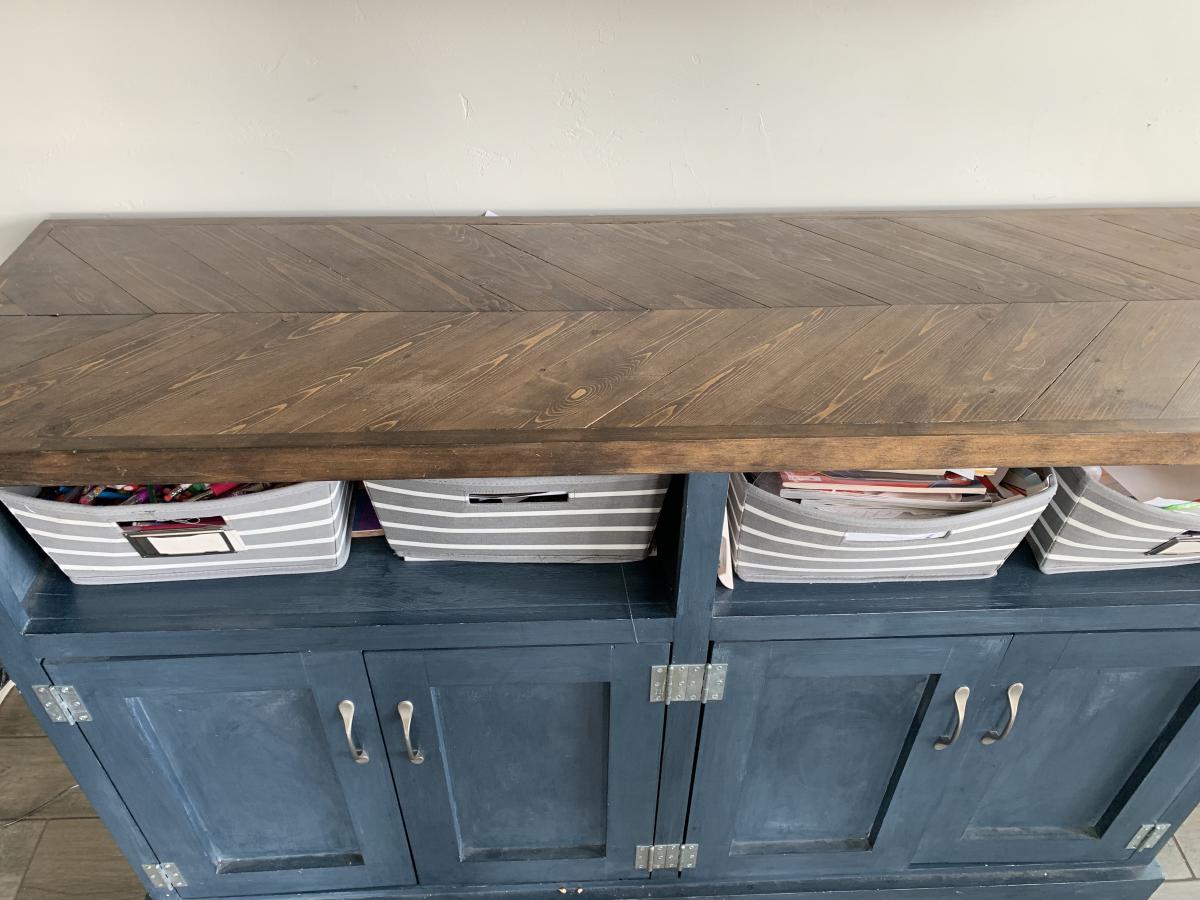
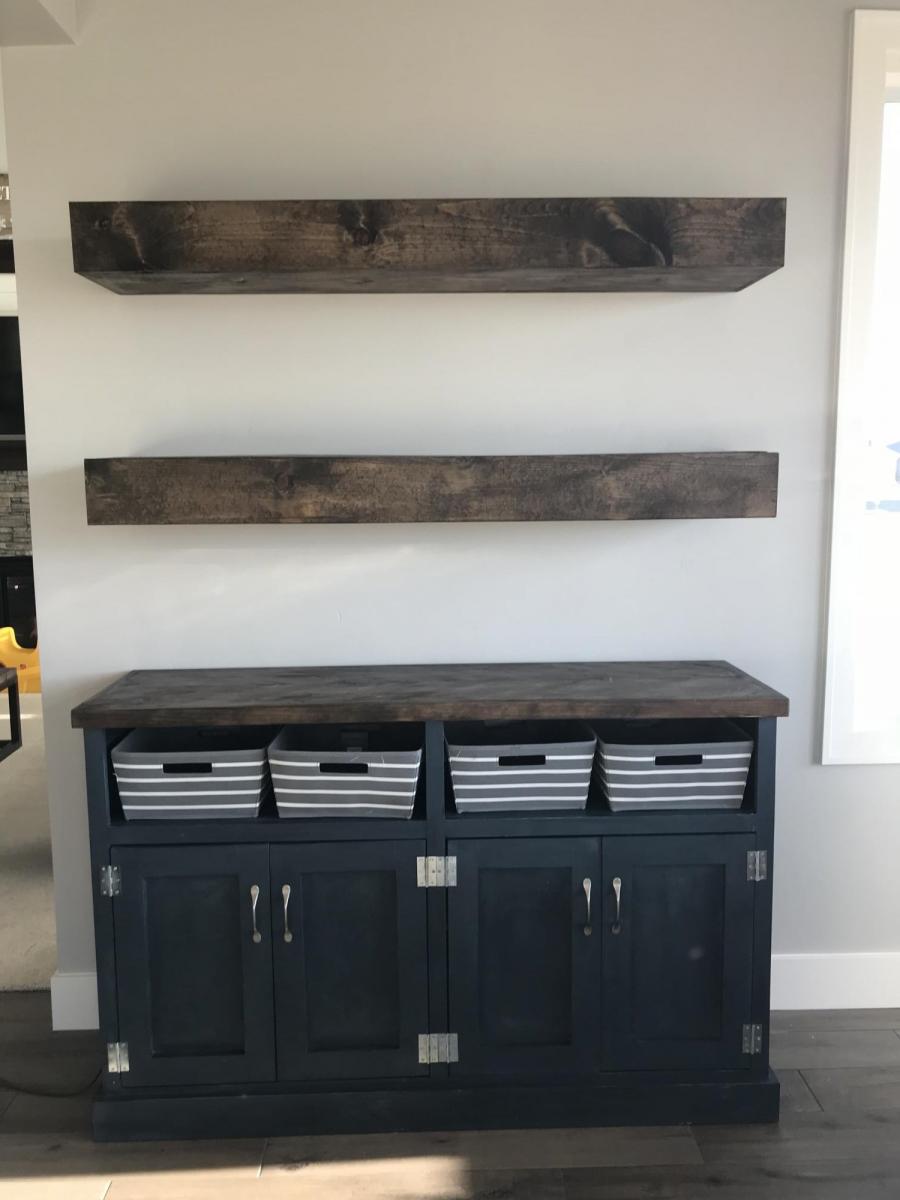
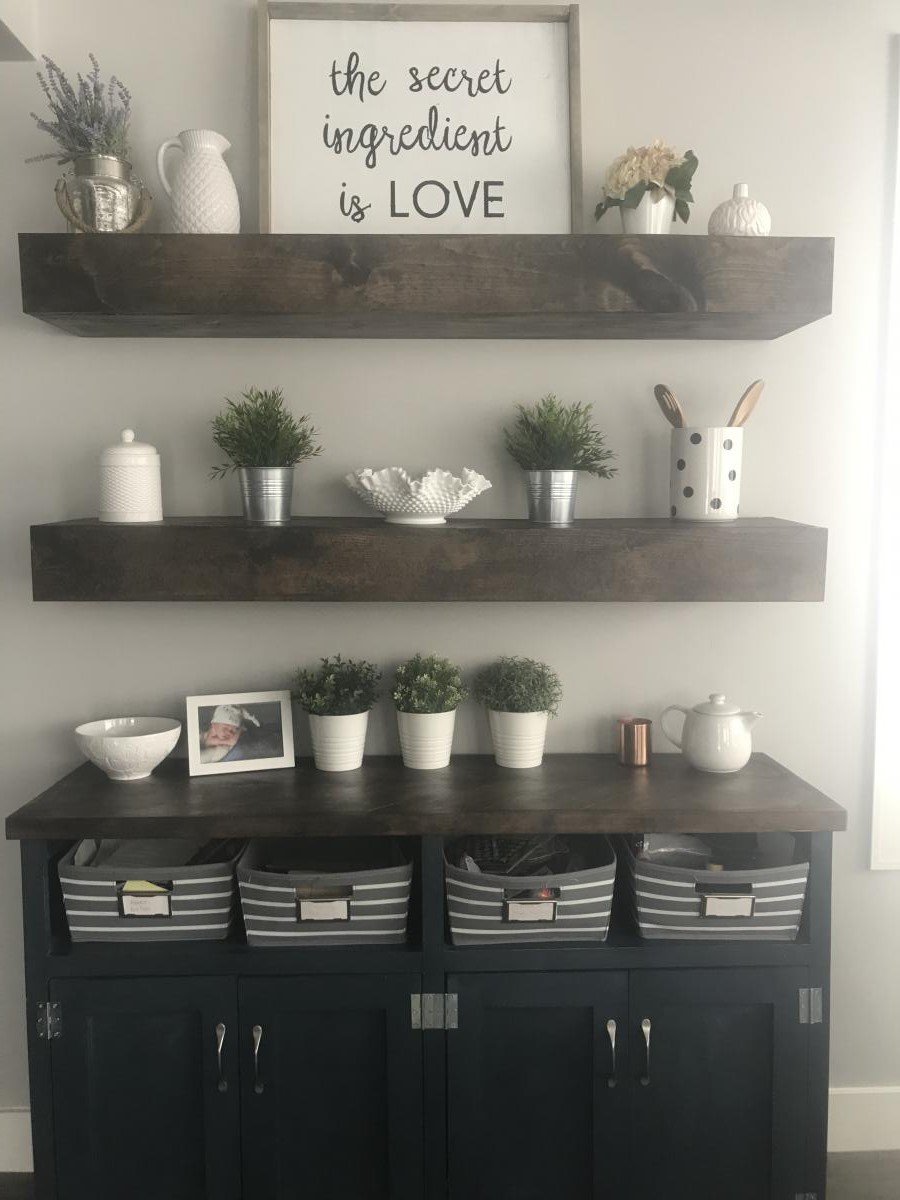
Console used as art center with modified chevron top. To make the top I use 1/2” plywood cut to the desired size of the top (minus 1.5” in width and length), nailed chevron pieces (made from 1 x 4 boards) to the top and trimmed the edges with 1x2 boards.
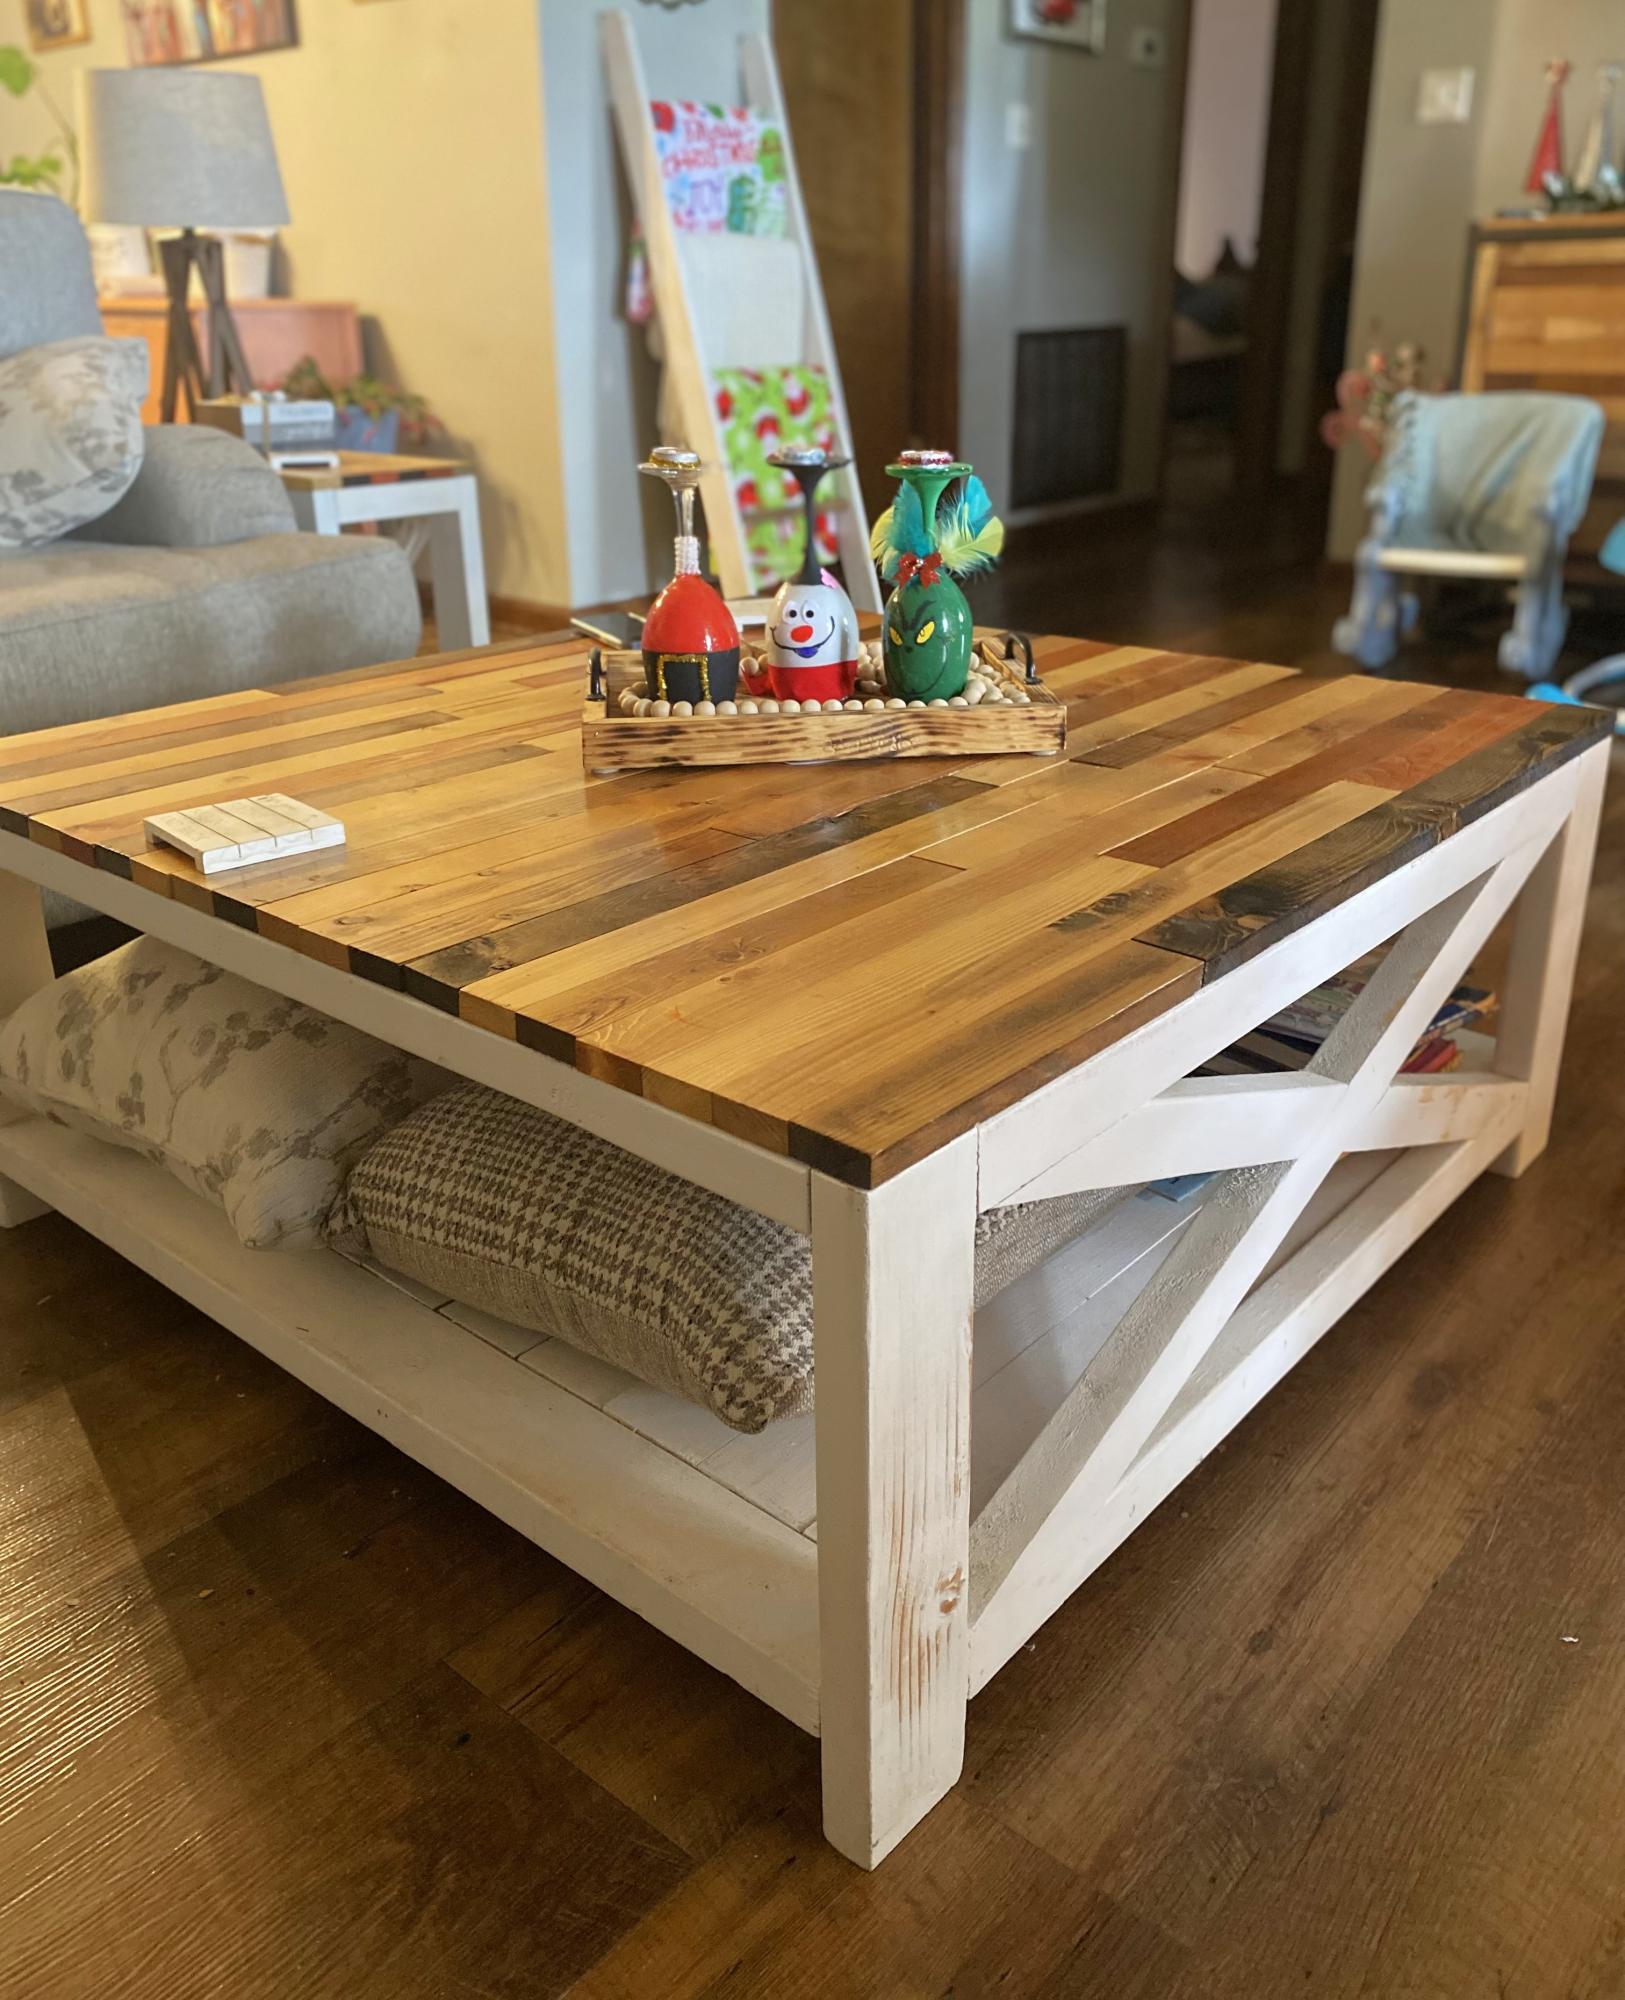
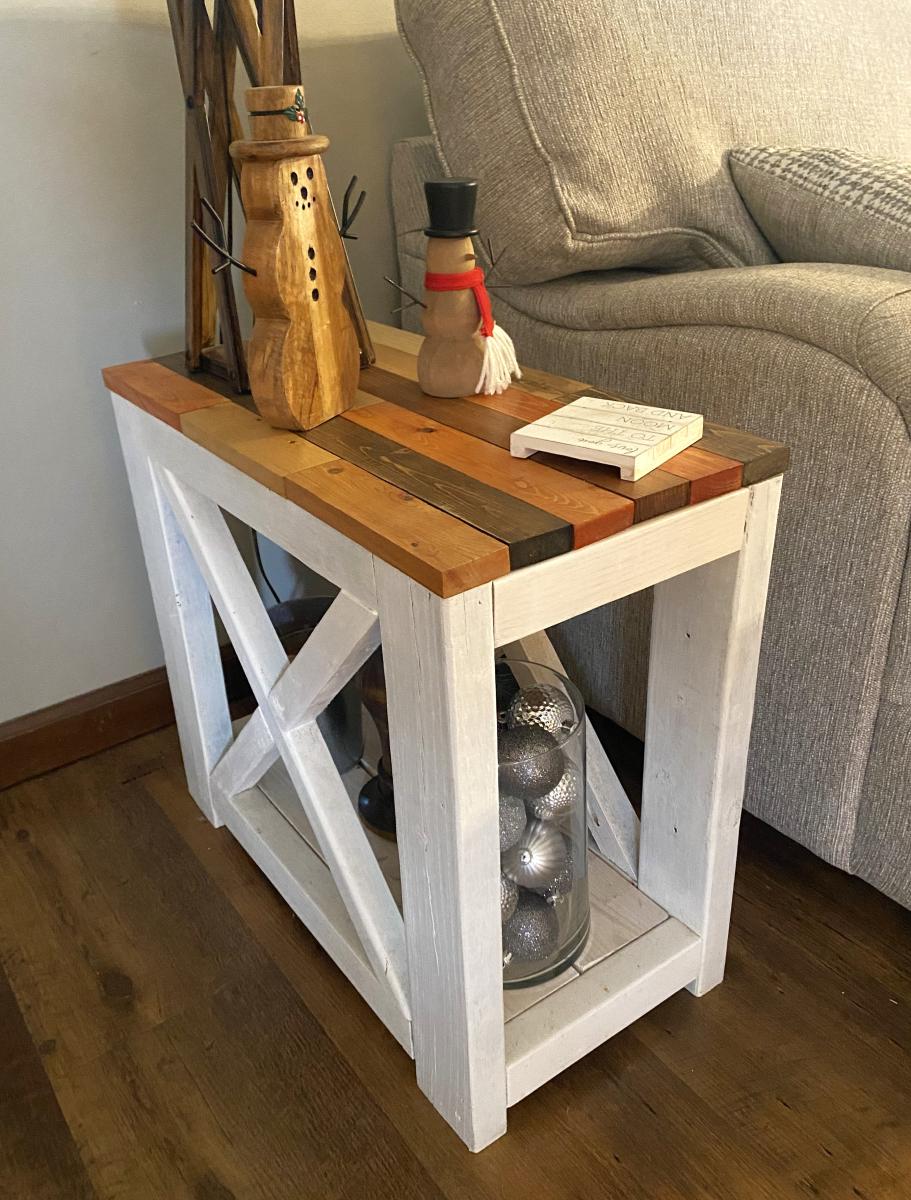
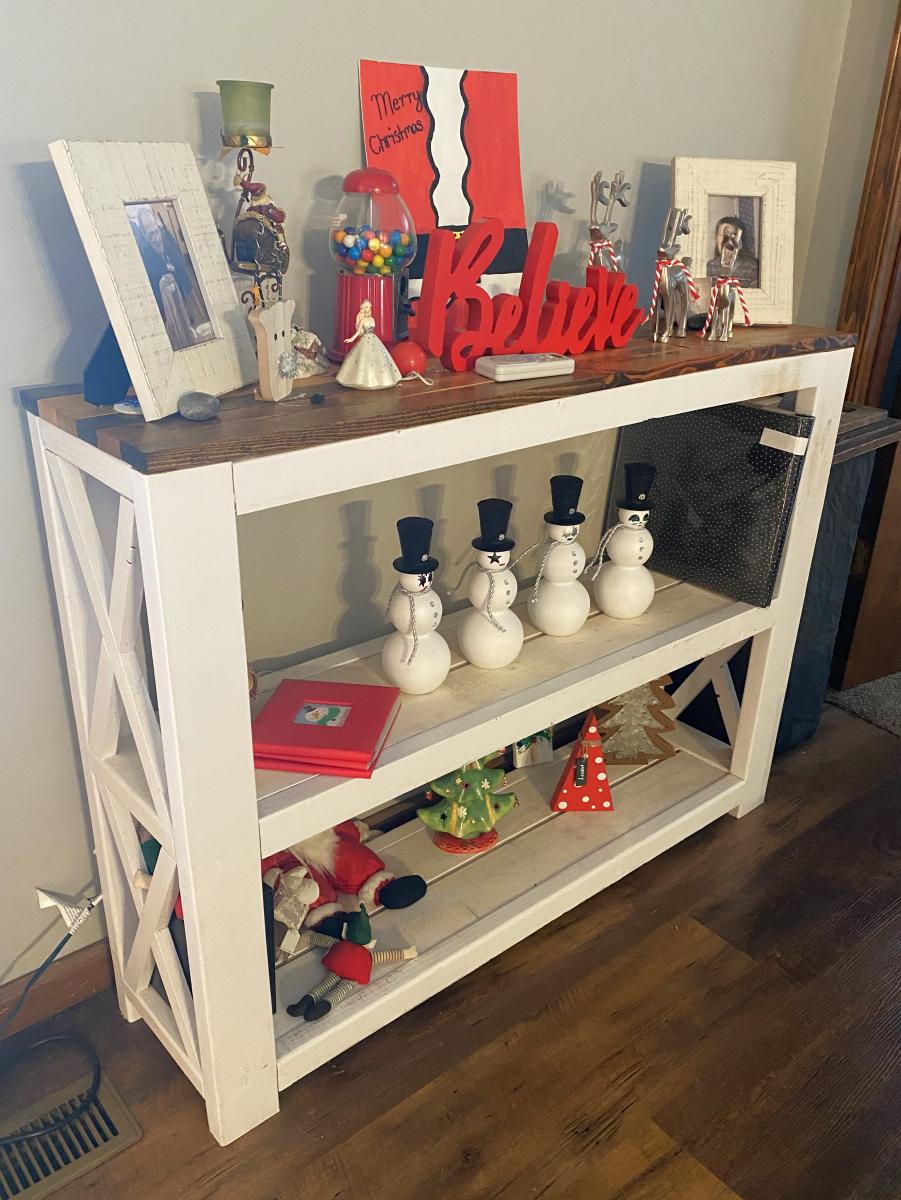
Farmhouse end tables, sofa table, and coffee table from farmhouse table plans, made tops flush with the sides no overhangs, tops made with scrap split 1x4’s in the scrap piles from Lowe’s and Home Depot, cut down to 2” wide strips, 5 different color stains.
Dale & Connie Putman
Mon, 11/18/2024 - 03:23
Finding furniture that’s both stylish and practical can be a real adventure, especially when you’re trying to create a space that feels cozy but still has character. I’m a huge fan of the rustic look, but not everything that claims to be "rustic" lives up to the hype—it’s either flimsy or way overpriced. That’s why I started digging into customer experiences before committing to a buy. I came across SKLUM reviews when I was redoing my living room, and it helped me avoid some regrets. Ended up with pieces that not only look great but also hold up to real life!
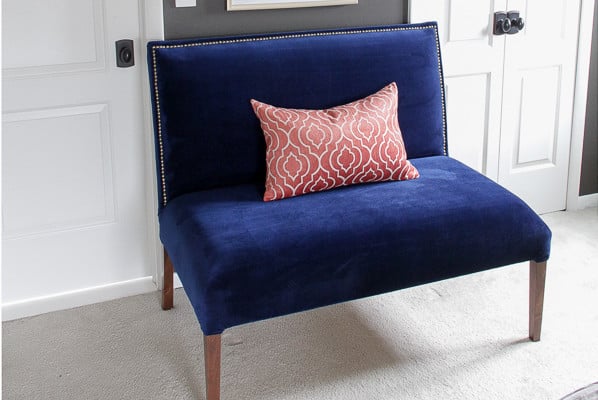
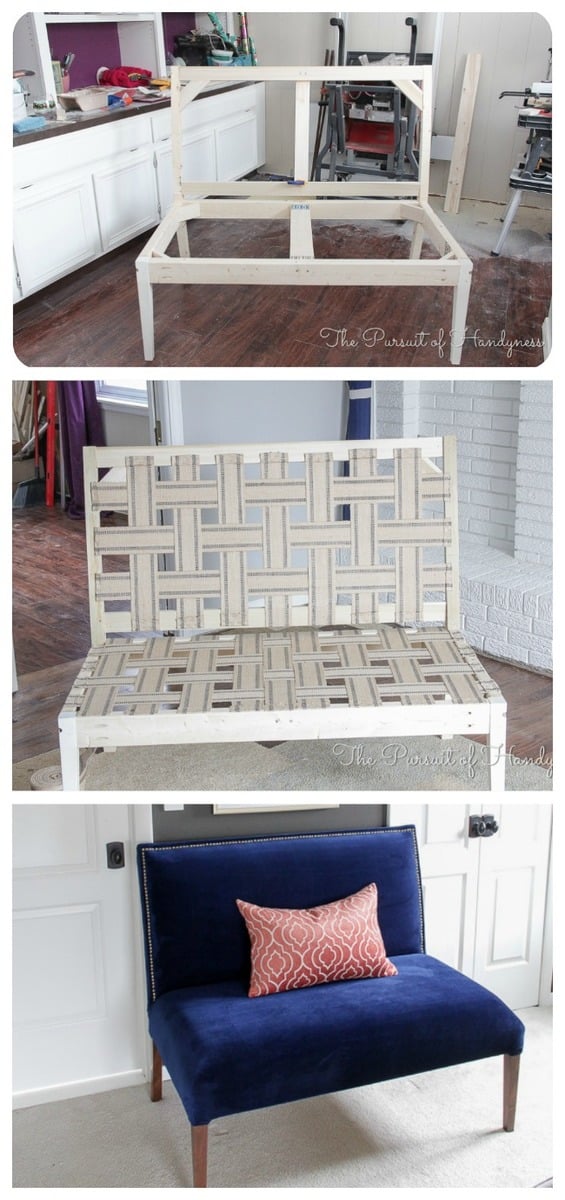
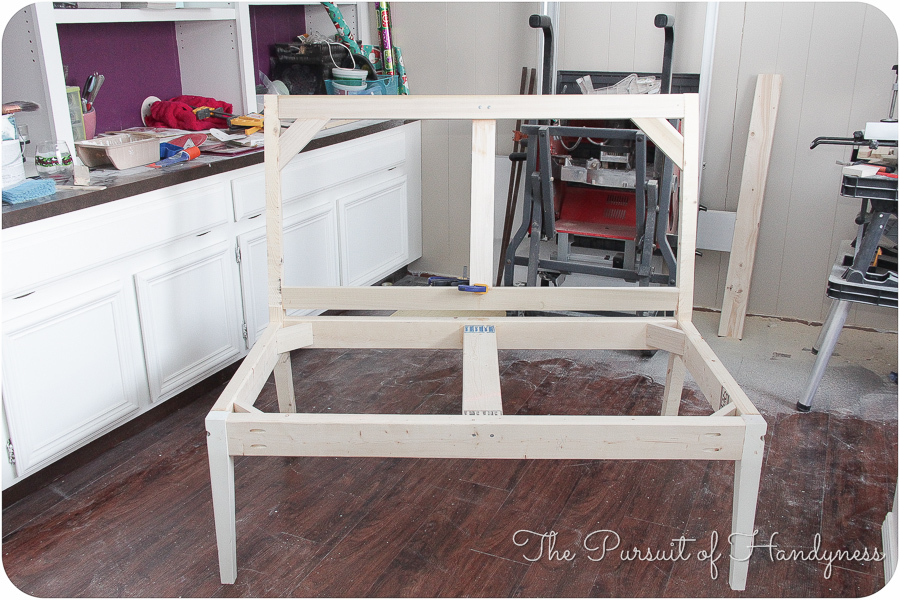
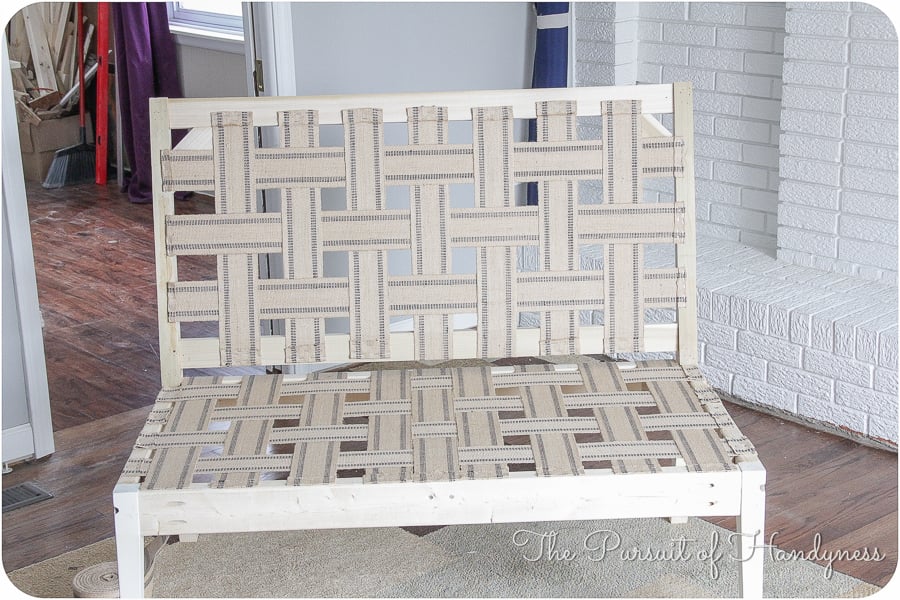
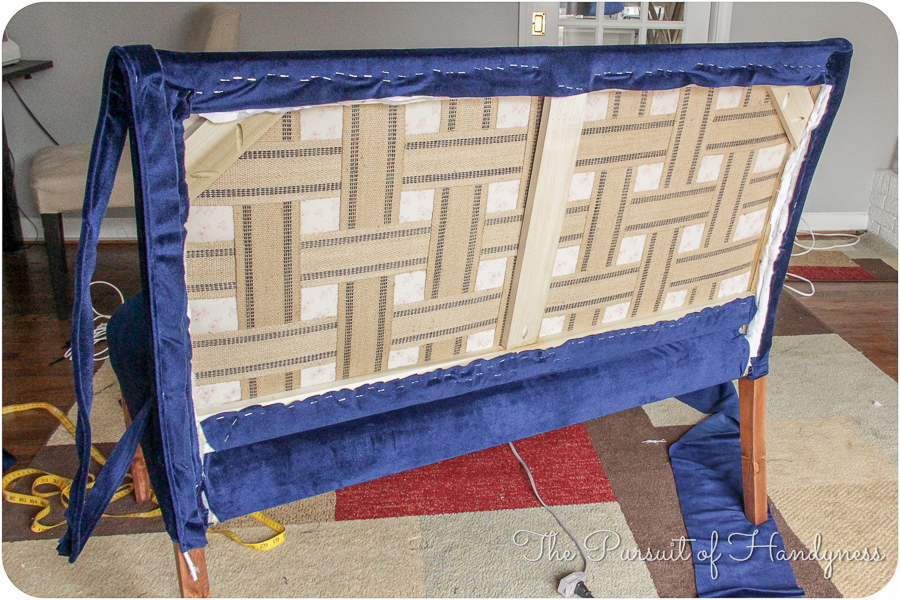
I started off with Ana's plans and kinda went rogue from there. The idea of creating those curved back legs scared me so I thought I'd sacrifice an Ikea dining chair and use it as the legs. When I ruined one of the legs I decided that I'd come too far to back out and that I must continue. I adapted many conventional methods to make the settee but I'm super pleased with the outcome. For the full step by step on how I completed the settee, please check it out here Part 1 Part 2 Part 3
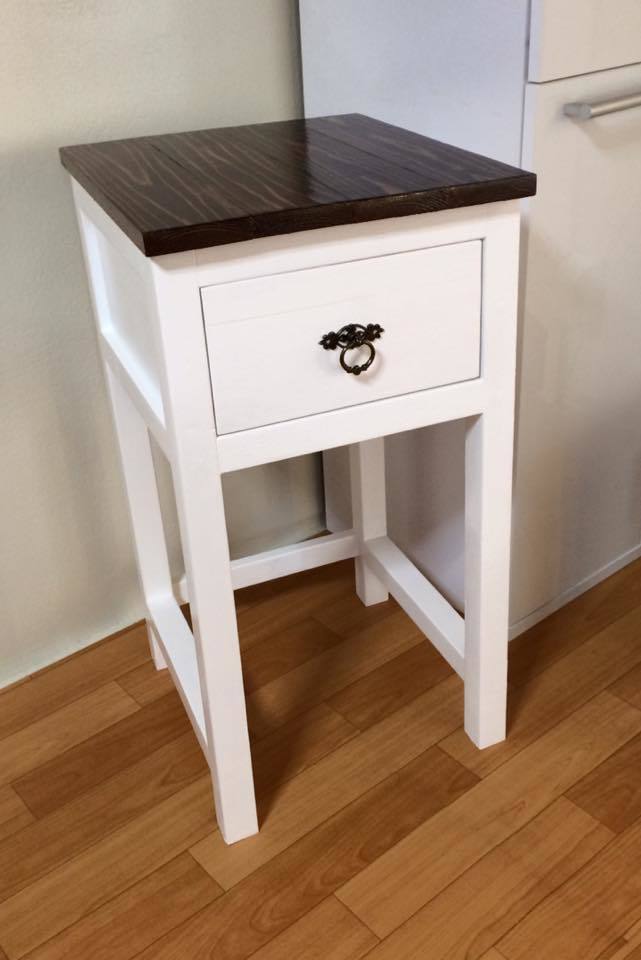
I ended up using Japanese cedar for the top. I was happy with the way this came out.
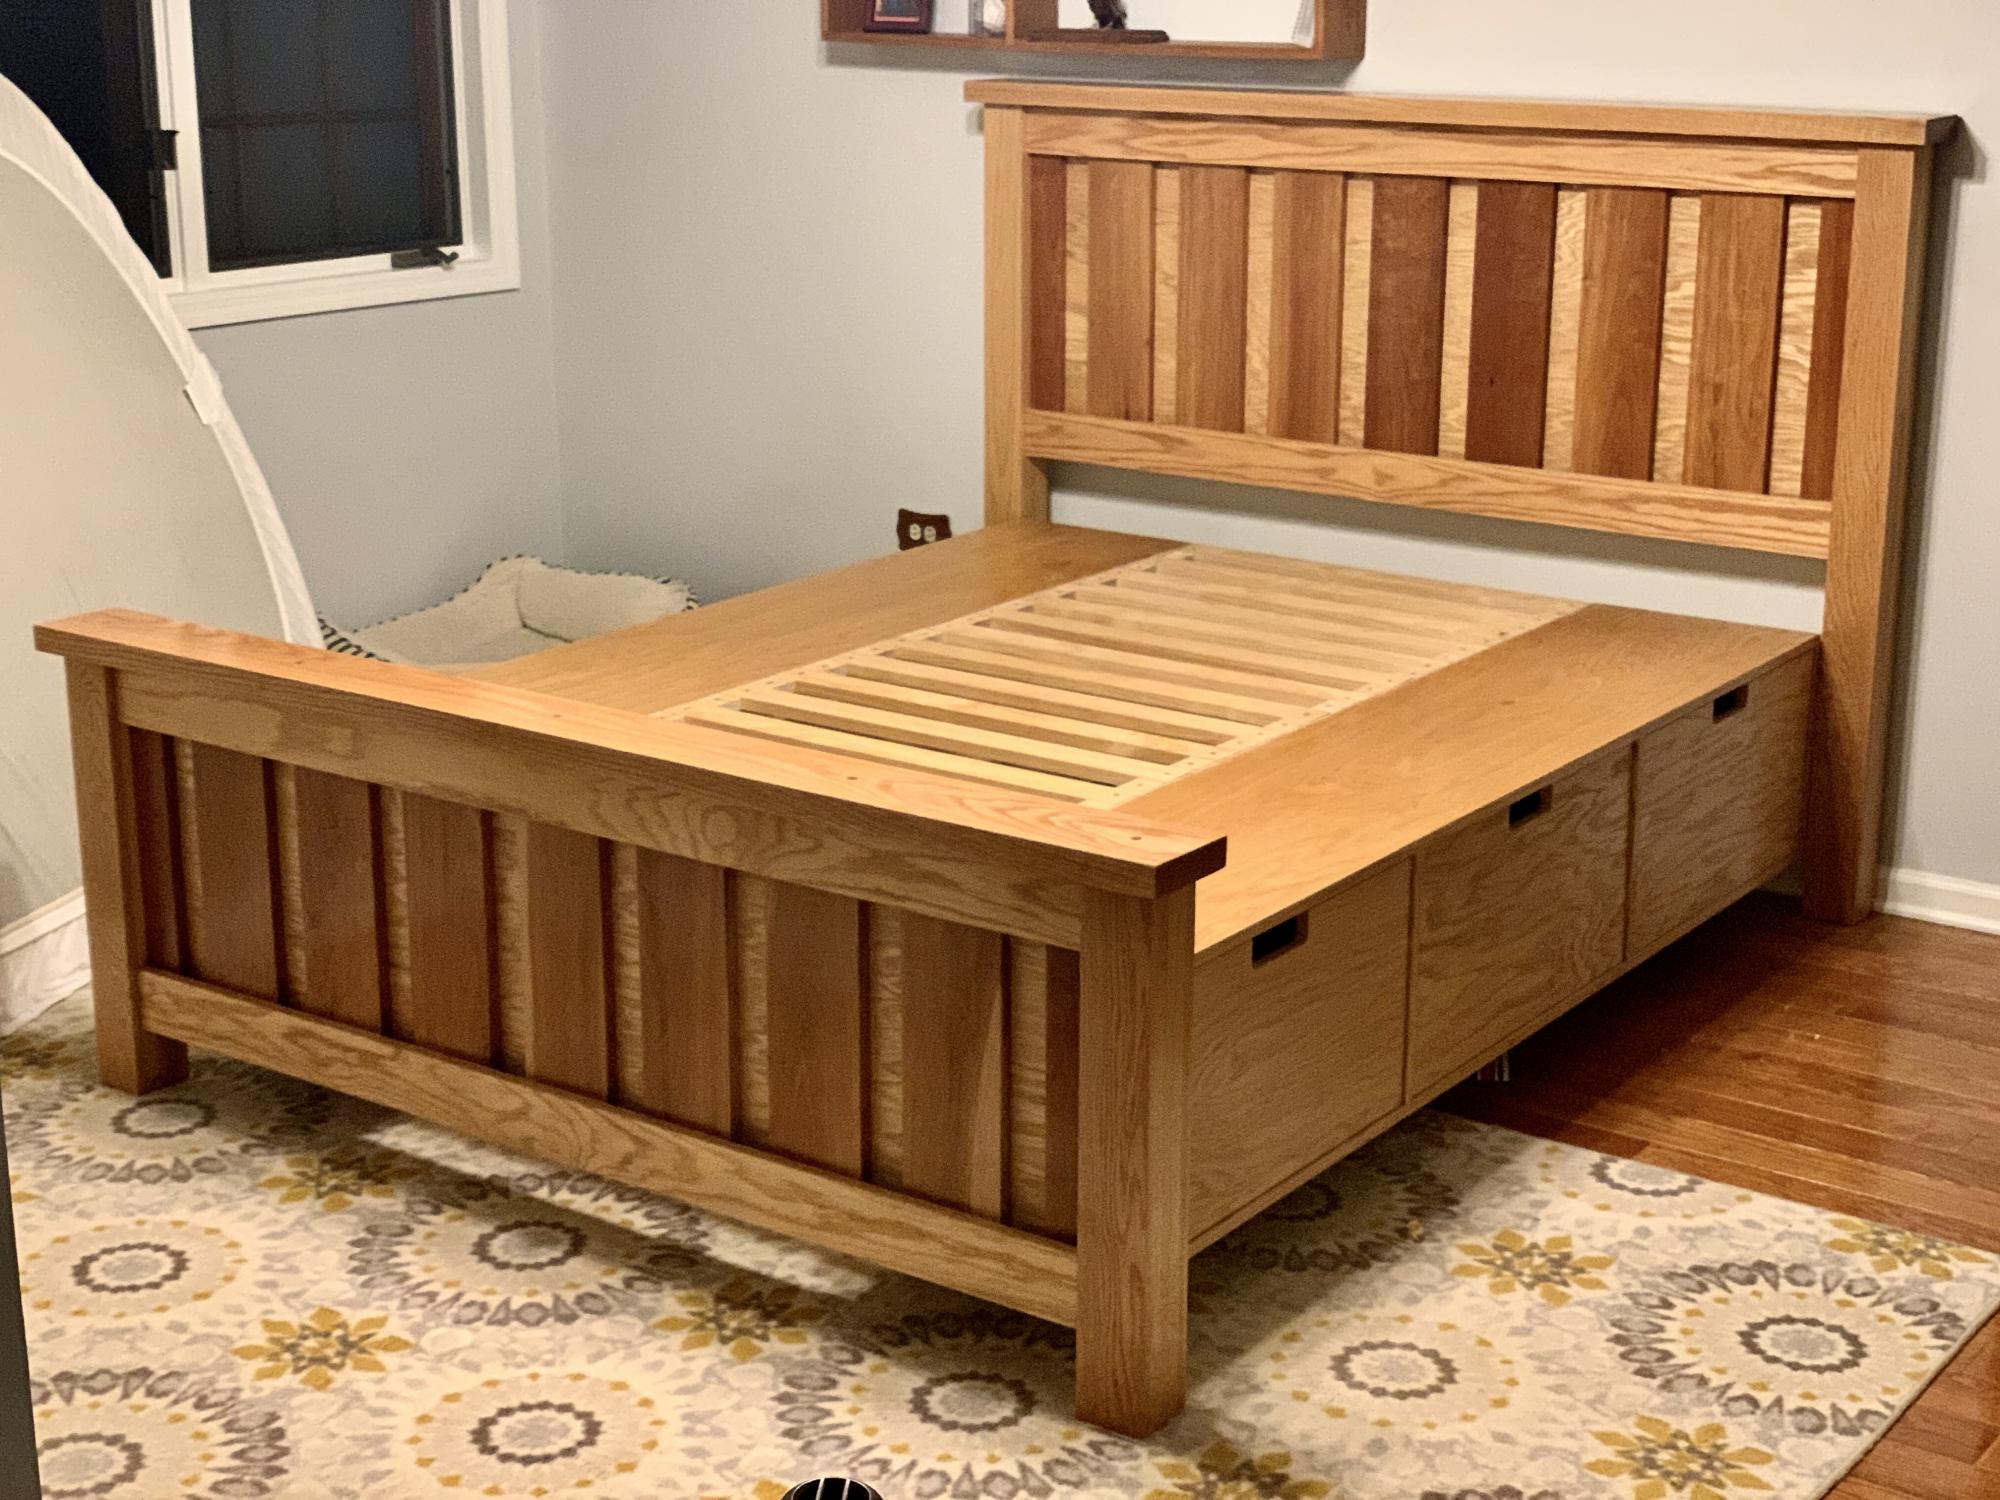
I made this with on the farmhouse bed plans using red oak and cherry. A new child, new house, and two dogs later, I finally managed to finish it after three years.
Comments
Ana White
Wed, 05/27/2020 - 11:55
This is beautiful!
This is beautiful!