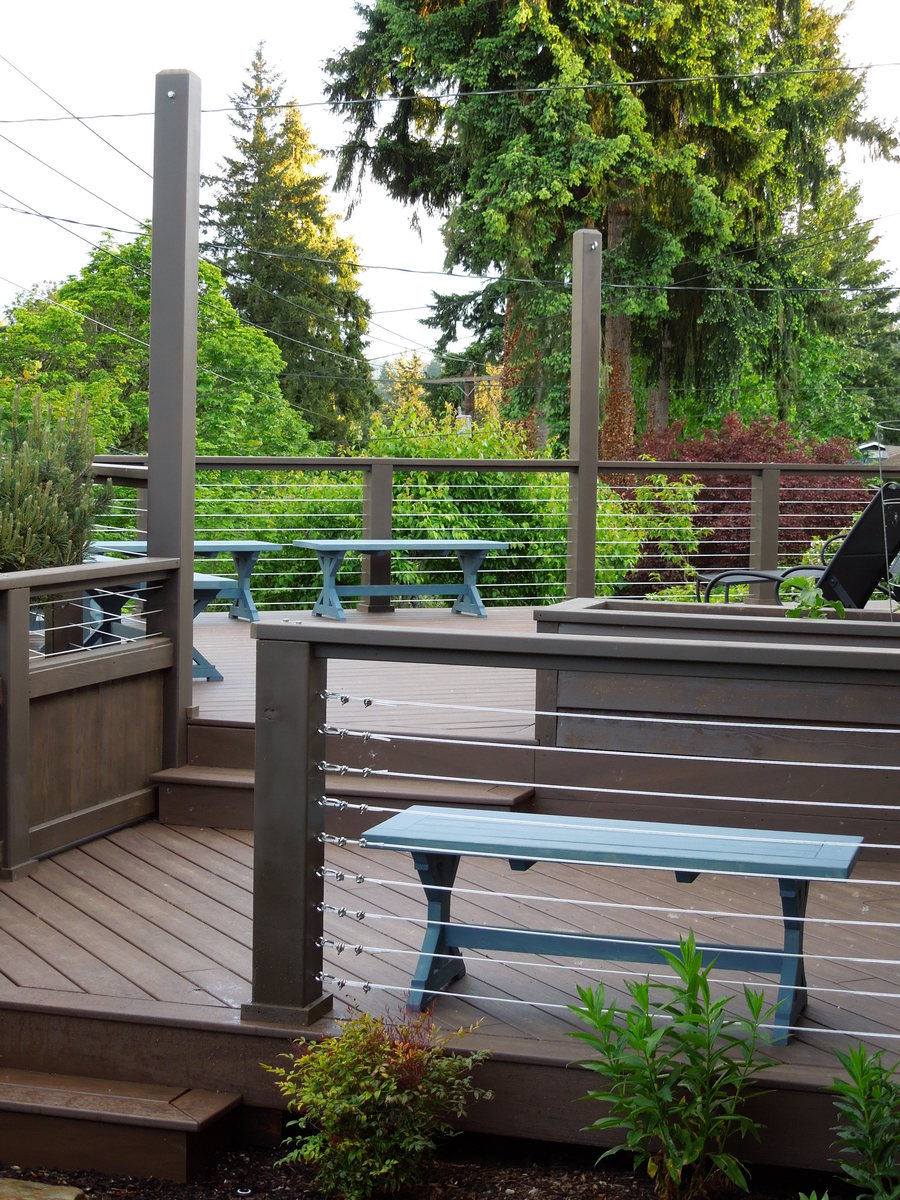
When we resurfaced our deck last year we had to remove the built-in benches due to code regulations, so I knew I would get to make new benches this year. We wanted them to be a flexible size so we could rearrange the deck easily for eating, entertaining, enjoying the sun and the shade. Based on the size and shape of our deck, a square table for 6-8 people was going to be the best option.
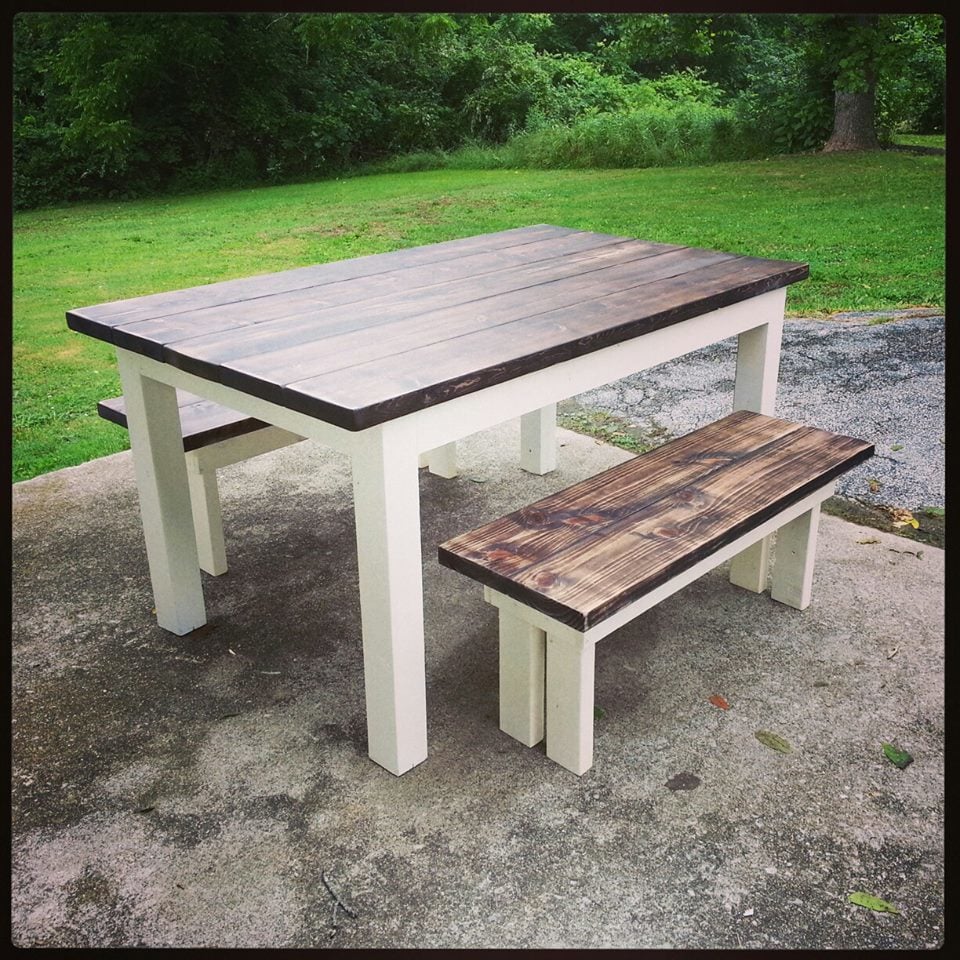
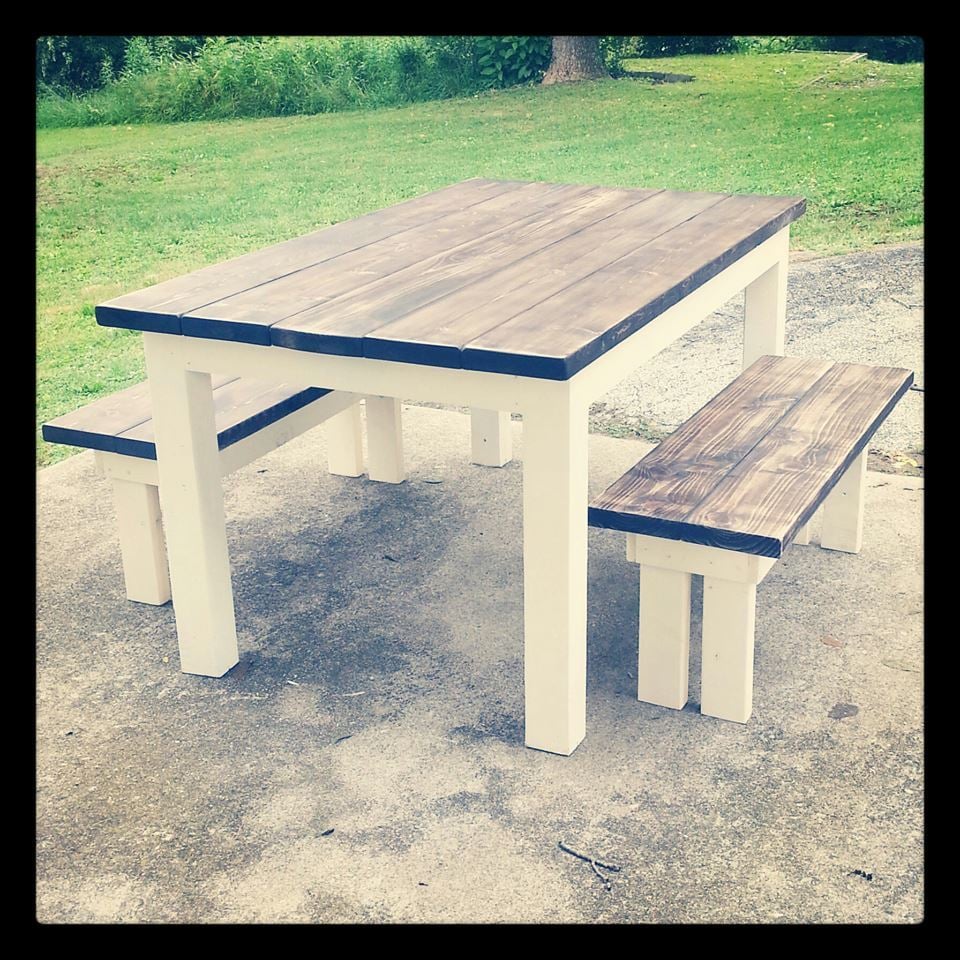
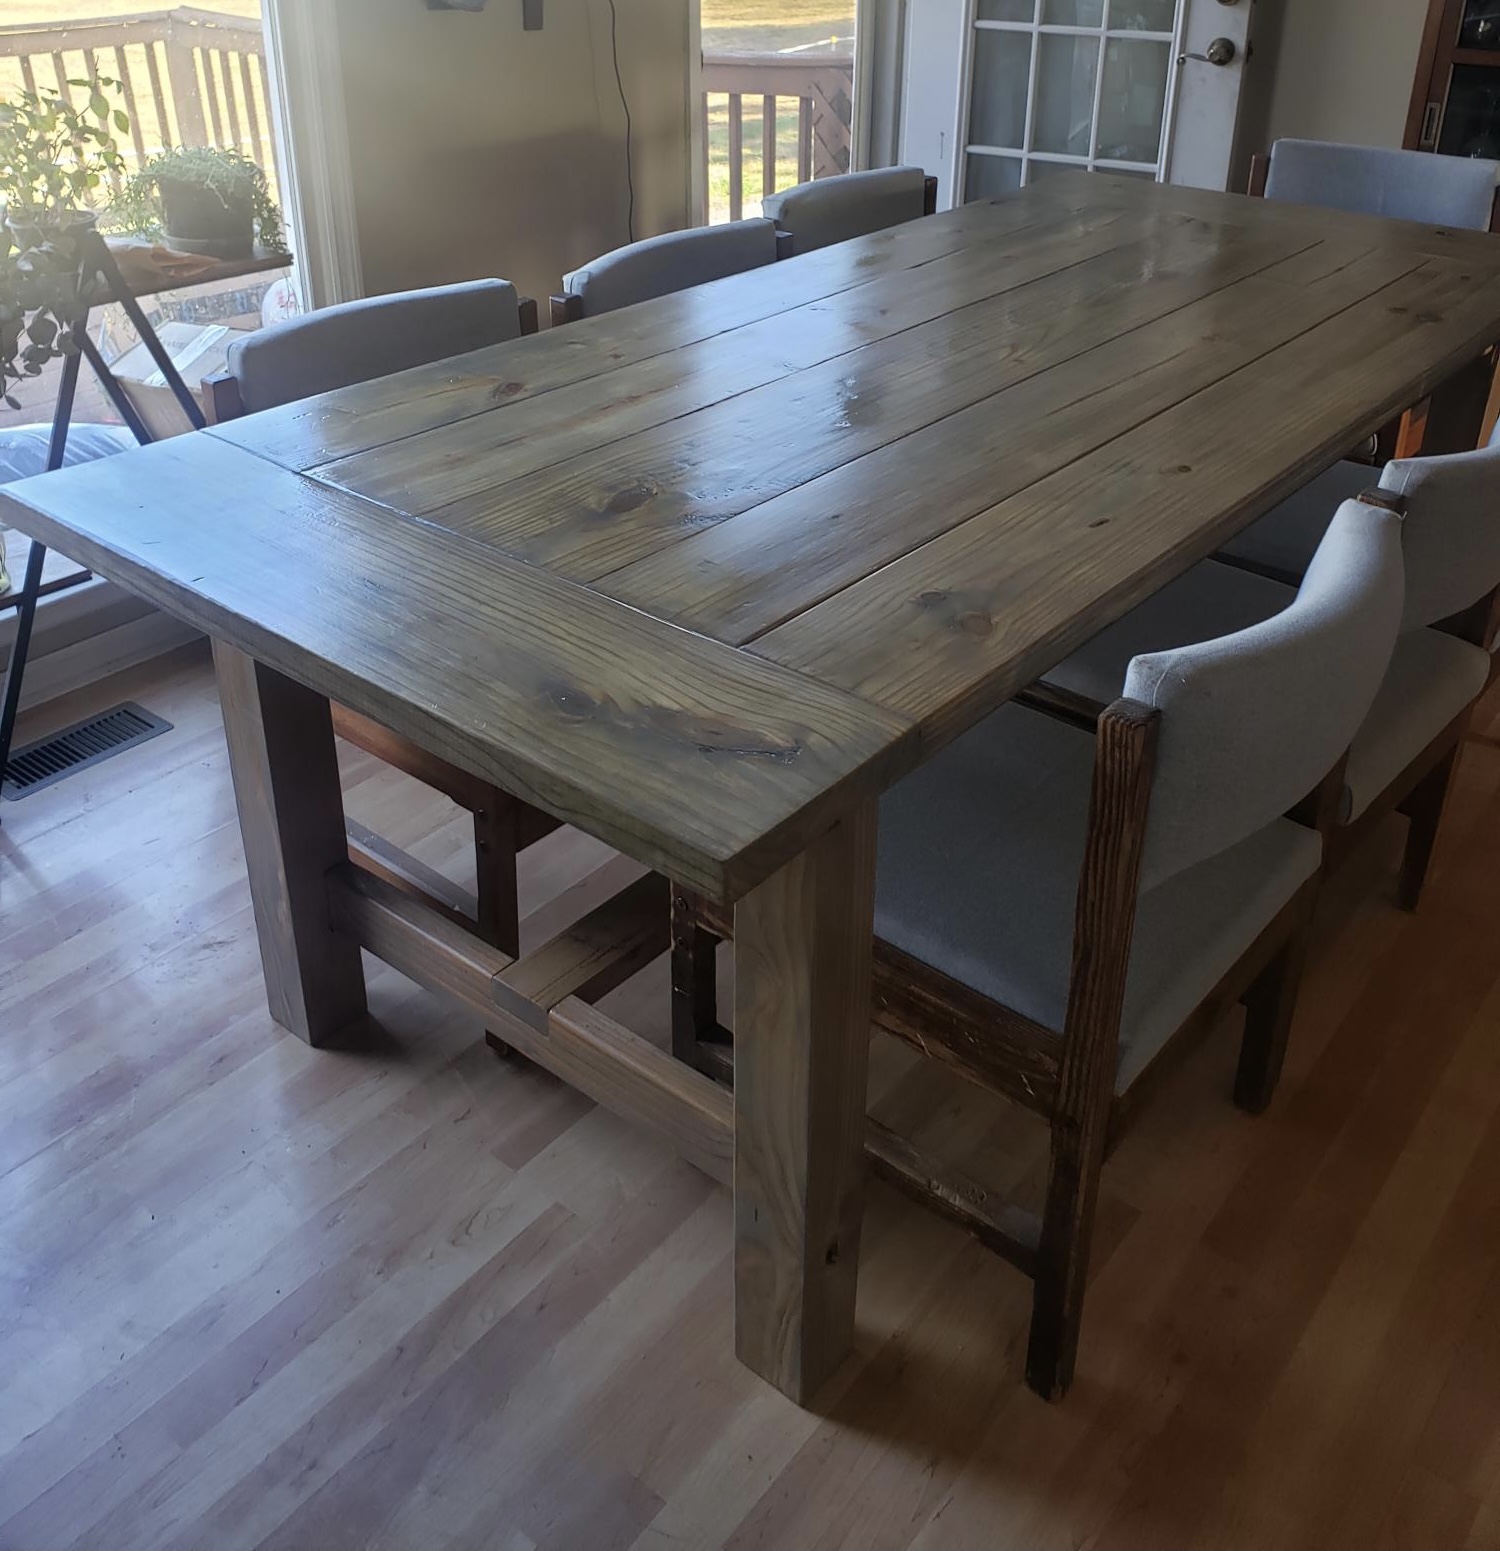
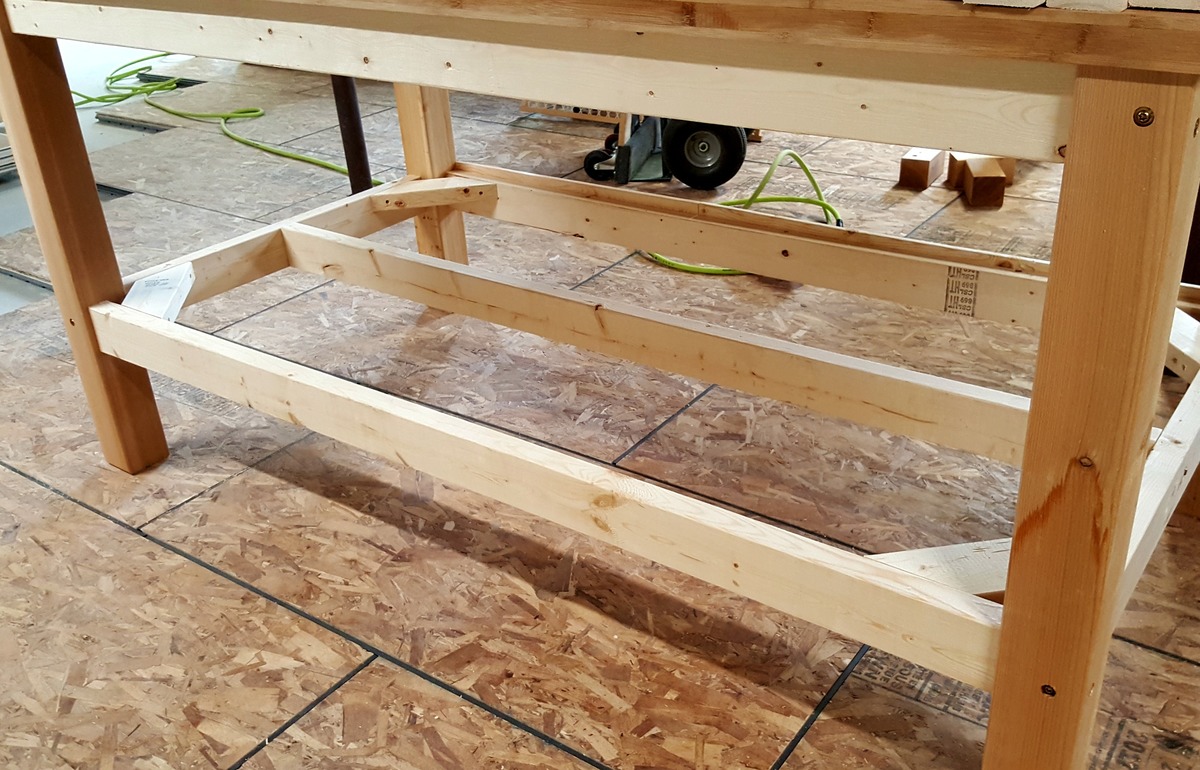
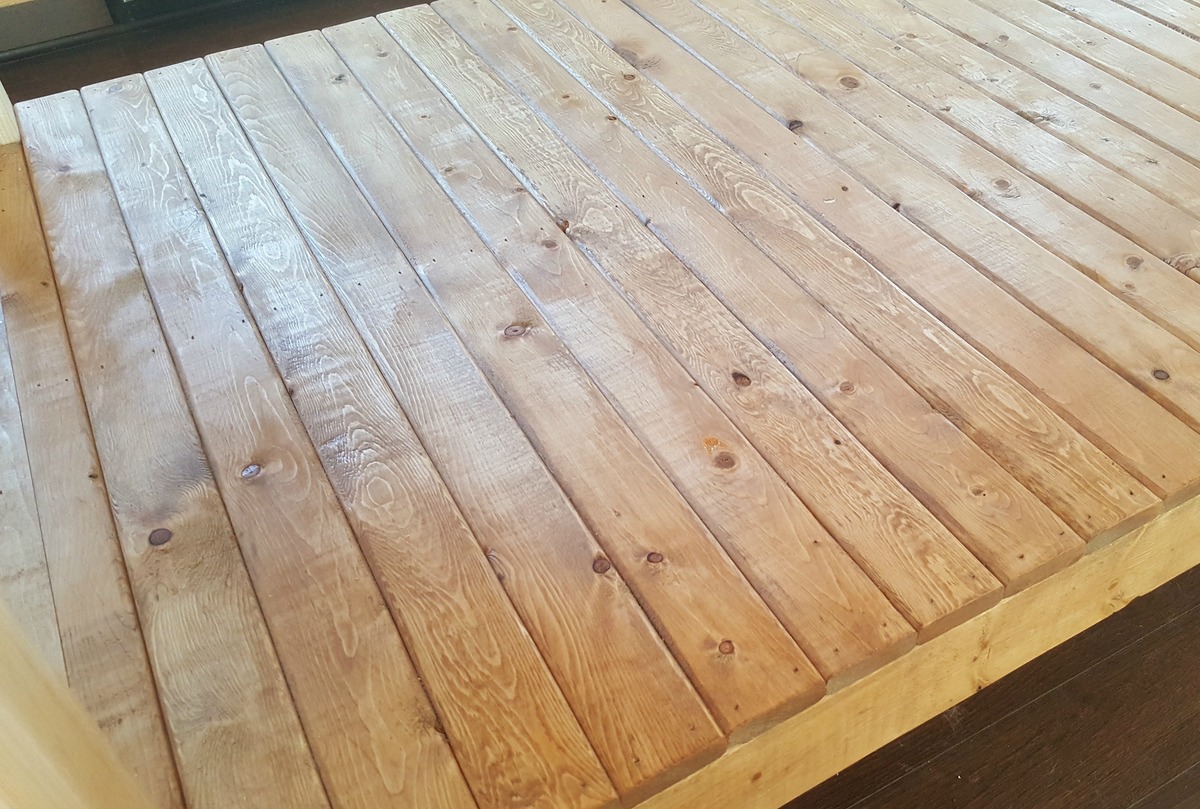
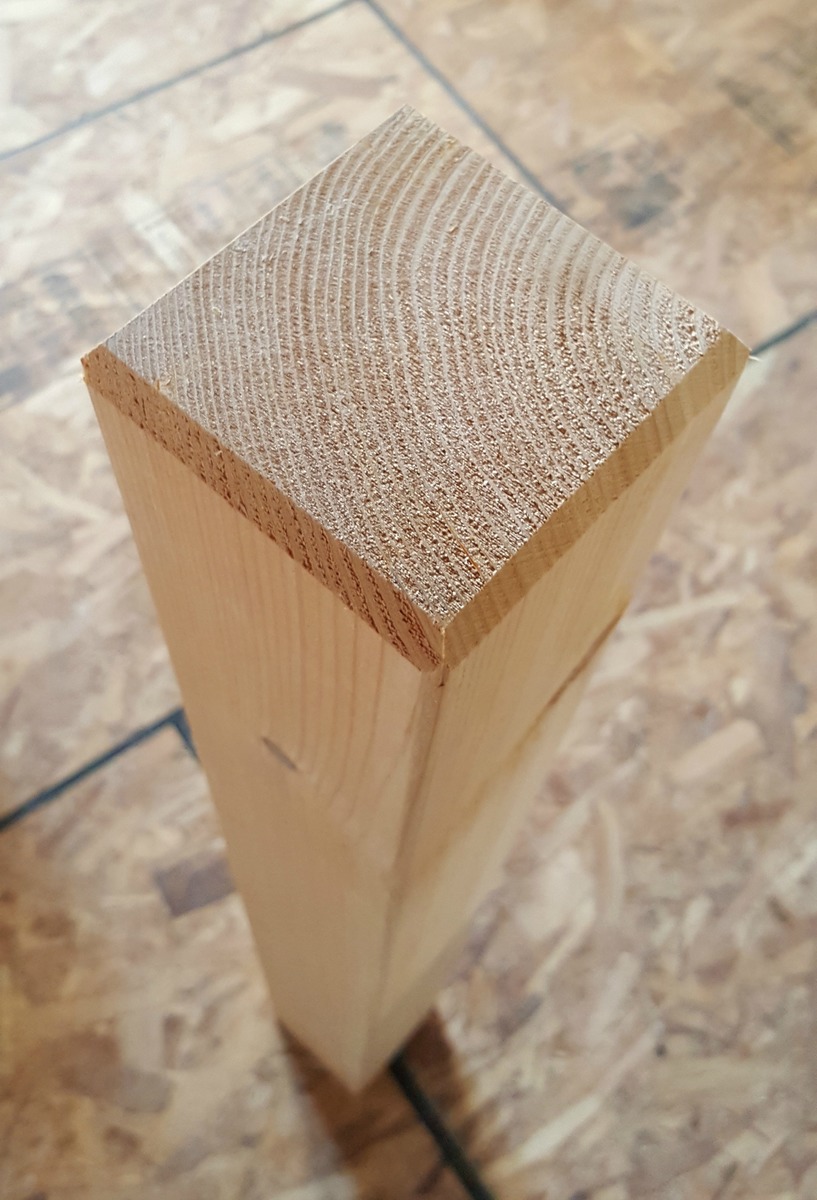
After looking at a couple design plans, I decided to combine a few plans to get exactly what we wanted. To get a mid-sized square table I used the leg structure of the Fancy X Table with the construction method and the stability from 2x6s of the Square Pedestal Table. The top is joined from seven 45.5" lengths of 2x6 and two lengths of 2x4s. It ends up being 52.5" square. It is snug for eight people, but comfortable for six. We didn't end up using the skirt boards so there would be more knee room. The base is mounted on the diagonal for the same reason.
For the benches, I used the supports from the Fancy X Benches, with the bordered top from the Triple Pedestal Farmhouse Bench, since it would match the table top better. The benches are 48" long, and only two supports were used for each, inset 5" from the end of each bench. Likewise, I used a single stretch of 2x4s for the seats rather than seam them in two parts like the 106" long original plans. I did add an extra 2x2 support board under the seat platform to keep the 2x4s even over time. Overall, I made five benches - four for around the table and one for next to the BBQ. They are blue so they provide some color against the brown deck and green tree tops that surround the deck.
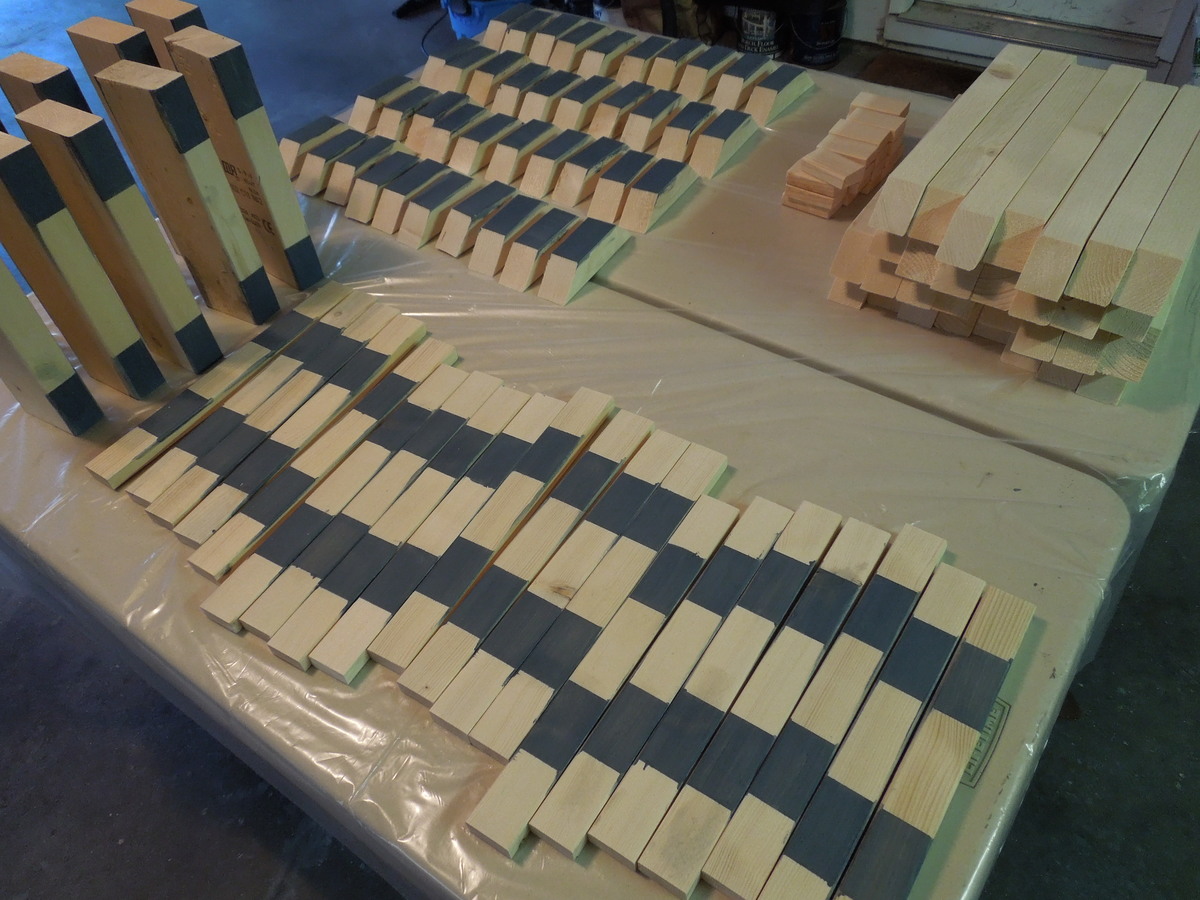
For both the table and the benches, I pre-stained the surfaces that make up the inside of the Xs. It made it easier to get good coverage there.
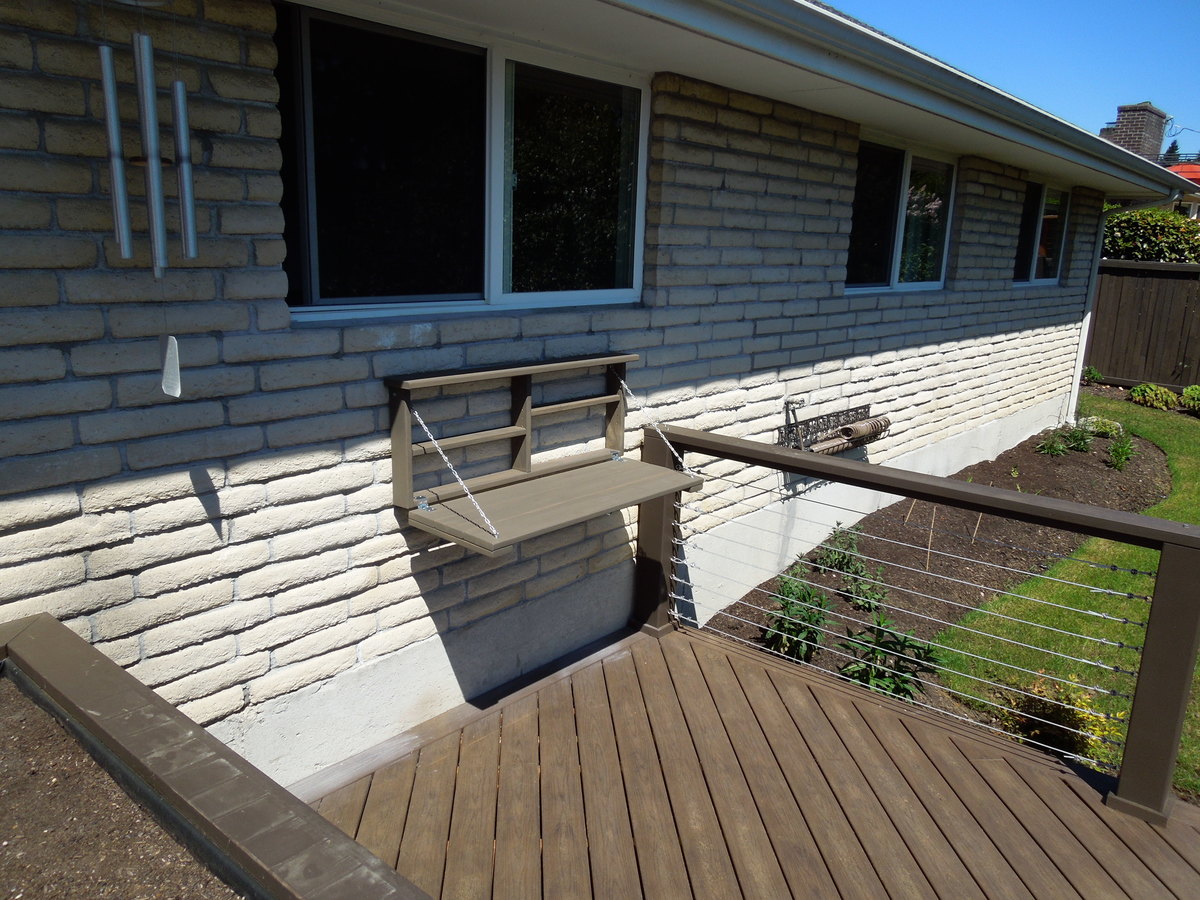
I also made a quick flip-down BBQ prep station, on similar lines to the Flip-down Wall Art Desk out of two 5/4x6 and two 5/4x4 cedar boards. The shelves are on adjustable pegs.
The costs broke down - with all hardware, screws, putty, sandpaper, stain, etc. - as: $90 for BBQ station (lots of hardware), $200 for 5 benches, and $155 for the table. I did a lot of sanding and filling to get the rough 2x4s smooth. In the end, there was about 50 hours in the benches, and 20 in the table. The BBQ station was less than a day, including mounting.


Comments
basteeley
Fri, 04/08/2016 - 16:09
LITTLE FARMHOUSE ACTION BENCH
This is a most difficult site. I have signed in and would love to have the plan for the Little Farmhouse Action table and bench for outside use by SamWiseMan.