Community Brag Posts

Dog Crate

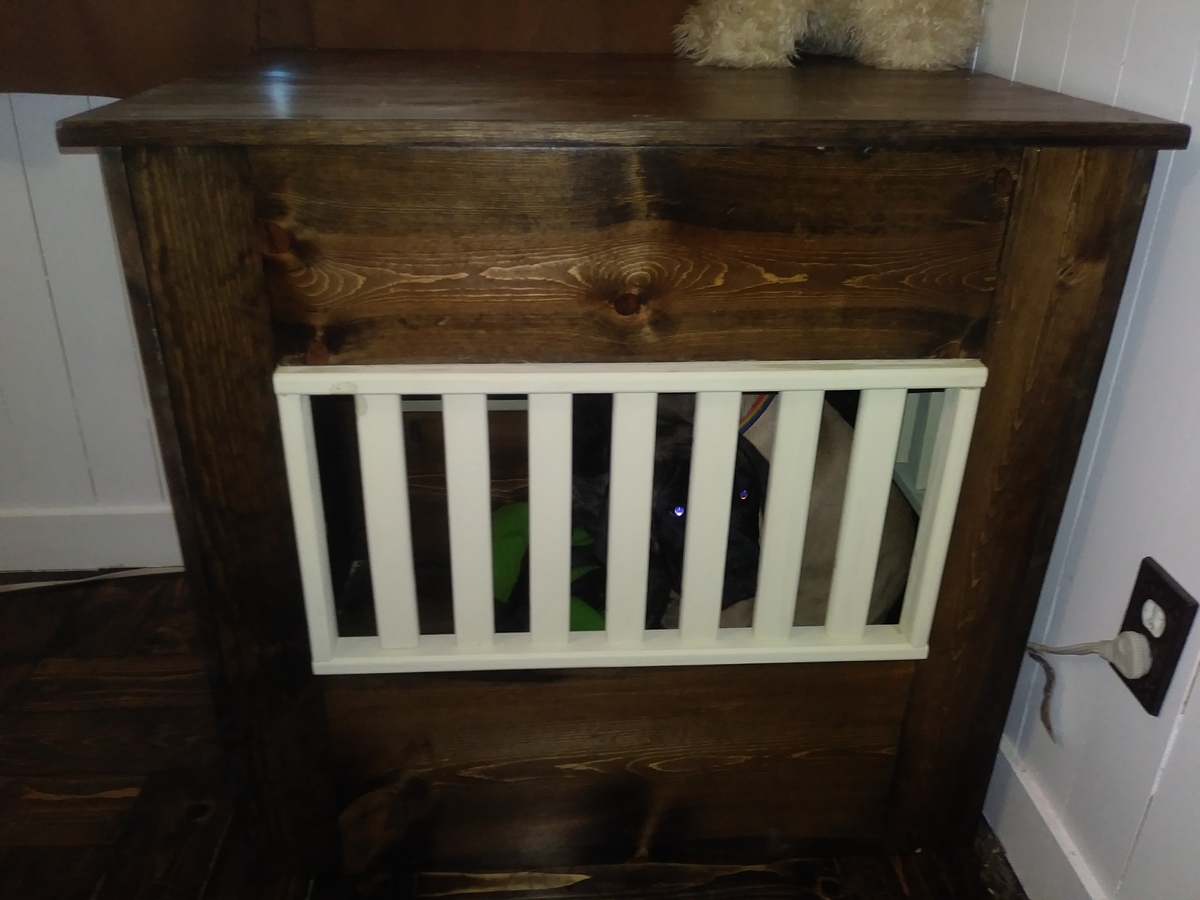
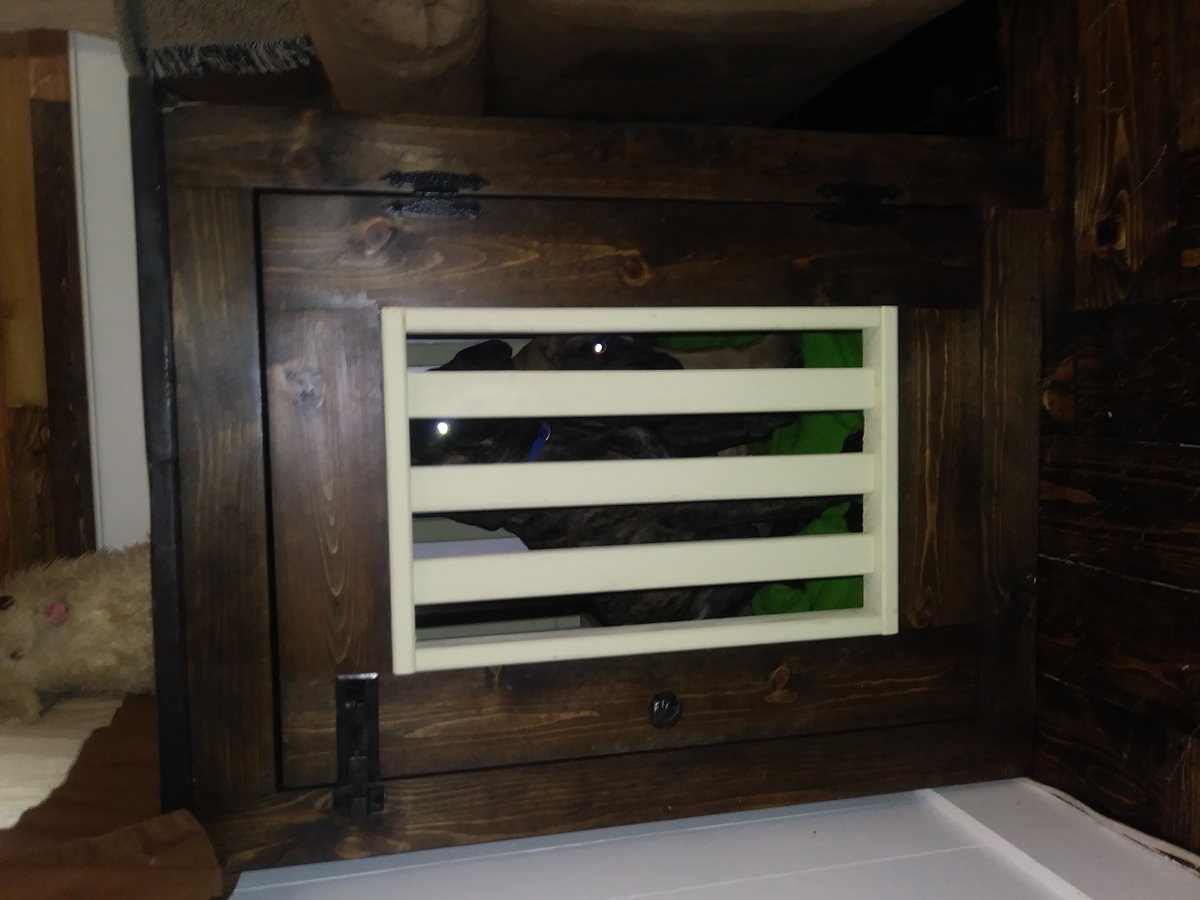
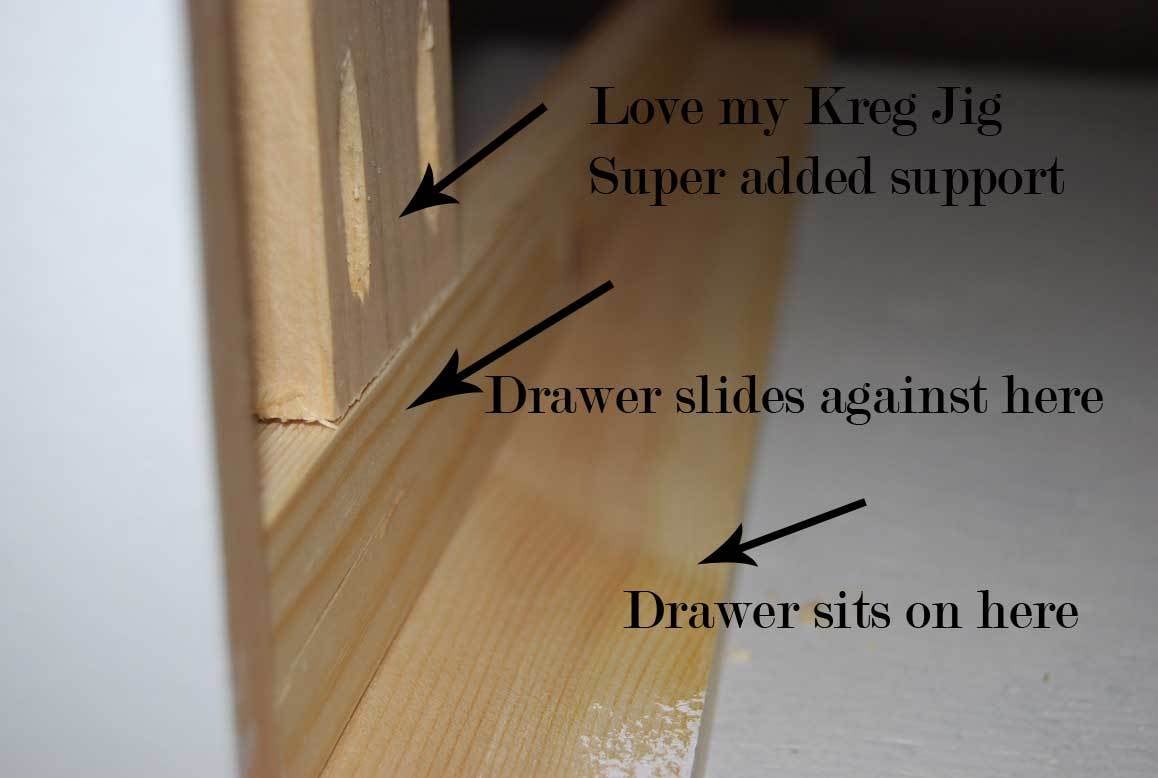
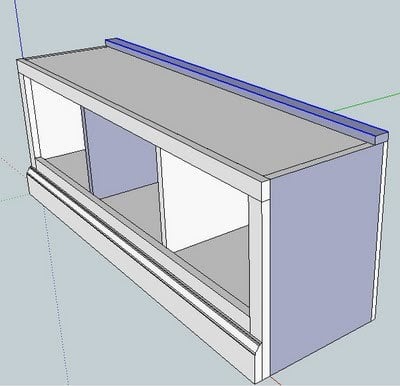
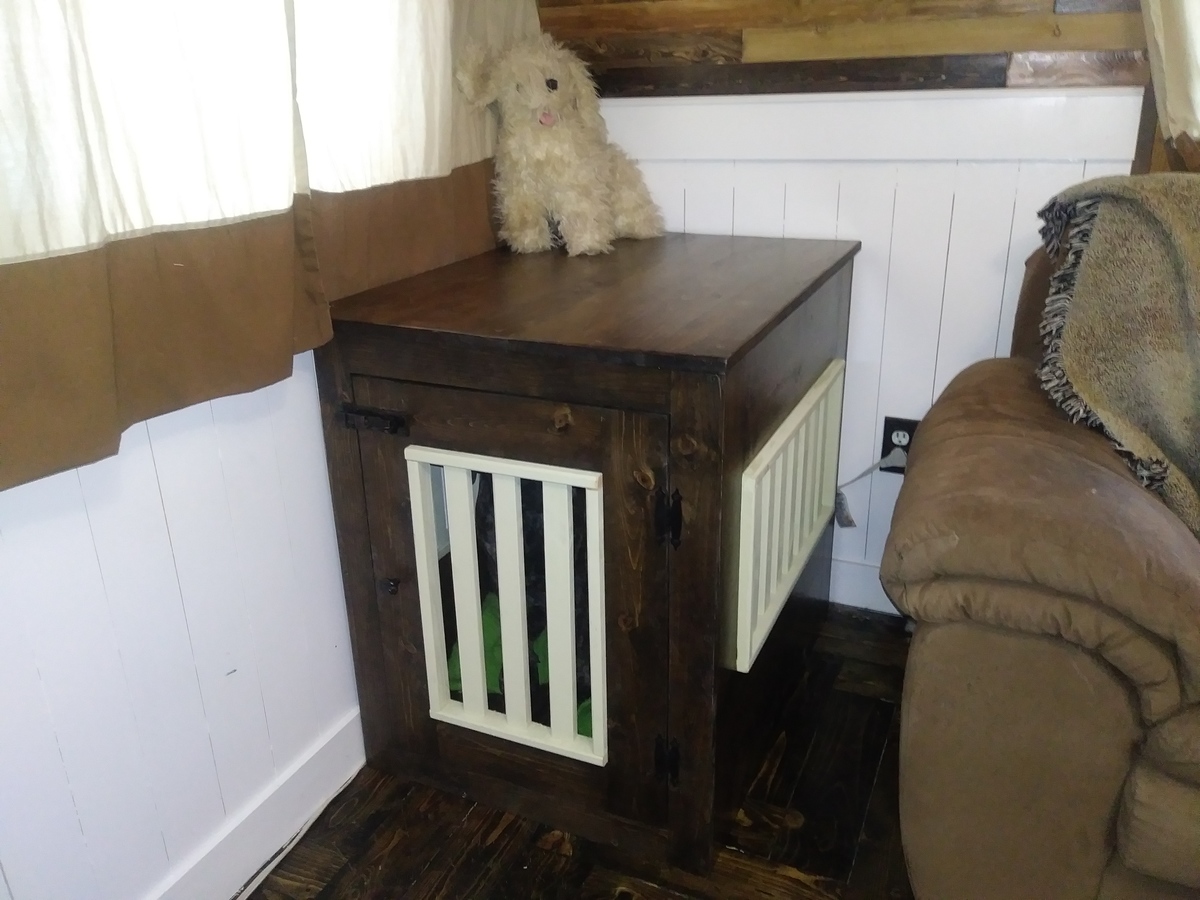
I got a puppy. A joyful, full of energy and fun-loving English mastiff puppy. Best way to potty train a 40 lb puppy is crate training and the entry way's wall was getting eaten. So I made this in a couple of days. Mostly just waiting for the stain, paint and poly to dry and it's up and working. 

Hinges on sale at Lowes going out of business =$0.99

Latch on sale at Hobby Lobby 50% off = $5.50

Knob purchased at ReStore =$0.50

Built from Plan(s)
Estimated Cost
$60
Estimated Time Investment
Day Project (6-9 Hours)
Finish Used
My fav... Jacobean and am giving chalk paint a shot with Americana Vintage from Hobby Lobby (40% off coupon costs $5.39)
Recommended Skill Level
Intermediate

Rustic X Farmhouse Coffee Table with Storage

Submitted by Anonymous (not verified) on Sun, 02/05/2023 - 08:54

This project was made from reclaimed wood from my office where they had built a temporary safety railing out of 2x4s and 2x6s. I added a compartment for storage. The top is stained in a classic grey. I painted the body in black followed by white. I then sanded the body to allow the black to bleed through for a distressed look.

Comments

Vintage Crate Drawers

Submitted by amil04 on Tue, 10/18/2011 - 11:53

I used the plans for Ana's vintage crate cart, but made a few changes. I made my boxes 11"W x 12"T x 15"D. I did not leave spaces between the pallet pieces and added a cheap wrought iron style handle from the hardware store for a pull. I only stained the fronts. I love these drawers!!!

Built from Plan(s)
Recommended Skill Level
Starter Project

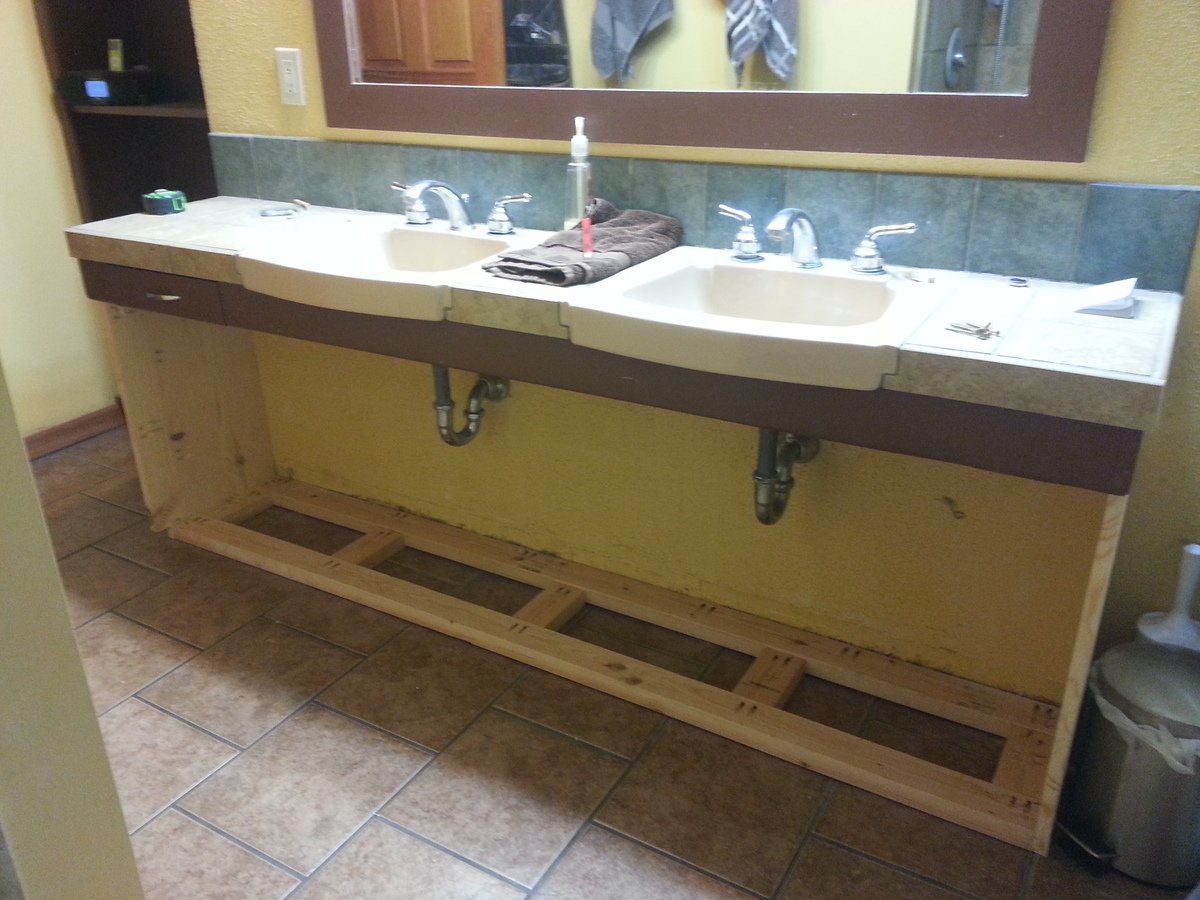
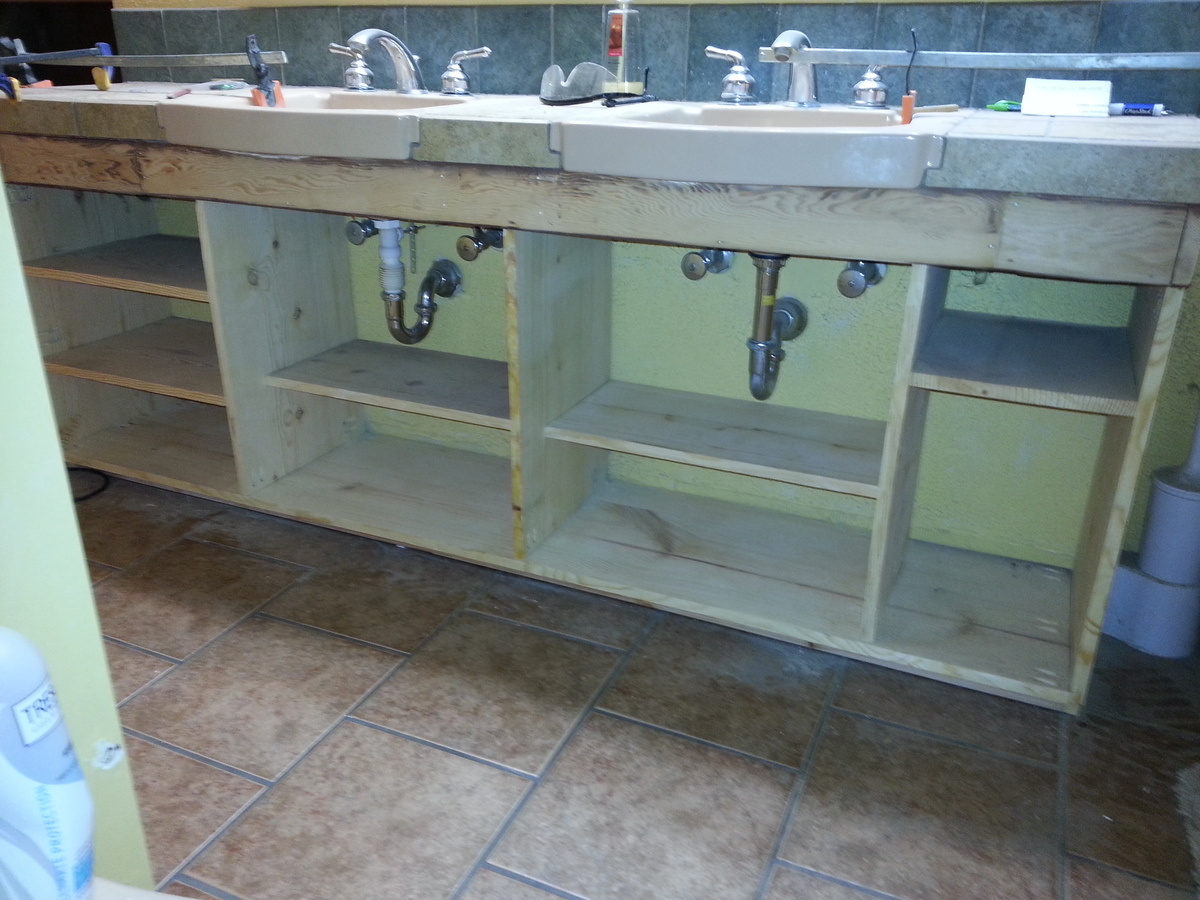
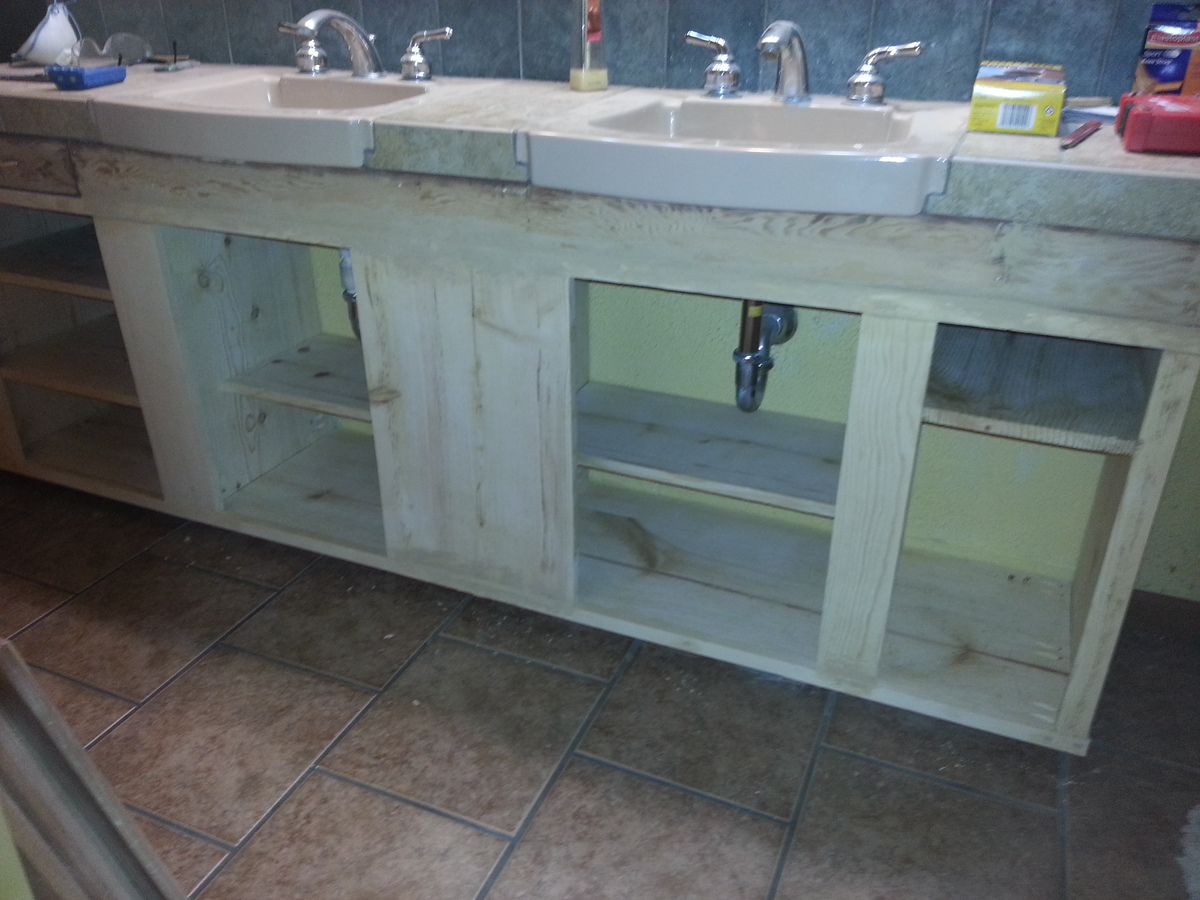
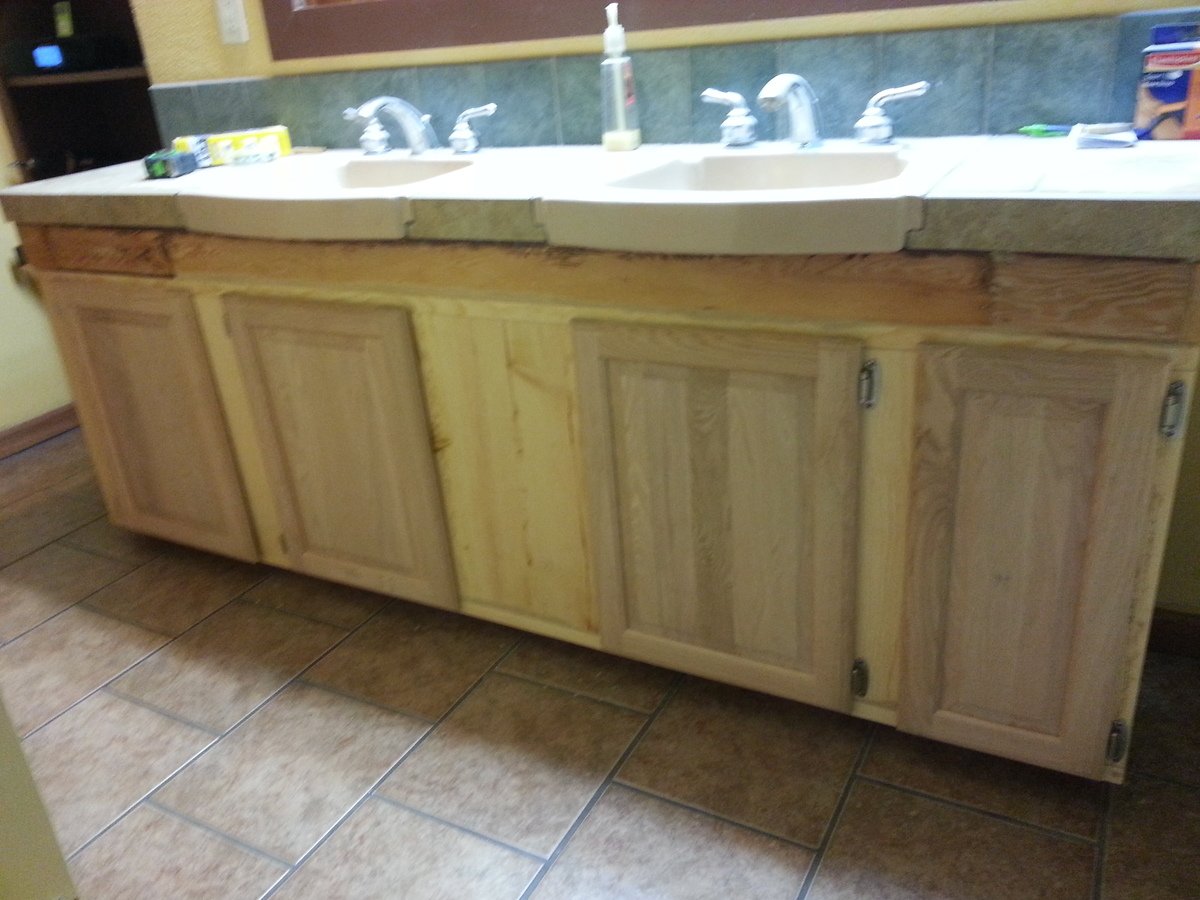
Bathroom Vanity

Submitted by ndetermann on Mon, 10/14/2013 - 16:31

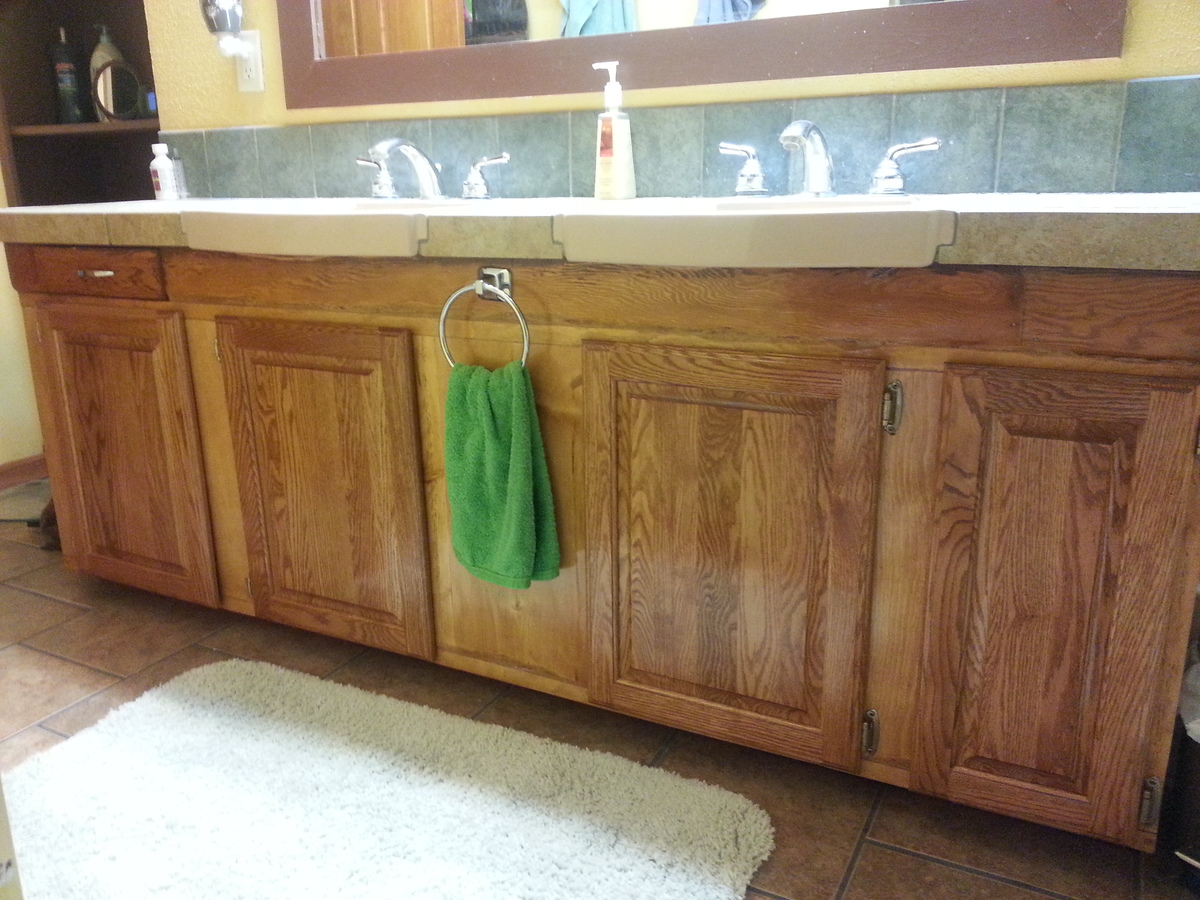
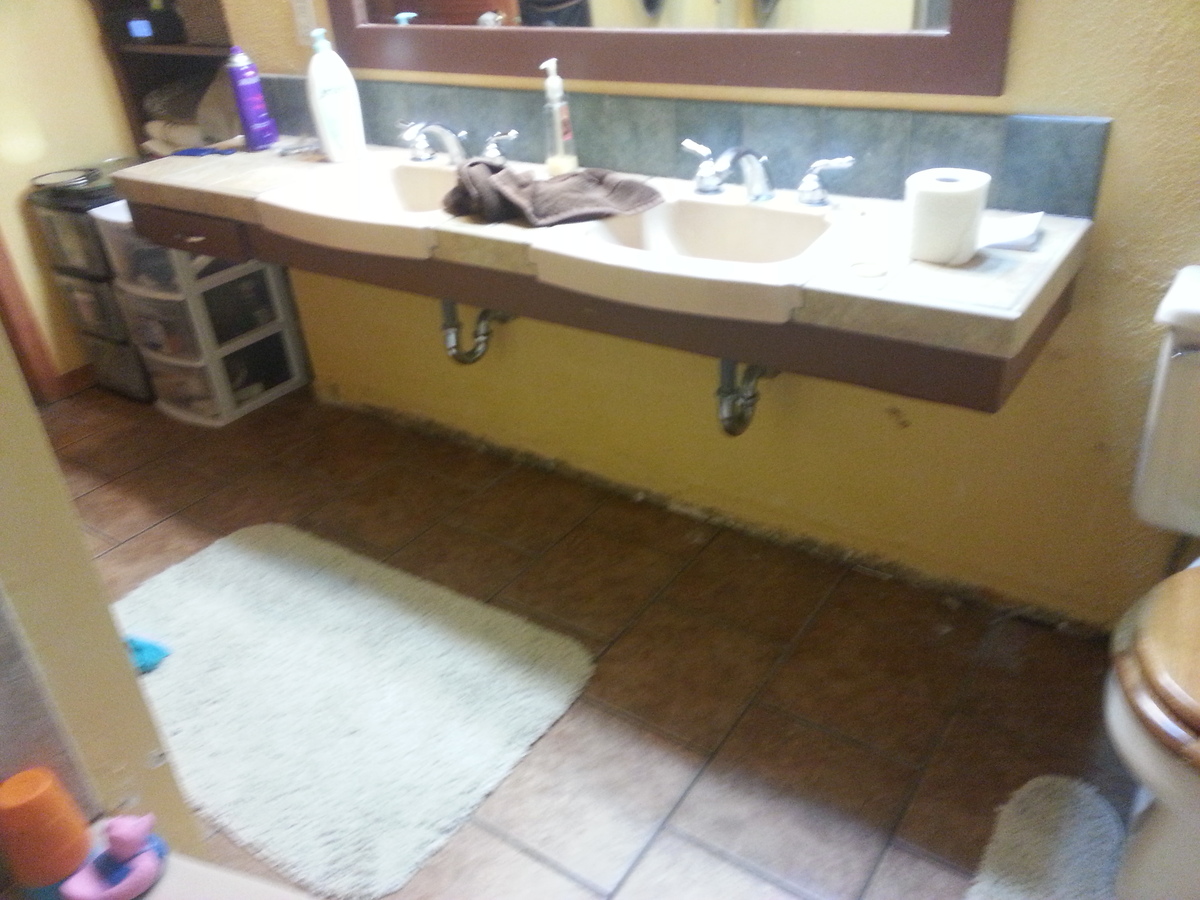
My wife has been wanting cabinets under our bathroom sink.... So, I made plans and gave it a whirl. How did I do? If anyone want plans or more info how I did it feel free to ask.

Estimated Cost
$150
Estimated Time Investment
Week Long Project (20 Hours or More)
Finish Used
Min wax Cherry with a semi-gloss min wax poly coat (3 coats)
Recommended Skill Level
Intermediate

Comments

sgilly

Mon, 10/14/2013 - 20:47

I'll bet your wife is thrilled. It's always harder to try to build around something you already than to start fresh - but you did a fantastic job.

spiceylg

Tue, 10/15/2013 - 06:51

Really nice job and what a cost savings! Your wife must be over the moon with all of the additional storage!

In reply to by spiceylg

ndetermann

Fri, 10/18/2013 - 01:20

Yes the cost savings was amazing. and it will hold up and is thicker than anything you would buy in the box stores. I am really happy with all of this. Thank you so much for commenting.

Double Pedestal Farmhouse Table

Submitted by Anonymous (not verified) on Sun, 01/03/2016 - 01:34

Keep on building on! This is the second peice I've built for our dining room - built a bar first. I opted to only make 2 pedestals instead of 3 that was on the plans. Dimensions are a tad smaller to fit our room nicely, measuring 90in x 40in. My wife and I absolutely love this table! I used Red Oak for the top and Doug fir for the base. Hardest part was lugging around that dense oak and looking for chairs! The stretcher was also a bit of a task as well. Had to go out a buy a rubber mallet to bang it in enough so that the slack on both ends were even. We particularly like this piece because it will be used often and many memories will be created around this table! Thanks again for the inspiration!

Built from Plan(s)
Estimated Cost
$400, but sold previous dining table and chairs for $425
Estimated Time Investment
Weekend Project (10-20 Hours)
Finish Used
Miniwax Special Walnut,
Spar Urethane
Recommended Skill Level
Intermediate

Toledo Towers

Submitted by Anonymous (not verified) on Thu, 03/21/2019 - 10:45

Hey All,

My wife and I had 5 children in 5 yrs (no twins), our oldest being 6. Christmas was fastly approaching and we were brainstorming on what to get them. Through the years we had spoken of an indoor climbing wall and/or ballpit due to the long hot summers in FL but never really dedicated the time to researching our options. We decided that Christmas would be a great time for a project like this. I sketched out a few ideas and started to google. I came across your site via a pintrest image. The wheels started turning very quickly for me, we were super excited as you can image. The dimensions are different (8x8 ish) from the indoor playground you all constructed but the bones were there thanks to you all. 

I measured our room, purchased the wood after creating a diagram of the basic frame work. 2 weeks (20hrs ish) later of sanding and precutting I started lugging approx 300-500lbs of material to our second floor playroom area.  Why so much material, you ask... We wanted to include all of the ideas we have had through the years plus a few others we came across on your site. It was a huge undertaking considering how many eyes were watching and the fact that we wanted to keep it a surprise. For the framwork I enlisted the help of #1 (the 6yr old) and we stayed up late and had great fun. Once we got to the point were I thought she would start connecting the dots I continued on by myself mostly. Every night I would mock up what was needed and then break it down to not give it away. Many long nights, cuts, a broken toe and a hole in the sheetrock later we were getting close.

The kids had their guesses as to what it would end up being but were ultimately super surprised. After 8 weeks of work during which we had my wifes family visit and then my parents came. Thank you to them all by the way b/c they worked on this too, which helped me immensly. Christmas Morning 90% of it was finished with the exception of the ballpit, canvas & foam coverings for safety. It took another 3 weeks to finish as I had never used a sewing machine before and wanted the kids to know this was a labor of love.

We ended up with monkey bars over a ballpit, cargo climbing nets on the far back wall and also transition from the ballpit to the top deck, outfitted with pirate telescope that leads to the slide and  LED lighting throughout. Under the deck we have a small fort like area for them. My wife and I decided to not fully enclose this space b/c we all know kids get into all kinds of mischief when they think noone is watching. The kids chose the name for the playground. Hope you like the "Toledo Towers" , I know they sure do :)

Thank you for access to plans, endless threads with advice and plenty of pics to motivate.

Juan Toledo & Fam

Tampa, Florida
Estimated Cost
$700 ish
Estimated Time Investment
Week Long Project (20 Hours or More)
Finish Used
It will eventually be sealed with doTERRA essential oils
Recommended oils: Wild Orange, Arborvitae and/or Lemon.
Recommended Skill Level
Intermediate

Comments

Ana White Admin
Sat, 06/18/2022 - 14:41

How am I just seeing this?! You did such an amazing job, thank you for the story that goes along with the project!

Ana White Admin

Sat, 06/18/2022 - 14:42

How am I just seeing this?! You did such an amazing job, thank you for the story that goes along with the project!

Simple Modern Outdoor Chair

Submitted by Anonymous (not verified) on Sun, 02/12/2023 - 05:11

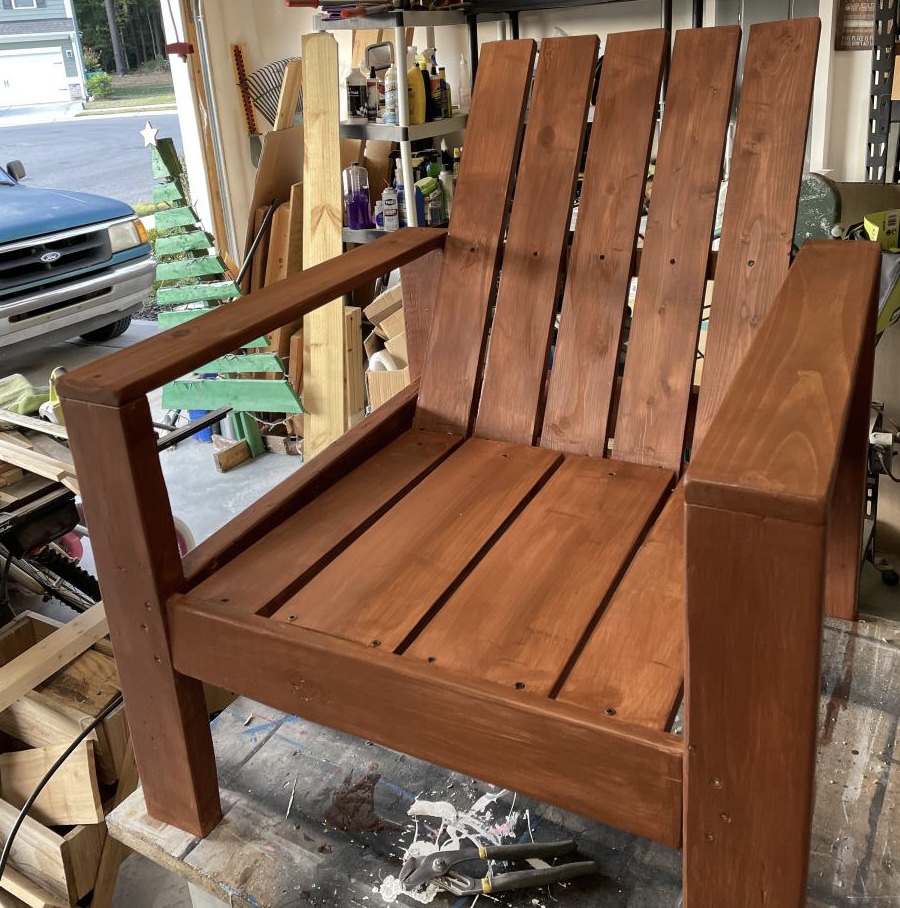
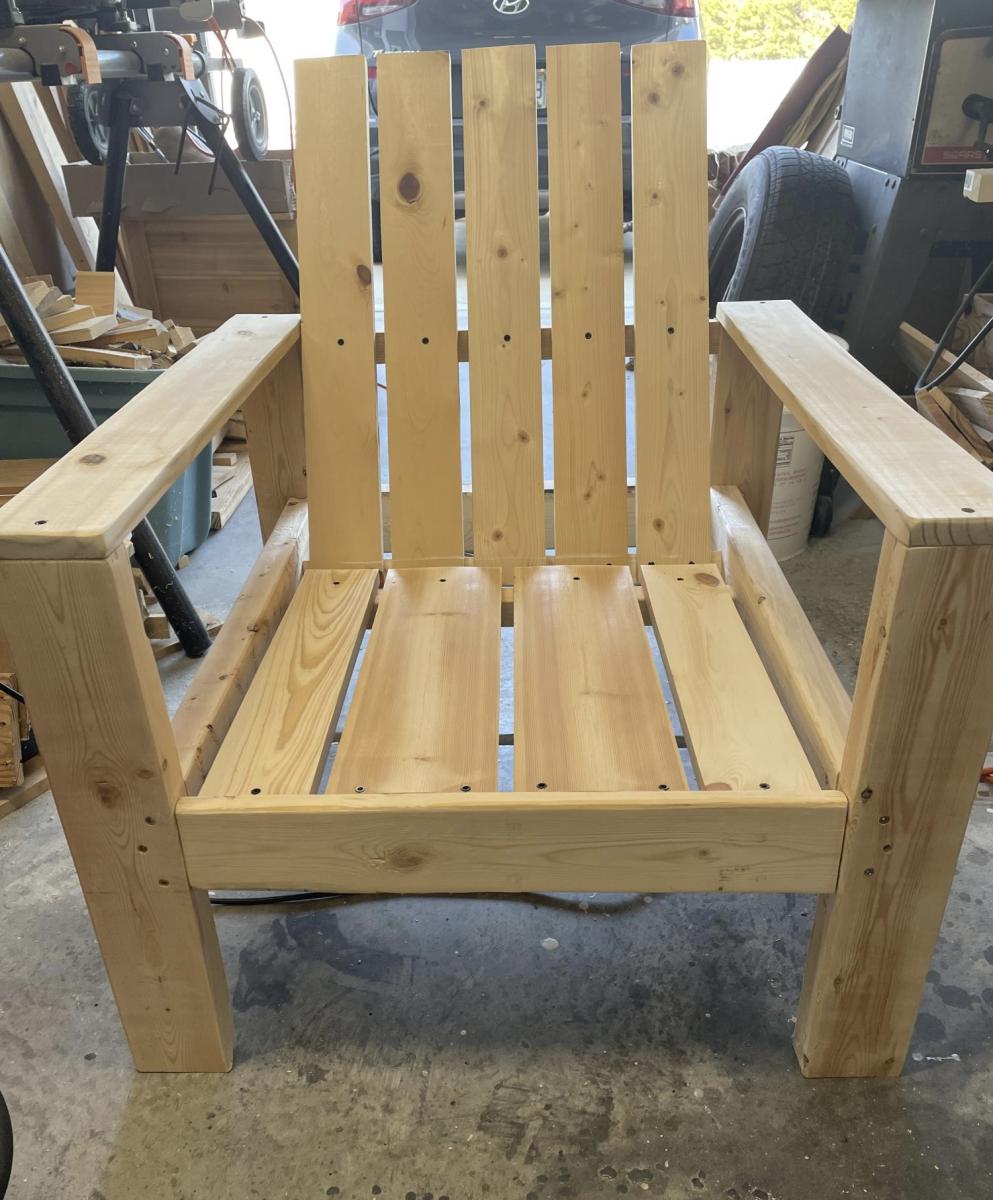
Made first chair for the firepit area, hope it holds weight!!! Plans were very easy to follow as usual.

Built from Plan(s)

Comments

A Farmhouse Table for my wife

Submitted by jenkins219 on Sat, 10/22/2011 - 16:48

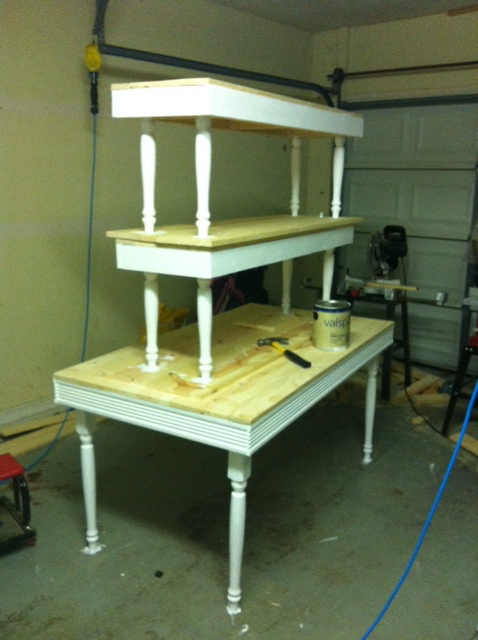
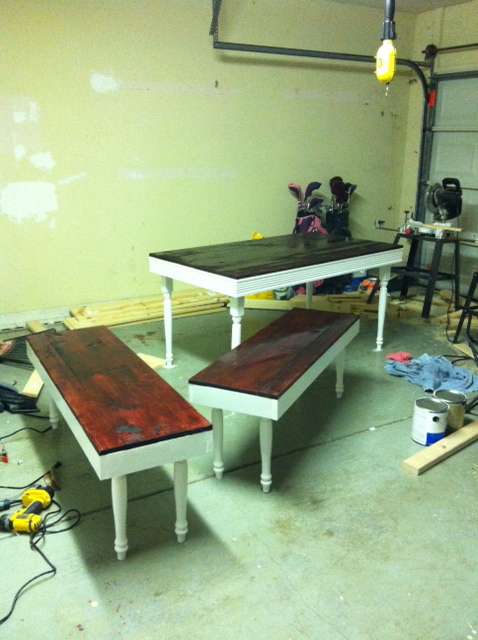
My wife has been wanting a farmhouse table for our kitchen for a while...so I looked through this site to get some ideas and finally built her one she loves.

Estimated Time Investment
Week Long Project (20 Hours or More)
Finish Used
Minwax 'Poly Shades' Bomba Mahogany for tops....Valspar Ultra white semi-gloss for sides and legs.
Recommended Skill Level
Intermediate

Simplest stool

Submitted by rgriffee67 on Fri, 10/18/2013 - 00:13

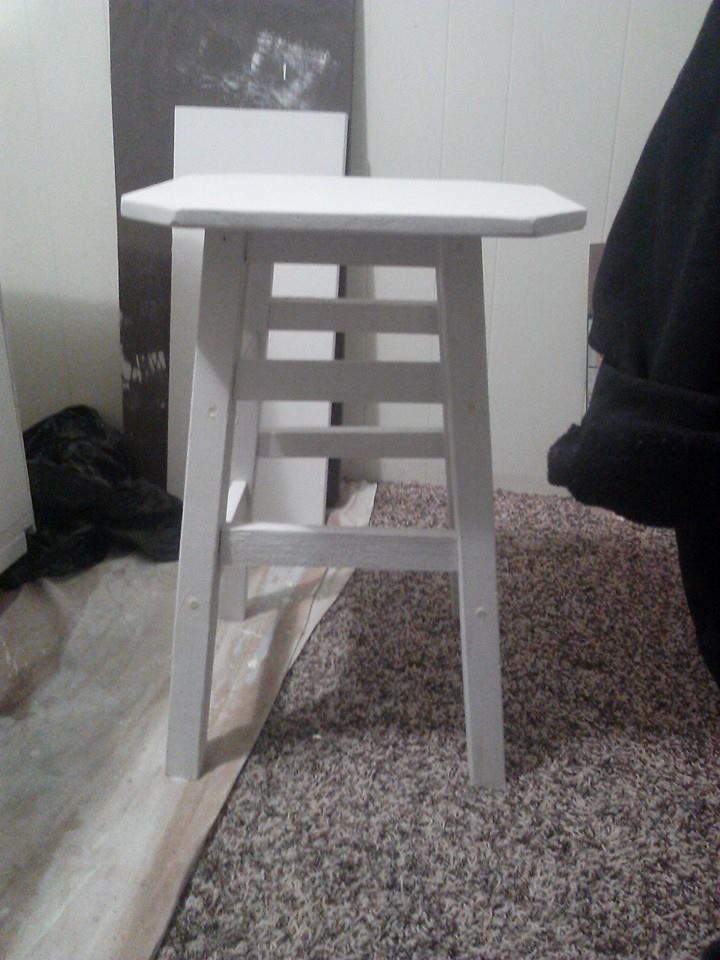
My version of the Simplest Stool will a larger rounded edges top.

Built from Plan(s)
Estimated Time Investment
Afternoon Project (3-6 Hours)
Finish Used
Solid white paint
Recommended Skill Level
Beginner

Brick Cutting Board

This was my first attempt at a cutting board, in retrospect I maybe should of made a simpler one. I made a few mistakes and it took longer than anticipated but I'm happy with the way it turned out. l've shared some of my mistakes and provide some of the tips on my blog. More pictures as well. Cheers, Ian http://www.woodworkingfourdummies.com/blog/diy-brick-cutting-board

Estimated Time Investment
Weekend Project (10-20 Hours)
Finish Used
Mineral Oil
Recommended Skill Level
Intermediate

Farmhouse console table

Submitted by Anonymous (not verified) on Sun, 03/24/2019 - 15:50

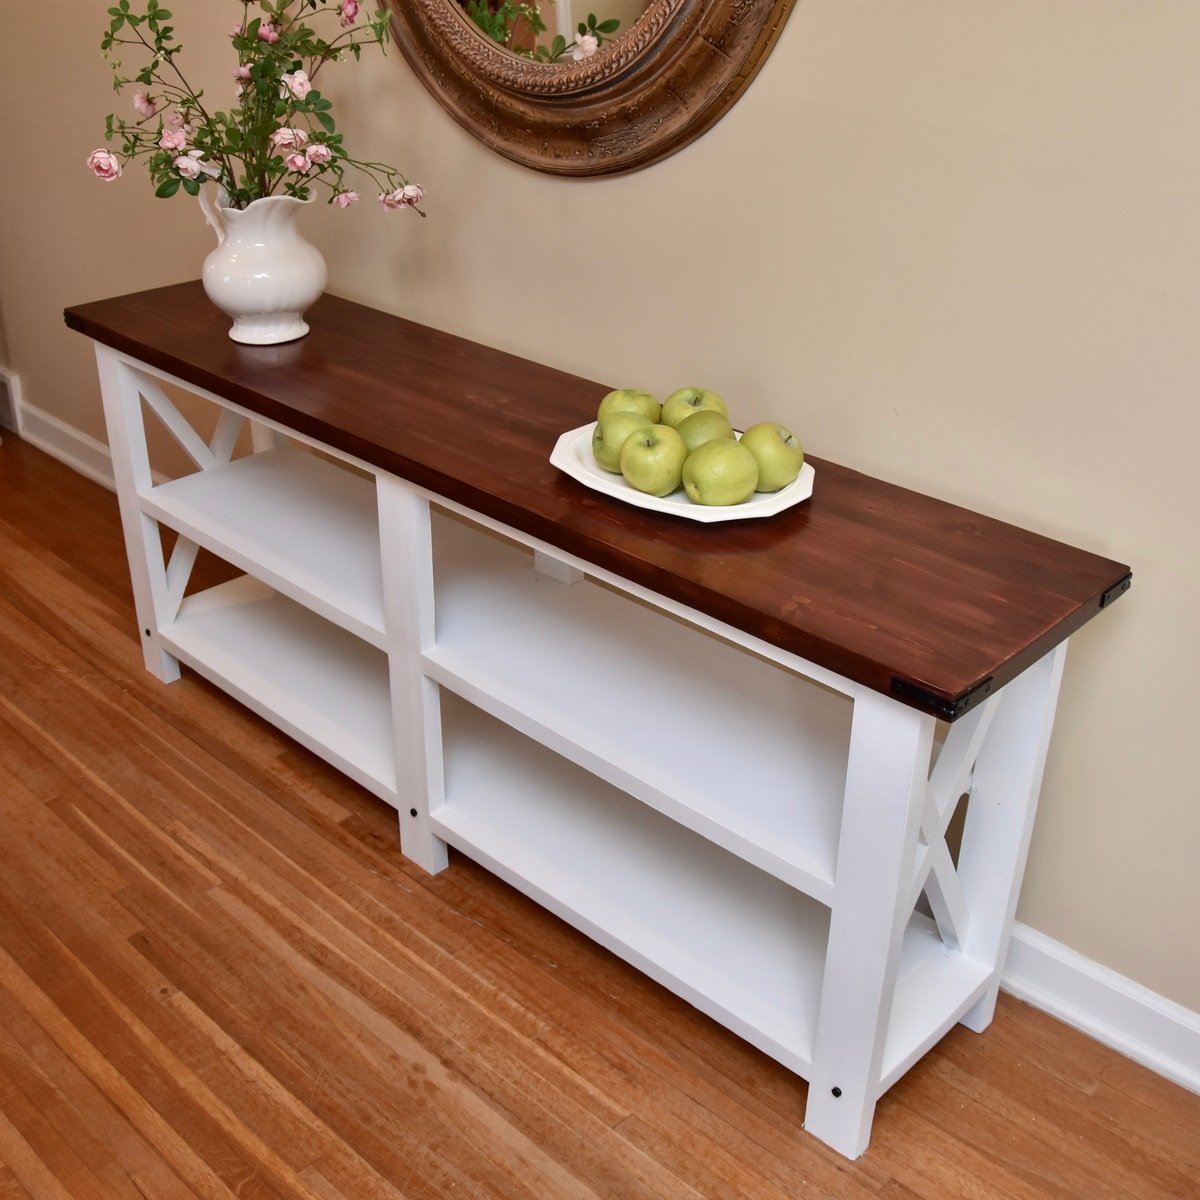
This was my second build from Ana White.  If I could learn how to do the finishes better, I could get a table like this done in a few hours instead of a few weeks!

Built from Plan(s)
Estimated Time Investment
Weekend Project (10-20 Hours)
Finish Used
GF Chalk White on base. Red Mahogany stain with satin wipe-on poly for the top.
Recommended Skill Level
Intermediate

Farmhouse Bed goes chic

My Husband and I built our Farmhouse bed as our 2nd project, out of necessity. Our bed broke, and I was really lusting after a Farmhouse bed, so we took the plunge. 6 months later, we moved and our style changed, so we painted it. I love it even better in gray! The best part of building your own furniture is that you can change it as your style changes!

Built from Plan(s)
Estimated Cost
$200
Estimated Time Investment
Weekend Project (10-20 Hours)
Finish Used
First- Valspar Honeymilk paint.
Second- A dark gray (I forgot the name)
Recommended Skill Level
Intermediate

Adirondack chair

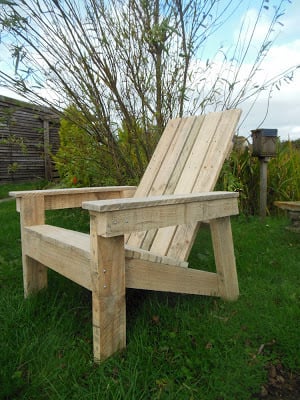
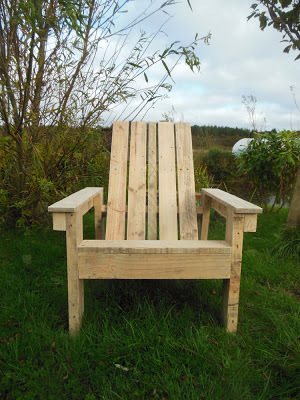
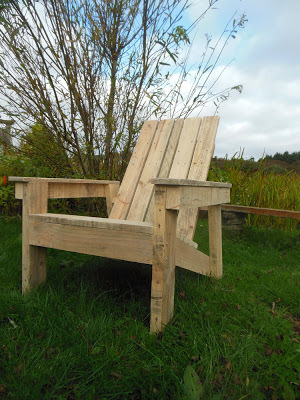
I've wanted to have a go at an Adirondack chair for ages but never had the wood available - I refuse to buy wood for ANY project so I had to wait until some came along. We had heaps of pallets delivered FOC so I dismantled them and had the perfect sized wood for the chair.
Because I used pallet wood there's the odd nail hole etc but each piece was sanded down with various grit strengths until I had the wood as good as it was possible to get it.
I did have trouble with the plans because some of the dimensions did not fit for the size of wood they stated to use but no one else has said they had any problems so I'm guessing the issue was down to me and not the plans. The main sticking point for me was that I had to use a 2" batten in the centre back because the dimensions given for the stringers did not allow for the right number of 4" wood to be used.
This project was the practice run though and so I will make some more with a few minor adjustments to the dimensions. I would also recommend counter sinking the screws (I pre drilled also which makes for an easier finish) and next time I will give each piece one coat of paint/stain/finish before assembling - these images show my unpainted chair and painting in between all the slats was tedious.

Estimated Cost
£10
Estimated Time Investment
Weekend Project (10-20 Hours)
Finish Used
Although the pictures show my unpainted chair I have now finished it in Cuprinols garden shades paint in 'Summer Damson;
Recommended Skill Level
Beginner

blowtorch stained kitchen table

Submitted by KL728MX on Tue, 01/05/2016 - 12:55

I combined two plans to make this and added my own touch to it as well. I am 6' 4" and wanted a taller table but I really like the farmhouse table. I found 35" turned table legs at Lowes that worked perfectly. I also found these really cool 2'X4' butcher block style spruce panels that worked great for the table top. I pocket holed 3 of them side by side to get the size I wanted. I built the frame out of 2X3's and trimmed them out with some molding. I had seen people blowtorch tables before and I thought it would look really good. I added the stain afterward to darken the color and it came out awesome. I painted the legs and frame white to match the trim and cabinets in my kitchen.

Estimated Cost
$200
Estimated Time Investment
Weekend Project (10-20 Hours)
Finish Used
blowtorch and minwax gunstock stain, 3 coats of polyacrylic satin clear
Recommended Skill Level
Intermediate

Comments

CSaintD

Wed, 01/06/2016 - 10:12

That is a great idea for the table top - using the panels, I mean.  I  never thought of that as an alternative to the long 2x boards.  Great job!

KL728MX

Sun, 01/24/2016 - 12:46

I really aprriciate your comment. It was really easy to use the panels and it also eliminated the amount of pocket holes needed. It also made it alot easier to get a smooth and flush table top. The only downside is you typicaly want the wood grain to run the length of the table. Given the size of the panels I had to run the wood grain the other direction. I still like it but some wouldn't because of that reason.

Love My Rustic X Coffee Table

Submitted by Sue Hill on Sun, 04/07/2019 - 18:10

This was a challenge for me, since those 2x6 top boards were slightly twisted and or cupped. I love the X detail and that was fun to put together. I found some "L" brackets and spray painted them for the ends. I stained all the wood first, before assembling.It's a gray/brown stain, one of my favorites. I decided to white wash over the stain doing all of table except for the top. I used a wax finish. 

 Love it, many times my ukulele, mandolin, banjo and fiddle are all tucked away underneath.

Built from Plan(s)
Estimated Cost
$80-$100
Estimated Time Investment
Weekend Project (10-20 Hours)
Finish Used
1. Varathane Fast Dry Wood Stain - Briarsmoke, 2. Rust-Oleum Chalked Paint - Linen white,
3. Howard Citrus-Shield Premium Paste Wax. I diluted the Linen white chalked paint with water, about 50/50. The day after I stained the wood, I took a cloth (you could use a brush, too) and wiped on the diluted paint. After a few minutes, I wiped off the paint with a clean cloth until I achieved the finish that I wanted.
Recommended Skill Level
Beginner

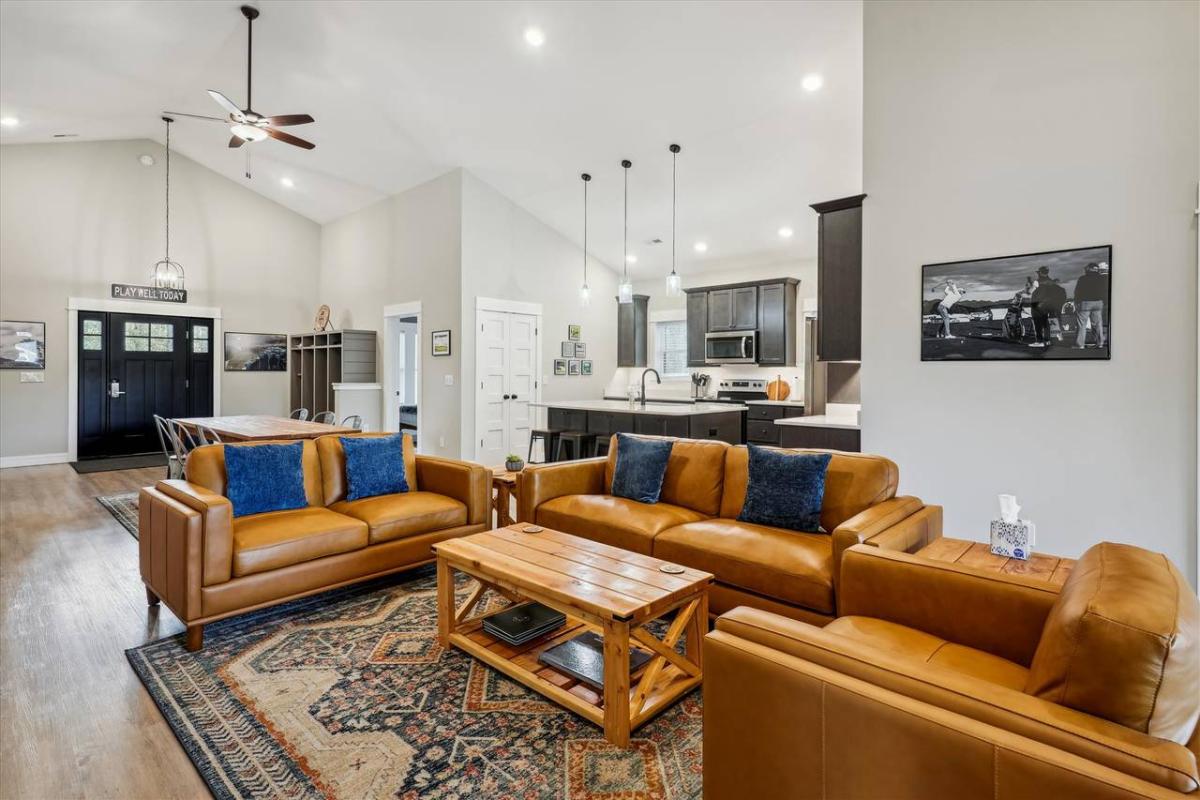
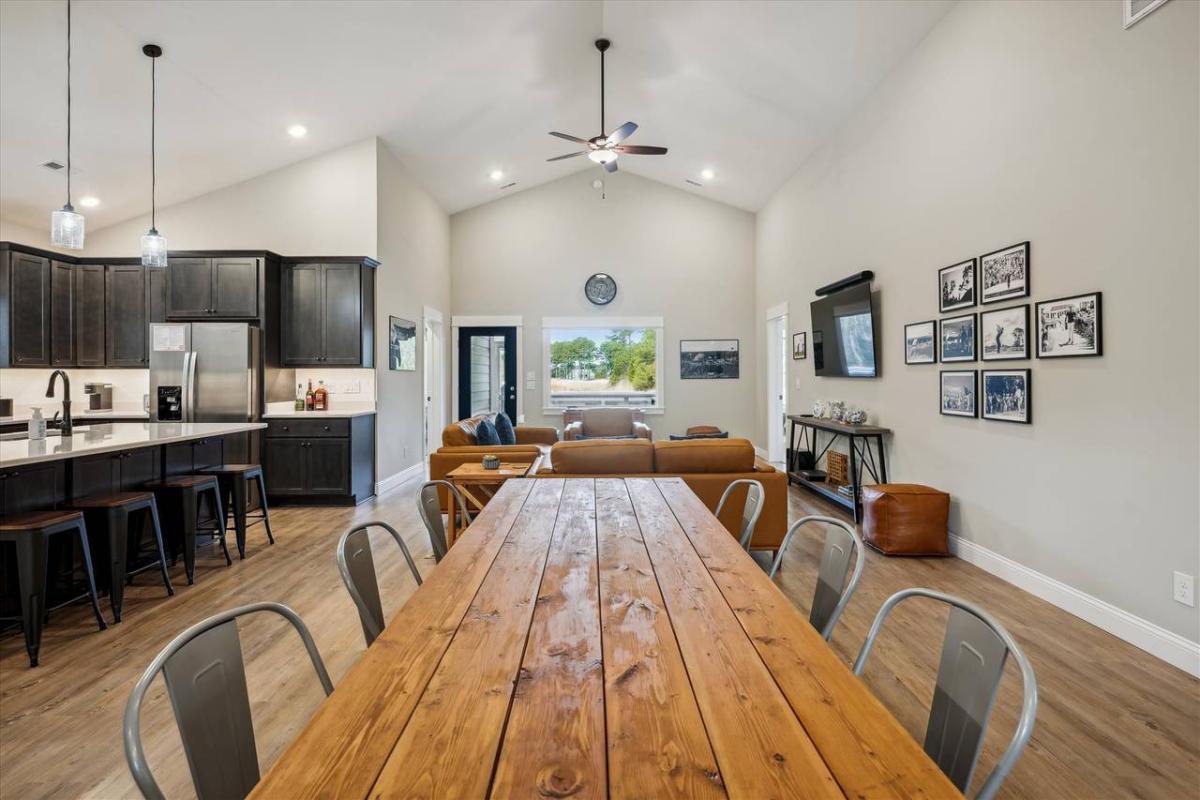
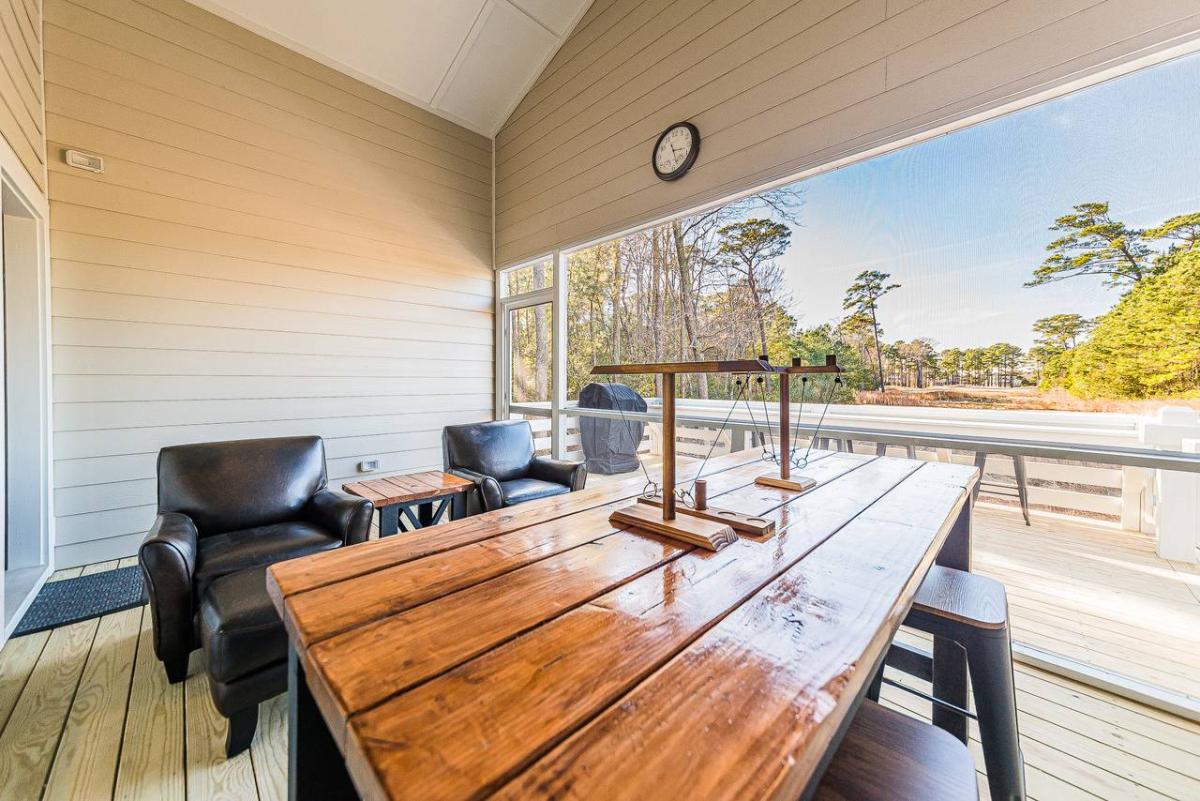
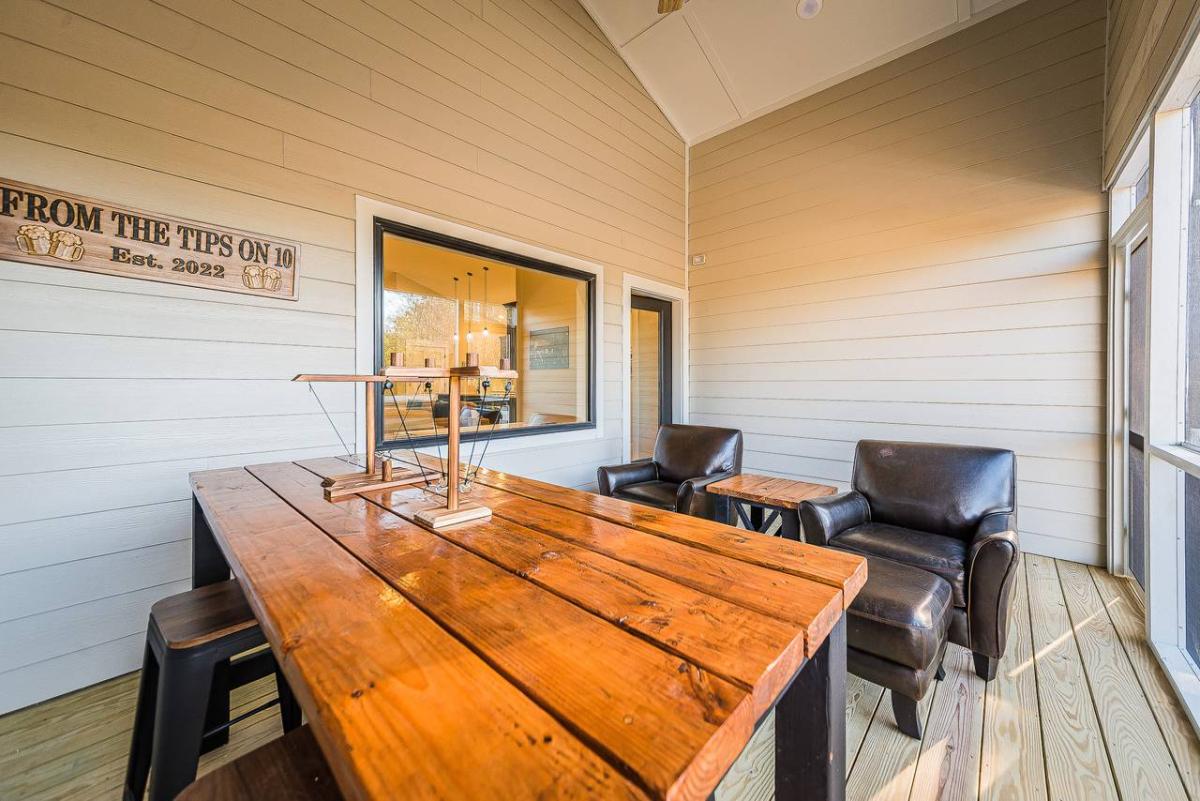
My Golf Getaway Cottage

Submitted by Anonymous (not verified) on Fri, 02/24/2023 - 05:31

While my vacation property was being built I got hooked on Ana’s plans. Farm table, followed by coffee and end tables and finally a fabulous pub table.

Can’t wait to entertain.

Comments

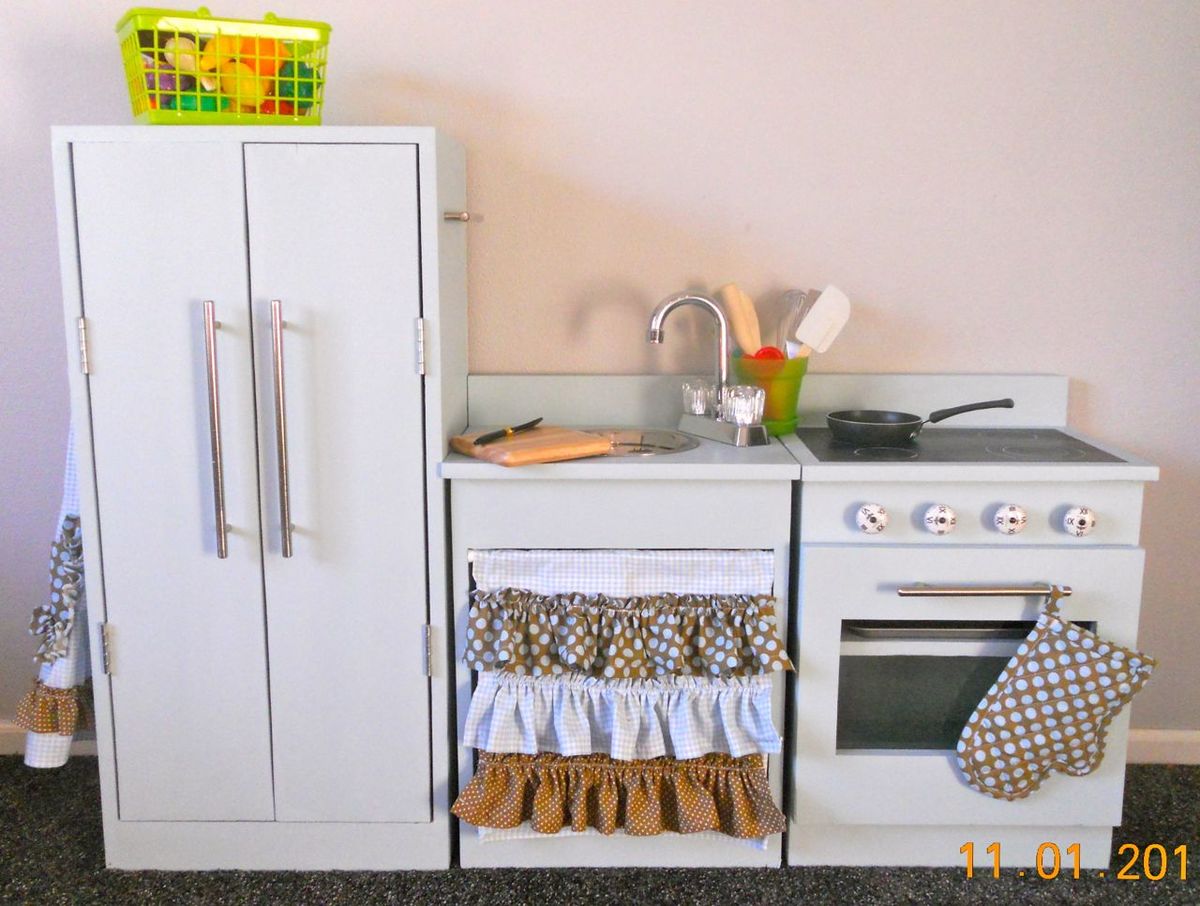
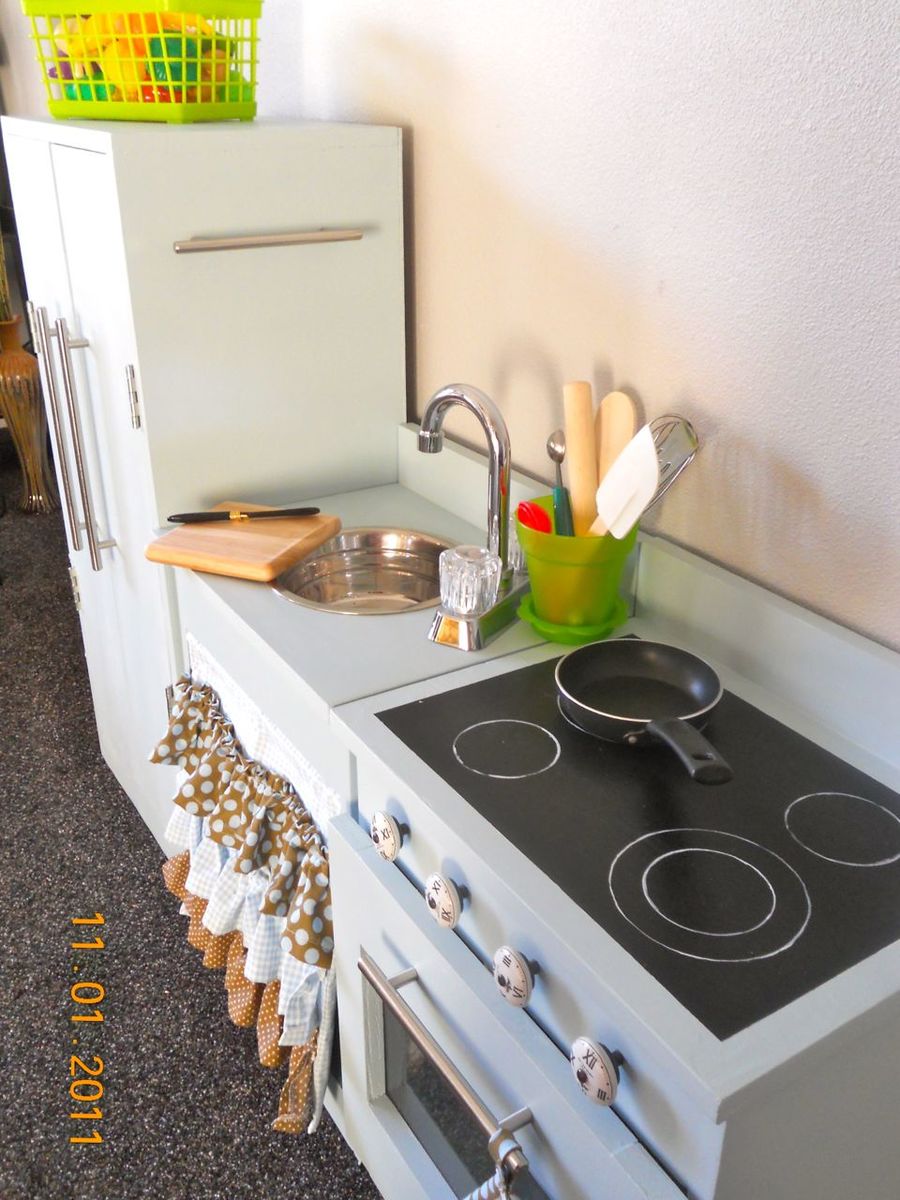
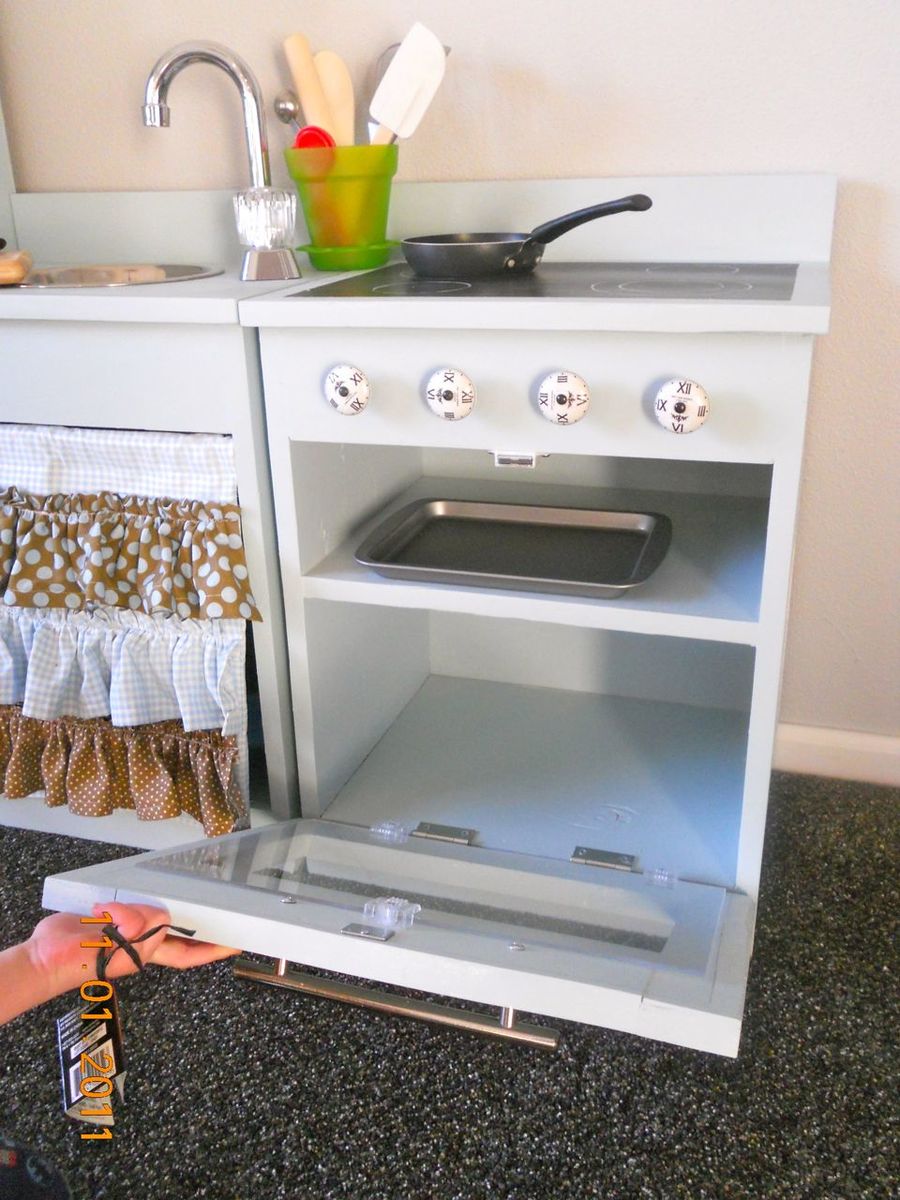
Play Kitchen

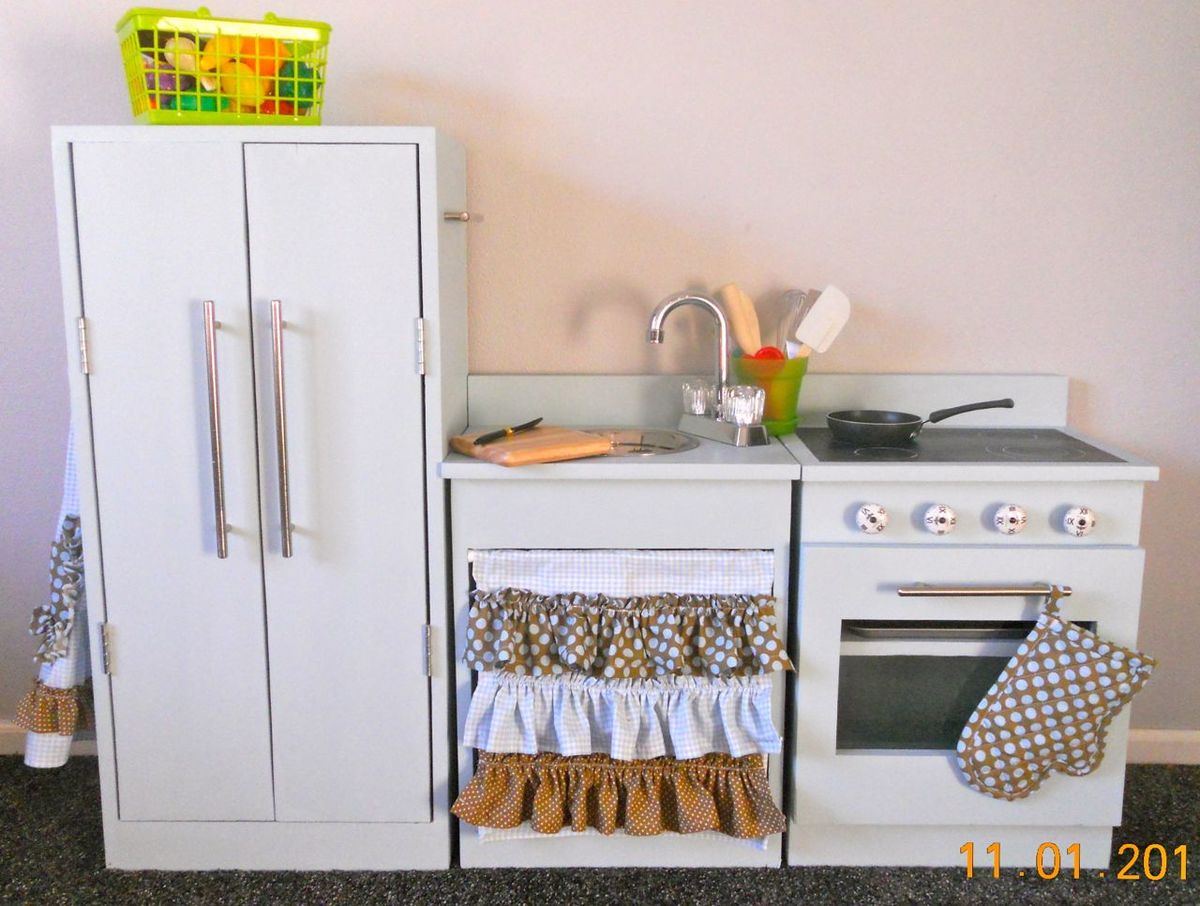
Submitted by jilllo27 on Tue, 11/01/2011 - 17:43

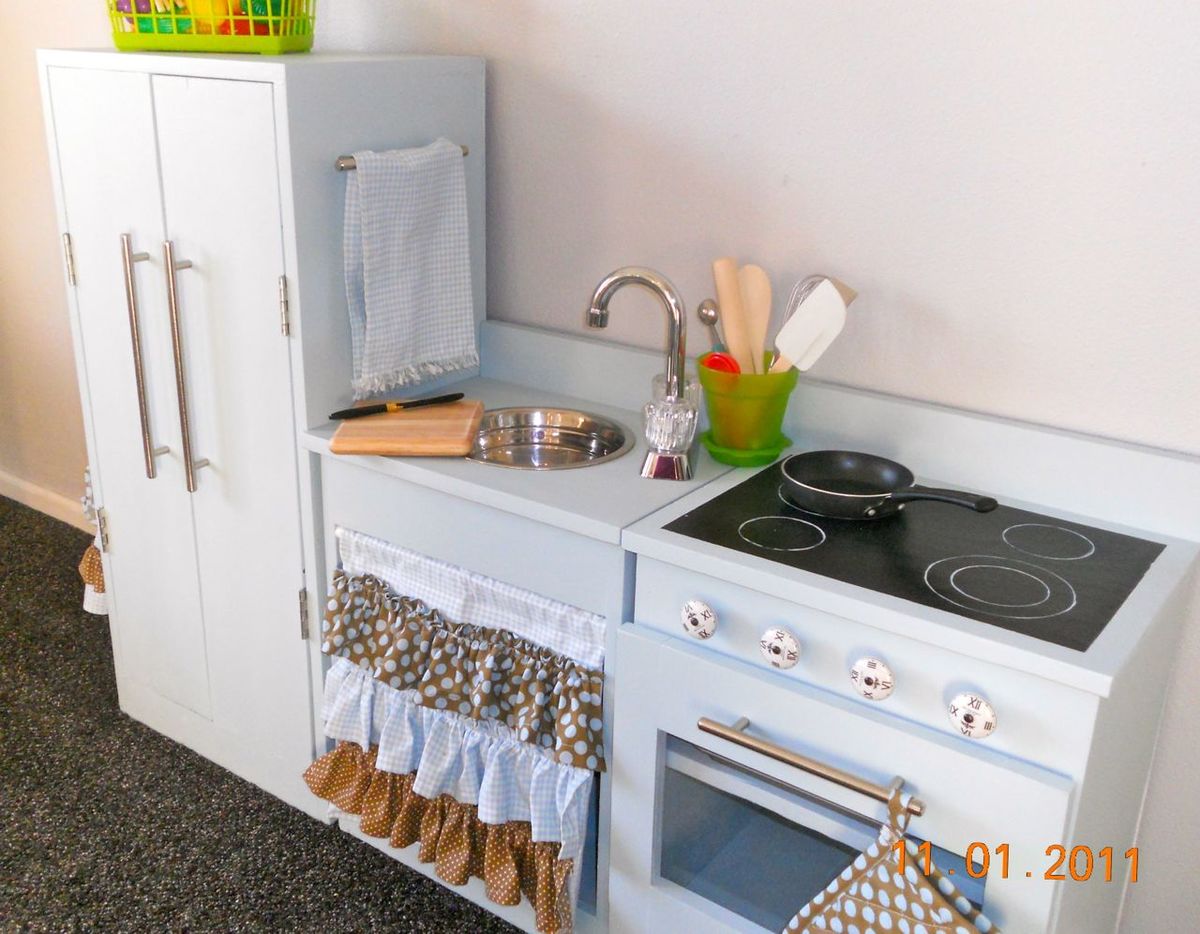
Thank you so much Ana for posting these plans for us! A huge thanks to Crafting Chicks for some artistic inspiration, too. I referred back to the "original" many times in order to make mine as adorable at theirs!

I've been planing on making this for a year. When I finally decided to start building I was, as always, surprised at how quickly it went together and how simply. The finishing details is the most time consuming, but also the most rewarding. I'm in LOVE with this thing. It will be auctioned off at my childhood elementary school. I hope whoever goes home with it will enjoy it for generations! I wish I had time to blog about all the details for those of you that are interested! I'll be happy to share my finds, experiences to any questions posted.

Built from Plan(s)
Estimated Cost
$150-$200 including all accessories, paint, etc.
Estimated Time Investment
Week Long Project (20 Hours or More)
Finish Used
Oil based white primer with latex blueish green paint (I can't remember the color at the moment!), the stovetop is an oil based gloss black paint with stovetop rings painted in the same finish as the rest of the pieces. All is covered in a clear satin spray.
Recommended Skill Level
Intermediate

Comments

Jilllo_23 (not verified)

Sun, 11/06/2011 - 11:20

It went for $400 to a couple that is pregnant with a girl :)

Guest (not verified)

Fri, 12/09/2011 - 06:26

Love this!! I am currently in the middle of building one for my daughters. Can you tell me where you got your faucet for the sink, and the knobs for the stove?

Diana (not verified)

Fri, 06/22/2012 - 21:58

Hi there,
I know you said that you are going to auction your gorgeous little kitchen you made and was interested how I can bid on it or buy it if possible. I would absolutely love this for my little girl.
Are you at all planning to make more as I would definitely be interested.
Thanks
Diana

First Project

Submitted by Adamski on Wed, 10/23/2013 - 05:52

This was my first big project I've ever done. It certainly didn't come out perfect, but man, was it easy. All wood (select white wood) was bought at Lowes and was around $80 for all the lumber. There is 3 coats of Minwax Provincial 211 and 4 coats of Minwax fast drying poly.

I had everything cut and put together in 3 hours. Its the staining and poly that takes the time. I've been asked to make some more for family and friends and can't wait to get started.

Estimated Cost
$100
Estimated Time Investment
Afternoon Project (3-6 Hours)
Finish Used
Minwax Provincial 211
Minwax Poly
Recommended Skill Level
Beginner

Comments

Modern Craft Table.... made much bigger!

Submitted by Anonymous (not verified) on Thu, 01/07/2016 - 08:25

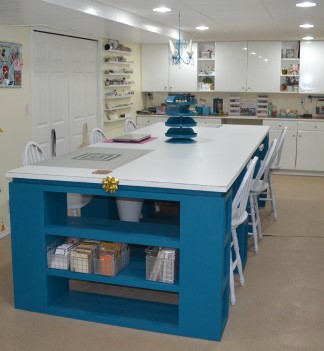
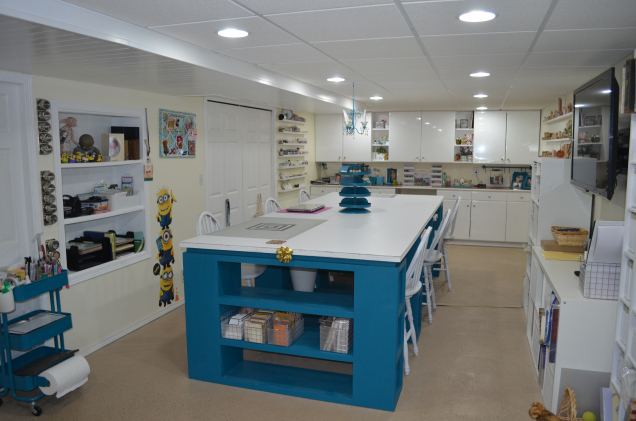
My husband used the directions for the Modern Craft Table as a guide, only making it MUCH bigger to fit in my craft room. It came out beautifully! 

More photos and details at https://inkitall.wordpress.com/2016/01/03/my-craft-room/

Built from Plan(s)
Estimated Cost
$800
Estimated Time Investment
Week Long Project (20 Hours or More)
Recommended Skill Level
Intermediate

Comments

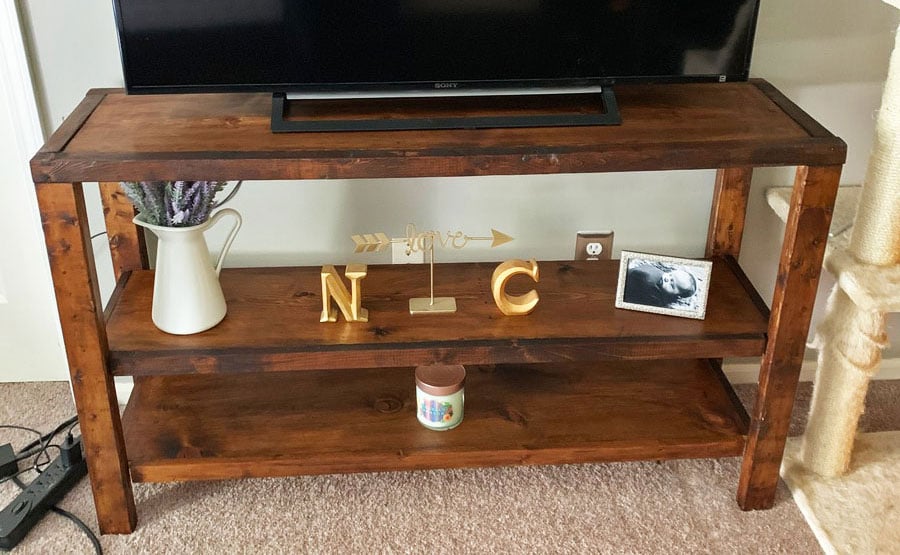
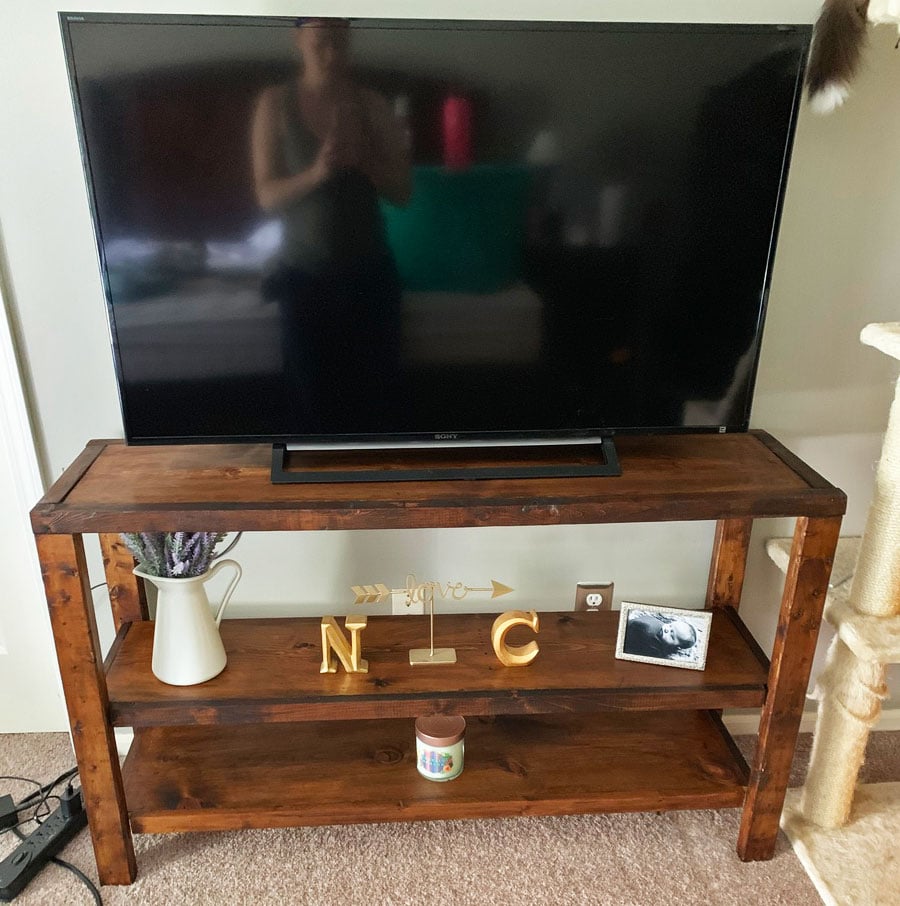
Henry tv stand

Submitted by Anonymous (not verified) on Thu, 04/25/2019 - 11:54

This my first woodworking project. It is far from perfect but turned out okay! 

Built from Plan(s)
Estimated Cost
$30
Estimated Time Investment
Weekend Project (10-20 Hours)
Finish Used
Tea and steel wool, and then I used miniwax Jacobean on top. I used two coats of poly and dark wax on top of it to finish. This was my first woodwork project!
Recommended Skill Level
Beginner

Comments