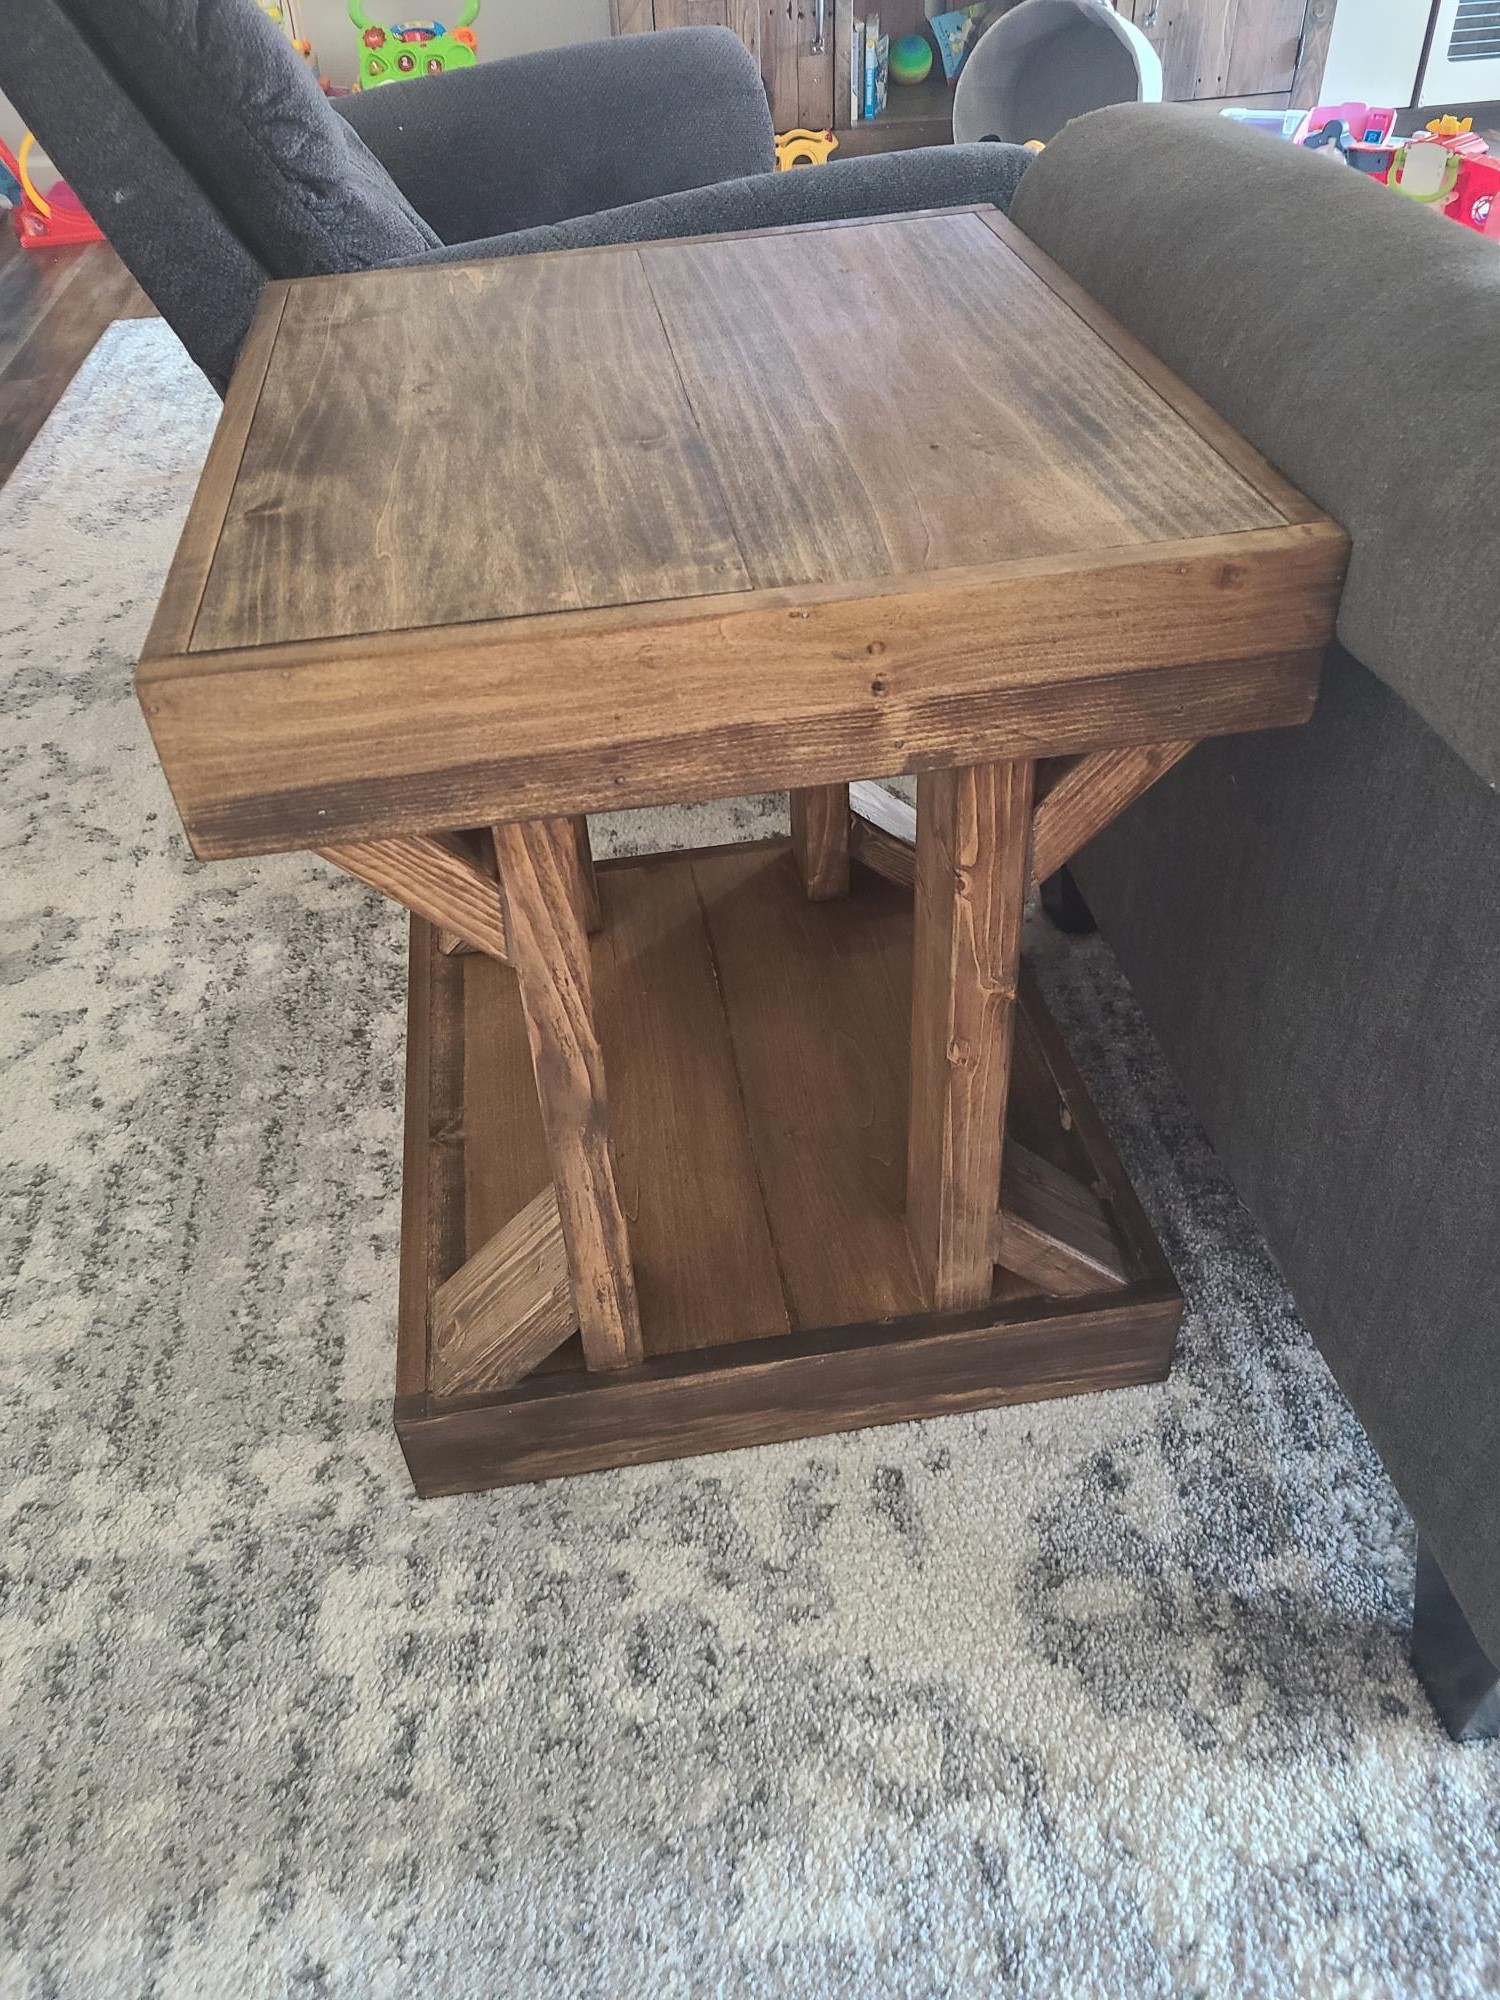
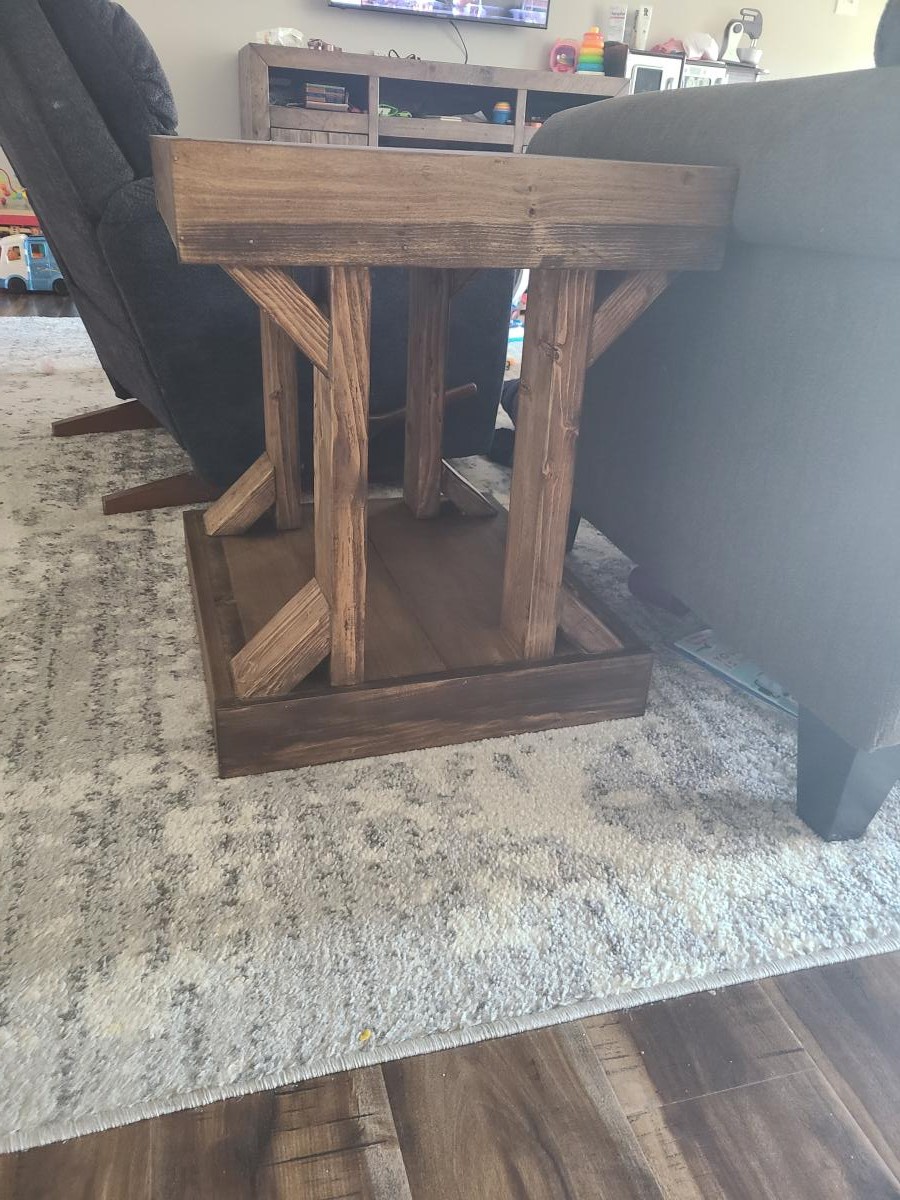
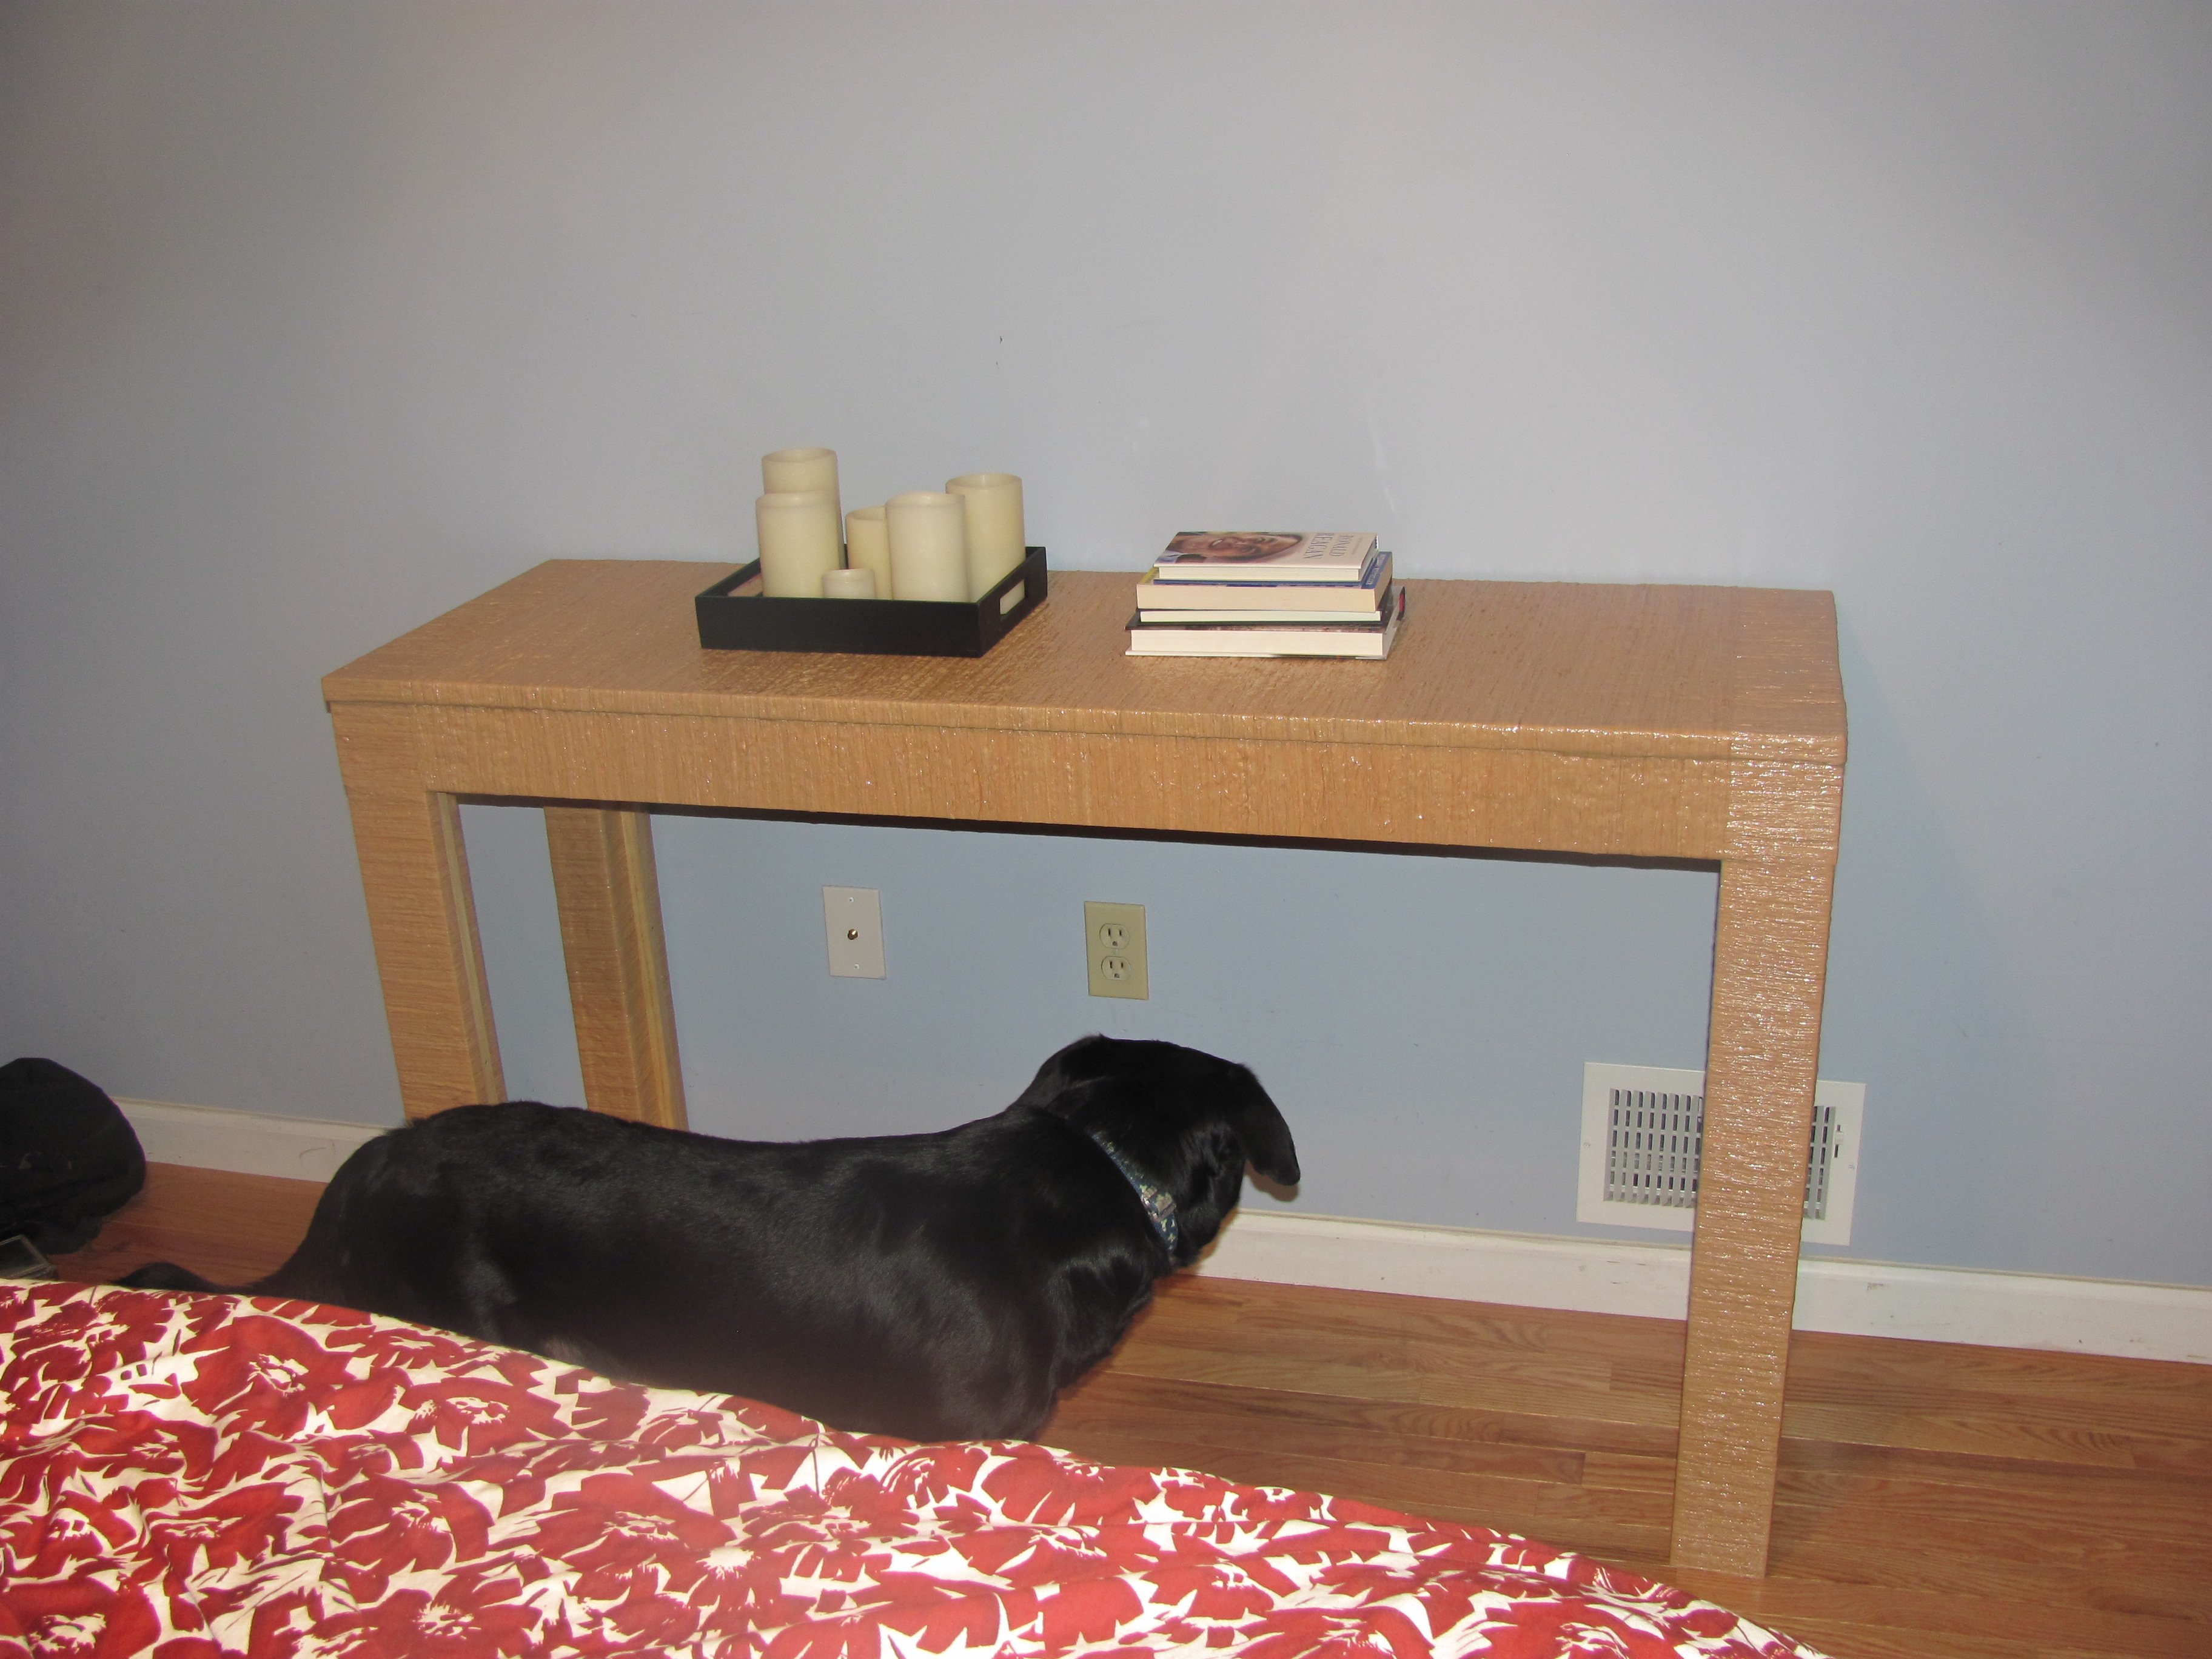
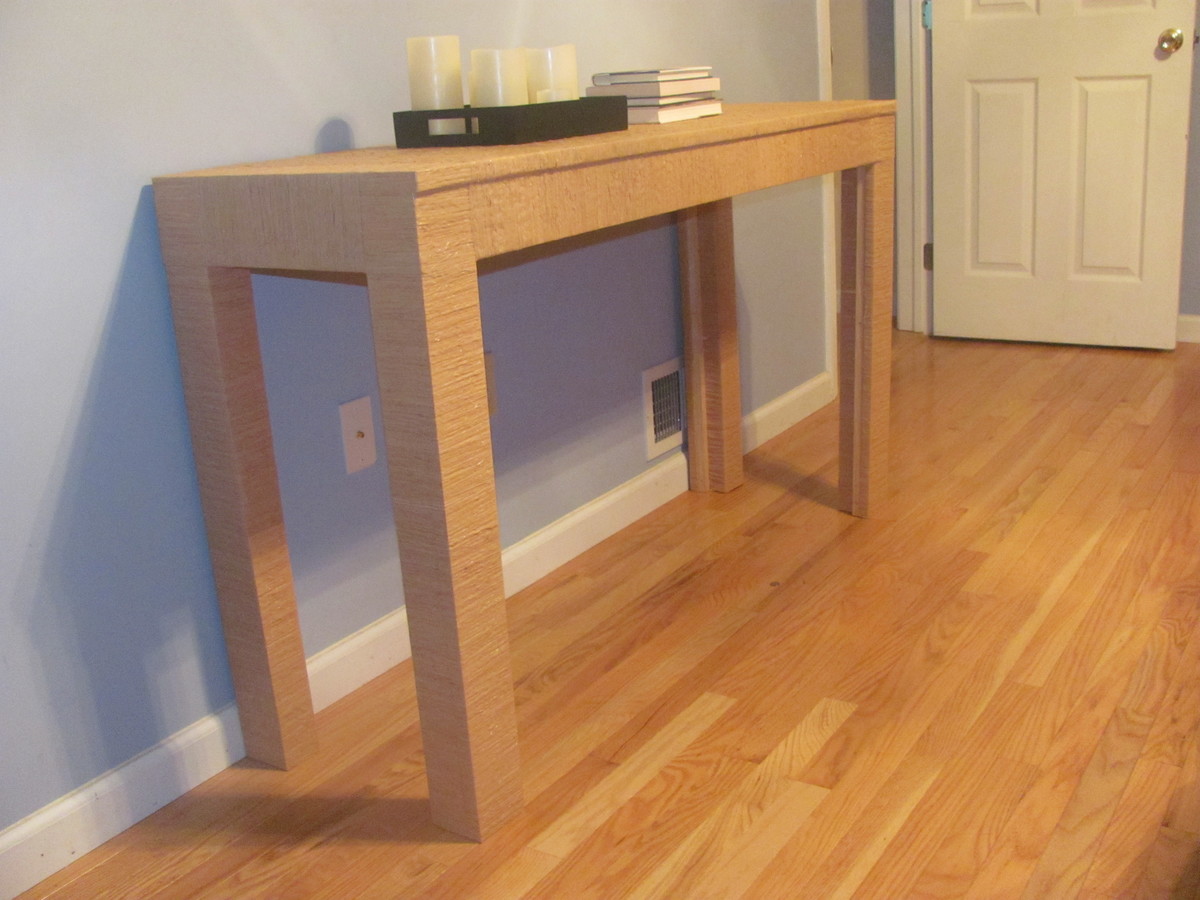
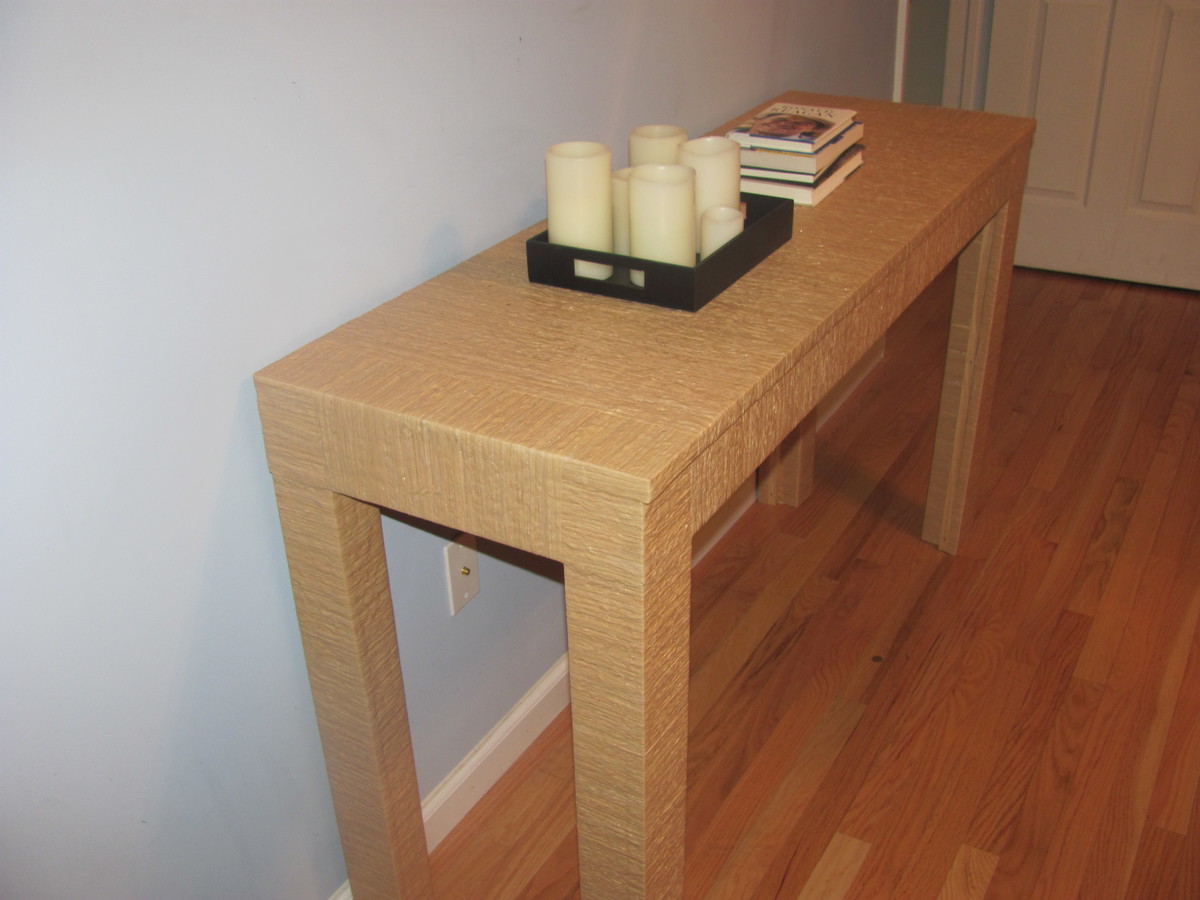
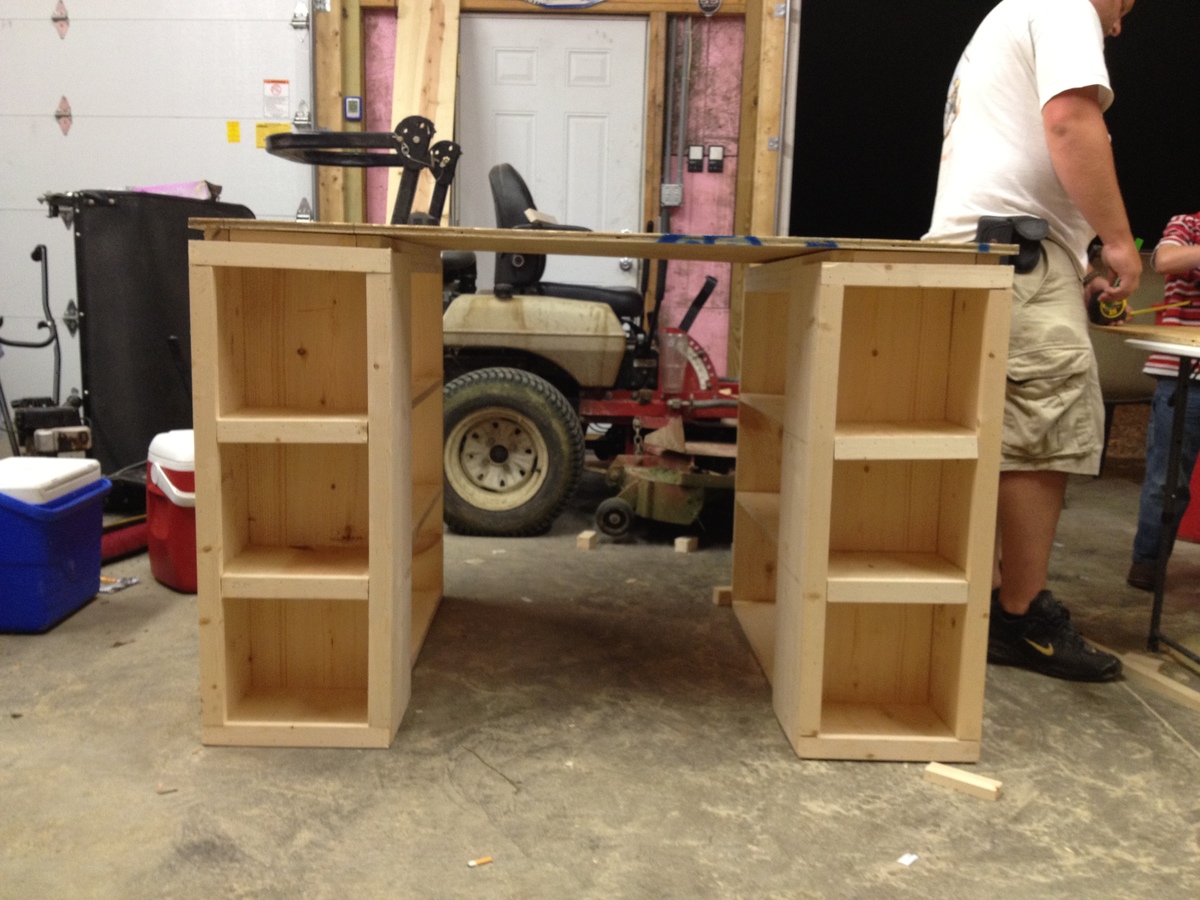
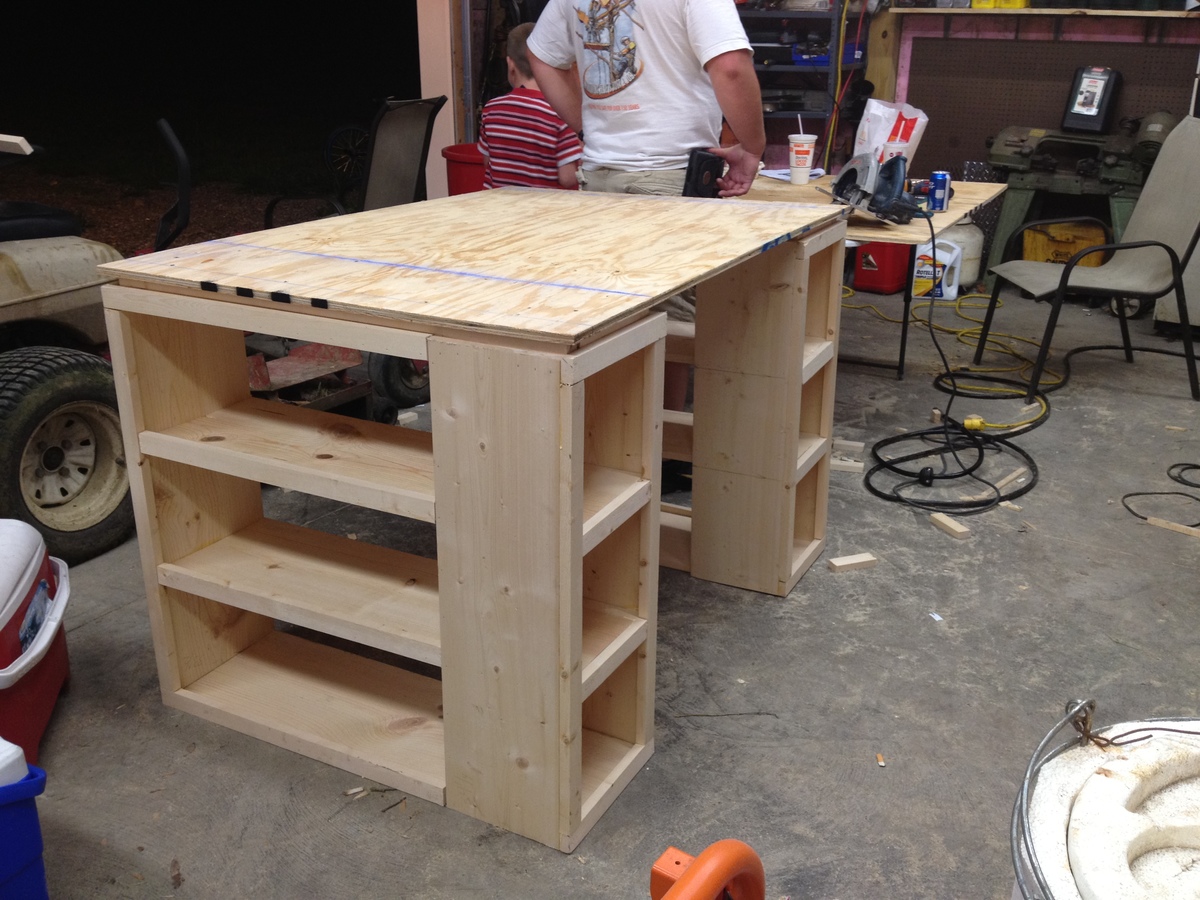
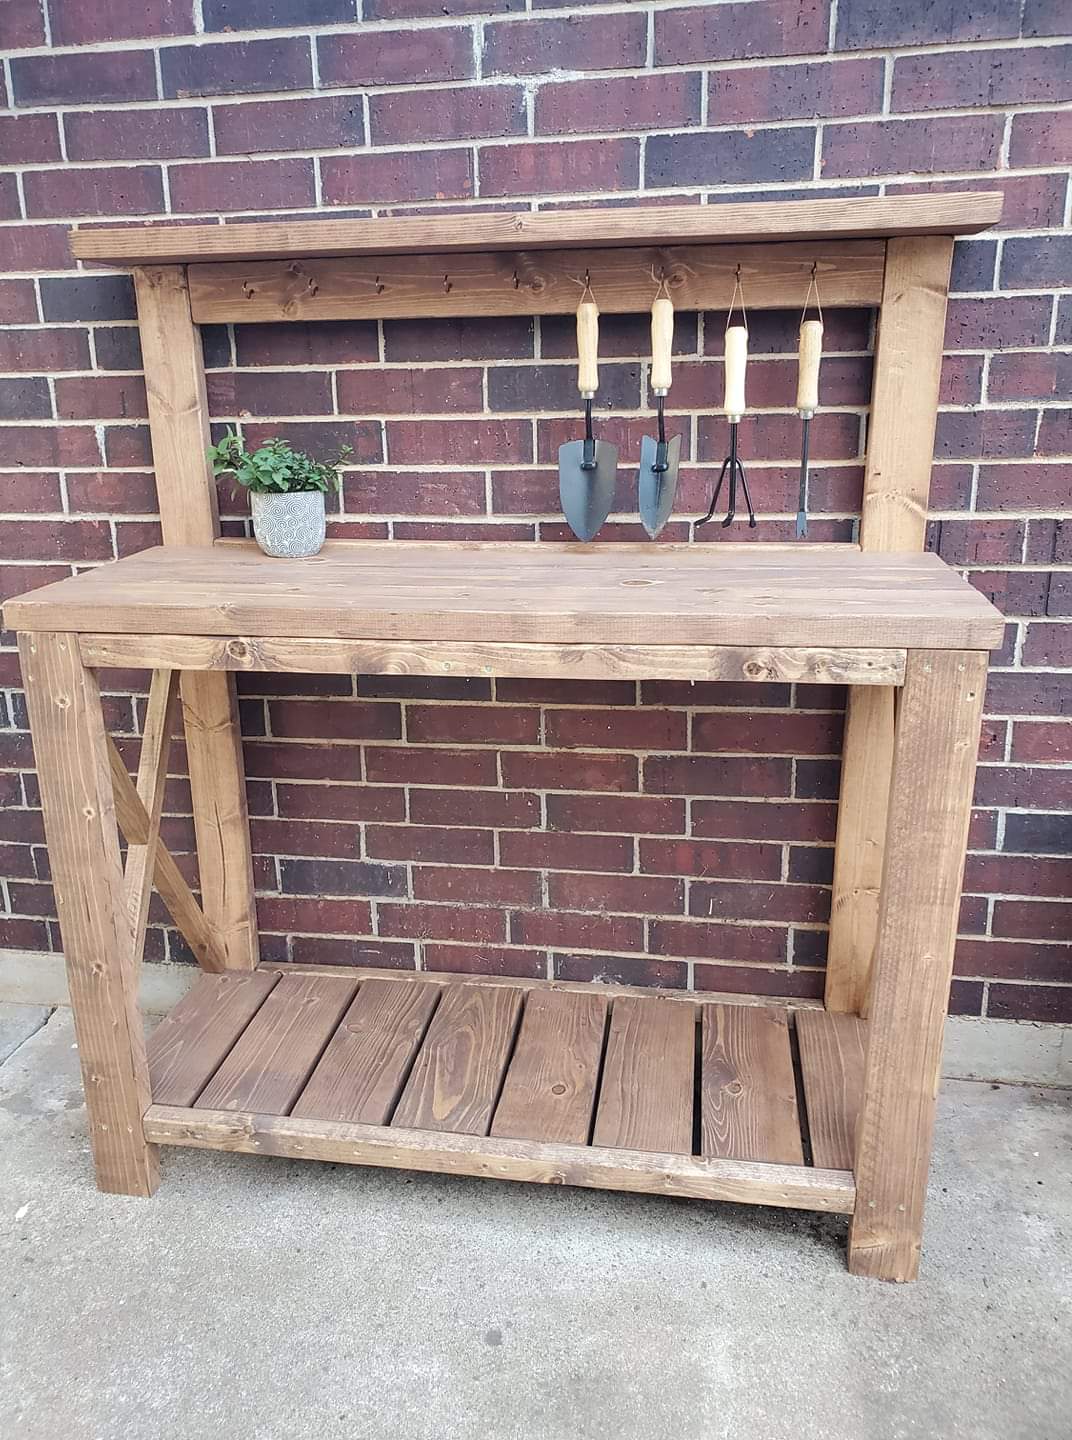
Grill Prep Table with built-in cooler
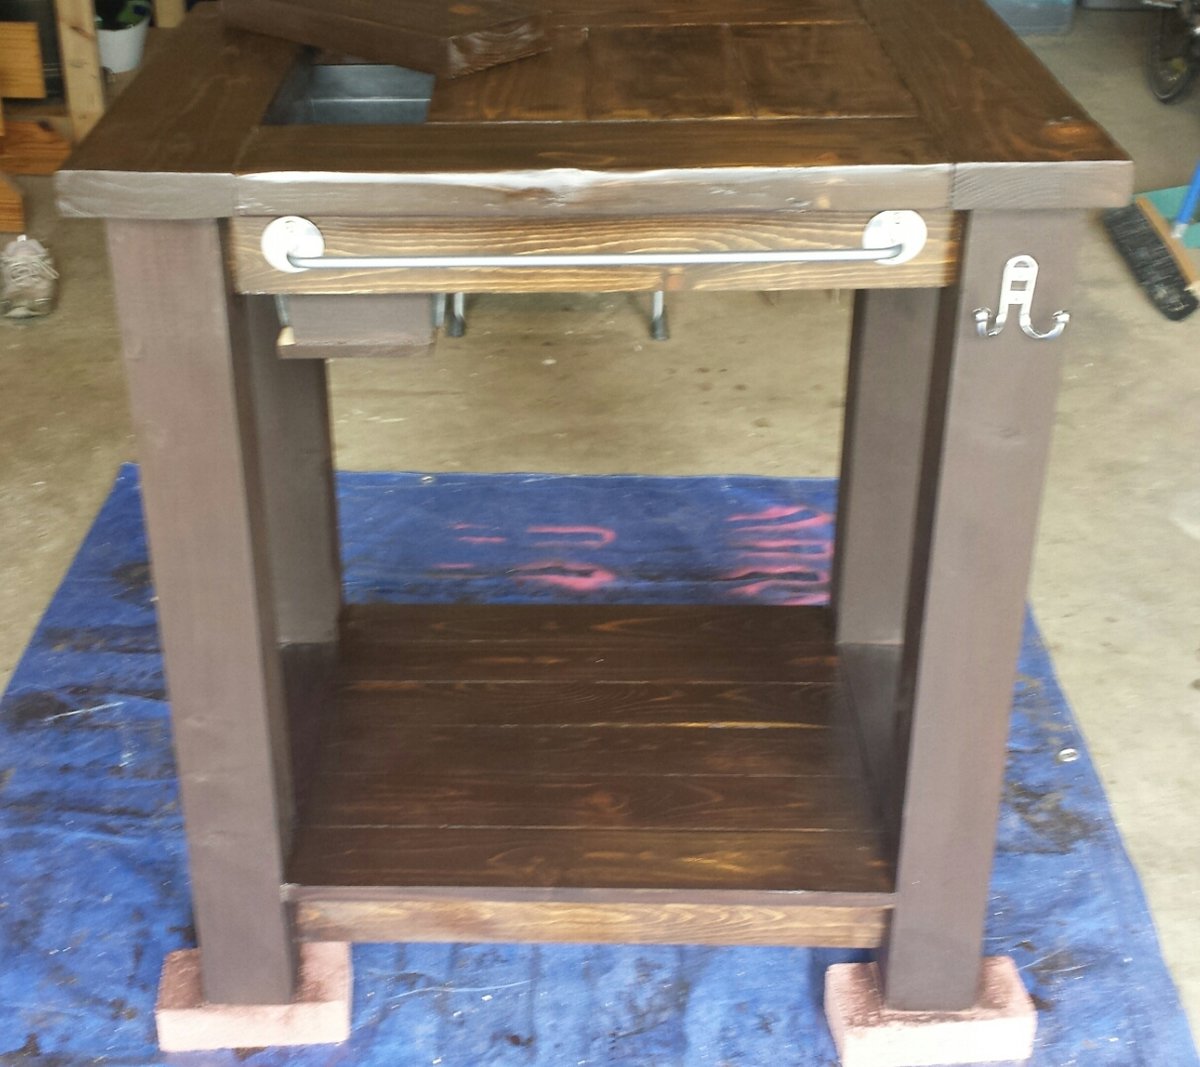
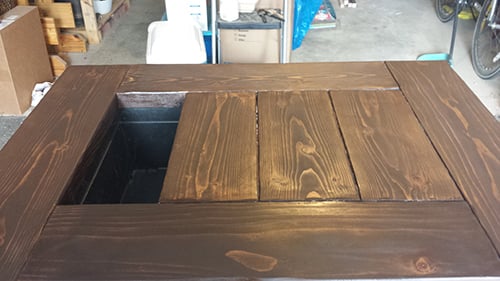
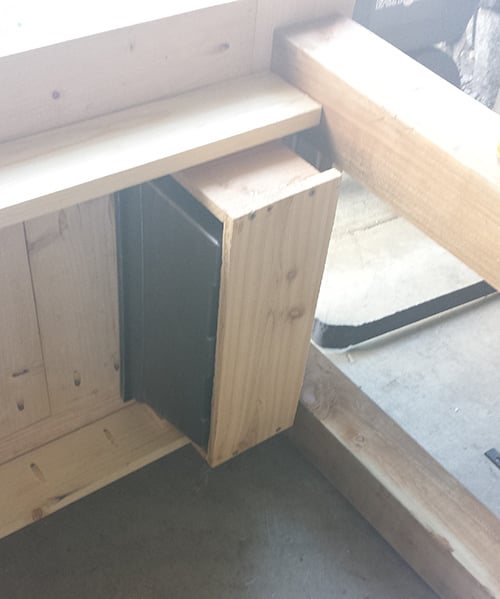
I made this for my father for Father's Day. I wanted to do a grilling prep table with a built in cooler. The cooler part is not really just for drinks but also a place to store barbeque utensils while in use.
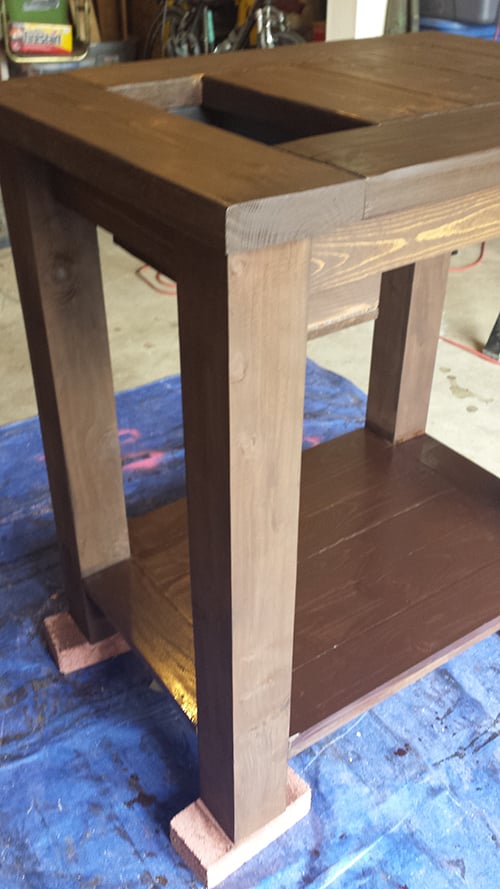
Height is 36 inches. Made out of 2x6s, 1x4s, and 4x4s. Because the table is so short, the planter slides in and out from the side underneath the table top. I had cut the top before buying the planter which lead me to do a few changes to my initial design on the fly.
Built from Plan(s)
Estimated Cost
$36 for wood excluding the top. (Already had on hand), $25 for bbq accessories
Estimated Time Investment
Weekend Project (10-20 Hours)
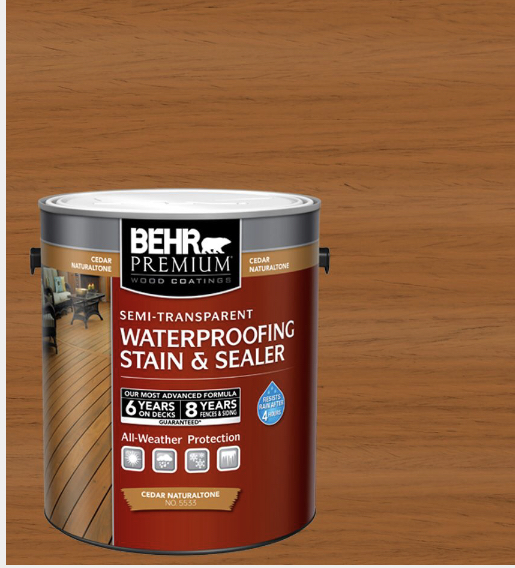
Finish Used
Varathane Dark Walnut. Two coats. And Cabot Spar Finish Semi-gloss. Four coats for the top and three coats for the bottom shelf.
Recommended Skill Level
Beginner


Comments
Cross35
Thu, 03/12/2015 - 10:50
This is awesome!
I love to grill and would love to build one of these. Do you have any other details on your design? Cut lengths or anything? I'm too new to building to deviate to far from plans right now haha.
Thanks!