Community Brag Posts

Hanging Bed

Submitted by dhrider33 on Sun, 05/22/2011 - 17:48

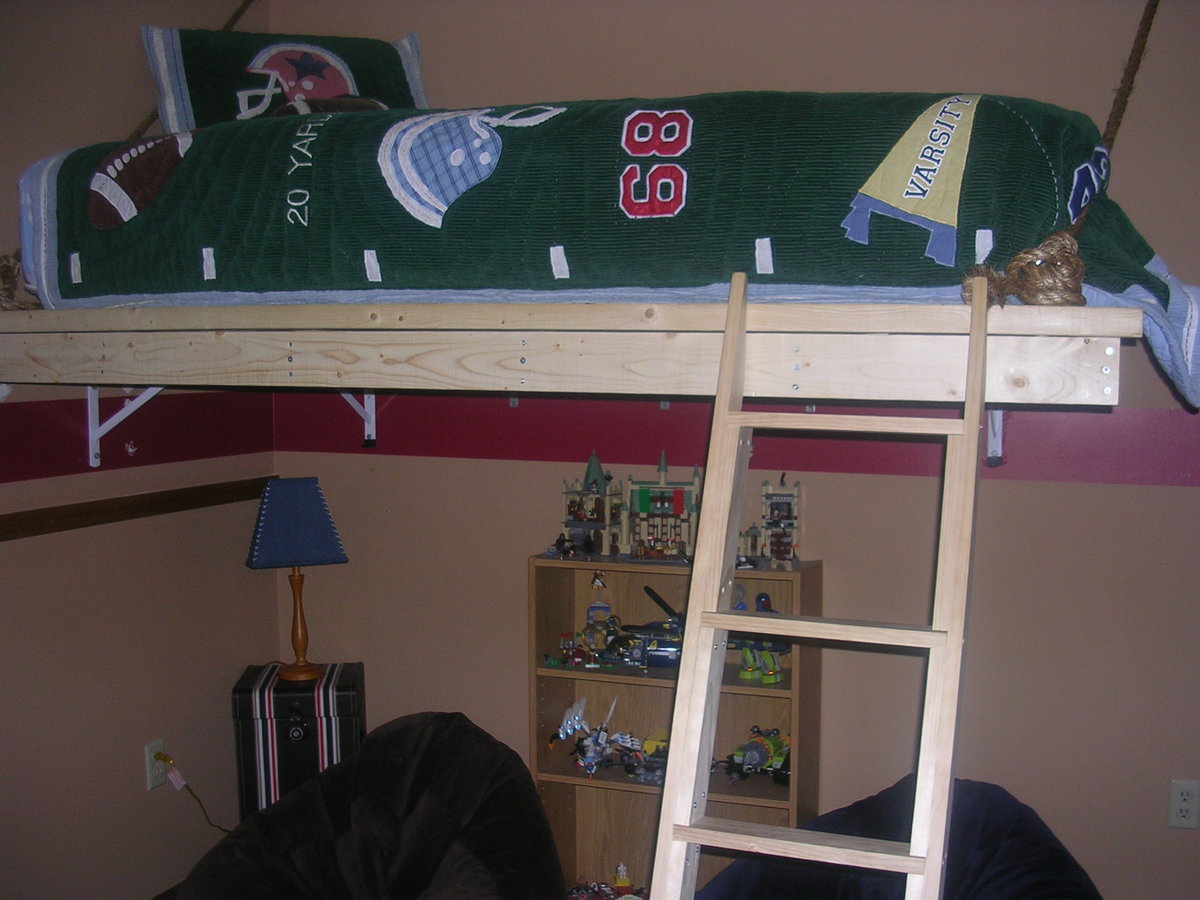
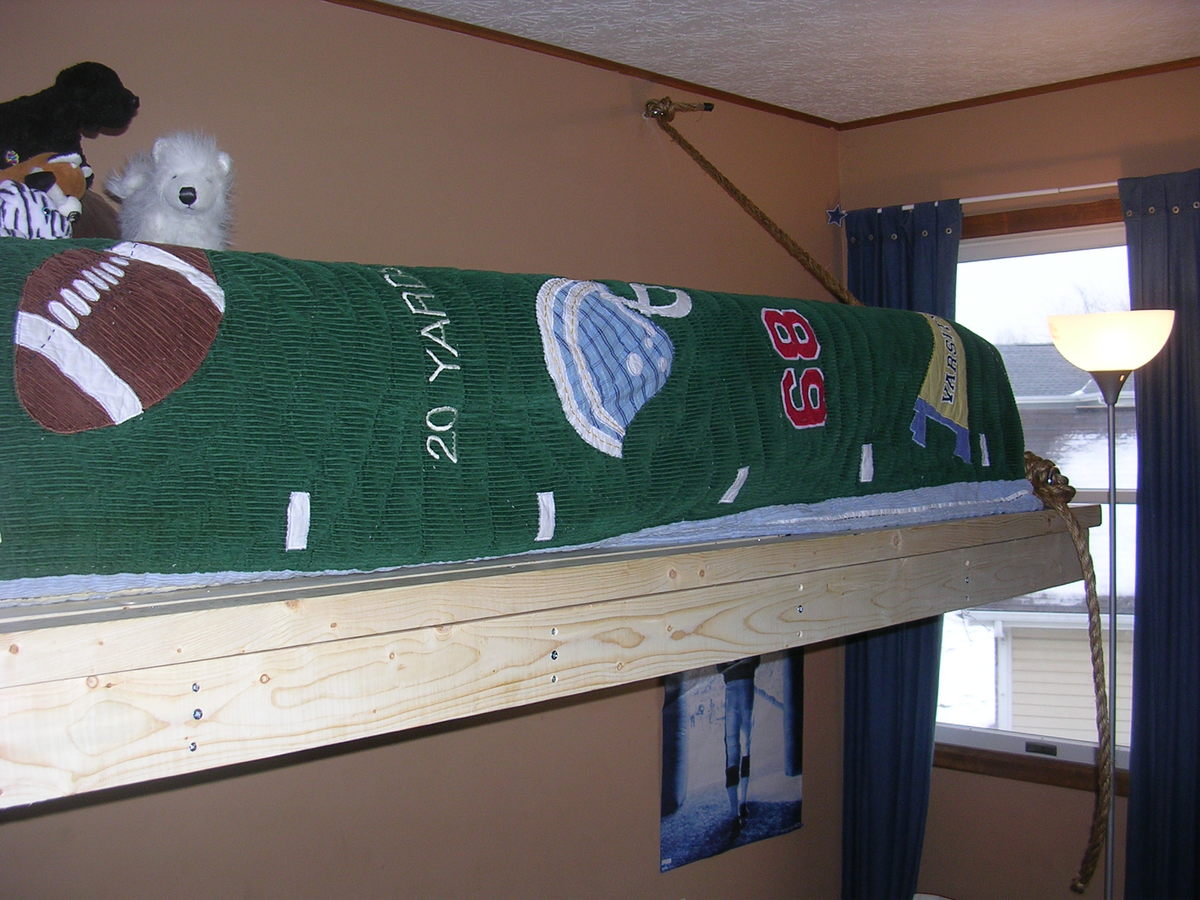
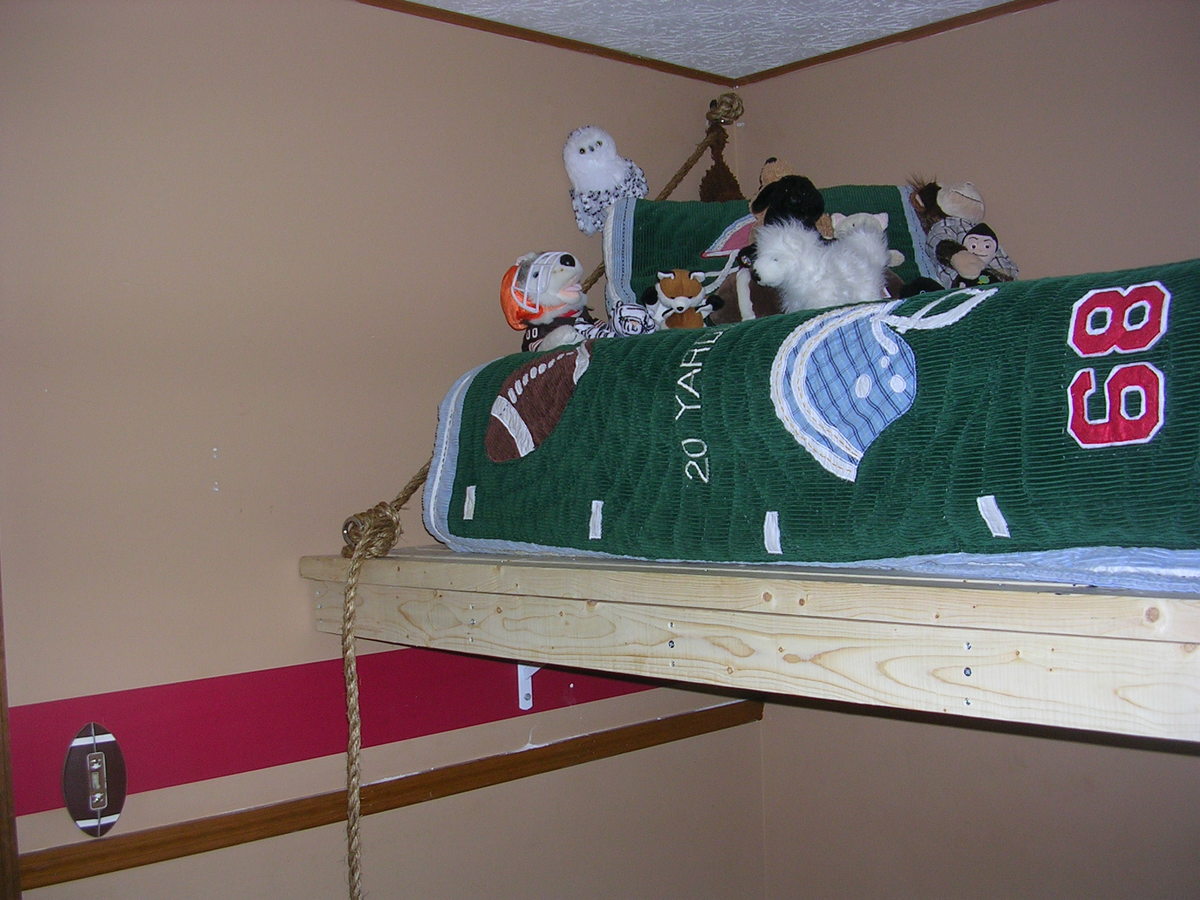
My son wanted a loft bed for his birthday ... until he saw this hanging bed! When he and his sister went to their cousin's house for the night, we decided to give it a try.

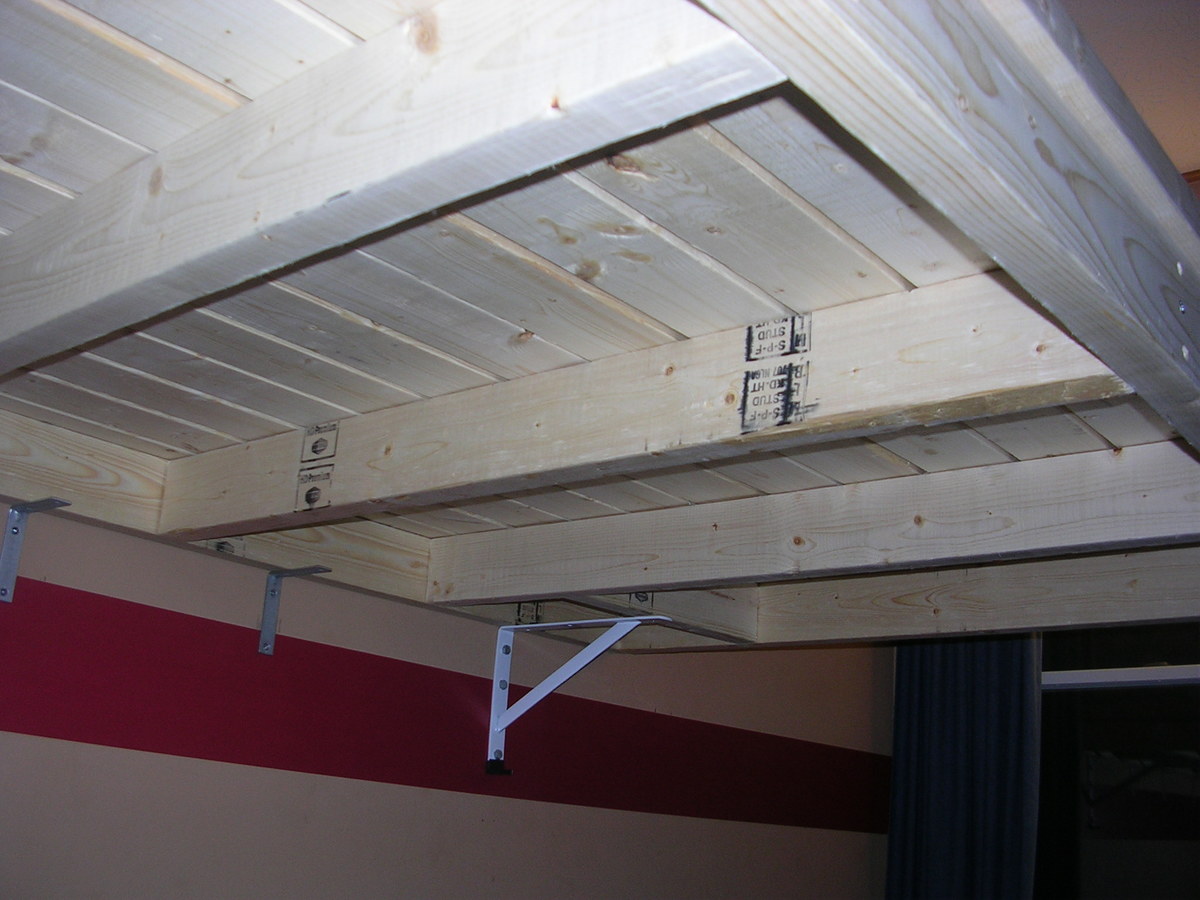
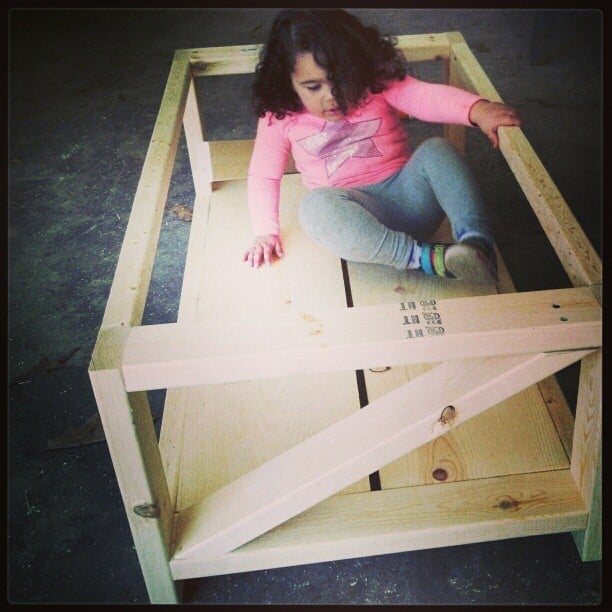
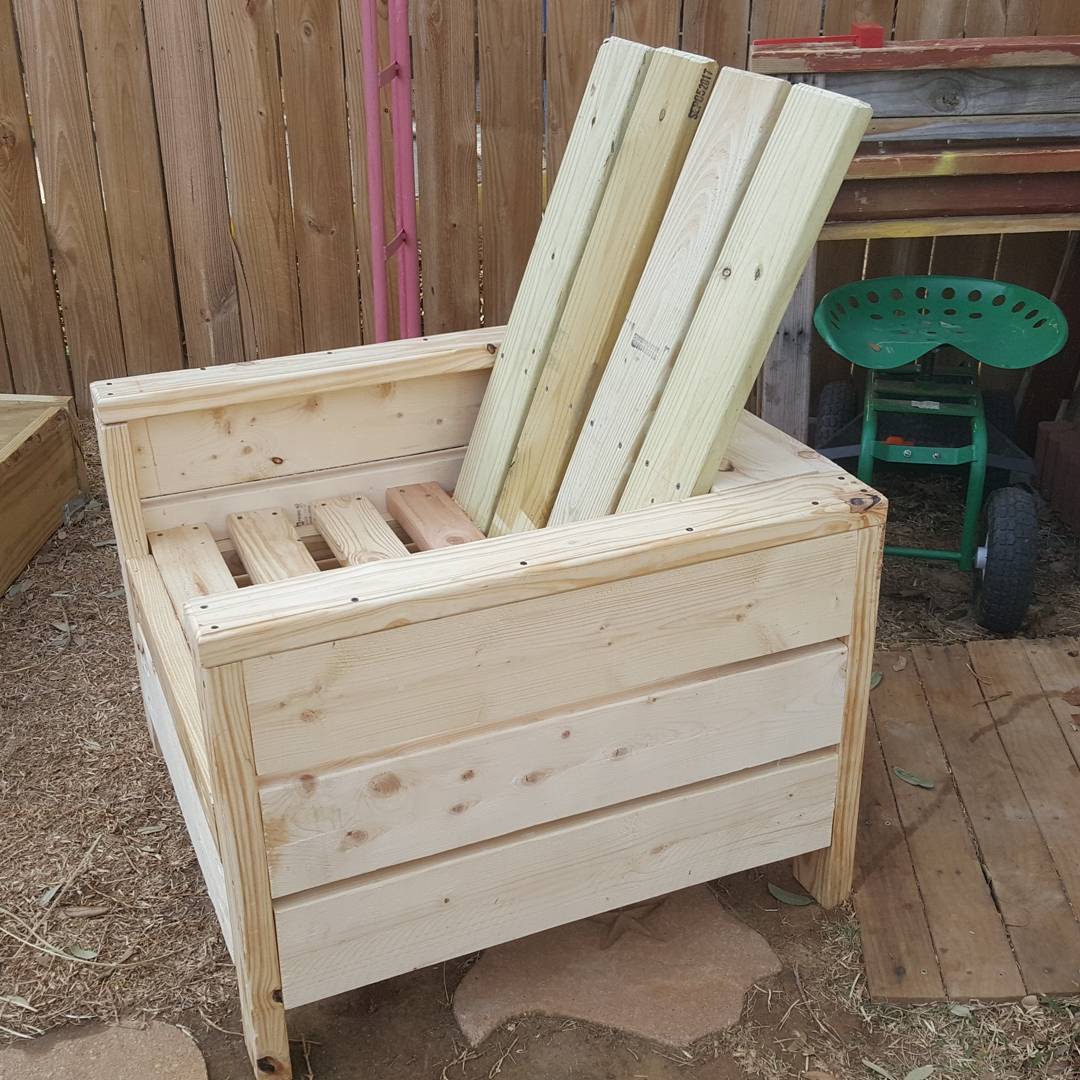
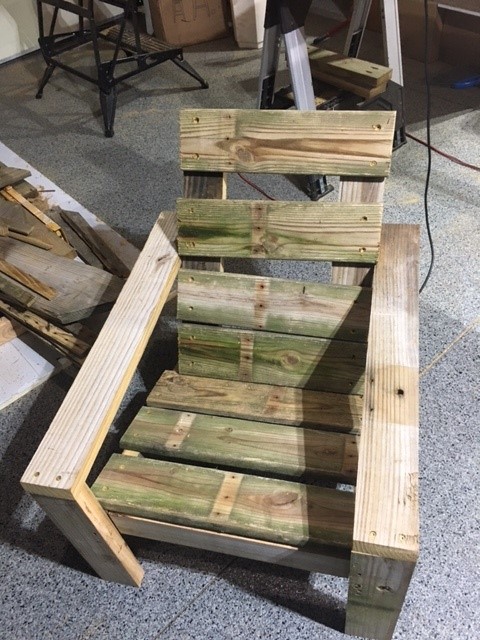
It's actually not that hard. Being rookies, we didn't realize how heavy the 2x4s are. If we were to do it again, we would use 1x4s instead. But, our bed is quite sturdy. We exhausted our cordless drill mid-way through the project.

But, this plan doesn't need many cuts. Most of the cutting was done at Home Depot.

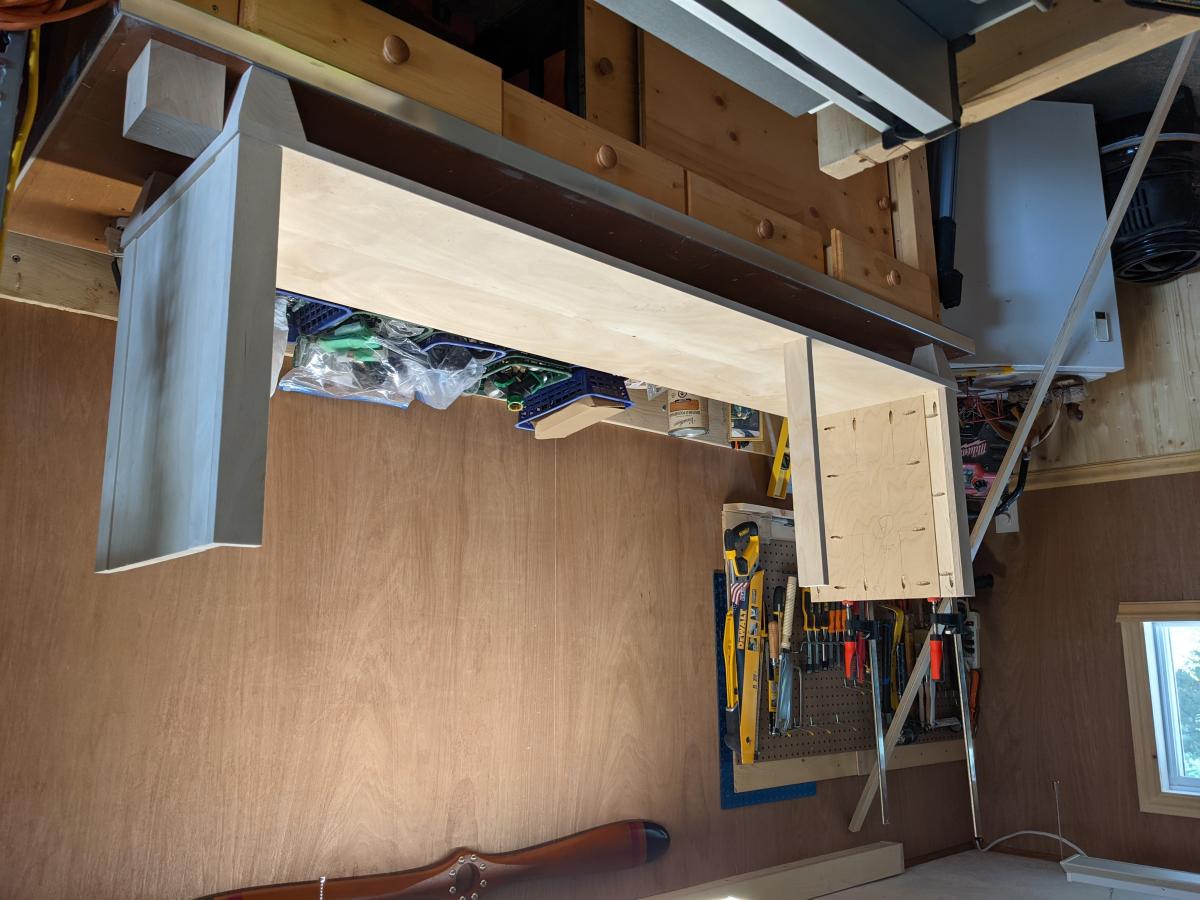
The tricky part was actually getting it on the wall. We borrowed 2 squat racks and put the bed on those until it could be anchored. We also bought L brackets and used those rather than the lag bolts. The rope gives it a nice look, but actually won't become load bearing unless the bed starts to fall.

Our son loves the bed and it gives him plenty of extra space to work with in his room.

Built from Plan(s)
Estimated Cost
~$75
Estimated Time Investment
Weekend Project (10-20 Hours)
Finish Used
Natural
Recommended Skill Level
Beginner

Seesaw Surprise

I was actually looking for loft-bed plans when I stumbled upon this little gem. My kids were out of town for a week at the grandparent's house. I had some free time on my hands and before jumping into a big project like a loft bed, wanted to get my feet wet with a smaller project. I way overshot the 2 hr assembly time on this one. My extended cut/assembly time was because I triple coated each surface with paint and then put a clear coat sealant over the whole project. The paint choice was because my daughter's favorite color is blue and my son's is green. Plus, the racing stripes across the base and the cantilever took some extra time with added paint. With the screw holes, I took a 1/2 inch thick dowel and chopped off a bunch of 1/4 inch thick "coins," match painted them & glued them over the screw holes. As a result, it appears that there are dowels holding it together. With the seats, I used my trusty jigsaw and cut a ~34 inch long hourglass shaped piece of wood (wide at the top/bottom, narrow in the middle), then cut that in half to use as the form-fitted seats. I shaped the outdoor fabric (awning material that matched my paint job) around the seats, filling with 3 inch thick batting. The kids are coming home tomorrow and I hope they like their new toy.

Built from Plan(s)
Estimated Cost
$75
Estimated Time Investment
Day Project (6-9 Hours)
Finish Used
White primer, gloss enamel, painters tape to help form stripes,
Recommended Skill Level
Beginner

boat table

Submitted by jeglover on Tue, 07/14/2015 - 21:59

Build this for my two sons with plans from the website.. Turned out good I think.  Modified to make it a touch bigger than the original design.

Built from Plan(s)
Estimated Cost
$40
Estimated Time Investment
Day Project (6-9 Hours)
Recommended Skill Level
Beginner

Trestle Desk

Submitted by JenM on Sat, 02/03/2018 - 08:29

I made this for my son; he loves it!  I don't have the tools to bevel edges so I did my angles with a cheap jigsaw and I think they turned out just fine.  Thinking of adding a narrow shelf on the bottom.

Super easy and inexpensive build!

Built from Plan(s)
Estimated Cost
$20
Estimated Time Investment
Afternoon Project (3-6 Hours)
Finish Used
Dark Blue paint for the legs; Minwax Golden Oak stain for the tabletop.
Recommended Skill Level
Beginner

Library book cart with handprints

Submitted by Leah on Wed, 05/25/2011 - 16:15

My children's books at my children's level! They take pride in building for themselves, and I couldn't be happier~

Ana's library cart was a breeze to build! I used my new pocket-hole jig with great success. This cart is strong, and holds a load of books.

The guys at Blue cut the wood. Thanks to the staple sticking off the end of some of my lumber, the cuts were off. I had to use coarse sand paper to take 1/8inch off some ends. Lesson learned~
The finish was the most fun. I used paint leftover from other projects, all water-based products. The top of the shelf has my 4yr-old son's hand-prints, the smaller face has my 2yr-old son's hand-prints. Alex loves it most, going to it and patting it and pressing his hand on it first thing every morning. They are both very proud of our work :D

Built from Plan(s)
Estimated Cost
$35
Estimated Time Investment
Afternoon Project (3-6 Hours)
Finish Used
The entire cart was painted with Martha Stewart's Lemon Ice, the light green. The outer edge and shelf bottoms are painted with Behr's Summer Festival @ 50%, it's a shame the picture doesn't show the light teal well. The hand-prints are Behr blues, tho the names are forgotten. Satin poly covers and protects it all for years to come :)
Recommended Skill Level
Starter Project

Red sideboard

I modified the plan for the planked wood sideboard so it wasn't so large. I also took out the middle door and made an open area with shelves and a stemware rack.

Built from Plan(s)
Estimated Time Investment
Week Long Project (20 Hours or More)
Finish Used
I used a sanding sealer, then painted dark red. I topped it off with two coats of matte poly.
Recommended Skill Level
Intermediate

Comments

Adirondack chair

Great plan and project. I added a cup holder with left over lumber. Added some 45 angles to give it some dimension. Screwed and glued almost everything from the back to avoid any screws

Estimated Cost
$30
Estimated Time Investment
Afternoon Project (3-6 Hours)
Finish Used
Stain
Recommended Skill Level
Beginner

Comments

Channing Desks

Submitted by tomlin-t on Tue, 02/06/2018 - 04:20

I made a pair of Channing desks, one for each son to match the Channing Bookcases I'd made previously using another one of Ana's plans!   I followed the directions pretty much exactly, except for a couple of minor changes.  On the tops, I wanted to router the edges to add detail, and to make it neat I covered the ply end-grain with some pine 2x1's.  At the end (step 15) of the build I added the extra support. 2x1 at the front to match the rail above the drawer, and 2x2 at back to make the RHS legs properly sturdy.  

Overall, the project was not particularly difficult, the building took about 3 days to complete both desks. As usual the finishing always takes longer than the building, and in this case it took 4 days. This was mostly due to the 6 hrs between coats for the varnish. 

I sprayed the white desk (masking the top) with satin door trim paint I had available, and I used clear satin varnish on the top as a contrast.

The other desk has 1 coat of sealer and 3 coats of chocolate walnut satin stain/varnish.  

I'm very happy with the results - but I'm not really sure which one is my favourite!

Built from Plan(s)
Estimated Cost
$300 for both desks
Estimated Time Investment
Weekend Project (10-20 Hours)
Finish Used
Satin white paint, satin clear varnish, and chocolate walnut stain/varnish
Recommended Skill Level
Intermediate

Shepard Kitchen island

I used Ana’s Shepard Kitchen Island plans. Made some alterations per my wife’s request. Added ten inches on each side to store kitchen items and cookie sheets, etc. She also wanted a raise bar on the back and X's on the side. We replaced the wine rack in the middle with a pot and pan slide out rack. Also made the right side bottom door into a deep drawer for her storage containers. Ana’s plans make builds so easy. I appreciate all the plans she shares with us.

Built from Plan(s)

Comments

Simple Modern Outdoor Sectional

This was our first project and i gotta say, I love doing this! There are so many ideas on this website!
This was super easy, my husband and I had trouble with some of it because it wasnt fitting right, but we just tweaked it and it turned out perfect!
I had been looking online for an outdoor sectional for months, and the price was too high for us to spend. Our final total was only 238 dollars all together. Store (and bad quality at that) furniture would have cost us over 500. So, I am VERY pleased.
I got the cushions on craigslist. Listed at 8 dollars a cushion. They were still in the wrapping! We have one extra cushion that we plan on making an ottoman soon.

Estimated Cost
240
Estimated Time Investment
Day Project (6-9 Hours)
Recommended Skill Level
Starter Project

Rustic X mixed with a Triple Truss Coffee Table

I considered myself pretty good at cutting and assembling, less when it comes too filling, sanding, and staining. I could not figure out the X for the life of me! Luckily I could figure out the Tuss table :D

Estimated Cost
$80-100
Estimated Time Investment
Afternoon Project (3-6 Hours)
Recommended Skill Level
Beginner

$6 Scrap wood coffee table

Submitted by pmgriffith on Tue, 07/21/2015 - 09:23

Decided it was time to use up some scrap wood and build a coffee table.

Now I need to get wood to actually make the matching end tables.

1x8s and 1x4s for the top and 2x2s for the legs and underside braces

Hope this help to inspire others on how to use up their scrap wood

Estimated Cost
6 Bucks!
Estimated Time Investment
An Hour or Two (0-2 Hours)
Finish Used
'Fruitwood' hence the 6 bucks :)
Recommended Skill Level
Starter Project

Thank you Anna! Salsa Console Table Project

Submitted by jblair814 on Fri, 04/01/2022 - 06:48

I have to give a massive shout out to Anna White and to all the other folks who did their own variation on the Salsa Console Table.

I started this project before my daughter was born, and needless to say, that turned it from a "couple of weeks" project to a "most of the year" one!

The good news is that in taking my time, I was able to think and re-design and that made the final project so much better! I kept the original idea of a 'criss-cross' wine rack, elevated the drawer/cabinet design with shaker-style joinery, and laminated the top myself (sooooo happy with how that turned out). I made the extra bits of trim around the mid-section and base myself with a router and scraps from the drawer faces (since trim is so expensive at box stores)

Lastly, the finishing involved two of my very favorite products: Benjamin Moore Advance for the body(expensive but diamond-hard finish) and Varathane Poly Stain and Seal (there is just no substitute for slow-drying oil finishes on tabletops - so smooth and rich in colour)

All in all, the project cost me around $600 (high prices of wood during Covid to blame) but there is just no substitute for doing it yourself, and since most solid wood buffet tables run $2000+ I still came out ahead.

Cheers fellow woodworkers!!!

Built from Plan(s)

Comments

Narrow Farmhouse Table

Submitted by tfox on Tue, 05/31/2011 - 19:49

This is my take on Ana's Narrow Farmhouse Table project. I plan on adding a bench to one side and random color matched chairs to the other.

Built from Plan(s)
Estimated Cost
$100
Estimated Time Investment
Weekend Project (10-20 Hours)
Finish Used
Minwax Special Walnut stain with six coats of Wipe-On Poly. Finished with steel wool to knock down shine of poly.
Recommended Skill Level
Intermediate

Dog Bed

Submitted by daddydrew on Fri, 07/19/2013 - 12:48

I did this project today with some old scrap that has been sitting around and taking up way to much space! Shotzie got a new bed out of the deal and she is pretty happy about it. I am available to do builds for people who like what they see and dont want to pay retail price for this stuff. check out my profile.

http://ana-white.com/users/daddydrew

Estimated Time Investment
An Hour or Two (0-2 Hours)
Finish Used
Minwax Grey oil based stain
Recommended Skill Level
Starter Project

Comments

JoanneS

Fri, 07/19/2013 - 15:19

What a great way to use your scrap wood! Love the color and the design. Looks super!

Kids Wagon

Submitted by Seth on Sun, 07/26/2015 - 16:35

This was a fun and easy project to make the little guy happy on a slow Saturday.  If  you don't have the right tools, avoid the metal stripping.  This project can look just as good without it, and it is the projects most time comsuming feature. Good luck building your own "Wahweegon" (how my son says it).

Estimated Cost
$75
Estimated Time Investment
Afternoon Project (3-6 Hours)
Finish Used
Minwax Jacobean with two coats of poly.
Recommended Skill Level
Beginner

My Patio Chair

Submitted by Supertoy on Thu, 02/22/2018 - 20:09

I used 2x4 and 2x6's on this project. I am a larger woman so I wanted it to be very strong... and wow is it strong! I also routered the edges on the arms. I love it and it really does sit comfortable. Next I want to make a footstool for it. Thanks Ana for making these plans available to me. 

Estimated Cost
Roughly $30.00
Estimated Time Investment
Weekend Project (10-20 Hours)
Finish Used
I used Miniwax Polyurethane two coats.
Recommended Skill Level
Beginner

2x4 Modern Adirondack Chair

I used the 2x4 modern Adirondack chair plans. I made it entirely from old treated lumber that came from a deck I tore down. All decking boards and 2x10 beams that I ripped to size. The finish is burned.

Comments

queen headboarad

The plans on this were so easy to follow. Thanks so much for posting!

I ended up using screws instead of nails just because I am more comfortable with a drill than a nail gun. Seems like it is holding up fine :)

Estimated Cost
60.00
Estimated Time Investment
Afternoon Project (3-6 Hours)
Finish Used
MinWax Provincial. I painted it on and immediately wiped it off!
Recommended Skill Level
Beginner

Finally completed a project of my own!

Submitted by veltch on Mon, 07/22/2013 - 07:29

I was looking to make a planter instead of buying one, and stumbled across Ana's website. This planter looked good and simple. I purchased the Kreg Jig Jr, and a face clamp on Ebay. I know I'll be able to use it for other projects/repairs. Home Depot did no have cedar fence pickets, so used what they had, (spruce), and brushed on some left over pecan minwax stain for contrast. I left everything else the raw, didn't fill in the pocket holes, and didn't use glue on the pocket joints. I did glue the fence pickets to the 1 x 3's and secured them with (pre-drilled holes) 1 1/4 out door screws. I suppose if you had some experience, and were not cutting all your wood clamped to a folding table, you could save some time. This took me just over 3 hours. It looks good. I placed my cleat 11 inches down from the top and lined it with that fabric to stop weeds, and poked some holes in it for more drainage. I may go back and fill the pocket holes with wood putty just to keep the bugs/spiders out.
Maybe in the fall after the tomatoes are done I'll give it the once over with some stain or water seal. This is on my back patio, the wife would already love one for mums out front. Thanks Ana White!

Estimated Time Investment
Afternoon Project (3-6 Hours)
Finish Used
Minwax Pecan on fence pikets
Recommended Skill Level
Beginner

Wine Box makeover

I had an old wine box that I decided to shabby chic. I added some manila handles.  Check out my blog for more details and pictures:

http://www.woodworkingfourdummies.com/blog/wine-box-makeover


Cheers 

Ian

Estimated Cost
Just had to buy the manila rope.
Estimated Time Investment
Afternoon Project (3-6 Hours)
Finish Used
Minwax dark walnut stain
White paint
Recommended Skill Level
Starter Project