Epoxied Craft Table
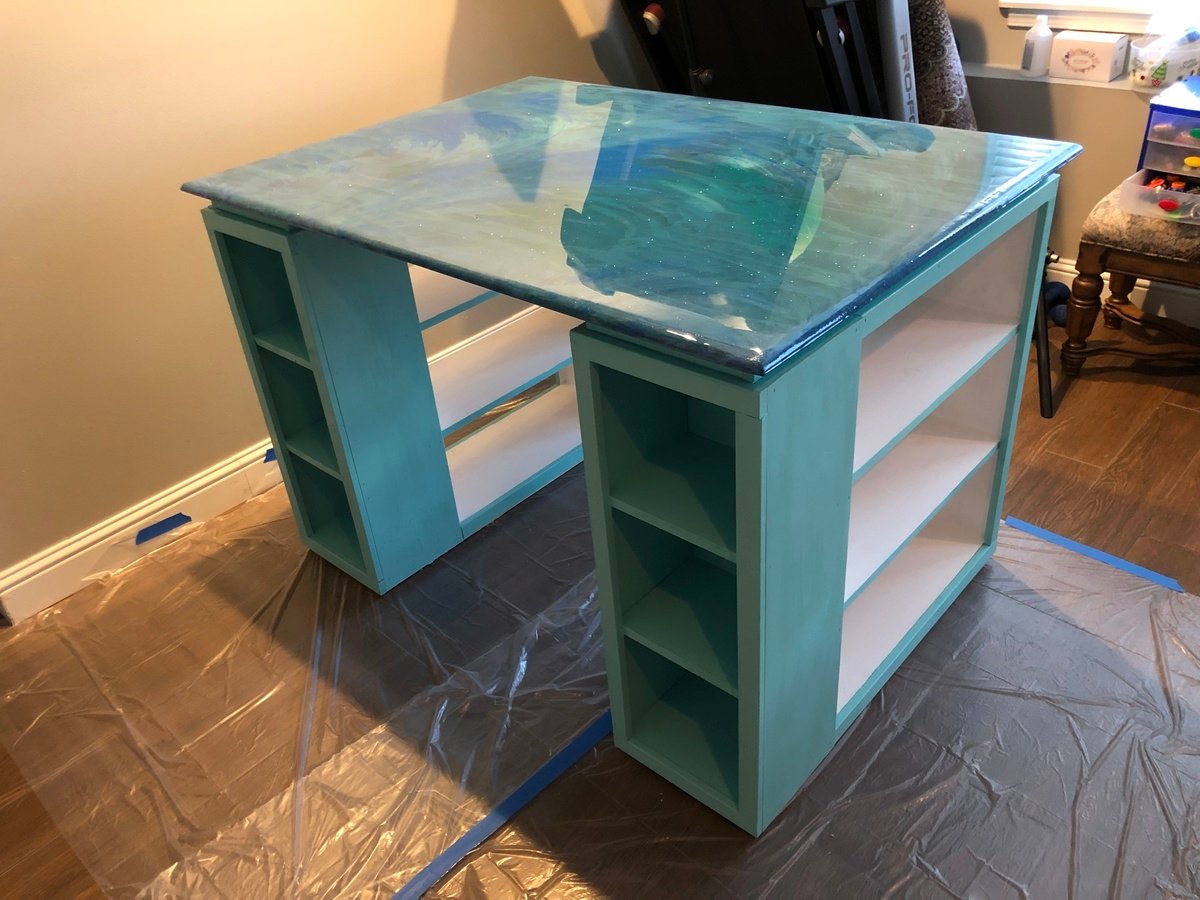
I built this table for my wife. I added a 1/4 round to the edge of the table. She did all of the finish work including the top which is Unicorn Spit and epoxy. I turned out really nice. Thanks for the plans!

I built this table for my wife. I added a 1/4 round to the edge of the table. She did all of the finish work including the top which is Unicorn Spit and epoxy. I turned out really nice. Thanks for the plans!
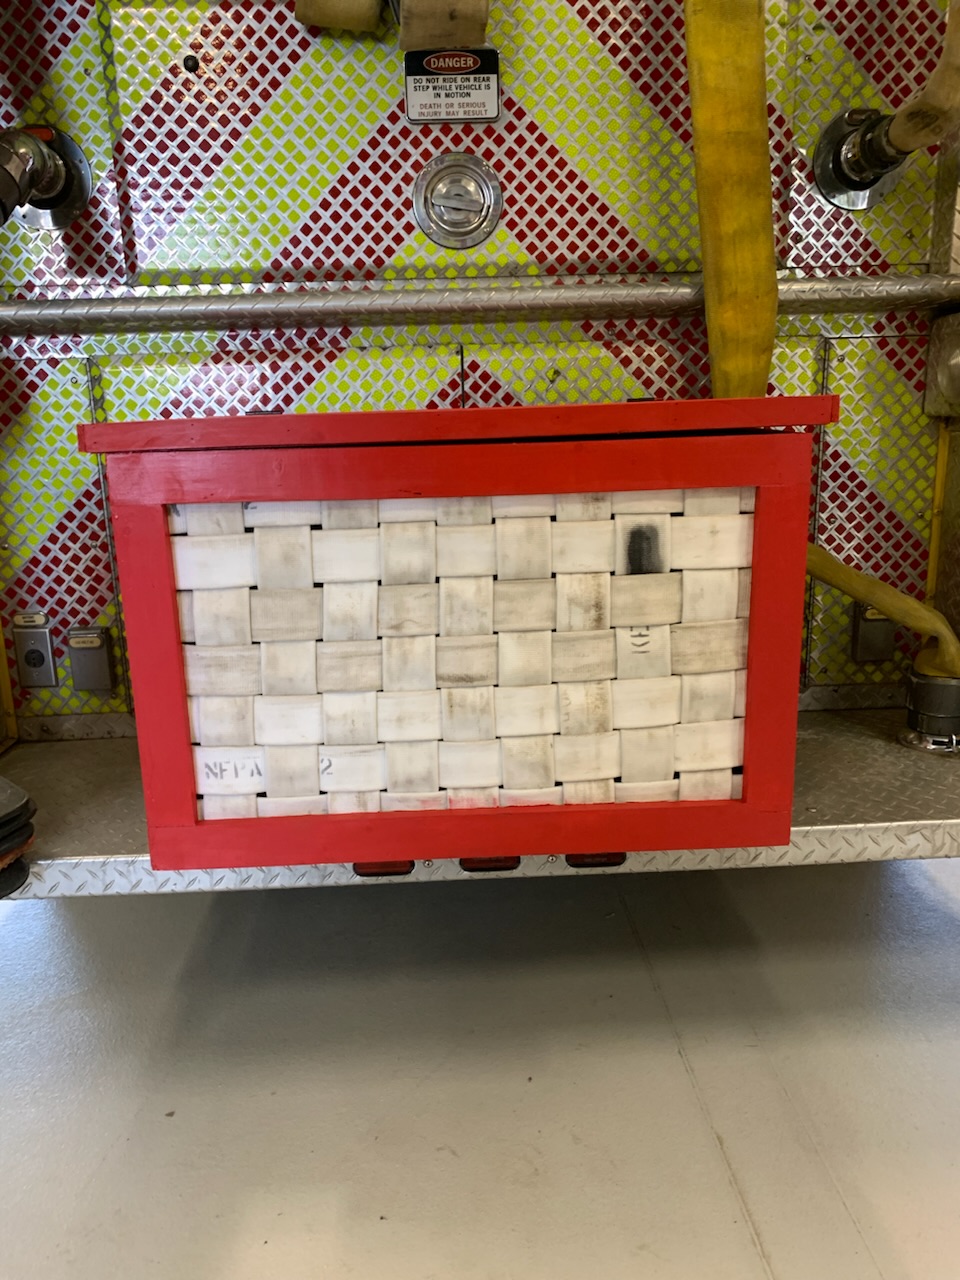
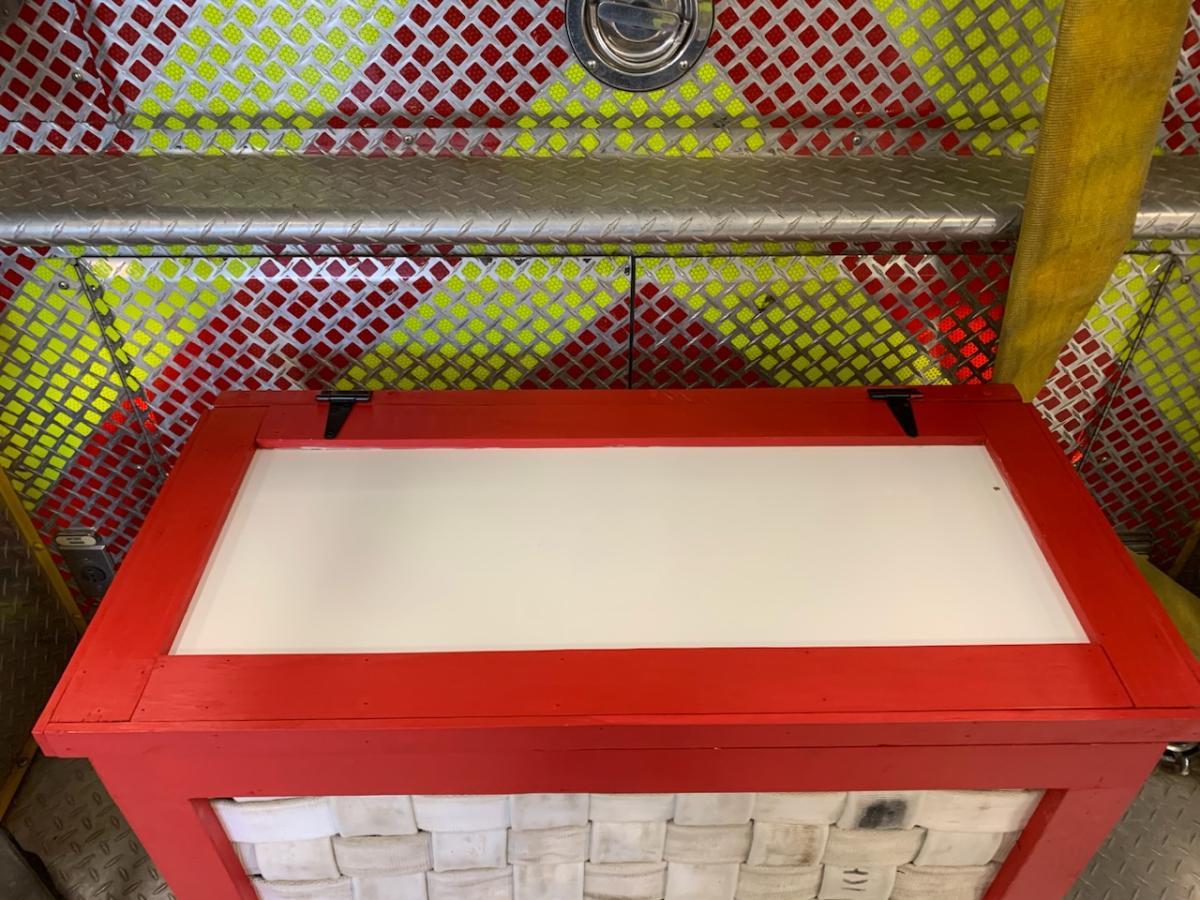
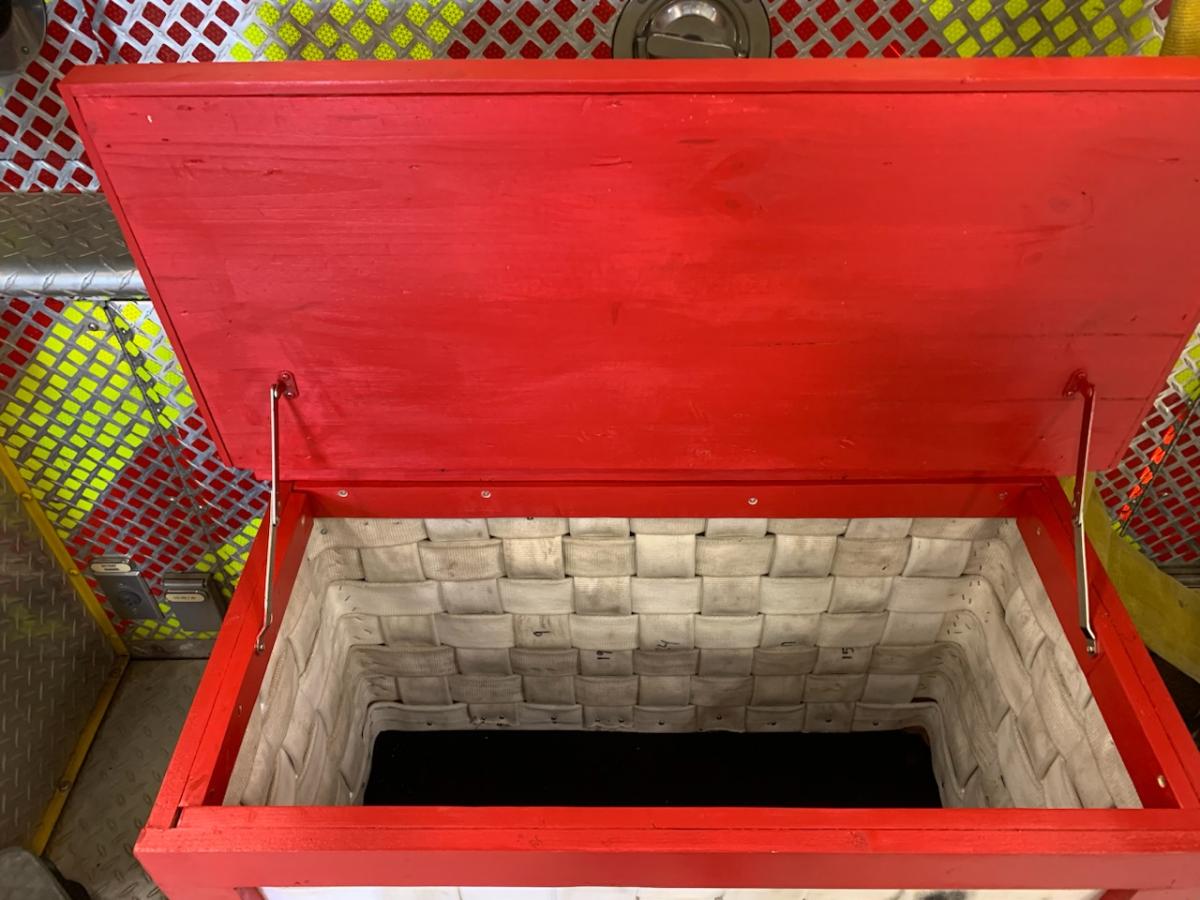
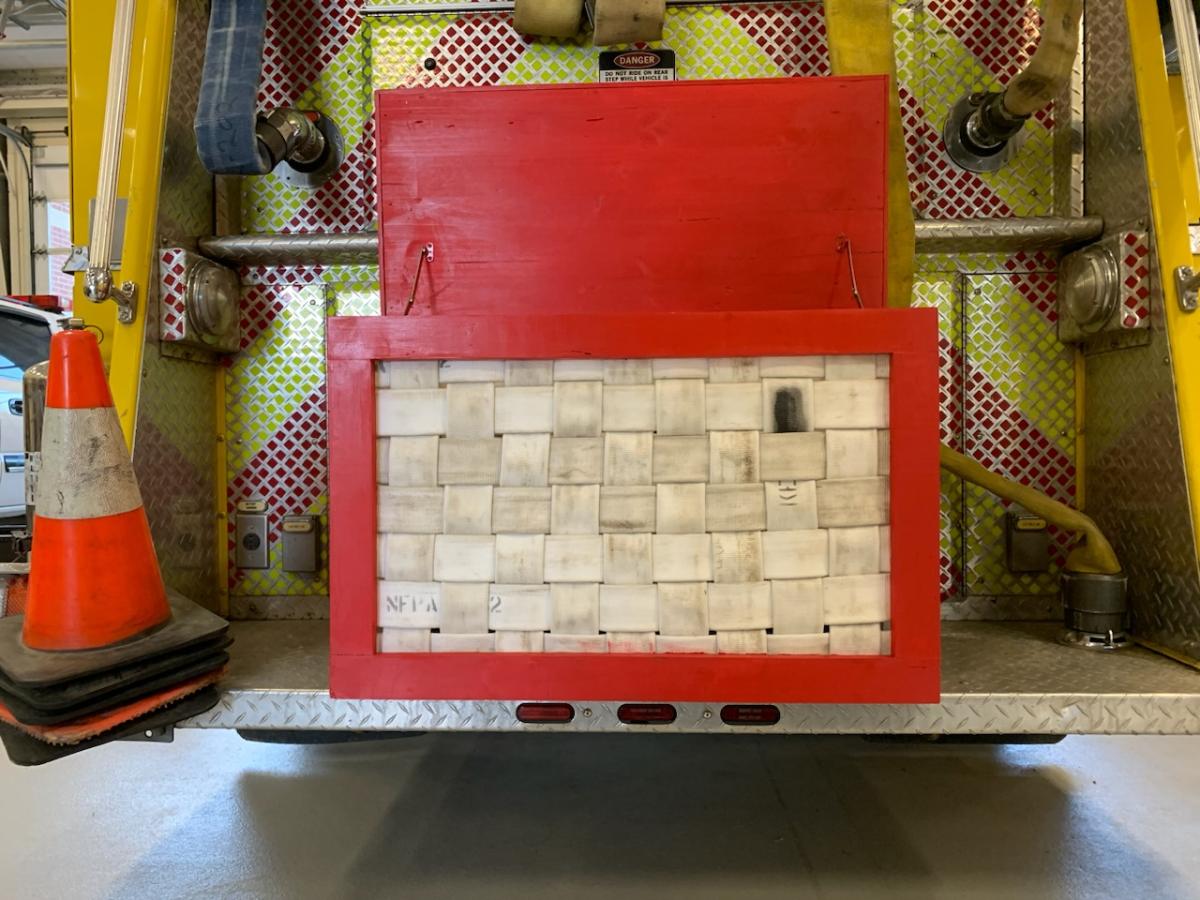
Made this using your farm house toy box plans. Modified slightly as I incorporate old firefighter equipment into most of my projects. Built the frame but instead of slats used retired fire hose. Complete with a white board on the lid. Plans were perfect and allowed me to easily modify to get the result I wanted.
Sat, 02/04/2023 - 22:03
Love the material repurpose, looks fantastic, thanks for sharing!
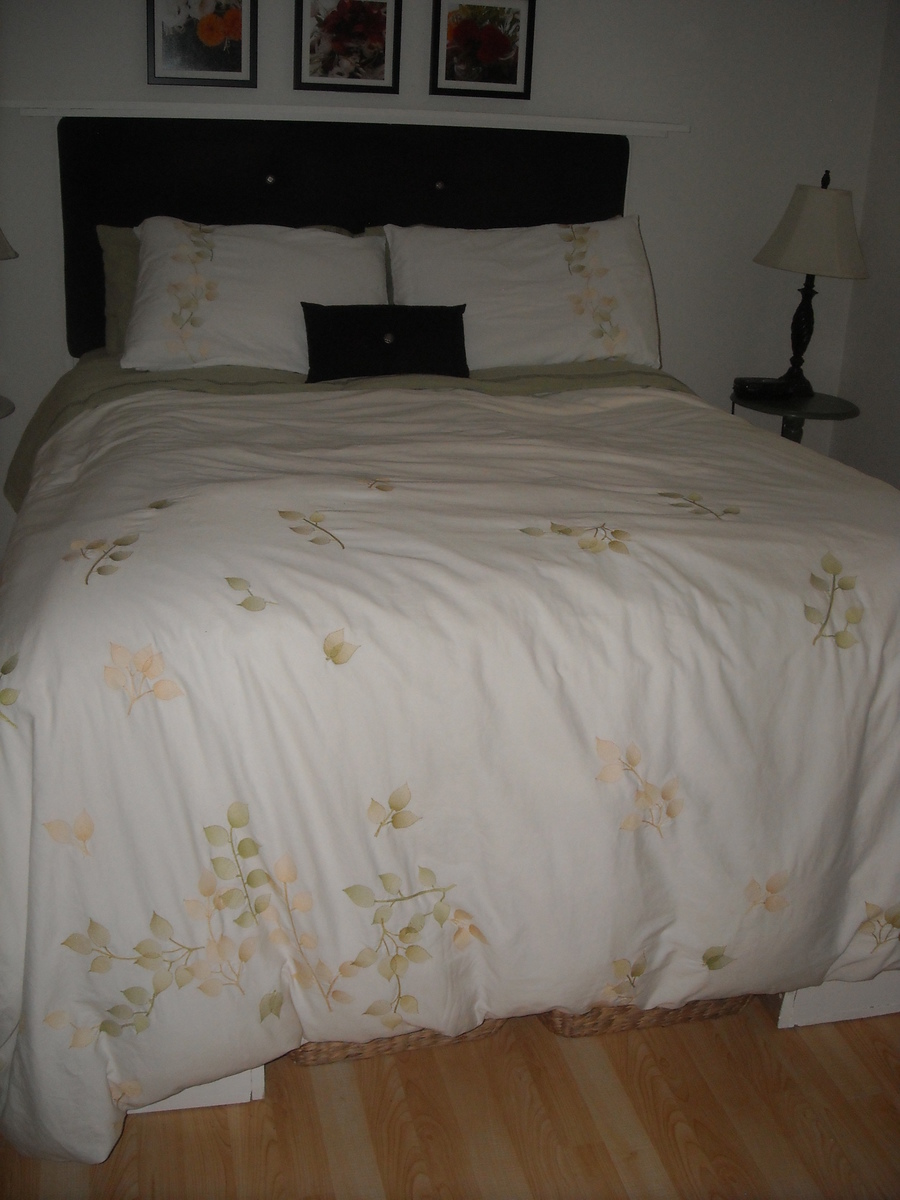
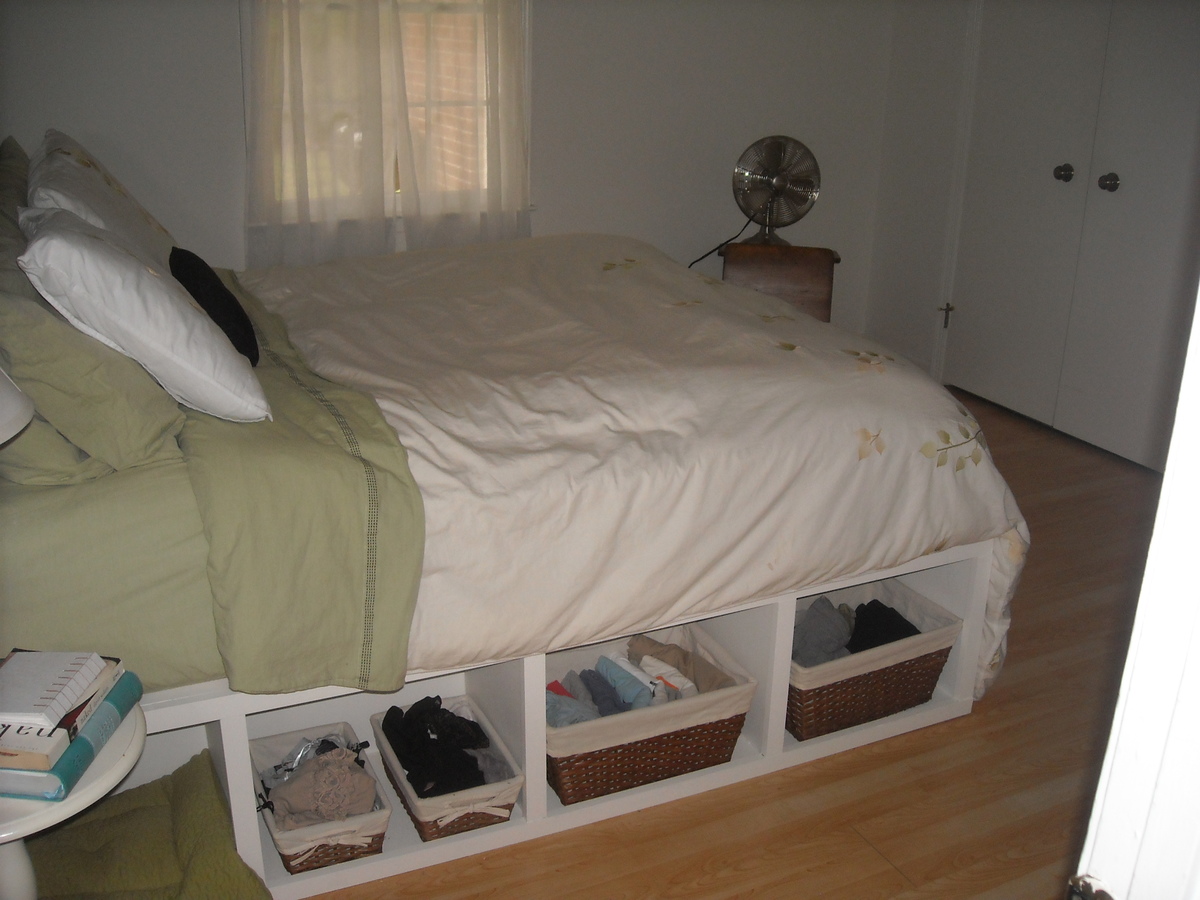
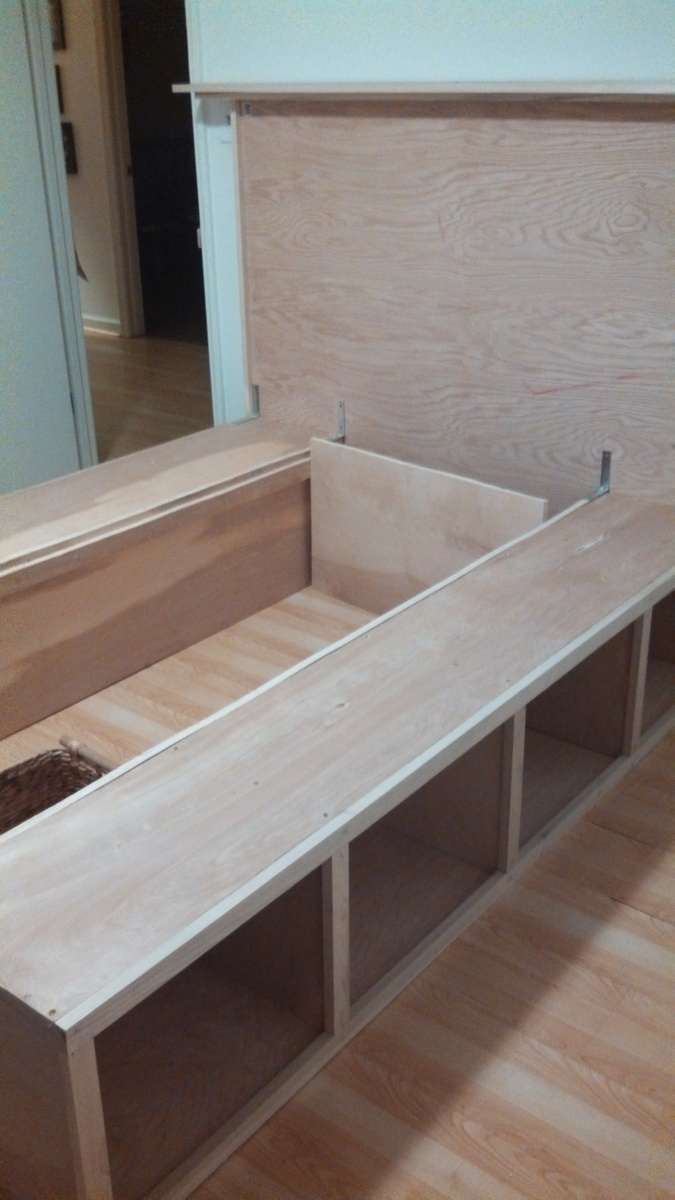
Sorry there aren't more pictures of the building of it. We ended up rushing through it because a storm was moving in. In total it took about 4 hours to build the boxes and headboard. We already had the upholstered portion of the headboard that I made from scrap a few months ago so we made the bed to fit around it. We decided to leave it without a footboard so that we could slide things underneath easier. This has made storing things underneath very easy, we even keep our laundry baskets tucked underneath and we can have easy access. By making the cubbies slightly smaller we were able to make a total of 4 cubbies on each side and we can store all of our clothes and were able to get rid of our dresser.
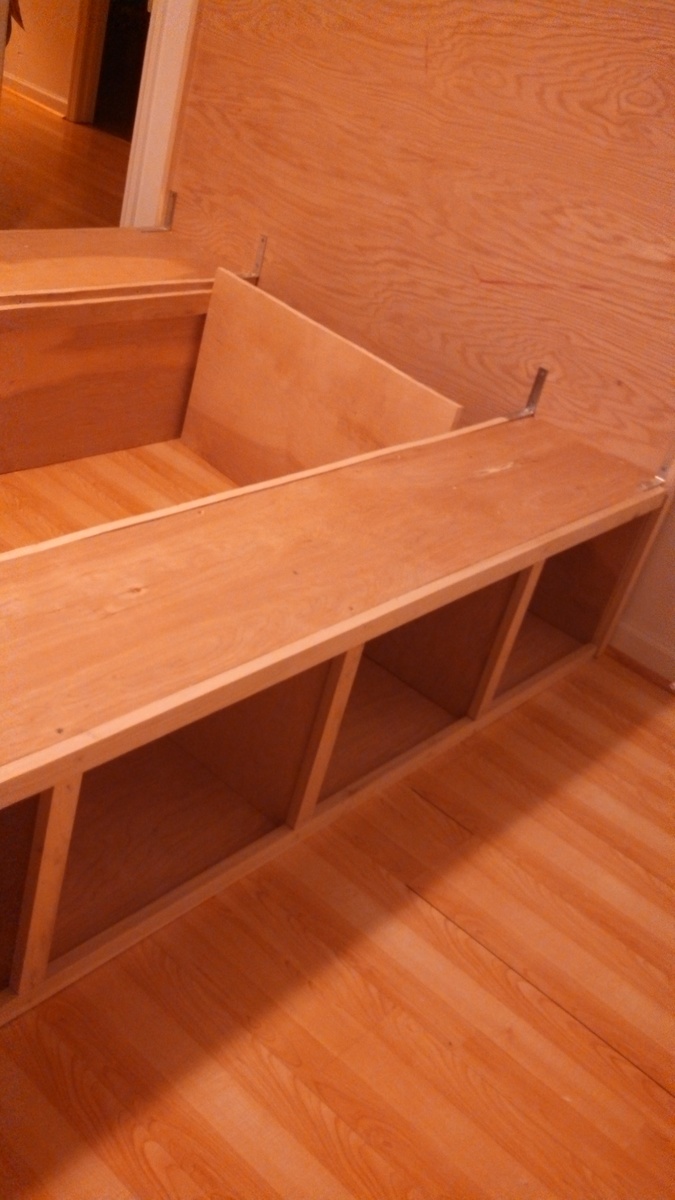
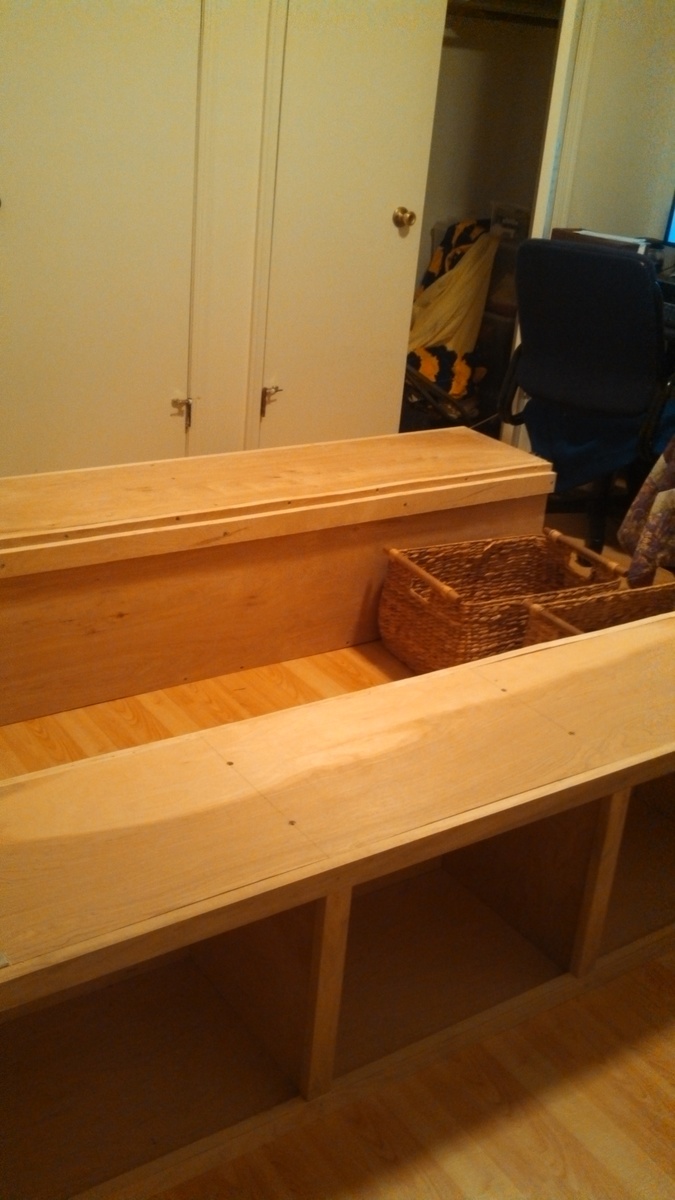

This dollhouse bookcase was made by my Uncle Tom for my daughter. We can't wait to get it painted and get some fun furniture for it. He said it was a pretty simple project, and was able to get the materials relatively cheaper.

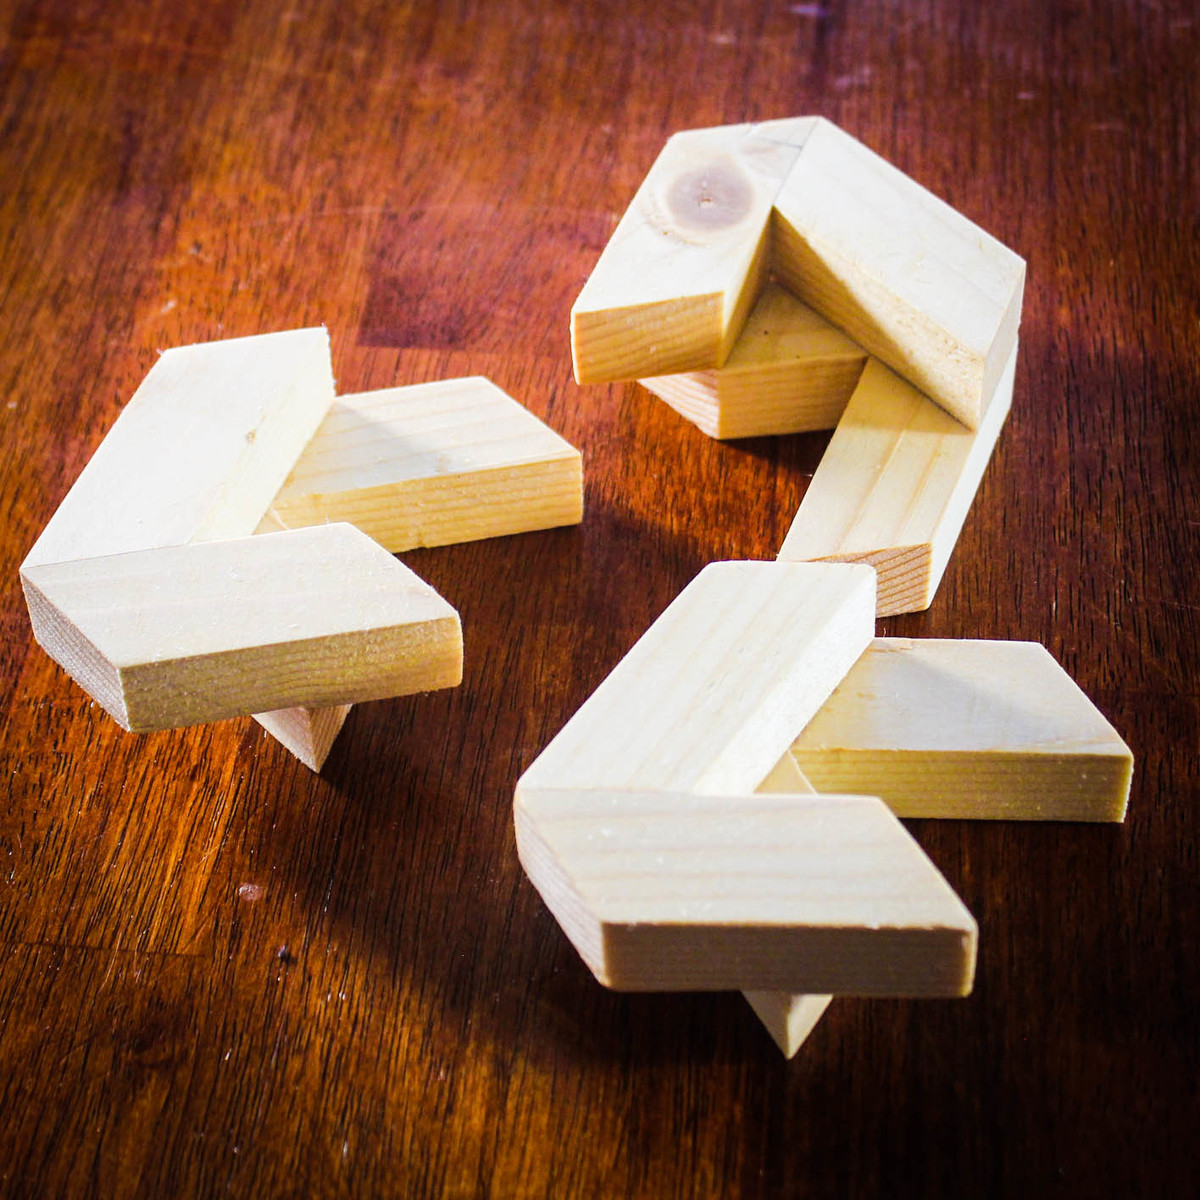
This is a fun and simple project to make. It consists of 12 pieces that are all the same size. The pieces are glued together to make 3 assemblies. Getting it apart or putting it together is the challenge. As always, there is a trick.
Build Instructions: https://www.instructables.com/id/Hexagon-Puzzle/
Solution: https://youtu.be/QUmHdIprCl0


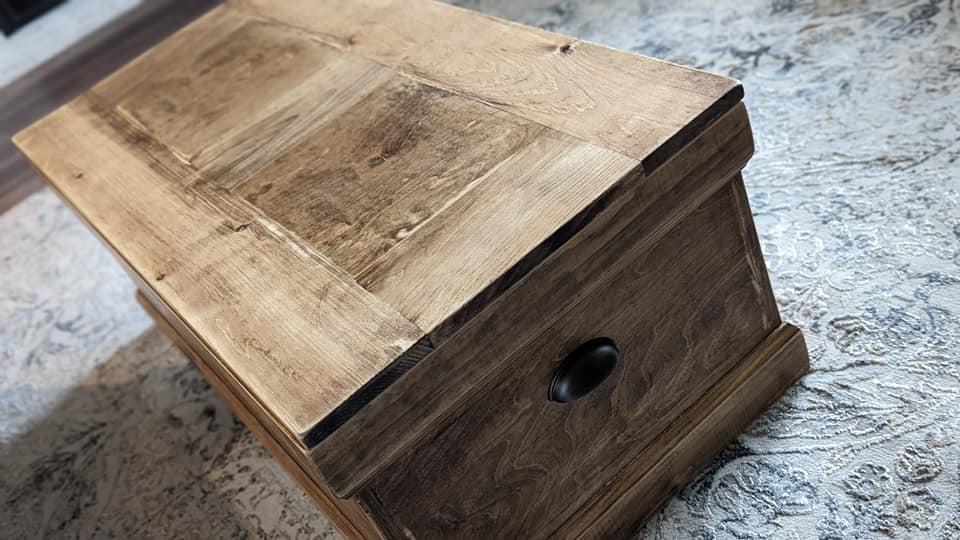
Thank you Ana for your detailed plans. Always so easy working on your projects.
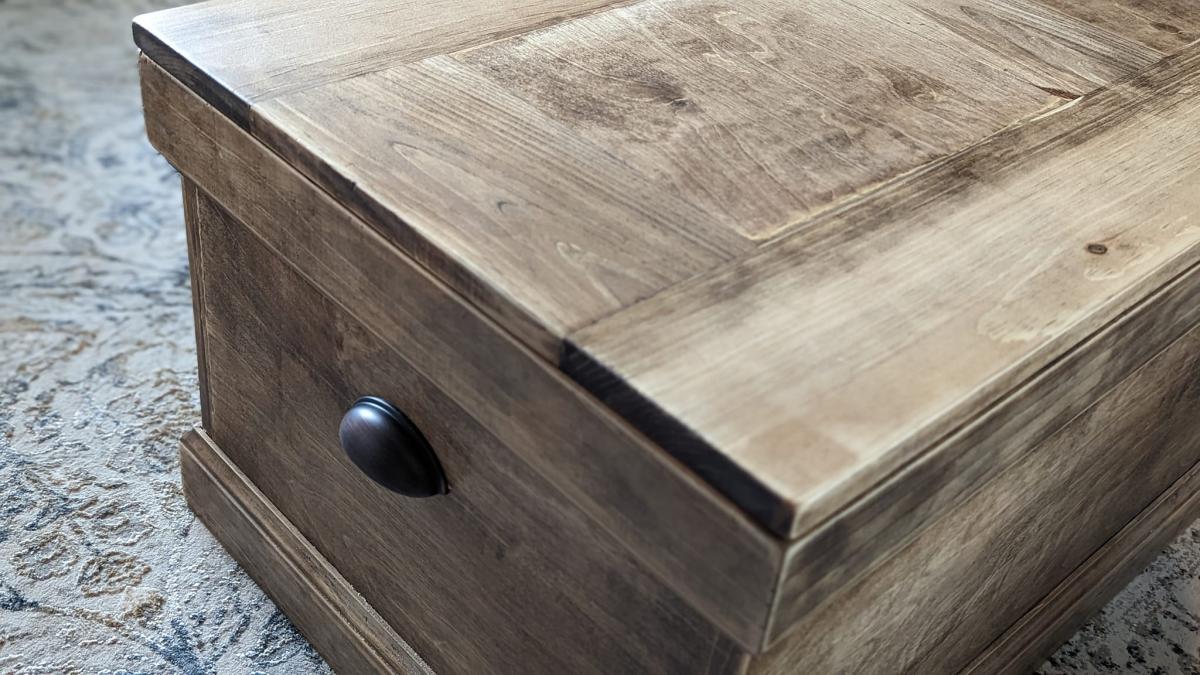
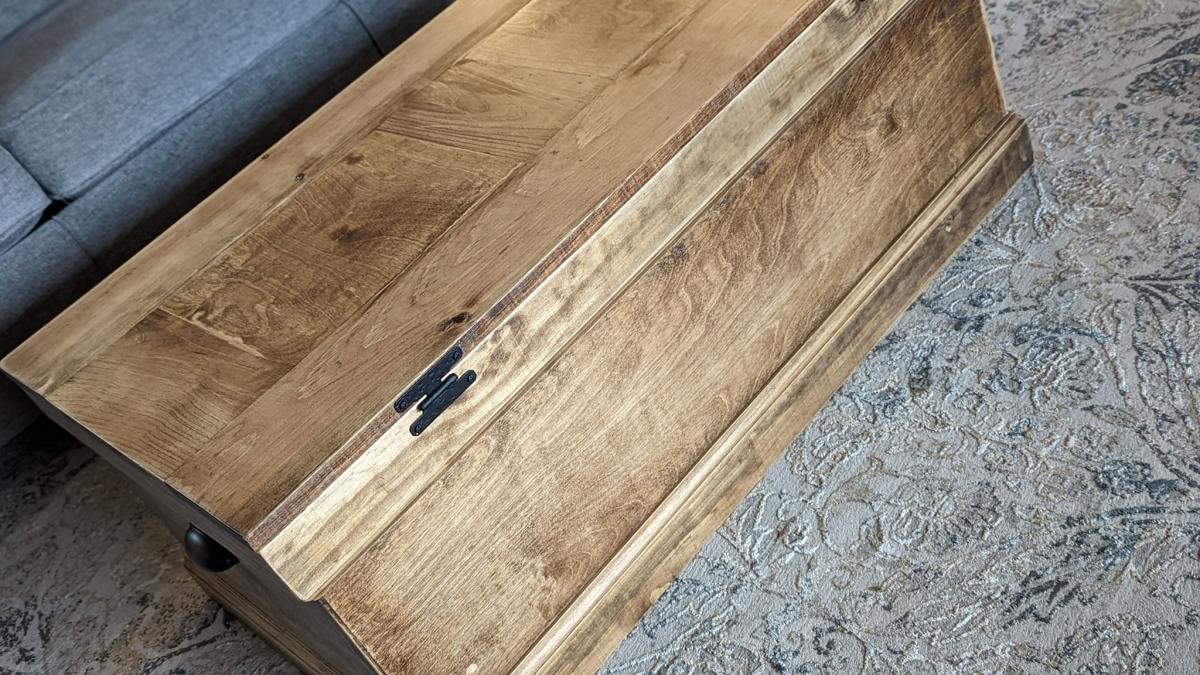
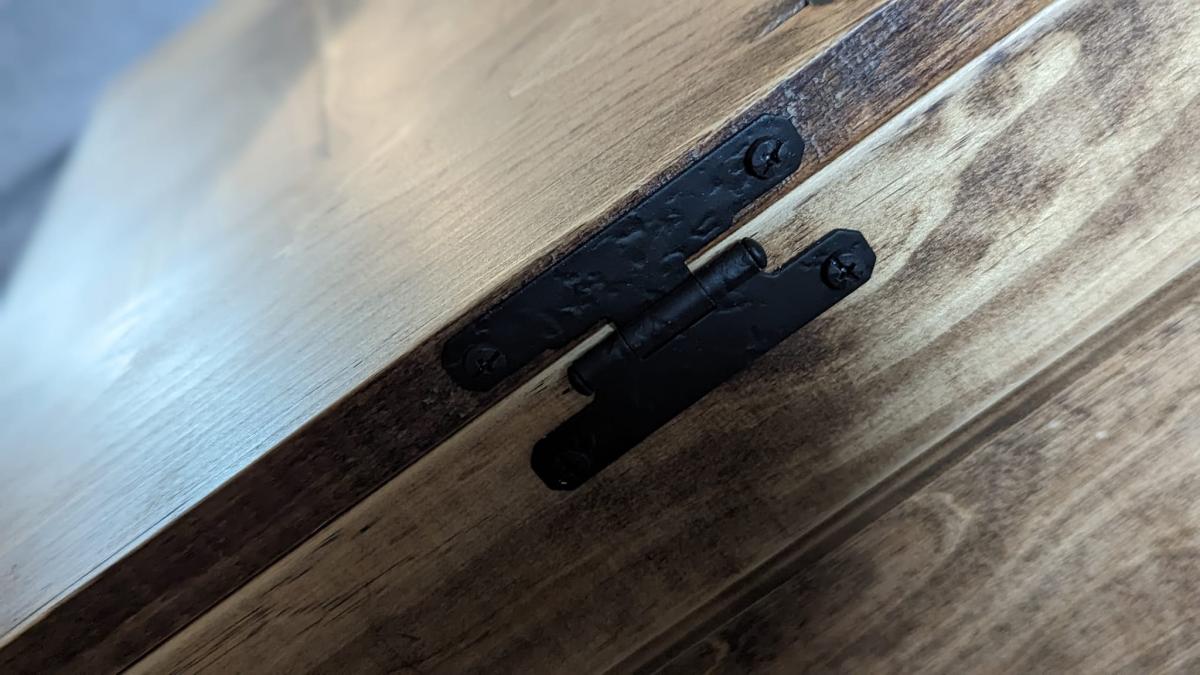
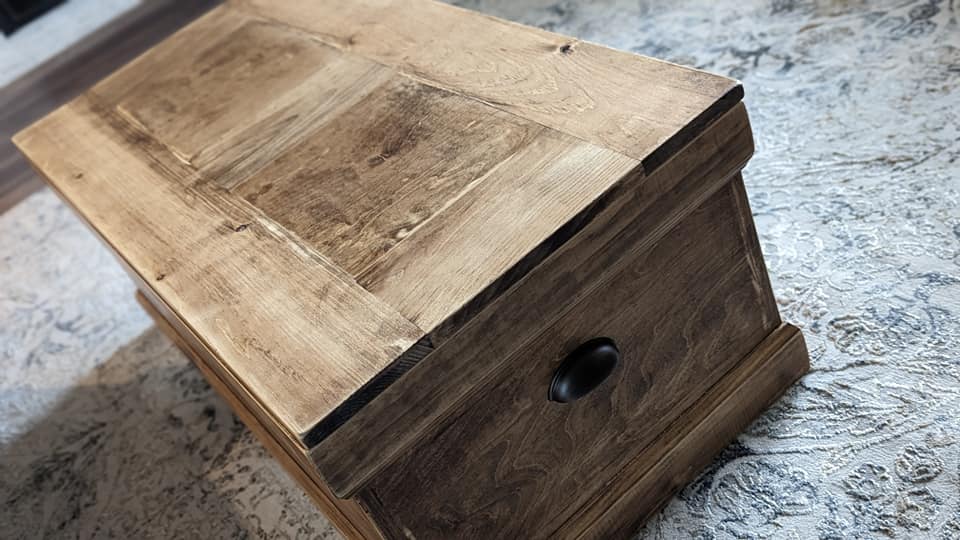
Fri, 02/10/2023 - 09:11
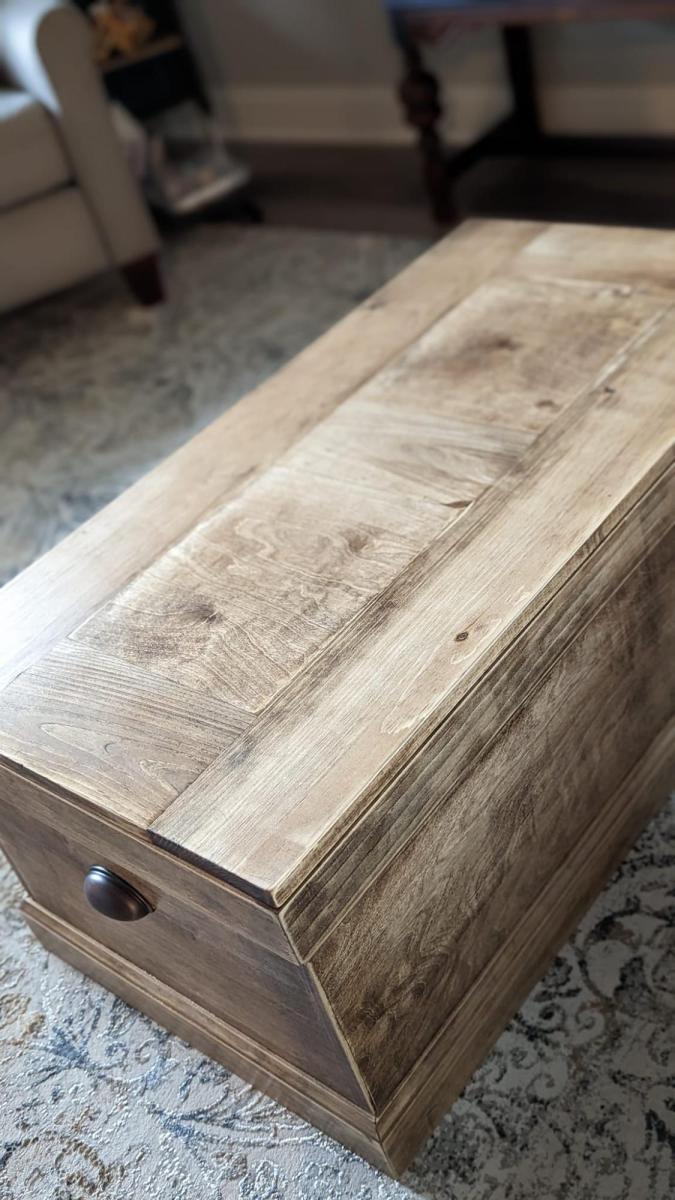
This is so pretty, love the finish! Thank you so much for sharing.
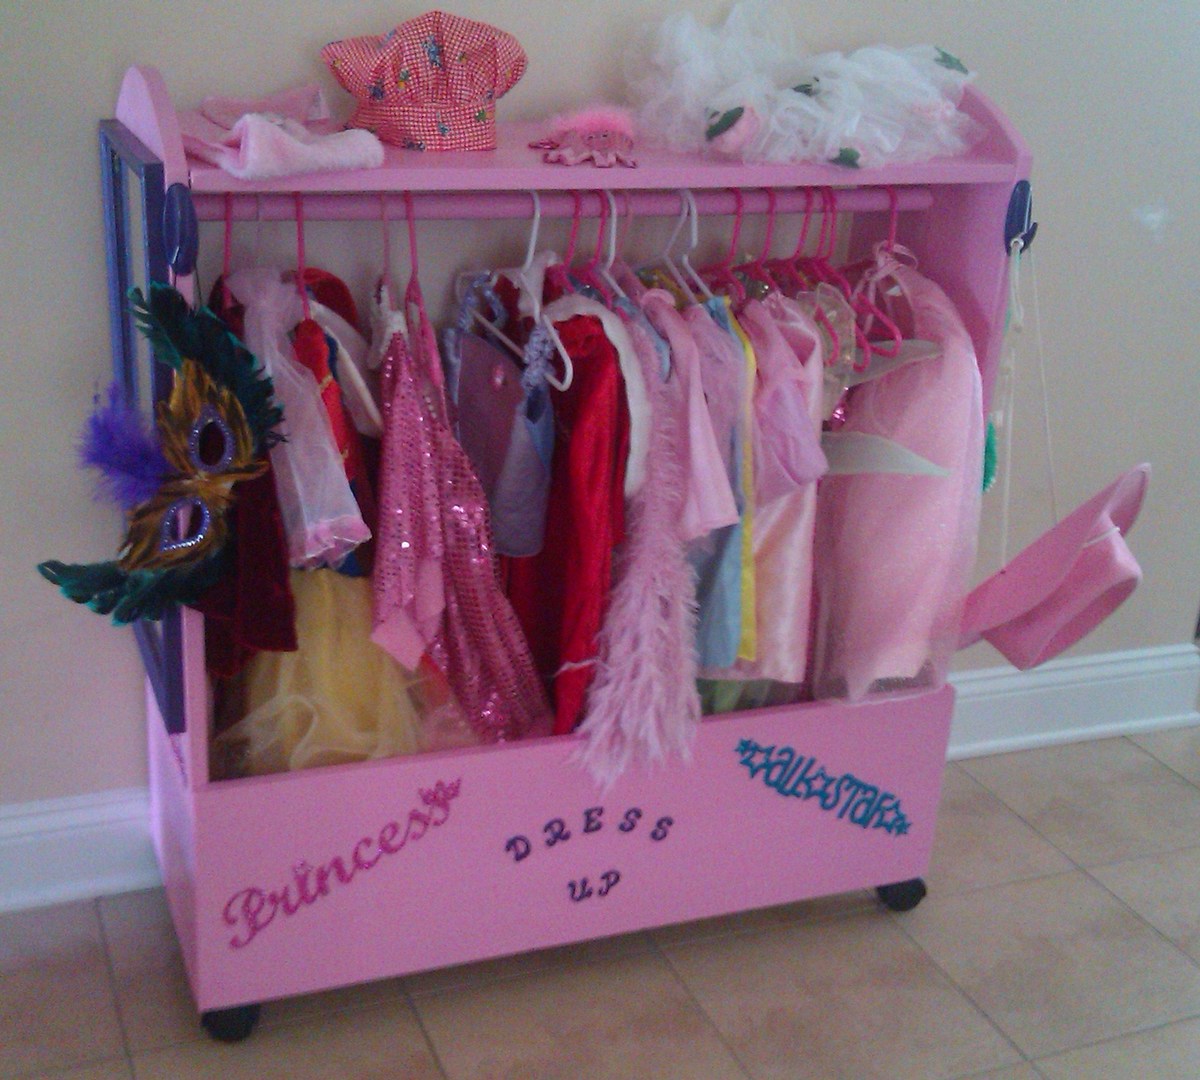
One of the first projects from my new "workshop". I added a mirror to one end and hooks to the front and other end. My 3 year old was ecstatic about helping build it and I enjoyed every minute of it! What a fantastic way to bond and teach and grow, for both of us! Thanks for the site and the plans Ana!!!
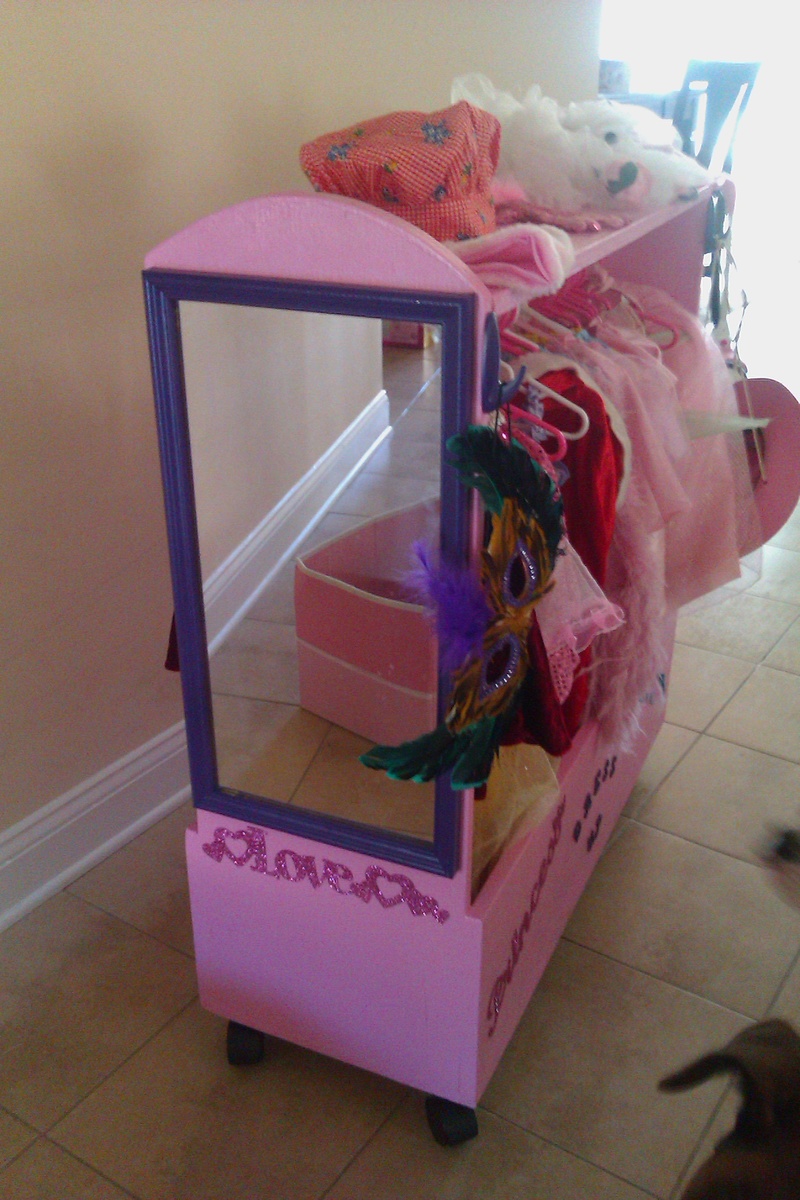
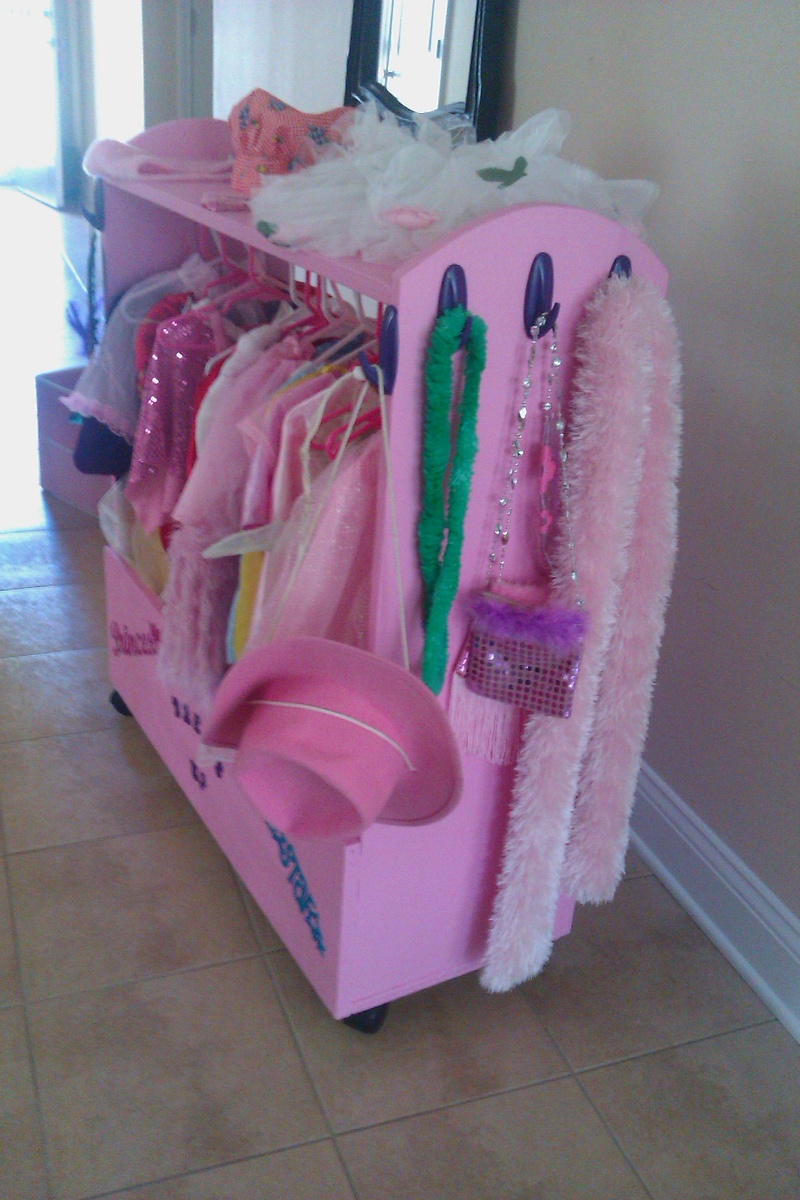
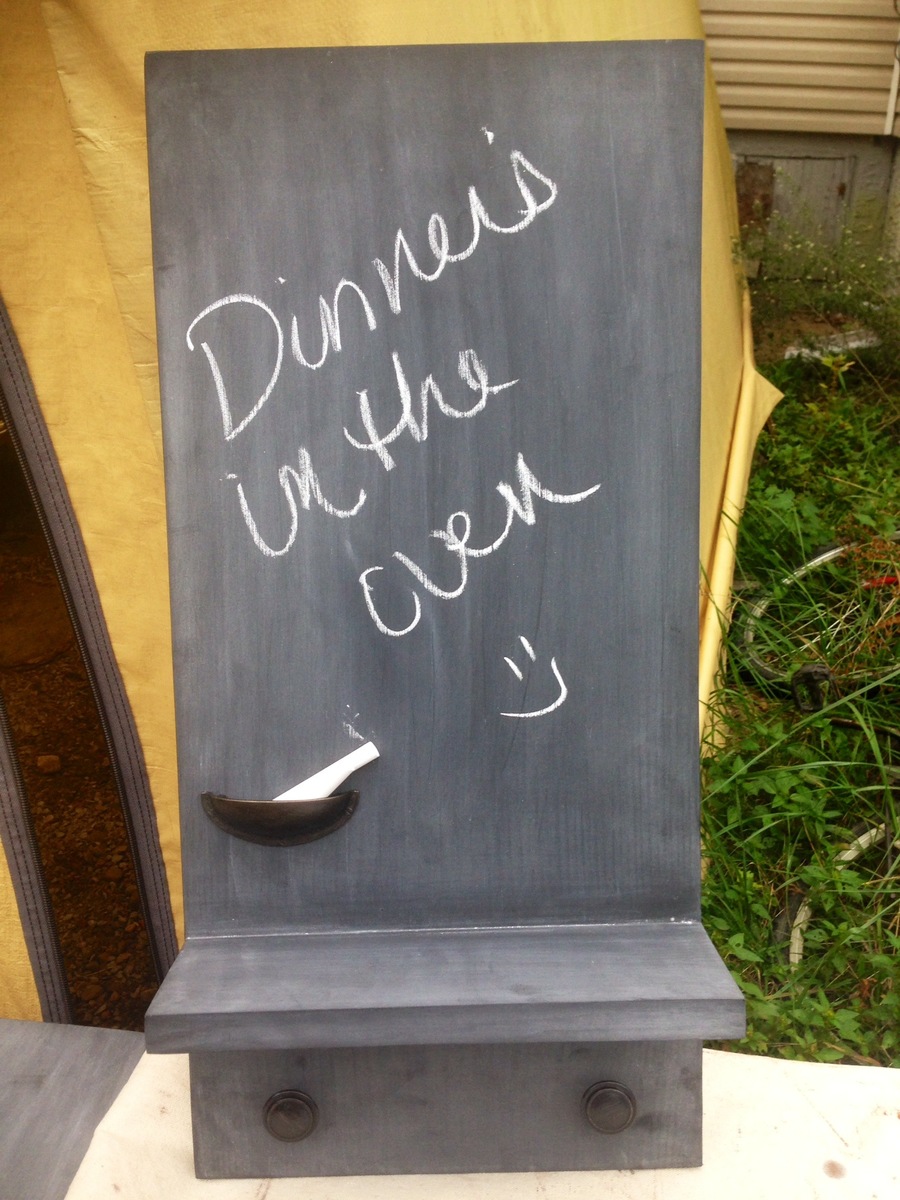
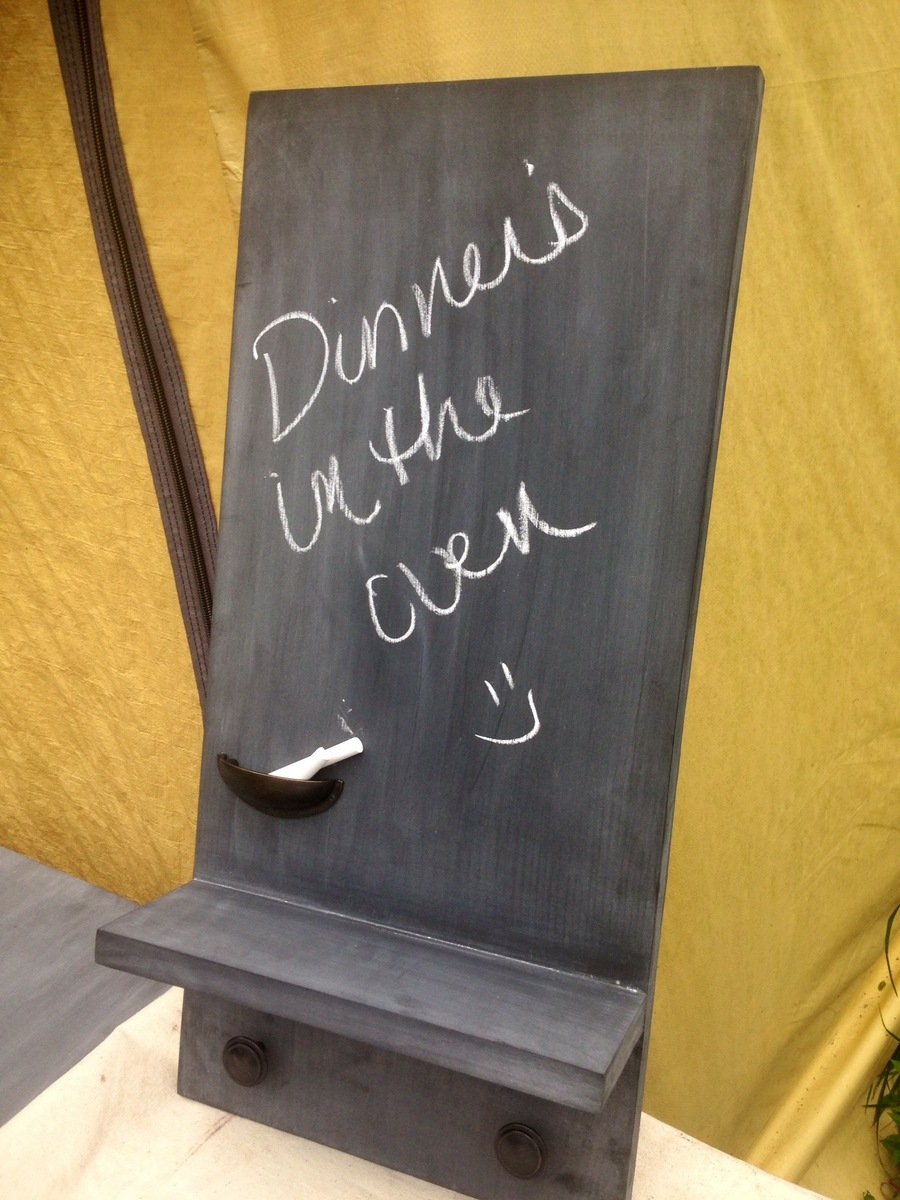
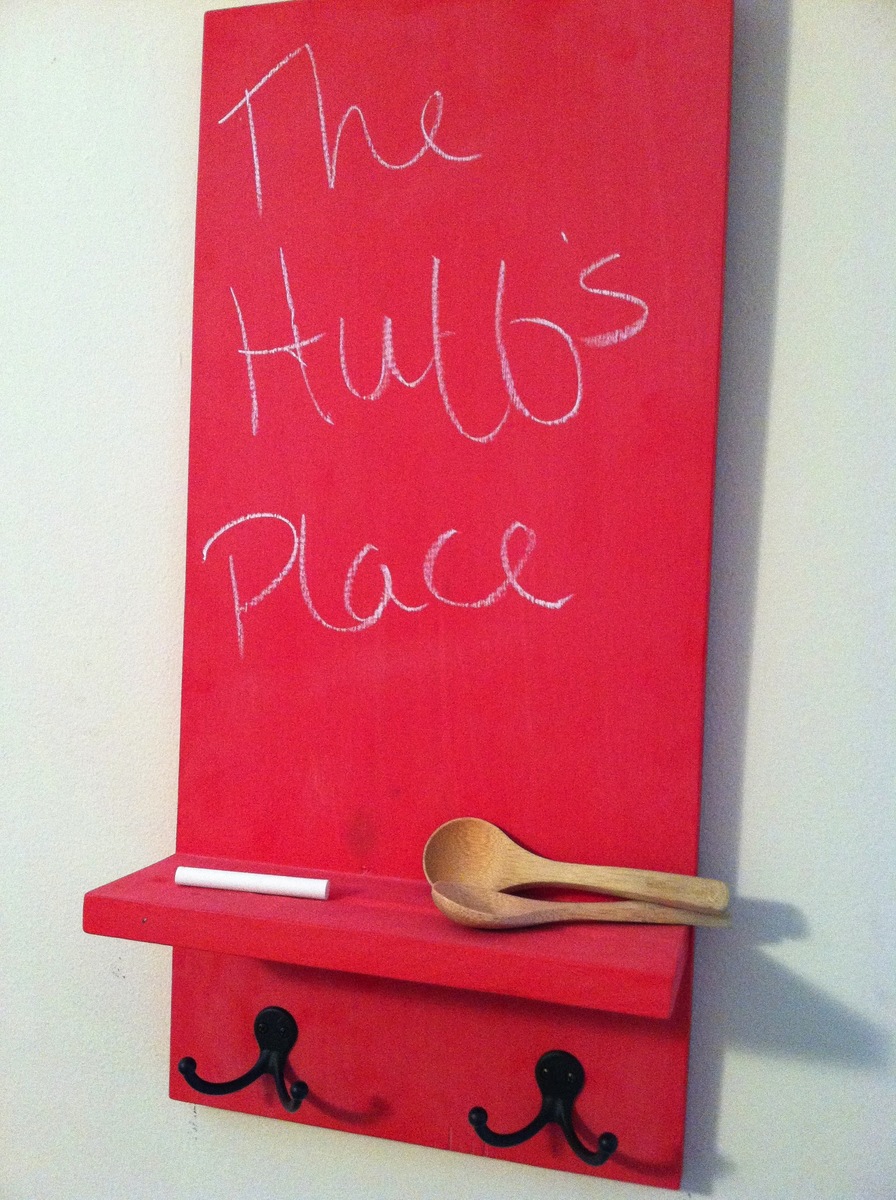
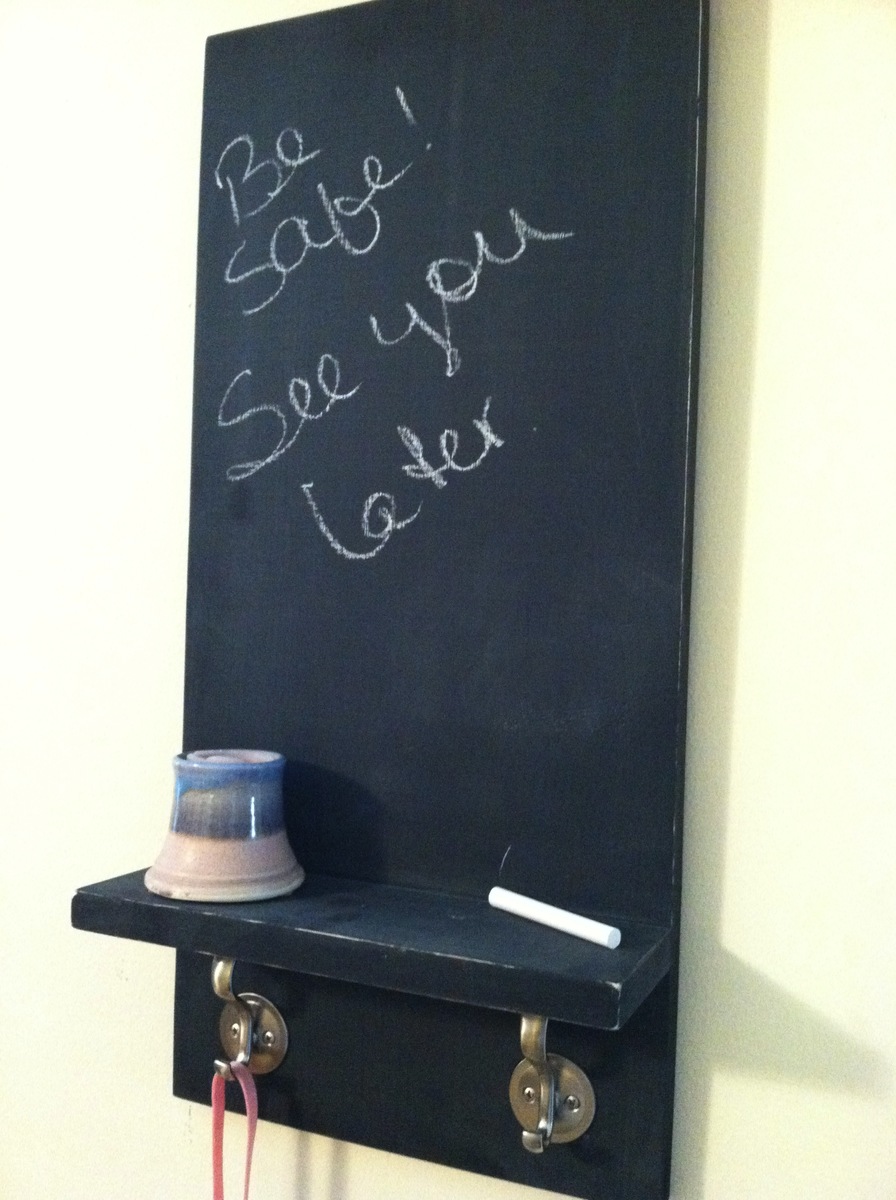
I have made so many of these and love it. Different colors for different people. Making your own chalkboard paint is so easy also. Thanks Ana!
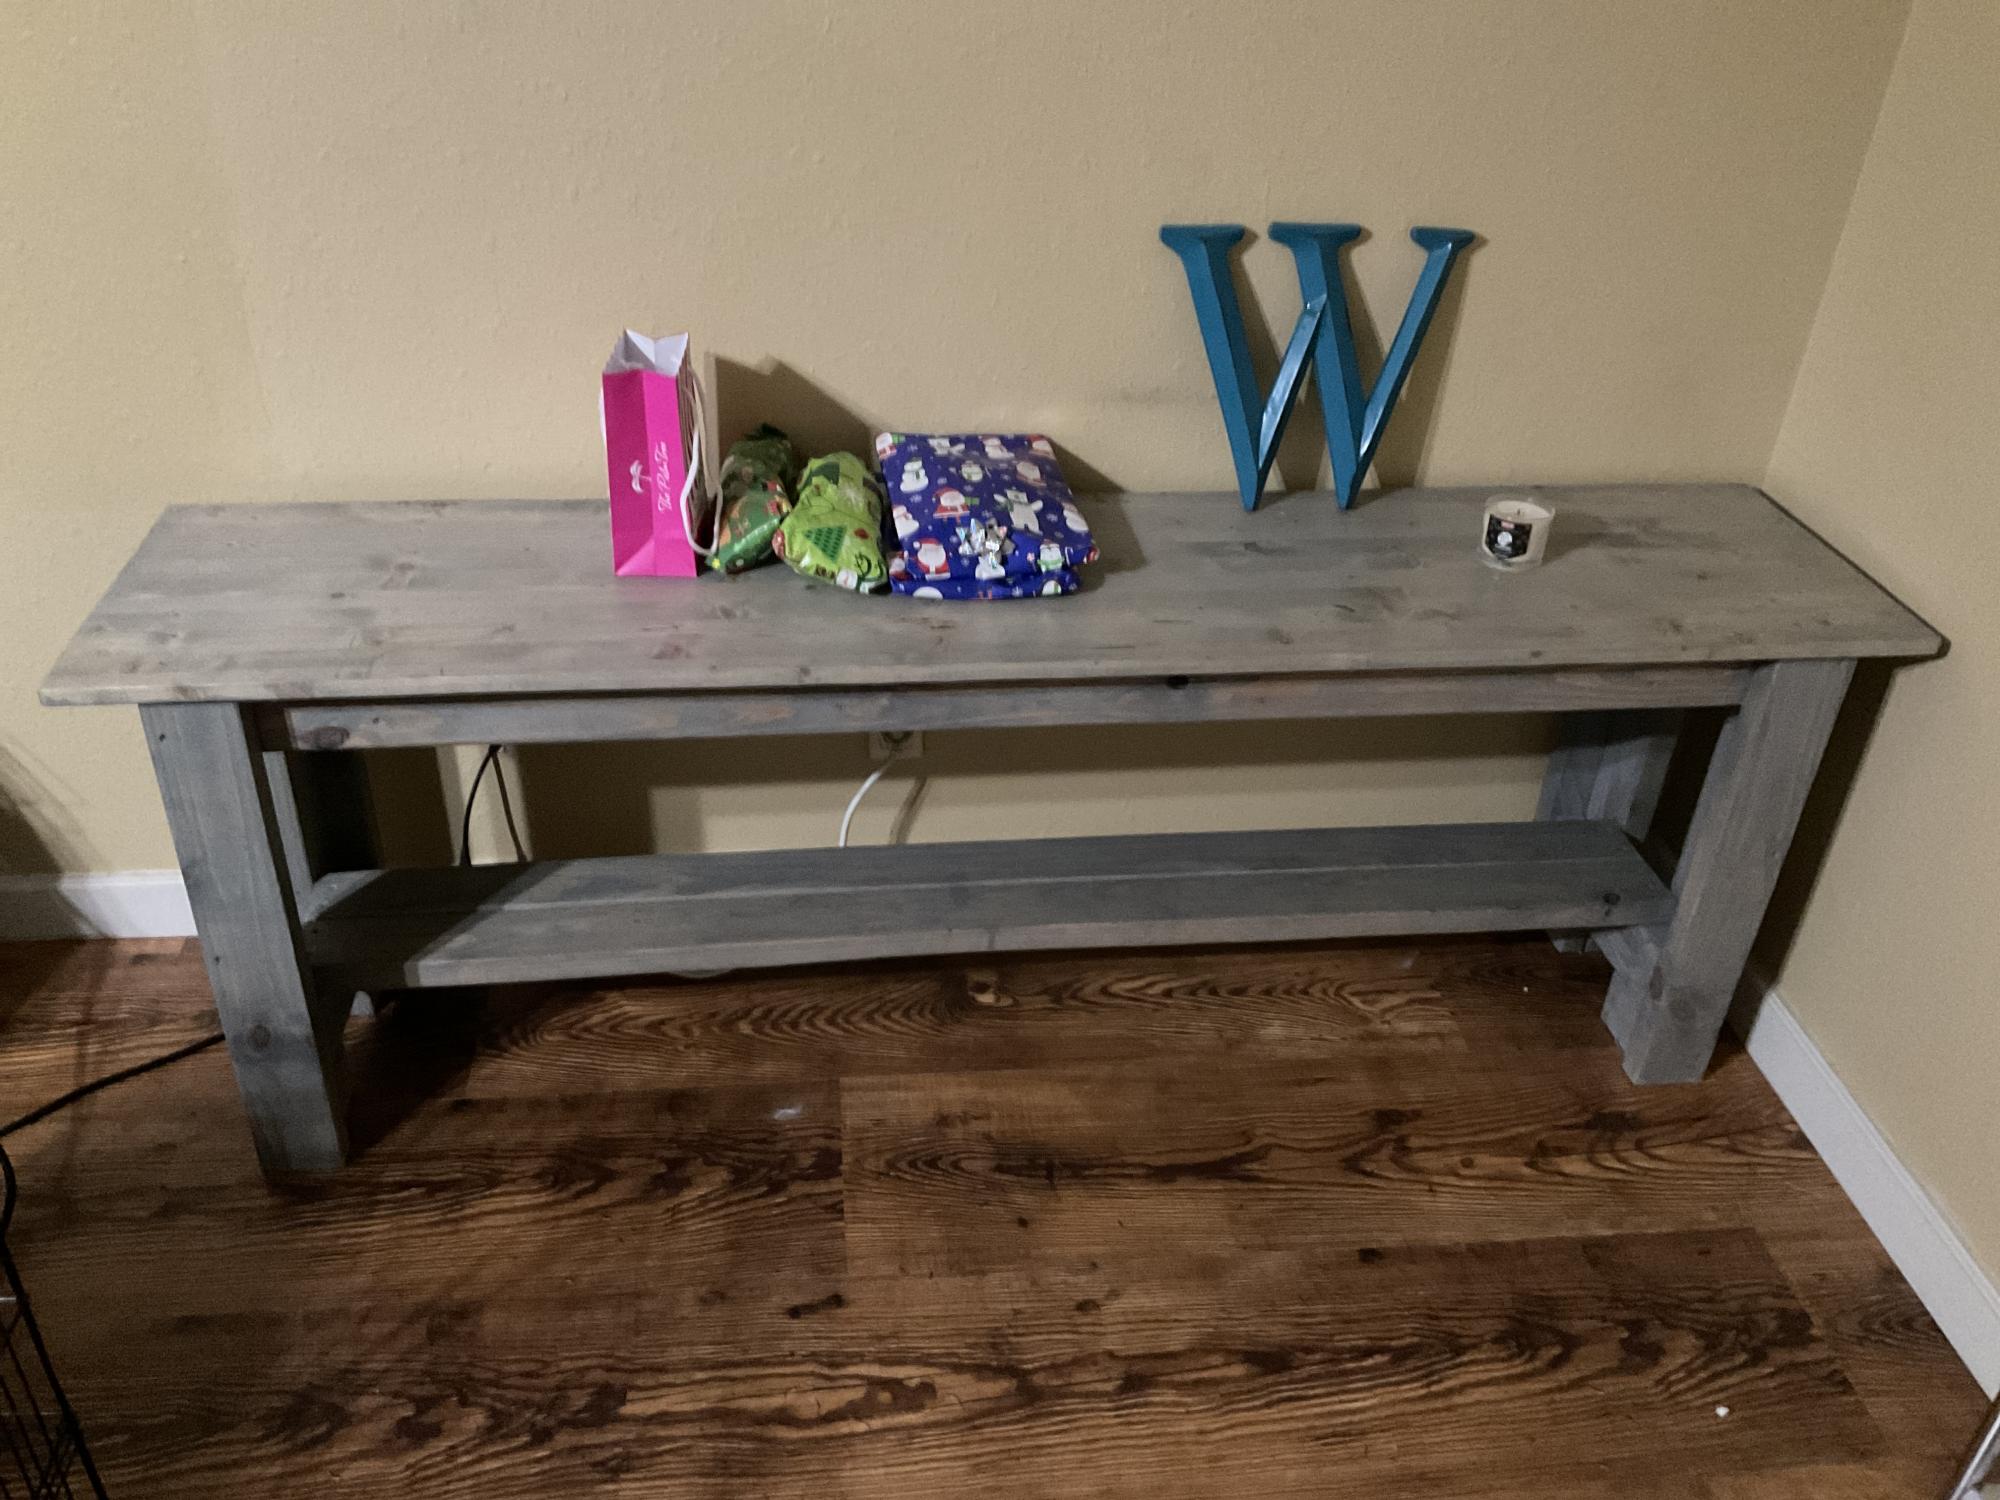
I used your sturdy workbench idea and made it a nice table for behind our couch.
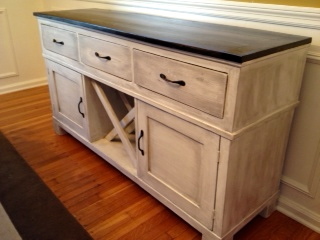
We recently built our version of the Salsa console to use as a buffet/sideboard in our dining room. It turned out beautifully and we couldn't be happier with it! Check out our blog for more details :)
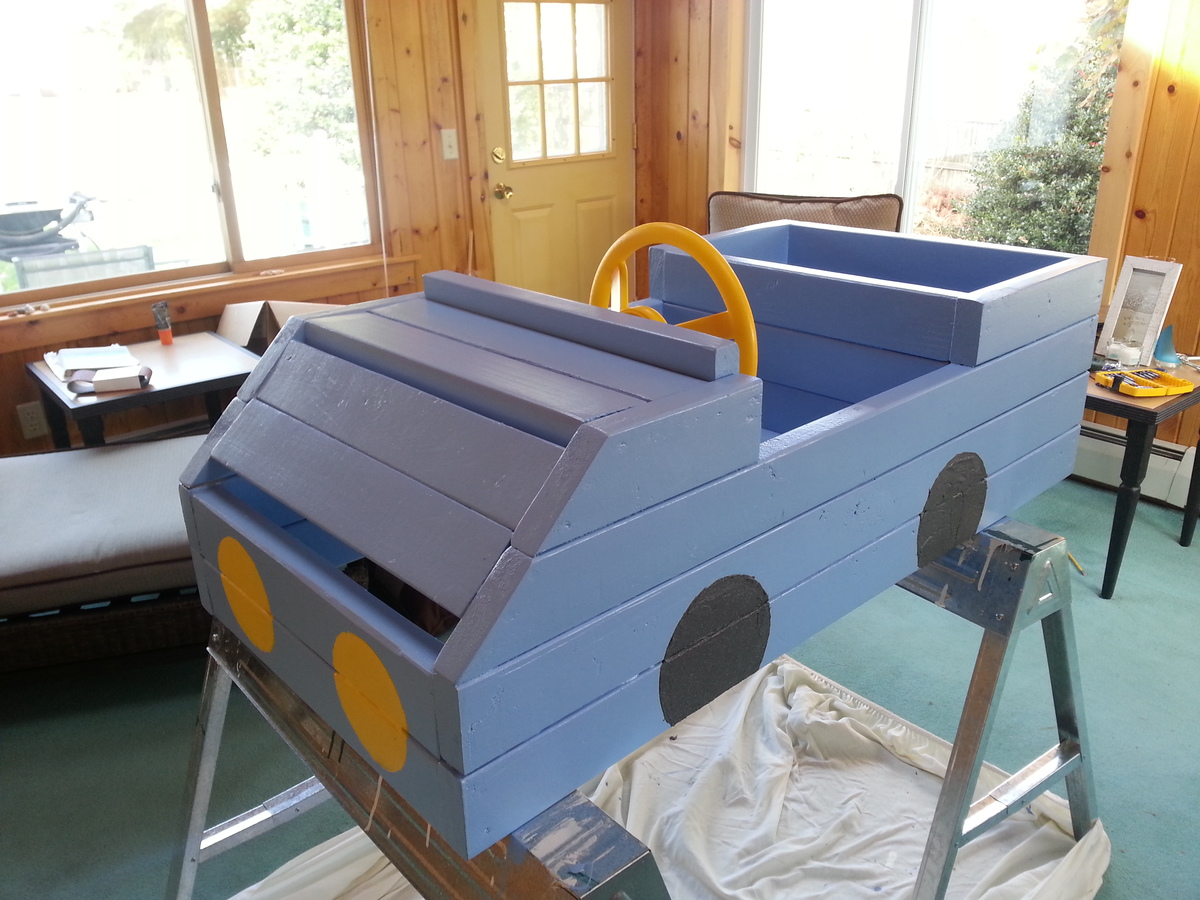
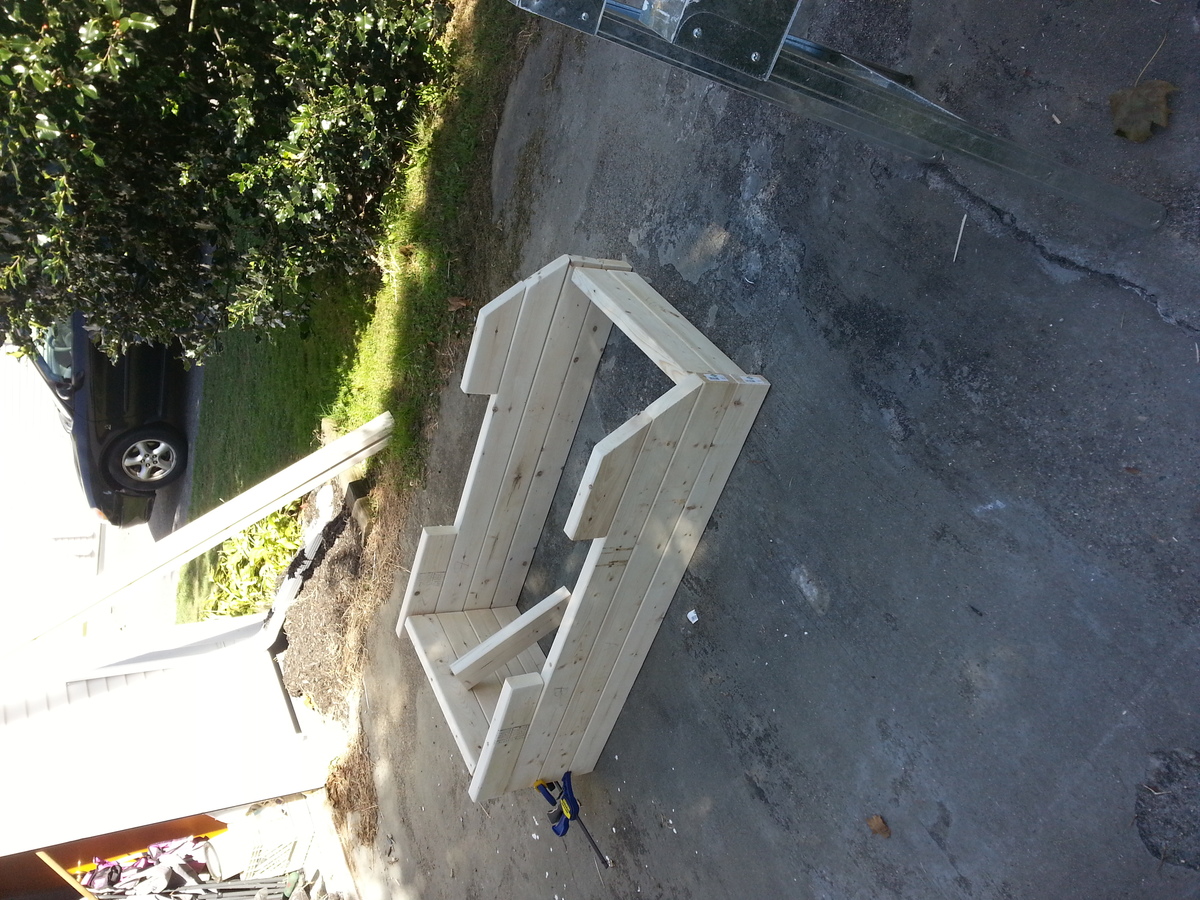
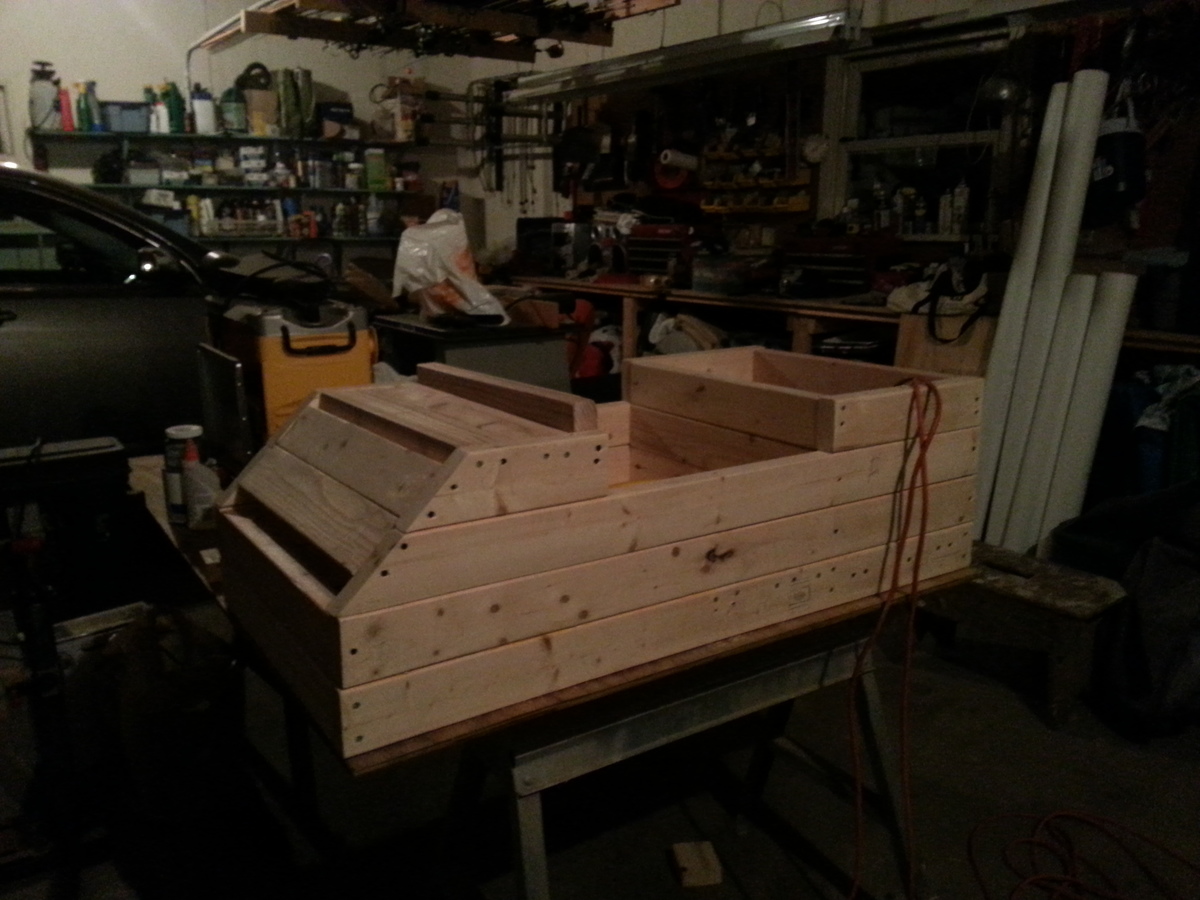
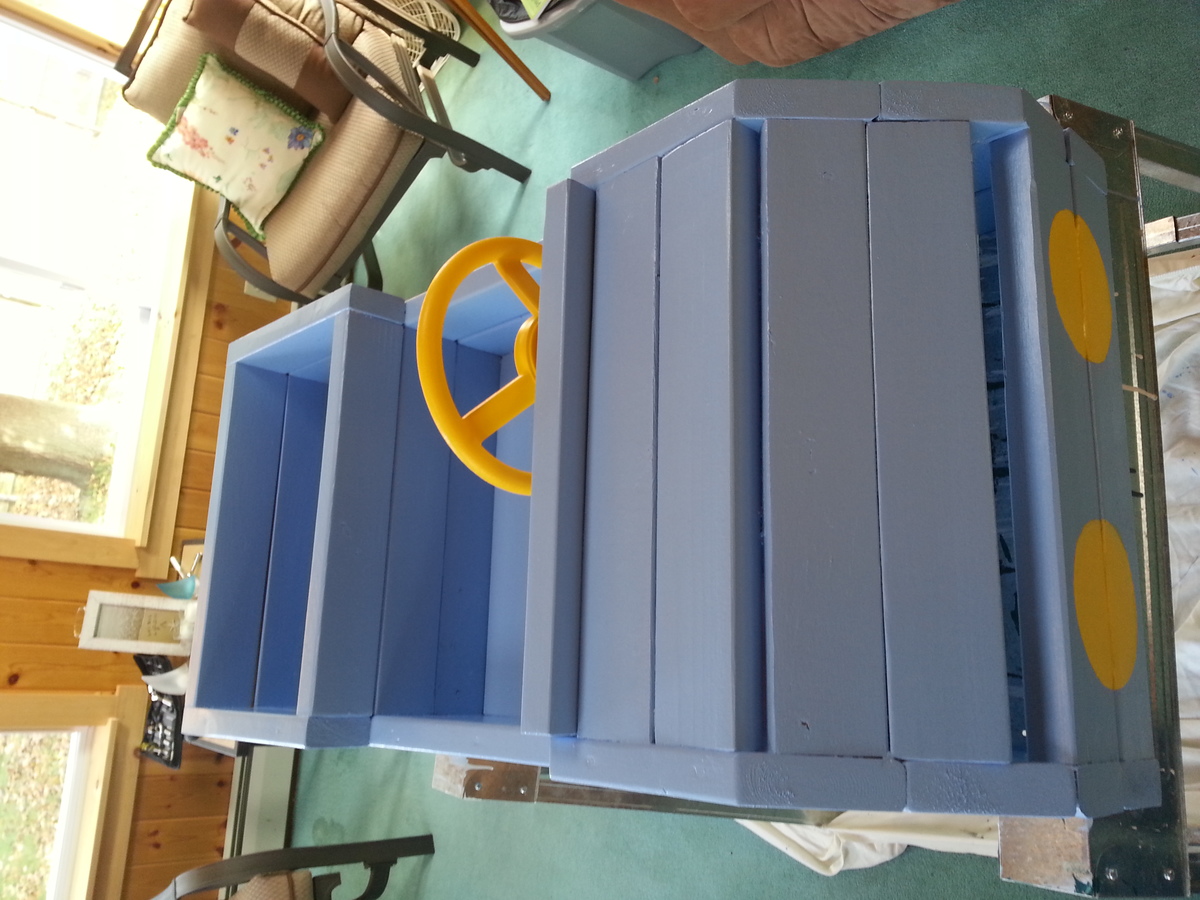
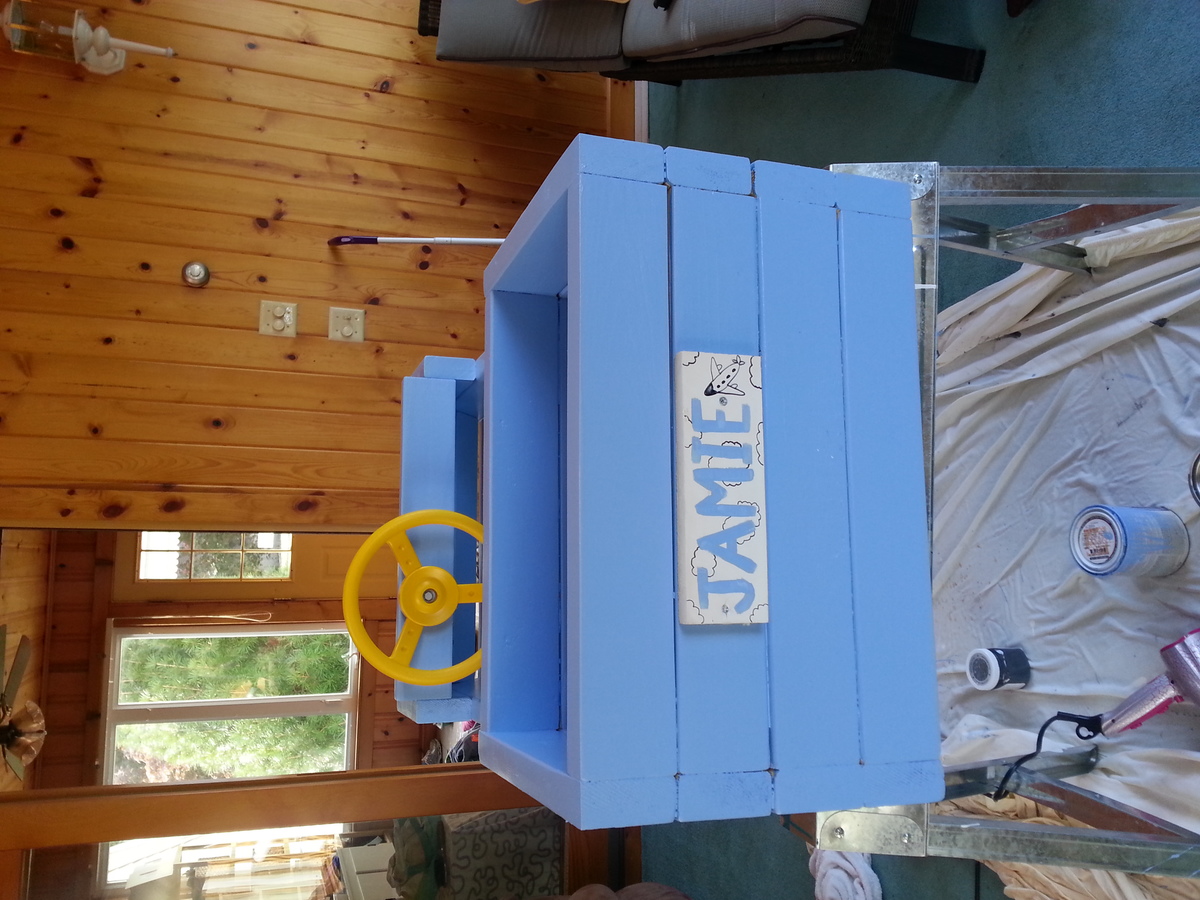
This was my second build (easier than my first project...the Adirondack chair). Its a heavy piece and plenty sturdy as a birthday present for my one year old nephew and his sister and cousins to play on. Bought a plastic steering wheel from amazon.com. the textured paint (Anchor Gray - textured metallic by Martha Stewart was perfect for the wheels). Couldn't find the plans on ana-white but did get them from http://www.morelikehome.net/2012/10/day-26-build-little-car.html?m=1
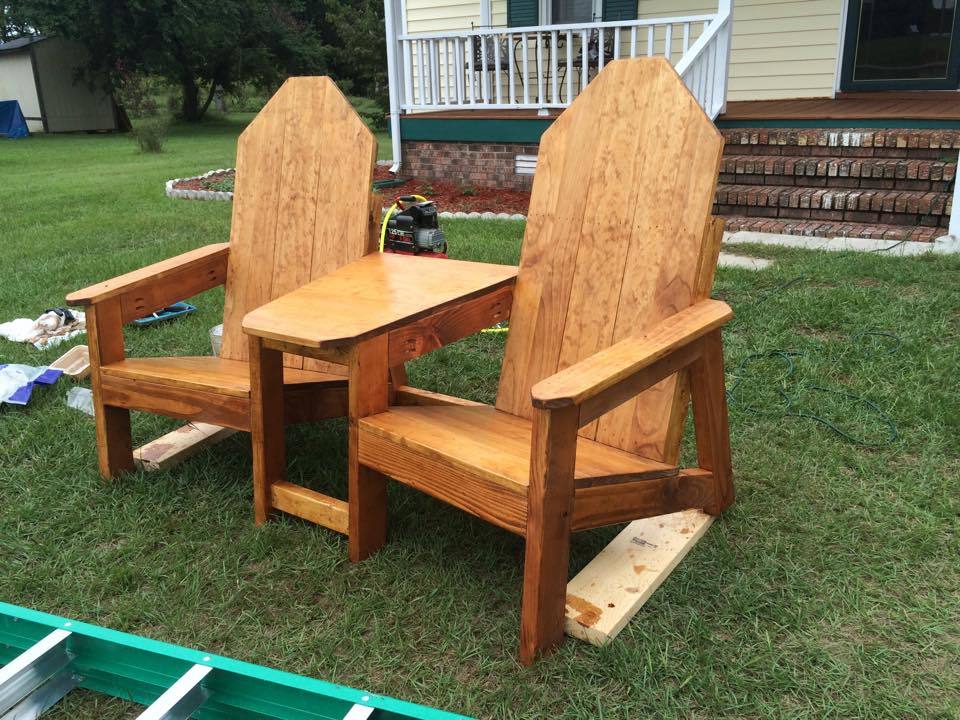
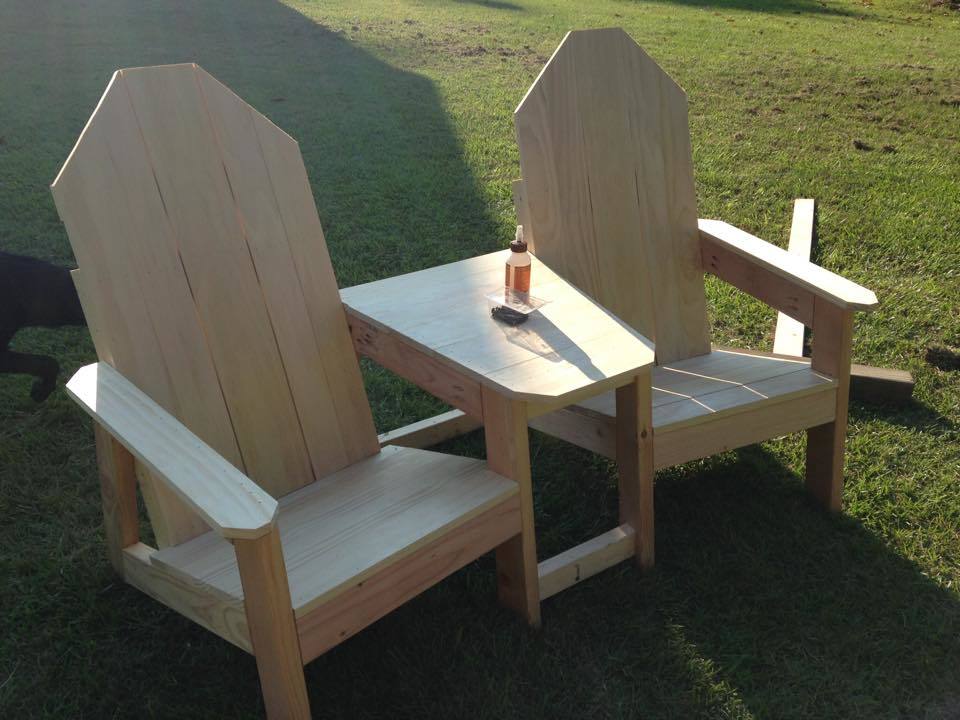
custom set of adirindack chairs i bulit for my deck. they are angled in at 20 degrees. i came up with the plans myself after looking at an older set i had purchased that were falling apart.
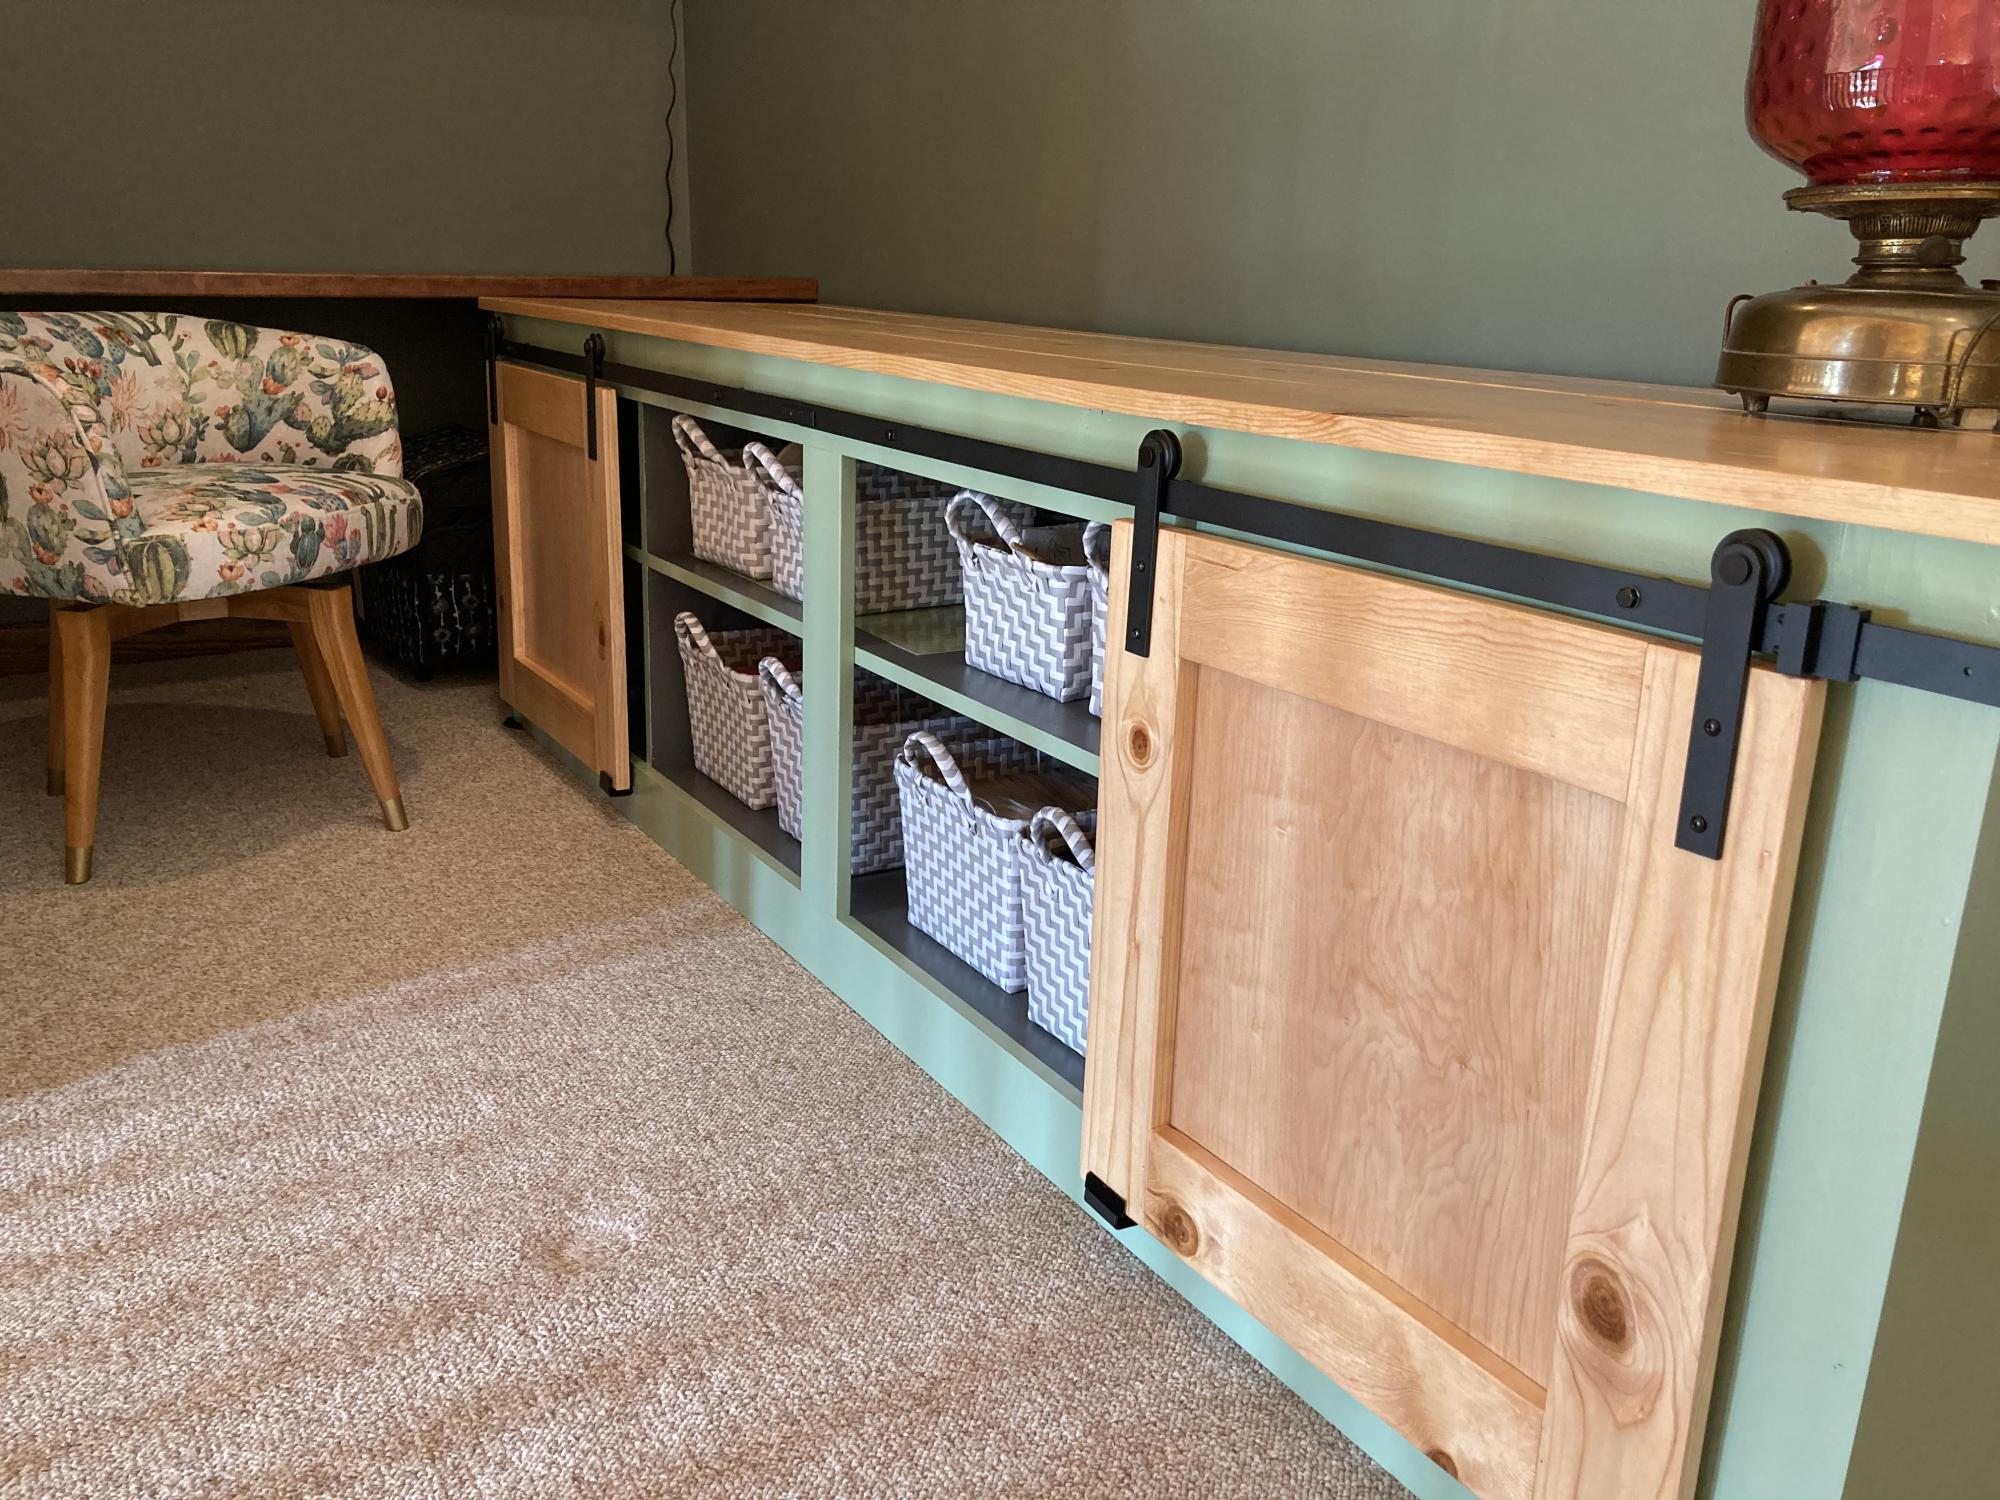
I had a loft space that was not being utilized so I created a crafting space using an Ana White Barn Door Console plan. I just started building furniture 5 years ago using a jigsaw, a miter saw, and a power drill. You are never too old to start
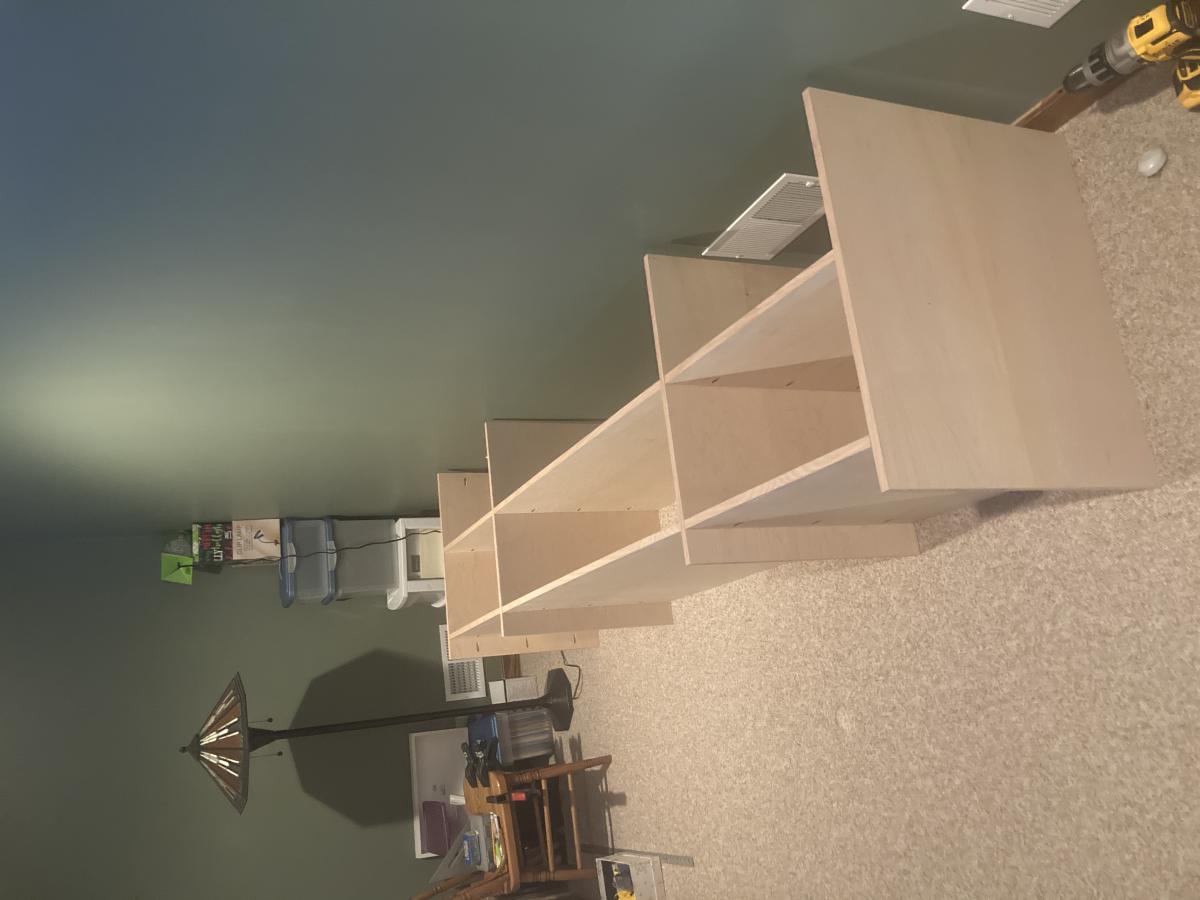
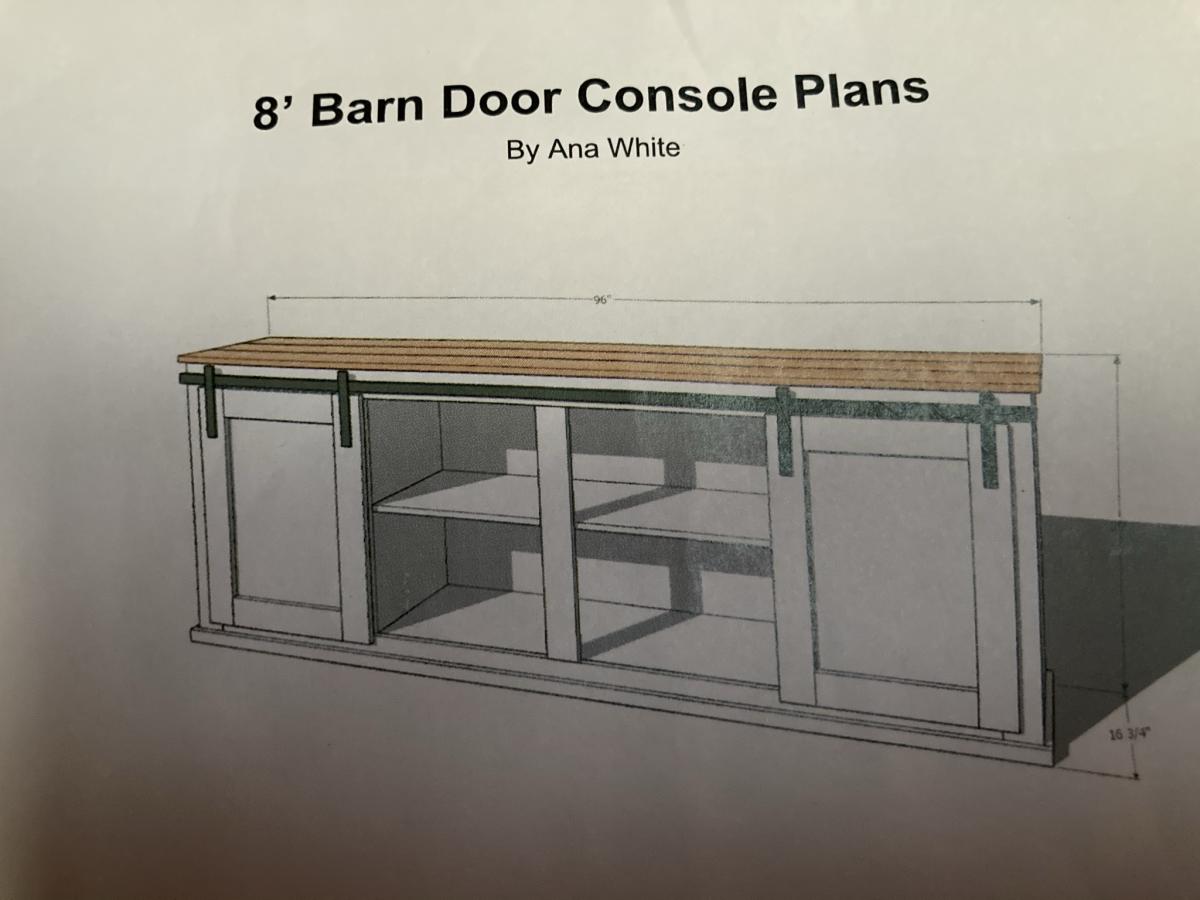
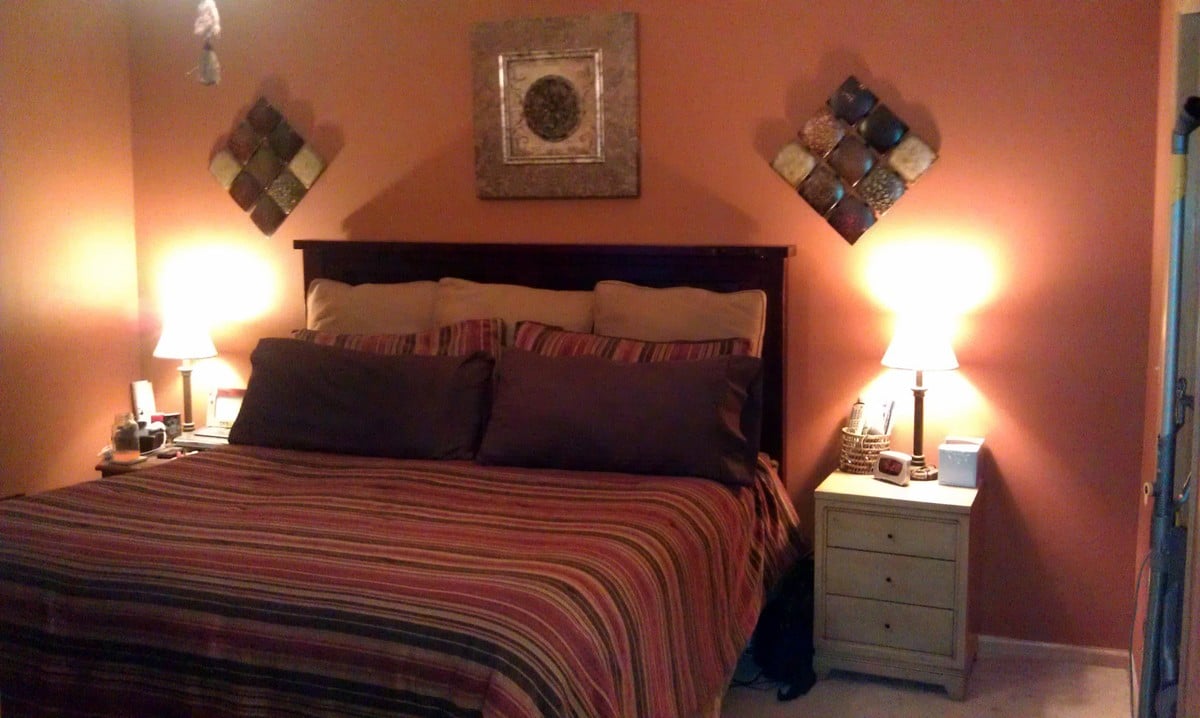
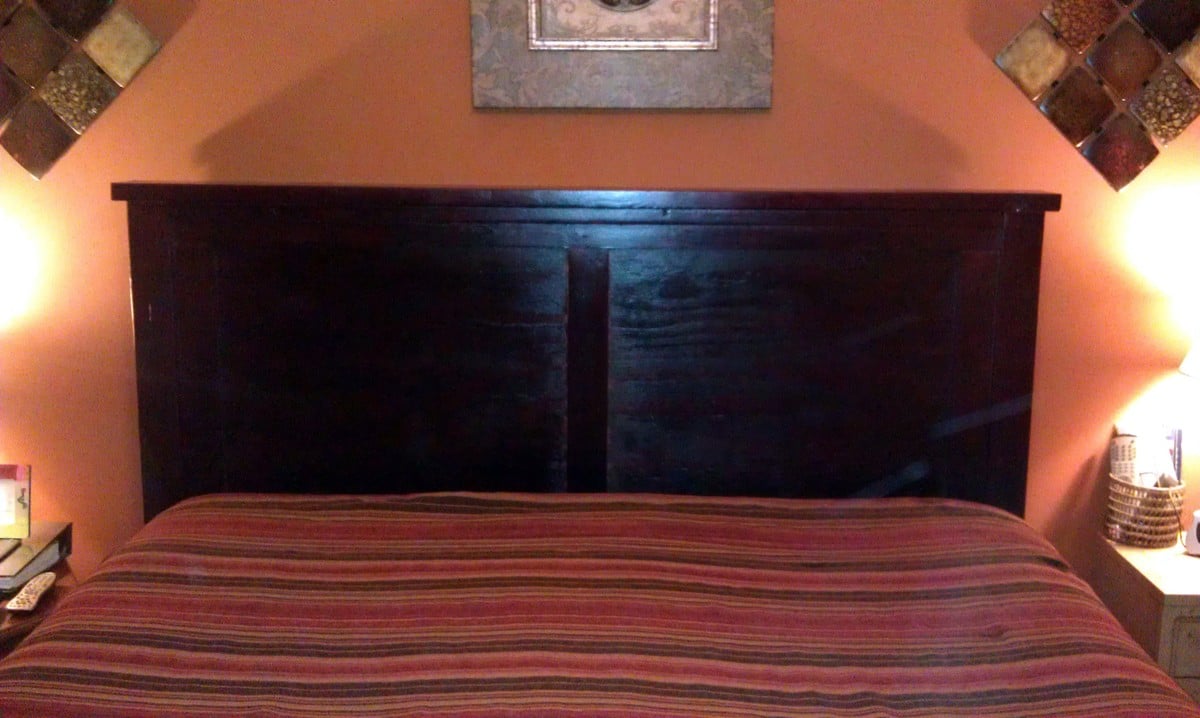
After finally getting my husband on the Ana White bandwagon, He cut all the wood for me and we assembled it in one afternoon. We used plywood instead of the planks, omitted the 2x4, using just the 2x6 on top, and we also attached 1x4s to the front of the "posts" that we made with 2 2x4s to cover the seam. I took about 2 or 3 days to sand and stain it and now he wants to build more!
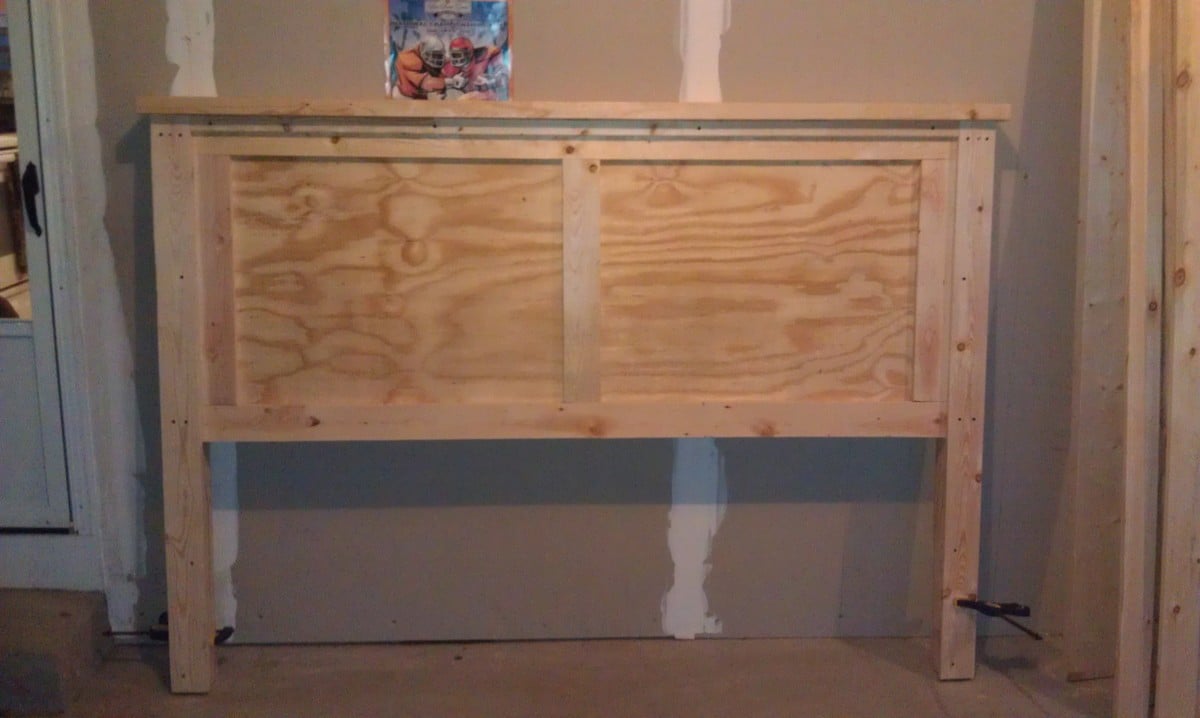
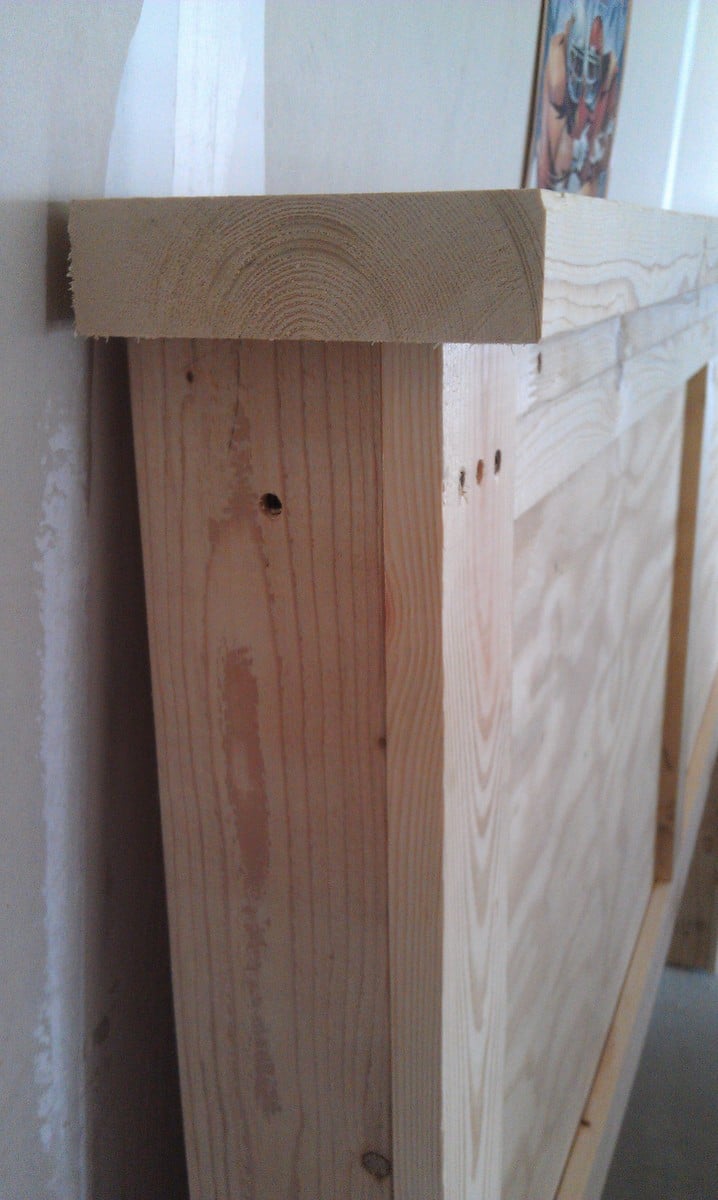
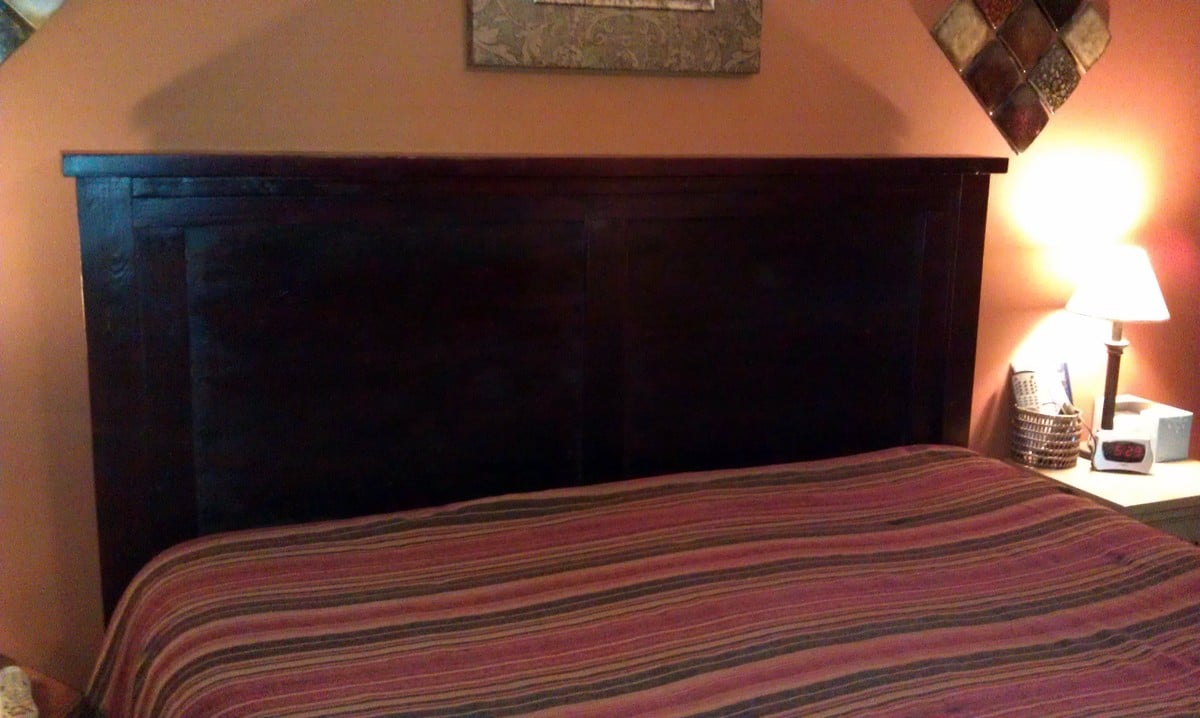
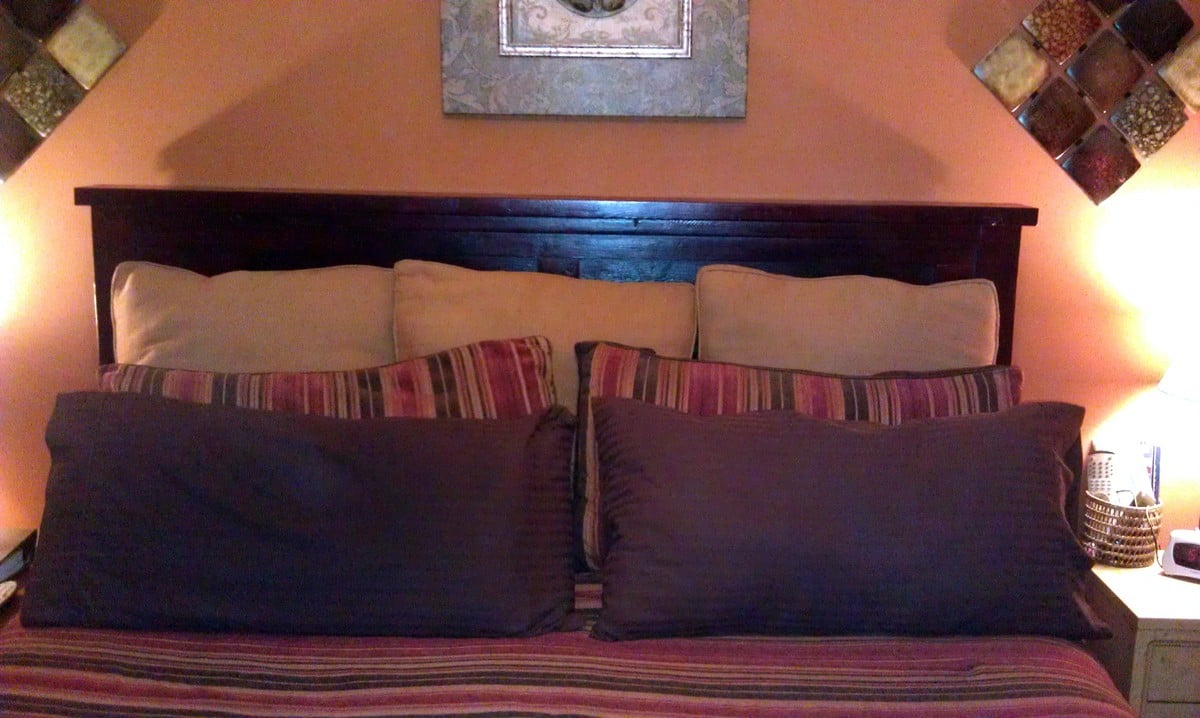
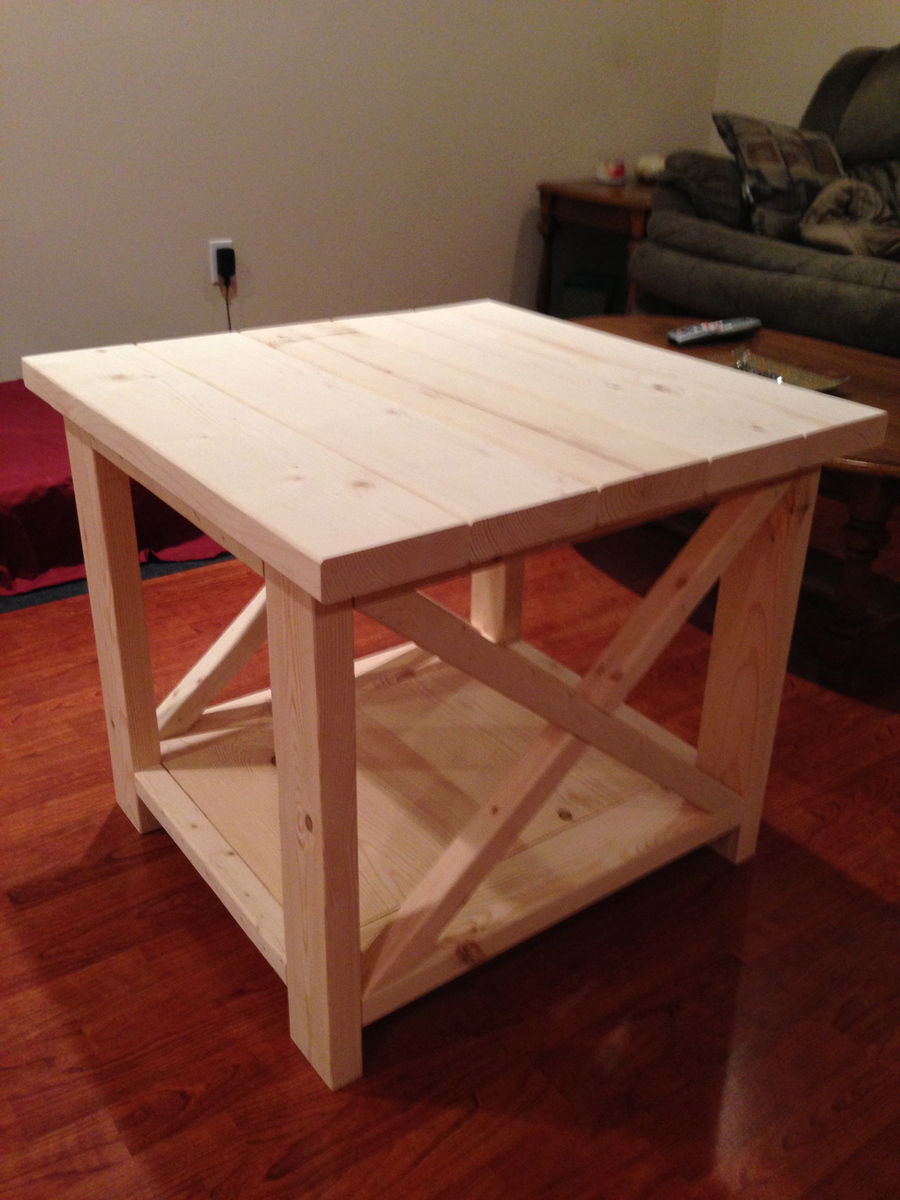
have not put a stain on this yet, waiting to make a pair before doing that
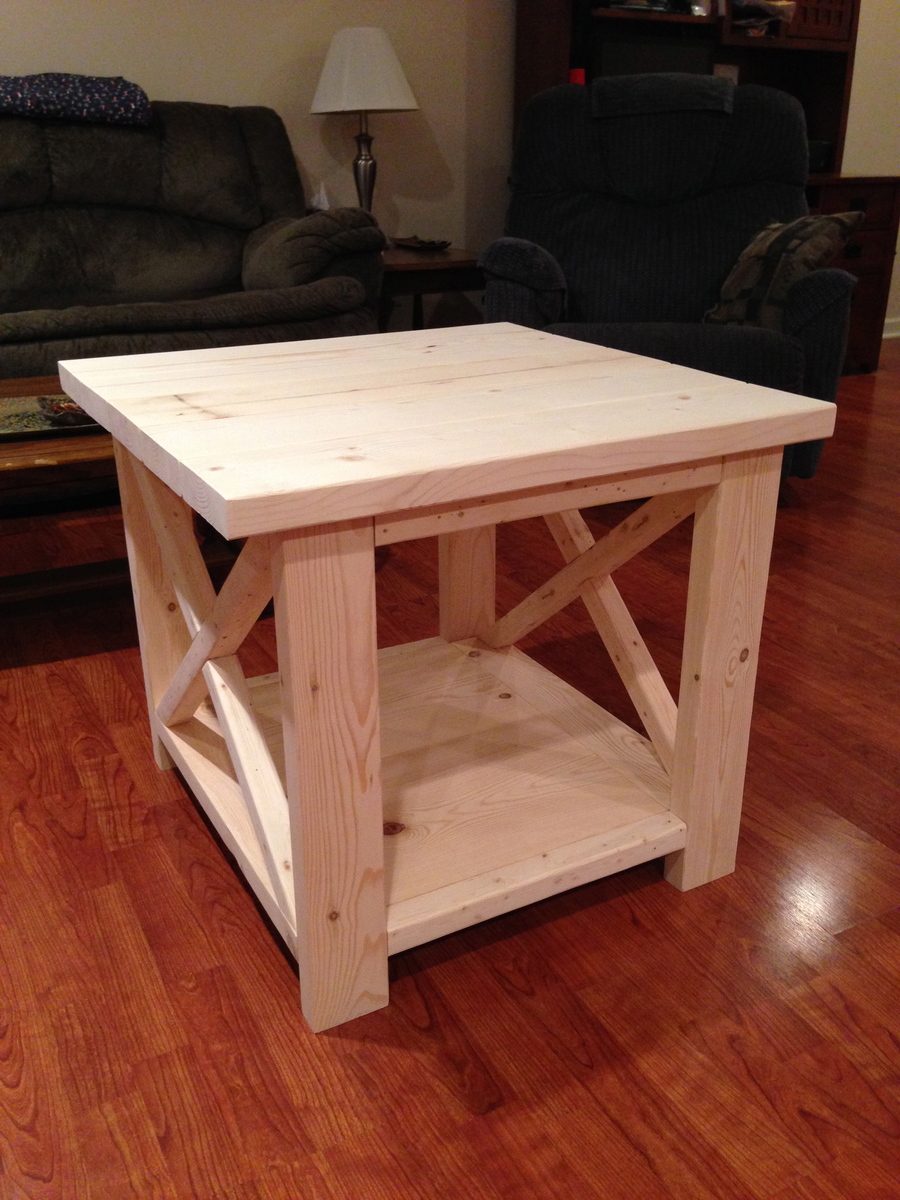

We were looking for a narrow side table for the little space we had at the end of the sofa. This table was perfect size, exactly what we were looking for and incredibly easy to make.


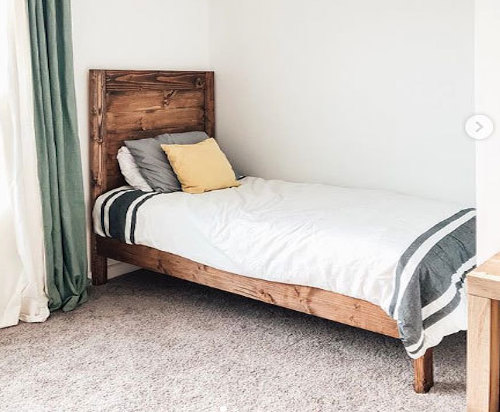
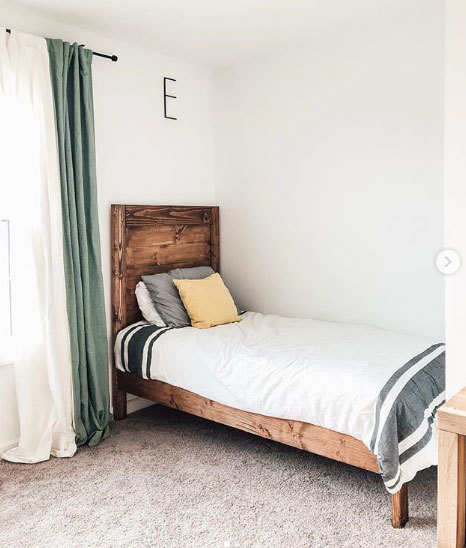
So proud of hubby for making these amazing beds for the boys!
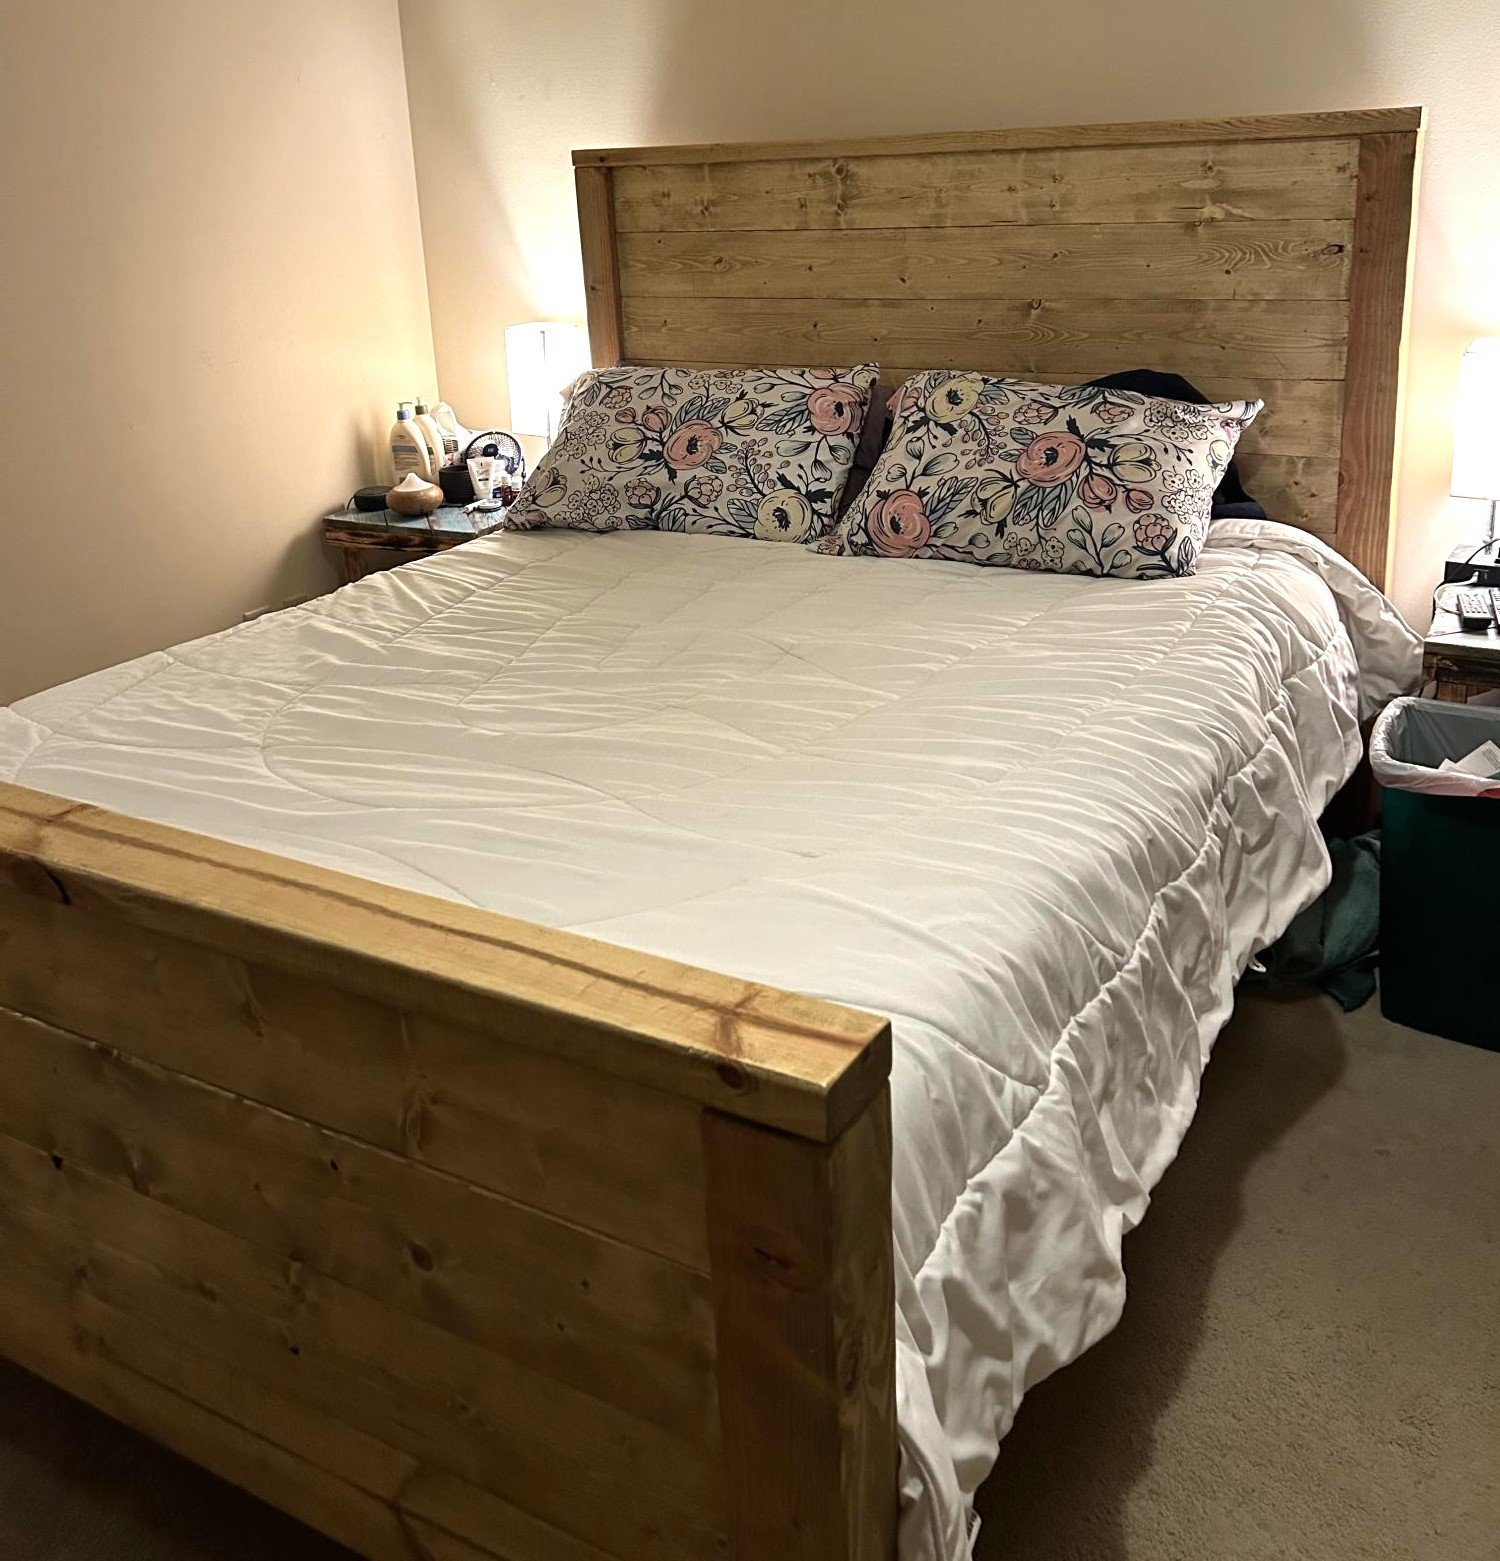
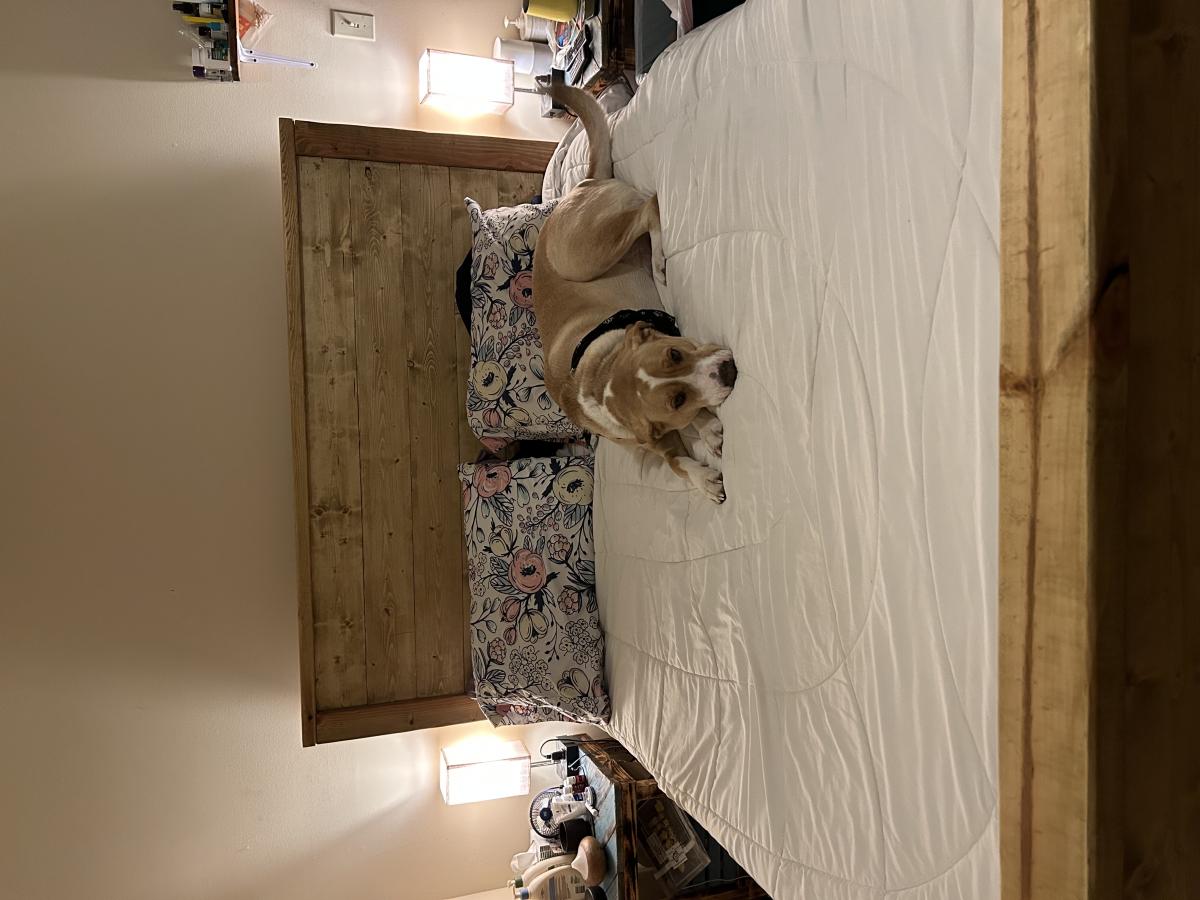
We made the footboard a little taller, pattern was simple to follow and adjust to meet our needs.

Using the Farmhouse Vanity plans as a guide, I built this enclosed farmhouse vanity out of a neighbor's old cedar fence and topped it with leathered granite and a ReStore sink. The finished vanity is amazing! For more, check out my blog.


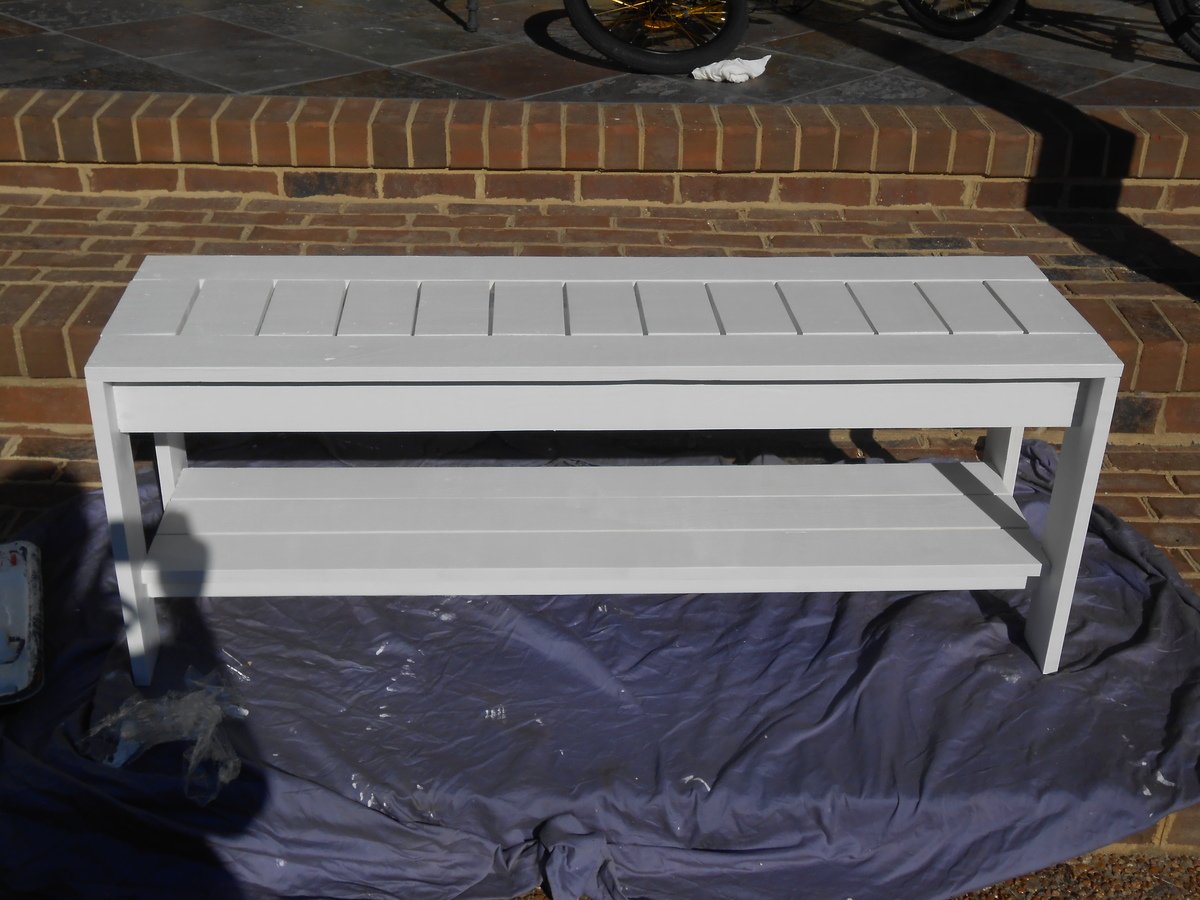
I had to modify the plans. The Size is 14" x 48". I also added a shelf at the bottom for shoes. Can't wait to replace the ugly shoe rack at the front door with this! I also used 1 x 4's for the apron. I found 1"x4"x14' at homedepot for only 3.40per piece!! So I was able to build this for less than $15. The wood has more knots than the other 1 x 4's, but if you look thru you can find some good pieces. I'm going to use this same wood to build the outdoor sectional too.
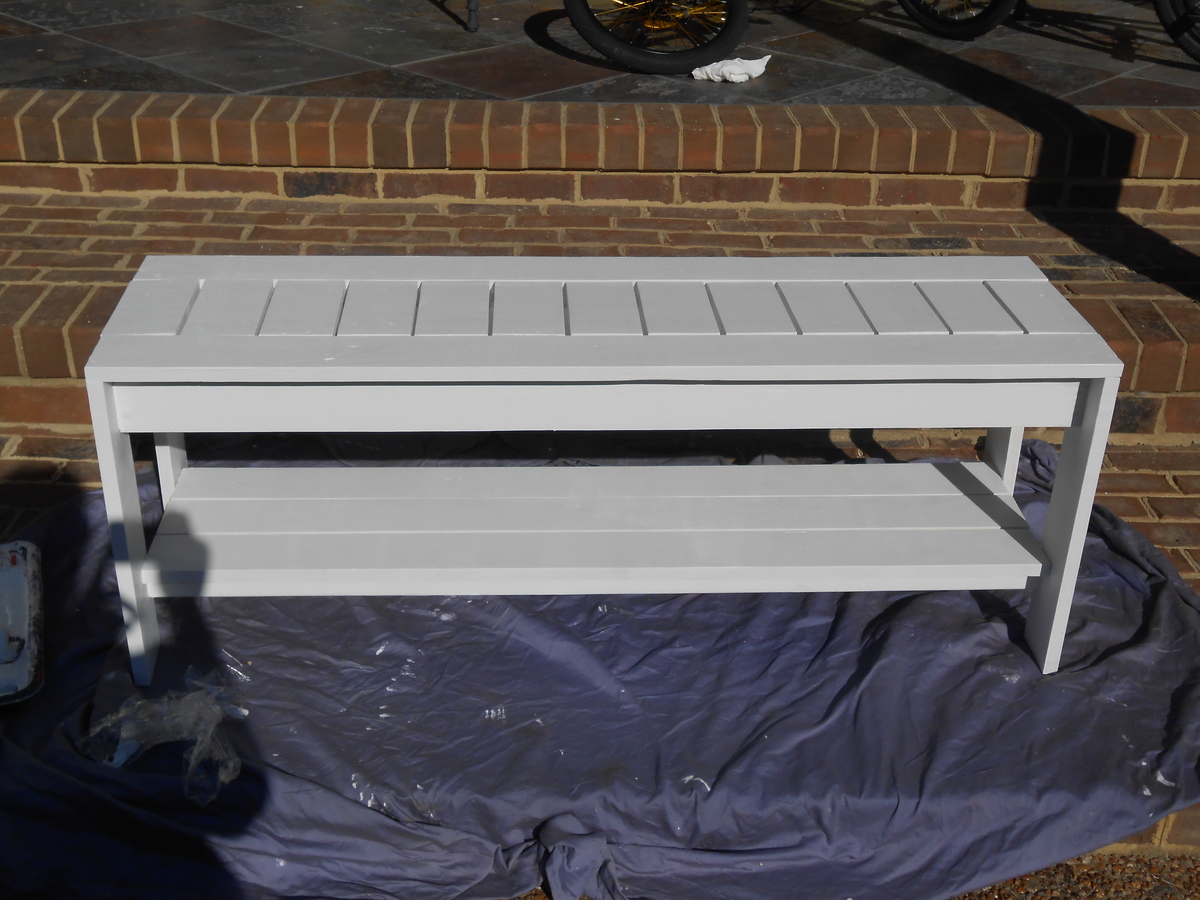
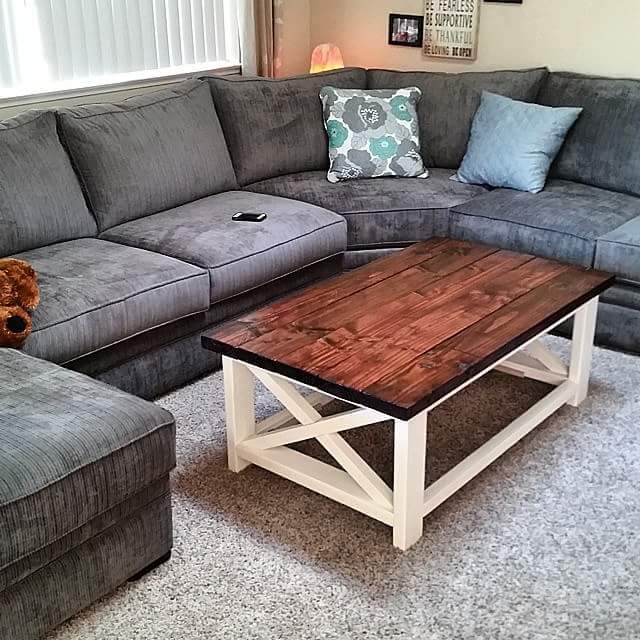
I took this picture prior to putting the lower shelf pieces on. Never got around to taking one after.
Comments
maddiekidd
Mon, 02/17/2020 - 20:29
Very Well Done
This is so nice! Really good job.