Community Brag Posts

Finished my Shanty hutch and sideboard
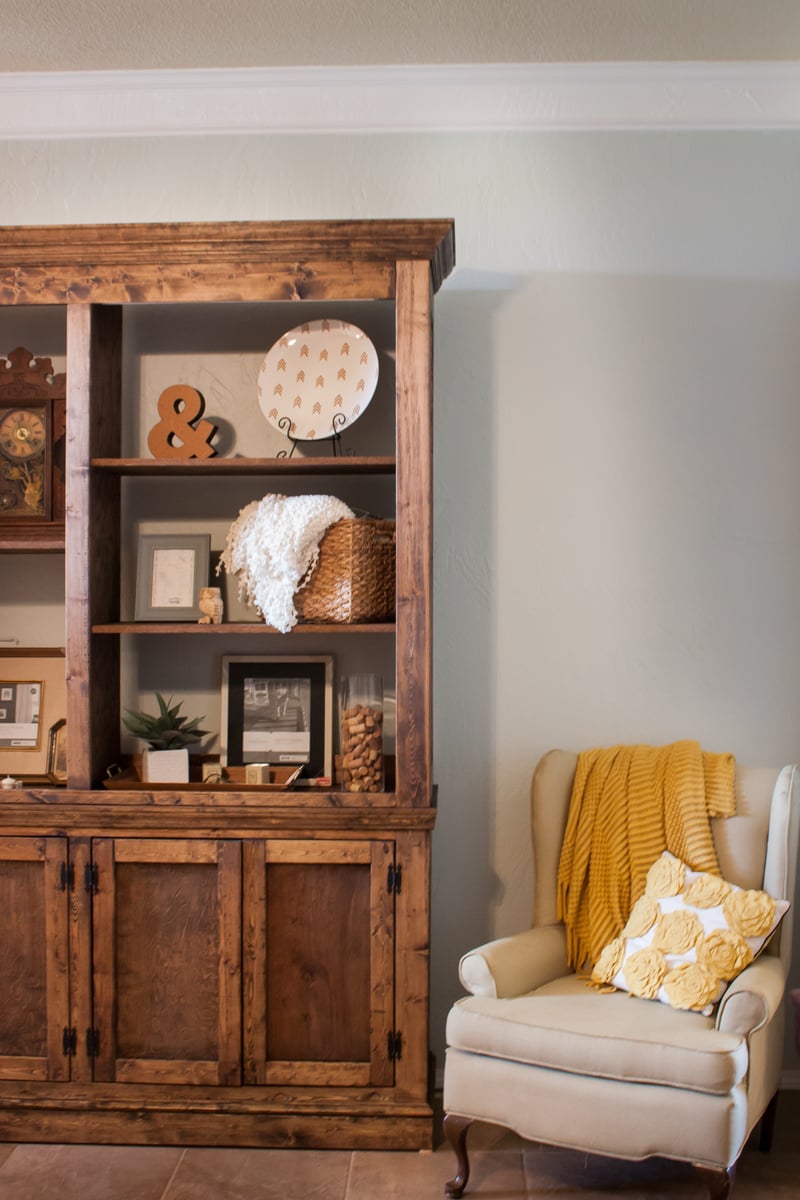
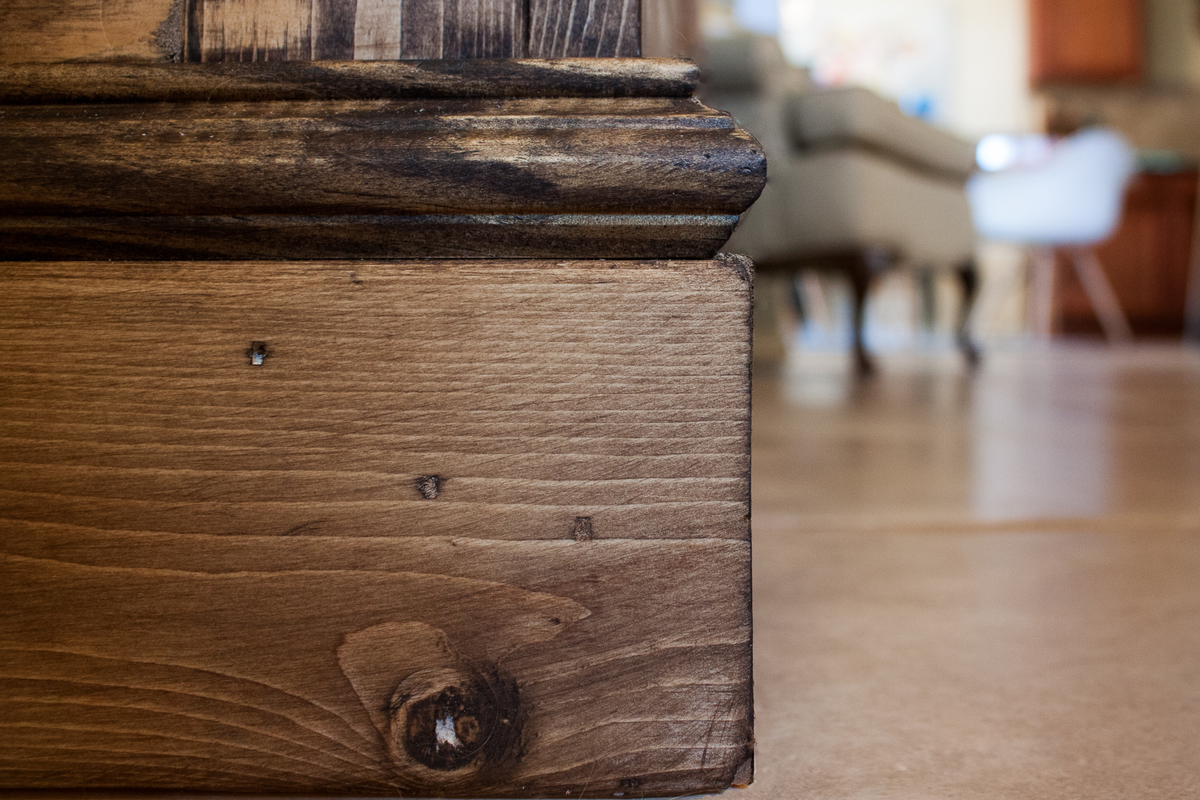
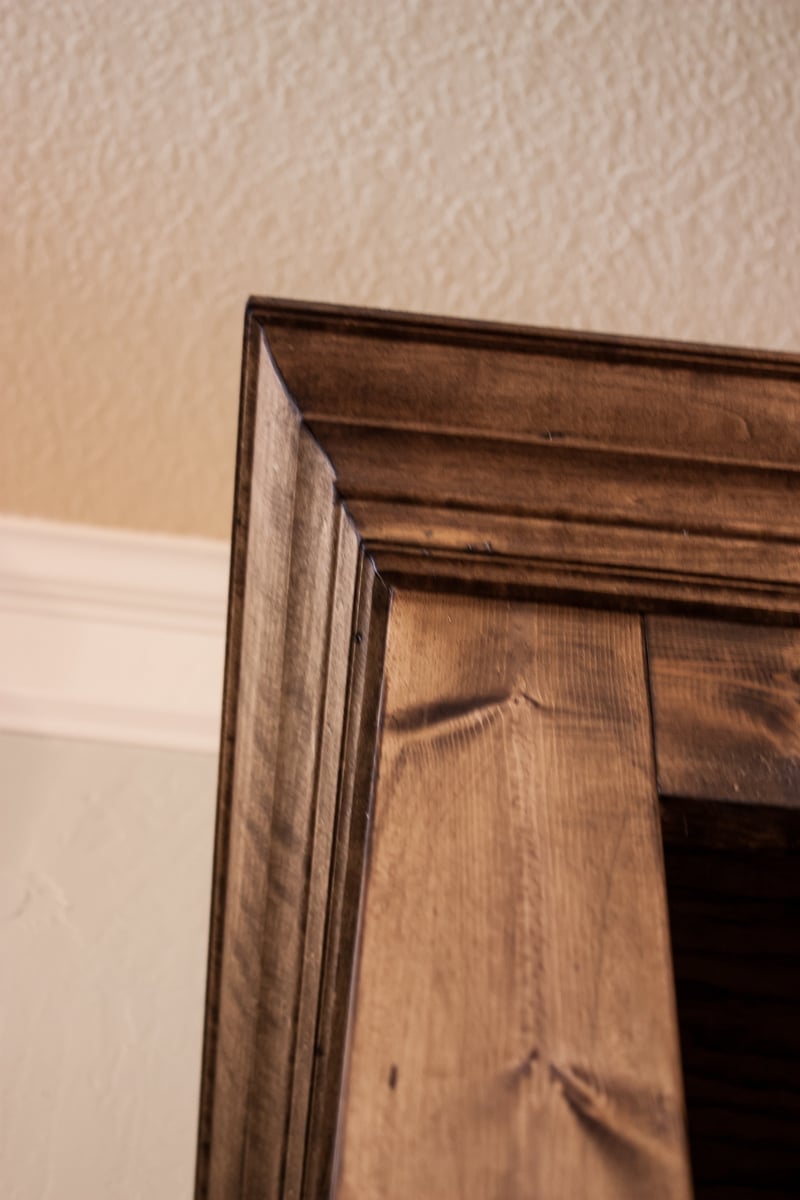
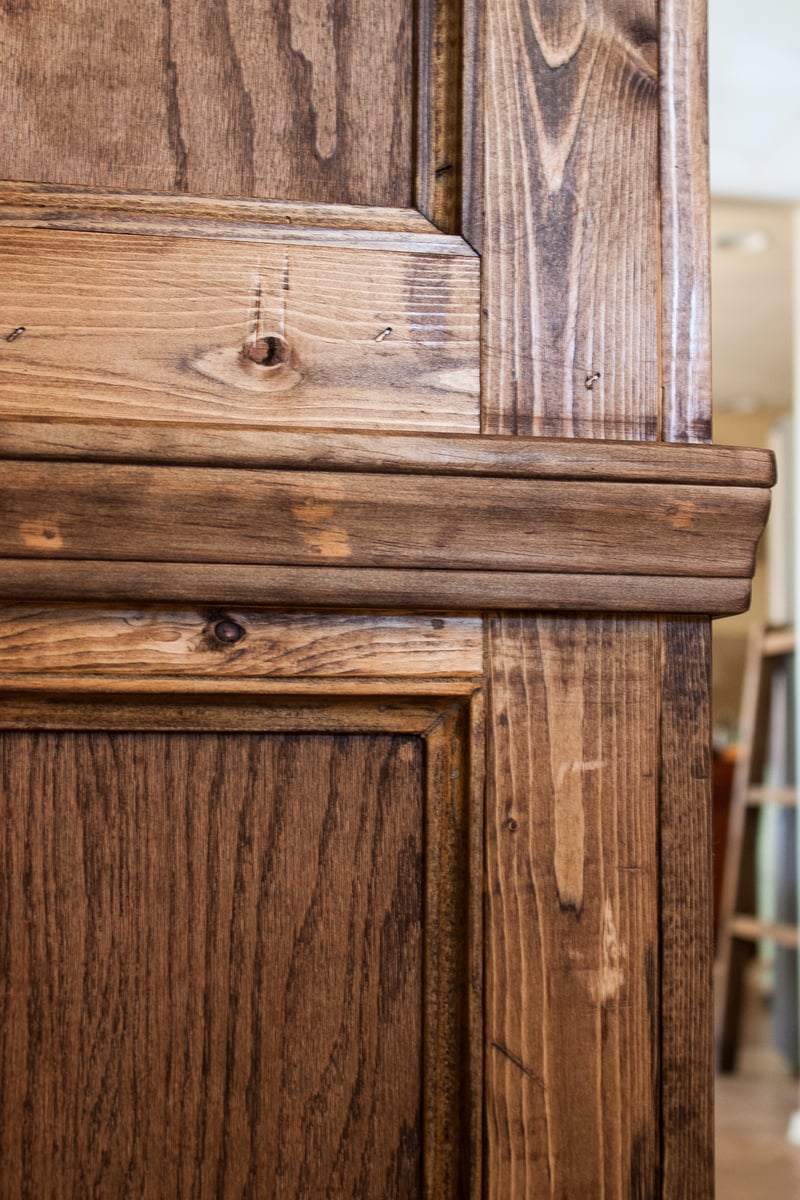
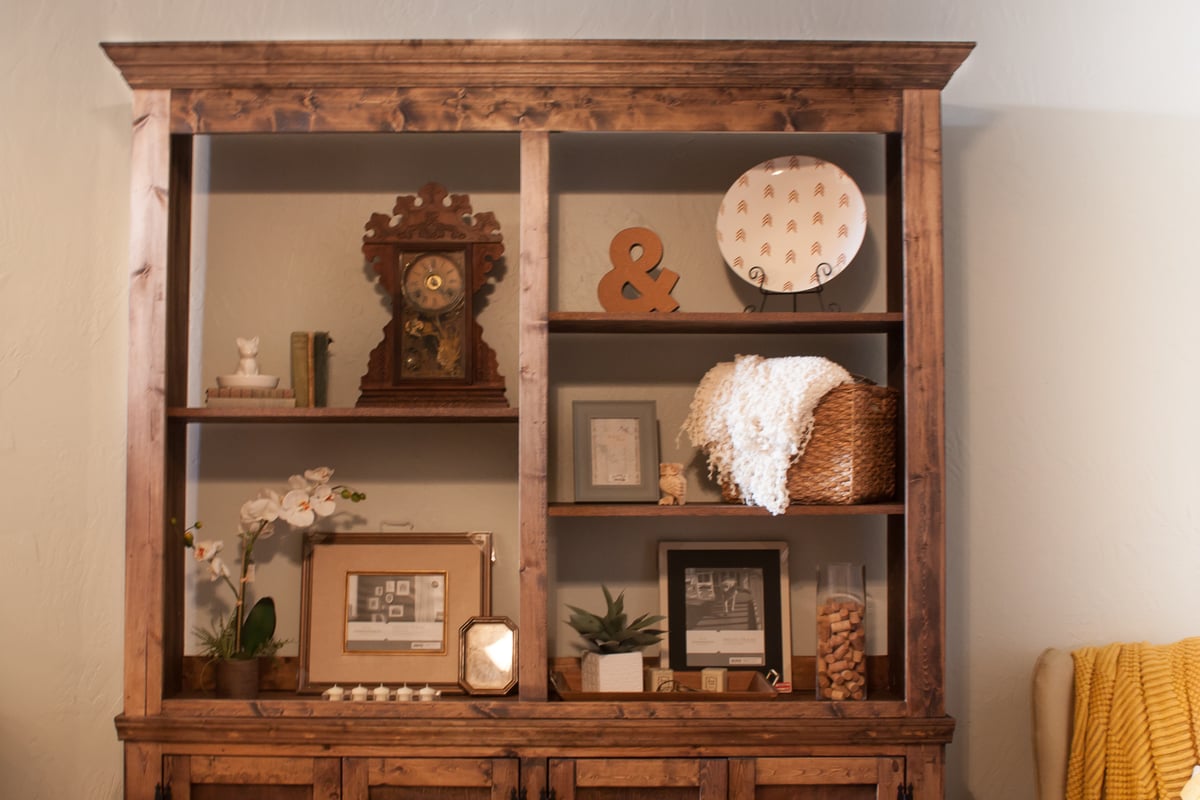
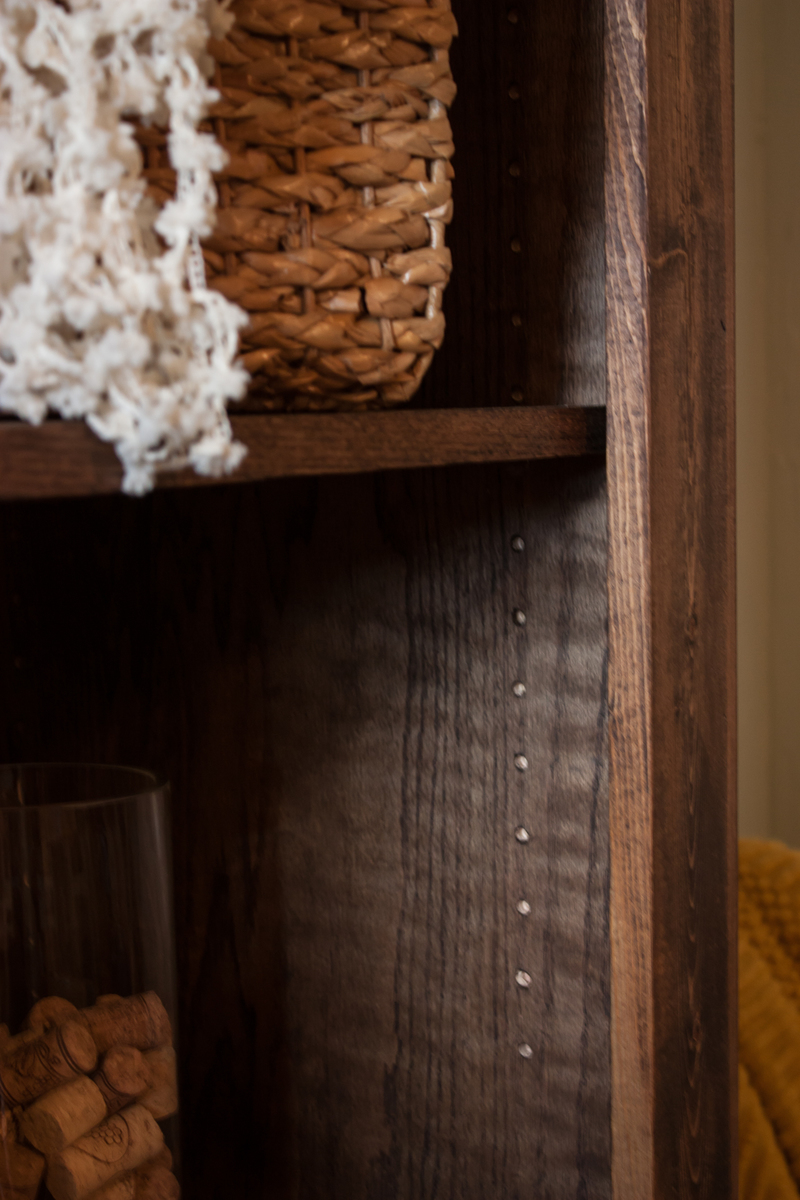
We had a big wall in our living room and nothing to fill it.. To buy a piece of furniture this size would have been so expensive. I worked on this piece over a week and a half... during kids naps. I used cove molding around the outside edges instead of the two base moldings on top and bottom. I added a very large crown molding on top. I wasn't able to find a prefab base molding thick enough that was stain quality so I just used a 1x4 and another molding on top of it. I made 4 shelves but after getting out all my decor I decided to only have one on the left side. I applied edge banding to finish off the plywood edges on the shelves. It was super easy to use and was stainable. The kreg pin hole jig was used so that that the shelves can be adjusted to different heights. I'm planning to order cabinet latches for the doors.. for both look and function with two little kiddos. I used minwax dark walnut stain. Oh, I also added a support underneath the middle bottom section.. it really needs it otherwise its flexible.. I'm very happy with how it turned out.
Built from Plan(s)
Estimated Cost
450
Estimated Time Investment
Weekend Project (10-20 Hours)
Finish Used
minwax dark walnut
Recommended Skill Level
Beginner

Comments

Painterlyrhett

Mon, 04/20/2015 - 18:02

How did you attach the Hutch to the Sideboard. It looks extremely successful so I was curious as your strategy to successfully attach it safely and soundly. Thanks.

DIY Modern Chicken Coop

Submitted by Anonymous (not verified) on Mon, 05/20/2024 - 12:00

Almost 5 years after we moved into the country onto our Hamstead of 3 acres, I finally committed to building our chicken coop. Last year, my husband brought home a ton of lumber used for shipping. I started tearing it down and slowly, over the past few months, I built this perfect coop for our 6 little chicks. It required a ton of sketching and planning, adjustments, and do overs, but it has come together so well. Thanks and shout out to the plan from Ana White and the brag post by @blackgirlbythesea

Seasonal And Holiday

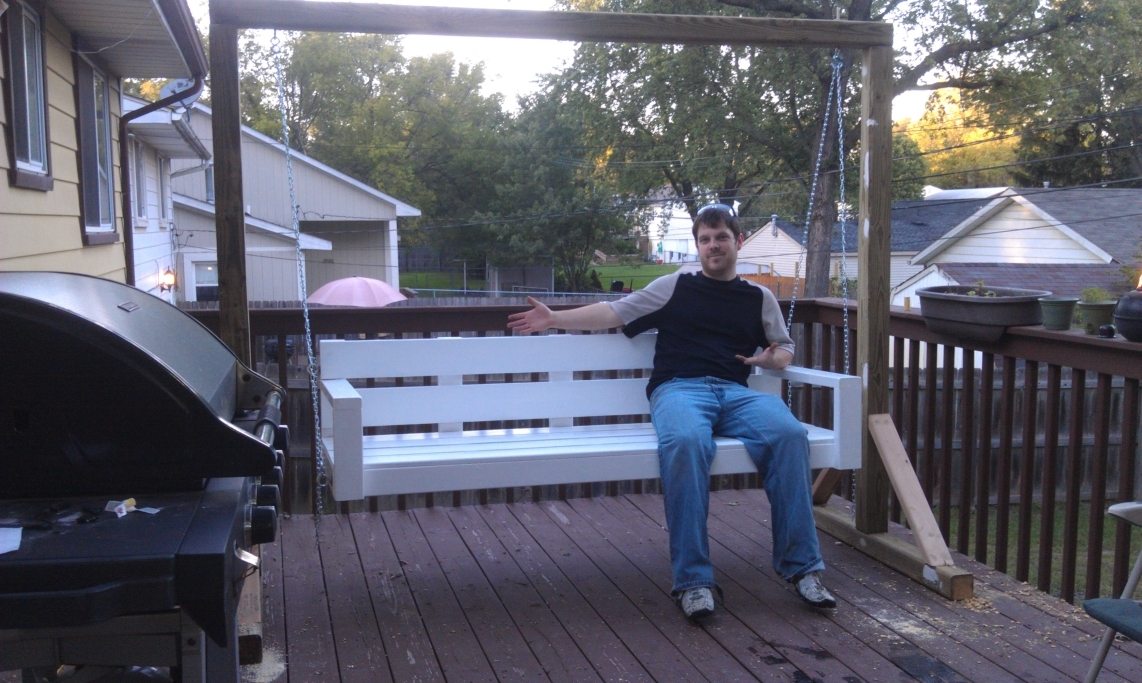
Large Modern Porch Swing + Ghetto Stand

Submitted by mrhelton on Mon, 09/10/2012 - 17:04

Made the swing then just kinda came up with my own frame.

Built from Plan(s)
Estimated Cost
$110
Estimated Time Investment
Weekend Project (10-20 Hours)
Finish Used
Just some semi gloss outdoor paint. Going to paint the frame in a few minutes.
Recommended Skill Level
Beginner

Comments

mikejillnelson

Tue, 09/11/2012 - 05:04

I have been considering making this bench for a friend but I wonder how comfortable it is...is it comfortable? Does it require a cushion? Is the back high enough to be comfortable leaning back in it for long periods? Also - how long did you wait to paint your pressure treated wood? I just recently learned you have to allow pressure treated wood dry out before painting...no one seems to tell you how long you have to wait though. Thanks for any help/opinions you share.

mrhelton

Wed, 09/12/2012 - 19:38

Honestly, it's not very comfortable. I think the seat part is a little too long, and the back is a little too short. We're going to put a beefy cushion on the back, and I think that's going to help because it will push us forward a little bit. It's not bad to sit in, but I definitely think it could be tweaked.

I let the wood dry out for 4 days (but I cut and assembled it the day I bought the wood). I'm not sure if that was long enough of not, but I was getting impatient, and, like you, couldn't find any real answers on drying time. It wasn't really that wet to begin, though. Hope that helps!

tracysmith

Thu, 09/13/2012 - 00:04

I thought my kids and I were the only ones who used "ghetto" as a way to describe things... but I have to say that your frame looks great, it serves its purpose so I have to respectfully disagree with you, it doesn't look anything like "ghetto" :-)

Joe (not verified)

Tue, 01/22/2013 - 10:02

Hey, can you post the dimensions of your frame? its exactly what I'm looking for. Do you have it screwed down to the deck? will it tip over?

Joe (not verified)

Tue, 01/22/2013 - 11:27

Hey, can you post the dimensions of your frame? its exactly what I'm looking for. Do you have it screwed down to the deck? will it tip over?

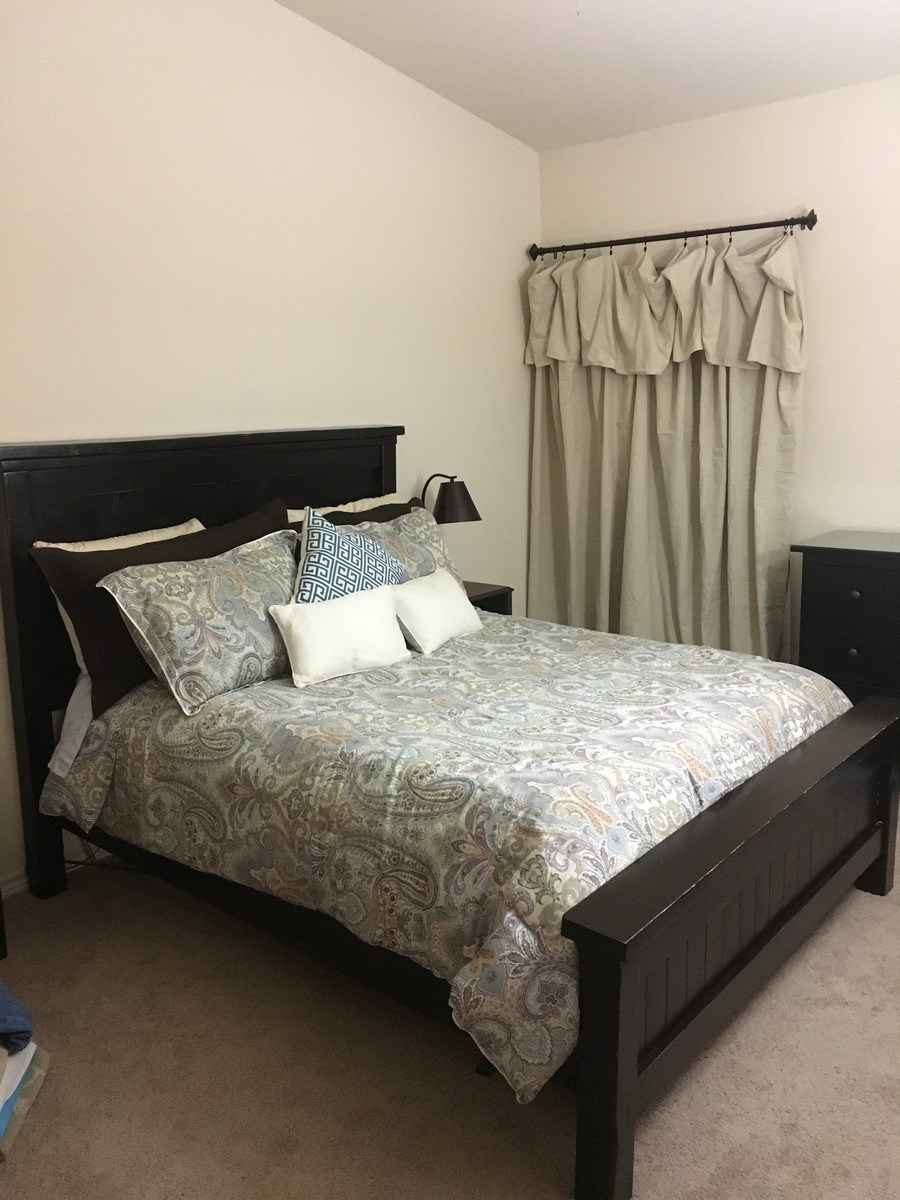
Building our marriage....and a new bed

Submitted by Anonymous (not verified) on Thu, 10/13/2016 - 08:36

After being deployed for a year, my husband and I needed to spend quality time together.  I showed him the Queen Farmhouse Bed Plans and he loved it. We spent a weekend clearing out our over stuffed garage - sorting through things with a common goal in mind.  He loves woodworking and we love spending time together.  We spent two weekends cutting and sanding and putting it together.  We spent another doing three coats of stain and two MinWax poly coats.  We finally finished this weekend and I absolutely LOVE it.  I SERIOUSLY love how solid this bed is.  He bought the wood to build two matching nightstands this morning...and I can't wait until tomorrow to start on them.  

Thank you so much for sharing your plans and for so many sharing their brag posts - it was wonderful to read through them and see all the variations. 

Built from Plan(s)
Estimated Cost
$250
Estimated Time Investment
Weekend Project (10-20 Hours)
Finish Used
We did a coat of shellac (recommendation by the guys at Woodcraft store). Then a coat of General Finishes Java Gel and wiped it off. I used the instructions from Ana White's page on how to get a dark finish. We did 3 coats of Java Gel stain to get it pretty dark. I did two coats of Minwax Helmsman Spar Urethane in a satin sheen (sanding in between with 220). I decided (sort of last minute) to scuff up the edges to give it a more rustic look. The dark stain is gorgeous, but the naturally occurring scratches and scuffs that occur with life would have me stressing - so I decided to include them in the look so I could enjoy it.
Recommended Skill Level
Beginner

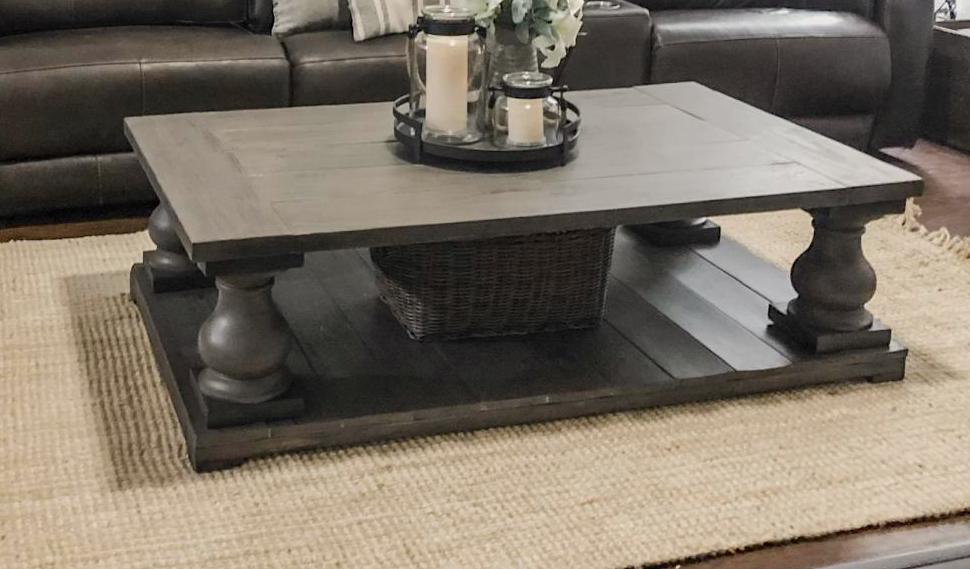
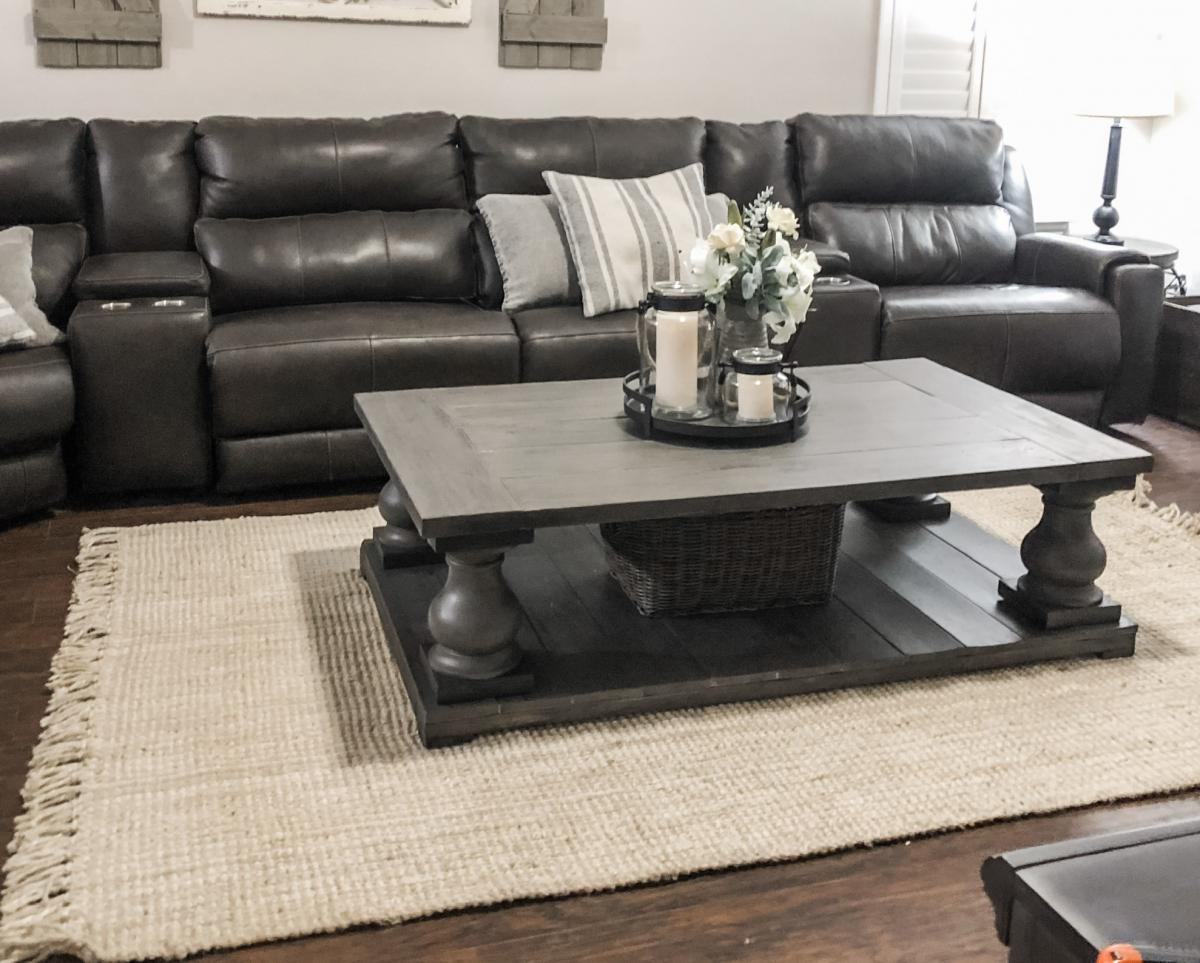
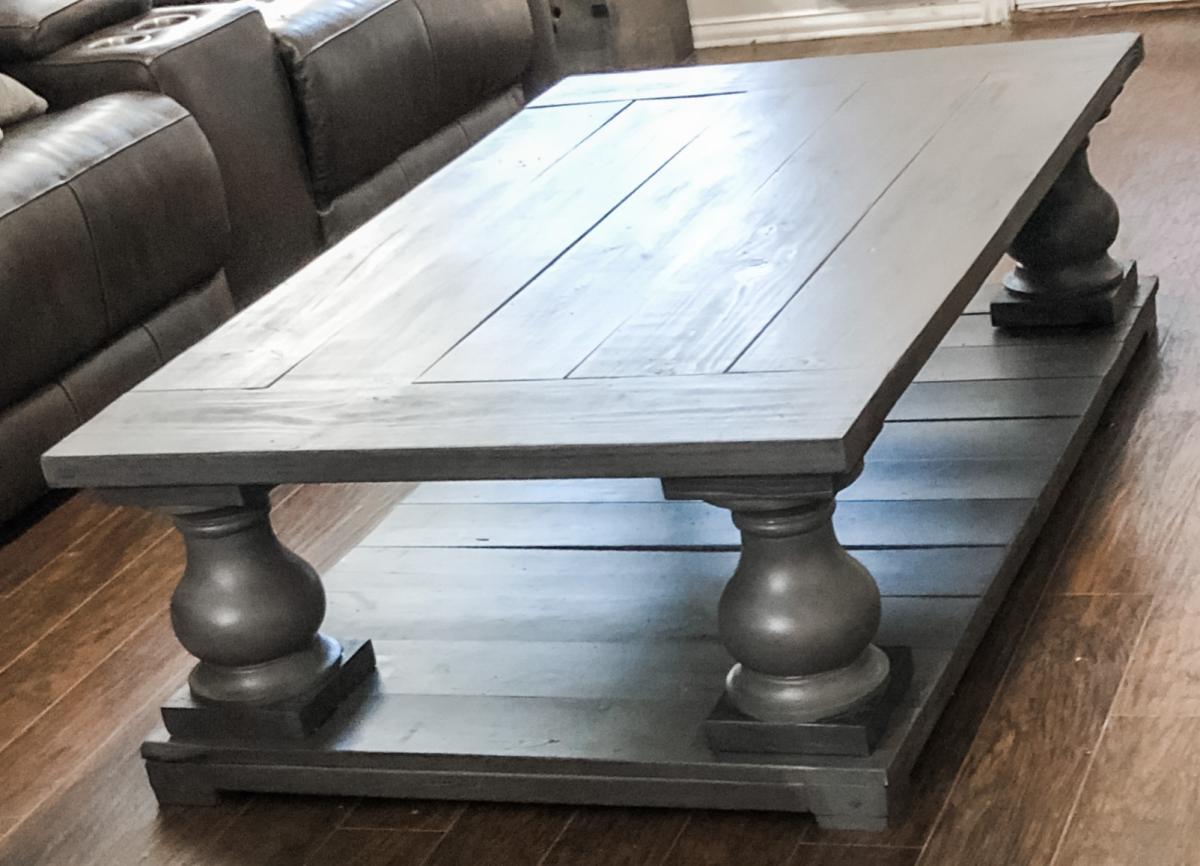
Balustrade Coffee Table

Love this table! Created from Ana Whites Balustrade Coffee Table plans. Looks just like the table from RH.

Built from Plan(s)
Estimated Cost
$250.00
Estimated Time Investment
Weekend Project (10-20 Hours)
Finish Used
First coat SW New Ebony Stain
second coat Varathane Briarsmoke
Recommended Skill Level
Intermediate

Toddler Step Stool

This is my second build - first one using a jig saw. I built this so my daughter can easily get up and down on the daybed we have in our sunroom.

Estimated Time Investment
Afternoon Project (3-6 Hours)
Finish Used
BEHR Premium in Seaside Sand, satin finish
Recommended Skill Level
Starter Project

Comments

yurra-bazain

Sat, 07/12/2014 - 11:56

I applaud you for using your jigsaw on your second build. :) It took me quite a while to build up the confidence and skill to use one!

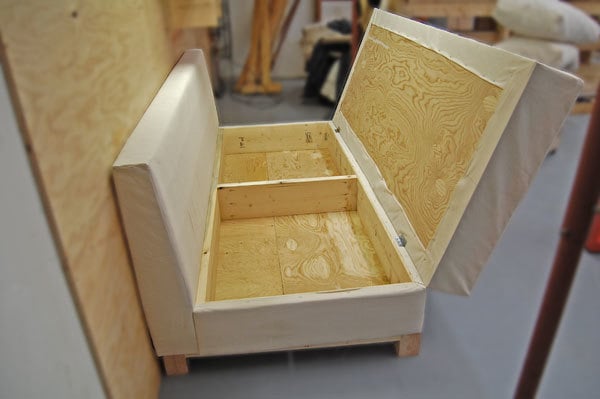
Patio couch

Submitted by Anonymous (not verified) on Tue, 07/14/2020 - 14:03

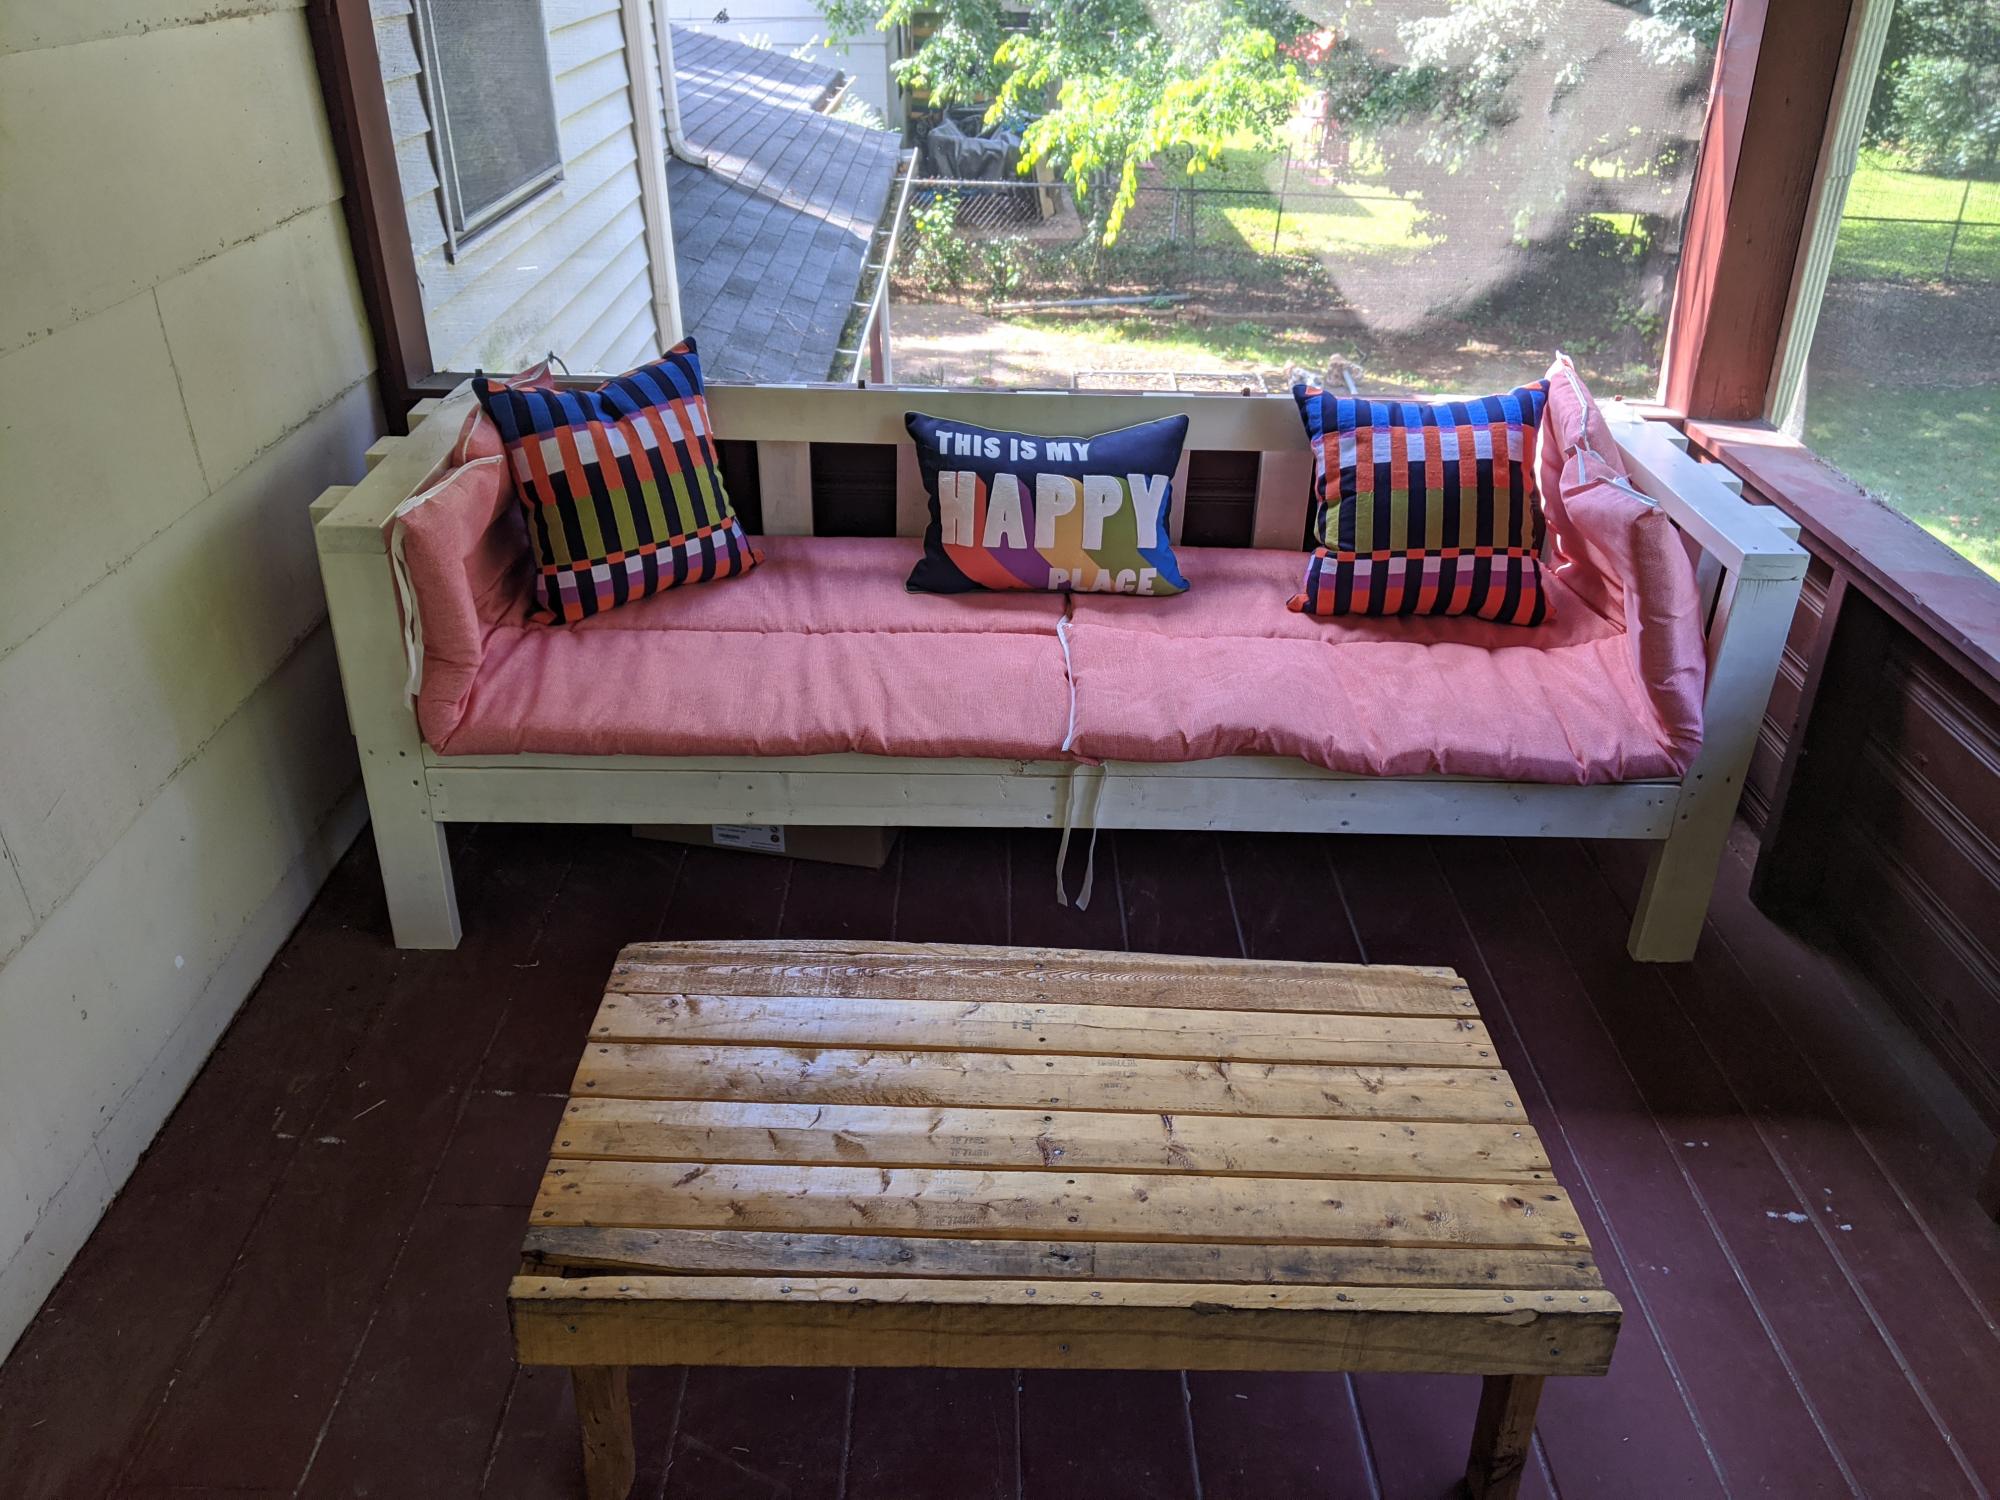
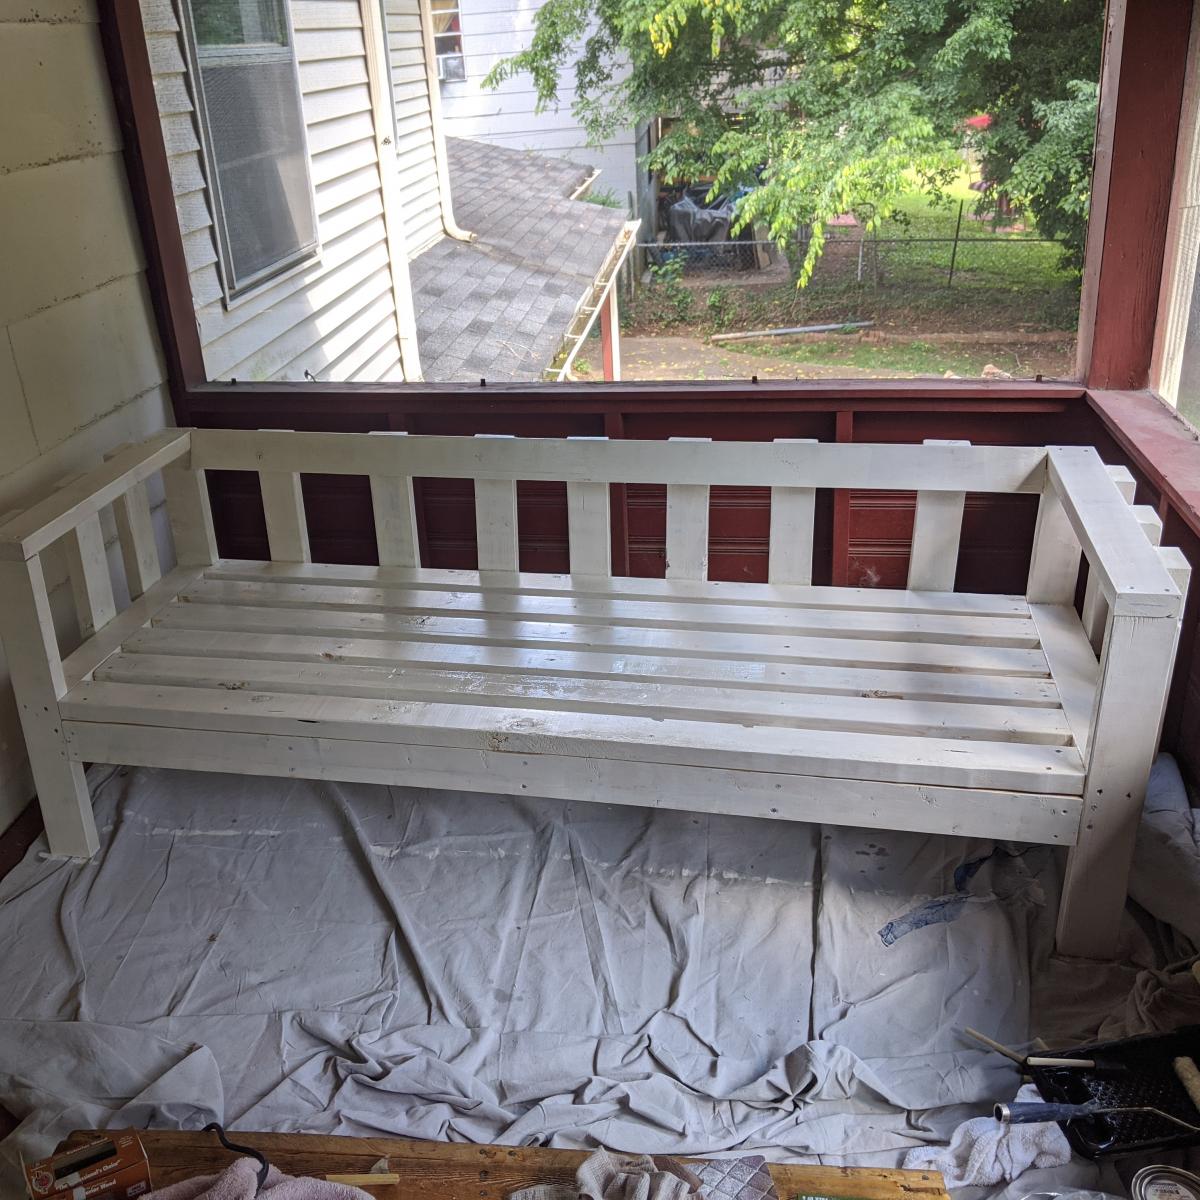
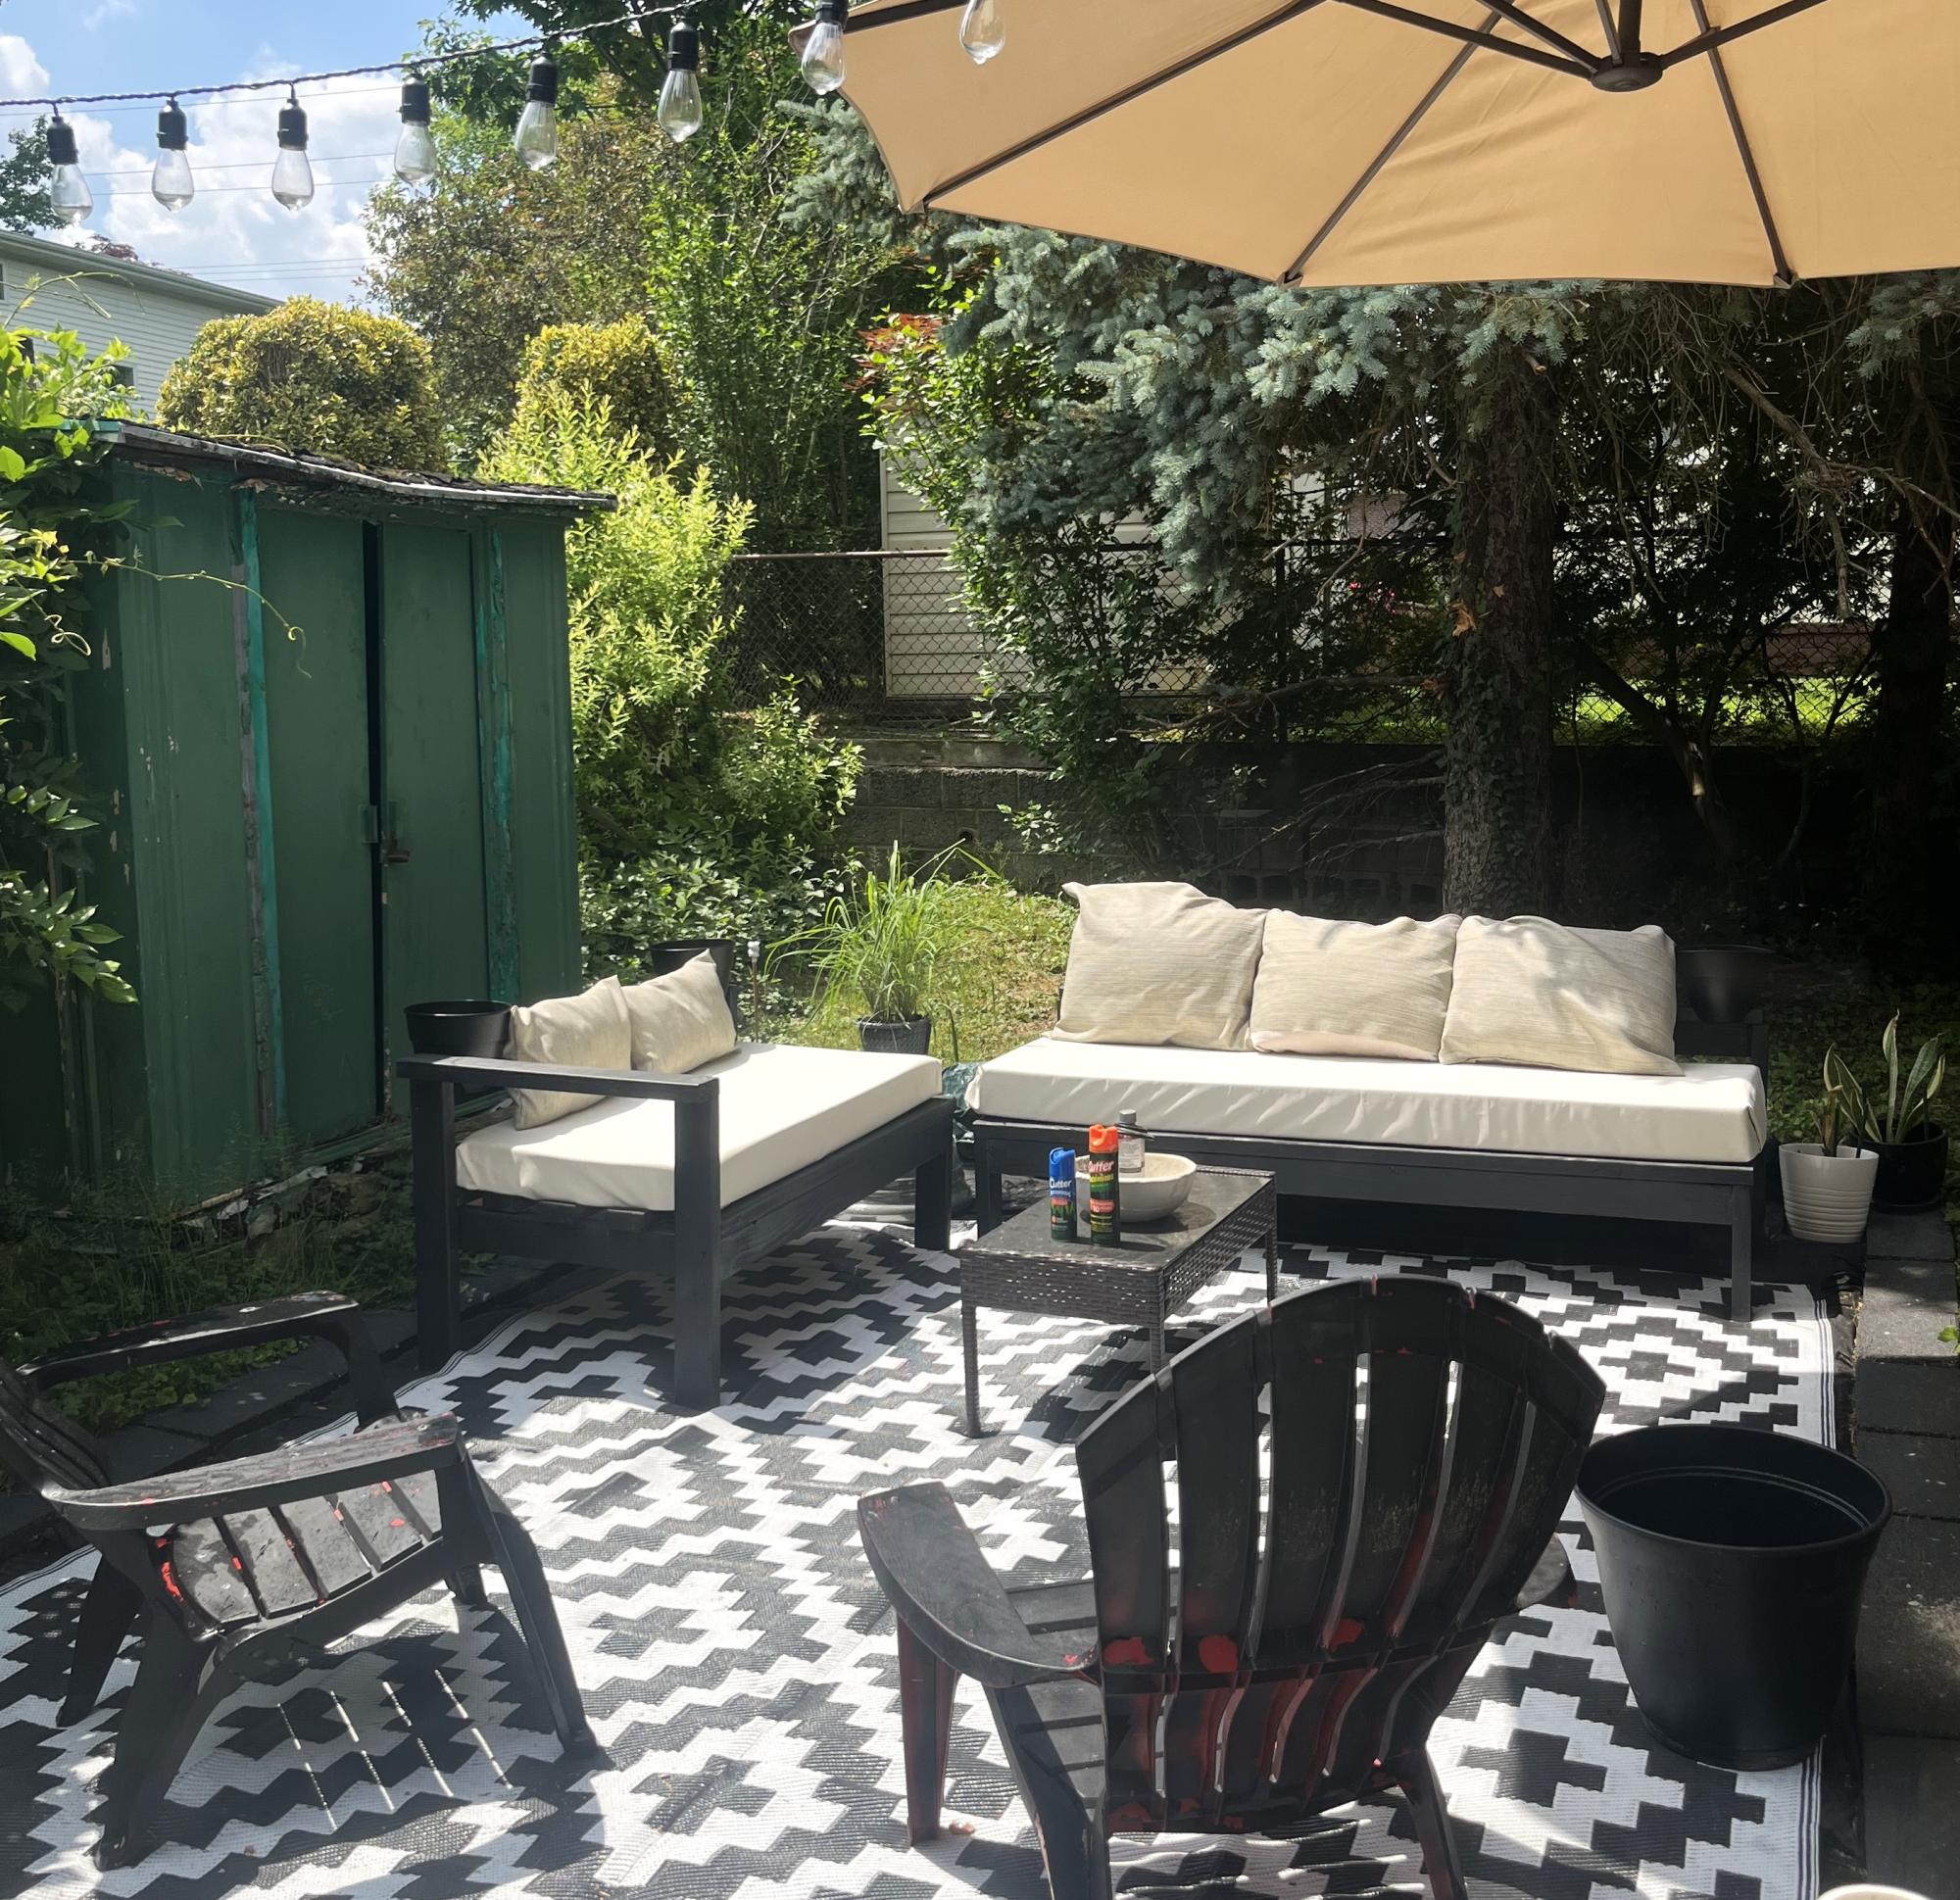
This was my first solo woodworking project since 7th grade shop class in 1997. This was so easy to put together! I added "slats" from left over lumber to keep my pillows from squishing out. Thanks Ana White for creating easy to follow instructions! I've now got the woodworking bug!

Built from Plan(s)
Estimated Cost
$50
Estimated Time Investment
Weekend Project (10-20 Hours)
Finish Used
Antique lace chalk paint and polyurethane seal
Recommended Skill Level
Beginner

Custom Farmhouse Toybox

Submitted by Anonymous (not verified) on Fri, 05/31/2024 - 16:19

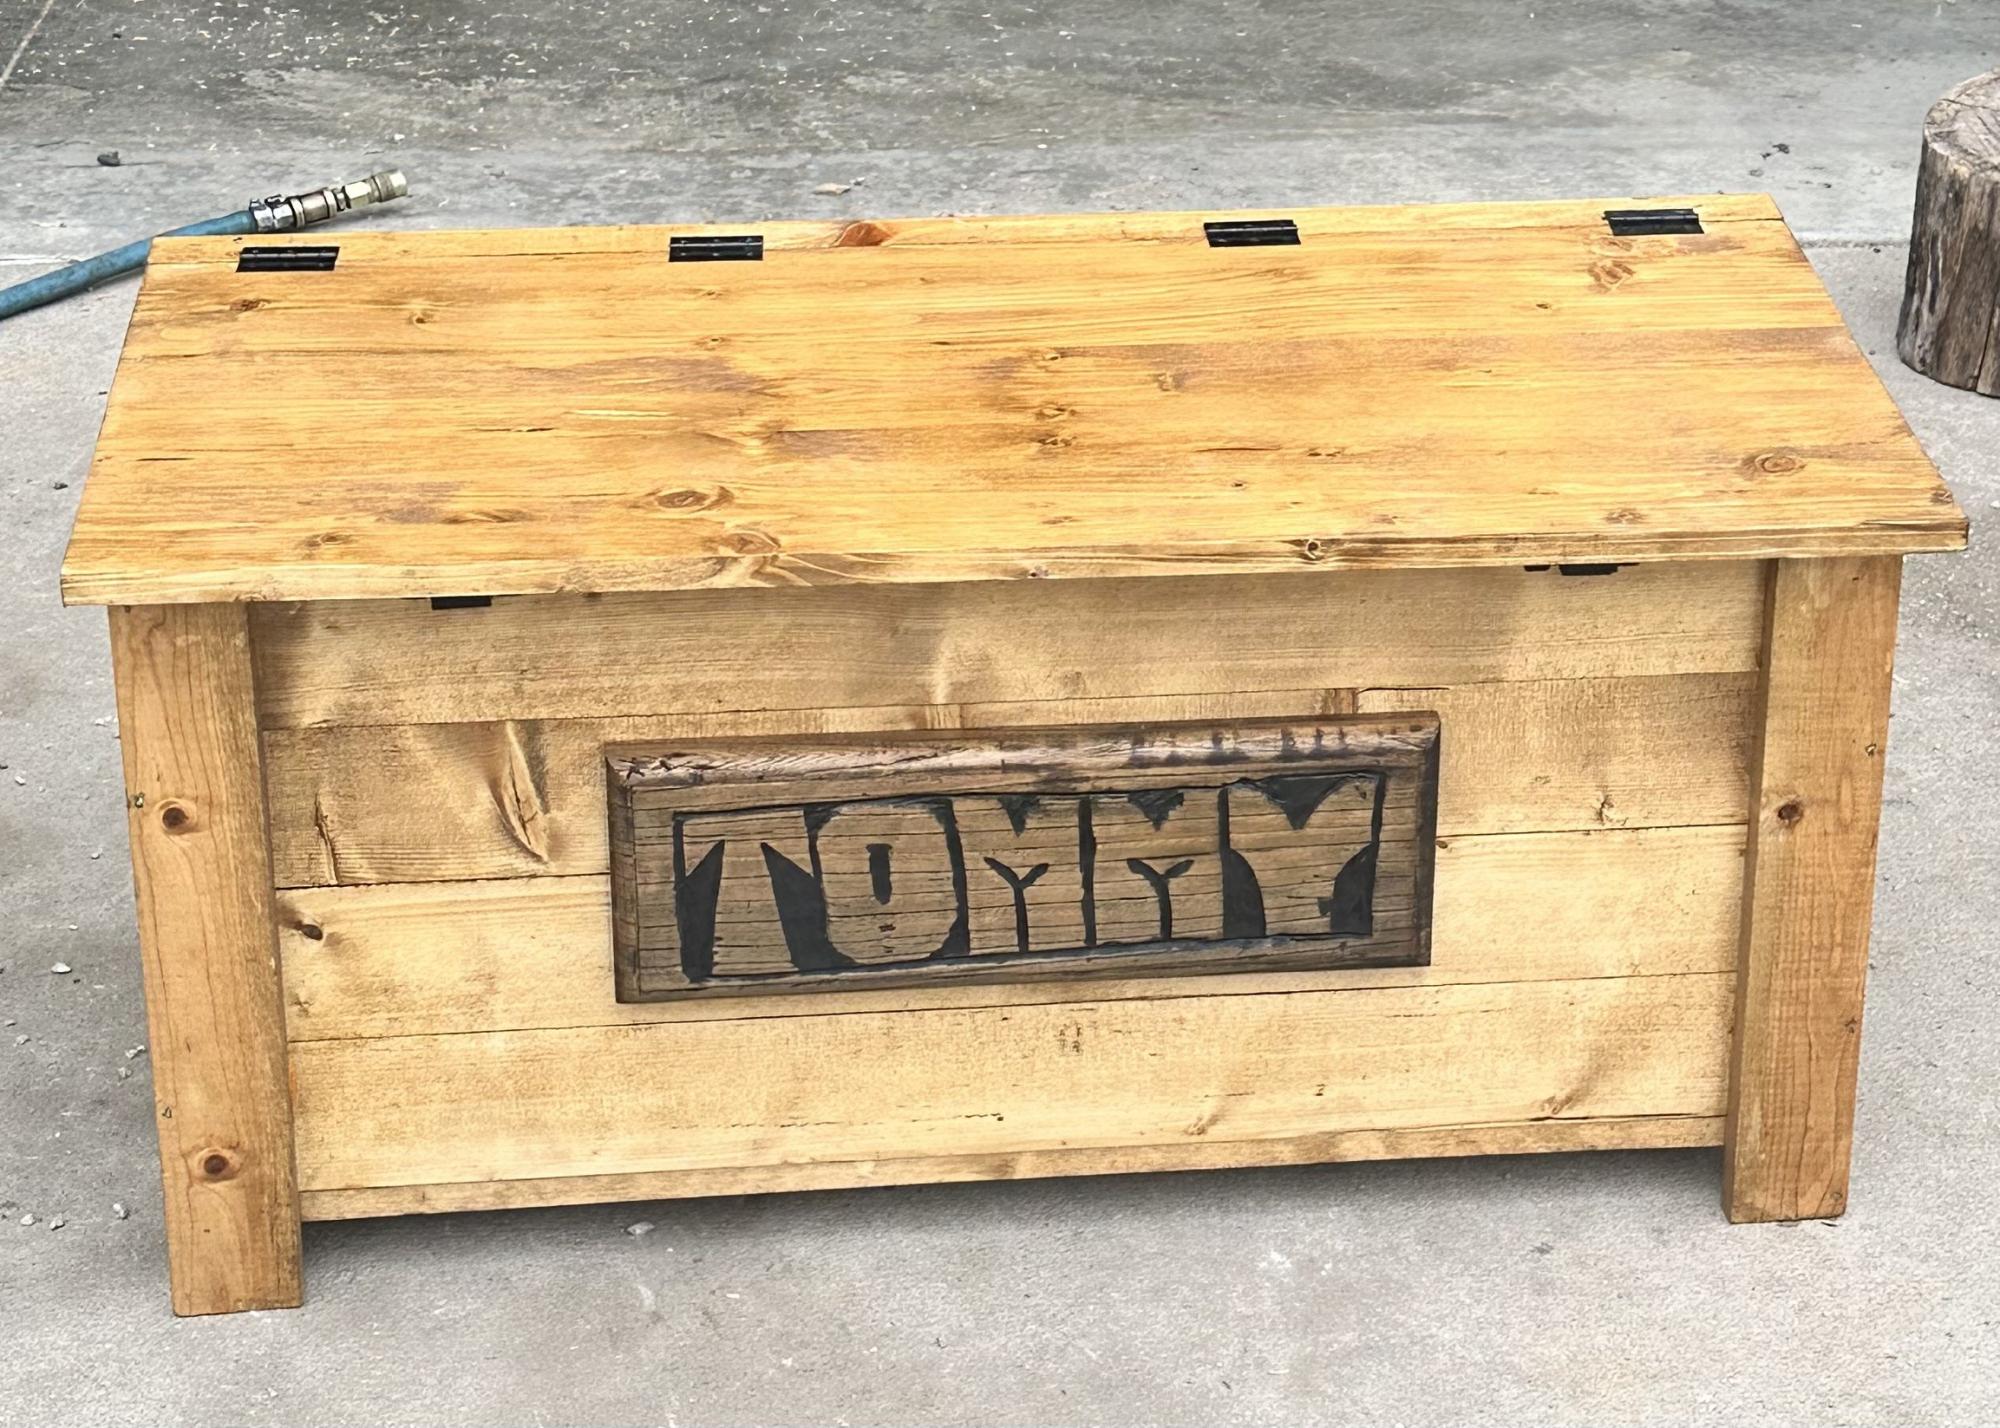
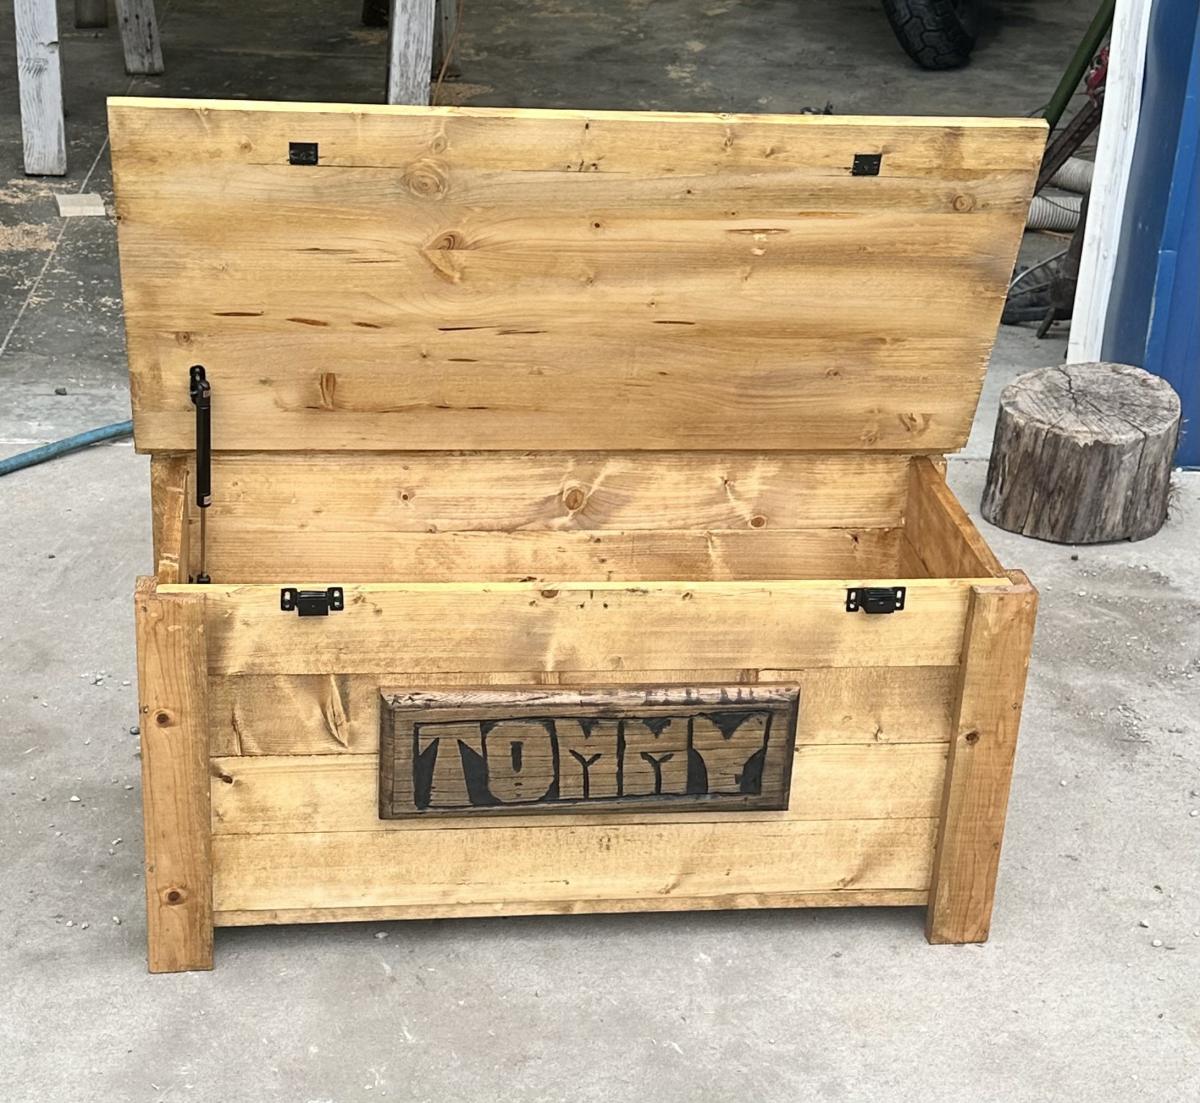
I built this for my grandsons first birthday! I added a hydraulic shock from Lowe’s. It was really stiff and it took two cabinet door magnets to hold it shut. The name board is from my great grandfathers saw mill from the farm my dad still lives on. I do hope he enjoys it as much as me and my dad enjoyed building it for him!!

Chappy

Built from Plan(s)

Girly Bunk Beds

Submitted by bzzz61 on Sun, 09/16/2012 - 09:29

We built these bunk beds and absolutely love them!

Built from Plan(s)
Estimated Cost
$300
Estimated Time Investment
Week Long Project (20 Hours or More)
Finish Used
Paint
Recommended Skill Level
Beginner

Wood Ledges

Submitted by SaraLodise on Sun, 07/13/2014 - 19:55

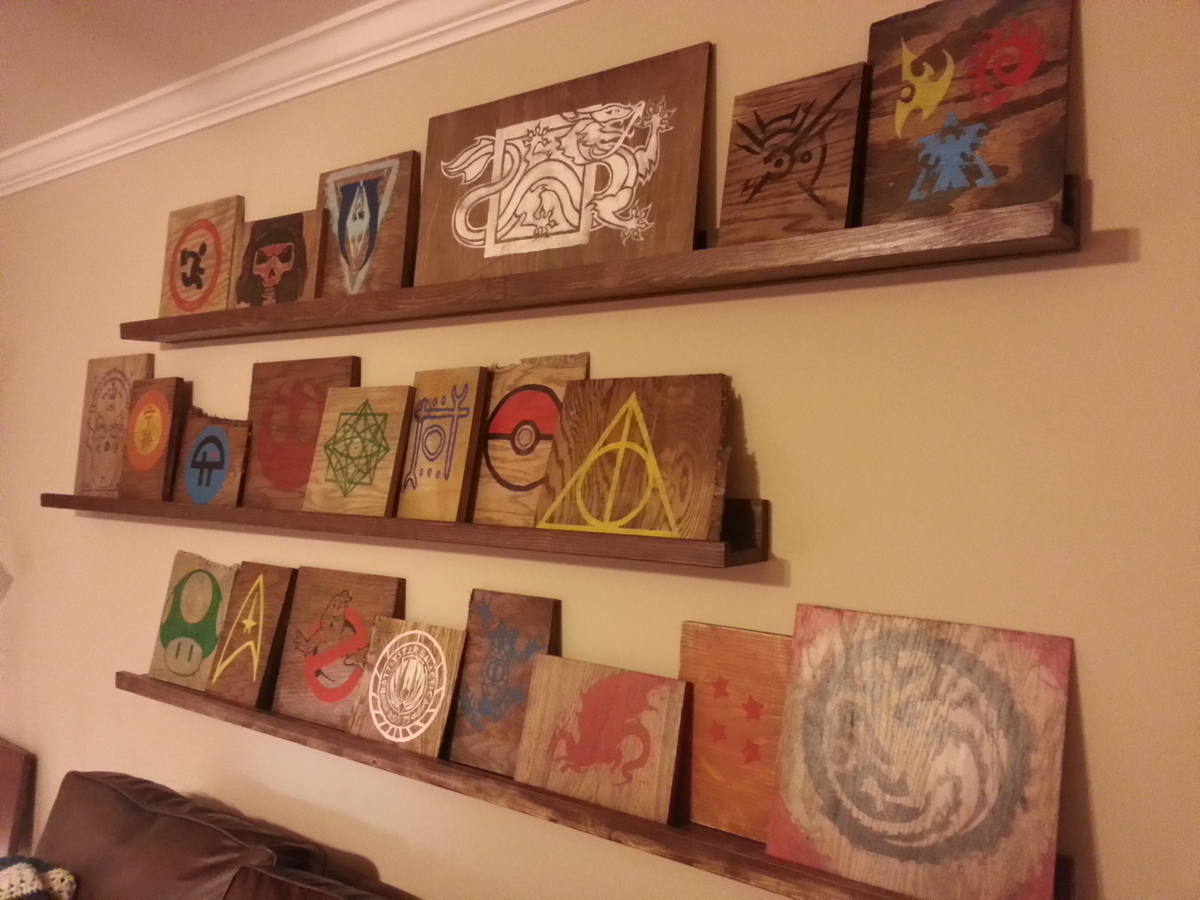
A nice quick build to add some decoration to the house. I made three ledges at 80" long. I had initially made them for a different room that could only allow 80" ledges, but ended up not being able to put them there because the wall was too curved to attach the ledges. Ledges have two coats of Miniwax Special Walnut Oil stain and Polycrilic.

All the "art" things were painted on old scrap from a years worth of ana-white projects. I used the three different stains I had left over (Miniwax Aged Oak Gel Stain, Weathered Oak Oil Stain, & Special Walnut Oil Stain) and alternated them on the three different types of wood scraps (Oak, pine, & maple). Then I "distressed" them with physical abuse and watered down acrylic craft paint. The designs were also acrylic craft paint. Then I sanded it all down to give it a worn look.

Built from Plan(s)
Estimated Cost
$37 in whitewood boards
Estimated Time Investment
Day Project (6-9 Hours)
Finish Used
2 coats of Miniwax Special Walnut Oil Stain + Polycrylic
Recommended Skill Level
Beginner

Comments

Balin Console Table with a twist

Submitted by CustomPulp on Wed, 10/19/2016 - 11:39

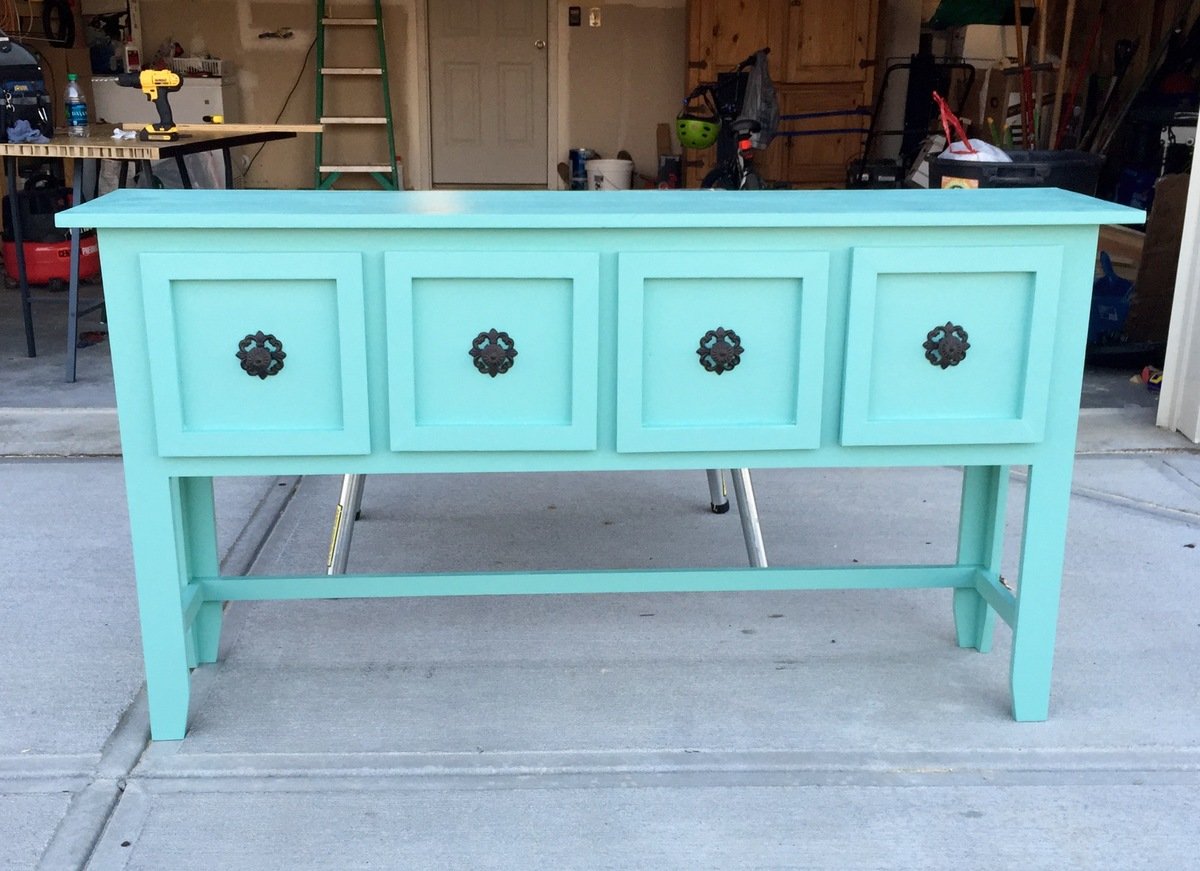
We needed an entry way table with storage.   The Balin Console Table was the perfect size for our needs.   I modified the drawers by attaching a wood frame around each one.  I decided to taper the legs with my mitre saw.   The hardware was purchased at Pottery Barn ($4/each) and the color is Valspar Turquoise / Gray - Semi Gloss.   I extended the leg length 6" to make the cabinet counter top heigth (plans call for a table heigth).

Project was easy (8 hours) from construction to finish.  

One advantage I had was using a sliding power mitre saw with a 12 1/4" cross cut for the 1x12 material.   It's possible to get a decent cut with a circular saw but the sliding compound mitre saw definitely makes that portion of the project go much quicker.


For best results, I recommend finish sanding with 220 grit and 2 coats of paint rubbing with steel wool after first paint application.   

Built from Plan(s)
Estimated Cost
$80
Estimated Time Investment
Day Project (6-9 Hours)
Finish Used
Valspar semi gloss - 2 coats
Recommended Skill Level
Intermediate

Pottery Barn Inspired Headboard

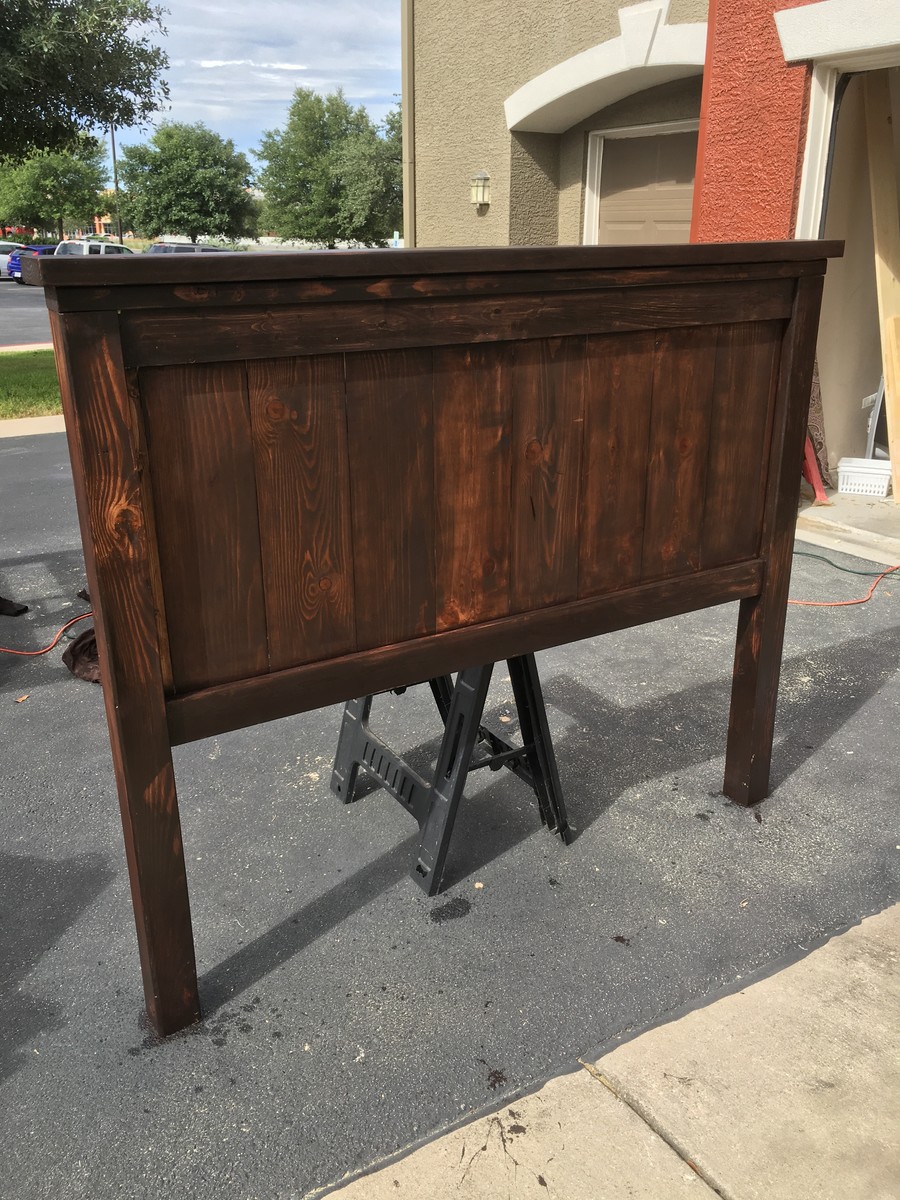
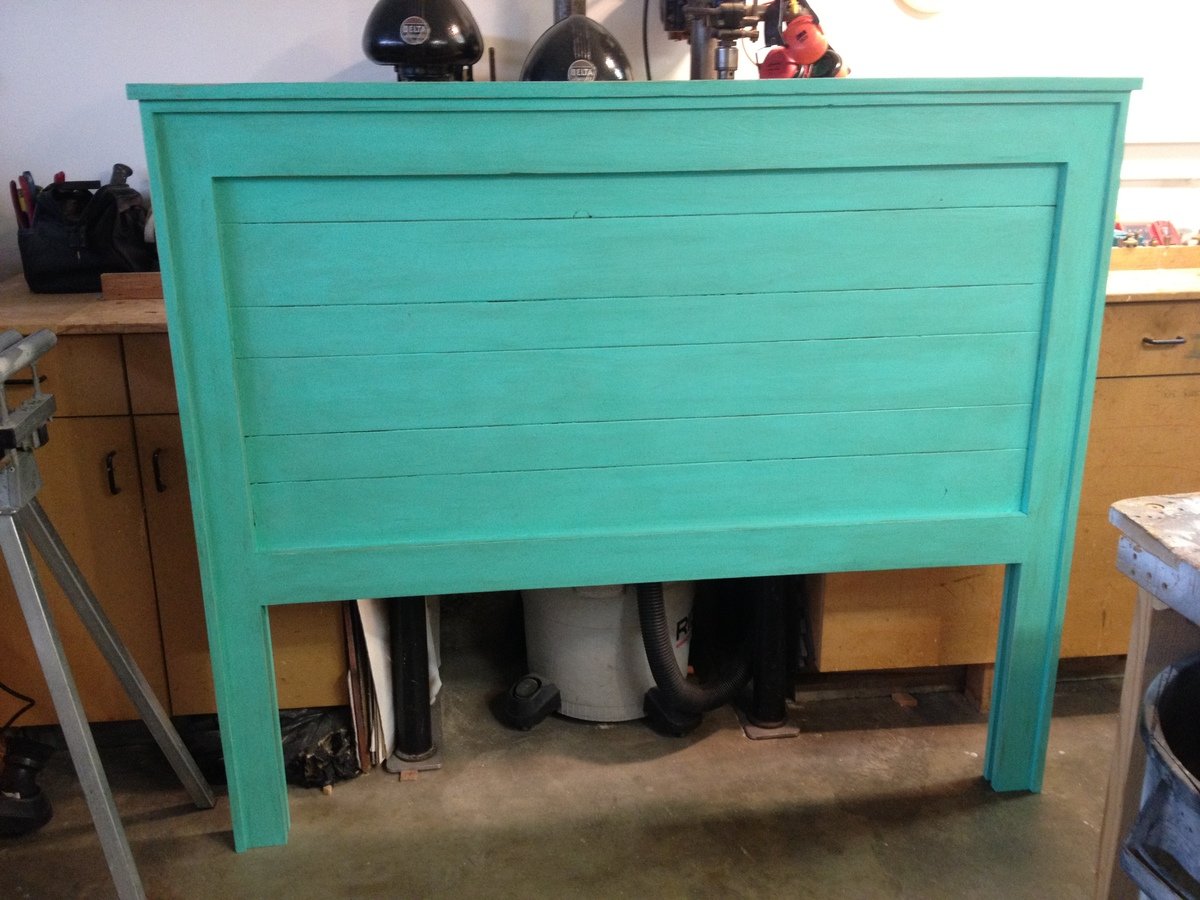
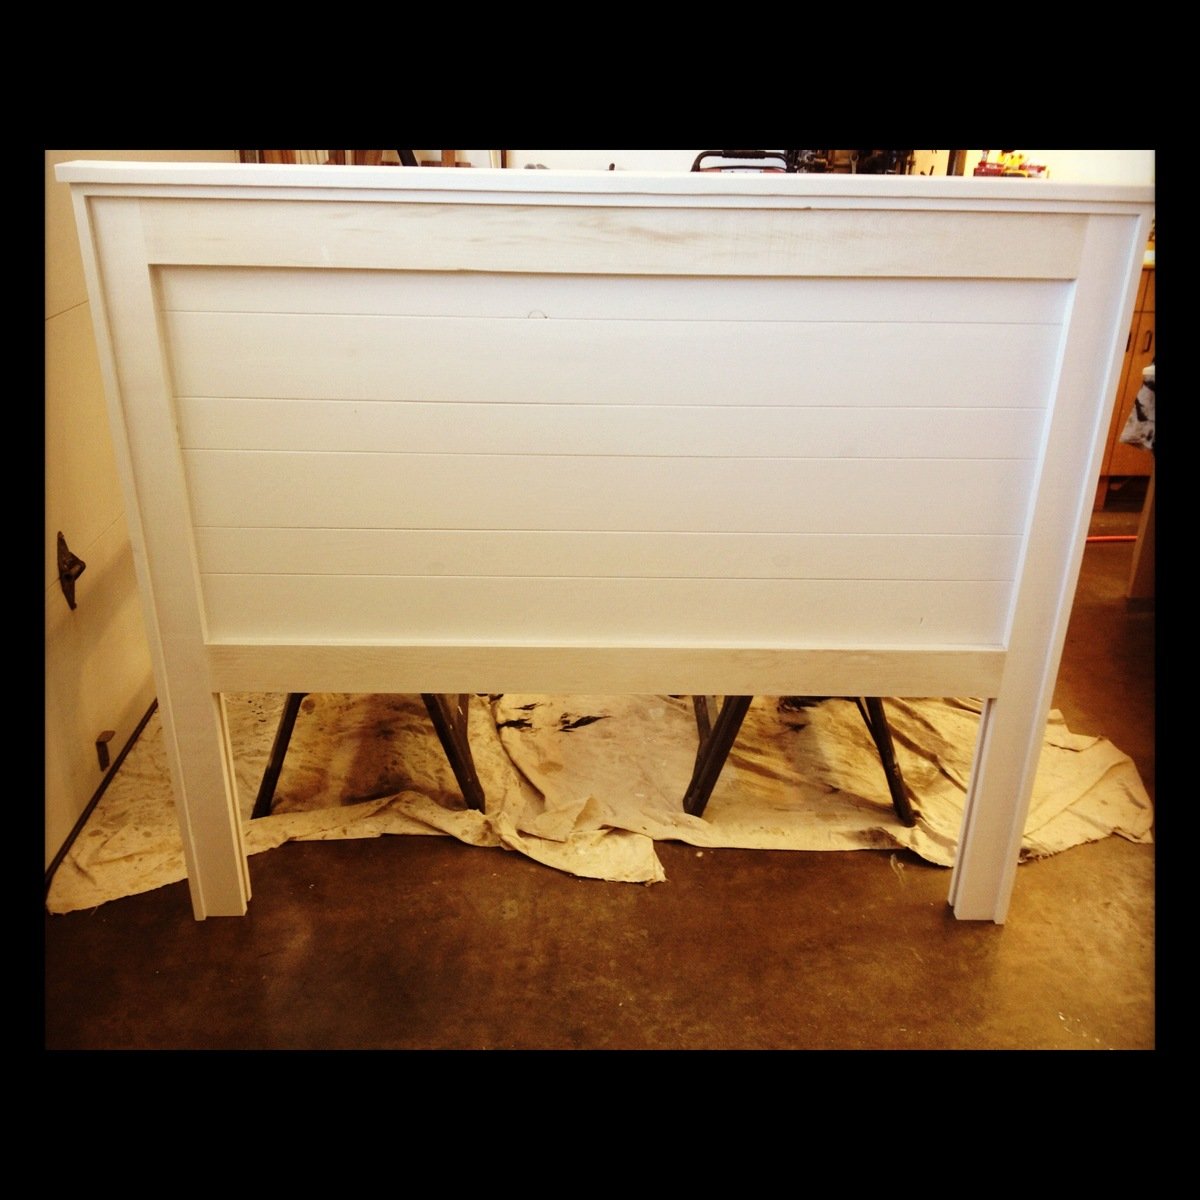
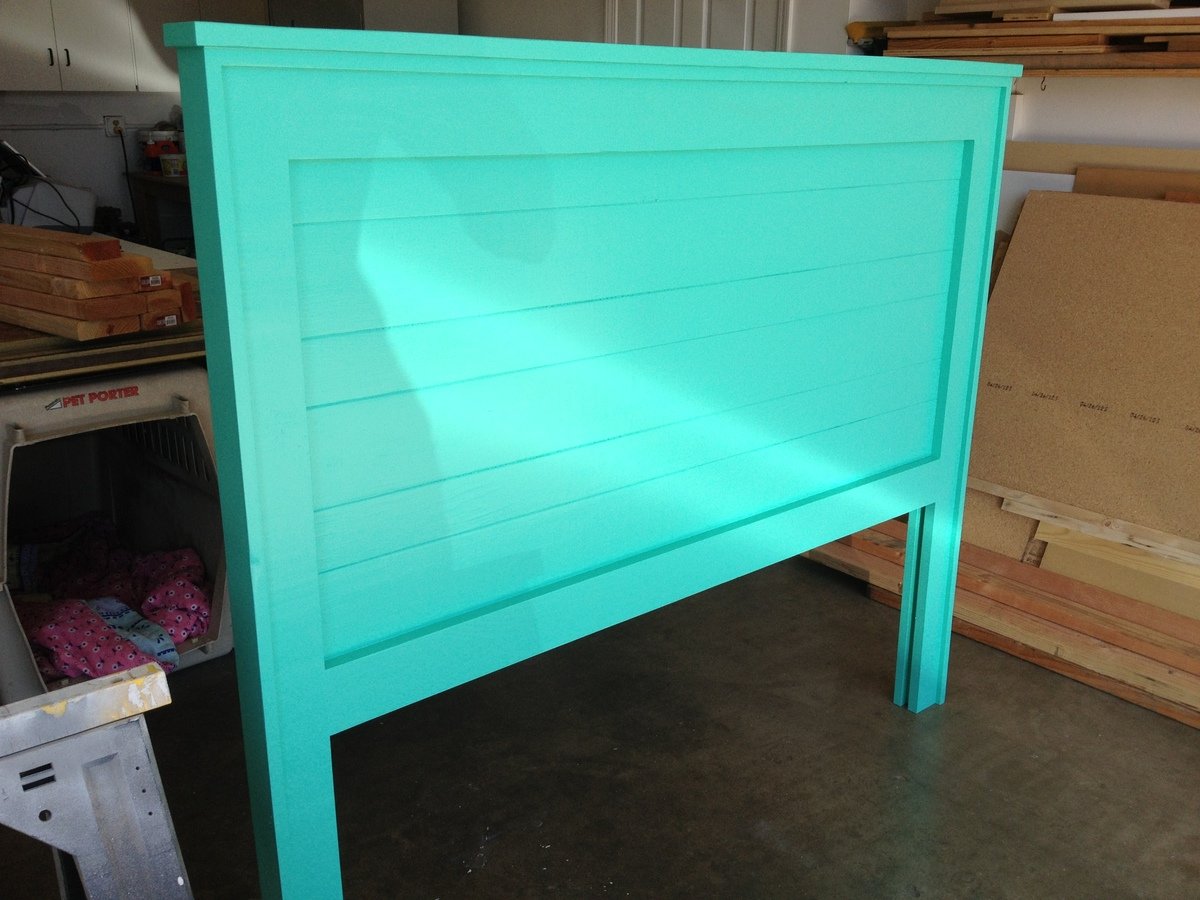
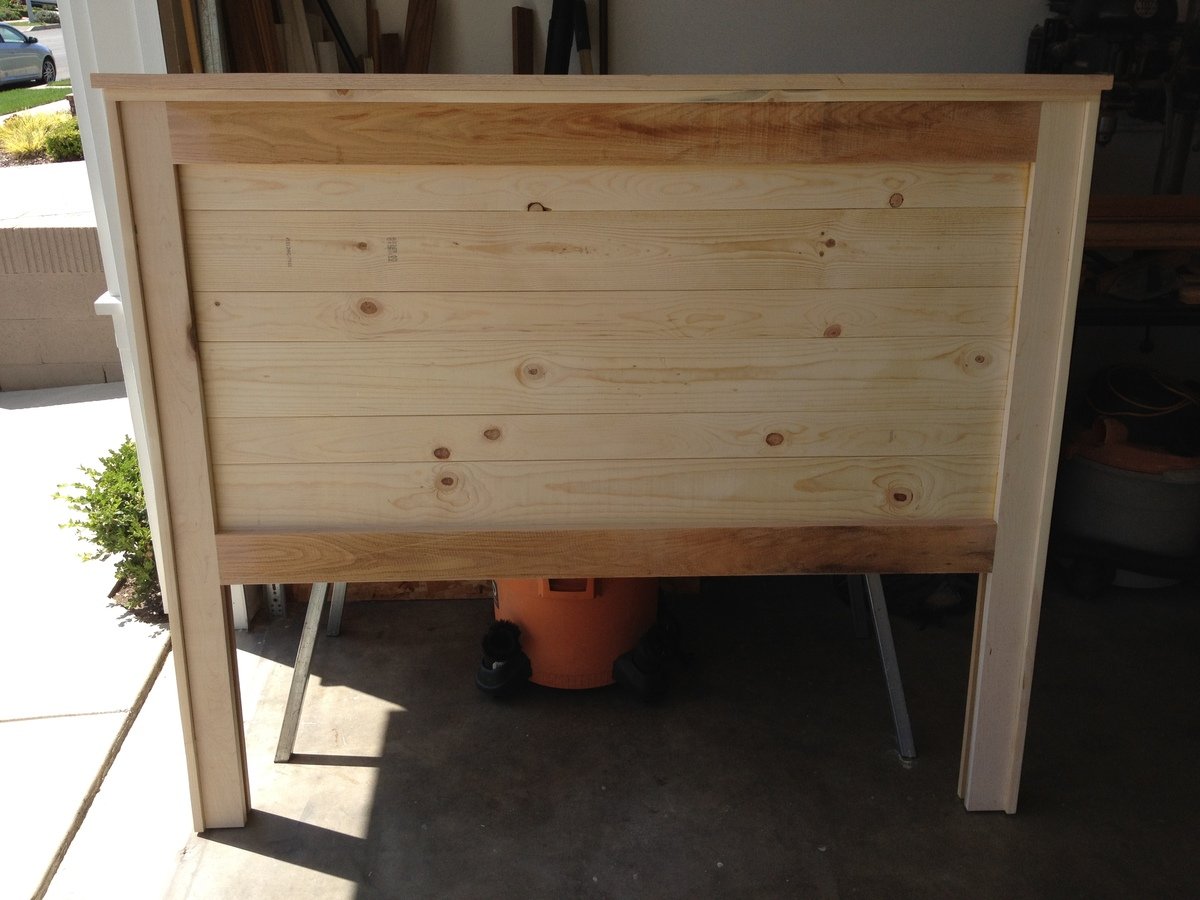
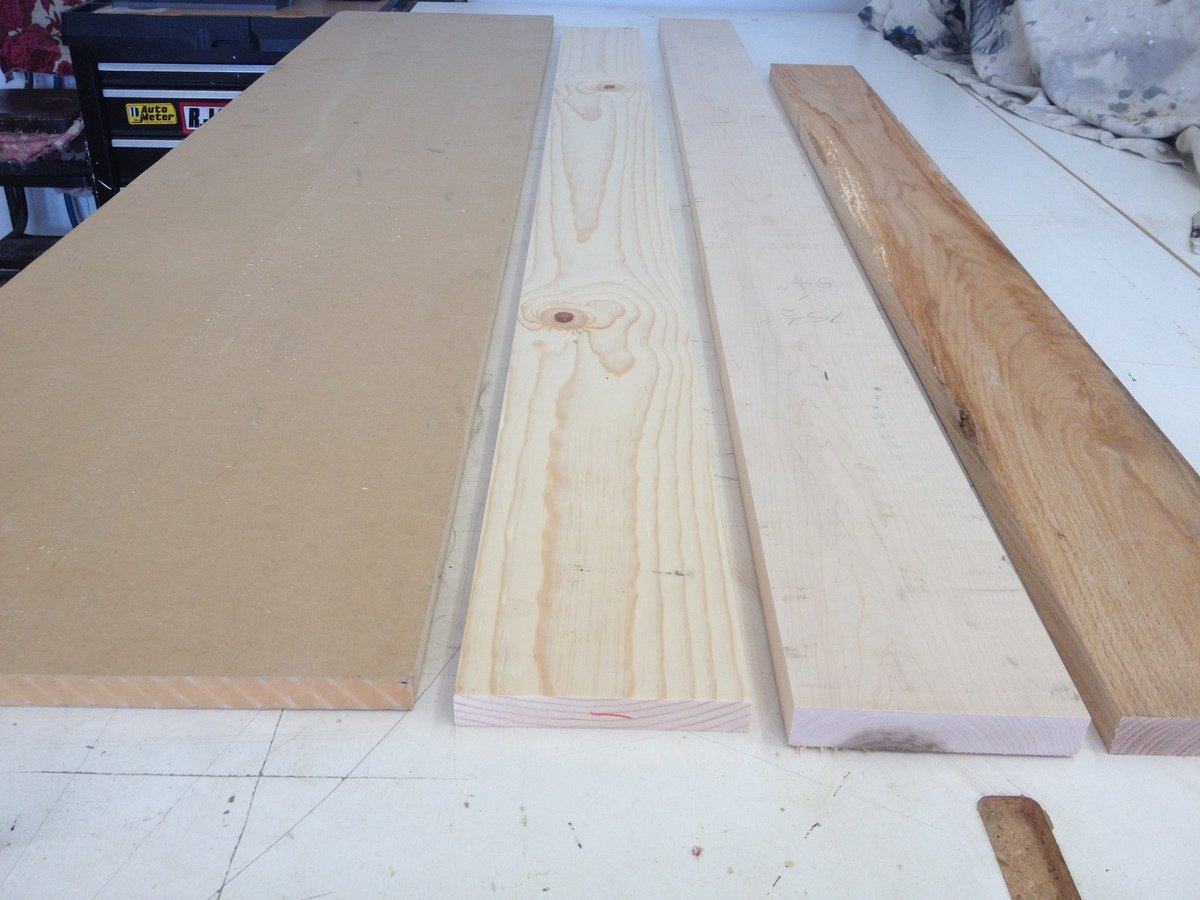
This is a Pottery Barn inspired headboard. You can see from the pictures posted that I used 4 different kinds of wood. Reason being that money is tight and I had extra wood laying around the garage. I really enjoyed this project thanks to Anna's post here http://ana-white.com/2010/03/plans-mason-headboard-its-all-in-finish.ht…. I noticed there was a lot of posts concerning the finish. For my headboard I used 2 coats of primer, sanding in between coats. 2 coats of paint. 1 coat of chocolate glaze ( 4 parts glaze, 1 part stain). 1 coat of sealer. I followed this post for my finish http://ana-white.com/2012/05/distressed-turquoise-chocolate-glaze. Good luck everyone. Feel free to ask questions.

- Brad

Build time: 2.5 hours
Painting time: 4 hours
Building cost: Free (reclaimed wood)
Painting cost: $25-$30

Estimated Time Investment
Afternoon Project (3-6 Hours)
Finish Used
2 coats of primer. 2 coats of paint. 1 coat of chocolate glaze ( 4 parts glaze 1 part stain) 1 coat of sealer
Recommended Skill Level
Beginner

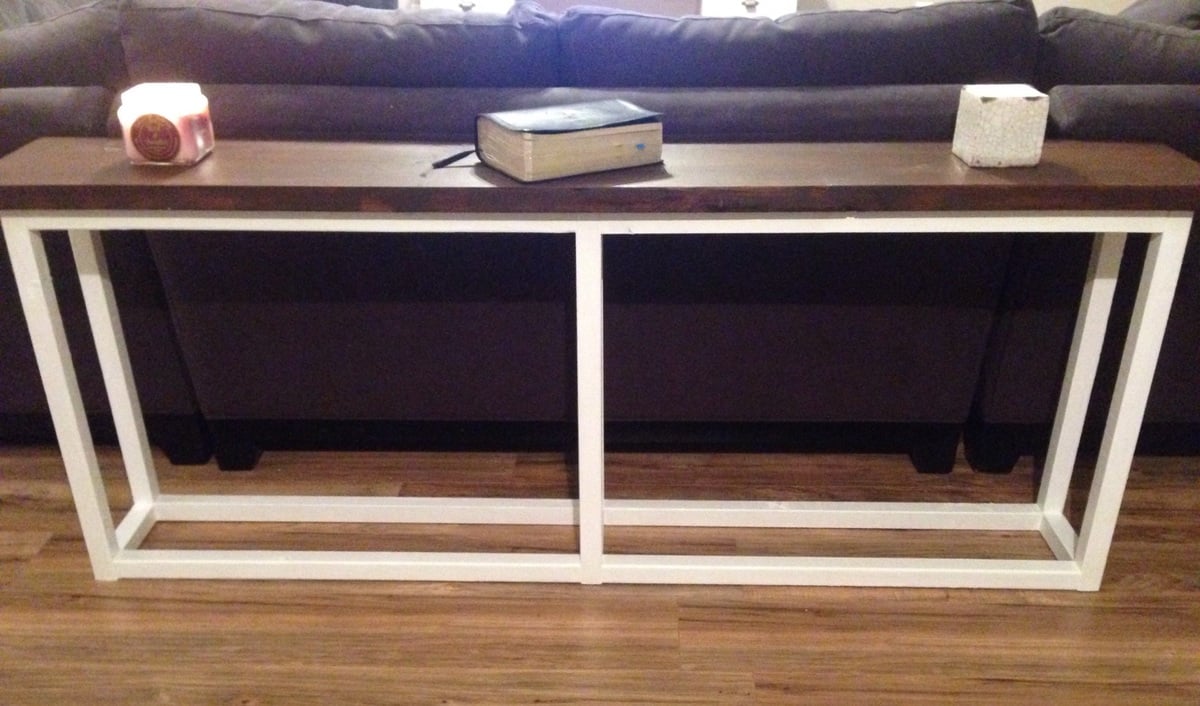
My apothecary sofa table

Submitted by PIannelli on Wed, 07/16/2014 - 06:52

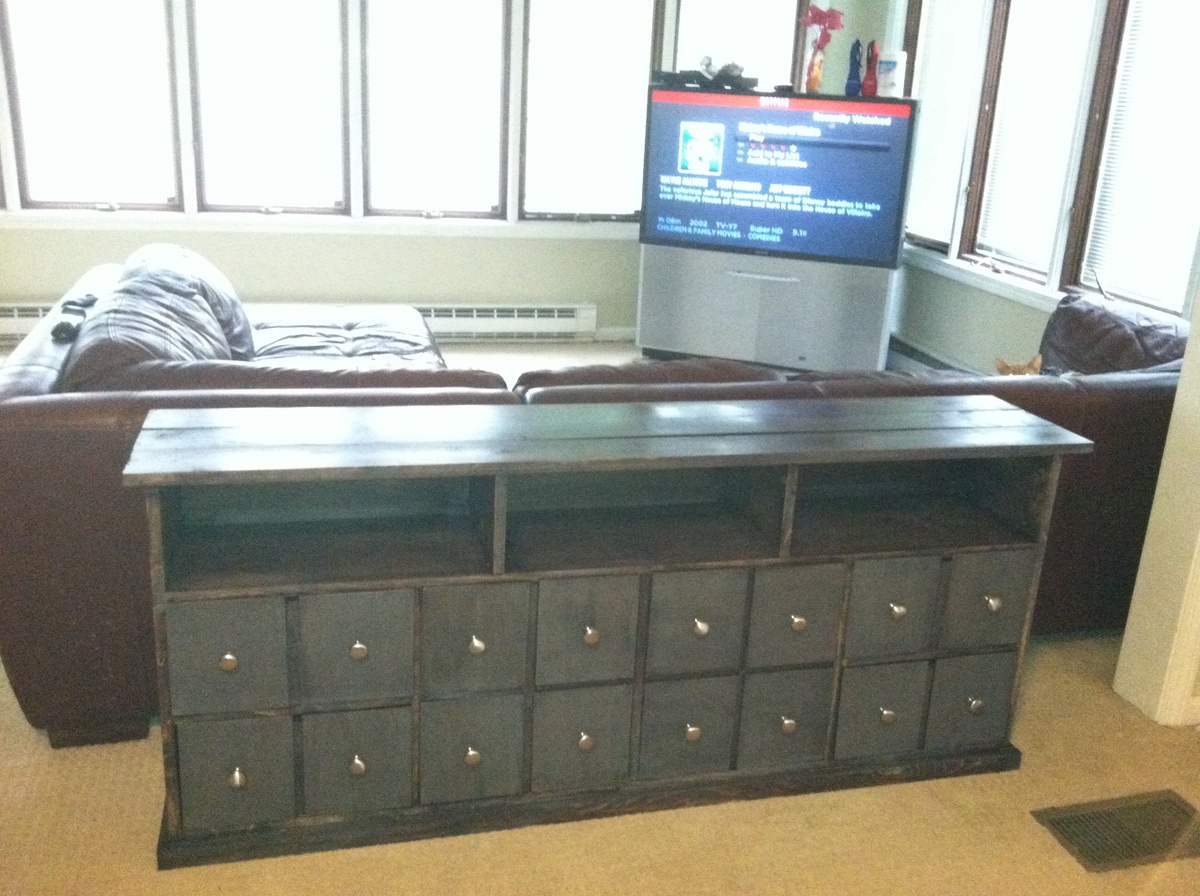
This was my second project off Ana White's website. The construction was not as difficult as I would have thought. The staining on the other hand was very time intensive. I made an amended version of the table since I only wanted a 1x12 vs. 1x16. All in all, I am extremely happy with how this turned out.

Built from Plan(s)
Estimated Cost
260
Estimated Time Investment
Week Long Project (20 Hours or More)
Finish Used
Kona brown and weathered gray stain with spray polyurethane
Recommended Skill Level
Intermediate

Laundry Sorter - LOVE these bins!!

Submitted by Anonymous (not verified) on Sat, 10/22/2016 - 17:40

Laundry Sorter

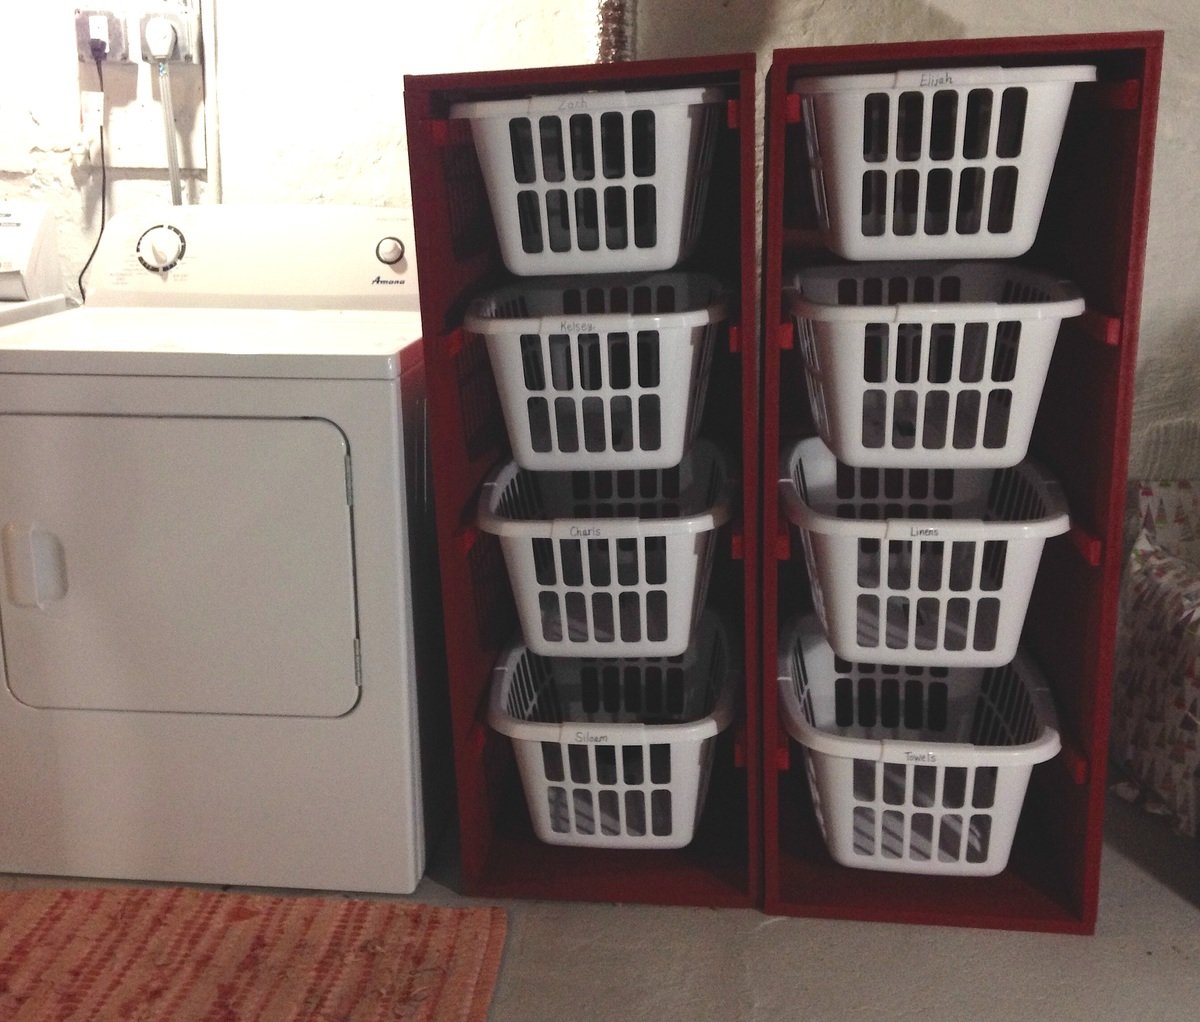
We are expecting baby #4, and I knew we needed to get the laundry under control before we added a new family member. I cannot tell you how helpful these have been for eliminating laundry piles and encouraging our kids to put away their own baskets. And I splurged on a $9 gallon of "oops" paint from Home Depot to make them fun and cheery, too. I highly recommend this laundry sorter project for those who feel like the laundry never ends. It's such a great investment in your sanity!

Estimated Cost
$100 for both laundry sorter cabinets
Estimated Time Investment
Day Project (6-9 Hours)
Recommended Skill Level
Beginner

Comments

Sb1212

Thu, 10/27/2016 - 12:21

I love the paint color!! I plan to build this. I just want it to have doors and look like a dresser almost. Where did you get your baskets?

Sb1212

Thu, 10/27/2016 - 12:22

I love the paint color!! I plan to build this. I just want it to have doors and look like a dresser almost. Where did you get your baskets?

Our Modern Adirondacks

Submitted by Gail Ogden on Sun, 07/19/2020 - 16:06

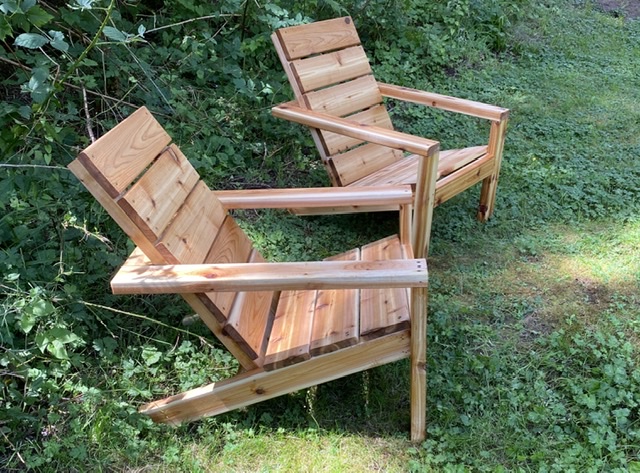
This was our first project, hubby and I. We are thrilled with how they turned out. Thank you Anna!!!

Estimated Cost
$100 for both
Estimated Time Investment
Day Project (6-9 Hours)
Finish Used
Cocktail of equal parts polyurethane, linseed oil and mineral spirits.
Farmhouse Bench

Submitted by deschudon on Thu, 09/20/2012 - 05:12

We have Pottery Barn furniture in our cottage and I wanted a bench for our bedroom. I found this plan was very close to the "Benchwright" style and I'm very happy with the results, including the match in stain colour. It cost me approx. $40 vs $650 at Pottery Barn. The effort was definitely worthwhile !

Estimated Time Investment
Day Project (6-9 Hours)
Finish Used
Minwax stain 1 coat + Crystalex water base varnish 2 coats on top.
Recommended Skill Level
Beginner

Ombre Step Up Side Table

Submitted by IronMom on Fri, 07/18/2014 - 16:23

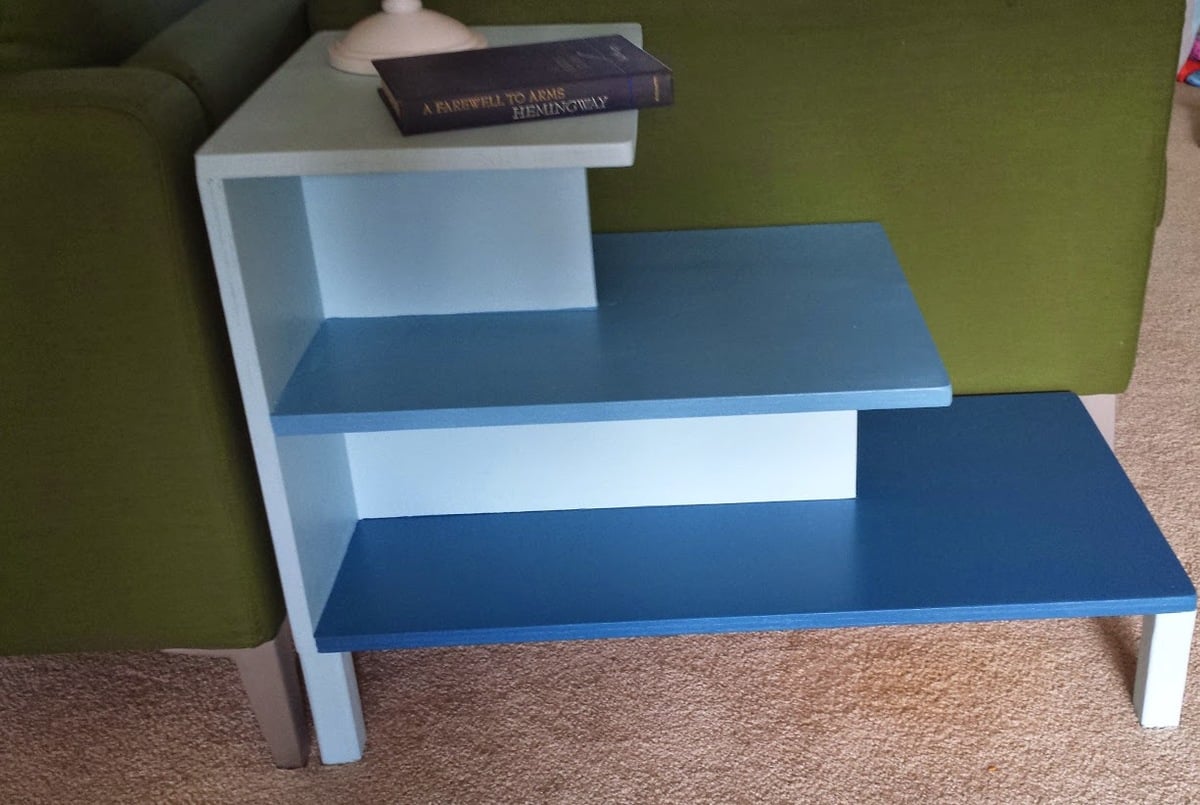
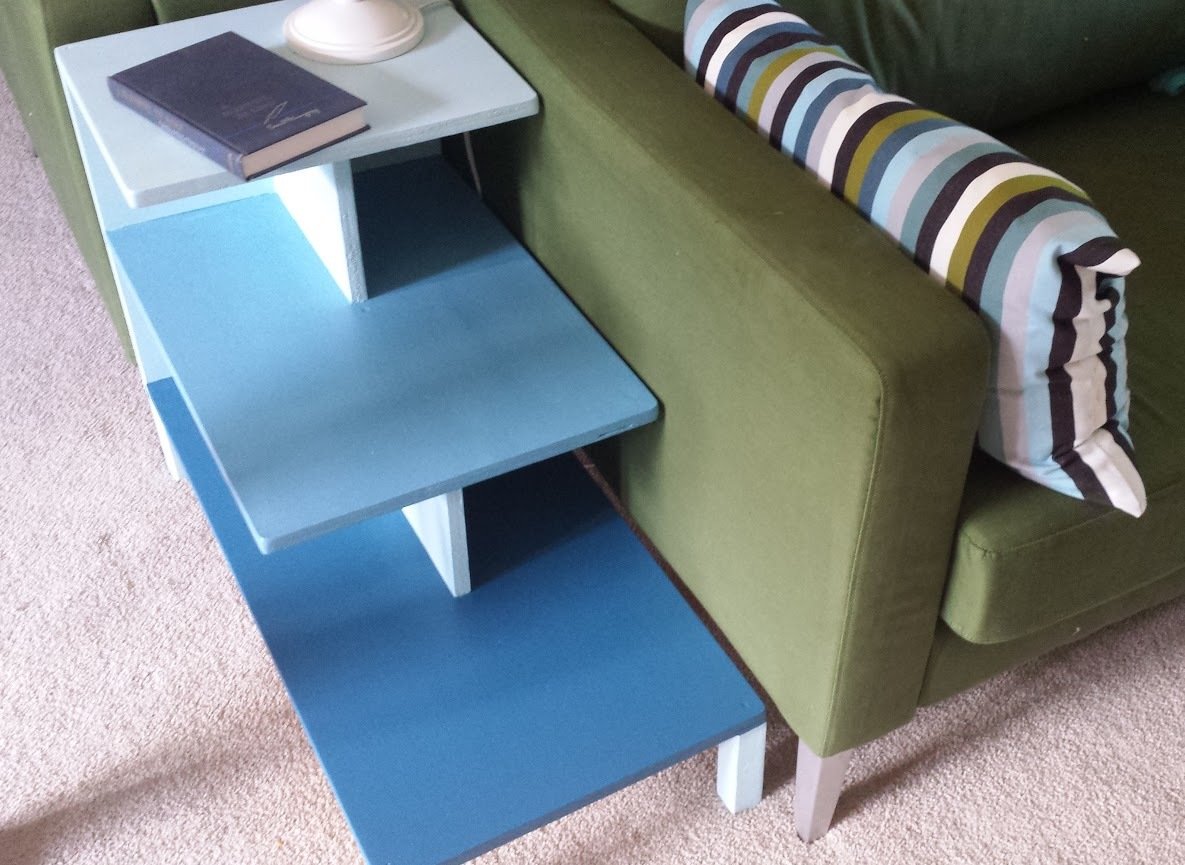
I needed a table to fit in the gap of my offset and back to back couches. I made the bottom shelf a little bit longer to better fit the space. I also added additional screws to the back for more stabilization since I knew my kids would find the steps irresistible. The different hues of blue make it more interesting.

Built from Plan(s)
Estimated Cost
$50
Estimated Time Investment
Day Project (6-9 Hours)
Finish Used
Latex paint and spray clear coat
Recommended Skill Level
Beginner