Tall Bedroom Dresser
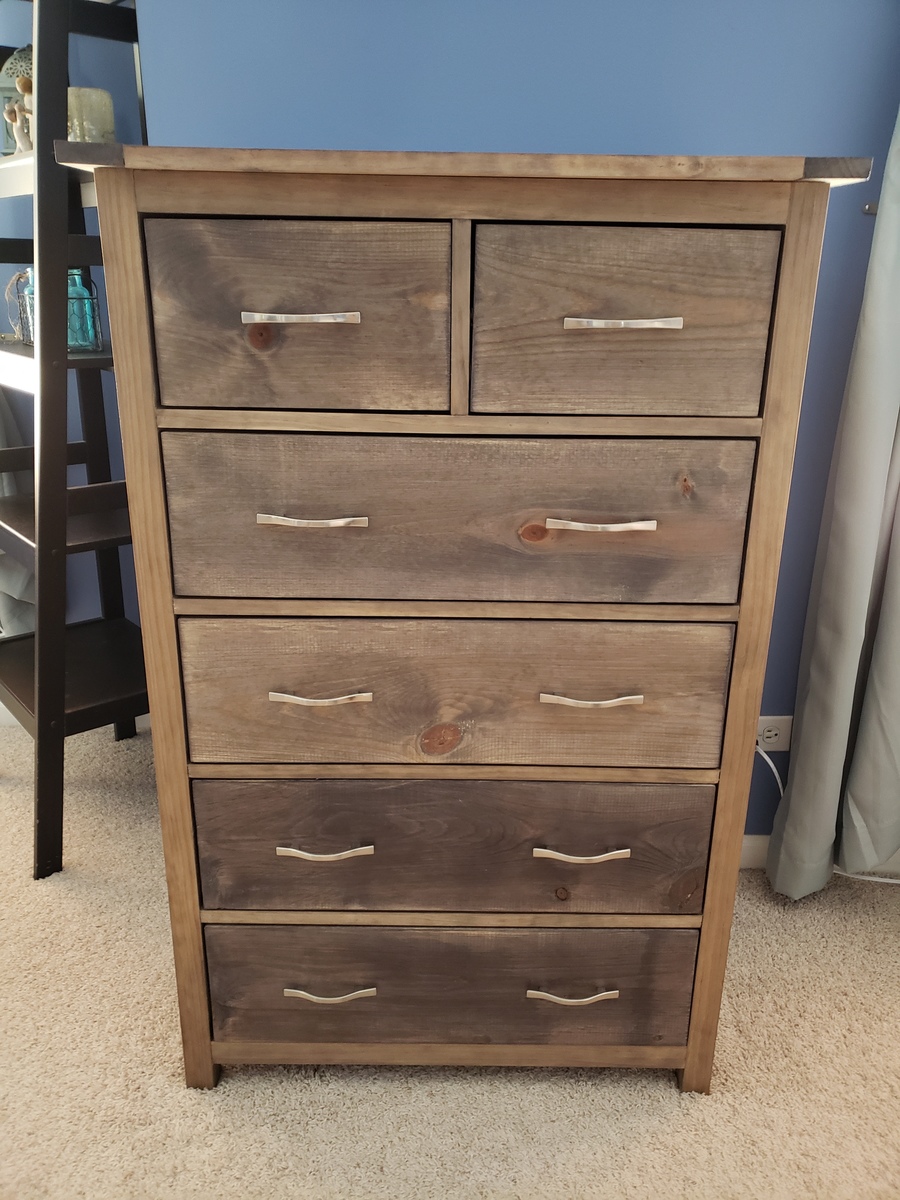
Had a blast with this project and am getting more confident with drawer slides. I built a matching dresser that is much shorter and wider. It can be found here: http://www.ana-white.com/2018/08/DIY_furniture/bedroom-dresser
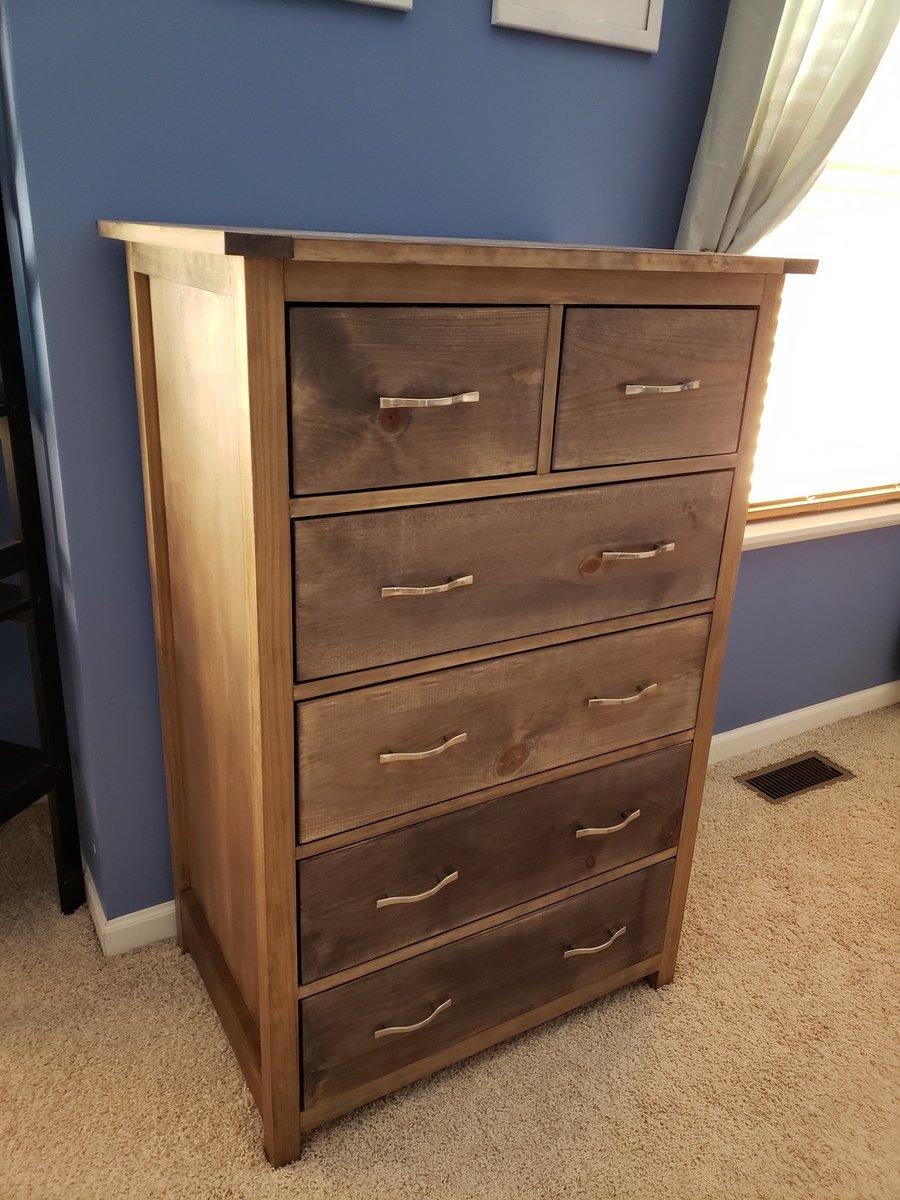

Had a blast with this project and am getting more confident with drawer slides. I built a matching dresser that is much shorter and wider. It can be found here: http://www.ana-white.com/2018/08/DIY_furniture/bedroom-dresser

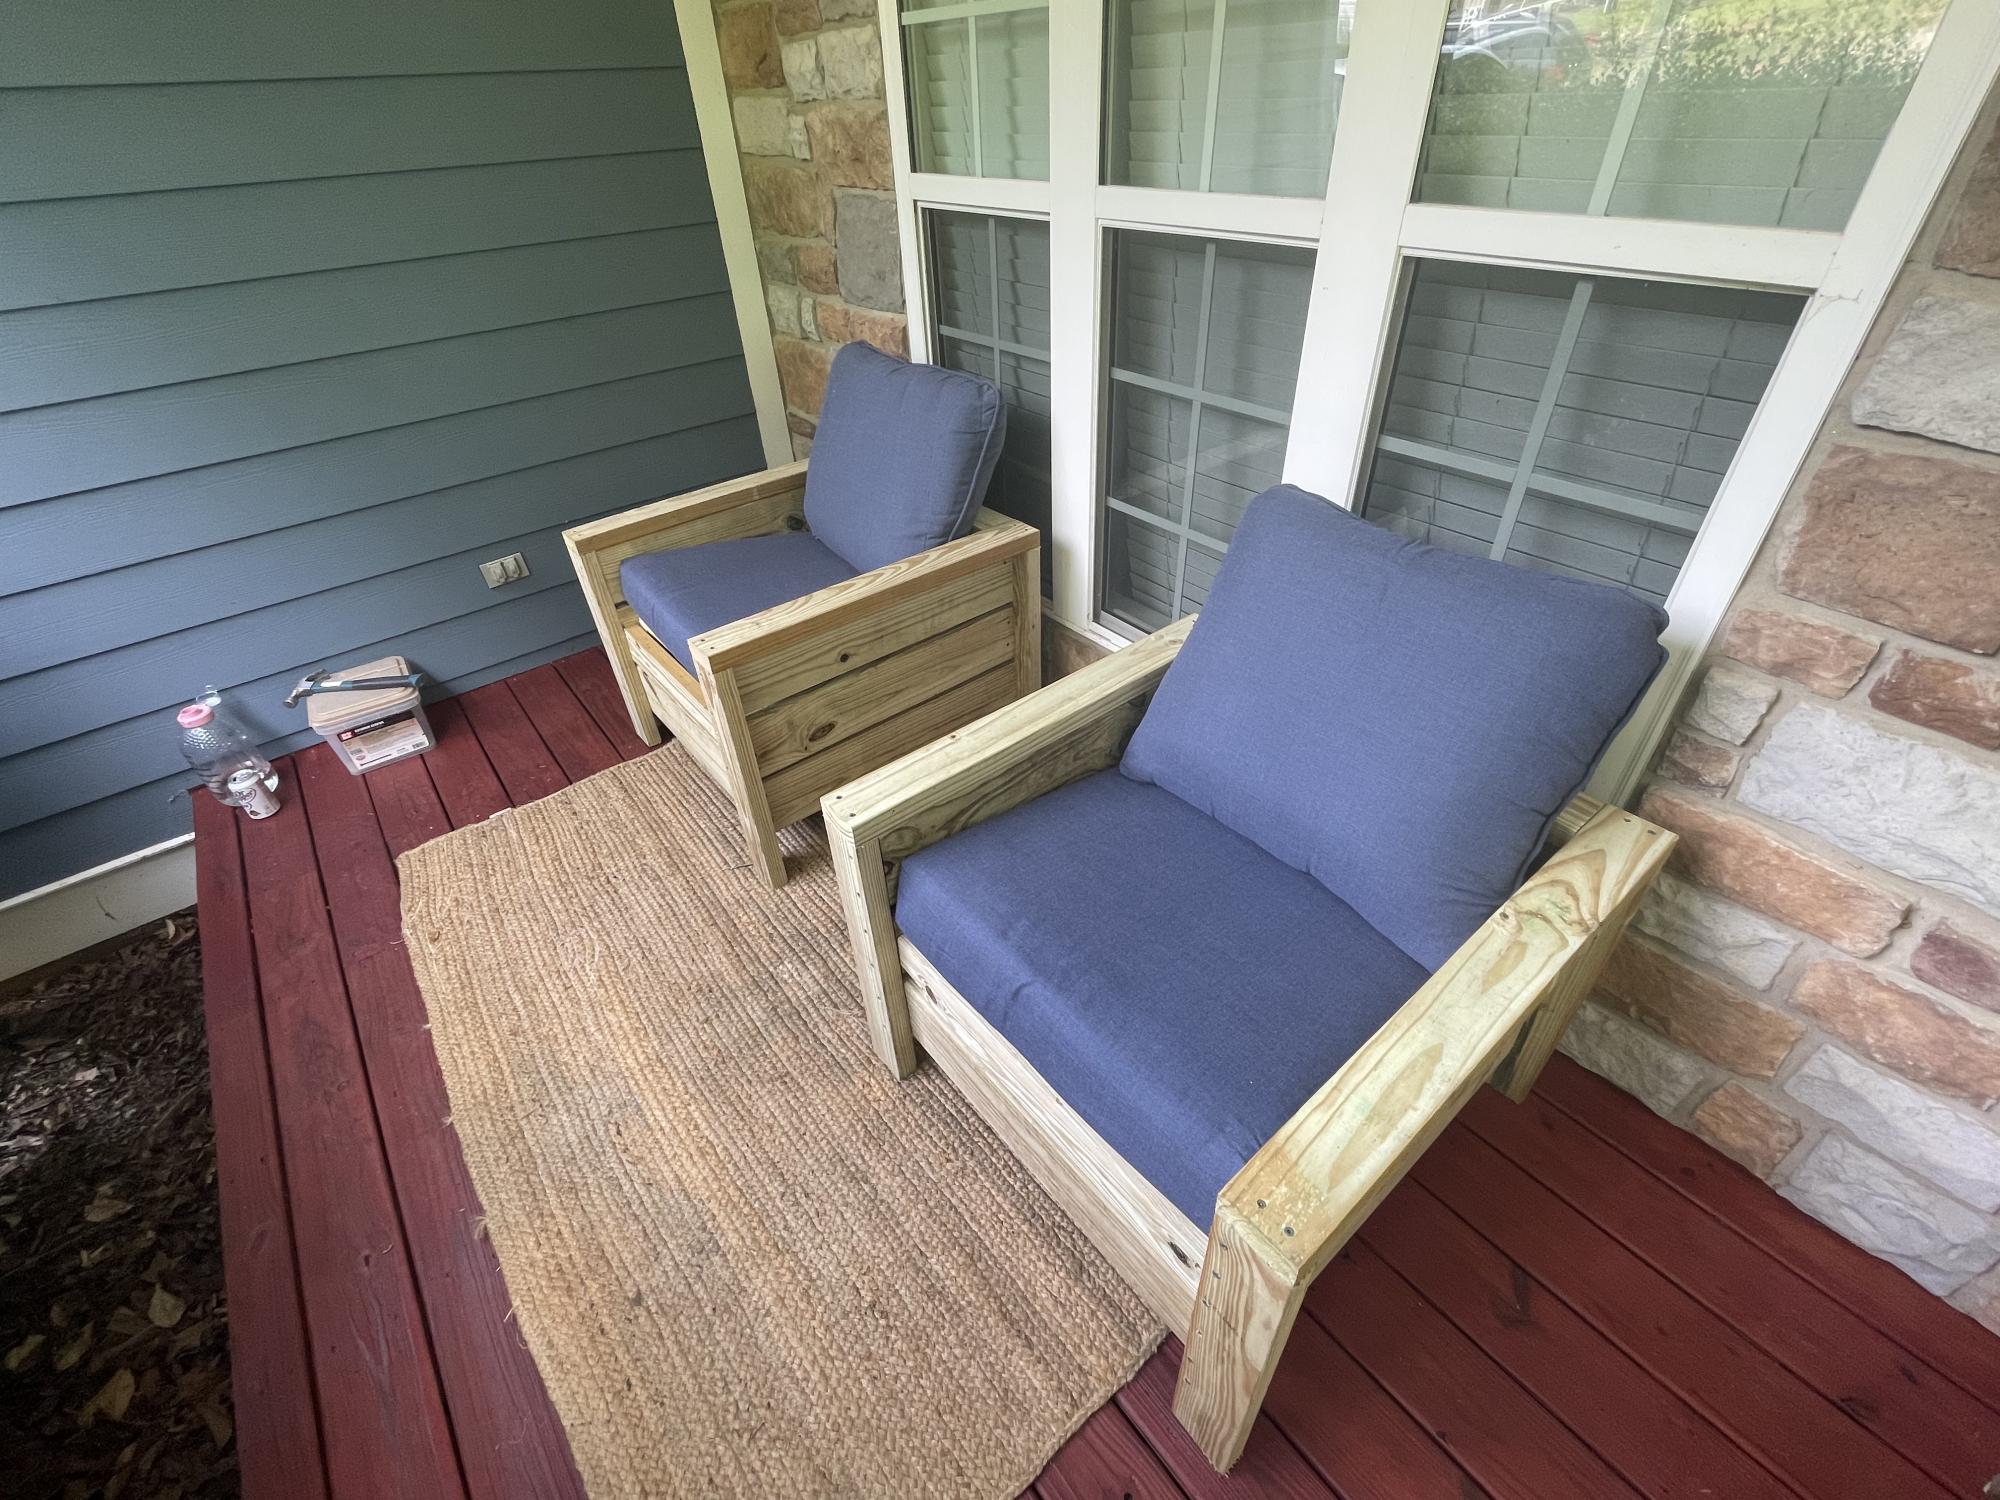
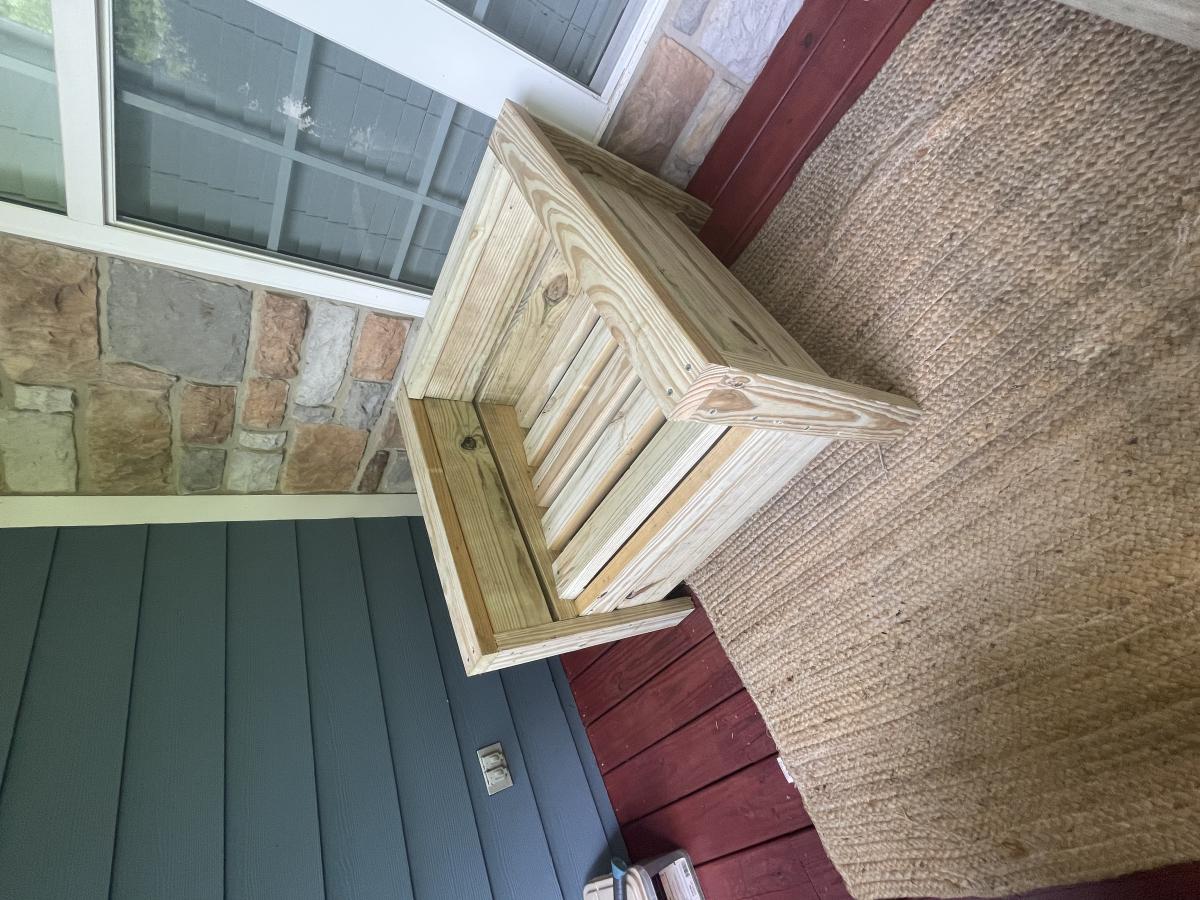
Simple to do with a good saw and drill. Took me about 3 hours to do both.
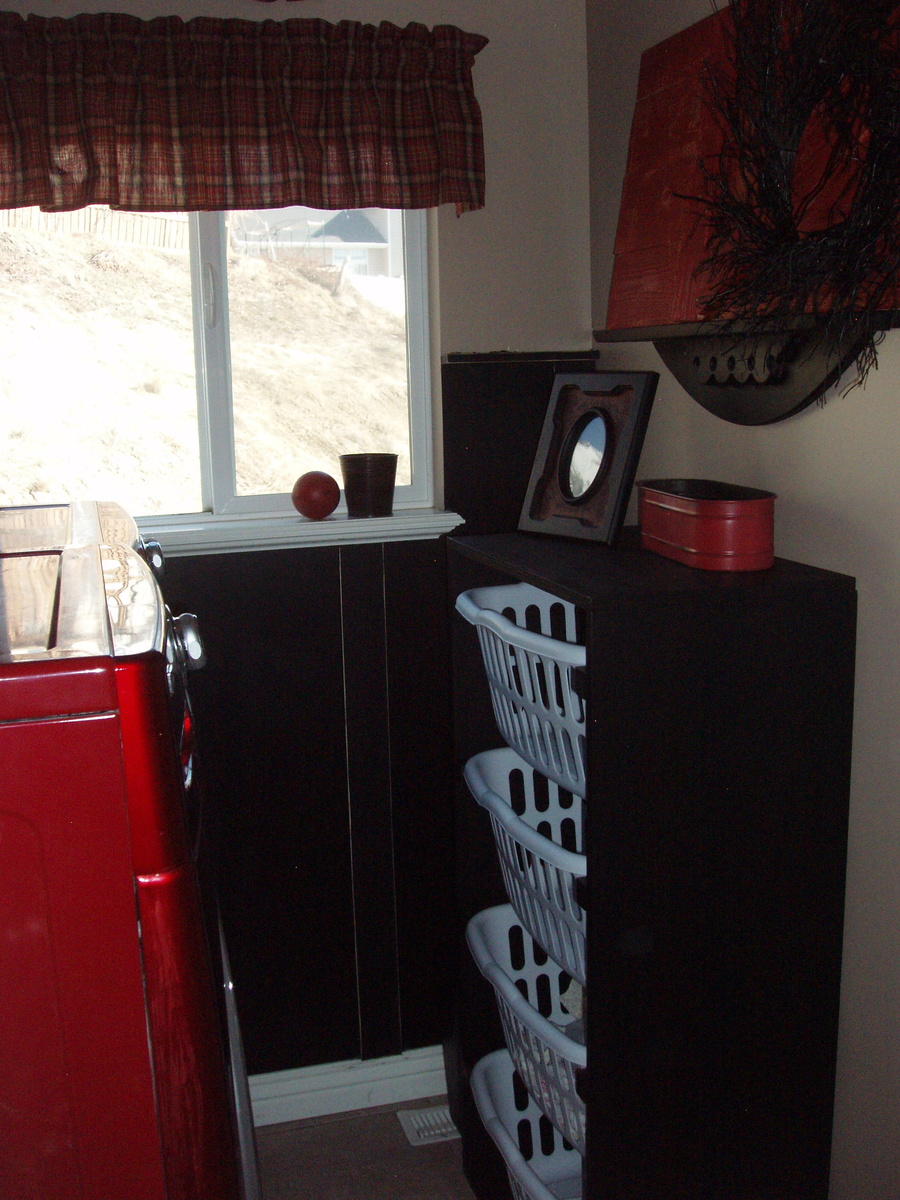
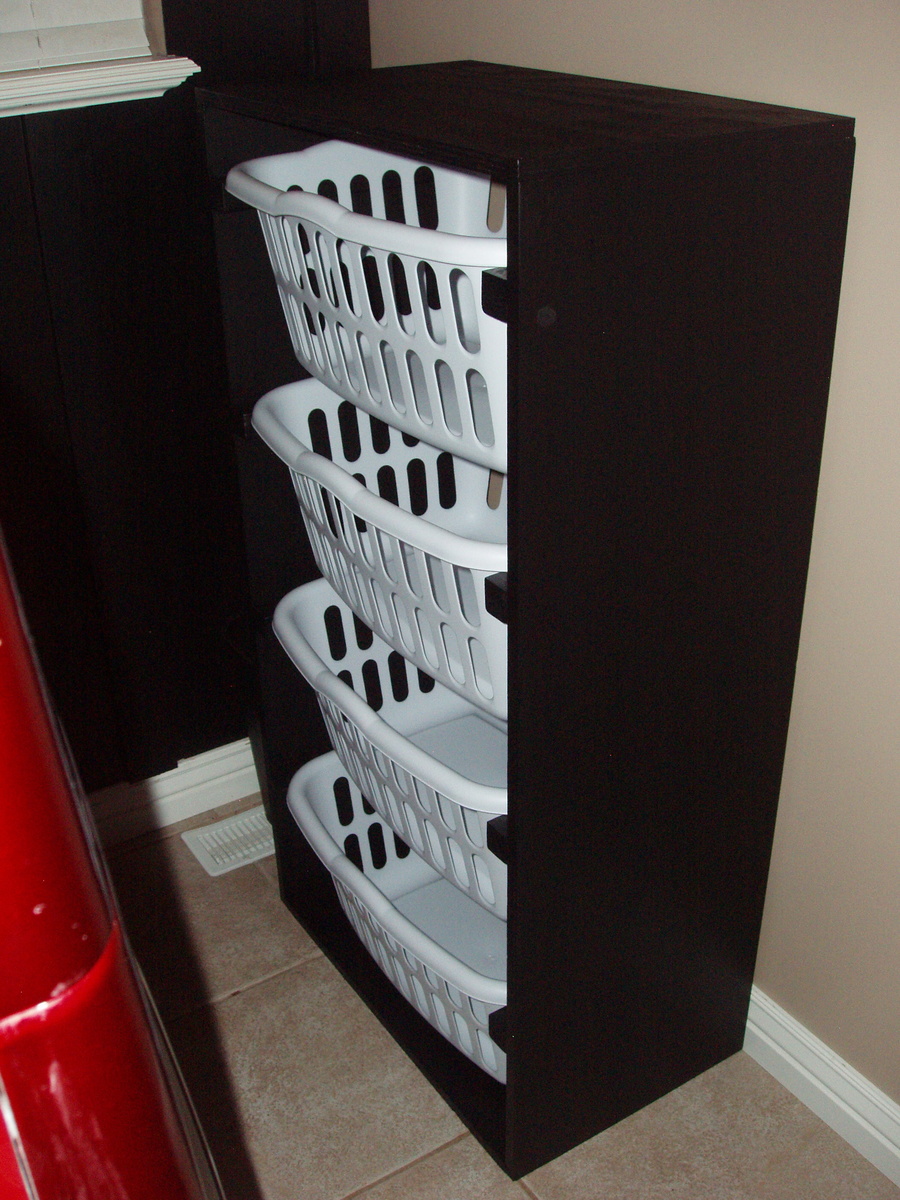
If you'd like to find out how I modified the laundry dresser to hold four baskets and how I hung the board and batten wall, check out the details on my blog. http://isteppedoutofmycomfortzone.blogspot.com/2011/02/and-did-spontane…
After I hung the boards with Liquid Nails I found out that if I ever want to take them down, the sheet rock is coming down with them! So I would probably skip that step...just incase!
Sun, 01/08/2012 - 15:34
Des [url=http://www.longchampbagsfr.com]Sacs Longchamp[/url] sont des sacs qui sont faites dans l’usine de masse, juste comme le genre plus mature que vous pourriez probablement découvrir dans les grands magasins, sauf qu’ils sont créés rendant l’utilisation du bien, dessins à couper le souffle. En fait, ils ont des styles, couleurs et matériaux qui sont comme des sacs de créateurs, mais sont ensuite utilisées dans l’itinéraire des sacs fabriqués en usine. De cette fa?on, vous obtenez le très plus efficace de chaque monde. Vous serez en mesure d’obtenir une belle revanche, un sac dynamique, mais payer alternativement bien moindre que vous n’aurez probablement besoin pour vous d’obtenir une marque de fabricant qui est en développement à être utilisé. Vous serez en mesure d’obtenir ces généralement en ligne, aussi que dans plusieurs magasins. Des sacs Longchamp, par exemple, sont généralement créés beauté. Ils fournissent des designs tout en utilisant favorisées régulière et les schémas, les figures de dragon animé individus, aux conceptions fourre-tout, après quoi il a offert à tous qu’ils obtiennent à travers le monde, à cause de cette réalité, ils pourraient générer suffisamment pour tout le monde. Vous ne devez posséder plus longue dans les sections et de payer pour à peu près n’importe quel élément limité, tout simplement parce que des dirigeants avides de style dans l’industrie.
Sacs à main sont vraiment un énorme business, et des ressources énergétiques et du marché de milliers de dollars. Sacs à main Longchamp pliage, en particulier, sont offerts comme objets de grande classe ce marché étoile et montrent loin de d’, portant le co?t et alléchantes chaque femme à vouloir un équivalent particulière à cela. Elle a utilisé étant de savoir comment la série vous vécu était d’acquérir une normale, sac inintéressante brun, [url=http://www.longchampbagsfr.com]Sacs Longchamp[/url] ou avoir à payer pour le meilleur co?t de posséder un concepteur de sac extrêmement. Mais heureusement, qui pourrait effectivement très probablement pas être plus longs vrai, parce que la mode des sacs sont en train de révolutionner l’industrie.
Avant, [url=http://www.longchampbagsfr.com]Sacs Longchamp[/url] sont réellement développés au sein d’une manière assez normale. Vous avez vécu des usines qui a élaboré des normes, brun ou des sacs, offerts à des milliers pour pas cher, alors vous incontestablement connu les sacs de créateurs. Les individus sont réellement développés par des designers bien rémunérés qui ont travaillé dans l’industrie de style, et montrerait loin de leur nouveaux sacs à chaque douze mois sur le tapis de couleur rouge. Là, ils obtiendraient des célébrités, acteurs et artistes en général, à mettre sur leurs nouveaux modèles, et leur montrer lointaines à partir de la route du monde. Mais quand il est arrivé le temps de les générer, ils ne font de petites quantités, tout comme le choix de maintenir le co?t varie de haut. Voilà comment ils seraient artificiellement fournir les gens de la demande et la pression ces temps qui désiraient acheter ces articles à dépenser des prix exorbitants. Mais dans les décennies précédentes, cela a commencé à changer avec Longchamp bon marché, ainsi que la révolution qui est-il passé au sein de l’industrie de style.http://www.longchampbagsfr.com
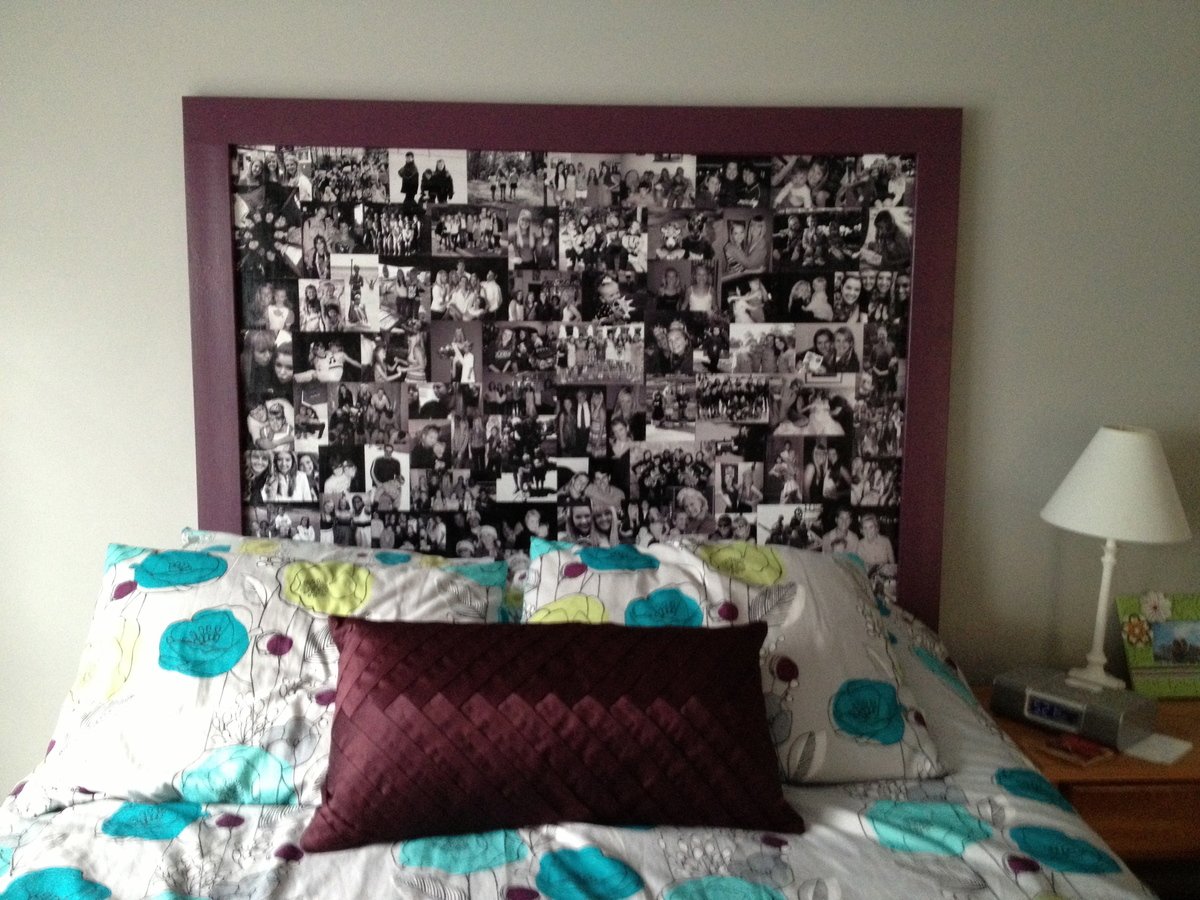
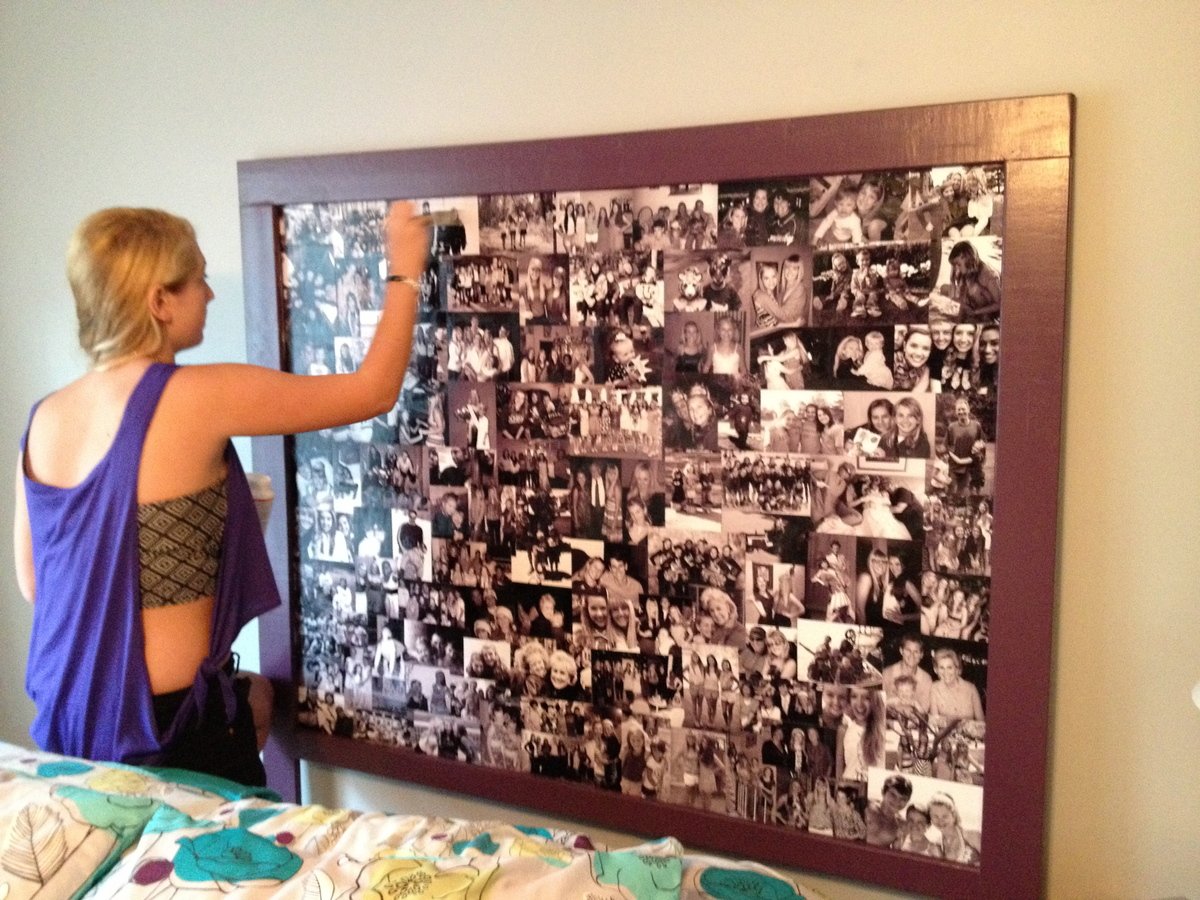
I chose to modify one of your headboards by only doing step 1-4.
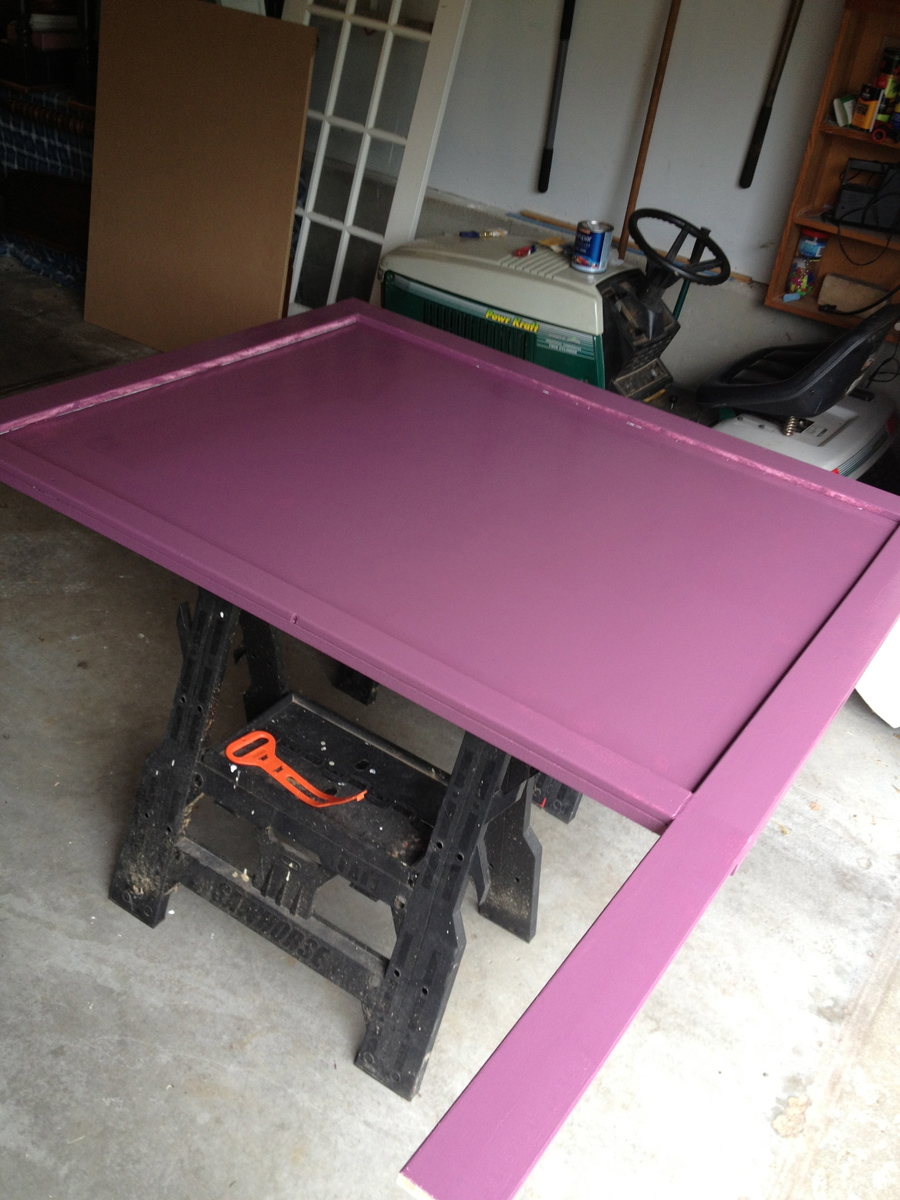
We made a queen headboard and I wanted it slightly taller than the plans suggested so I added 12". I used 3/4" MDF as the back cut 60" w x 48" H, 1x4s for the sides and top and a 1x3 for the bottom. I glued and nail gunned each piece to the edge letting the sides extend down for the legs of the headboard.
I filled the nail gun holes with wood filler. The piece was primed, then painted with 2 coats of color, and then the photos were Modge Podged onto the interior of the headboard touching and overlapping. As my daughter gets older we can add more photos or I can make a fabric insert to go over the photos. She loves it and I'm happy we could do something different.
Sat, 08/17/2013 - 16:23
I love how you made your daughter's headboard personalized. No one else in the entire world will have a headboard like hers! :) That's amazing! And the color coordination is great. =D

Build Instructions and additional pictures:
http://www.instructables.com/id/Rustic-Pumpkin-Lantern/
This triangular pumpkin lantern could be a nice addition to your Halloween décor. To give the lantern an aged timeworn look, the rustic finish uses multiple layers of paint, rough sanding and then an outer layer of oak stain. Since the pumpkin is made from wood, I would suggest using LED Tea lights for illumination

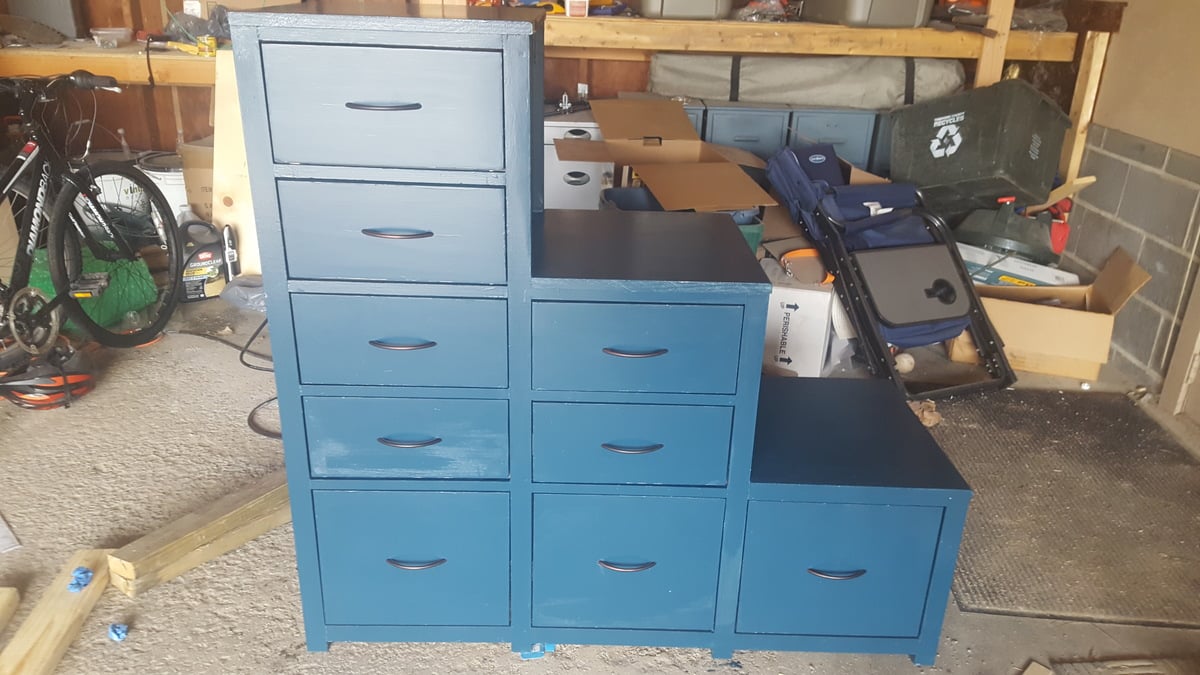
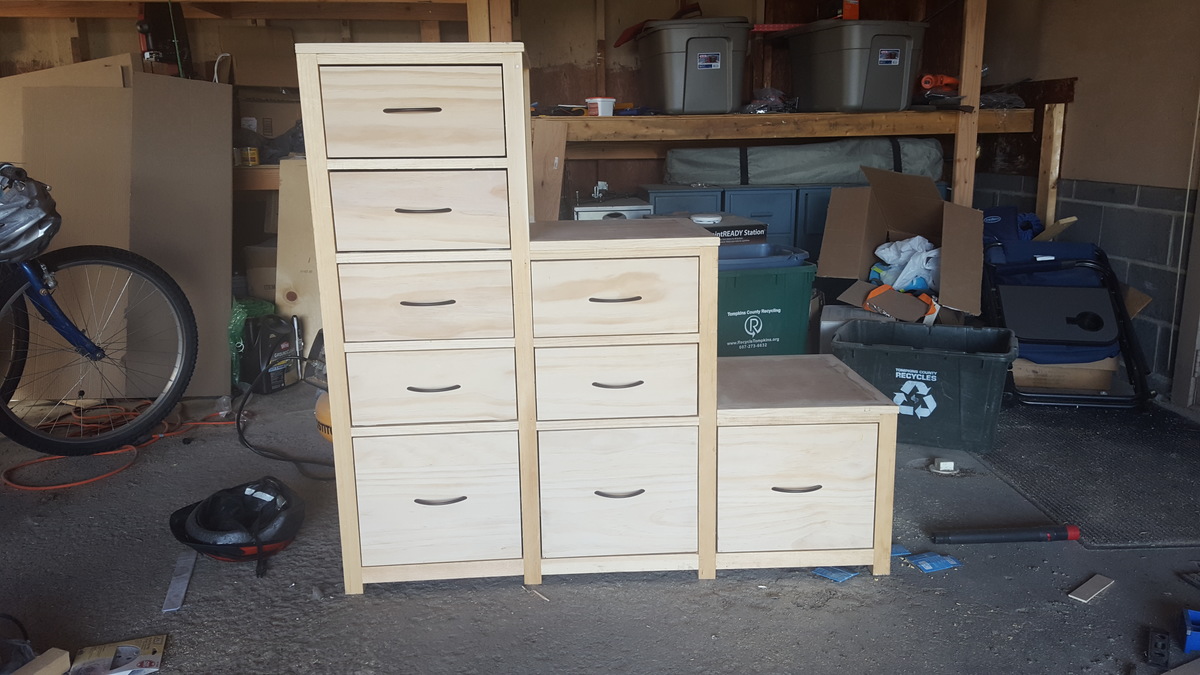
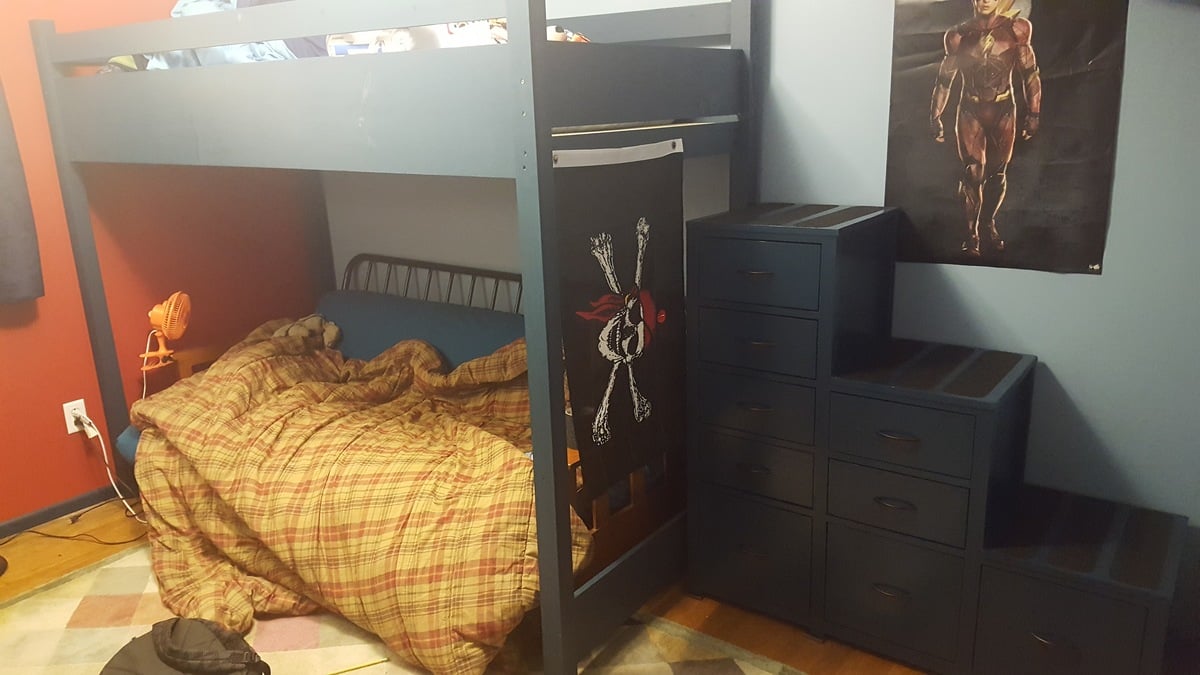
Based on the Kendal Extra Wide Dresser but customized to work as a companion piece to the loft that I built for my son earlier this year.
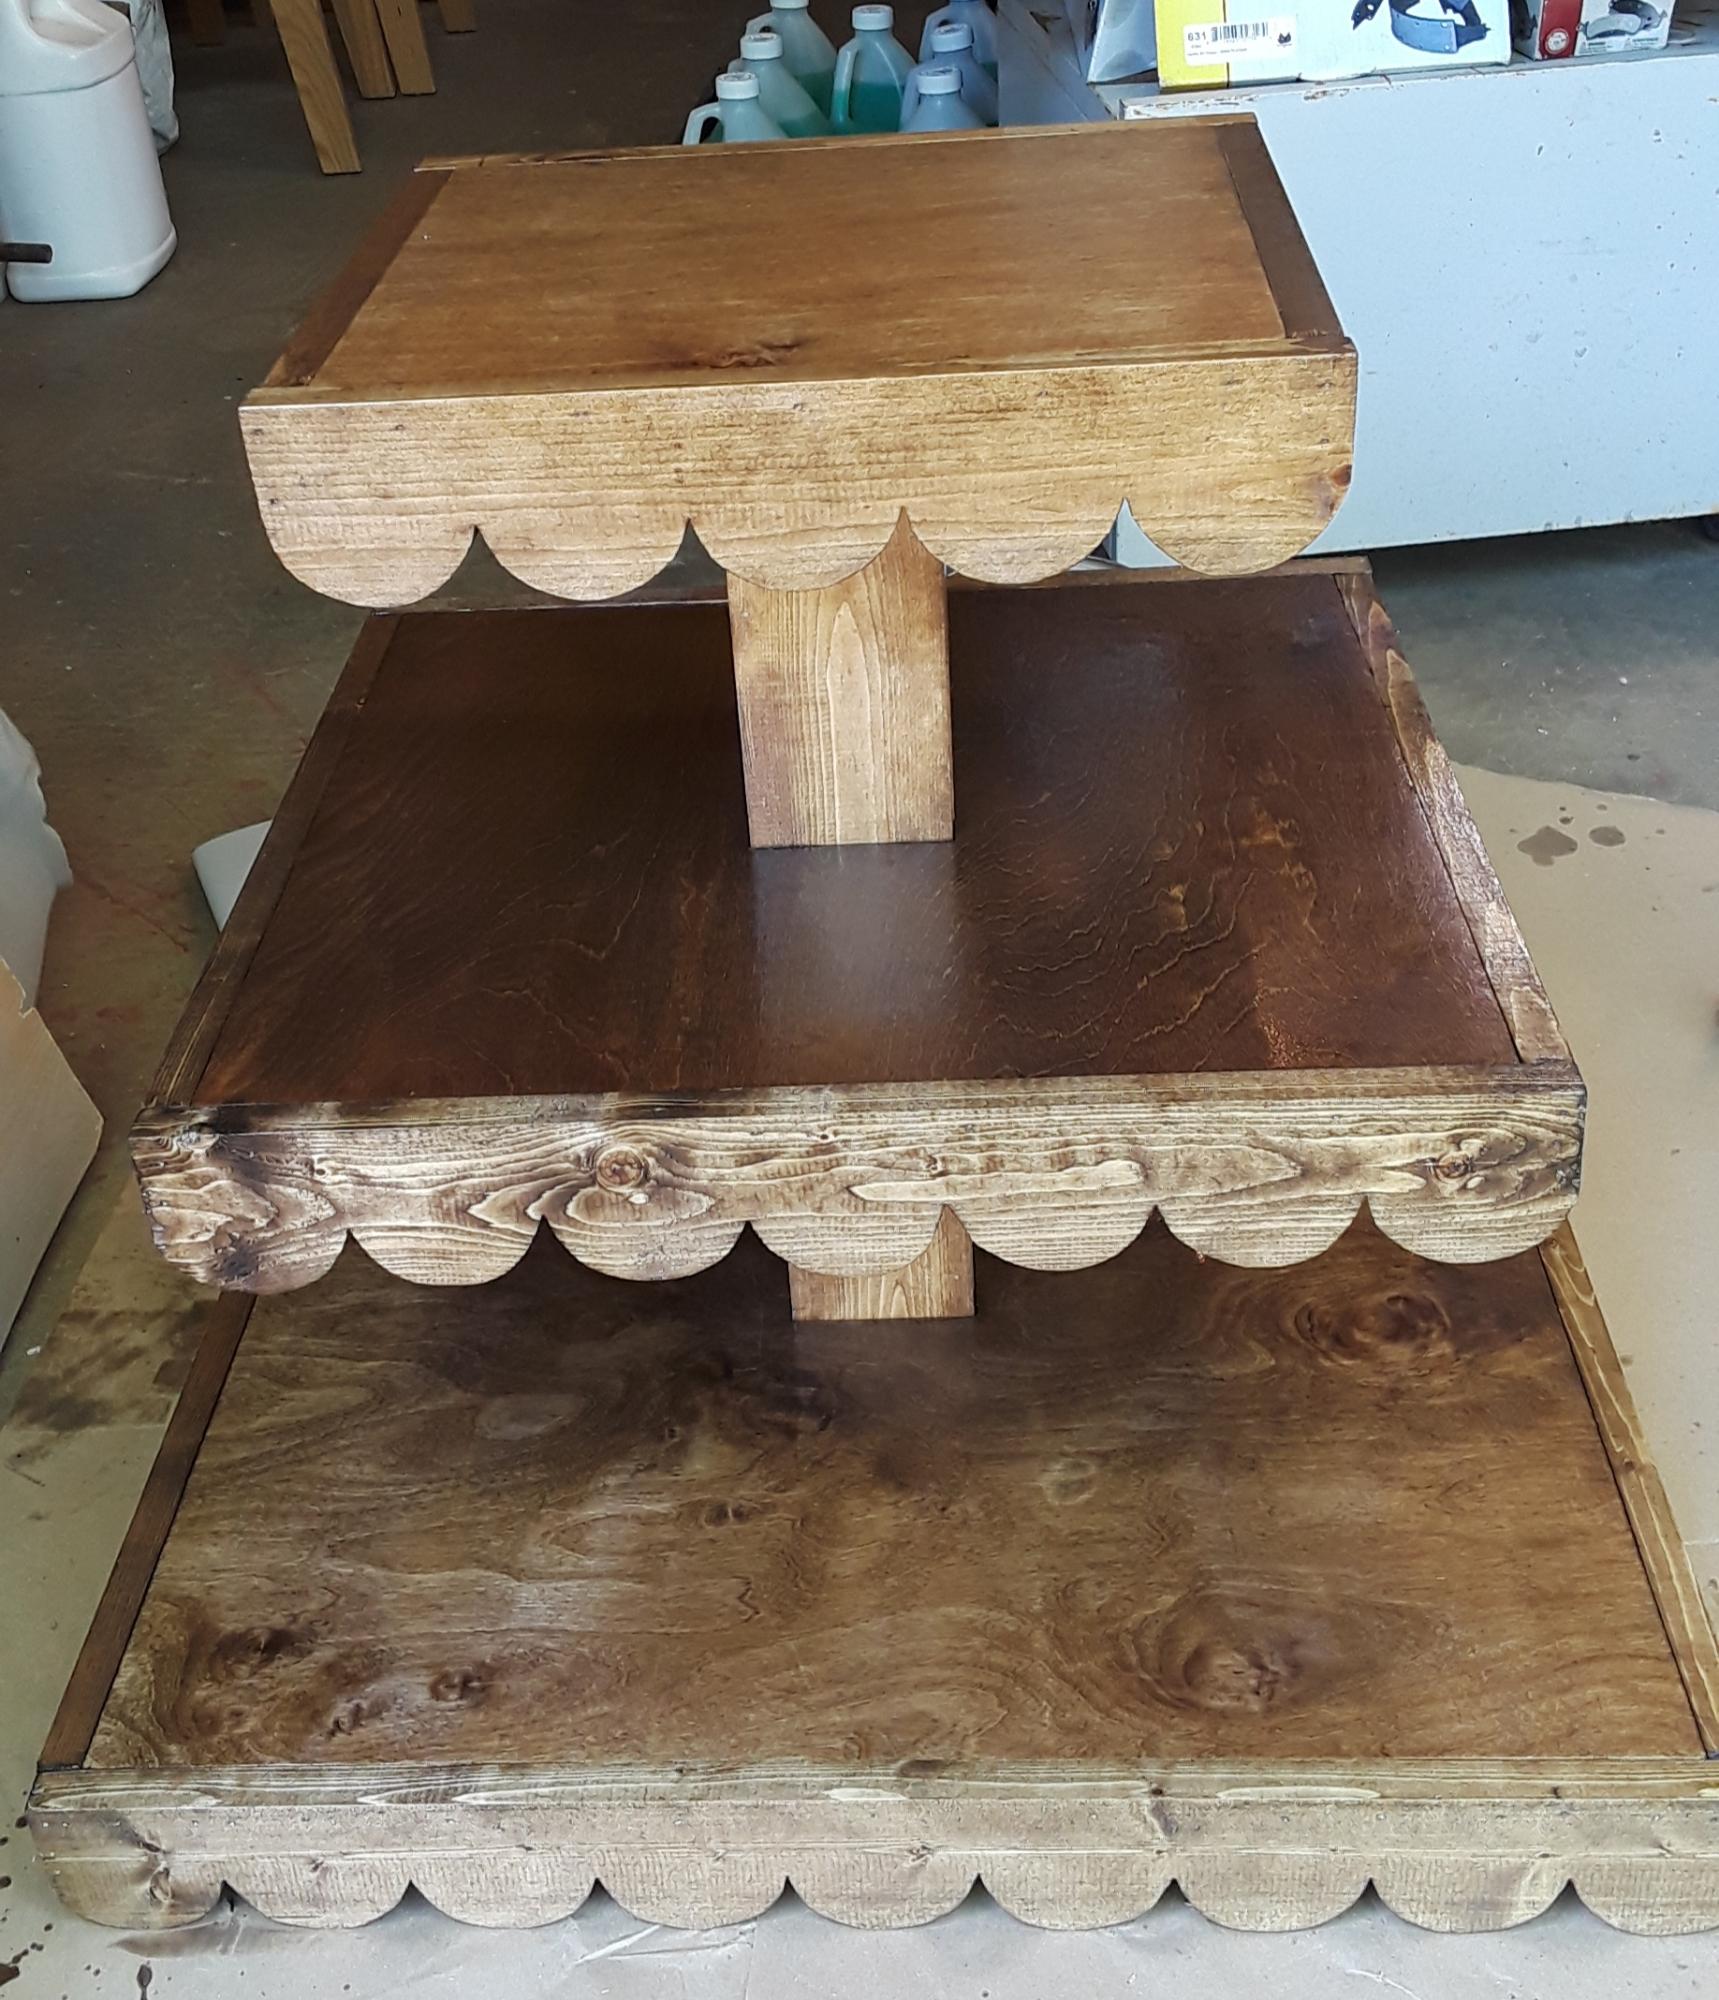
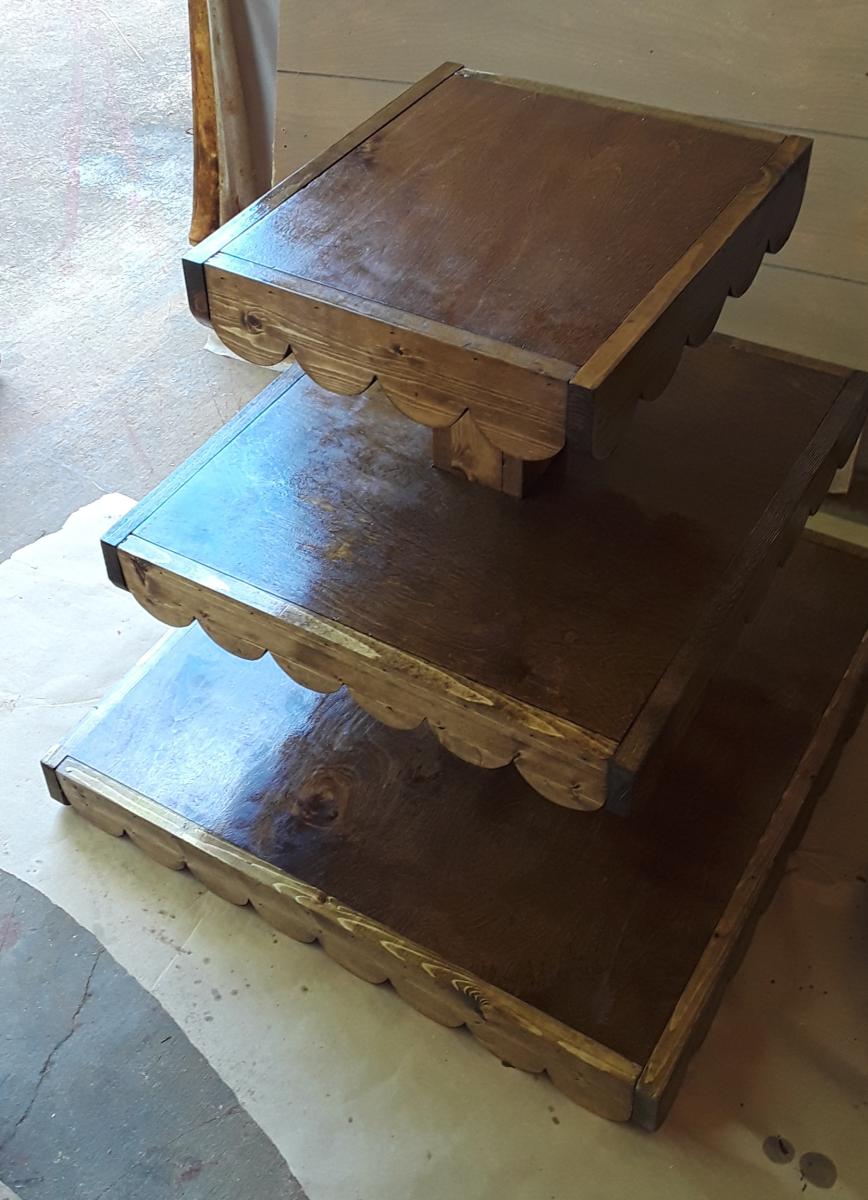
Rustic Cupcake Stand!
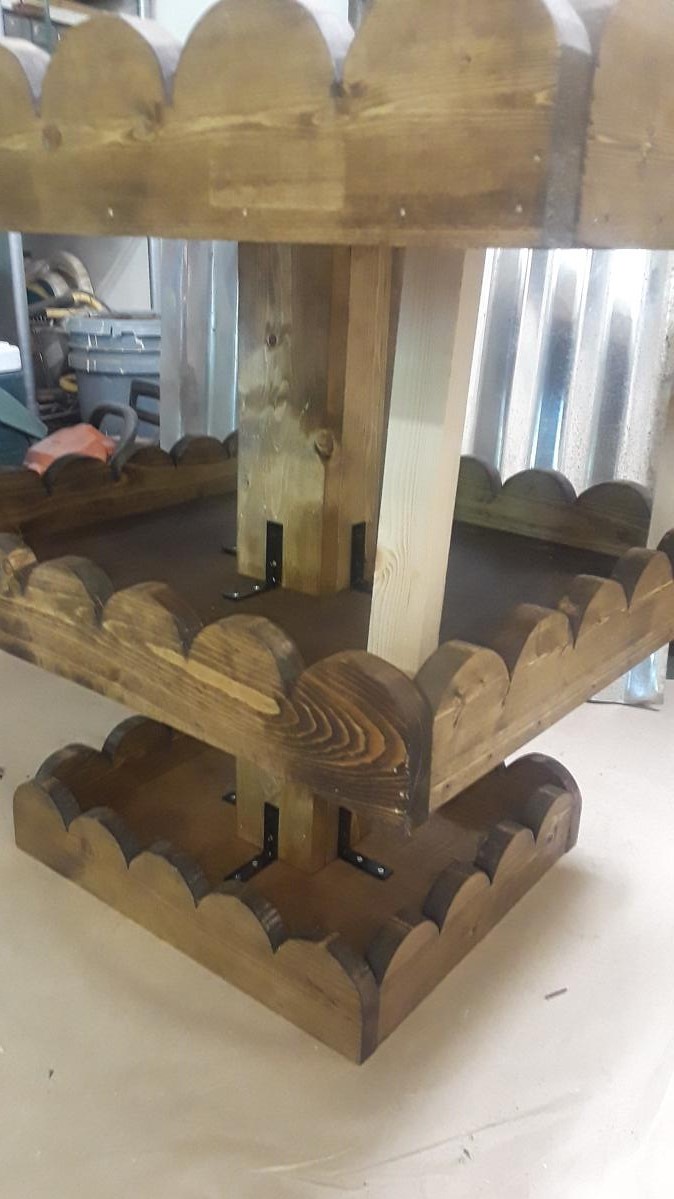
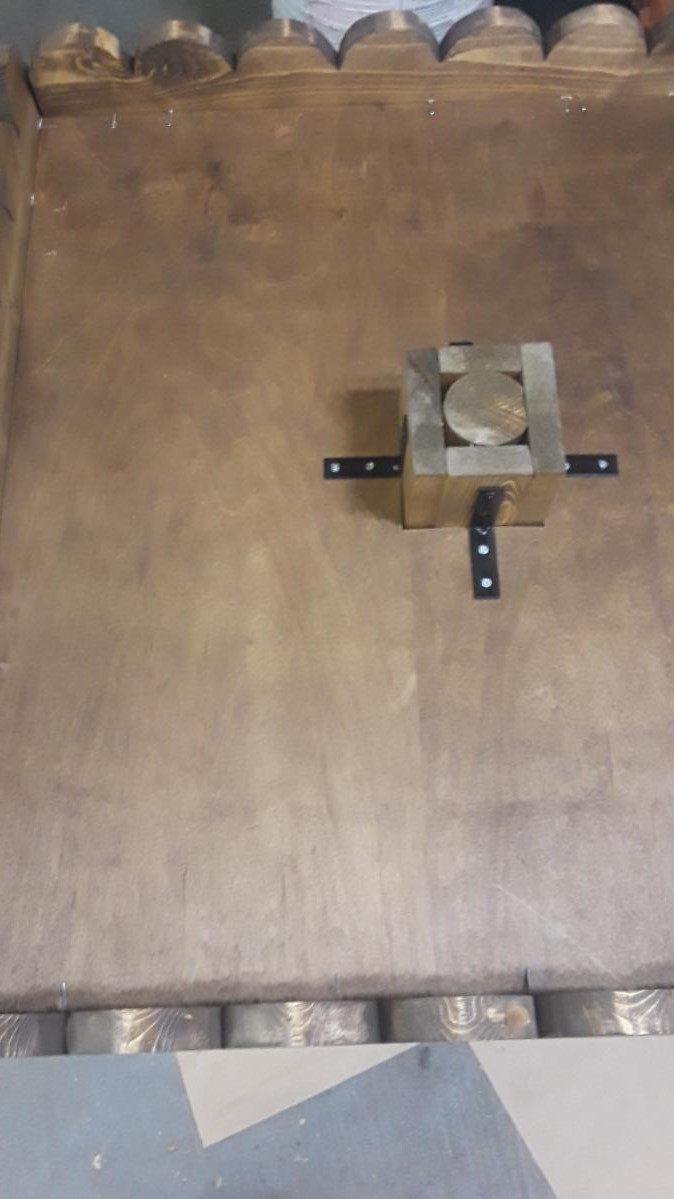
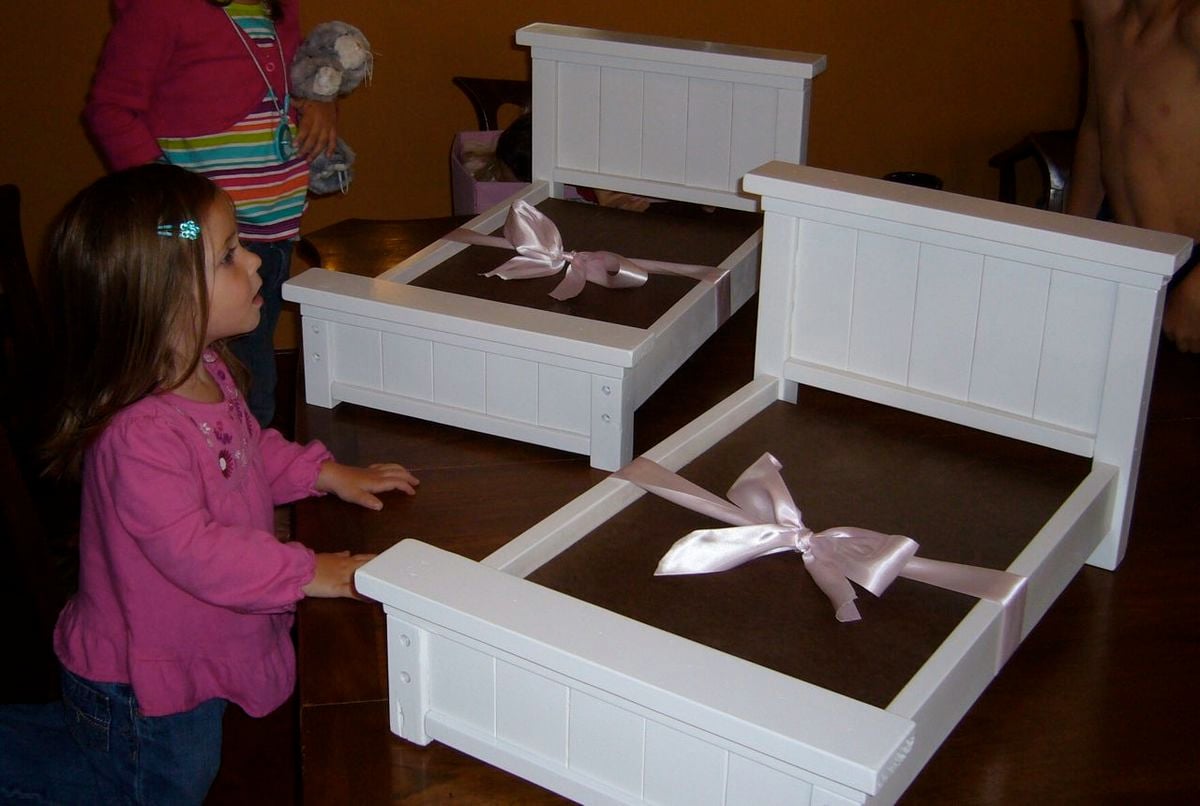
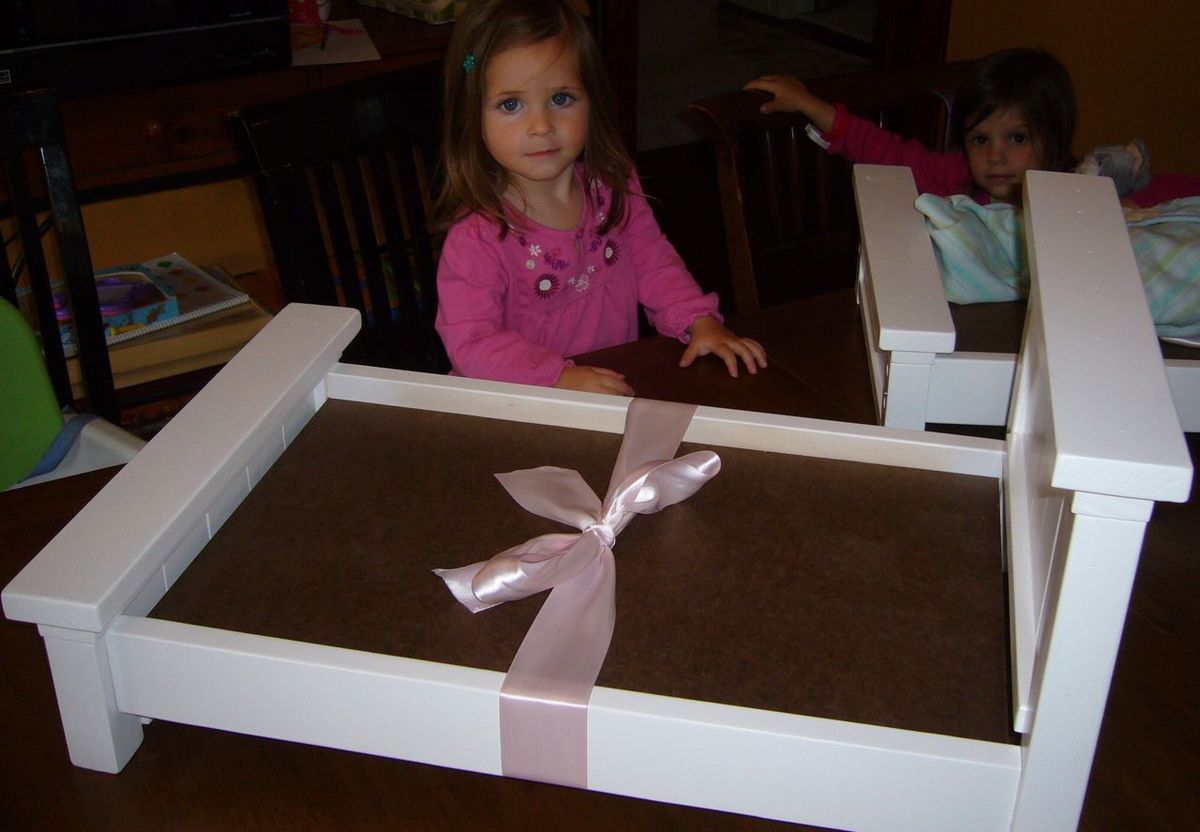
I asked my husband to build these as birthday presents for my daughter and my niece this past spring. Very cute, collapsable when they get tired of playing with it, sturdy enough to be sat on and used by both small children, the dog and the dolls! Materials and labor were cheap (thanks hunny!) and the product will last for as long as the girls play with dolls.
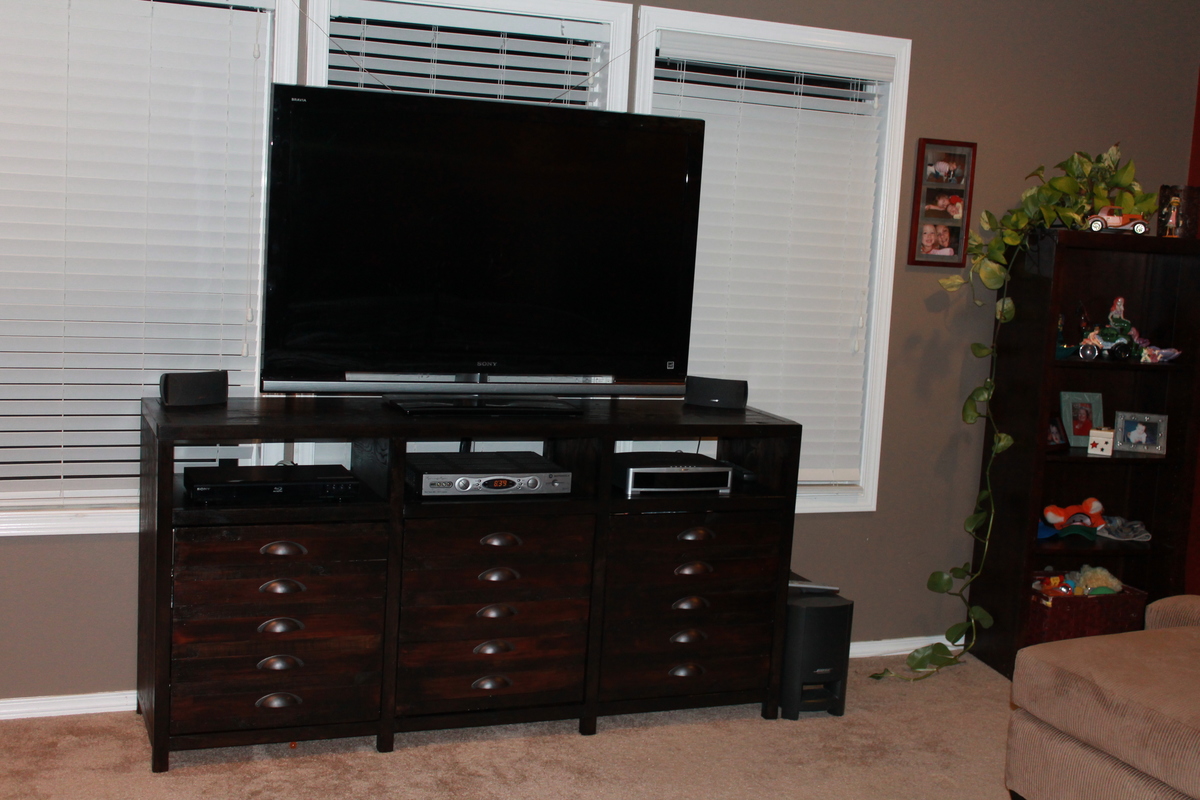
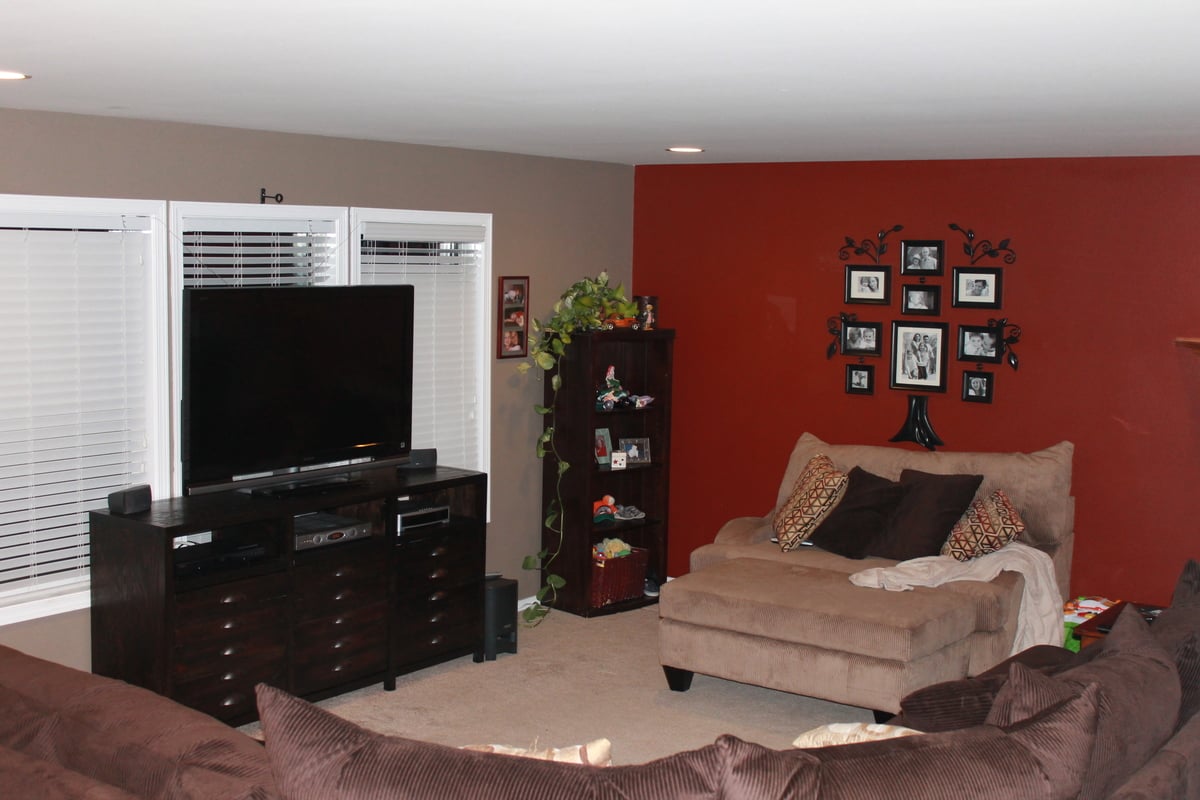
I found the plans for the Printer's Triple Console on Jen Woodhouse's blog and fell in love with the design. Once I studied the entire Ana White website, I decided I could try to build this as my first project because the plans were so clear!
I changed the top to be cubbies instead of drawers to accommodate TV components and such. I just measured the openings, cut the ply board to those dimensions and used my kreg jig to make installing the cubby bases super easy.
I blogged the process (it took me a while so it is three separate posts) at becauseitalktomyself.com, look under "Optimistic Ideas"
I was DELIGHTED with how it turned out! I still can't believe I MADE THIS!!
THANK YOU ANA WHITE!
Tue, 08/20/2013 - 07:45
Having built a version of this myself, I really appreciate the work that went into this. I can't believe this is your first project -- really amazing!! Great finished product!
I built a pair of cornhole boards following a tutorial on This Old House. I used the Glidden Paint Team Colors line to get the a quart of blue and orange paint in the official Auburn colors. I used my Silhouette Portrait machine to create stencils for the AU logo, Auburn tiger logo and "War Eagle" text.


We adjusted the plans so this table top measures 84" x 48". Our chairs were also a little taller than normal, so we raised the legs to make sure the height of the table would be comfortable with the chairs.
I've lost all the math we did, so I'm sorry I can't help you make these adjustments. We made this table a couple years ago.
We used 4x4s for the legs and I'm really glad we did. A previous Ana White table we made, we used thinner legs and the poor thing squeaked like crazy. This table is much sturdier. We also used thicker pieces for the top which also adds to the stability.
A friend helped us plane the table top and fit it all together. It's just pine though, so we have had some warping, but it isn't bad.
We bought a kreg drill to make the assembly smoother. Love that thing!


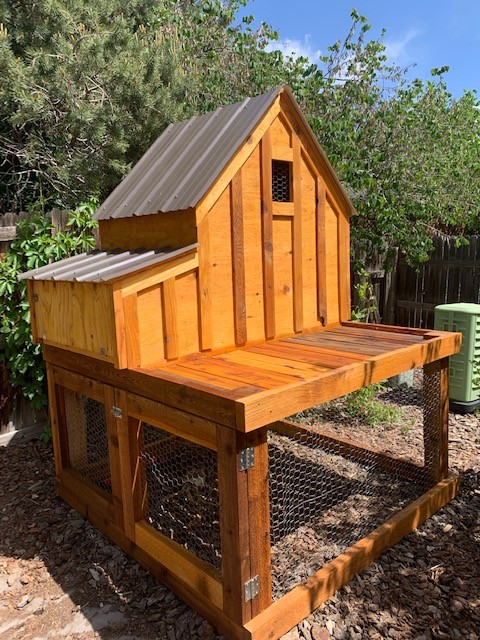
Thanks for the plans! We have a small backyard and I wanted something that we’d actually enjoy looking at. I skipped the planter box and will likely put some potted plants up there instead. All I need is a matching metal cap for the roof peak, and of course chickens!

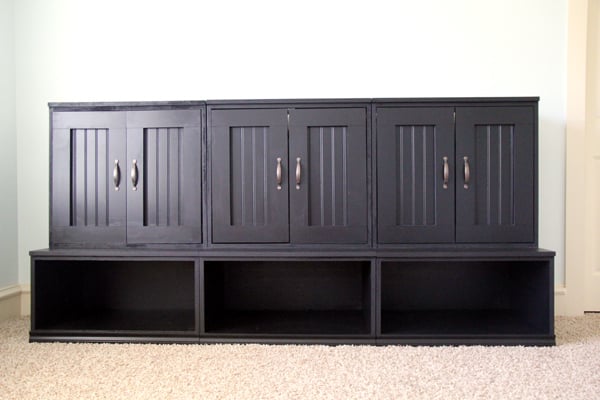
I used Ana's plans to build a Cameron Wall unit for my new nursery. I used 3/4" MDF and 1 1/4" brad nails with lots of Gorilla Wood Glue to assemble. I also used bead board on the doors. Great storage! You can read more at http://www.shanty-2-chic.com/2011/07/furniture-for-the-new-nursery.html


Wed, 07/20/2011 - 04:57
Very nice! I really like the beadboard on the doors.

Found the headboard directions on here... Messed w dementions for footboard n connect it w a 2x12 w three lag bolts each comer. Night stand was constructed the same but on a smaller scale


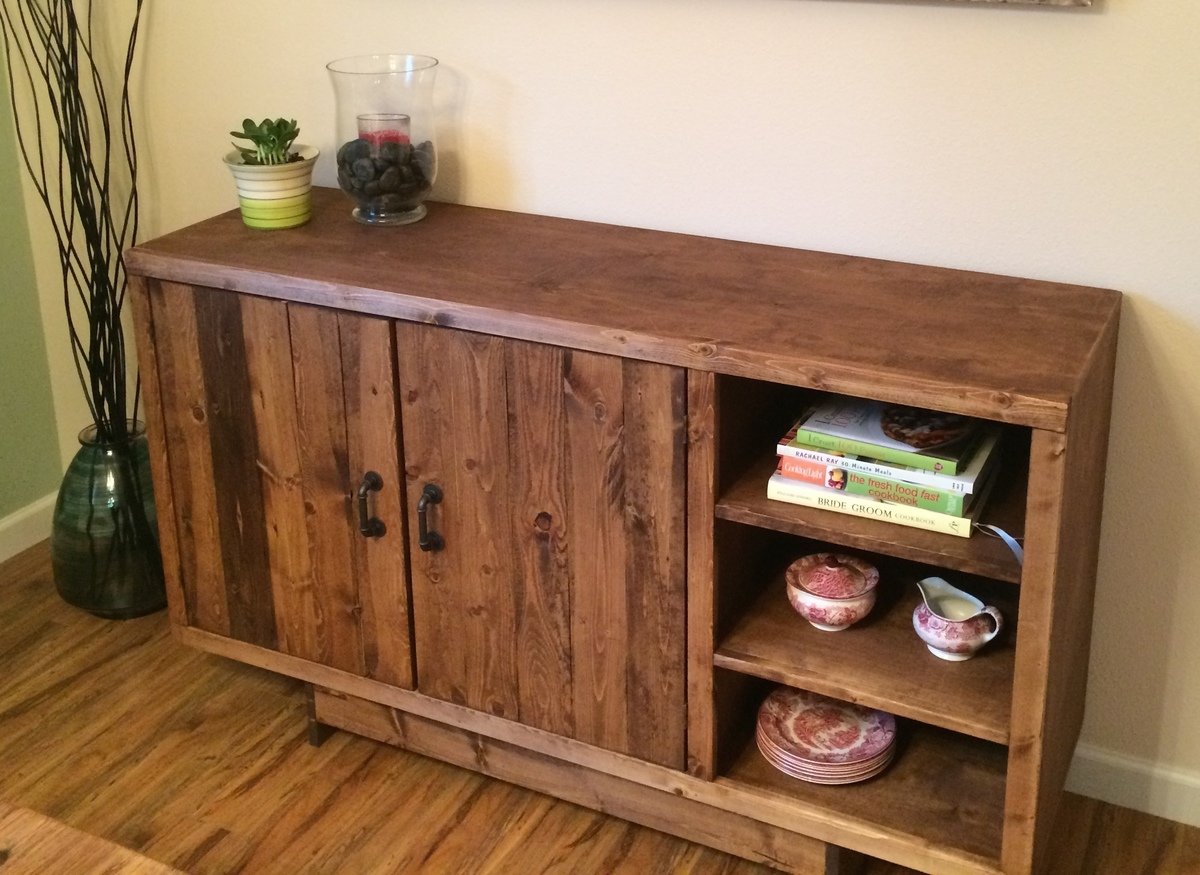
This was my husband's and my second furniture build, and the first with doors! We went ahead and followed the dimensions in the instructions, and even with wood that was 3.5, we still had doors that were a little short. I figure it adds character. Hinges were a little difficult for us, as we are new to woodworking DIY projects, but I'm very happy with the final project. Edge banding, magnetic clasps, and stain throughout really makes it look like a nice, finished piece. Thanks, Ana!
A side note on timing, for us this was a long weekend project that took us in to the next week. For others, I am sure it could go much quicker. That time also included finishing.

Built this 8' farm table after watching your video. Its my first piece of furniture.

Sun, 10/14/2018 - 13:51
What a fantastic first piece! I love the size, it is just right for your space!
Thanks to Ana's plans I was able to build this in a couple of hours. It's not necessary, but a miter saw makes this project a cinch. I used one coat of Minwax Mahogany for the stain and distressed the wood with various sharp edged tools from my garage. I used a large Lowes moving box ($1.50) to cut the backing to 18"x24" and spray glued it to the print. I didn't use glass partly because its expensive and I was a little lazy. As you can see in the pictures below I just stapled the back to the frame. Even without the glass, I think it came out pretty well. Another project completed to go in the mountain house....
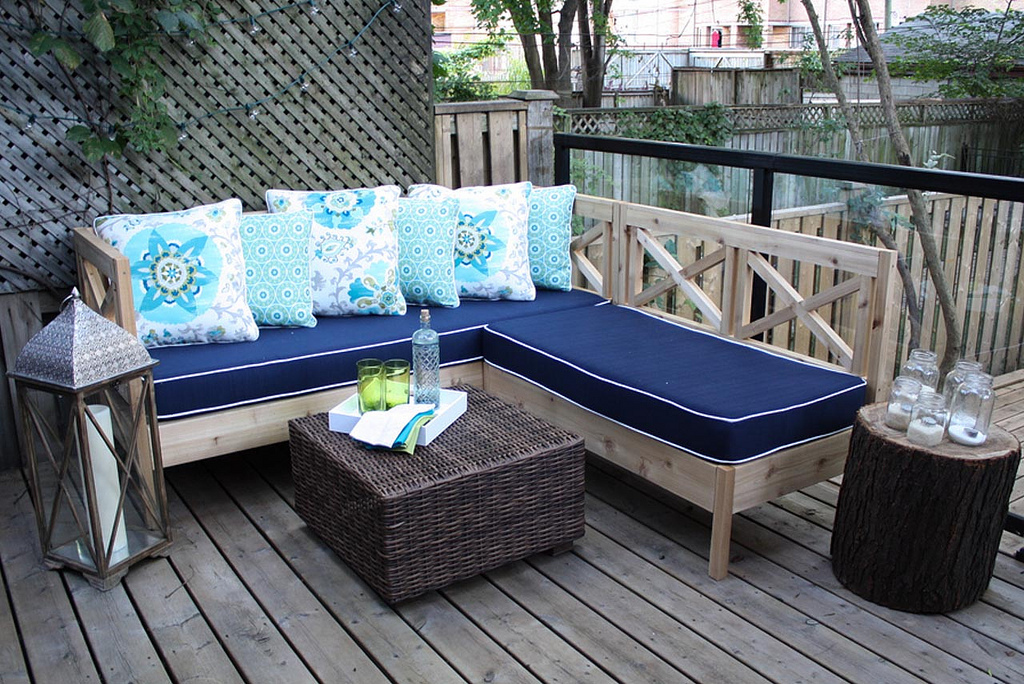
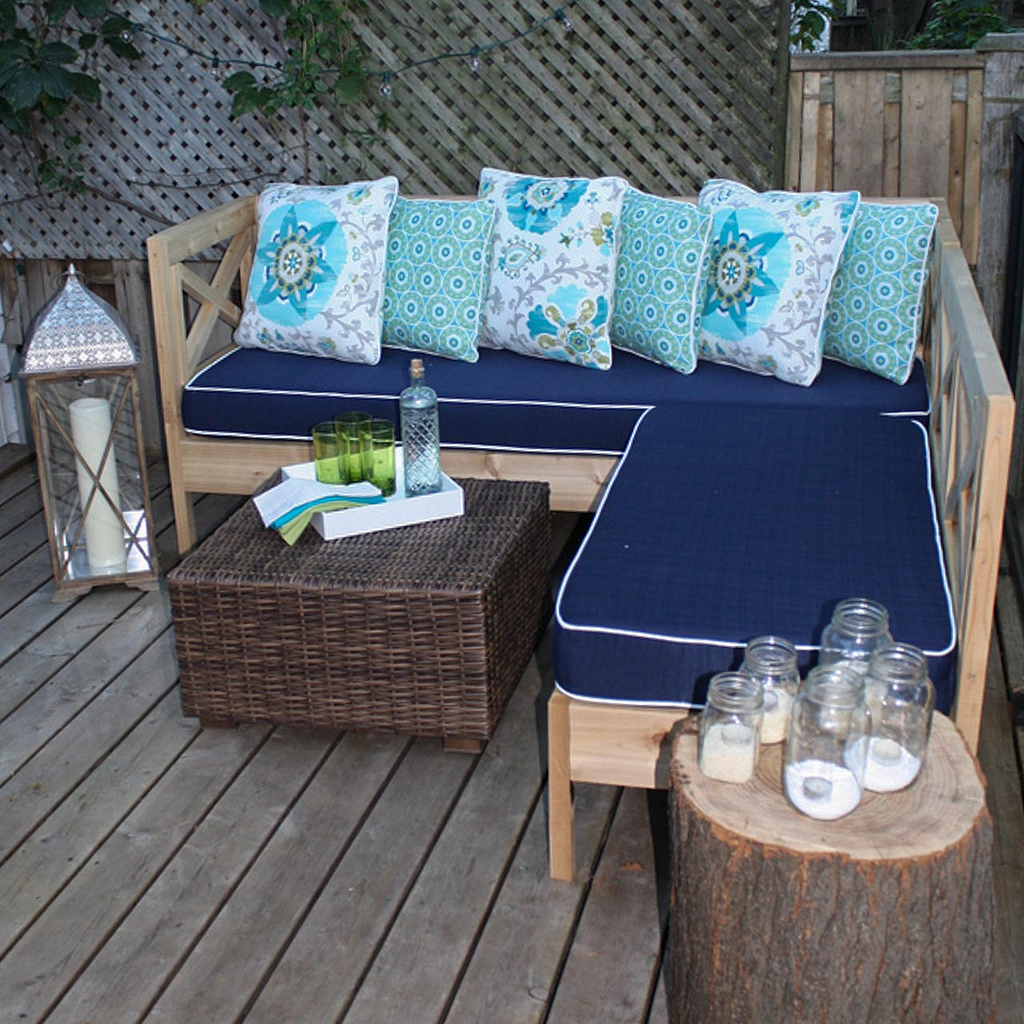
We had extra space in the backyard and I always wanted somewhere cozy to sit. Of course, the 'conversation' sets you find in stores were out of our price range so we turned to Ana!!
The whole project took a long weekend to complete - including shopping, cutting, sanding and putting it together. The cushions took a bit longer because they were custom made.
The project was much easier than I expected and the result is fantastic (in my opinion, of course!). I can't believe we actually built a piece of furniture!!
Thanks Ana!
Wed, 09/04/2013 - 14:03
The fabric was from www.tonicliving.com - Silsila and Tilescene were the names. Both were outdoor fabrics and I'm super happy with them!!
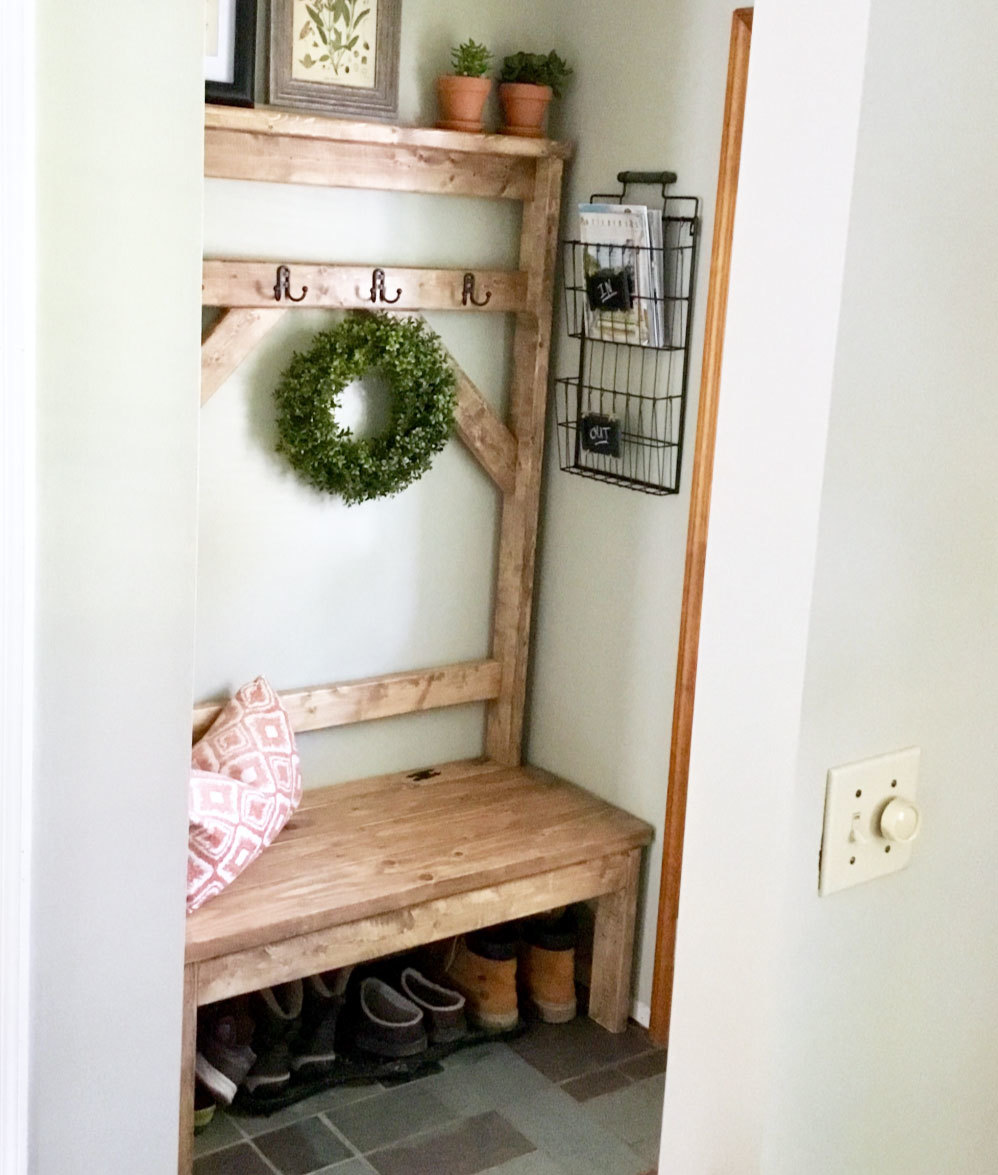
Our small entryway was in need of some sort of bench or coat rack. Since the space is on the smaller side, I was looking for plans that were simple and would not overwhelm the area of the house. When I came searching for plans on Ana White’s website, these plans were JUST posted! It was meant to be! This was my second build ever. Very simple and straight forward. I used Special Walnut for the stain and a satin polyurethane for the top coat.
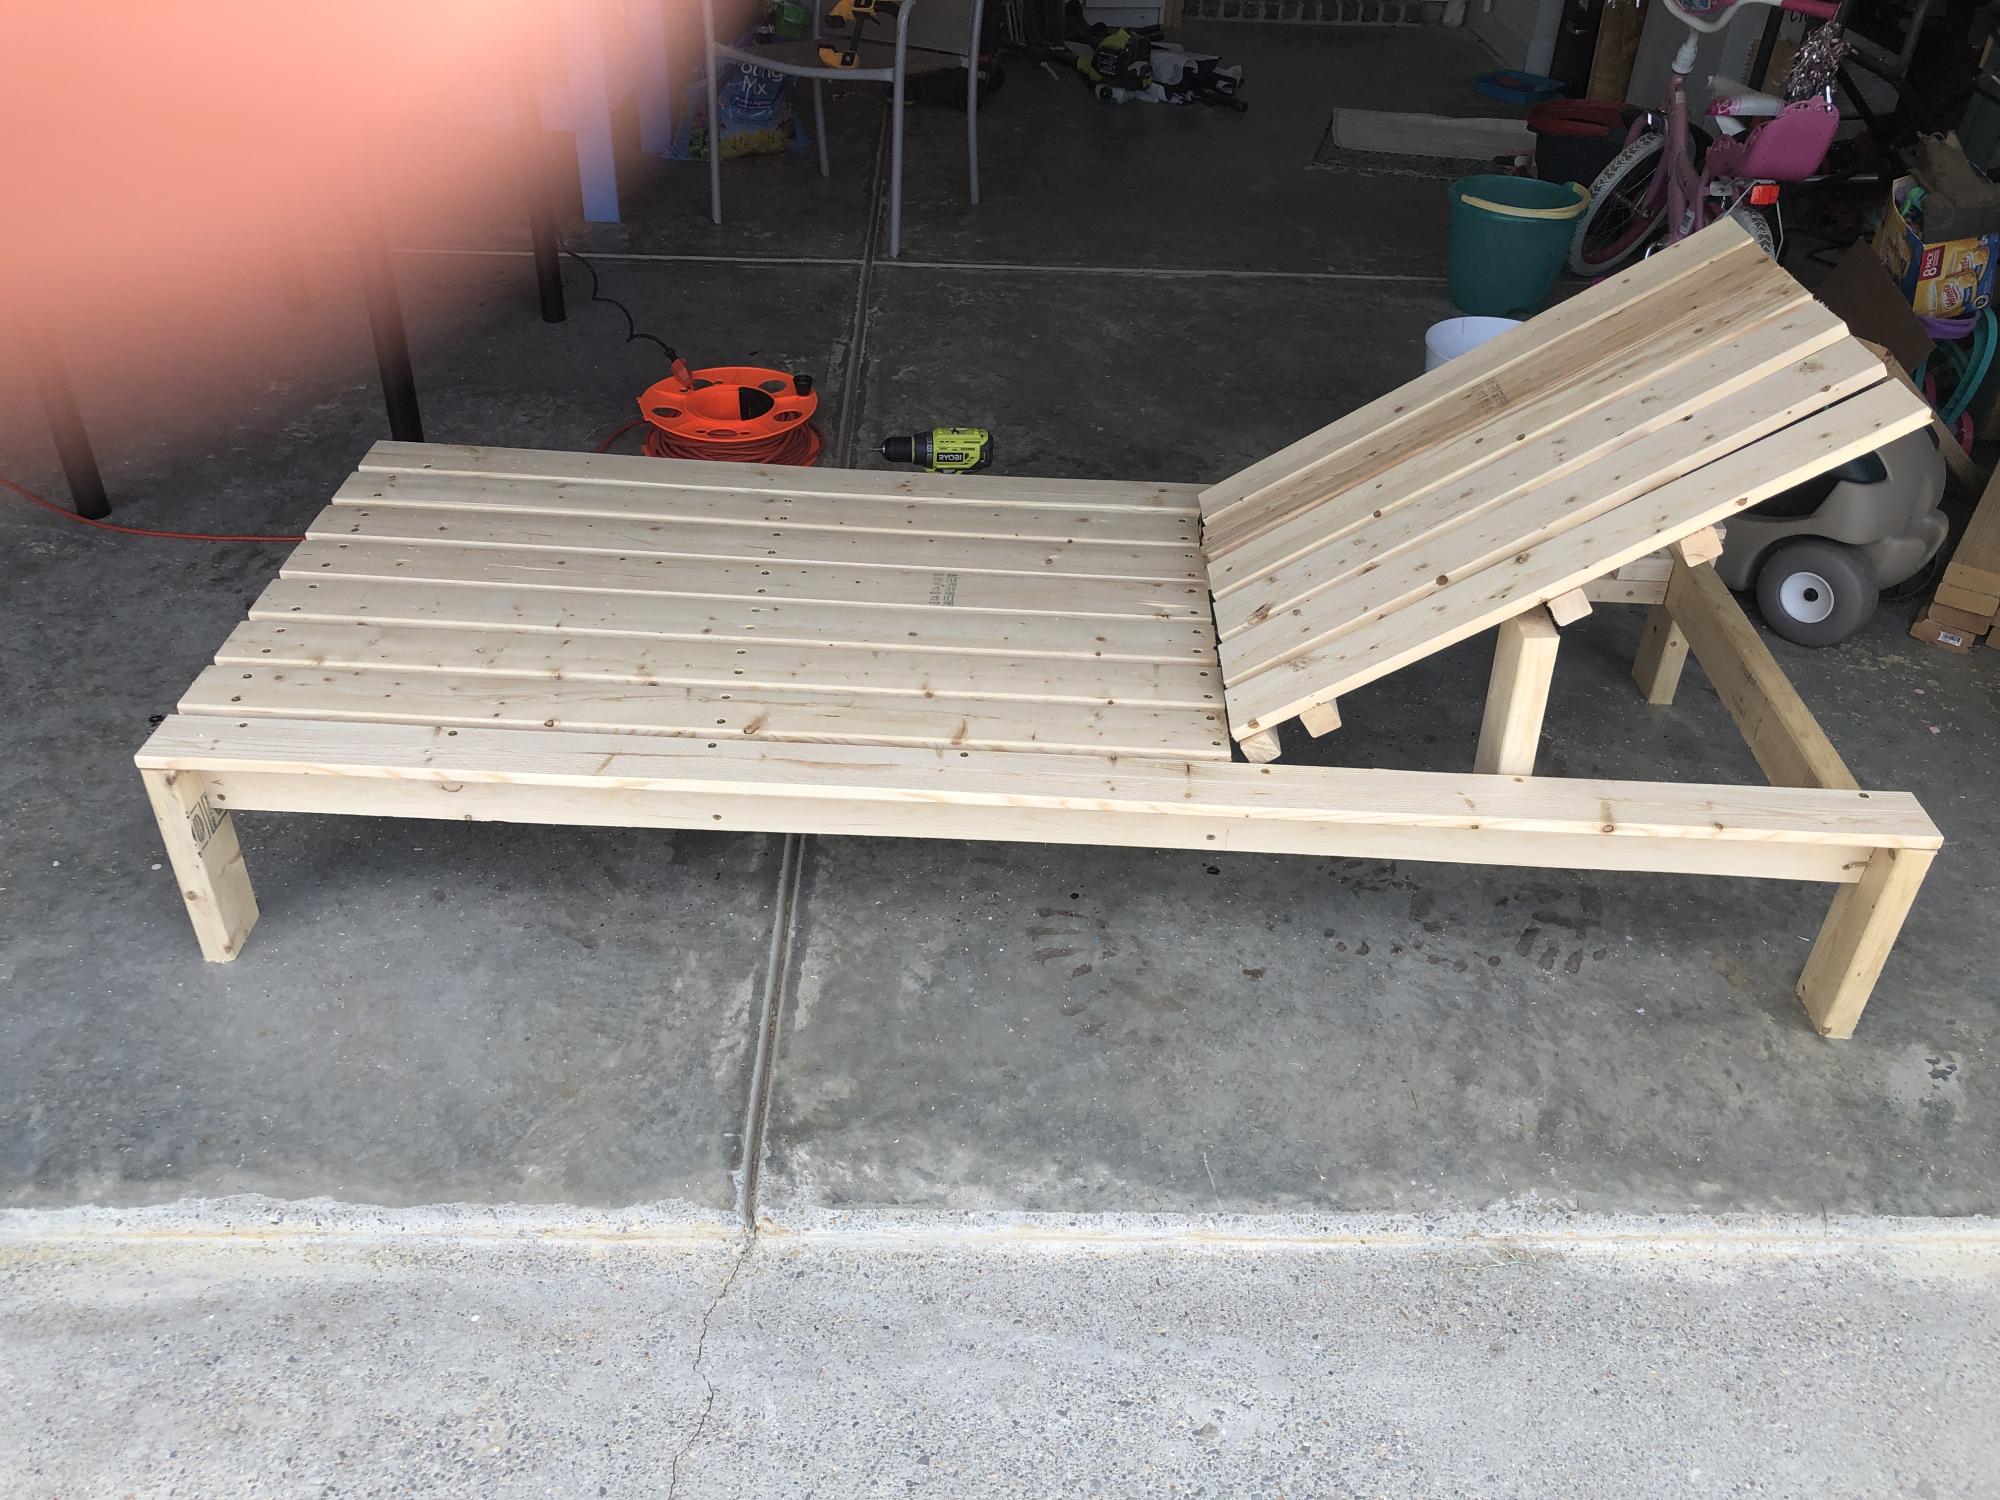
I built this chaise lounge for my daughter from your plans. She will paint it tomorrow. Thanks!!!
Beautiful media center, couldn't resist building it for our living room! Thanks Ana for such awesome plans!!
In reply to Great job by Rolando Pimentel
Mon, 02/06/2012 - 10:16
I love being able to go through the scraps and see if I have enough wood to make a project happen. Very satisfying! Thanks!
Mon, 02/06/2012 - 10:39
I love getting a good chunk of a project made out of scraps. I have yet to get an entire project made out of them, but I'm hopeful :)
I think I'm going to hire you for finish work--love this blue color!
Tue, 02/07/2012 - 00:23
Ha.. funny thing about that color... I'm really starting to hate it. I actually have that piece for sale right now. It was always going to be a temporary piece because I really want to build something to surround our gas fireplace and then have a flat screen above the fireplace.
I also learned a LOT when painting this piece and now I think I have painting furniture down to a science. ;-)
Thanks again for the compliment!
Tue, 03/27/2012 - 20:08
Personally I love the color, you did an amazing job both in building it and painting it, beautiful work!
In reply to Personally I love the color, by Guest (not verified)
Tue, 03/27/2012 - 23:29
I appreciate your compliment! I've actually been trying to sell this piece because I want to build something new, but no takers. I'm thinking it's because of the color, but until we do sell, we will certainly enjoy it! Thanks again!
Comments
arensj3
Mon, 08/03/2020 - 18:42
Tall dresser
Do it!
arensj3
Mon, 08/03/2020 - 18:44
Couldn’t find the plans
I must be missing the link to the plans for the dresser. Sorry, could you help me find the plans?
laughablenewsc…
Wed, 09/30/2020 - 17:13
I would also like the plans?…
I would also like the plans?? Any help finding the link?
Dseitz555
Mon, 12/28/2020 - 11:12
Plans for Tall Bedroom Dresser
Are the plans available for this piece? Its beautiful! If so, please let me know.
hutchingslv
Thu, 08/12/2021 - 15:35
Plans for tall dresser
Any way to get a copy of these plans? I really like the look and want to give it a shot. Have to make a few of these if all goes well for all my boys.
Thanks