Toddler Step Stool

This is my second build - first one using a jig saw. I built this so my daughter can easily get up and down on the daybed we have in our sunroom.

This is my second build - first one using a jig saw. I built this so my daughter can easily get up and down on the daybed we have in our sunroom.
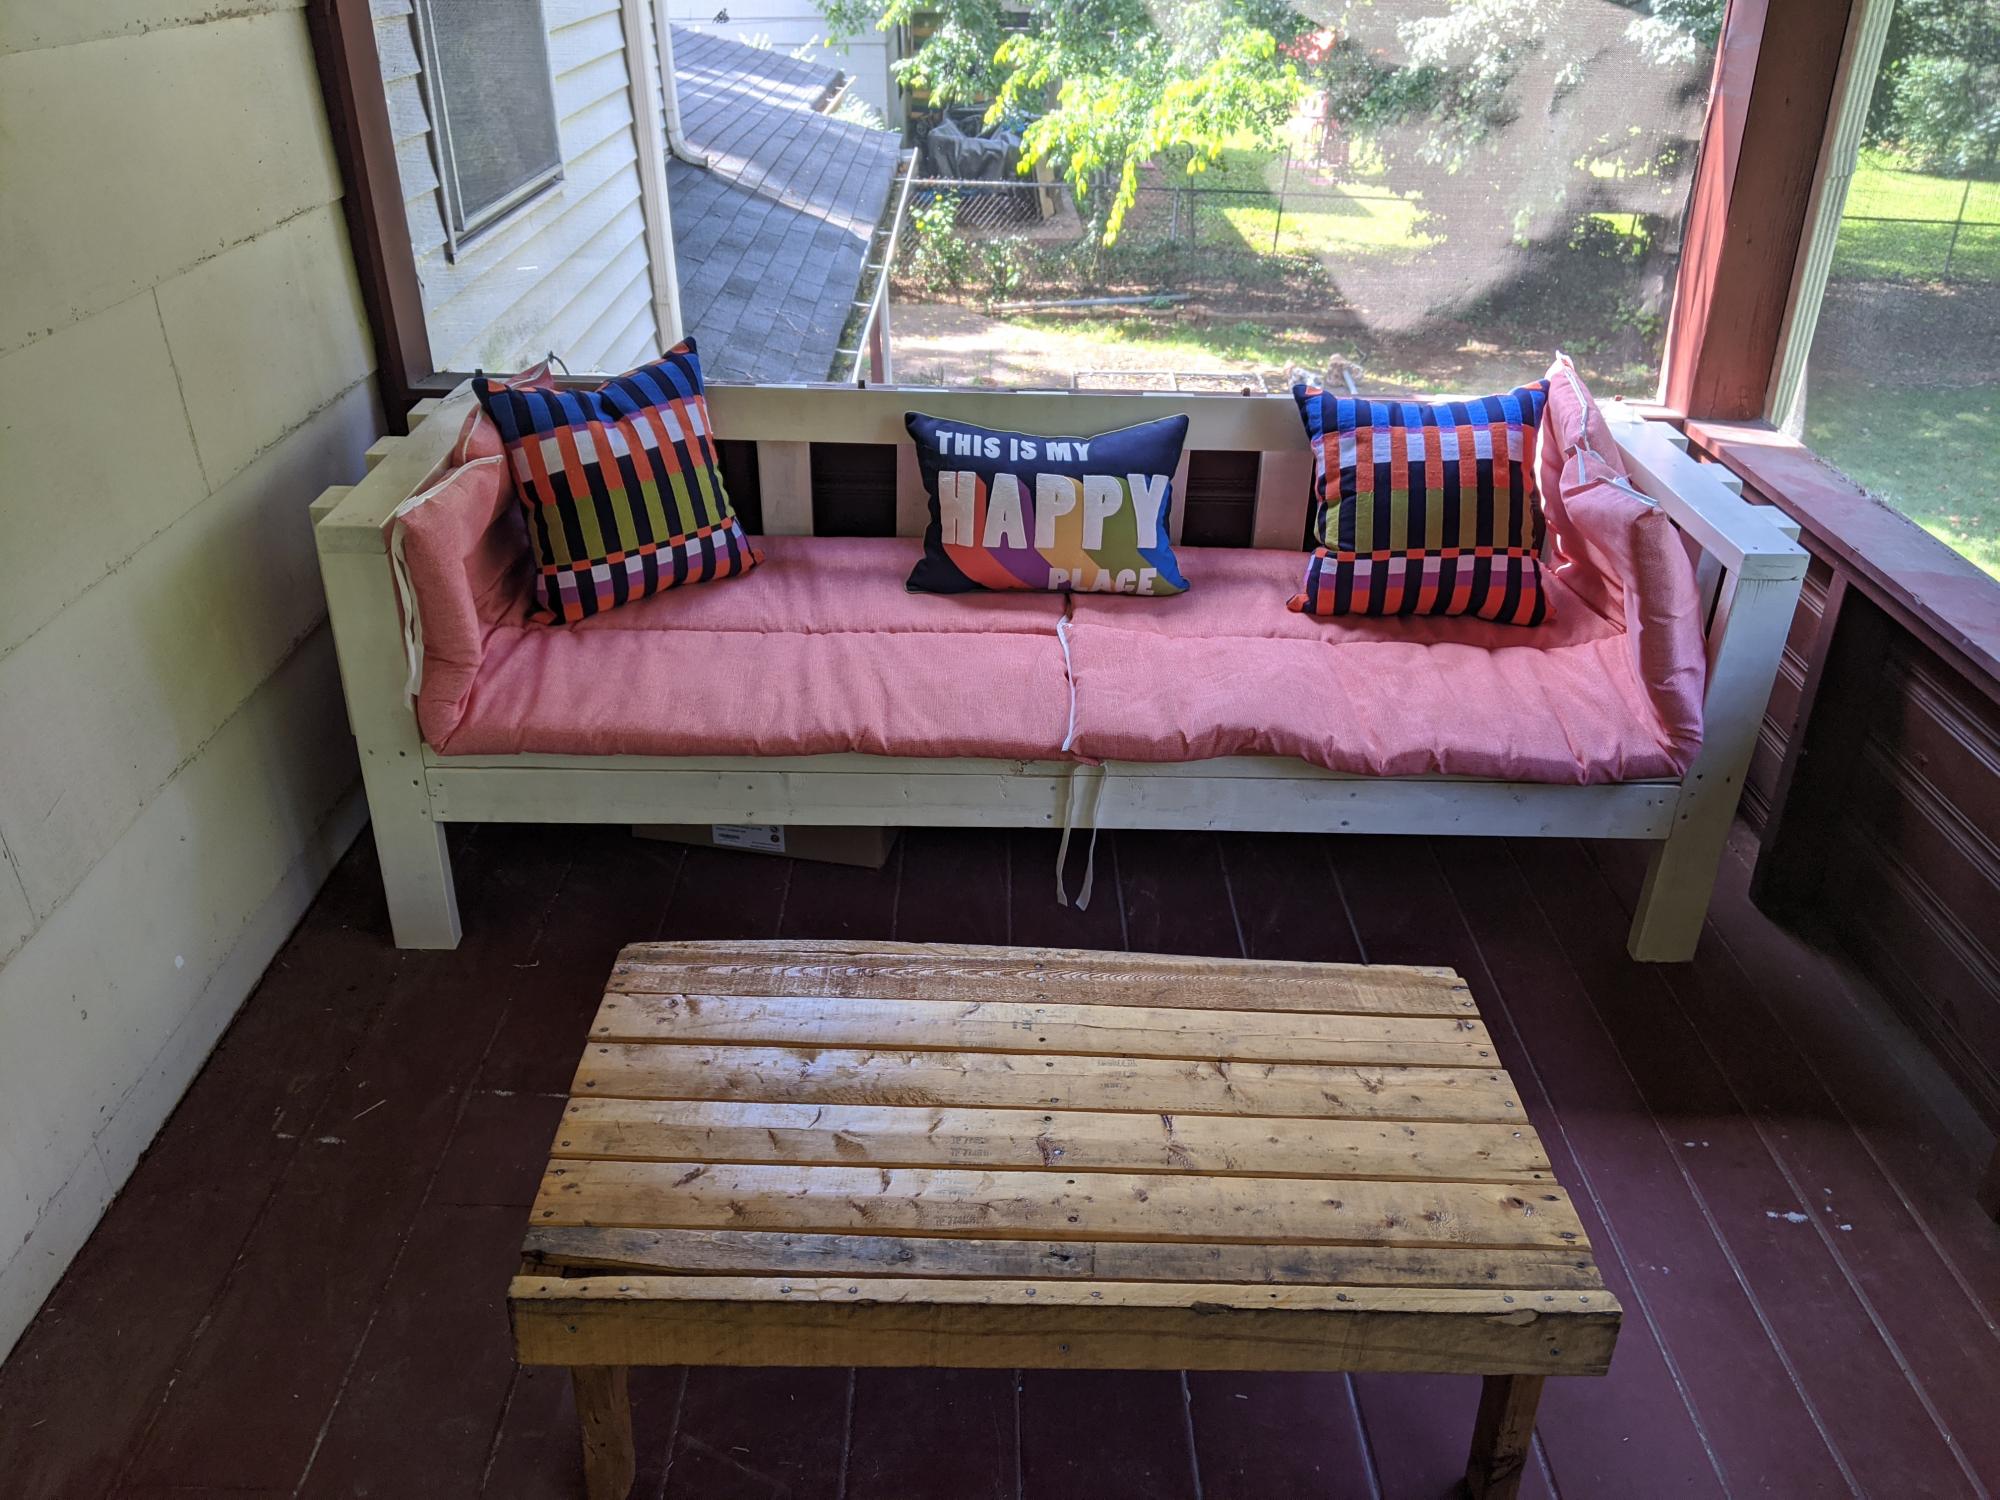
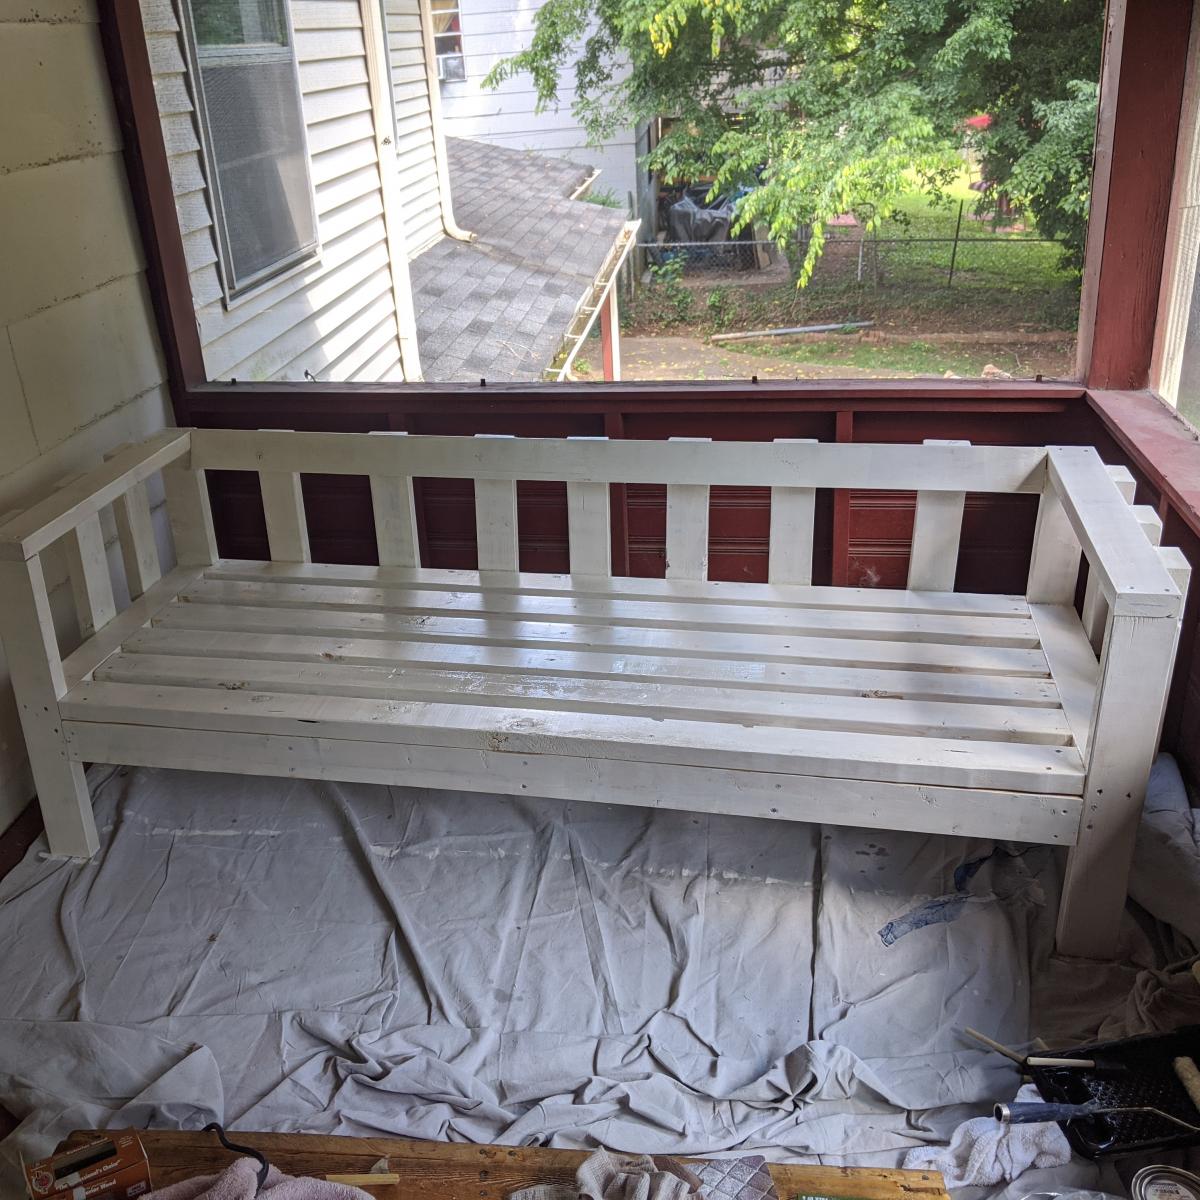
This was my first solo woodworking project since 7th grade shop class in 1997. This was so easy to put together! I added "slats" from left over lumber to keep my pillows from squishing out. Thanks Ana White for creating easy to follow instructions! I've now got the woodworking bug!
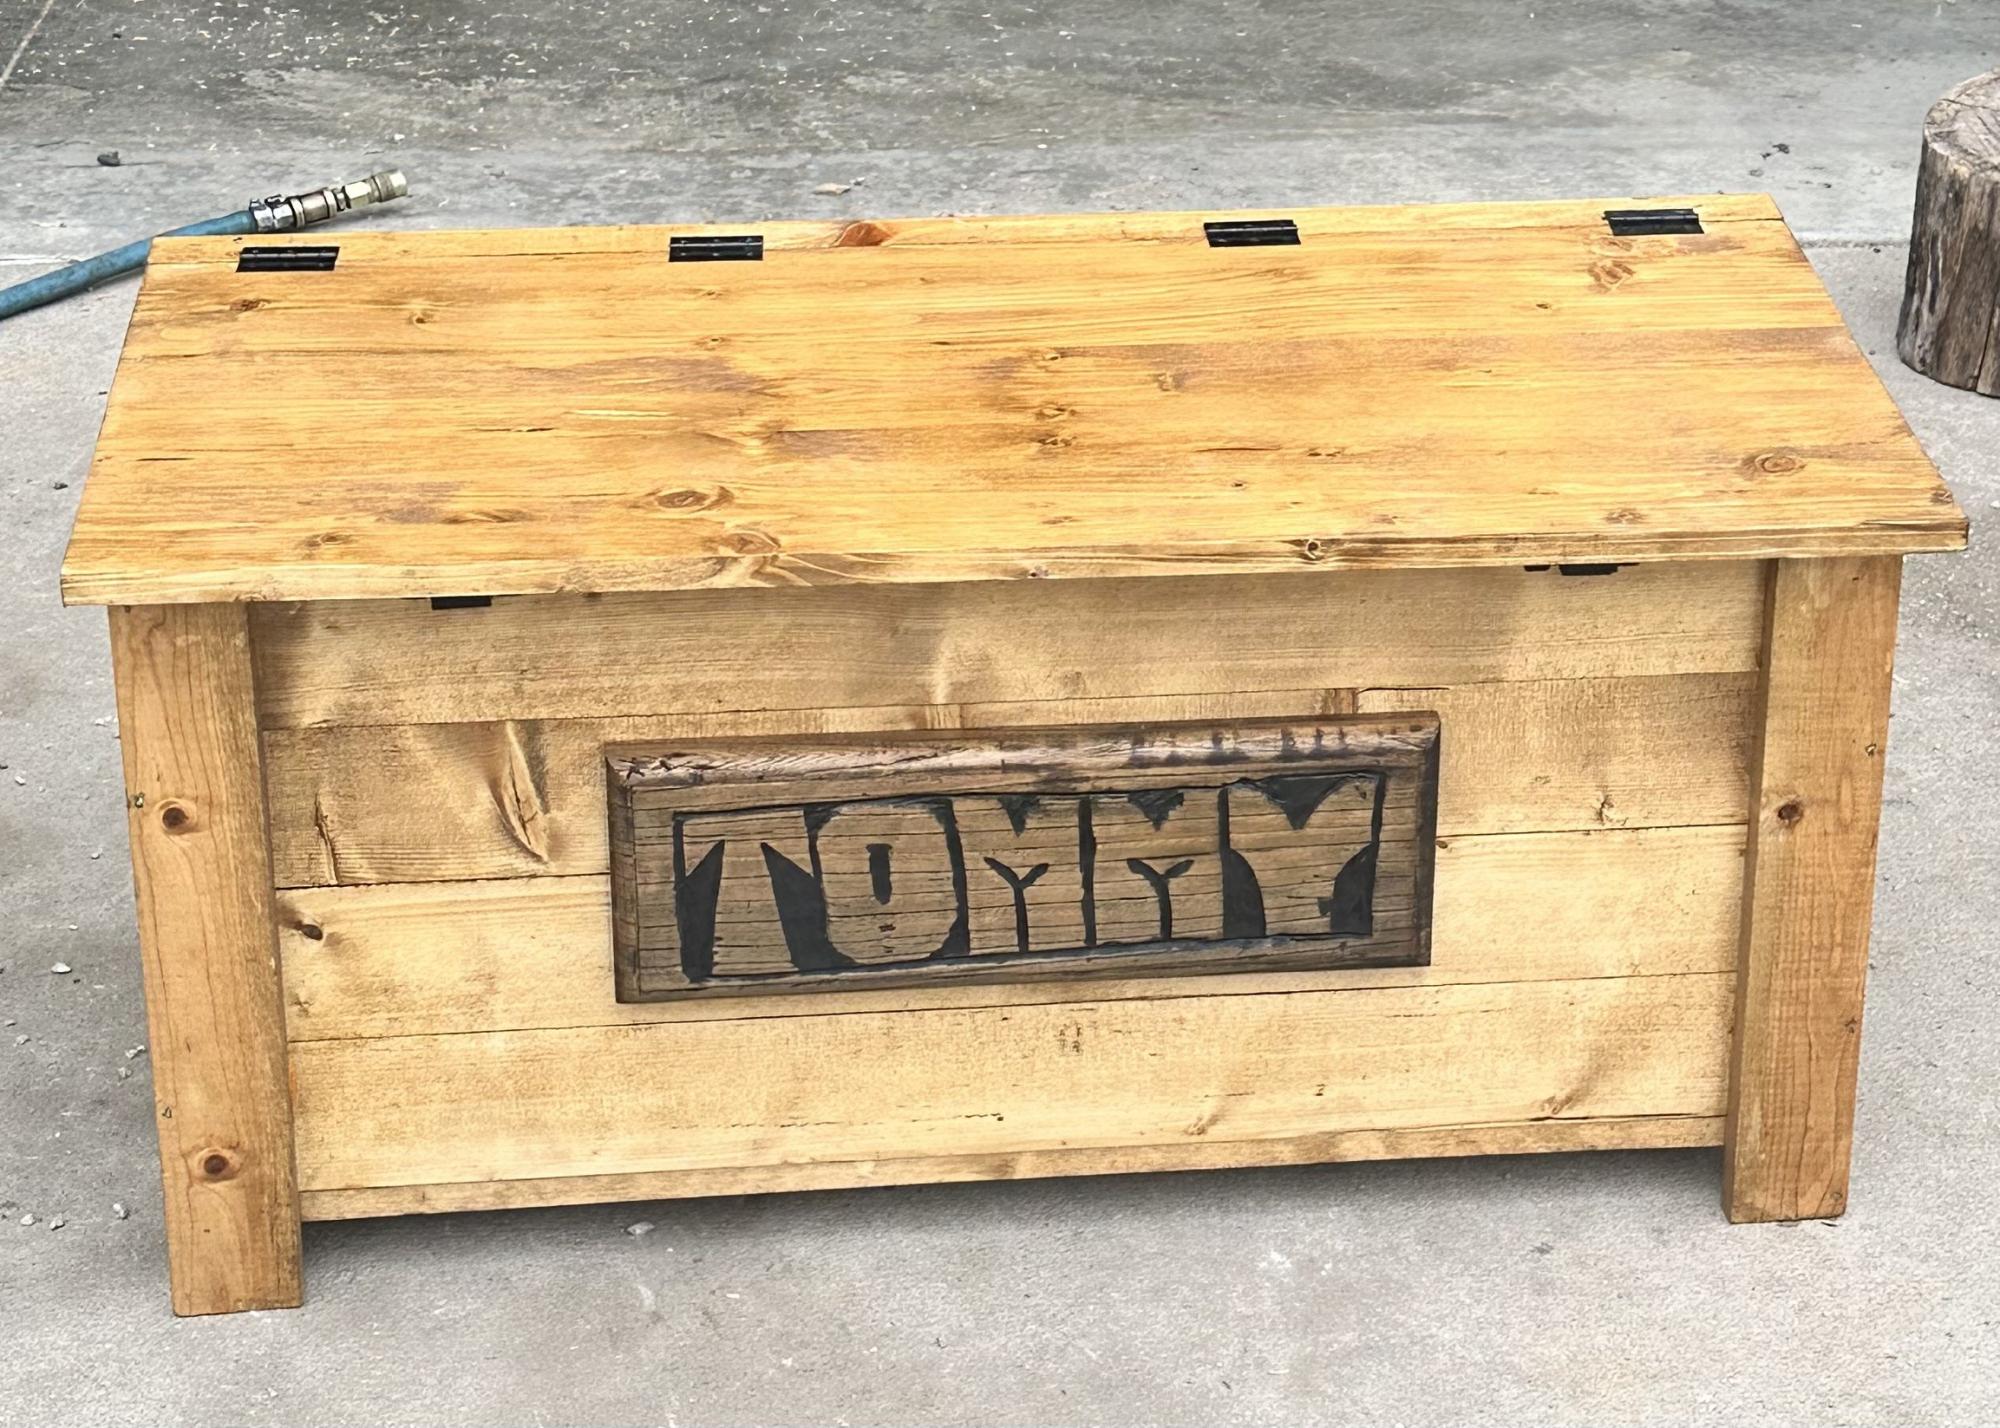
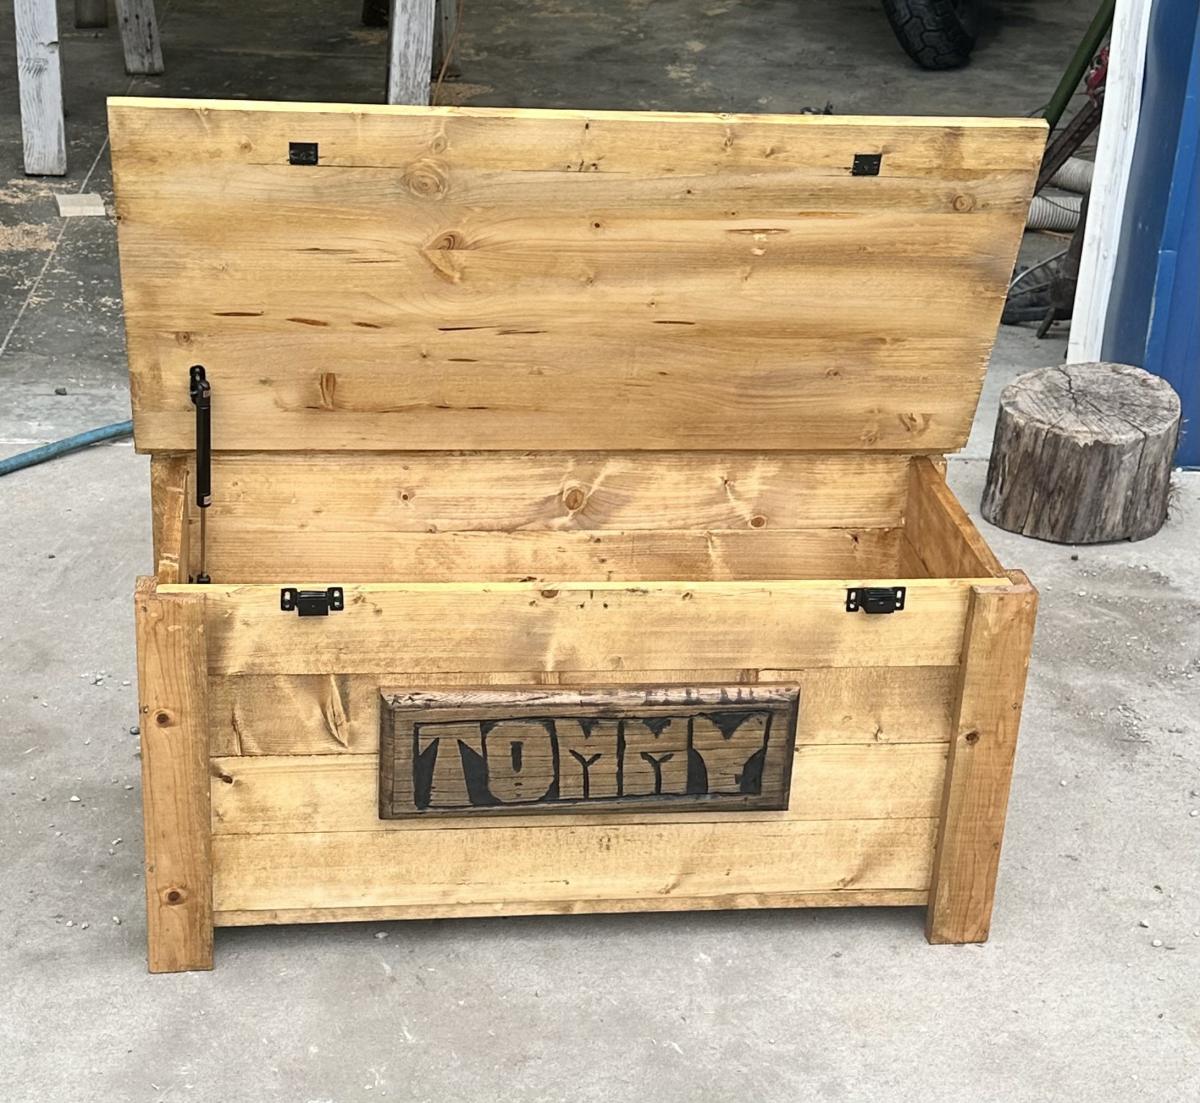
I built this for my grandsons first birthday! I added a hydraulic shock from Lowe’s. It was really stiff and it took two cabinet door magnets to hold it shut. The name board is from my great grandfathers saw mill from the farm my dad still lives on. I do hope he enjoys it as much as me and my dad enjoyed building it for him!!
Chappy
We built these bunk beds and absolutely love them!


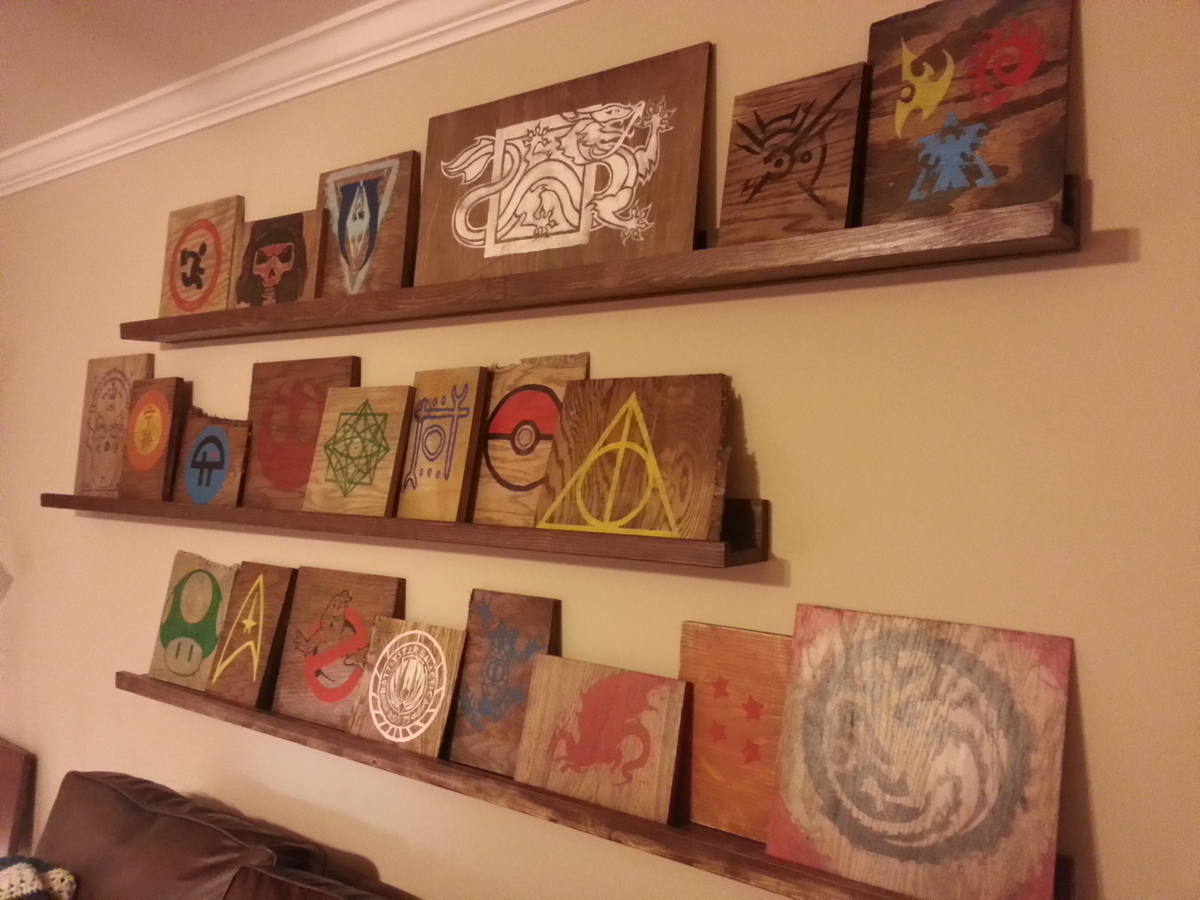
A nice quick build to add some decoration to the house. I made three ledges at 80" long. I had initially made them for a different room that could only allow 80" ledges, but ended up not being able to put them there because the wall was too curved to attach the ledges. Ledges have two coats of Miniwax Special Walnut Oil stain and Polycrilic.
All the "art" things were painted on old scrap from a years worth of ana-white projects. I used the three different stains I had left over (Miniwax Aged Oak Gel Stain, Weathered Oak Oil Stain, & Special Walnut Oil Stain) and alternated them on the three different types of wood scraps (Oak, pine, & maple). Then I "distressed" them with physical abuse and watered down acrylic craft paint. The designs were also acrylic craft paint. Then I sanded it all down to give it a worn look.
Mon, 07/14/2014 - 19:11
These are beautiful and creative! I see some staples from my own childhood there. :) Come do mine!
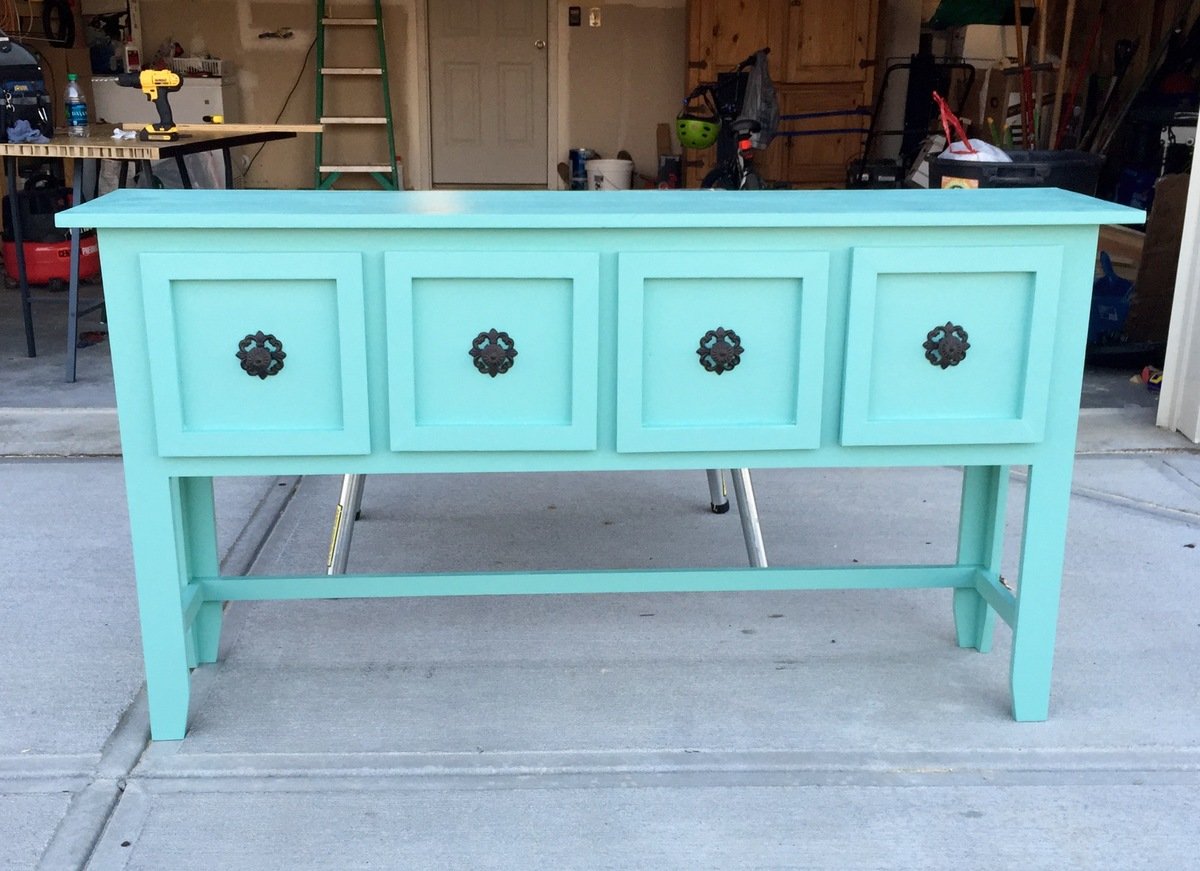
We needed an entry way table with storage. The Balin Console Table was the perfect size for our needs. I modified the drawers by attaching a wood frame around each one. I decided to taper the legs with my mitre saw. The hardware was purchased at Pottery Barn ($4/each) and the color is Valspar Turquoise / Gray - Semi Gloss. I extended the leg length 6" to make the cabinet counter top heigth (plans call for a table heigth).
Project was easy (8 hours) from construction to finish.
One advantage I had was using a sliding power mitre saw with a 12 1/4" cross cut for the 1x12 material. It's possible to get a decent cut with a circular saw but the sliding compound mitre saw definitely makes that portion of the project go much quicker.
For best results, I recommend finish sanding with 220 grit and 2 coats of paint rubbing with steel wool after first paint application.
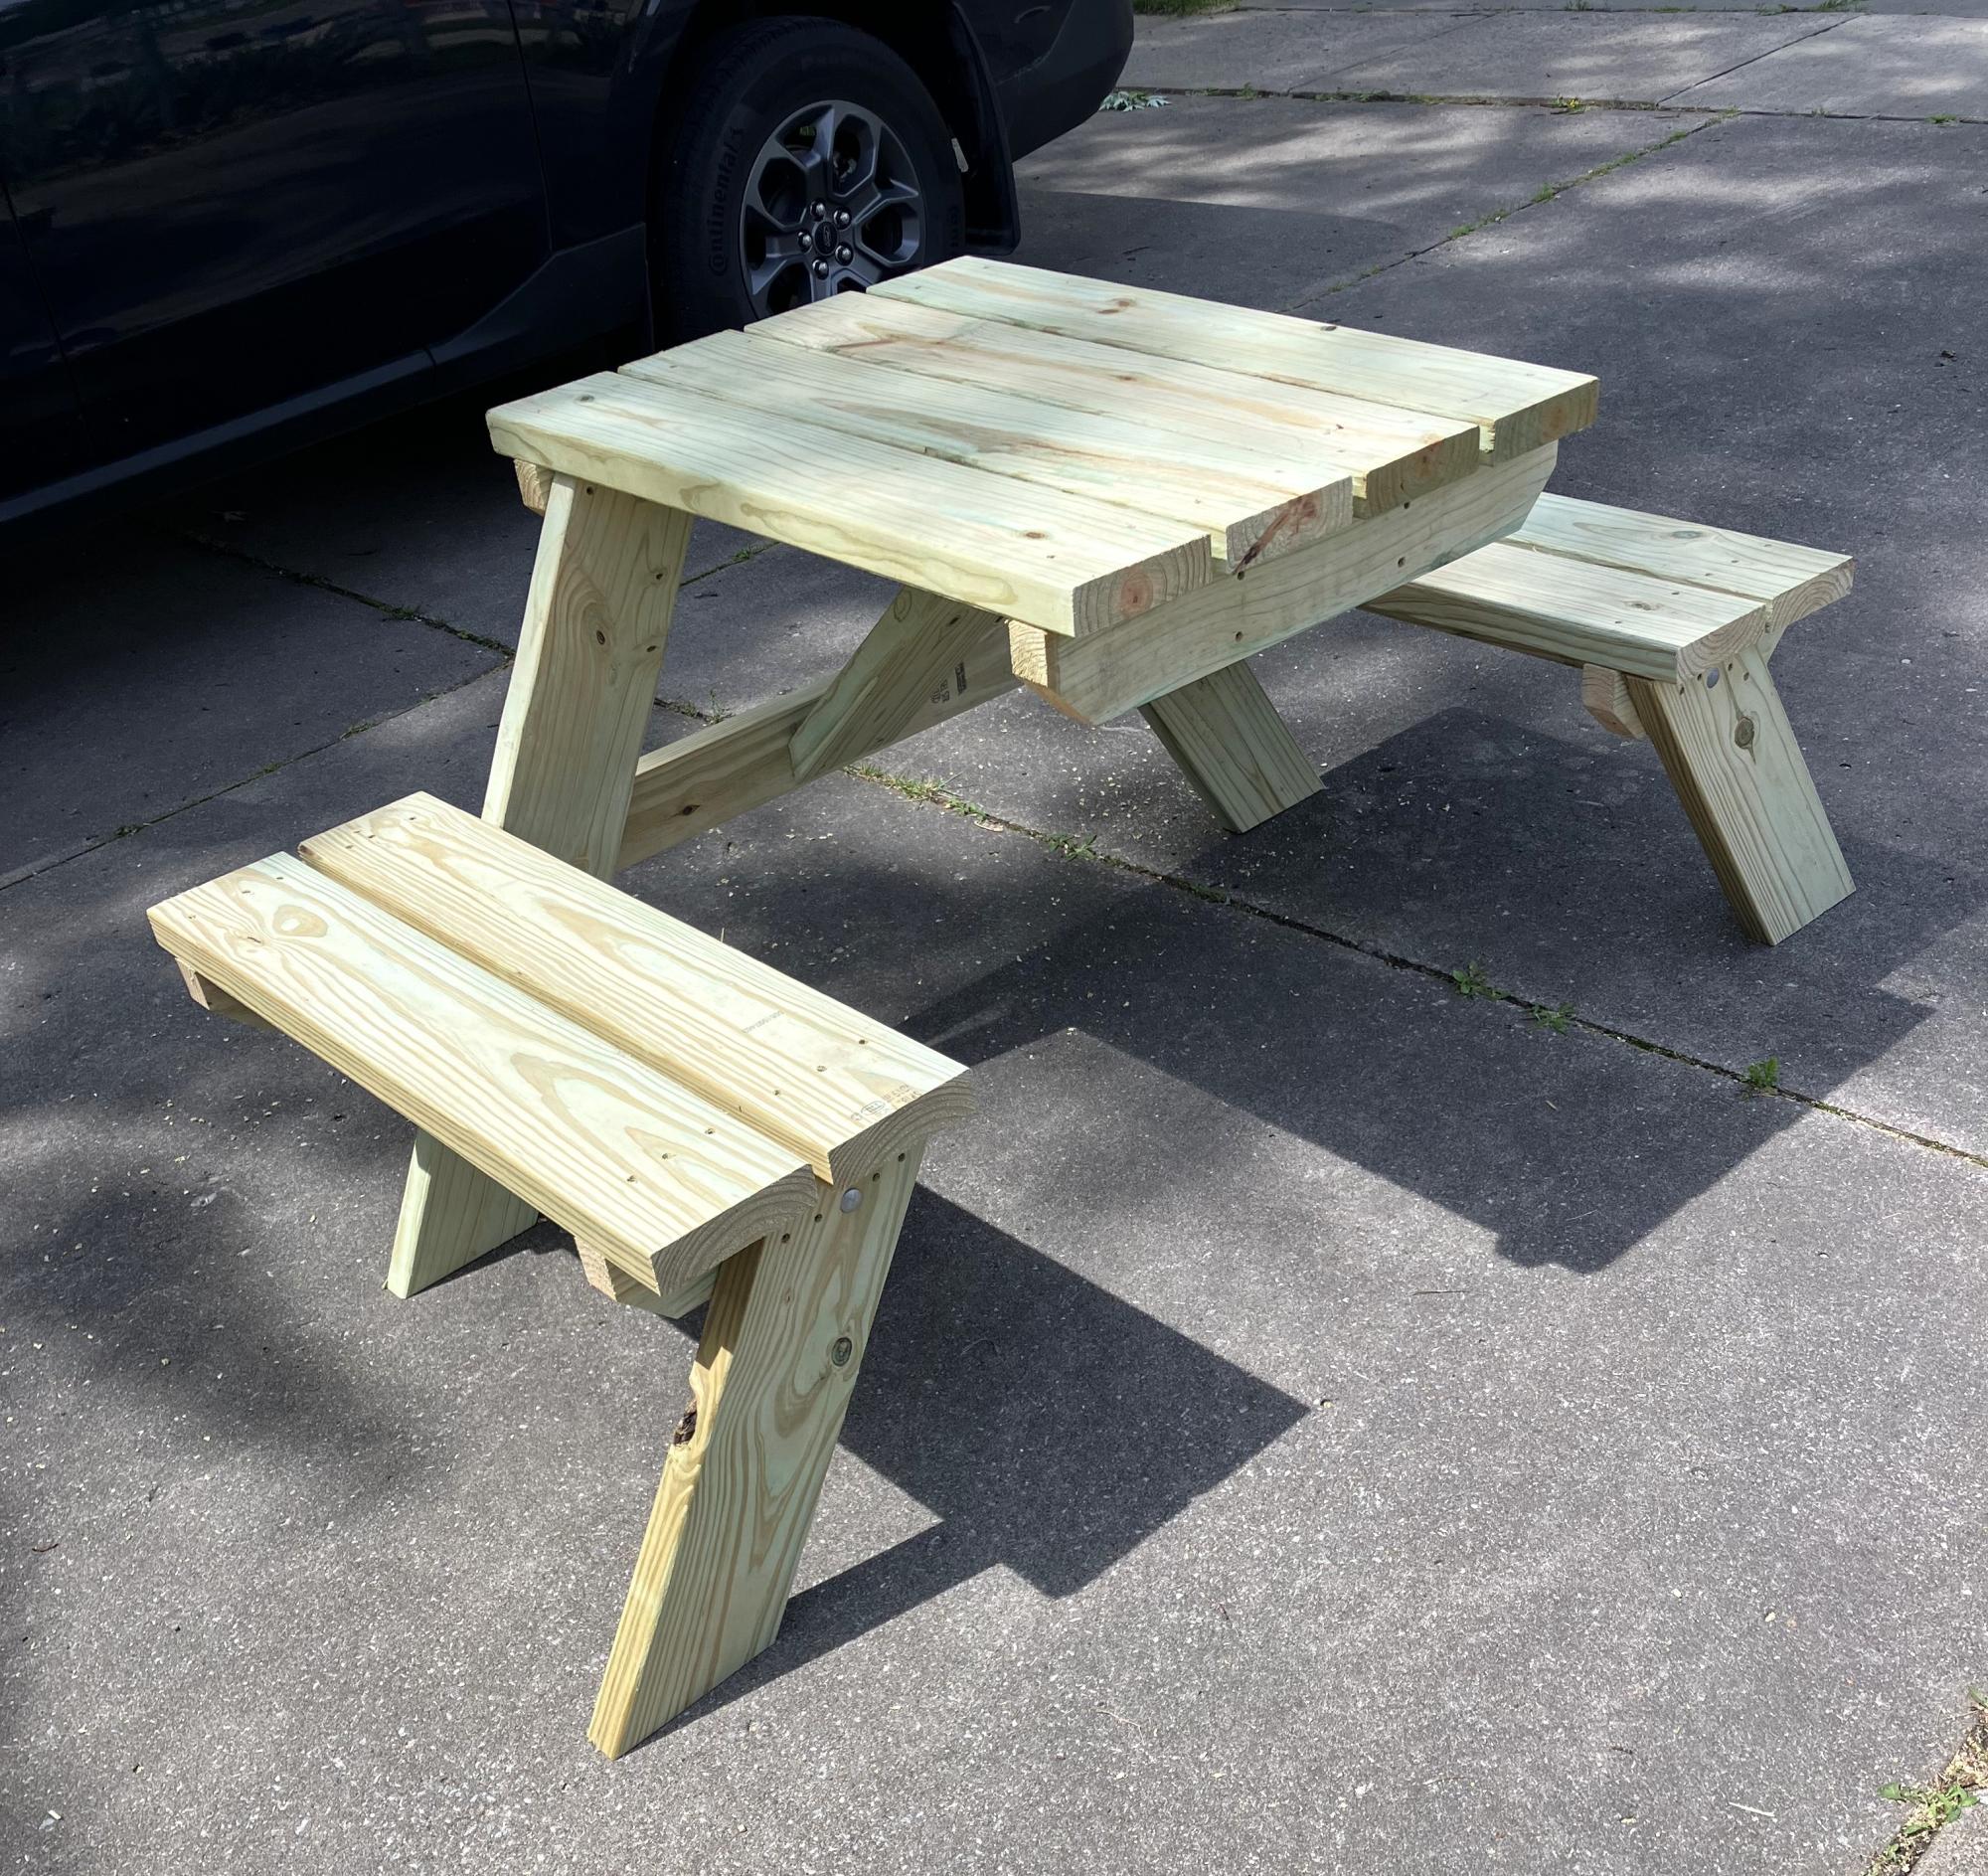
I used 1 10 ft long 2x6 and 3 8 ft long 3x6 along with recommend 2x4’s and had enough material. Fun build made for brother in law, 2nd person really helped for step 7.
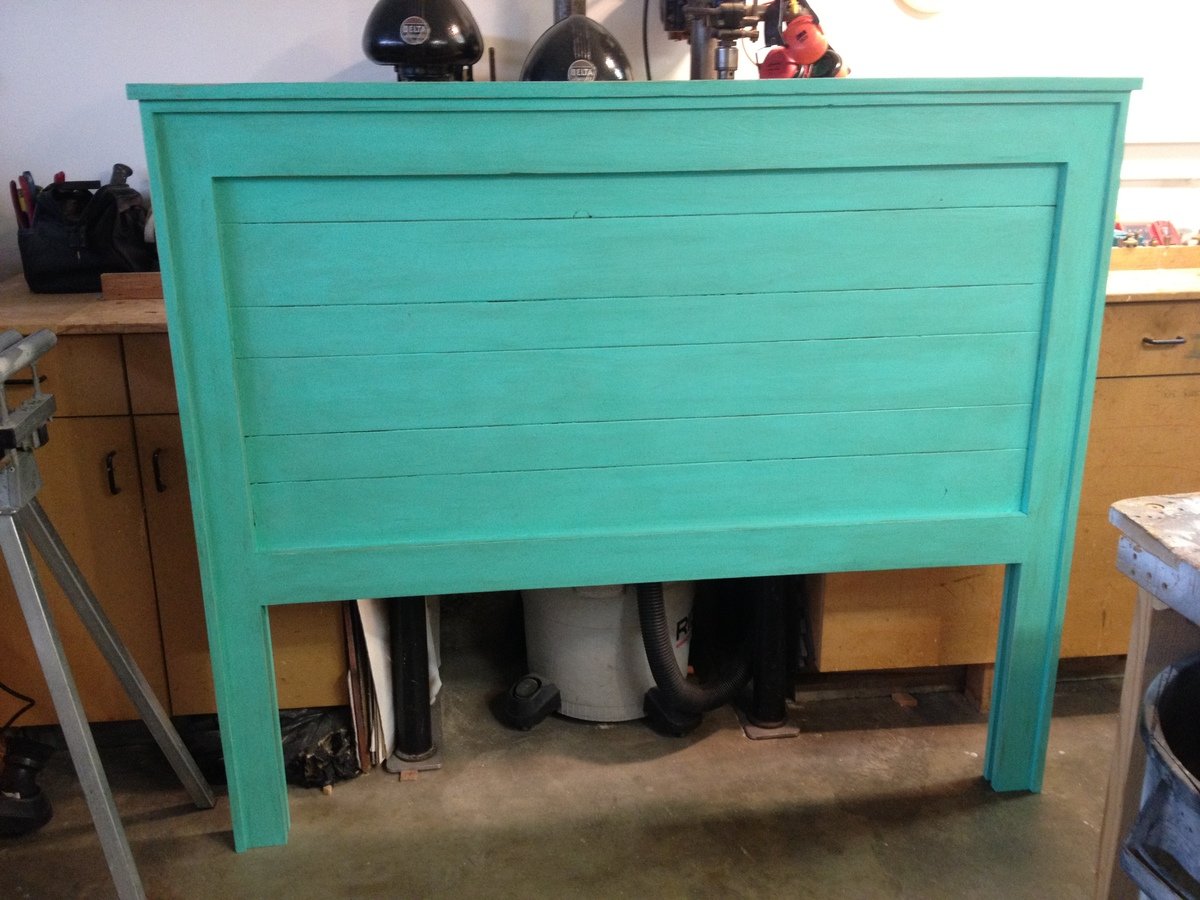
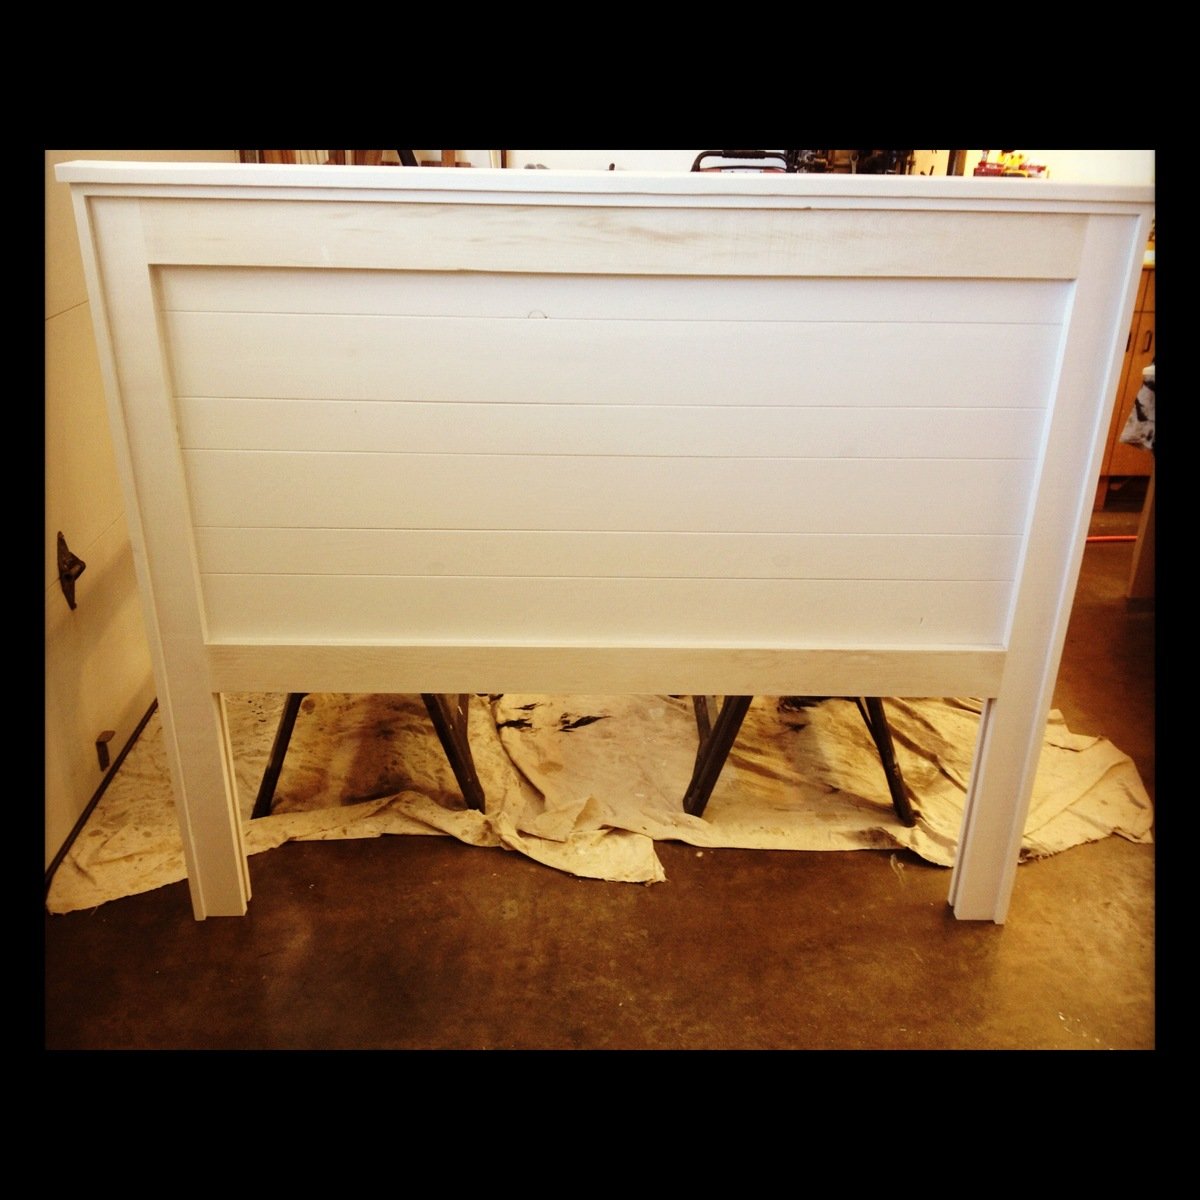
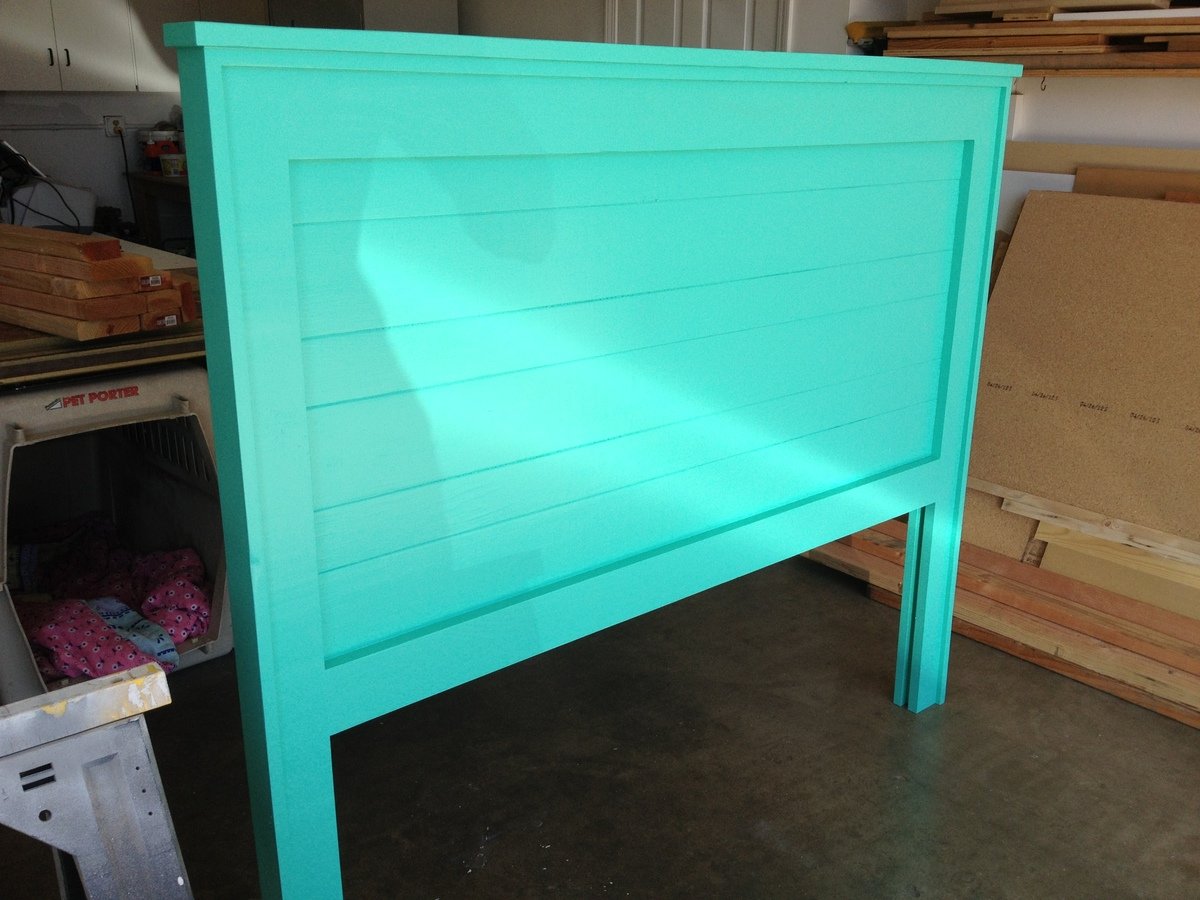
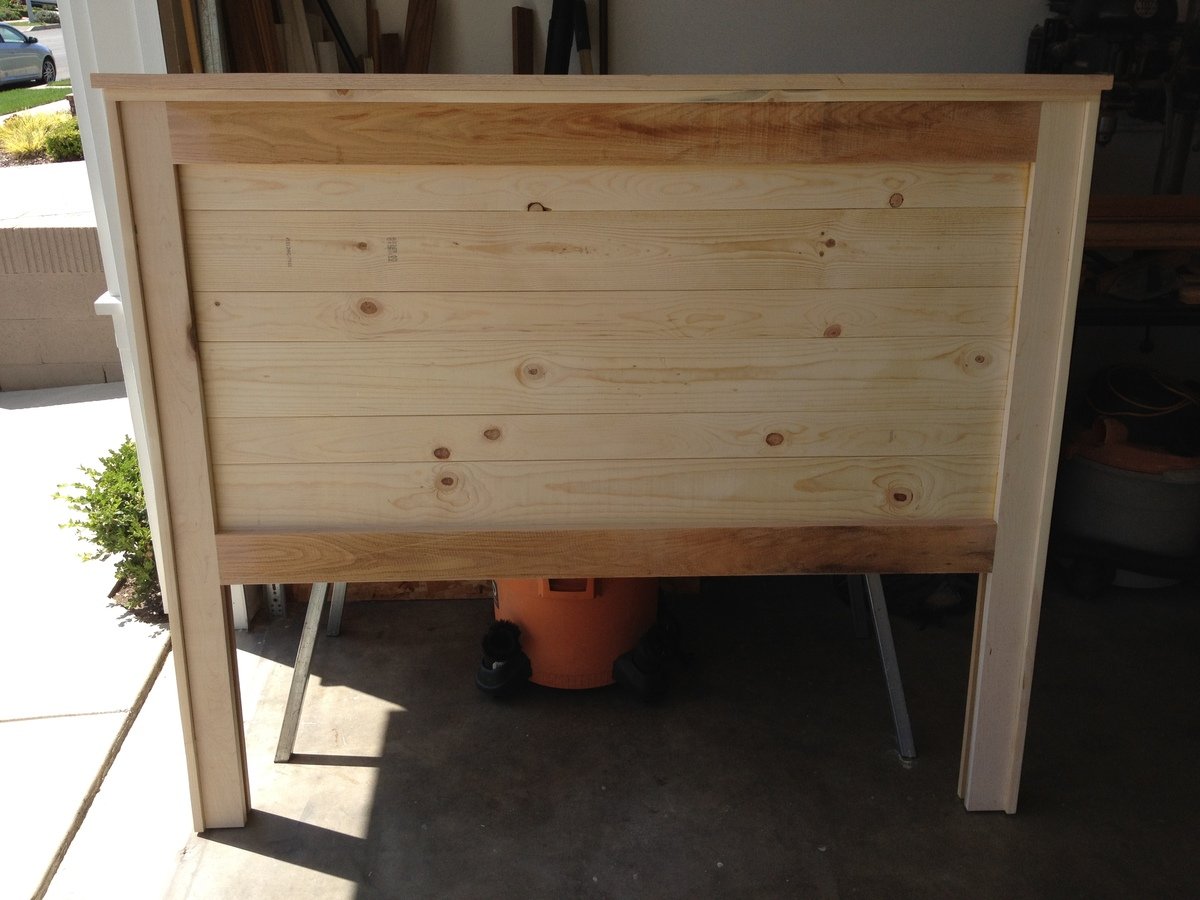
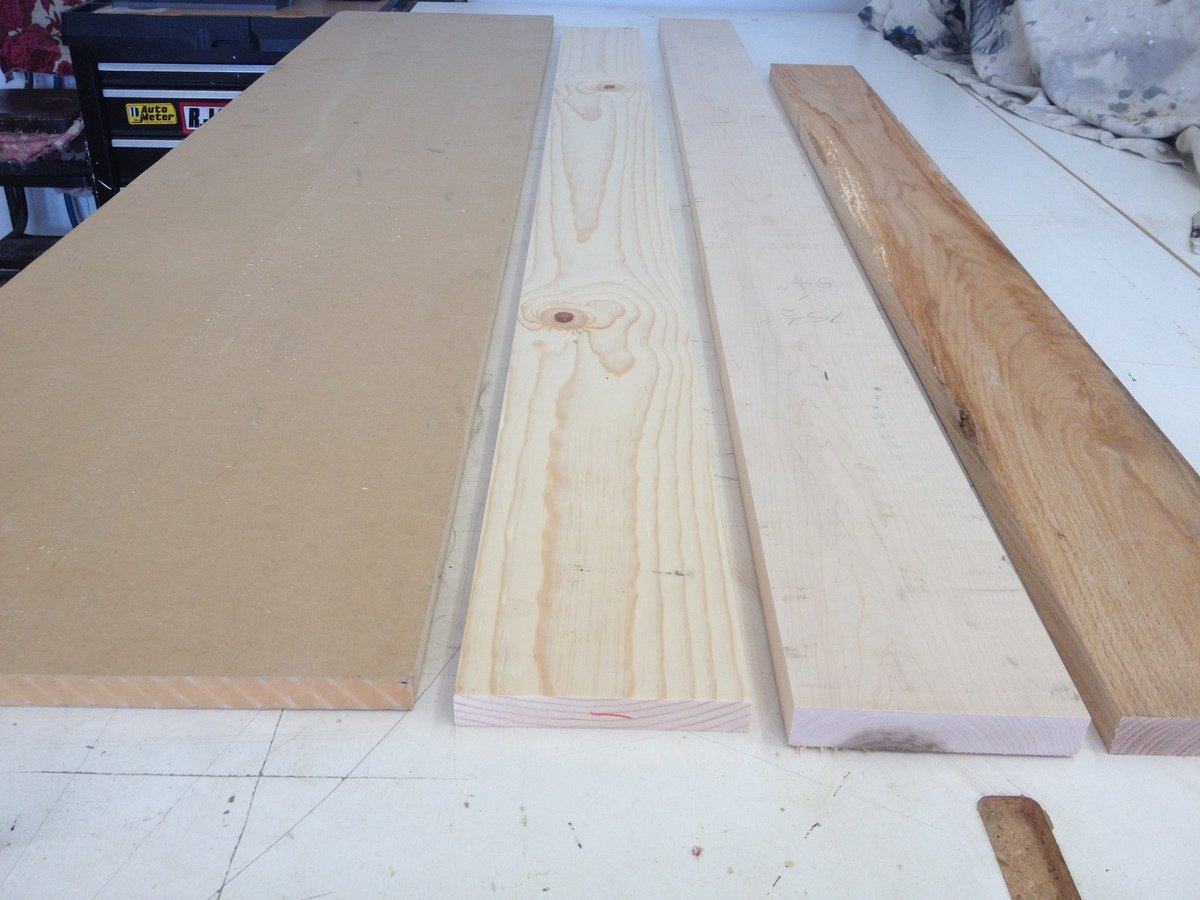
This is a Pottery Barn inspired headboard. You can see from the pictures posted that I used 4 different kinds of wood. Reason being that money is tight and I had extra wood laying around the garage. I really enjoyed this project thanks to Anna's post here http://ana-white.com/2010/03/plans-mason-headboard-its-all-in-finish.ht…. I noticed there was a lot of posts concerning the finish. For my headboard I used 2 coats of primer, sanding in between coats. 2 coats of paint. 1 coat of chocolate glaze ( 4 parts glaze, 1 part stain). 1 coat of sealer. I followed this post for my finish http://ana-white.com/2012/05/distressed-turquoise-chocolate-glaze. Good luck everyone. Feel free to ask questions.
- Brad
Build time: 2.5 hours
Painting time: 4 hours
Building cost: Free (reclaimed wood)
Painting cost: $25-$30
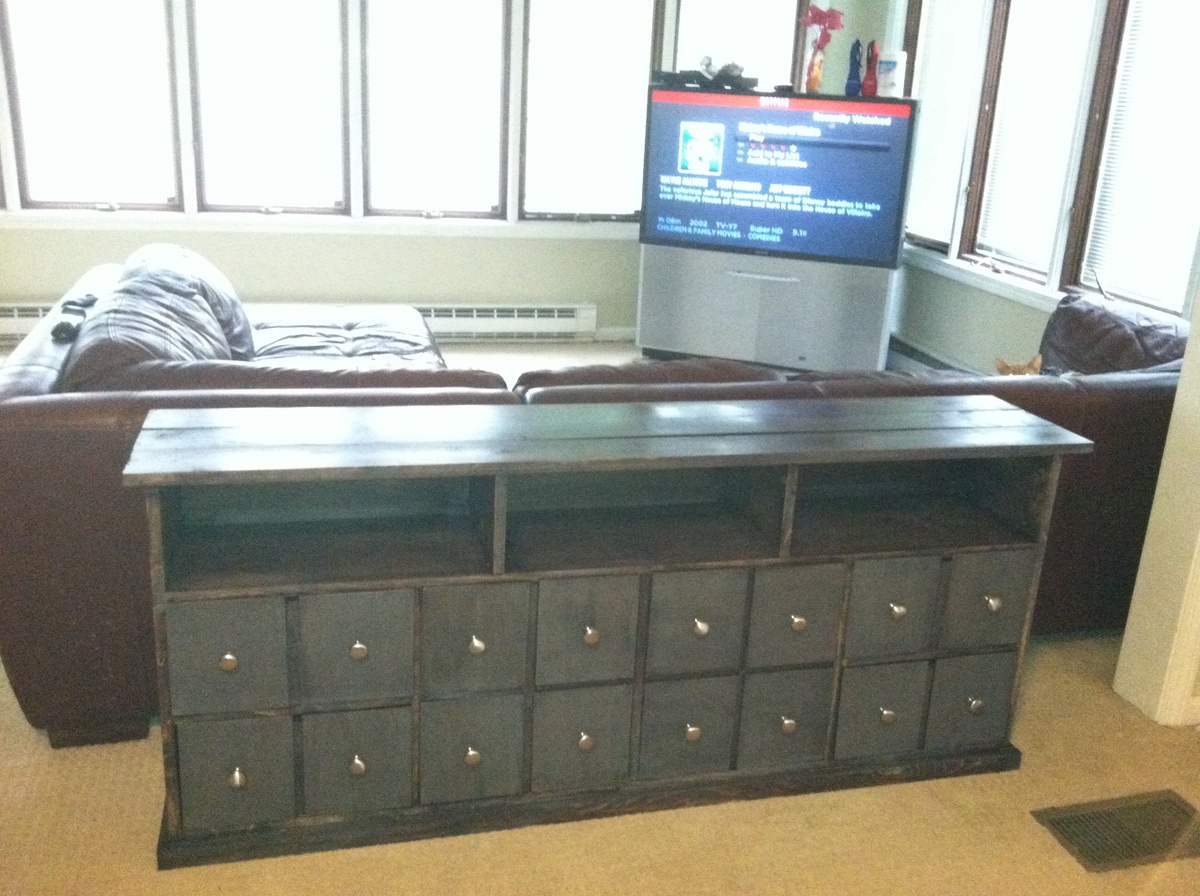
This was my second project off Ana White's website. The construction was not as difficult as I would have thought. The staining on the other hand was very time intensive. I made an amended version of the table since I only wanted a 1x12 vs. 1x16. All in all, I am extremely happy with how this turned out.
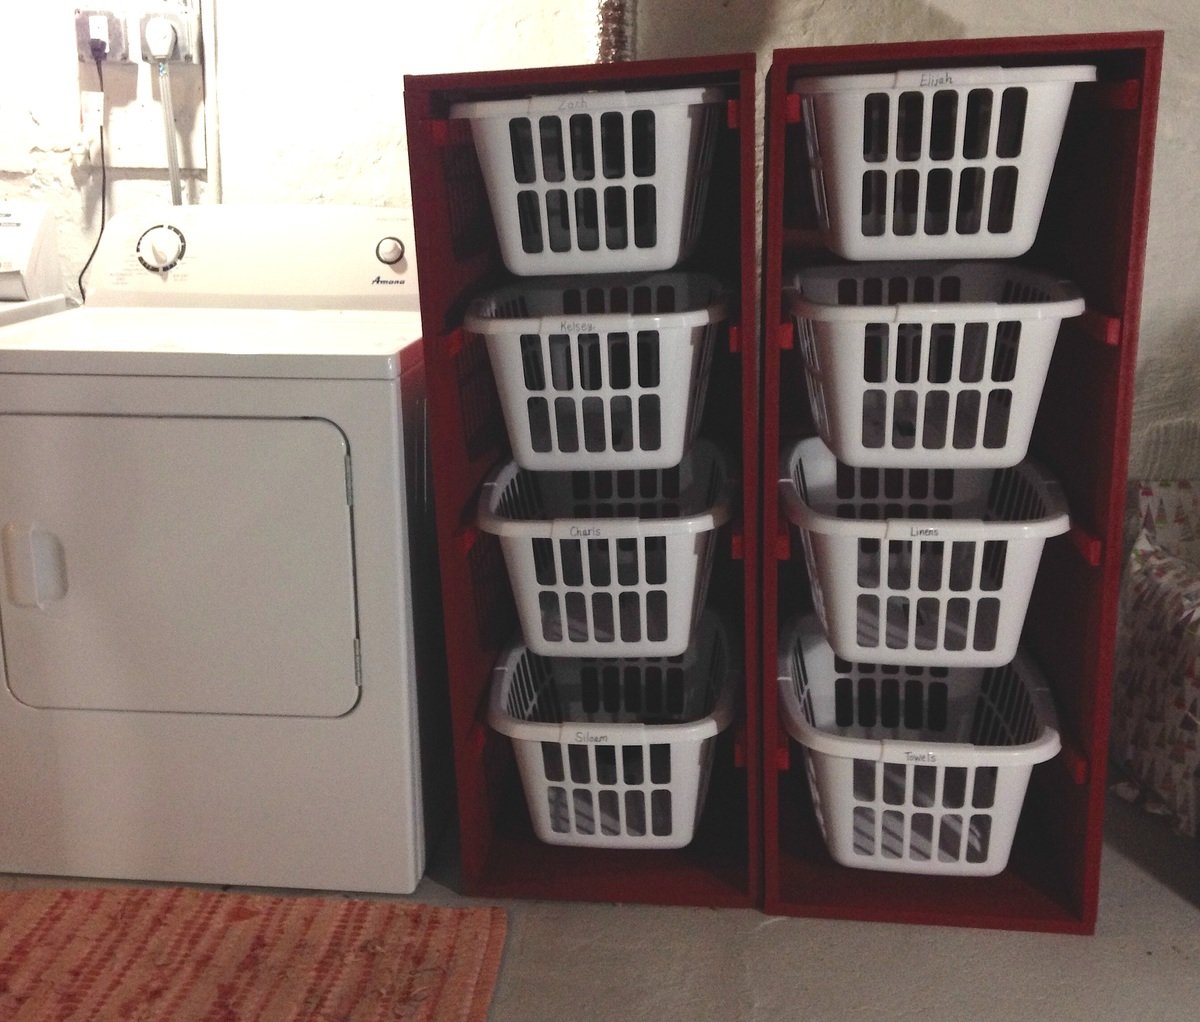
We are expecting baby #4, and I knew we needed to get the laundry under control before we added a new family member. I cannot tell you how helpful these have been for eliminating laundry piles and encouraging our kids to put away their own baskets. And I splurged on a $9 gallon of "oops" paint from Home Depot to make them fun and cheery, too. I highly recommend this laundry sorter project for those who feel like the laundry never ends. It's such a great investment in your sanity!
Thu, 10/27/2016 - 12:21
I love the paint color!! I plan to build this. I just want it to have doors and look like a dresser almost. Where did you get your baskets?
Thu, 10/27/2016 - 12:22
I love the paint color!! I plan to build this. I just want it to have doors and look like a dresser almost. Where did you get your baskets?
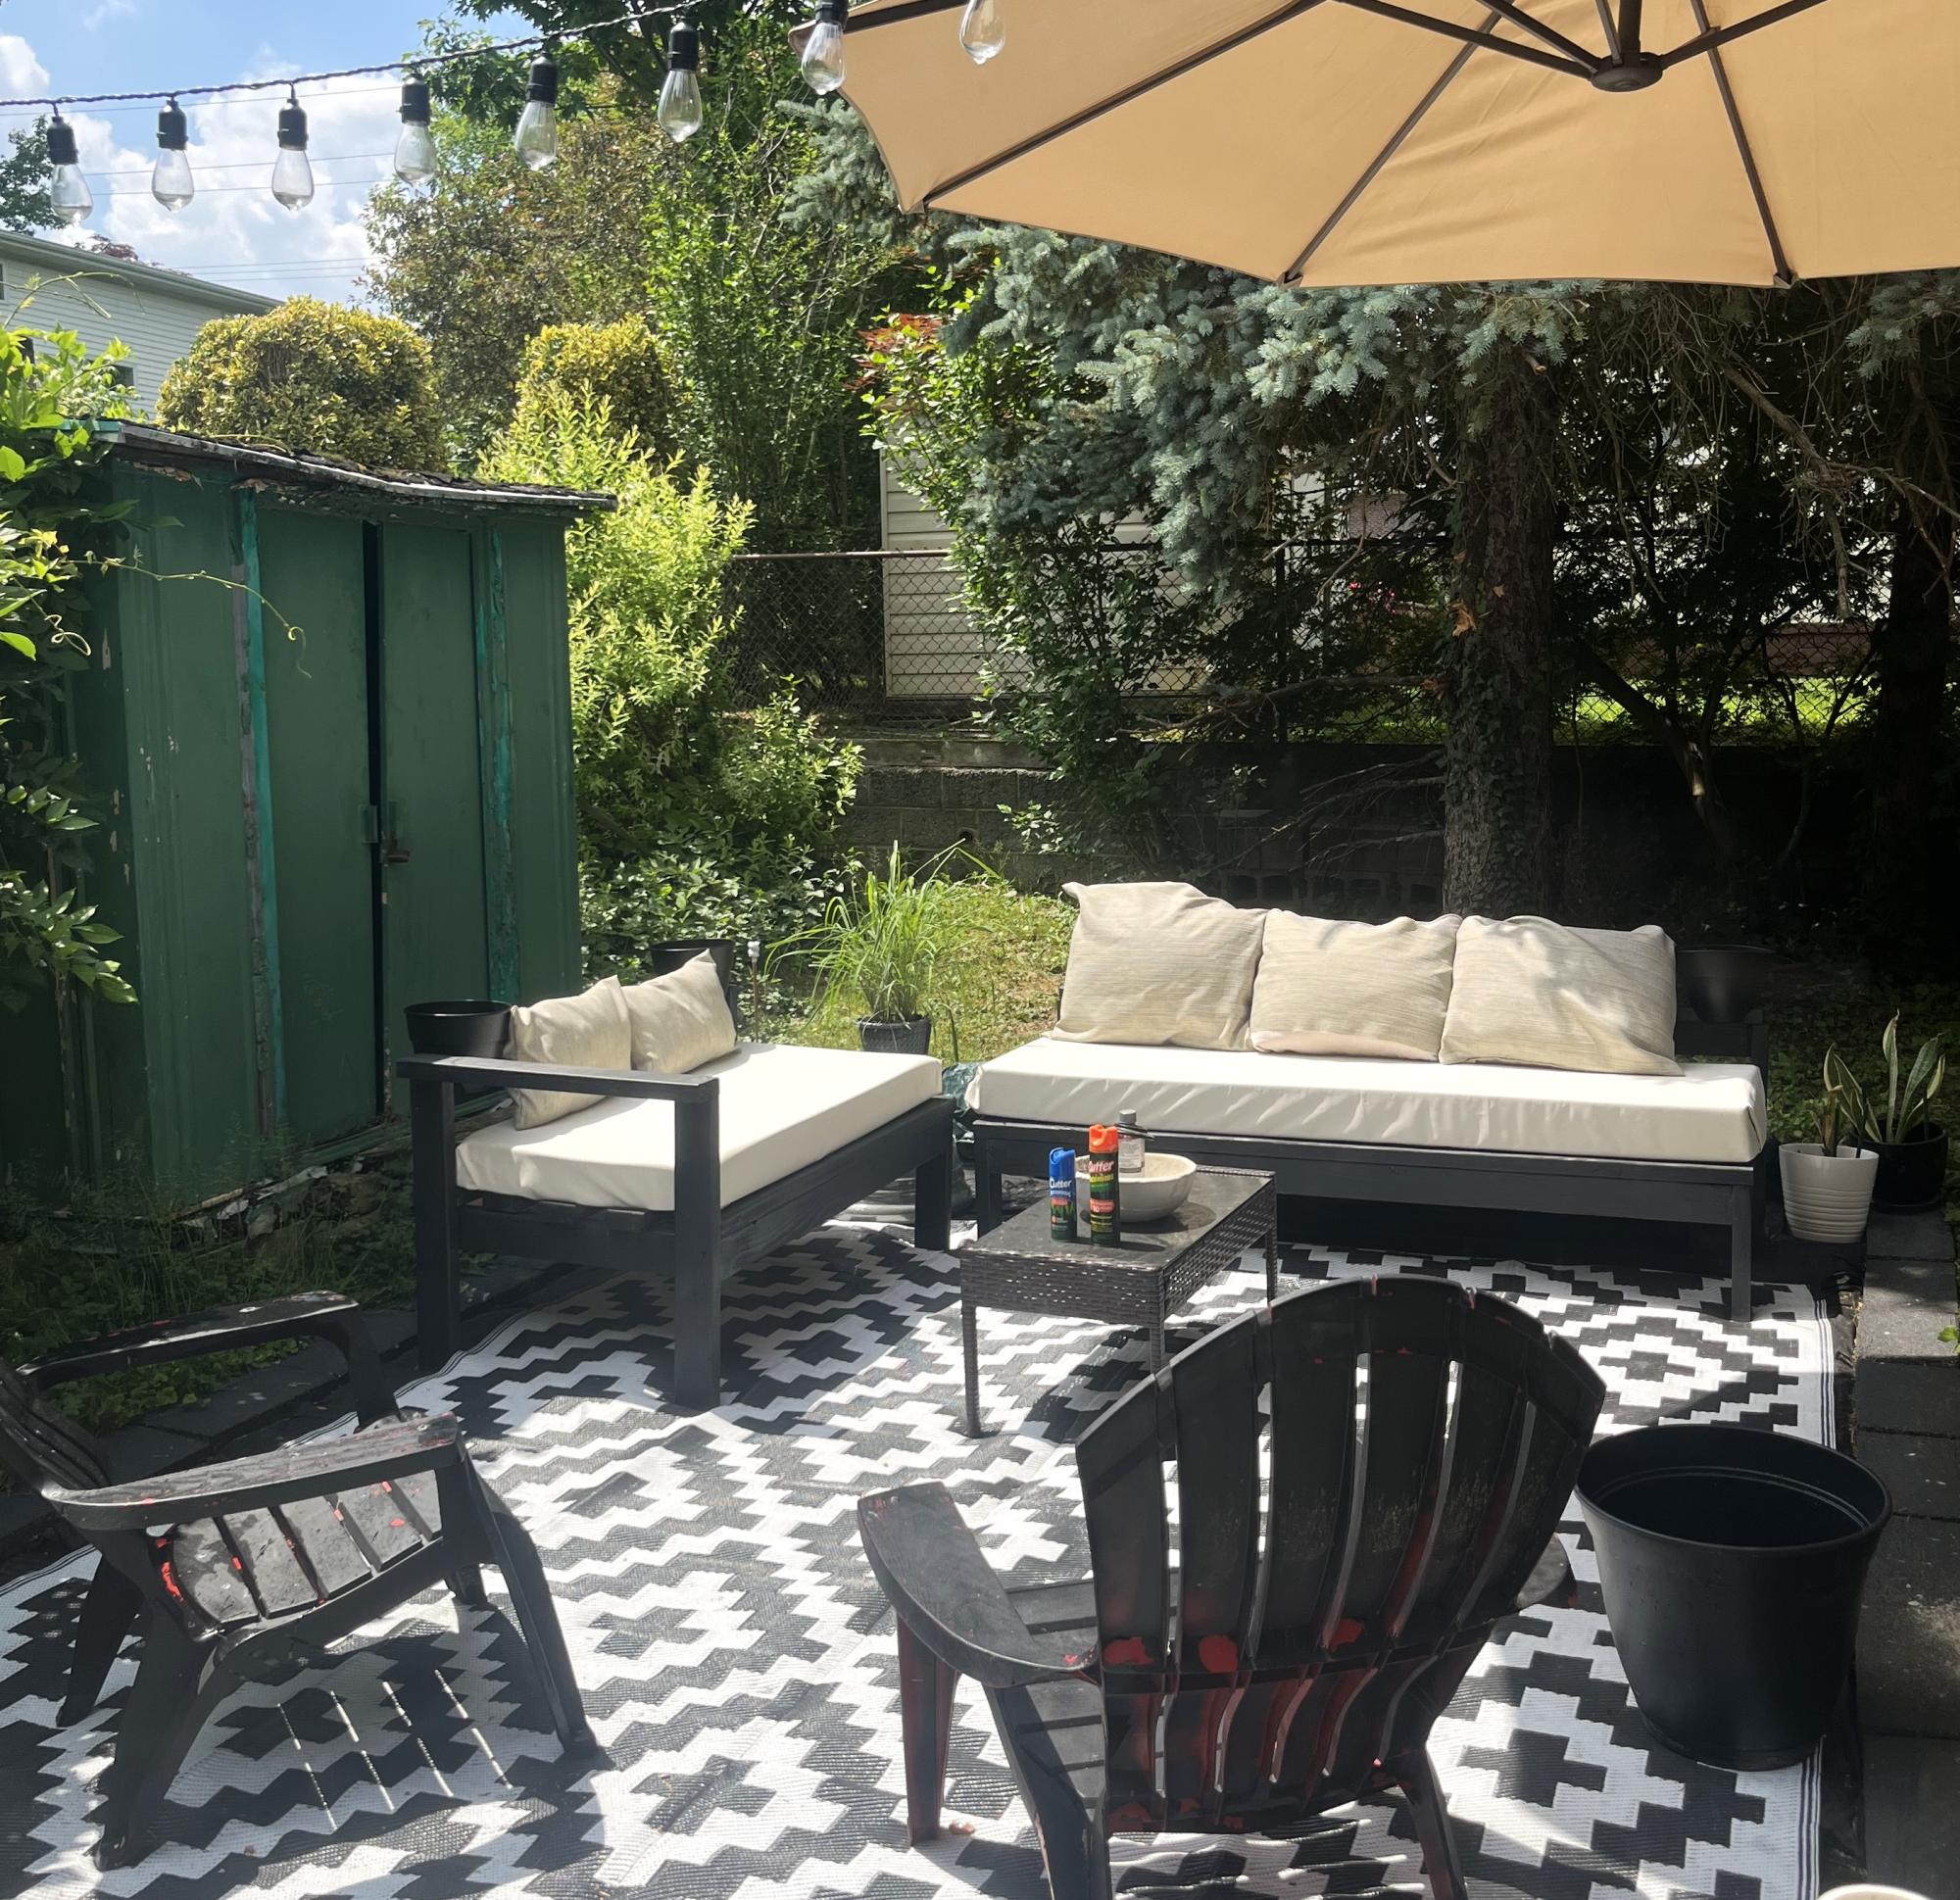
Finally finished my outdoor space just in time for the start of summer! Thank you for sharing the plans and instructions. I also made the beginner dining table for my outdoor eating space.

We have Pottery Barn furniture in our cottage and I wanted a bench for our bedroom. I found this plan was very close to the "Benchwright" style and I'm very happy with the results, including the match in stain colour. It cost me approx. $40 vs $650 at Pottery Barn. The effort was definitely worthwhile !
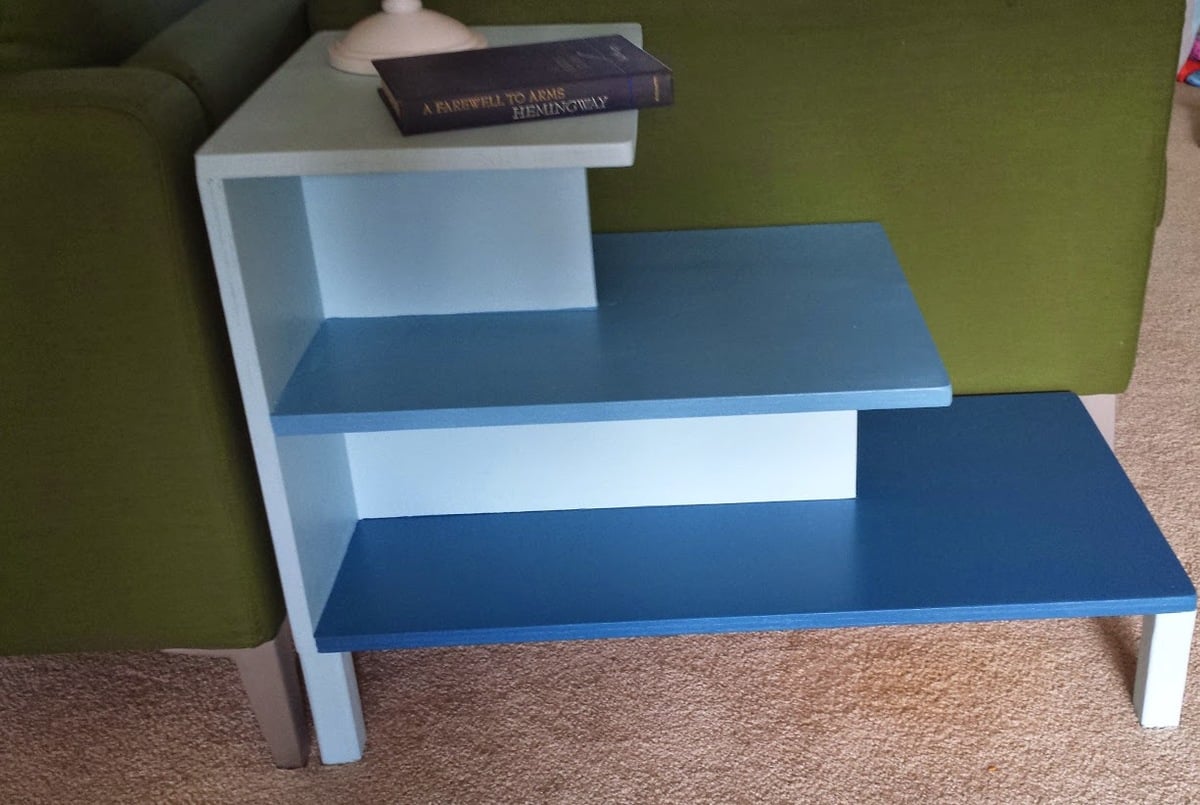
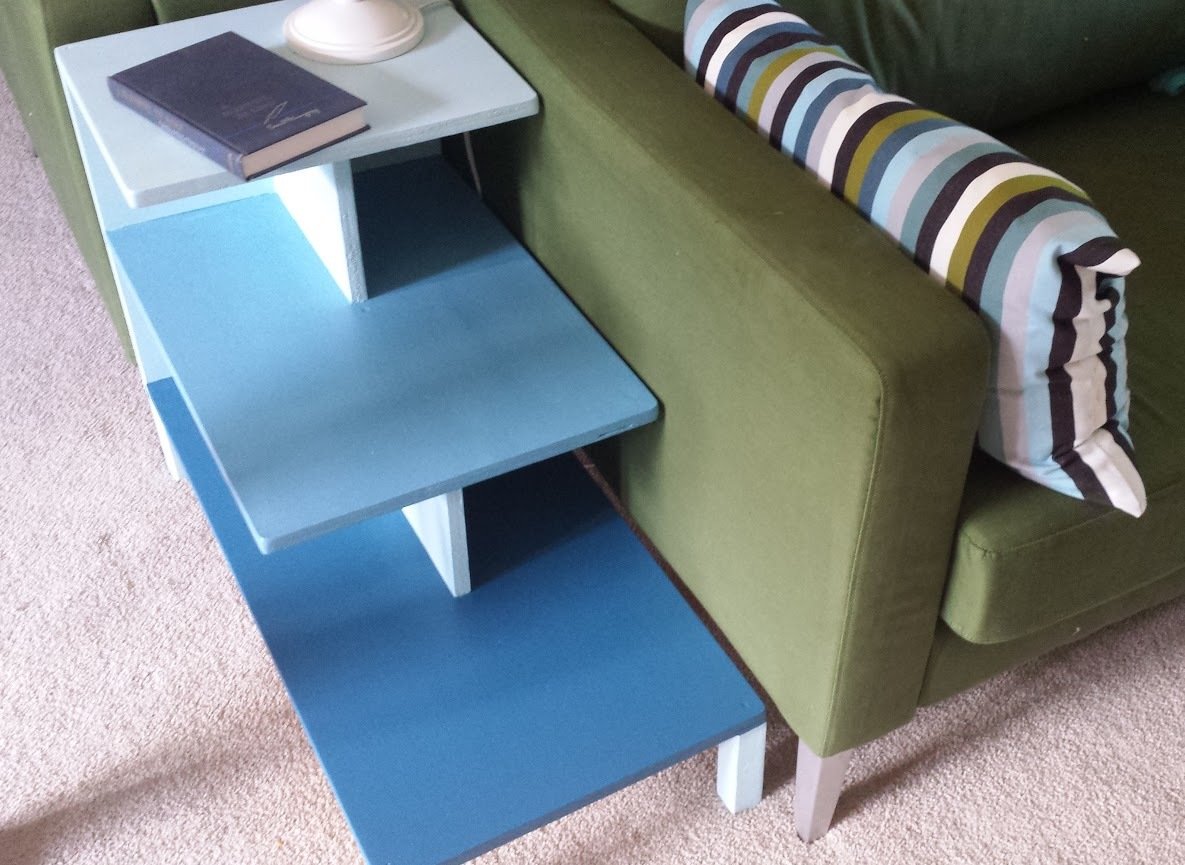
I needed a table to fit in the gap of my offset and back to back couches. I made the bottom shelf a little bit longer to better fit the space. I also added additional screws to the back for more stabilization since I knew my kids would find the steps irresistible. The different hues of blue make it more interesting.
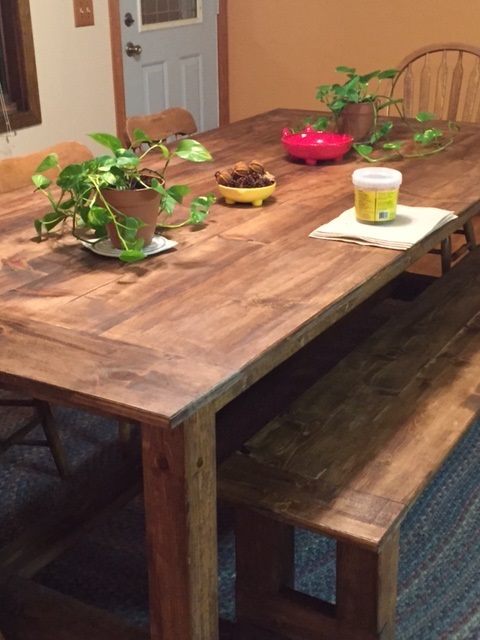
My boyfriend and I made this farm style table based on plans from Ana's site. We LOVE it. We wanted it to appear rustic with natural woods tones so we used Special Walnut Stain, Poly, and Light Brown Briwax. Even though it looks raw, its silky smooth to the touch.
Thanks for posting these plans! We already on to our next project. We have the wood purchased for the rustic coffee table and console table, and I have my eye on the farmhouse bed frame and a set of night stand tables.
Kate
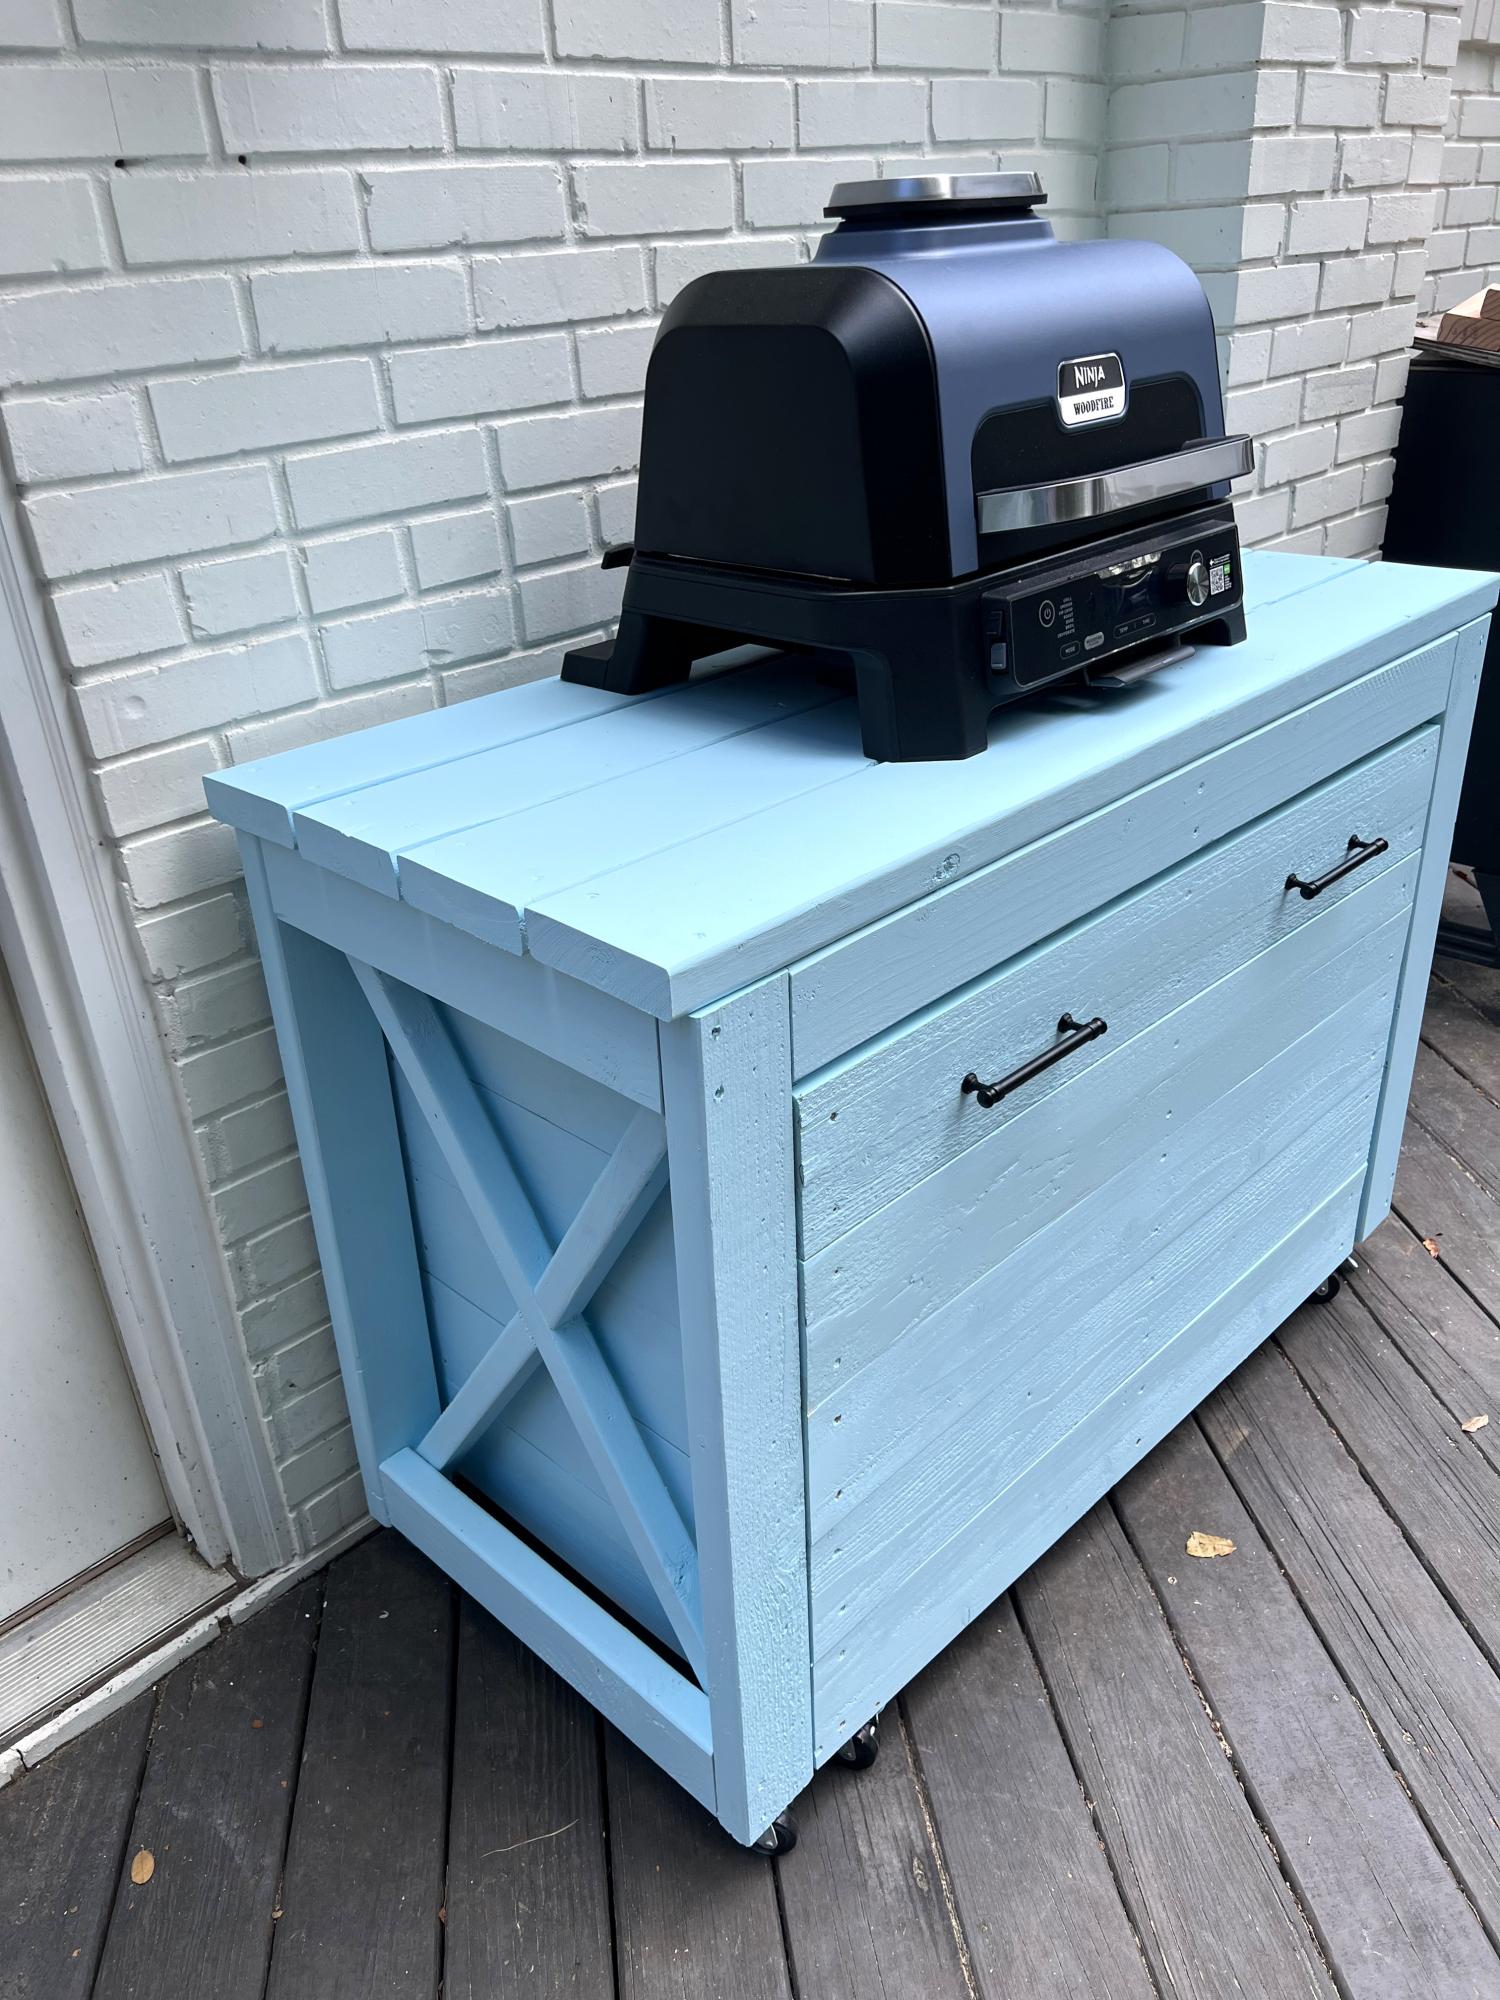
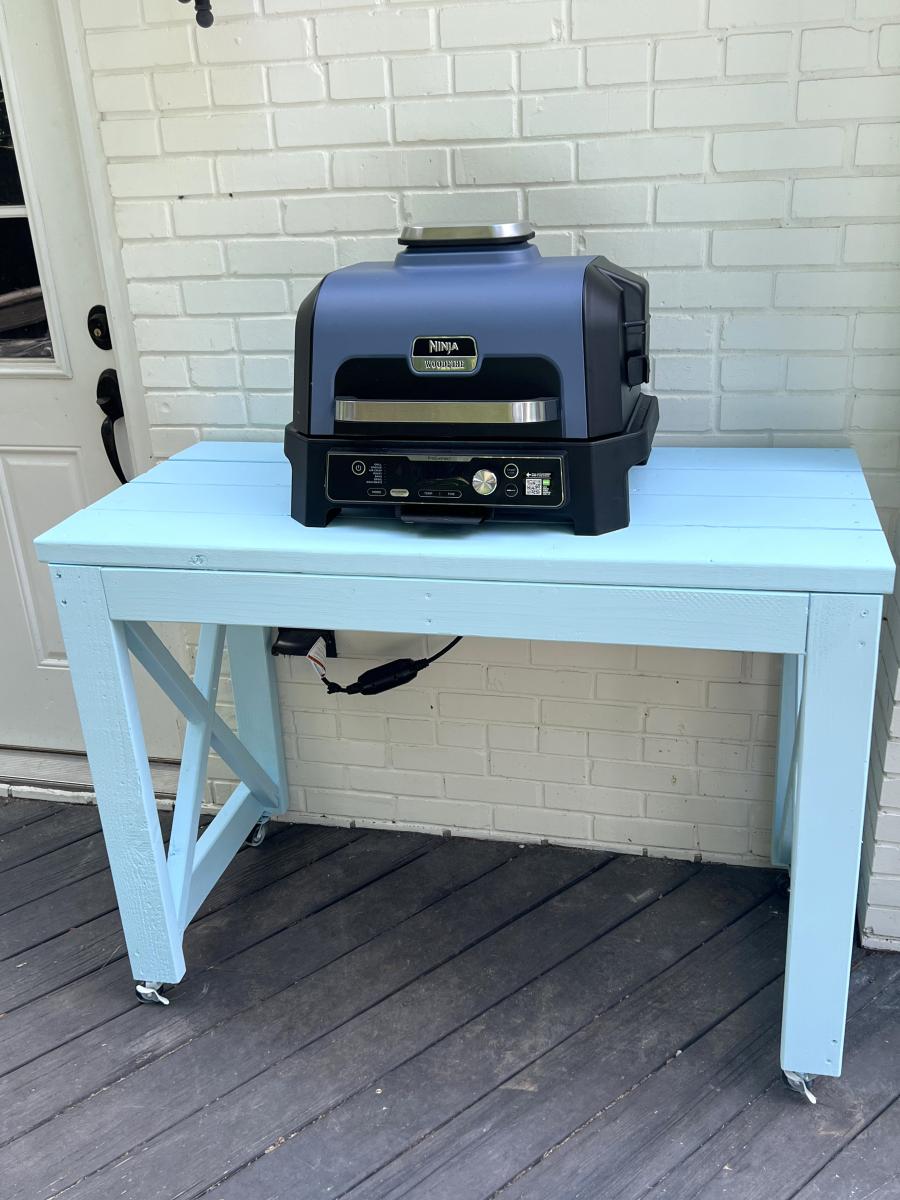
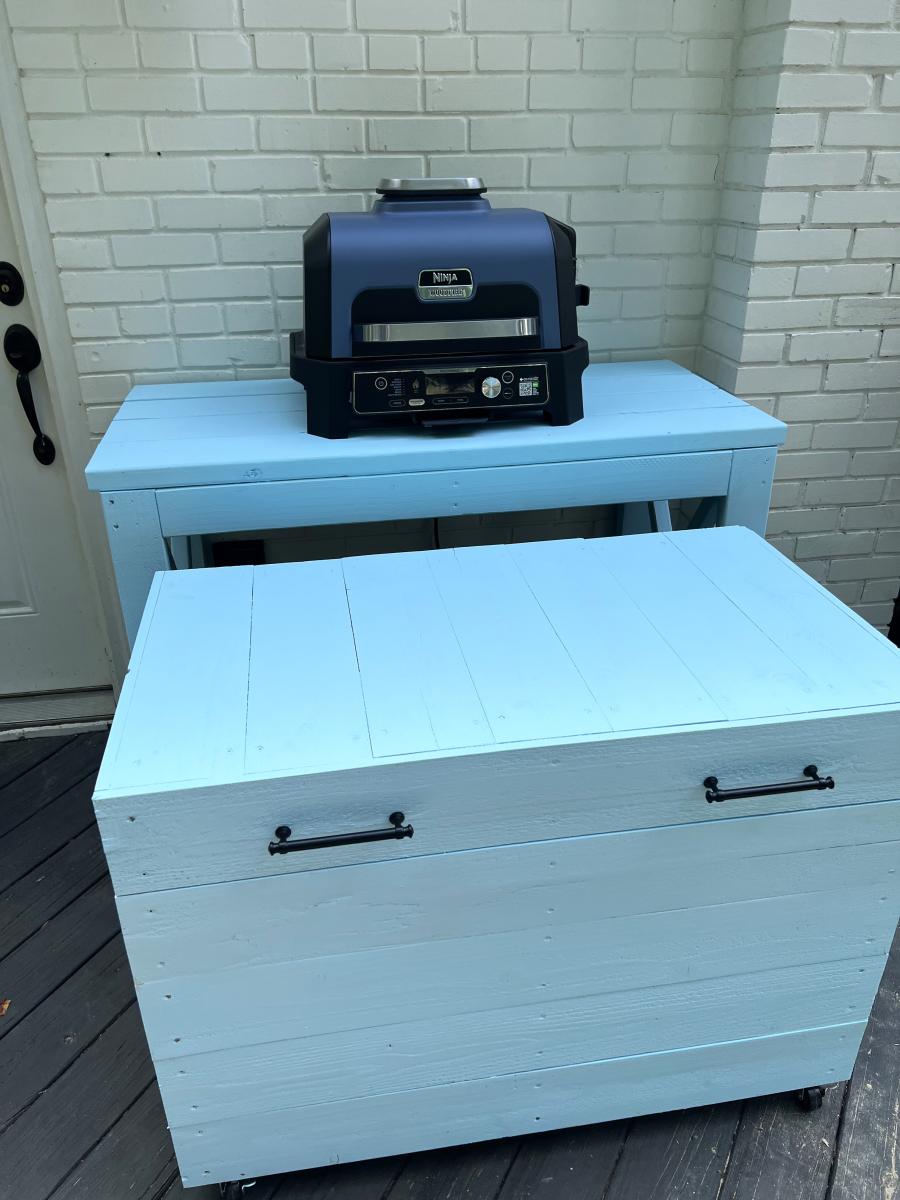
Sarah loved your Nested Grill Cart build however, the plans called for a 5 foot wide cart and we only had room for 4 feet on the back deck. Made the appropriate adjustments and went to town. Turned out well and Sarah is quite pleased with how it turned out. Adding a shelf for needed storage.
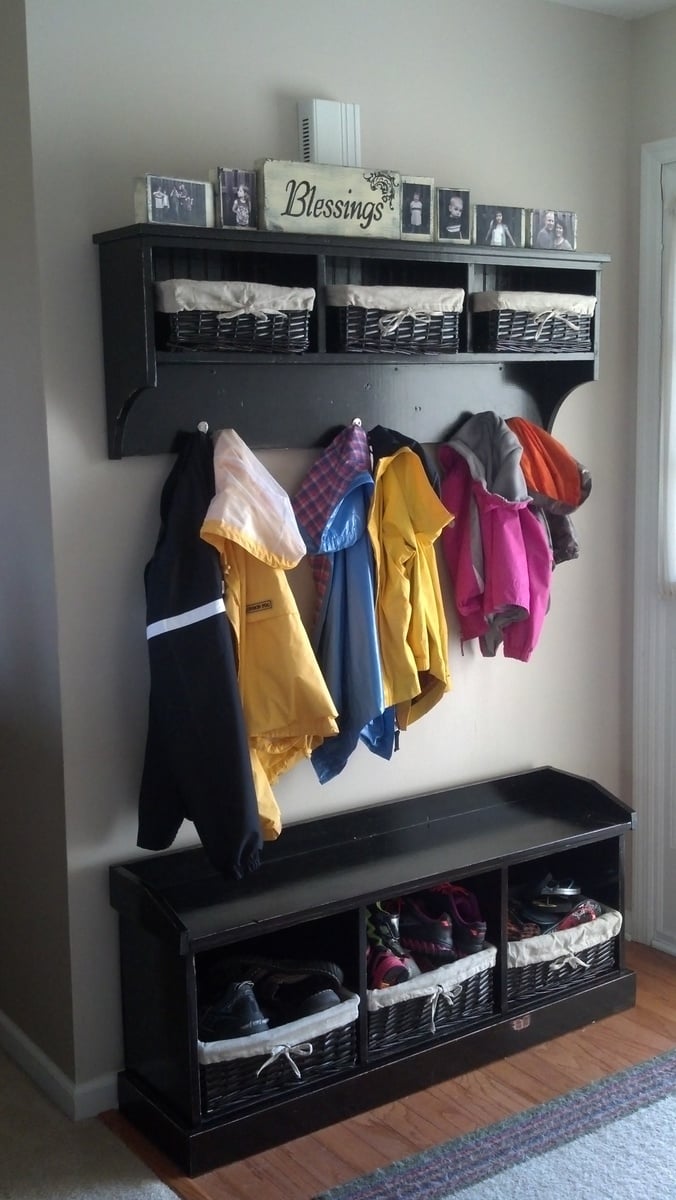
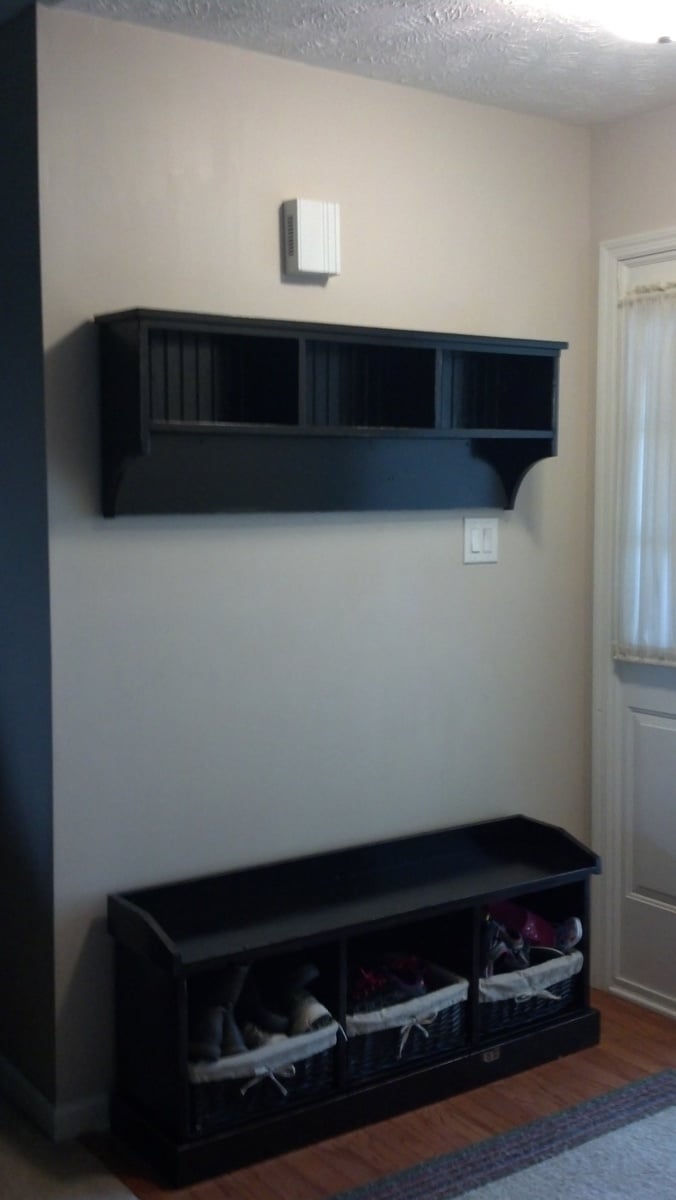
I have always wanted a hall tree, but could not spend the hundreds of dollars for one. I was so excited when I found these plans.
I had a very hard time finding baskets to fit the cubbies. I thankfully found some cheap ones at Wal-Mart that were a two pack of the small and large. I would recommend buying the baskets first, then adjusting the plans.
I hung the shelf with three heavy duty D ring hangers, and then added three screws drilled directly into the studs. We have four rambunctious kids, and did not want the shelf falling down on them. It is super sturdy! I love this piece of furniture so much!
Mon, 09/12/2016 - 10:24
i want to build this shelve but am perplexed on how to cut the curves on the sides.
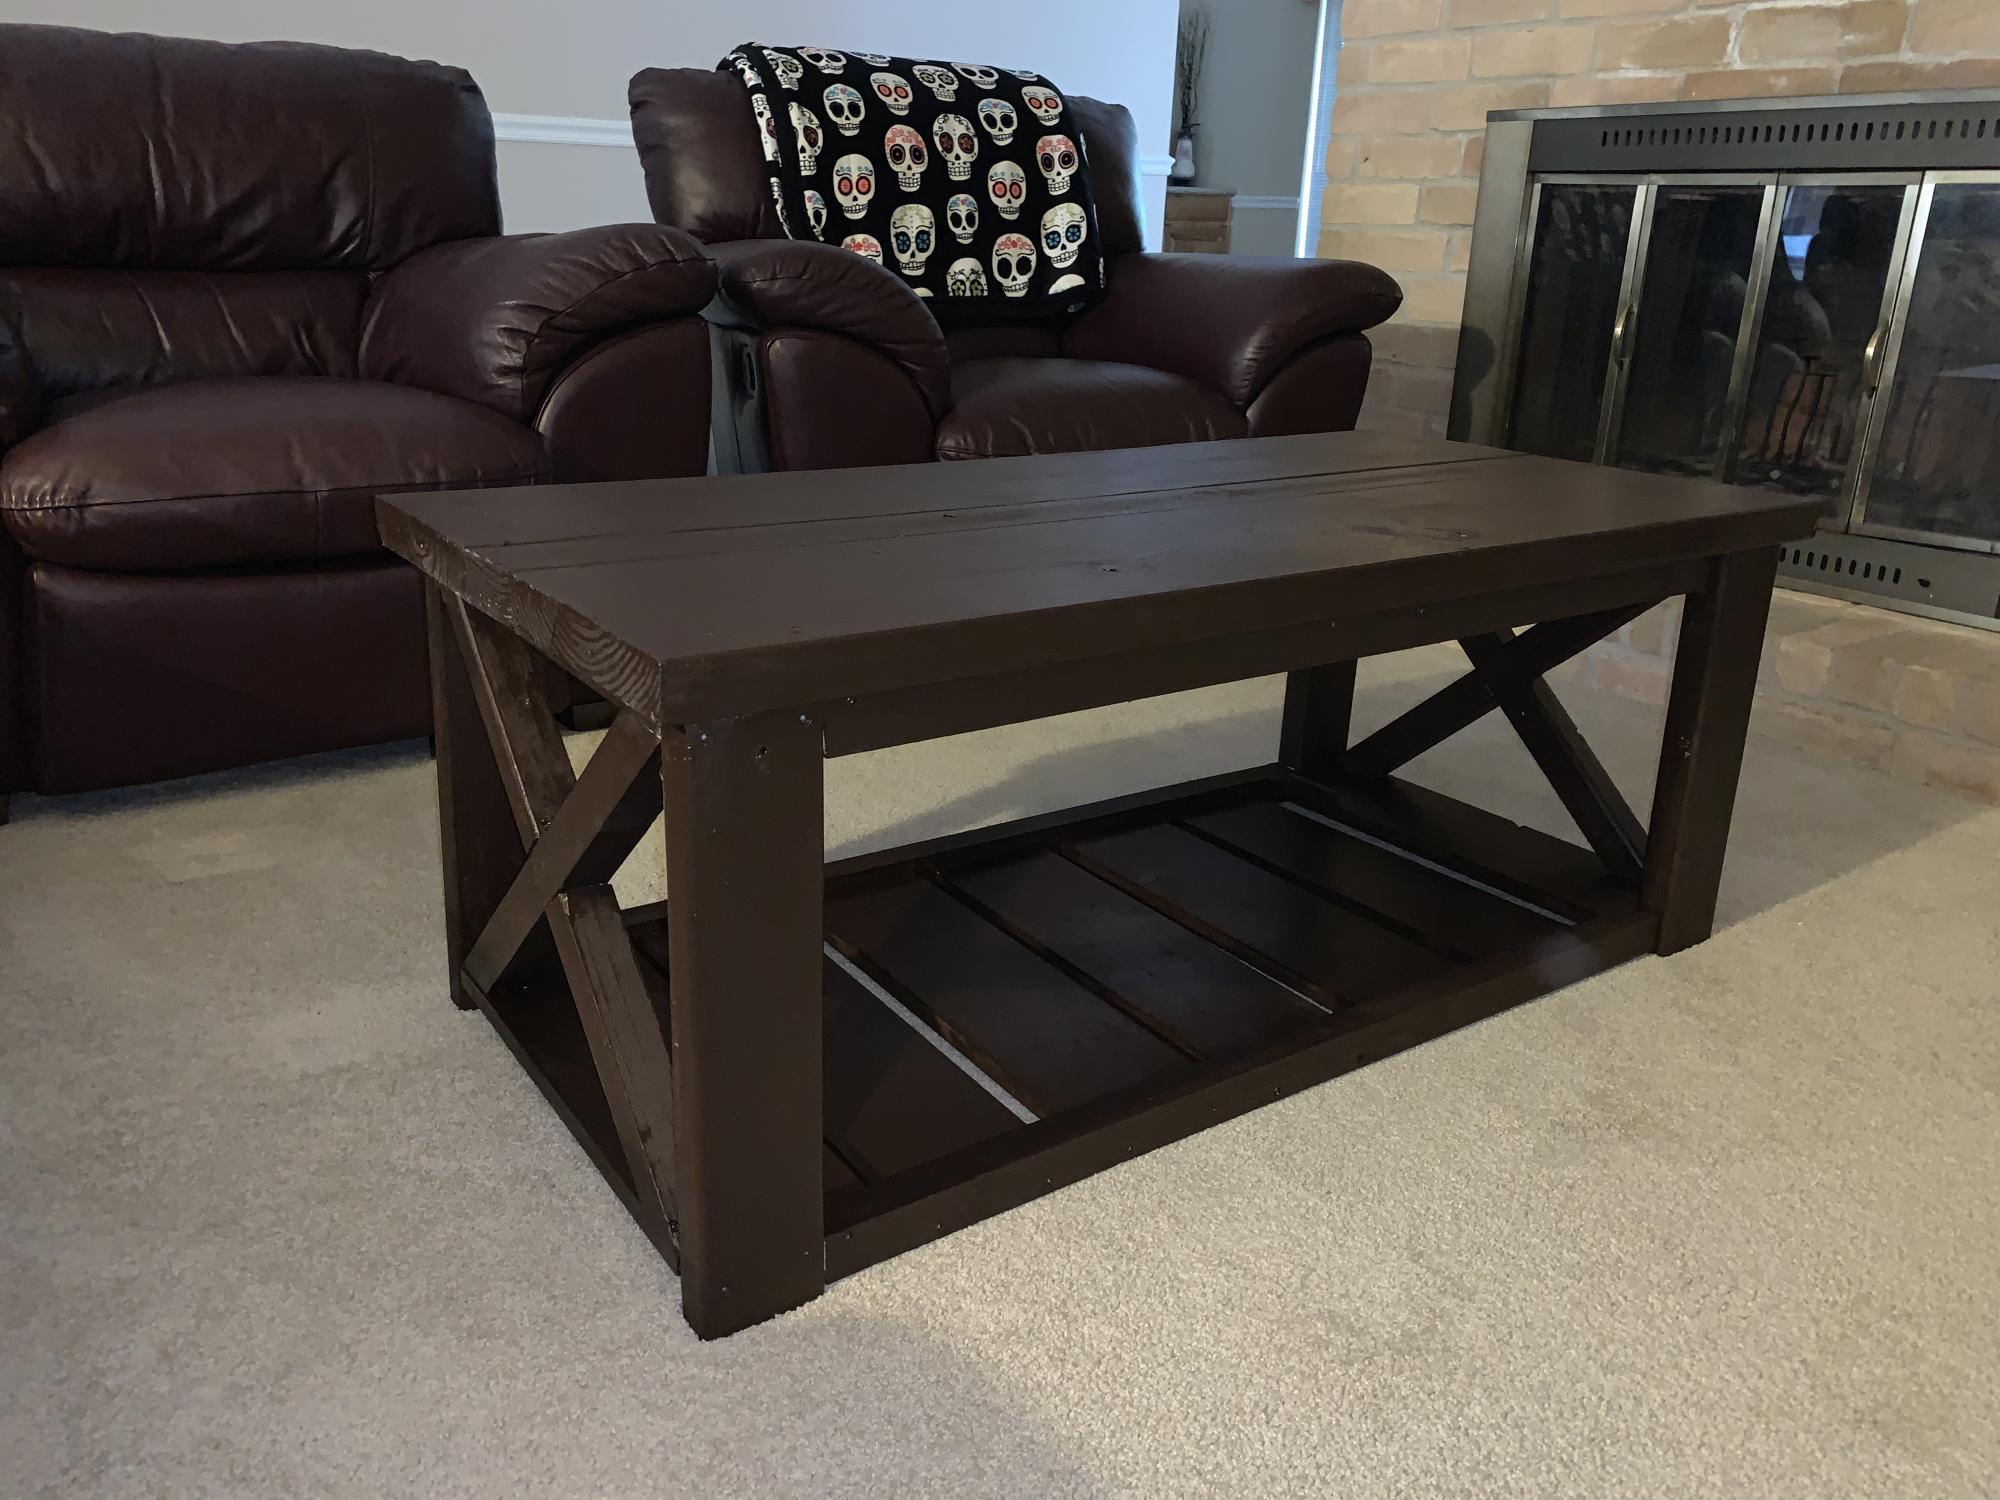
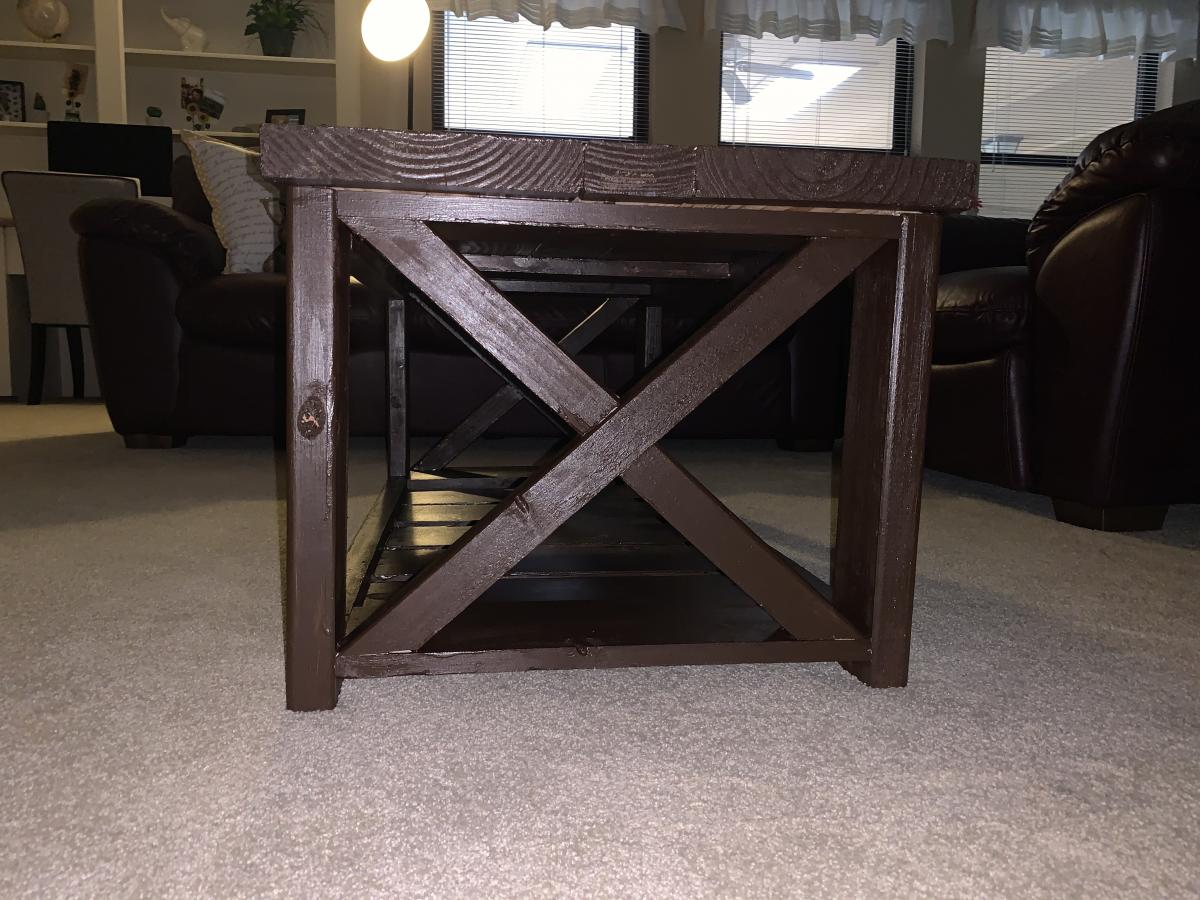
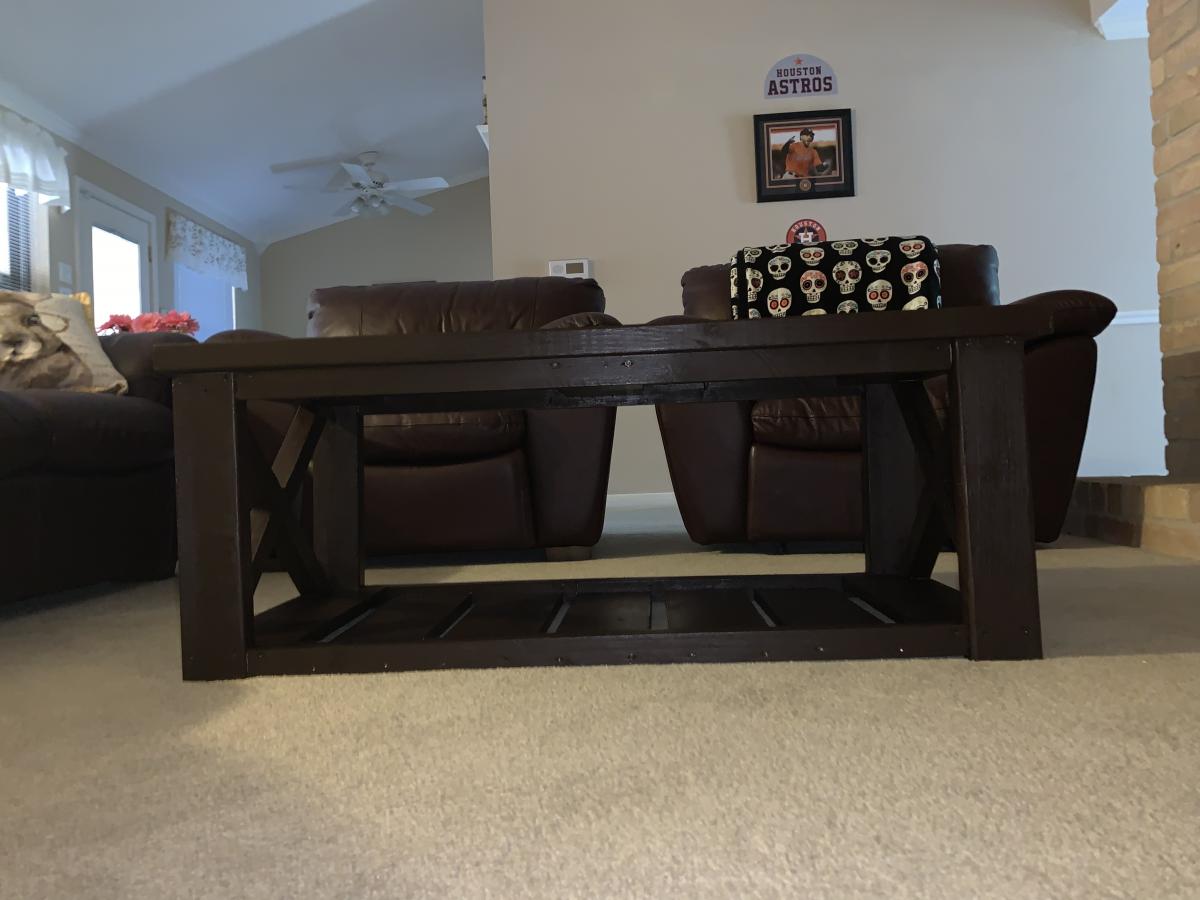
I finished this coffee table for my cousin’s living room. This was a really fun build and i was actually able to complete it with wood I had left over from other projects. The only money I had to spend on this one was for the paint she wanted that would match her other furniture. I love this website and the plans provided make it easy to get projects done.
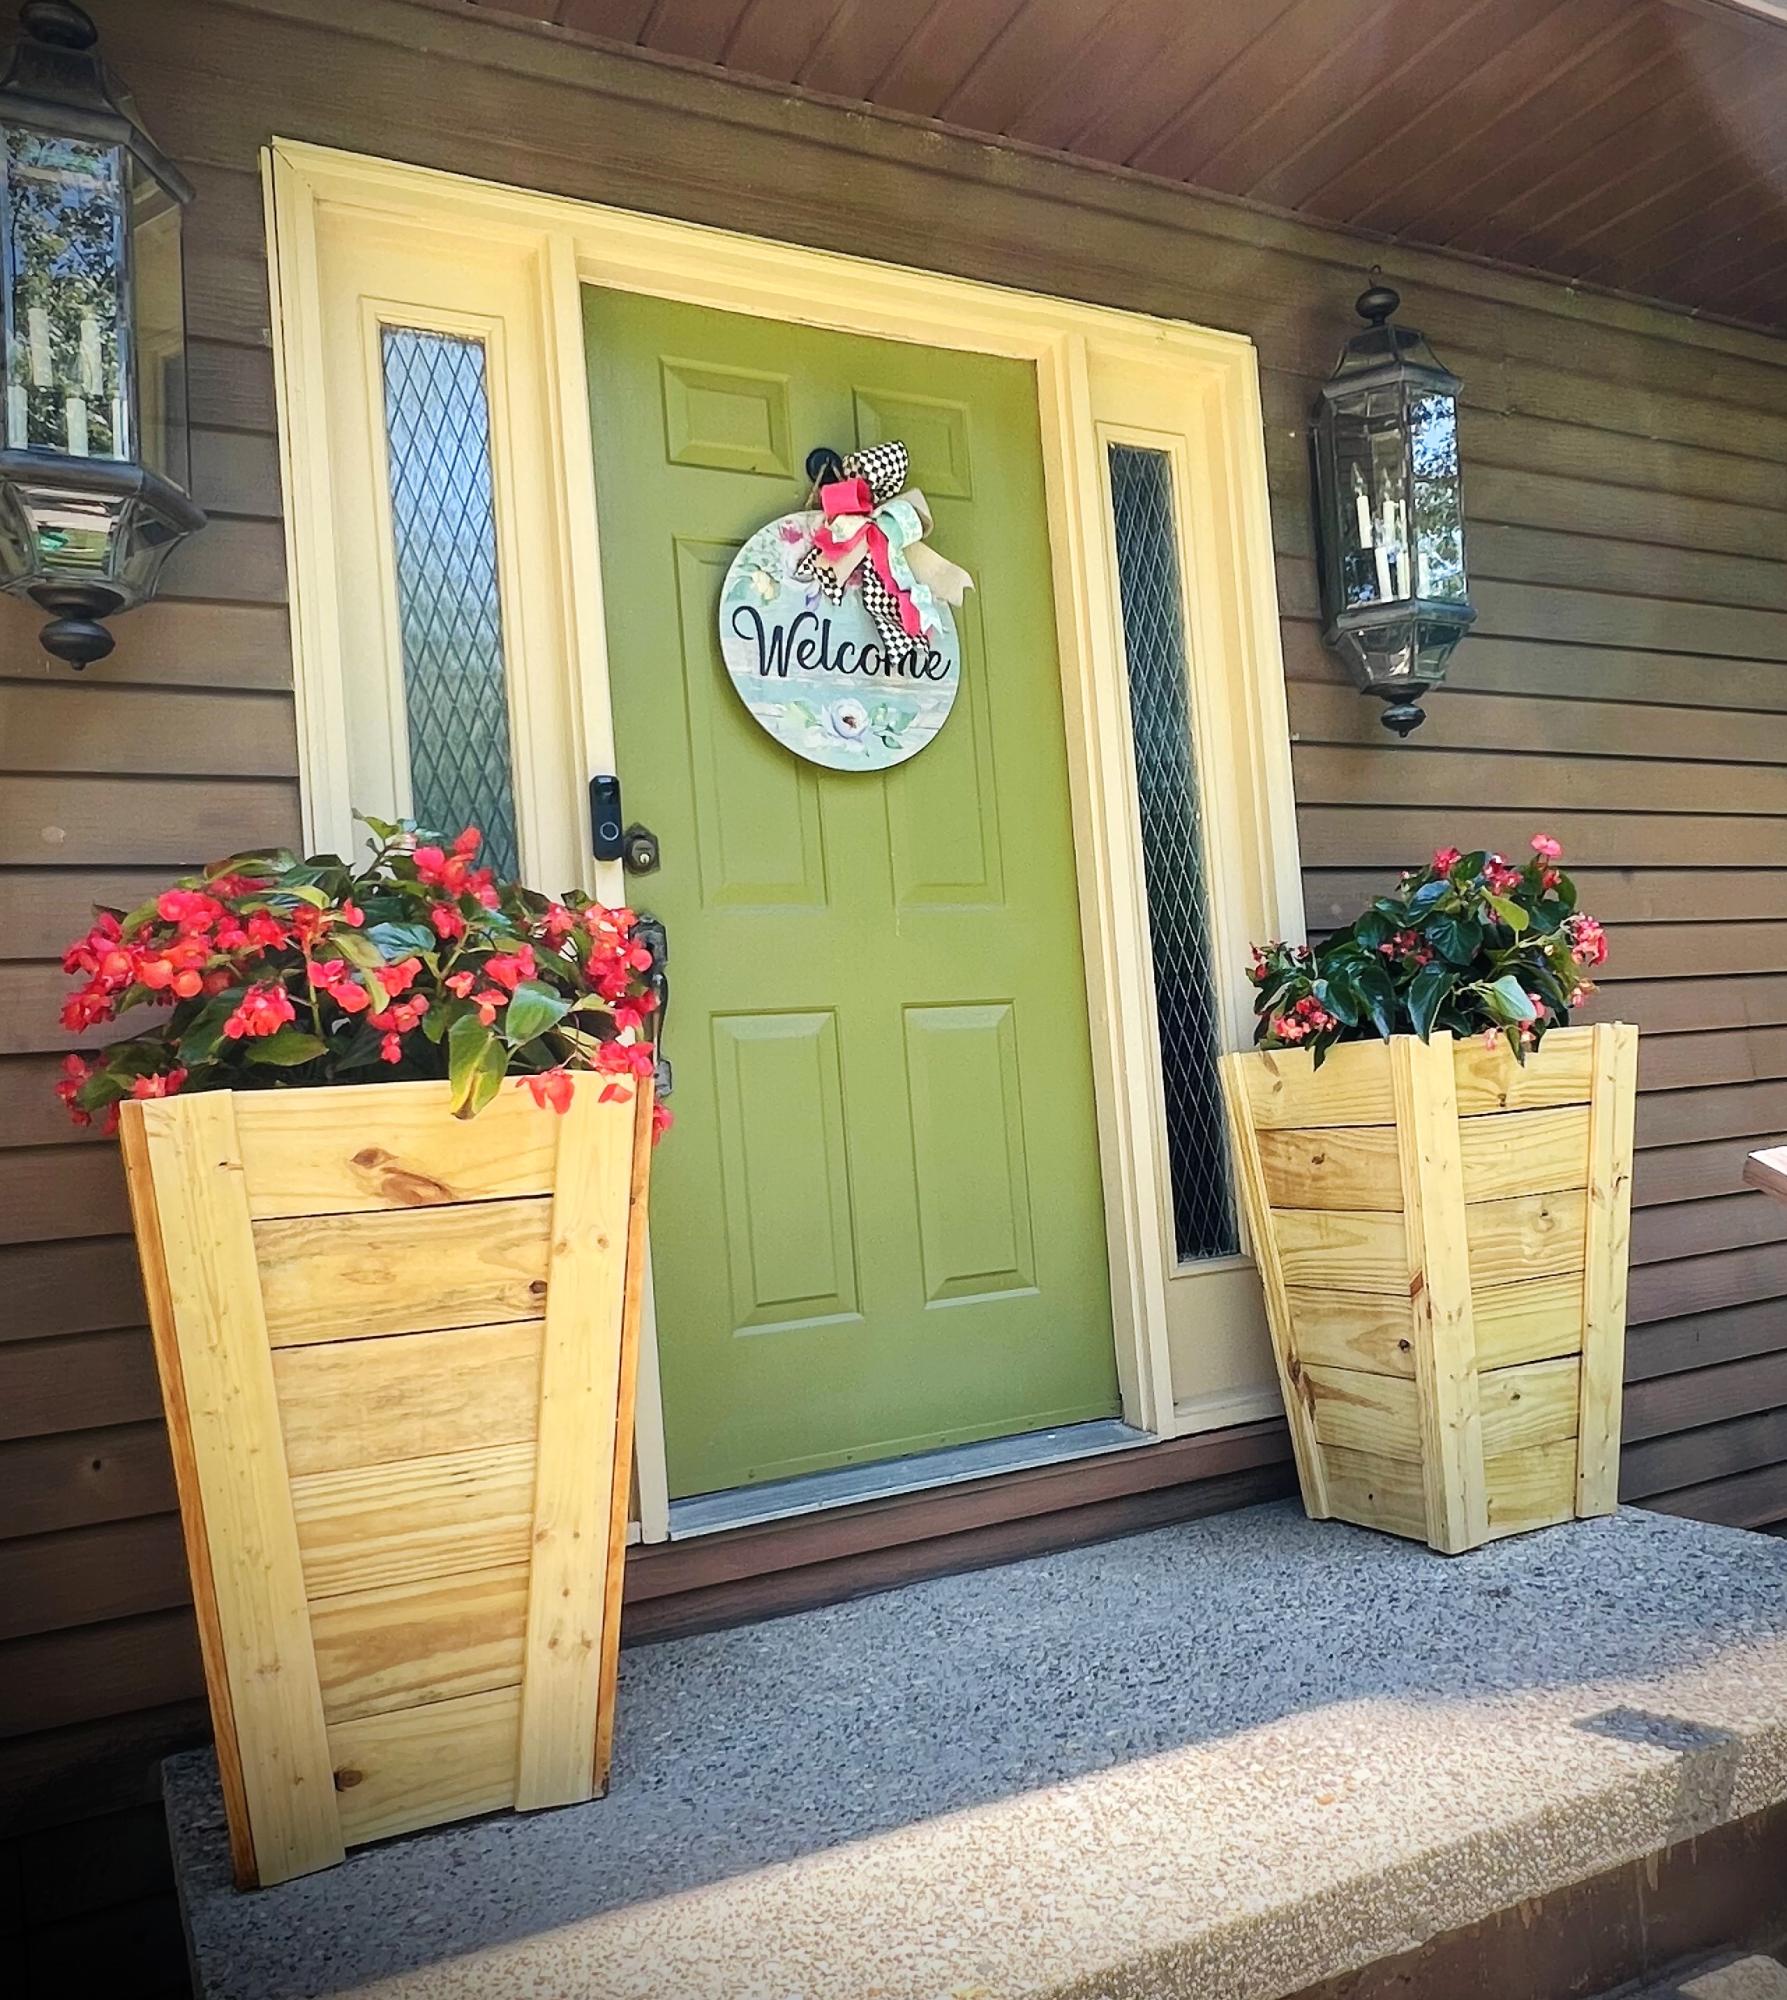
My son was looking for some type of planter for his front porch and could not find anything that suited him. I seen these plans on your website so my wife and I decided to try and make these for him as a surprise. These are very simple to make by following your plans. Our son loved them and is wanting two more. Thanks Ana.
Dronetastic views
Comments
yurra-bazain
Sat, 07/12/2014 - 11:56
Looks great!
I applaud you for using your jigsaw on your second build. :) It took me quite a while to build up the confidence and skill to use one!