Distressed Farmhouse Bench
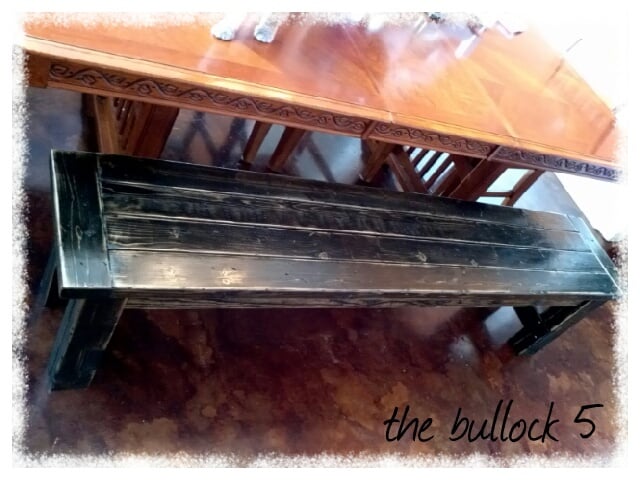
Built this for extra seating in my dining room. I followed Ana's plans to the T.... I used a skill saw and chisel to notch the wood...
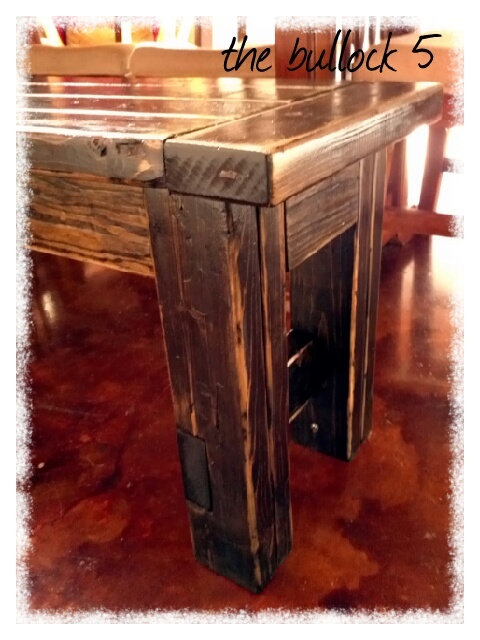
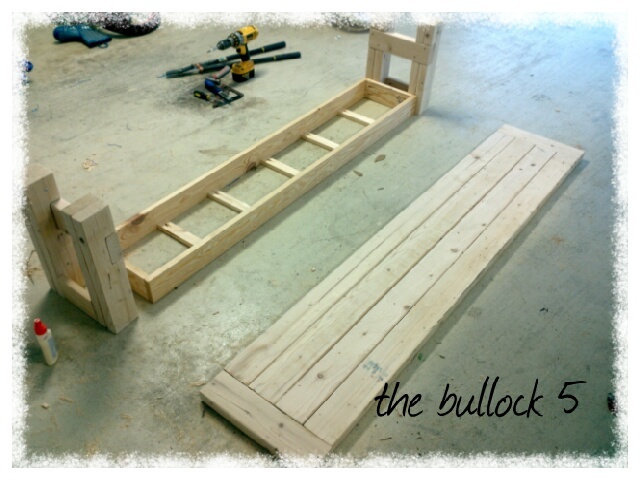
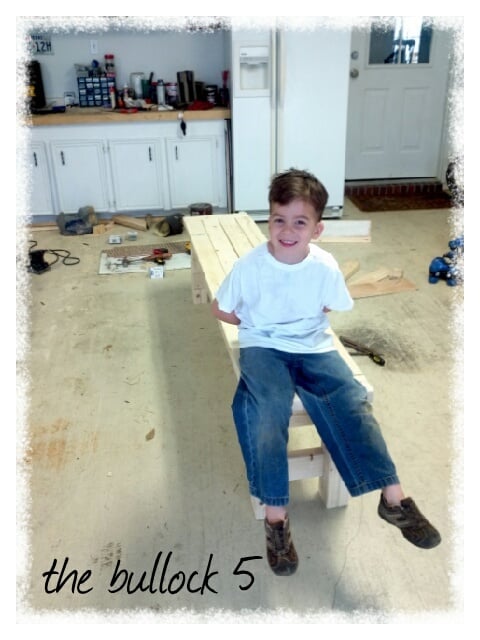

Built this for extra seating in my dining room. I followed Ana's plans to the T.... I used a skill saw and chisel to notch the wood...


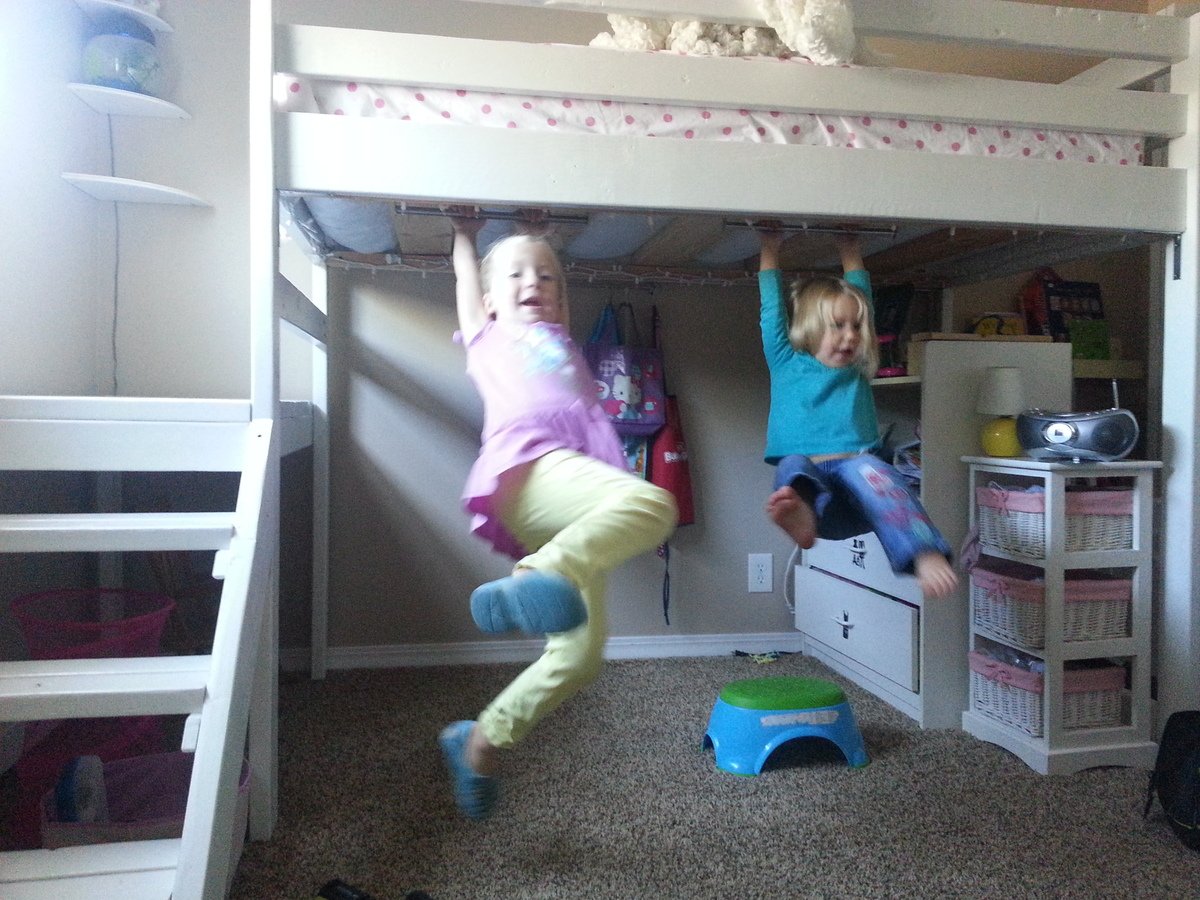
We added some fun features to this project that our little girls LOVE. For more information and pictures visit: http://bit.ly/1feQ4se for full details! Hope you like it :)
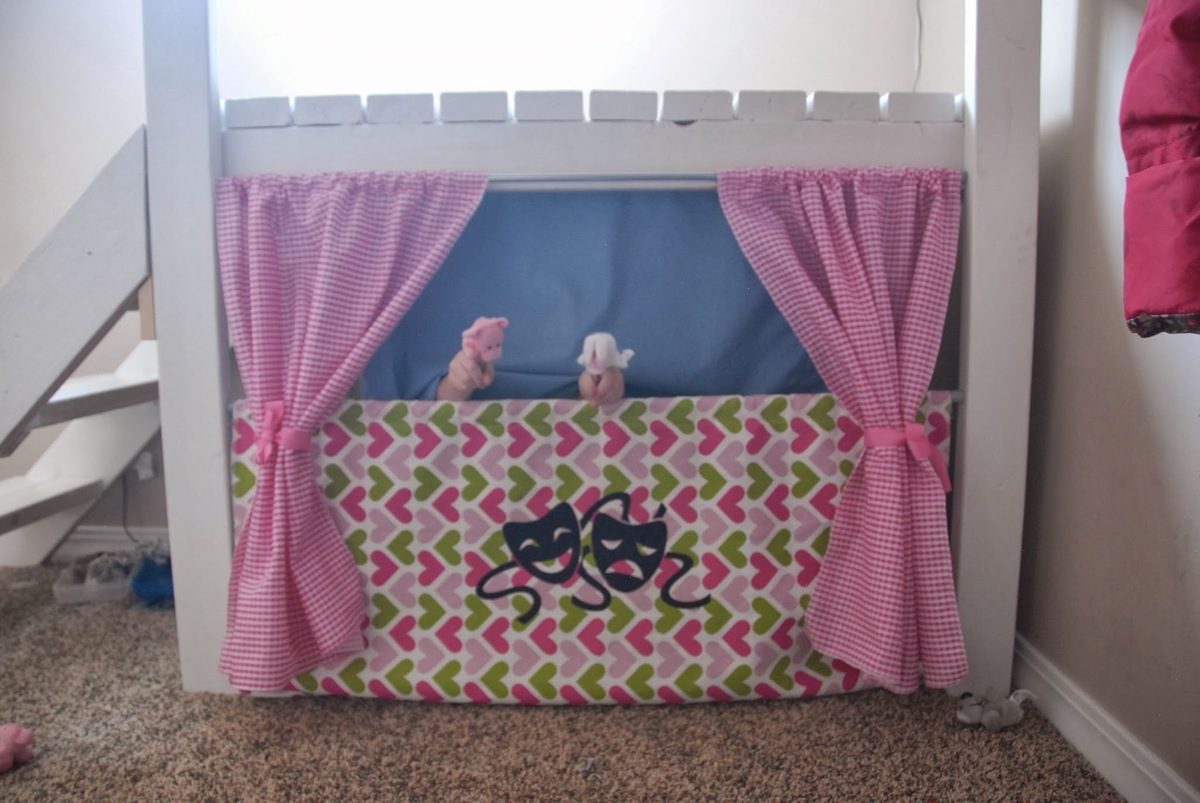
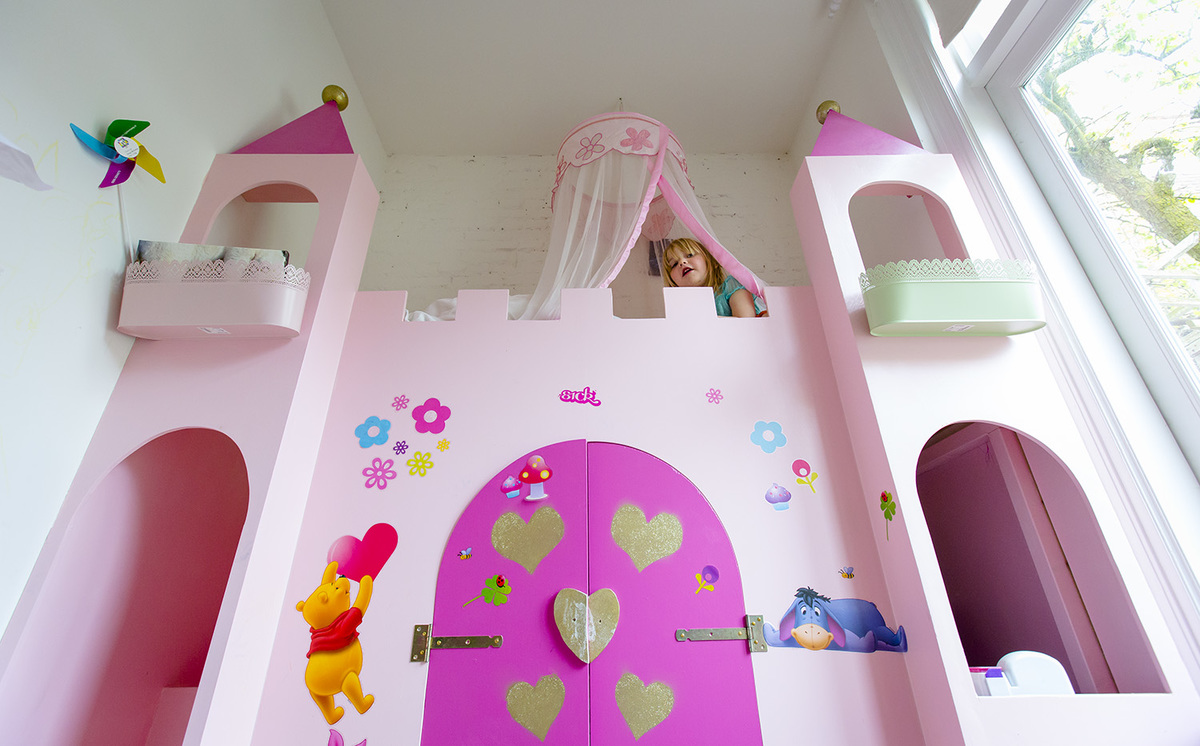
The plan for this great castle bed on this blog inspired me to make this castle bed for my daughter Elise. I basically just followed this plan and adjusted it to my own idea:
http://www.ana-white.com/2011/10/plans/castle-loft-bed
Thanks very much for all the great ideas!
Bart
The Netherlands
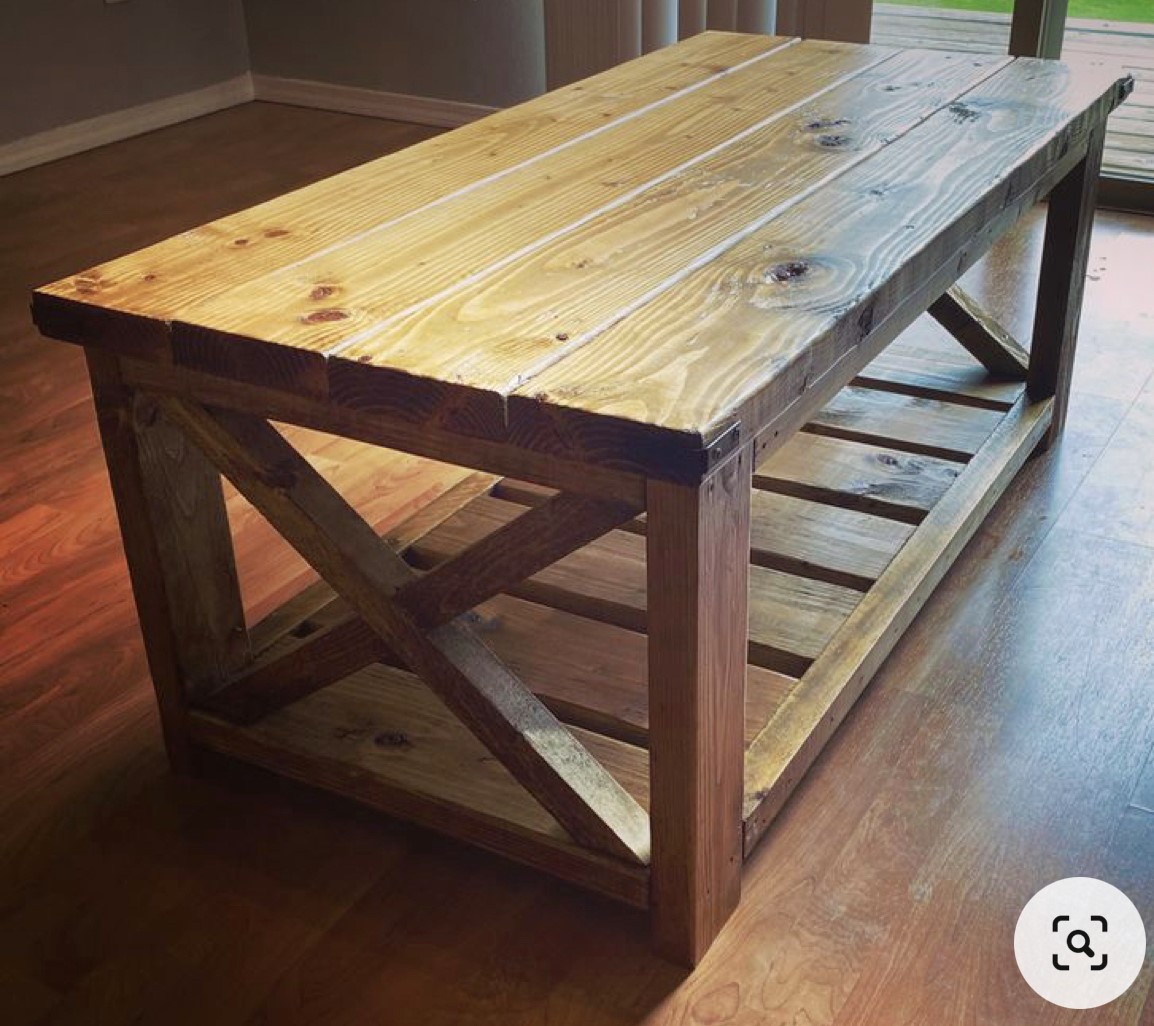
My sim went off to college and needed a coffee table for his apartment- so I made him the farmhouse coffee table! I just love your plans!
Terri M
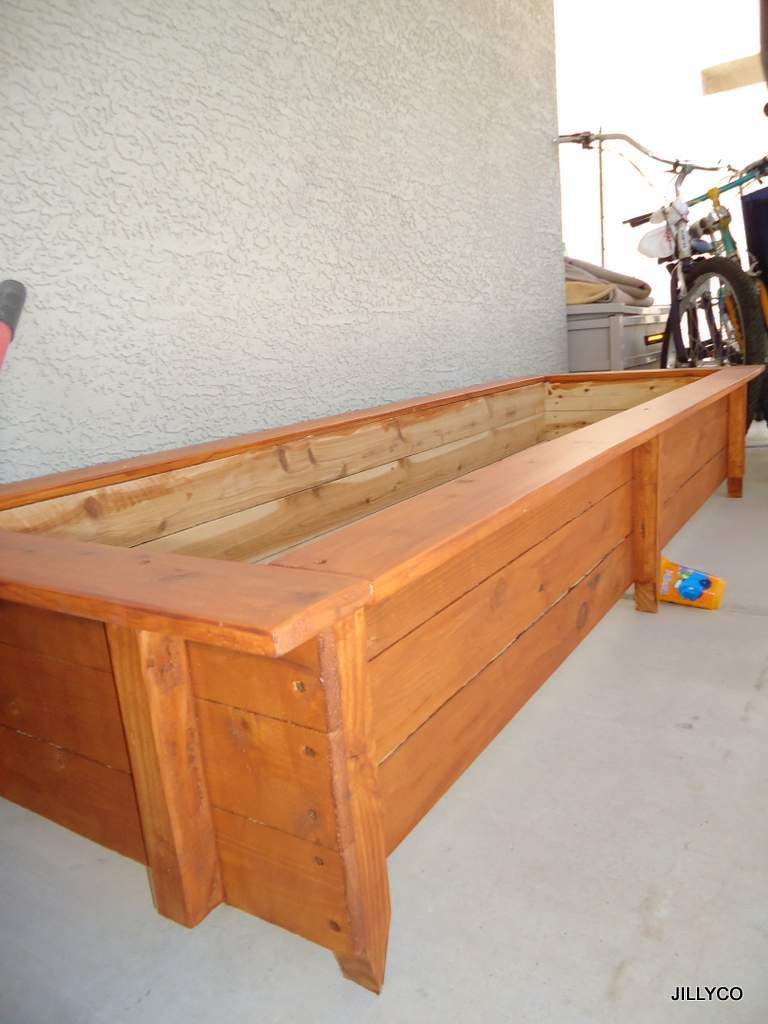
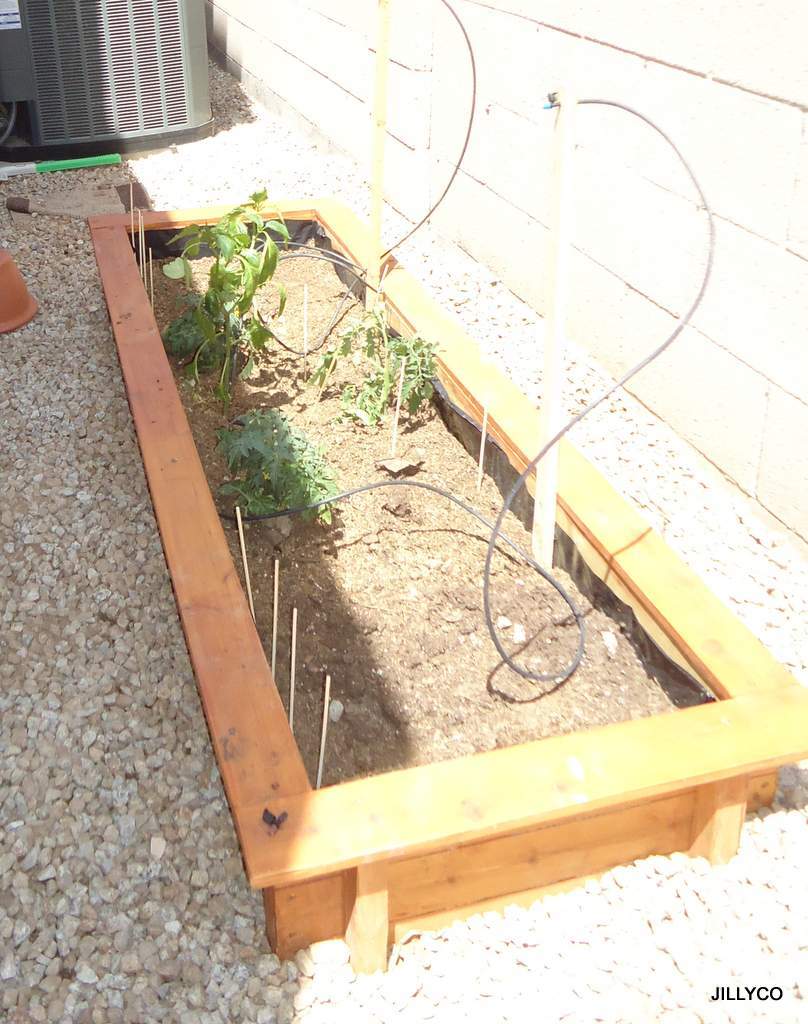
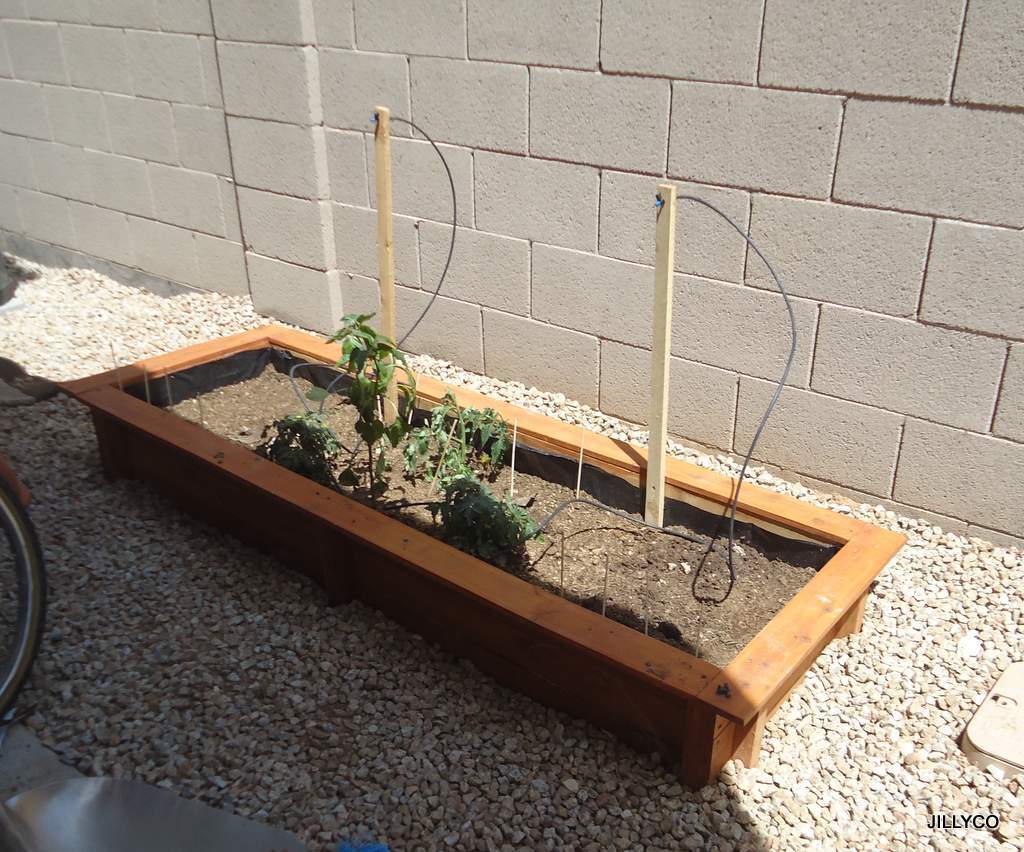
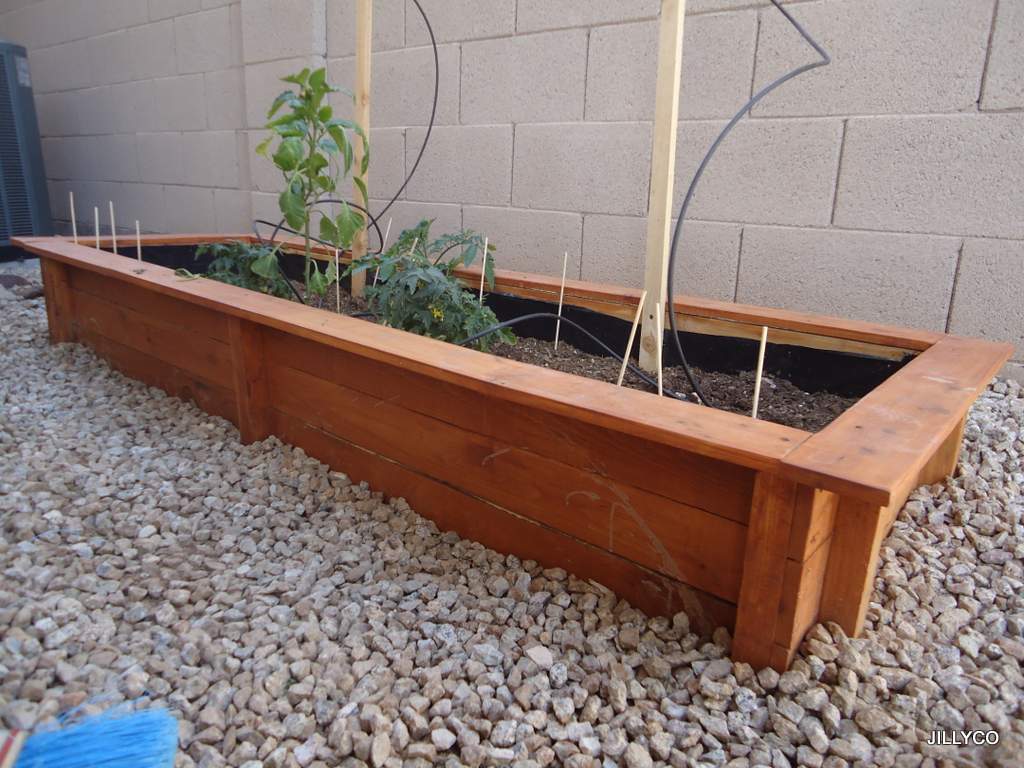
THANK YOU Ana's your plans are a life saver and pocket book saver as well. You make your plans so easy to follow and use. For my project I used the cedar fence pickets and redwood 2" x 2" stakes that where on sale at the orange box store for "6 pack bundle" for only $.50 each. All I can say is SCORE! ;') Since we live in Arizona I treated all the lumber with a outdoor weather proofing wood finish (Cedar Color), lined all the interior beds (only the Wood Sides) with 4 mil plastic to keep the cedar from absorbing all the water and wired mesh on the bottom of the garden prior to adding dirt. This keeps my local rabbits/other creatures from eating my roots from the bottom up. And I have my dog from the top side. We are already a 100 degrees here and we needed to get our seedlings in a garden asap. Thanks Again for the Plans, Ana! I will be making more of these garden boxes to come.
Thu, 08/08/2013 - 09:39
Love this! We are new to Phoenix - originally from the Midwest - and I really would like to add some raised beds to our backyard. I appreciate your comments on how you adapted these for the desert! May I ask what side of your house they are on? I'm thinking to put mine on the east side so they get morning sun, but not the scorching afternoon rays. Thanks for your AZ advice!

My 7 year daughter and I built the Fiona's Doll Adirondack Chair together for her friend's birthday. This was Kylee's first build. She decided instead of finishing the chair, she would give her friend paints and let her do it herself. The chair went was easy to build thanks to such great plans. It took between 2-3 hours. Although I think without her help it would of been a bit quicker. I could not be happier or prouder of a project.

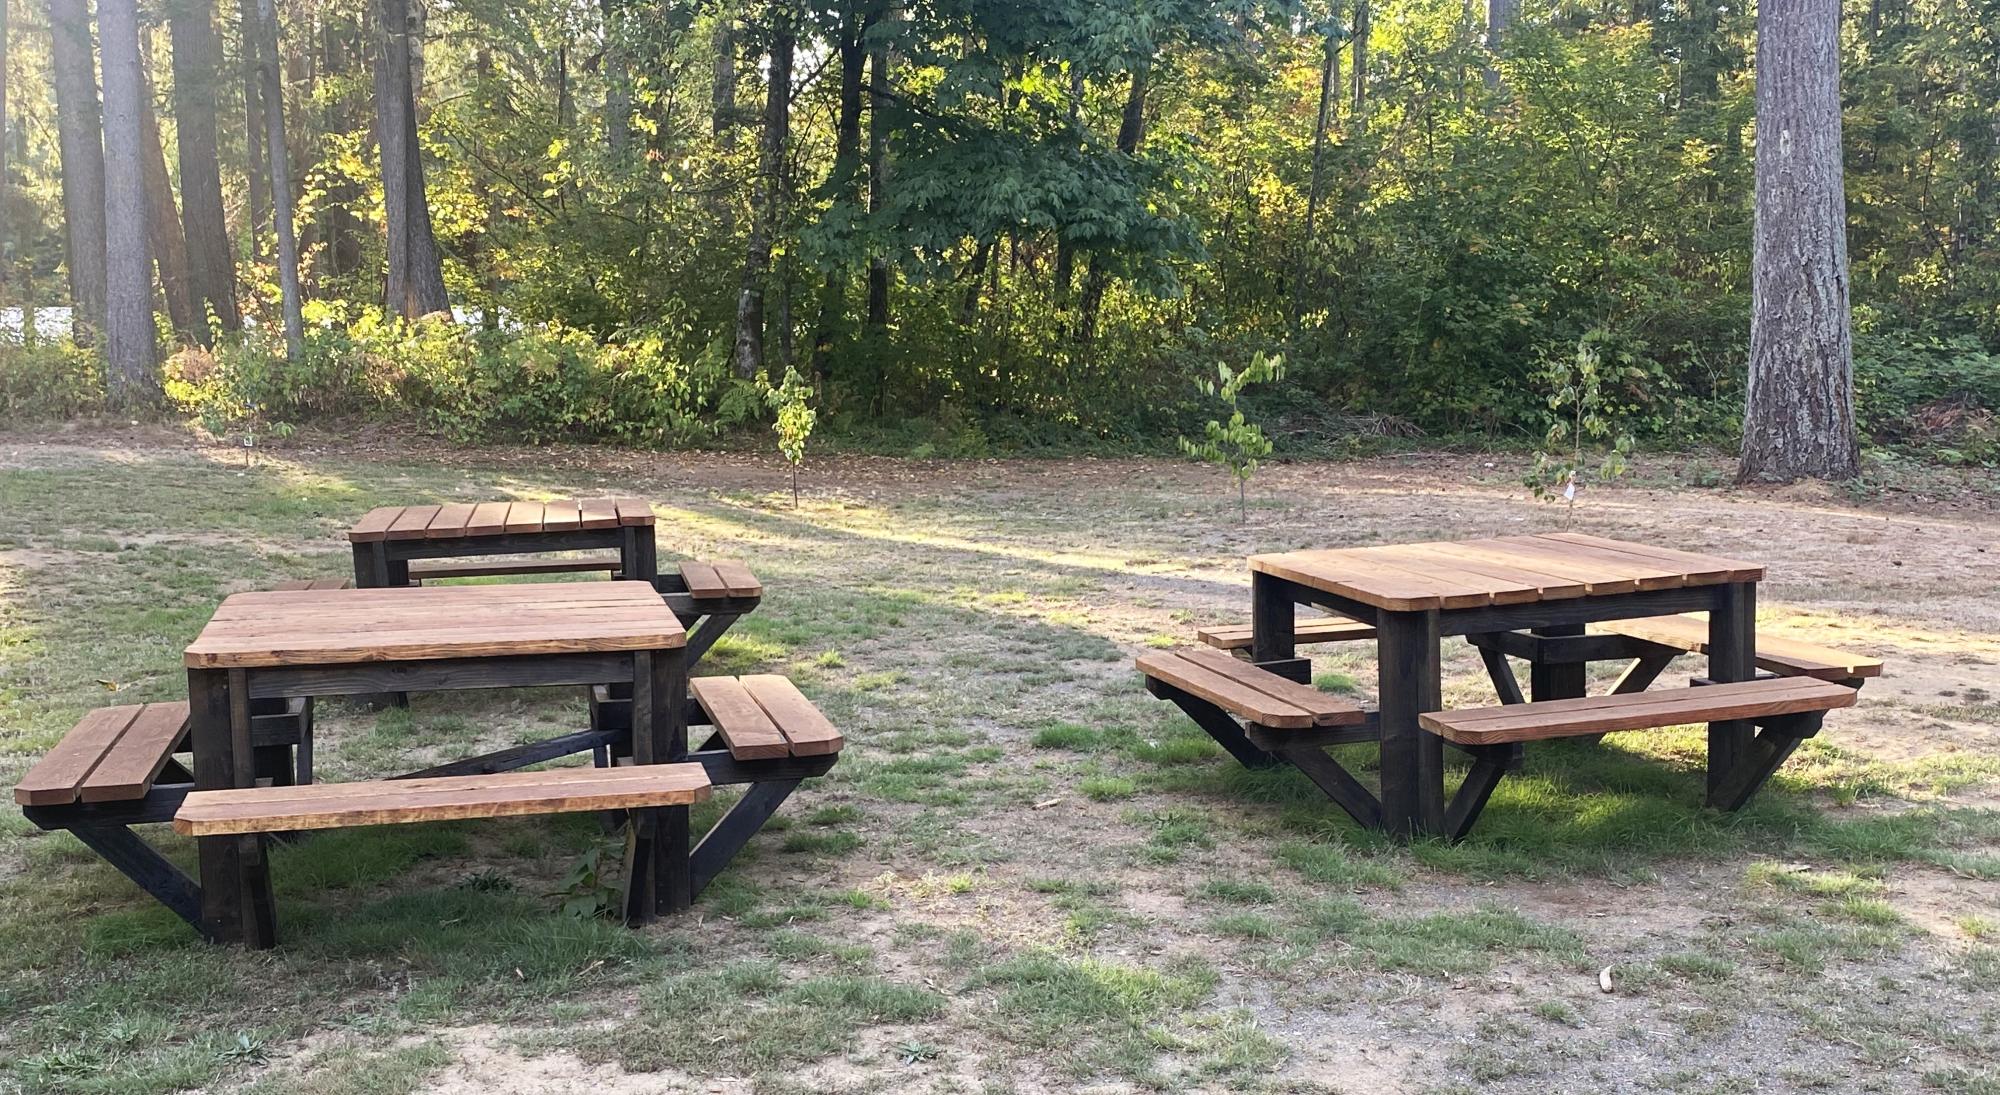
I built 3 of the square picnic tables, as we have a large extended family. I enjoyed the project and the results. I did end up adding a cross brace and some metal clips, they added a little more strength for the table when it was full of people.
Thank you for sharing your plans.
Rick
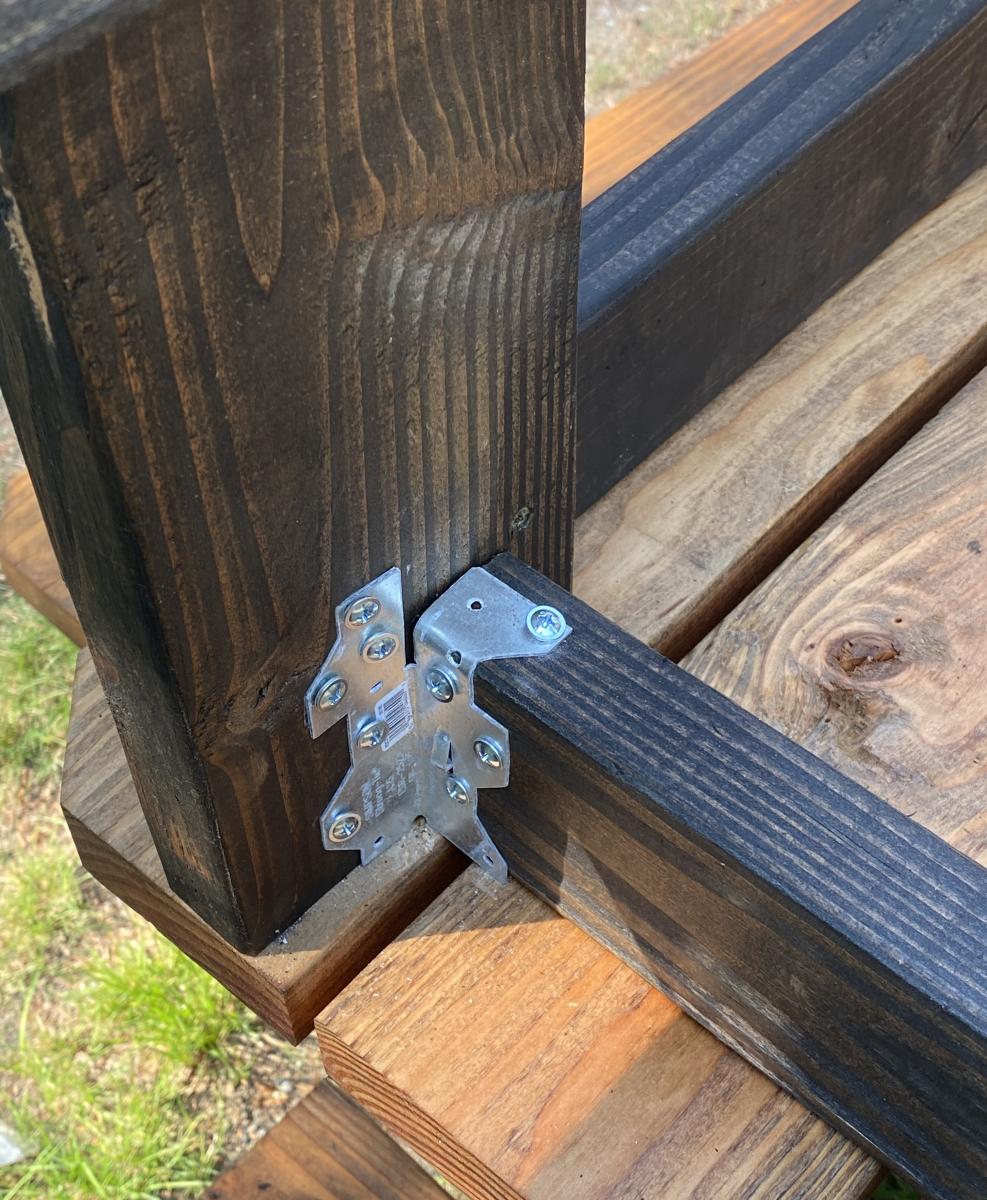
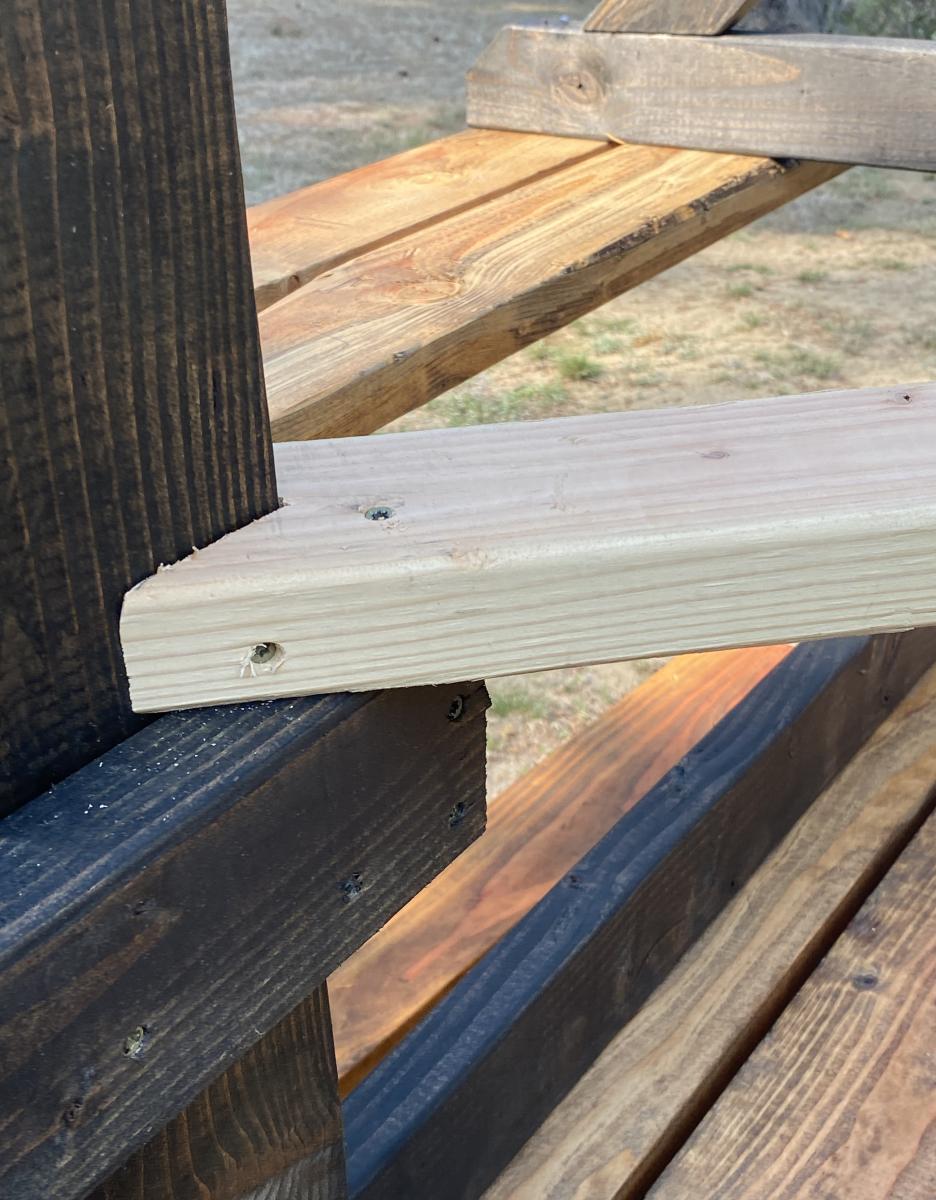
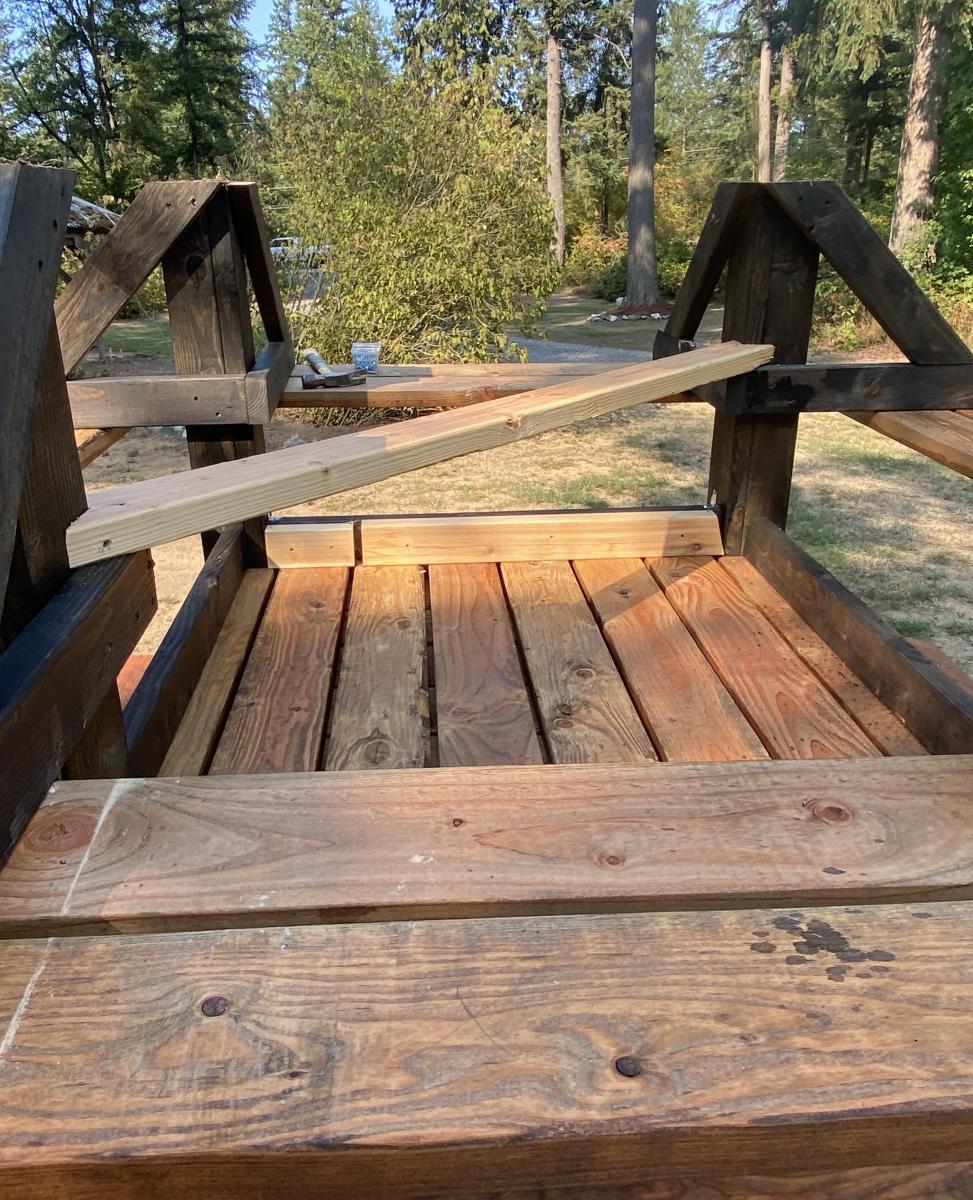

Great plans for a simple kids chair! I generally followed Ana's plans, but used a hardwood - Elm - that I cut on my sawmill. It looks generally like oak. It is heavier than pine, but should be more durable too. I'm 200+ pounds and have jumped on the chair with no issues.
I also used pneumatic brad nailer and glue for the back and seat slats. I highly recommend glue for this project! I am an avid woodworker with a garage full of tools, so honestly this took me less than an hour from start to finish. However, this was one of the most satisfying projects I've built in a long time!
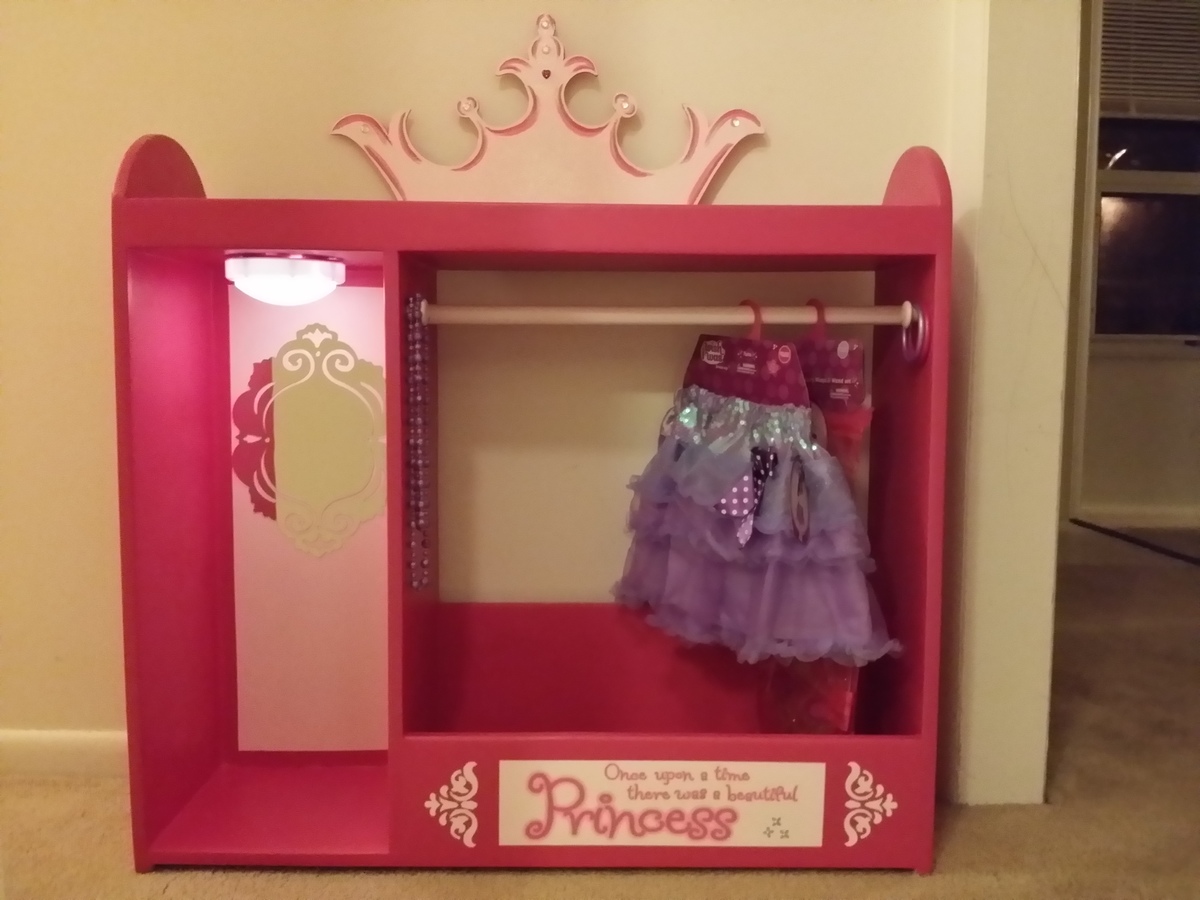
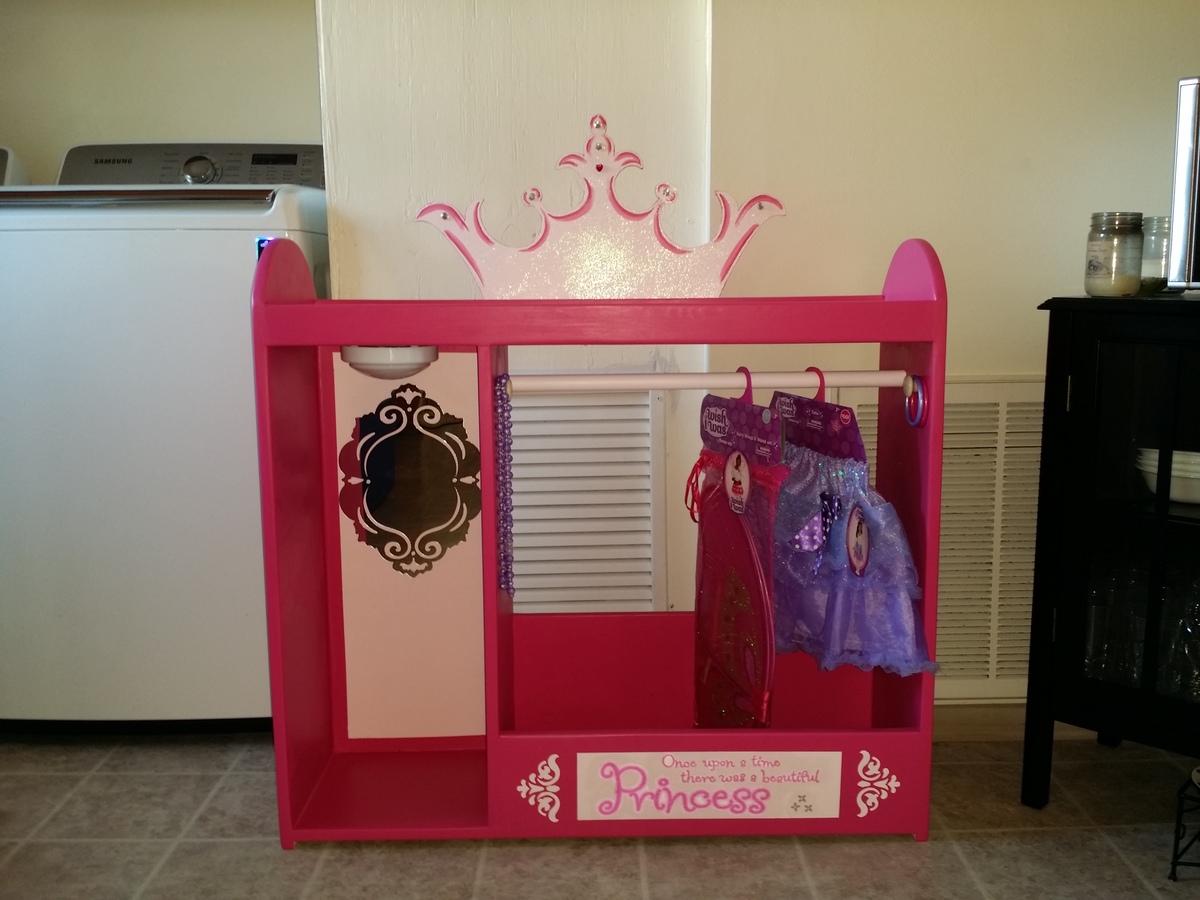
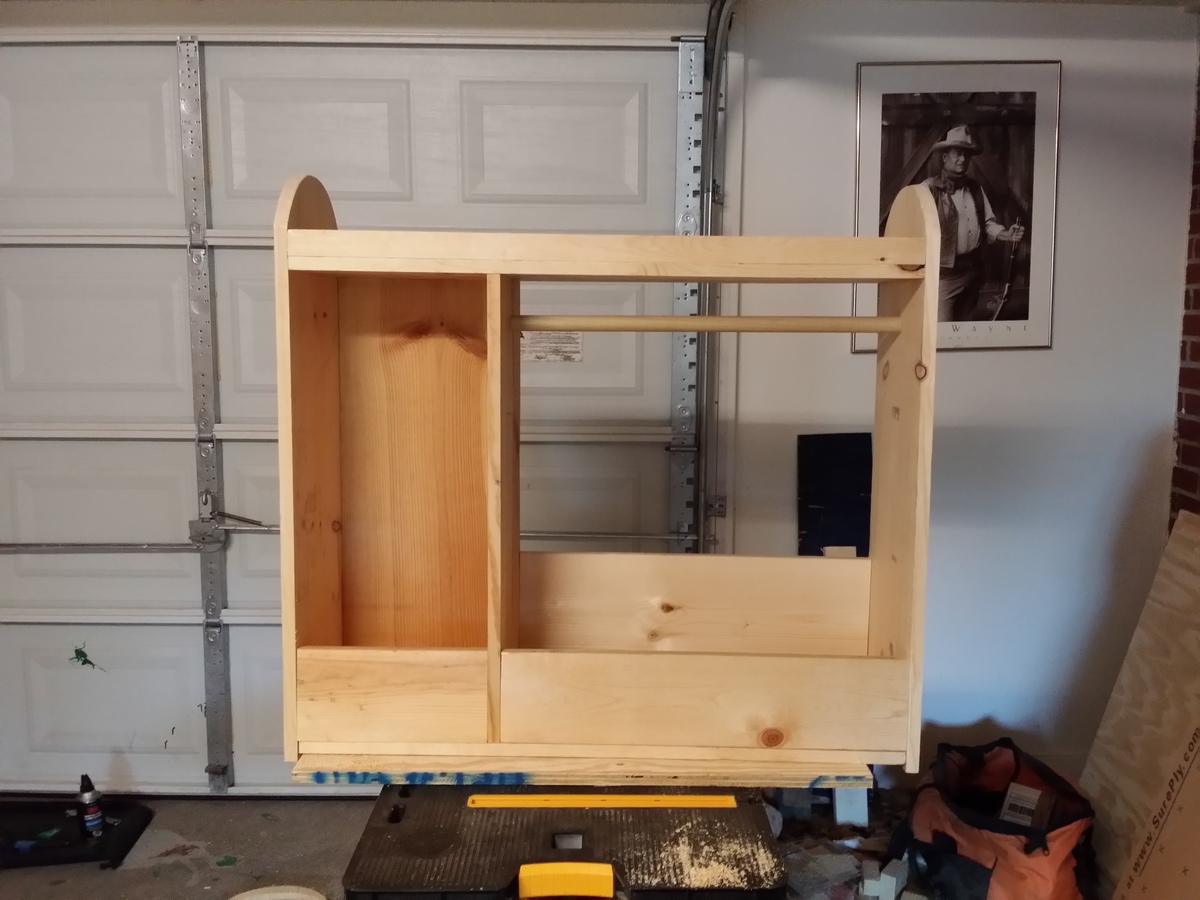
This project took about a week of commitment because of the multiple coats of paint. Otherwise, it was a very quick build, built in one day, but quite tedious sanding. I wish I could have sanded before I built it because the corners were very difficult to get around on the inside. I drew the crown on very thin Plywood that I had laying around from a night table I built and cut it out with a jigsaw.
I made this project for my gentleman friend. He didn't have much of a childhood, so I made him this toybox and then filled it with toys from the 80's as a birthday present. These plans were perfect for the occassion.
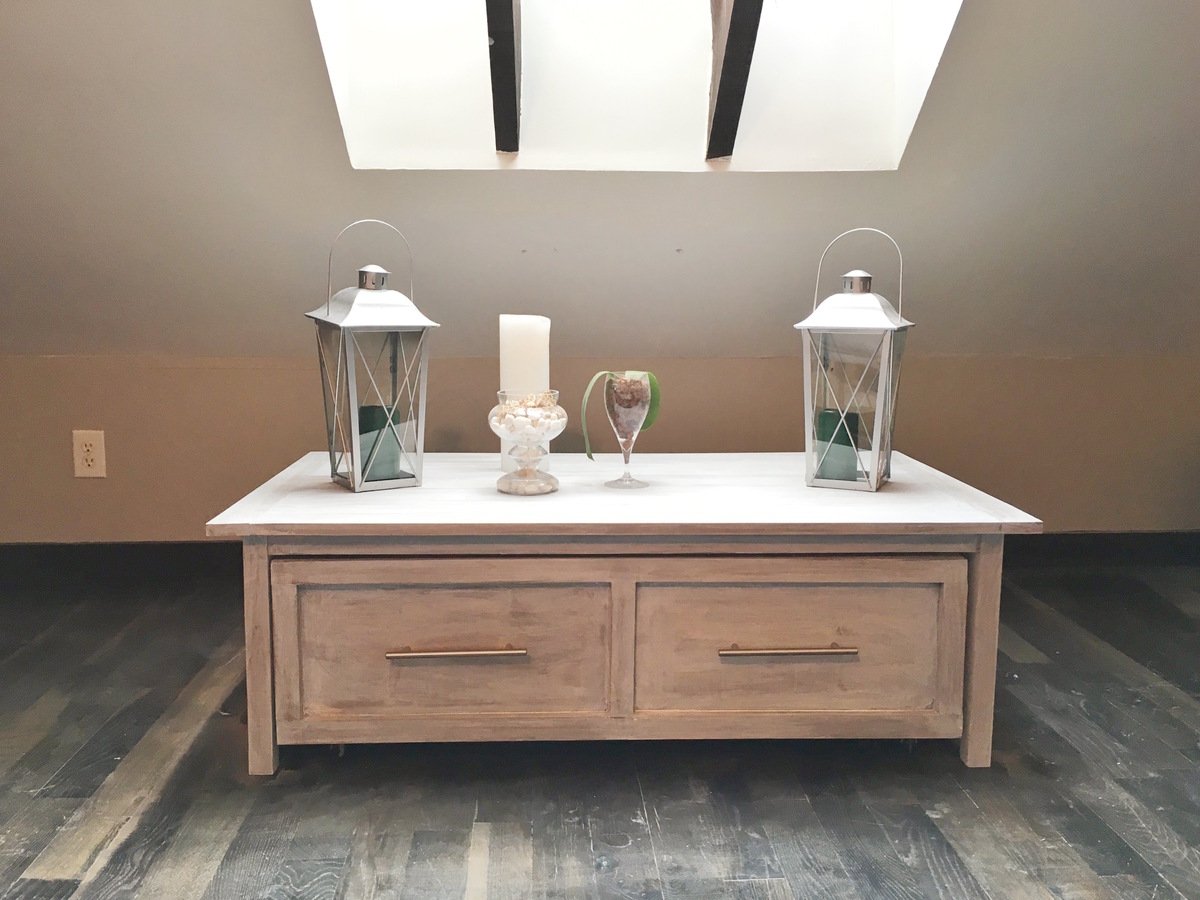
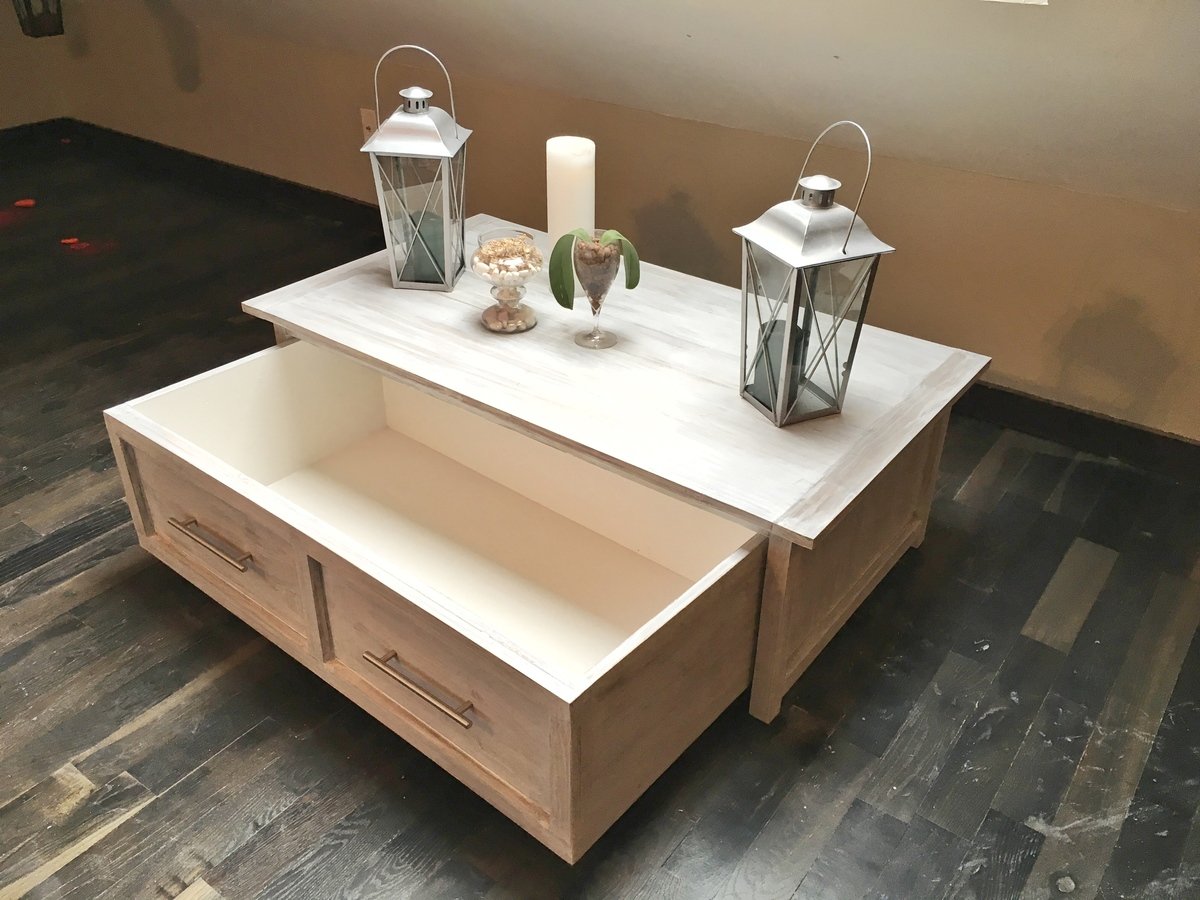
I certainly spent more than the estimate. This was likely because I used select pine boards, and my finish was rather complicated including some pretty pricey hardware. However, the thing I like most about being able to make my own furniture is that I can make it exactly how I want it, and sometimes that ends up costing more money. In the end, I have a table that "looks like a Leonard project" according to my uncle, which is pretty much the highest compliment that can be bestowed on such things by any one of my uncles.
I also spent more time than was mentioned by others. All told, I spent about 24 hours on the project over a four day stretch. I did the project on my own, and my process for filling holes and sanding is rather laborious. I actually went through that process twice even though sanding is, by far, my least favorite task. The finish was also quite time intensive.
Speaking of the finish, this was done in all water based since I live in a condo with very little ventilation. I started with Minwax waterbased stain in American Walnut. I then applied two coats of white wash before sanding it down to reveal more of the wood grain. I'm so pleased with the finish!
However, the thing I'm the most proud of is how square this thing is. Math teachers could build accurate trigonometry word probems off of this thing! I decided to reverse engineer the most important bits in order to ensure squareness. For example, I built the table top first. I then drew out a perfectly square outline on the bottom side. I then used counter sunk screws to attach the frame to the bottom side as well as the Kreg jig to fit the pieces of the frame together. Similarly, I cut the bottom piece of playwood perfectly square, and then I attached the 1x12s to the plywood to ensure everything stayed square. Those 1x12s are just too swervy otherwise, which can become rather unweildy.
All told, I am very pleased with the finished product. I love having the ability to build high quality furniture that will live on for a long time to come.
Tue, 05/03/2016 - 19:22
You did an amazing job! Looks like a photo straight out of a magazine! Just gorgeous!
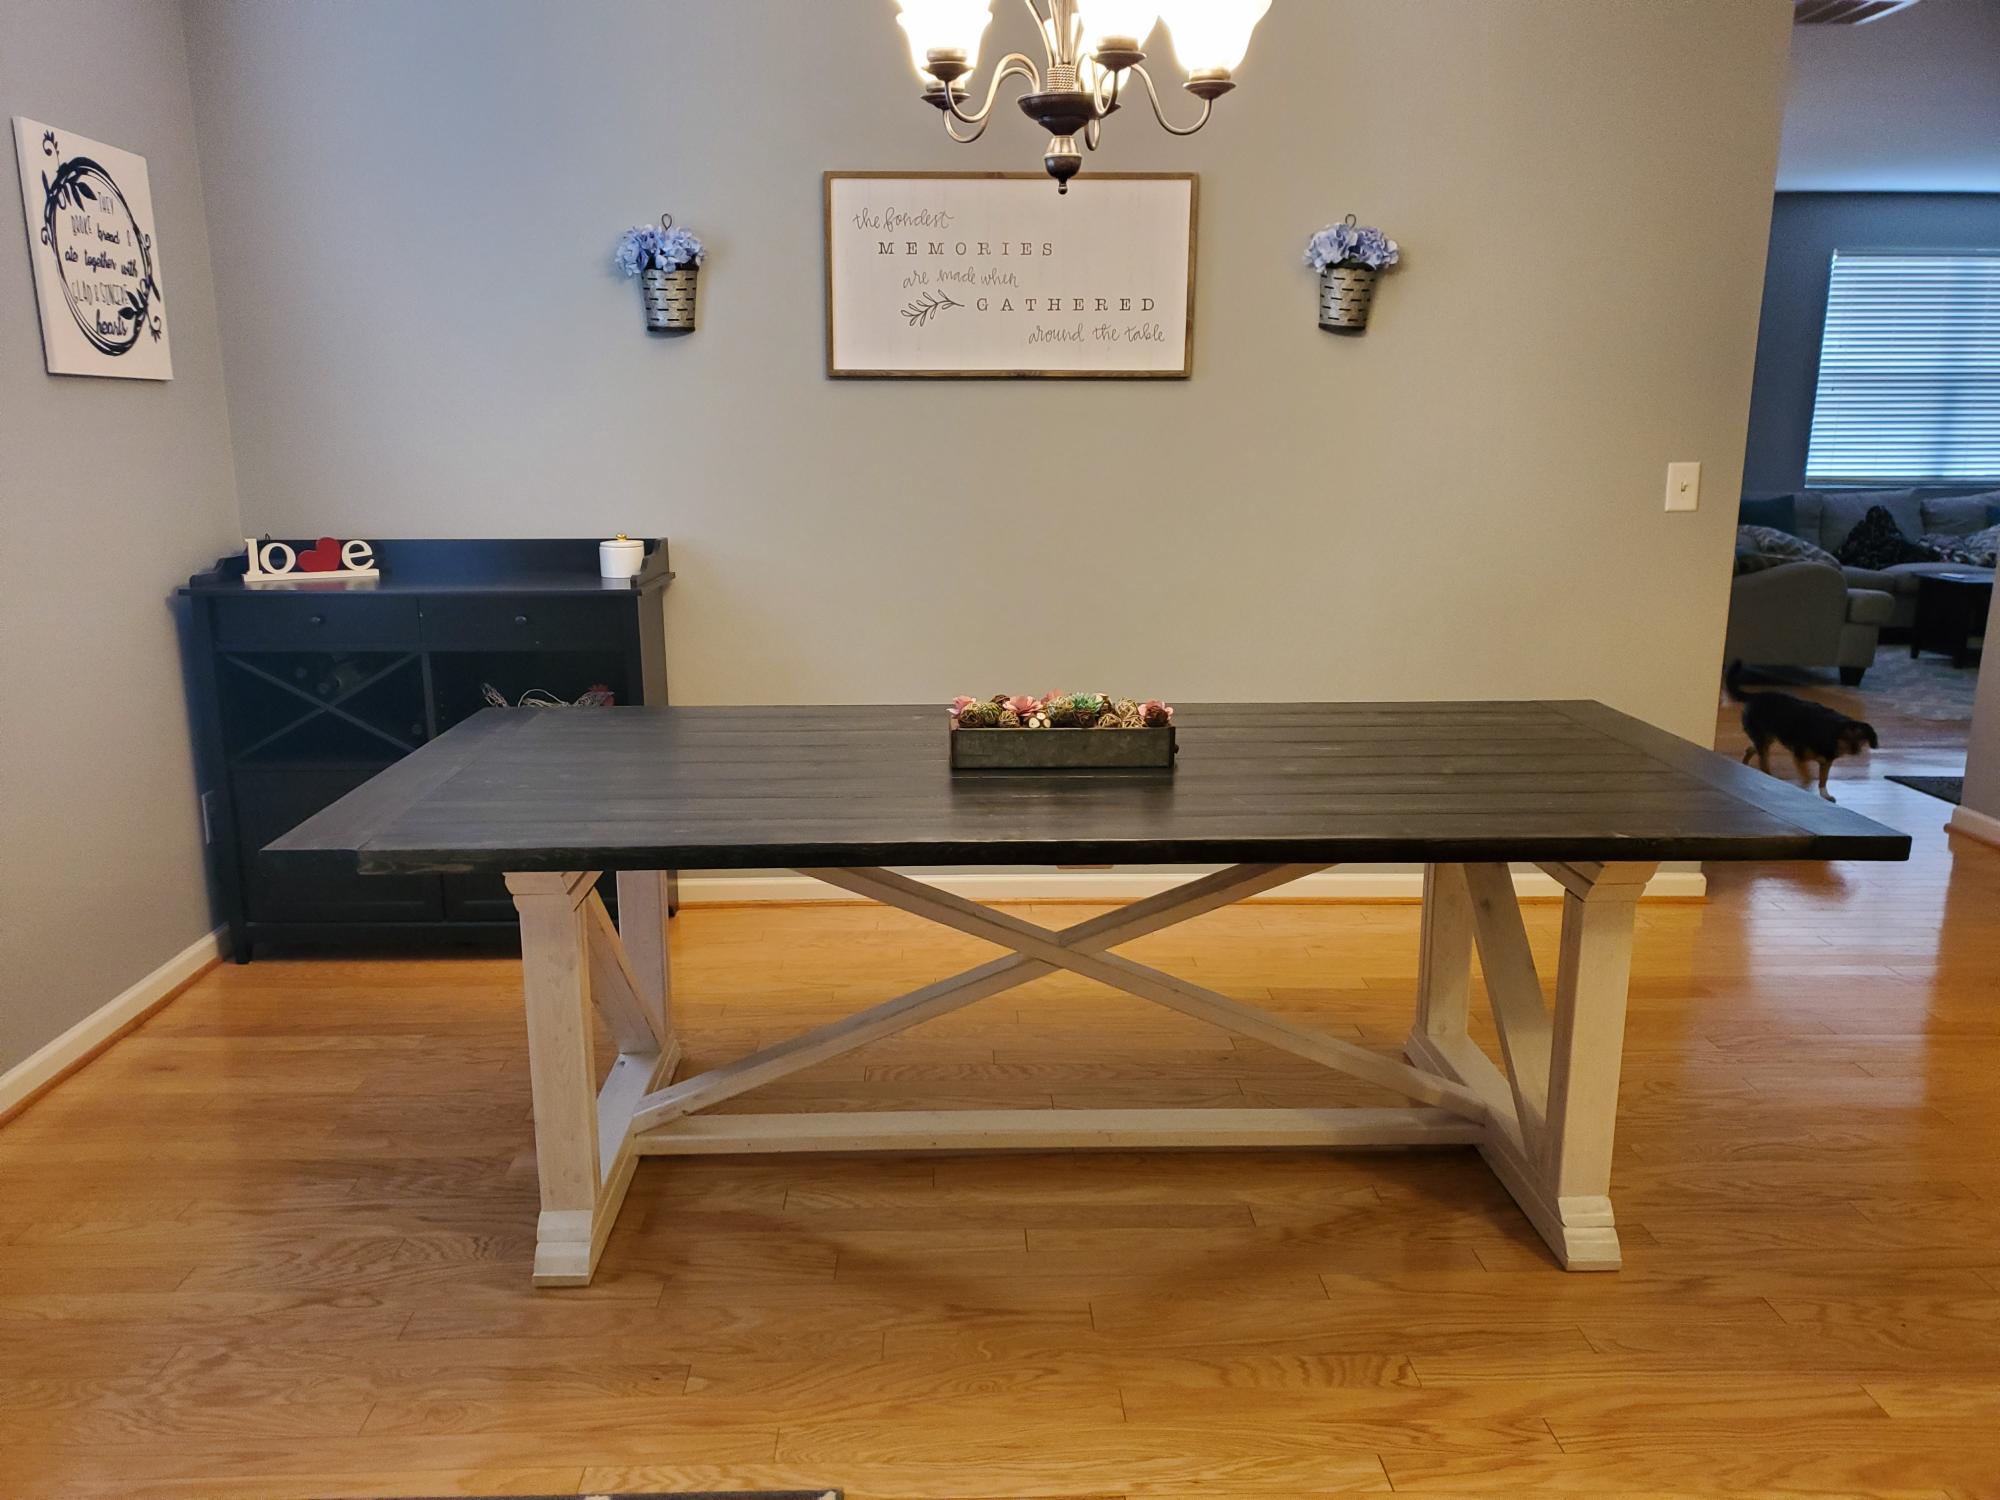
When you move to a new state to be closer to family, you need a table to accommodate all the love in your new home. This was the perfect piece to add to our new house in North Carolina where we are lucky enough to have 8 additional family members within 15 minutes of us. I'm so excited to have family dinners with 12 of us around the same table!
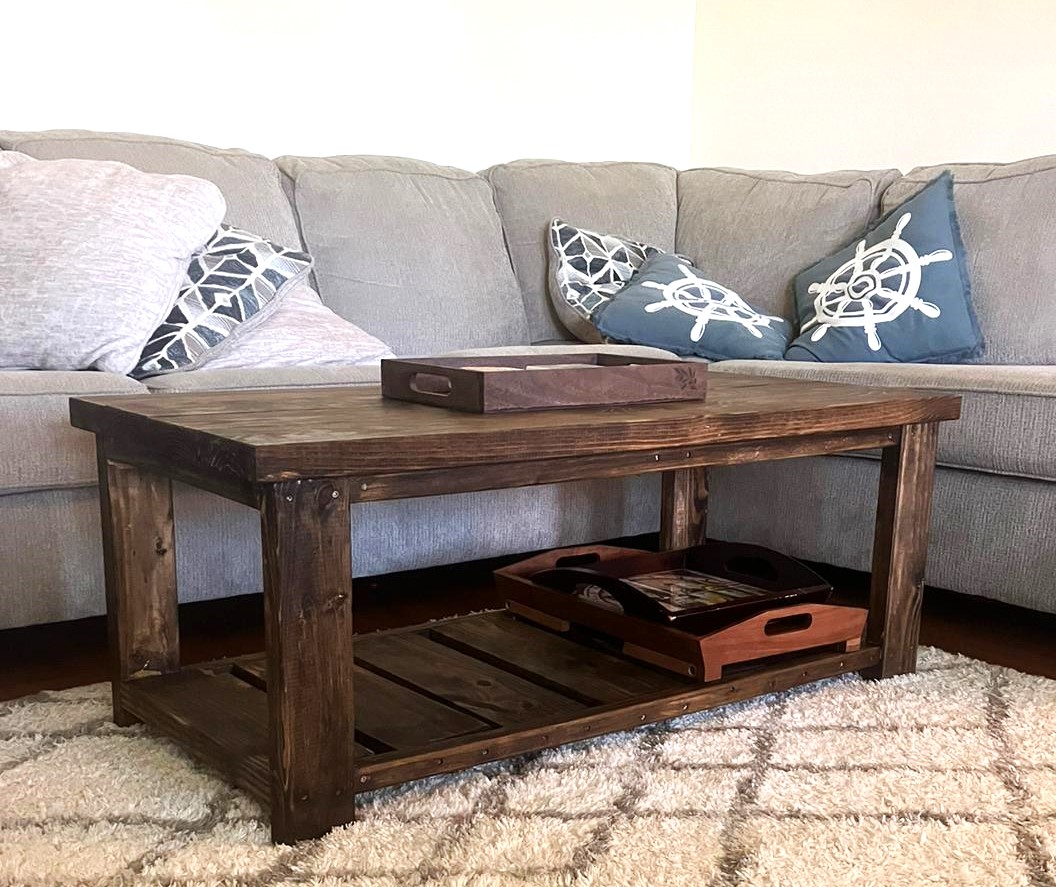
My husband and I (with some help from a friend at various points) built this coffee table and are so pleased with the final product! It was so manageable thanks to the already-made plans for it, and it had given us confidence to try out more plans on this website. We are so excited!!
Laura
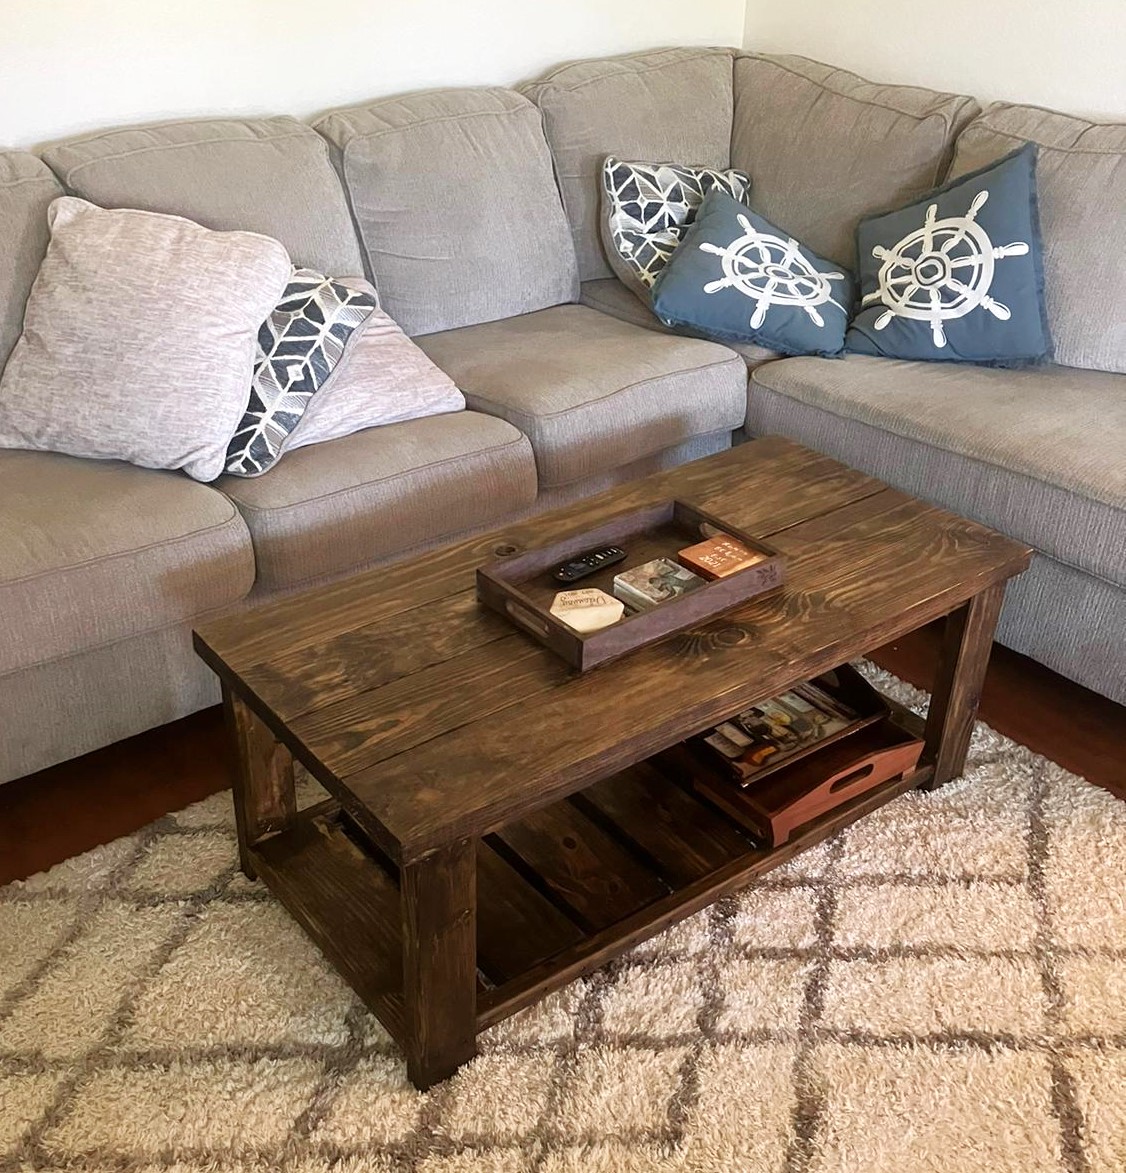
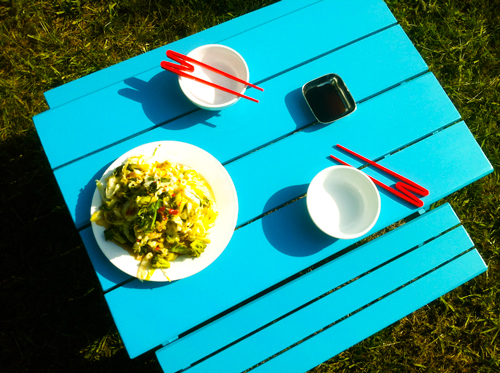
Life between tours can be challenging. Both for the re-entry and the need to SLOW DOWN! My love put this project on my shop table after returning from the NE in mid-April. A fun job for my son and I to play at. I had purchased twenty, 12'x1"x6" tongue & groove heart-pine months ago from HD. $1.97 down from $16.70! I ripped the T & Gs off and cut the lumber down to specs for this project. SUPER fun and easy to make! I discovered the exterior primer + paint after I finished building and probably would have preferred to do 2 coats, prior to making with touchups AFTER the assembly...next time! (Bought a KREGG JIG for this project and love it.)
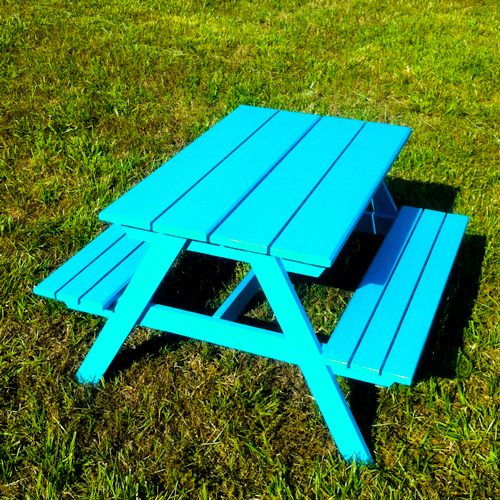
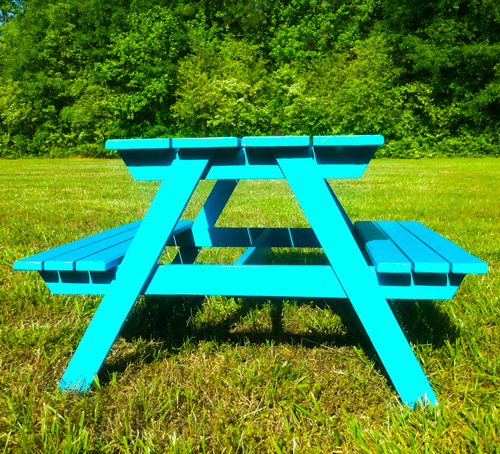
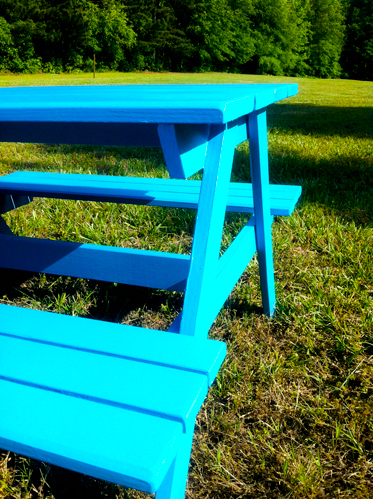
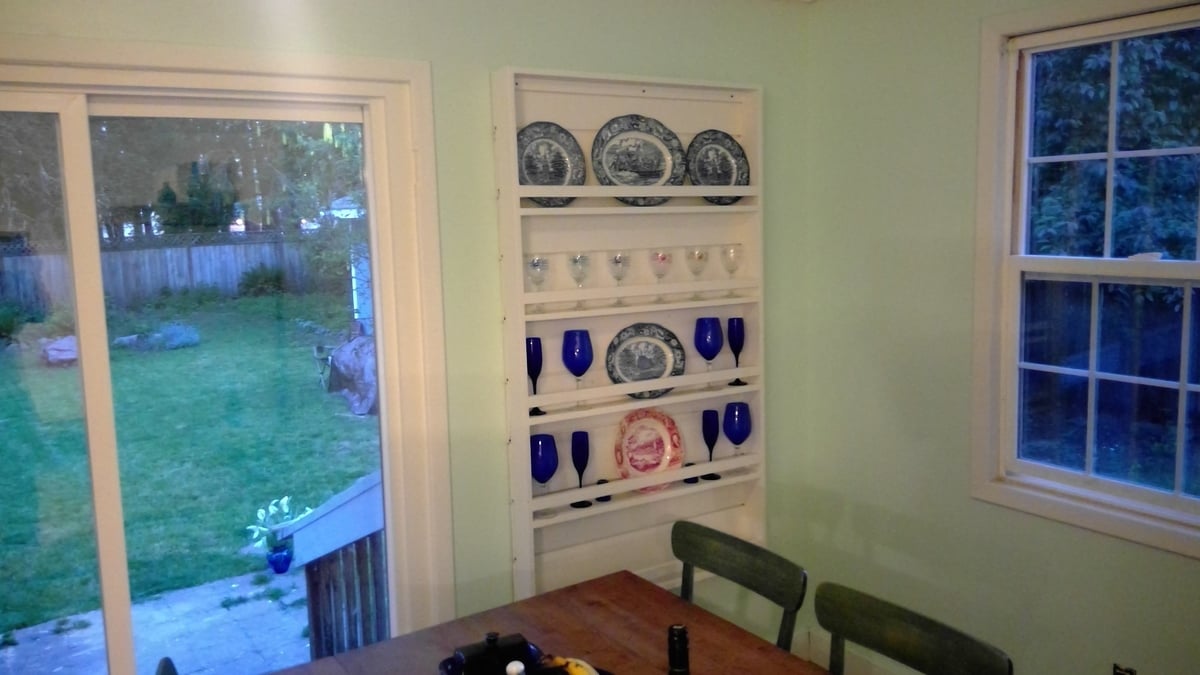
I came across the plans for the pate rack and realized it would be a perfect fit in my dining room. My house is just shy of its 100th birthday and I have been tackling renovation one room at a time. I have been trying to find new ways to use all of the materials that have been removed or replaced during my renovation. I was able to use the damaged shiplap and warped baseboards from my first room's renovation and create a plate rack shown.
Thank you for the plans!
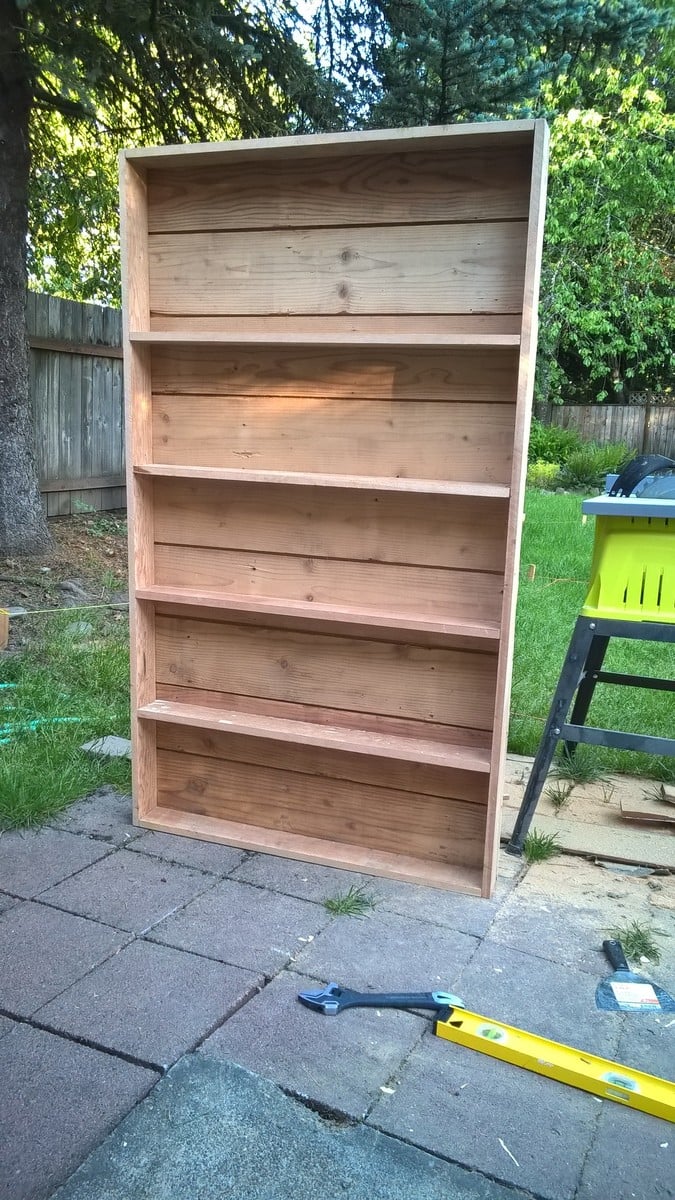
My first ever project that was intended to live in my house.
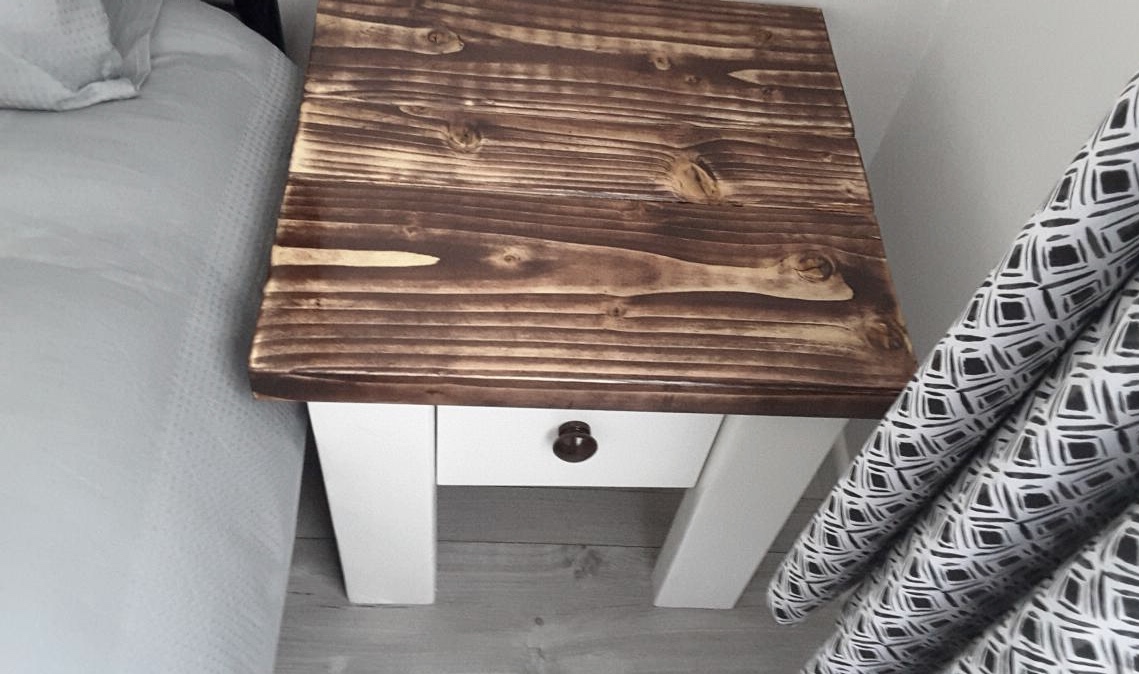
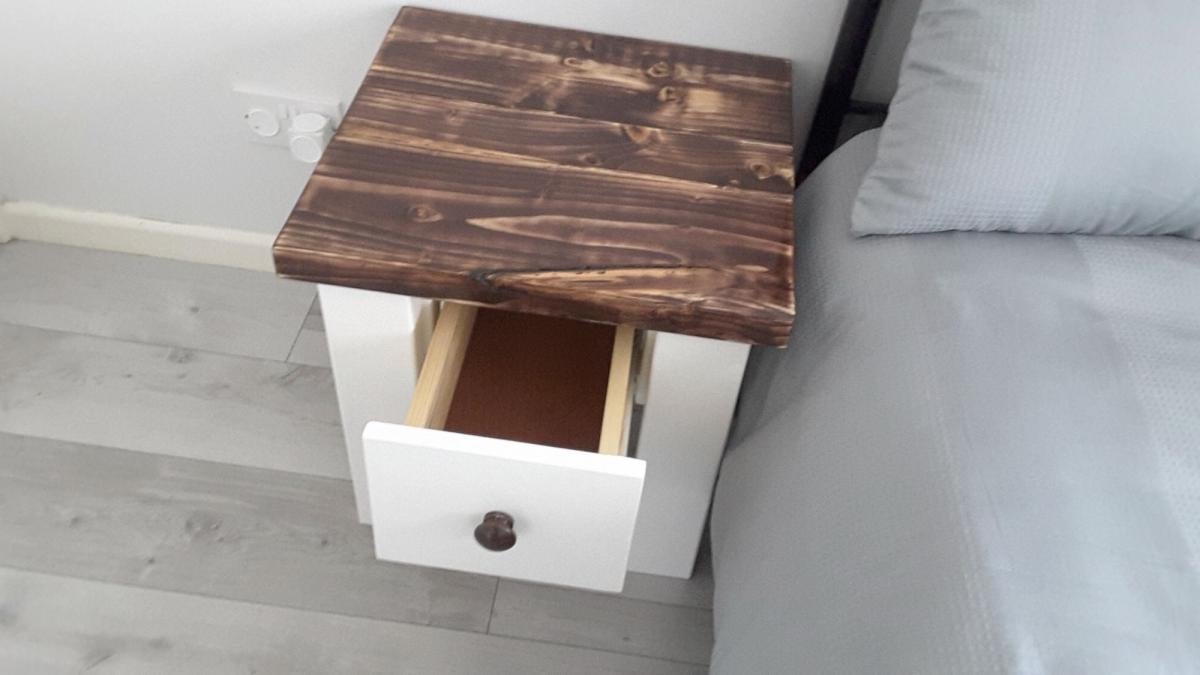
Built a pair of these Farmhouse Nightstands for a spare bedroom from a modified version of Ana's plans. The only real difference was that they were re-sized to fit the space available. The tops are made up from two 8x2s and a 4x2 and the base by about an inch on all sides. The three pieces making up the top are joined underneath by Kreg screws (another first for me) and the top is secured to the base by small angle brackets from underneath also.
The base was painted first with a primer, then undercoat and finally with a top coat of Antique White satin finish. The top was stained with a walnut stain. I didn't apply a sealer beforehand and so the wood absorbed it at different rates but I like this effect. Finally the top was finished with 3 coats of Danish Oil
Really pleased with this first project. Thanks Ana for the design.
Sorry about the photos - everytime I load them the appear upside down 🙃🤔
Thu, 06/04/2020 - 12:36
My fifteen year old daughter made this. She would only let me do the sanding.

My partner and I struggled with how to make a bookshelf wall around a fireplace that is flush with the wall. The solution! Build out the lower portion of the fireplace wall about 8 inches, add stone, then cabinets and shelves. Materials used: butcher block counter top, real wood panels for wall, oak wood for shelves, and poplar for the painted portions. The mantle is laminated wood made to appear like a large piece. We have a power strip accessible on both sides to keep things plugged in. The hardest part was continuing the crown molding around the top. We are pleased with the result!!
Laura E.
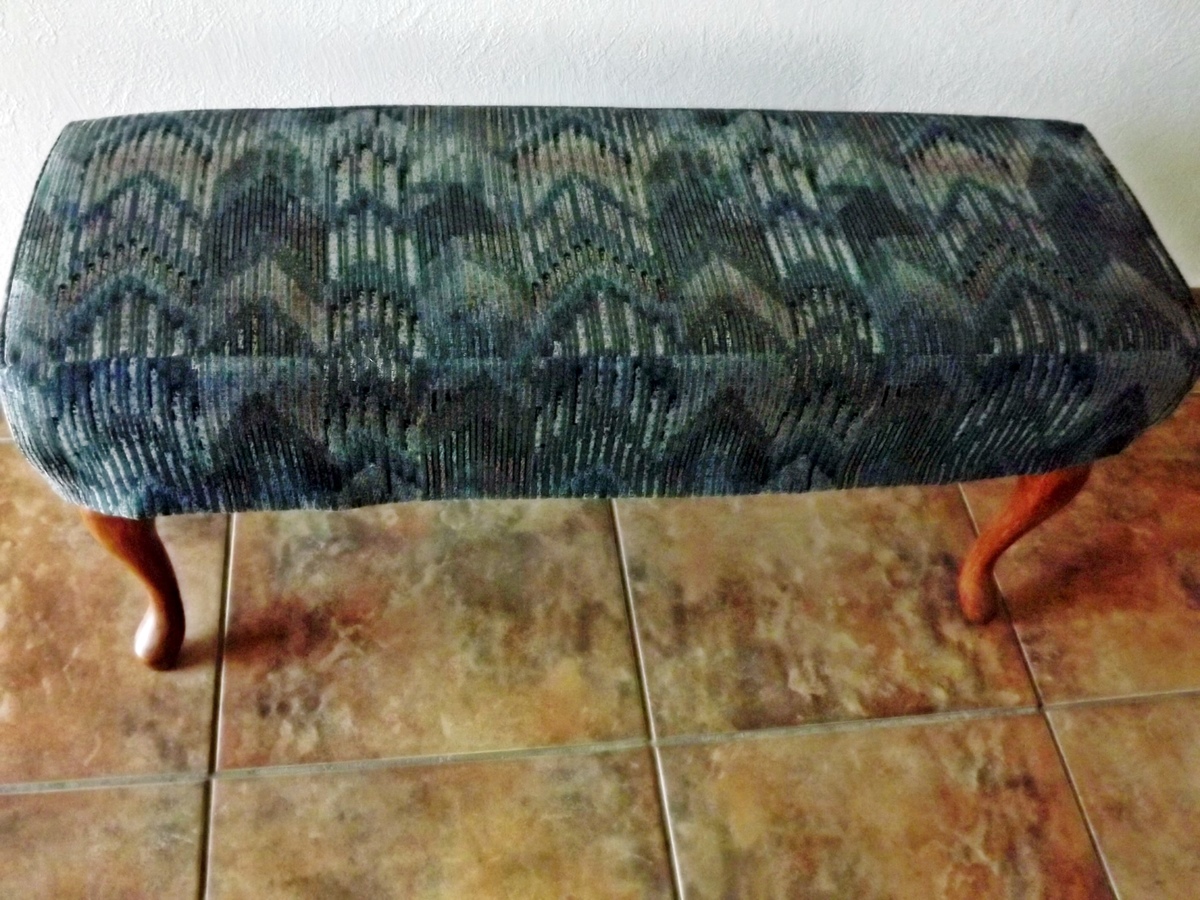
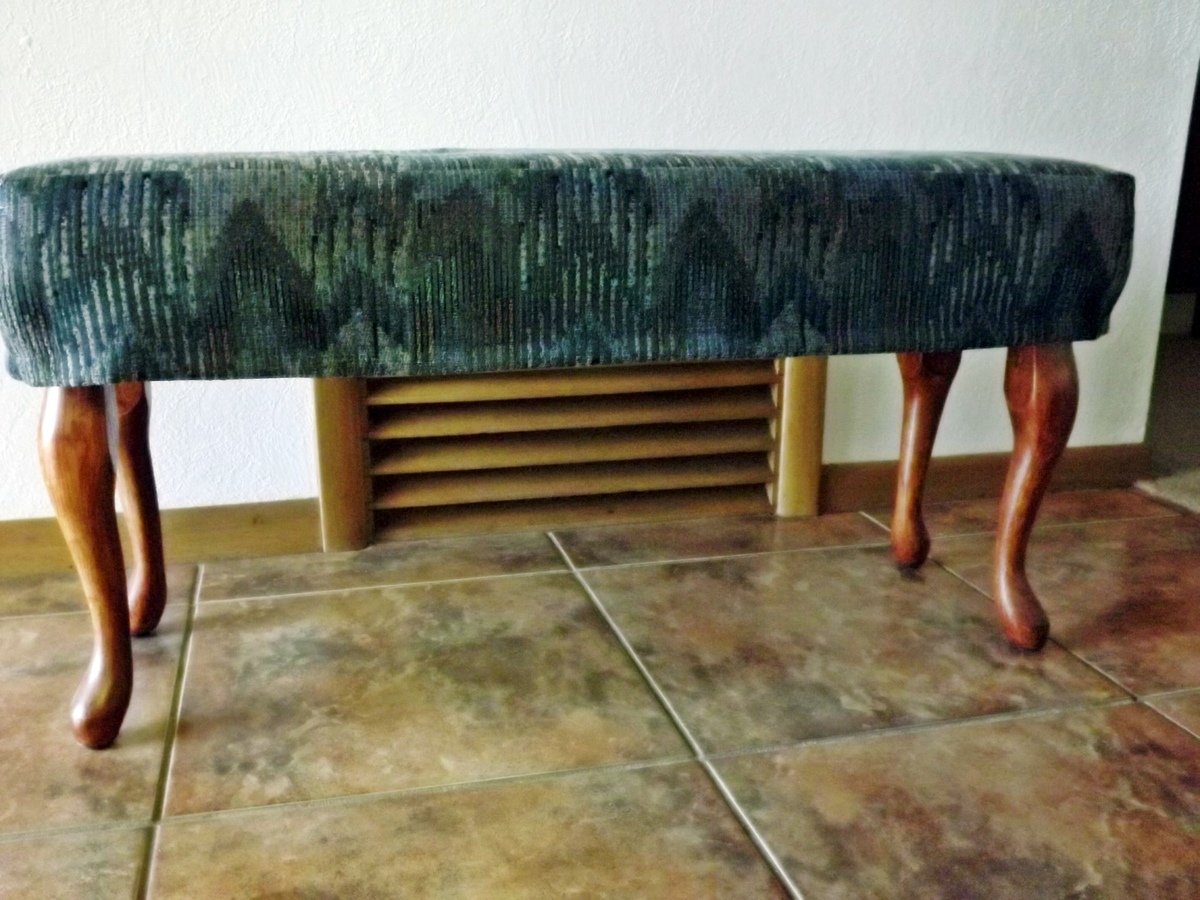
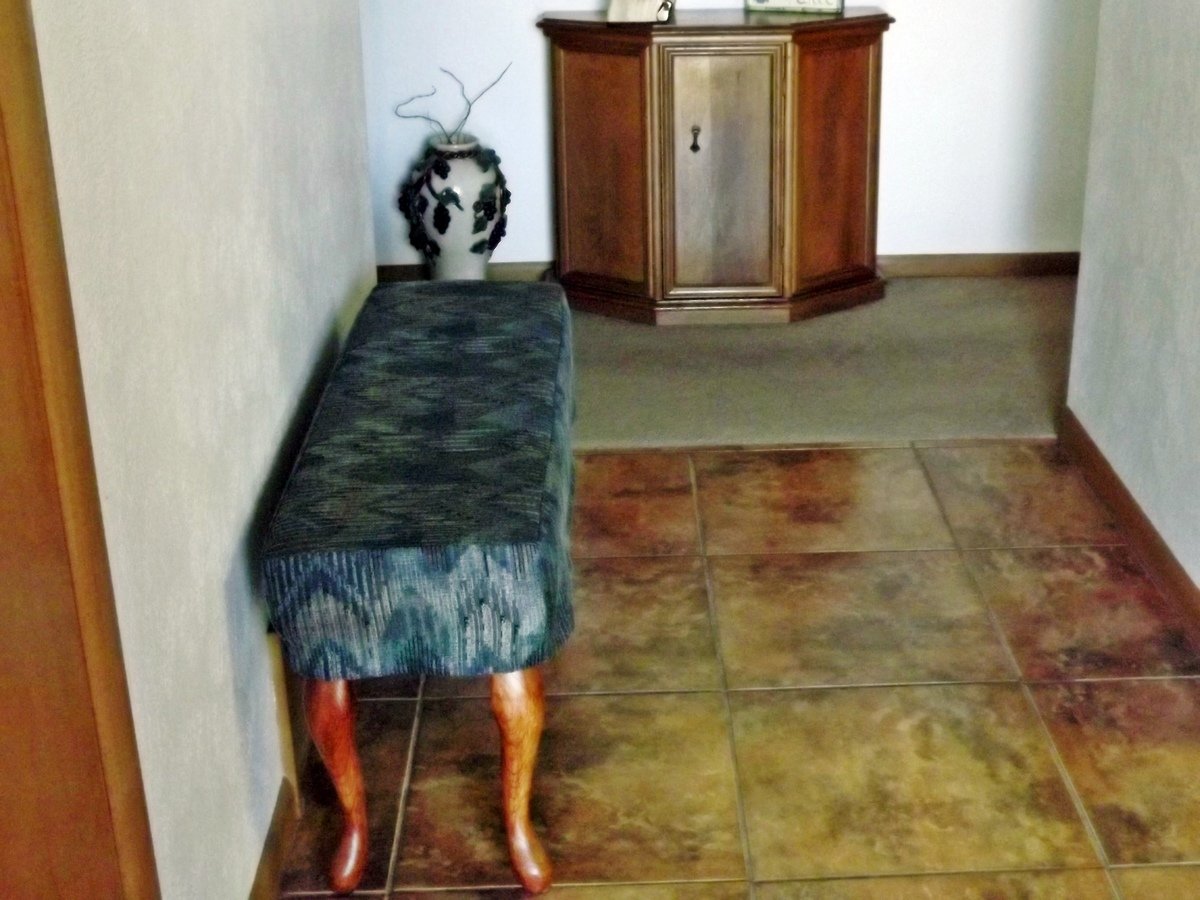
My mother needed a bench in her small entryway. She had definite dimensions in mind and we looked everywhere. None fit the bill. Then I saw these plans and we went from there. She had leftover fabric from recovering her dining room chairs, and I had the plywood. She wanted the Queen Anne legs to go with her traditional furniture; we put felt floor protectors on the bottom of the feet of the legs, which helps keep the bench from moving so easily on the tile floor. The plans were easy to follow, including the tutorial on how to sew the slipcover. The bench worked out just like she had hoped. Thanks Ana, for the great plans.
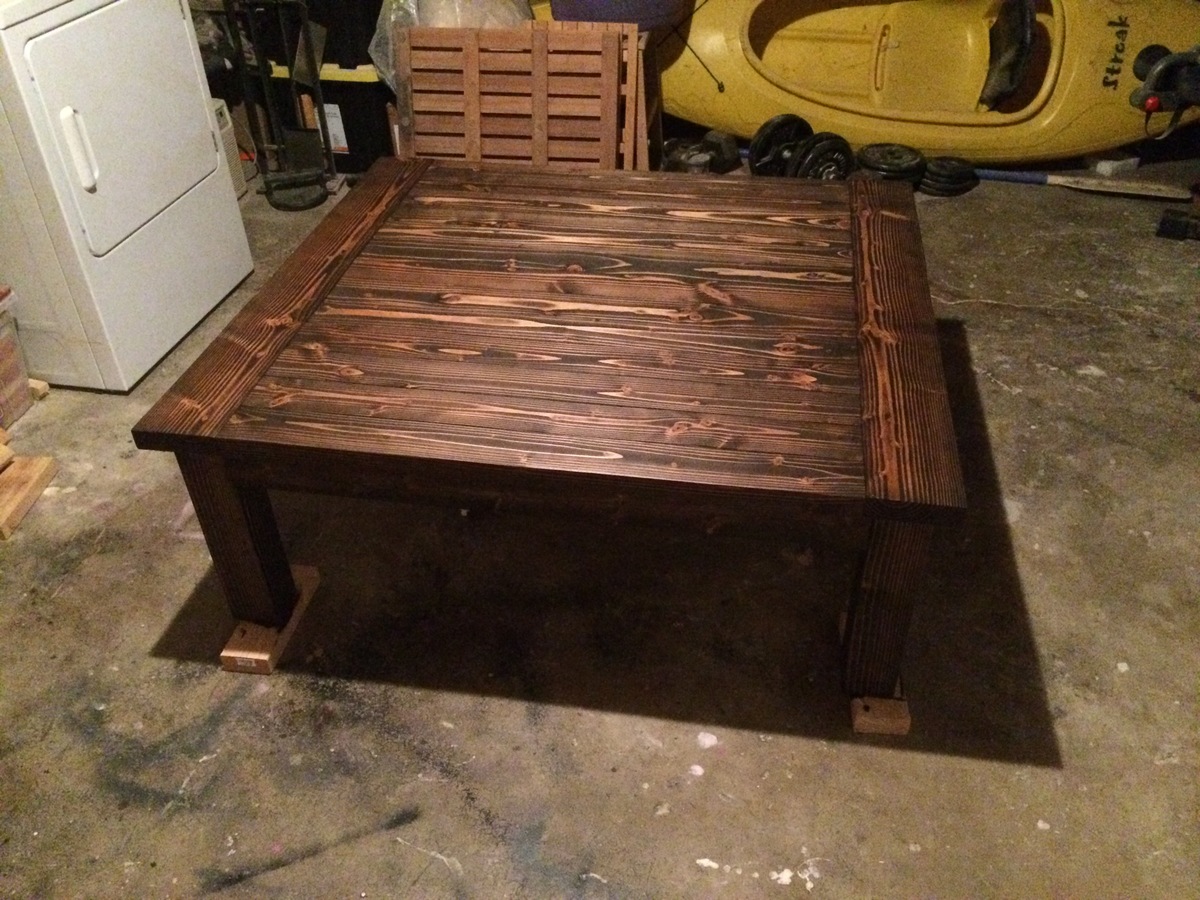
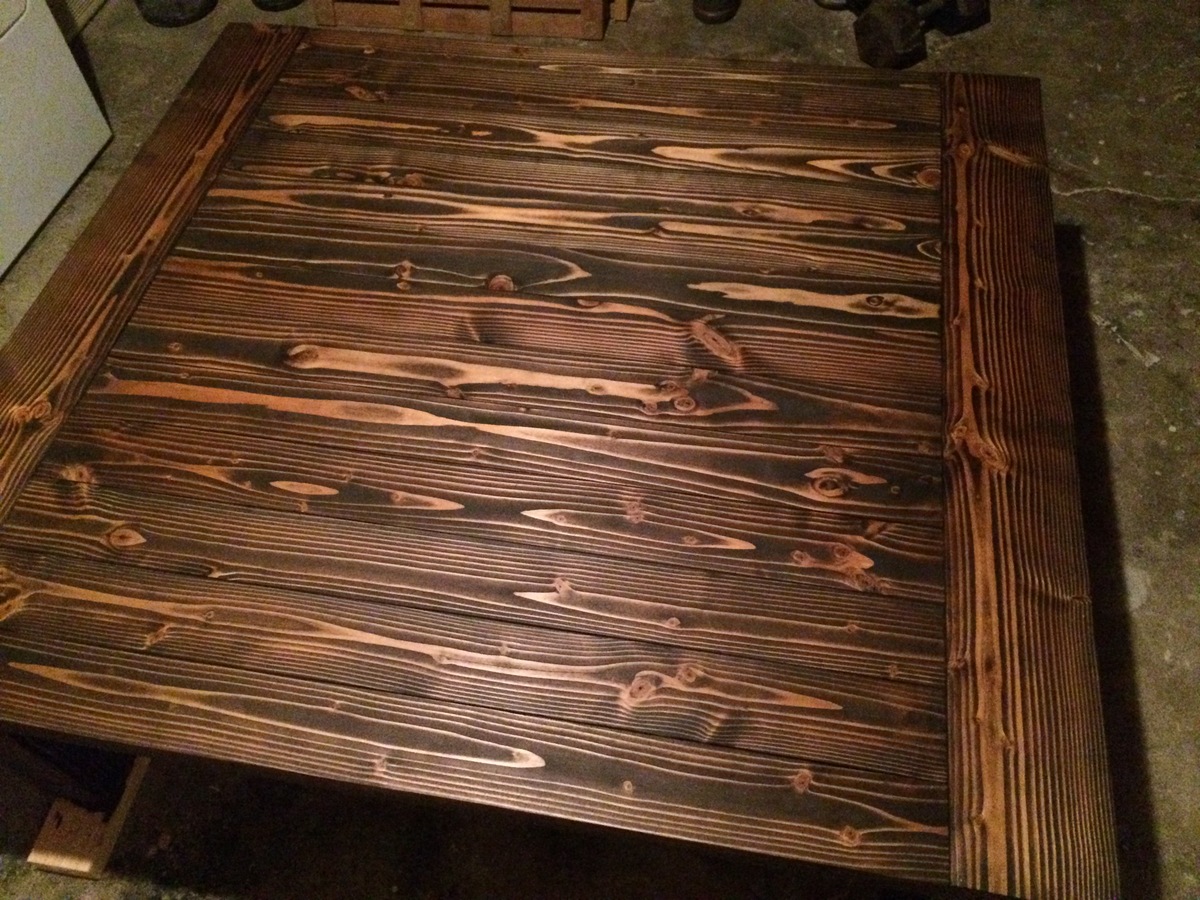
used a keg jig so all screws are hidden underneath. Lots of sanding, but was worth it for the finish though.
Comments
sarah family (not verified)
Wed, 11/07/2012 - 12:17
Hi! Just curious about two
Hi! Just curious about two things. Did you use 1 x 4's for the inside apron or 2 x 4's? Also, have had any problems with kids tipping the bench over?