Community Brag Posts

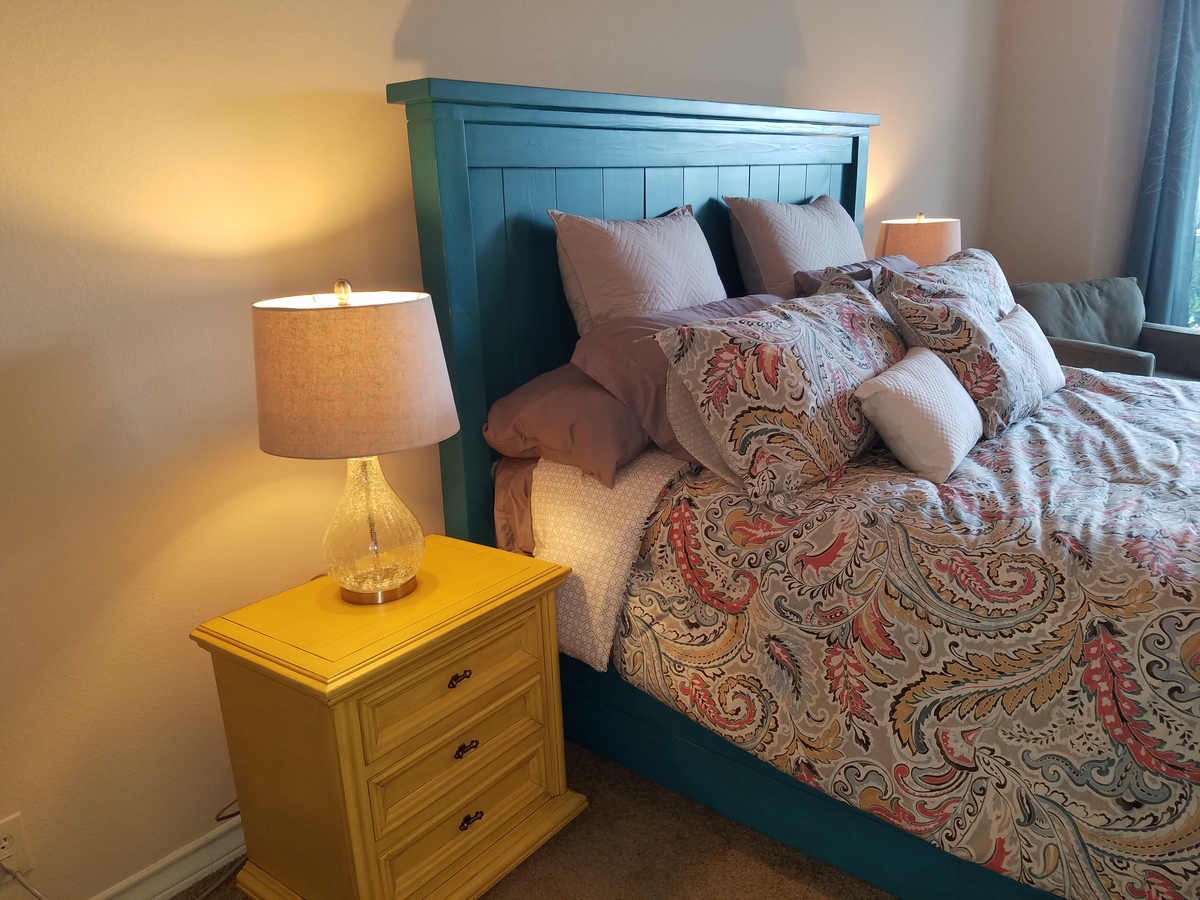
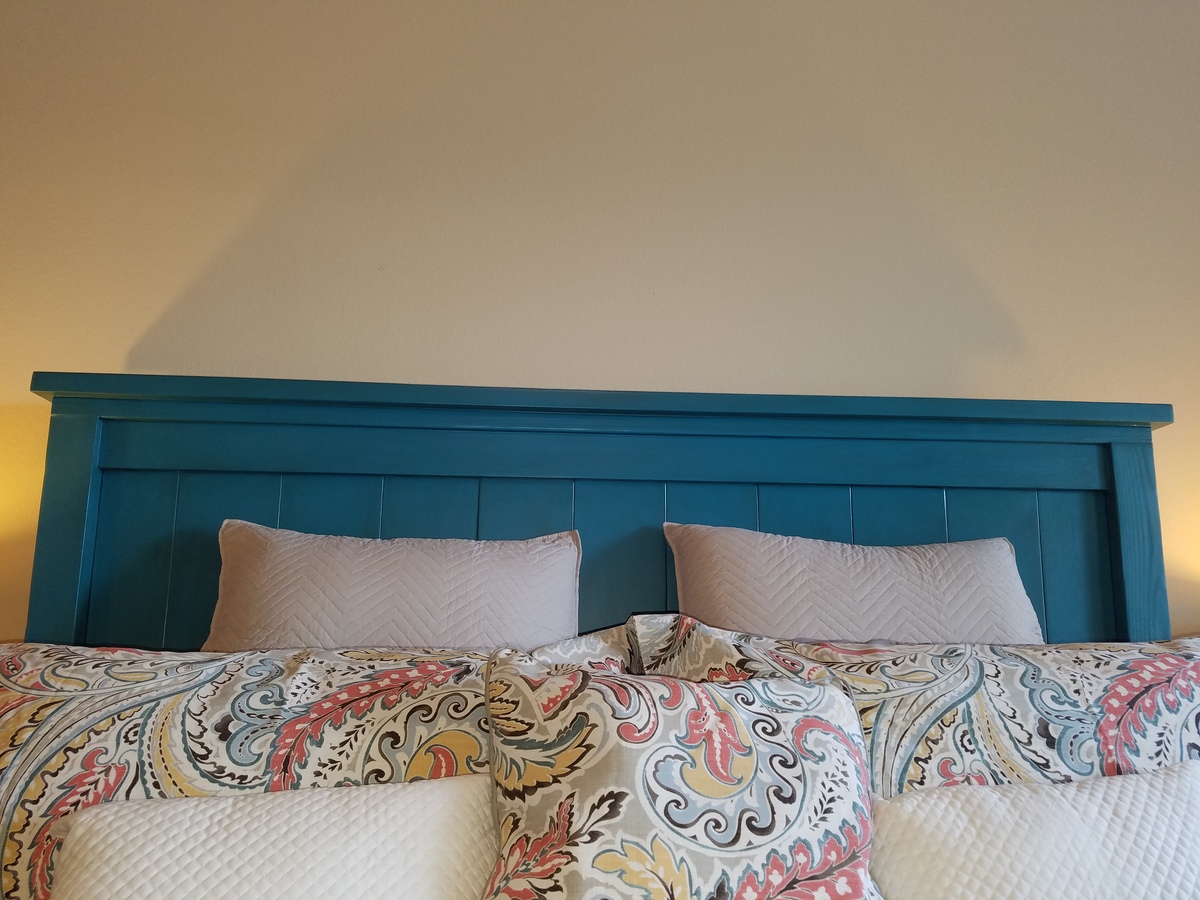
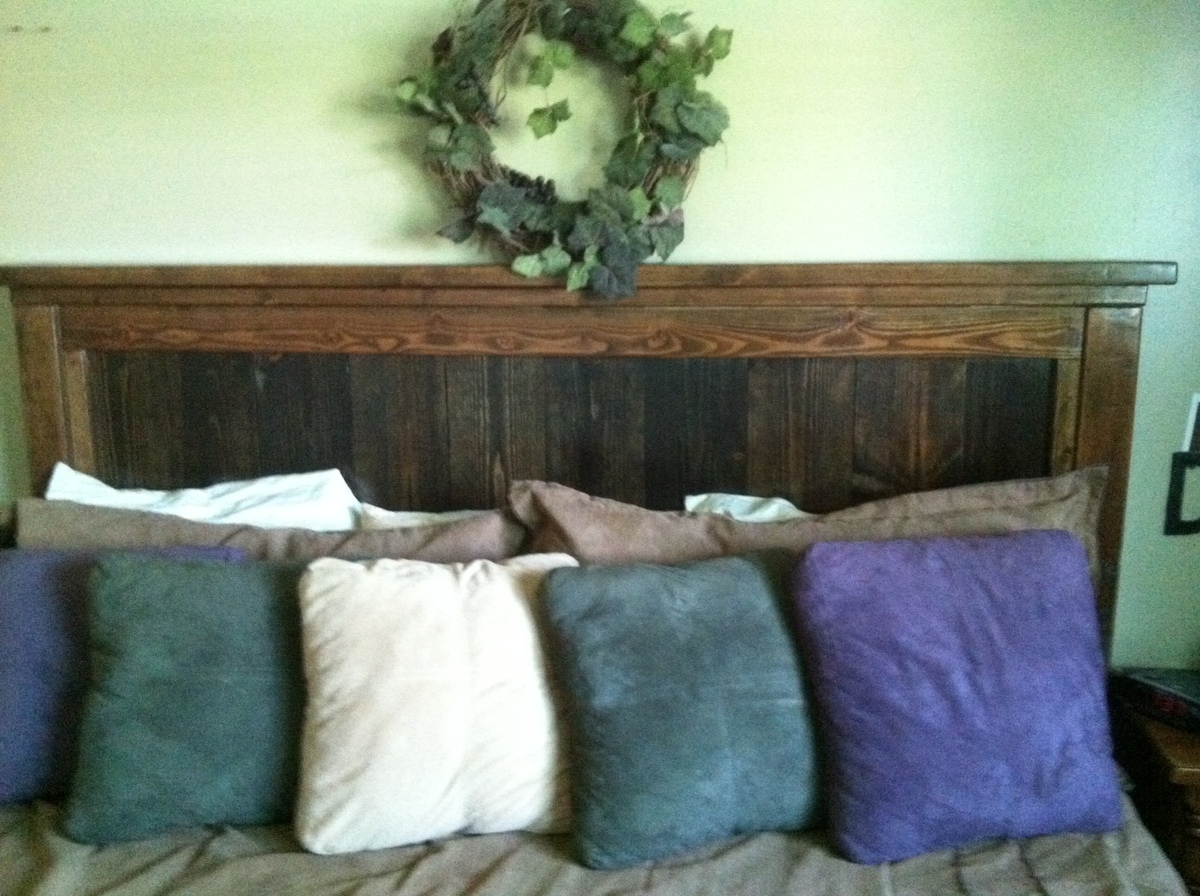
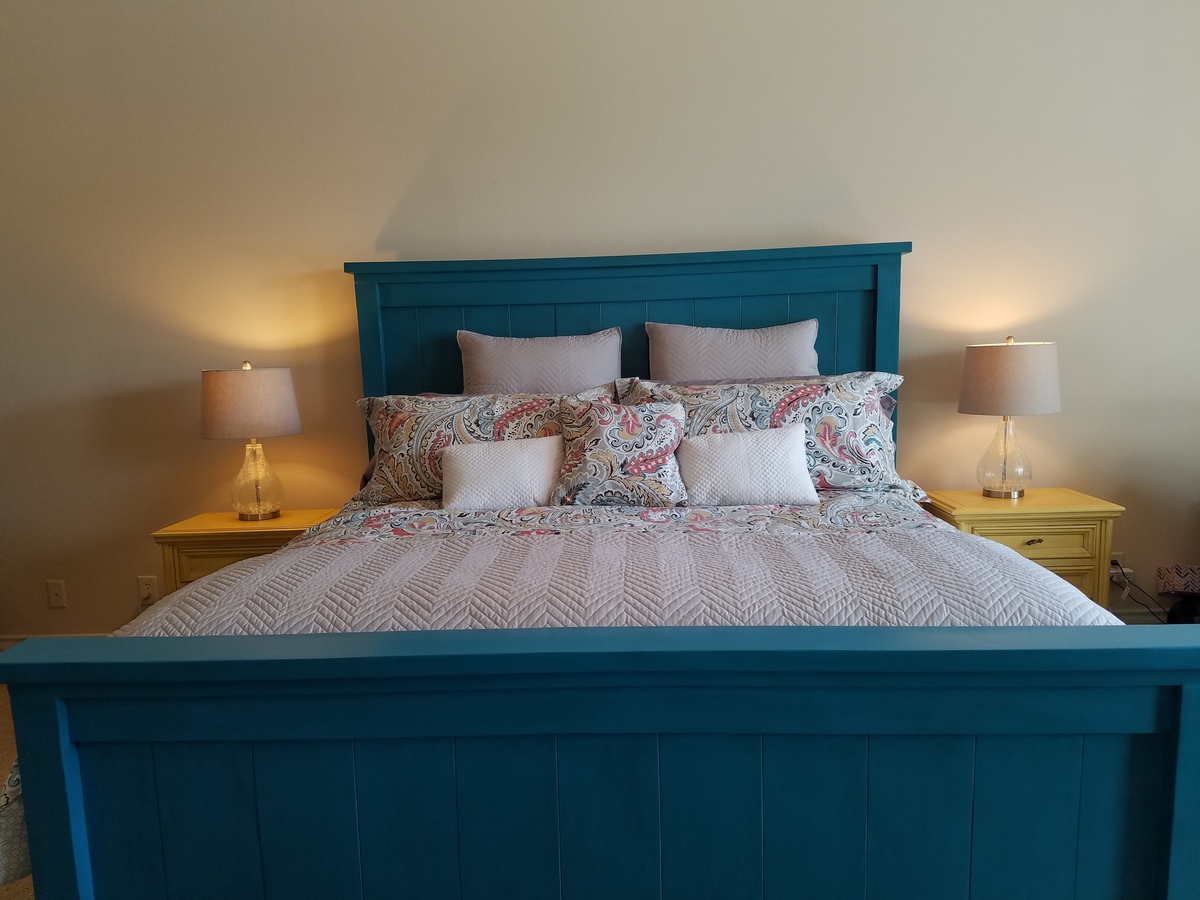
Teal King Farmhouse bed
Submitted by abbrater on Mon, 10/10/2016 - 13:36

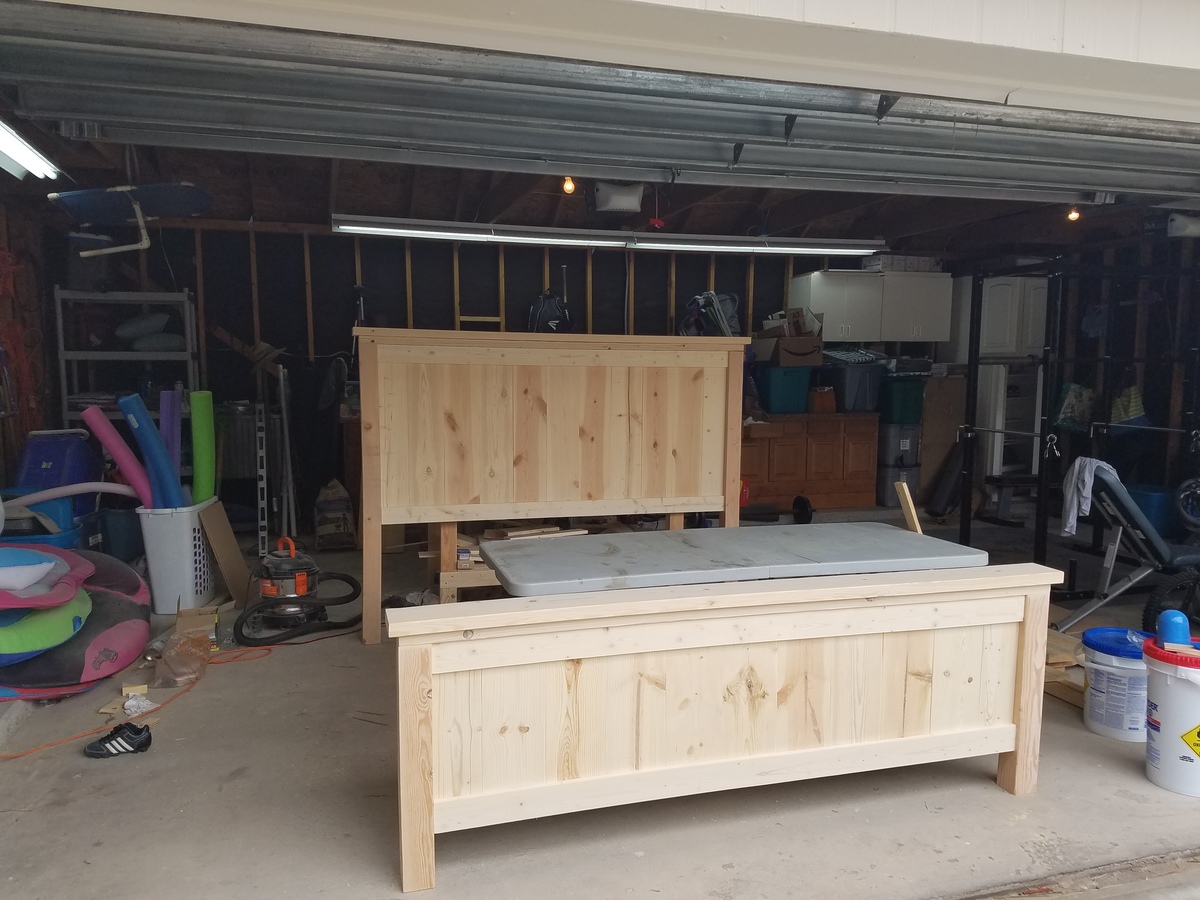
I added six inches to all vertical measurements for the headboard and footboard to make this bed a little taller.  

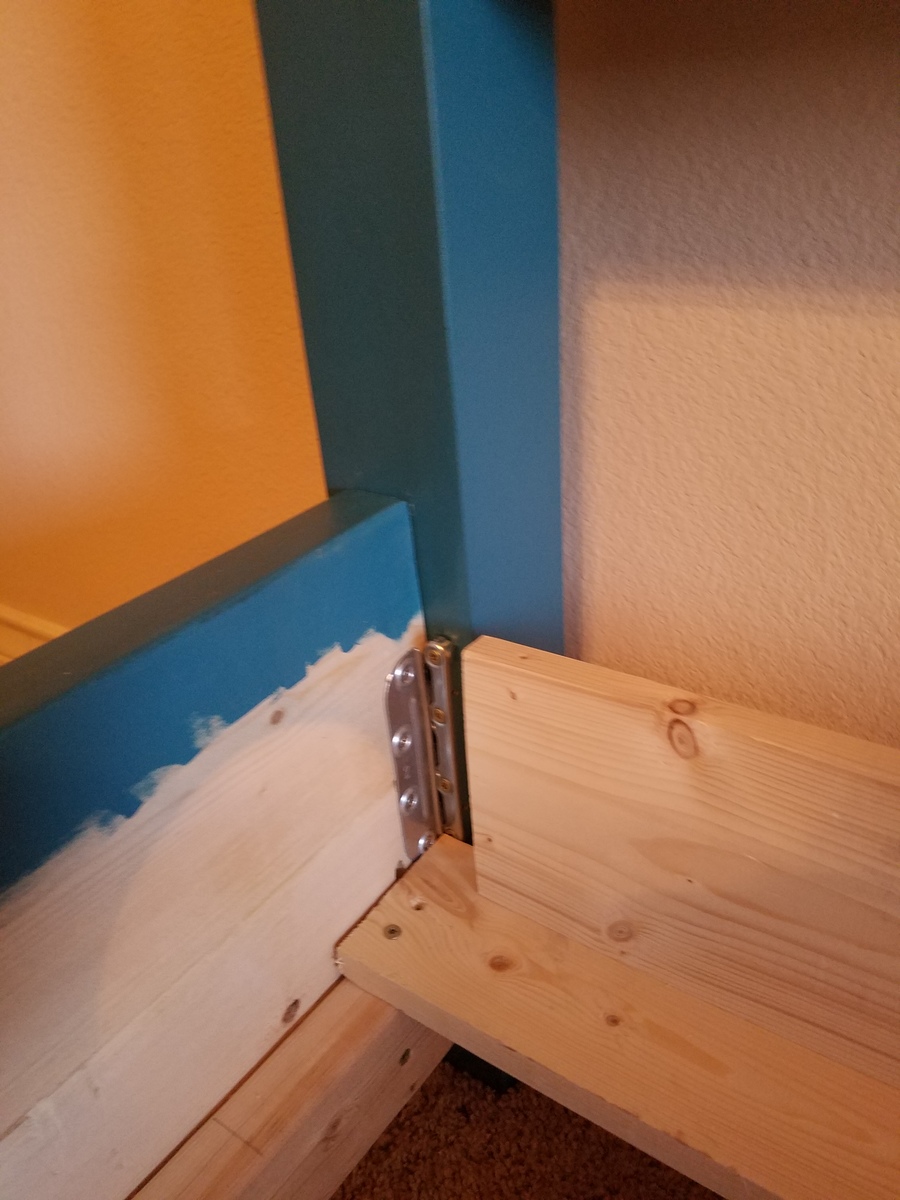
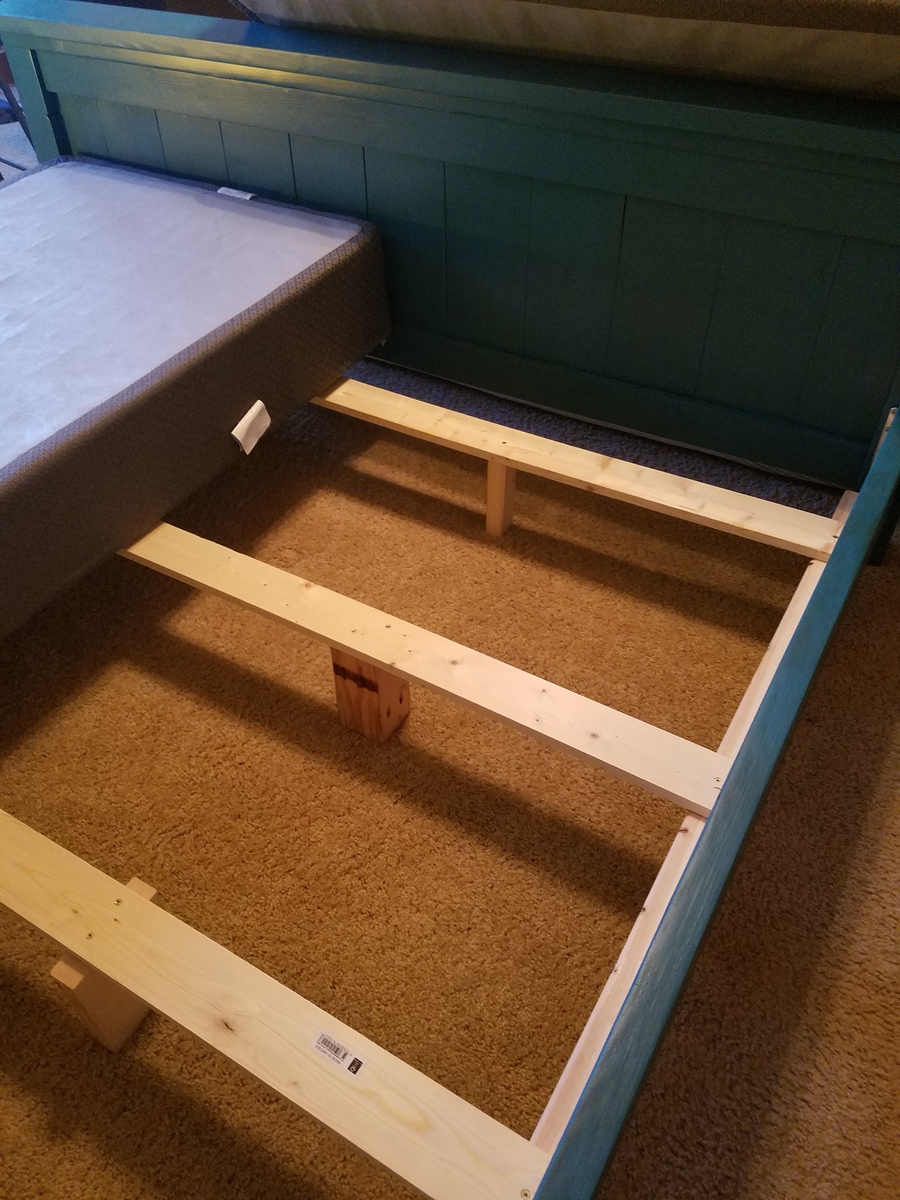
This bed was easy to build – this was my 5th woodworking project ever.  It is however a BIG project in terms of size…I can carry the footboard by myself, but the headboard is a different story!  I used Jamison’s (from rogueengenieer.com) technique for attaching side rails.  My bed came out a little bit wide even though I sized down the width measurements to fit a king sized mattress used in the traditional orientation ( 76 inches wide by 80 inches long.)  Had I attached the rails on the insides of the 4/4 posts it would have been perfect, but I wanted to be able to break the bed down easily in case we move.  (We have a history of being semi-nomadic!)  I purchased the rail hardware off of amazon.  I also ended up using pocket holes to attach a 1x6 to the end of my top support board to keep the box springs from sliding up. 

 I LOVED the color of the feature bed on the California King Farm House plans, so I tried my best to match that.  I used a home right max sprayer for the primer, paint and polycrylic.  I hand applied the brown glaze with a sponge brush and wiped most of it away with old t-shirt rags.    I absolutely love the bed – it is super heavy and very sturdy!  Thanks Ana!
Estimated Cost
approx $250 including paint and hardware
Estimated Time Investment
Week Long Project (20 Hours or More)
Finish Used
2 coats kilz 2 primer.(sprayed on), 4 coats Caribe from Behr (home depot) (sprayed), glazed with rustoleum decorative glaze in java brown. 2 Coats of satin polycrylic (sprayed)
Recommended Skill Level
Beginner

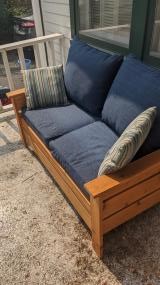
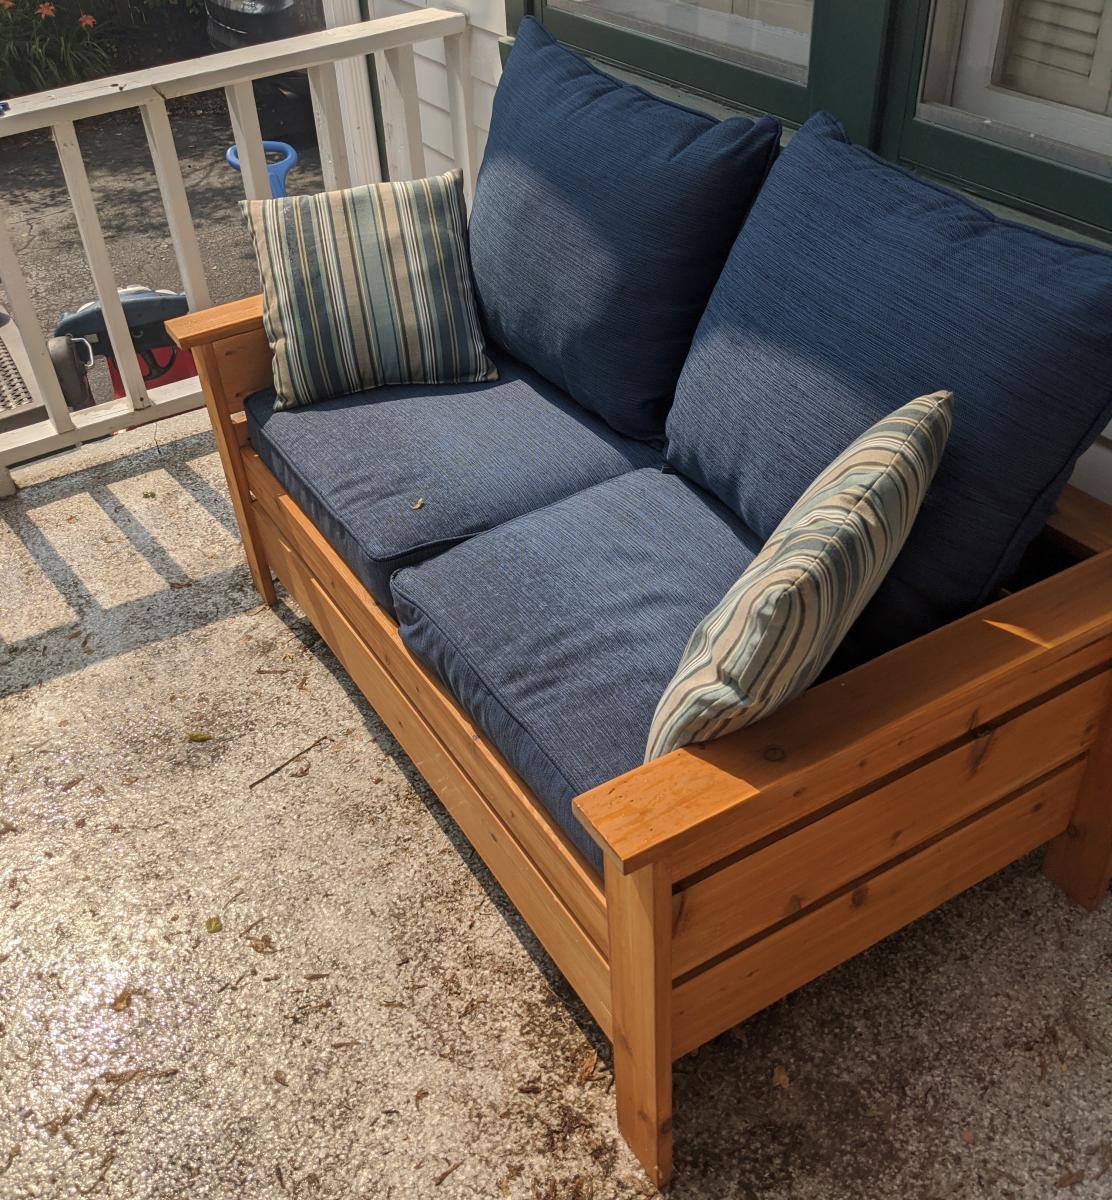
Outdoor Loveseat

Submitted by lehmanna36 on Fri, 07/10/2020 - 08:24

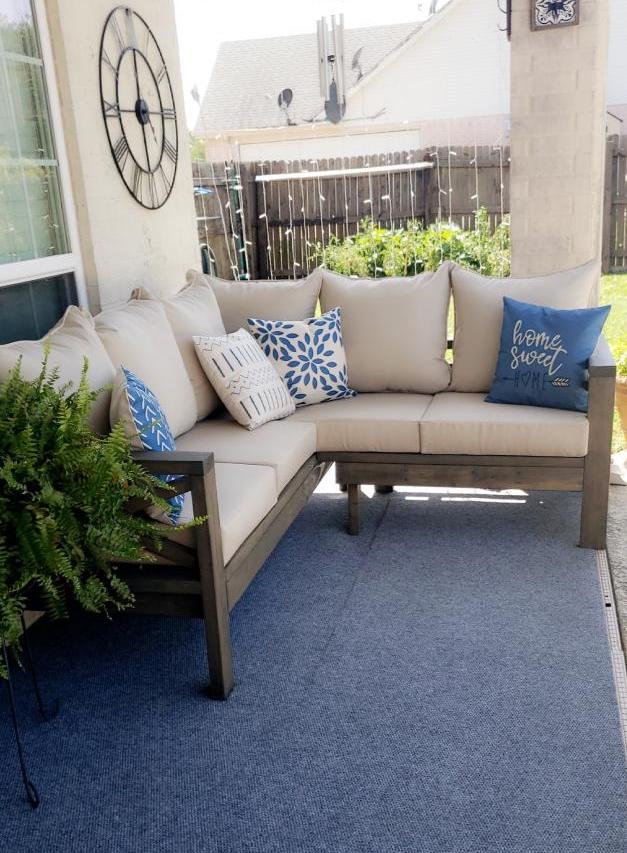
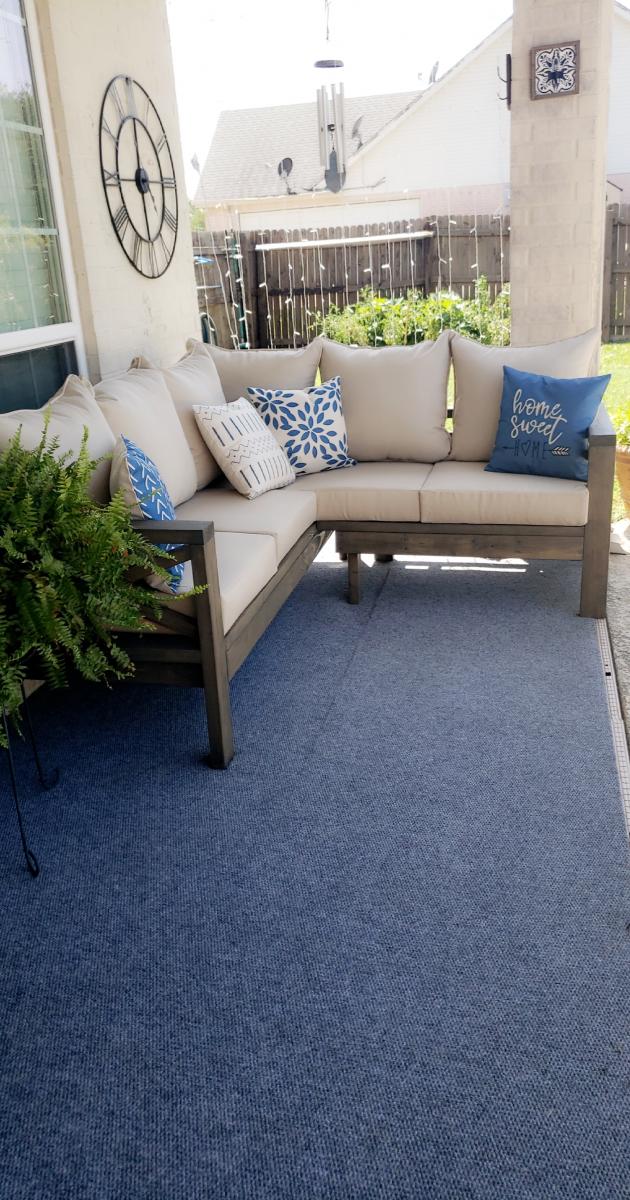
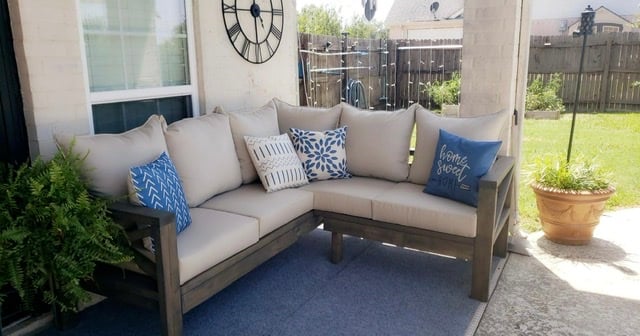
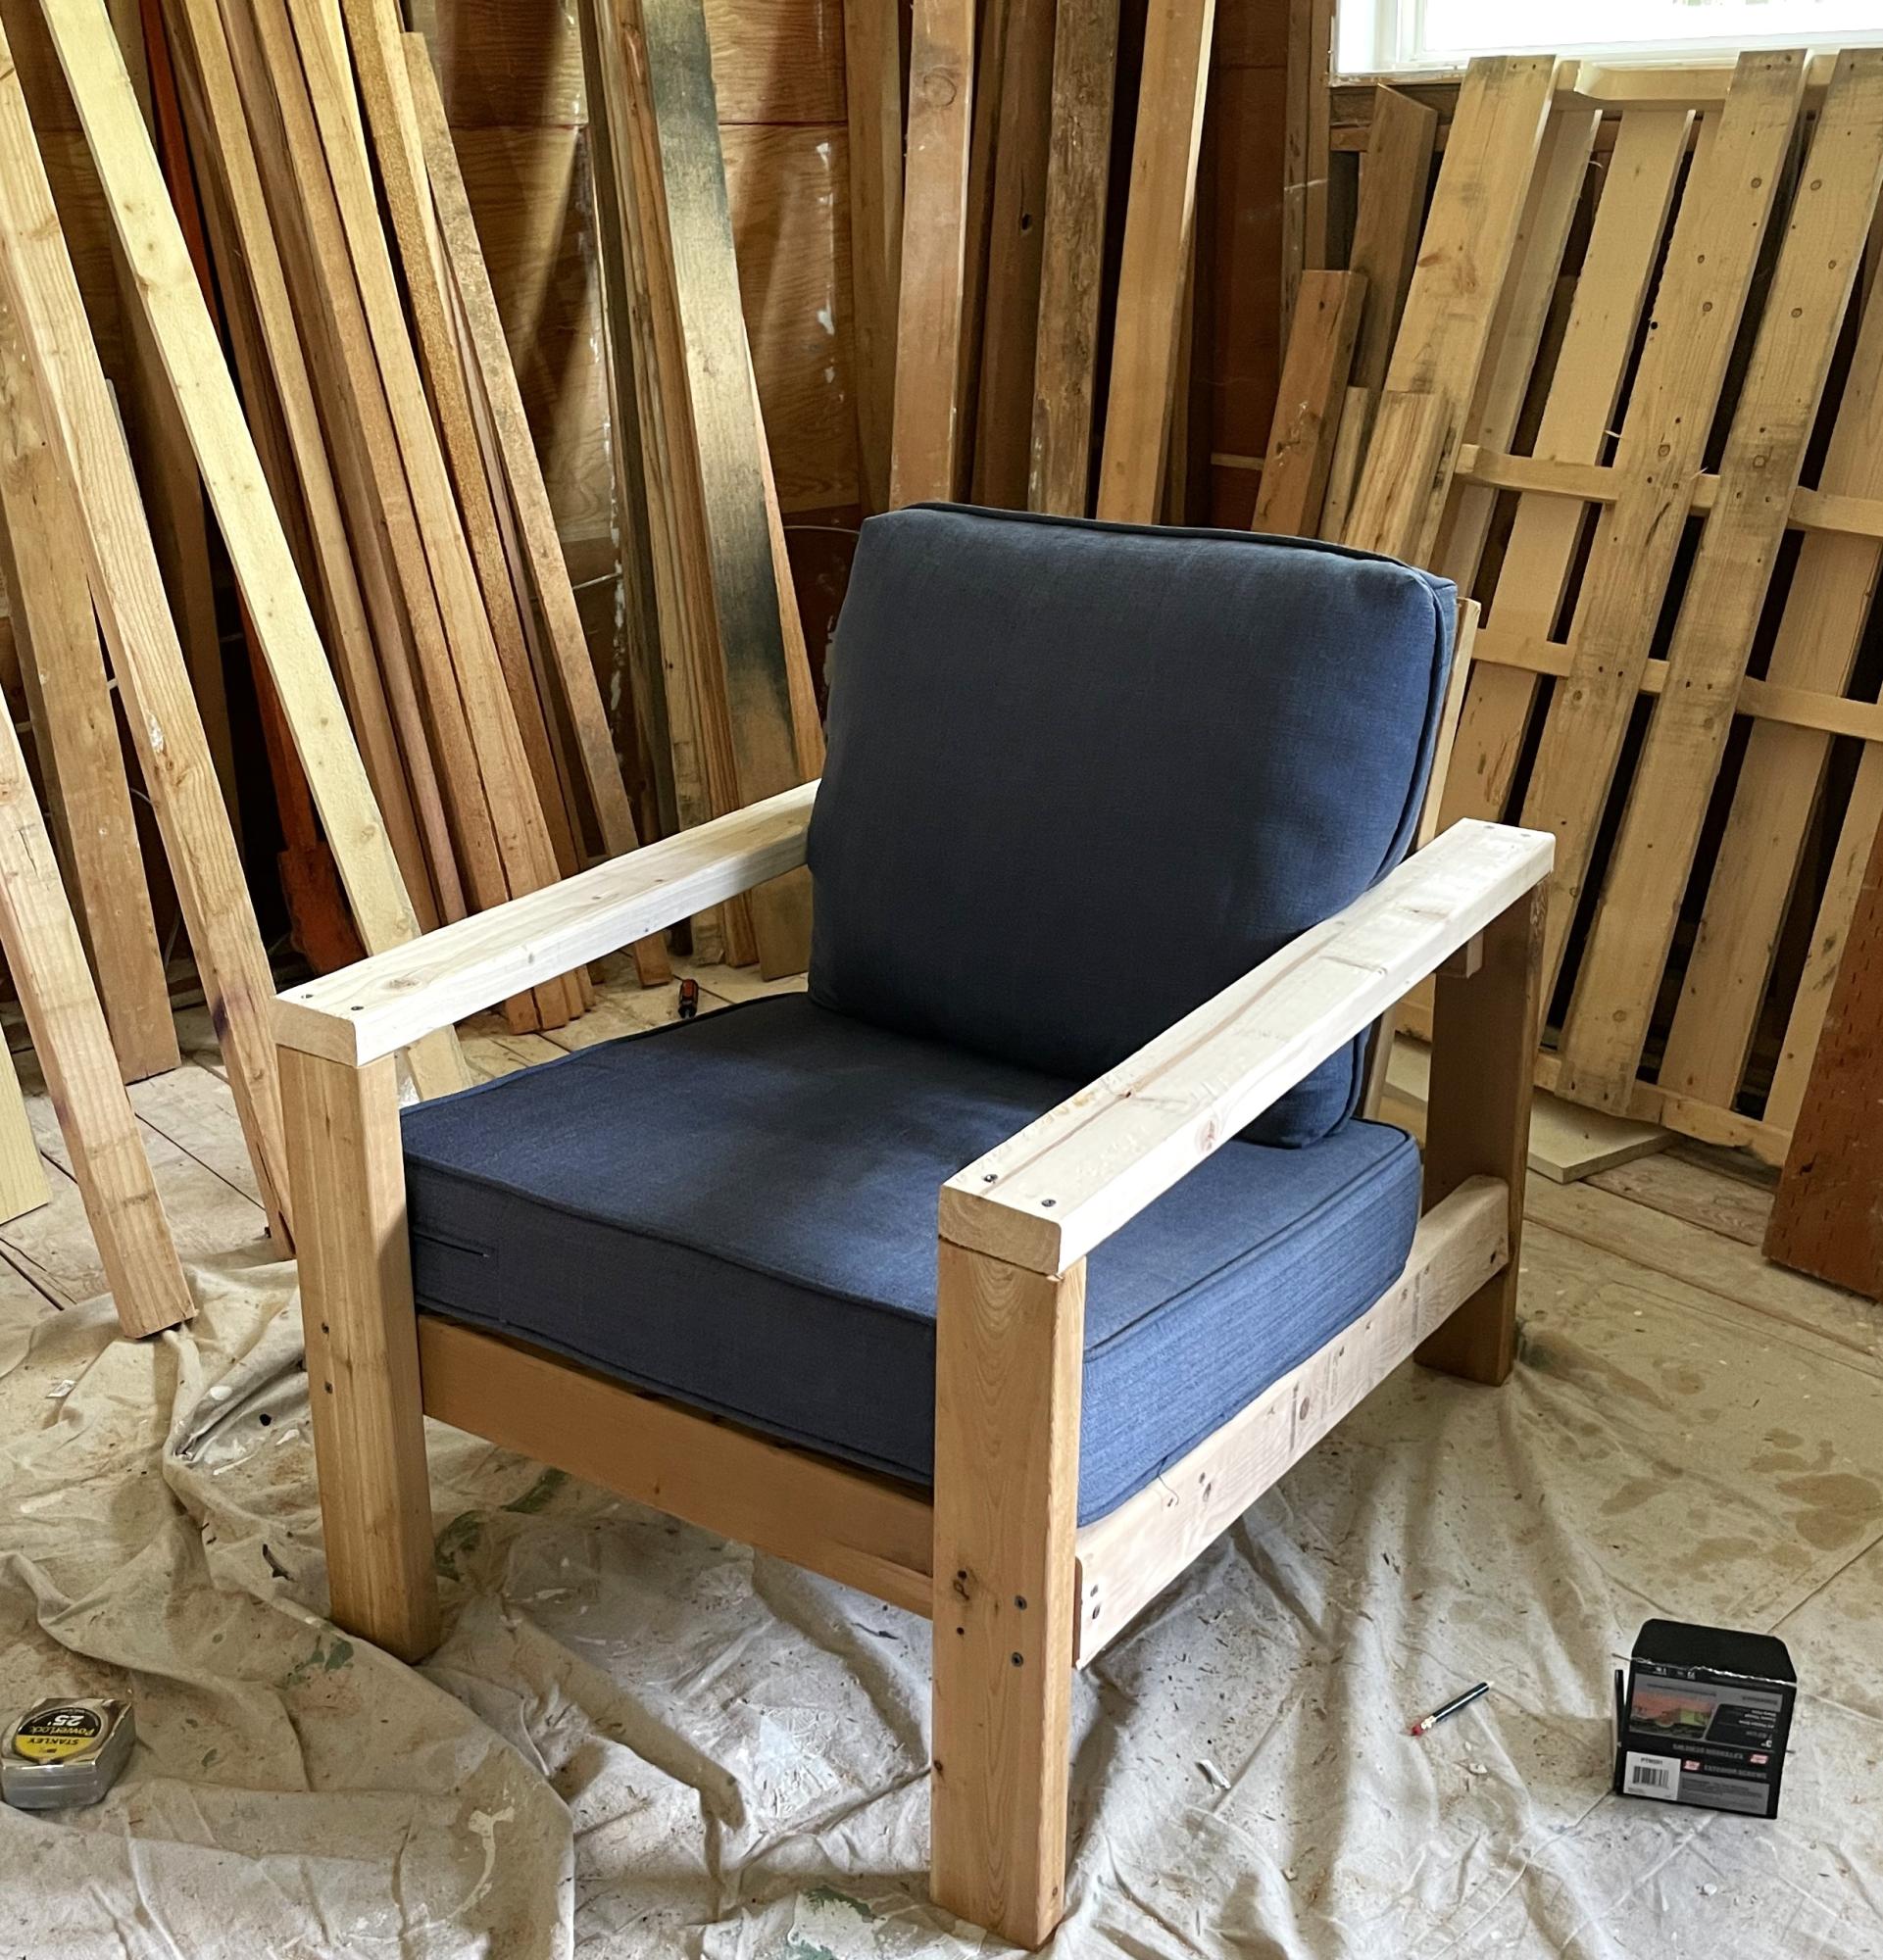
Sorry for the first sideways picture. Not sure why it did that, but it won't let me remove it now. Thanks for giving such detailed plans (https://www.ana-white.com/woodworking-projects/modern-outdoor-loveseat-…)! So happy with the end result! I wanted to use cedar to make it a bit more weather resistant so I swapped out the 2 in boards for 1 in boards to save some money. Still extremely sturdy, so if you want to go that route I highly recommend it.

Finish Used
Olympia Transparent Outdoor Sealant

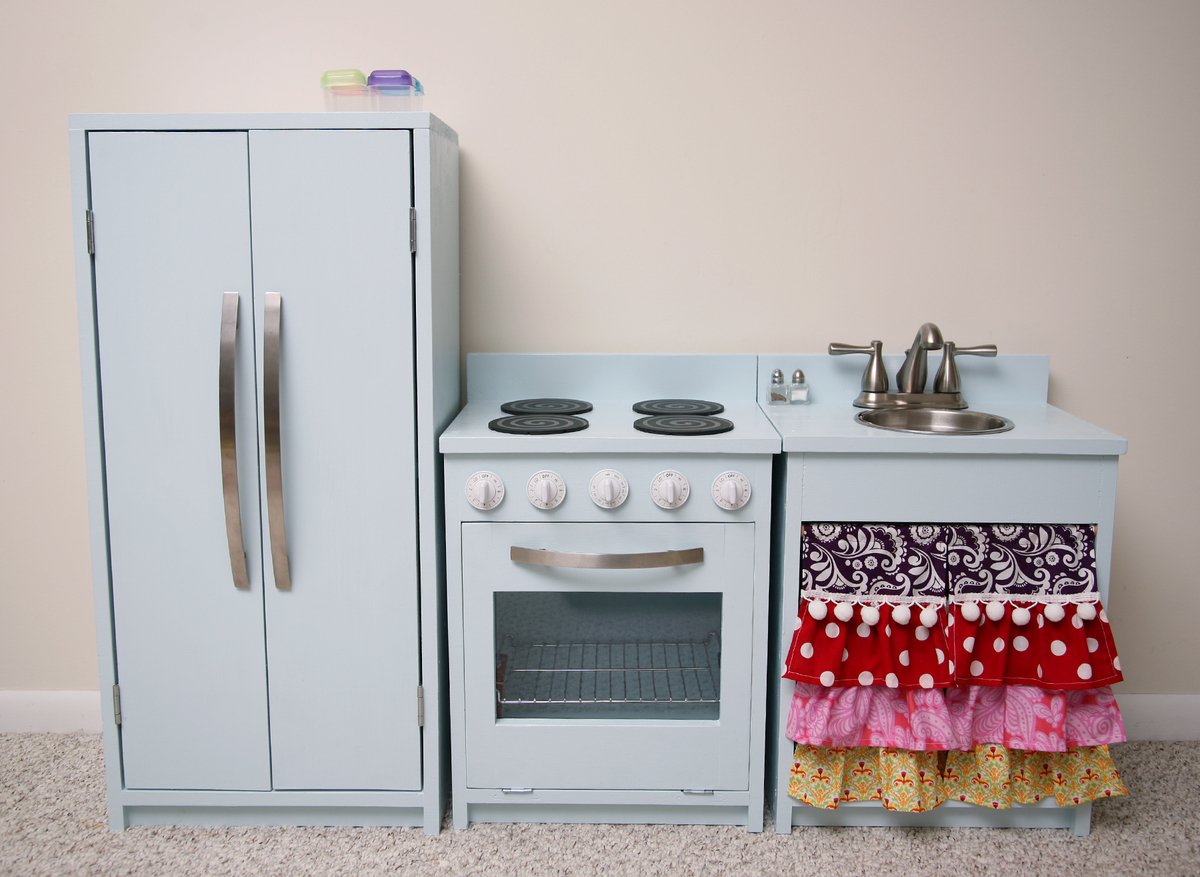
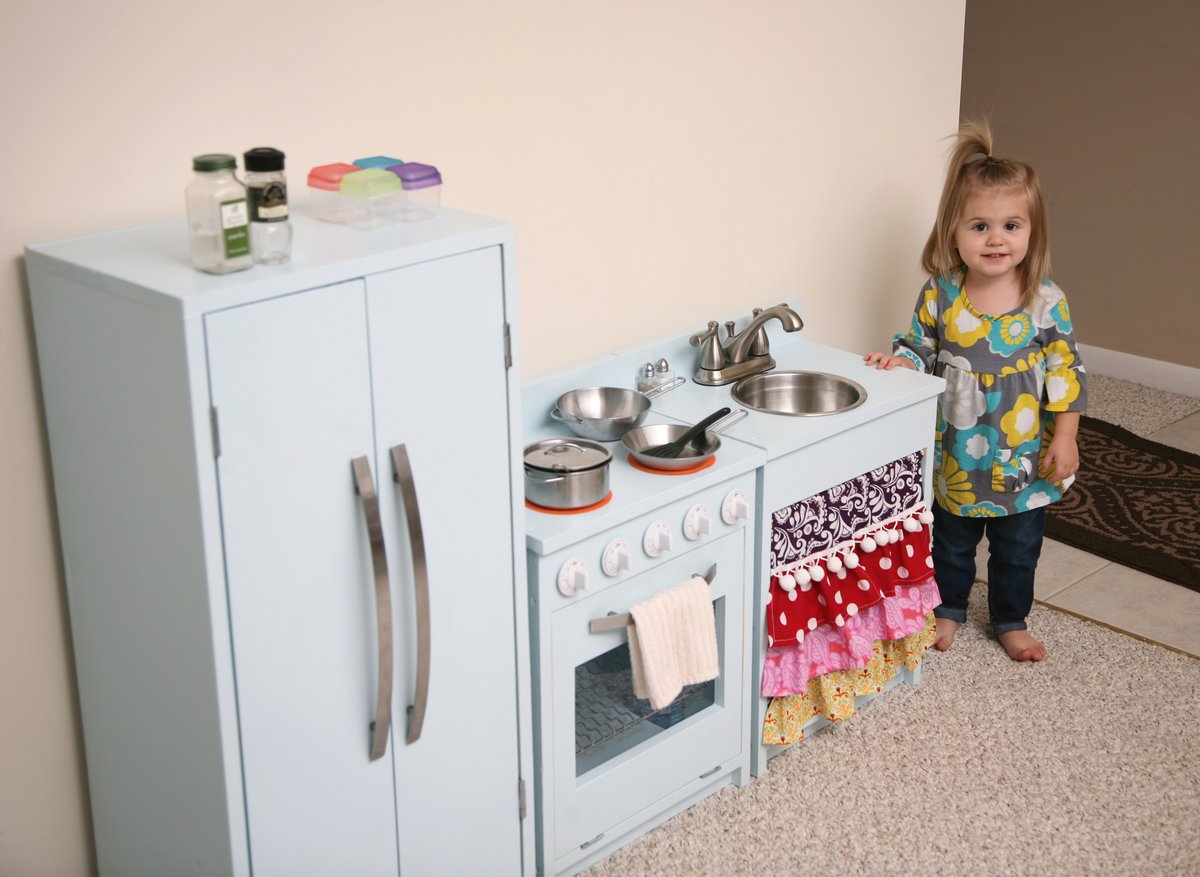
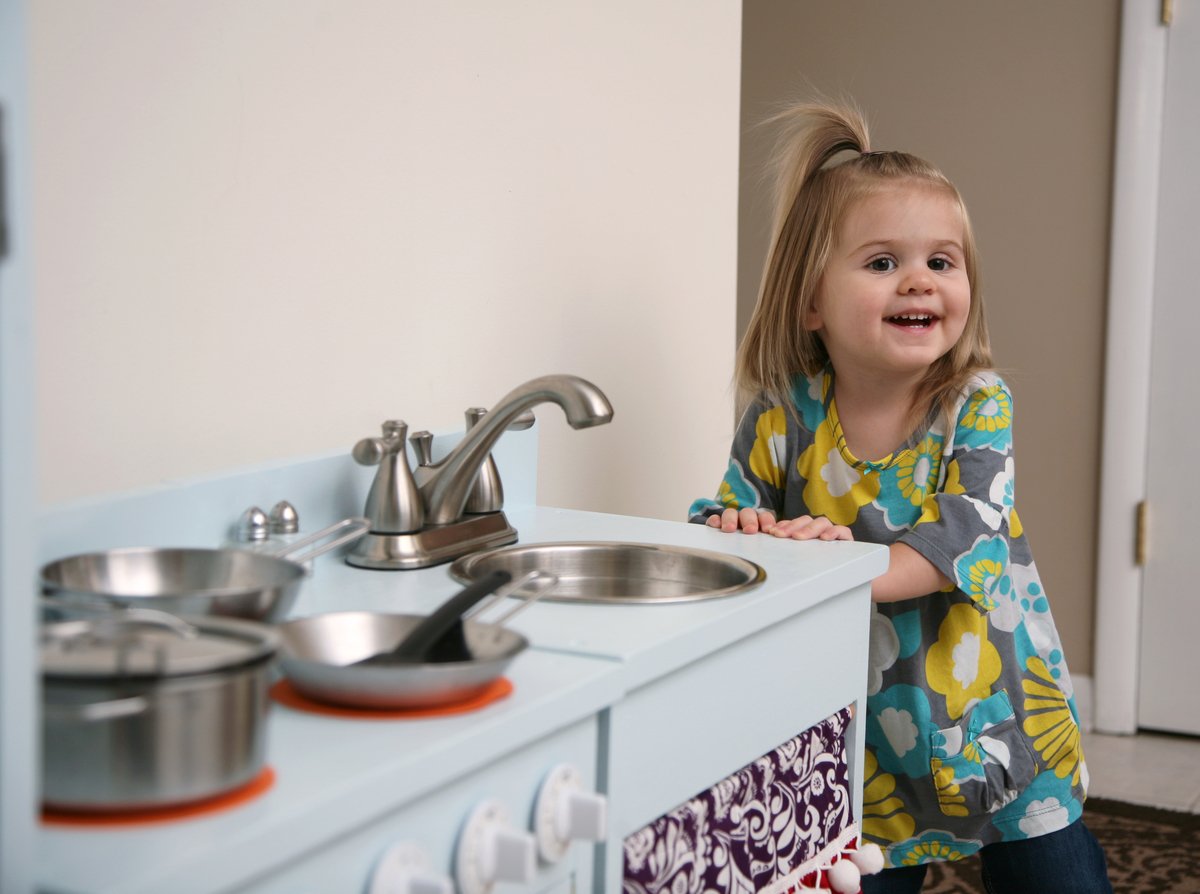
Olivia's Cute Kitchen

Submitted by azbilger on Mon, 09/10/2012 - 18:37

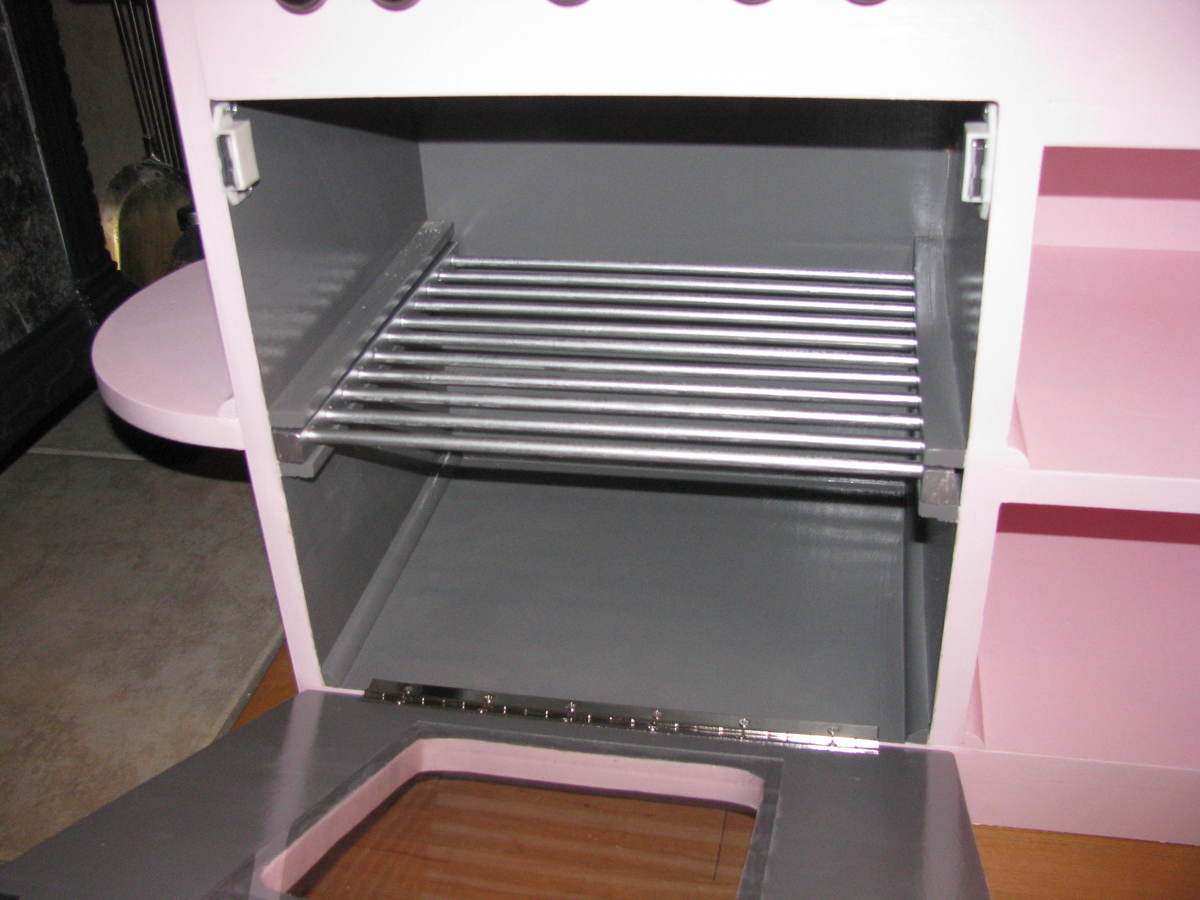
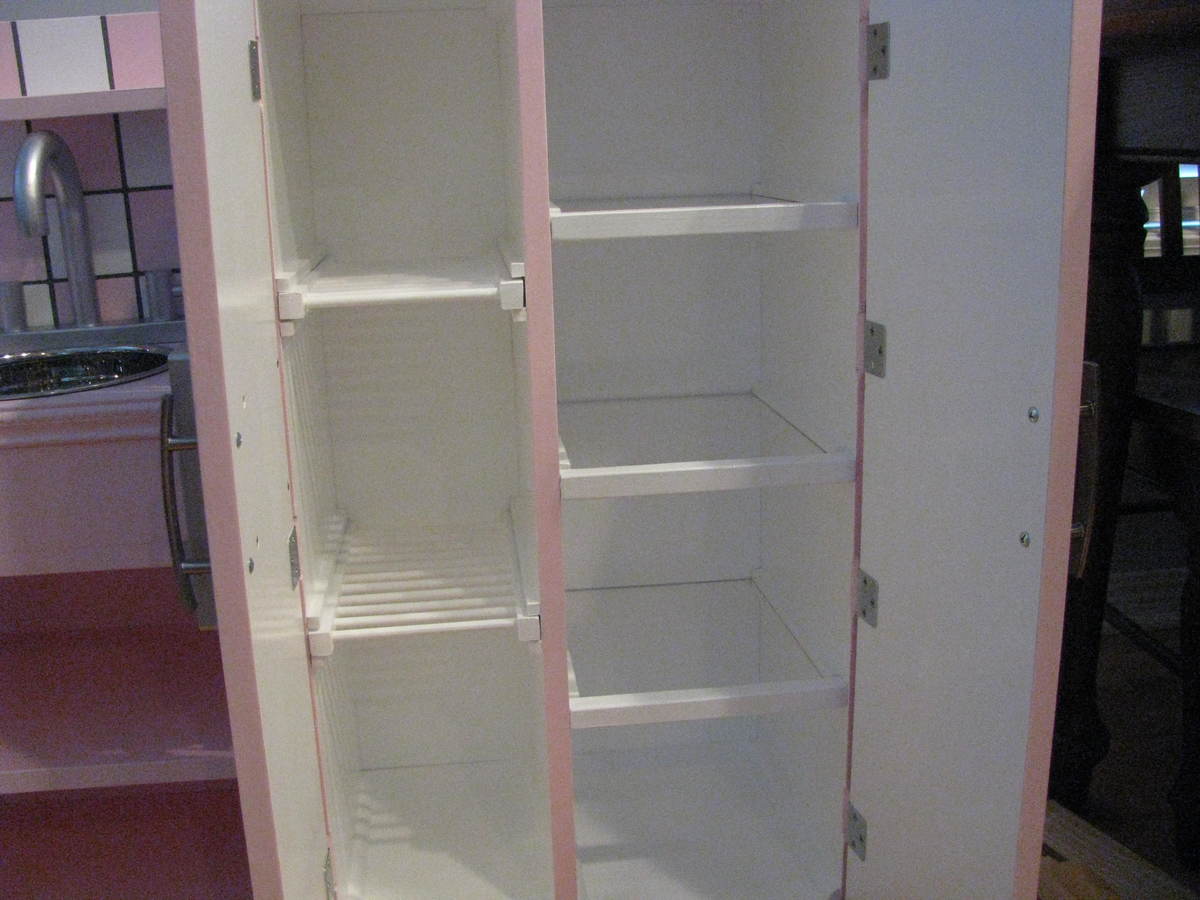
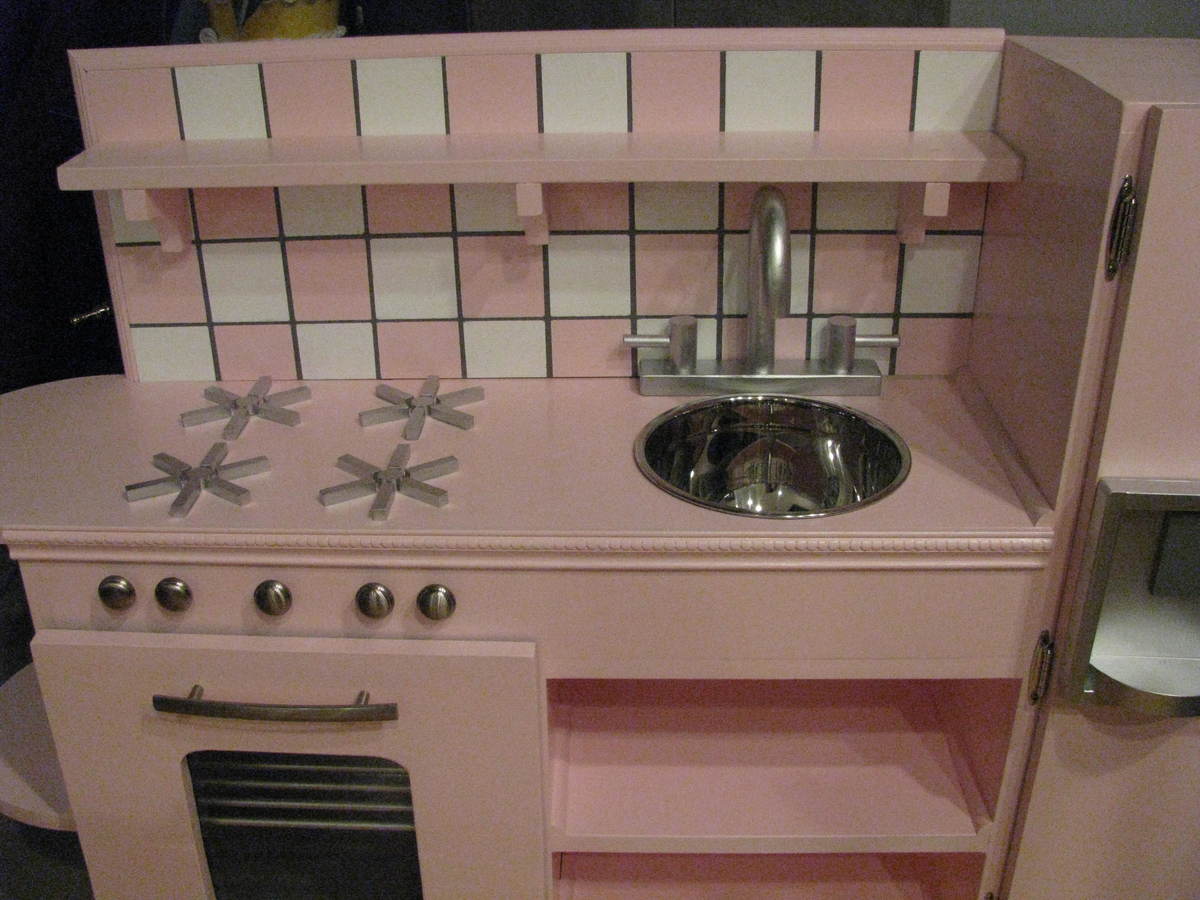
After spending what seemed like forever on Pinterest, drooling over all the adorable DIY play kitchens, I decided to build this one. The plans were so easy to follow and a guy at Lowe's did all the cutting for me, which was a huge time saver. I literally had it actually built in just a few hours with the help of my mom. Then I was able to primer, add two coats of paint, and accessorize over the next few days. I LOVE the results!! And I was so inspired by the one I originally saw online that I even made my own ruffled sink skirt!!! The fabric was leftovers from the handmade crib bedding set that my mom had made for my daughter. So everything coordinates perfectly!! I am in love....I think I even love it more than she does at this point because she is only 23 months old!! :) Hope she'll enjoy it for years to come!

***Update - Just added "burners" to her stove so now it looks complete!!***

Built from Plan(s)
Estimated Cost
Just over $200 because we went a little overboard on the special touches.
Estimated Time Investment
Weekend Project (10-20 Hours)
Recommended Skill Level
Beginner

Comments

Quintin79

Mon, 09/10/2012 - 22:04

Very cute!! What little girl won't love something like this! My oldest son would have loved this. He is 6 now so maybe his little brother may want something like this built.

Cottage Oars

Submitted by Anonymous (not verified) on Thu, 10/13/2016 - 11:52

I actually made 2 sets of these oars as wall decor for our cottage.  This is the second set - I love them!  The kids chose the numbers which are completely random :)

Estimated Time Investment
An Hour or Two (0-2 Hours)
Finish Used
1st - stained with Minwax Dark Walnut
2nd - stained with Minwax Classic Grey
3rd - wiped on Minwax White wash pickling
4th - 1 Coat Minwax Water based oil modified polyurethane to seal
5th - Painters tape & stencil for the details with white acrylic craft paint from Michaels
Recommended Skill Level
Starter Project

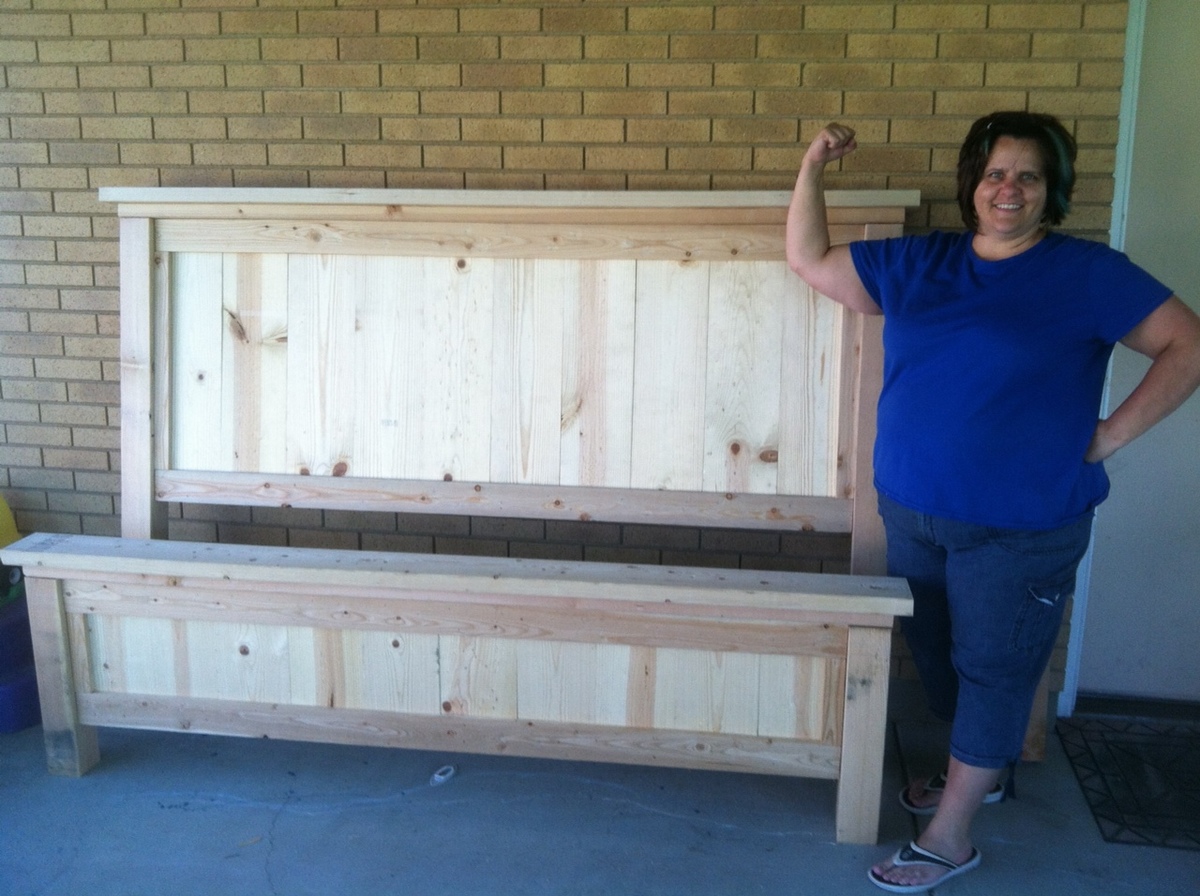
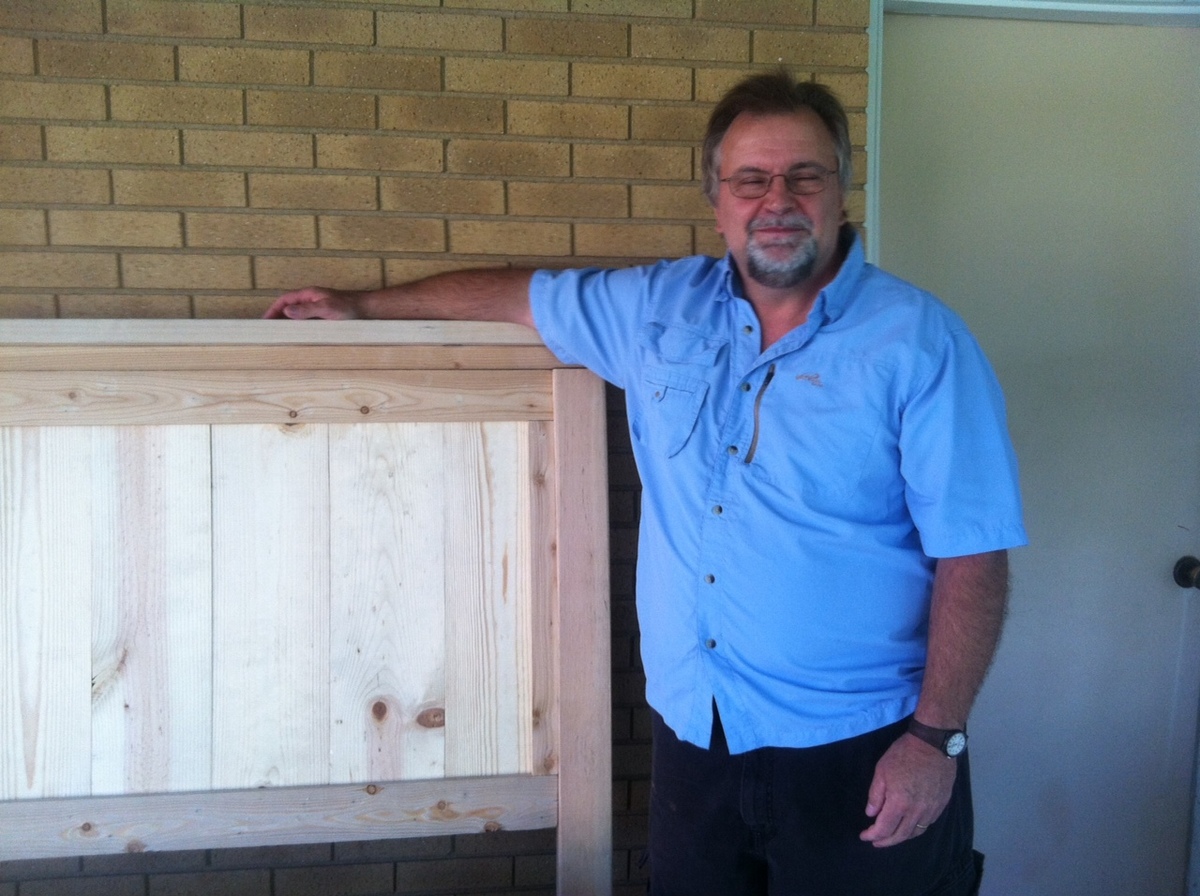
Farmhouse Bed King Size

Submitted by CCNew on Thu, 09/13/2012 - 14:40

This was my gift to my husband for our 23rd Wedding Anniversary. I decided to build it on Friday and had it built the following Friday (but not stained). I was able to work on it a few hours each night.

This is my very first attempt at building anything bigger than a tole-painting project and I'm thrilled with the results.

If you have ANY skills at all, this is NOT a difficult project but it IS a heavy one!

I refused to let my husband know what I was building so I was on my own moving things around. It tipped over on me twice and I had the bruises to prove it.

I searched and searched and found a great price ($13 + shipping) on the side-rail hardware at http://www.woodcraft.com/product/2003981/9364/hafele-nomortise-bed-rail….

We like traditional looking furniture but wanted a touch of a modern feel. So I stained the inside panel with one coat of black stain and then we went over it with a thin coat of the oak stain that we used on the rest of the bed.

We opted to use the standard metal bed frame that goes with our box spring and mattress set. So it basically just sits inside the head & foot boards and side-rails. Eventually we will be adding the box of drawers or baskets underneath and then putting the cleats and cross supports instead of the metal bed frame.

Built from Plan(s)
Estimated Cost
$175
Estimated Time Investment
Day Project (6-9 Hours)
Recommended Skill Level
Beginner

Comments

craft table

Submitted by djdaho on Thu, 07/10/2014 - 12:25

I had been trying to figure out what kind of craft desk/table i was going to put in my craft room. I ran across ana white's modern craft table and knew it was the one.
My husband was kind enough to help me through the process and we completed it in about 2.5 days.
we live in AZ so it is pretty darn hot right now to be out in the garage making it, but we got it done! We tweaked a few things like height and we didn't use the risers.
It is our first build so it was a bit challenging and we learned some things along the way. But having the Kreg Jig definitely helped with putting it together.
we no sooner go it in the room and the cats claimed it as theirs!!
I haven't set it up w/ baskets yet, but will be doing that in the next few weeks.
Thank you Ana for the FREE plans, i will be checking out the site for more plans that we can get building!
Deb Rhoads

Built from Plan(s)
Estimated Cost
$200
Estimated Time Investment
Weekend Project (10-20 Hours)
Finish Used
Ben Moore simply white, semi gloss
Recommended Skill Level
Beginner

Love it!

Submitted by mkscalf on Mon, 10/17/2016 - 18:14

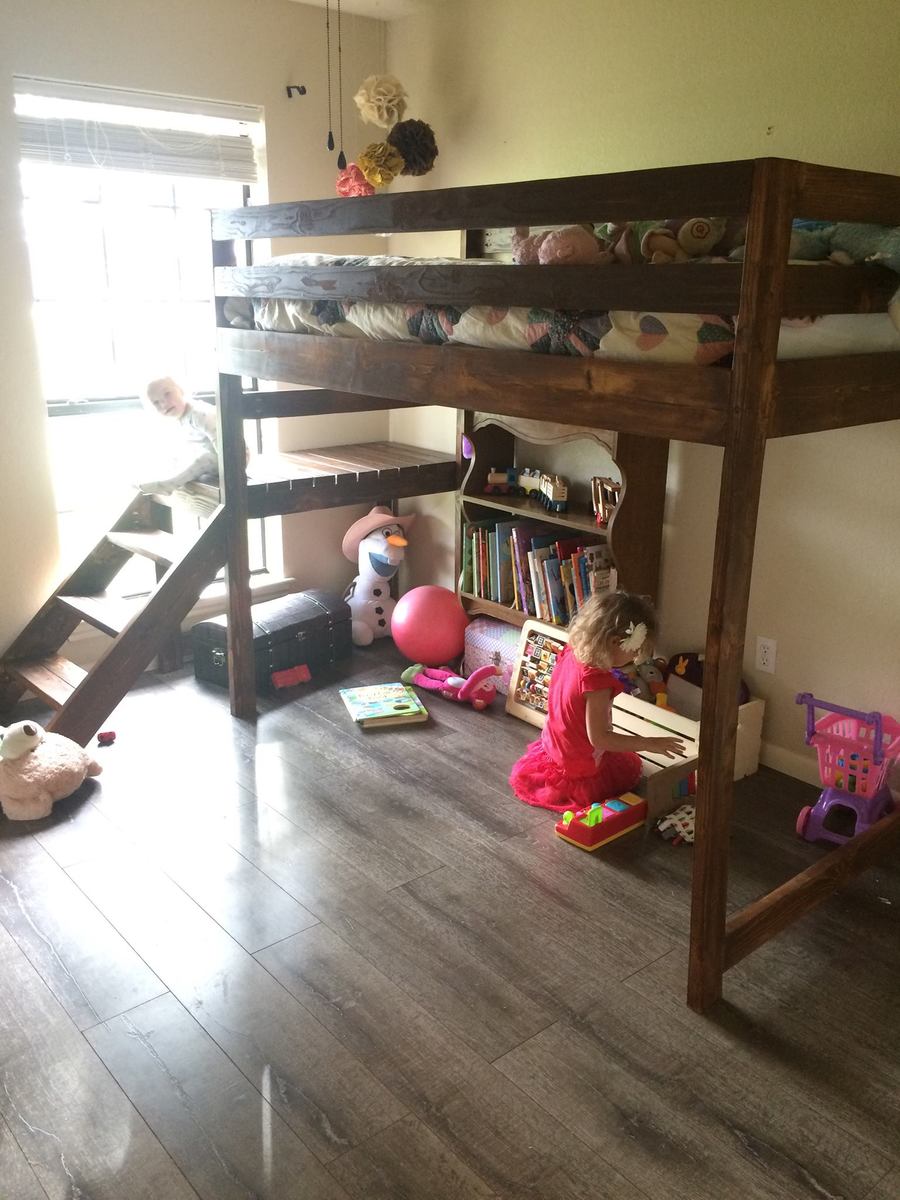
We love the final product, but can't say this is a beginner project! The plans aren't detailed enough for that. For instance, the only instructions on the stairs was "they are easy! just 45 degree angles" but we had to work through some strategy with them. It also didn't say how to attach the cleats just "we also attached the cleats in this step". What size screws? how many? We learned our lesson when the cleats and bedding came crashing down b/c we used 1.5 inch screws. Problem solved with 2.5 inch screws... but we sure are glad it was a soft landing.... And now I can't say I fully trust the design after watching my husband and two kids break it. However, it is sturdy enough for our 3 year old for certain! I'm glad we made it and over-all it was worth it and a great project and learning experience. Just wish the plans were made with more detail for true beginners! 

Estimated Cost
wood $100 or so. Additional supplies (screws, sand paper, stain, poly, brushes, etc was another 60-75 for us)
Estimated Time Investment
Week Long Project (20 Hours or More)
Finish Used
We sanded, stained with Early American color... I don't know the brand. Finish with semi-gloss polyurethane
Recommended Skill Level
Intermediate

One Piece Play Kitchen

Used the one piece kitchen made by Rebecca (good instructions, thanks!) with some changes and additions. Fun project, took much longer than I had anticipated. Can't wait until my new granddaughter is old enough to play with it.

Built from Plan(s)
Estimated Cost
$200
Estimated Time Investment
Week Long Project (20 Hours or More)
Finish Used
latex paint
Recommended Skill Level
Beginner

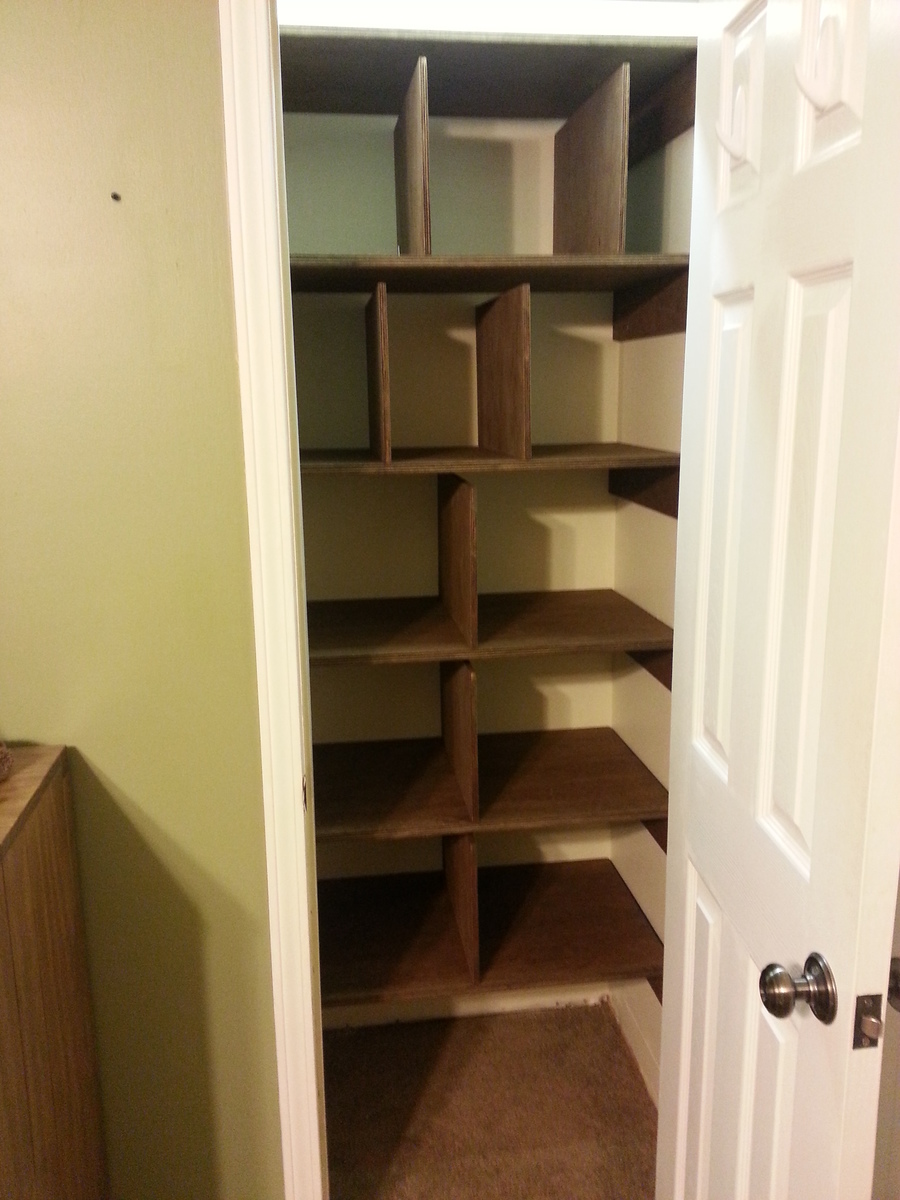
Linen Closet Shelves

Submitted by SaraLodise on Sun, 07/13/2014 - 20:01

The linen closet was in desperate need of better shelving and organization. I made these shelves out of one 3/4" plywood 4'x8' and two 1/2" plywood 2'x4' project boards.

Estimated Cost
$83 in plywood
Estimated Time Investment
Day Project (6-9 Hours)
Finish Used
One coat of Miniwax Special Walnut
Recommended Skill Level
Beginner

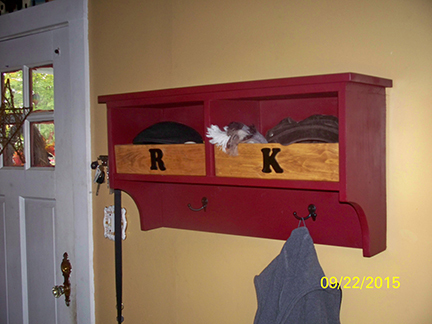
Storage Shelf with Coat Hooks

Submitted by kalabarge on Wed, 10/19/2016 - 14:01

Thought I posted this last year, but I guess it didn't take ... and now I can't remember all of the details!  But anyway, I do know that this was the first project I made from Ana's book (a smaller version of Project #1), and a year later, I am still really pleased with it.  The shelves and hooks come in so handy, and the top provides another little surface to decorate!  I also made some wooden boxes for the shelves out of scrap pieces, as Ana did in the photo in the book, and stained them the same color as our floors.  Added our initials, too.  The whole thing is nice and sturdy, and fits right in at our house -- like we've always had this on the wall.  Thanks for the ideas, Ana!

Estimated Time Investment
Weekend Project (10-20 Hours)
Finish Used
Spray paint and stain.
Recommended Skill Level
Beginner

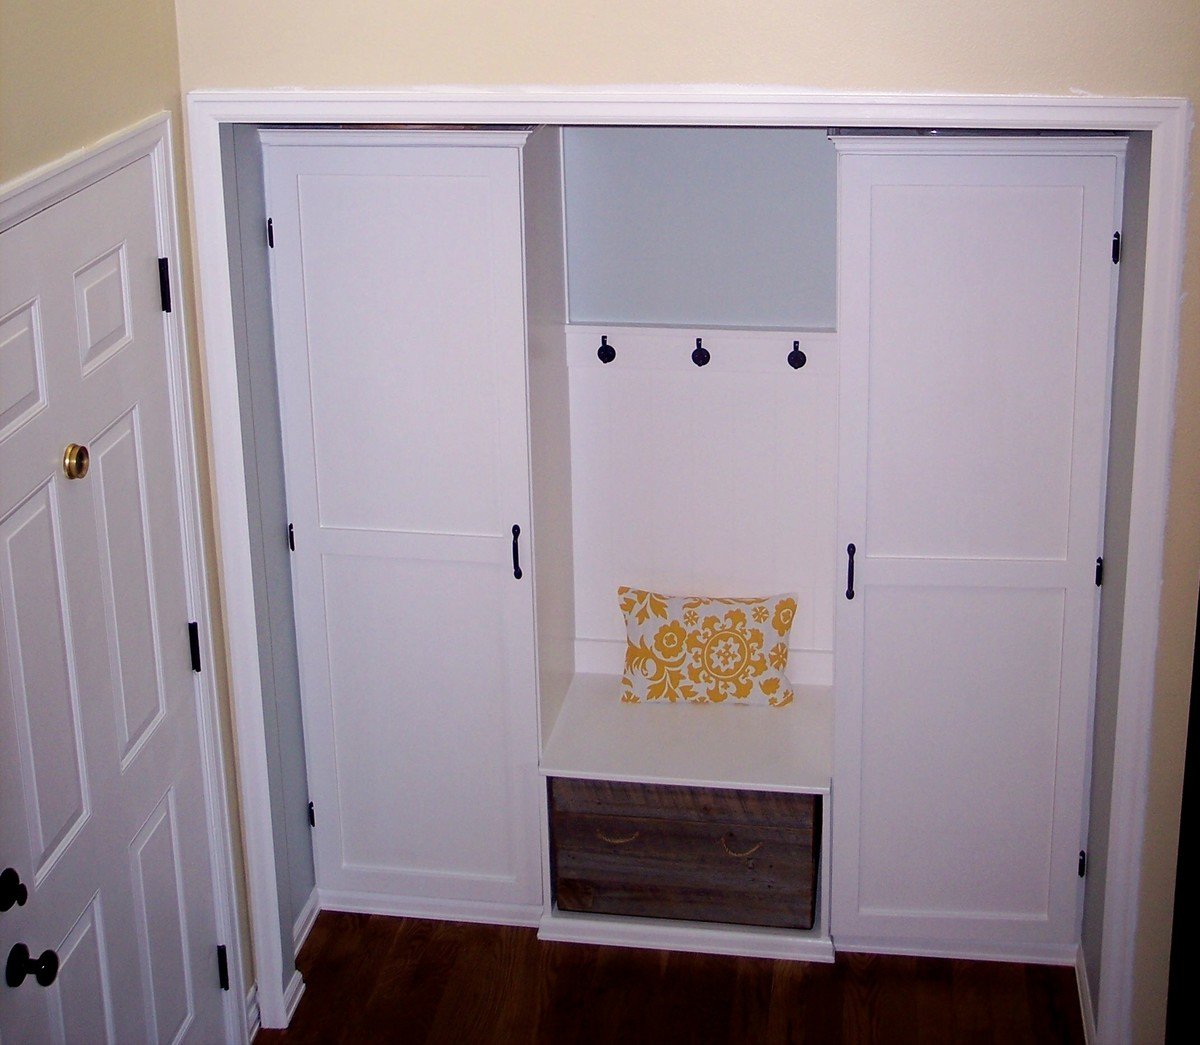
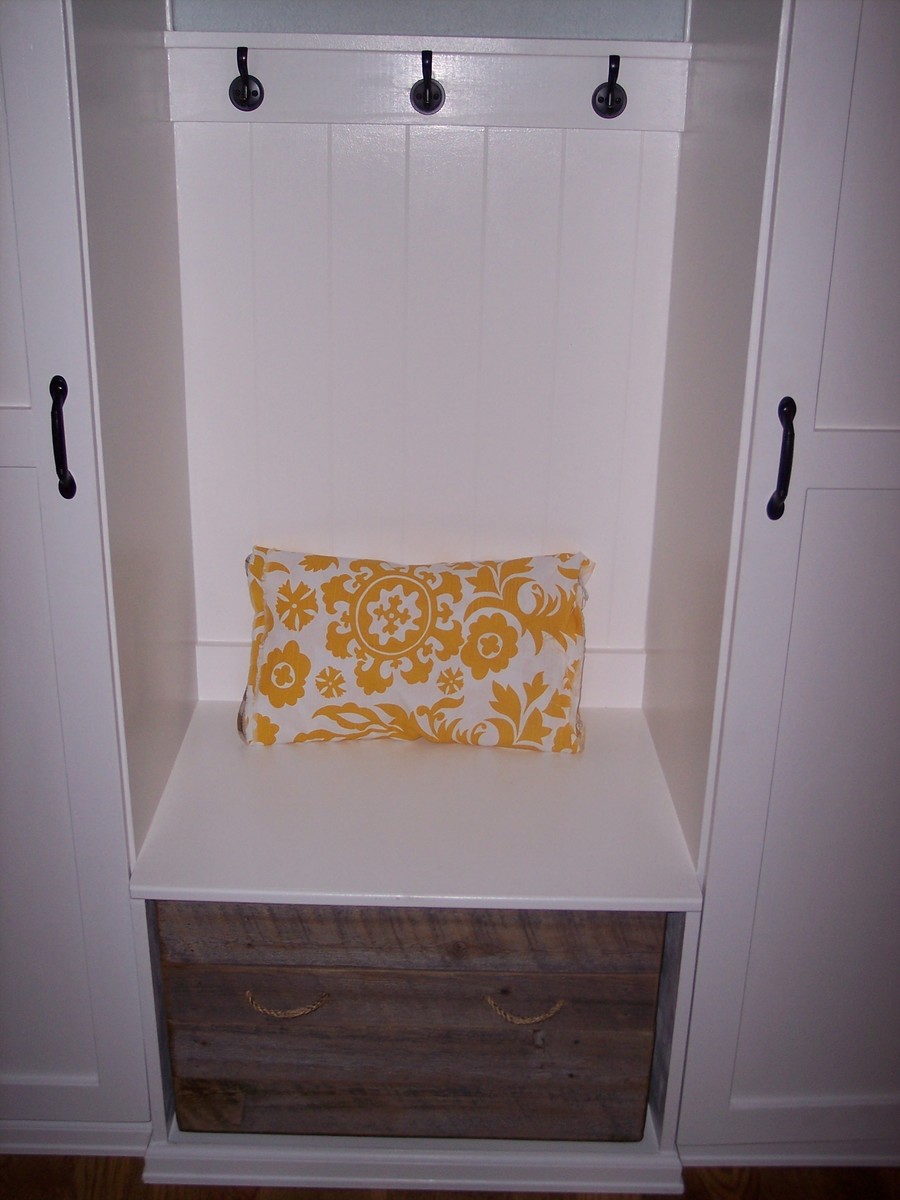
cutest mudroom

Submitted by kdc5894 on Tue, 09/18/2012 - 09:08

I loved the plan for the mudroom, but since this is our front entry, I needed something to hide all our stuff; so I added doors. And crown molding for a little extra! The left tower has a bar for hanging coats; underneath are hooks for the kids' coats. The right tower has five cubbies. I made the "drawer" under the bench from wood from our old fence.

Built from Plan(s)
Estimated Time Investment
Week Long Project (20 Hours or More)
Finish Used
Valspar paint, "swiss coffee"
Recommended Skill Level
Intermediate

Comments

ocavi

Fri, 05/17/2013 - 21:34

I love what you did with your closet! This is exactly what I am looking to do. What size wood did you use for the doors(1x2, 1x4...)? Since you have been using the closet/mud room for a while now is there anything you would add or do differently? Like making it deeper or adding more shelves? Thanks!

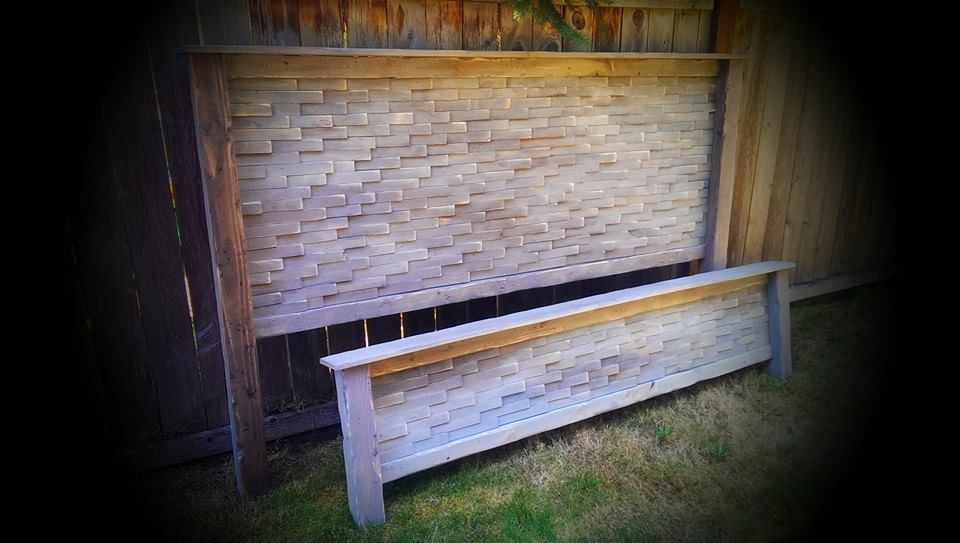
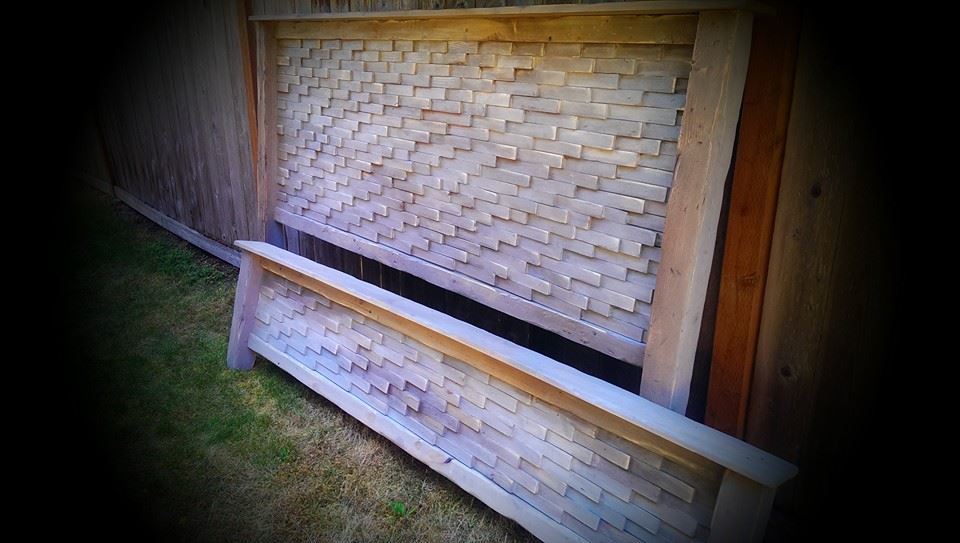
Shim bed

Submitted by novofinds on Wed, 07/16/2014 - 08:37

I am so in love with this bed!! So unique and unexpected. Thank you so much for sharing!!

Built from Plan(s)
Estimated Cost
$260
Estimated Time Investment
Weekend Project (10-20 Hours)
Finish Used
3 stains blended and distressed, Rust-oleum Driftwood and Weathered Gray, Minwax Dark Walnut
Recommended Skill Level
Intermediate

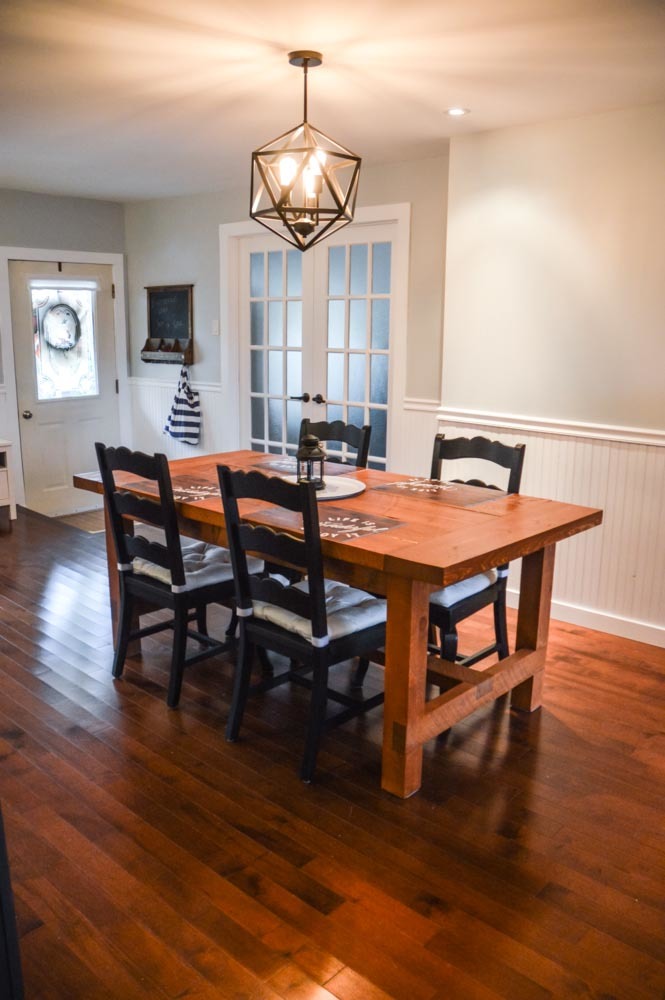
Rustic Dining Table - In love with my table!

Submitted by Anonymous (not verified) on Sun, 10/23/2016 - 05:46

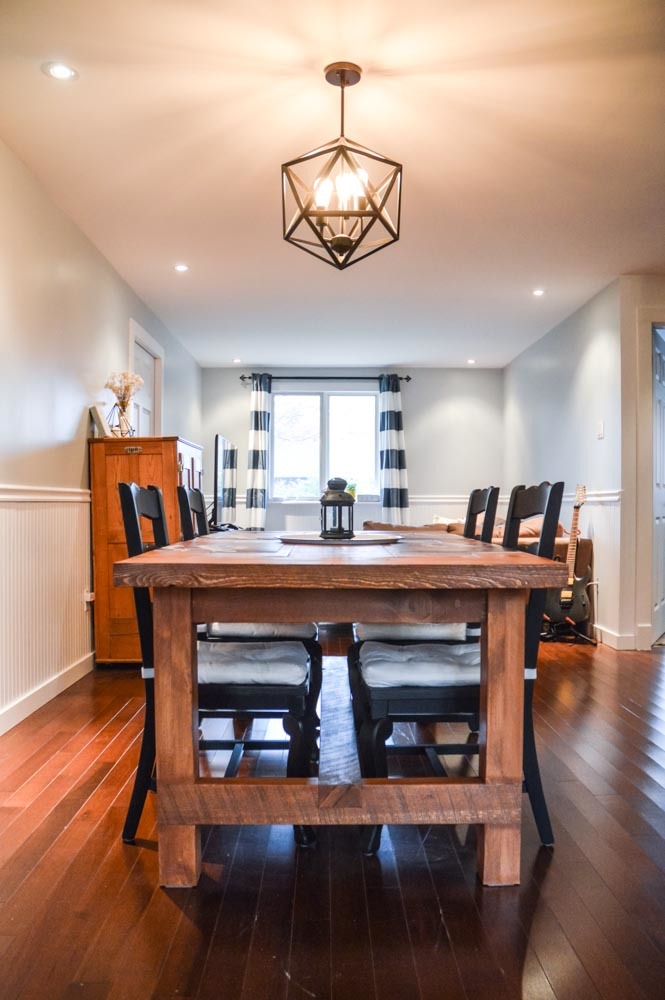
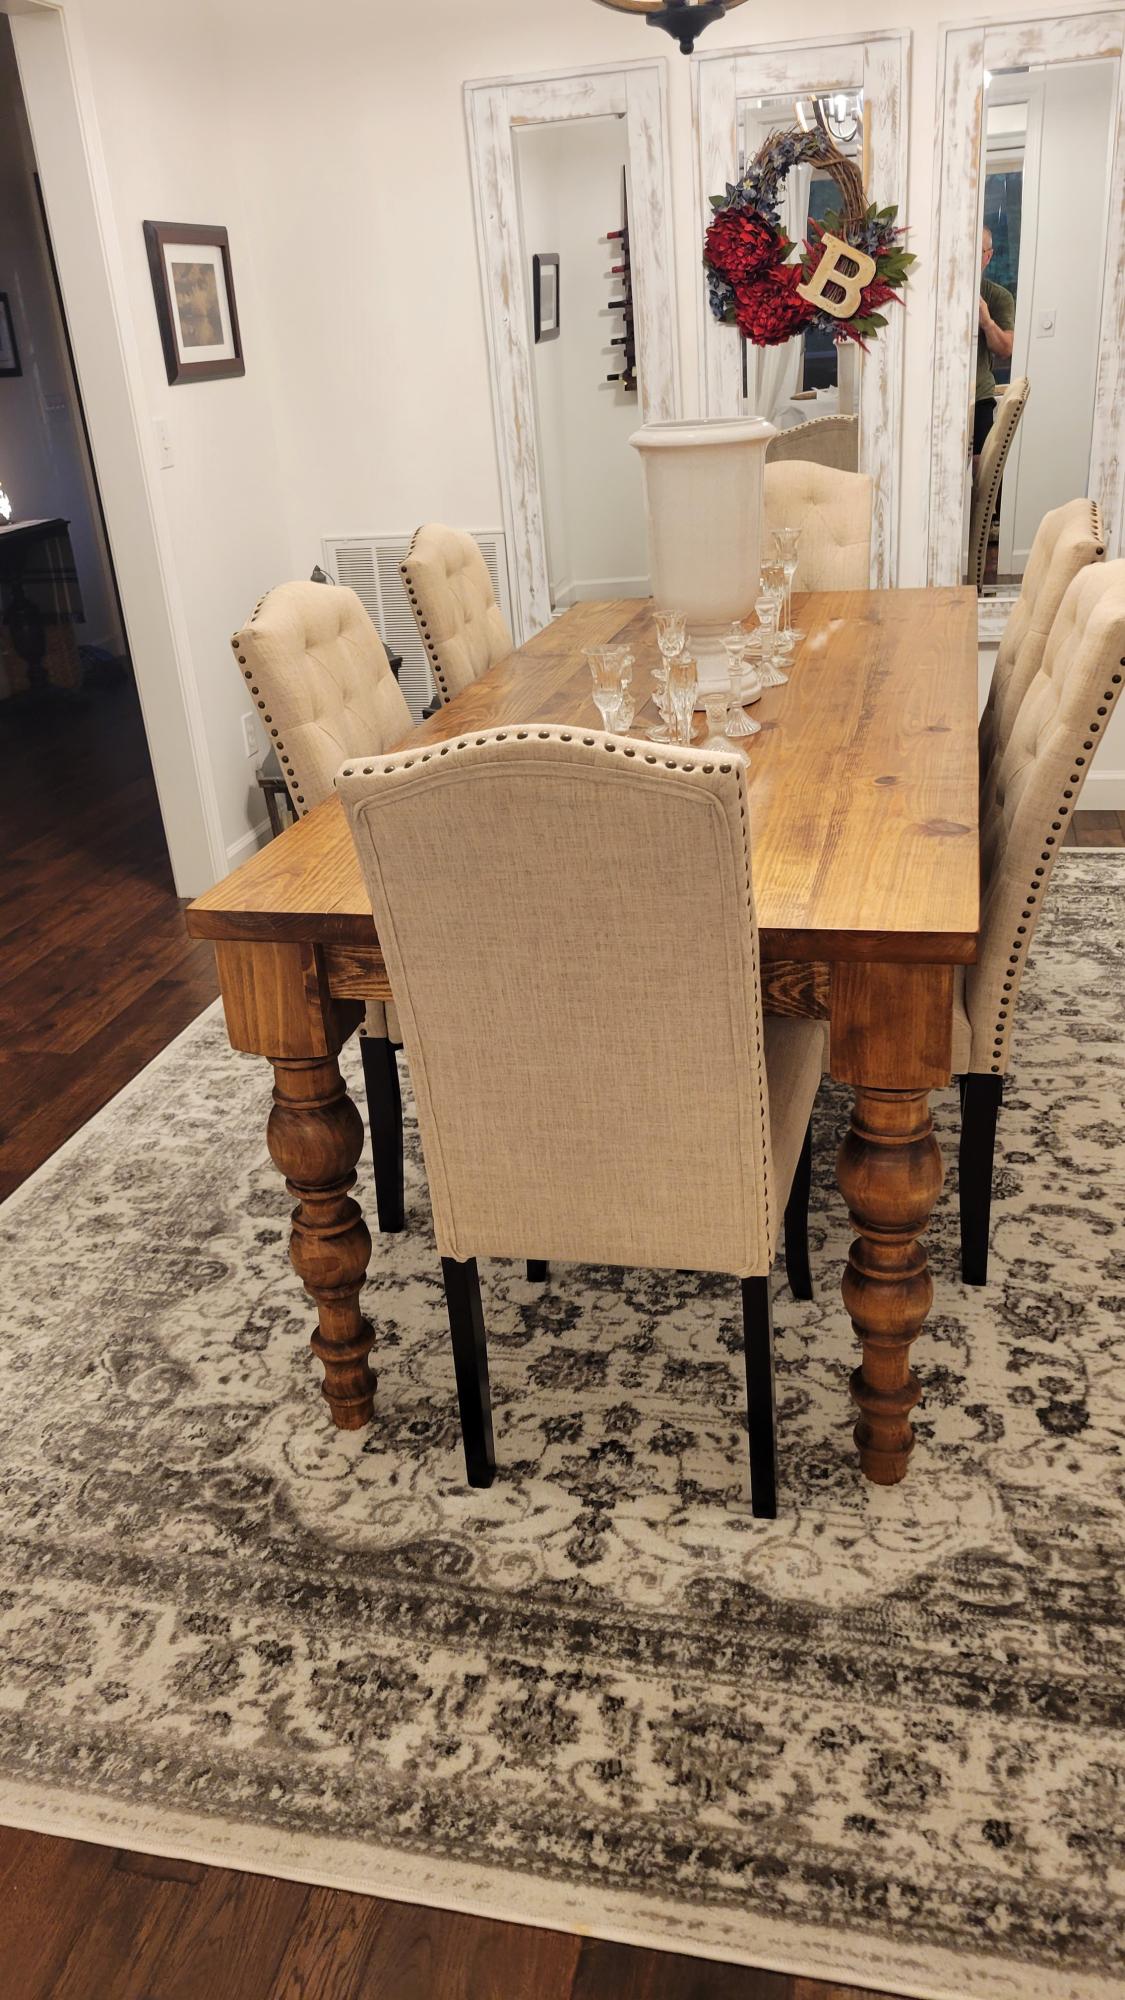
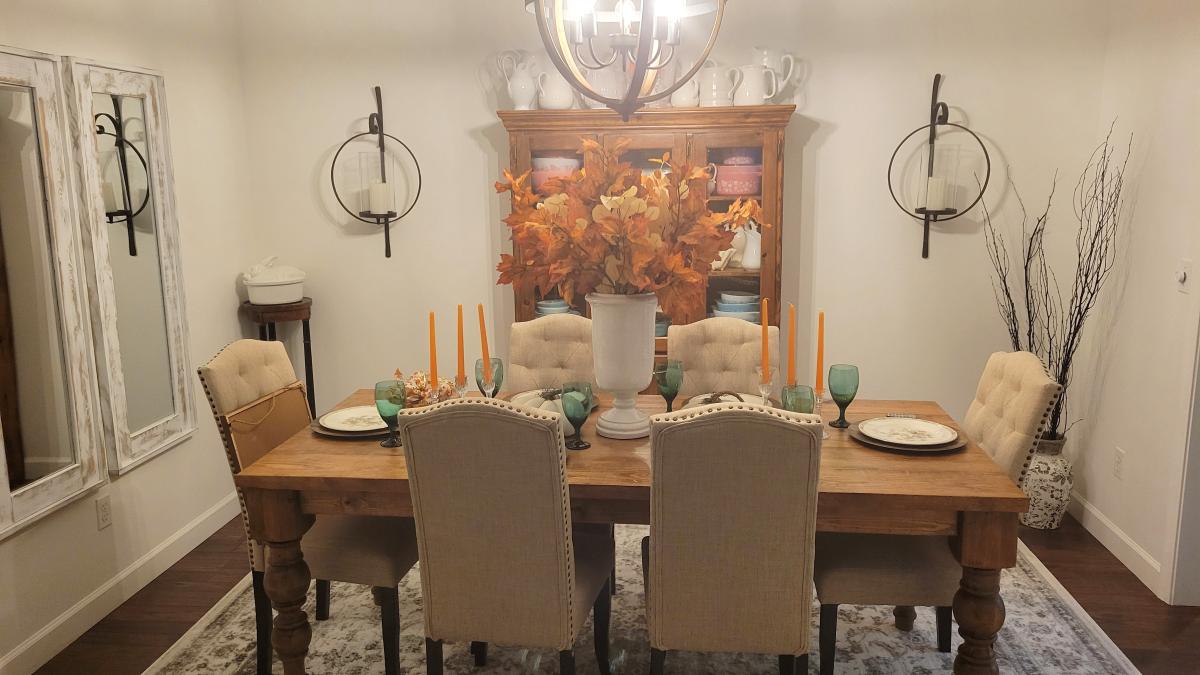
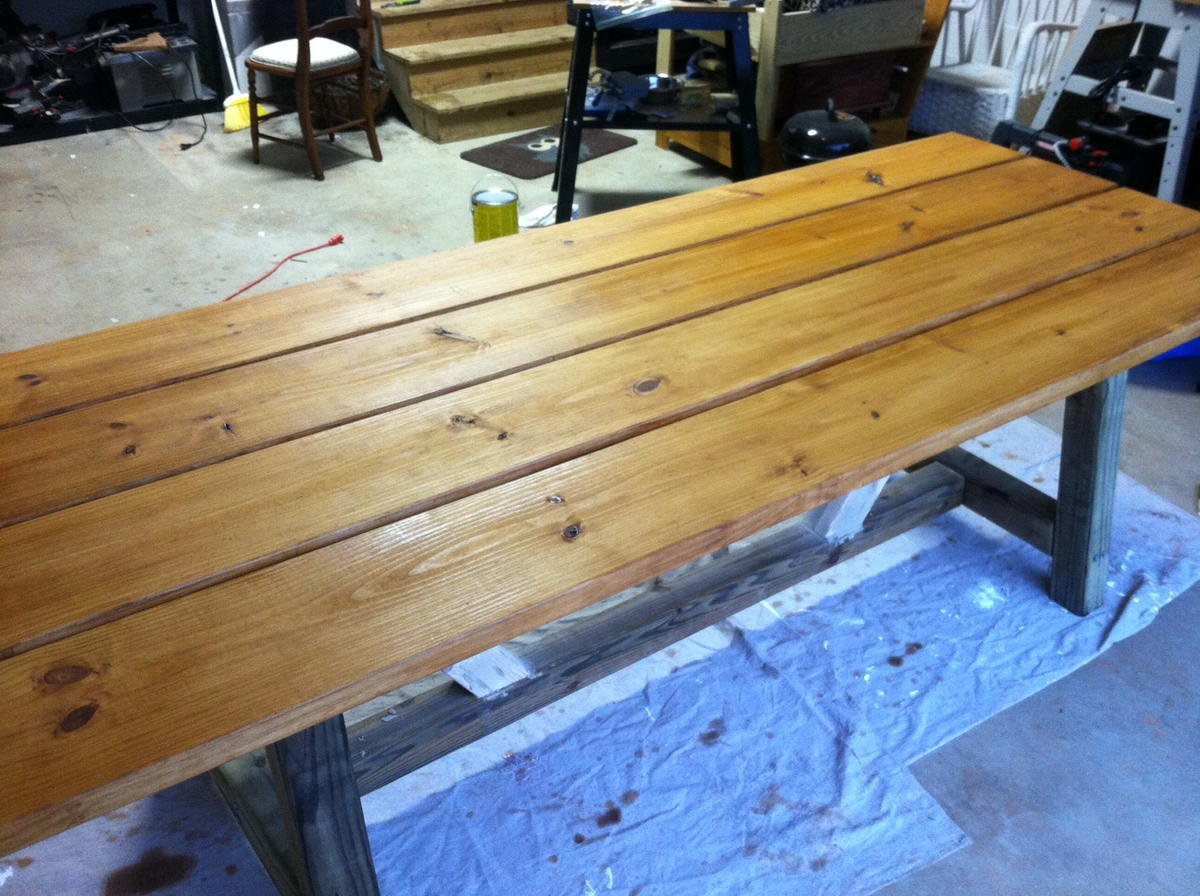
I had shown this plan earlier on to my bf, telling it I really like it and it would be so much cheaper to make our future rustic dining table on our own instead of buying it. He seemed reluctant.... And then, 2 months later, I come back from my parent's house in the evening to find that he has built me my rustic dining table just as I had wished! 

Estimated Time Investment
Week Long Project (20 Hours or More)
Finish Used
Saman Cognac and Sesame + Saman hybrid varnish in Satin
Recommended Skill Level
Intermediate

Comments

Providence Table (Modified)

Submitted by pookster on Thu, 09/20/2012 - 06:28

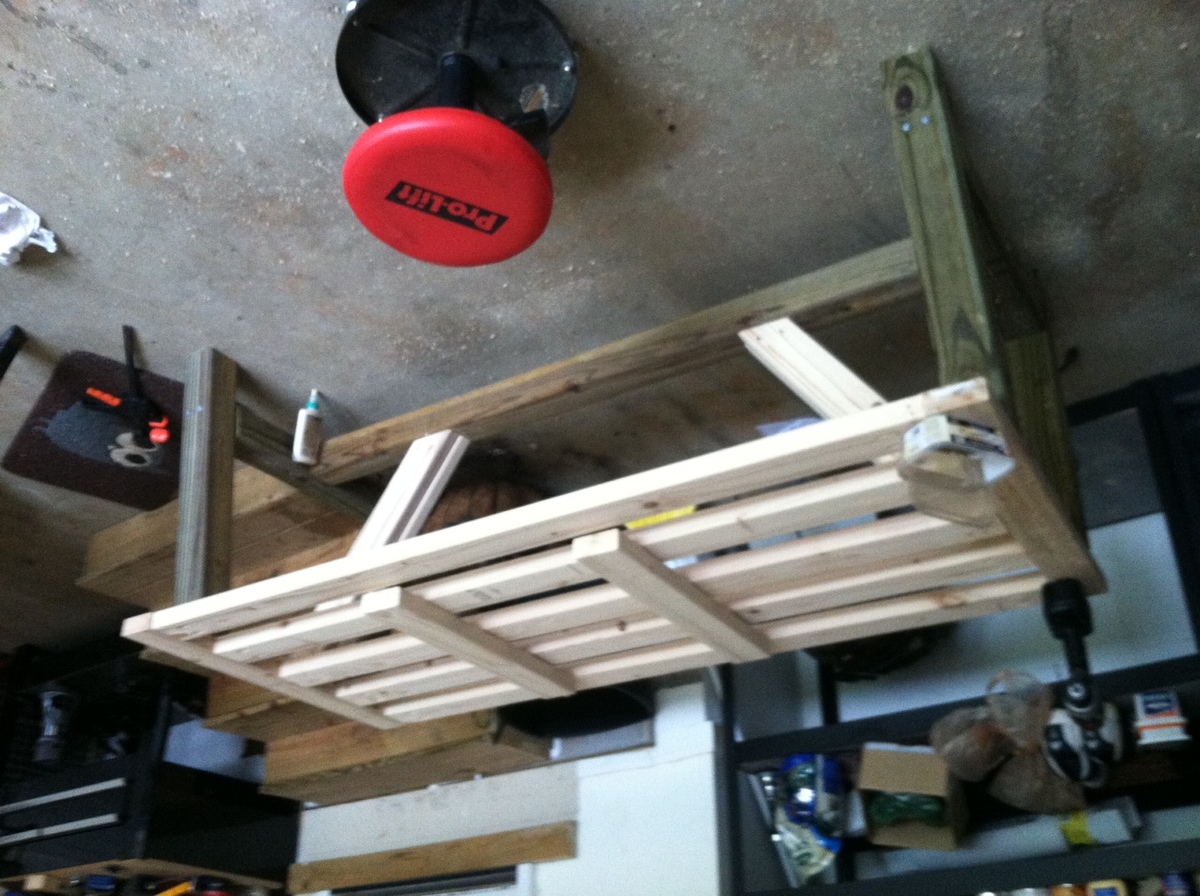
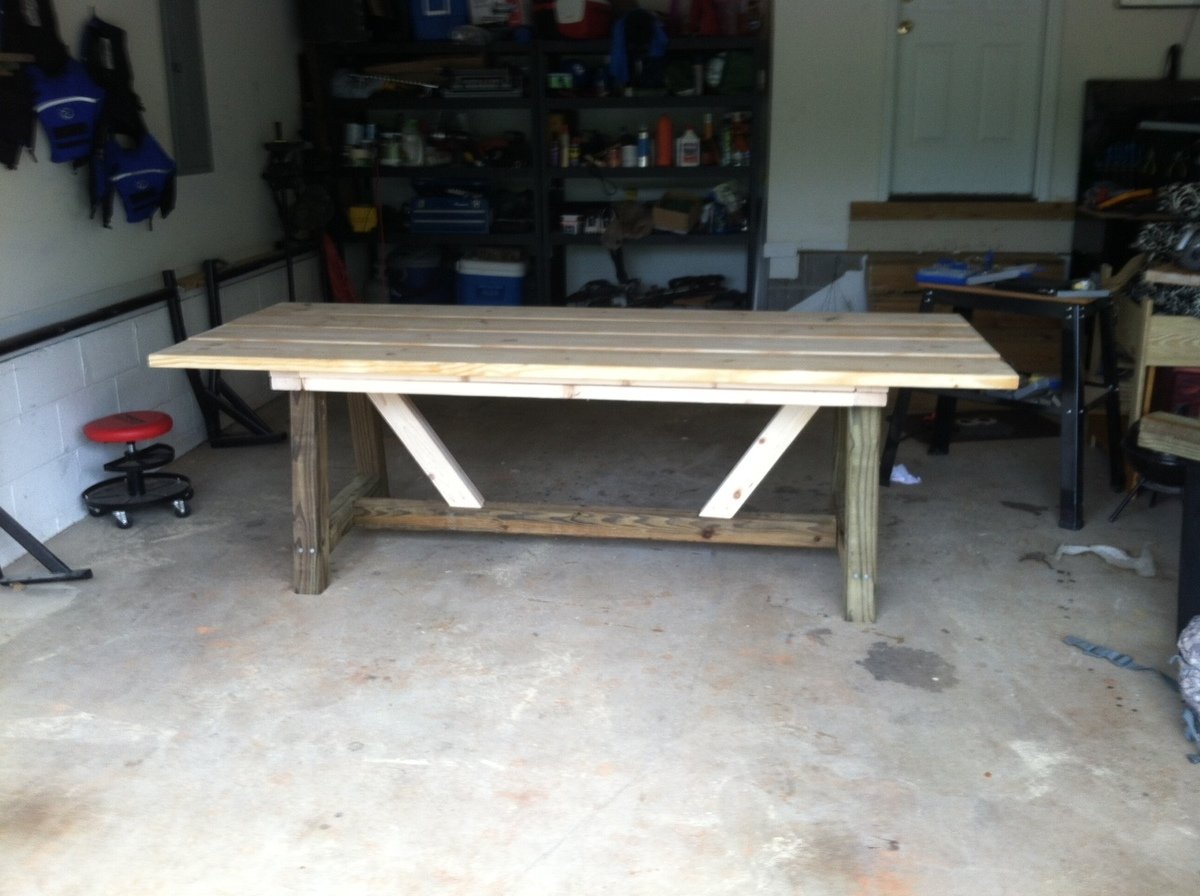
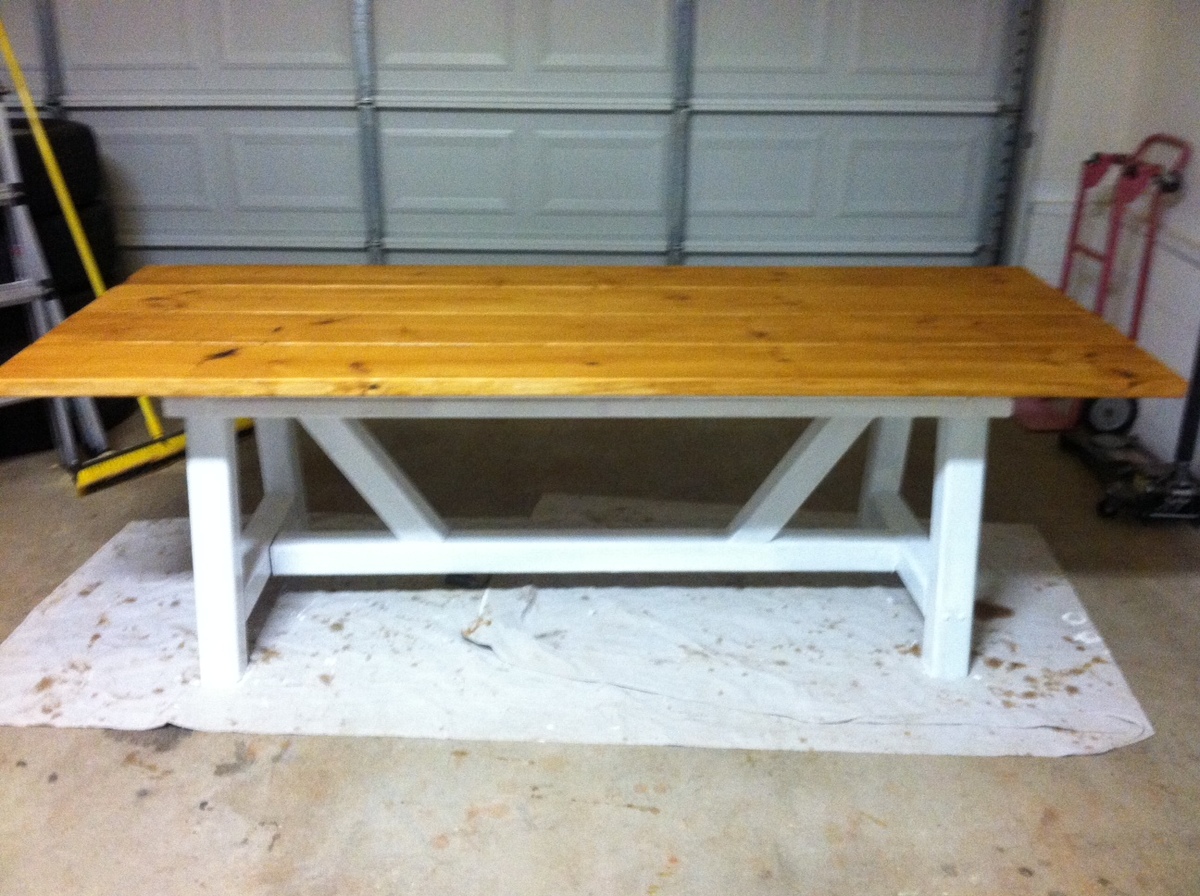
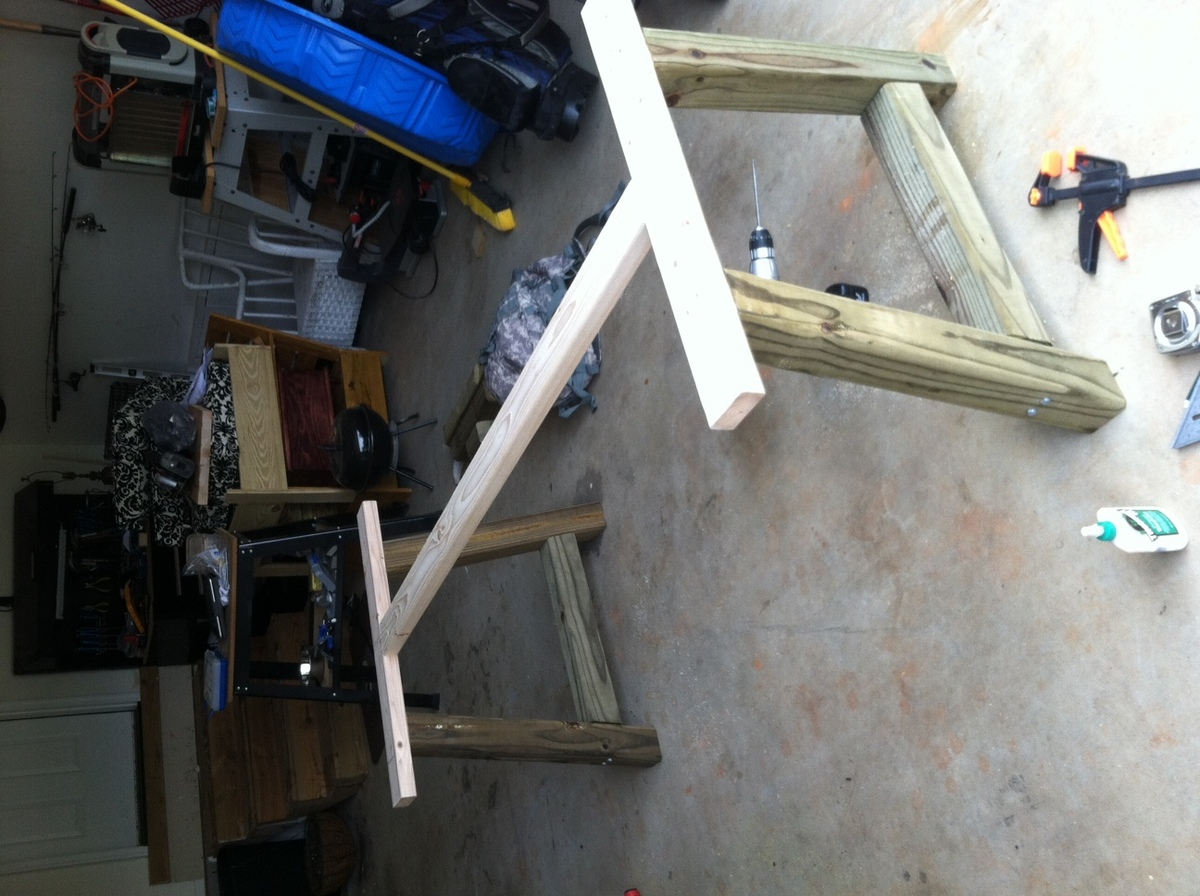
I modified the version of the providence table found here and on other sites to be an 8ft long table. I have found plans of a 10ft table with 4x4s as the base and then the 8ft version was with doubled 2x4's. But i wanted to have a 8ft table with 4x4s so i made one. I used white pine for the table top because i wanted to stain it and then pressure treated for the bottom because i was just going to paint it. I stained the top with cabot's australian timber oil in a honey teak to match our deck, I then painted the bottom with an exterior white paint. Let me know what you think.

Built from Plan(s)
Estimated Cost
100
Estimated Time Investment
Afternoon Project (3-6 Hours)
Finish Used
Cabot Australian Timber Oil - Honey Teak
Recommended Skill Level
Intermediate

Comments

Square Coffee Table

Submitted by jsevart on Sat, 07/19/2014 - 07:14

Square coffee table based on a discontinued design from West Elm.

Estimated Time Investment
Weekend Project (10-20 Hours)
Finish Used
Rustoleum Dark Walnut. Wood Conditioner. Rustoleum Polyurethane.
Recommended Skill Level
Intermediate

Comments

Reza1352

Wed, 10/13/2021 - 13:18

Could you please post the plan and cut list and others info??

It is so nice and i like to make it .

Back