Community Brag Posts


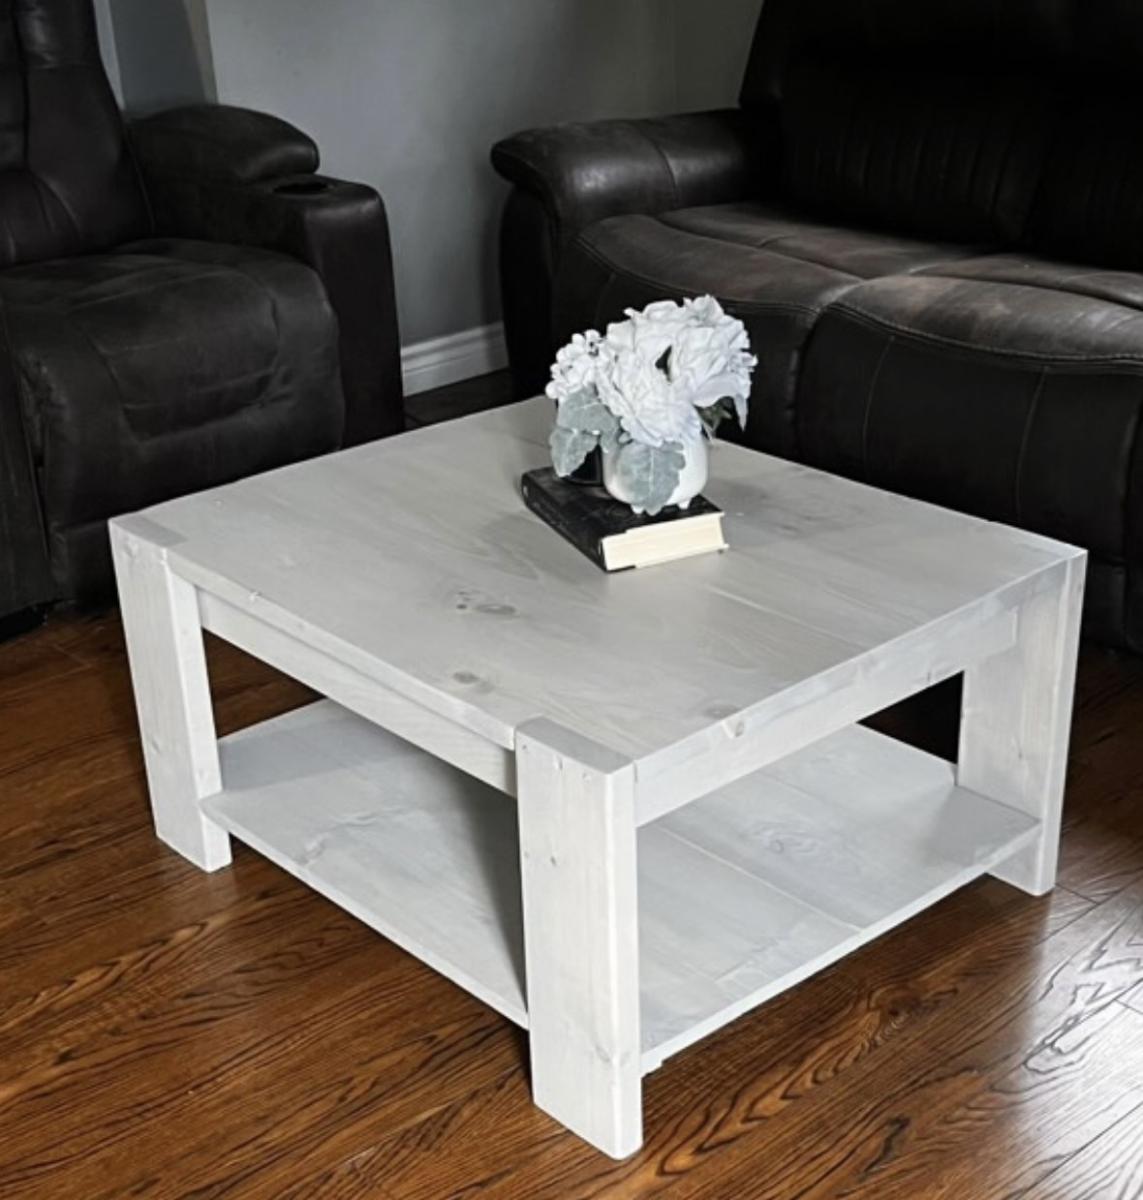
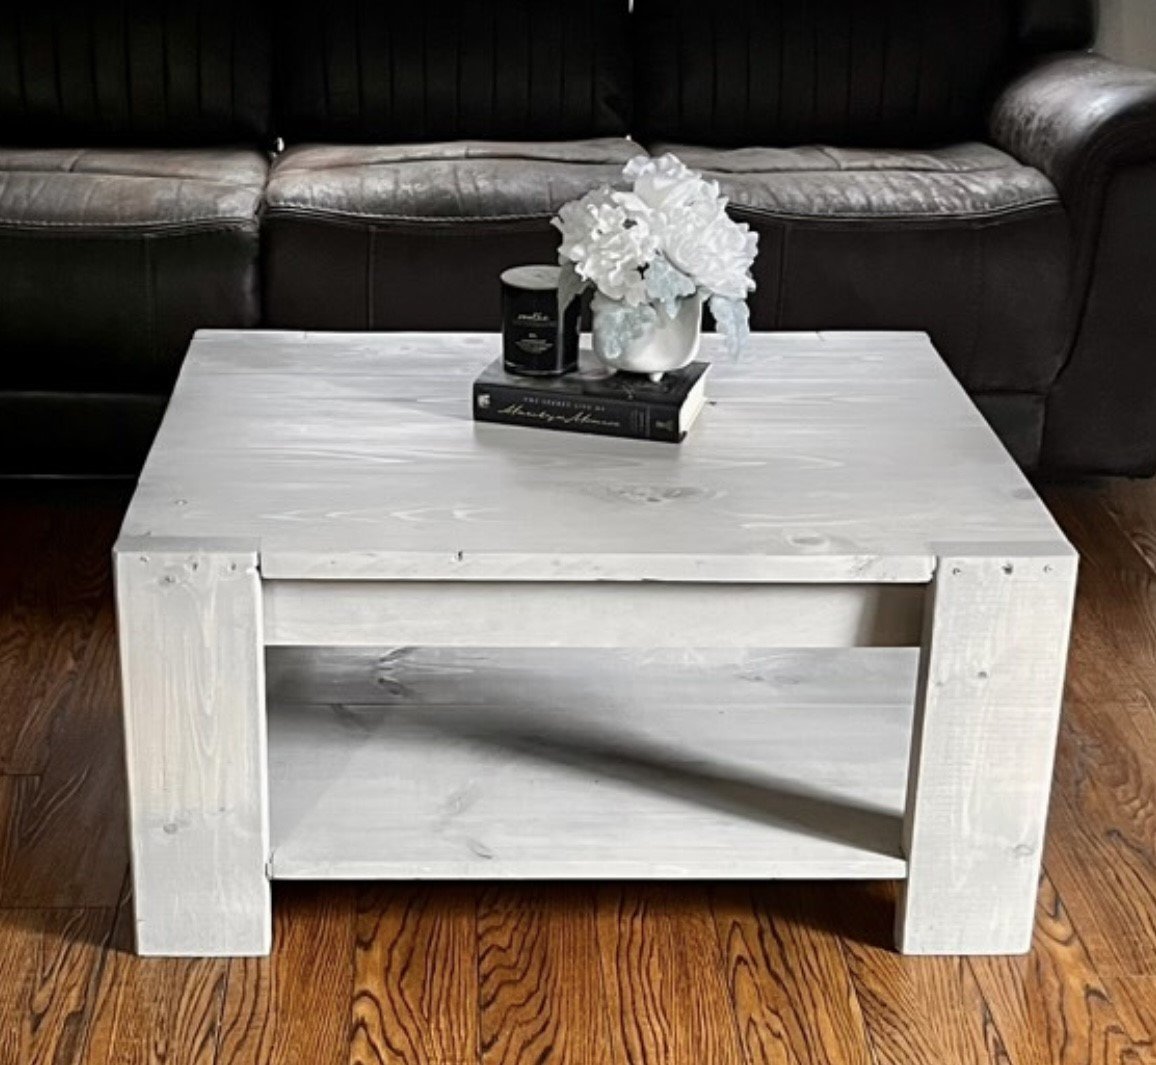
Modern Chunky Leg Coffee Table
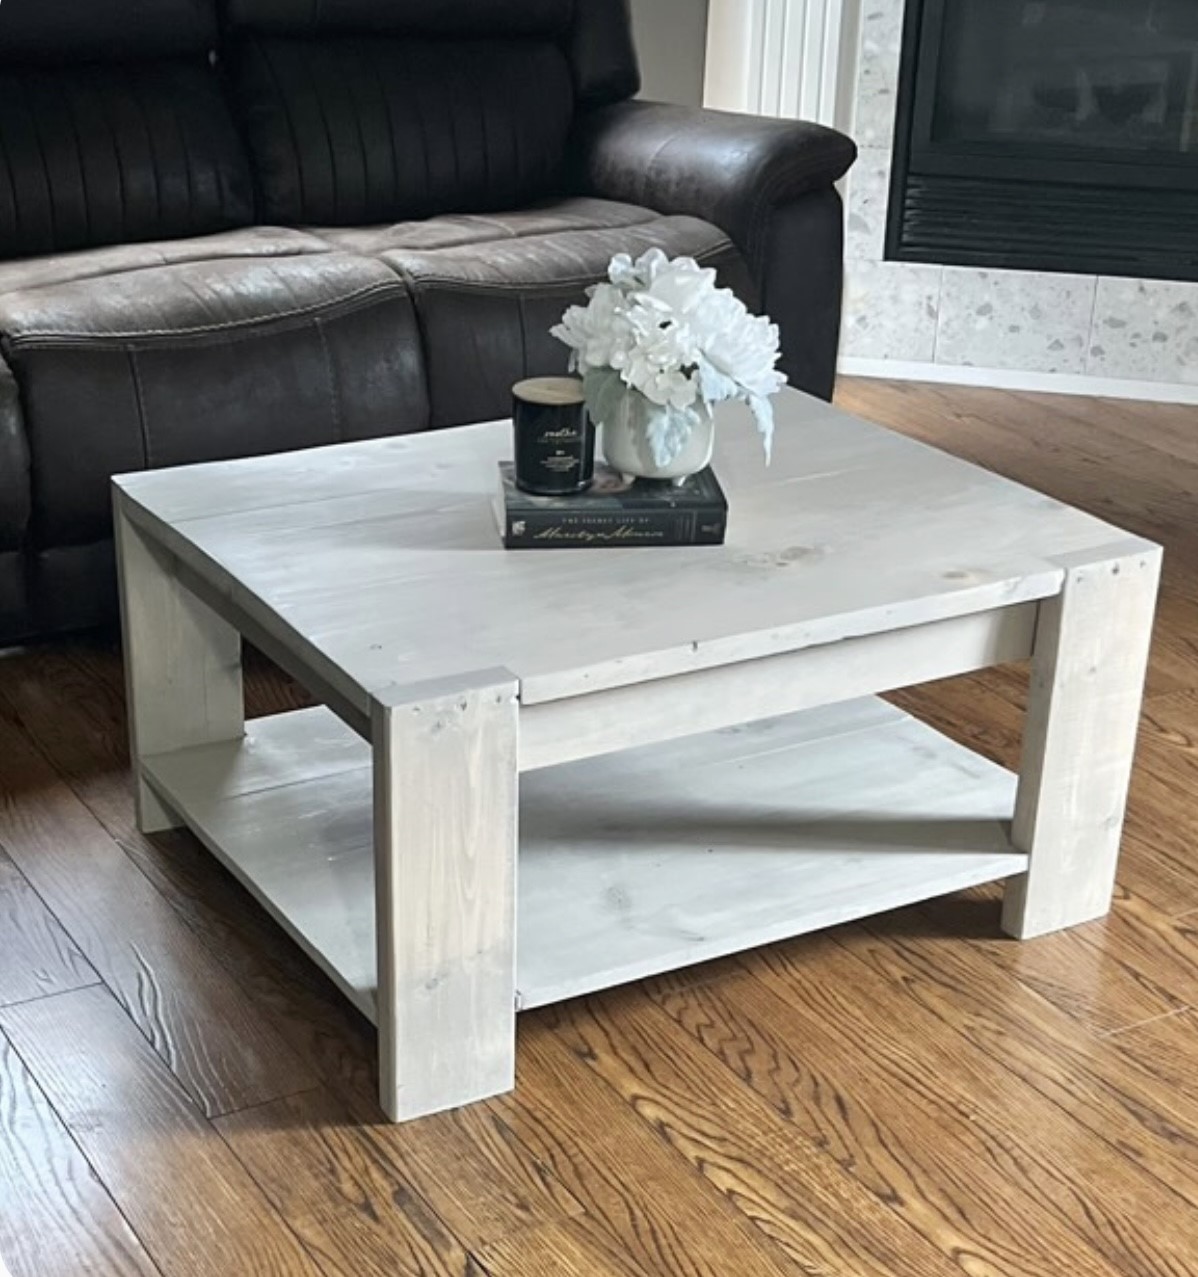
Got this chunky Leg table idea from the rockstar Ana White
Stained in varathane sunbleached - by spicedwoods on Instagram
Built from Plan(s)
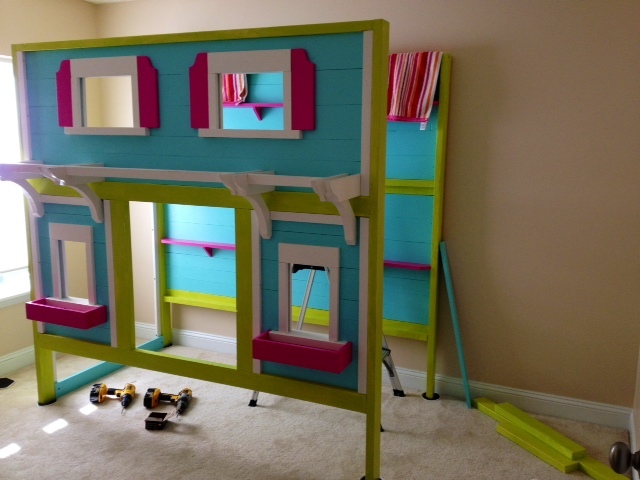
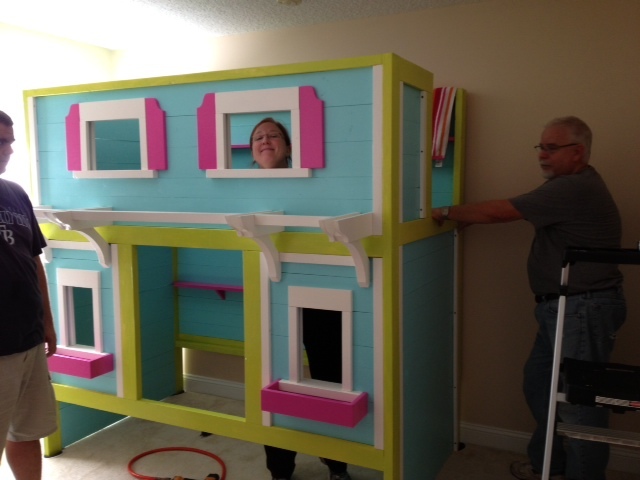
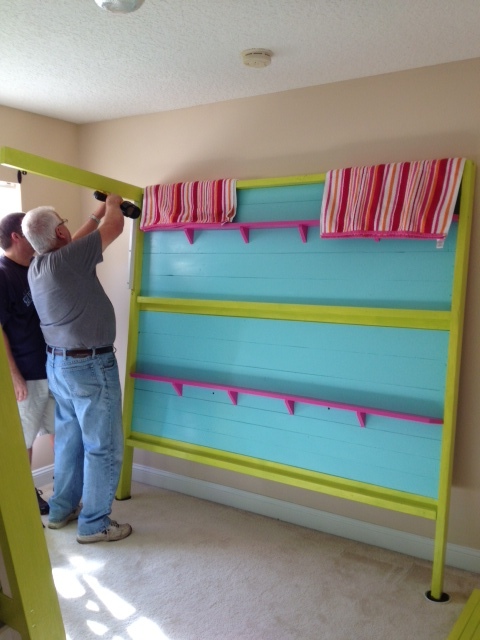
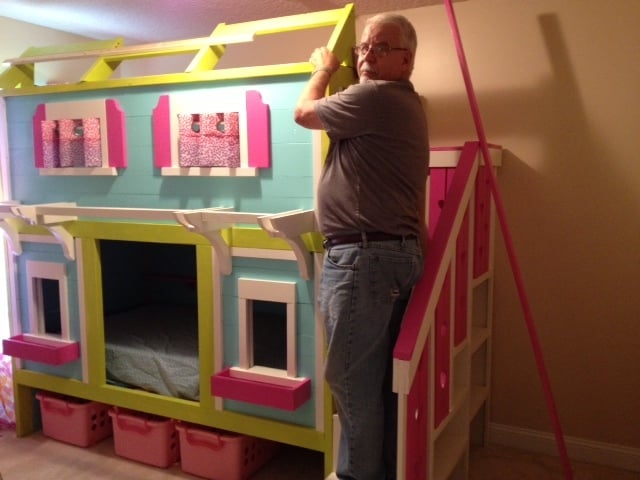
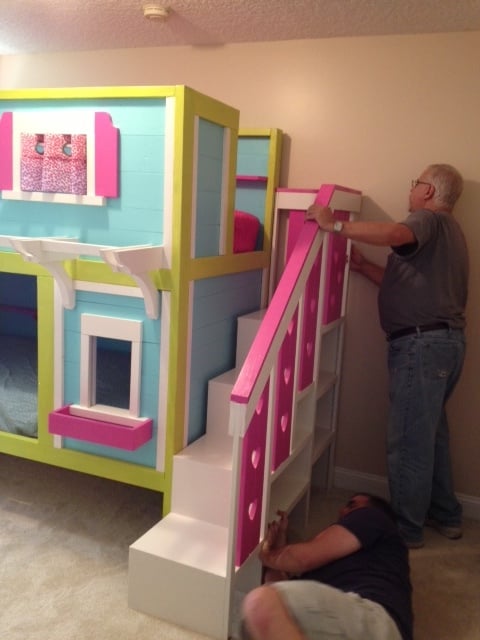
Our Sweet Pea Bunk Beds
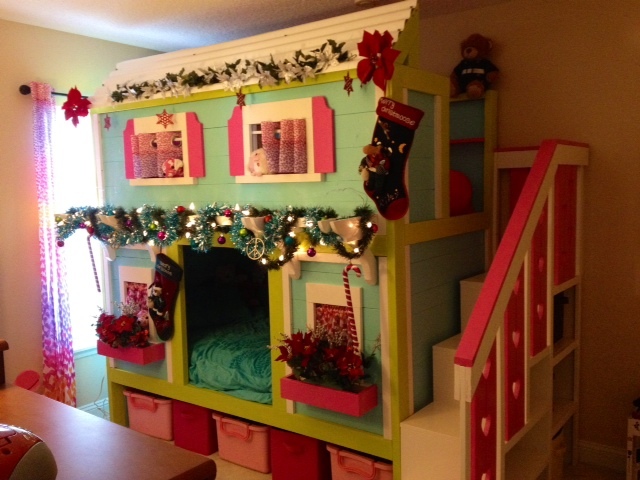
I went to my dad and said I wanted to build bunk beds for my girls. I showed him an easy set of plans and he said no problem, he is handy. Then I pulled the switch on him and told him I wanted to build the Sweet Pea Bunk Beds. Ha ha. Three weeks later, only weekend work, we have the final product. I have to say I think they look pretty awesome.
Built from Plan(s)
Estimated Cost
$400-$500
Estimated Time Investment
Week Long Project (20 Hours or More)
Finish Used
Olympic One Paint and Primer Semi-gloss
Recommended Skill Level
Intermediate
Comments

Sat, 12/08/2012 - 22:16
This is so awesome!!
Your Dad did a great job, these beds turned out beautiful. It took me all summer to build them! 3 weeks-unbelievable! Nice work, I hope your children love it!!
Sun, 01/06/2013 - 14:14
Sweet Pea Bed
My husband came home with a pic of this bed..and I fell in love..We started ours on Thurs morning..by mon night it was being set up in the bedroom..It is an amazing bed..Yours looks great too..I like the totes under the bed. We havent done anything under yet I will be getting some totes like that..Thanks for the idea!
Farmhouse Storage Bed
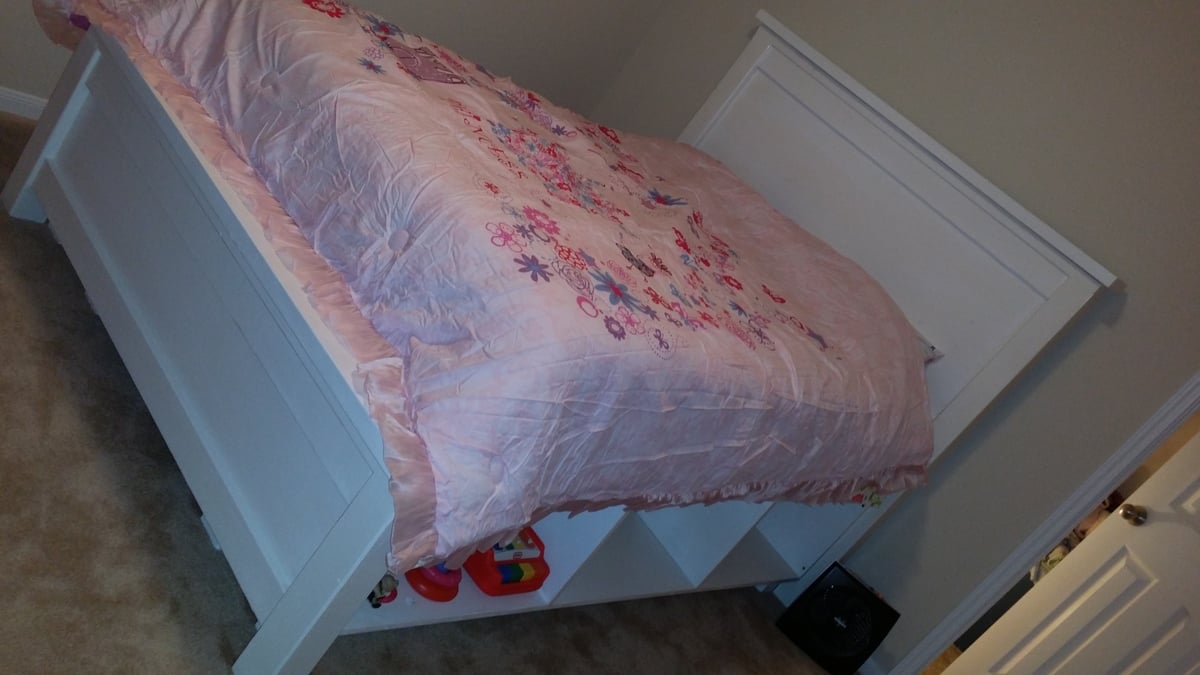
It was time for my daughter to get her very own big girl bed! I found the plans and my wife approved and construction began. 3 weeks later this is what we have created. Everyone at work is super jelious and have referred quite a few people to the website. Thank you Ana for having such a great resourse!
Built from Plan(s)
Estimated Cost
$300
Estimated Time Investment
Weekend Project (10-20 Hours)
Finish Used
Glidden premium interior semi gloss paint, white, GLN6400.
Recommended Skill Level
Beginner

Porch Swing
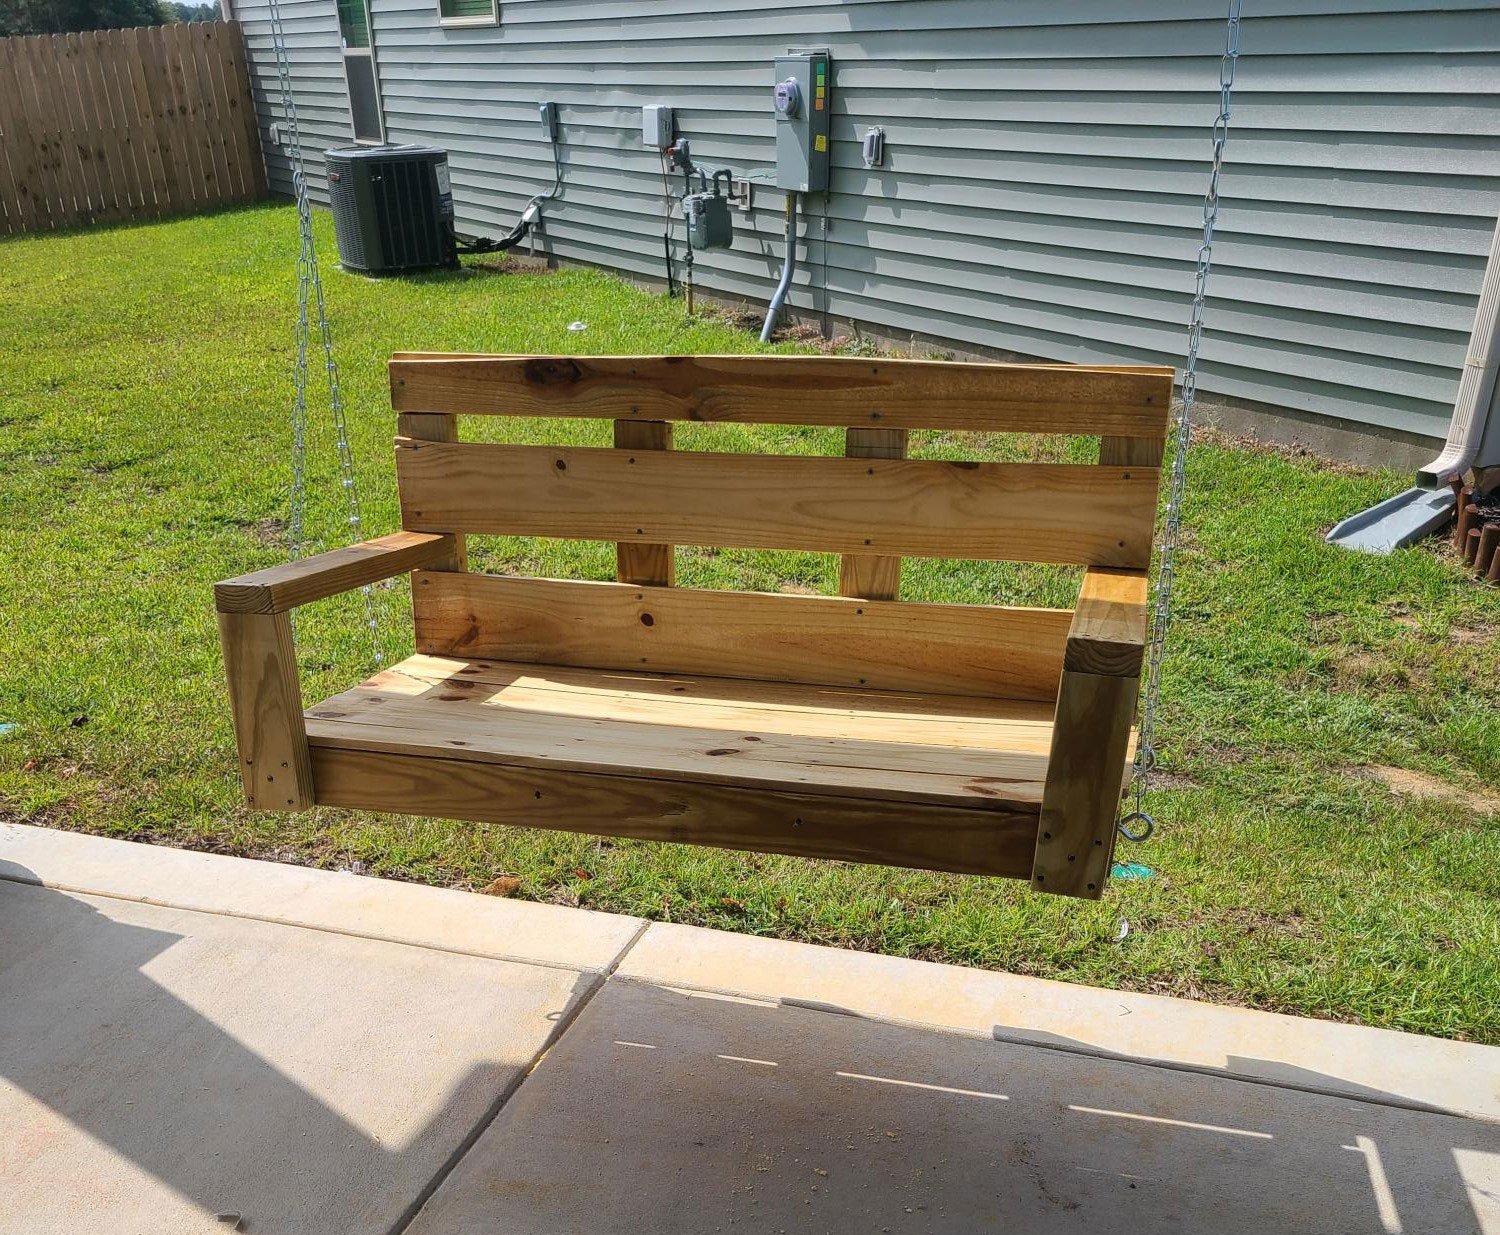
I used this plan and it came out amazing. It was easy to follow and my wife loves it. Thank you!
Built from Plan(s)
Comments
Wed, 09/16/2020 - 10:11
Cool swing!
Thanks for sharing your project, I hope you enjoy many hours there!
Kid's Storage Step Stool

Made this fun pink stool for my two-year-old granddaughter. She loves it!!! Thank you Ana for the awesome plans. It was a lot of fun to build.
Built from Plan(s)
Estimated Time Investment
Afternoon Project (3-6 Hours)
Finish Used
Paint
Recommended Skill Level
Starter Project
My X Desk Version, for my son

My son told me he needed a desk for his room, for his recording equipment. I remembered seeing this desk and that I had some wood in the garage. Using 50+ year old 2x4's and a 100+ year old 2x12, left in the garage from the previous owner, I made this desk in a day. My son LOVES it! Thanks for all you do.
Roger
Estimated Time Investment
Afternoon Project (3-6 Hours)
Finish Used
Satin Polyurethane
Recommended Skill Level
Starter Project
Comments
Farmhouse Hall Tree
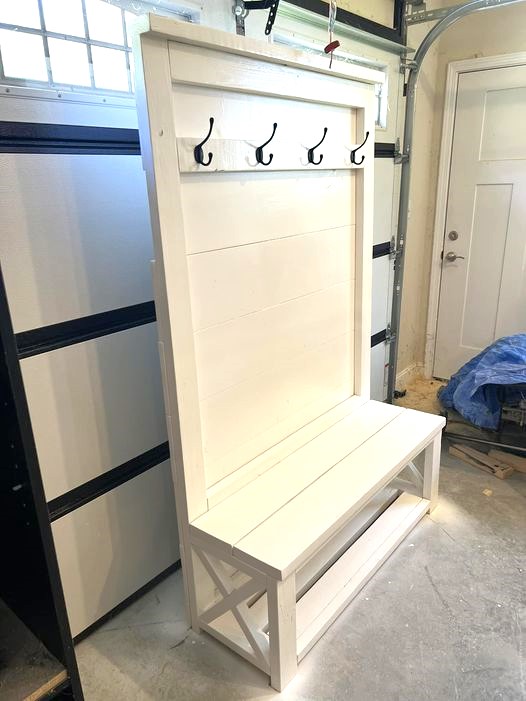
I built this hall tree using Ana White’s plans on her website. - Jake King
Built from Plan(s)
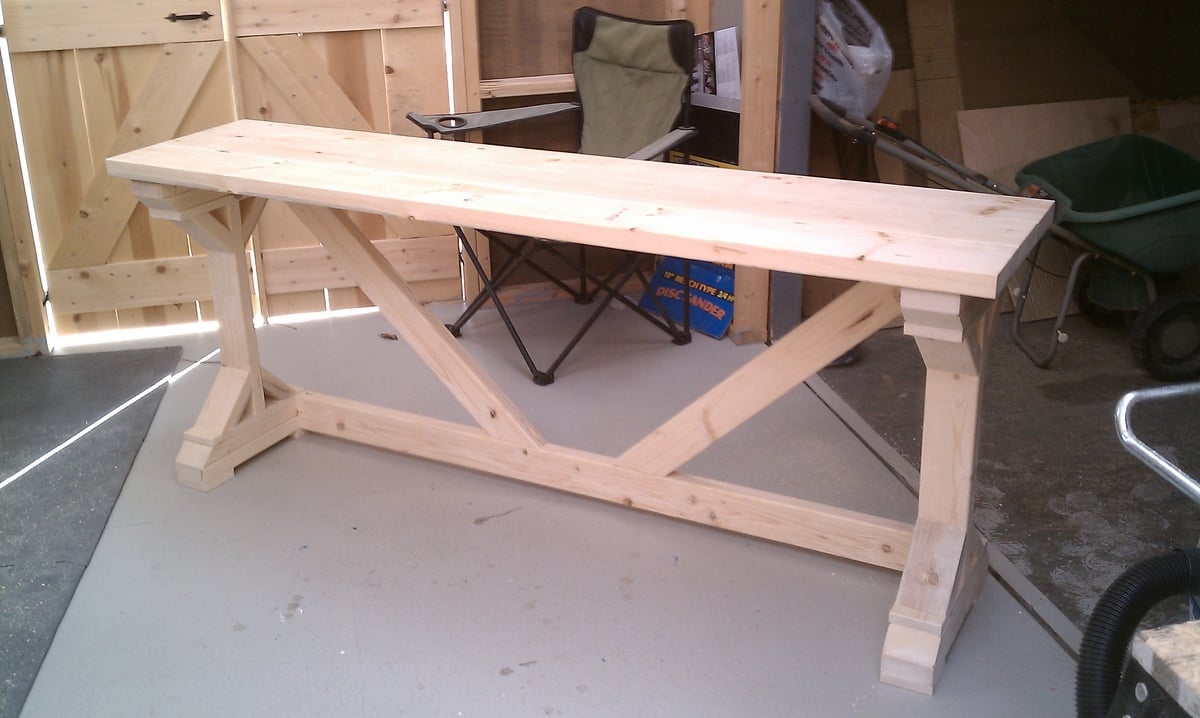
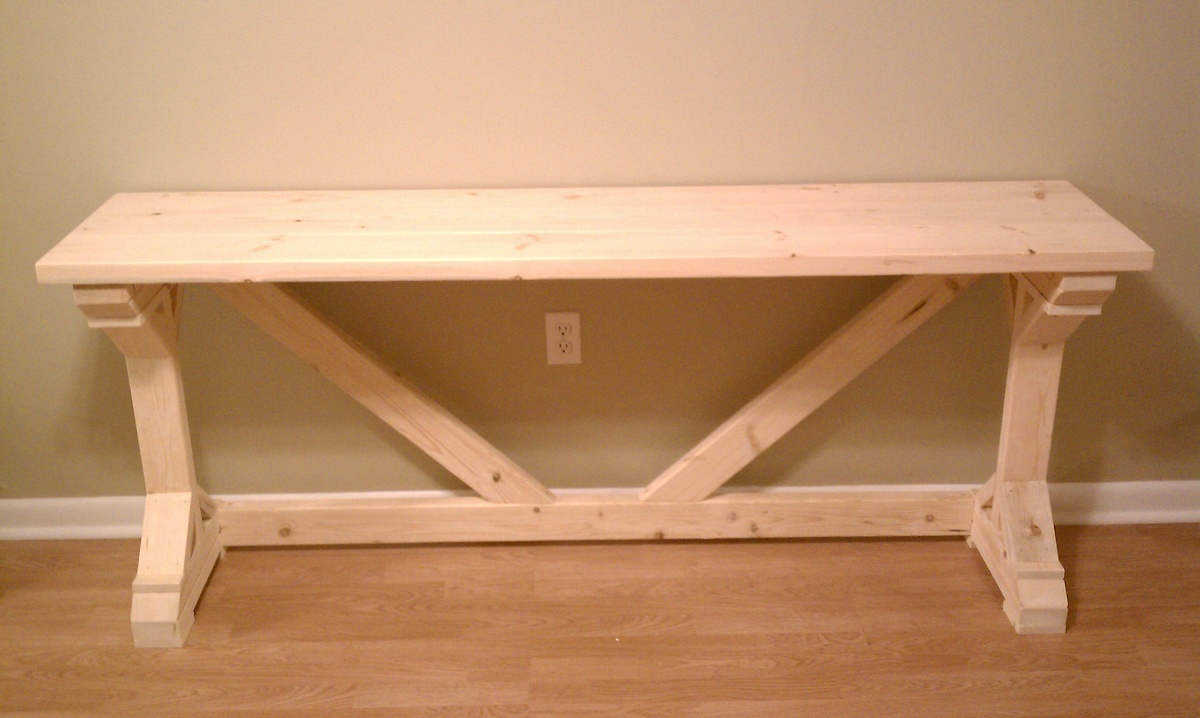
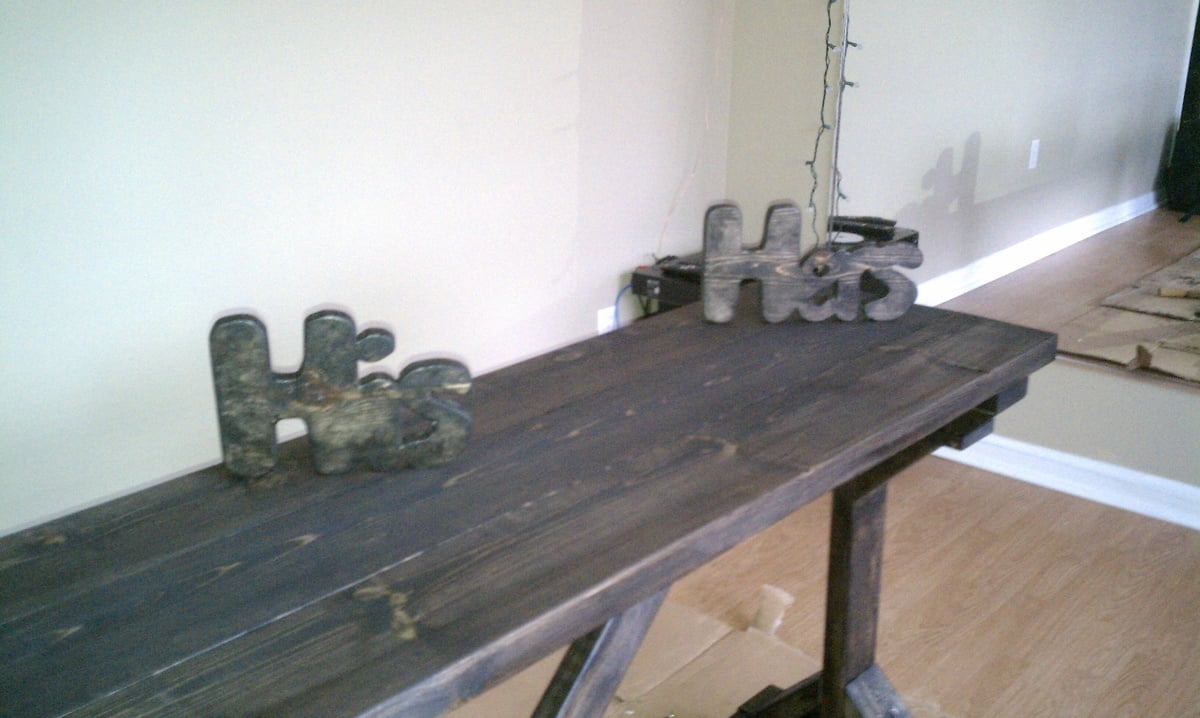
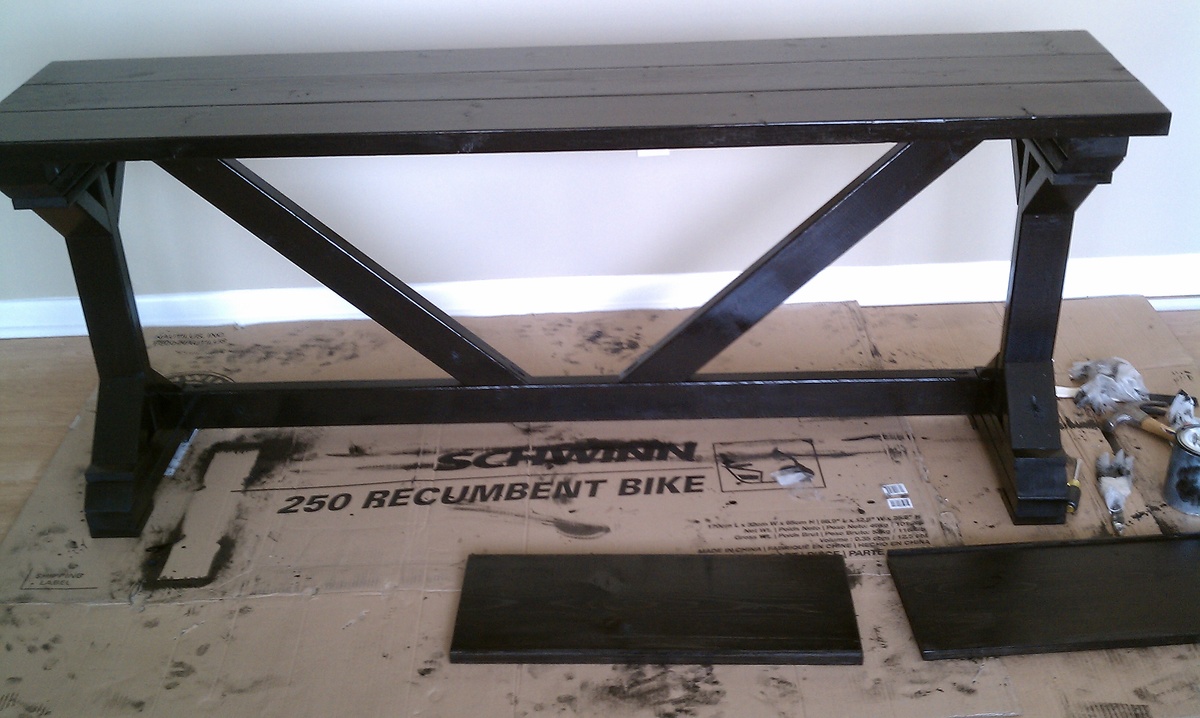
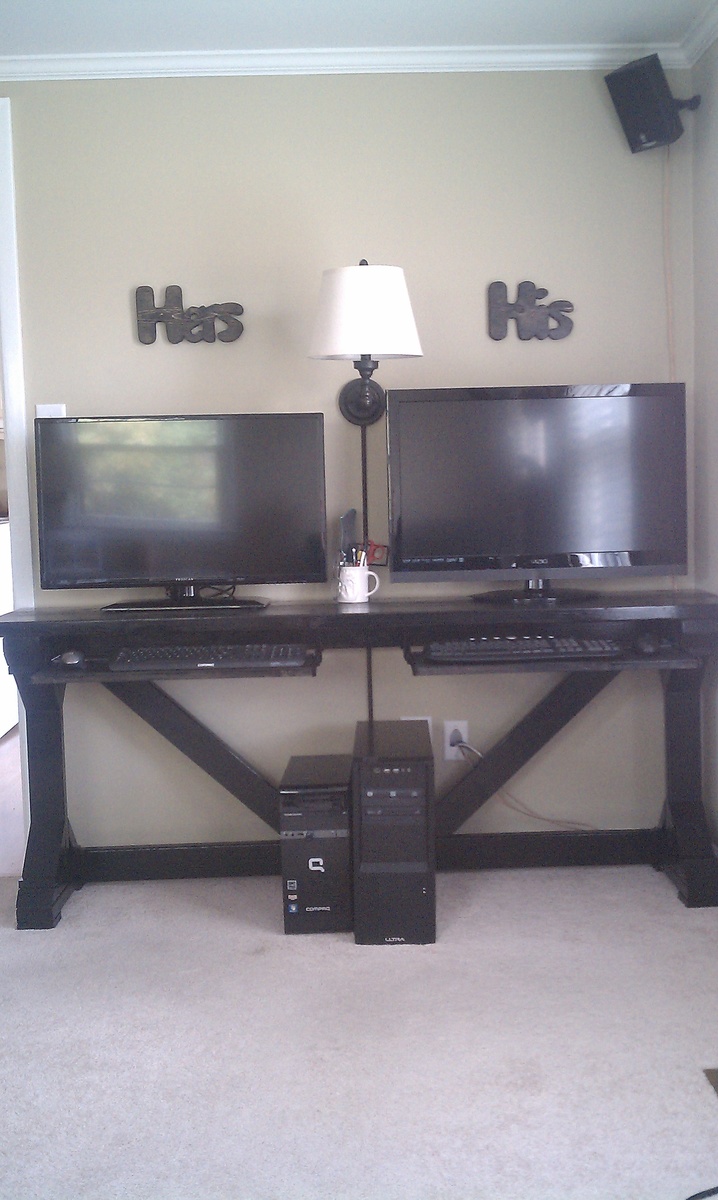
$55 Fancy X Desk - my version

Duel Computer Desk. I varied the desk width to 16.5" in and used 3 - 2x6's for the top. Other dimensions changed to allow for the narrower top. Purchased hardware for under desk keyboard and mouse tray. The His and Hers signs were made on a scroll saw by my wife.
Built from Plan(s)
Estimated Cost
$65
Estimated Time Investment
Weekend Project (10-20 Hours)
Finish Used
Minwax Classic Black Gloss Stain
Recommended Skill Level
Intermediate
Comments


Mon, 03/23/2015 - 17:48
Love it! ヅ
I'm building a computer desk myself and just purchased a 1"x16" x 6 foot project board for the top. I love the look of your narrower Fancy X Desk, so I'm thinking I'll go that route too. ヅ
Planked wood sideboard

The plans make this huge! I had to narrow down, and adjust for shelve opening. Hardest part were getting slides situated on sides, there was just enough difference from 2x4s to upset slides a little. I recommend going for the longer slides, if u r running into the same issue.
Love the plans and love this site, so much inspiration here!
Thanks Ana
dan
Built from Plan(s)
Estimated Time Investment
Week Long Project (20 Hours or More)
Finish Used
Minwax red mohagany, with clear satin poly
Recommended Skill Level
Intermediate
Comments
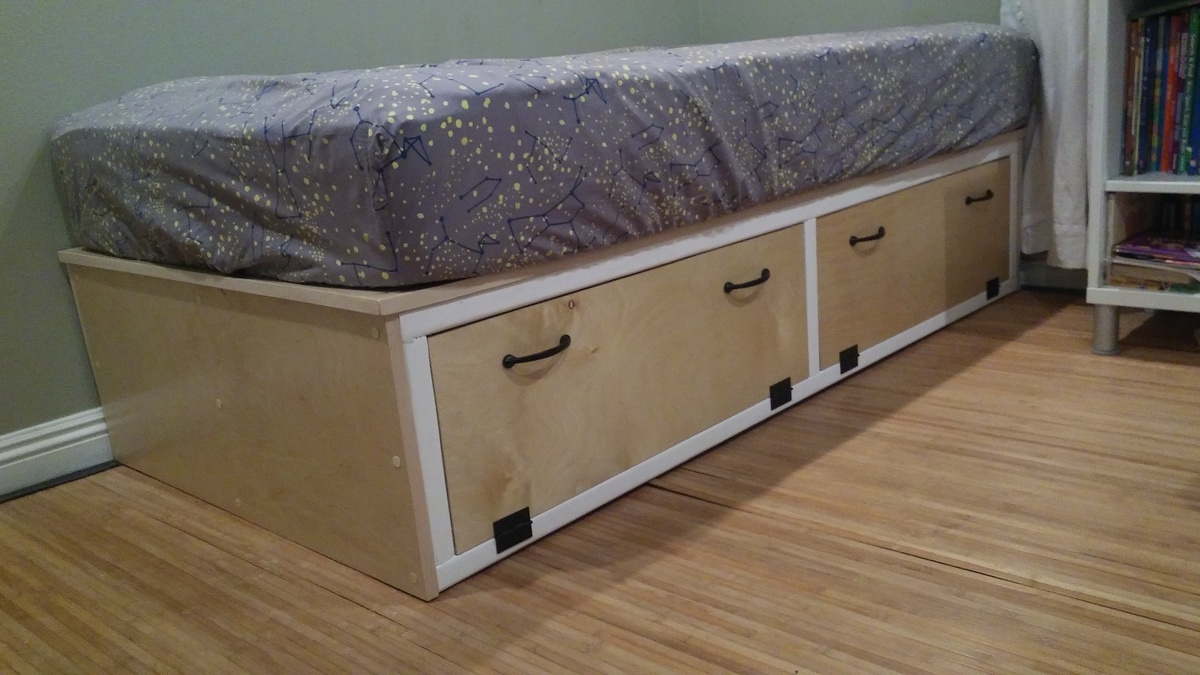
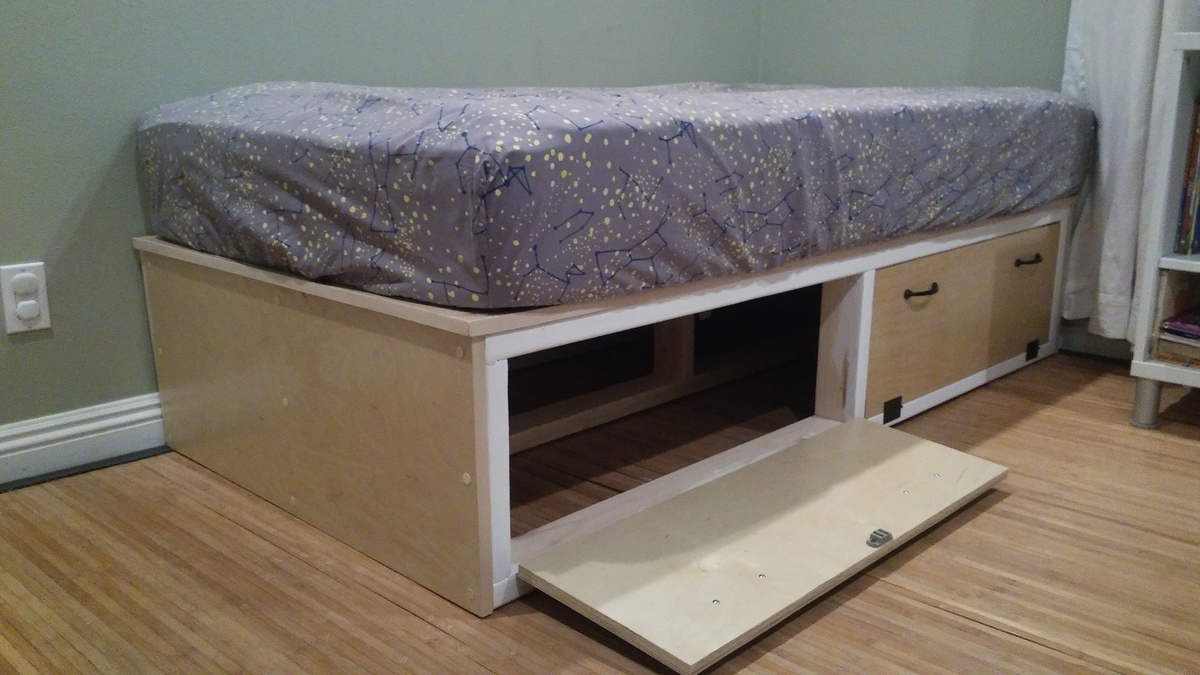
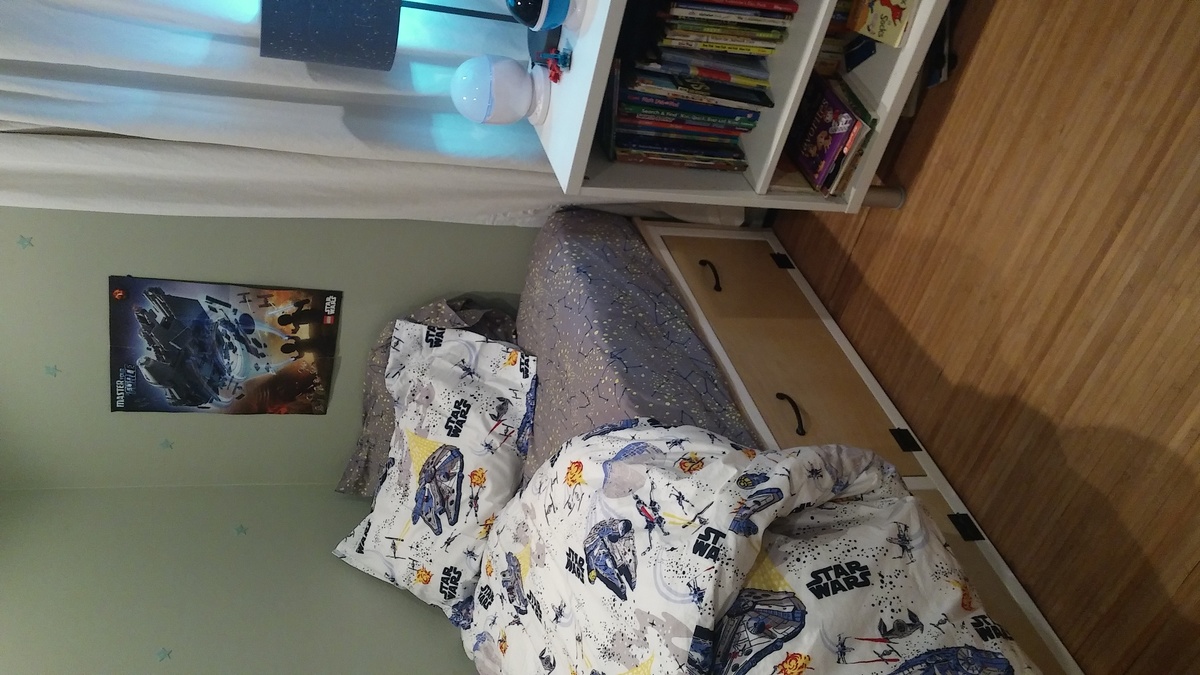
Big Boy Bed for 4 year old
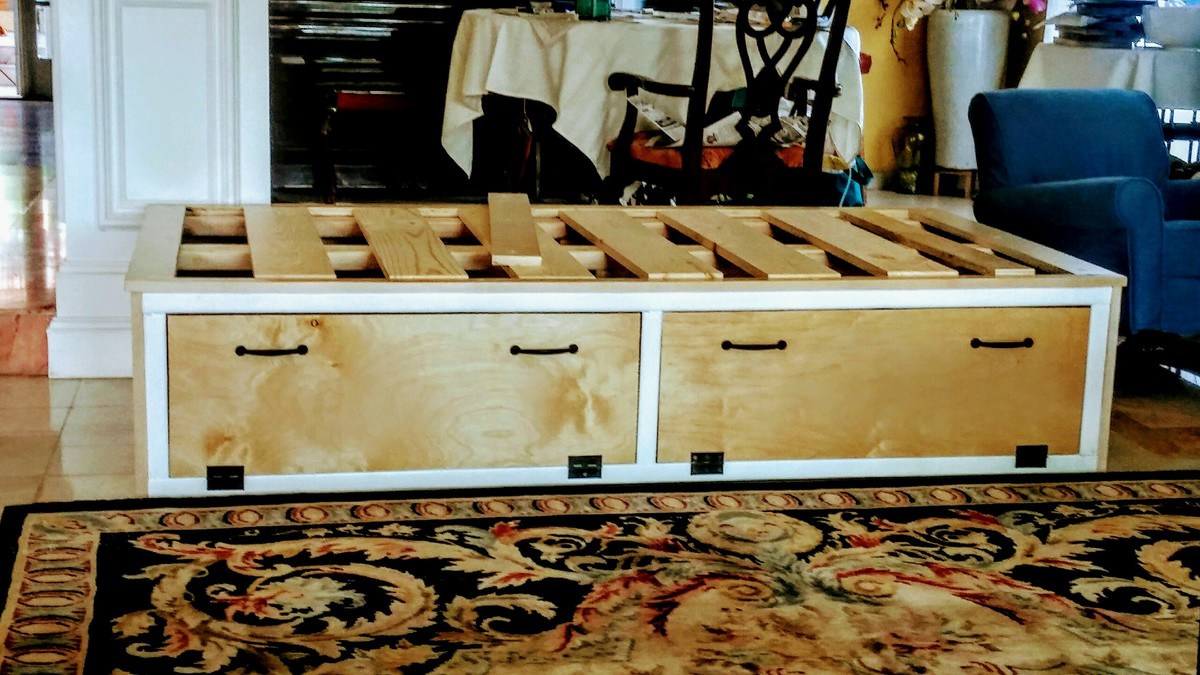
My Husband made this twin bed for our son off the Alaska Cabin Bed plan.
It was easy enough for him. To complete without any mistakes. Took aprox 3 days to complete, about $130 in lumber. He used
6 (pine)2x4's & 1 sheet of cabinet grade Baltic Birch. He added a center support beam.
Painted a white trim around drawer fronts coordinate with white nightstand. Used magnet clasps on drawer flaps. The bed is solid enough for us to lie down and read bedtime stories with our son, and the bed doesn't even creak a sound. Easy to slide mattress off a little and change the sheets. I would highly reccomend this plan to others.
Built from Plan(s)
Estimated Cost
$130.00
Estimated Time Investment
Weekend Project (10-20 Hours)
Finish Used
No finish on baltic birch. Painted white on 2×4's.
Recommended Skill Level
Beginner
Simple Modern End Table
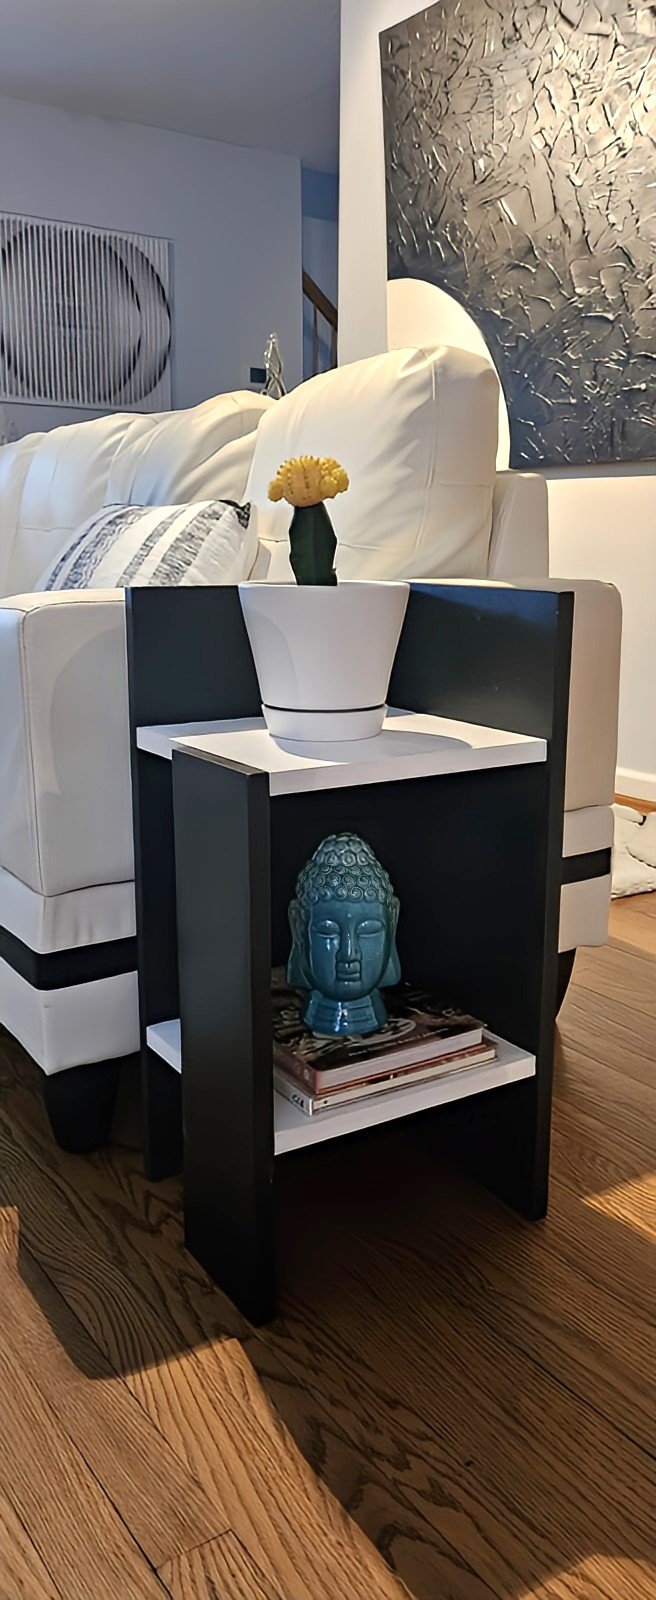
Modern plant stand/end table. - James from Virginia Beach VA
Built from Plan(s)
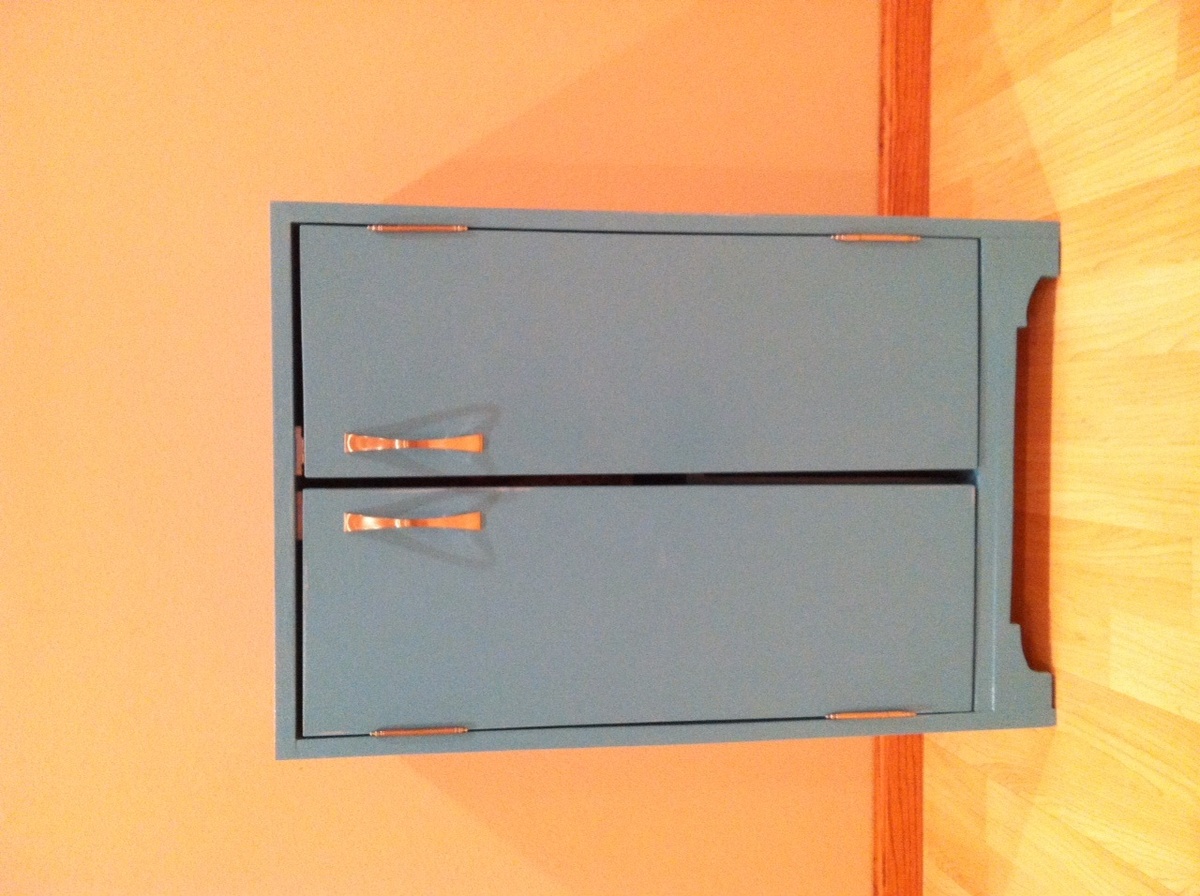
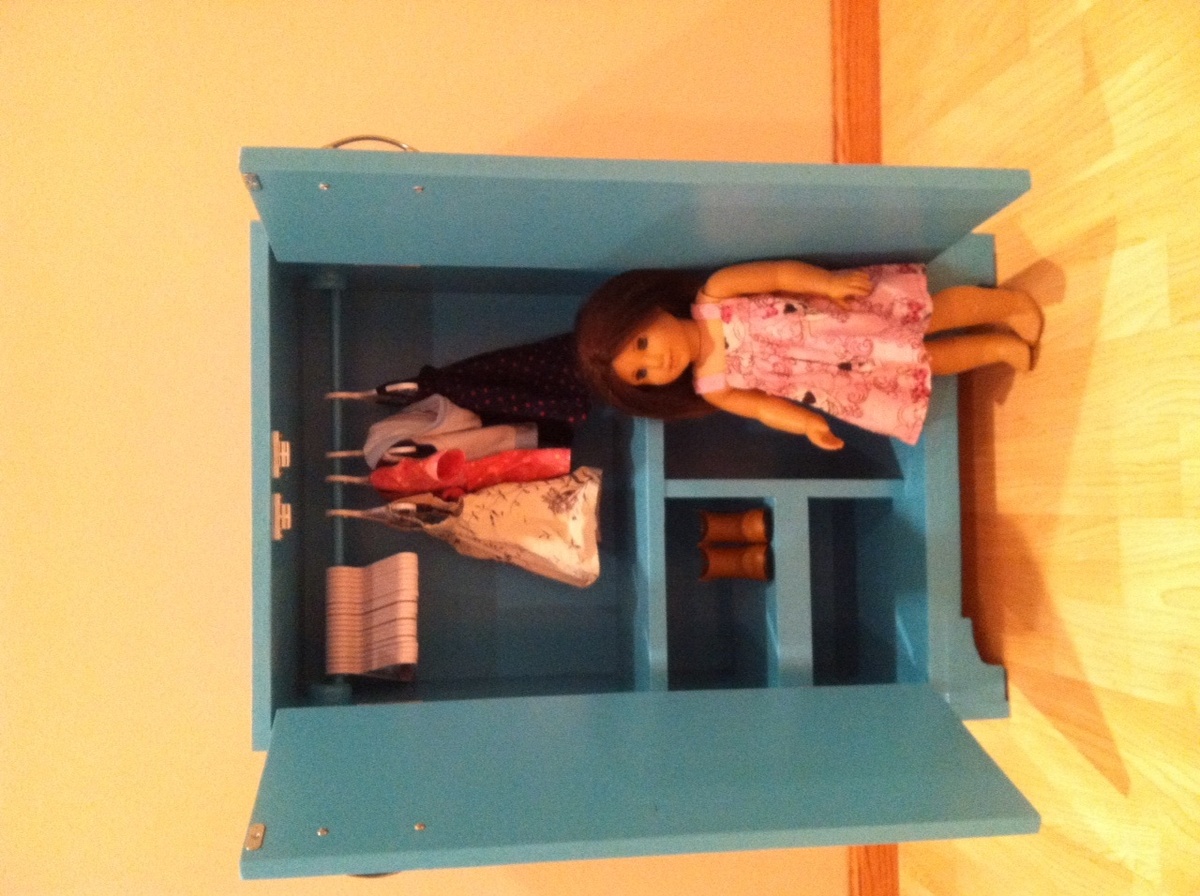
American Girl Doll Closet
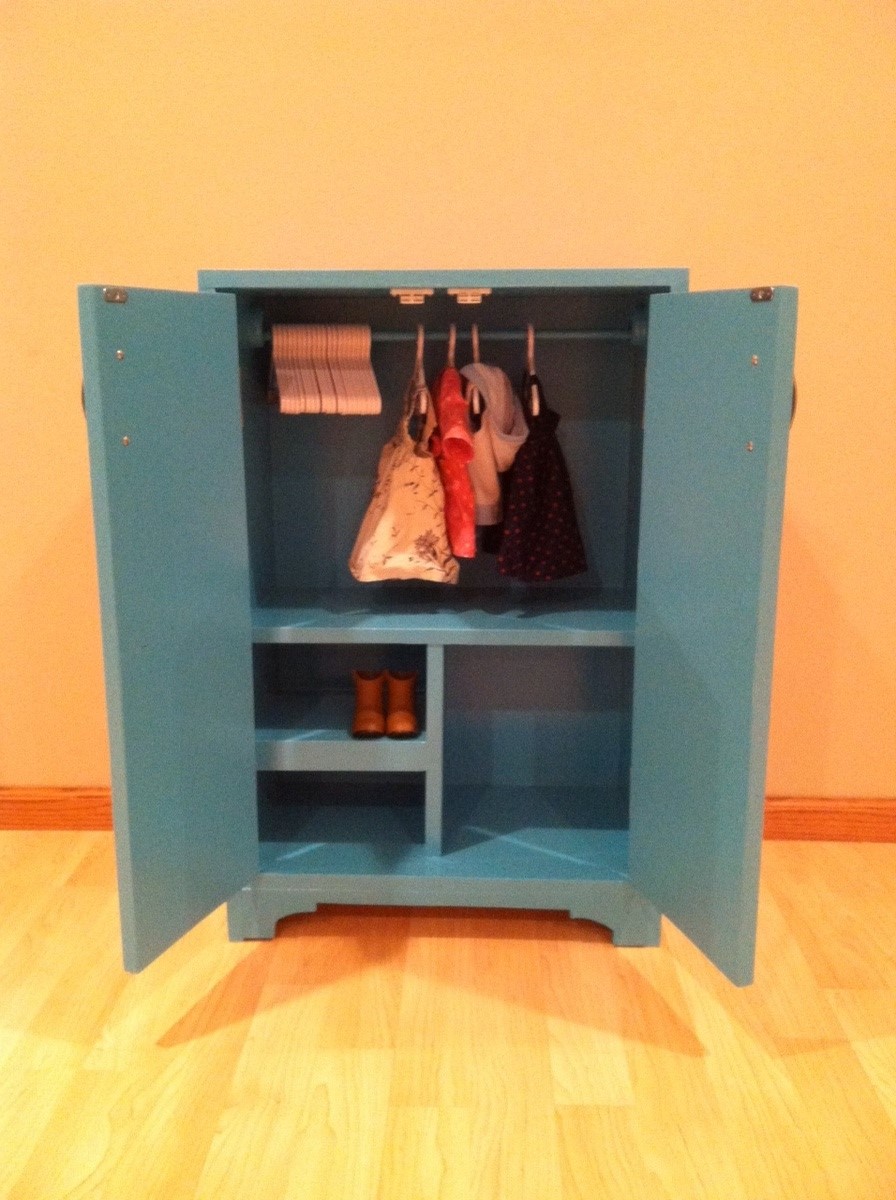
My Girls are having an american girl doll christmas this year. They're each getting a doll, with cars, horses, clothes, gymnastics bar, whatever you could want to go with it, lol. I decided last minute to make this closet for them as well to help organize their stuff. I made it 2" taller and added some more shelves. On the two little shelves, I am currently making a box out of the plastic embroidery sheets (I'm embroidering it with pink satin ribbon, instead of yarn to make it prettier). Walmart had a bunch of shoes for these dolls for just $1.50 a pair so I got them a lot of shoes for their stockings and needed little bins to hold all the shoes they are getting. I had fun building it. Because it was last minute and because I still need to install the quarter round on our laminate floor (hopefully before christmas), I was making this as quick as possible to I opted to not do the star cut out and just spent the $5 more to get the two handles. I also did easier hinges. We only have the washing machine for these dolls so I didn't need all the room on the bottom.
Built from Plan(s)
Estimated Cost
$35
Estimated Time Investment
Afternoon Project (3-6 Hours)
Recommended Skill Level
Beginner
Comments
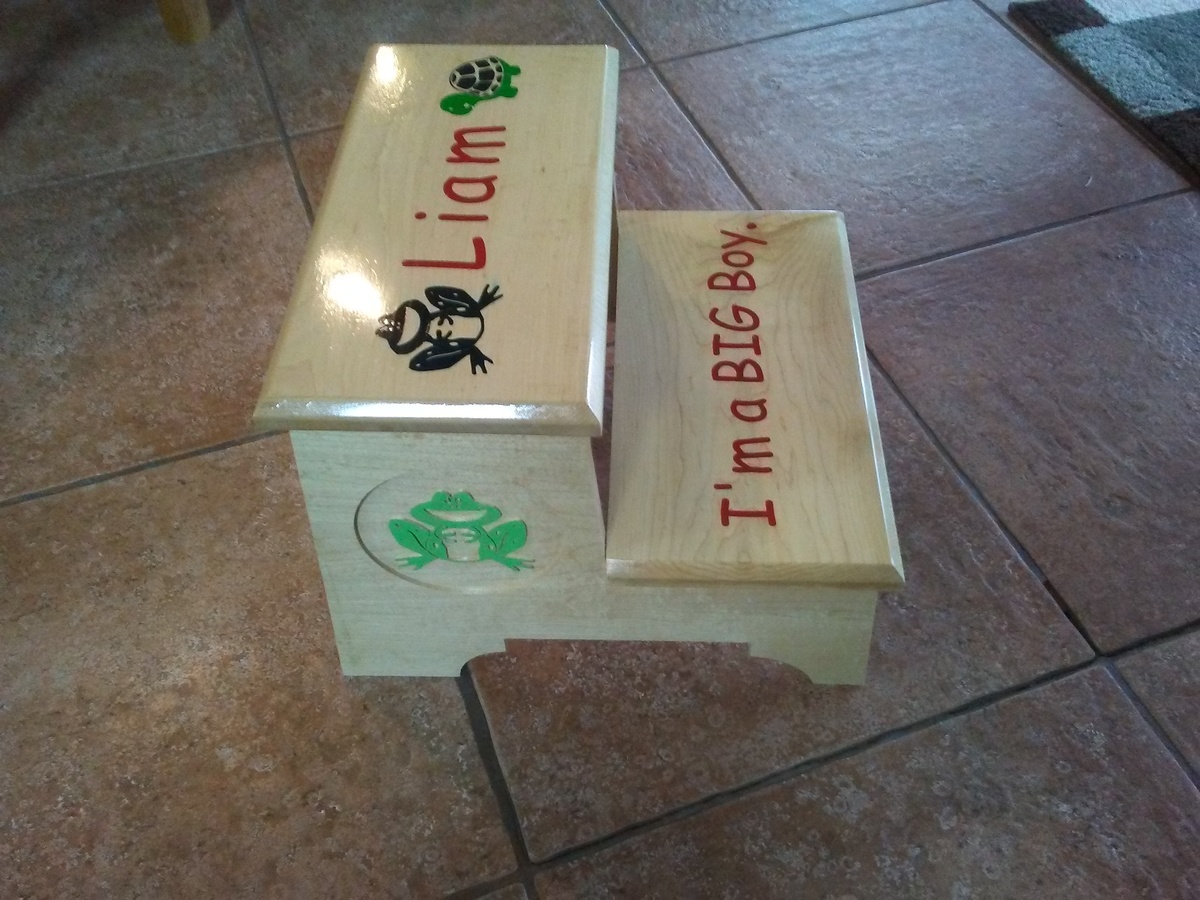
Step Stool
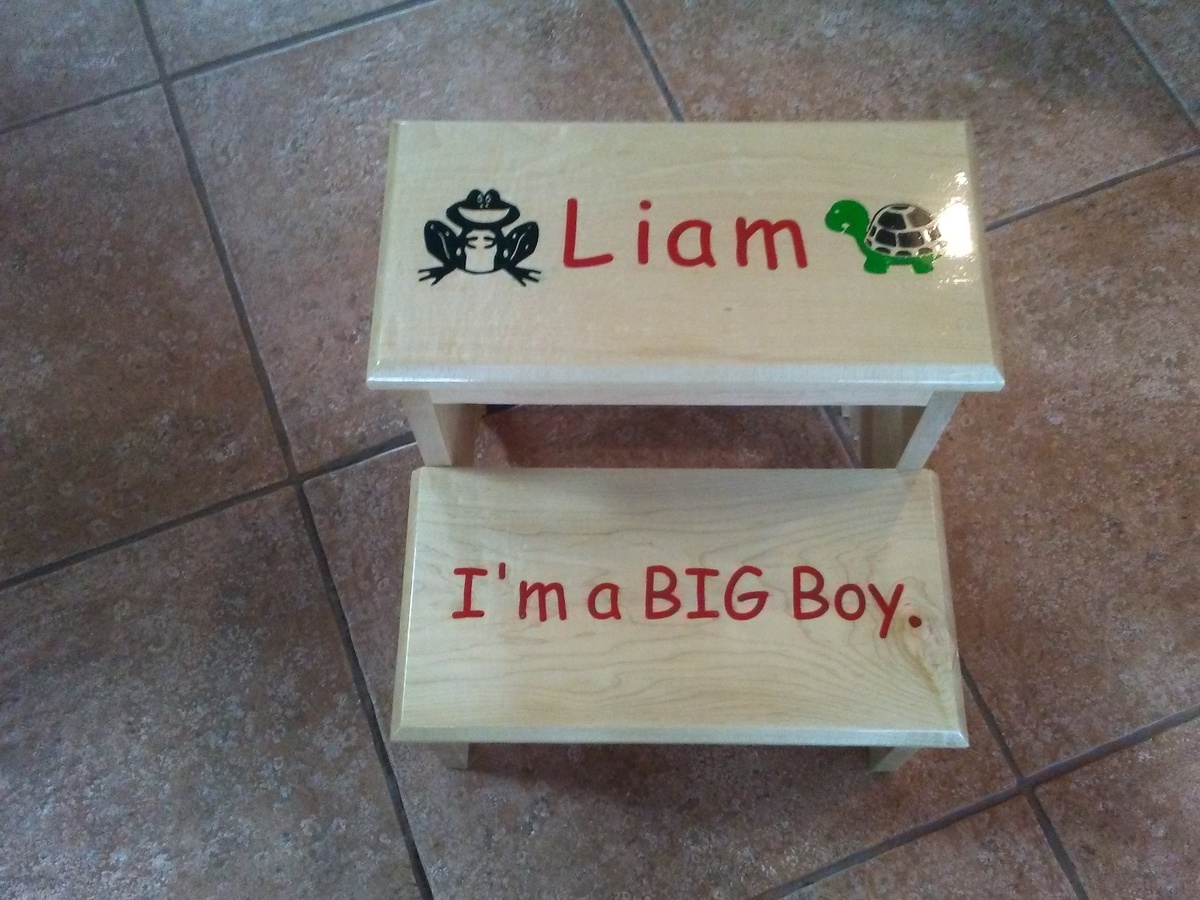
LOve your site for basic plans, easy to follow and modify. Used the step stool and created personalized ones for clients.
Keep the good ideas coming
John
Built from Plan(s)
Estimated Time Investment
Weekend Project (10-20 Hours)
Finish Used
polyurethane
inlays created with CNC router and filed with colored epoxy
inlays created with CNC router and filed with colored epoxy
Recommended Skill Level
Intermediate
Comments

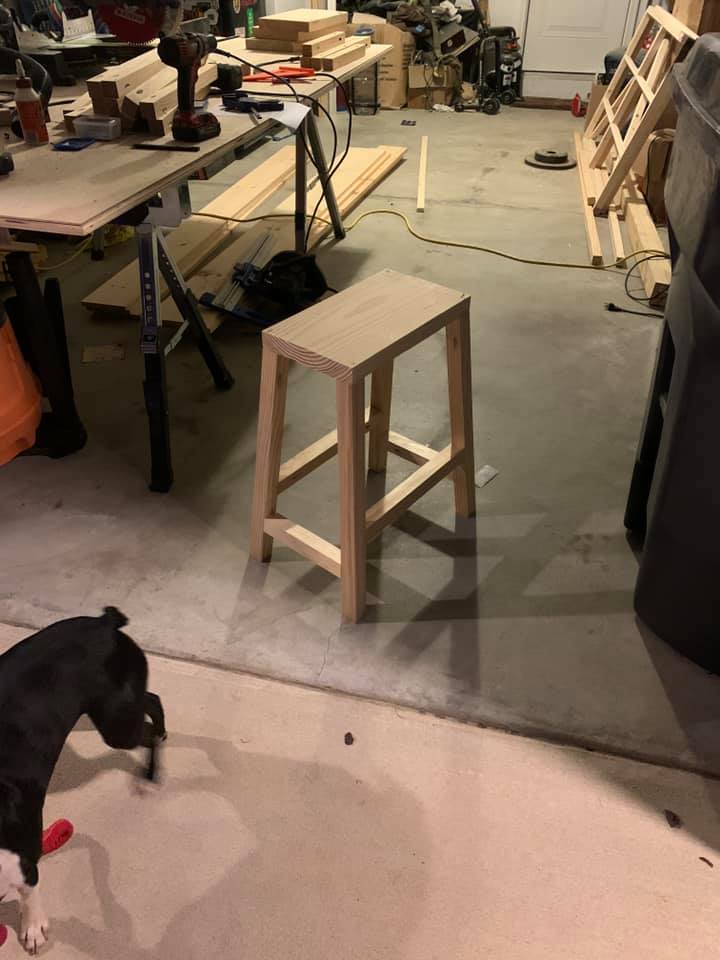
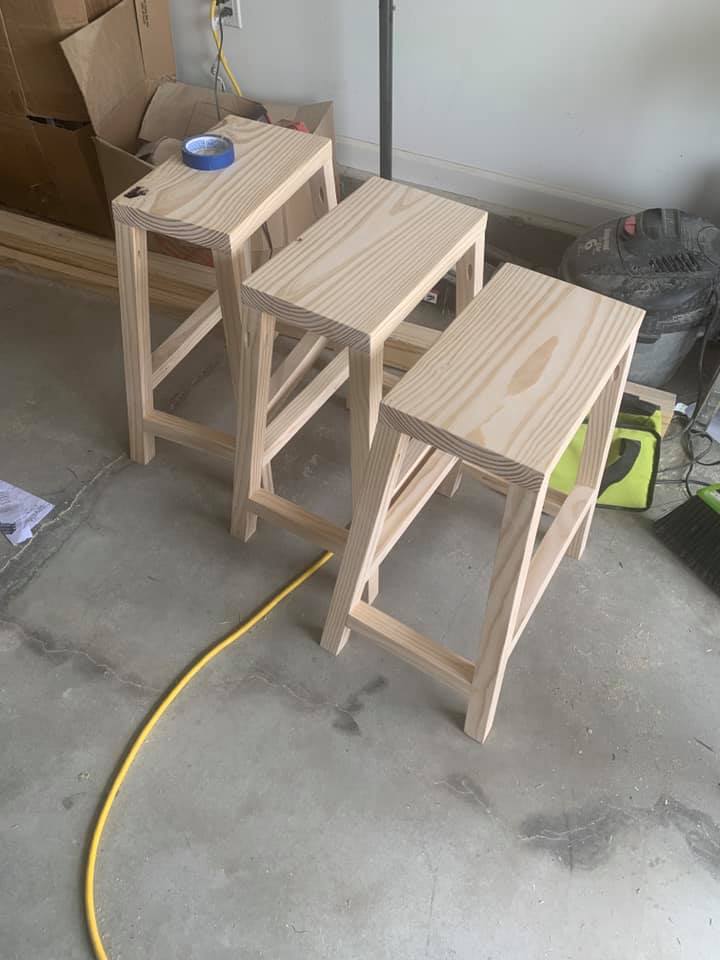
Farmhouse Counter Stools
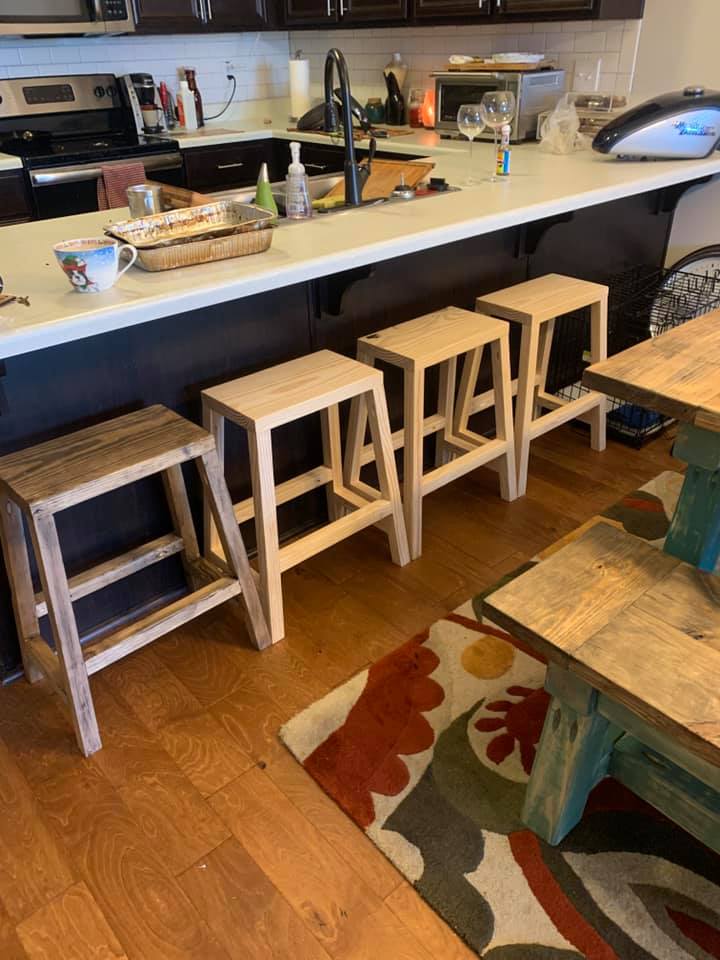
This was a pretty strait forward project, the only change i made was the wood used. I did not use the 2x2 furring strips i opted for the upgraded Select Pine Boards. So it changed from 3 bucks to 12 a board. I also used metal nylon feet.

Built from Plan(s)
Estimated Cost
depends on wood and finish
Estimated Time Investment
Afternoon Project (3-6 Hours)
Finish Used
I used an antiquing wax, then I used butcher block oil and wax to finish.
Recommended Skill Level
Starter Project
Comments
Wed, 09/23/2020 - 11:37
Awesome projects!
You've been busy! Thank you for sharing all of your amazing builds!
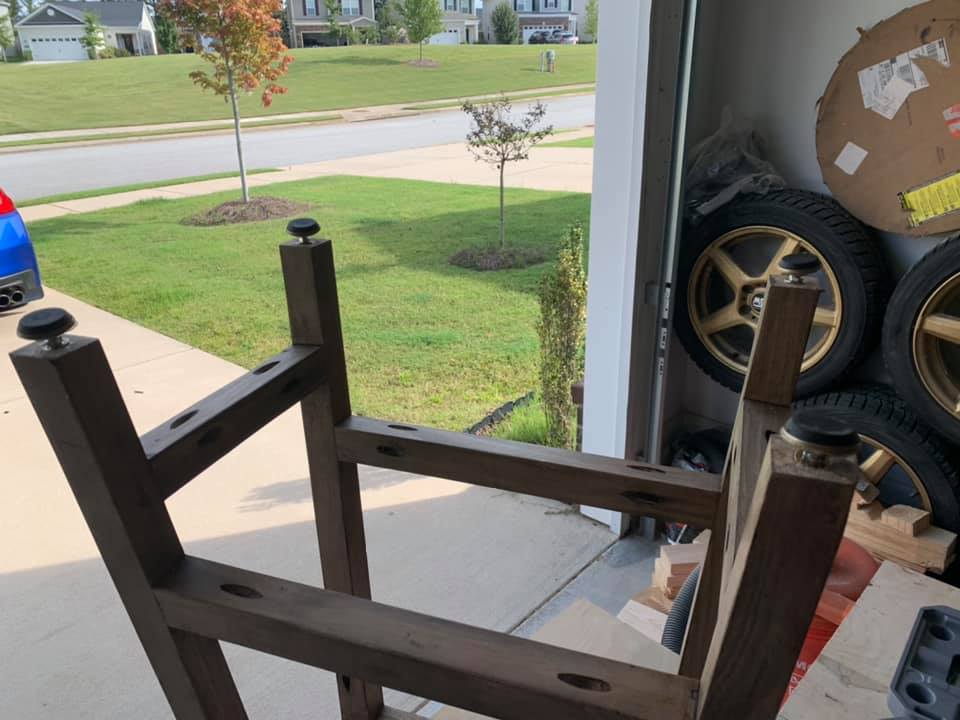
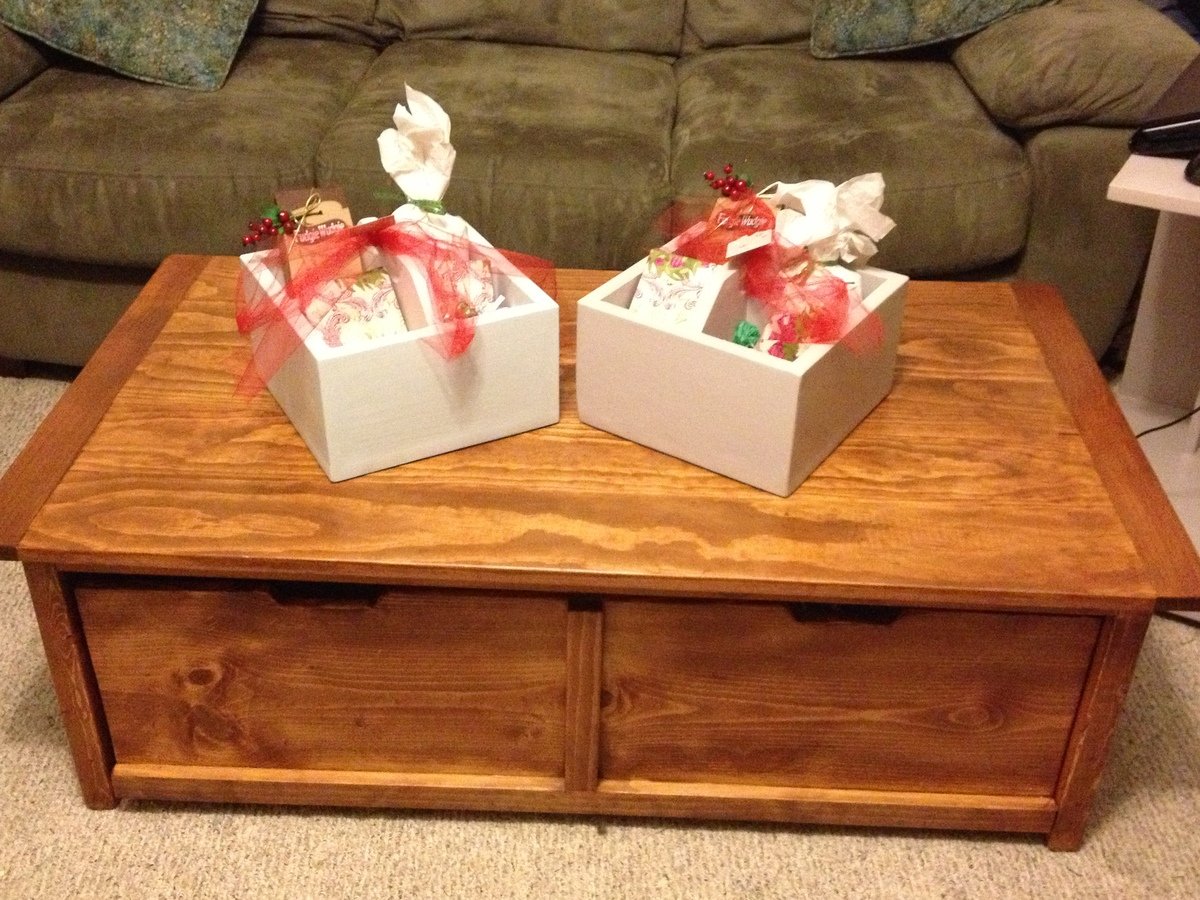
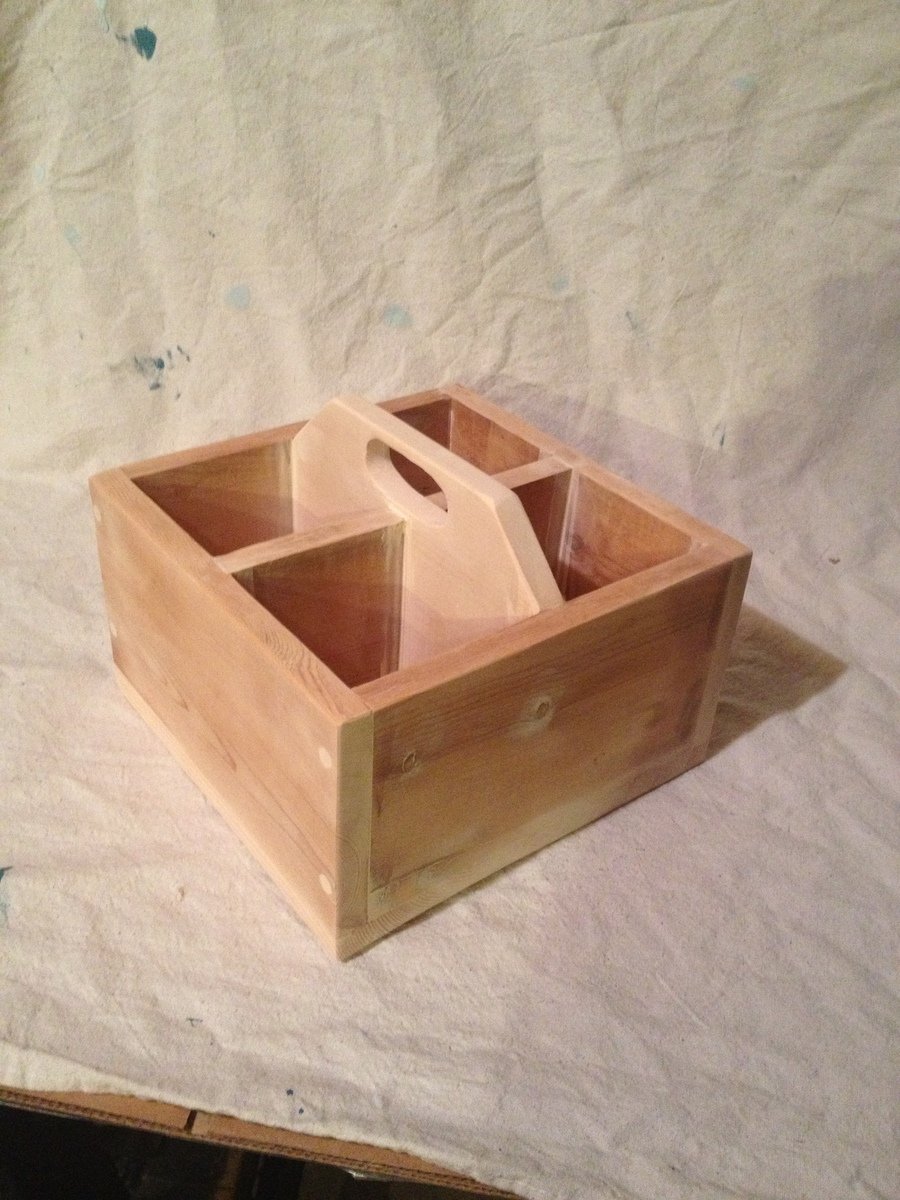
Teacher gifts from soda crate caddy
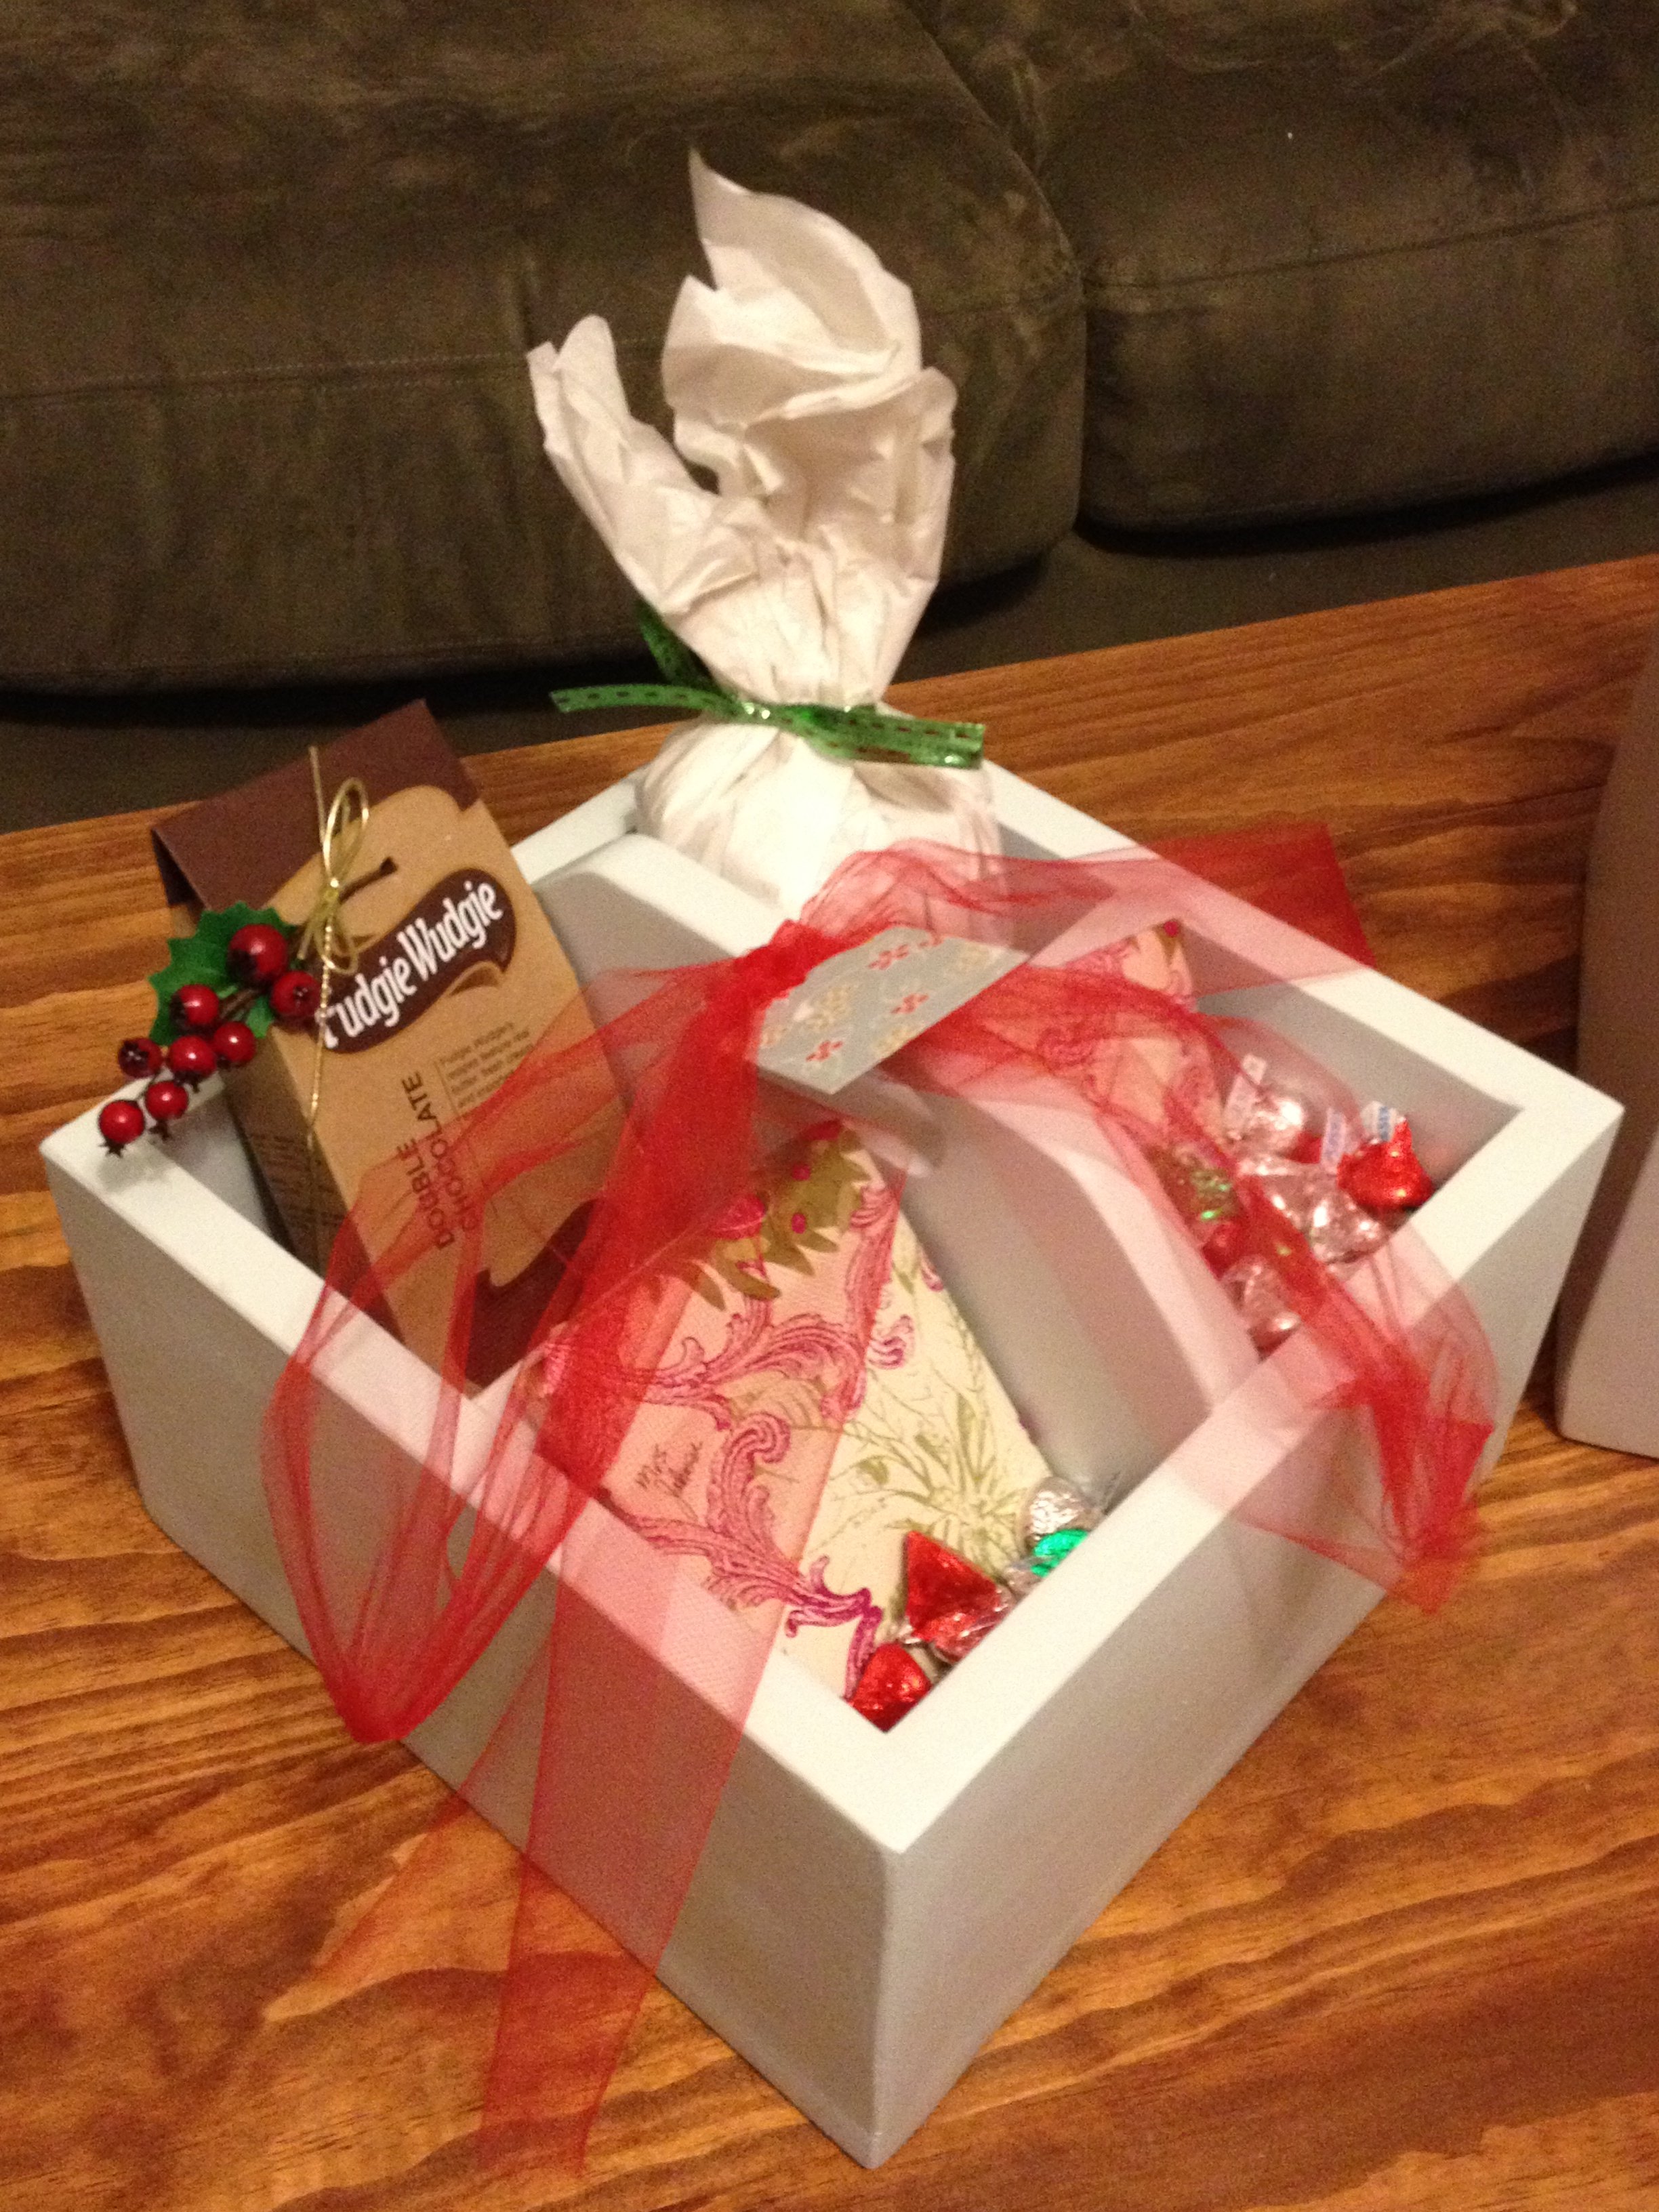
I loved how these little crates turned out. I used scrap wood that I've had for so long..It's 2 different kinds of wood though which is why I painted them. I ran out of 1x6 boards so I used a 1x12 for the bottom. I hope my daughter's teachers will like them. I filled the cubbies with various little things like candy and Christmas ornaments.
I made the coffee table earlier this year and love it. It holds so much and it's filled to the brim with toys.

Built from Plan(s)
Estimated Cost
crates free table $120
Estimated Time Investment
Weekend Project (10-20 Hours)
Finish Used
crates leftover paint. table minwax ultimate stain and satin poly 3 coats
Recommended Skill Level
Beginner
Narrow table hack
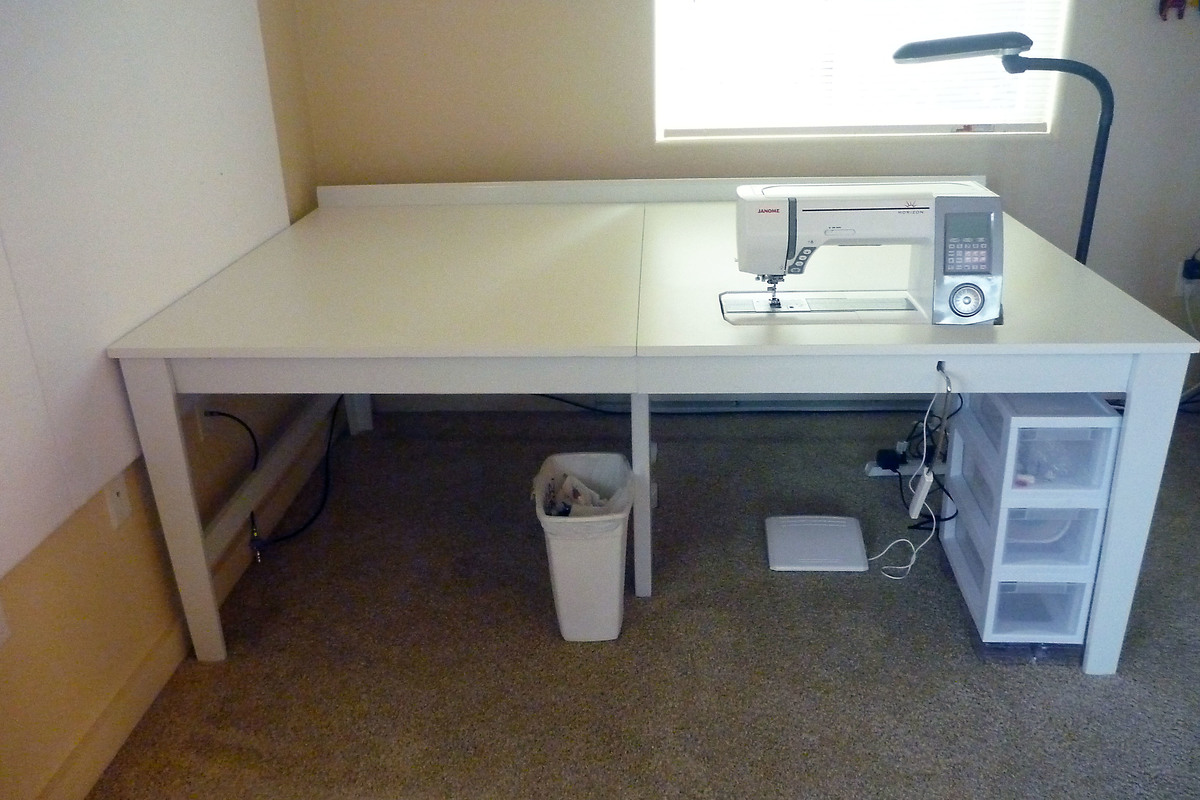
I combined the Narrow Farmhouse Table plan with some changes and Bluedinosaurs tutorial for making a sewing table. http://bluedinosaurs.com/diy-platform-sewing-table/ It came out beautifully!
Thanks for the great plan!!
Built from Plan(s)
Estimated Cost
$260.
Estimated Time Investment
Week Long Project (20 Hours or More)
Finish Used
Paint and polyurathane
Recommended Skill Level
Beginner
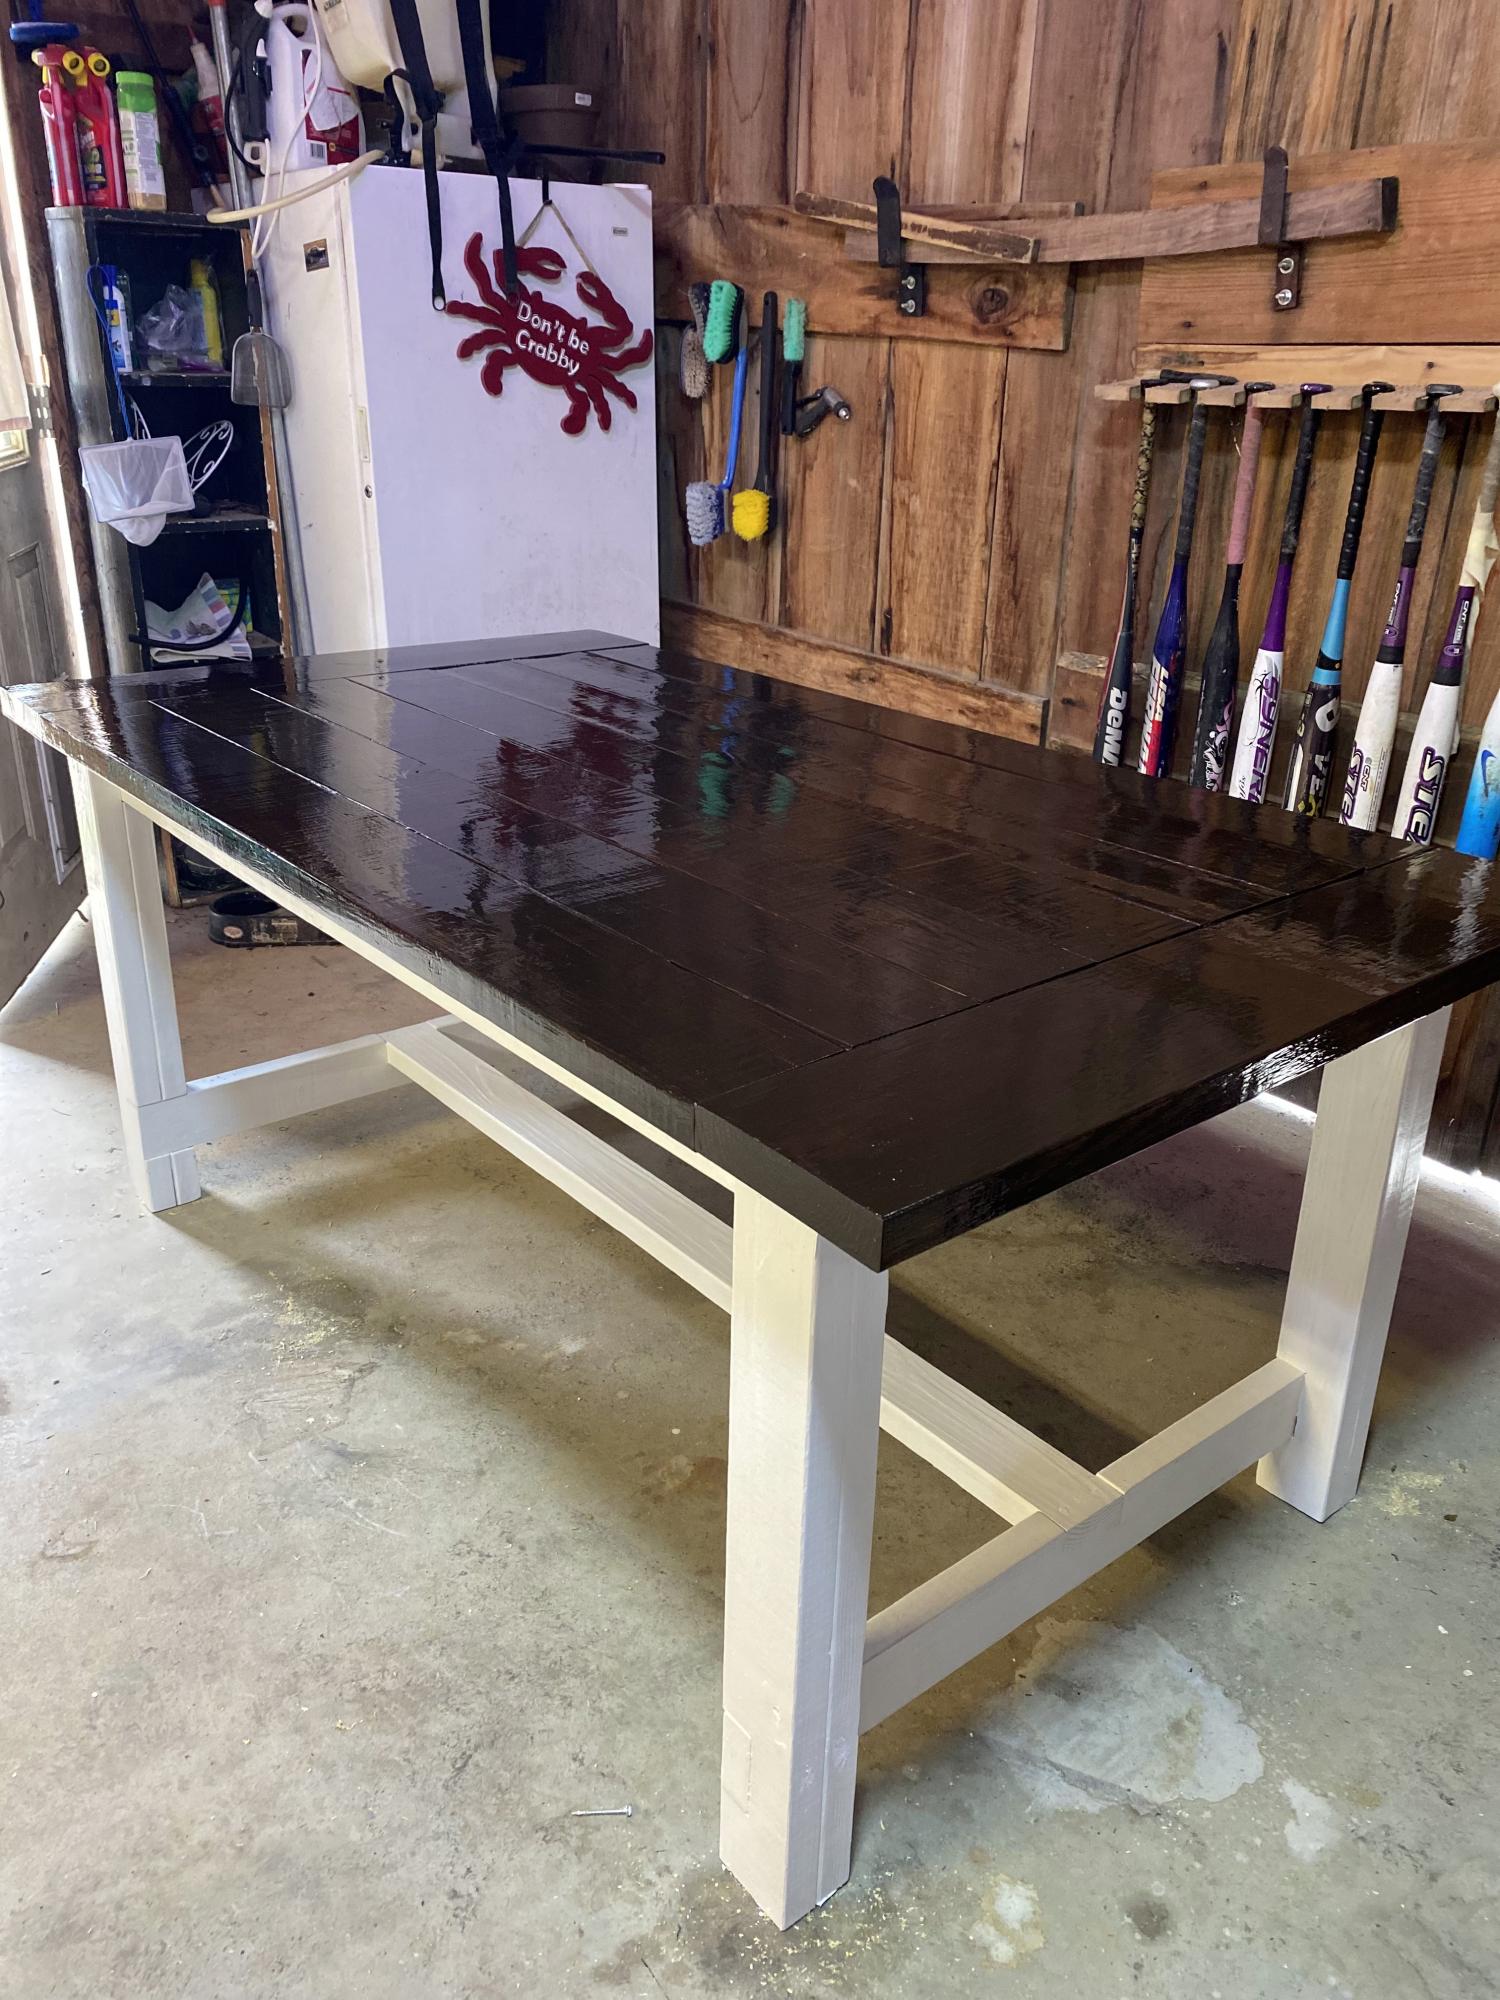
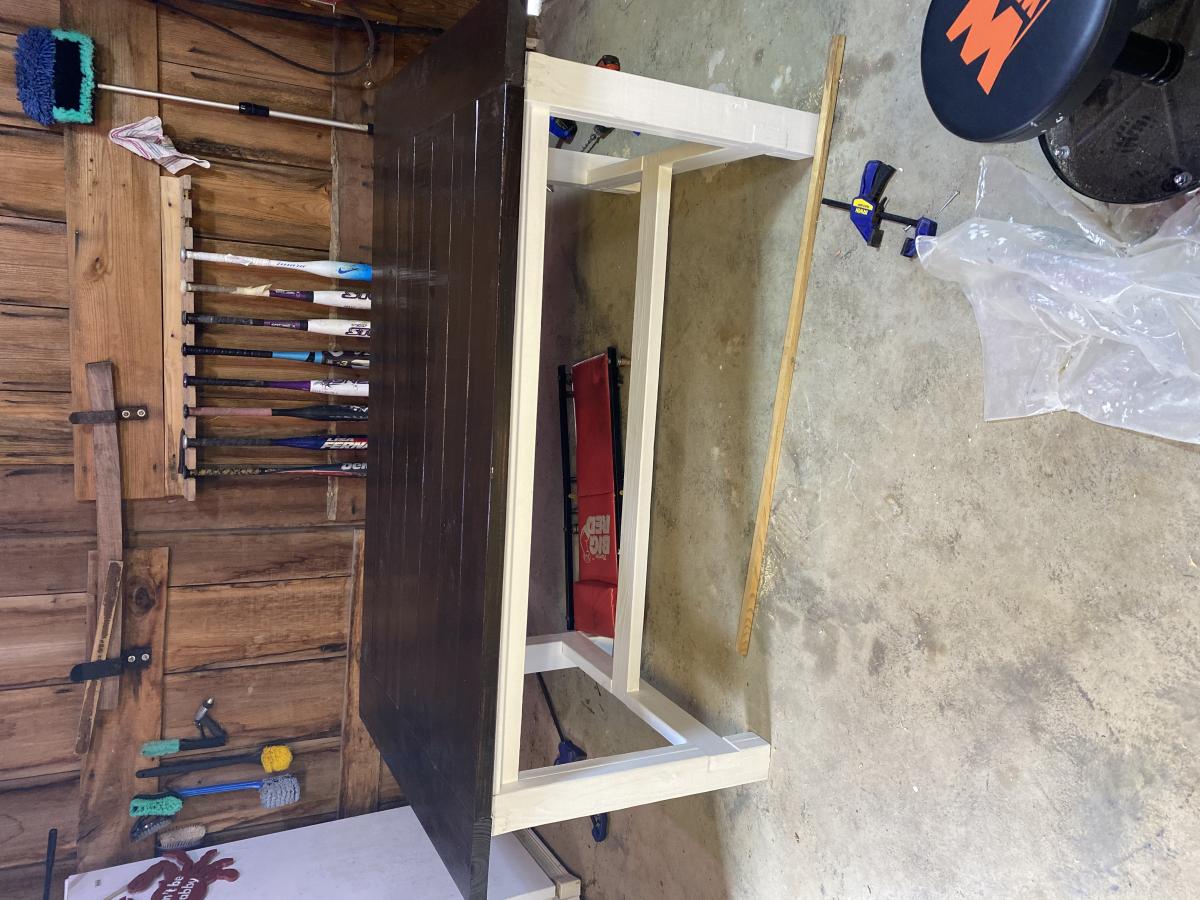
Farmhouse table
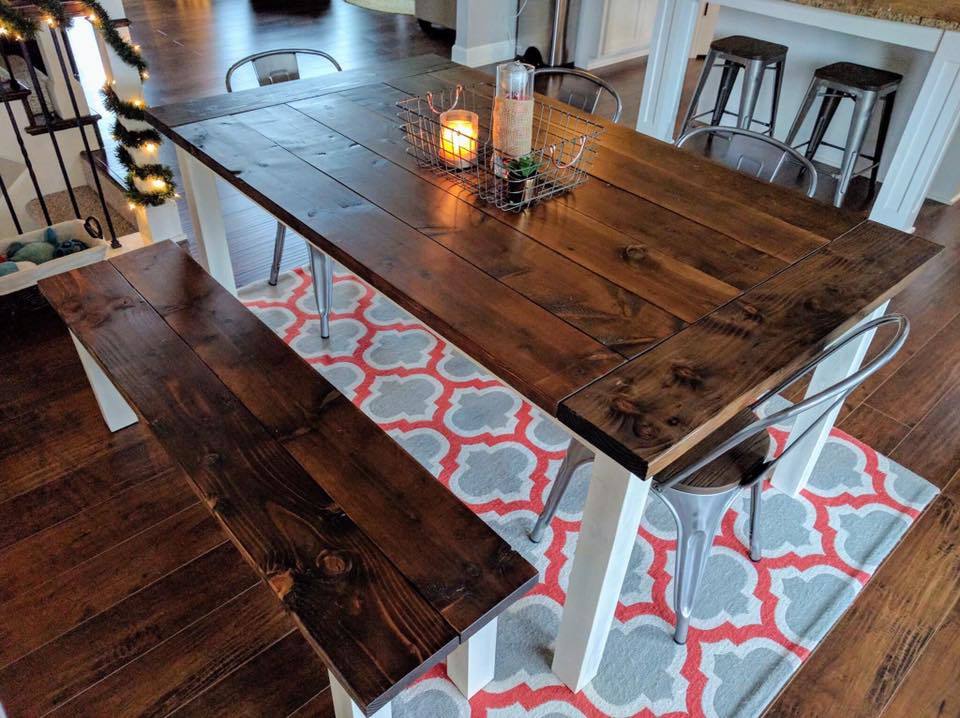
2x4's and 2x8's kept my cost way down! The top was finished with minwax provincial stain and a few coats of minwax polyurethane to finish it off. Joined with my Kreg jig throughout. A very fun project!
Built from Plan(s)
Estimated Cost
$100
Estimated Time Investment
Weekend Project (10-20 Hours)
Finish Used
minwax provincial stain and polyurethane. white satin paint
Recommended Skill Level
Intermediate
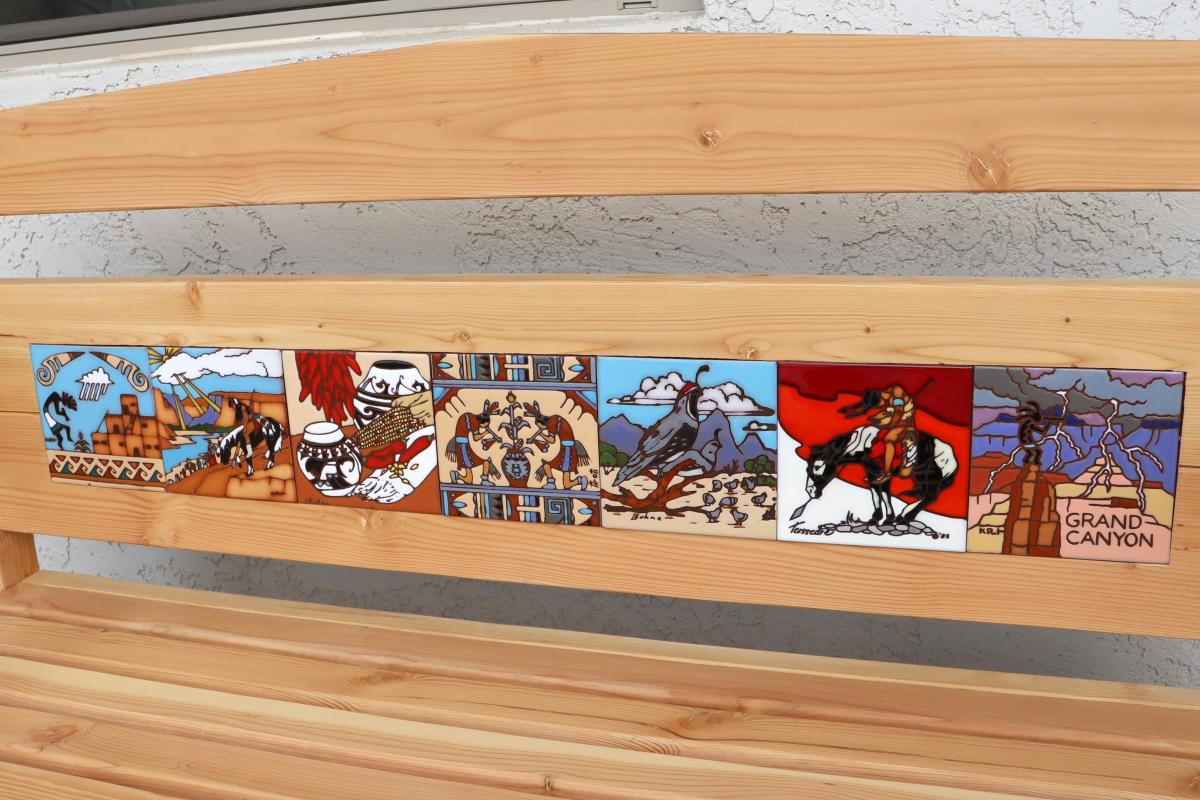
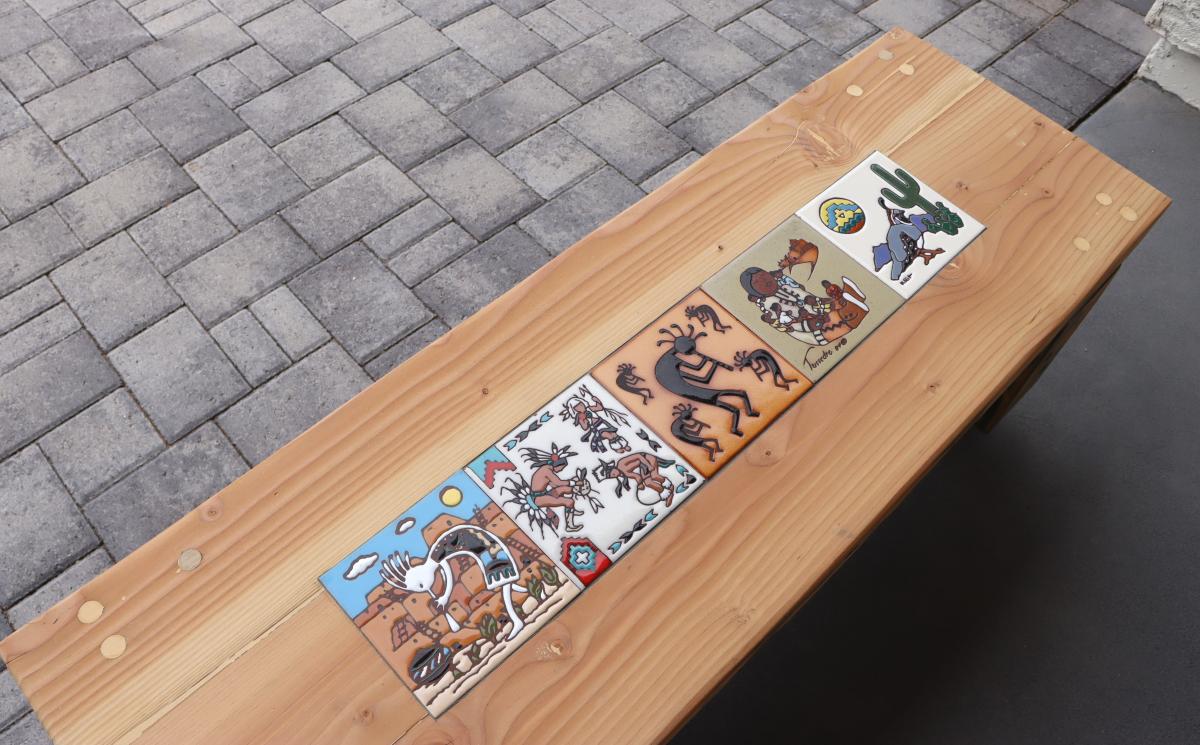
Memorial Bench with Inset Tiles
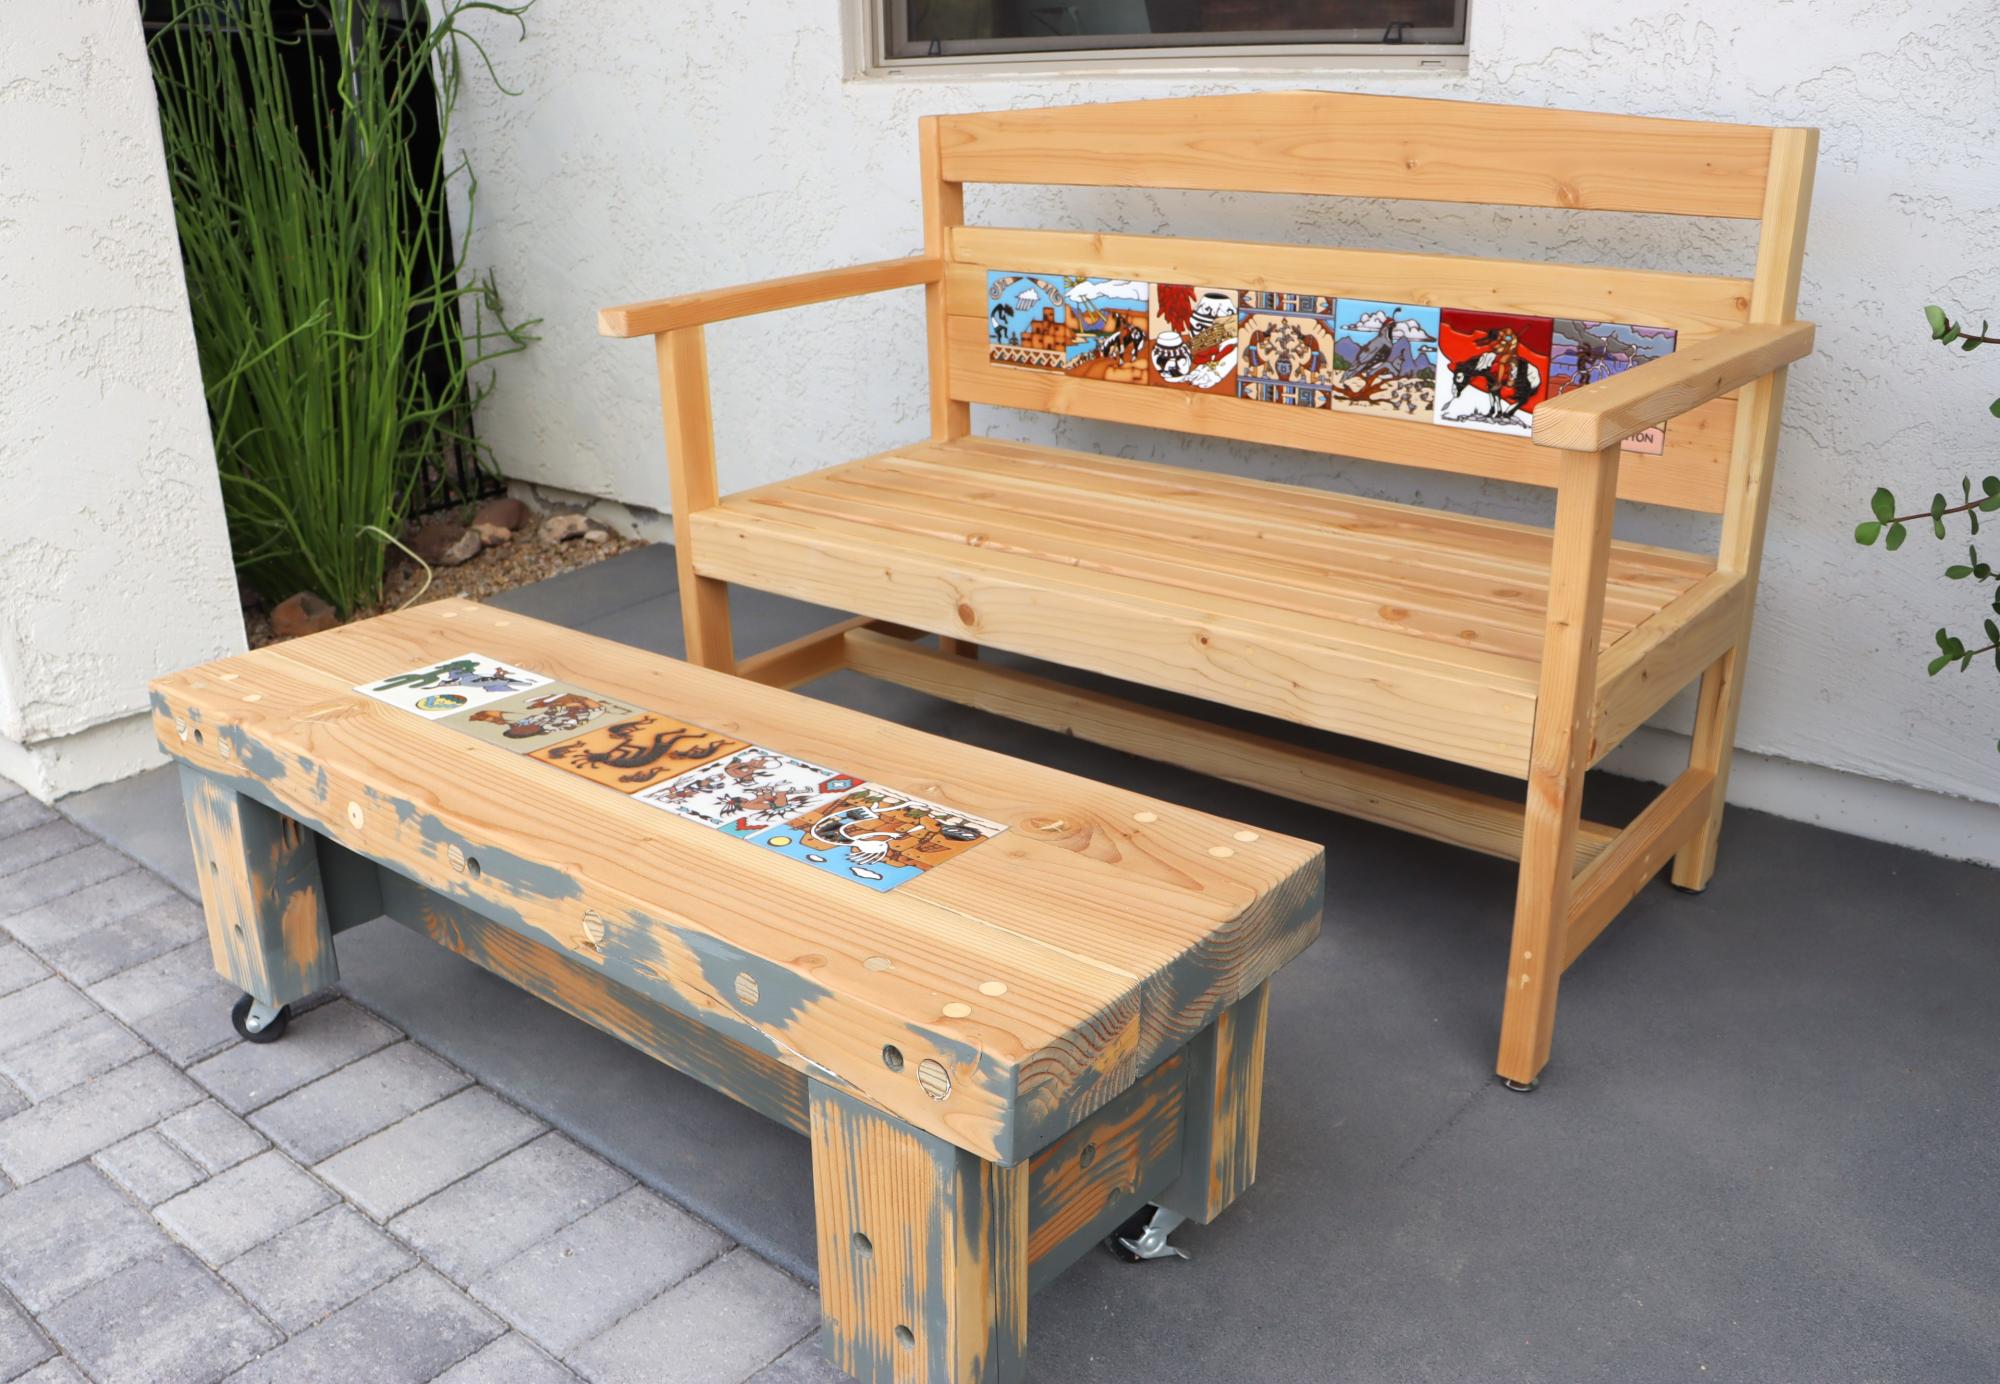
This is a Memorial Bench for my mother who loved collecting Arizona/Southwest tiles.
I used my router to clear a recess so that I could inset the tiles in the back (two 2''x6") of the bench, as well as the top of a re-purposed old table. I used HD Construction Adhesive to attach the tiles as well as grout to fill in the differences in tile sizes.
I finished it with Olympic Clear Sealer. - G D Goodwin
Built from Plan(s)
Comments
Sam@building
Fri, 11/15/2024 - 06:57
smokehouse
Very Nice Build.