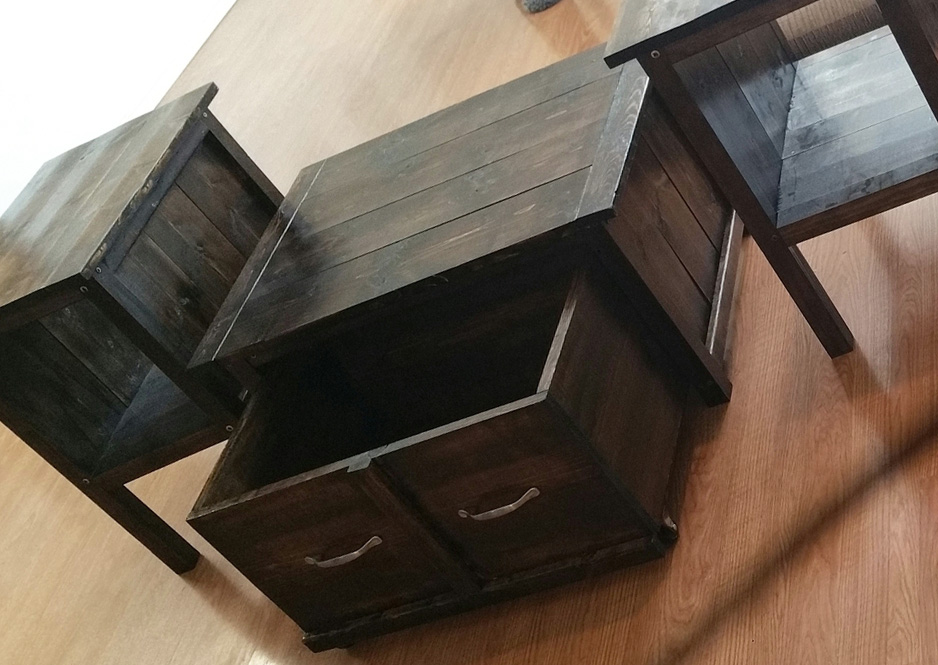
Coffee Table with Trundle Toy Box
I adjusted the measurements to fit the space.
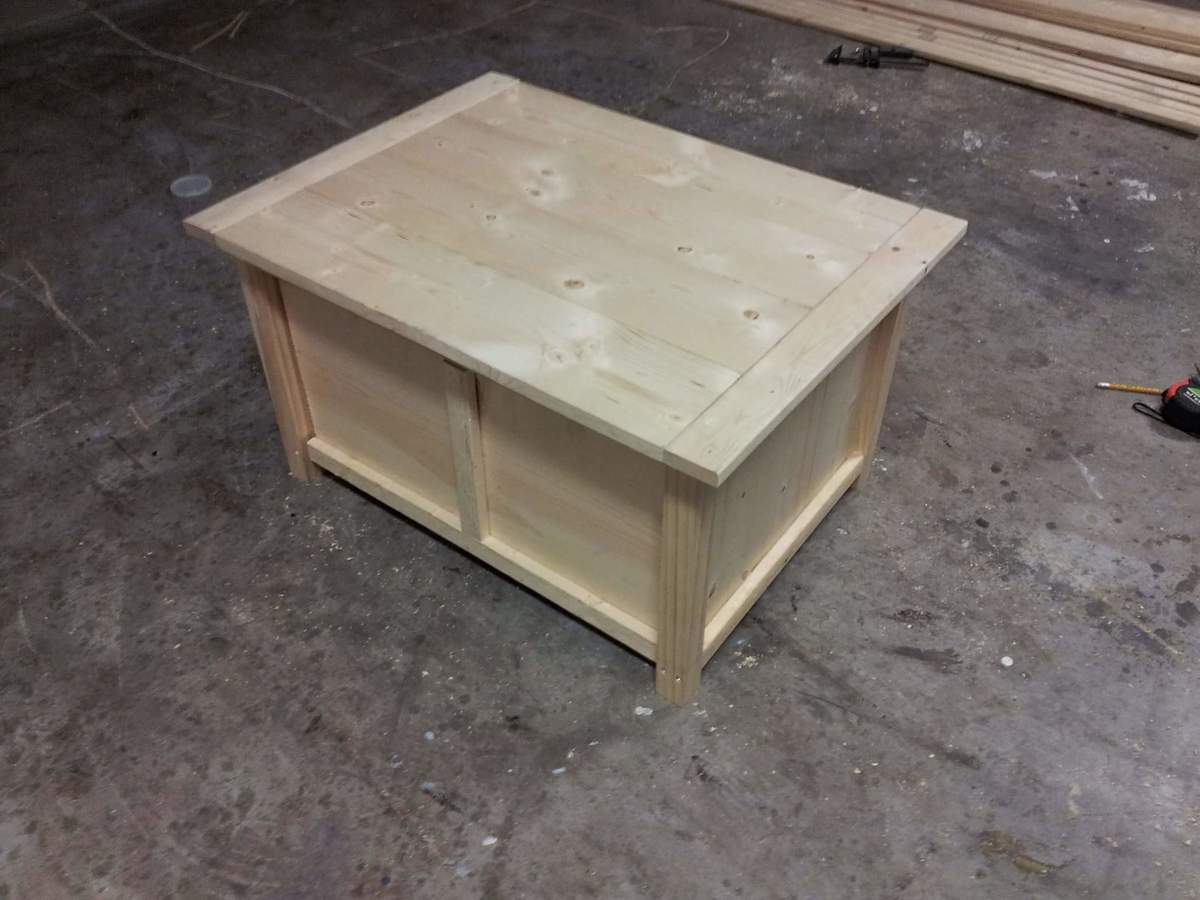
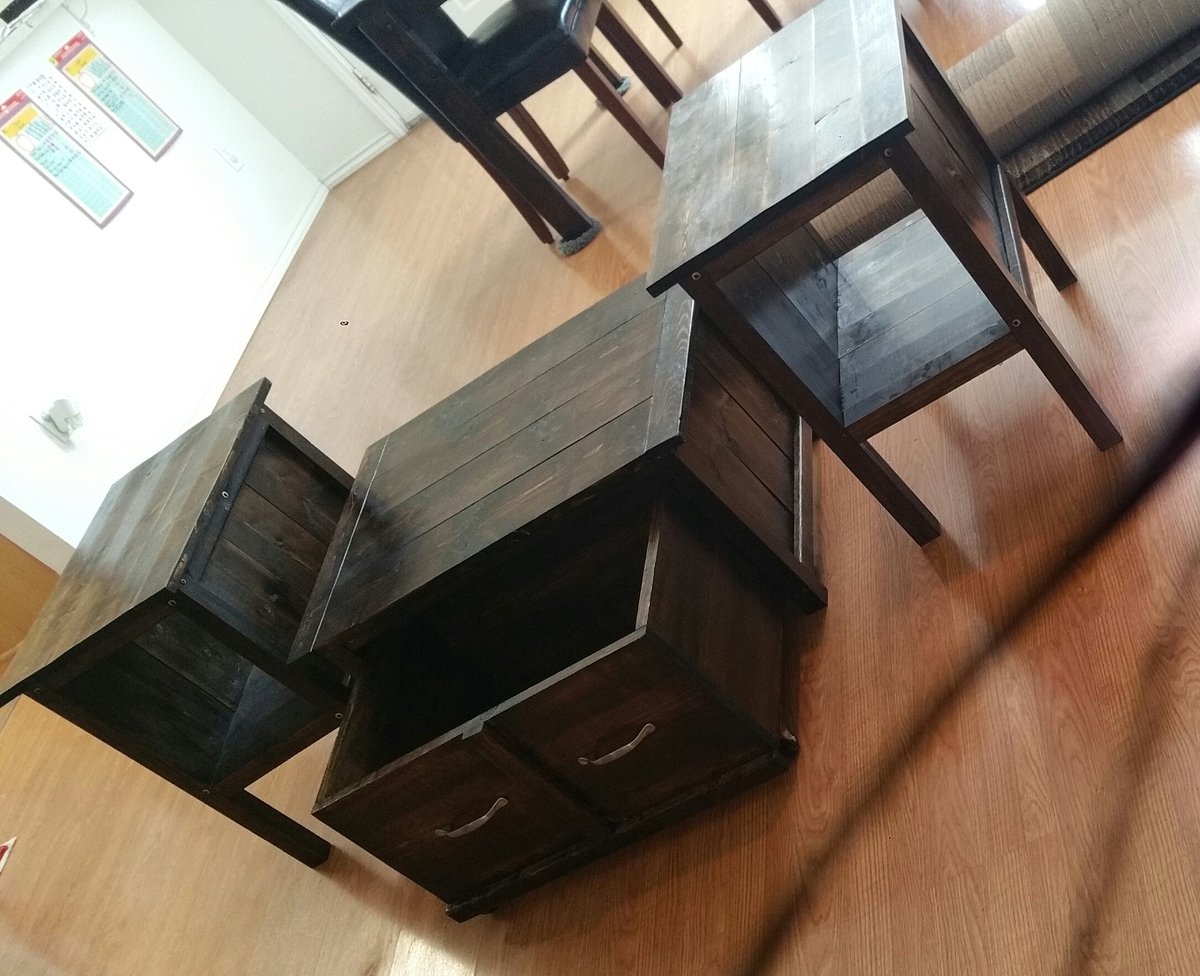

I adjusted the measurements to fit the space.


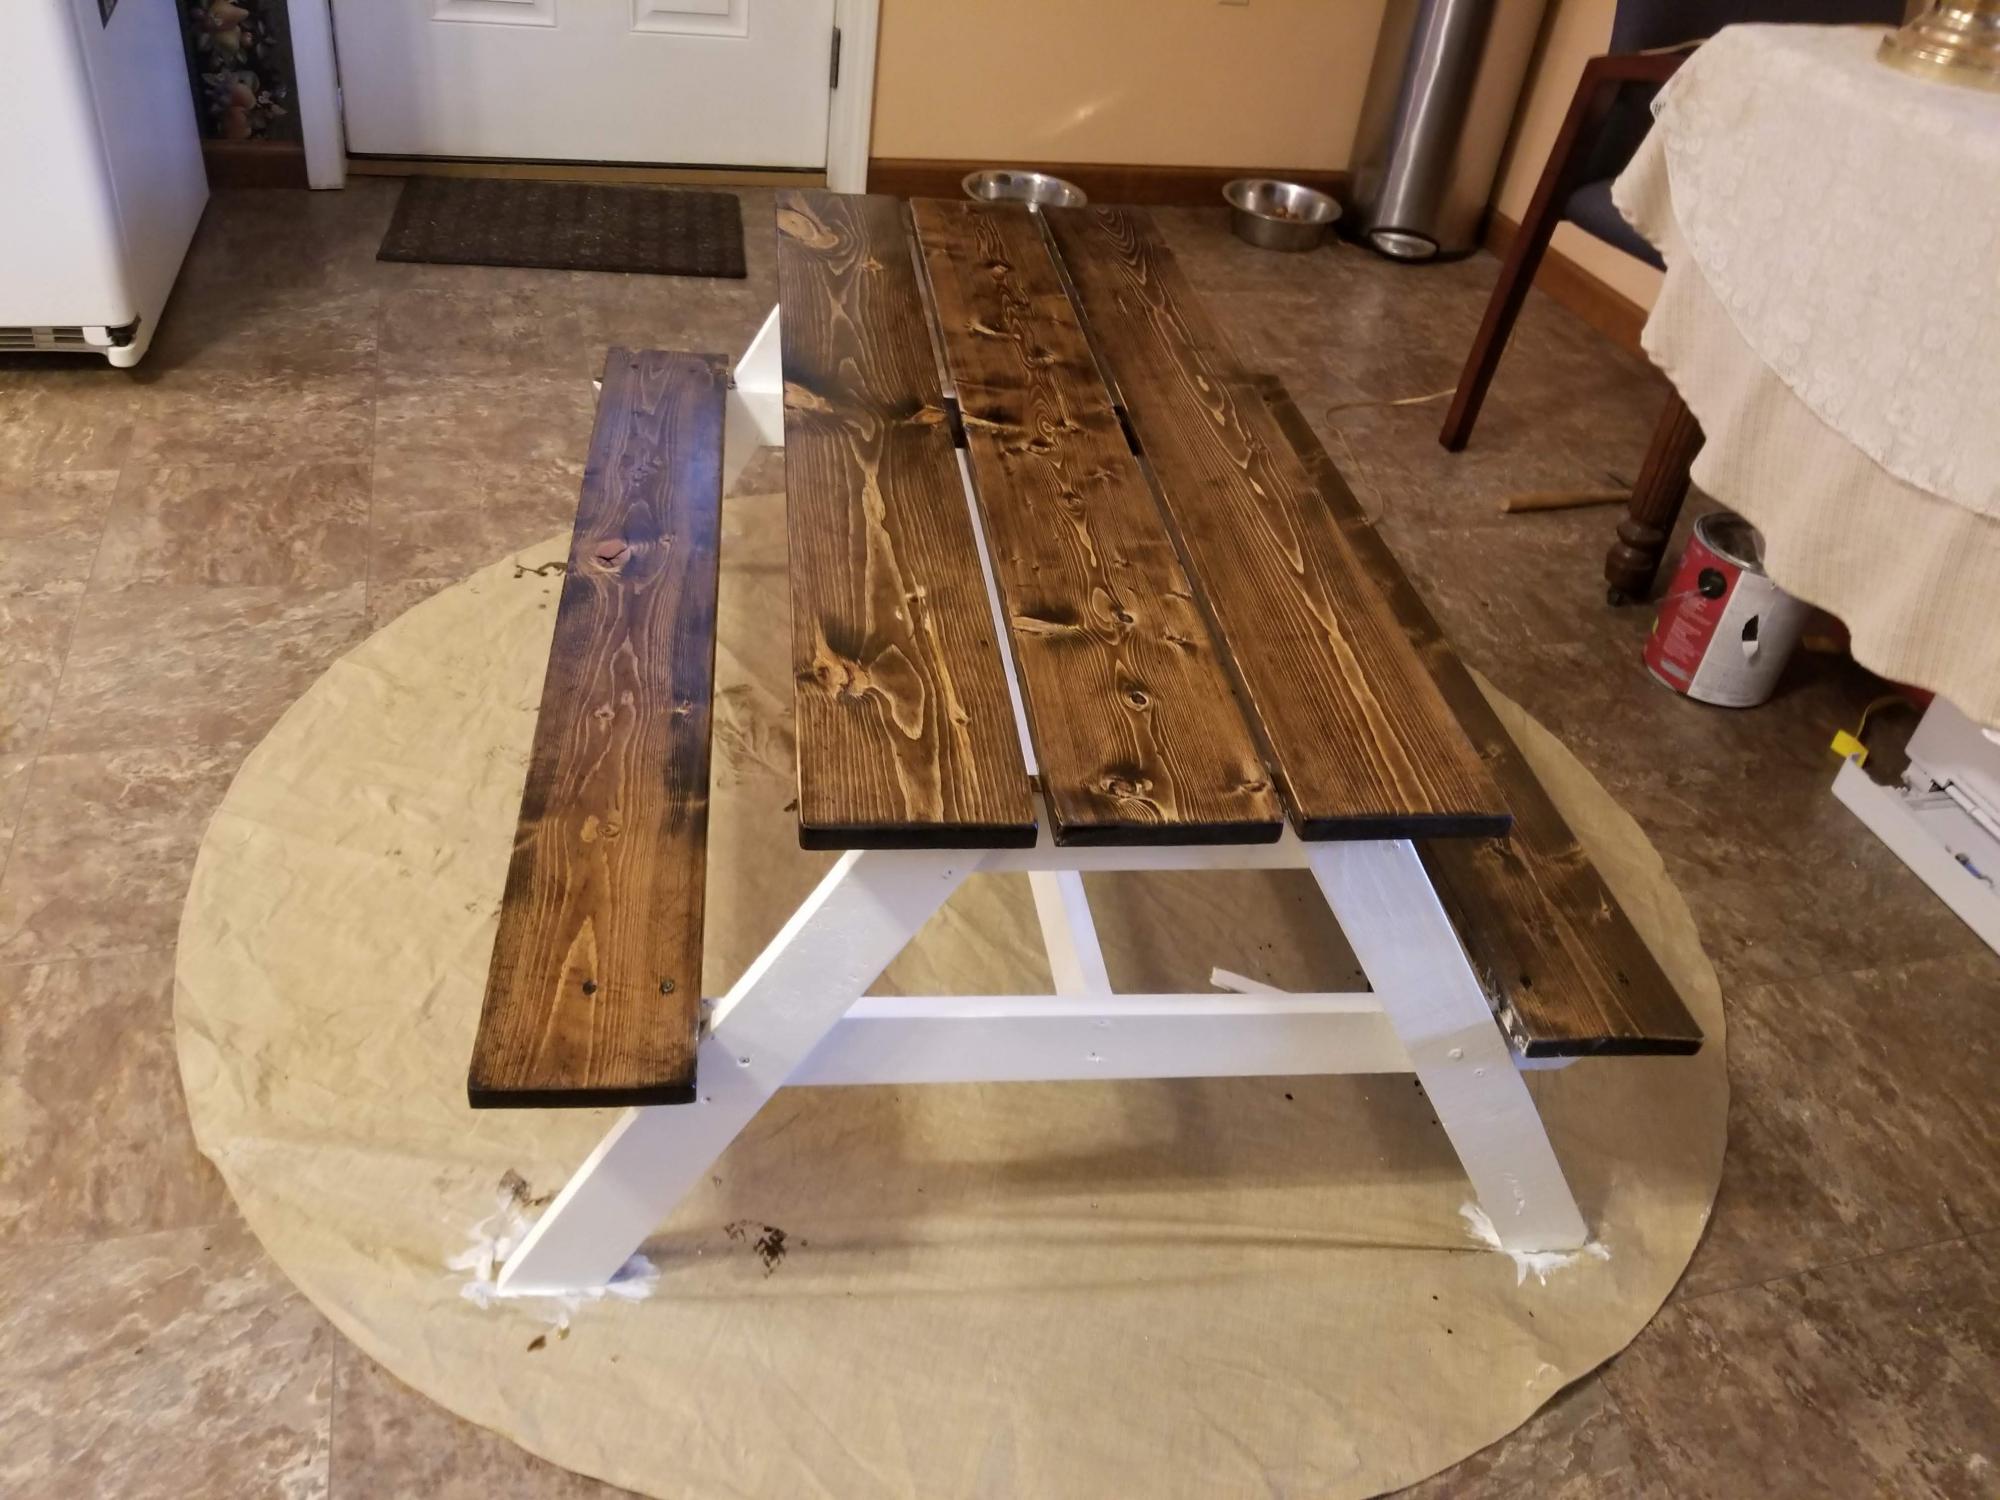
Love this picnic table. I have 2 grandchildren, Kayden is 3 and Kinsley is 1. They both love using it.
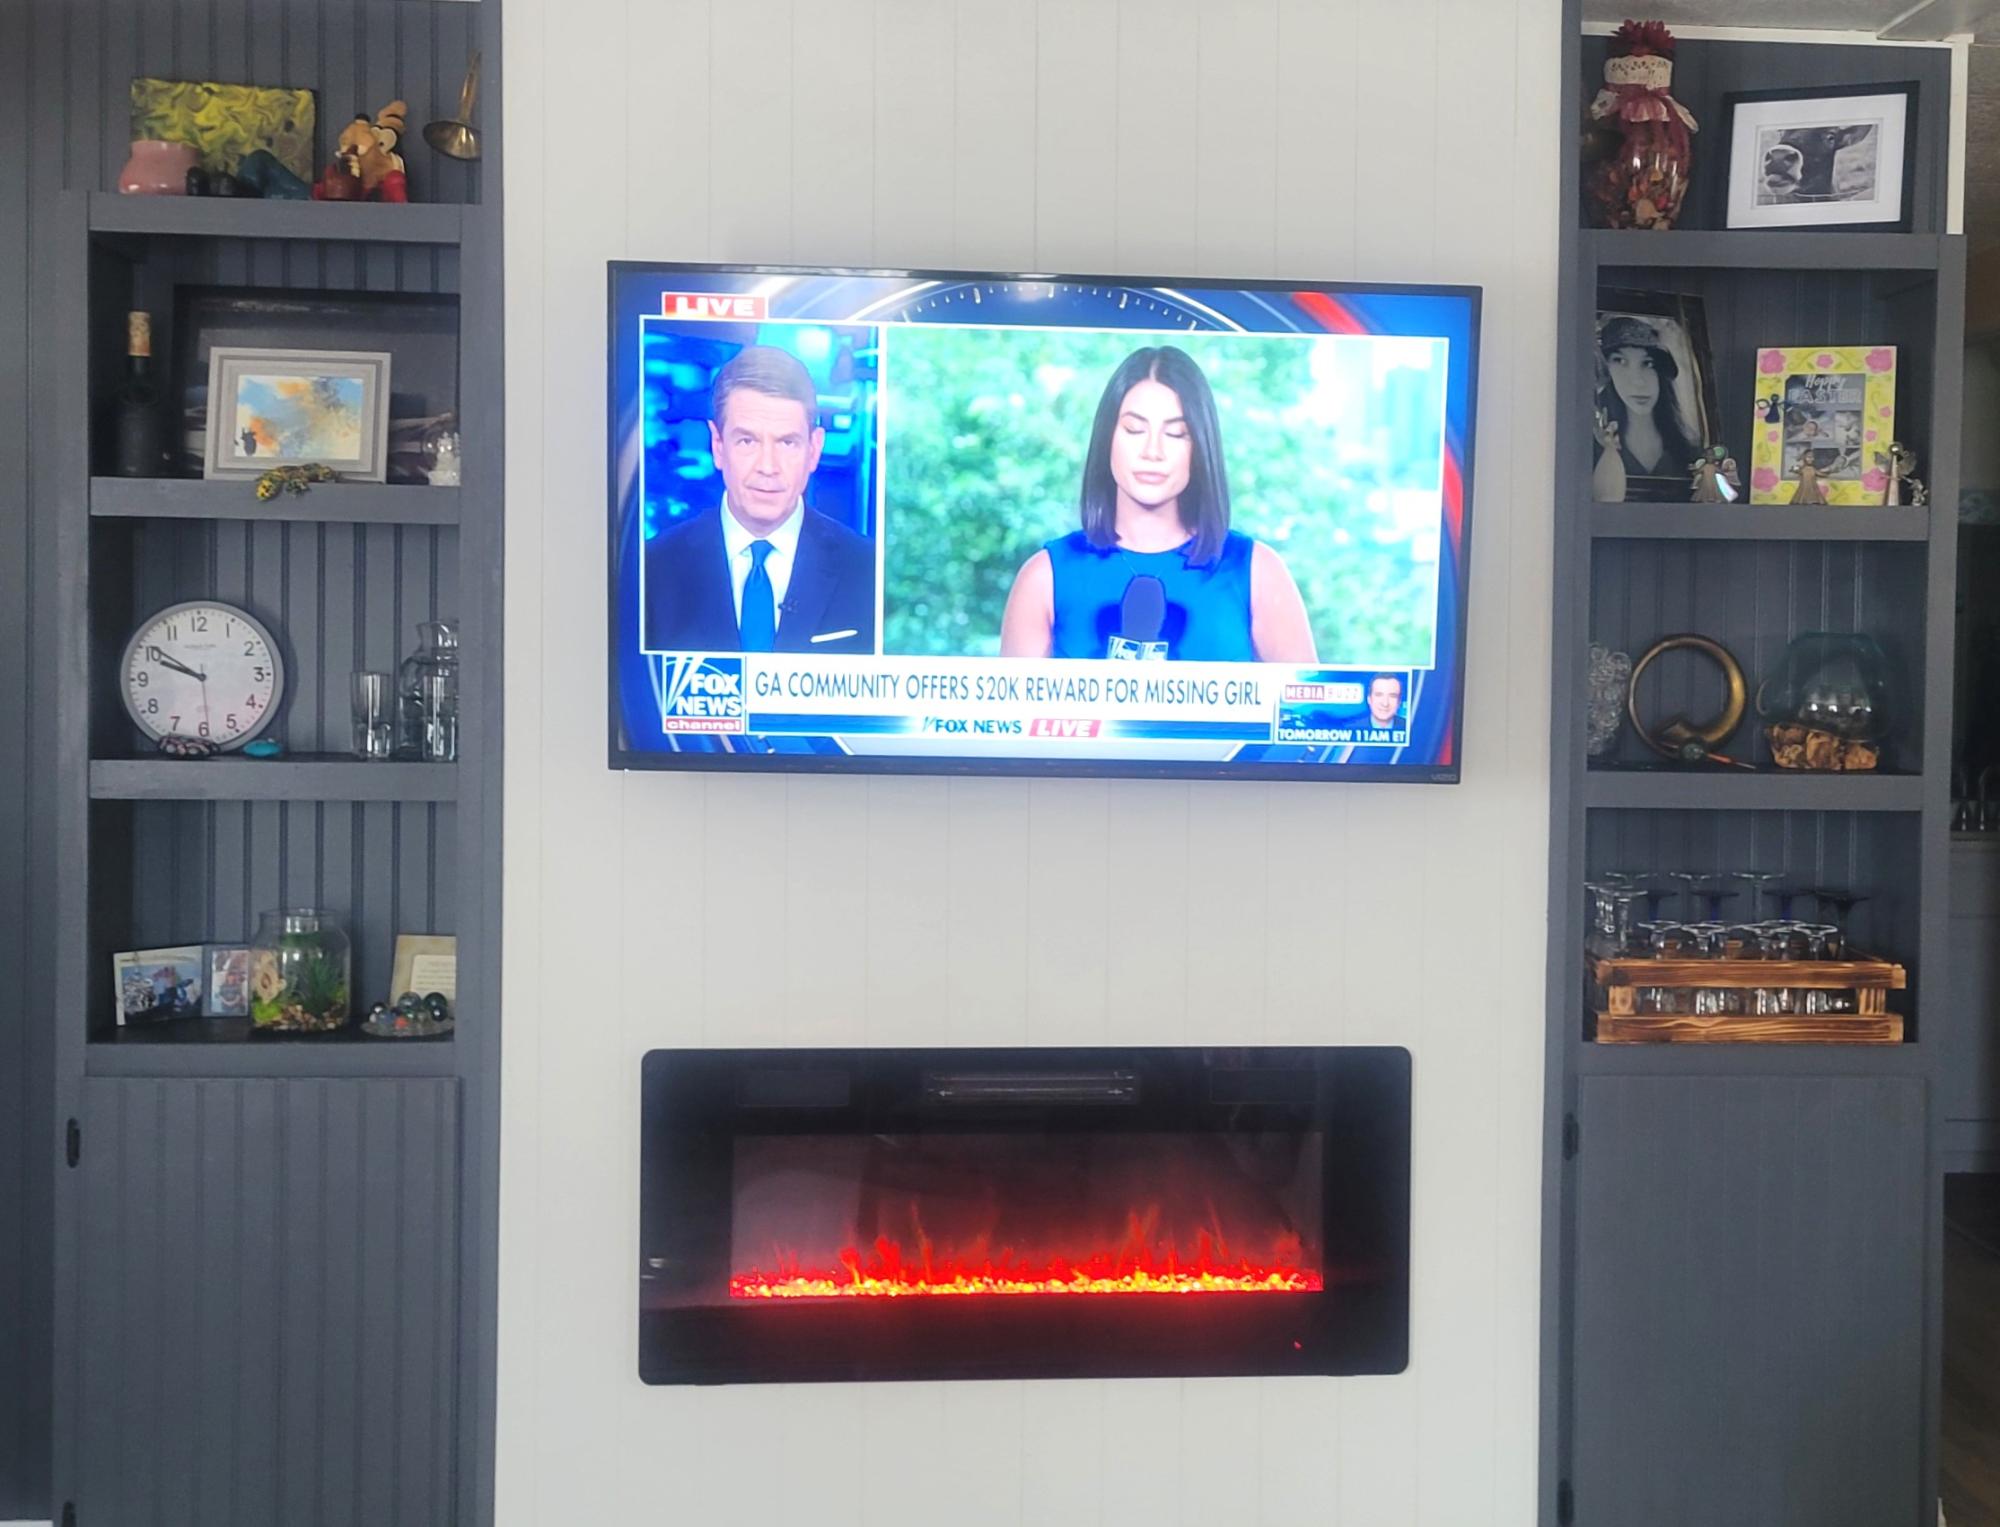
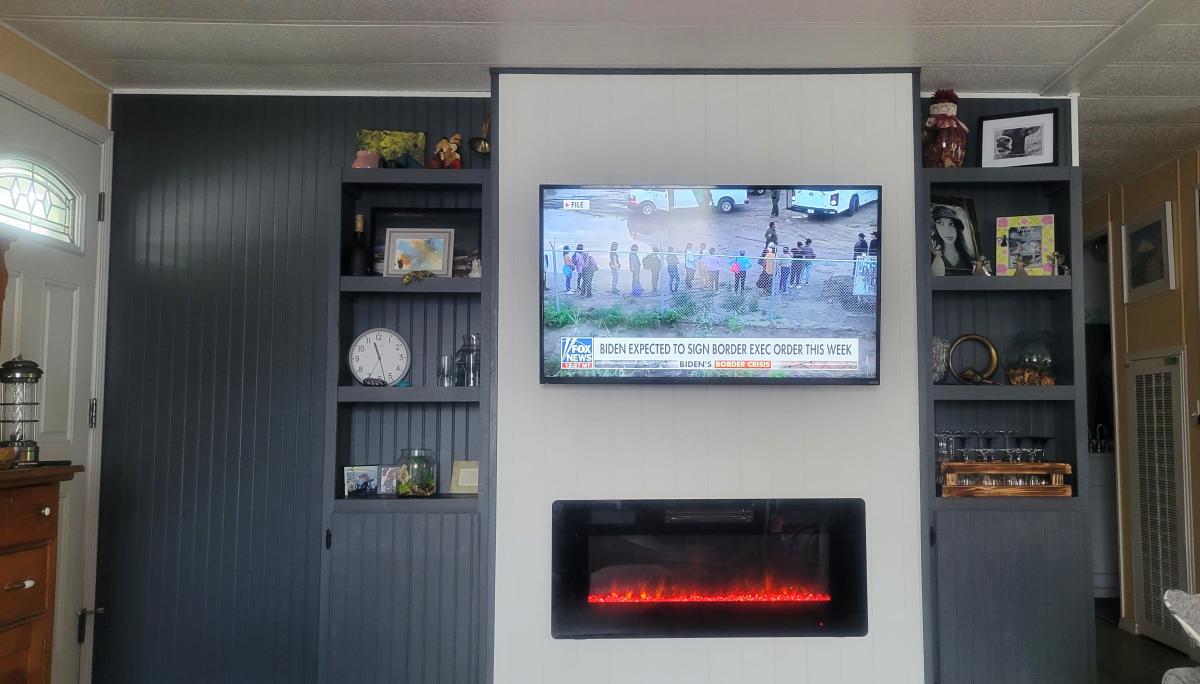
This is the shiplap fireplace design, we added built-ins to each side and left the mantel off, we may do one later. We love it and it added so much floor space.
Cindy Hutchison
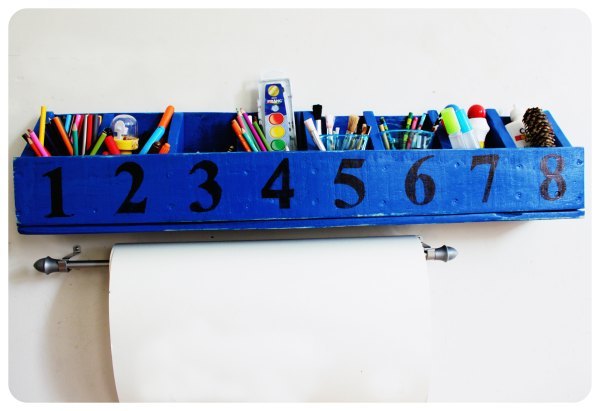
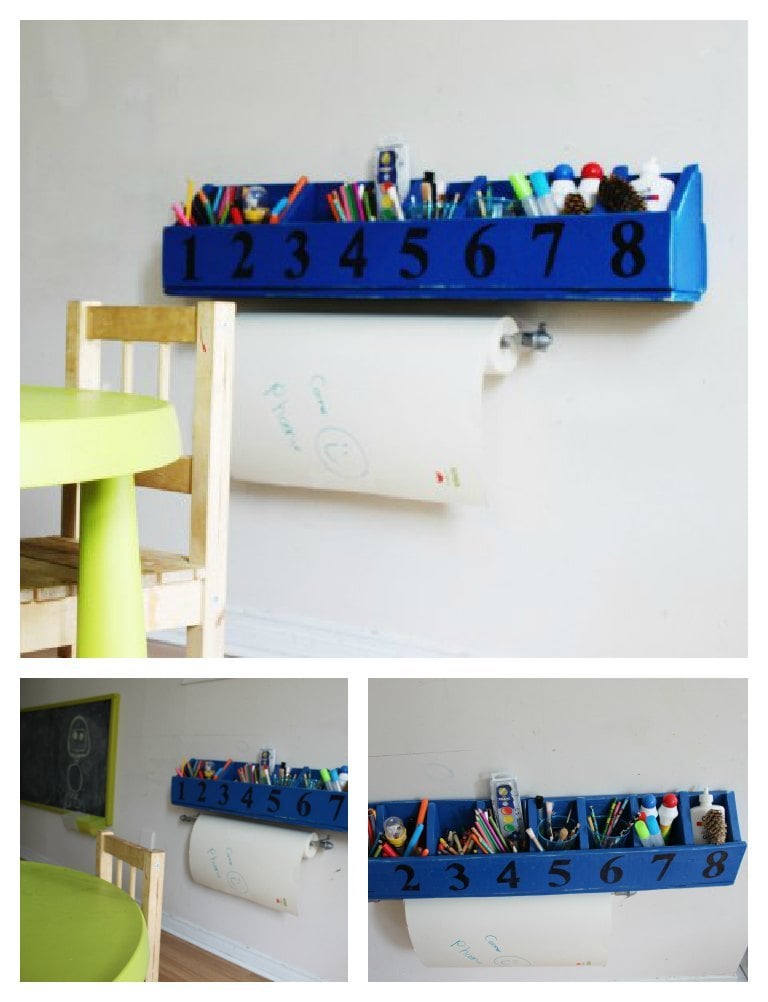
Very easy project. It took a few hours from beginning to end including measuring, cutting,assembling and painting. I used salvaged wood from a pallet I got for free. The only cost for this project was for a can of spray paint. Great shelf for the playroom to organize art supplies. You can see more details of this project in my blog: http://blueberryjunkie.com/uncategorized/diy-number-cubby-shelf-a-potte…
My husband really wanted our sectional couch, but we had the hardest time finding a coffee table that worked with it. I went back to the store that we bought it at to see what they suggested, and they showed me a $700 that I fell in love with. Since I was not spending $700 on it, I did some research. Found these plans that were almost my dream coffee table, the only difference was the wood border around the outside. So my husband and I modified the plans a little and got to work! We made it the exact dimensions of the coffee table I wanted and are absolutely in love with our final product!
My front closet was transformed into a mudroom. Hidden storage is a genious idea. Thank you Ana!!! It wasn't easy though.
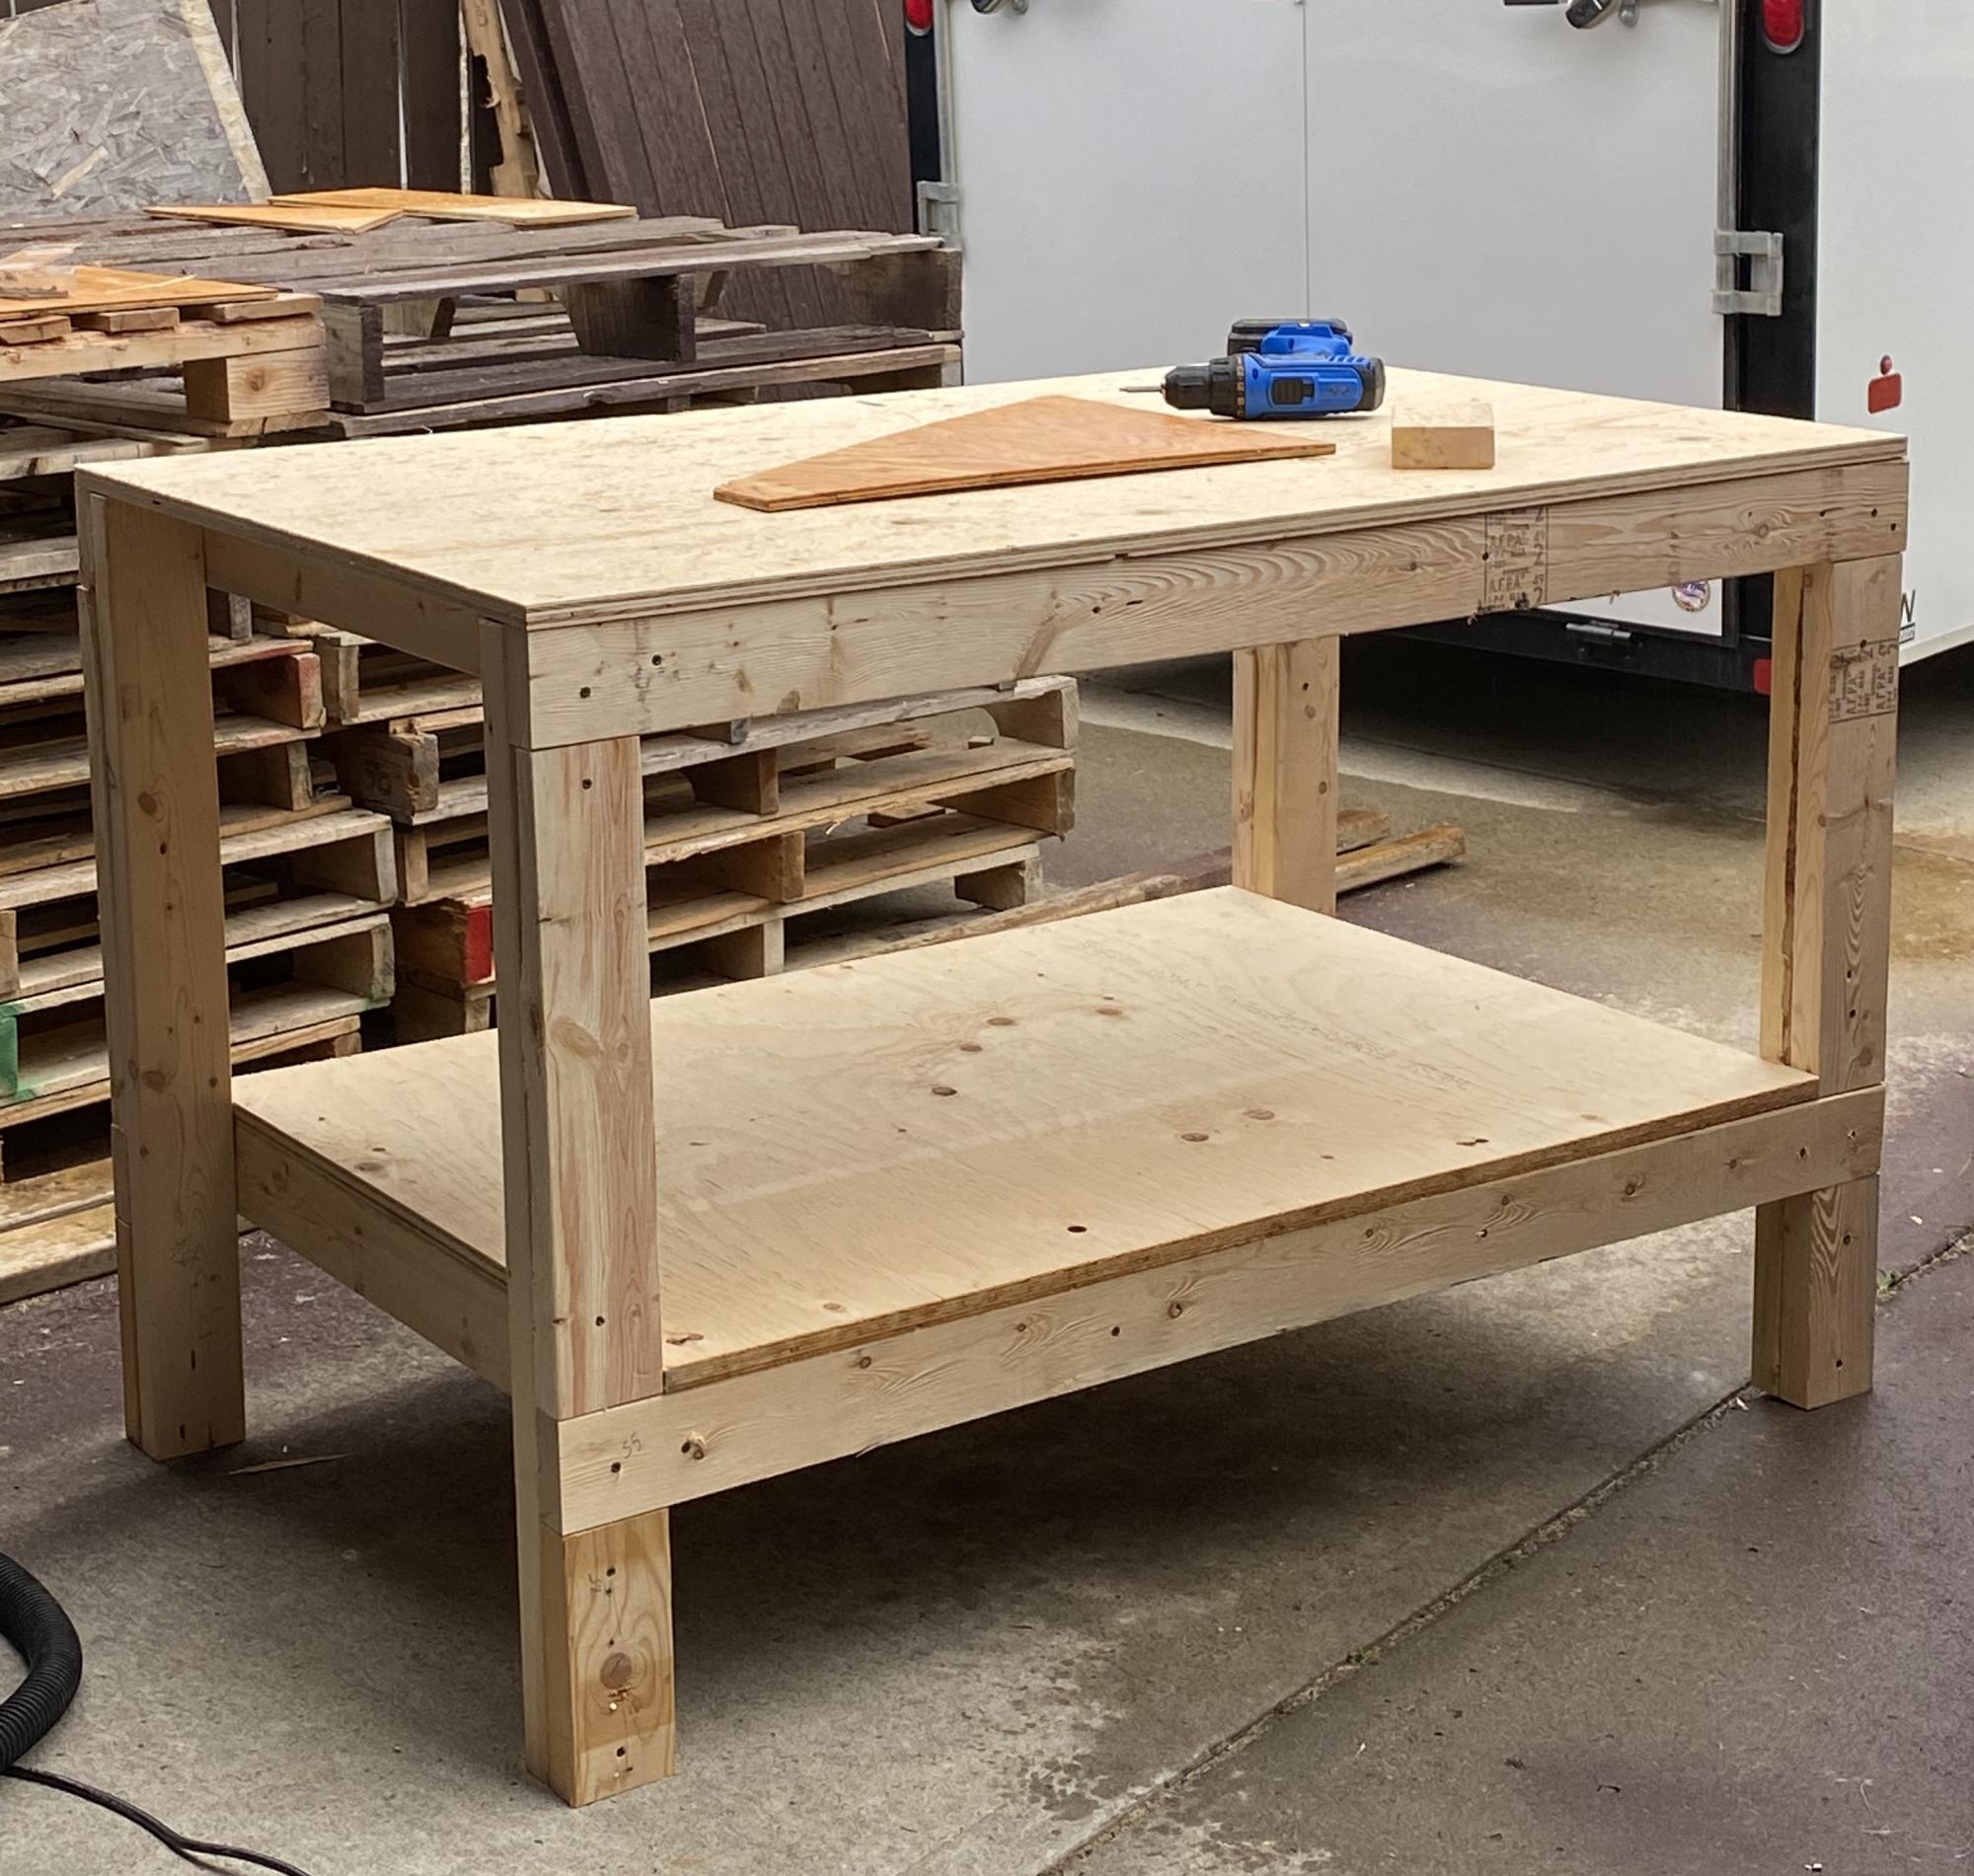
Started to renovate hubby’s bathroom, got annoyed with lack of space on his work bench, built my own. Since this pic, I’ve added locking casters, a power bar up one leg, and a plain metal tool holder on one side. Still have some thoughts rattling around in my head about various other upgrades. Super plans, easy one-woman job.
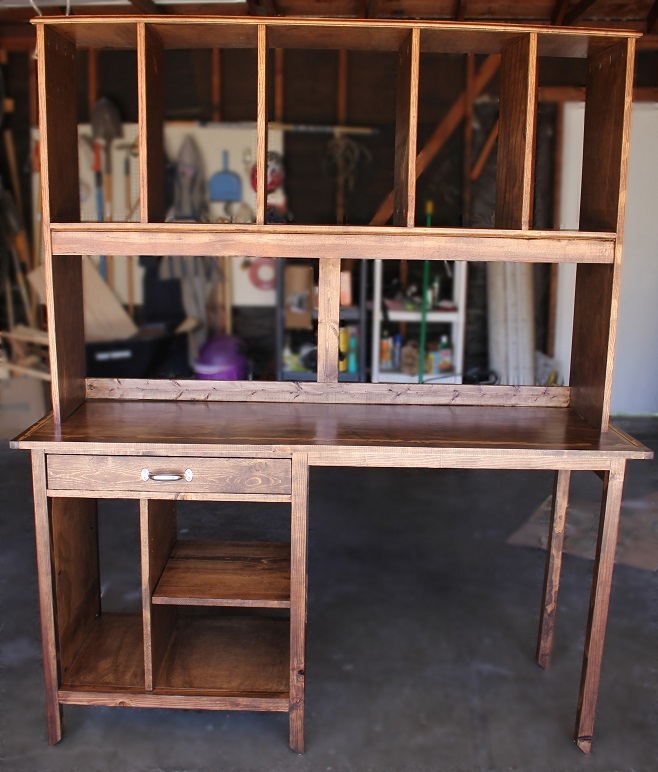
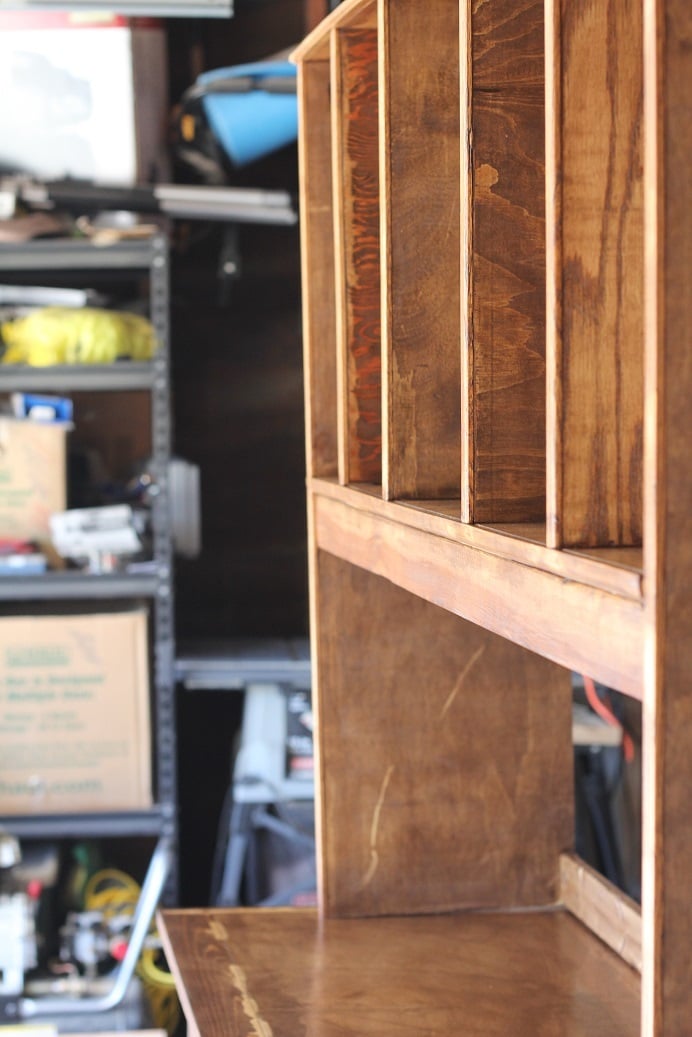
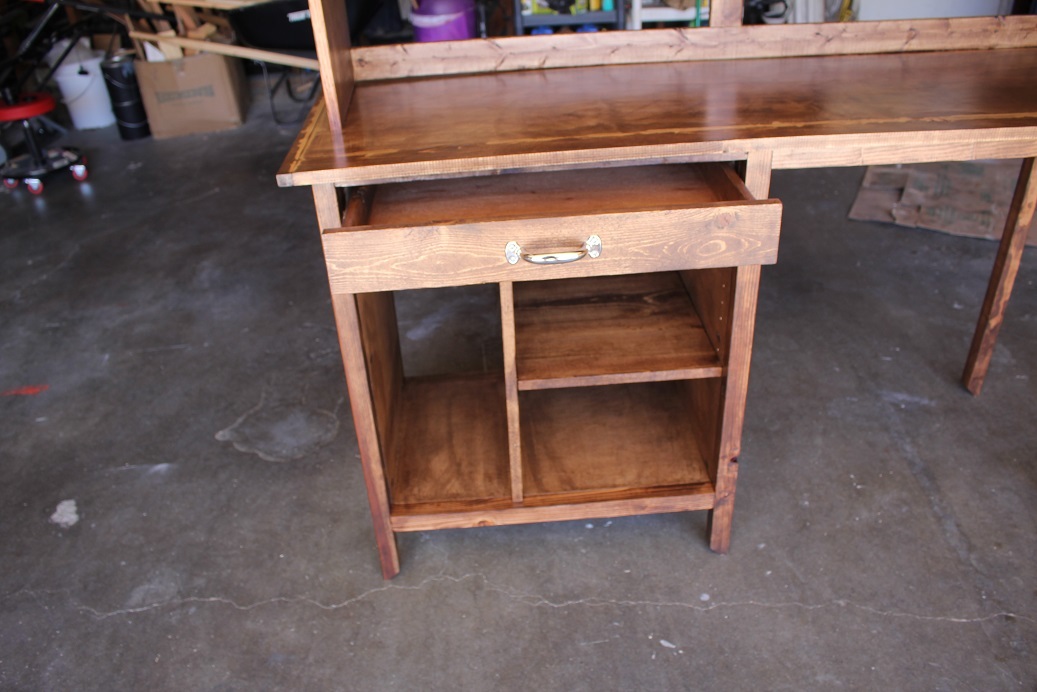
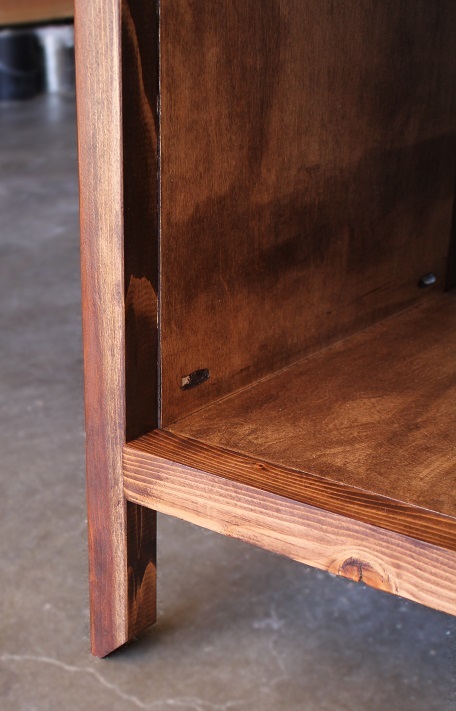
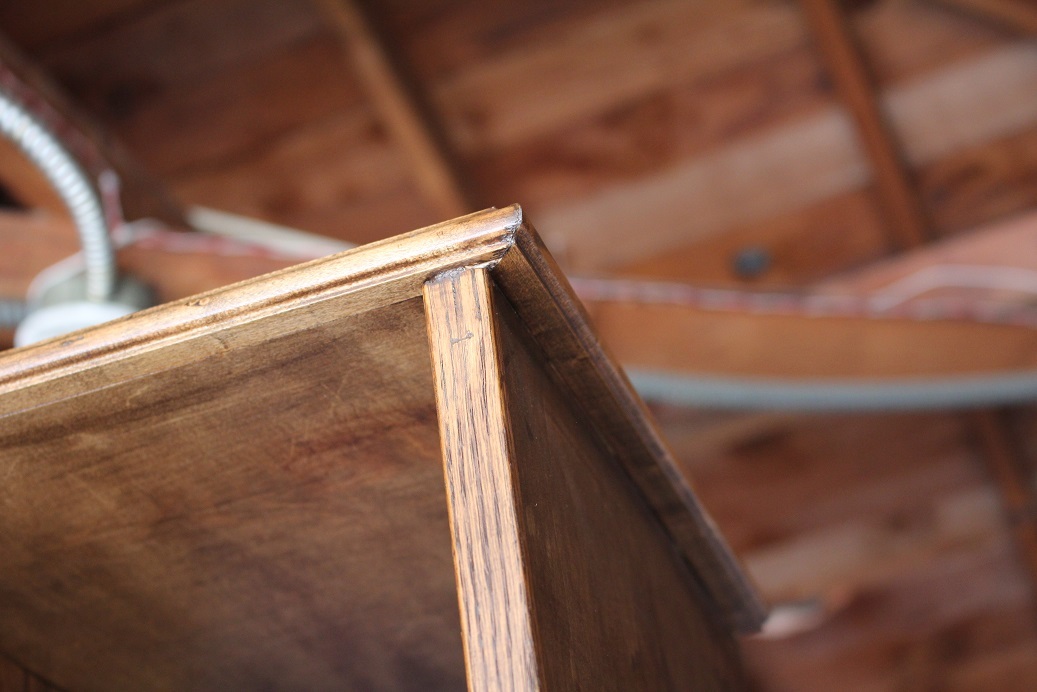
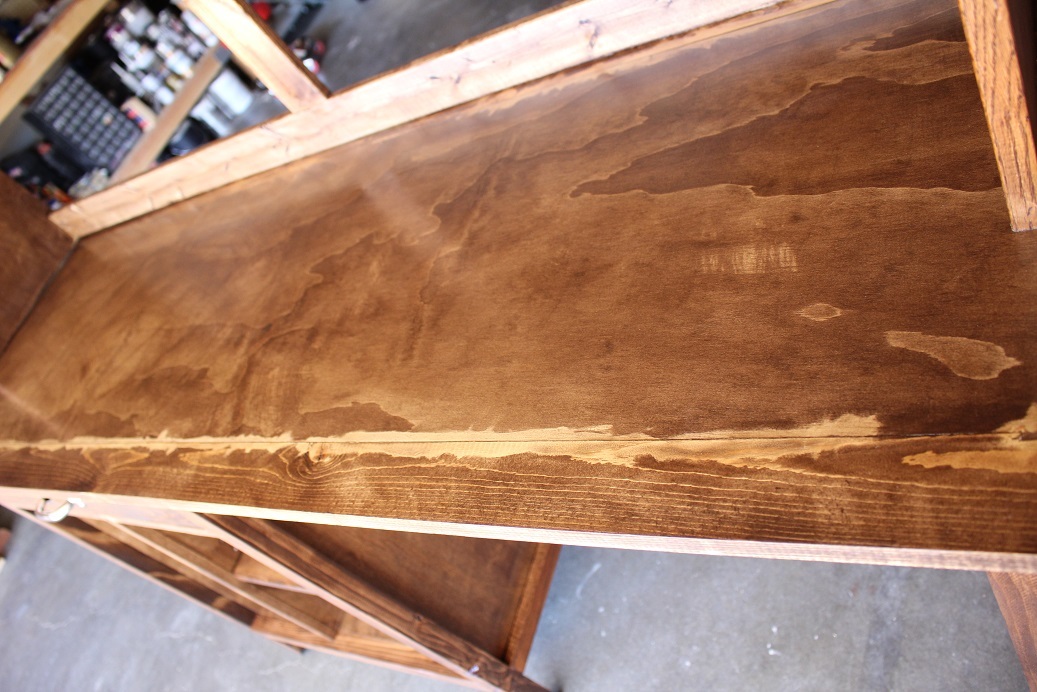
Made this desk custom for a friend and I am so happy with how it came out. Took around 4 days with finishing. I didn't put a back on it because drilling those holes for cords always goes rather splintery. If he wants a back we can easily put it on. The top ended up having strange coloring with the Dark Walnut stain, I think because of the wood filler, but I like it because it gives it a rustic old world kind of look. I saved a lot of money by hounding the scrap bin at Home Depot several times a week, looking for wood on Craigslist, and raiding my leftover stash. I modified the side so there was a tower partition and a shelf on shelf pins- courtesy of Kreg shelf pin jig. I used moulding I had sitting around to cover the exposed edges of plywood.
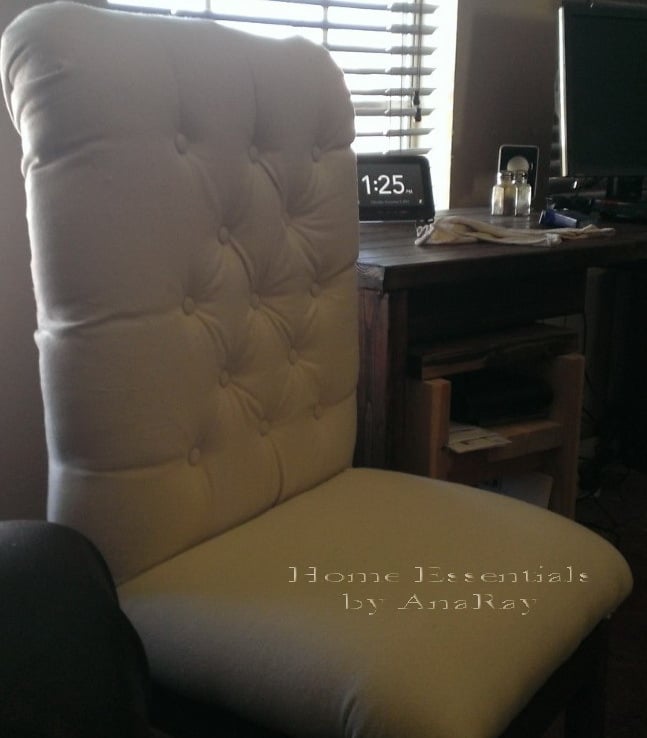
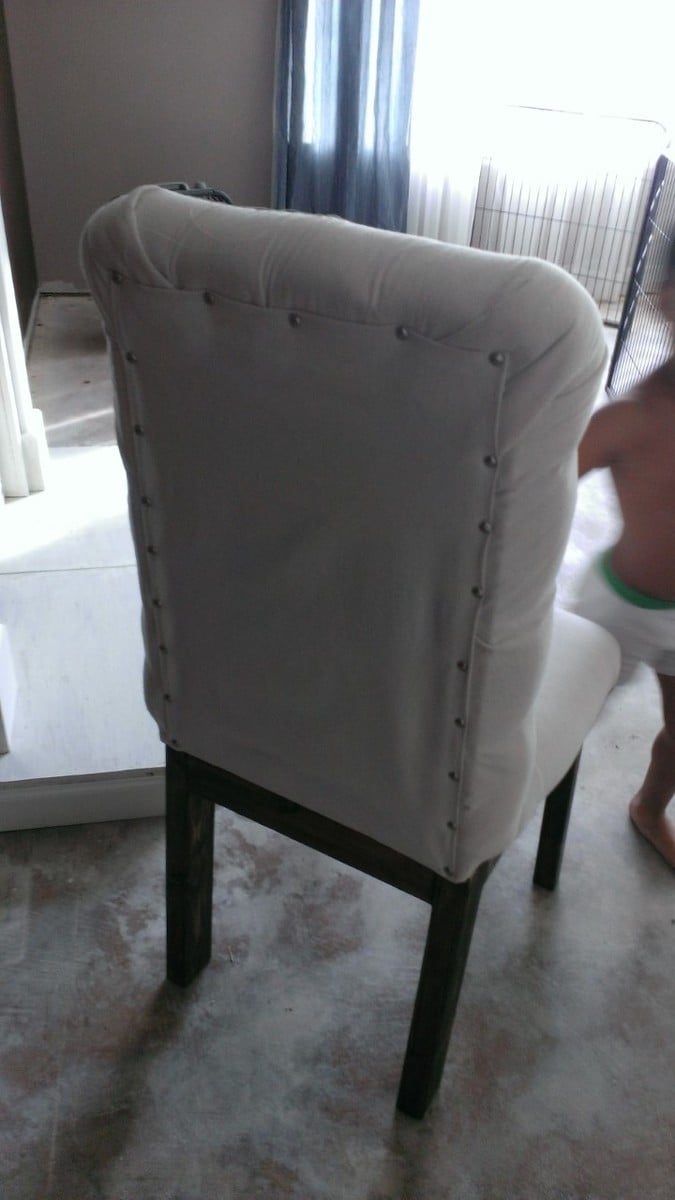
I was in need of two more parson chairs. So, I thought that I could maybe buy them from the same place I originally purchased my set, but they only had something close. I don’t mind mismatch when it reasonably works together. These did not. So I started my search…. Anything I liked was either out of stock, or way too expensive. I’ve been making and updating a few furniture pieces lately, but never made any chairs or stools. Why not? I guess I thought that they were too intimidating. I started doing some research on the web and learned that they are intimidating. But then there is a very talented person out there by the name of Ana White. She has plans for a parson chair that really made me say that this is not as hard as I thought. So I used her plans as a basis for my own. I used left over pieces of wood I had from another project. So why not try one and if it works I’ll do the second one.
I did however make a few changes to make it my own.
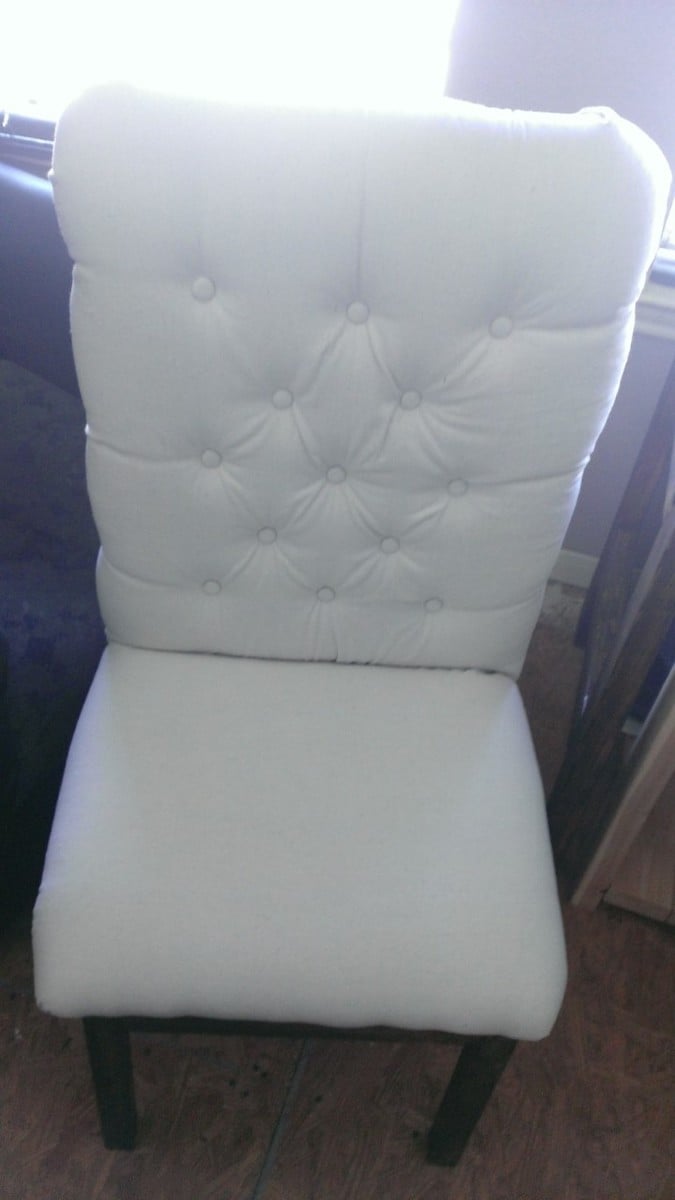

This is my first build ever! I skipped the X accents and white washed it with traditional paint making it easy to paint over if I choose a different color in the future.
Laura G
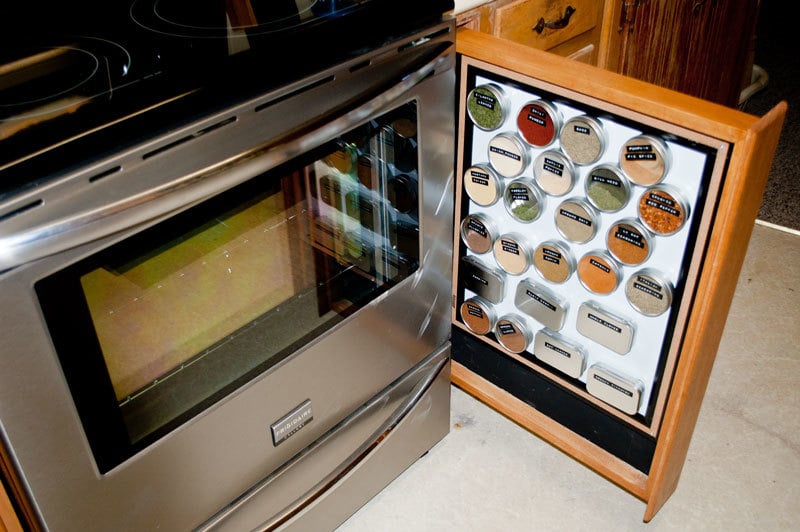
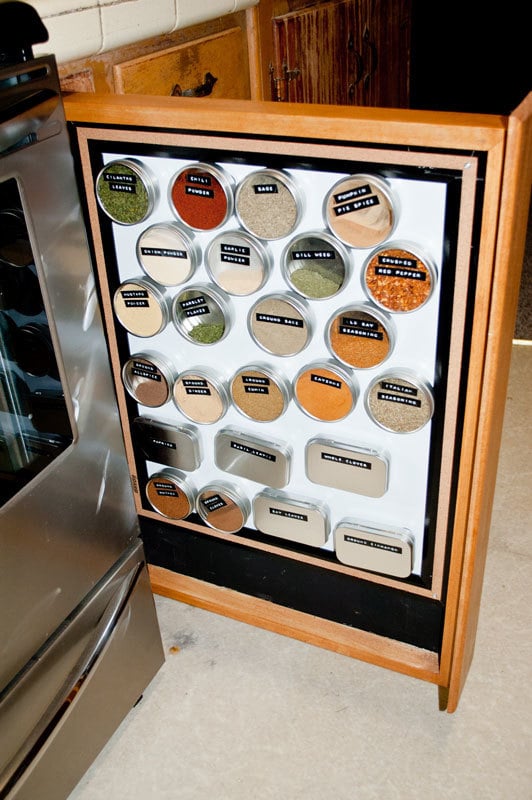
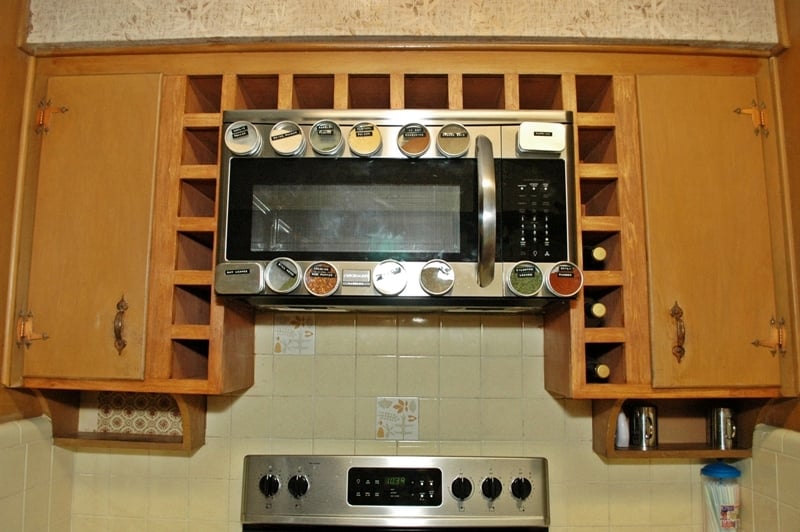
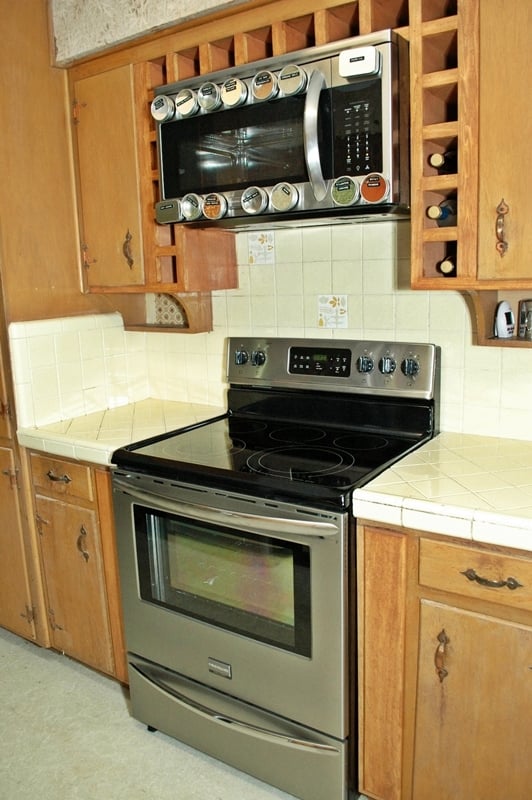
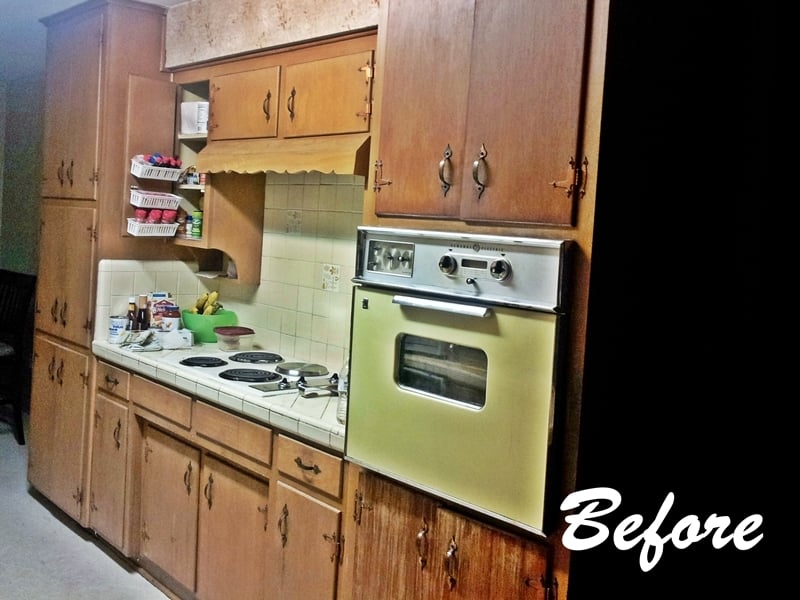
So our oven died back in July and we ended up having an unplanned mini kitchen remodel. One of the things I wanted to implement was magnetic spice racks in drawers, simply because we had a little space left on either side of the oven. Note: we hired a contractor to modify the existing cabinets because we had already been without an oven for over a month by the time home warranty decided they would have to replace the oven and we knew us doing it would take too long - a whole different, LONG story (read about that here: http://christinashaw.com/?p=1203).
But if you want to read more about the magnetic spice racks (which I LOVE, LOVE, LOVE, by the way!), you can read about that here: http://christinashaw.com/?p=1168
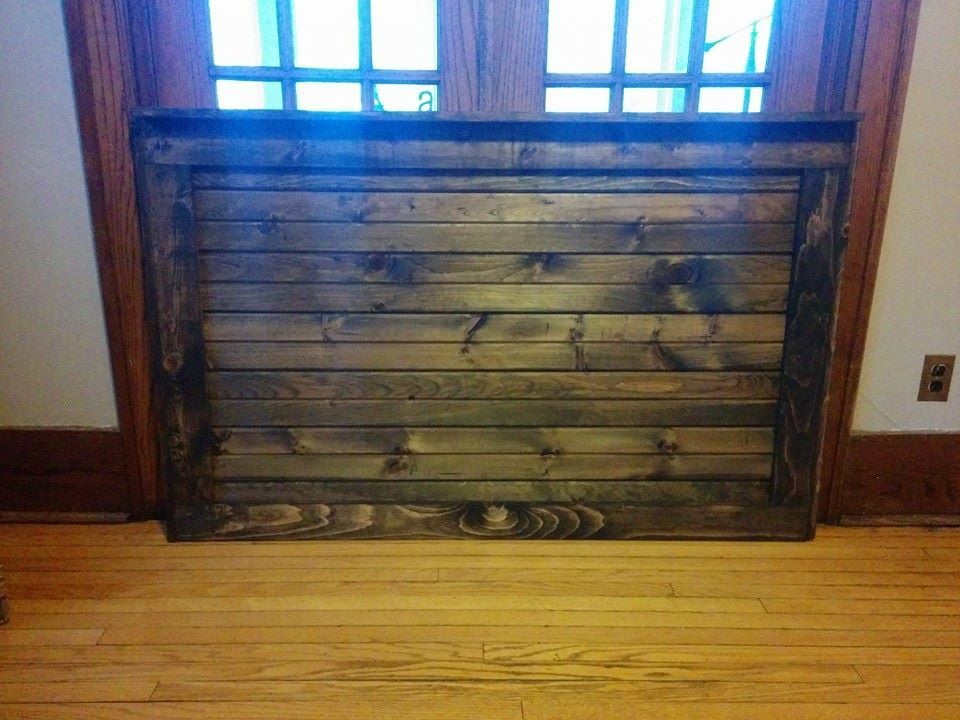
Floating headboard made for a friend of mine. Didn't have a picture of it mounted in their room but I wanted to get it up here anyway.
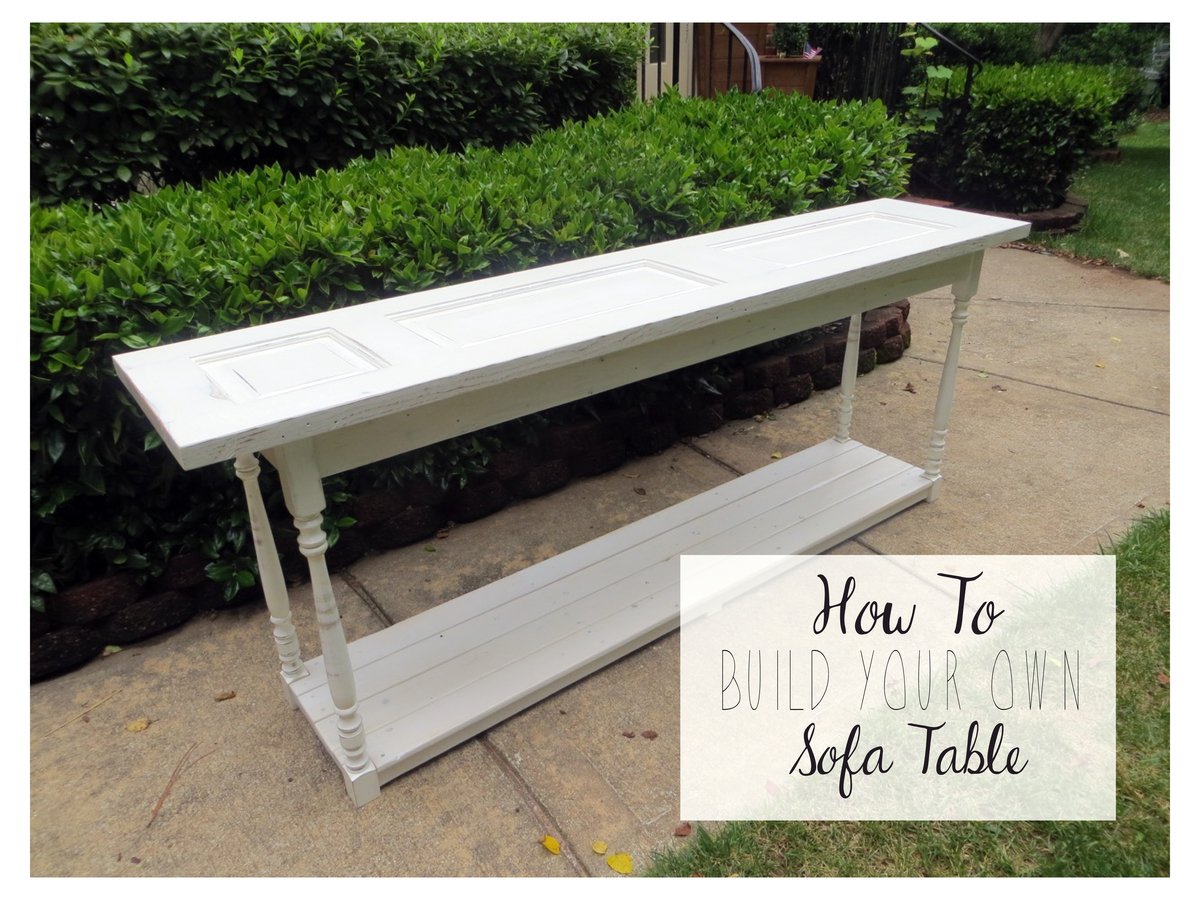
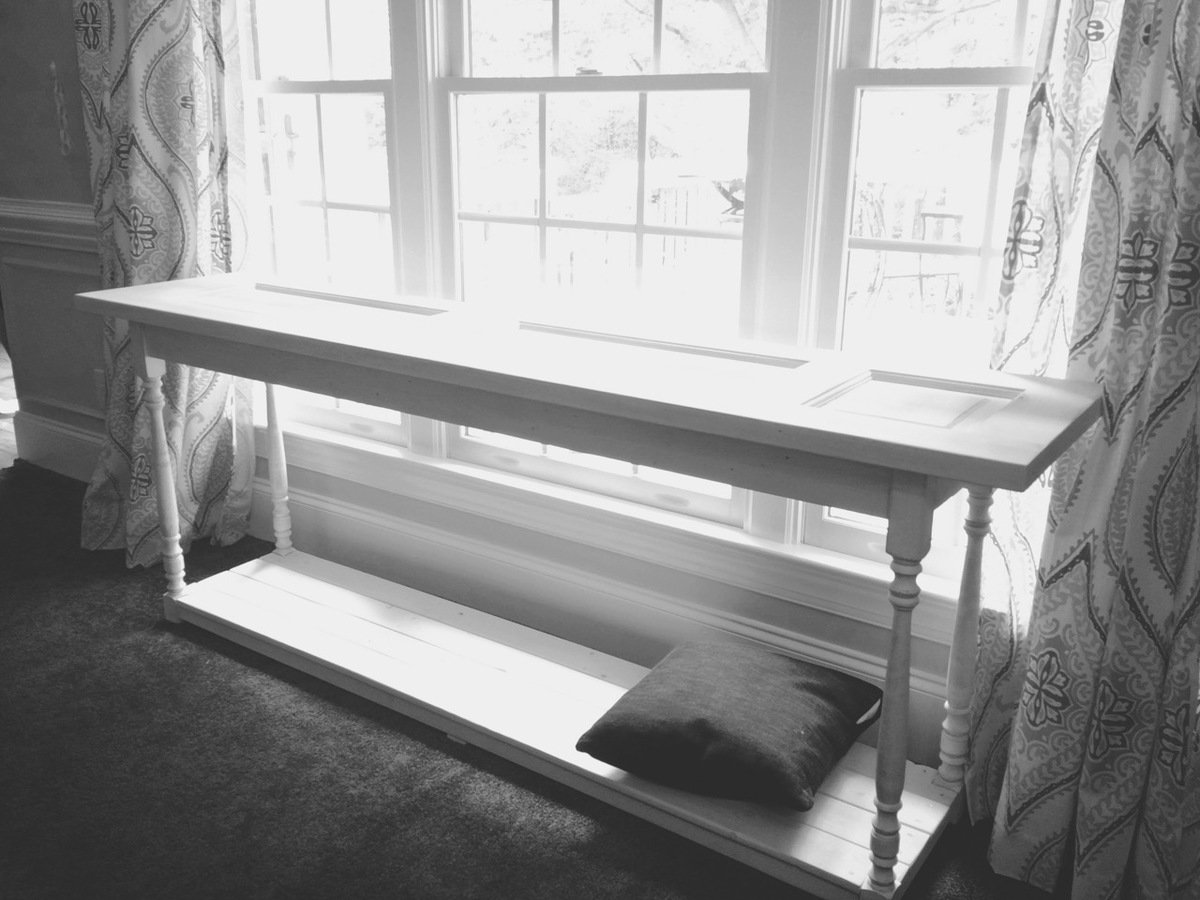
This was a very fun project for me! I love turning unwanted-old things into something beautiful and usuable! I built thit table using a reclaimed door and old railing spindles but you could easily improvise by using dimensional lumber for the top and buying new spindles or using 2x2's if necessary! This took me a few days because I built as I went and made sure it was just right.
Guess what? I built it for $37!! The door and spindles were a great find at my local Habitat for Humanity store - check yours out!
I have a building tutorial on my blog so you can make one too!




First time I have ever attempted something like this. Made this table for my wife's birthday. Mistakes were made. Lessons were learned.


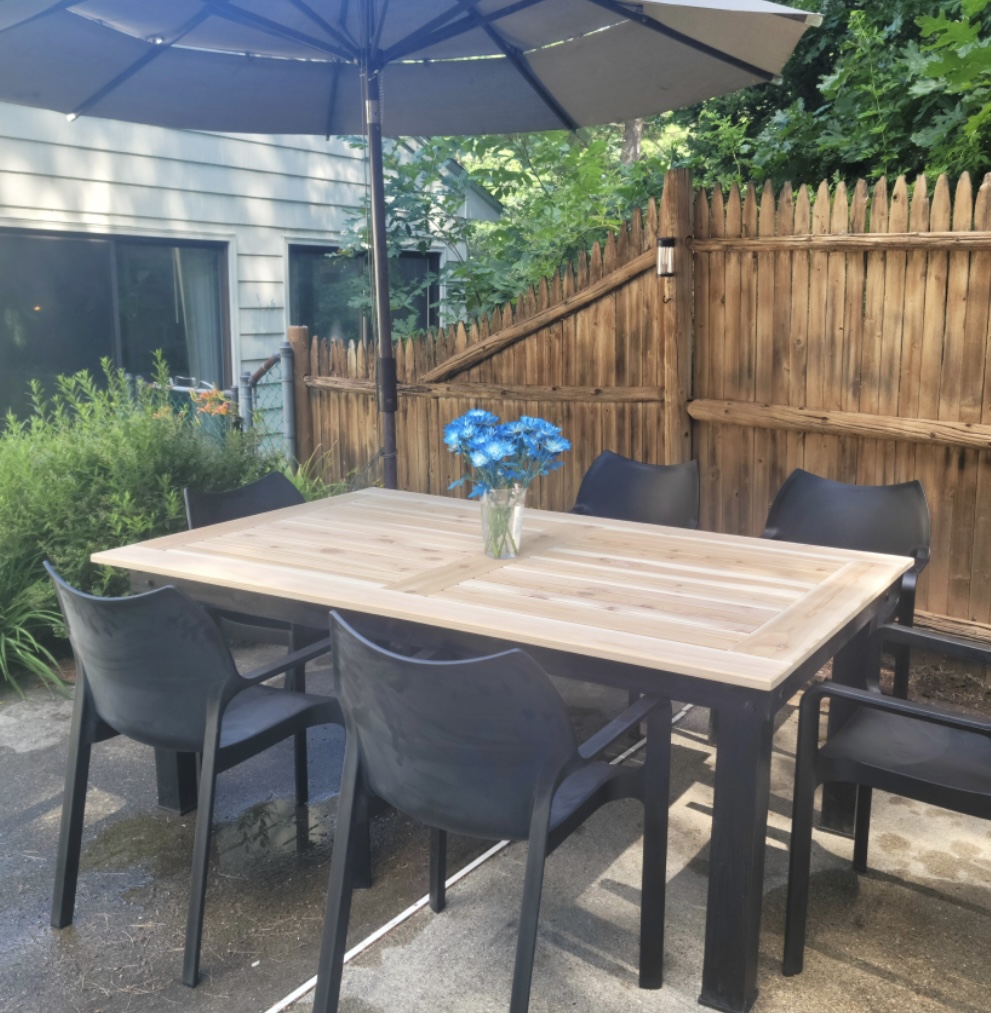
I still have to coat the table top to protect against the elements. But I am super proud already!
Lea B.
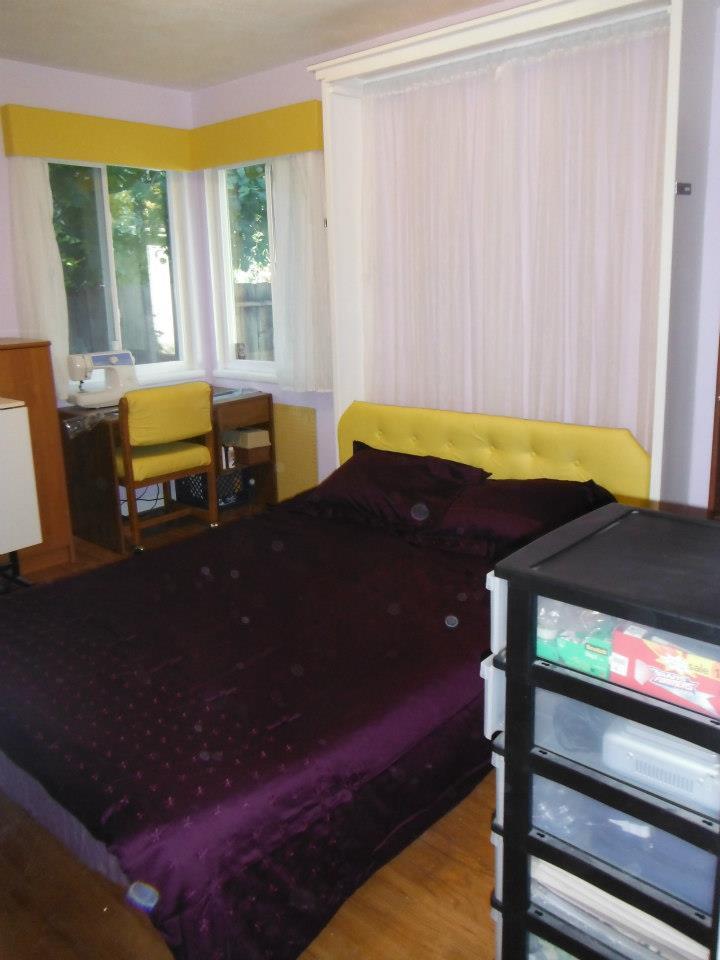
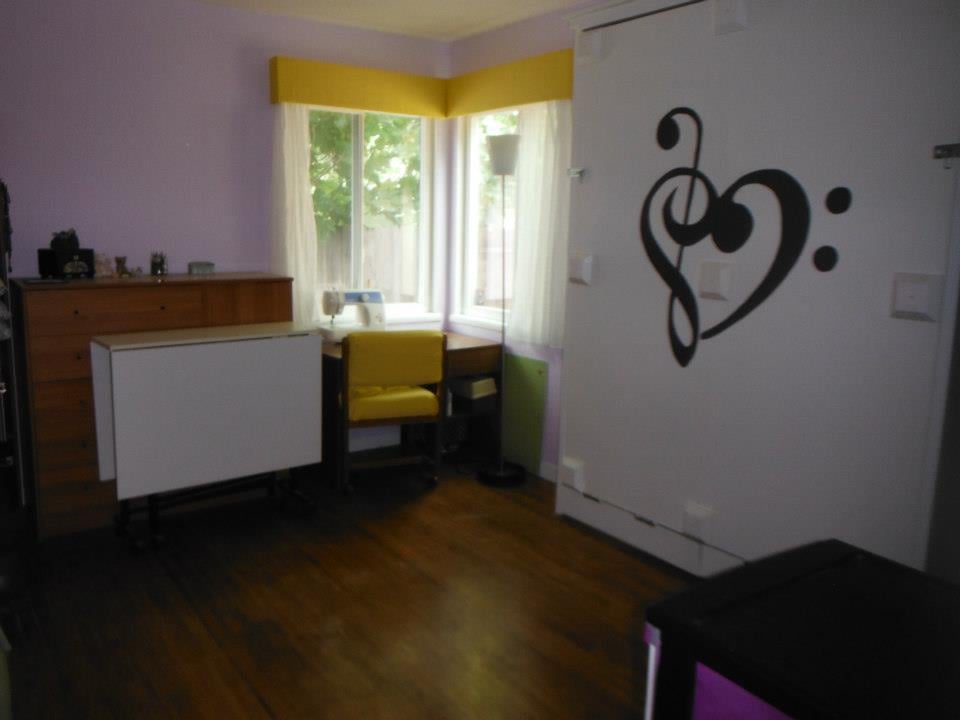
Taking the plans for the full sized Murphy bed (http://ana-white.com/2010/03/plans-a-murphy-bed-you-can-build-and-affor…) I added a few inches to convert to a queen and raised it off the floor 5 1/2 inches with removable fence post toppers.
The yellow head board lifts up and stores inside the frame when up. If I had it to do over again, I would sand and paint as I built. Thanks to Ana, I now have a guest room!
Mon, 10/08/2012 - 11:13
Holy smokes! Great job! I just got my early birthday present - a Kreg Jig Master System!!! One of the first things I will be building is a murphy bed, so thank you for the inspiration.
It looks great!
Fri, 11/30/2012 - 20:18
This is fabulous! What did you use at the backing of the box? Is that fabric? The whole thing looks so nice!
Wed, 02/13/2013 - 11:45
I just wanted to know if you used the jig required or if you used something else? Camille
Thu, 04/25/2013 - 11:44
The jig is not required but it sure makes everything fast and easy
Wed, 04/24/2013 - 19:55
I love your adaptation of Ana's plans. Would you be willing to share the dimension for the queen murphy? Thank you!
Mon, 04/29/2013 - 14:32
I am wondering what king of hinges you used for the bed. Did you use continuous (piano) hinges or regular door hinges? How wide are they? I am not sure what the acceptable width for the hinges is to be safe. Thanks.
Wed, 06/12/2013 - 16:35
What were the altered measurements and exactly how did you raise it? I really like Anas plan except that the mattress was so close to the ground. I want to make this for my apartment and I'm painting the outside like a tardis. (:
Fri, 07/26/2013 - 18:50
I raised it 5 1/4 " using fence post toppers from home depot. The fence post toppers unscrew for upright storage. You could leave them in for a more dramatic look but I liked the cleaner lines with them out until needed
Sat, 11/02/2013 - 15:33
Would you be willing to share the dimensions you used when building your queen murphy? Even if they aren't exact, it would be such a big help to me!
Sat, 12/28/2013 - 22:56
In that same picture, if you look at the bottom 6 inches of the closed bed (under the hinge) there is a storage section where I hide the legs when the bed is raised. It is otherwise dead space and made for an easy storage conversion at the last minute.
This is my first Ana White project and it came out great. We used the Kreg Jig for the first time and it's awesome! I put a coat of Rustoleum Weathered Gray on first, which has a blue tinge to it. Then I added two light coats of Minwax Provincial (basically wiped it on and then back off...didn't let it sit). Finished it off with two coats of Minwax Wipe-On Poly, which is super easy to use and great for items that need a little protection. The only downside for me is that I have discovered that I am apparently allergic to pine resin which throws a major roadblock into building pine furniture!!! I end up with an itchy rash and face swelling when I around the freshly cut or sanded wood. Totally sucks. So I may have to have hubby do the cutting and sanding.

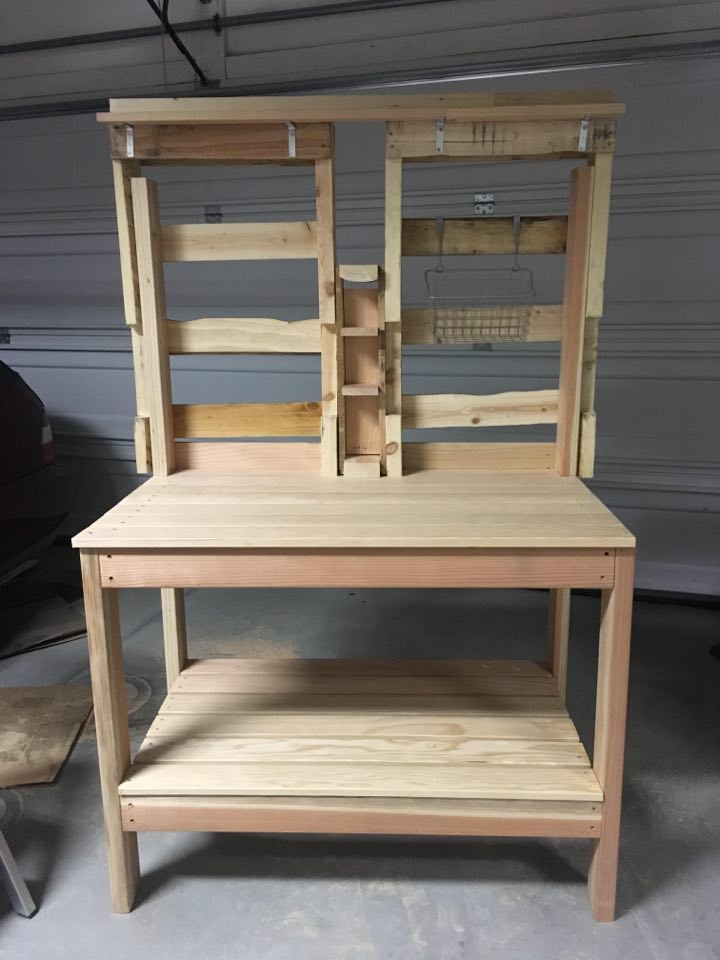
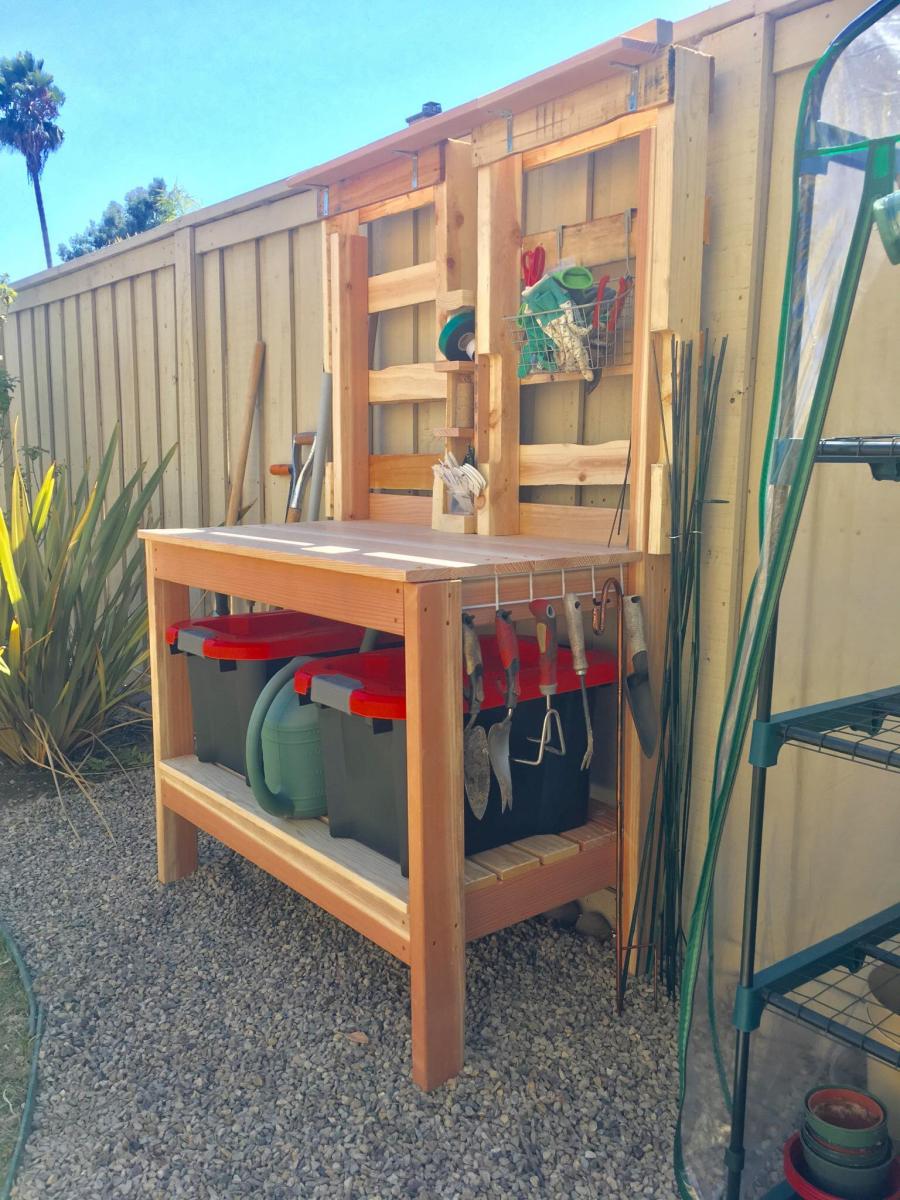
I have built several garden boxes and was lugging my gardening tools back and forth from the garage every day. I found myself with some spare wood and a tall, skinny pallet that I'd gotten from my work when a new conference room TV was delivered several months ago that I'd been trying to find a use for. So I decided to build a potting bench and found the one on Ana White's website and thought I could use what I had to build it. And it worked! I cut the pallet in half that I used to make the back wall and had a small piece of it leftover that just so happened to slide in between the two pallets walls. So I added some leftover scraps and made it into a small shelf for things like twine and plant markers. I couldn't be happier with how it turned out and how it looks in my garden! Looking forward to building more of Ana's projects!

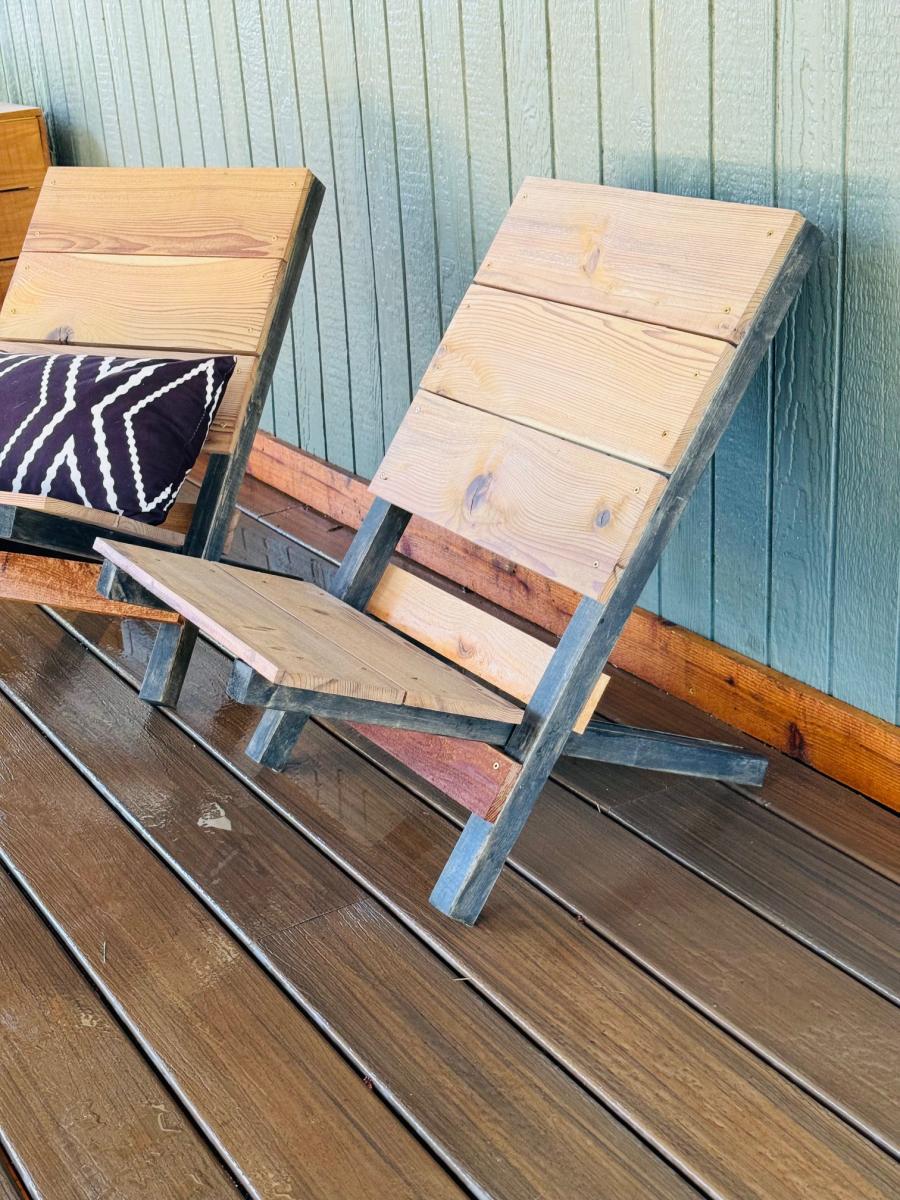
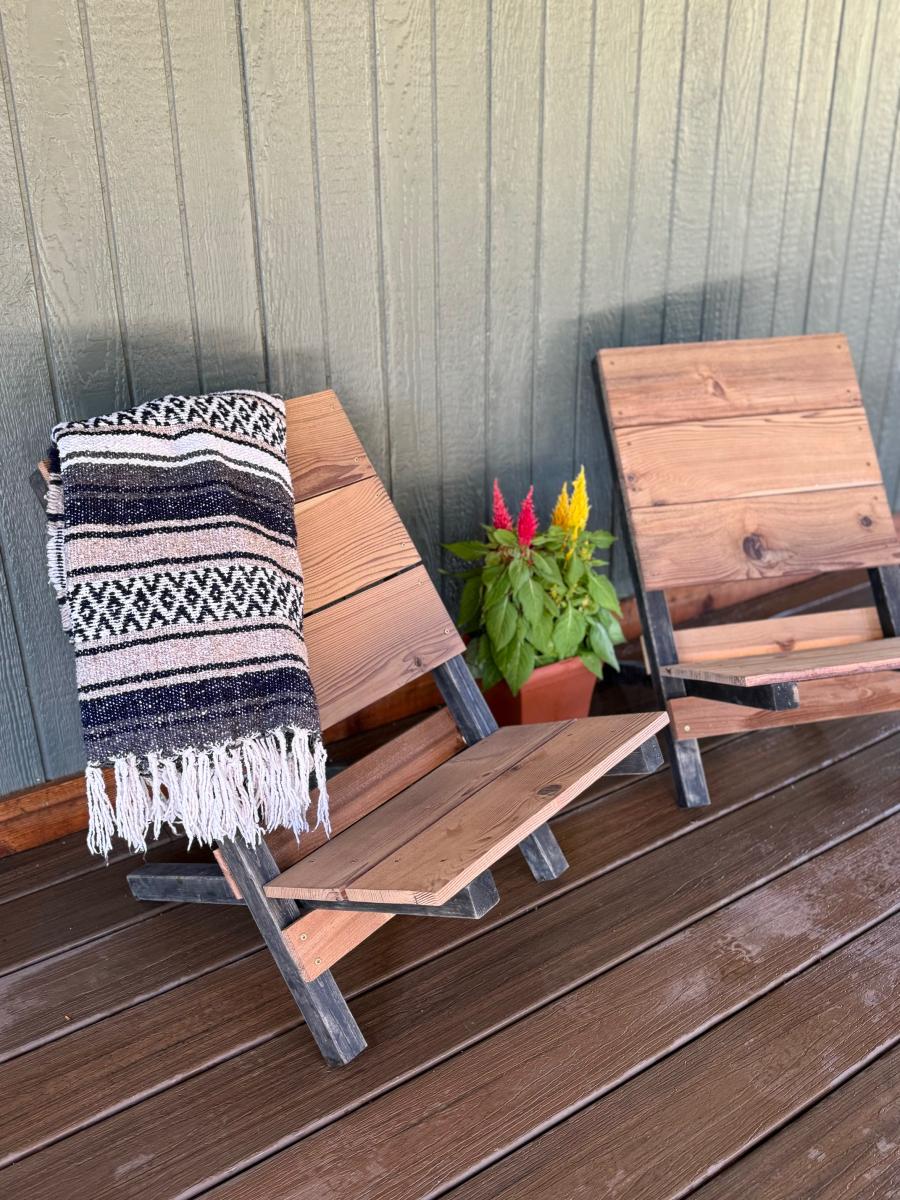
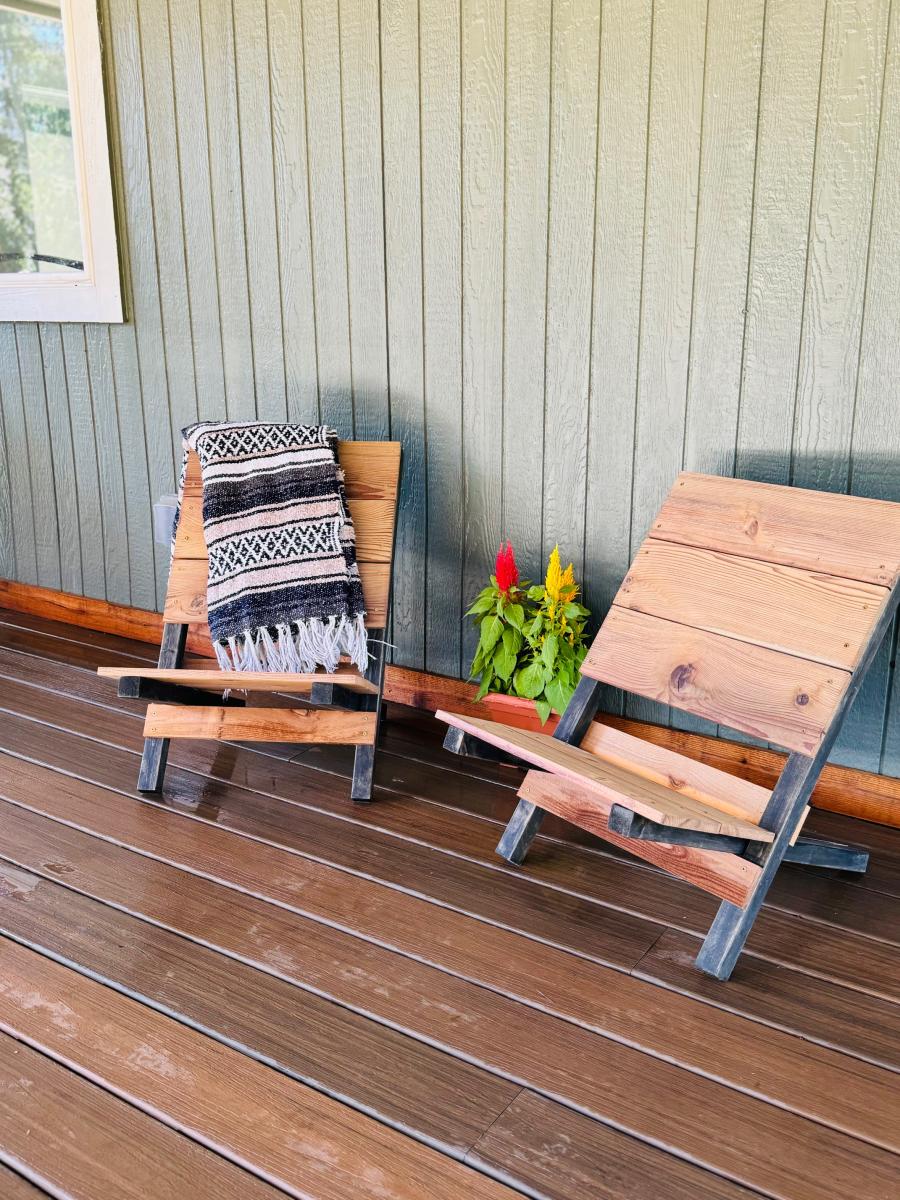
I built these chairs in about 90 minutes. I started with cutting enough boards for 2 chairs according to Ana's cut list. I then prefinished them by sanding and prestaining all the boards. Once they were dry I started assembly. At first I was having issues with the wood splitting, so I ended up predrilling my holes. I made the seat and the back 18" wide and where Ana uses the 1x3, I ended up just ripping the cedar fence picket to 2.5" wide. This was a fun build and will be nice to easily transport to an outdoor activity!
