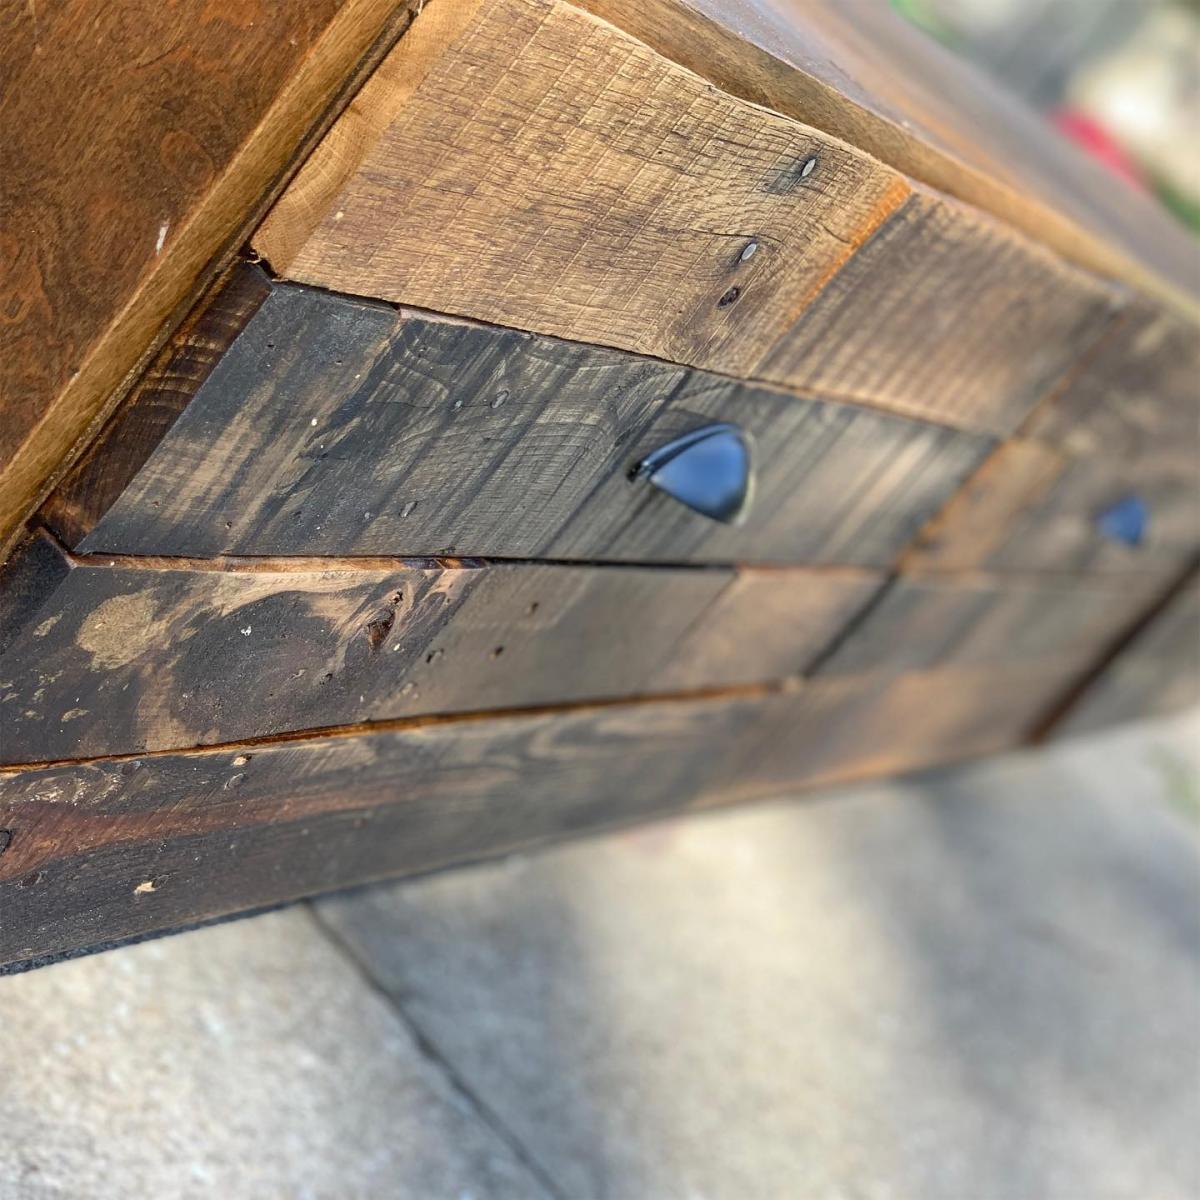
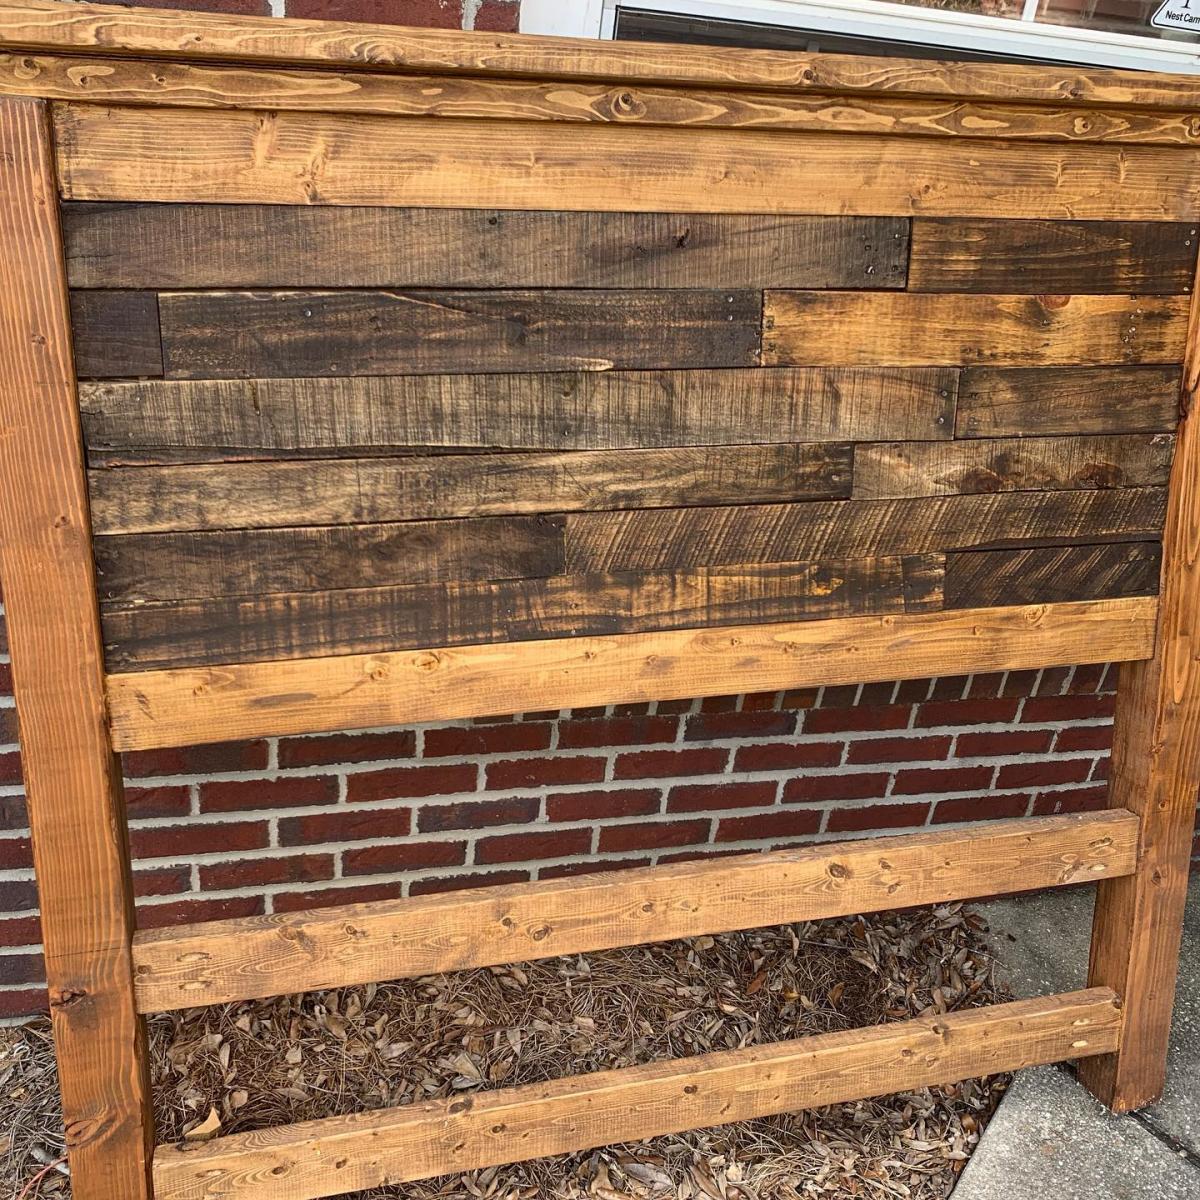
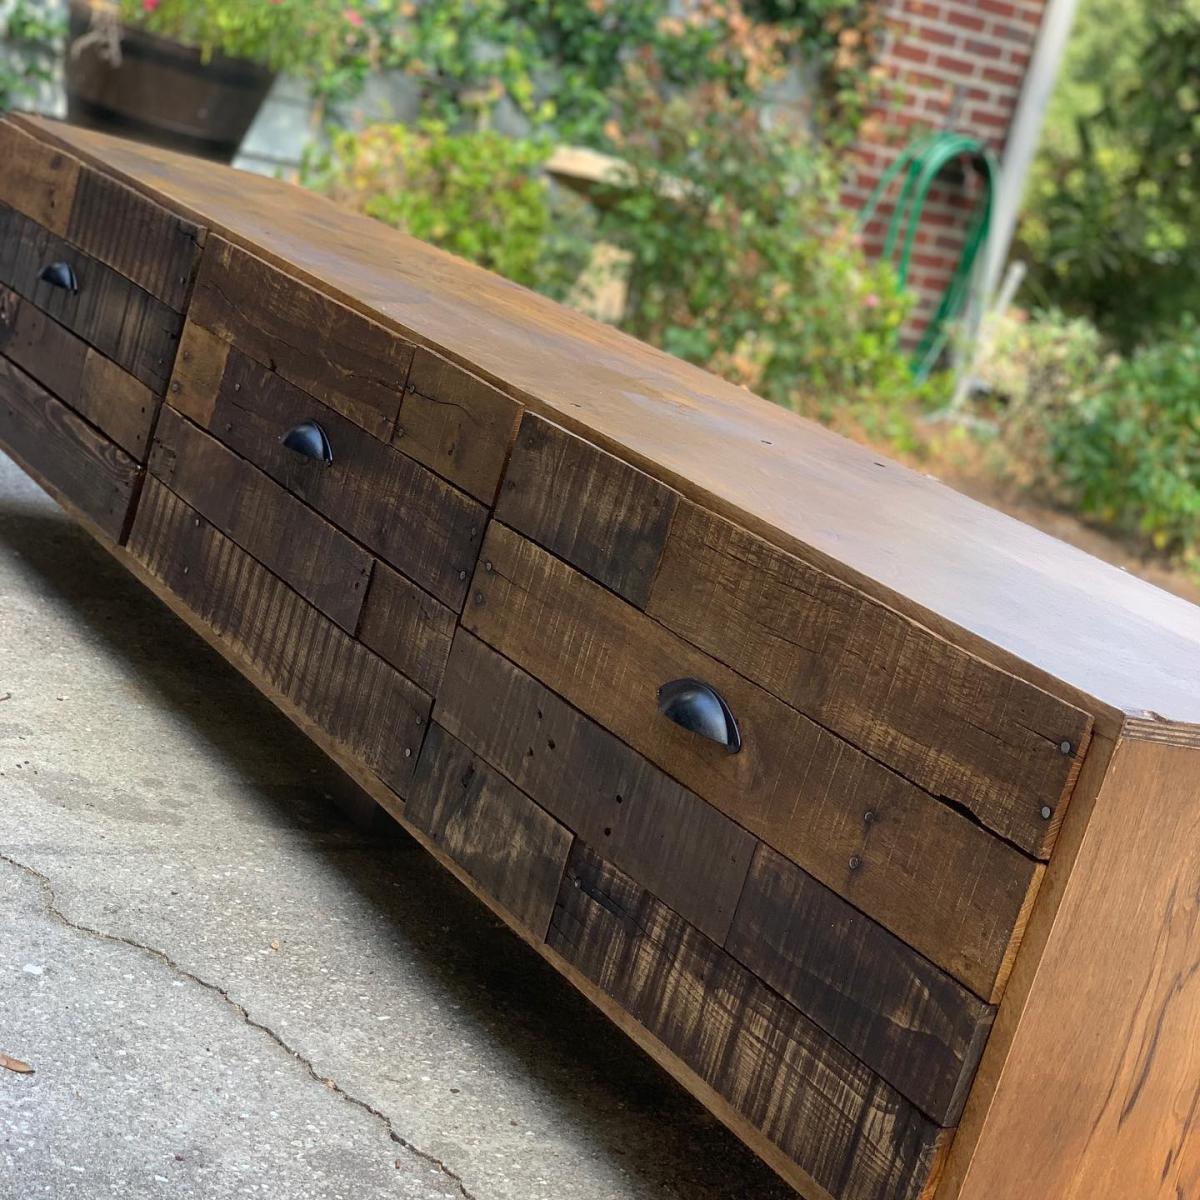
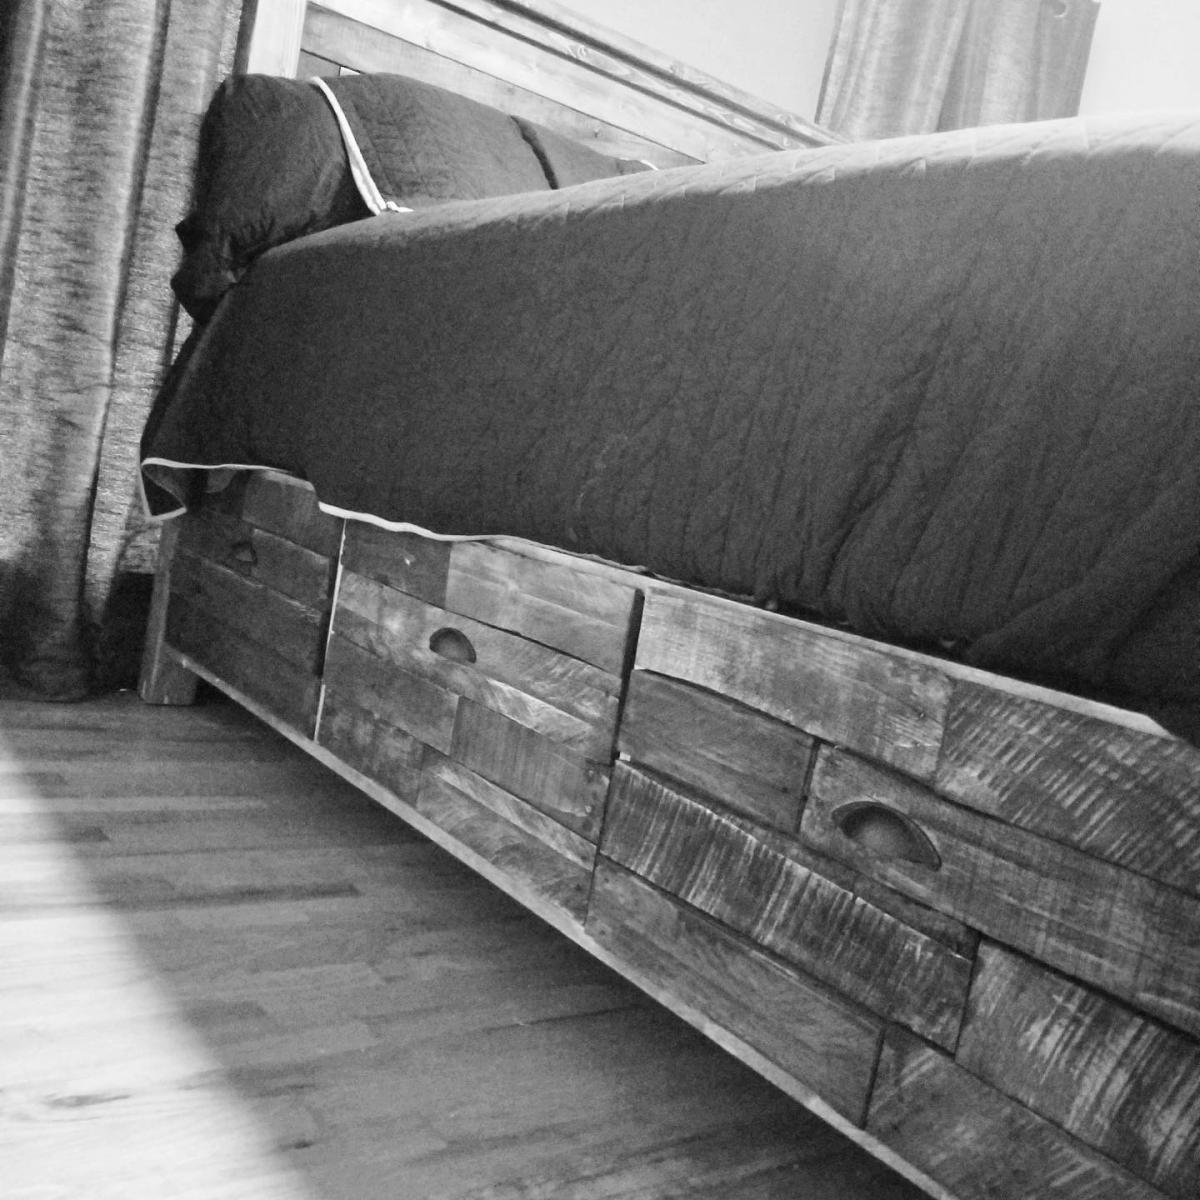
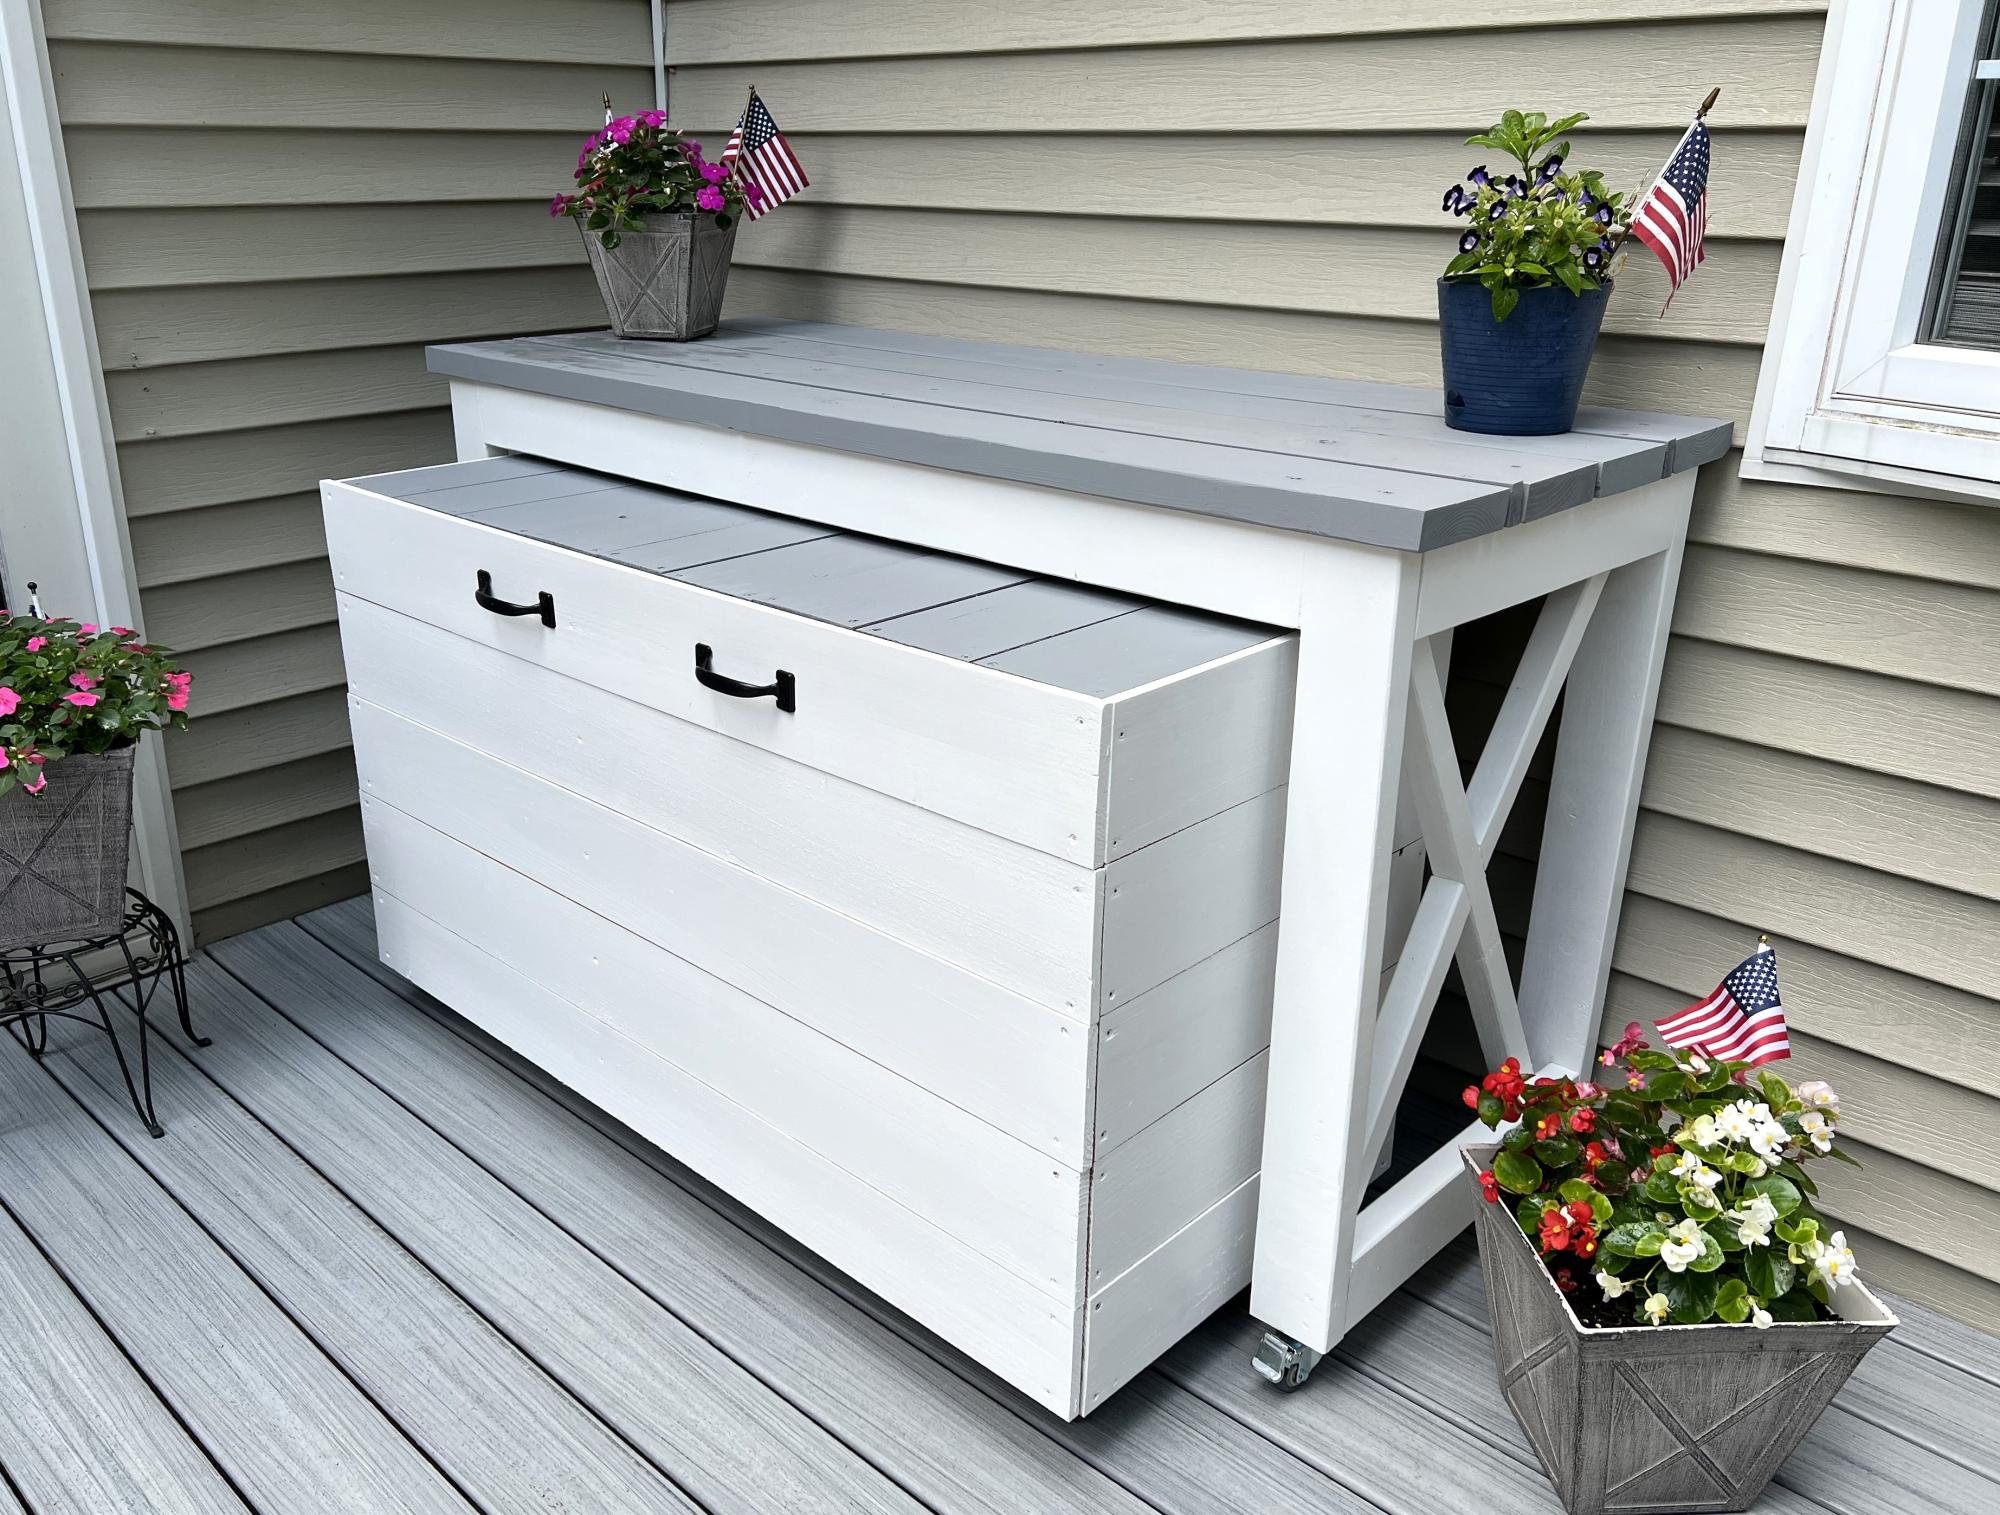
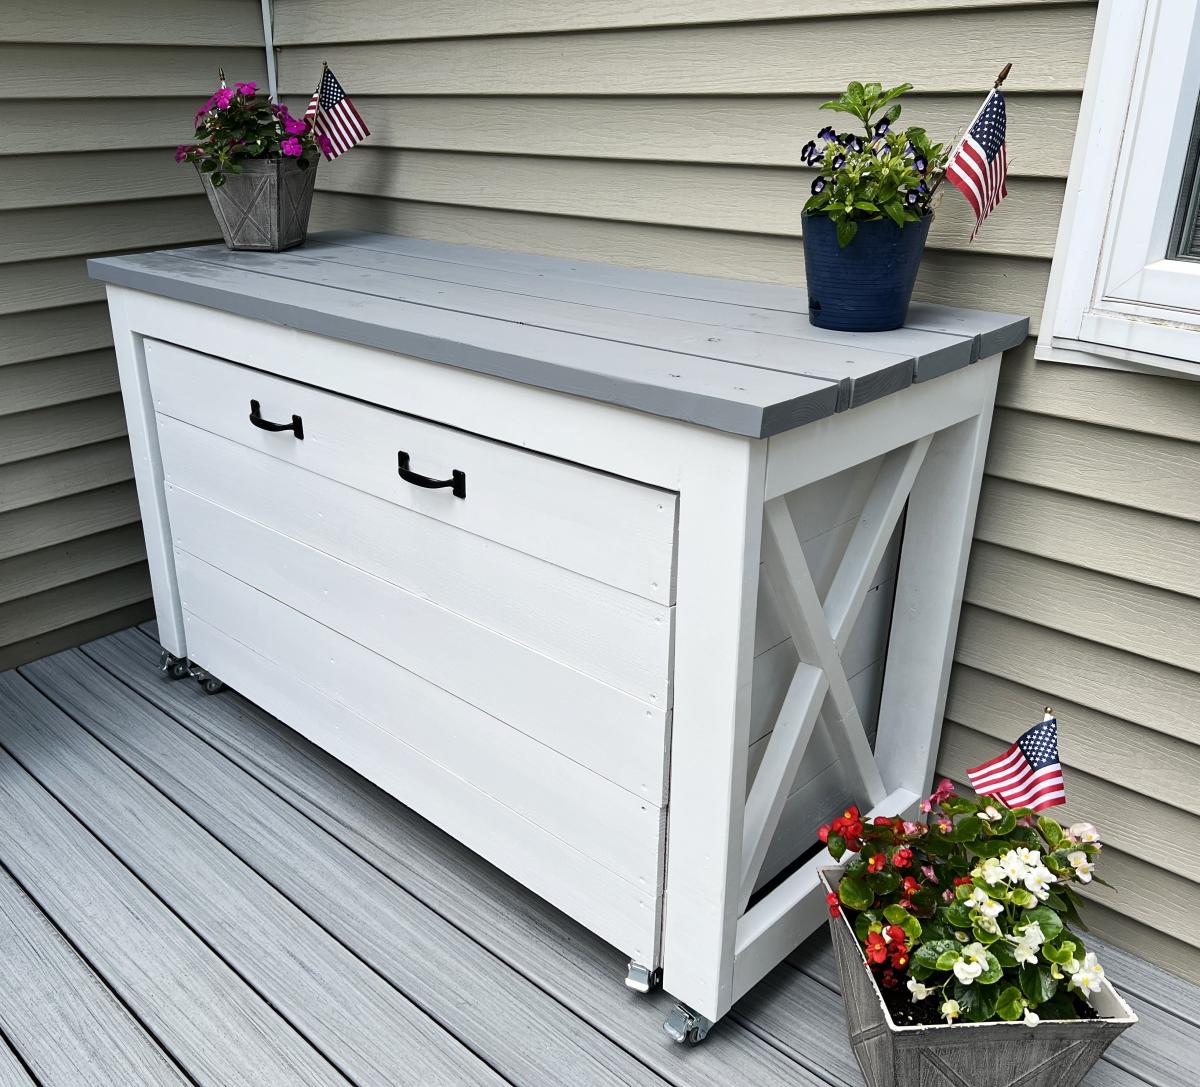
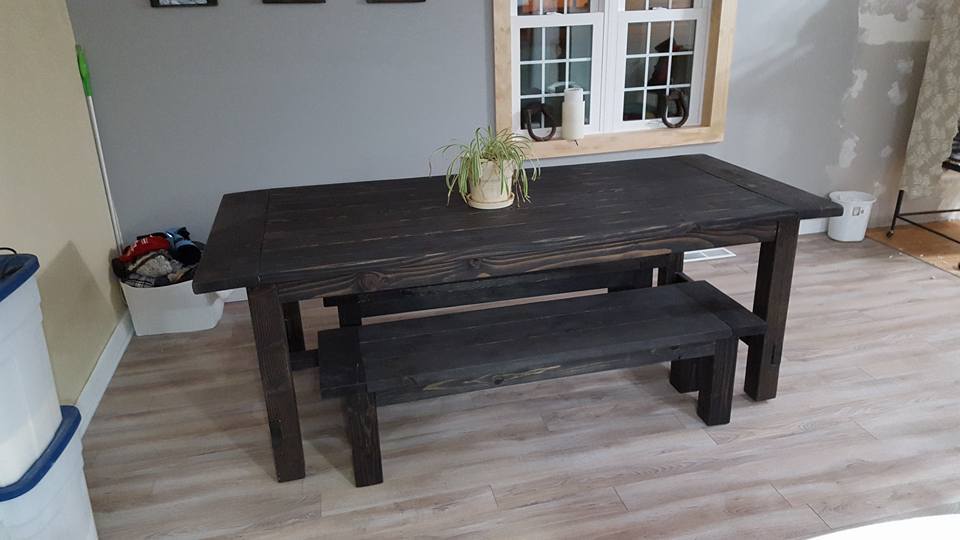
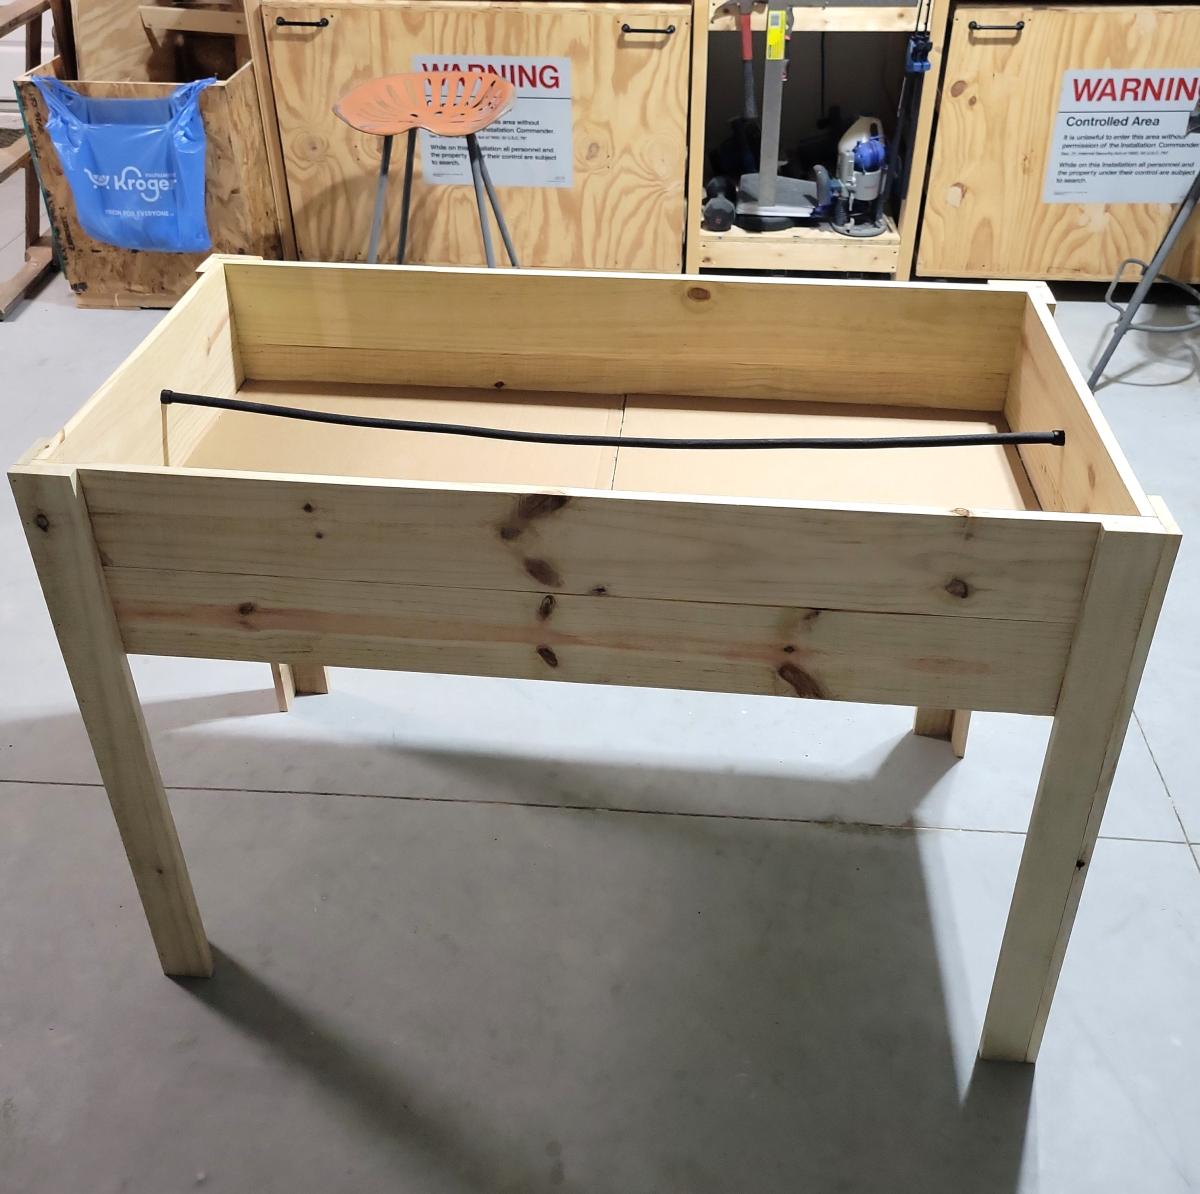
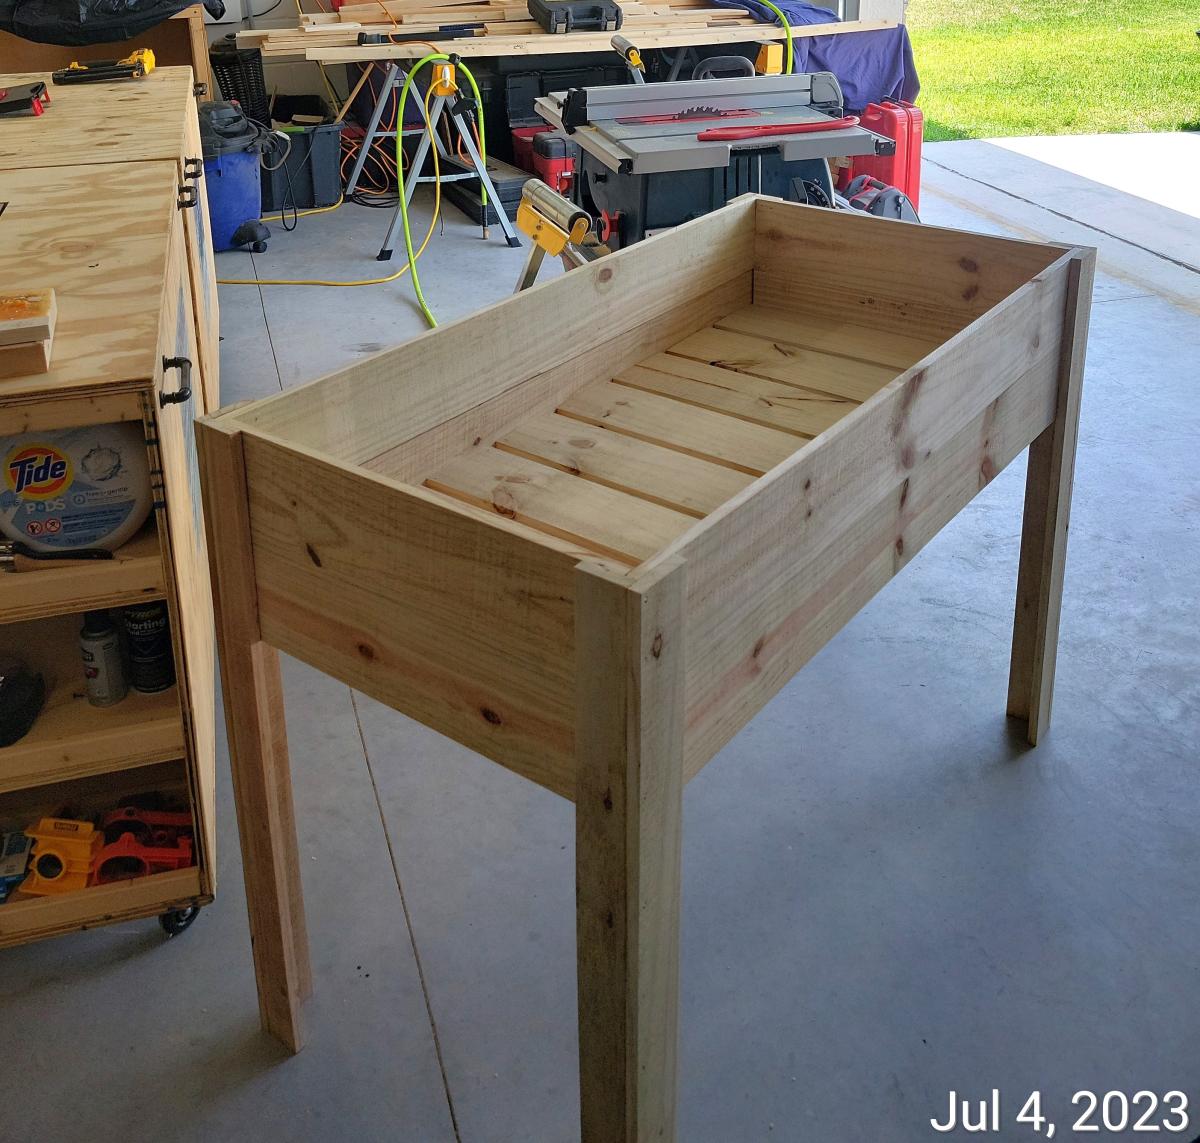
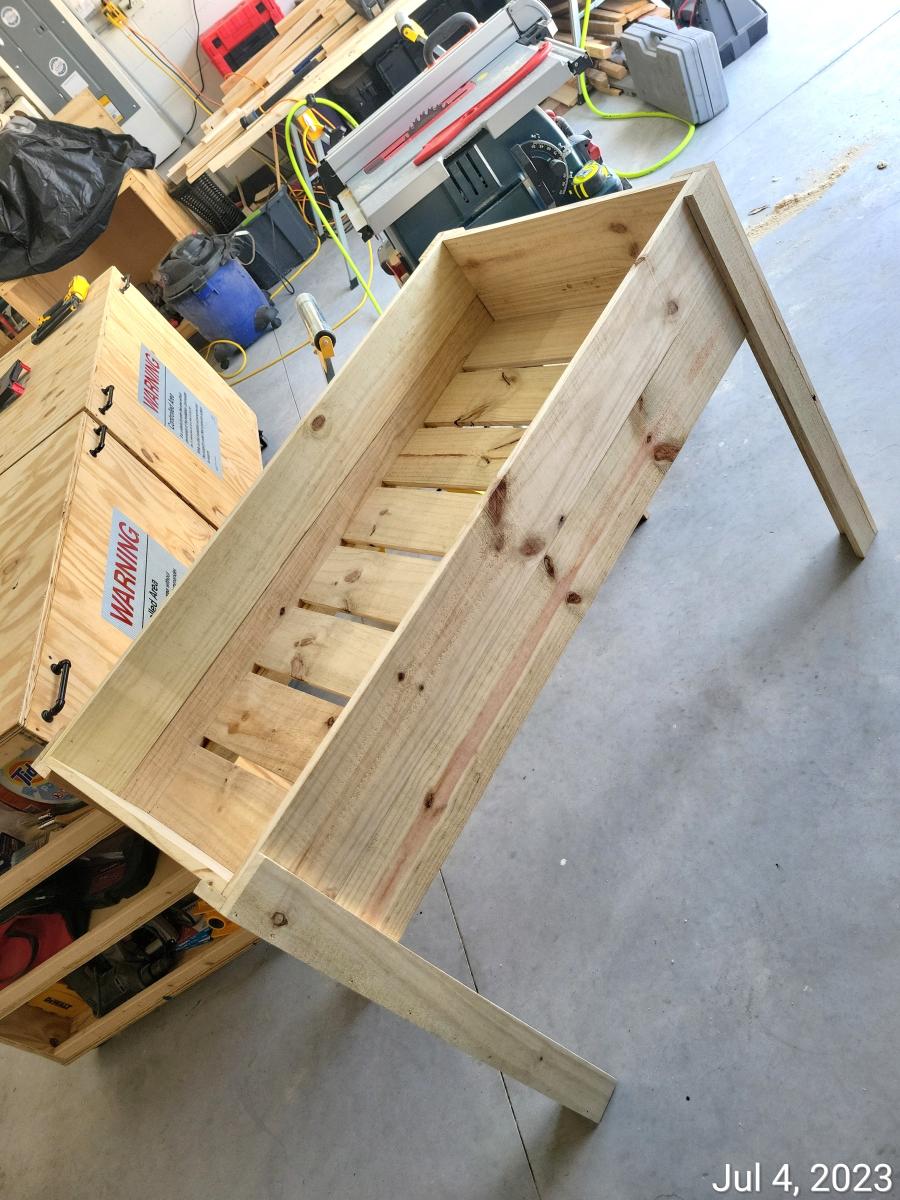
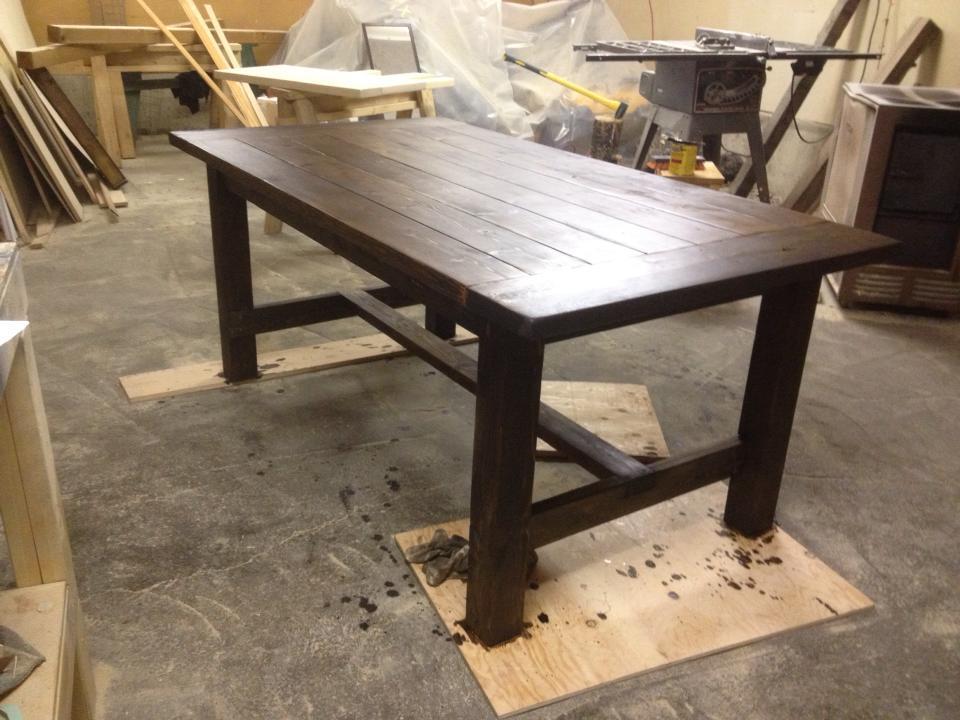
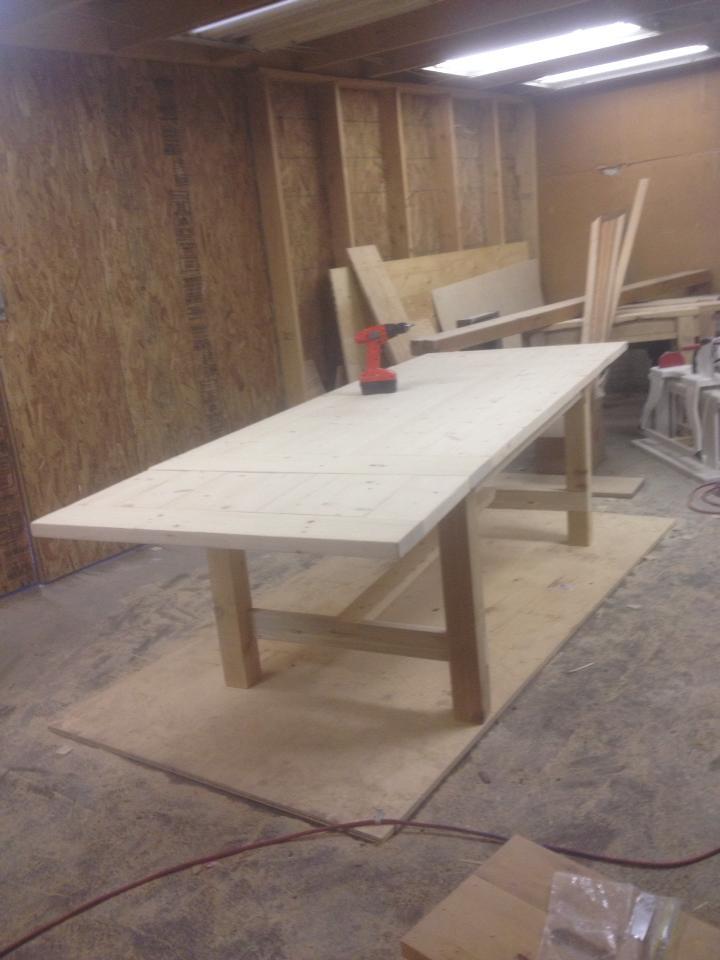
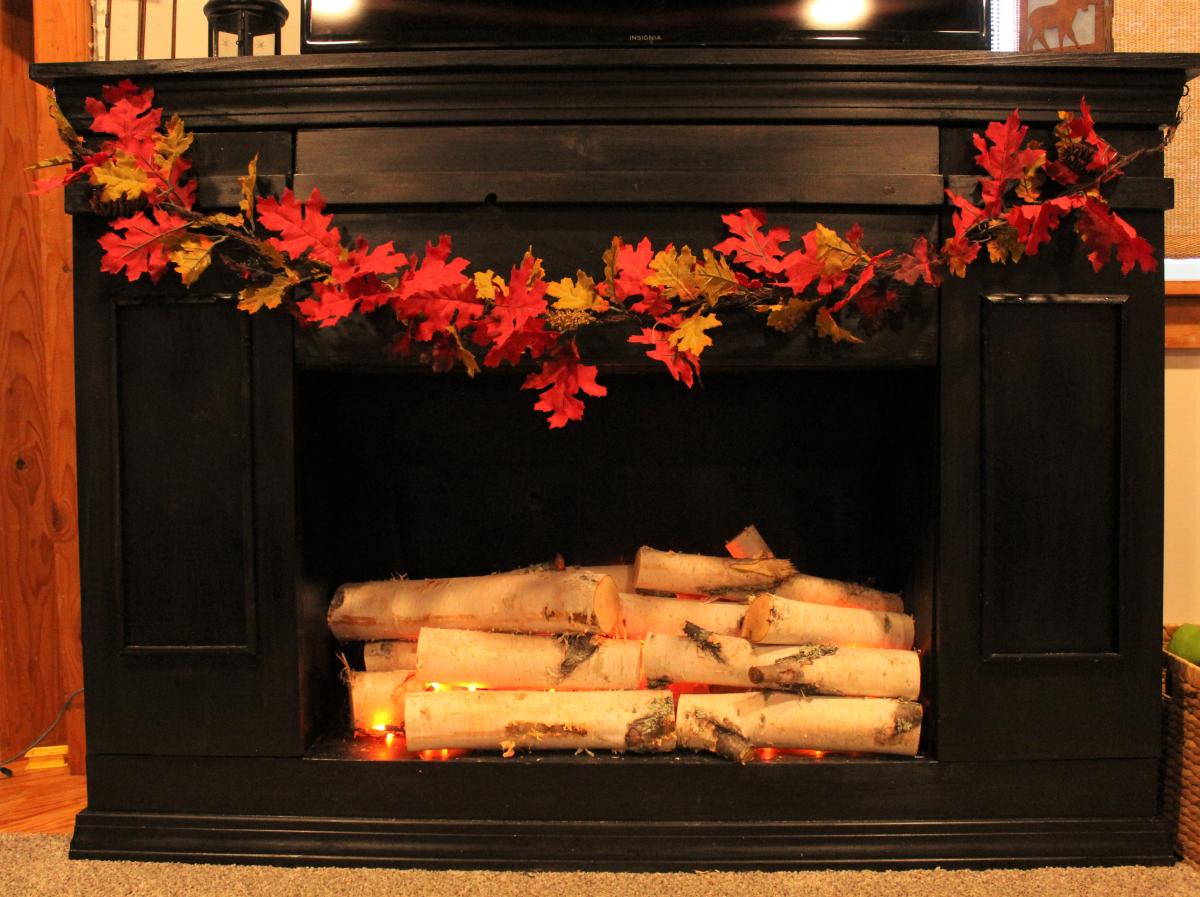
Adjusted Balin Console Table
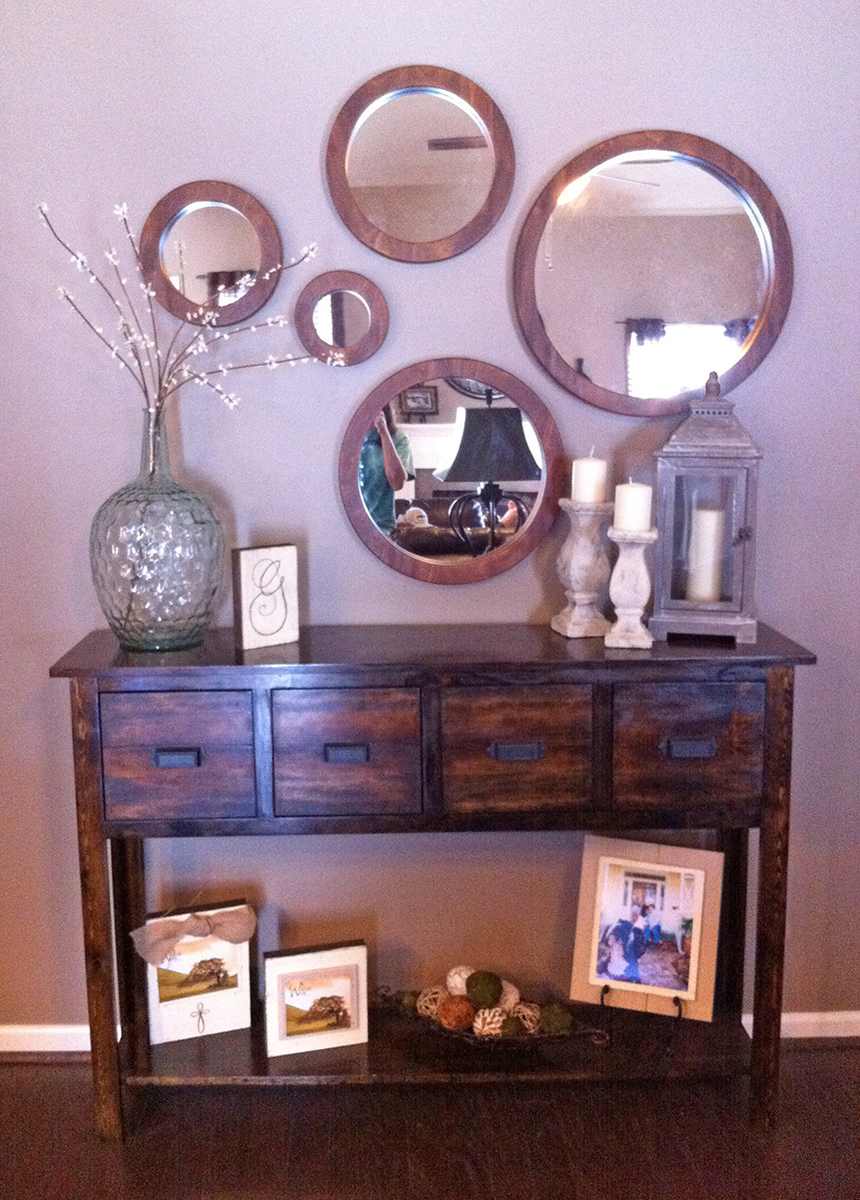
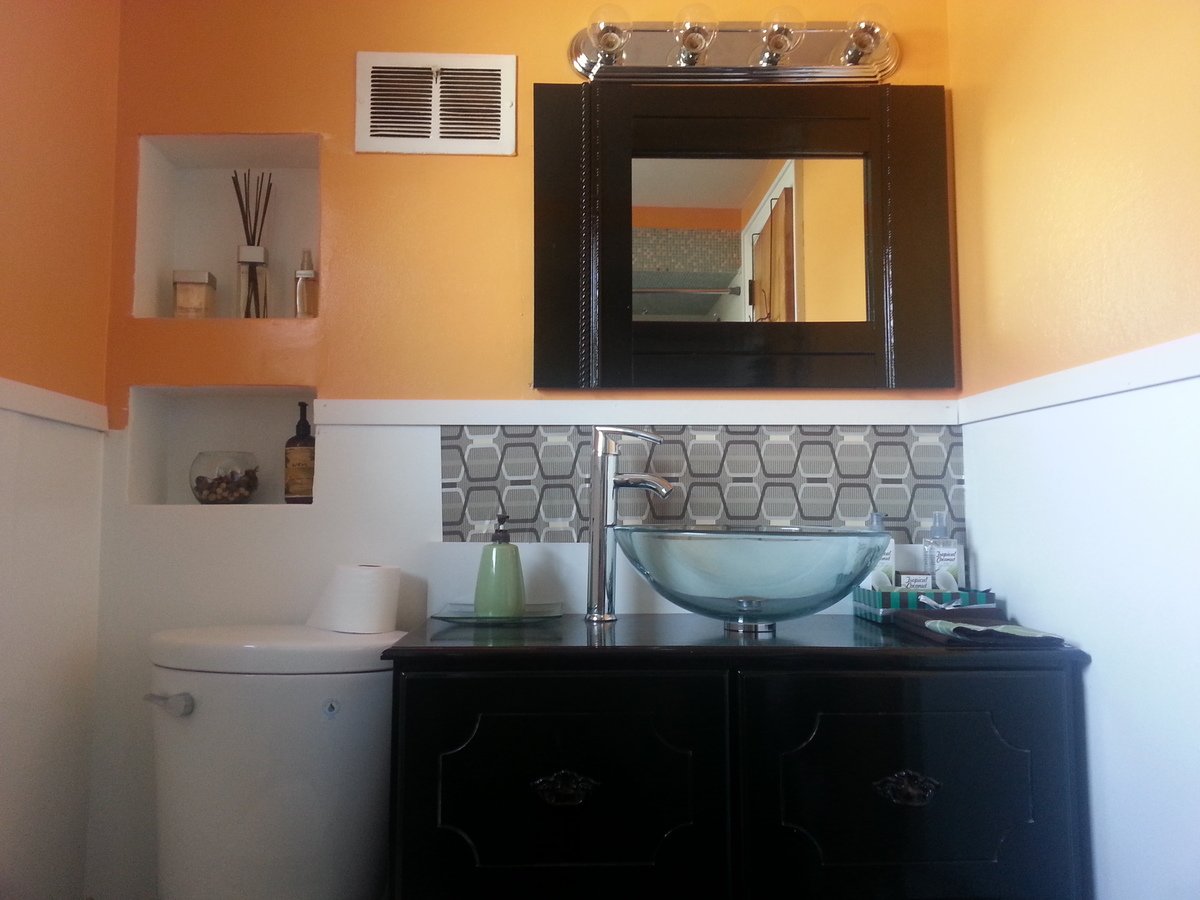
I loved the Balin Console Table plan, so my husband and myself decided to try it as our first project. We adjusted the height to 42" and we added a bottom shelf. I am so happy with the way it turned out. I have received many complements.
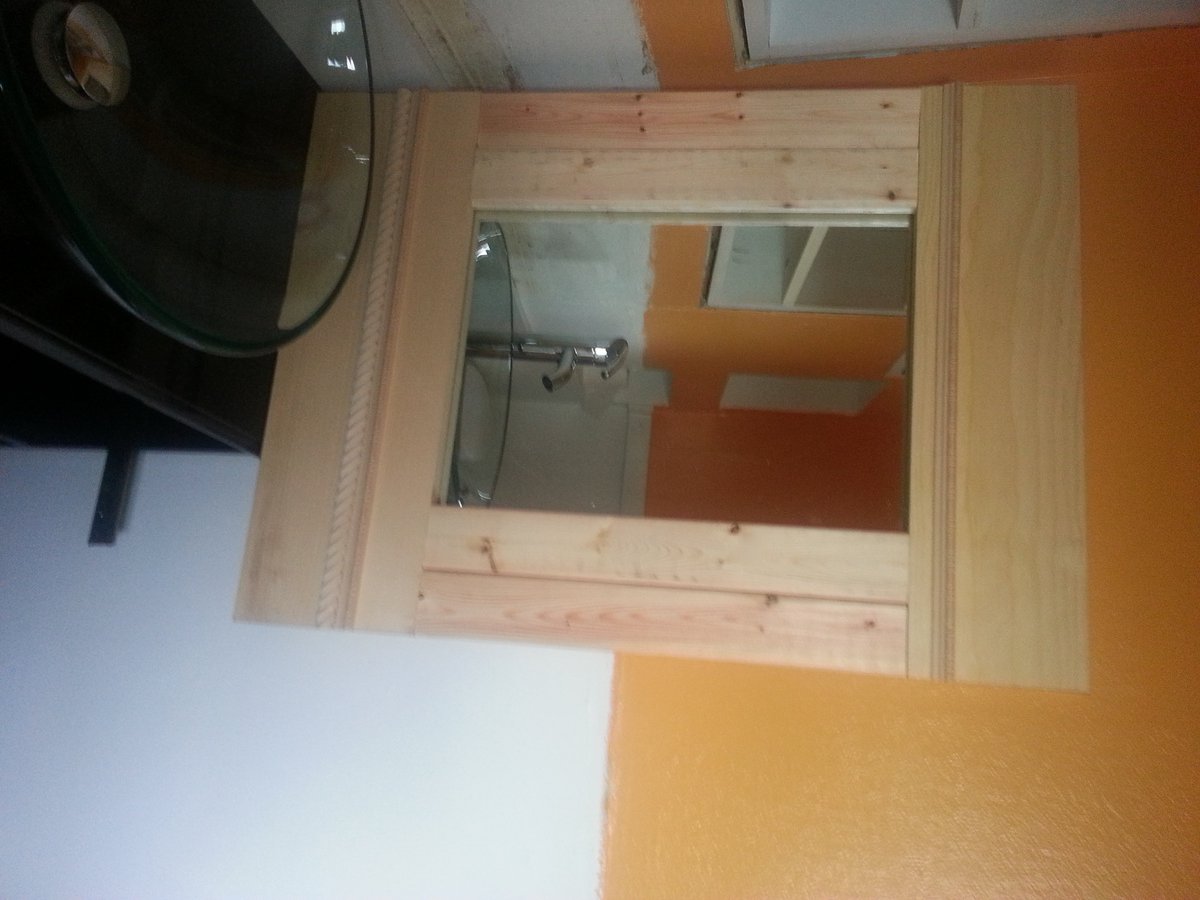
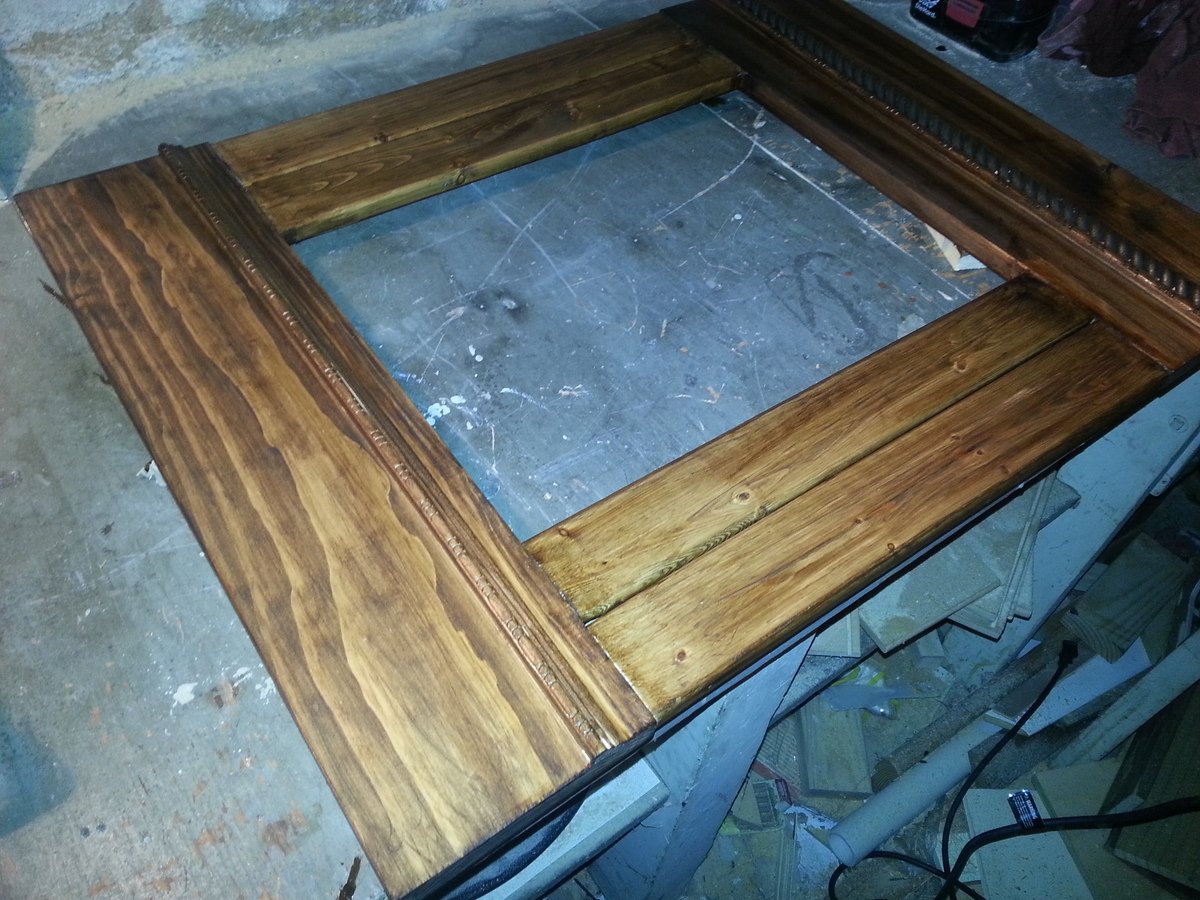
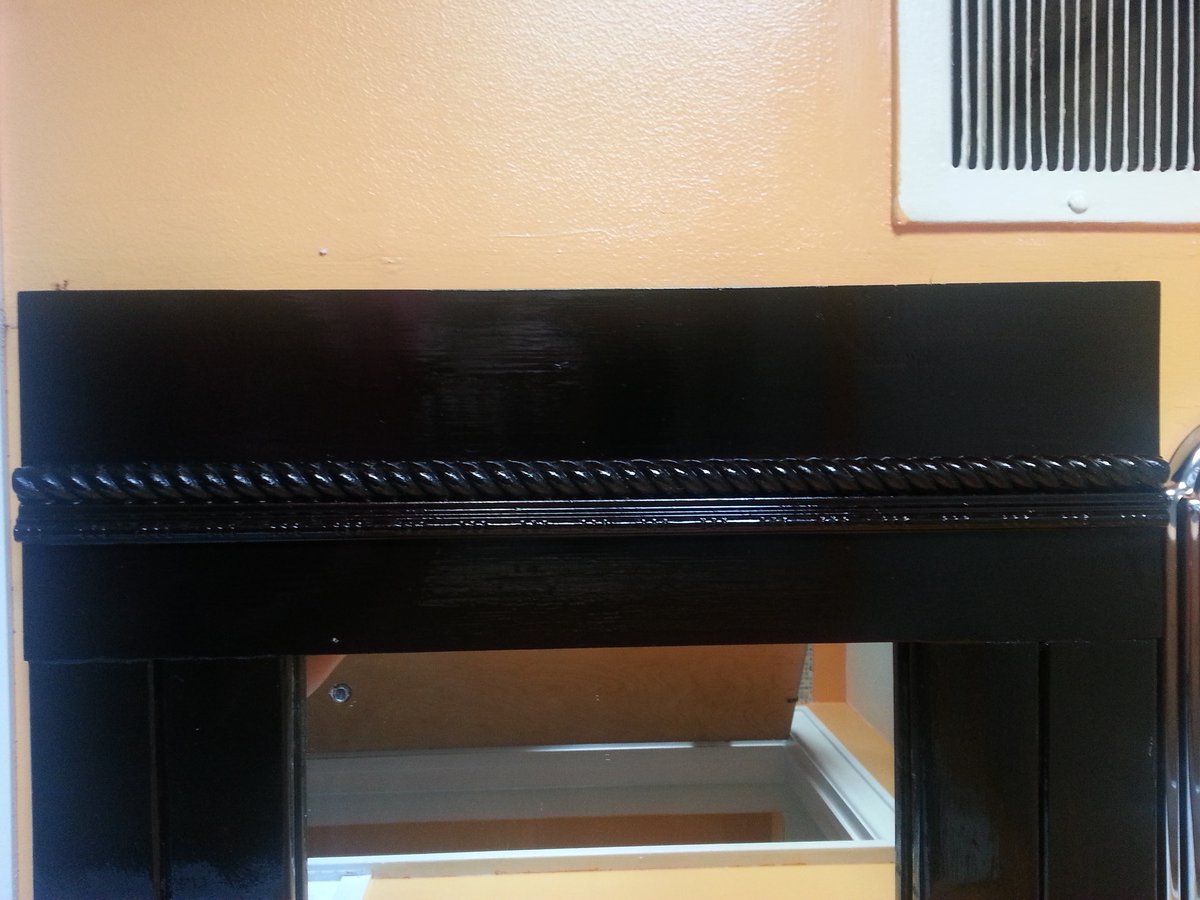
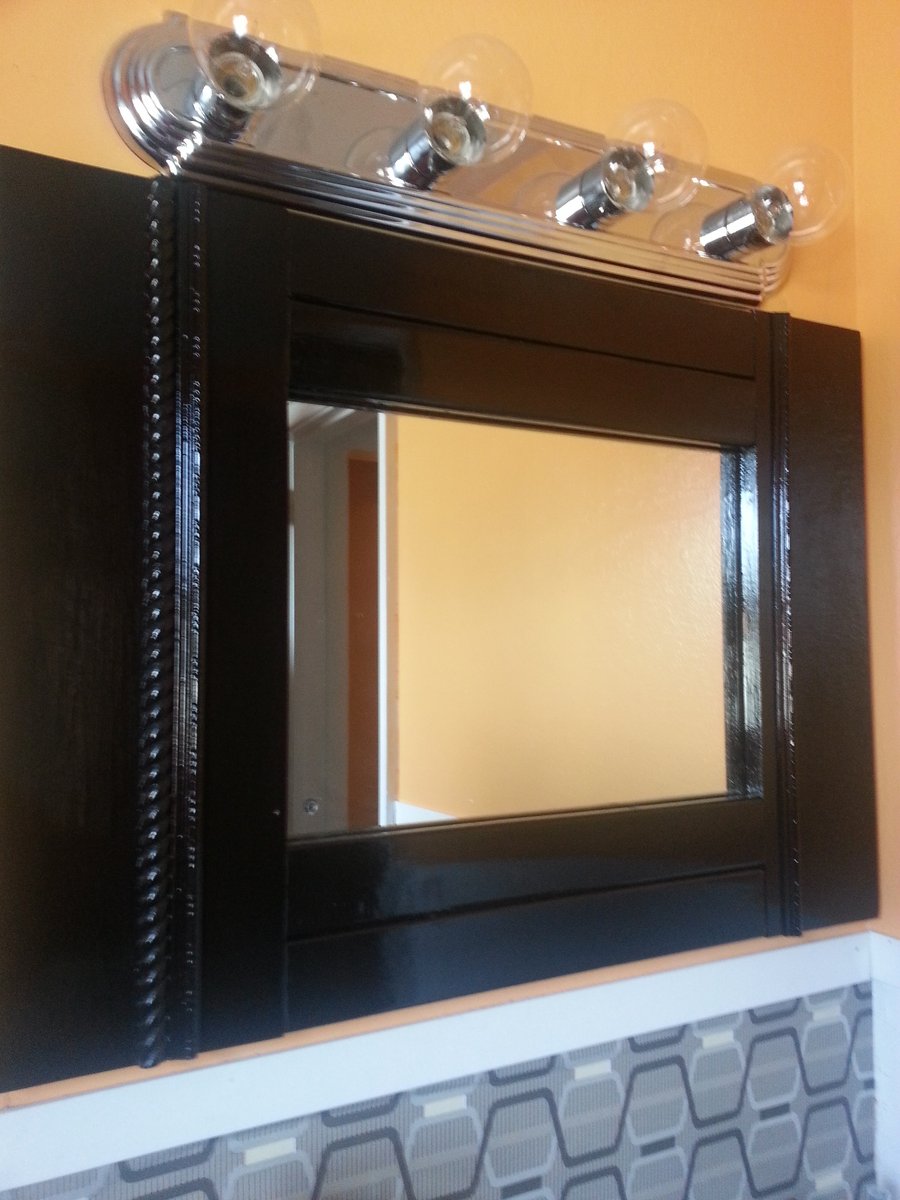
The mirrors were made by my father, I have to brag on him since he did such an amazing job! I show him Viva Terra's porthole mirrors collection and he re-created them with Teak wood.
Built from Plan(s)
Estimated Cost
$160
Estimated Time Investment
Weekend Project (10-20 Hours)
Finish Used
Minwax Dark Walnut Stain
Recommended Skill Level
Intermediate


Comments
spiceylg
Wed, 02/15/2012 - 14:39
Wow
You did a beautiful job and I love how the whole area is staged. The mirrors are amazing, too!
jenn923
Wed, 02/15/2012 - 16:58
Amazing!
Great job! It looks amazing...all of it!
Robohead
Thu, 02/16/2012 - 11:49
This table is on my to-do
This table is on my to-do list also. You did a fantastic job on it. I can only hope mine will turn out that nice.
isa de batz (not verified)
Fri, 02/17/2012 - 11:36
magnifique.Il faut vraiment
magnifique.Il faut vraiment que je m'y met. Bise Isabelle
hammertime
Sat, 02/18/2012 - 11:14
Lovely!
Beautiful job. I love the finish and the hardware you chose. And your dad is quite talented too!