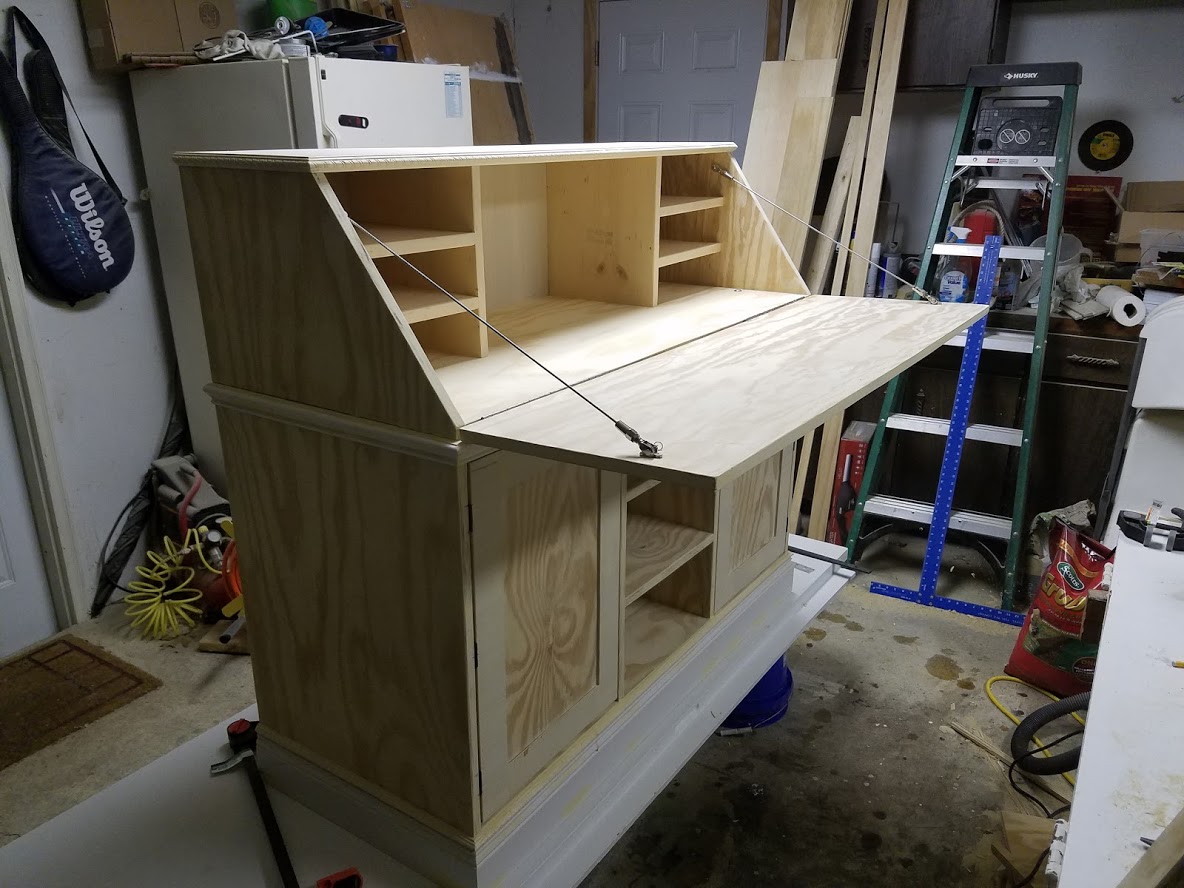
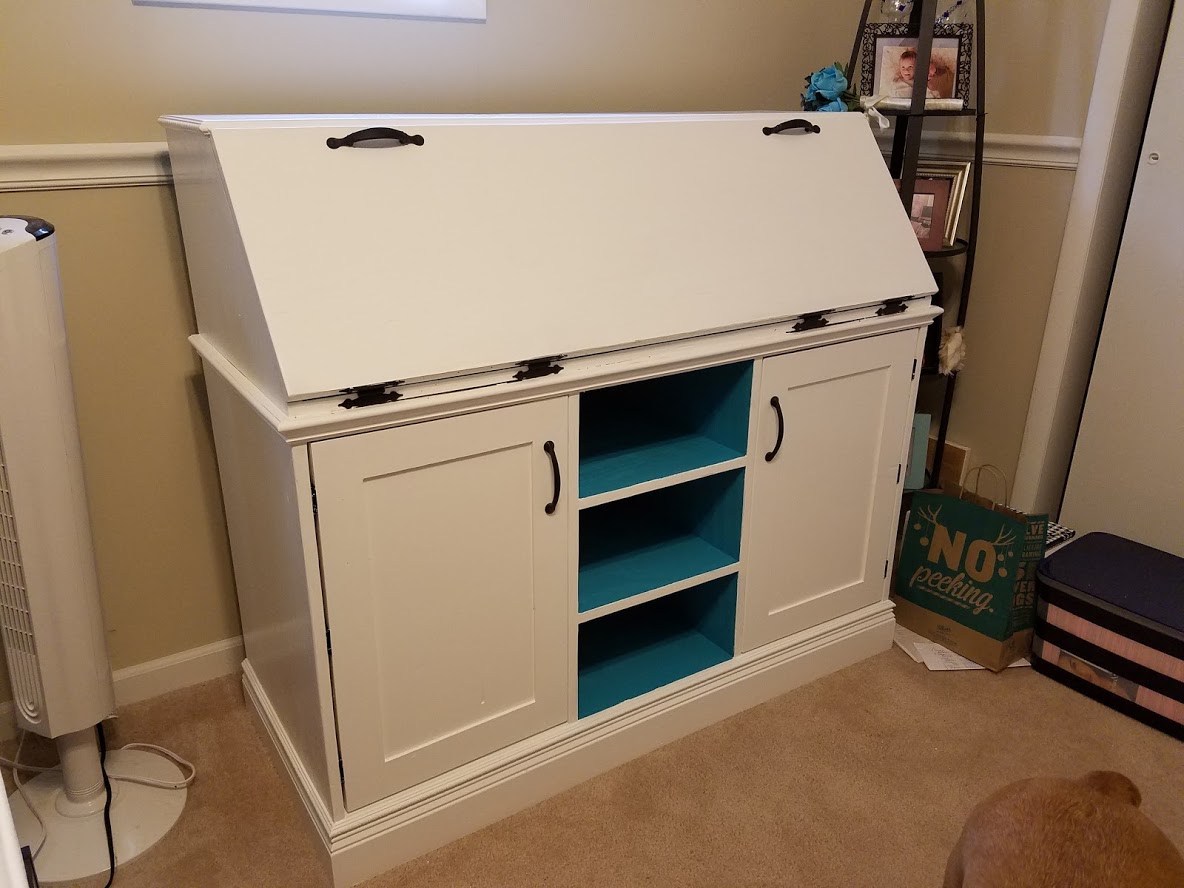
American Girl Doll Closet
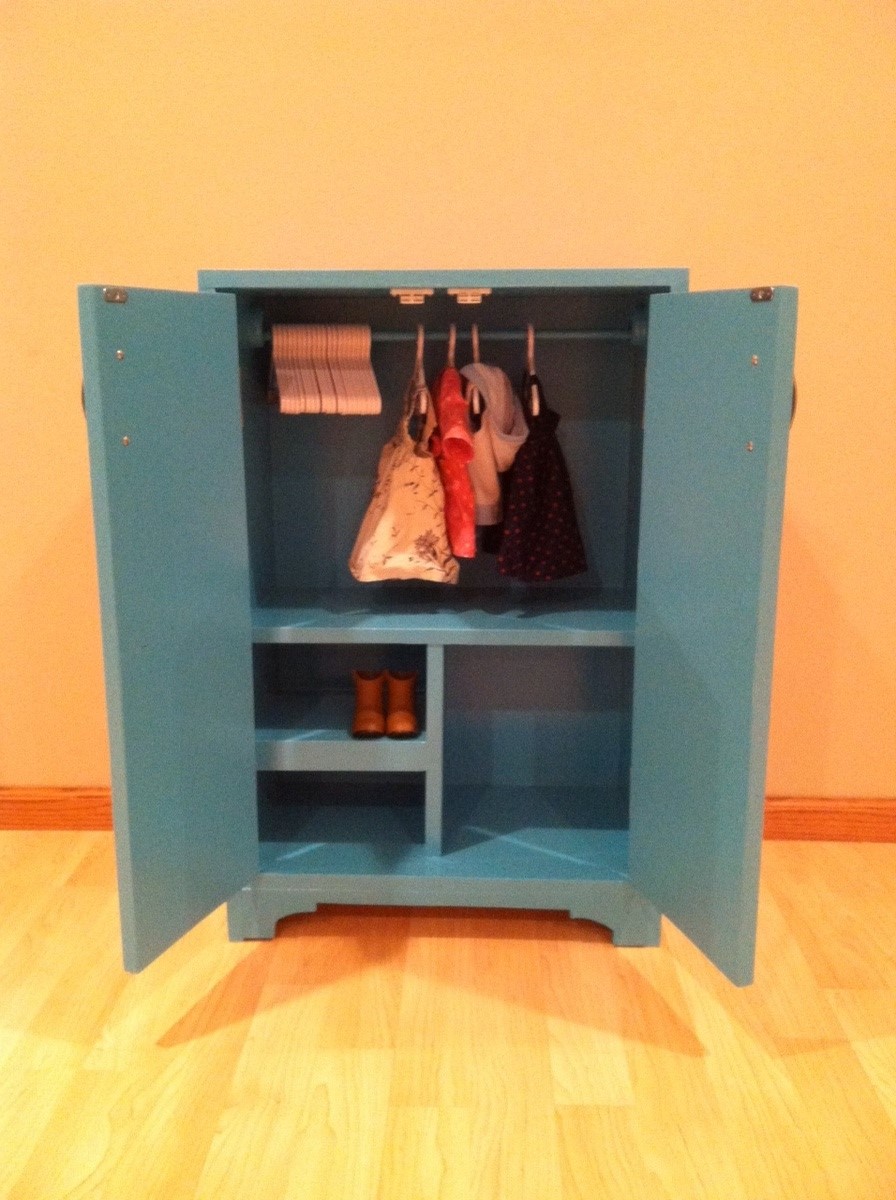
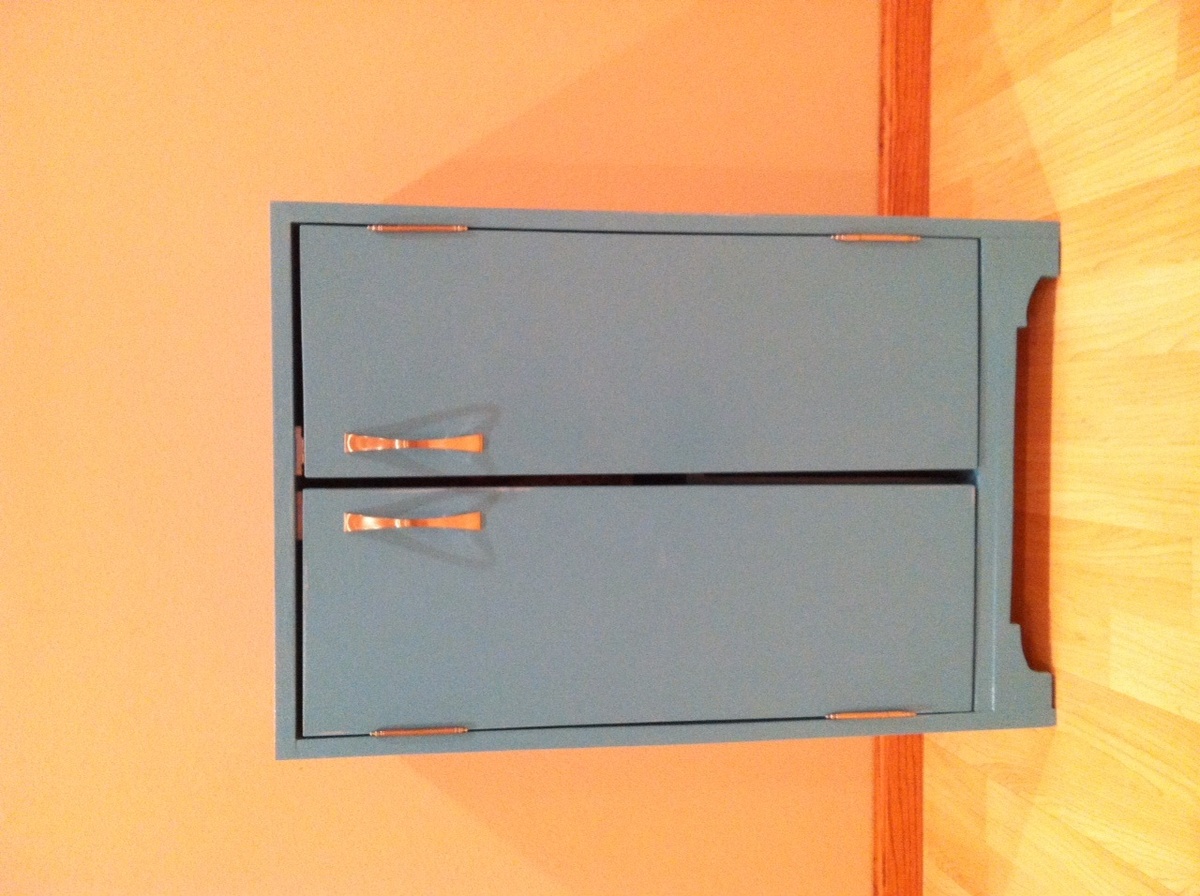
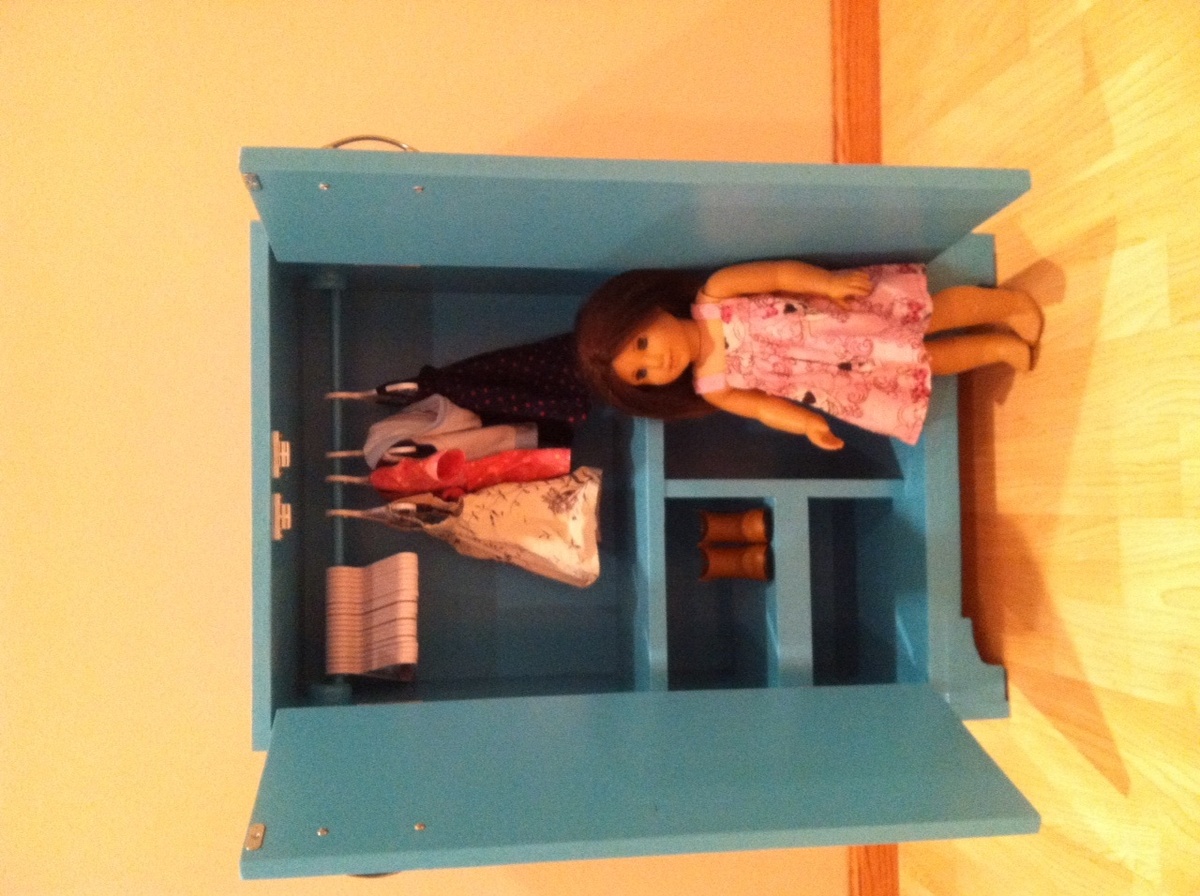
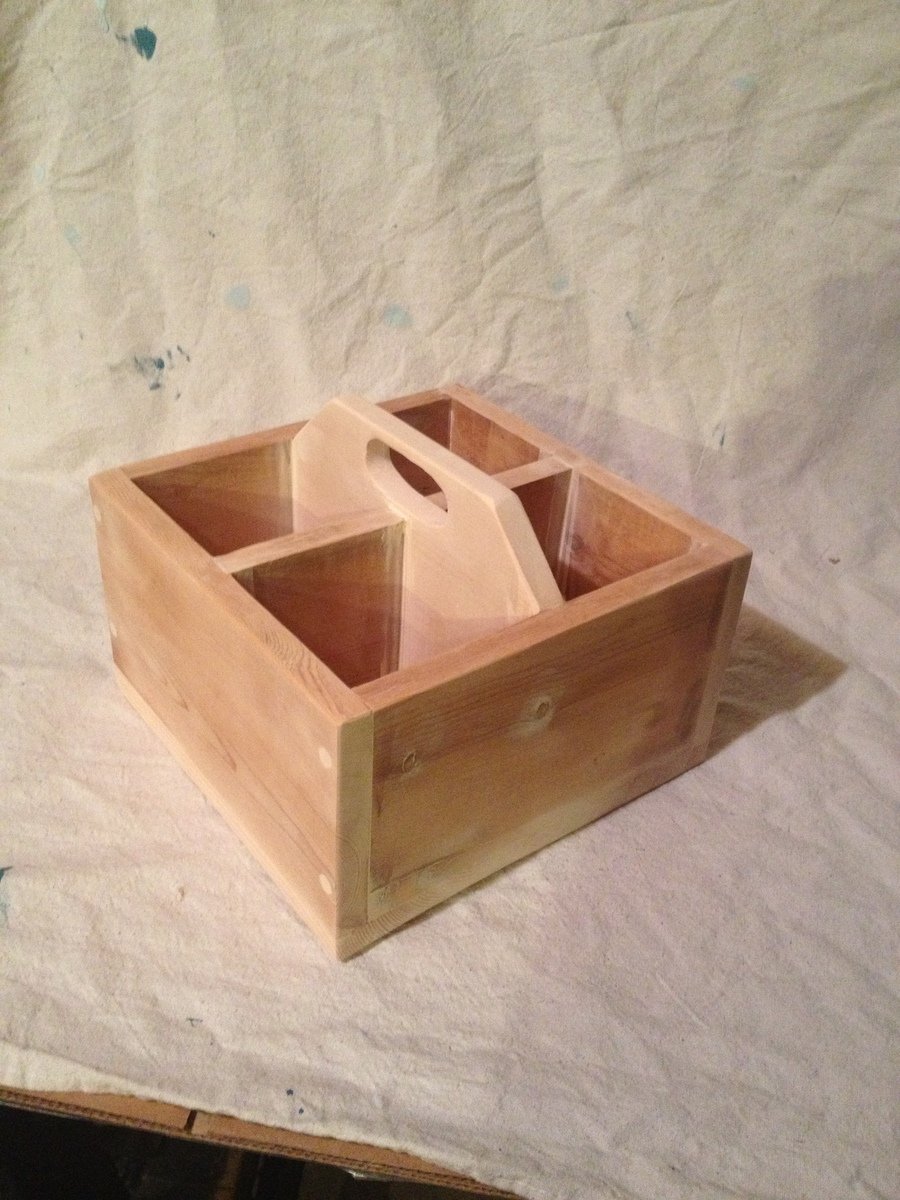
My Girls are having an american girl doll christmas this year. They're each getting a doll, with cars, horses, clothes, gymnastics bar, whatever you could want to go with it, lol. I decided last minute to make this closet for them as well to help organize their stuff. I made it 2" taller and added some more shelves. On the two little shelves, I am currently making a box out of the plastic embroidery sheets (I'm embroidering it with pink satin ribbon, instead of yarn to make it prettier). Walmart had a bunch of shoes for these dolls for just $1.50 a pair so I got them a lot of shoes for their stockings and needed little bins to hold all the shoes they are getting. I had fun building it. Because it was last minute and because I still need to install the quarter round on our laminate floor (hopefully before christmas), I was making this as quick as possible to I opted to not do the star cut out and just spent the $5 more to get the two handles. I also did easier hinges. We only have the washing machine for these dolls so I didn't need all the room on the bottom.


Comments
momma2three
Sat, 12/15/2012 - 04:43
pictures
sorry the pictures are sideways, I uploaded them from my ipad and for some reason, they got switched to the side during the upload!