Charging Station Via $10 Ledges
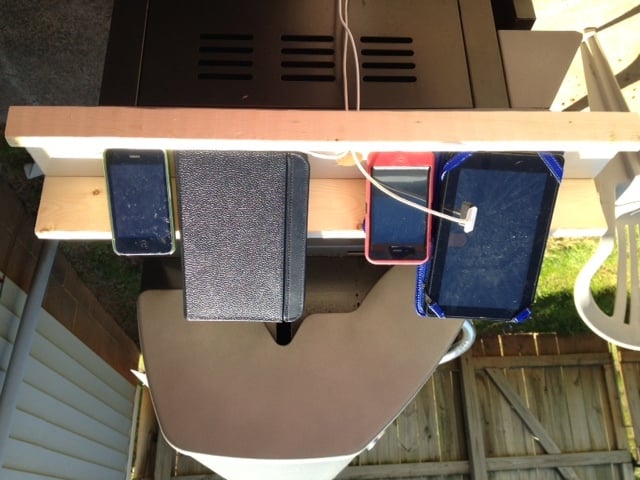
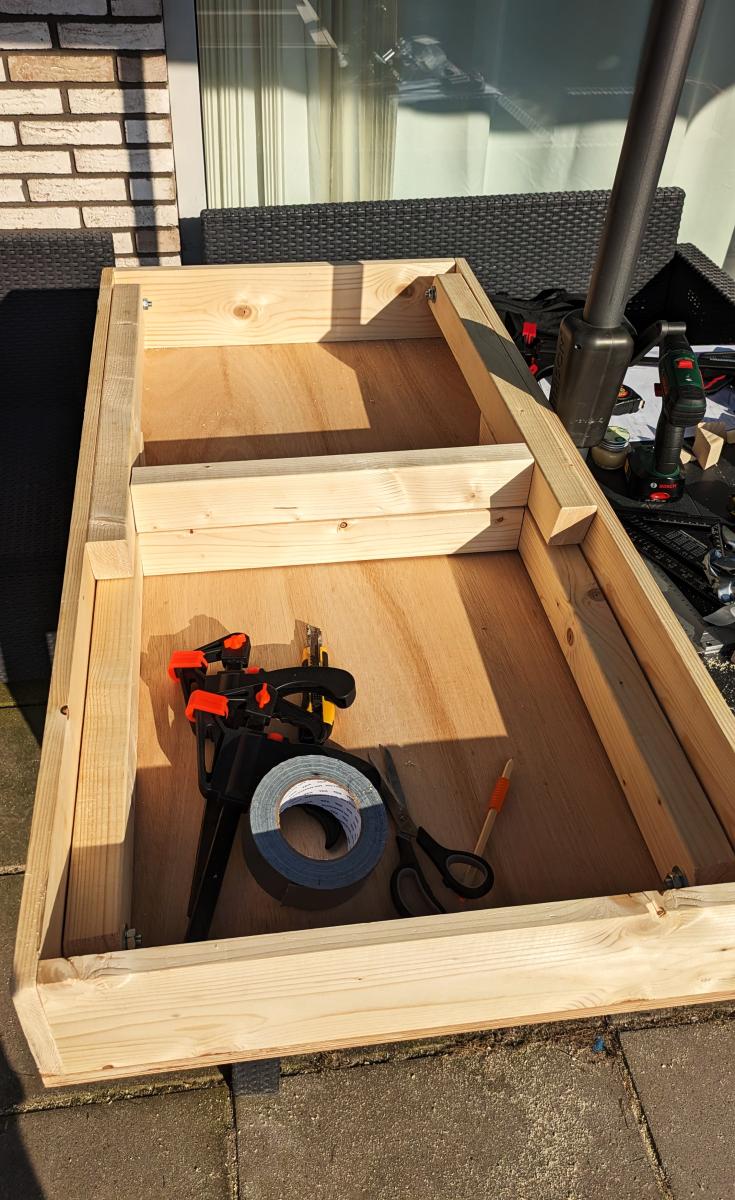
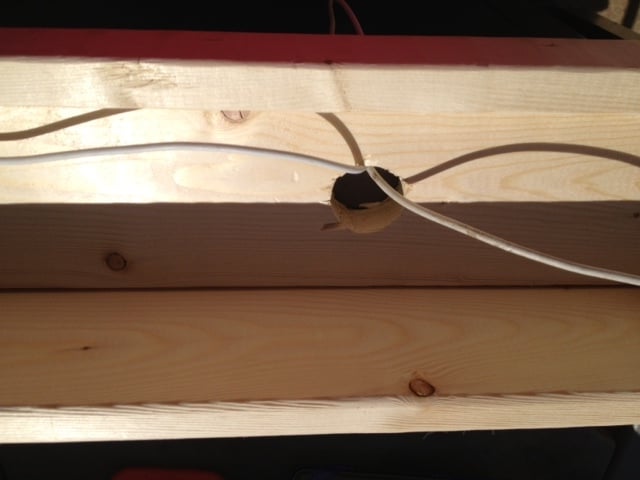
In my house, we have cell phones, music players, ebook readers that all need to be charged. Not a day goes by that either a device or a cord in misplaced. I was trying to figure out a solution, when I thought about the $10 ledge plan. I made a 24" shelf. The only modification I made was taking a 1 1/4" spade bit and cut out a hole in the bottom shelf so I could feed the cords up onto the ledge. I still have to paint it, but I am going to hang it right by our family calendar so we all know where they belong! Yeah for a cheap and easy solution!!!
Built from Plan(s)
Estimated Cost
$5 - $10
Estimated Time Investment
An Hour or Two (0-2 Hours)
Finish Used
Paint
Recommended Skill Level
Starter Project