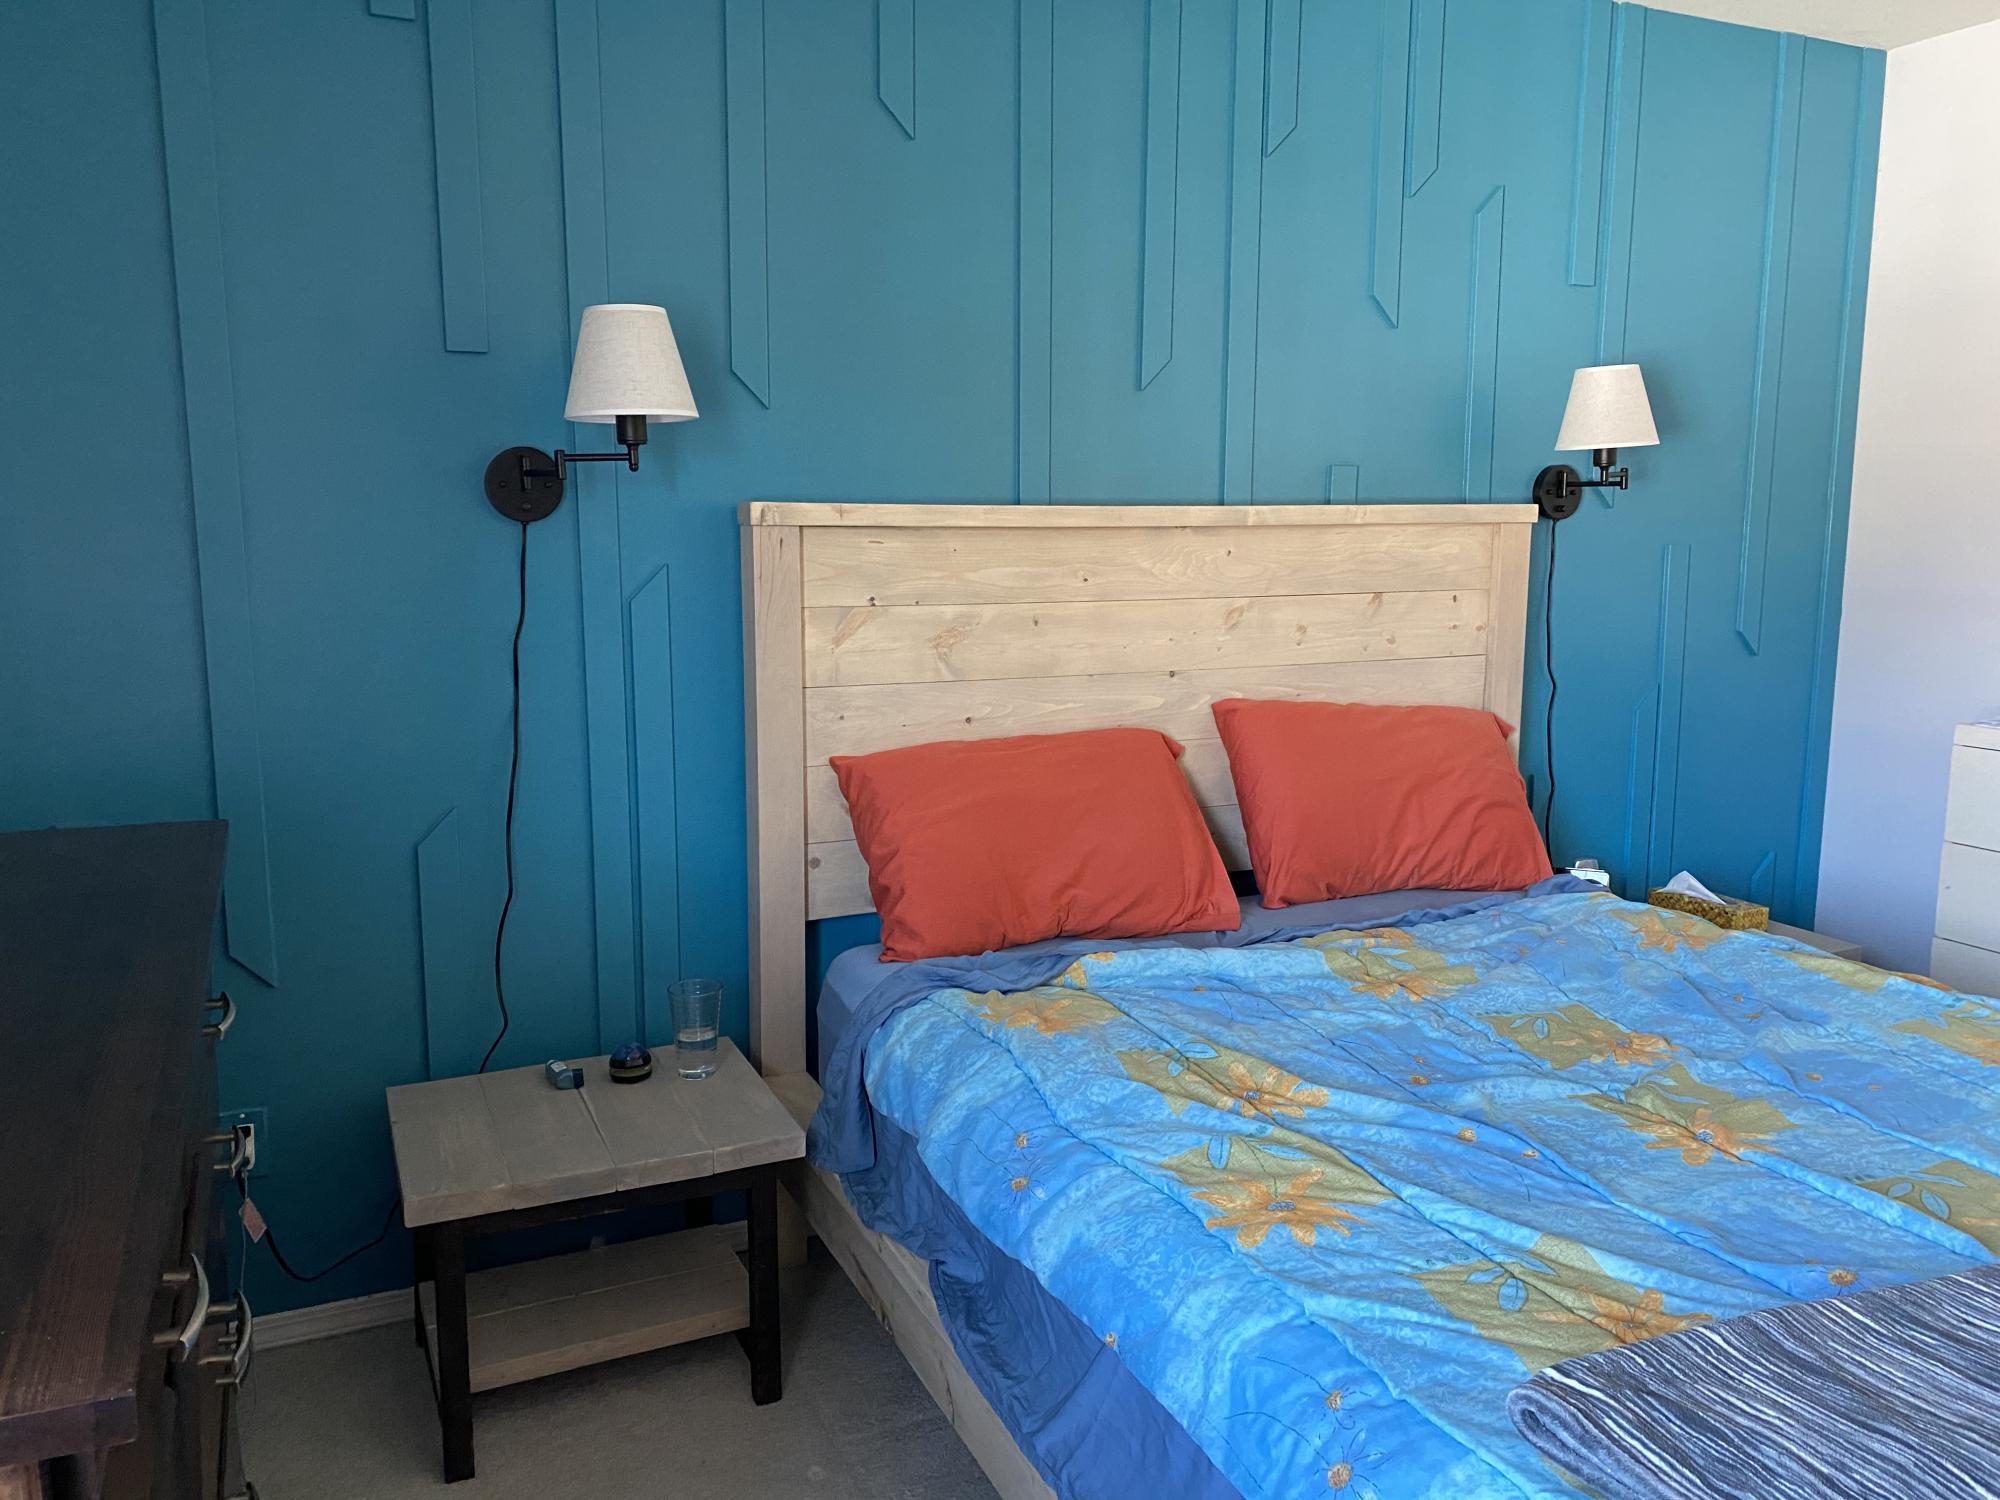
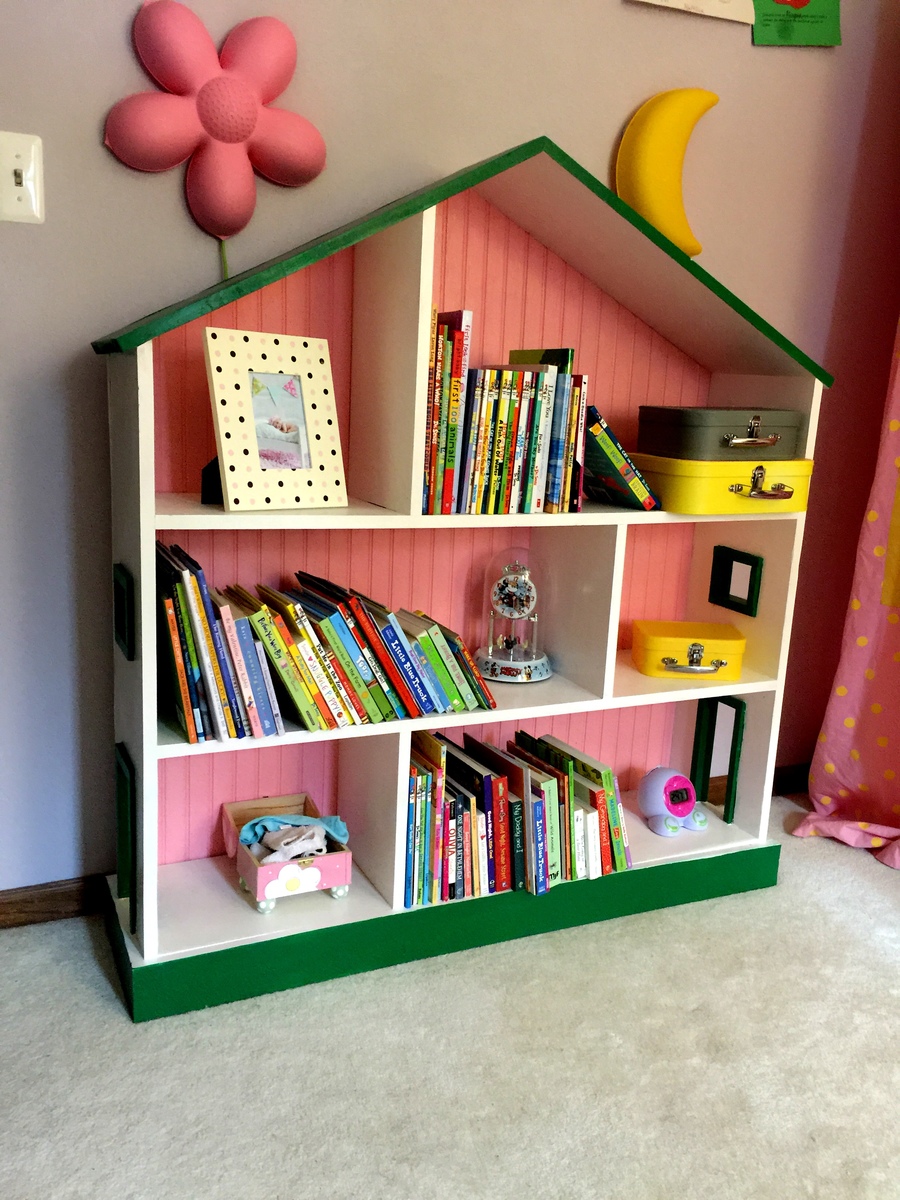
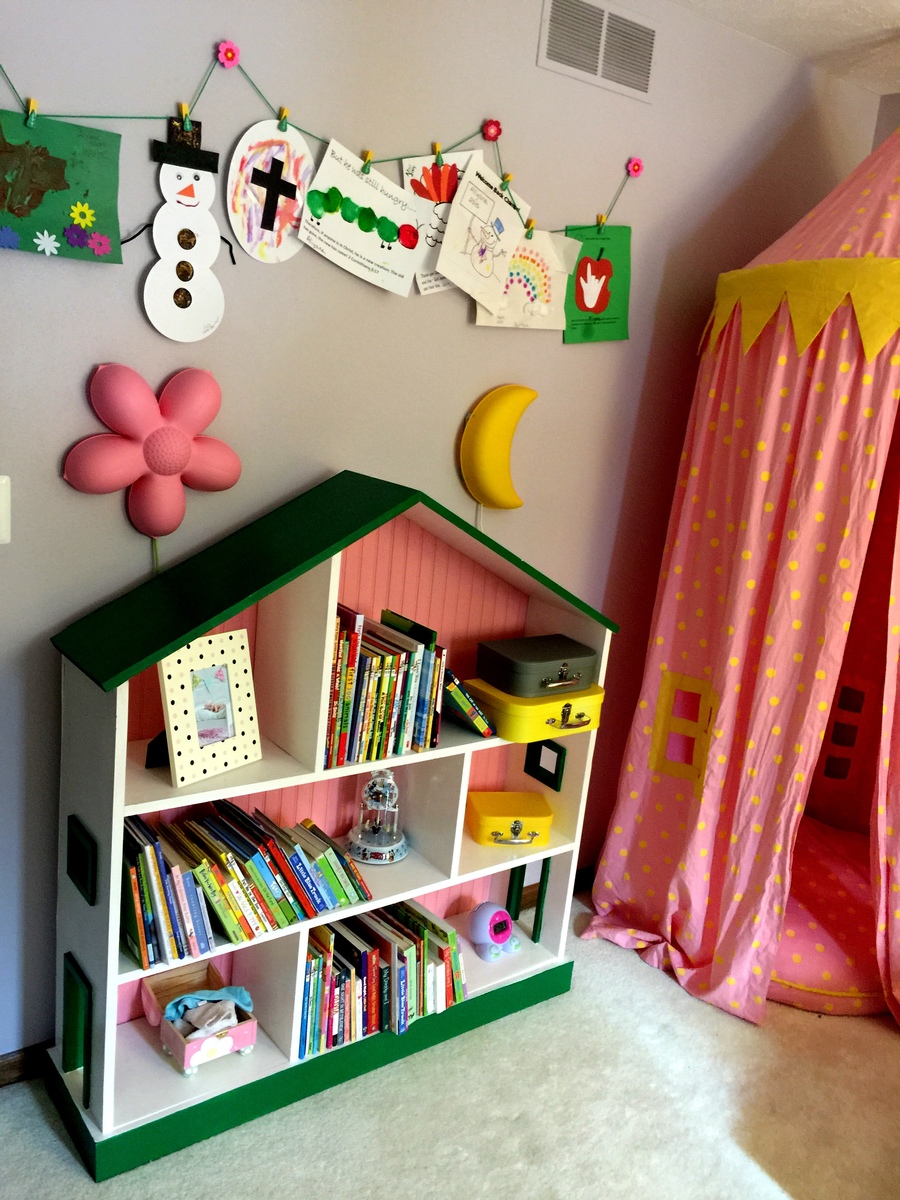
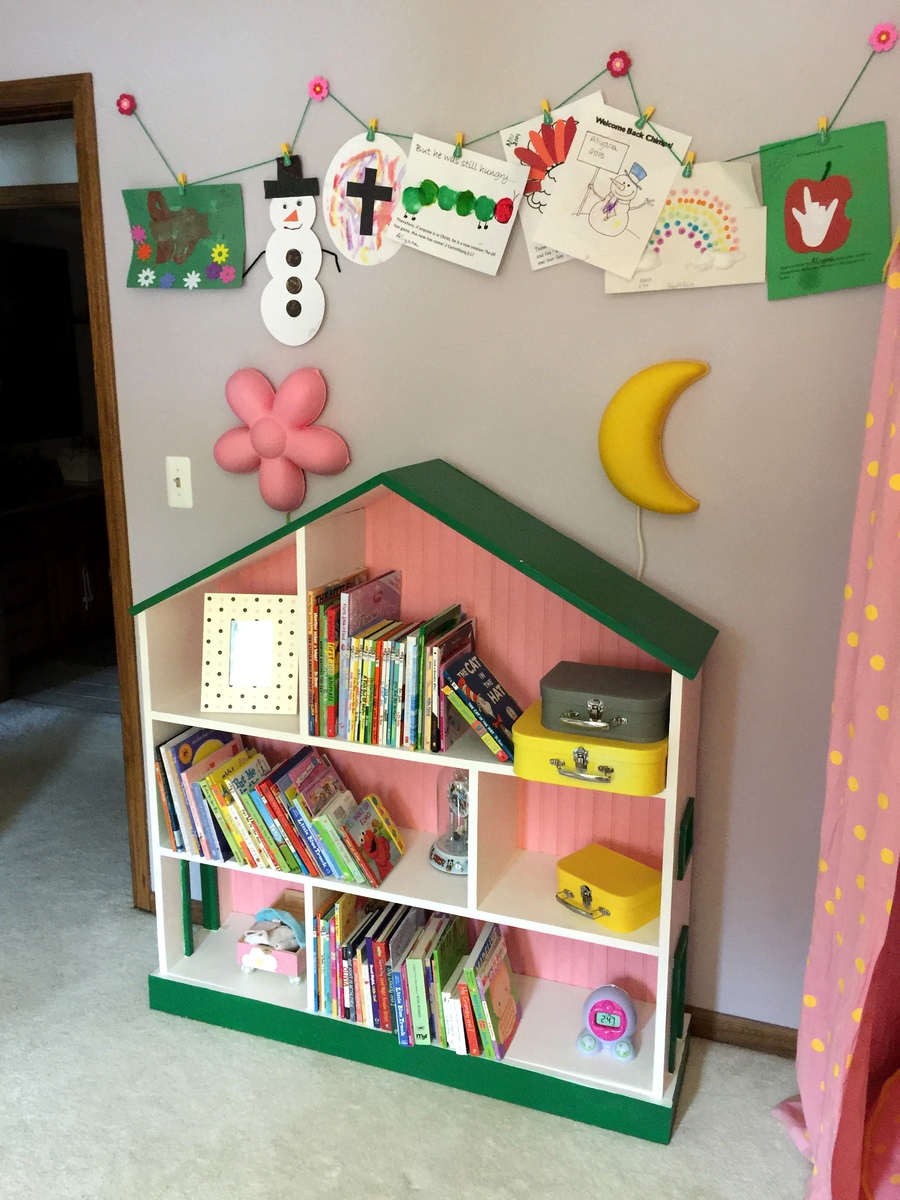
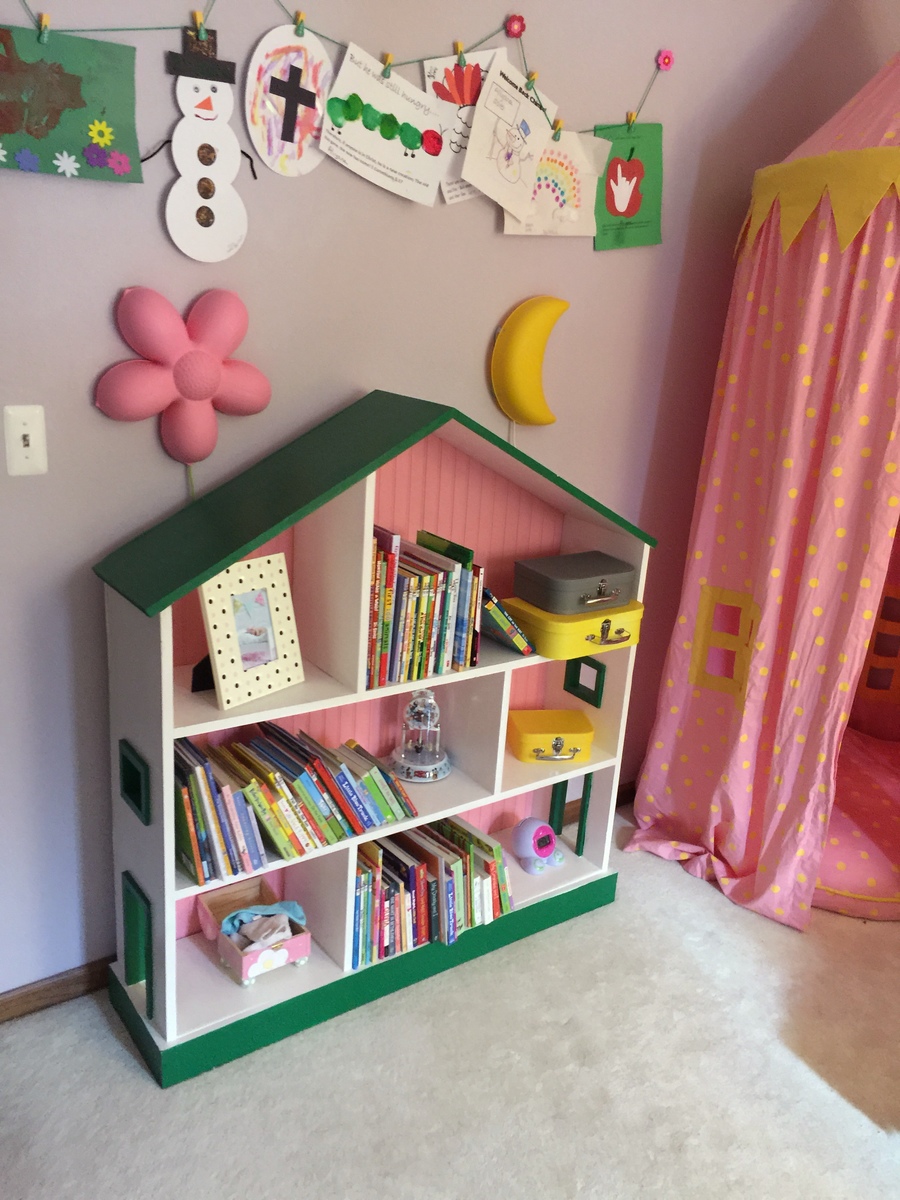
With another baby on the way in a few months, we decided to move our 2+ year old daughter across the hall into her first big girl room. I built big sister the Kendal Extra Wide Dresser, Traditional Wood Toddler Bed, Letter A Shelf and a Dollhouse Bookcase and matched the colors with her new comforter, lamps and princess canopy tent from the Land of Nod outlet.
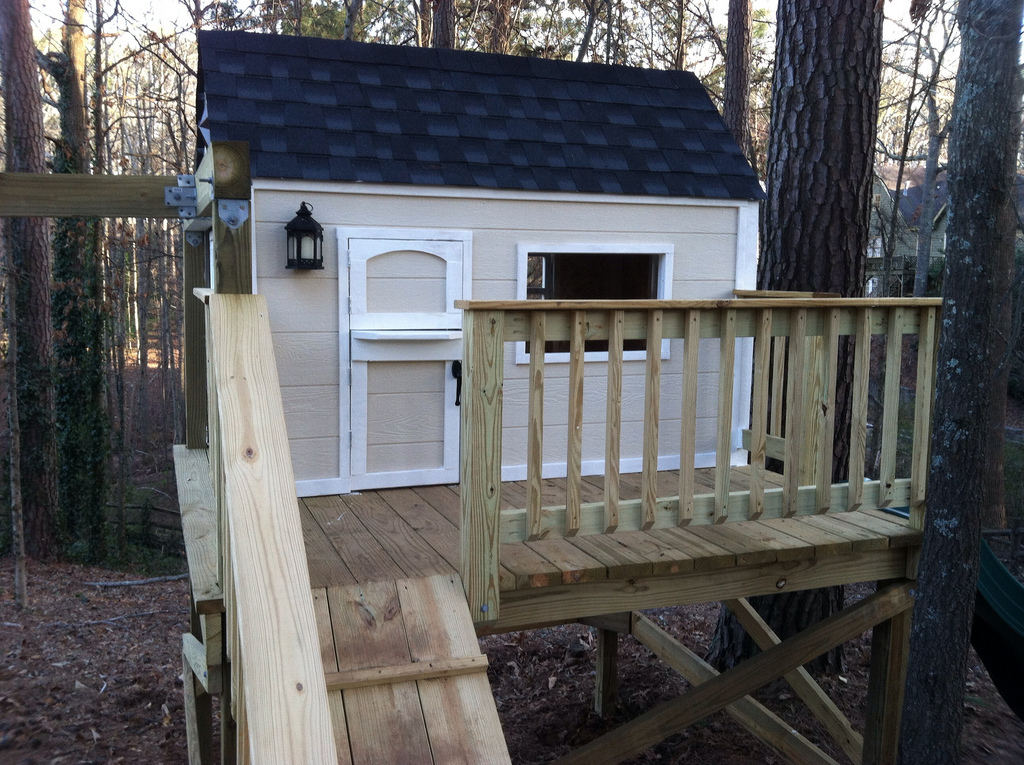
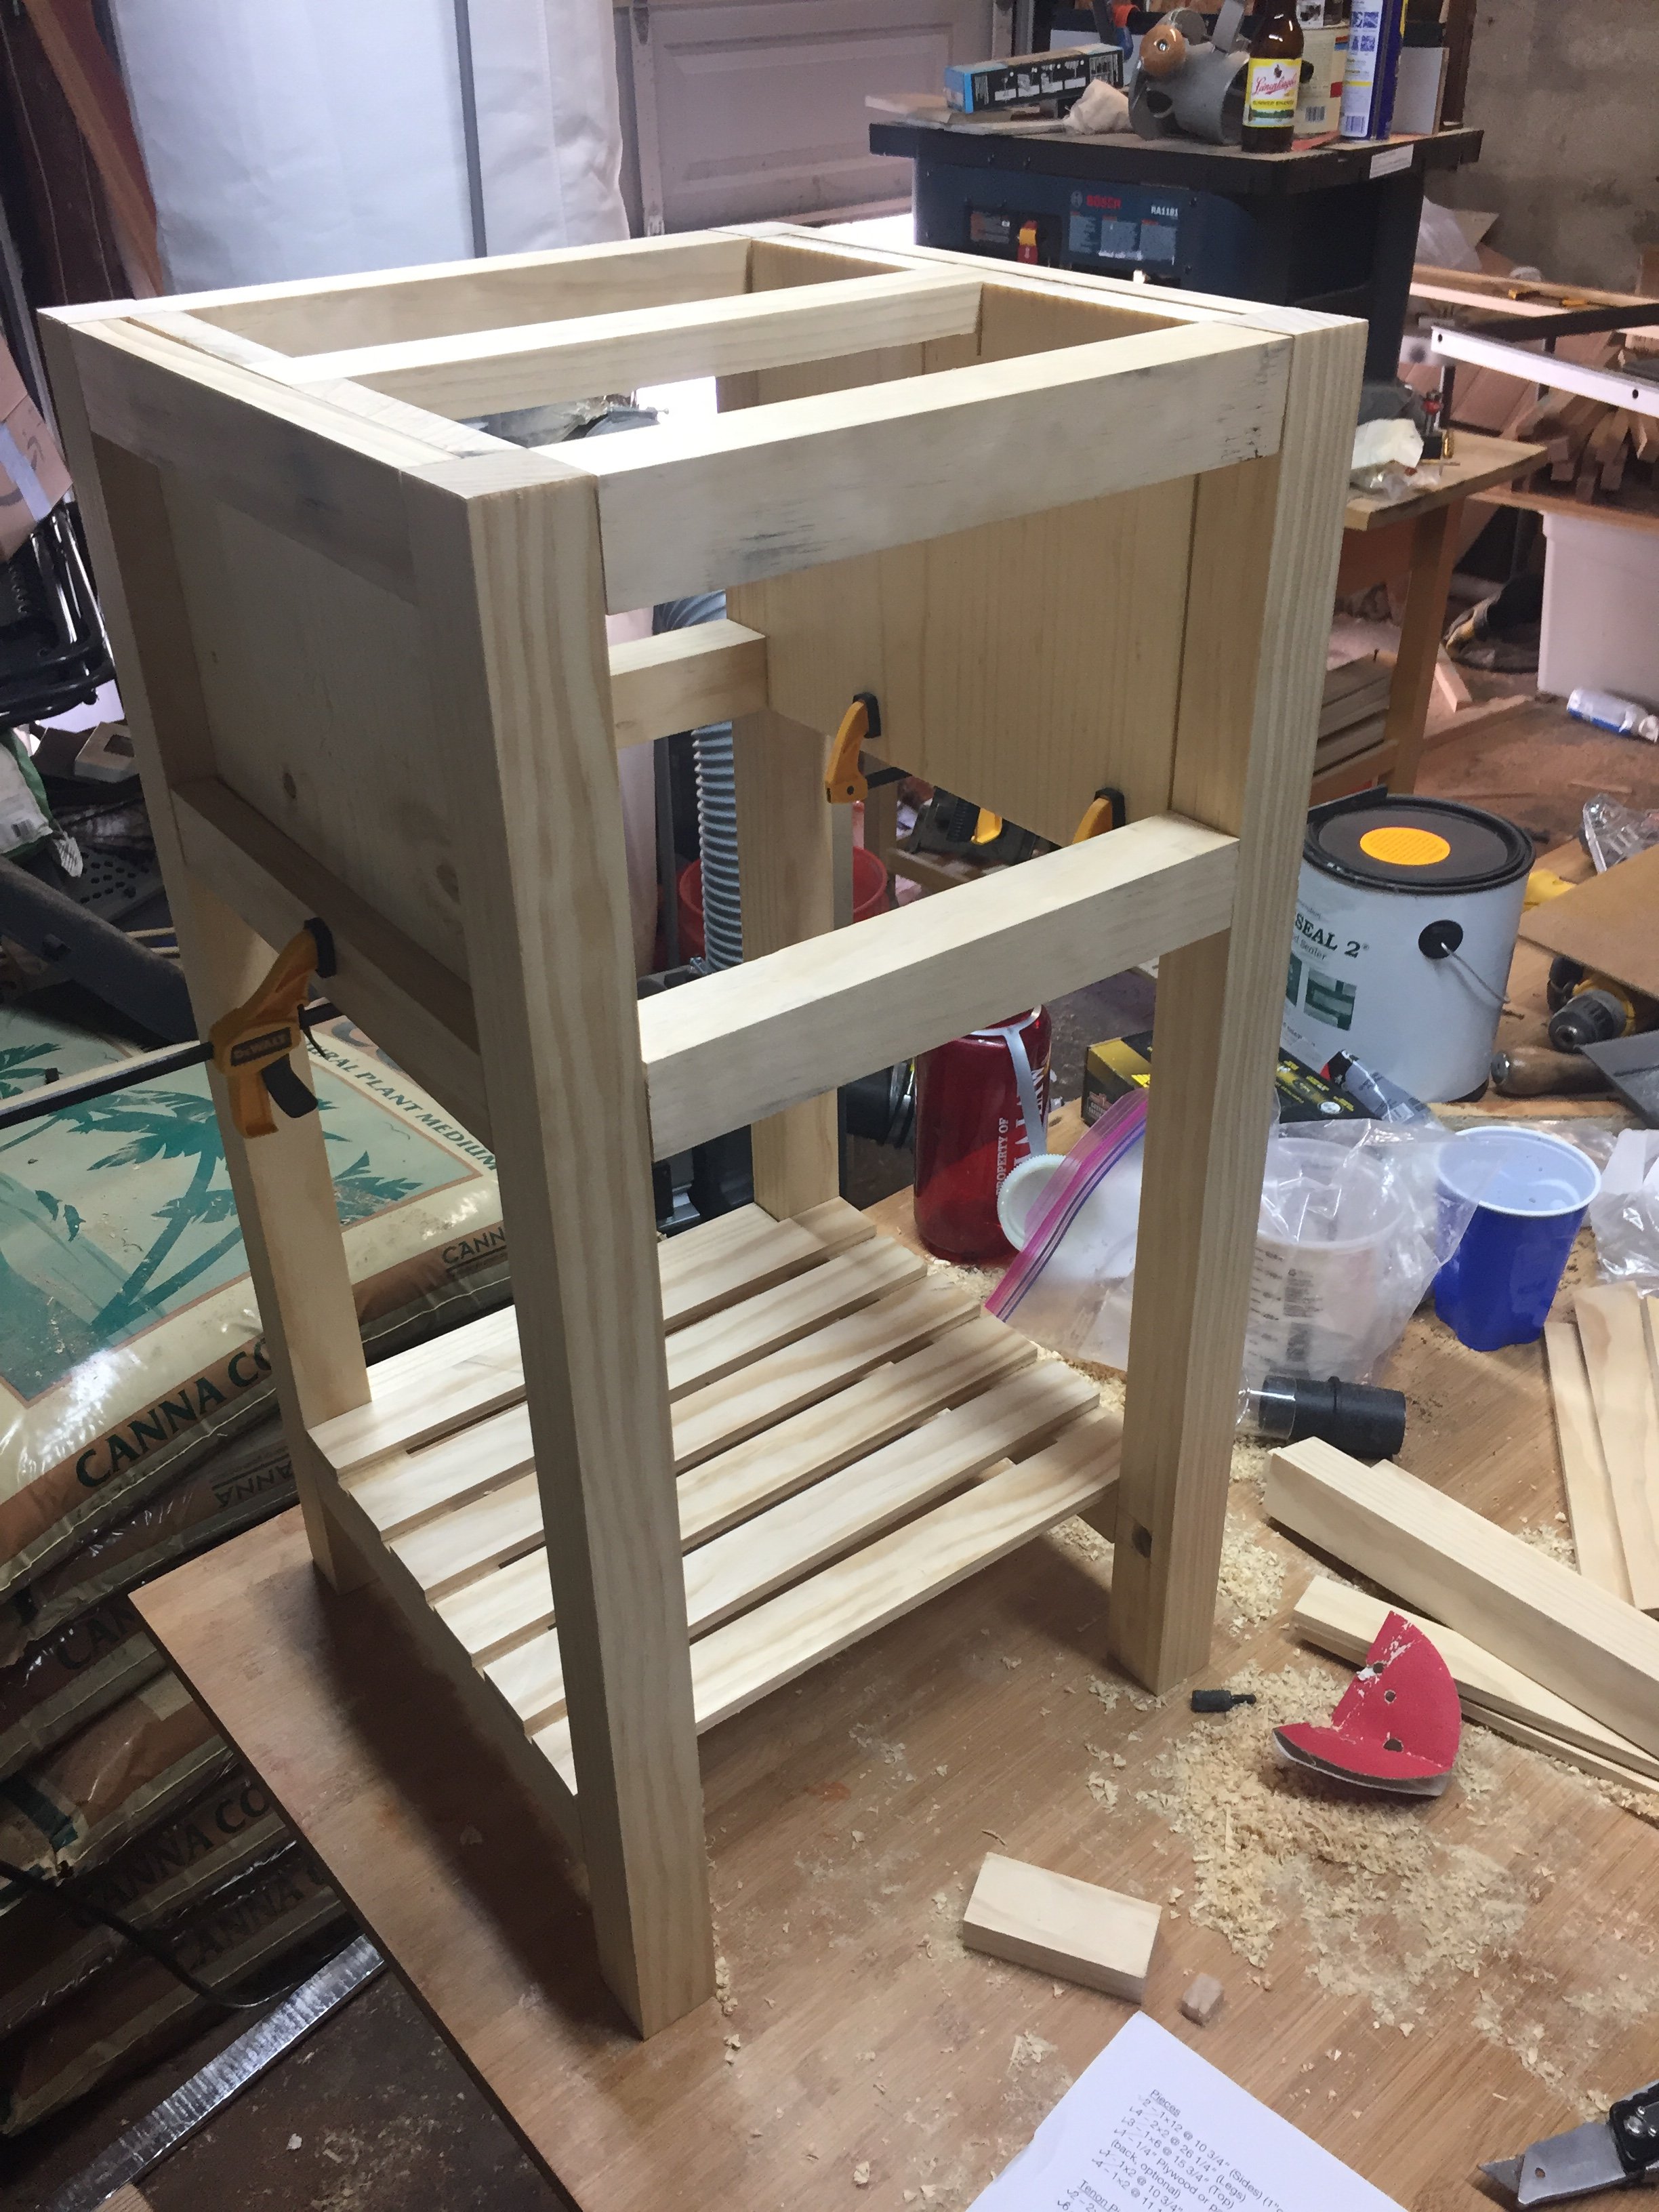
This project was actually an afterthought. I built the other three projects, painted the room, installed all the accessories, and then we discovered that there was nowhere to put her books. Because I had been spending so much time building, after reading the plans, I really expected this bookshelf project to go smoothly with my Kreg Jig. However, different aspects of this project took some extra time. For instance, joining the A-frame of the roof took some trial and error with pocket holes, nails, screws and a lot of wood filler. Also, for the side windows and doors, cutting straight lines with the jigsaw, cutting, building and joining the 1 x 2 trim pieces, joining the trim pieces to the bookshelf, and then painting the trim took a lot of time and trial and error (again, thank goodness for wood filler). Notwithstanding, at the end of the day, the shelf is great, our daughter loves it, and it really completes the room.


Comments
Ana White
Tue, 01/27/2015 - 15:15
This is super cute! It looks
This is super cute! It looks similar to mine! Thanks for sharing!