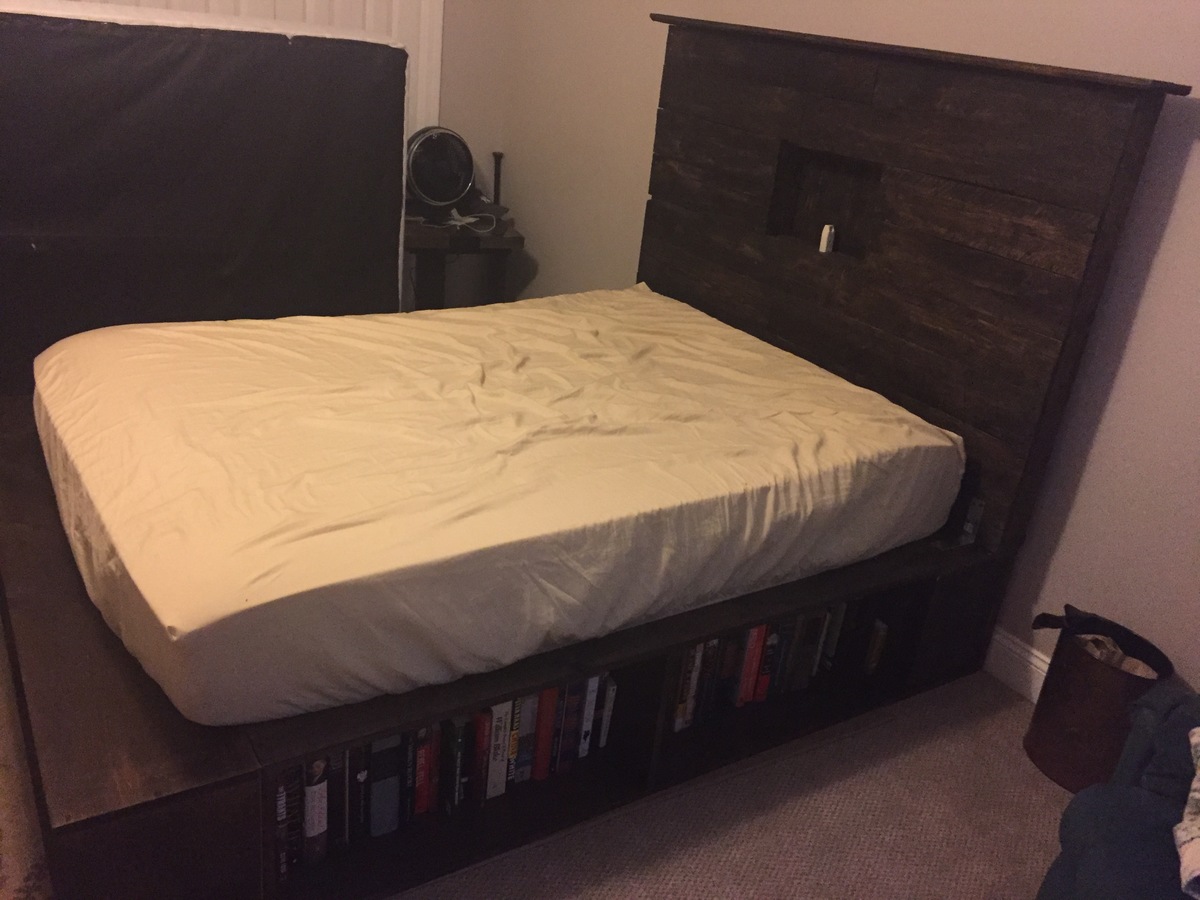
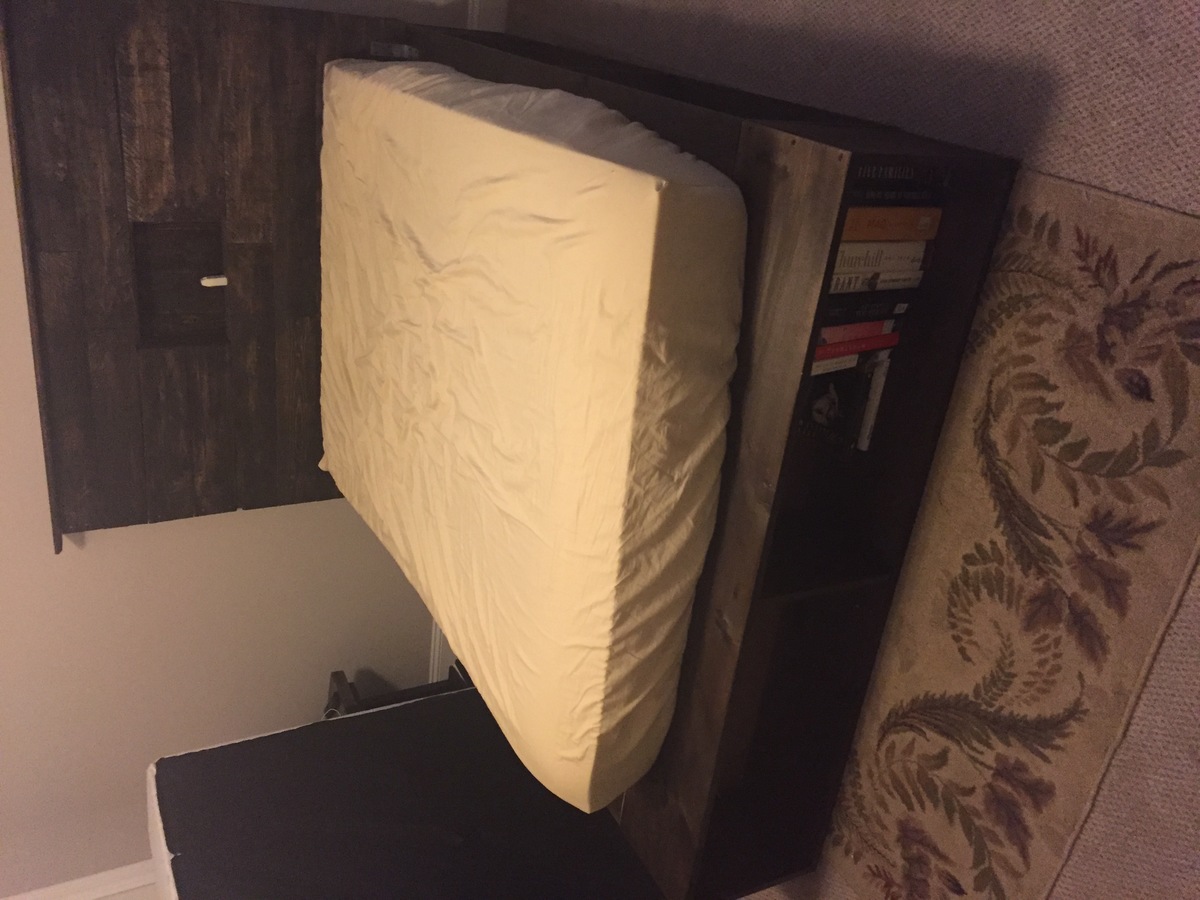
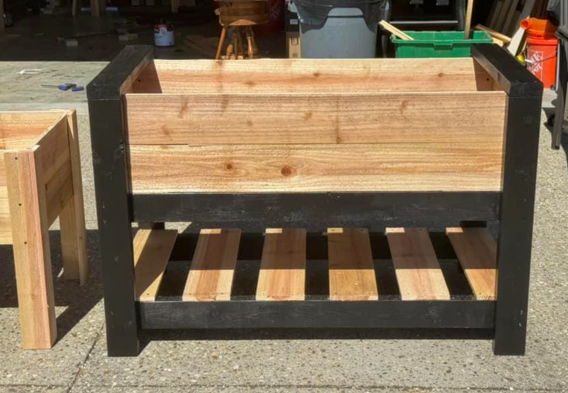
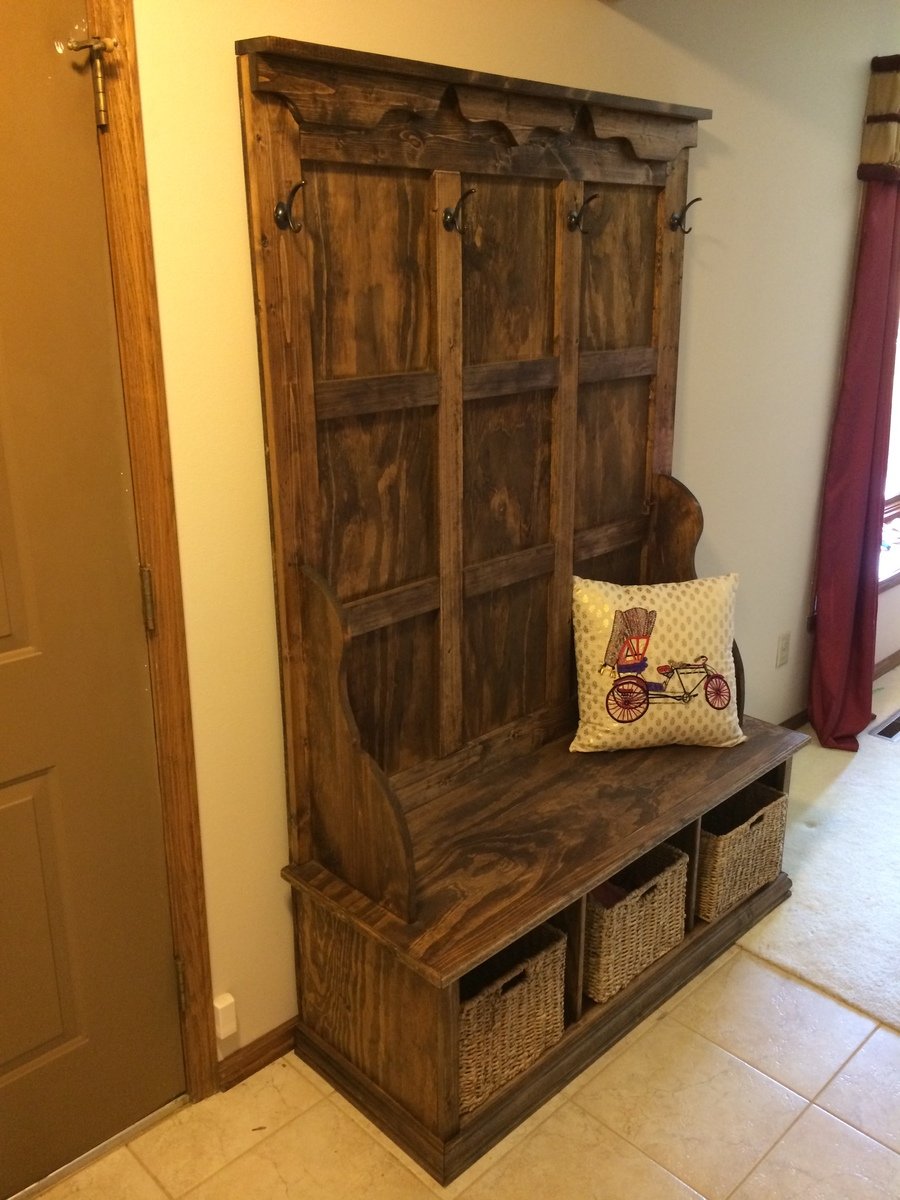
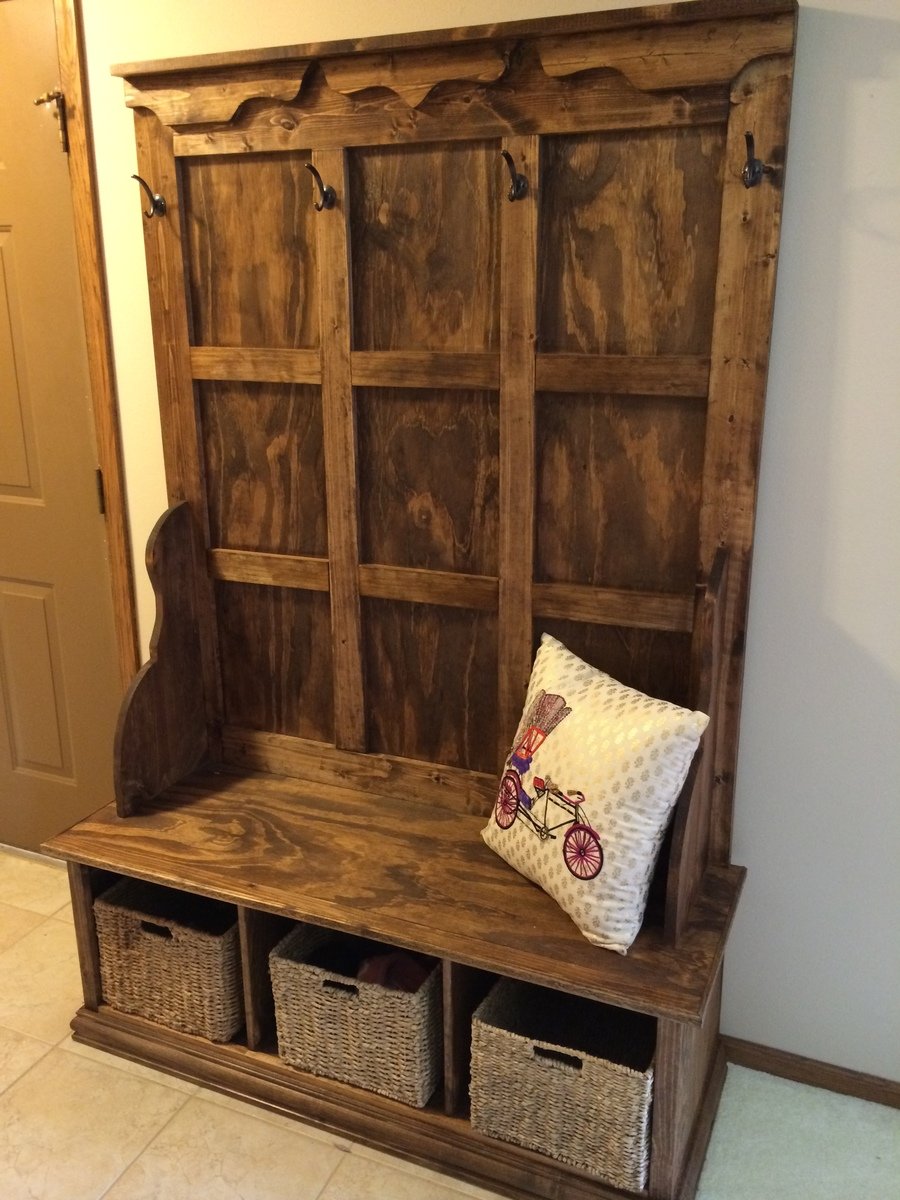
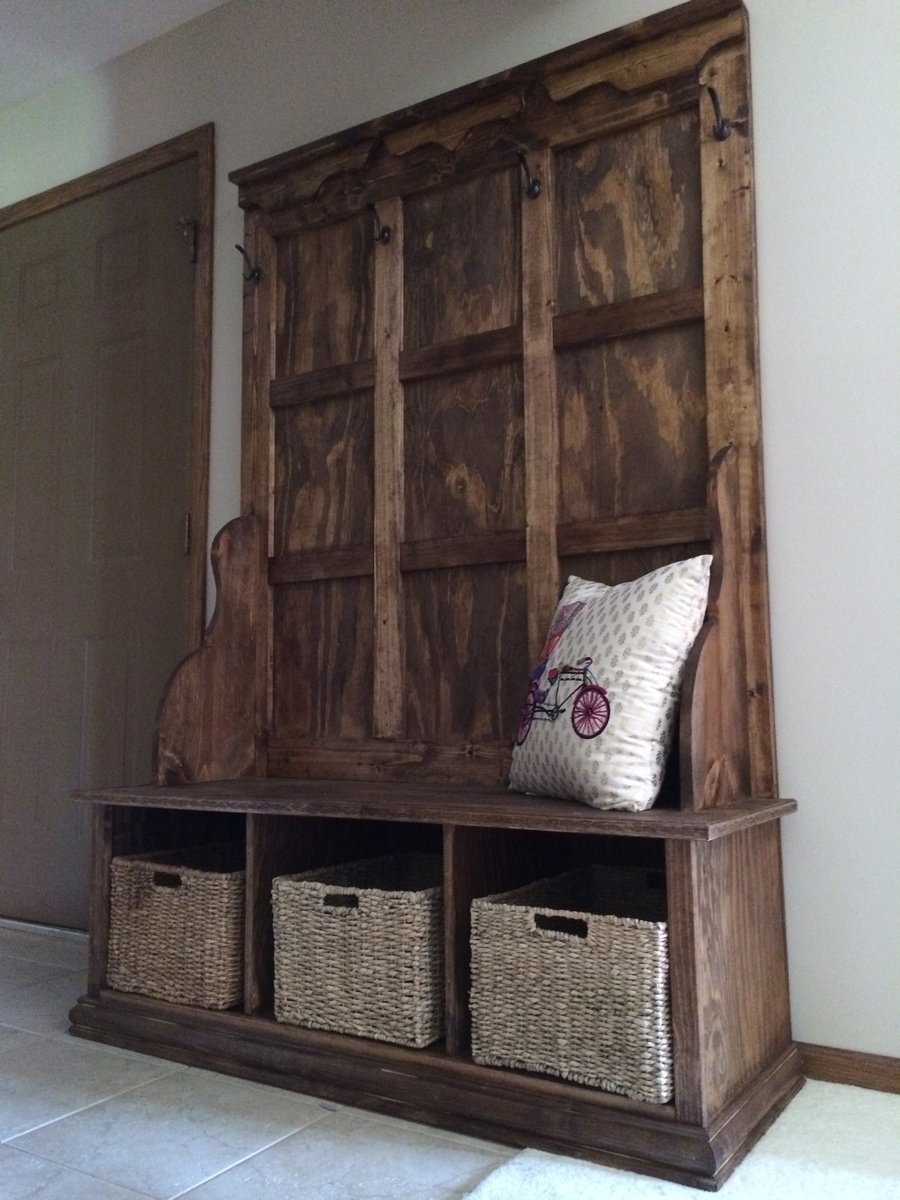
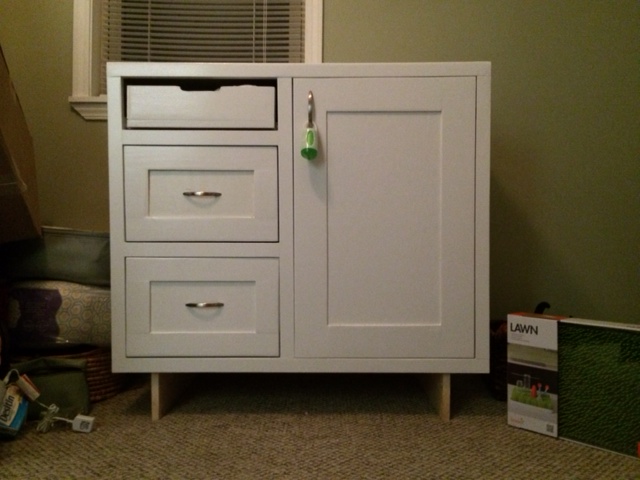
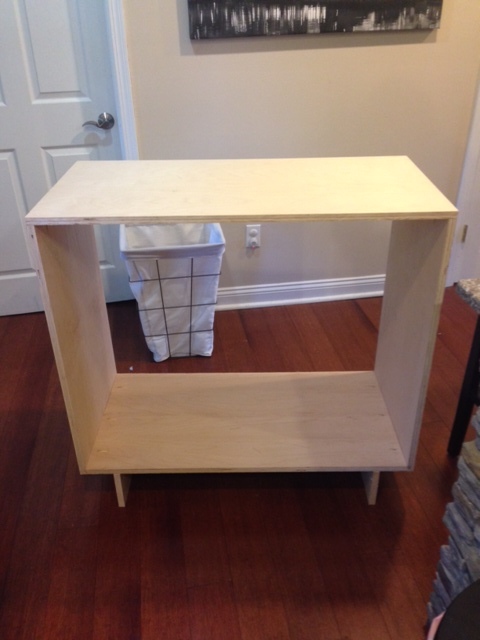
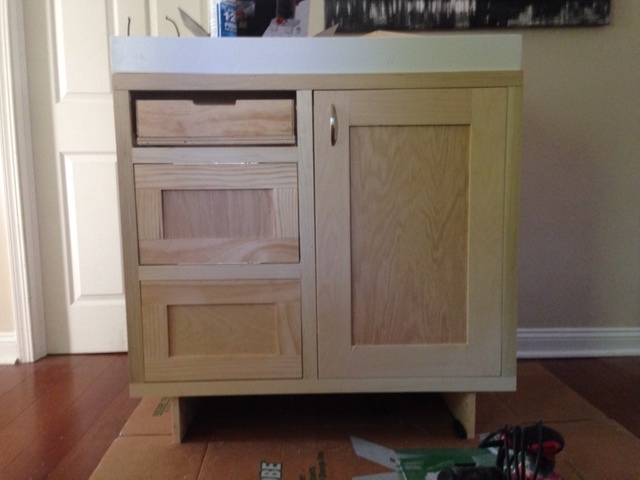
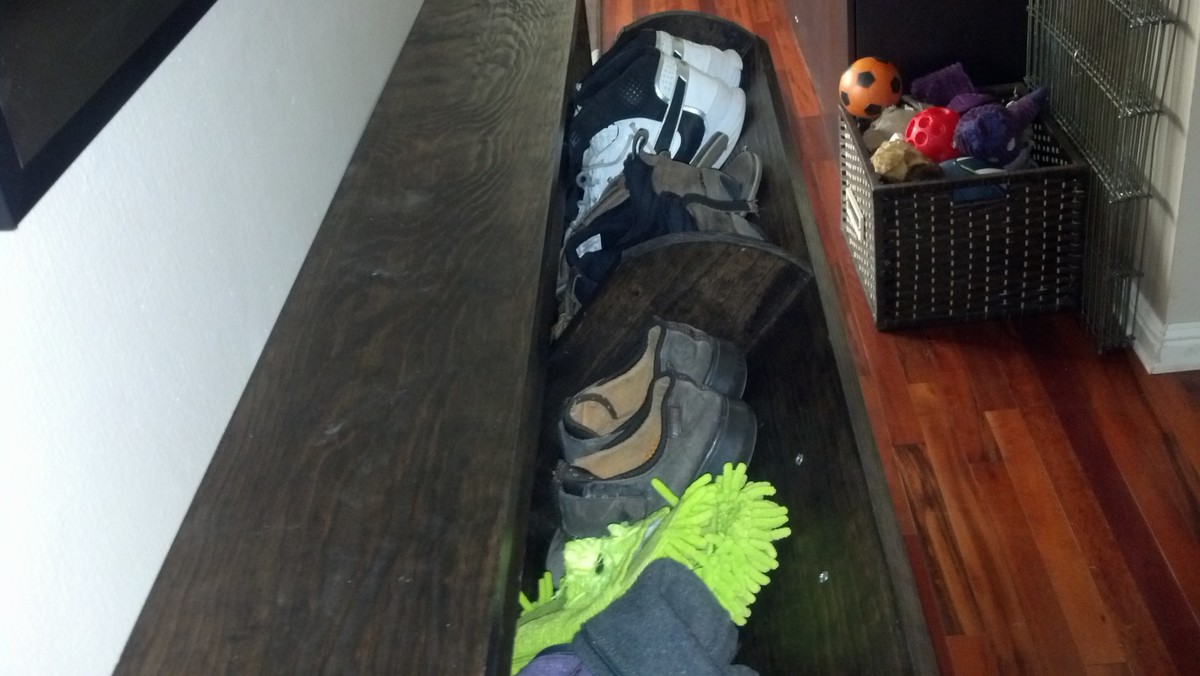
A dresser for shoes!
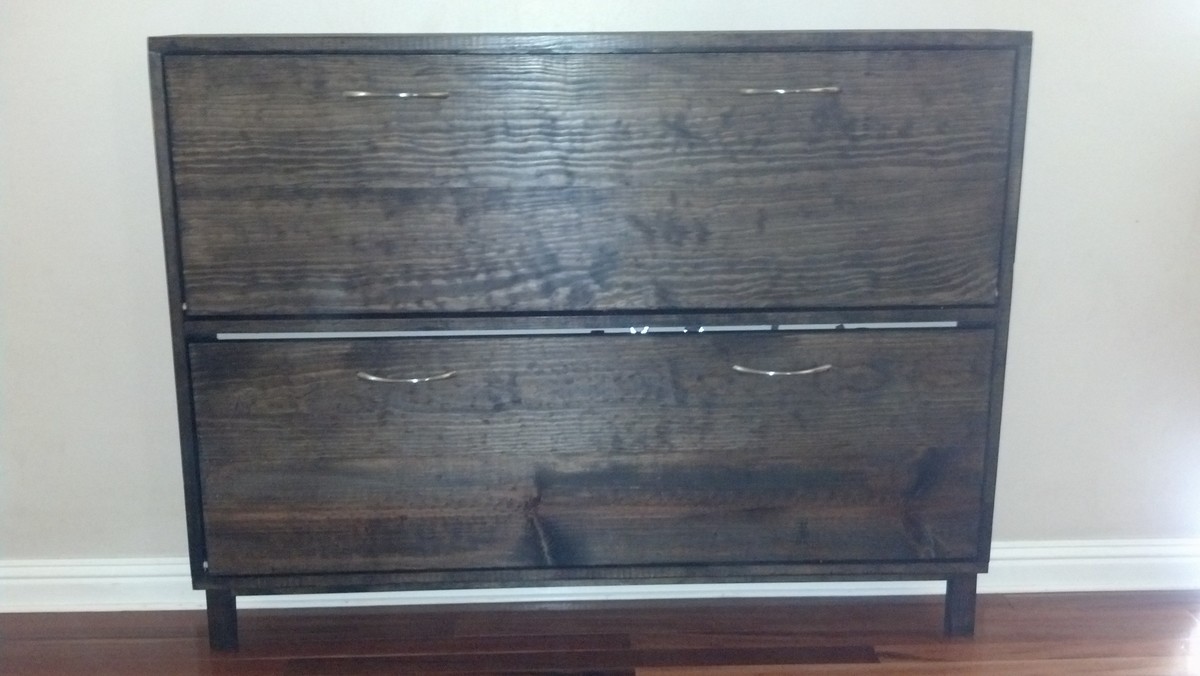
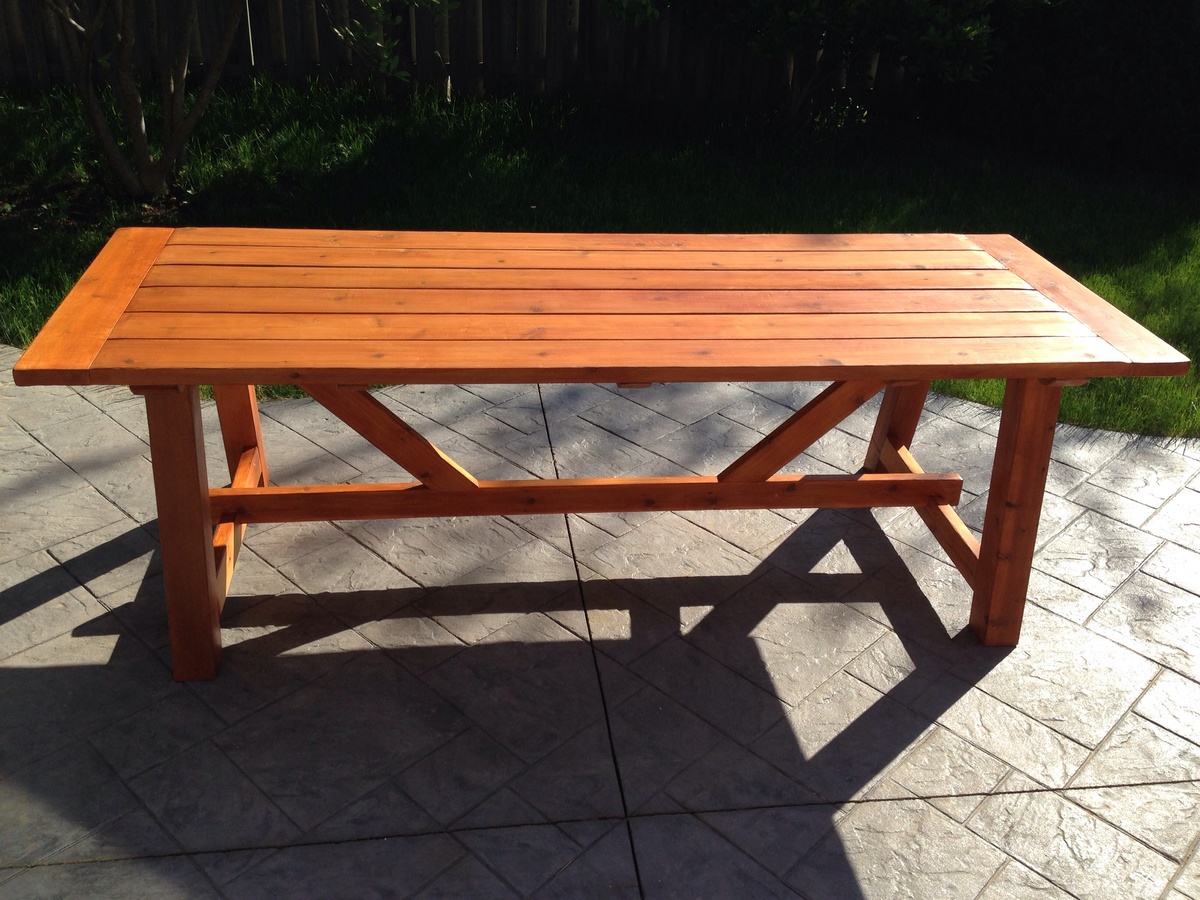
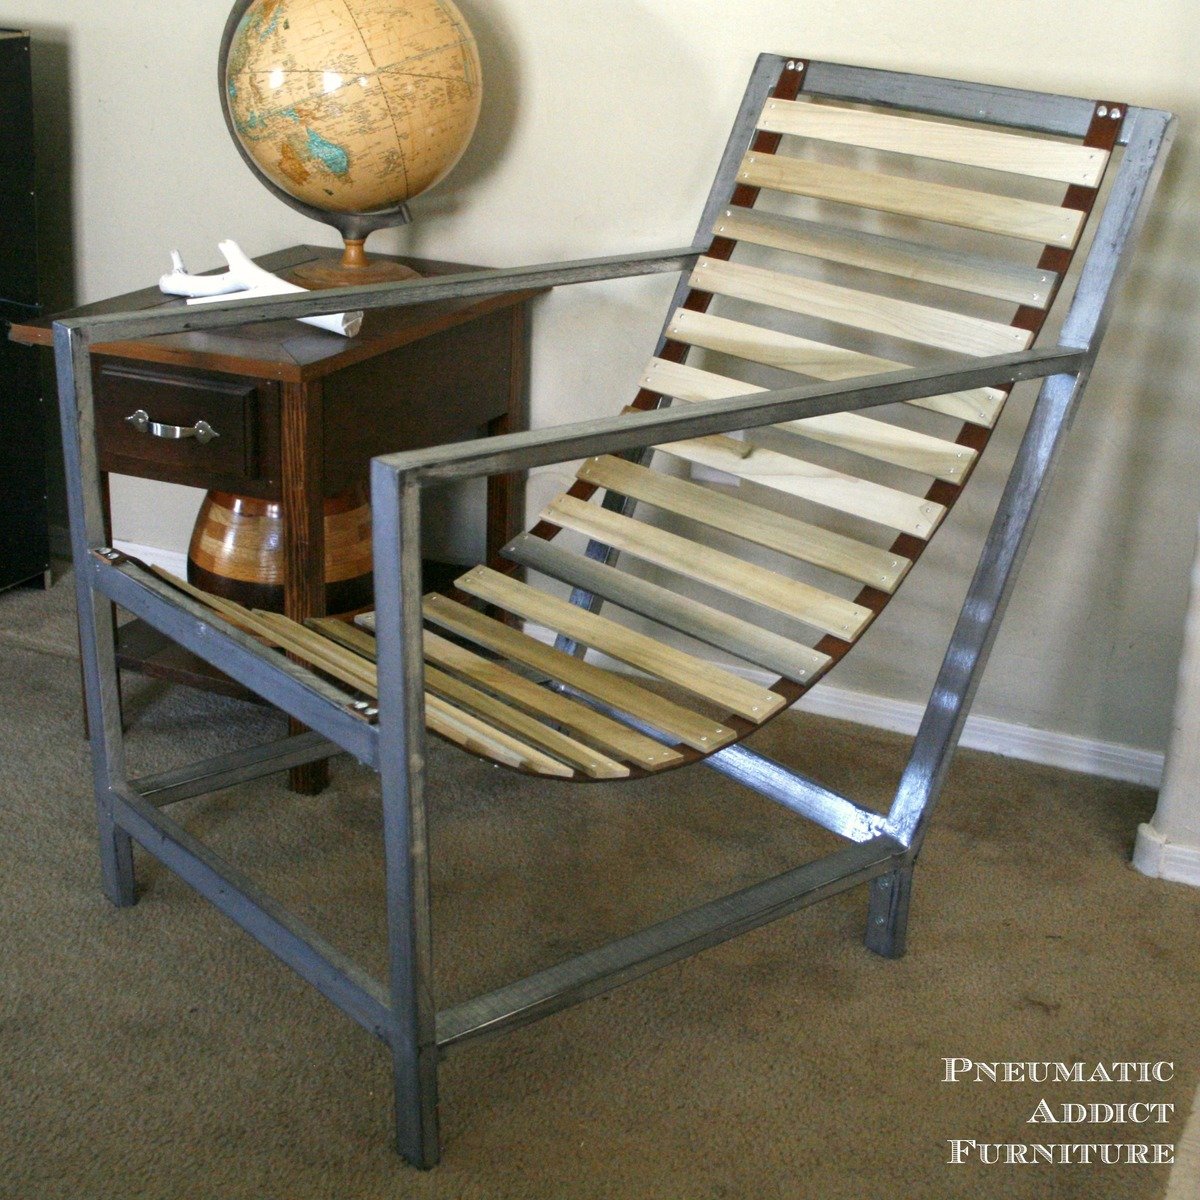
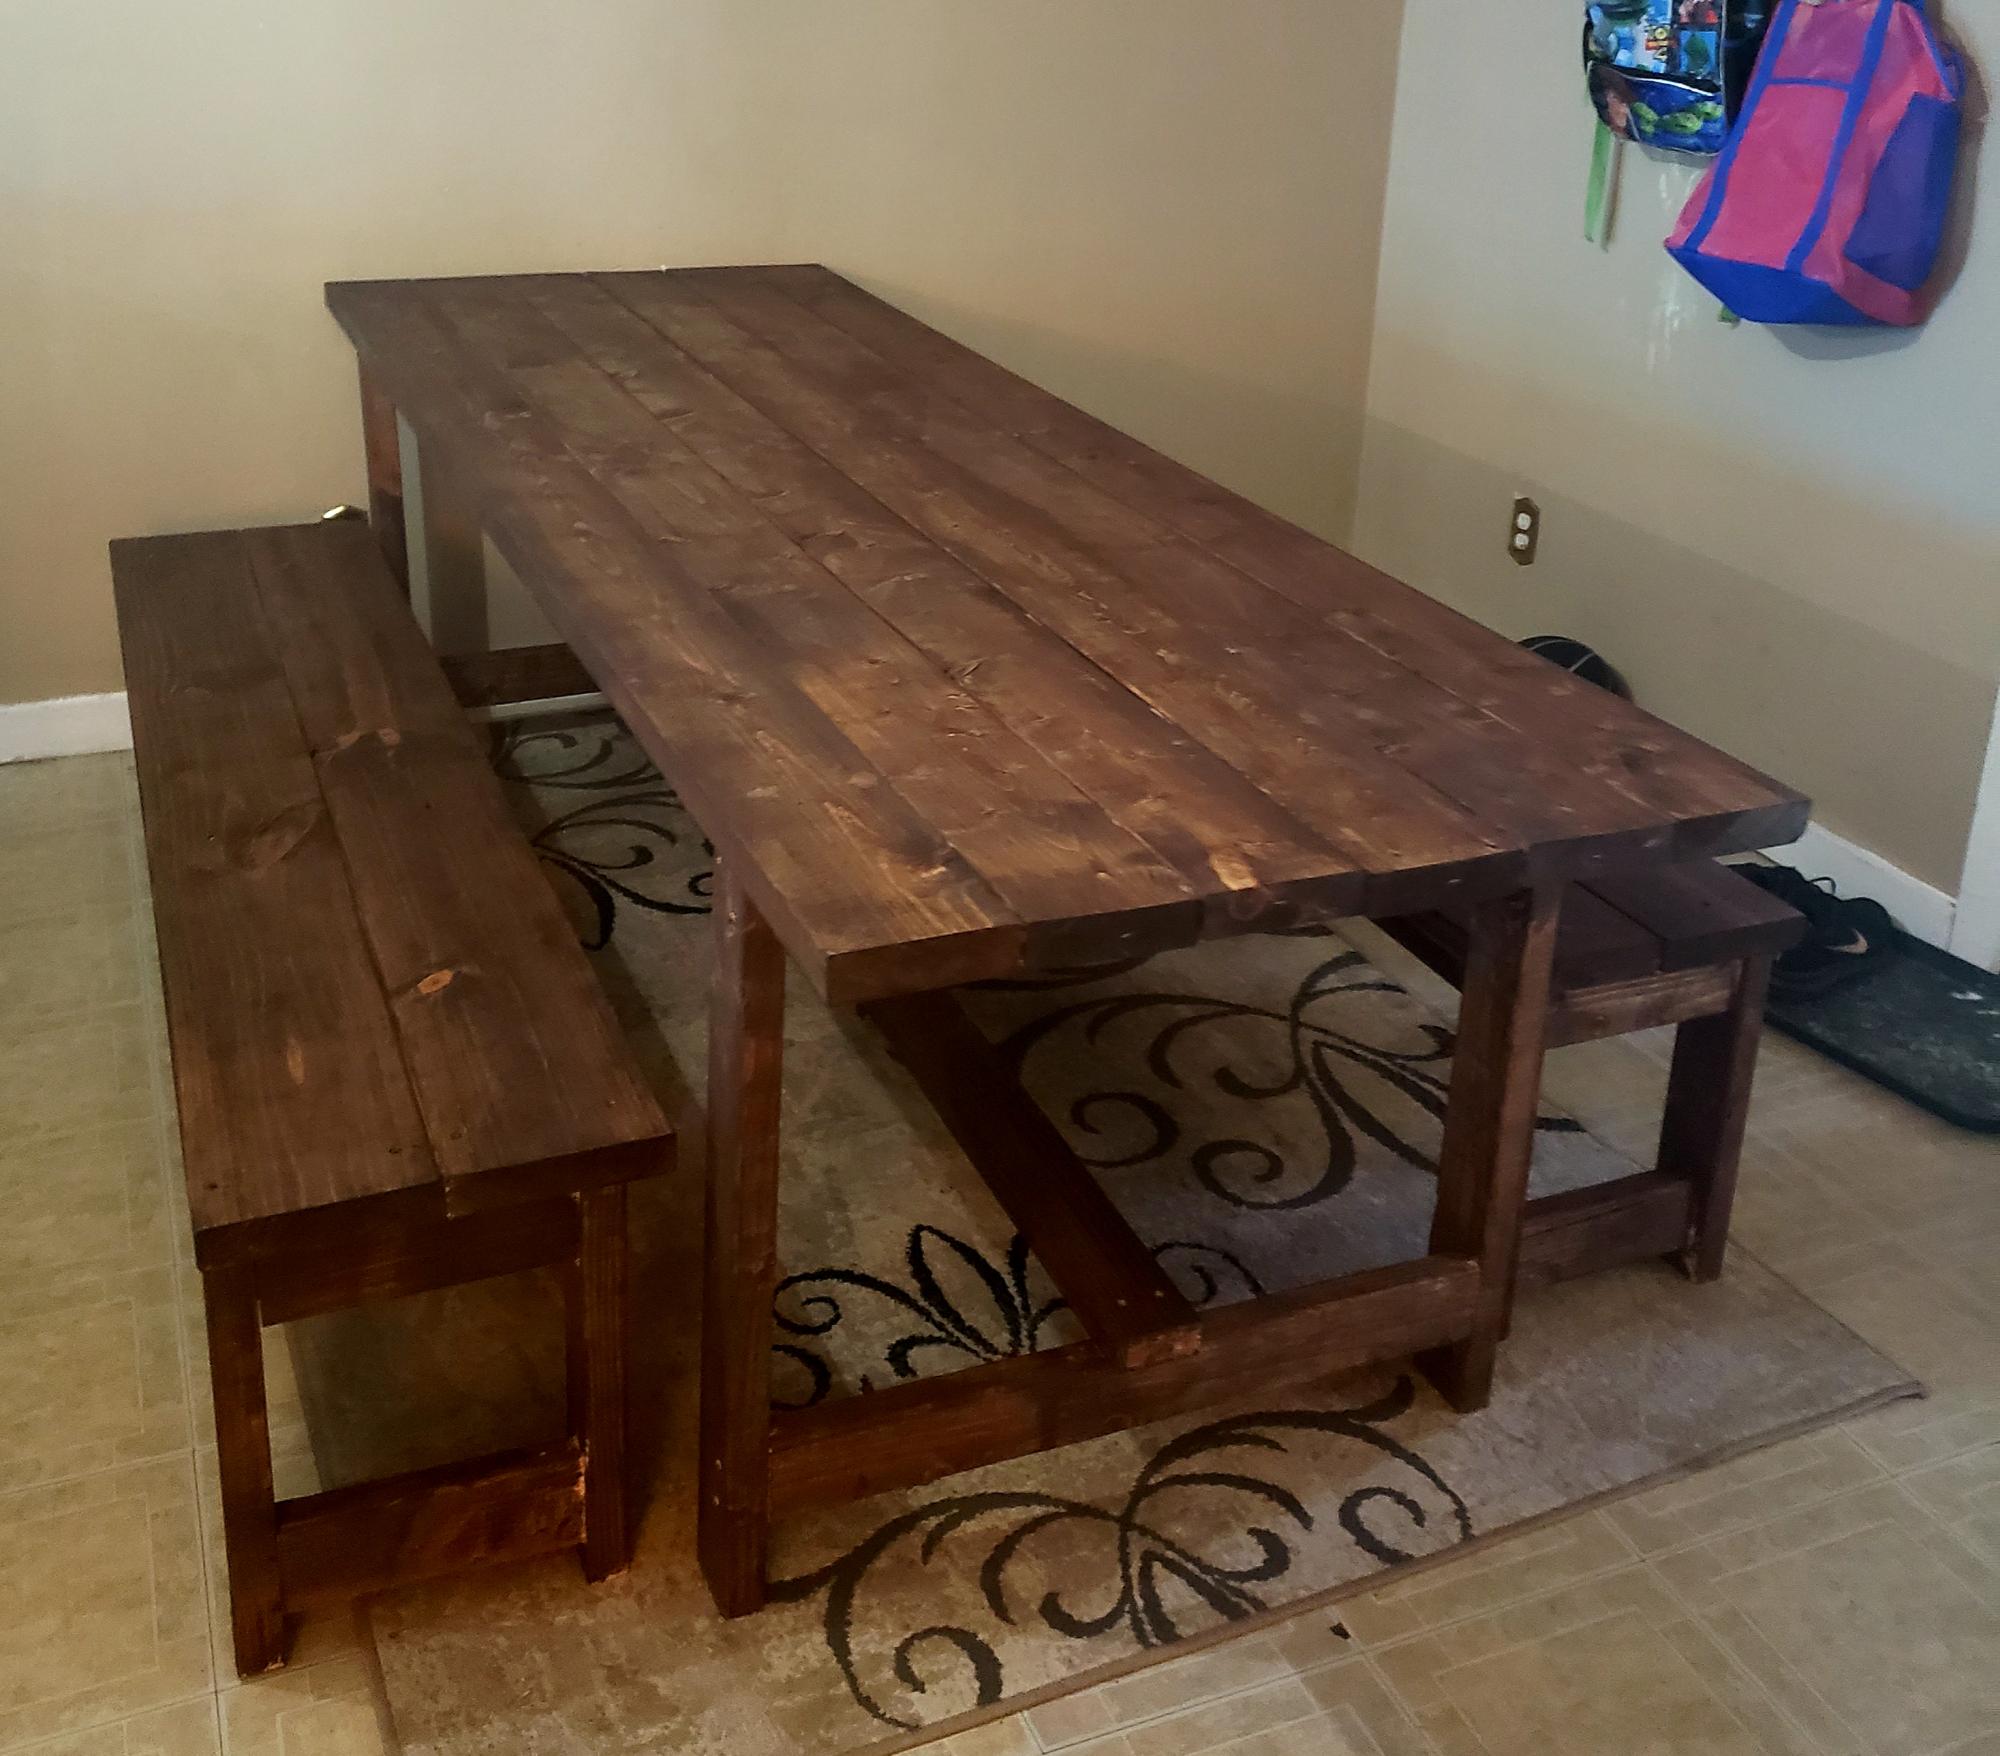
I've had the plans to this shoe dresser saved for months, and finally convinced my husband it was time to build it! In total, we probably spent about 8 hours on it, from cutting the wood to staining.
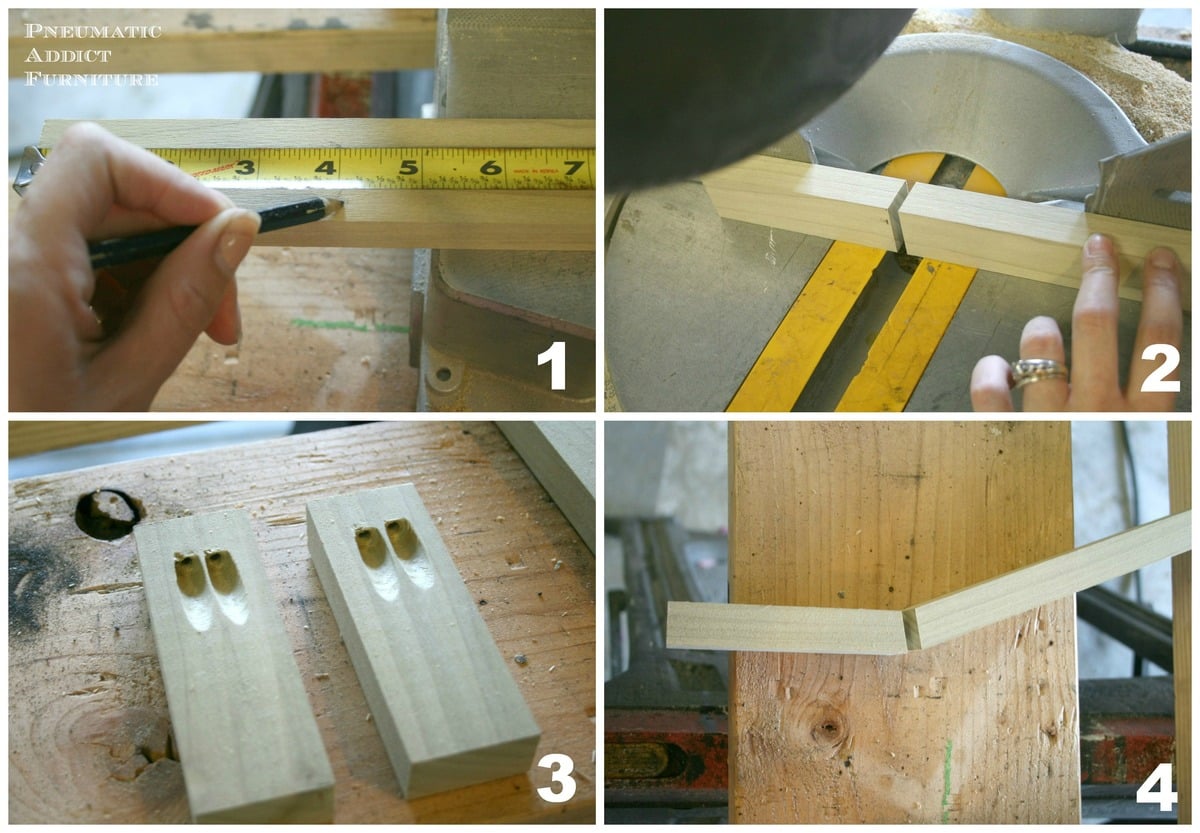
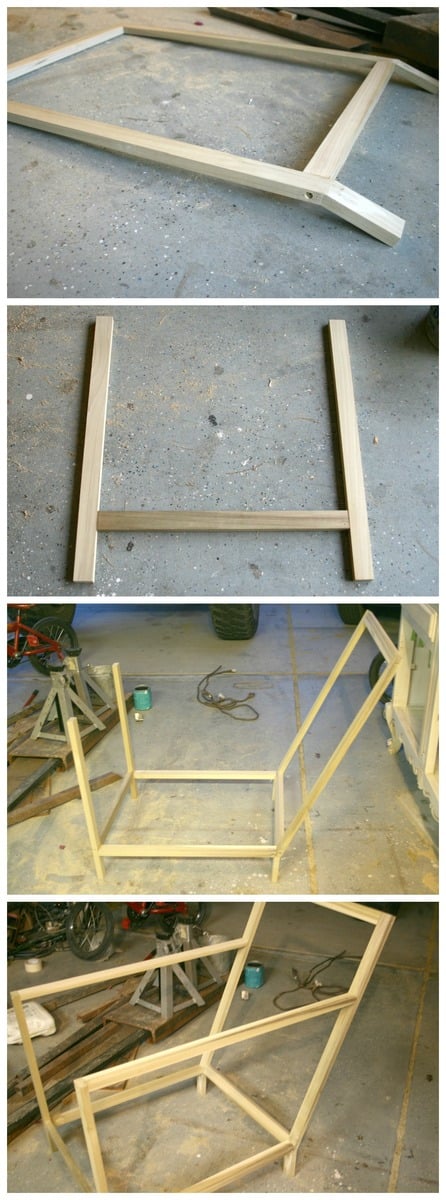
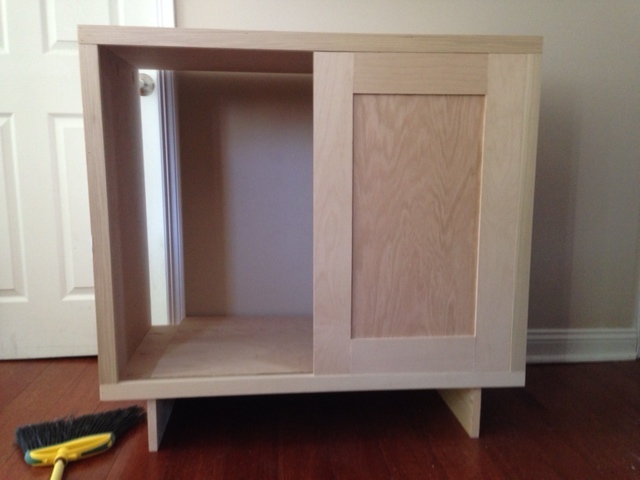
The instructions are a smidge vague, but if you really think through it, it's a piece of cake. Do not do anything out of order! My husband and I did, and we unfortunately had to redo certain steps.
This was our third project, and so far my favorite piece of furniture in our house!
Built from Plan(s)
Estimated Cost
$100
Estimated Time Investment
Weekend Project (10-20 Hours)
Finish Used
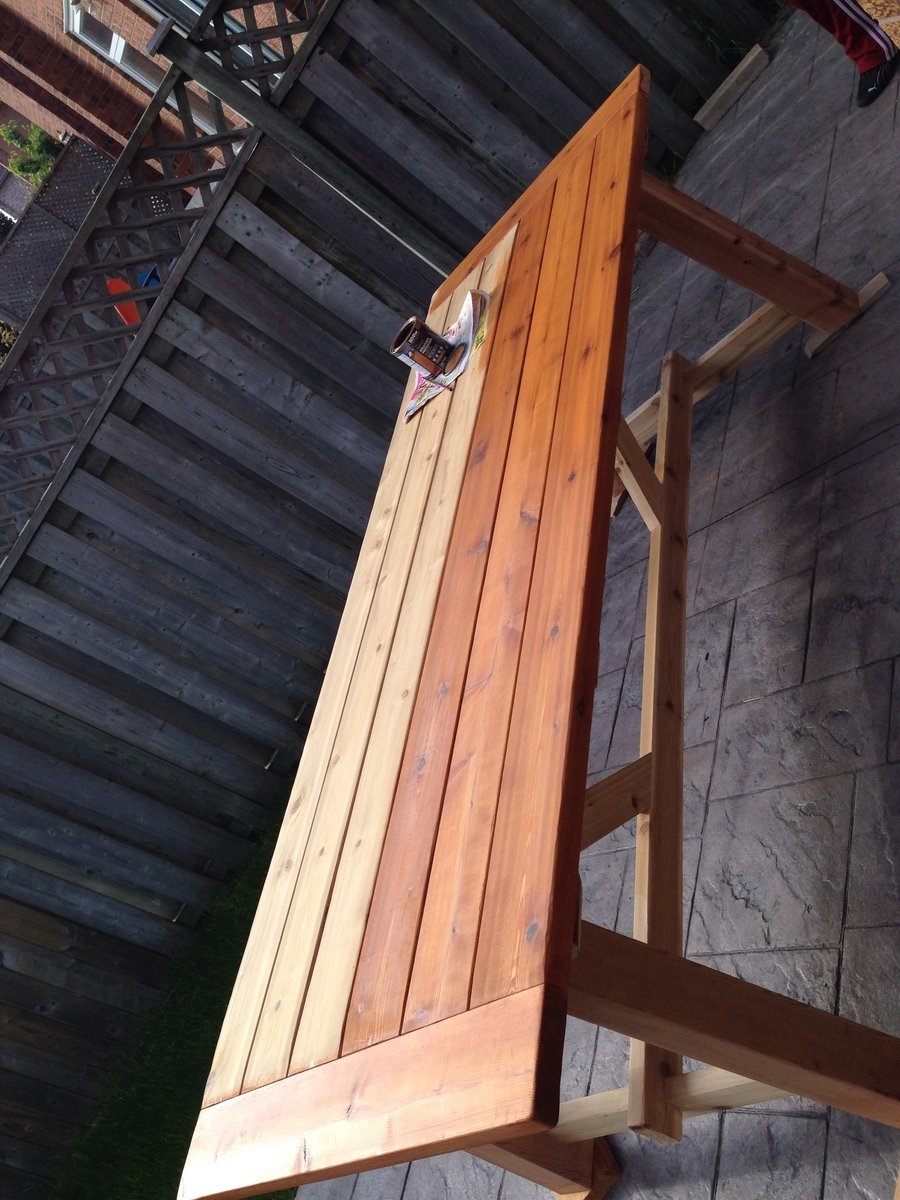
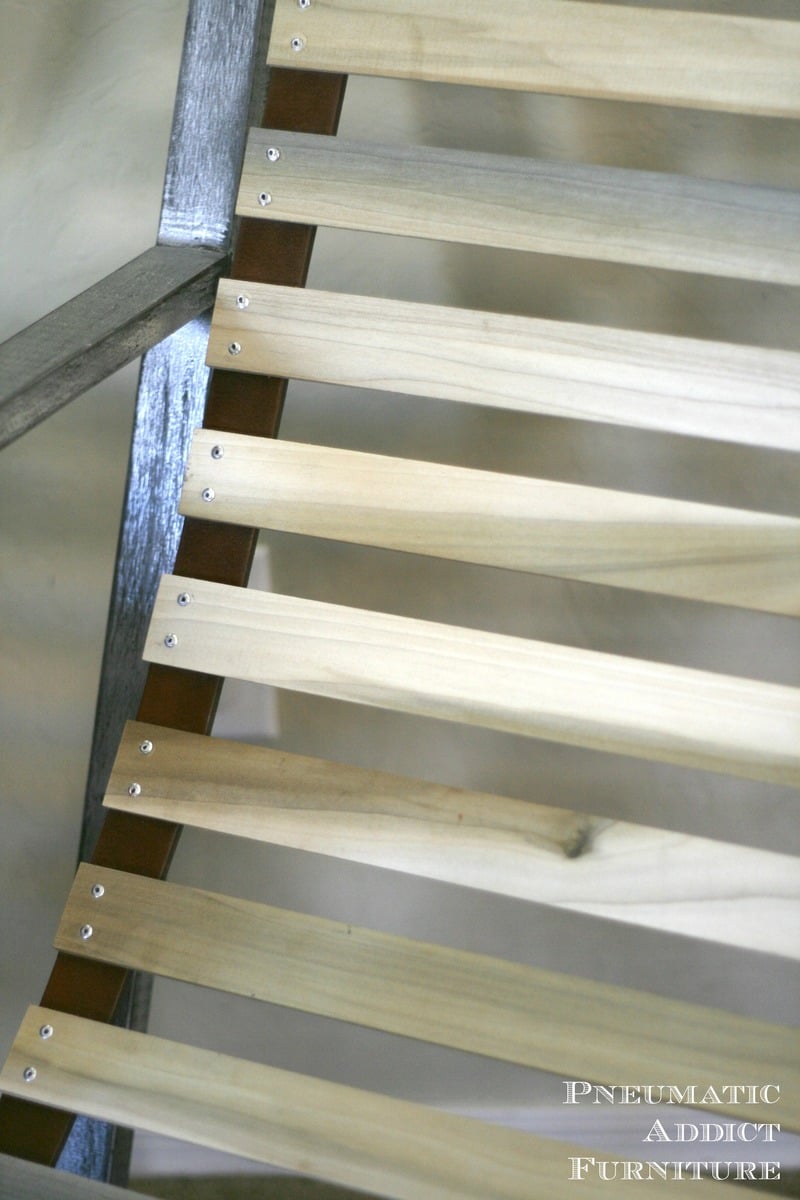
Dark Walnut with Polycrylic top coat.
Recommended Skill Level
Beginner