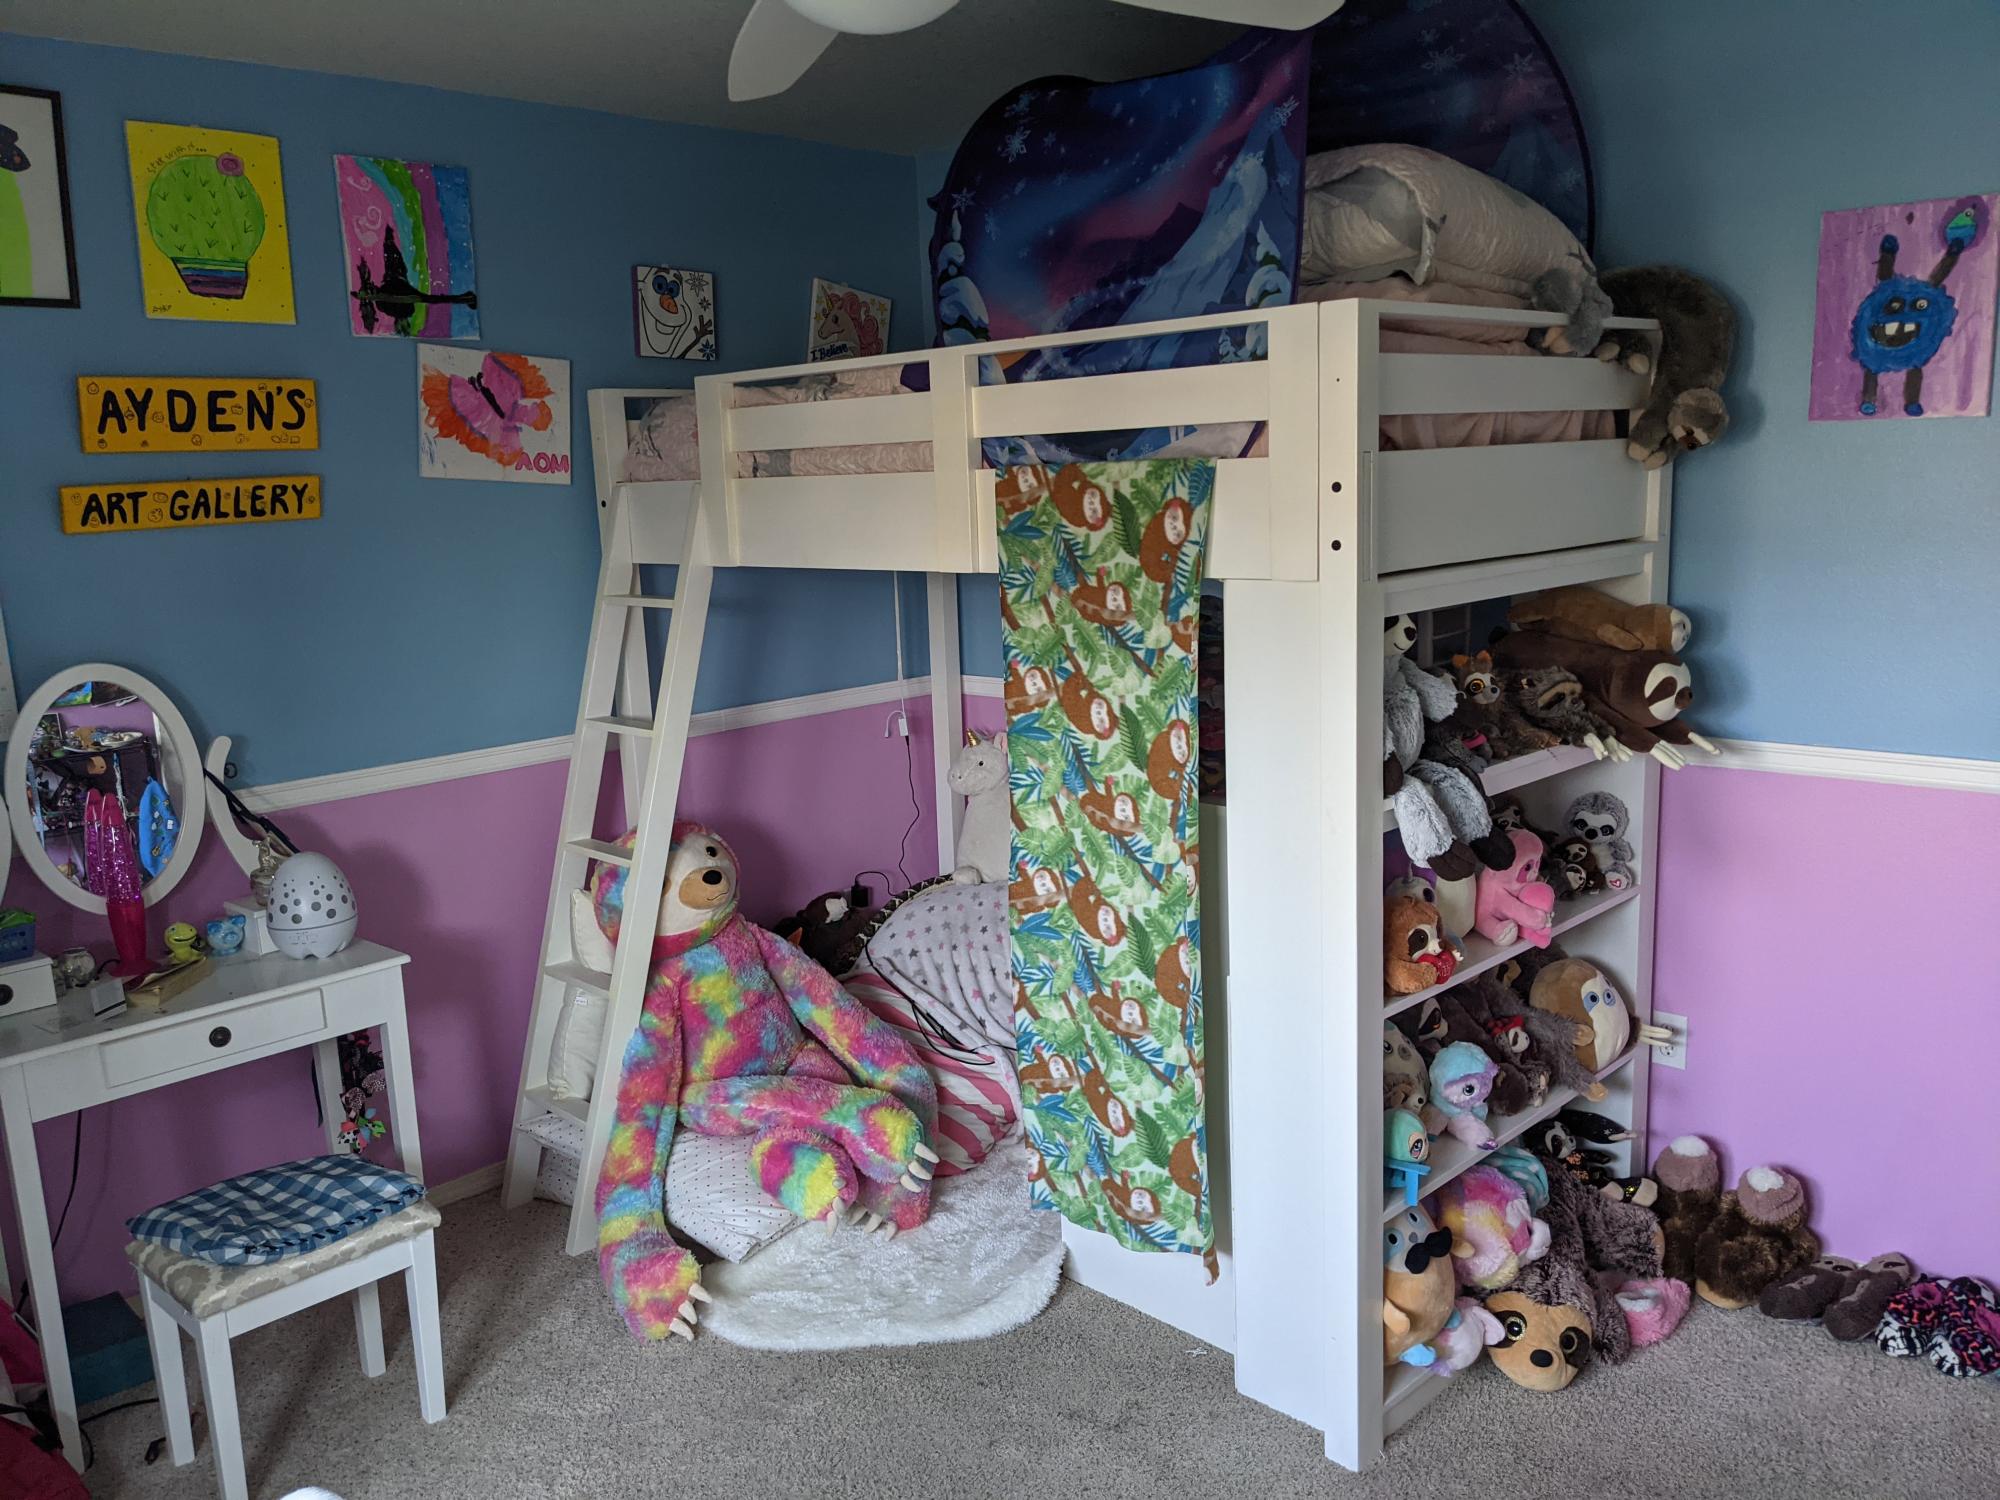
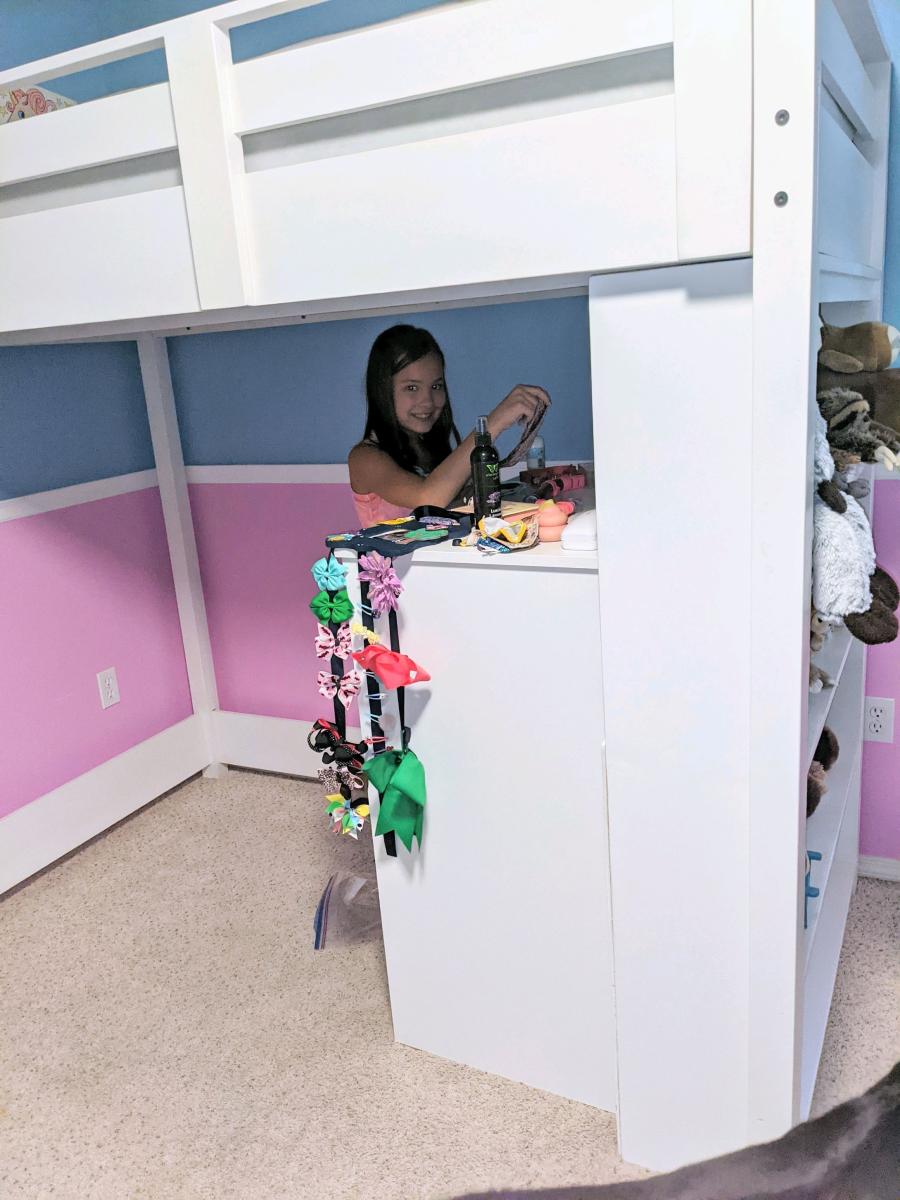
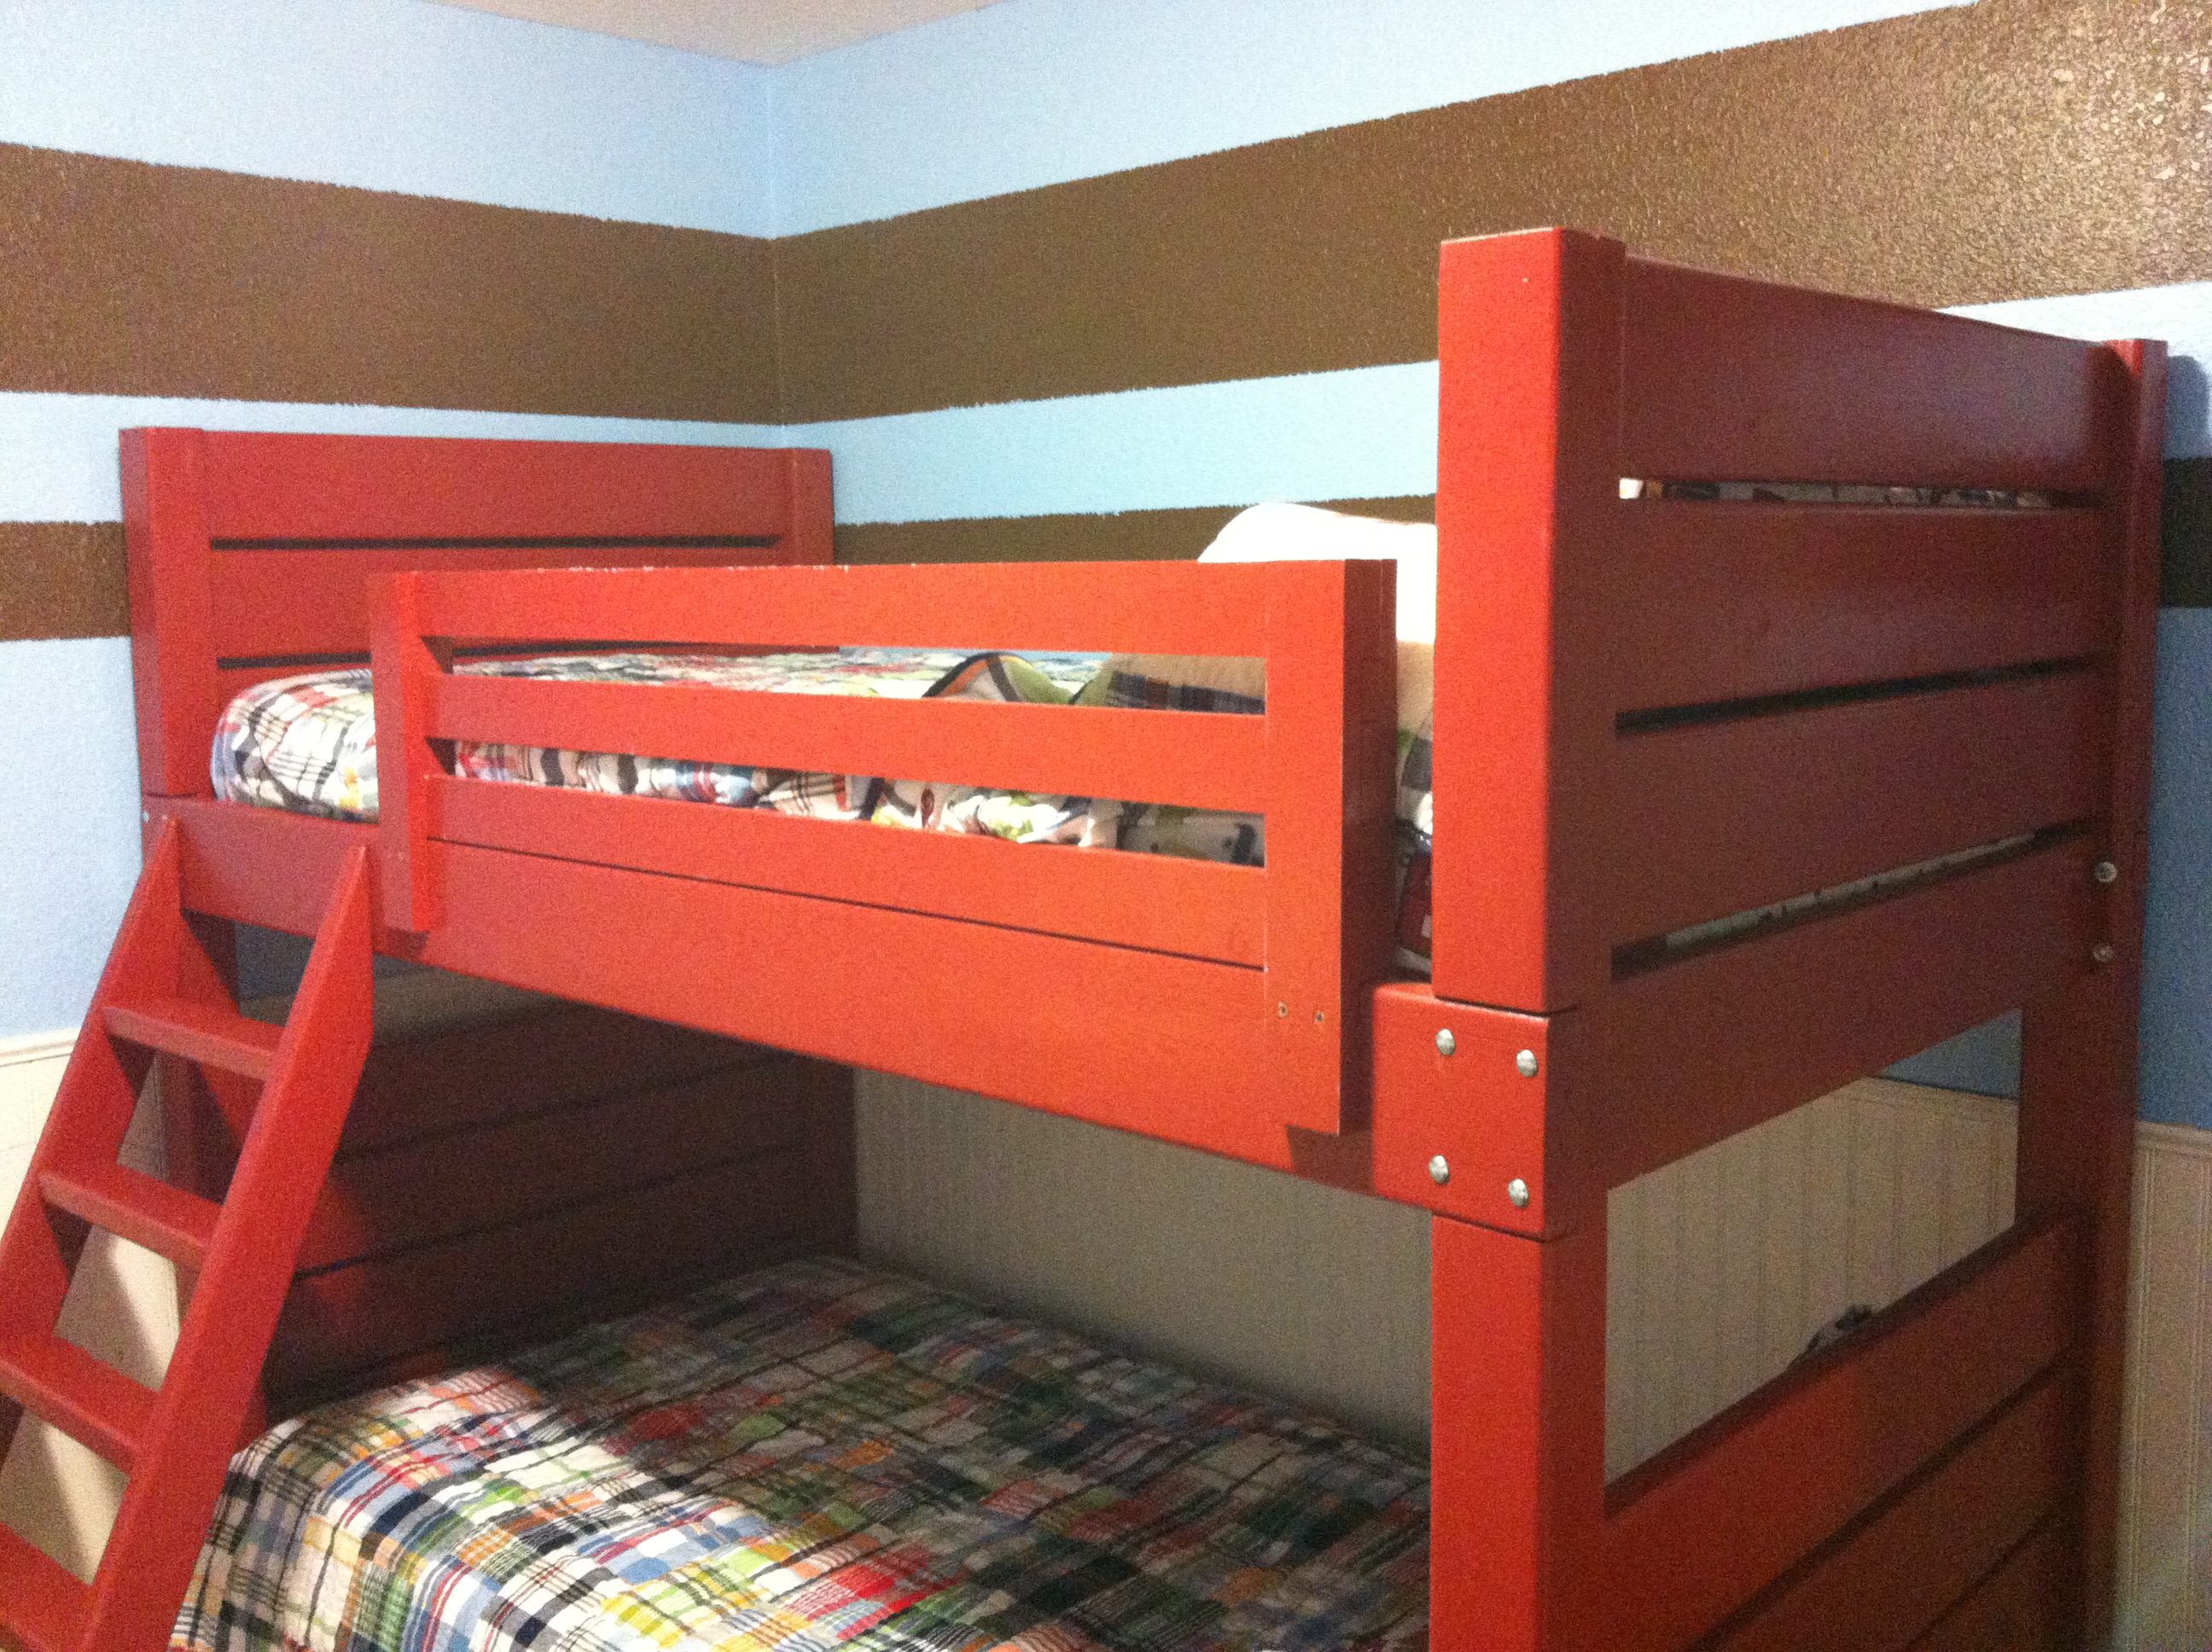
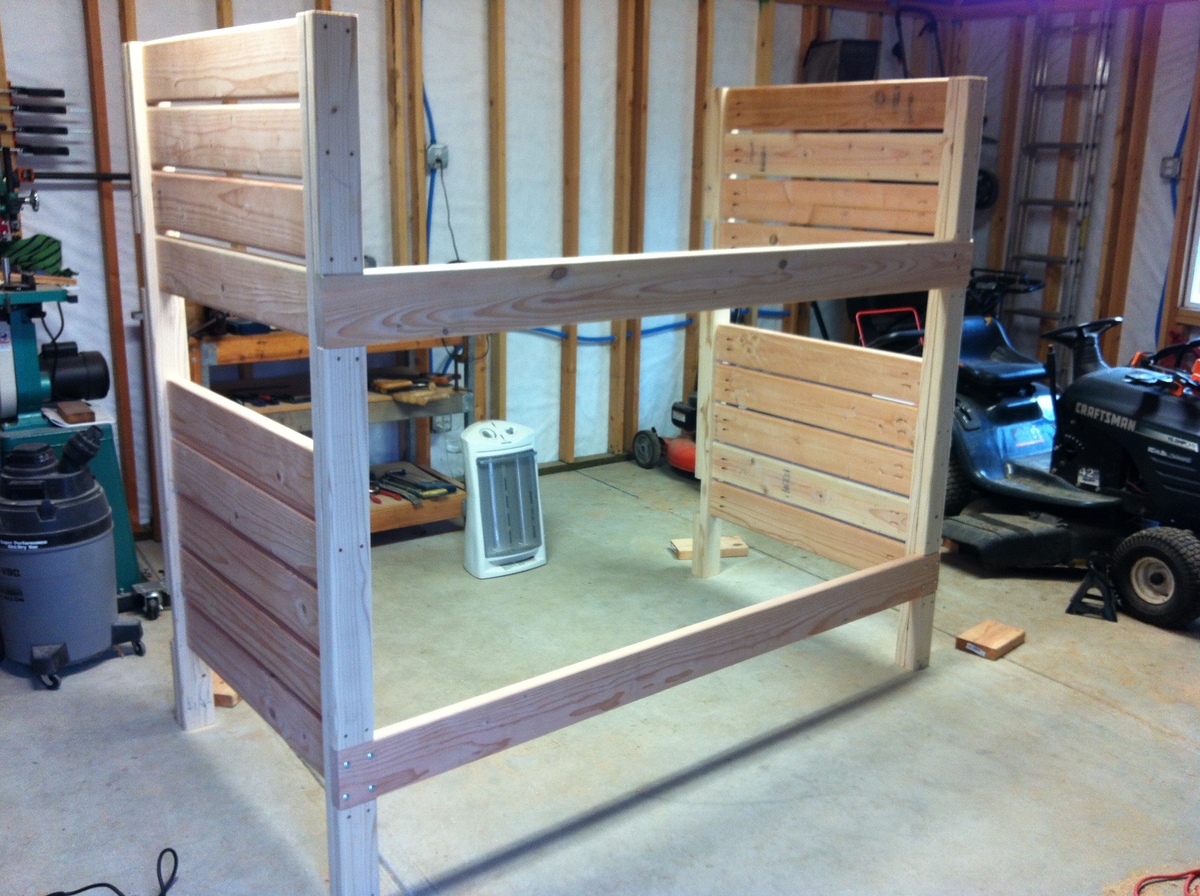
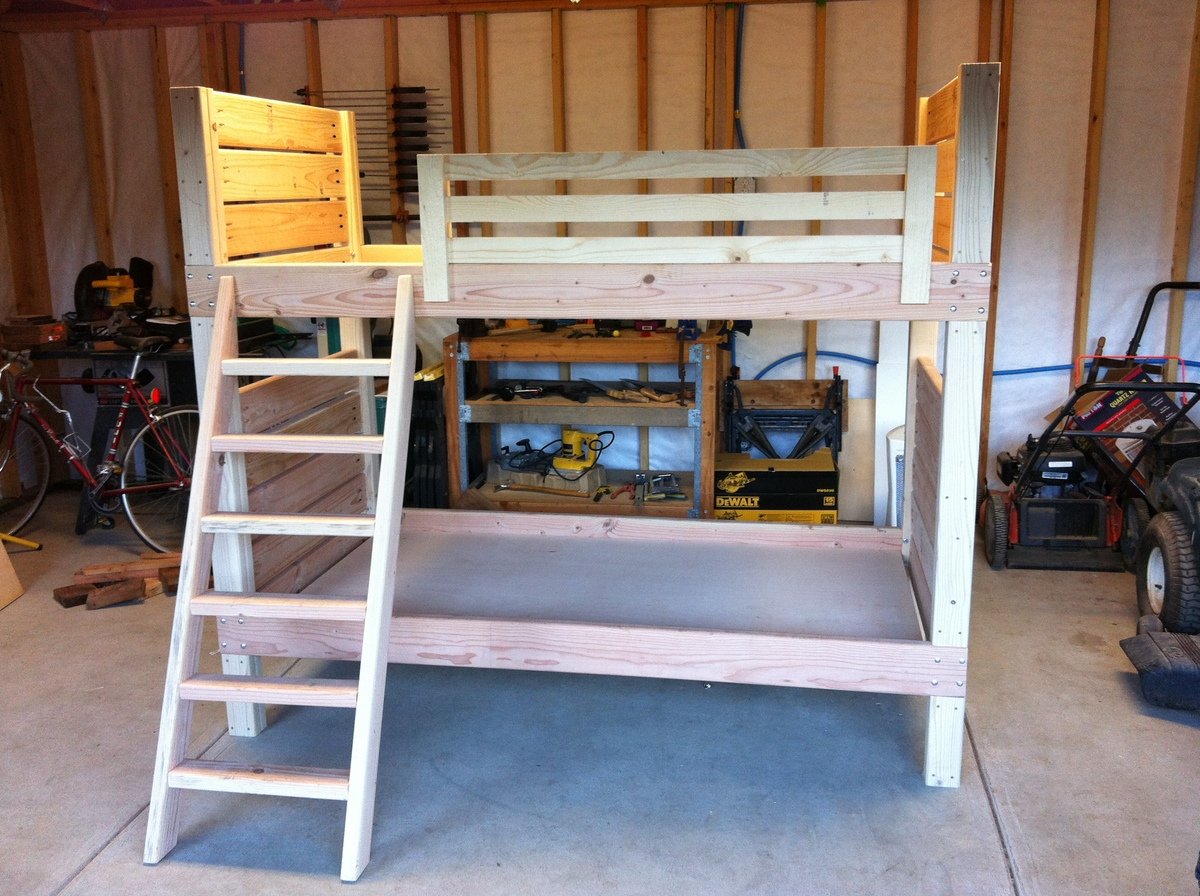
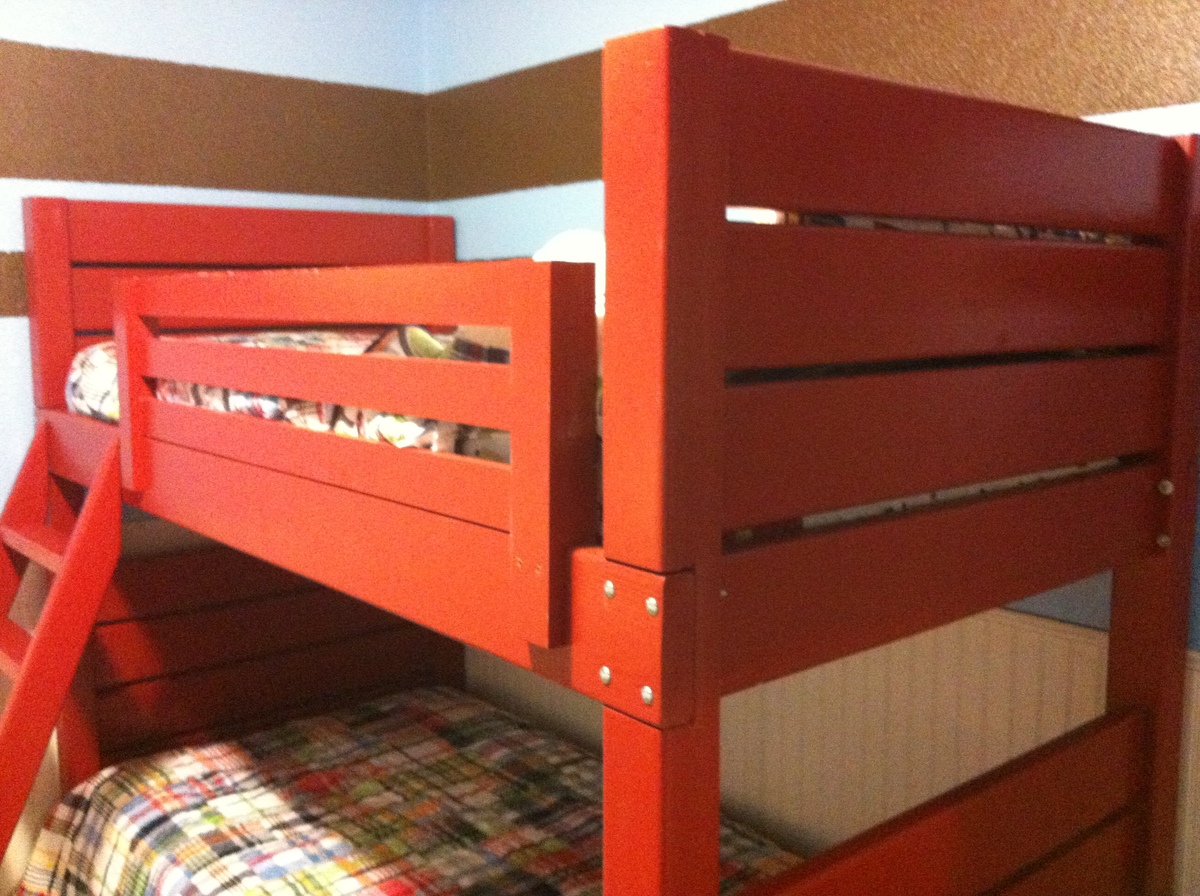
Our two oldest (both boys) had been needing bunk beds for some time. I came across the Side-Street Bunk Beds and LOVED the design; simple, easy, and most importantly, sturdy!
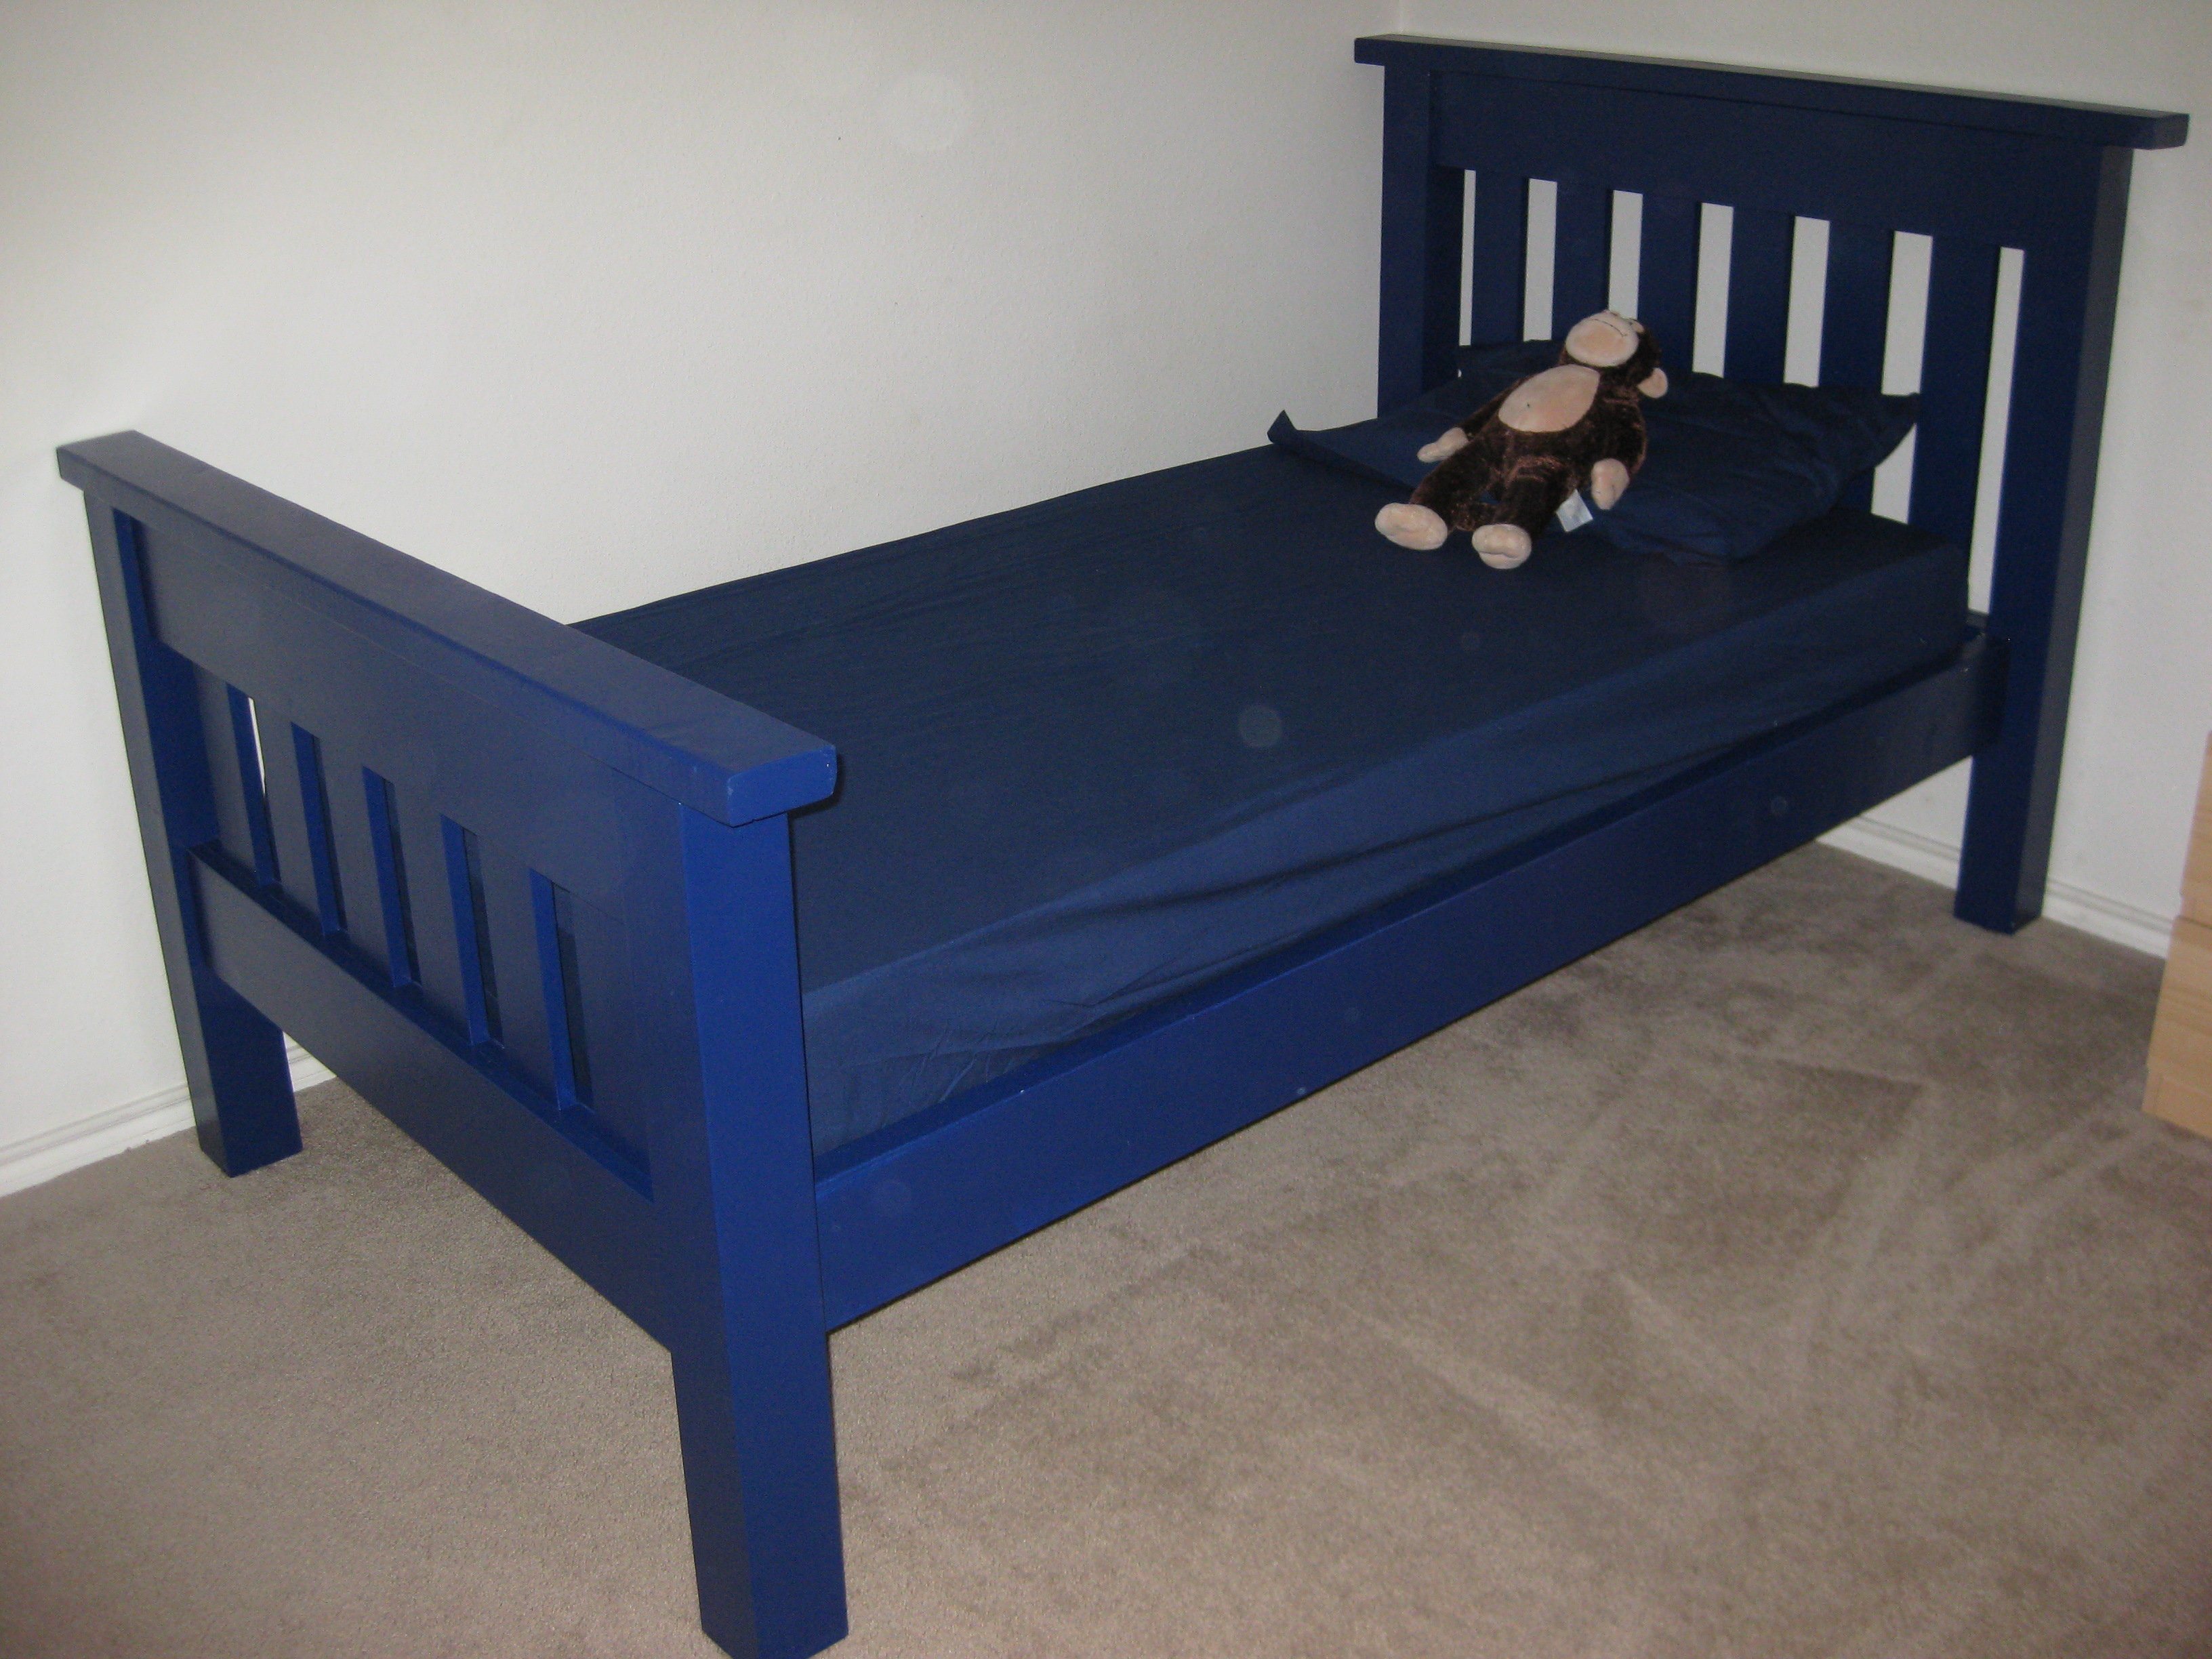
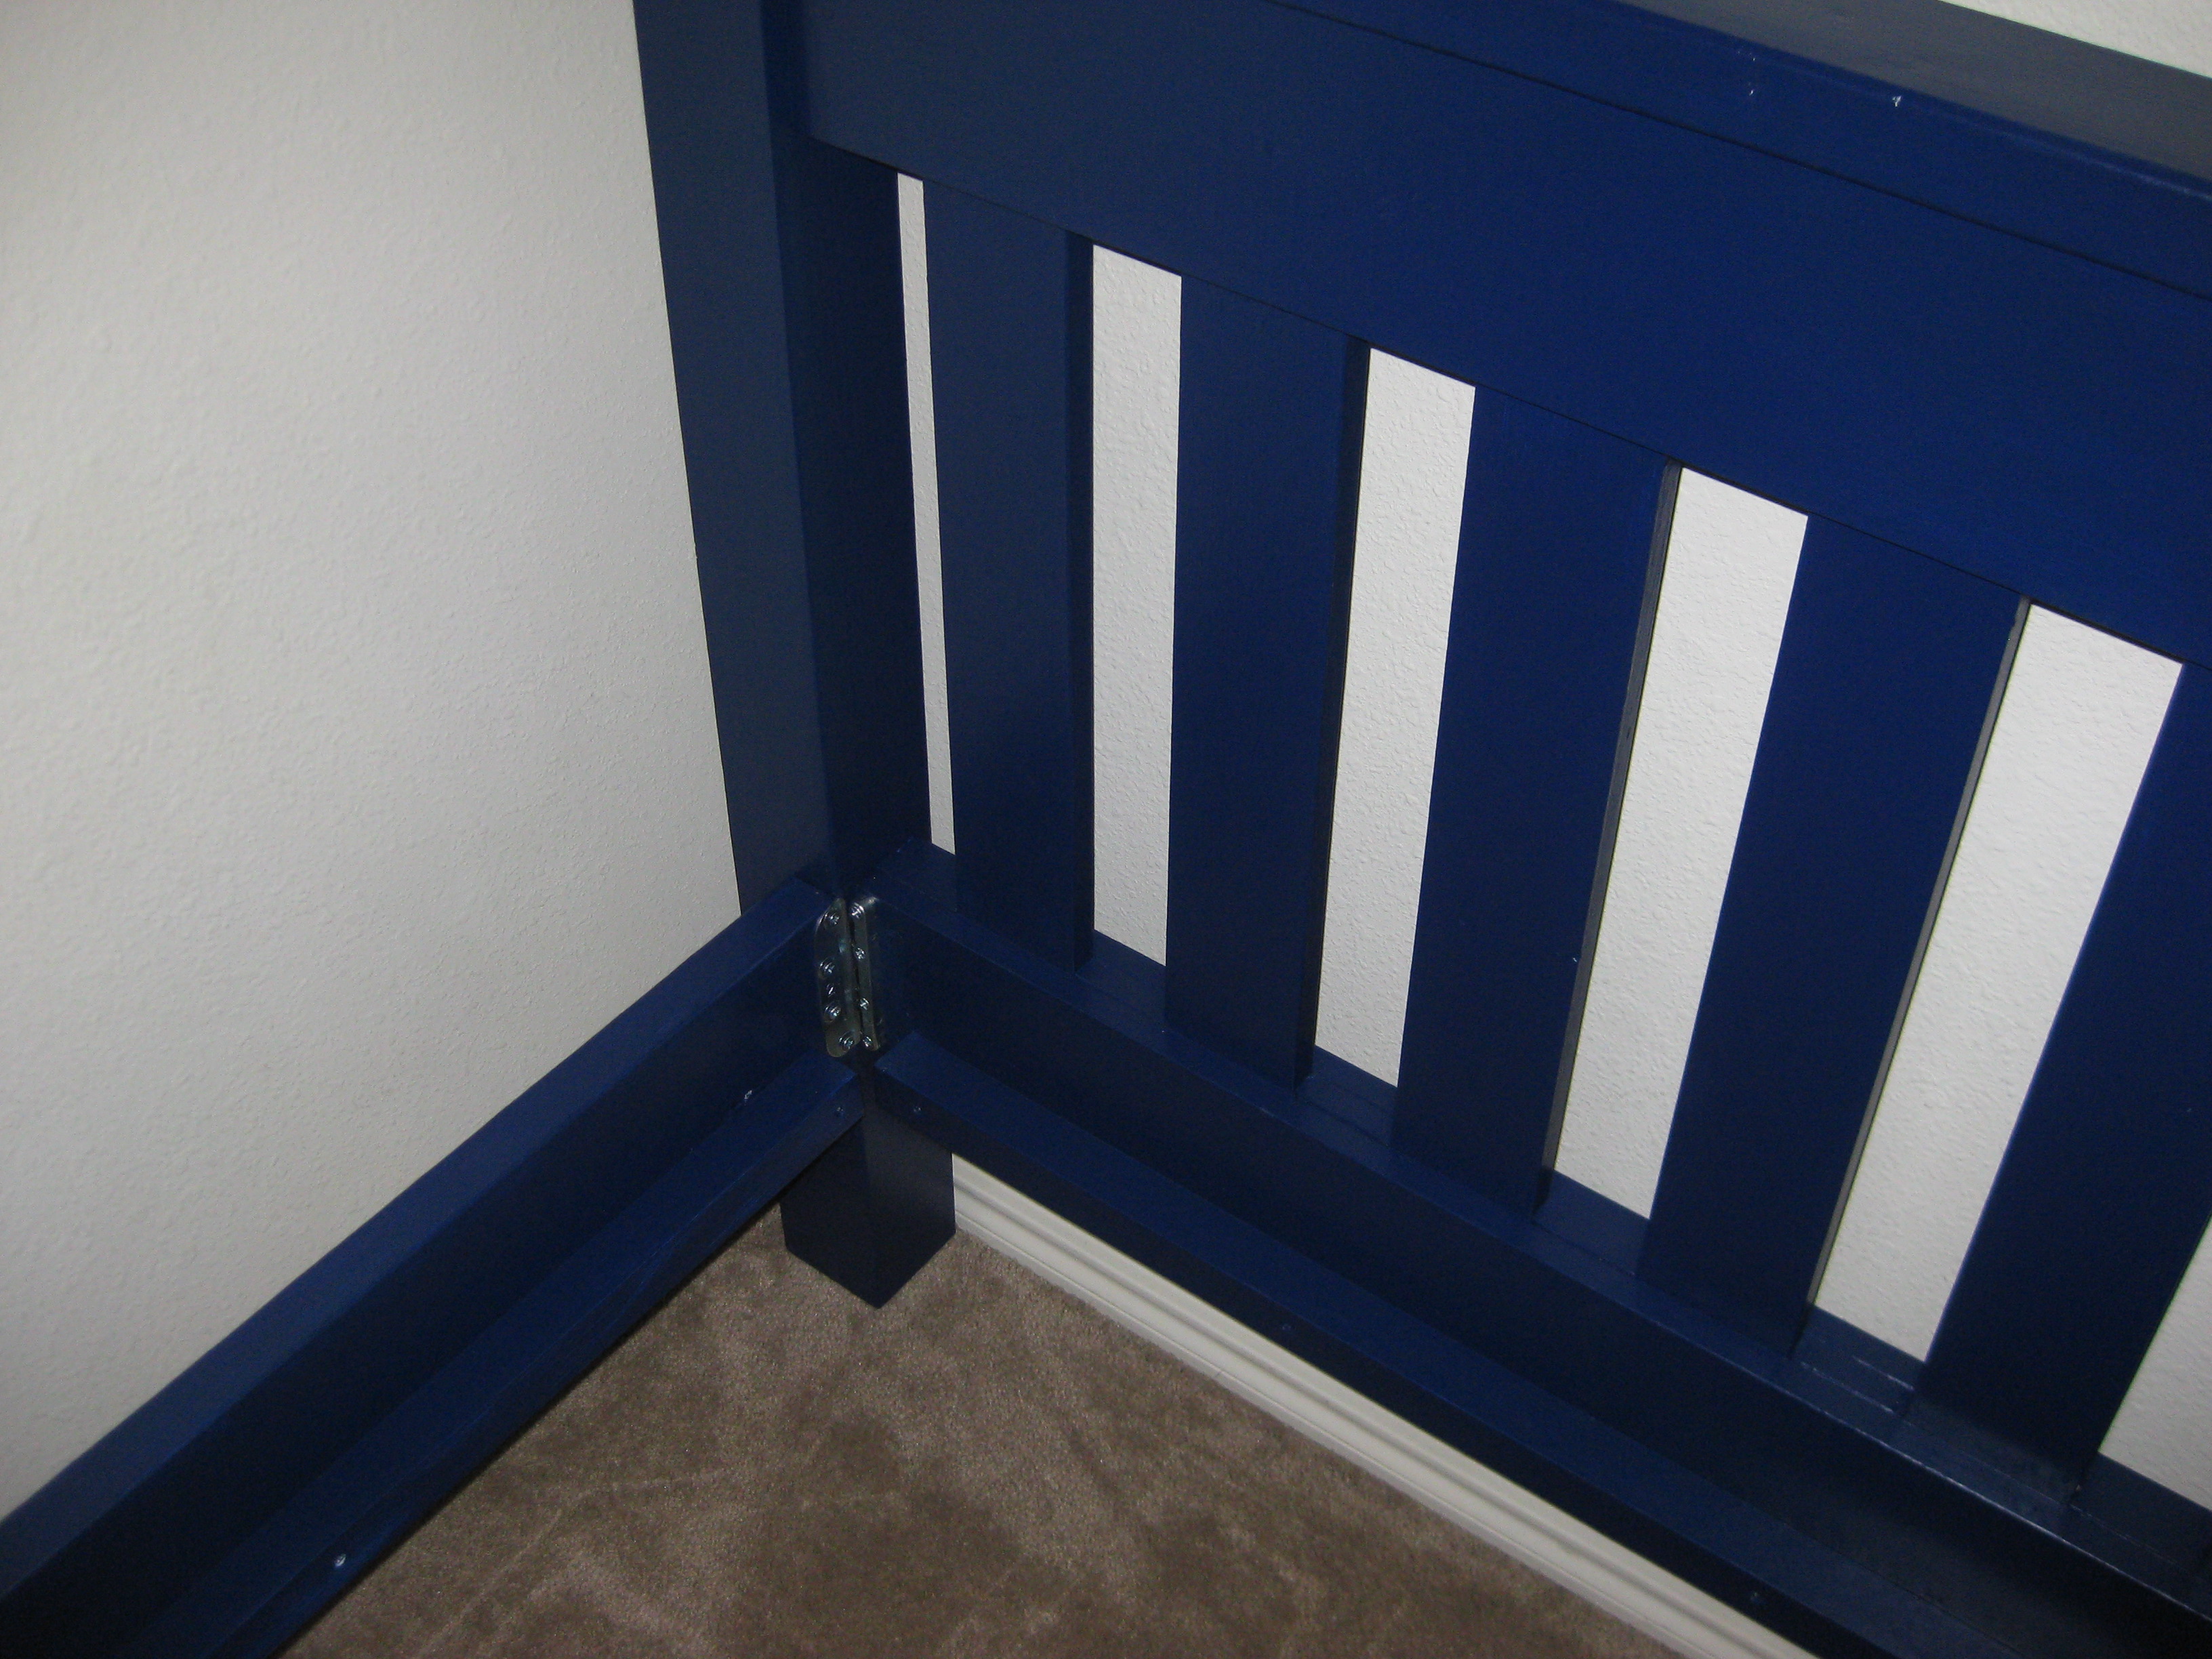
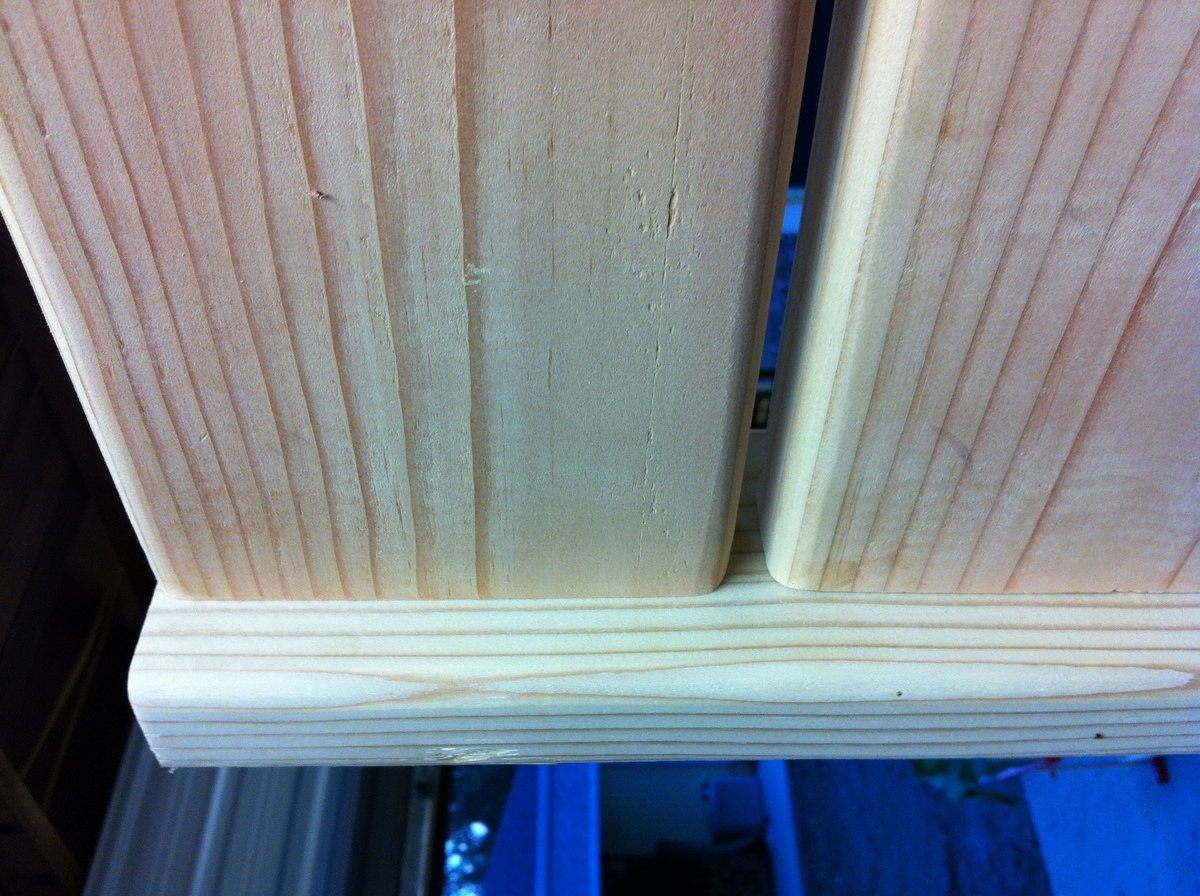
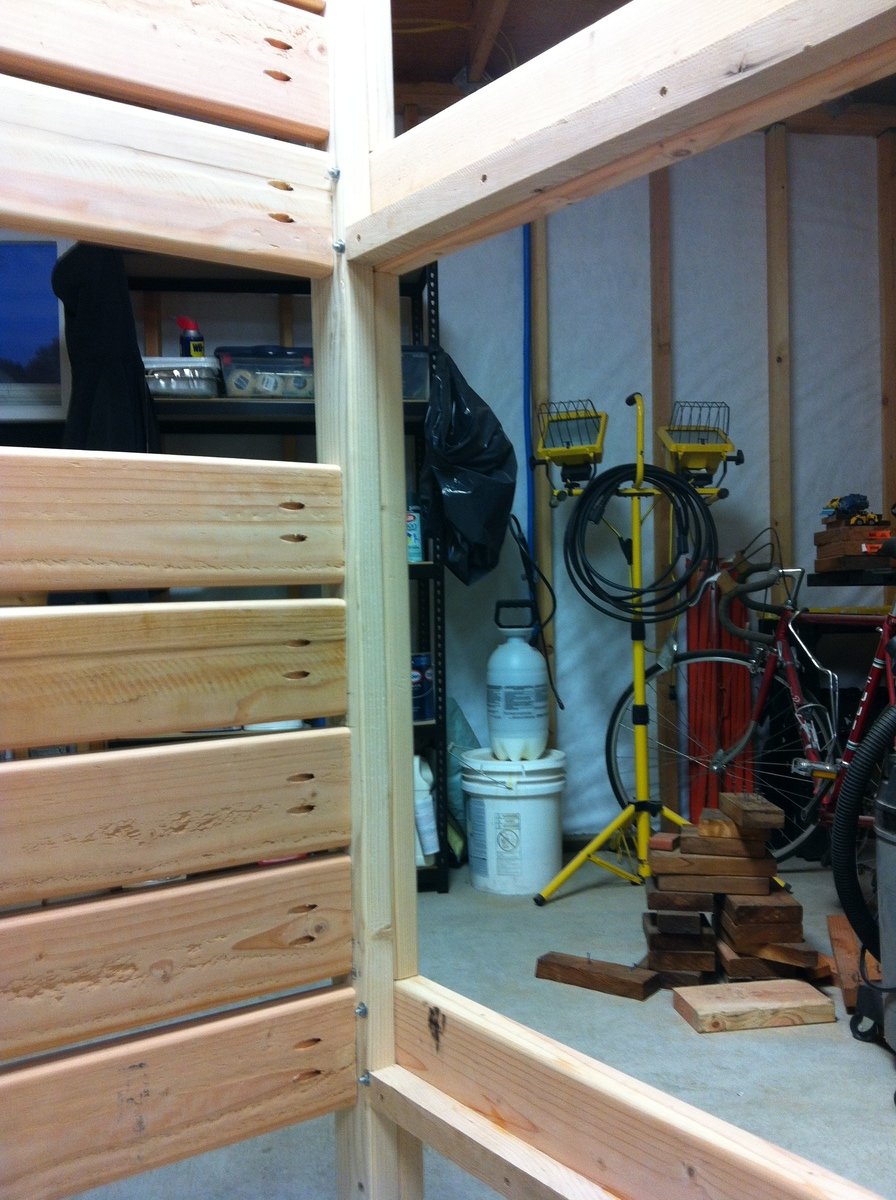
I used standard framing lumber from Home Depot and picked out the cleanest, straightest boards I could find. For safety (because boys will be boys...), I routed all of the edges of any part they could come in contact with using a 3/8" curved router bit. Along with tremendous amounts of sanding, that was the most labor-intensive part of the project. The Kreg Jig made short work of everything else, and eventually sprayed on the paint (I used Kelly-Moore brand paint, but the color is Behr Cinnabar Red).
Although I could have built the beds for cheaper (I spent upwards of $350+), I wanted to make sure the project didn't look like it was built out of framing lumber. A lot of sandpaper, wood-filler, and extra coats of paint could have been reduced, but at close look you can't even tell the main posts are laminated 2x4's.
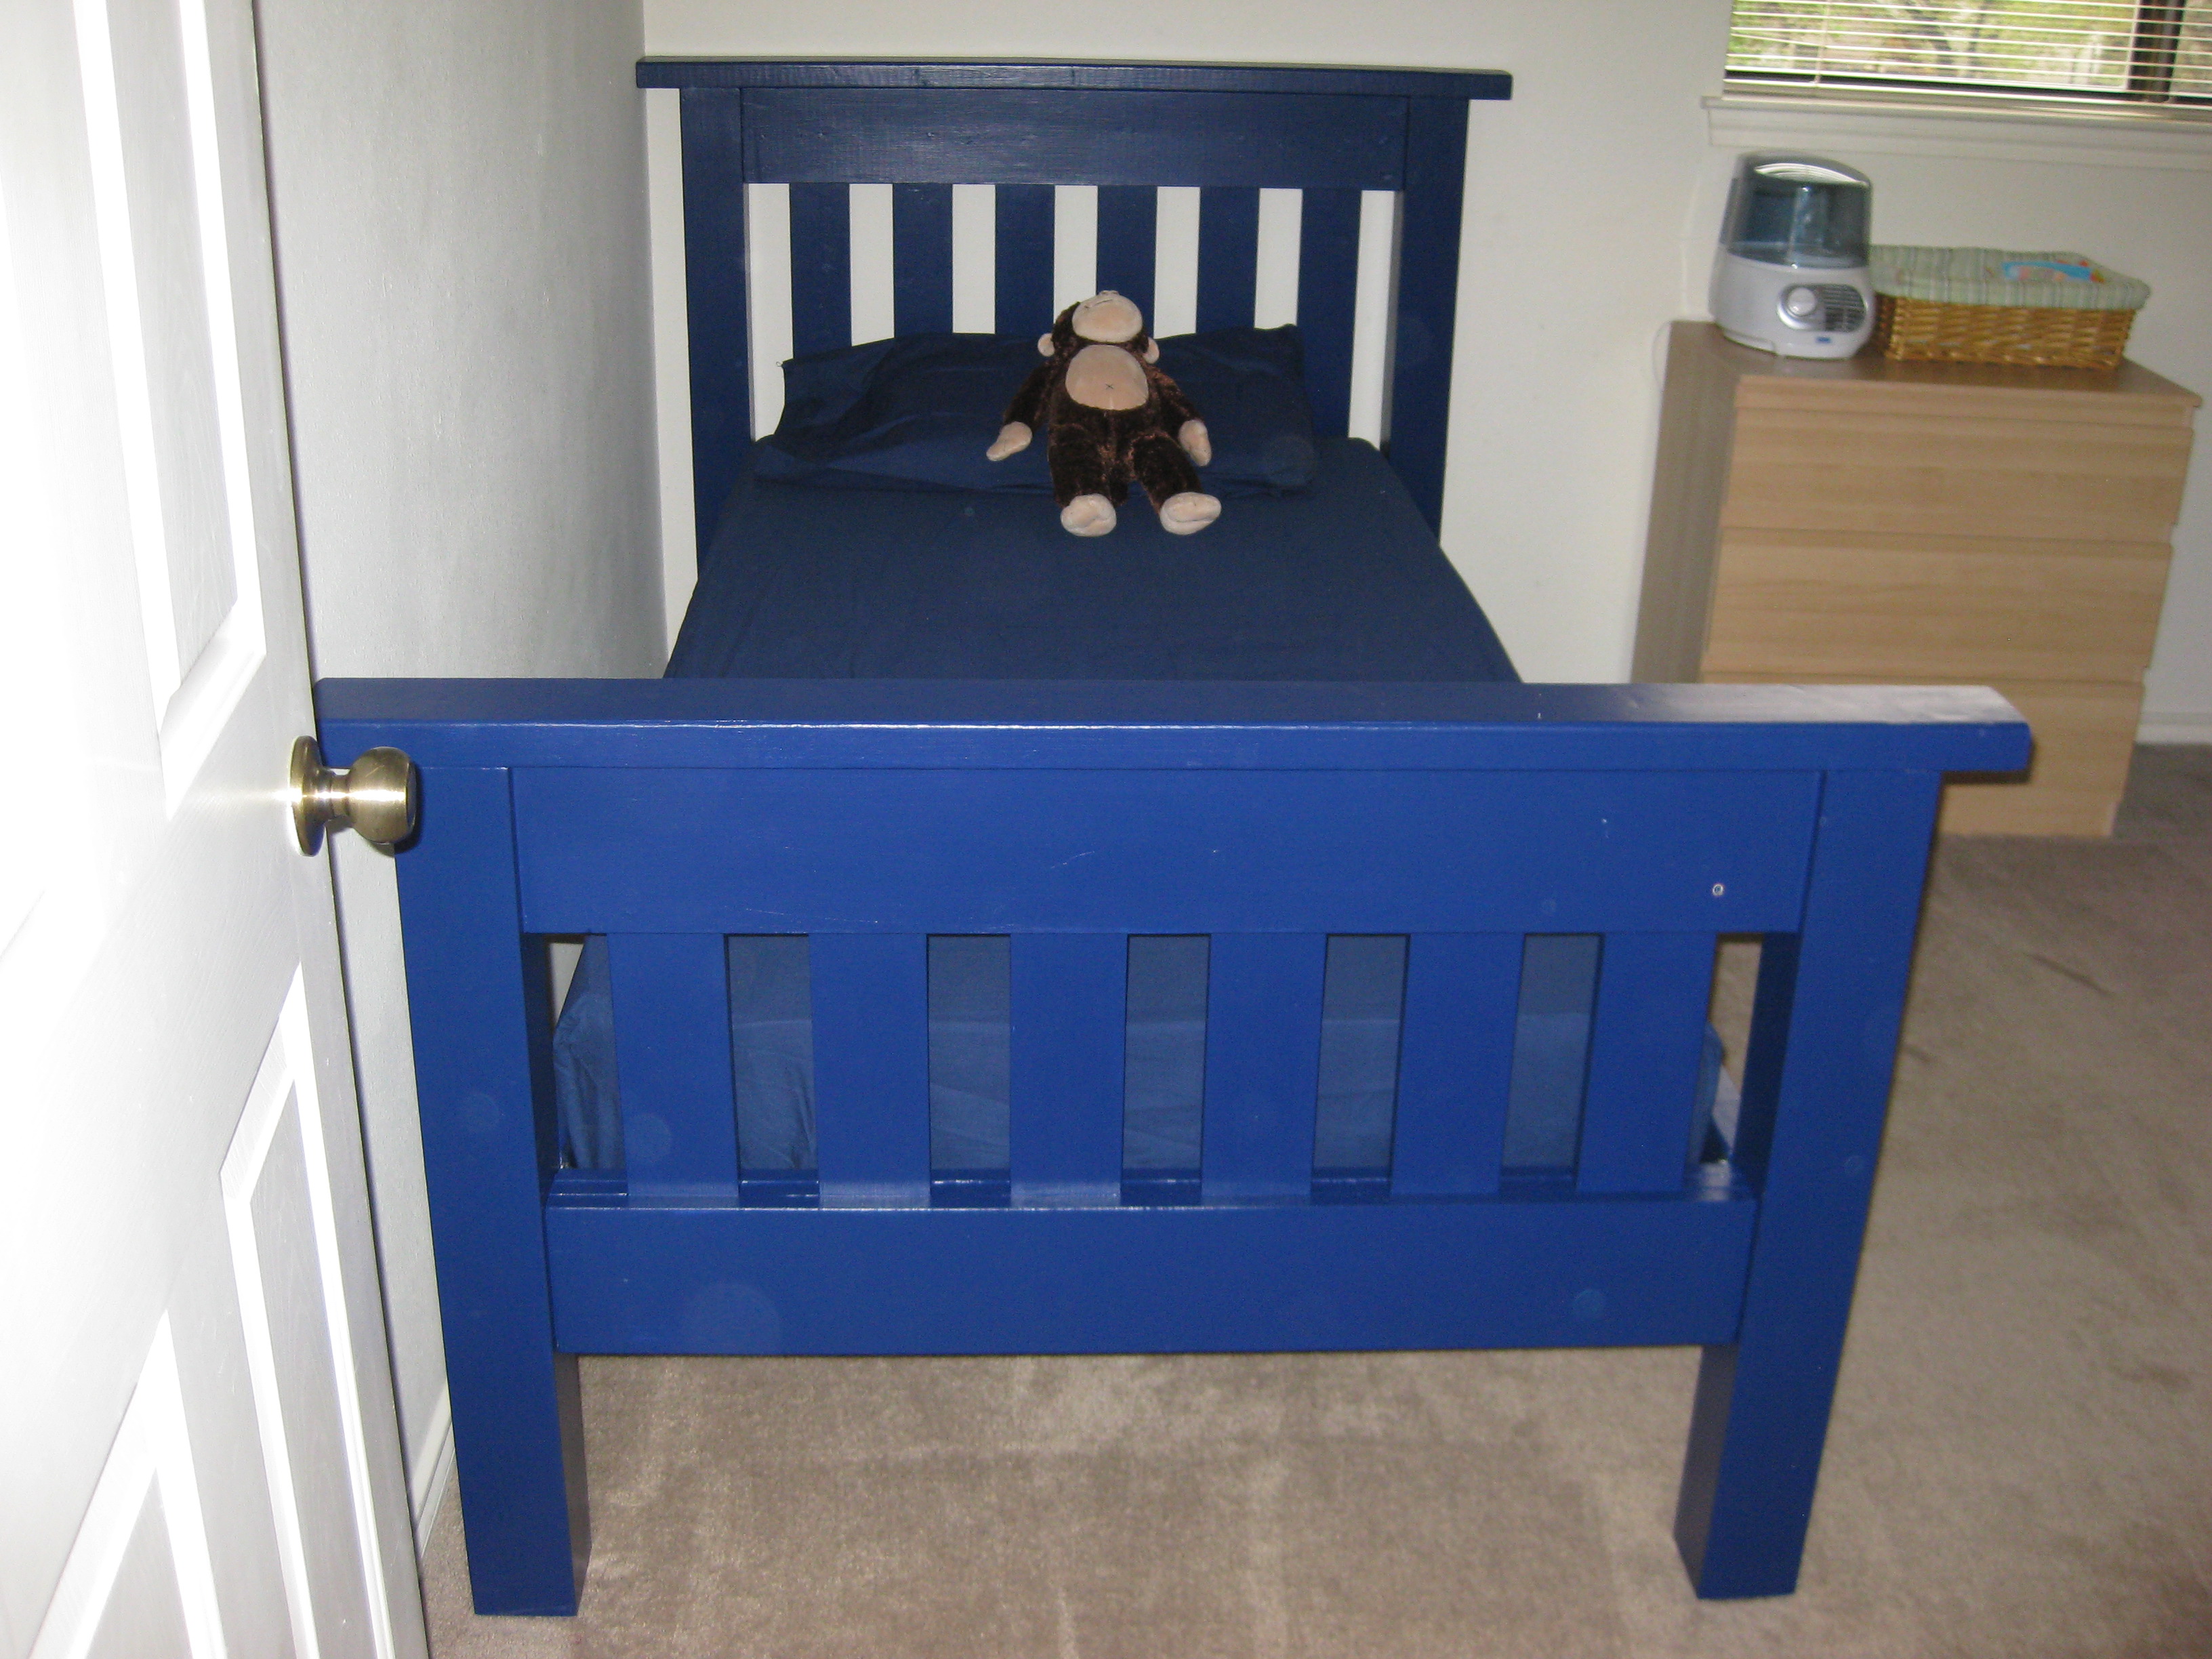
For some reason, and I still have to find out, the paint still remained tacky long after drying, but that hasn't kept our boys from loving their new beds! Great design and a fantastic first project!!