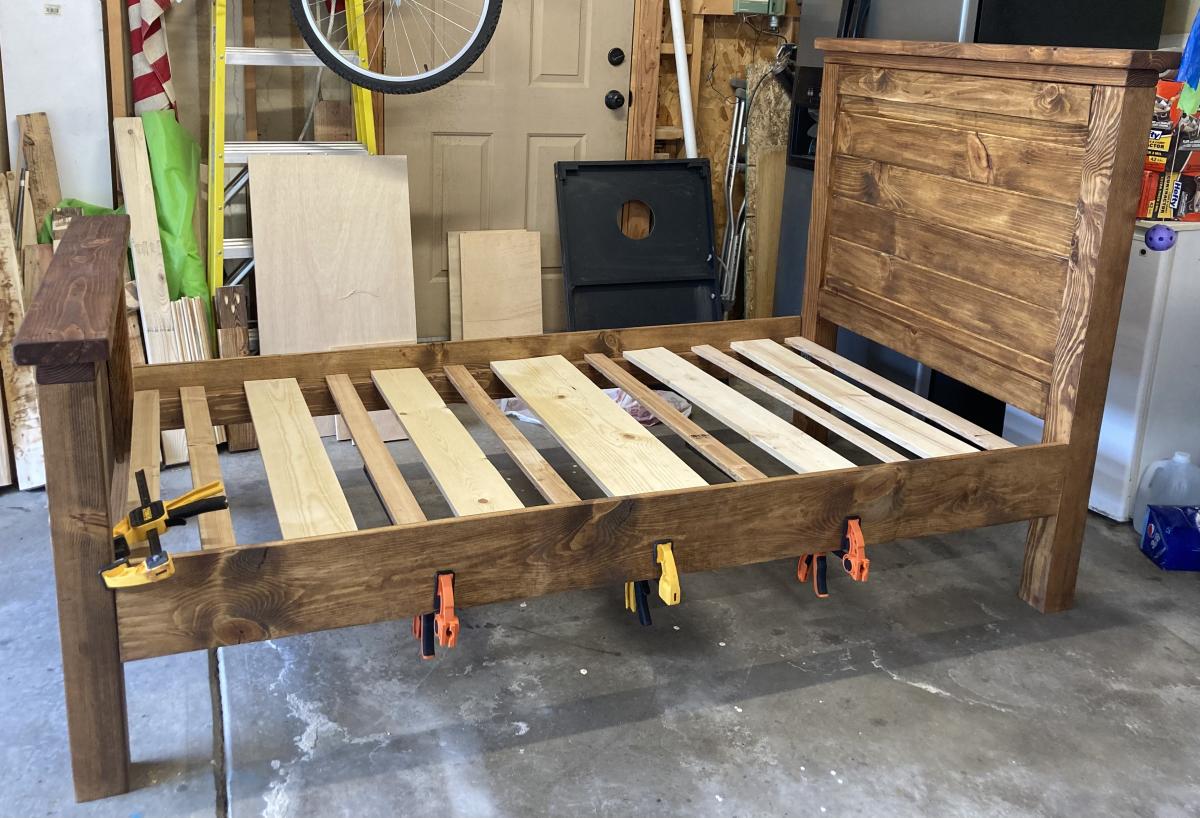
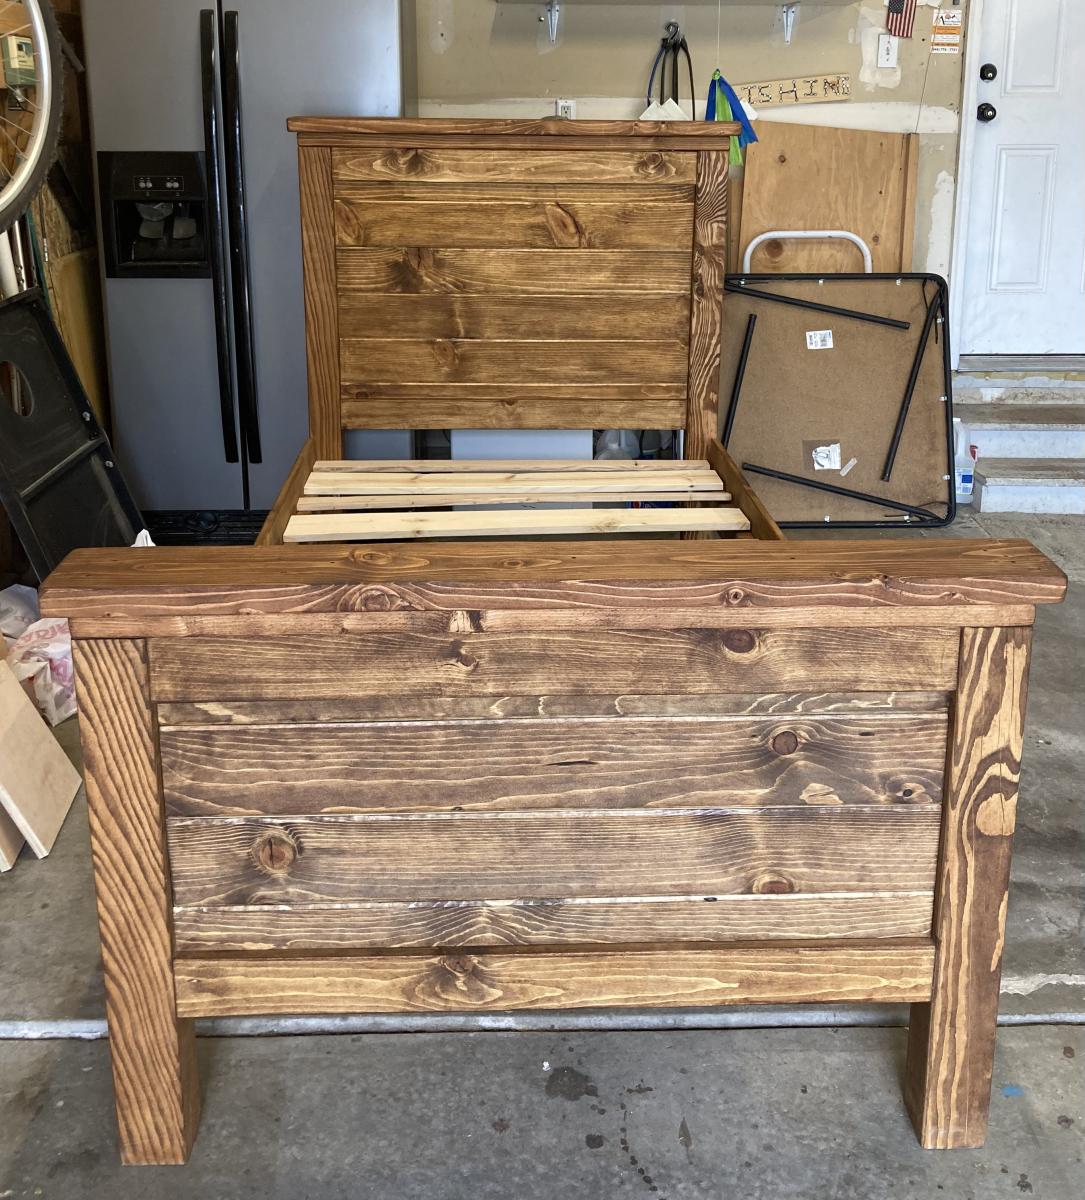
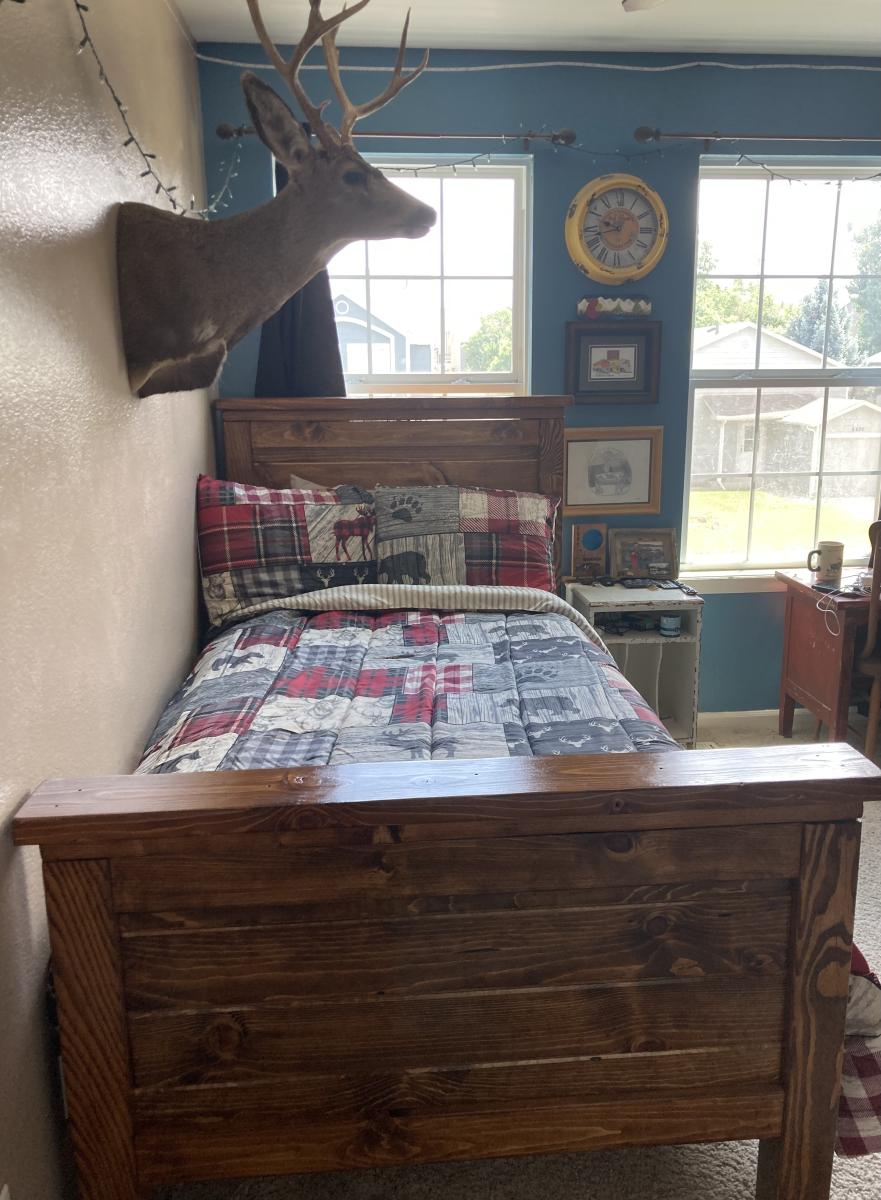
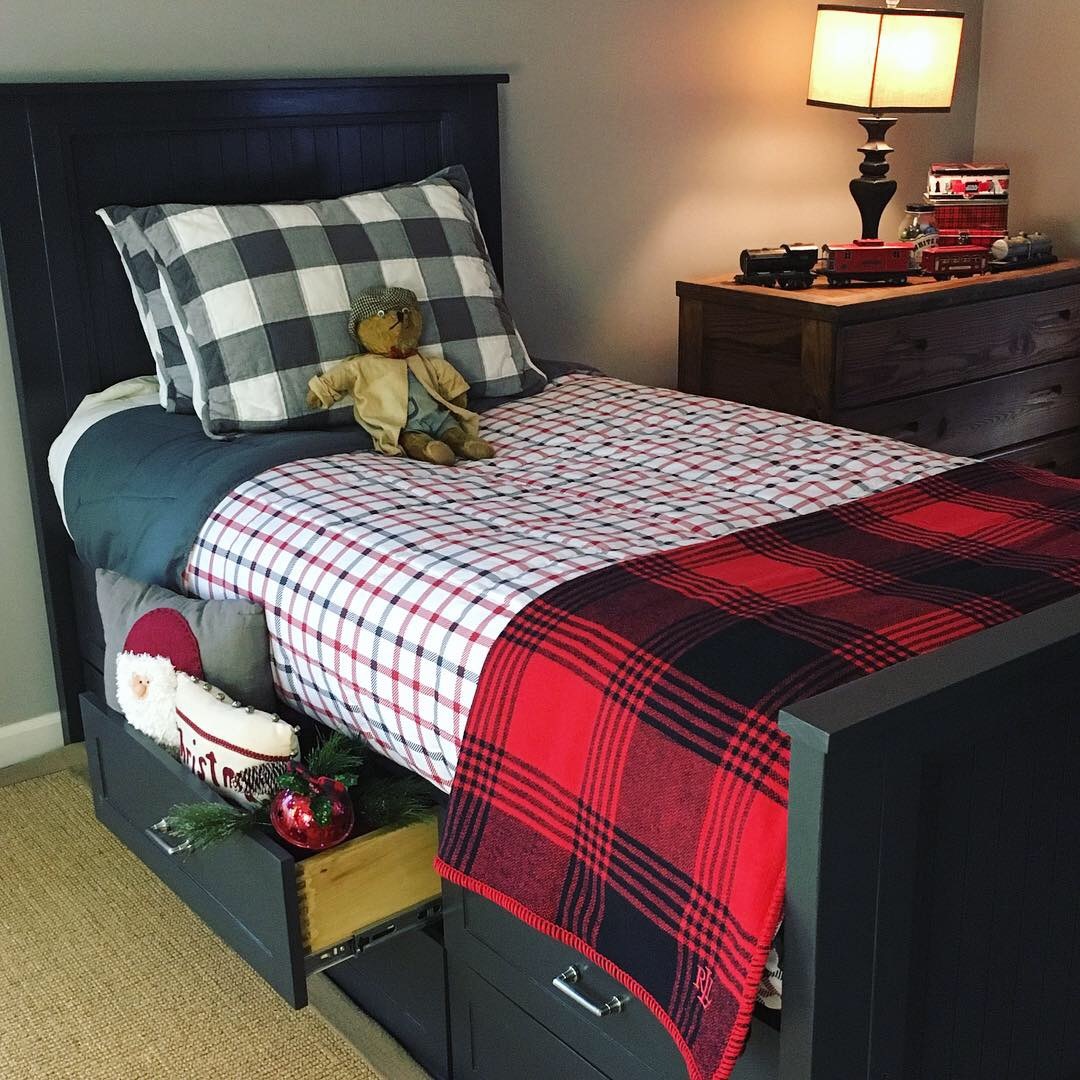
Son’s extra long farmhouse twin bed
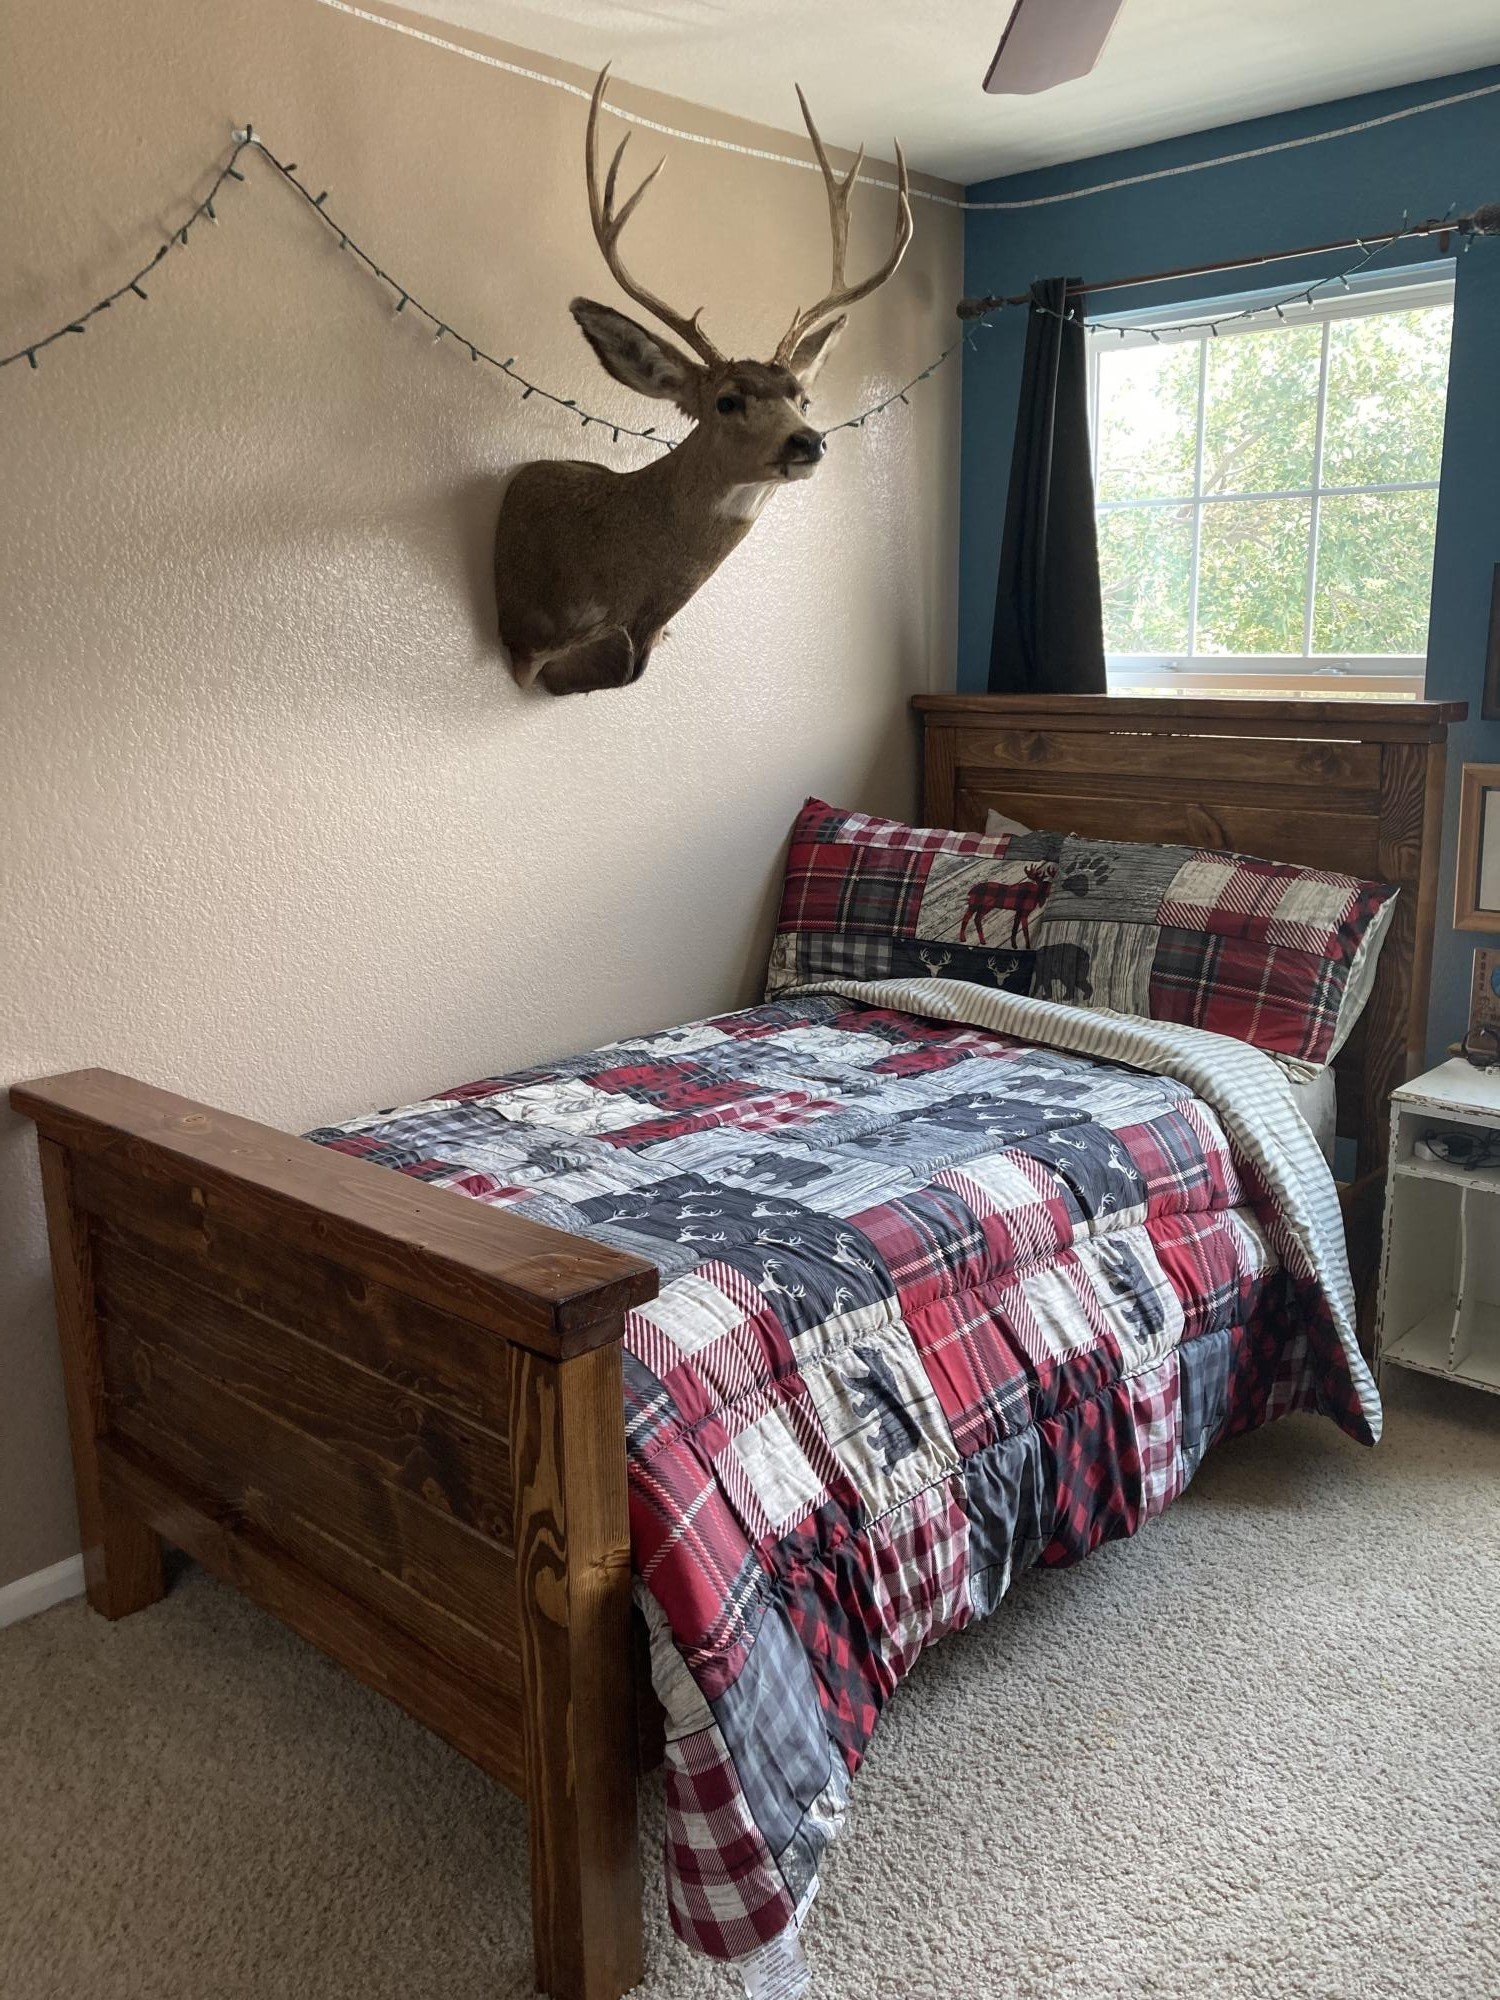
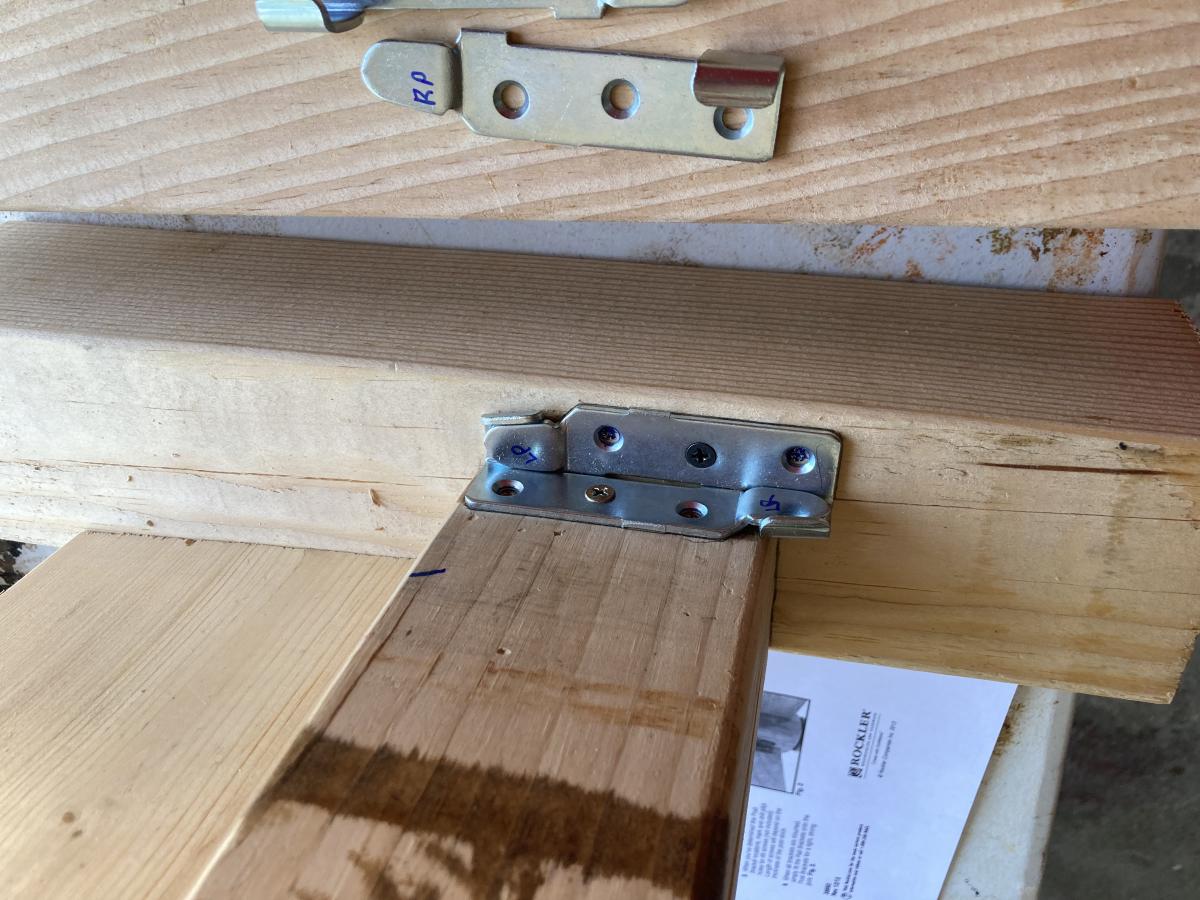
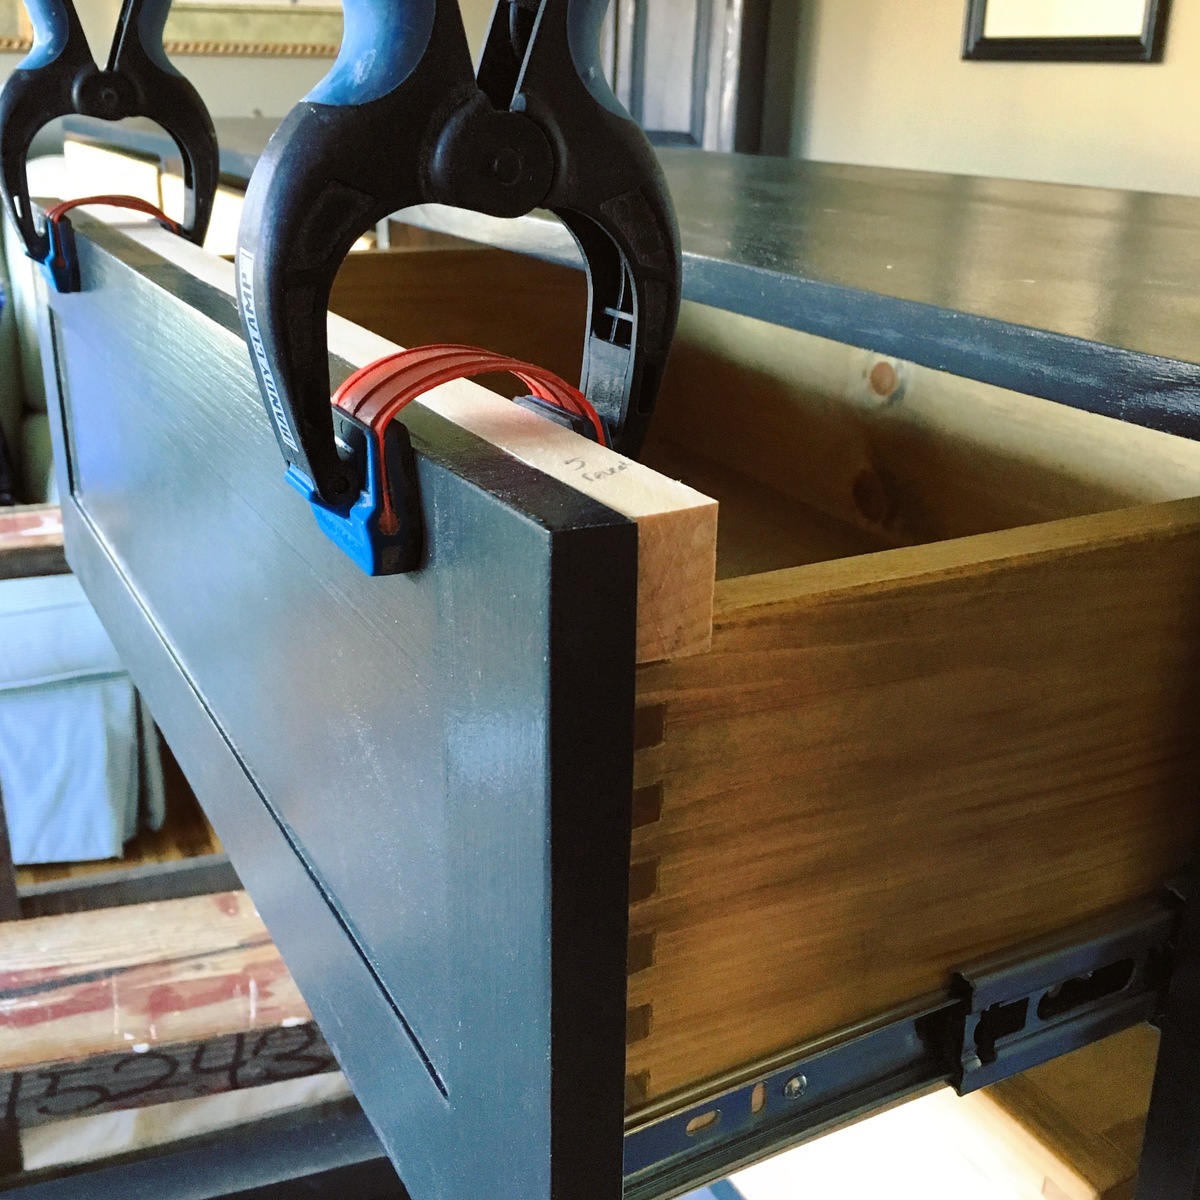
My son grew and needed a bed fit for a high schooler! We went through all of Ana’s beds and picked this one, but he wanted tongue and grove on his headboard and footboard. This was a smooth build and agreed with some other builders to have a bed breakdown framing system. I chose mine from Rockler. I have used their products before and have been very happy. My son also wanted it raised a little bit higher for storage. The stain is golden oak. We were so happy about this bed, so thank you once again, Ana!
Built from Plan(s)


Comments
Ana White Admin
Sat, 08/20/2022 - 20:58
Beautiful bed!
WOW, this is gorgeous, love the finish! Thank you so much for sharing.