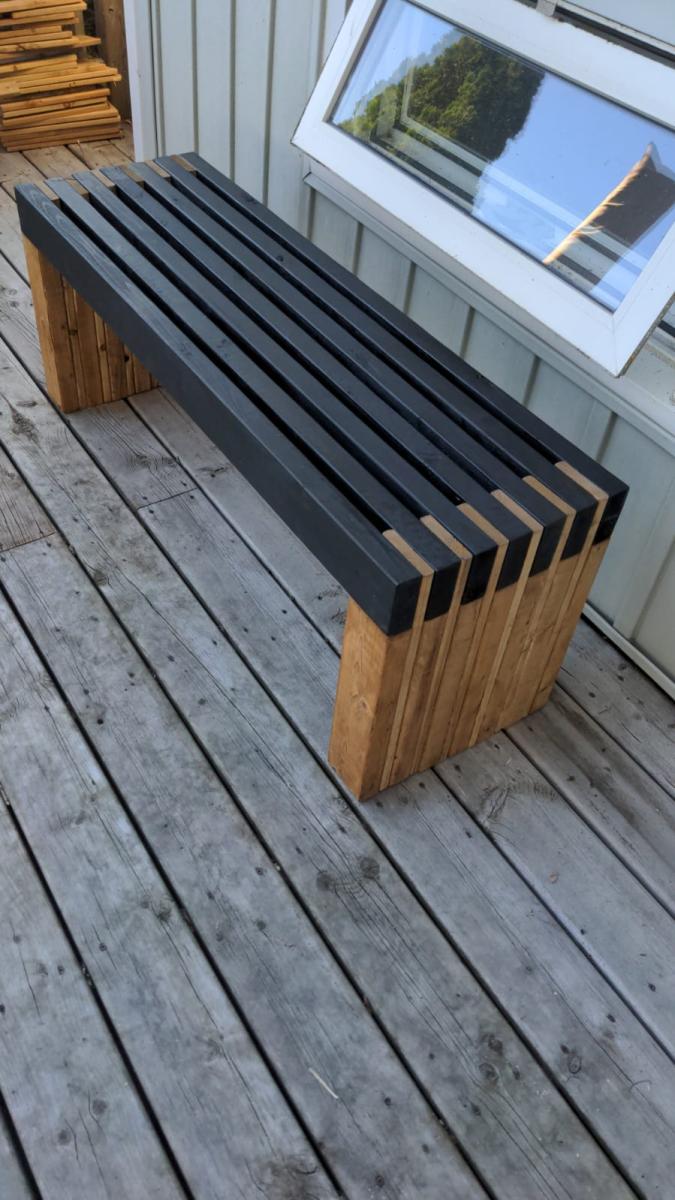
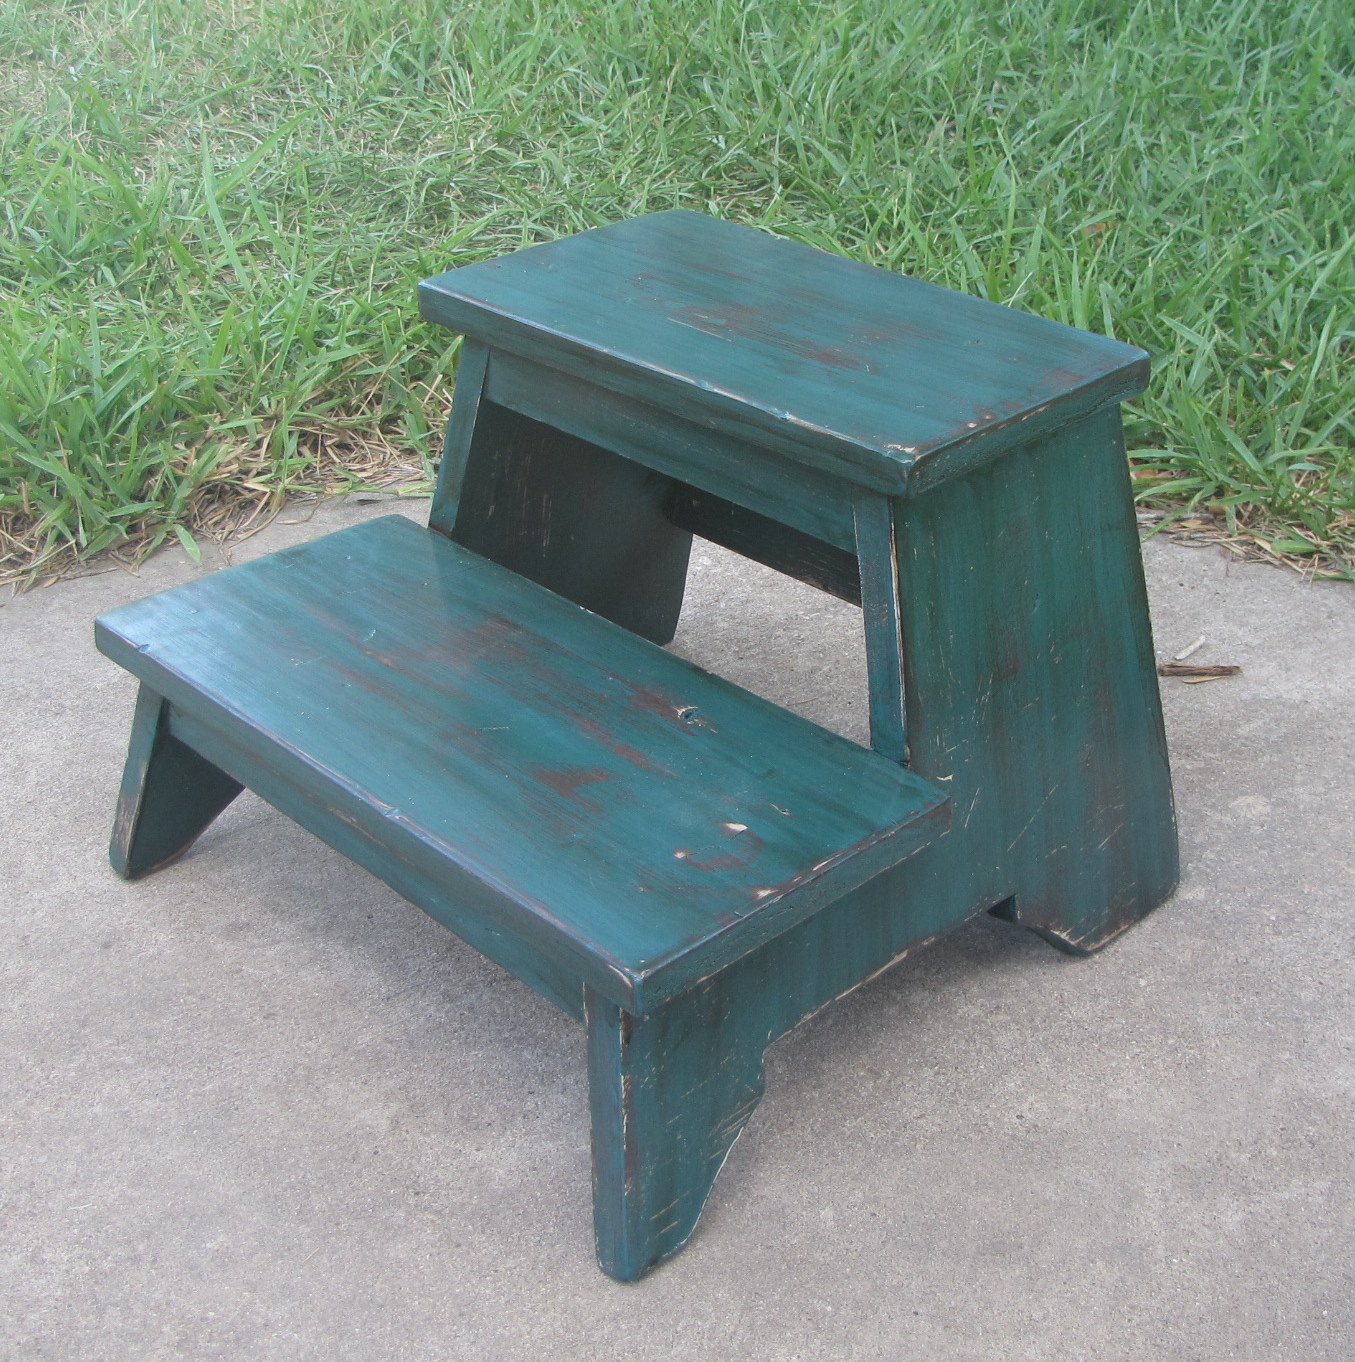
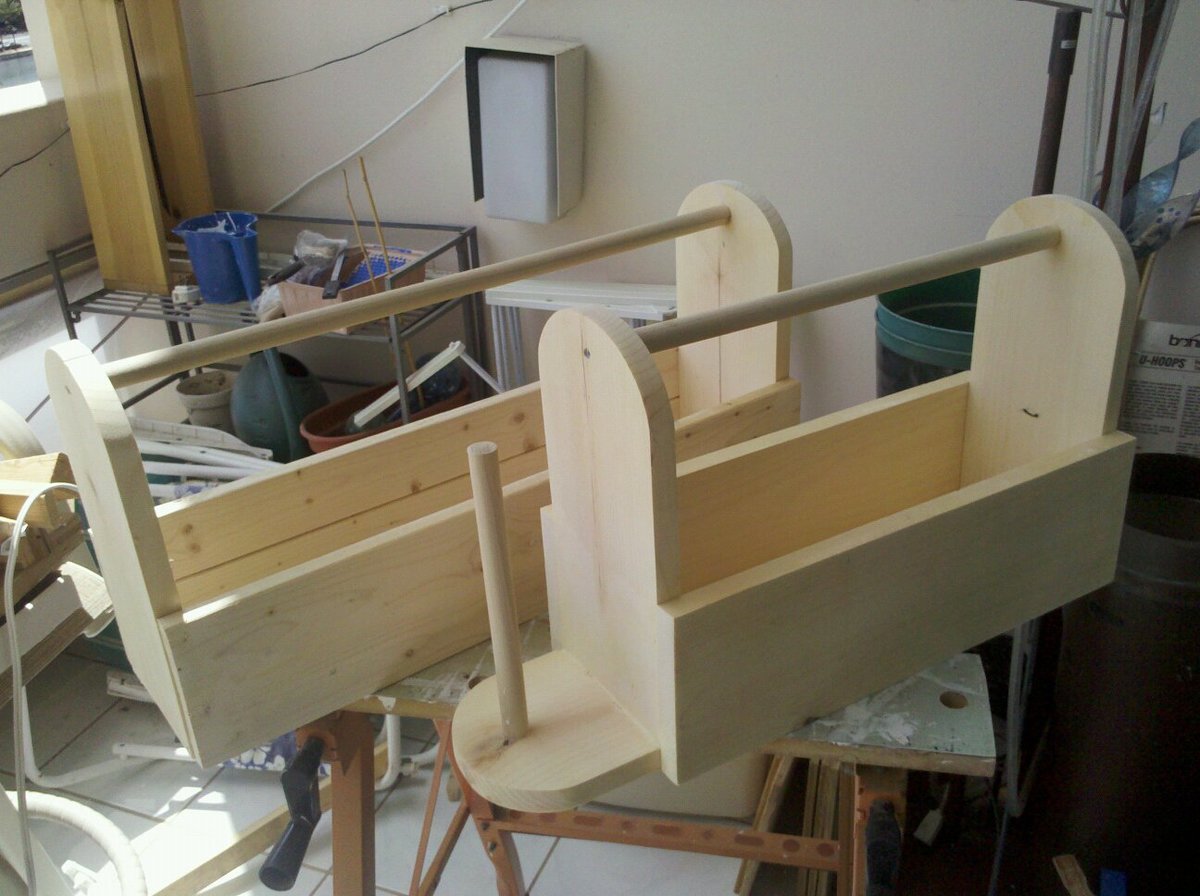
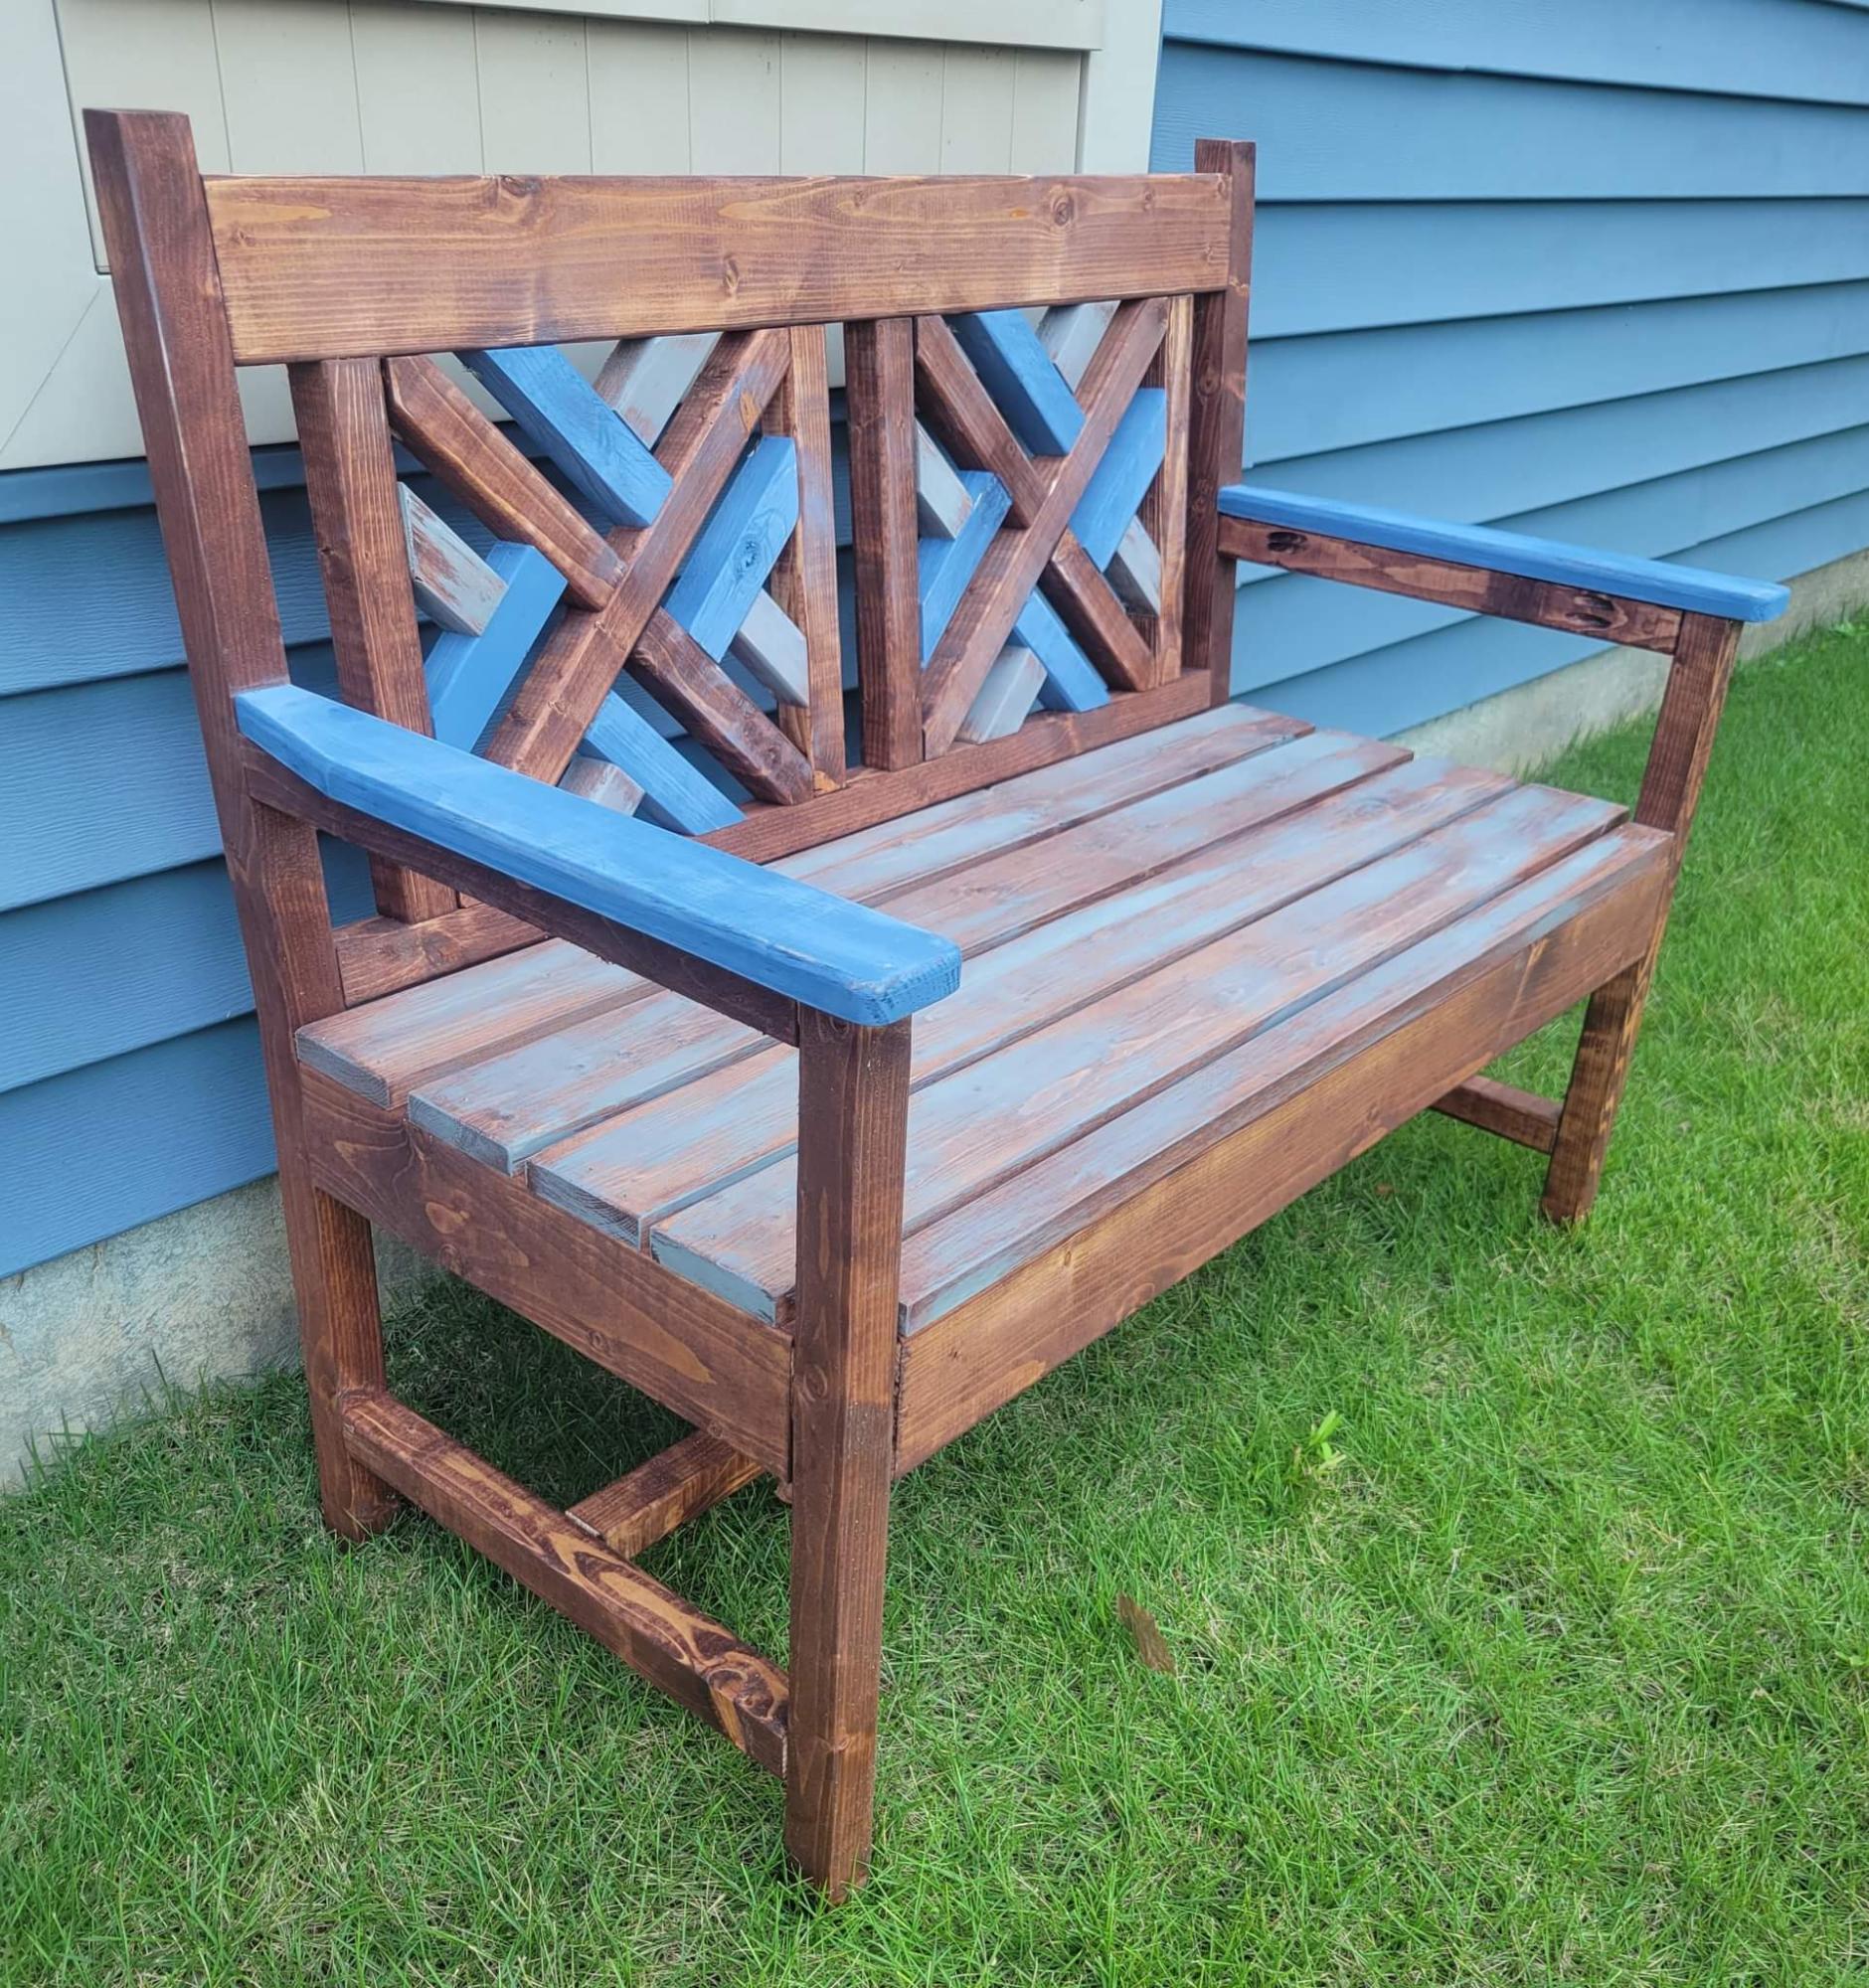
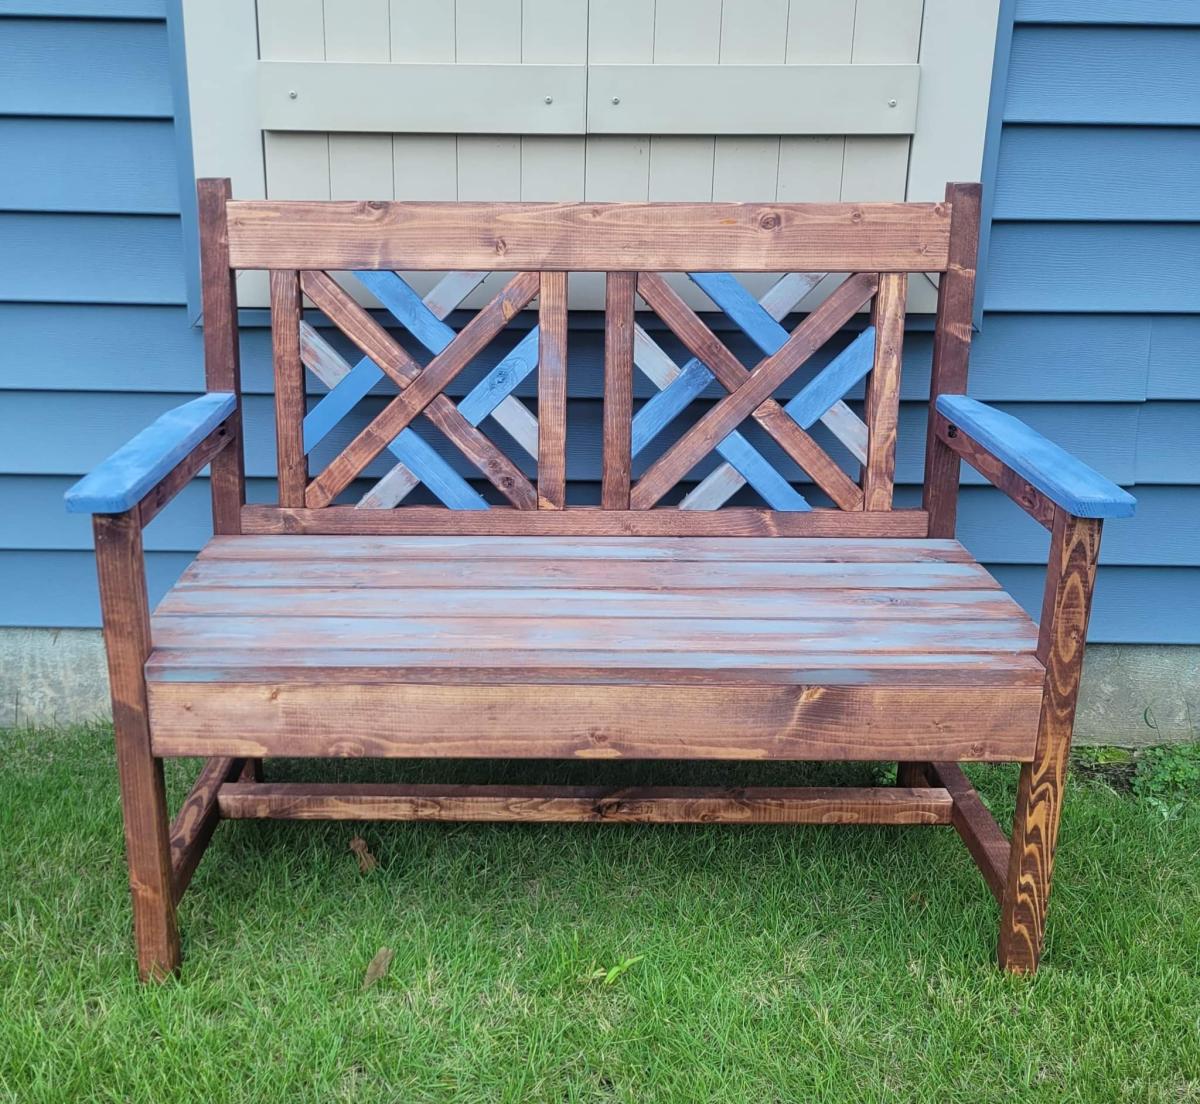
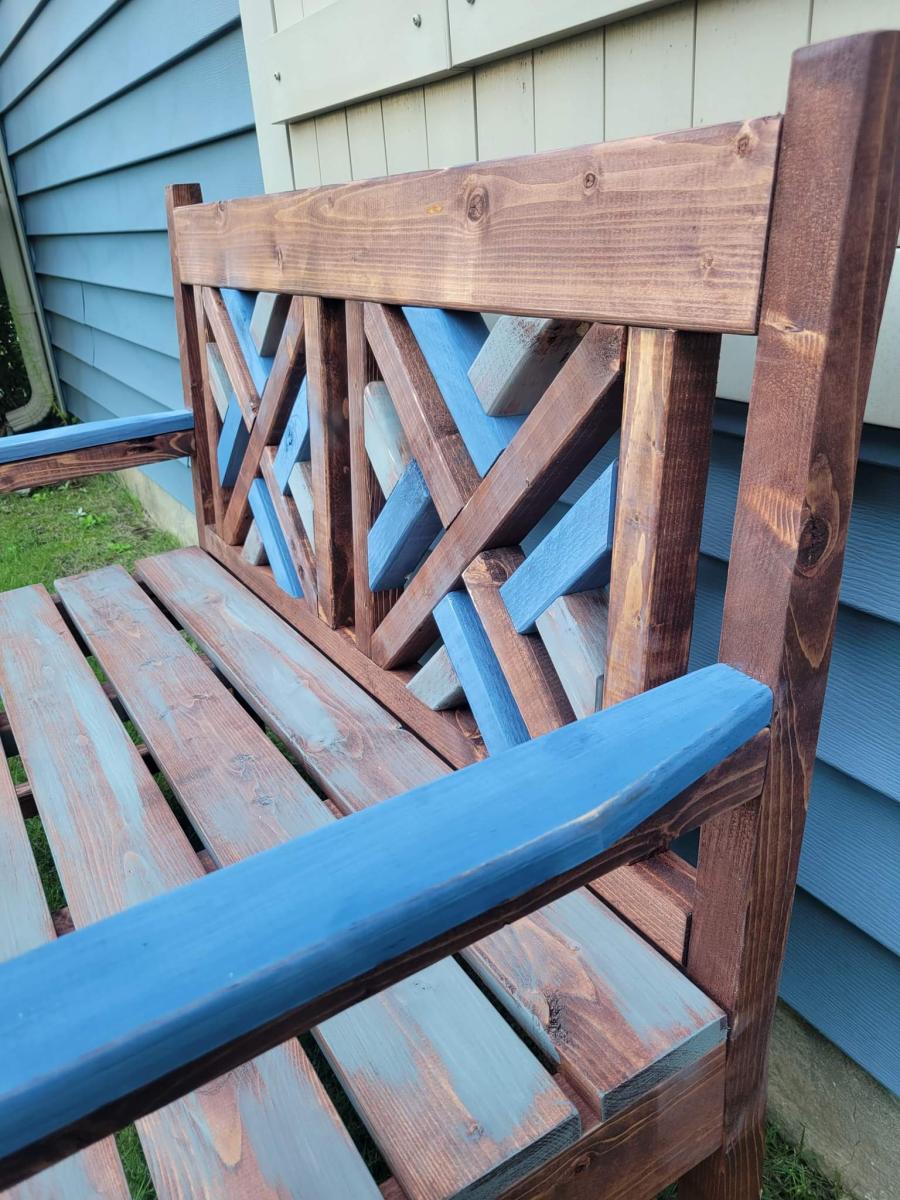
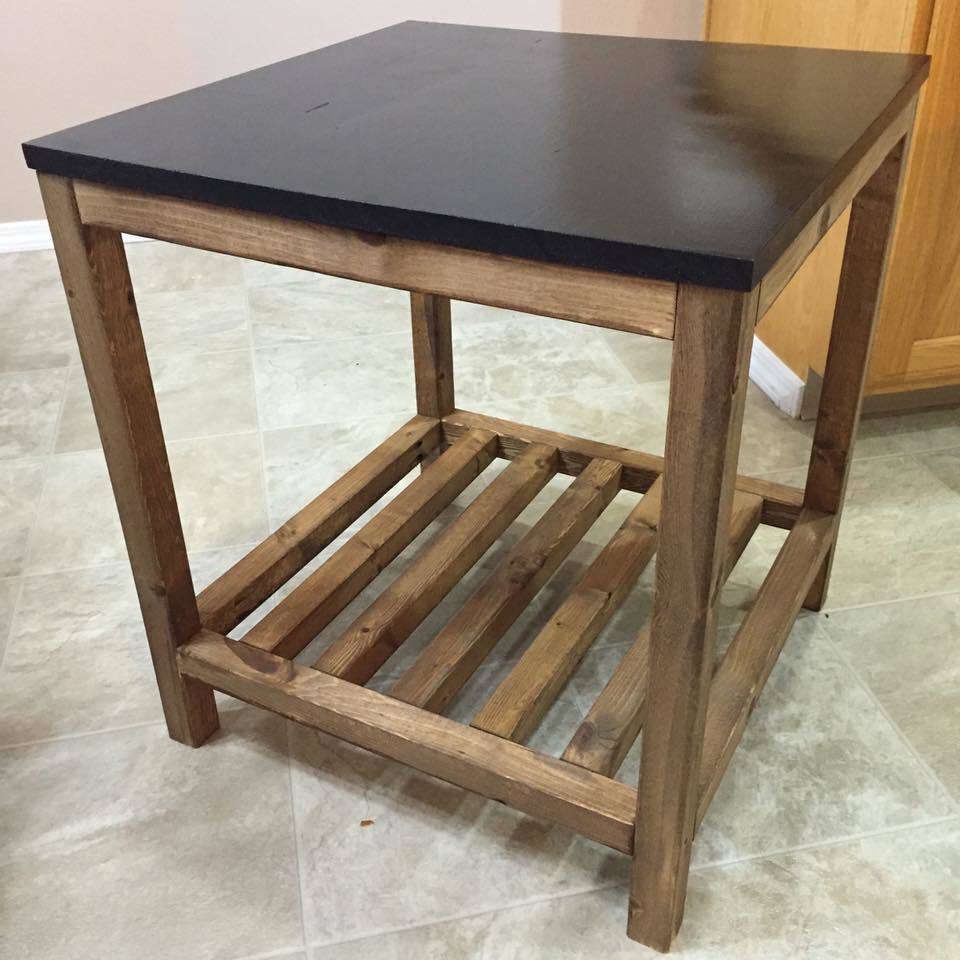
I love this stool. I used the plan as is, except for creating the angles similar to those shown on the stool photos in the plan. If you follow the plans directly, your stool will be standing completely straight vs the slight angle shown in the photos. If you are not comfortable with cutting angles, I would definitely stick with the plan. I had to play around with mine until I finally got everything right.
The time allotted is more due to waiting for paint to dry versus actual build time. The stool goes together quickly, but sanding & drying time do eat up the hours.
Thank you Ana for the great plans! I have more of these planned for the future, so cute & they'll make great gifts!
Estimated Time Investment
Weekend Project (10-20 Hours)
Finish Used
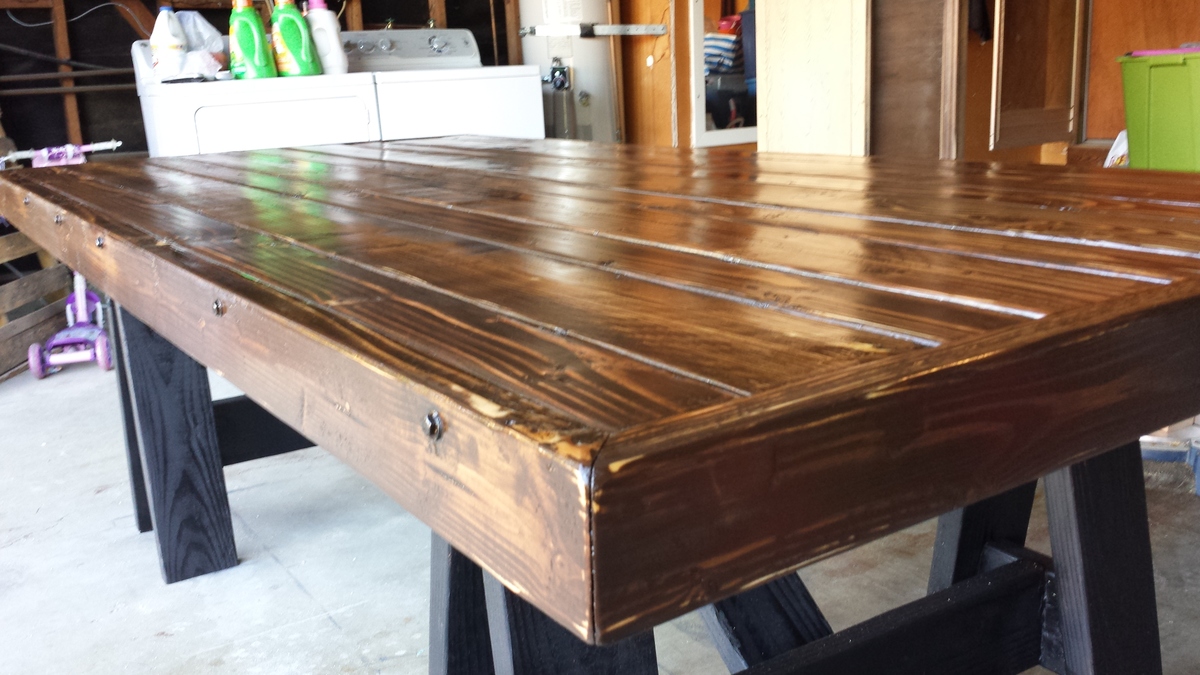
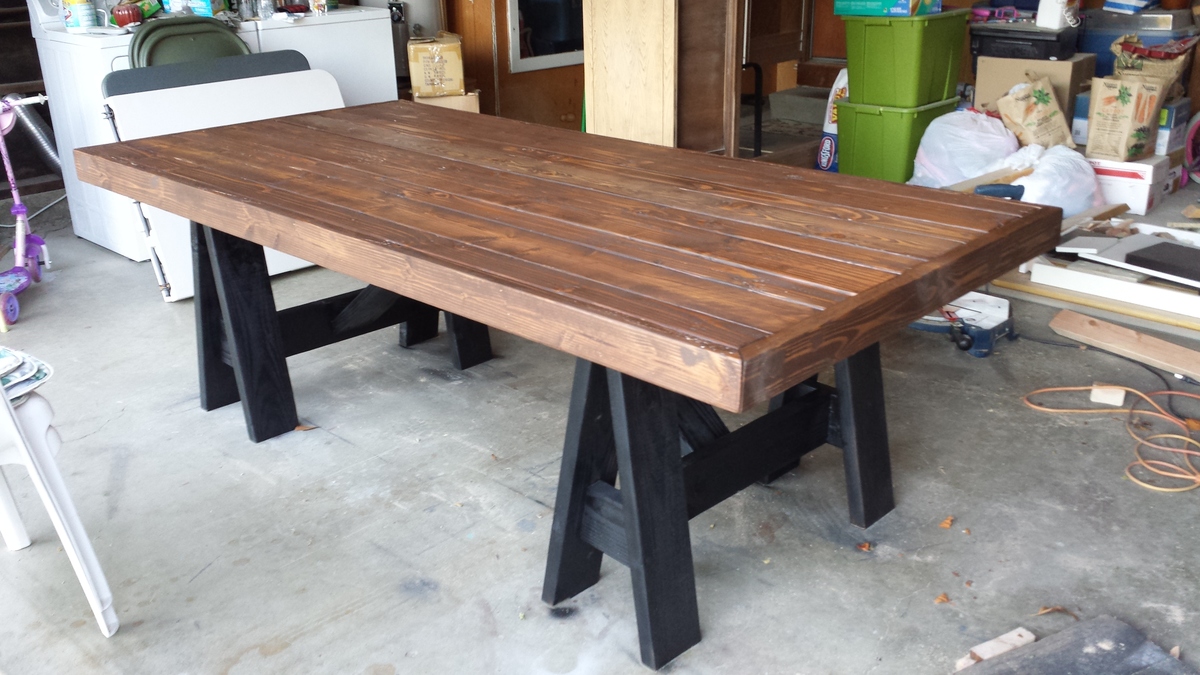
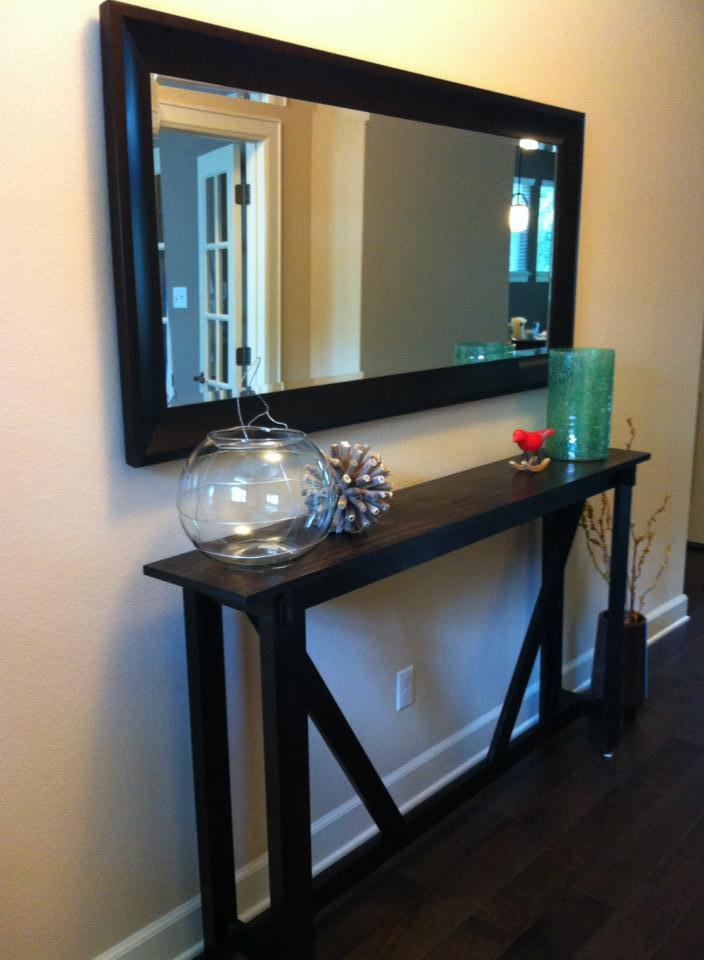
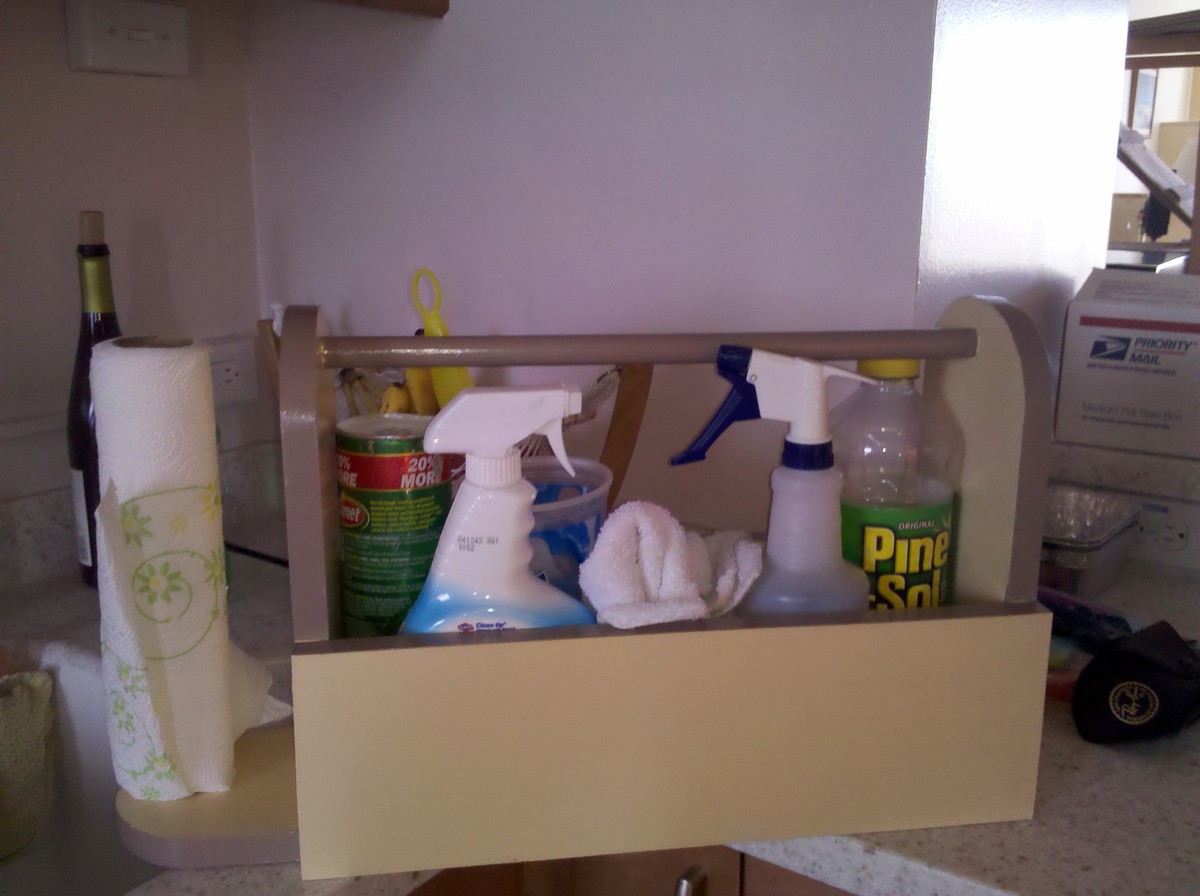
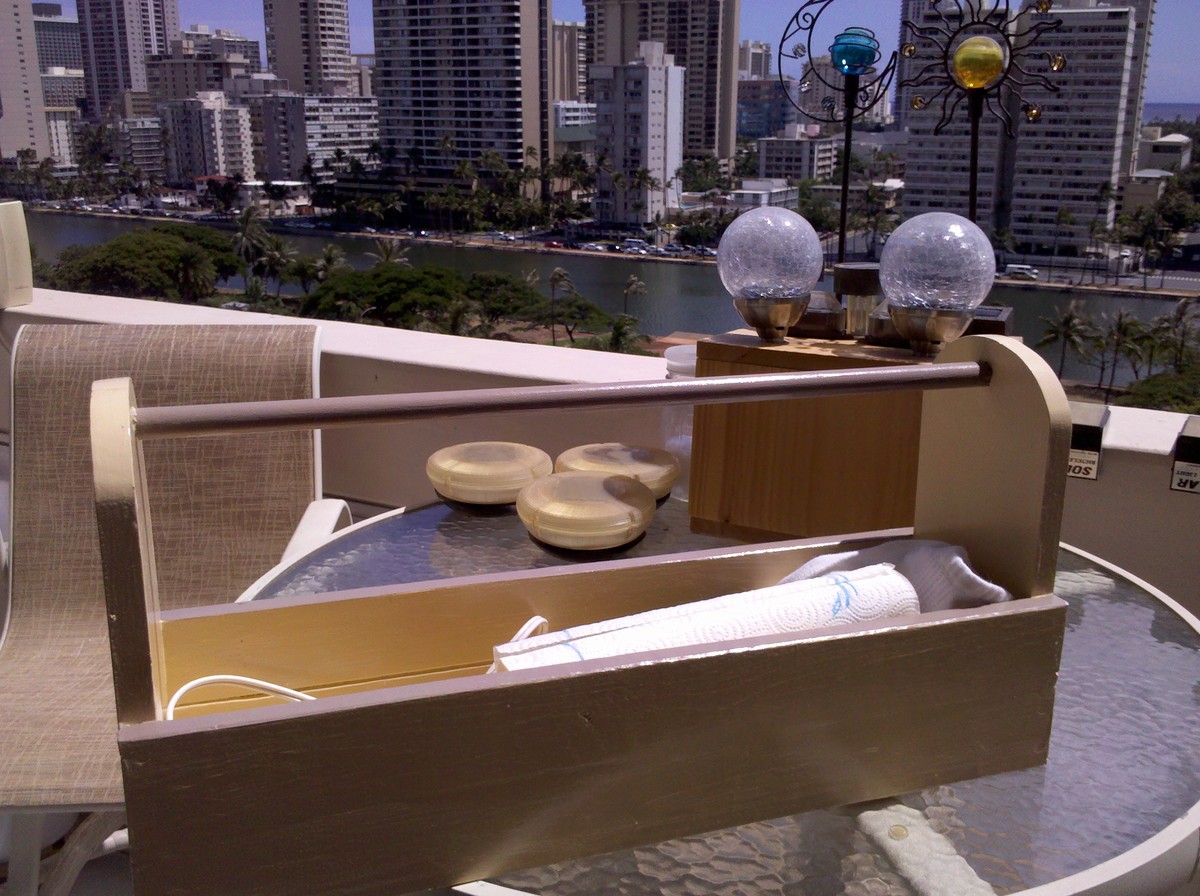
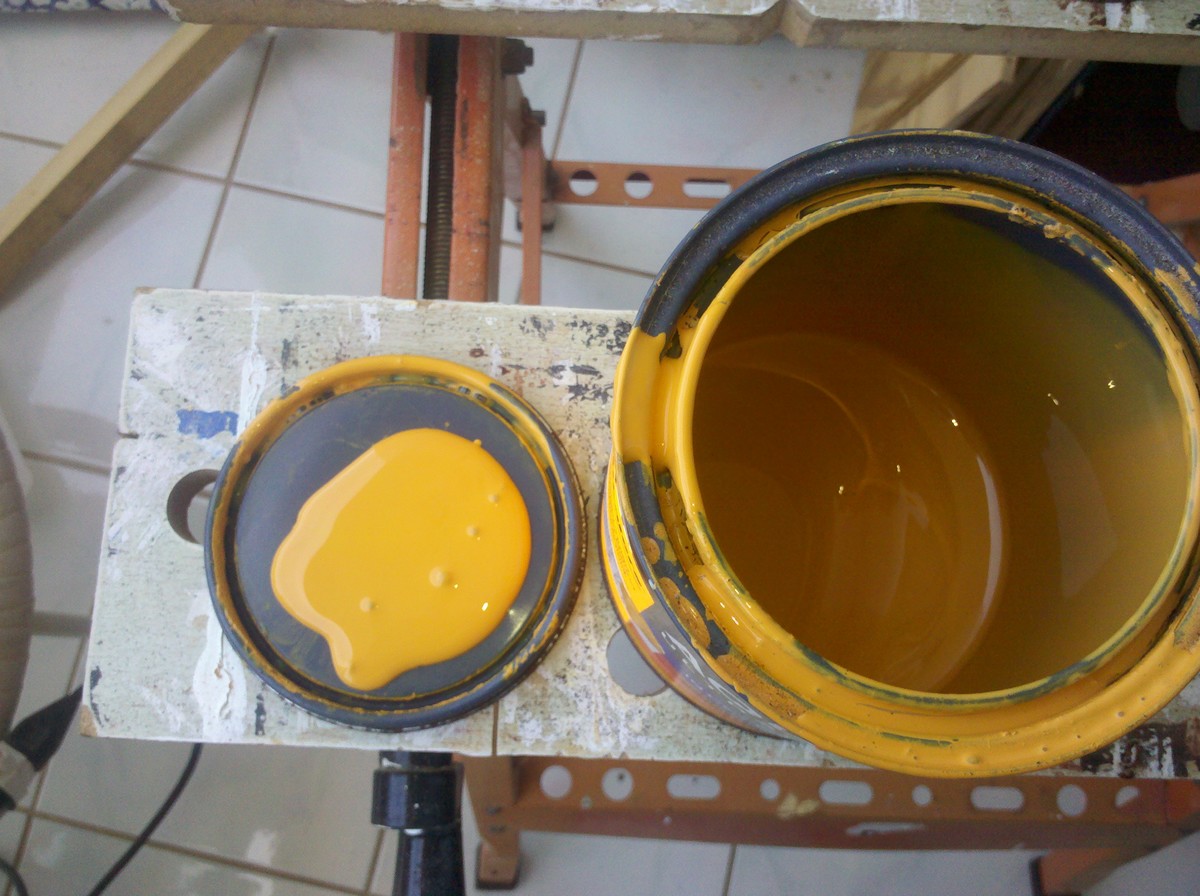
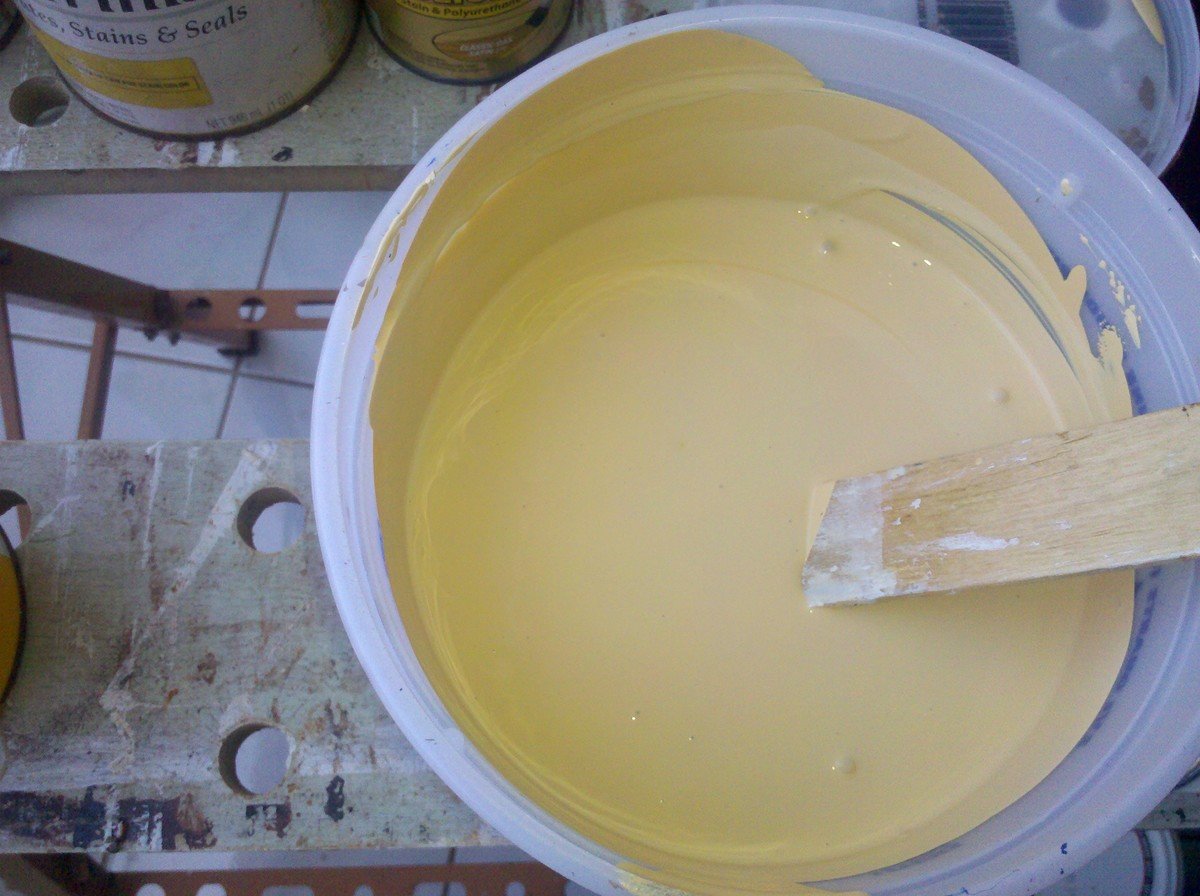
To create this distressed finish...one coat primer, one coat dark brown (oops paint sample, so I don't know actual name), then random thin layers of poly to keep next coat of paint from sticking in those areas, one coat teal (also oops paint sample), glaze in a dark brown & then clear poly on top. You sand in-between all paint layers & then do a final sanding to create distressed look before applying glaze or poly.
Recommended Skill Level
Beginner