Community Brag Posts

iTable

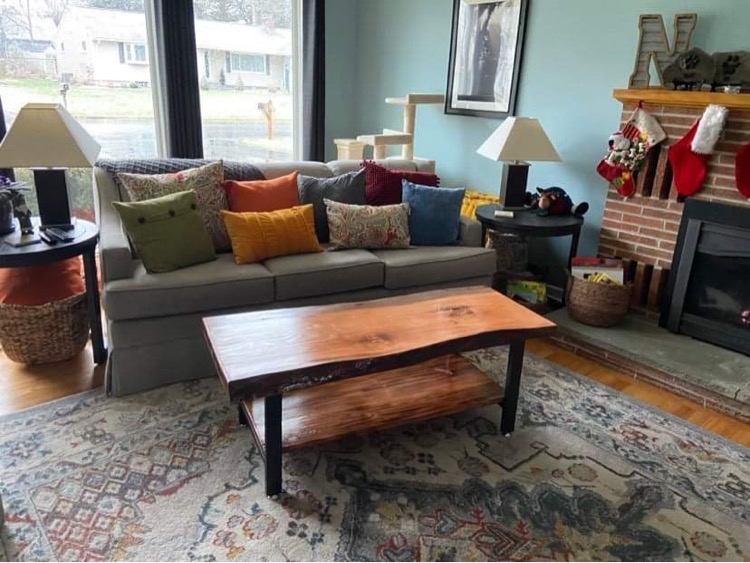
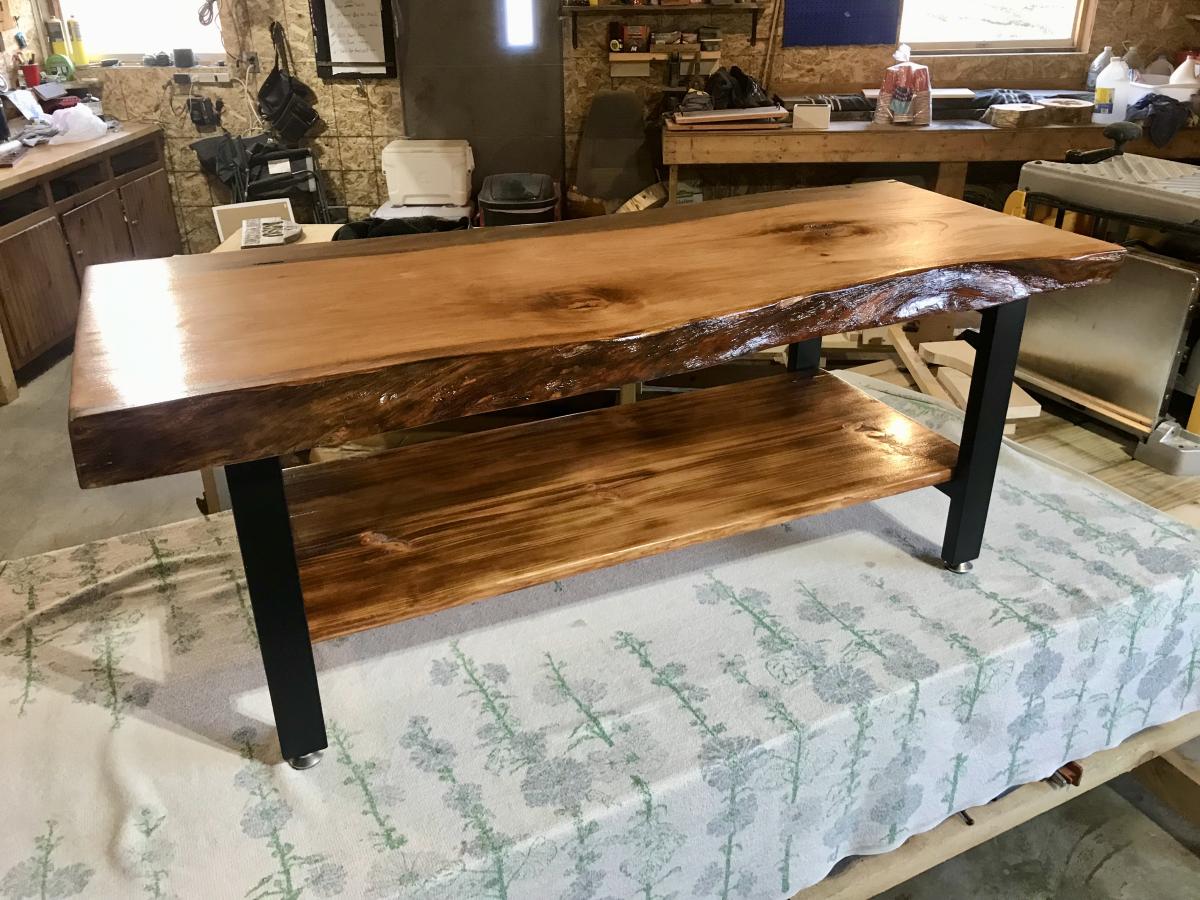
Followed the plan perfectly. A little too perfectly, as the table turned out so well that I have To go back and rebuilt the iSideTables ;)

Same as the plan, used Kona stain, but I left it on for 2 coats.

Built from Plan(s)
Estimated Time Investment
Weekend Project (10-20 Hours)
Finish Used
Kona stain
Recommended Skill Level
Beginner

Queen Pallet wood bed

Submitted by naomi on Fri, 08/29/2014 - 08:07

I made this bed for my son and his girlfriend.

I used pallet wood and new pine for this.

I also added two metal strips to the headboard for decoration.

The headboard is connected to the siderails with 2 bolts straight through the side of each leg. The siderails are on the inside of the headboard.

The siderails are connected to the foot of the bed with 2 bolts straight through the foot into the end of the siderails. I added a third fake bolt to balance the look.

Estimated Time Investment
Week Long Project (20 Hours or More)
Finish Used
Teak Stain
Recommended Skill Level
Intermediate

Comments

naomi

Wed, 10/15/2014 - 07:25

Hi EarthyByBike,

I had previously built the queen farmhouse bed and this bed was modeled from that one. I basically ran the boards vertical instead of horizontal. It uses most of the basic techniques as the farmhouse bed. I took the ideas from the farmhouse bed and then just changed it up a bit.

I can't remember the exact height of the bed but I think it was 165cm.


Industrial Farmhouse Bench from Shanty2Chic

Built from Shanty2Chic Industrial Farmhouse Bench Plans


Pine and Main builder for the South Florida Area.

Estimated Cost
$60
Finish Used
Finished with Varathane products. Stained with Briarsmoke Premium Wood Stain and top coat is Triple Thick Polyurethane
Recommended Skill Level
Beginner

Adirondack chairs

Submitted by Anonymous (not verified) on Sun, 08/30/2020 - 17:37

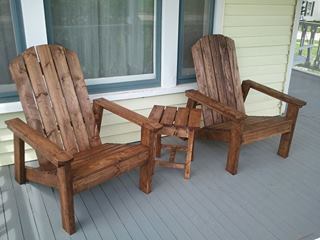
Super easy to follow your plans. Had to modify a bit as lumber yard was out of 1x10s.

Estimated Time Investment
Afternoon Project (3-6 Hours)
Finish Used
Special walnut stain

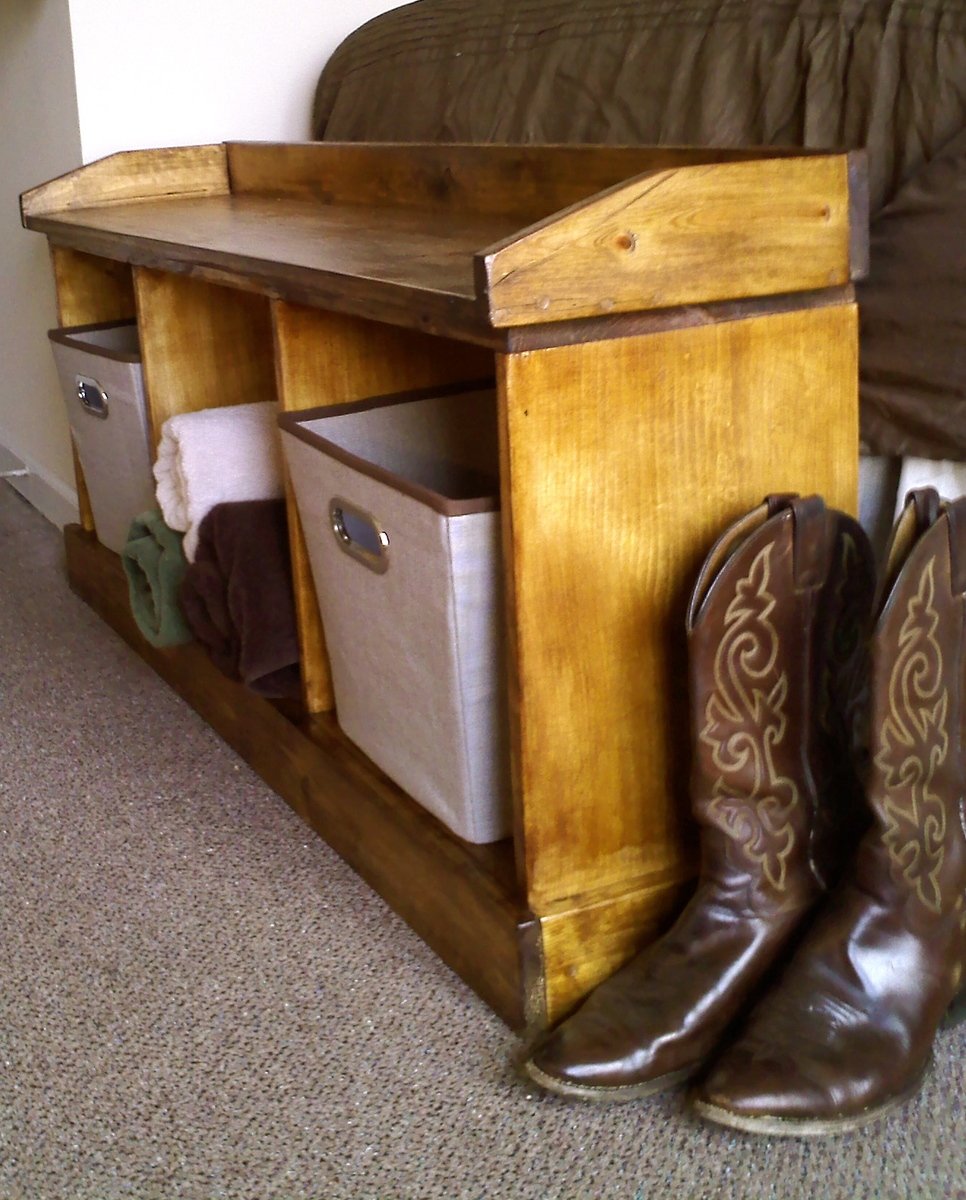
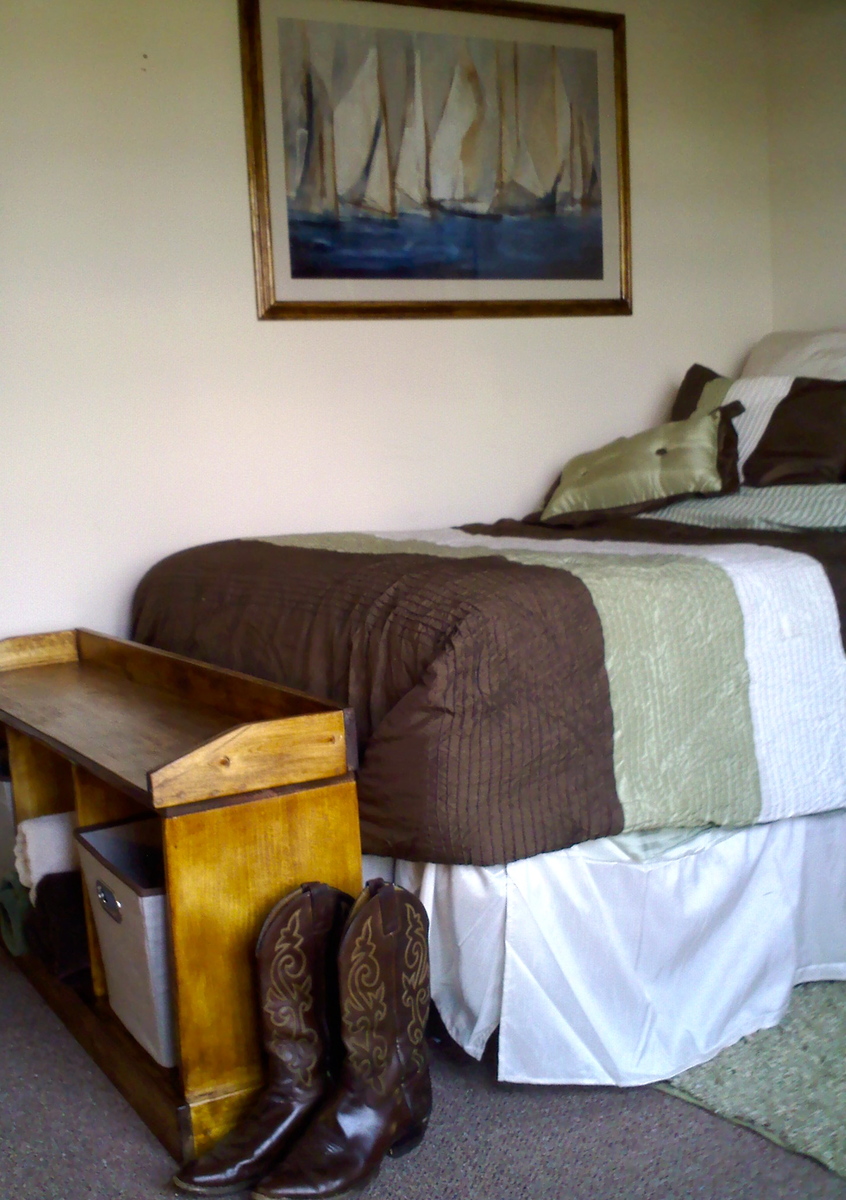
Benchright farmhouse bench

Submitted by Bergenj123 on Mon, 11/12/2012 - 17:05

Piece of cake compared to building the table. Added hardware and stain, just have to put on the finish.

Estimated Cost
80 dollars
Estimated Time Investment
Afternoon Project (3-6 Hours)
Finish Used
Red mahogany stain and satin polyurethane finish
Recommended Skill Level
Intermediate

Comments

bkbeltgal

Sun, 12/30/2012 - 06:51

That looks great! I want to make this bench very soon then also make the matching table... where did you get the hardware for it? Thanks!

Bergenj123

Mon, 06/23/2014 - 00:10

I got most at a local lowes but had to order the reverse threaded rod for one of the stretchers at the bottom. Ordered from an online hardware company.

Loft Bed

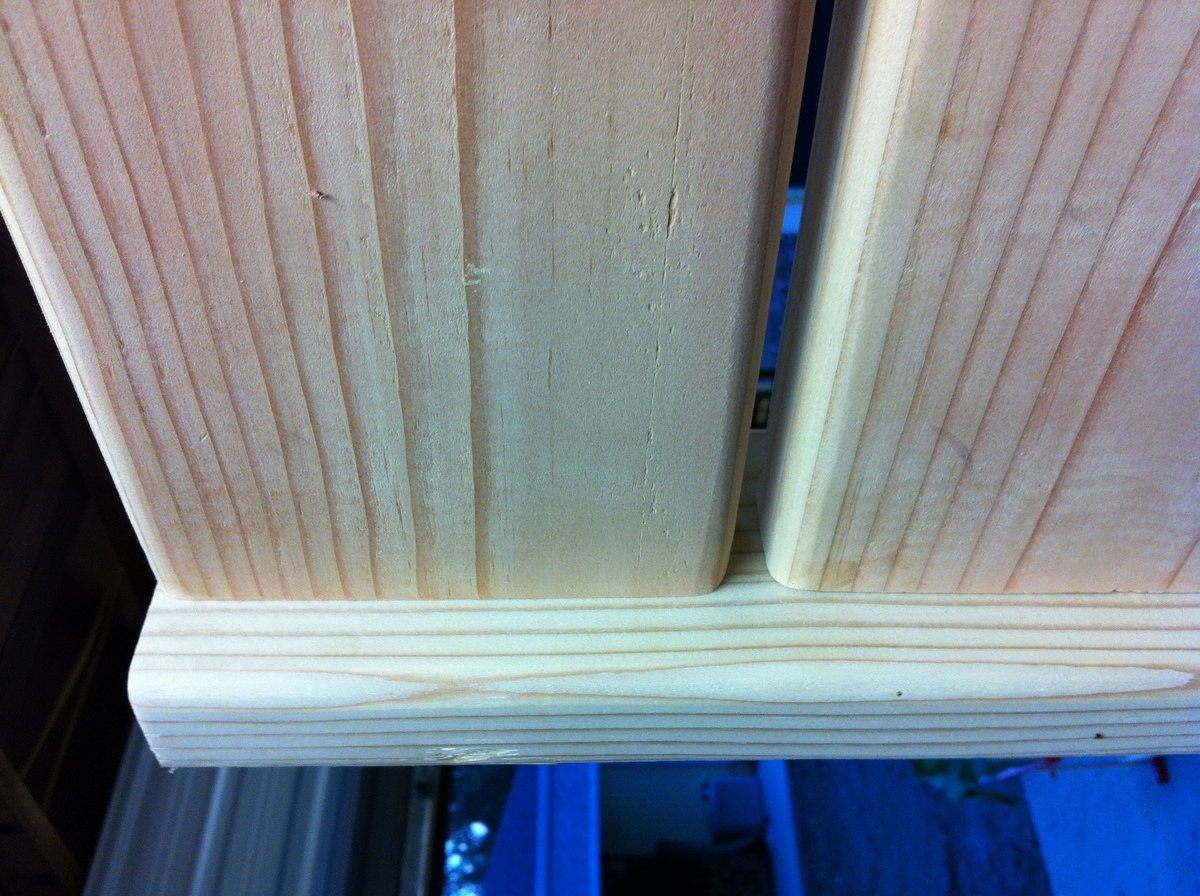
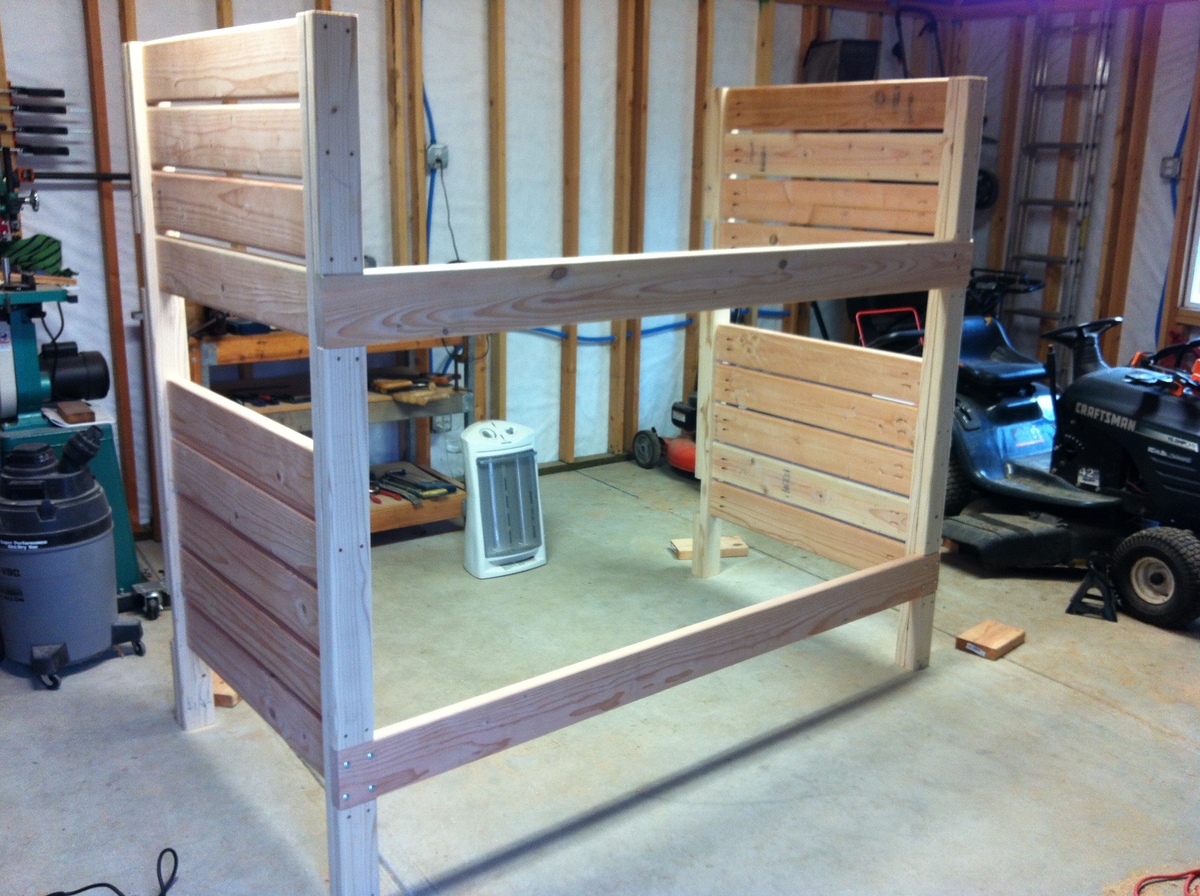
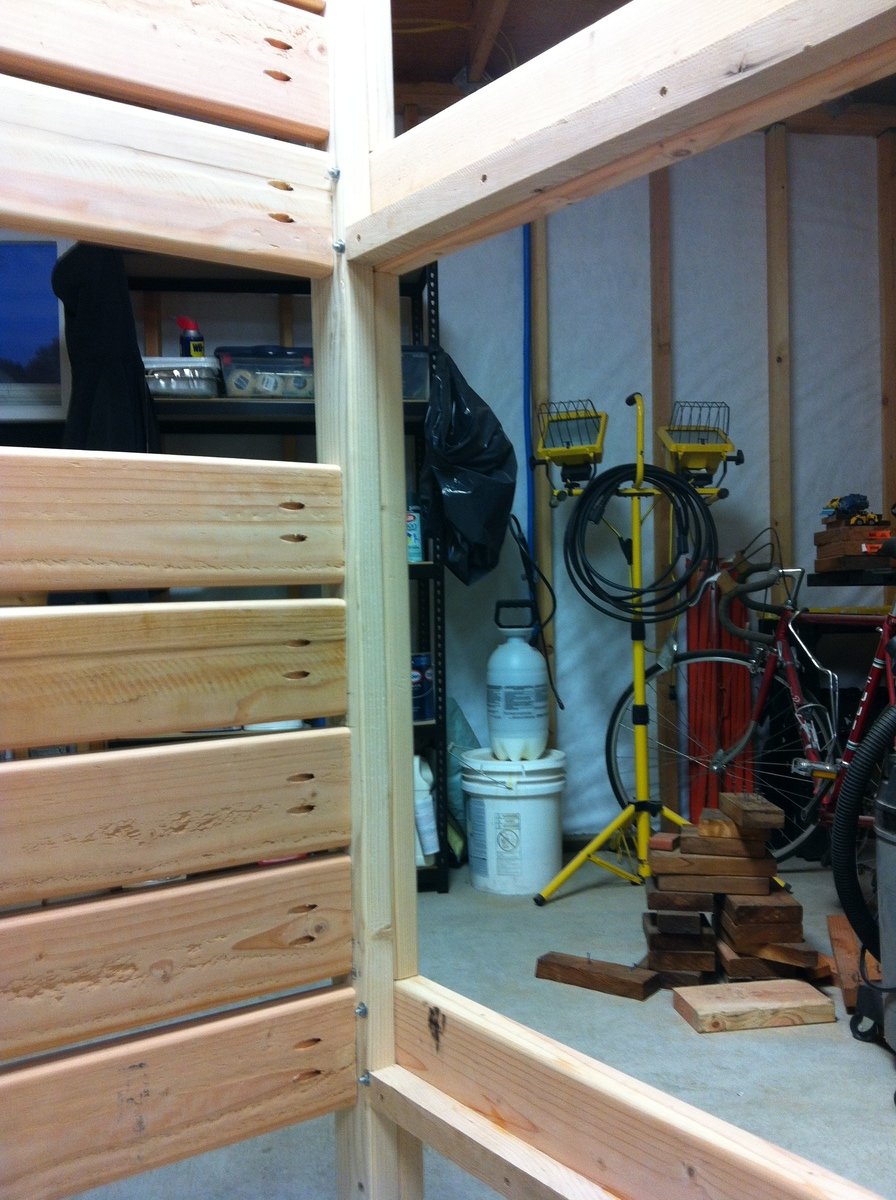
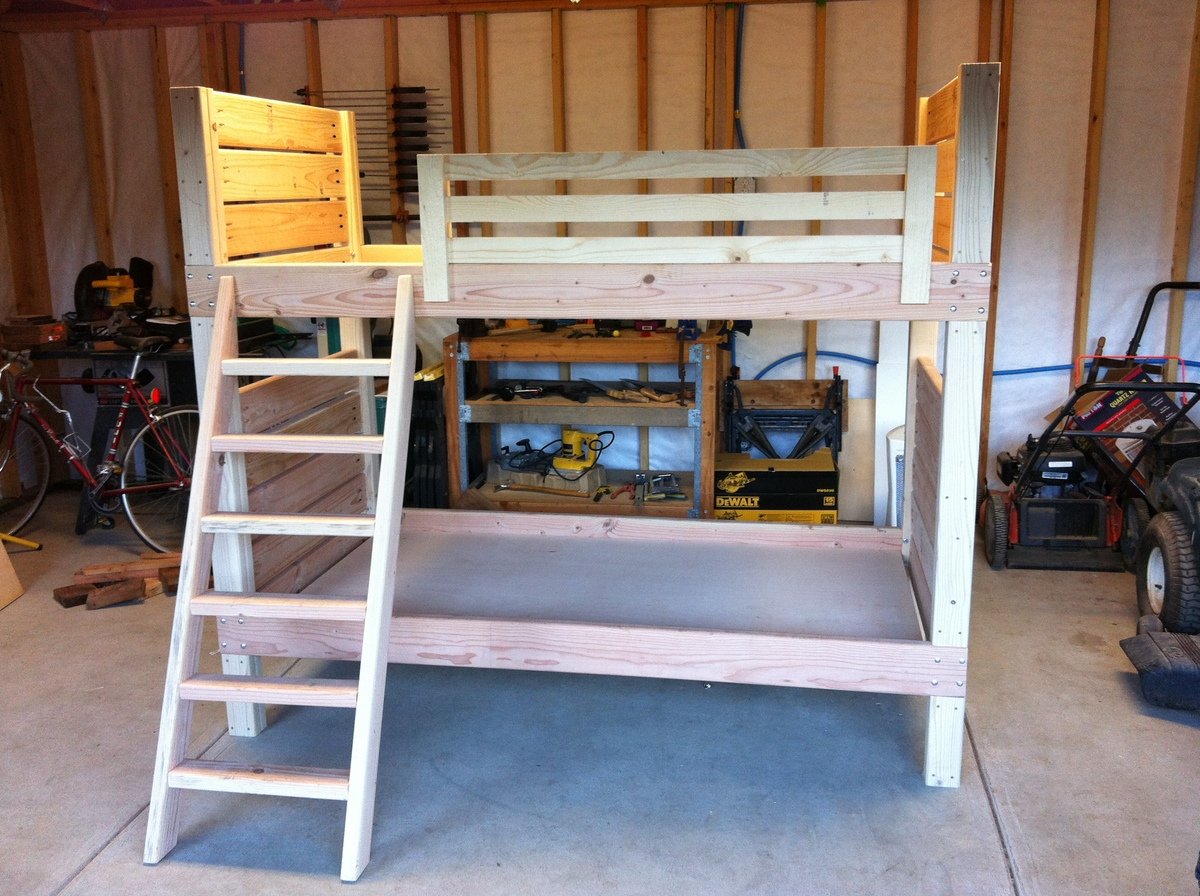
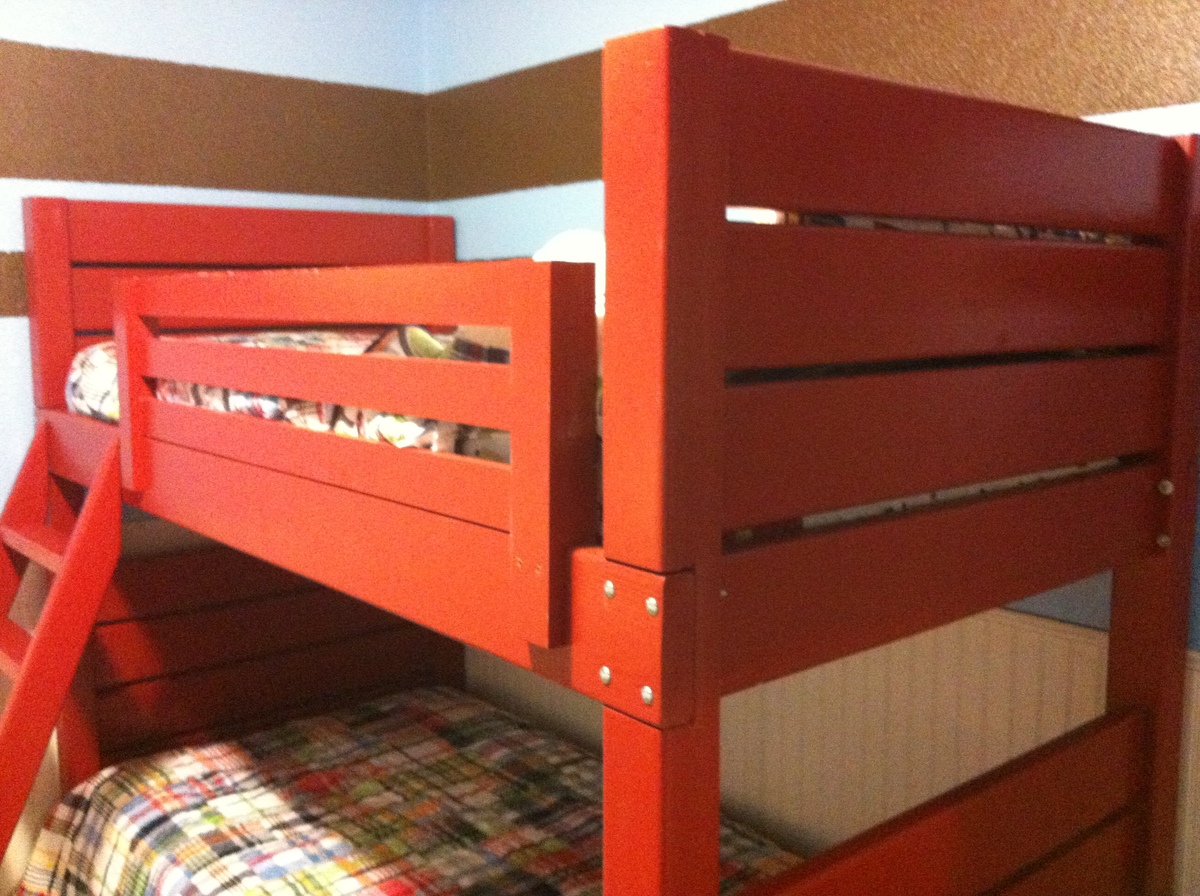
This is a loft style bunk bed. the original plan has the bottom mattress resting on the floor. instead of leaving the mattress on the floor we raised it up to the level of the bottom ladder. In the original plan the bed frame is only 48" high and we changed it to 58".

Estimated Cost
$175
Estimated Time Investment
Day Project (6-9 Hours)
Finish Used
We used Dutch Boy cabinet paint
Recommended Skill Level
Beginner

Grandy sliding door w/ Fireplace Insert

Submitted by Anonymous (not verified) on Mon, 12/19/2016 - 11:09

This was my first "major" furntiure project. I used the plans and modified for a 36" fireplace insert.  

Thrilled with how this turned out!!!  Thank you!

Built from Plan(s)
Estimated Cost
Lumber was around $100 or so. Insert was $300.
Estimated Time Investment
Weekend Project (10-20 Hours)
Finish Used
Miniwax dark walnut - 2 coats
Recommended Skill Level
Beginner

Play Deck and Swing

Submitted by lervy on Wed, 09/03/2014 - 02:23

Play Deck and Swing

Estimated Cost
£700
Estimated Time Investment
Week Long Project (20 Hours or More)
Finish Used
Ronseal Country Oak Fence Stain
Recommended Skill Level
Intermediate

Comments

booksnotbombs

Wed, 09/03/2014 - 07:35

You have a BEAUTIFUL view from your yard! Just curious, where do you live? I assumed somewhere in Europe due to the currency. The play area looks fantastic. What lucky kiddos!

Seasonal And Holiday

Corona Coffee Table - Rectangle

Submitted by Anonymous (not verified) on Fri, 12/23/2016 - 20:52

A couple of years ago I built the farmhouse dining table with matching bench, so when I showed my wife a picture of the Corona Coffee Table, she was all about it.  I lengthened the coffee table by about 6"-8" inches to fit our space better.  The entire table is yellow pine.  I used 2x6 for the top. Ordered the legs from Osborne, $30 each plus shipping (searched for other supplier to compare pricing, but had no luck finding that leg anywhere else).  For aprons I used 1x4.  Instead of plywood for the base I used 1x4 furring boards (the furring boards were only aprox. $1.50 each for 1"x4"x6', and they had rounded edges which helped add more texture when completed). For the middle and end pieces of the base I use 1x6.   Assembly was completed using wood glue and the Kreg Jig for pocket holes.  Top was stained using an old t-shirt with aprox. 5 coats of Early American stain,  2 coats of Jacobean, then 2 coats semi-gloss poly spray.  Base finished with 2 coats of Spa White by Amy Howard chalk paint (Annie Sloan competitor sold at Ace Hardware, seems to work the same, still costs around $30+ per quart).  At this point  my wife took over. She roughed up the base with my sander, applied the clear wax that protects the chalk paint, then she went back over the sanded edges with brown wax to complete the aging.     

Built from Plan(s)
Estimated Cost
$250+. Could be built for less if needed
Estimated Time Investment
Weekend Project (10-20 Hours)
Finish Used
Early American & Jacobean for top.
Amy Howard chalk paint for base
Recommended Skill Level
Intermediate

Catio heaven

Submitted by bhoppy on Fri, 09/04/2020 - 15:43

Ana doesn’t have a plan for a catio but she does for a playhouse and a cedar shed made from 2x2’s. I sort of combined my knowledge from making her plans over the last 10 years and came up with this for my cats. It was fun to make!! My baby kitten is loving it. I used garden fencing and stapled it to the outside and pocket holes for the walls. I made each wall individually like the playhouse then connected them once in place.


Estimated Cost
$250
Estimated Time Investment
Week Long Project (20 Hours or More)
Finish Used
Cabot semi transparent outdoor deck and fence stain. ($9 oops section)
Recommended Skill Level
Intermediate

Comments

Wifey

Wed, 06/09/2021 - 12:36

Thank you for sharing! My daughter wants a cat for her birthday but it can't be inside due to our son's allergies. Roaming outside isn't really an option because we have coyotes. We are going to use one of these in combination with an underground electric fence.

Seasonal And Holiday

Wall Frame from page 70 of The Handbuilt Home

Submitted by solomonson on Wed, 11/21/2012 - 21:31

So I bought this print, sized 16" x 20", from an independent photographer. My husband said I could get it only if I built the frame, so I was on the hook.
I used pine boards and glued and clamped the outside part since I don't have a nail gun. I sanded the really rought parts, but probably could've sanded more. Finished with Valspar's black spray paint and used mirror clips and 1" wood screws. Blue had glass pieces in 16" x 20" for less than $6. Hung with D rings and picture hanging wire.
Time estimate includes time for paint to dry and rigging up all the hanging hardware.

Estimated Cost
$15-$20
Estimated Time Investment
Weekend Project (10-20 Hours)
Finish Used
Valspar spray paint in black semi-gloss
Recommended Skill Level
Beginner

New Computer Desk - From Seaten Console

Submitted by DIYER_MD on Sat, 09/06/2014 - 18:10

I used the Seaten Console Plan as the basis for this project.  I made the legs longer to raise the desk up to the height of a computer desk.  I also added extra sections to the top to proved extra storage areas for books, etc.

Built from Plan(s)
Estimated Cost
$150.00
Estimated Time Investment
Weekend Project (10-20 Hours)
Finish Used
Olympic One Black Paint with Stained Top (Rustoleum)
Recommended Skill Level
Intermediate

Comments

booksnotbombs

Sat, 09/06/2014 - 18:30

Did you build this to be the height of a standing desk? It looks great either way! I am looking for a good plan to modify. I like the staging of Ana's website on the monitors. :)

DIYER_MD

Sun, 09/07/2014 - 08:26

No, it is still a regular height desk.  The legs are actually 28 1/4 inches.  This makes the desk right at 29 inches.  I set the monitors up on the top because I like them a little higher and it frees up the desk space.  It makes them comfortable viewing for me.  I appreciate your nice comments.  If you want a nice but simple desk, this is the perfect plan.  I started building this one right after I saw it on the site.

Dollhouse

Submitted by Anonymous (not verified) on Tue, 12/27/2016 - 02:19

Thanks for the plans!  This dollhouse is great, my daughter loves it. I changed the plans slightly to make an 'open floor plan on the bottom and added a column in the front for support. 

Estimated Time Investment
Weekend Project (10-20 Hours)
Recommended Skill Level
Intermediate

Washer/ dryer platform

Submitted by balbright on Sun, 09/06/2020 - 10:21

Only regret is not buying the storage containers I wanted and sizing for them, it took a while to find storage containers for under the platform.

Finish Used
Paint
Recommended Skill Level
Beginner

Great Console Table - Easy Build

Submitted by Jake on Sun, 11/25/2012 - 10:02

I wanted a side table that was not too wide to fit under a window and the Tryde Console Table really fit the bill. I built it exactly to the plan dimensions but I altered the process a little.

1. First I built the leg assemblies including the side apron, top leg support, and the bottom stretcher. I used PH screws for the side apron and bottom stretch.
2. Then I attached the two leg assemblies together with the front and back aprons and the bottom stretcher.
3. Separately I constructed the top including the breadboards using PH screws. The tabletop boards are connected to the breadboards with eight PH screws each. The table boards are held together with PH screws.
4. Once the initial sanding and staining was completed I attached the top to the bottom assembly using eight screws through the tabletop supports from the bottom and then eight screws through the top into the top leg supports. Note I did not attach the breadboards directly to the legs as instructed as they are secured to the top with the PH screws. I can always add the screws later if necessary.

Instead of countersinking the screws to the top leg supports I used black (3 1/2 ") PH screws and let the screws remain visible on the top of the table. I think it looks nice and sort of industrial.
5. Then final staining, rubdowns, and touch-ups.

Note: I did not glue the top to the base just so repairs will be easy to make should over time the boards warp or crack. Just remove the eight top screws and lift the top off, make the fix, and screw it back on..

It took a couple of days but it is worthwhile spending the time for accurate measurements, squaring, and finishing. The results are first-class.

Built from Plan(s)
Estimated Cost
About $30
Estimated Time Investment
Weekend Project (10-20 Hours)
Finish Used
Minwax red mahogany. I applied the stain, waited five minutes and wiped it off. Then after it was dry I rubbed it with 000 steel wool and repeated the staining, waiting, and steel wooling process three times. Final rubdowns were with an old clean t-shirt. Really nice deep and slightly shiny result. PS : I did use the wood conditioner before beginning the staining process.
Recommended Skill Level
Beginner

Black Cherry Garden Bench

Submitted by Teejay on Mon, 09/08/2014 - 11:30

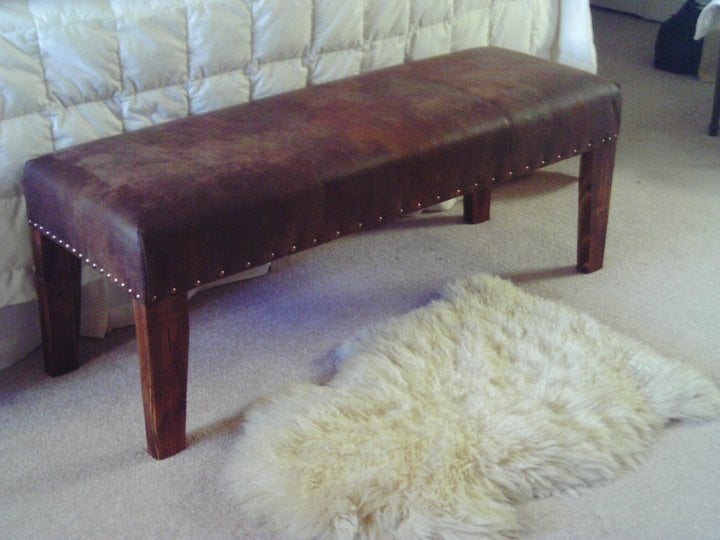
Thanks for the plans Ana!  I used a black cherry paint wash for the color, I wanted the wood grain to show.  I used 150 grit sandpaper to distress it, and then poly on top to protect it.  I also used a 2x6 on the bottom so I can use it as a shelf.  Sturdy and functional, looks fantastic on the front porch next to my yellow door!  In the winter I'll keep it at the foot of my bed.

Built from Plan(s)
Estimated Cost
$25
Estimated Time Investment
Afternoon Project (3-6 Hours)
Finish Used
The finish was a paint wash. I used one 8 oz sample size of paint and 8 oz of water mixed together to thin the paint. Two coats of the wash, then I distressed with 150 grit sandpaper. I then added 3 coats of poly, lightly sanding with 400 grit between the first 2 coats. I keep it on a covered porch and it's held up great all summer.
Recommended Skill Level
Starter Project

Comments

Small Pub Table

Submitted by Sbarker645 on Wed, 12/28/2016 - 14:40

Tried to post this under Old Man's pub table post, but couldn't load a photo in the comments section. This is a similar table, but a 2x6 shorter and breadboards are one ripped 2x6, not two 2x6s. Final dimensions were 43" high by 39"x36.5". Built the top with Kreg Jig and screws like most tables on the site. Base is 4x4s with 2x4 I-beams Kreg jigged into 4x4s.

Estimated Cost
$65
Estimated Time Investment
Week Long Project (20 Hours or More)
Finish Used
Minwax Golden Oak 210B, about 3 coats with sanding and evening of finish in spots where it didn't take well. Poly clear coat on top
Recommended Skill Level
Beginner

Corner desk modified

My wife needed a bigger desk for her home office so built one. I used the modular office desk designs. I had to modify it, my wife wanted the 90 degree cut in where the two desk to meet. I built two open shelves and fastened then together and built one narrow shelf with drawers. Built mostly out of MDF with the top being melamine. Waiting on the edge banding to ship. Also, installed some rope lighting for indirect light.

Estimated Cost
Under $300
Estimated Time Investment
Week Long Project (20 Hours or More)
Finish Used
Painted the base cabinets.
Recommended Skill Level
Beginner