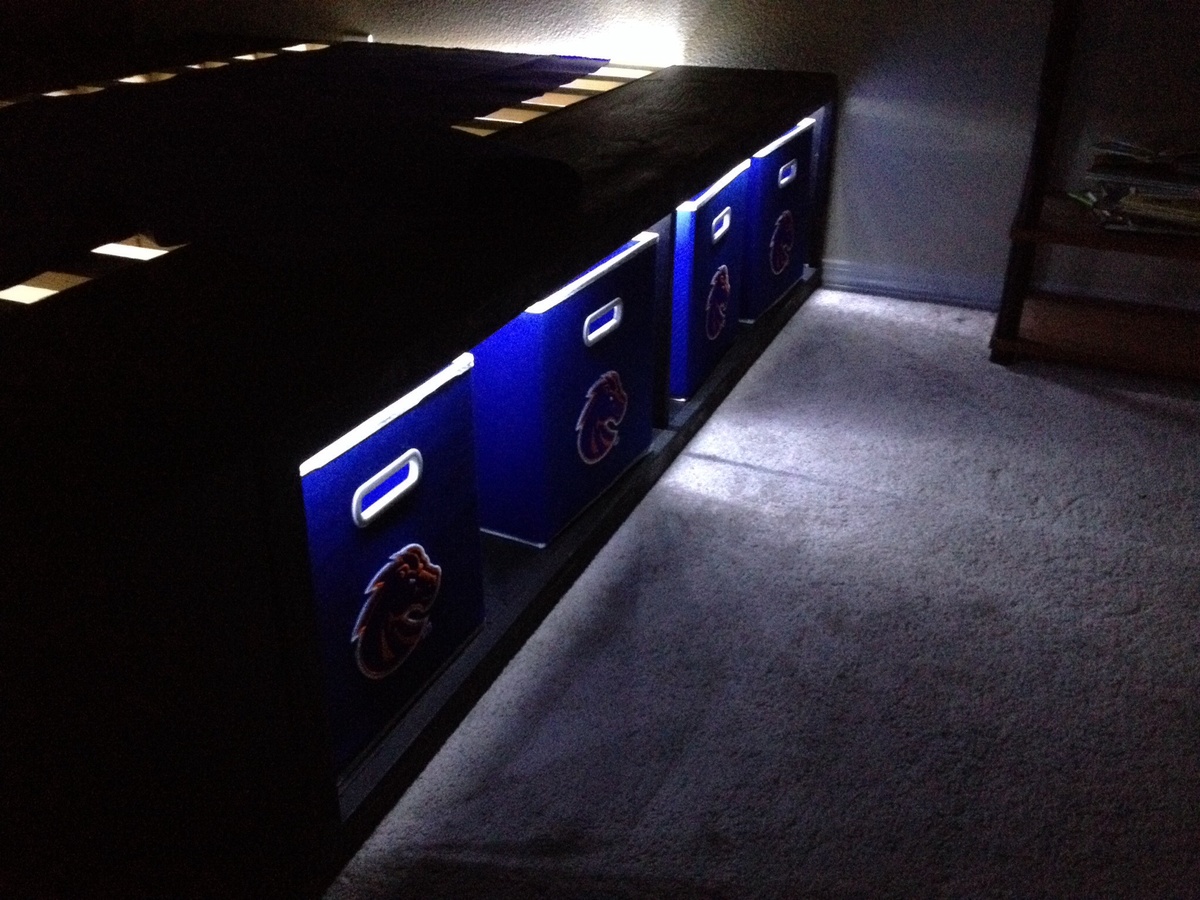
Full Sized Canopy Farmhouse Bed

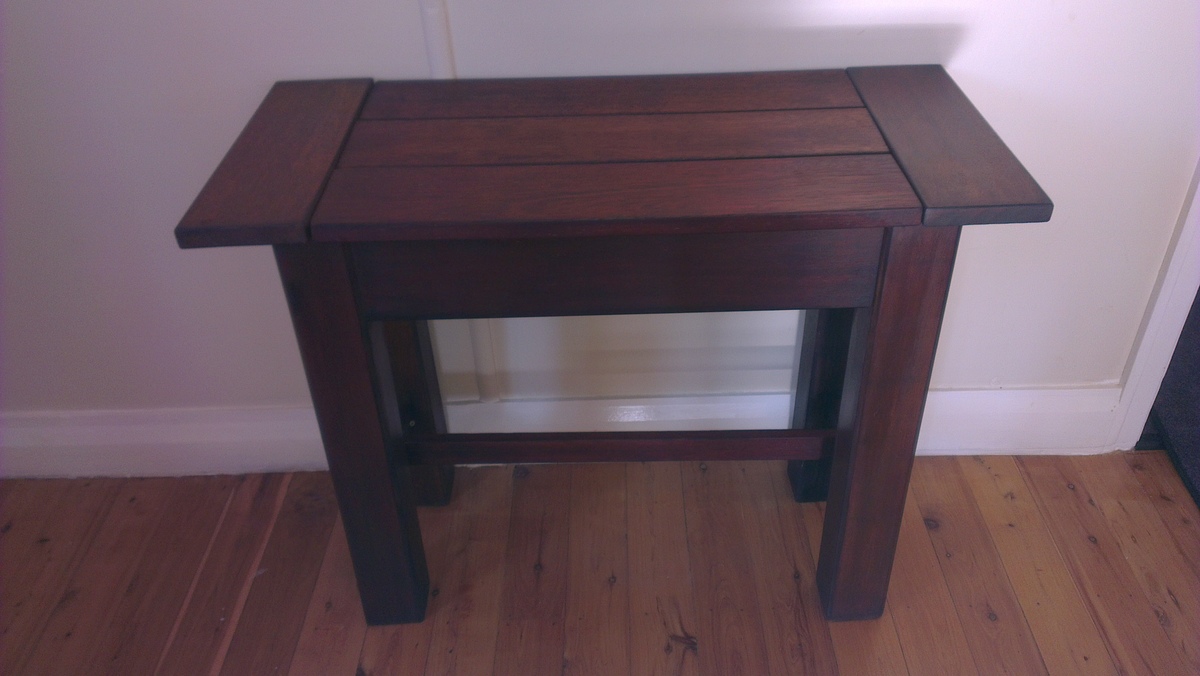
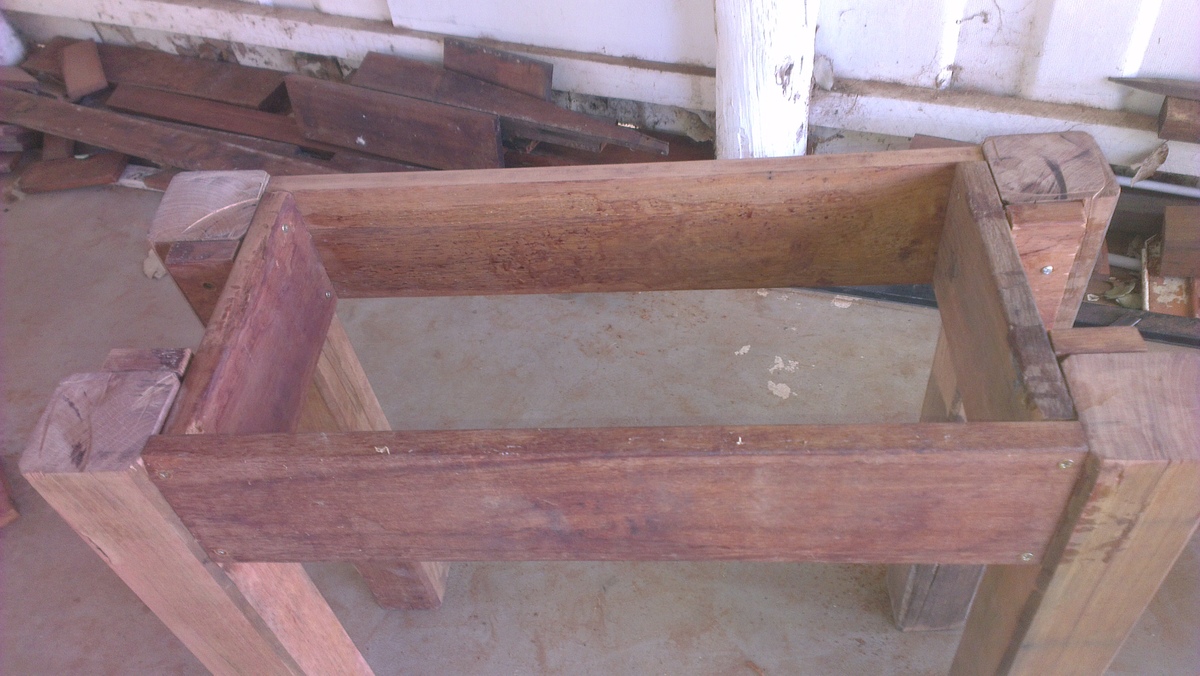
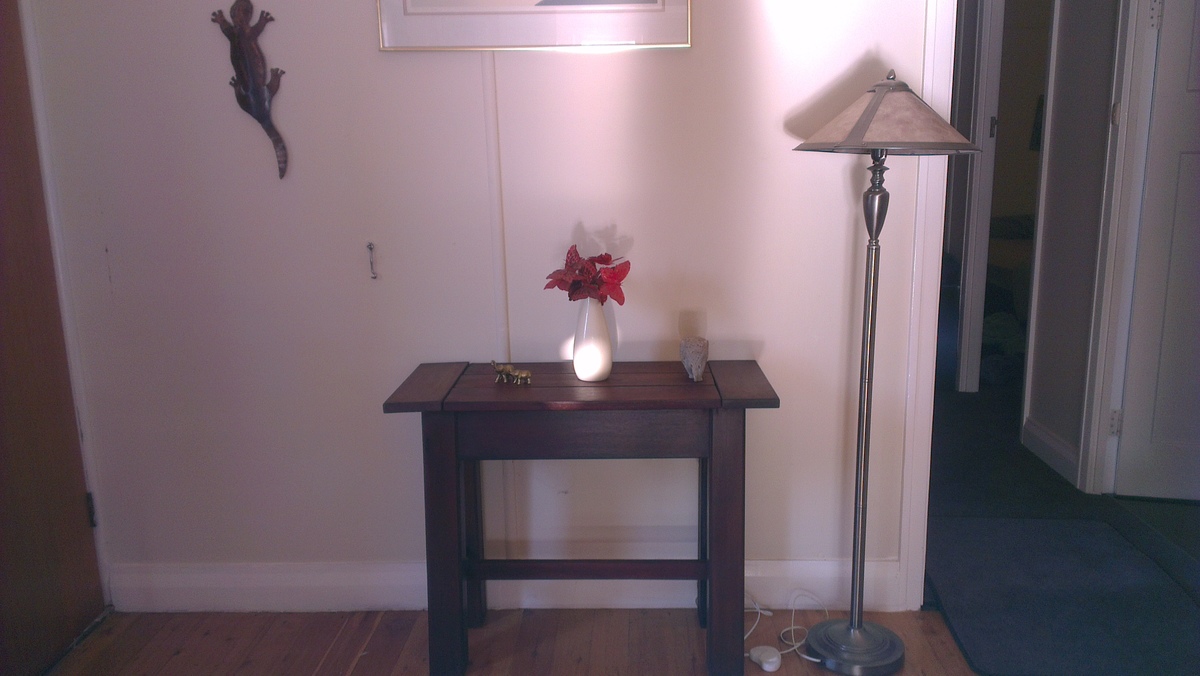
My wife and I were expecting our first so we had to downsize from a queen to a full. While my wife was away for a week on a trip, I put this together. She always talked about a canopy bed and I think it turned out nice. I made a few modifications to Anna's design. The canopy is higher, I used edge support for the bed and I used dowels for everything with the exception of the lag bolts connecting the canopy to the bed. This was my first furniture project (other than shelves).


Estimated Cost
326.54
Estimated Time Investment
Week Long Project (20 Hours or More)
Finish Used
Poly Clear Coat
Recommended Skill Level
Beginner