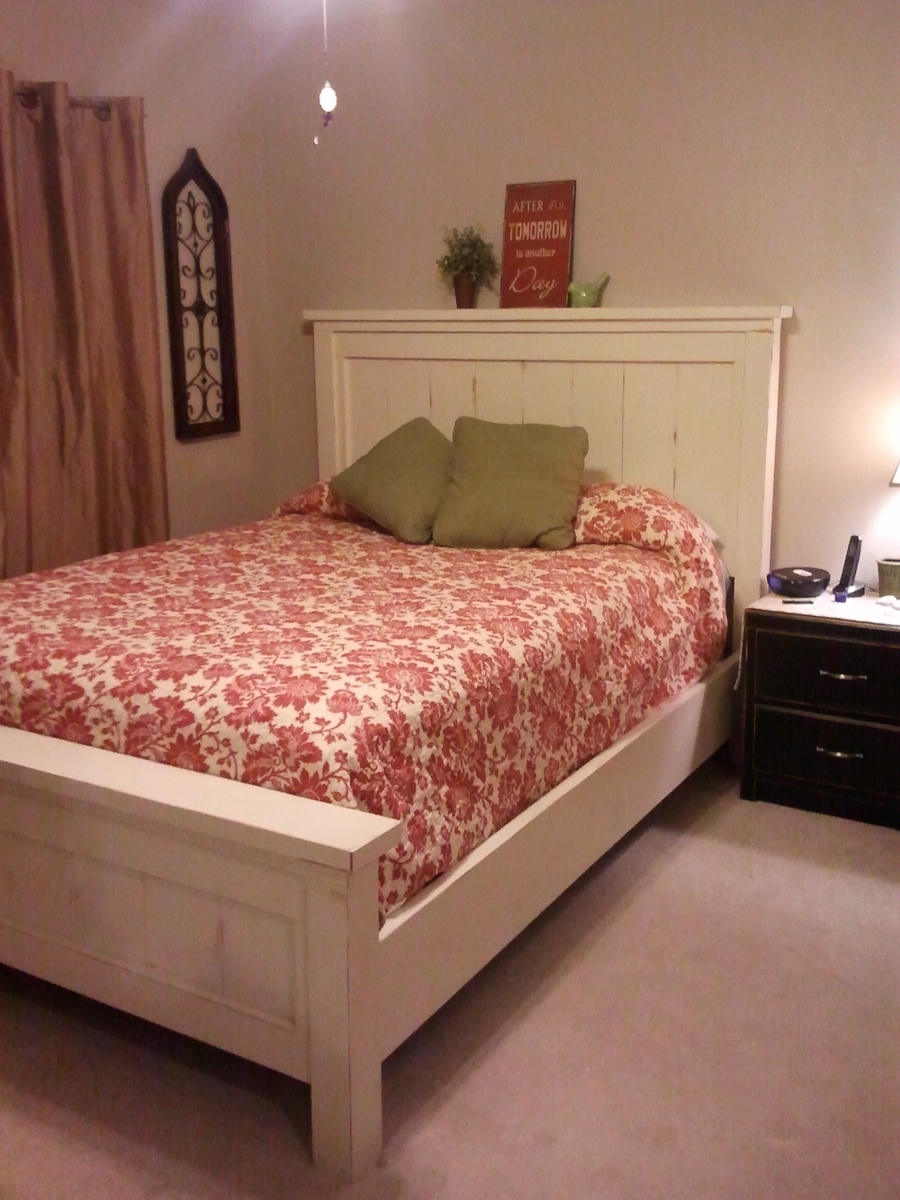
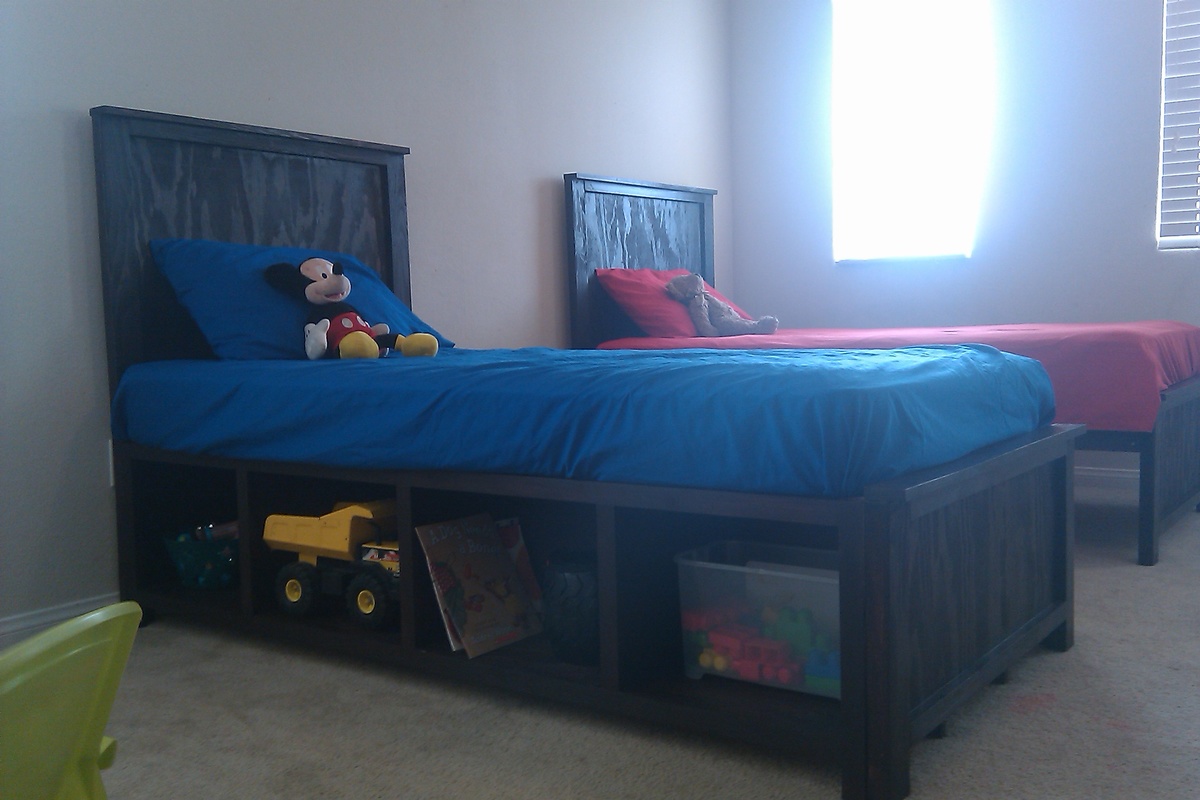
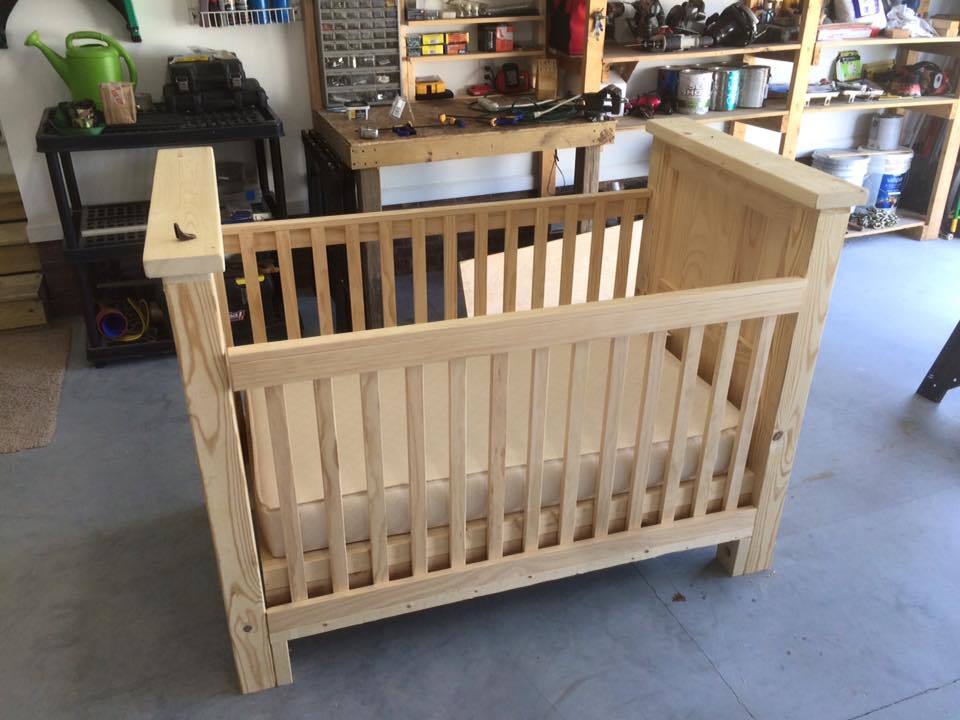
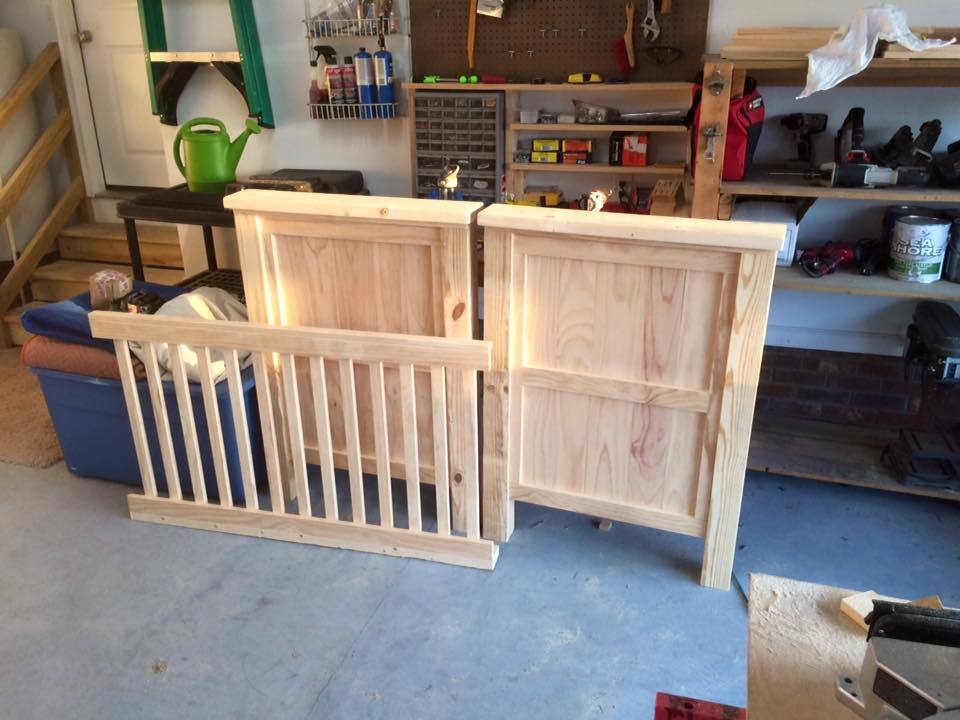
Queen Farmhouse Bed made for a Box Springs
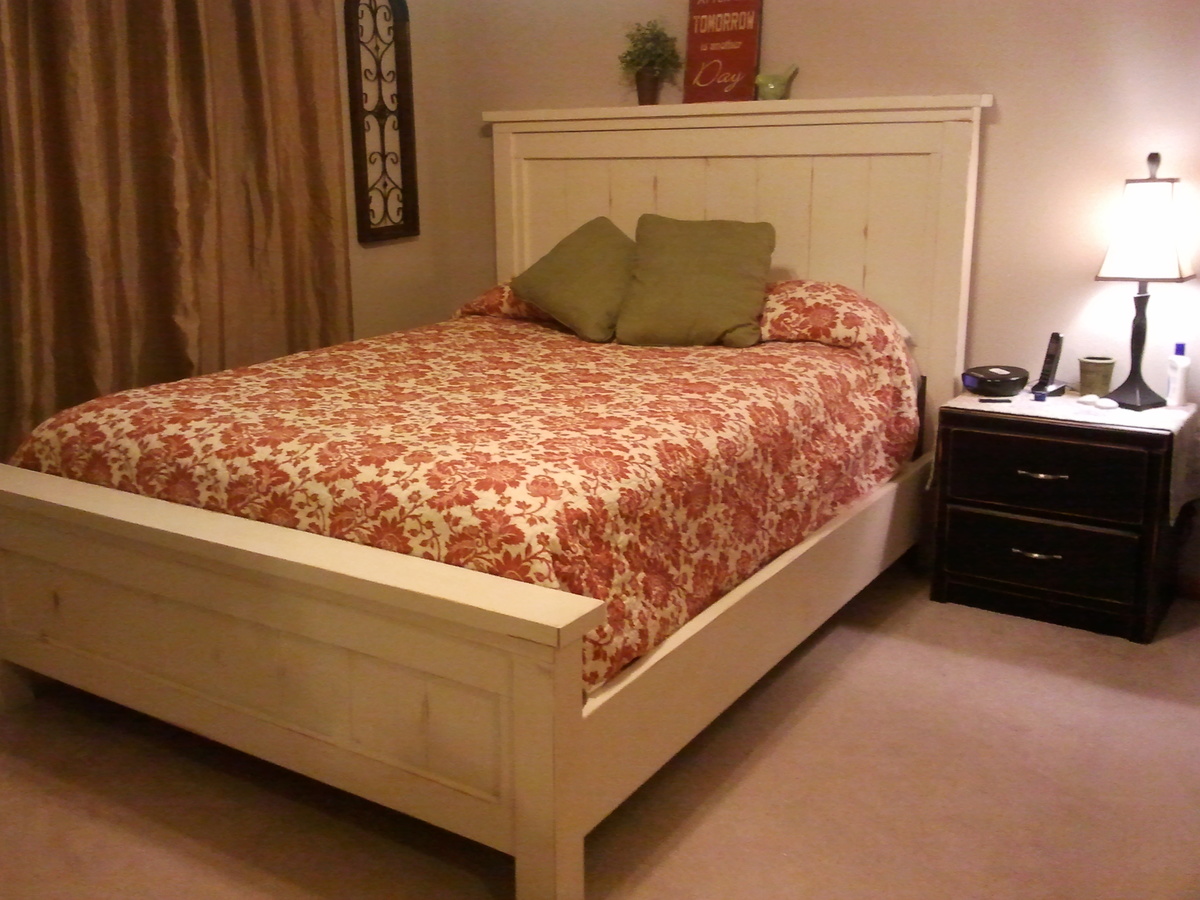
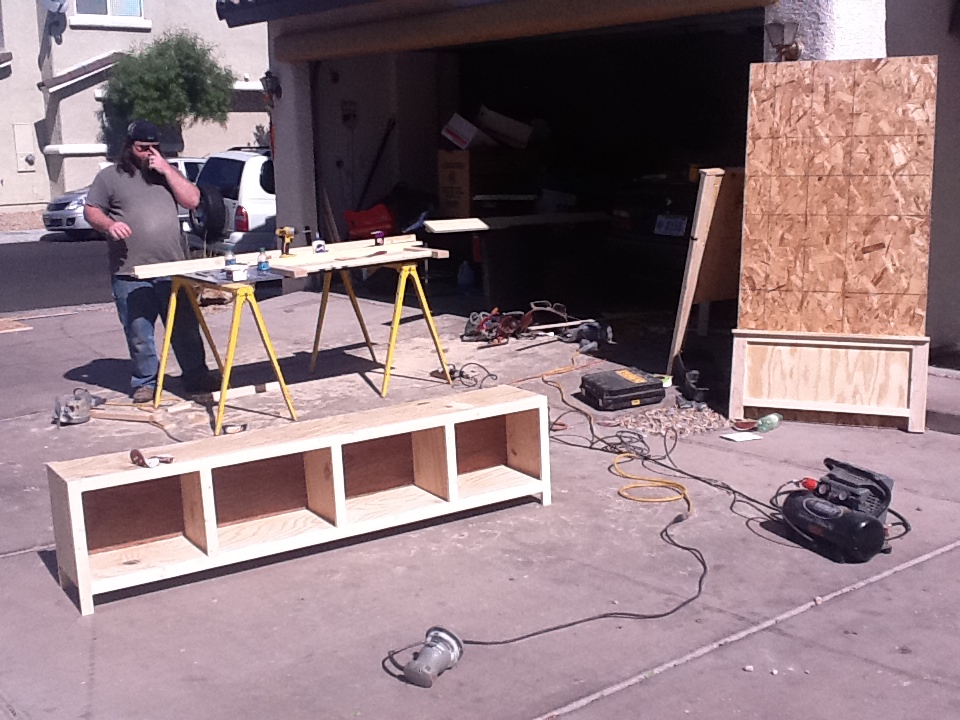
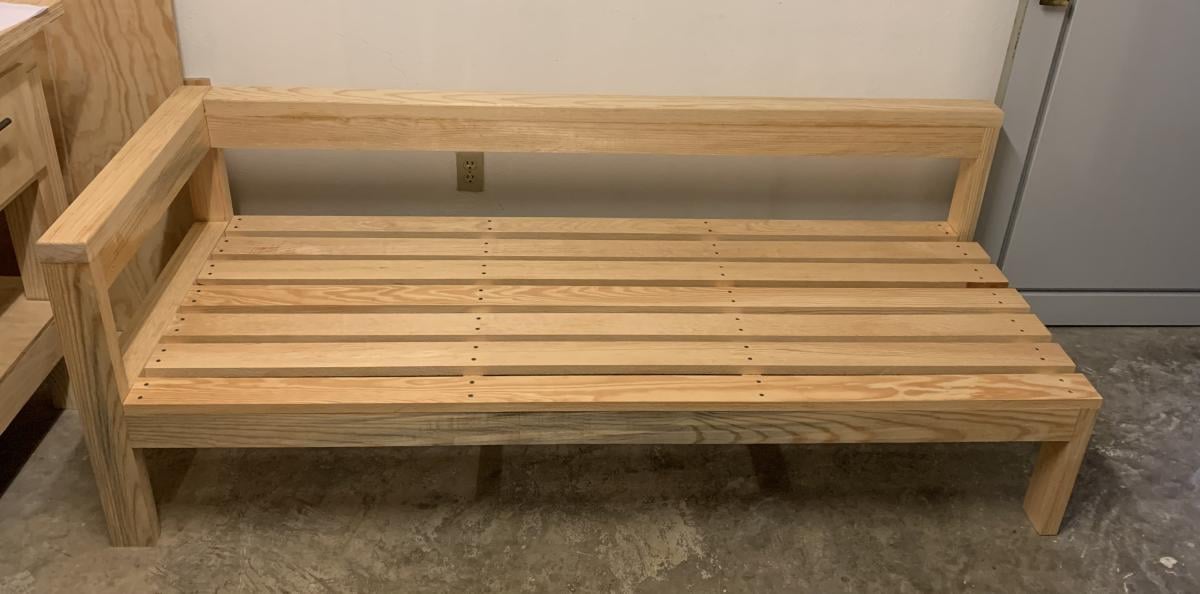
This Farmhouse Queen Bed for use with a box springs is the first woodworking project I have done in almost 30 years (high school shop class). It was so much fun.
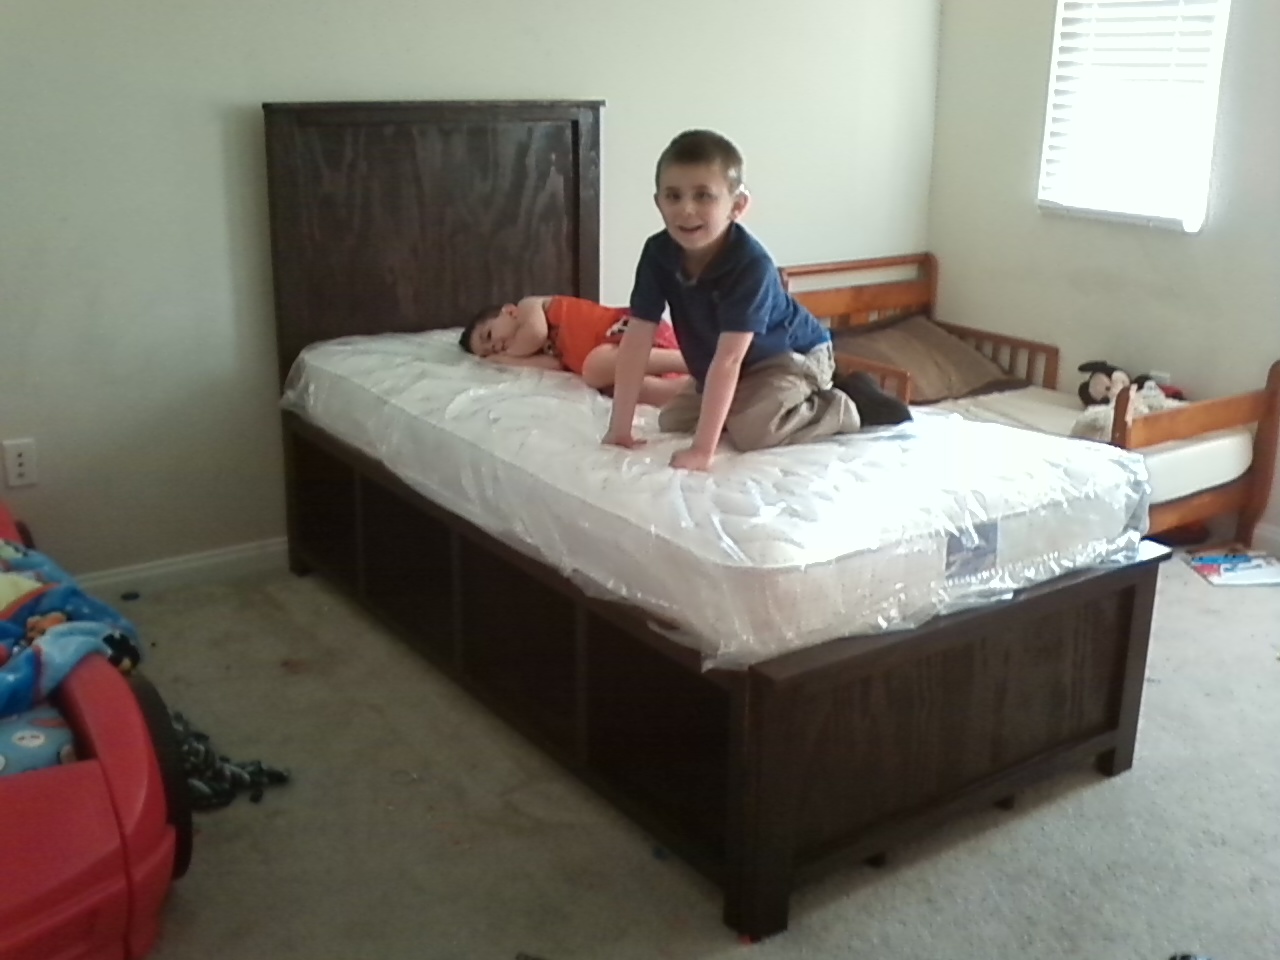
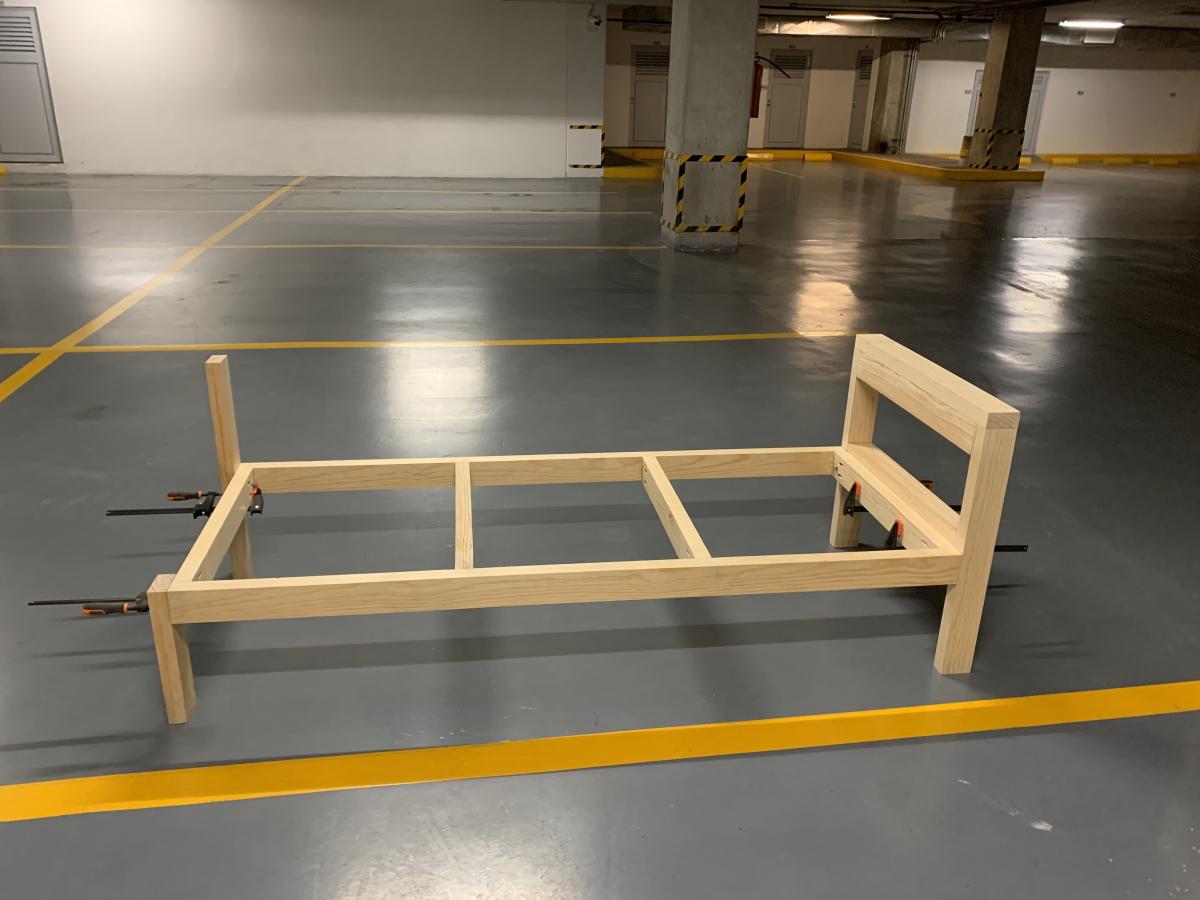
I did buy the No-Mortise Bed Rail Fittings from Amazon to hook the head board and foot board to the side boards. I also bought the Mantua Steel Bed Frame System at Overstock.com for $64 after a discount I found online.
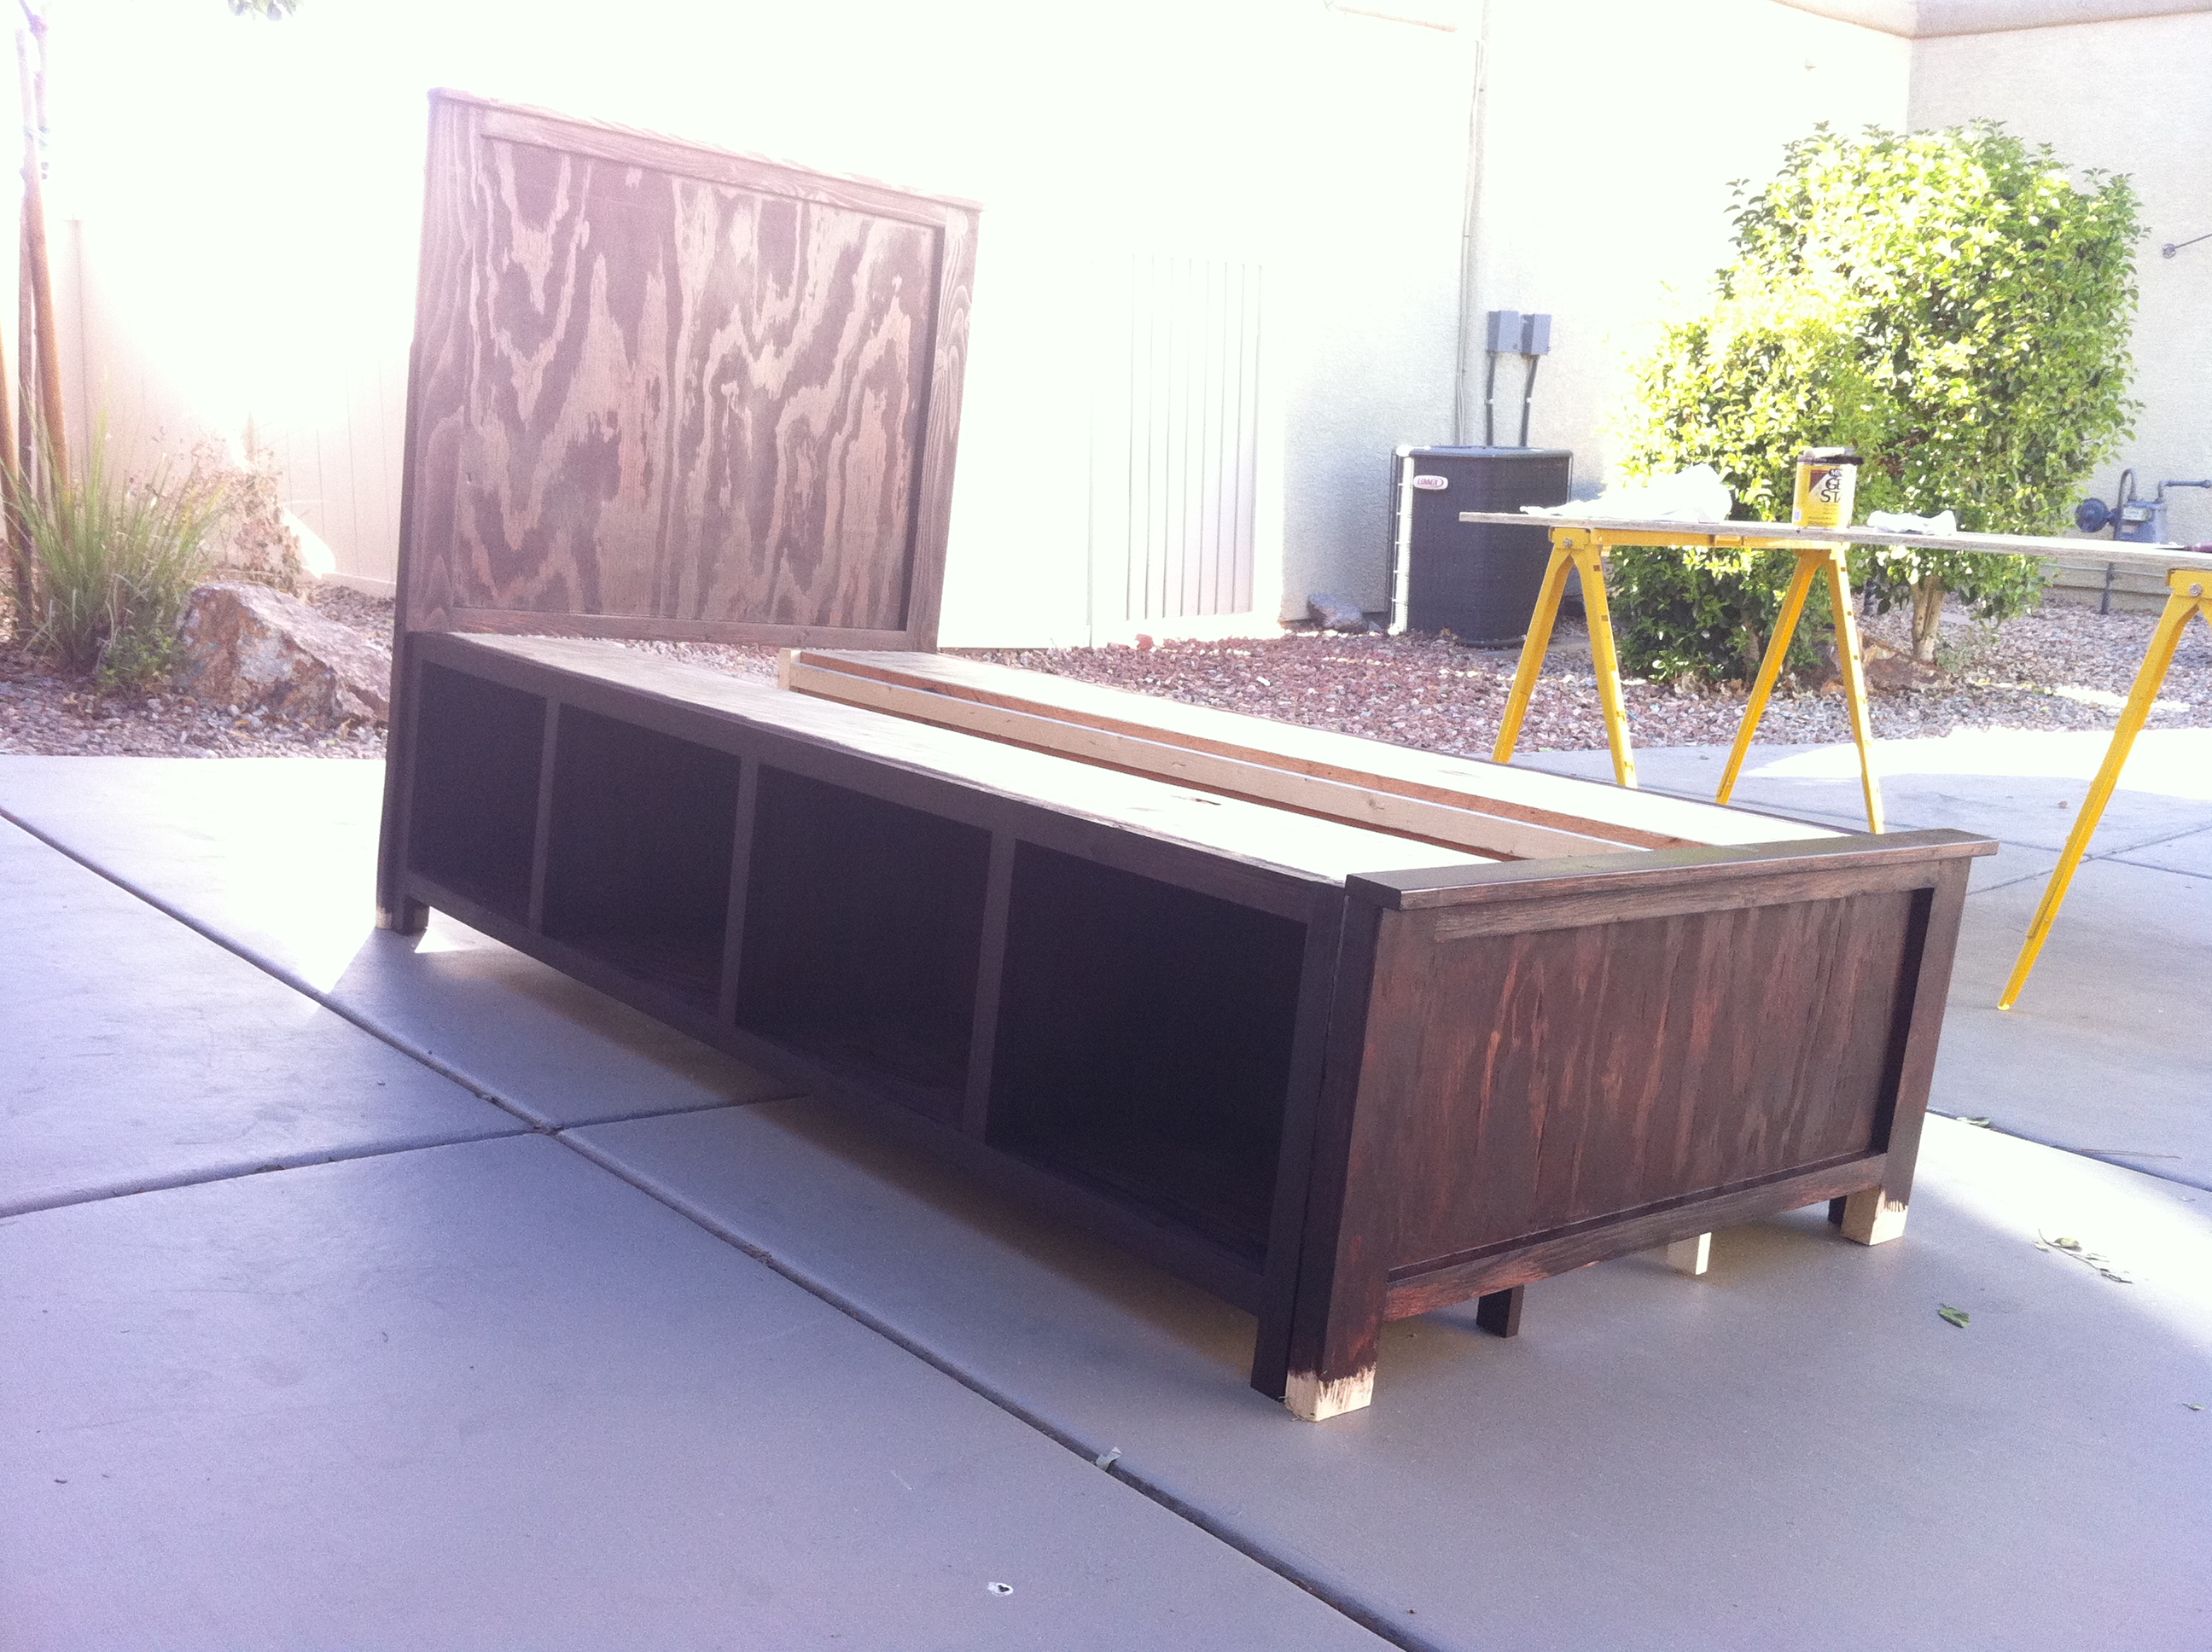
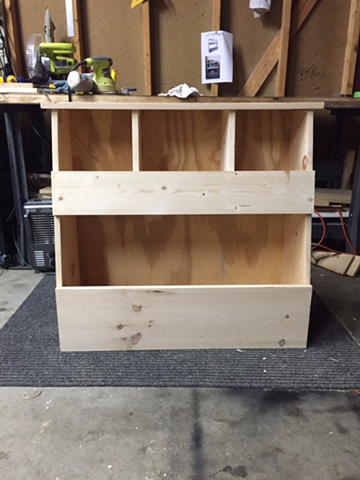
To support the rails I screwed and glued 2 X 2's at the very lowest part of my side rails. It seemed to work well and I didn't have to worry about having a good sturdy support system for my new mattress and box springs. This rail system has three rails and each rail has a center support that extends to the floor.
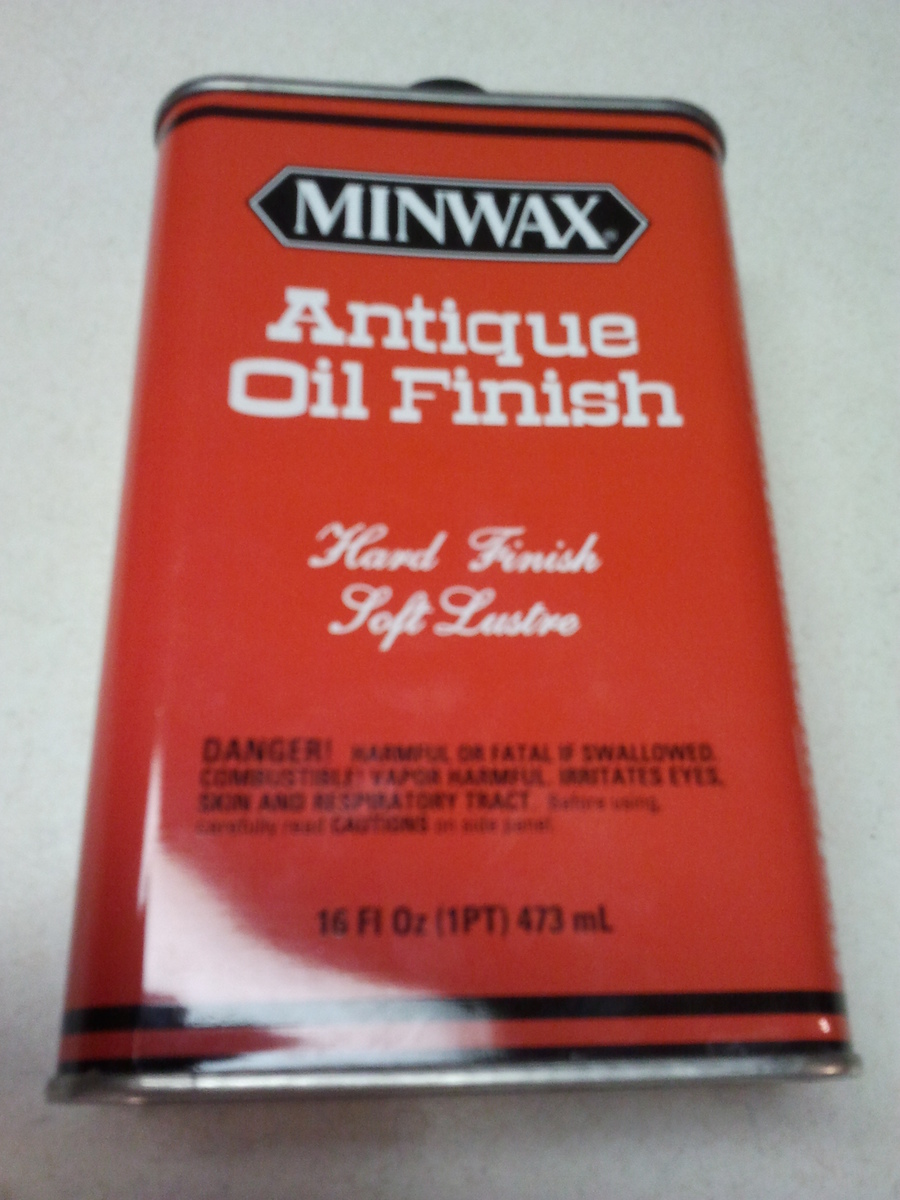
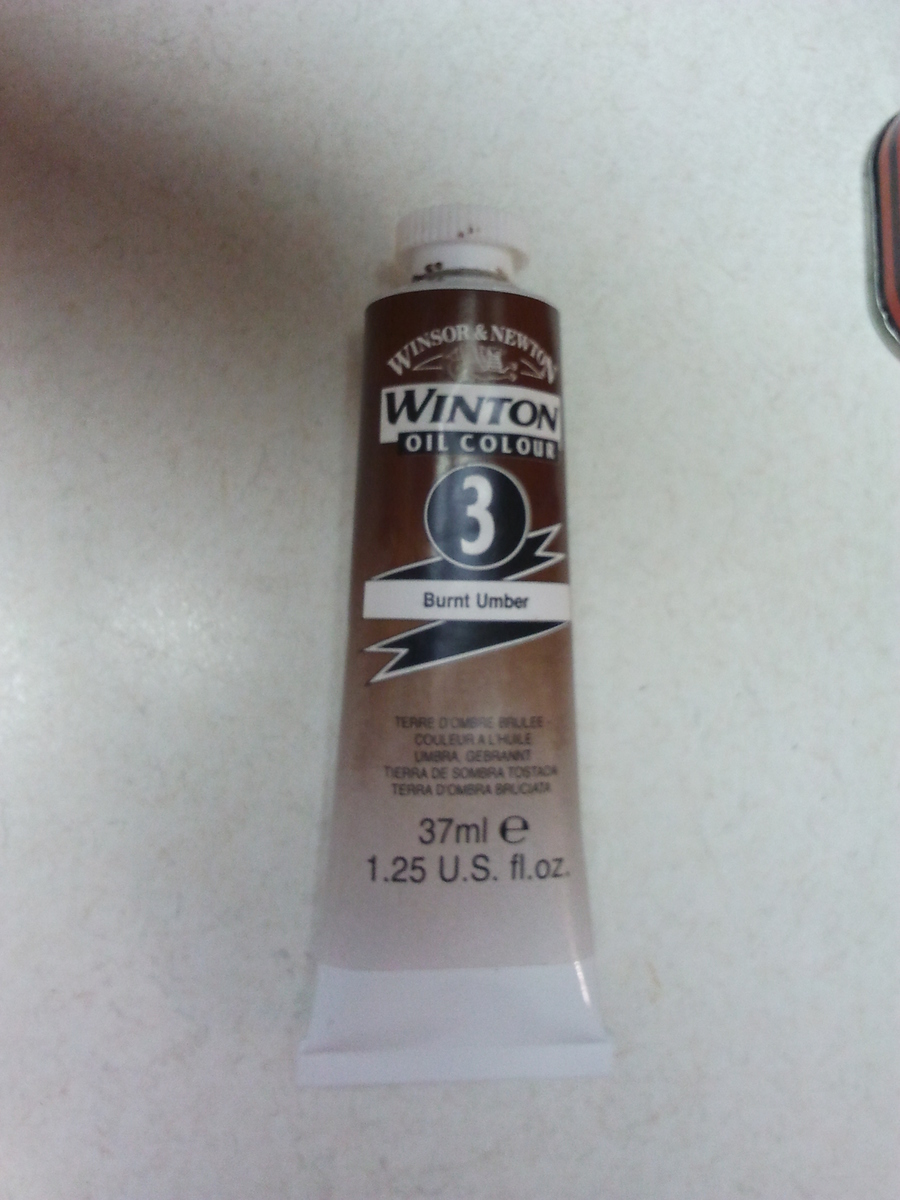
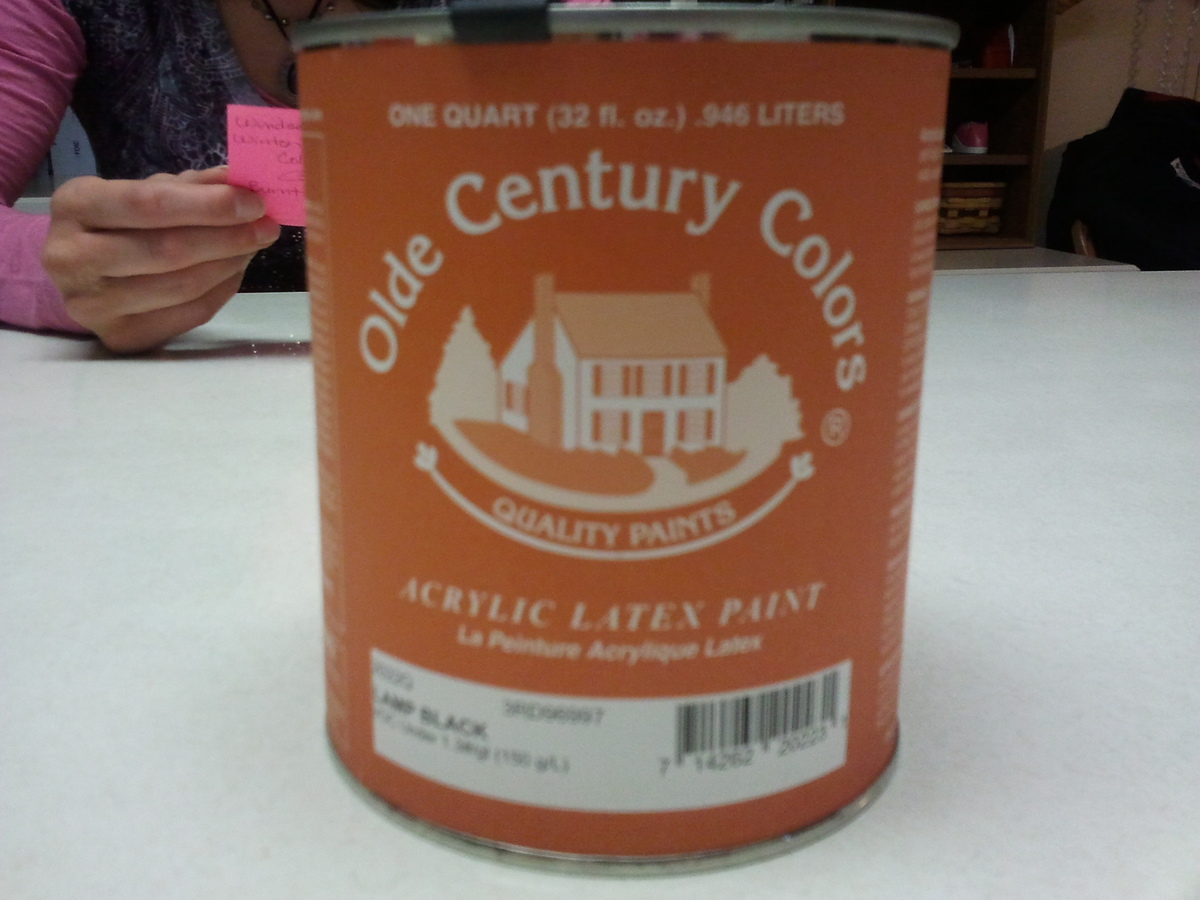
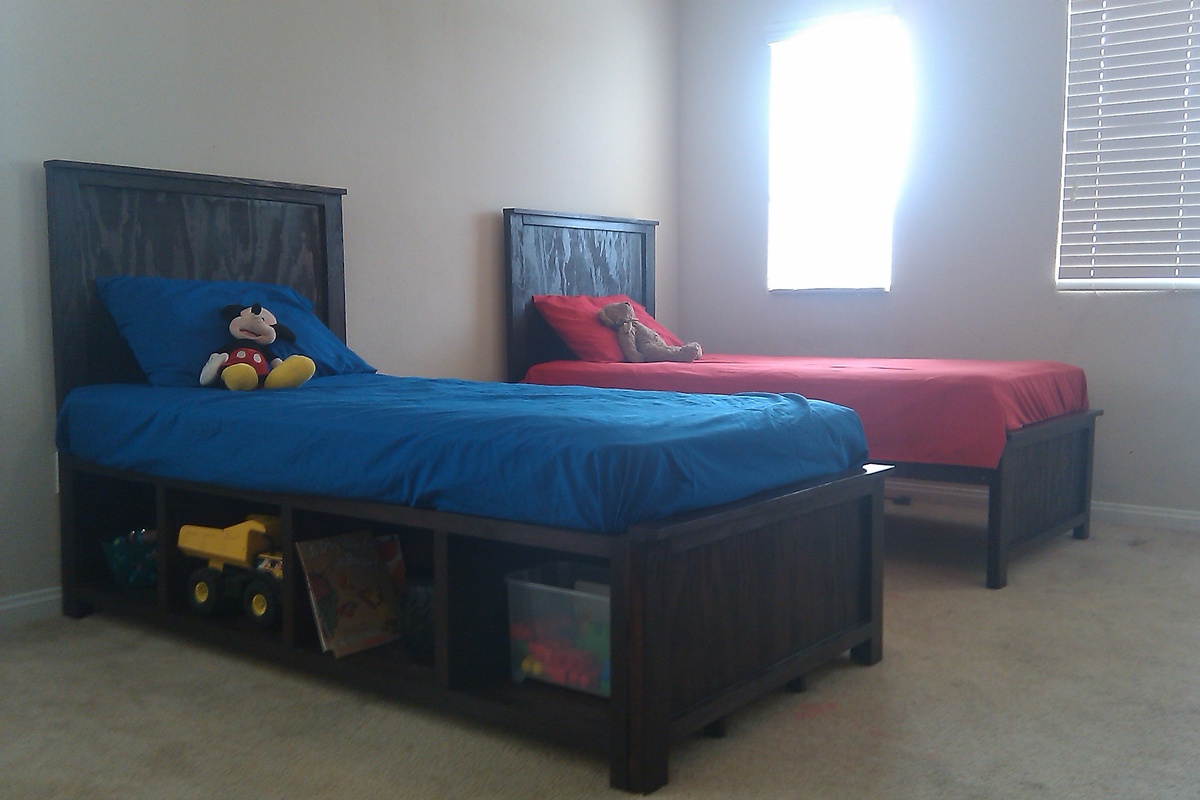
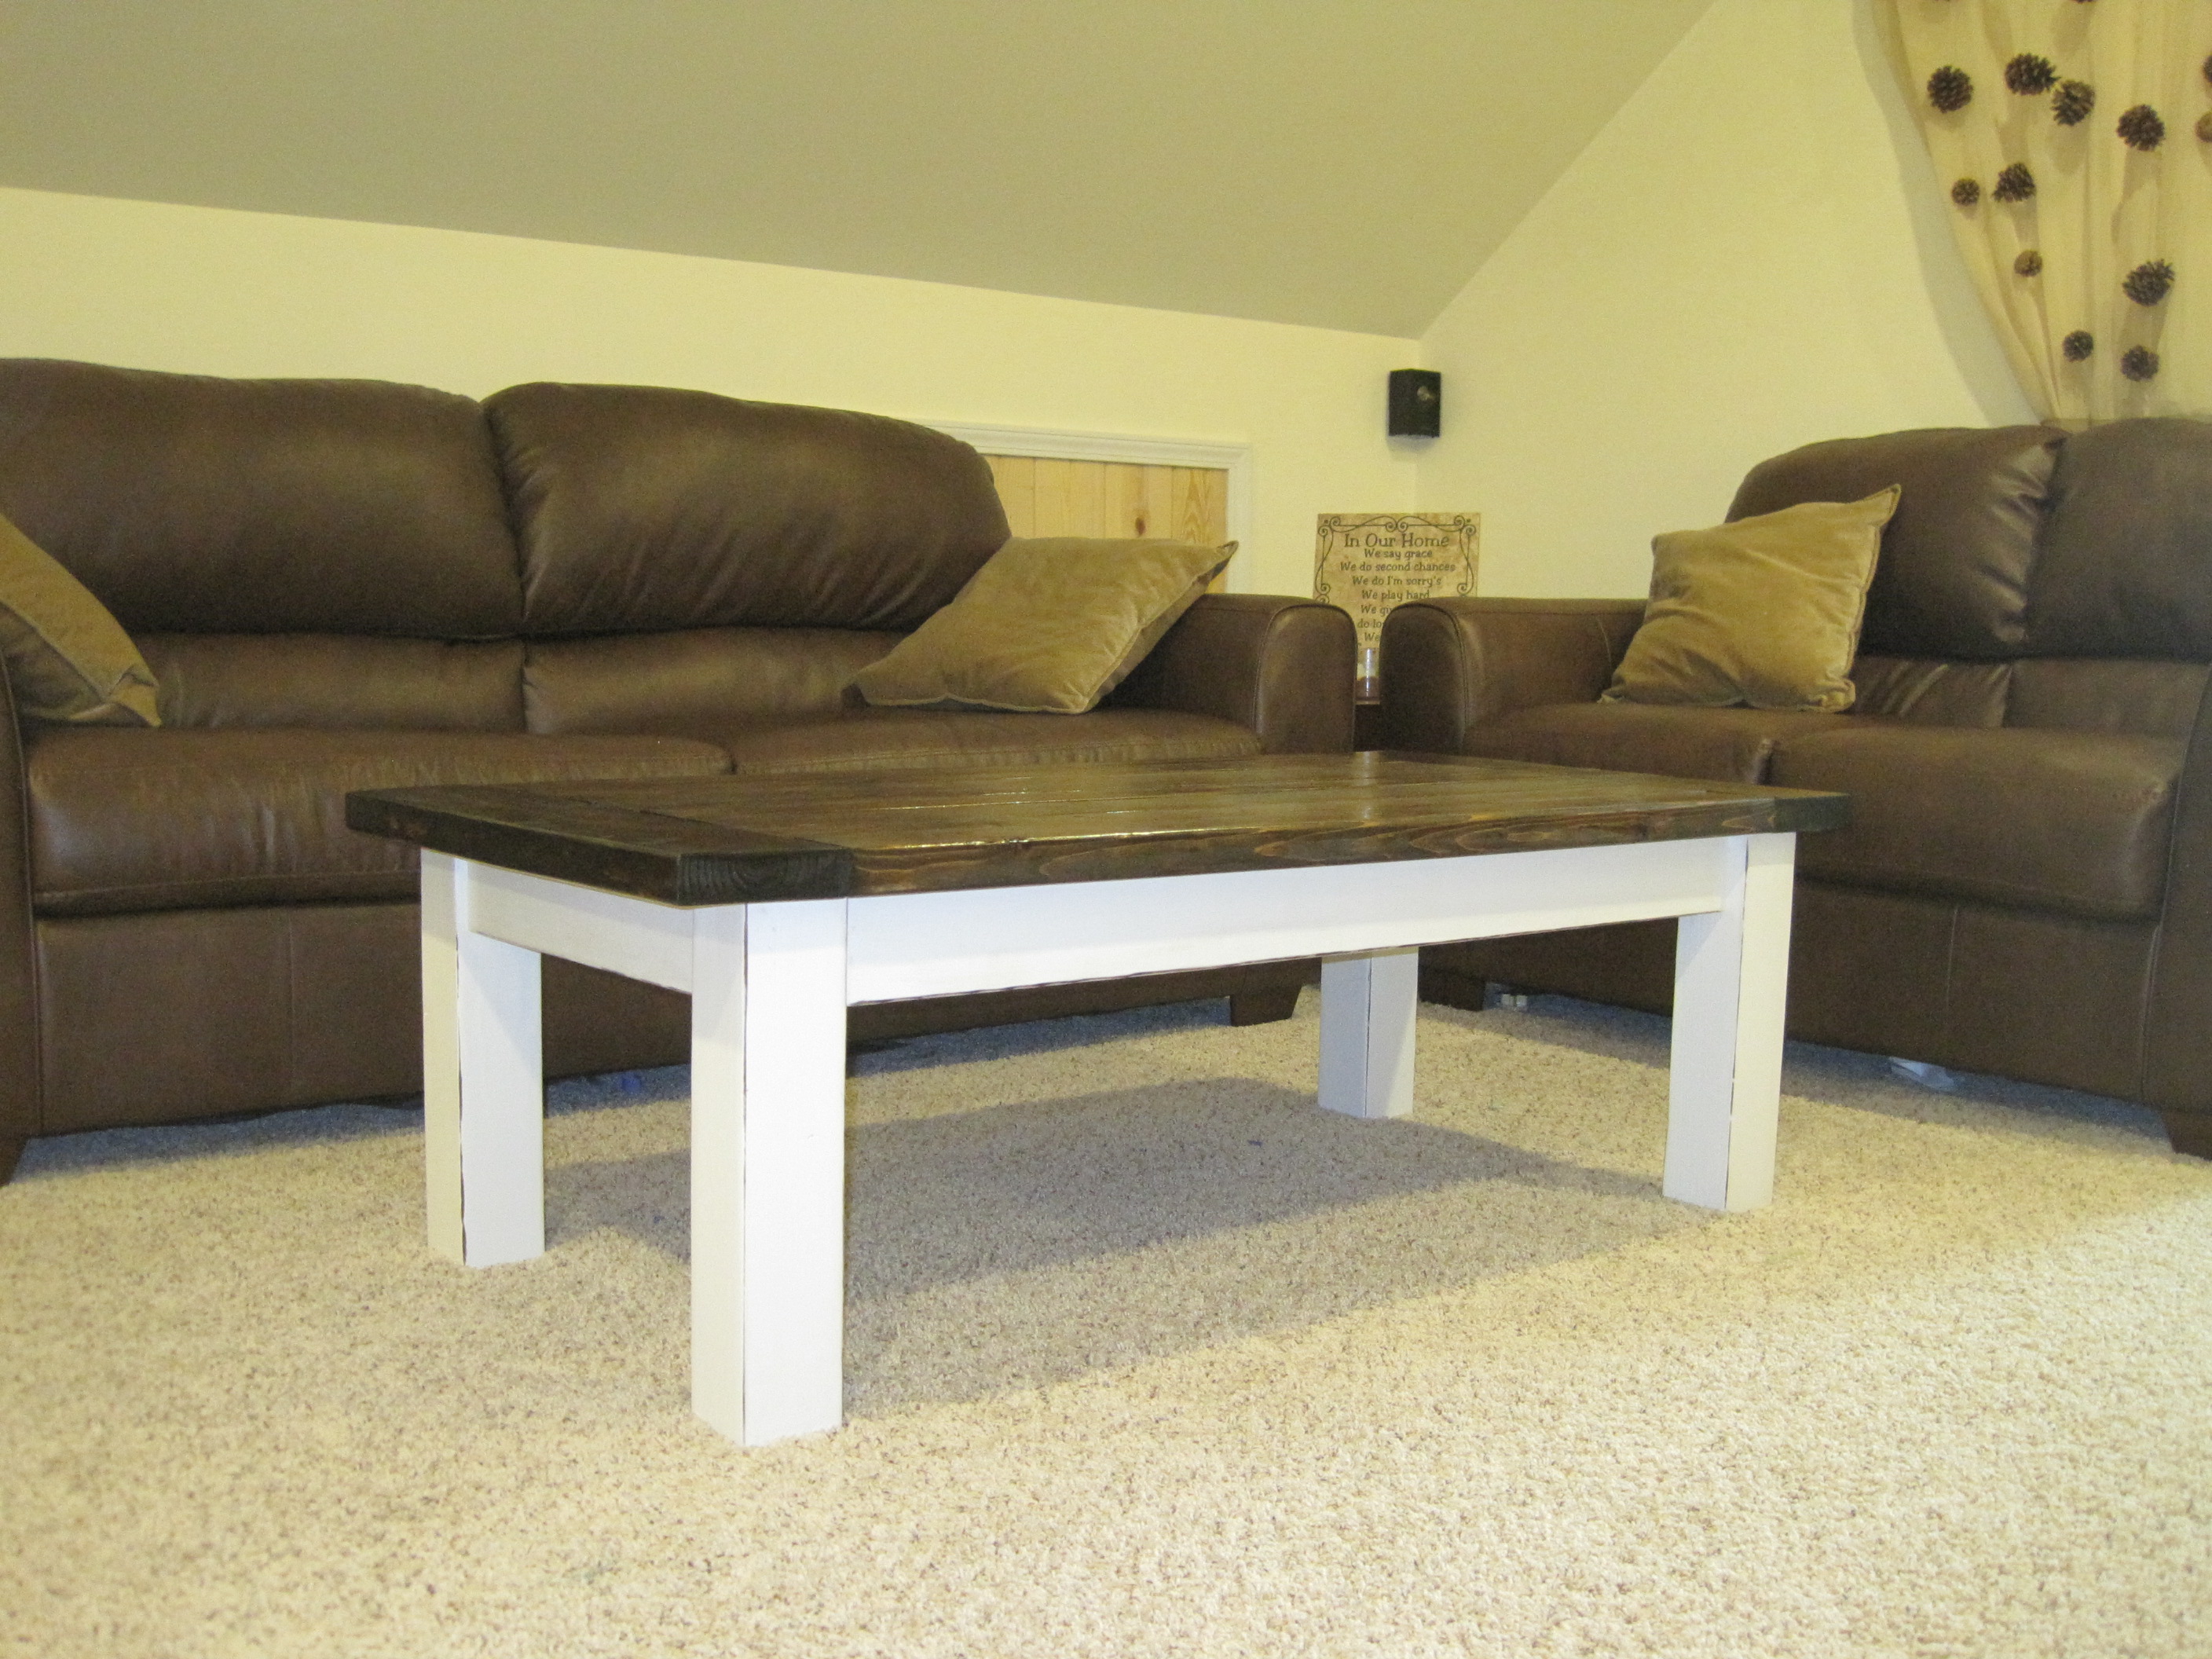
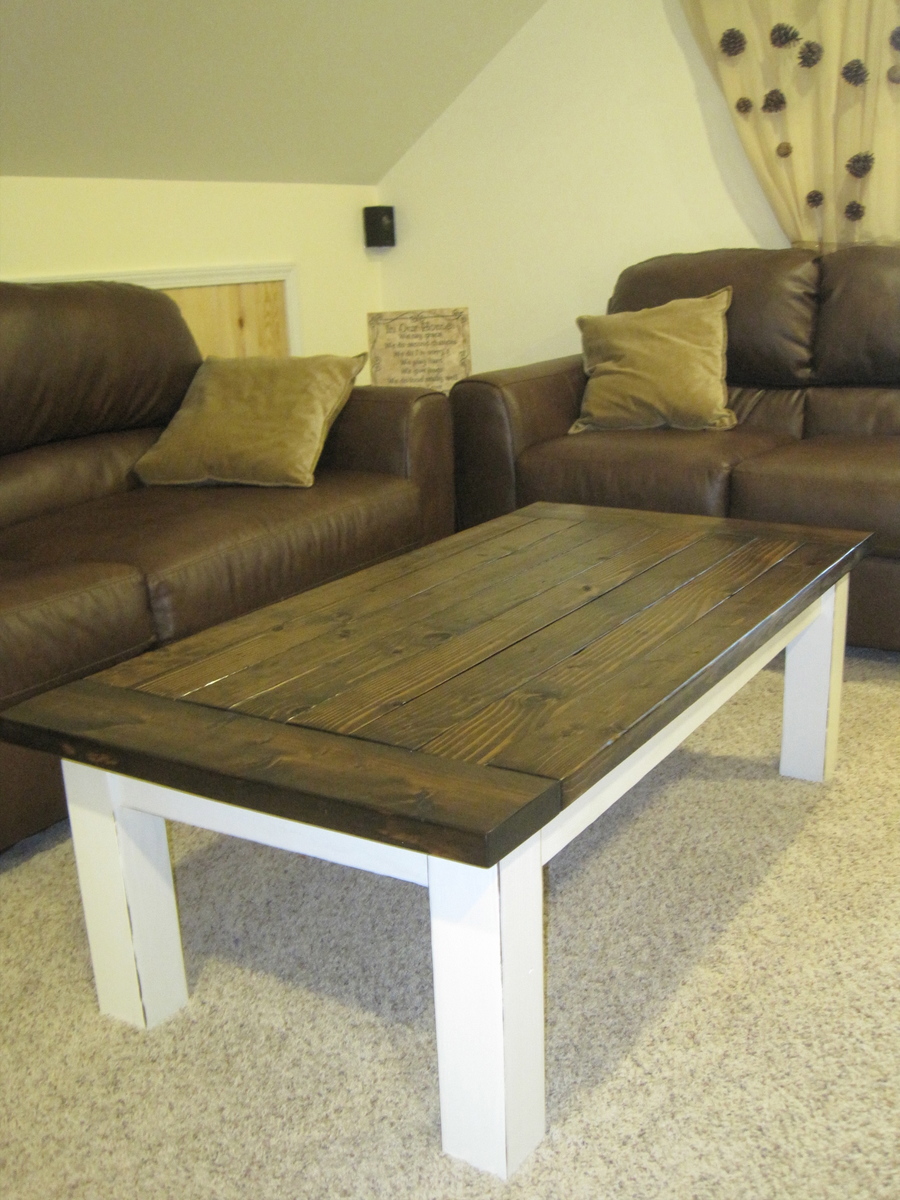
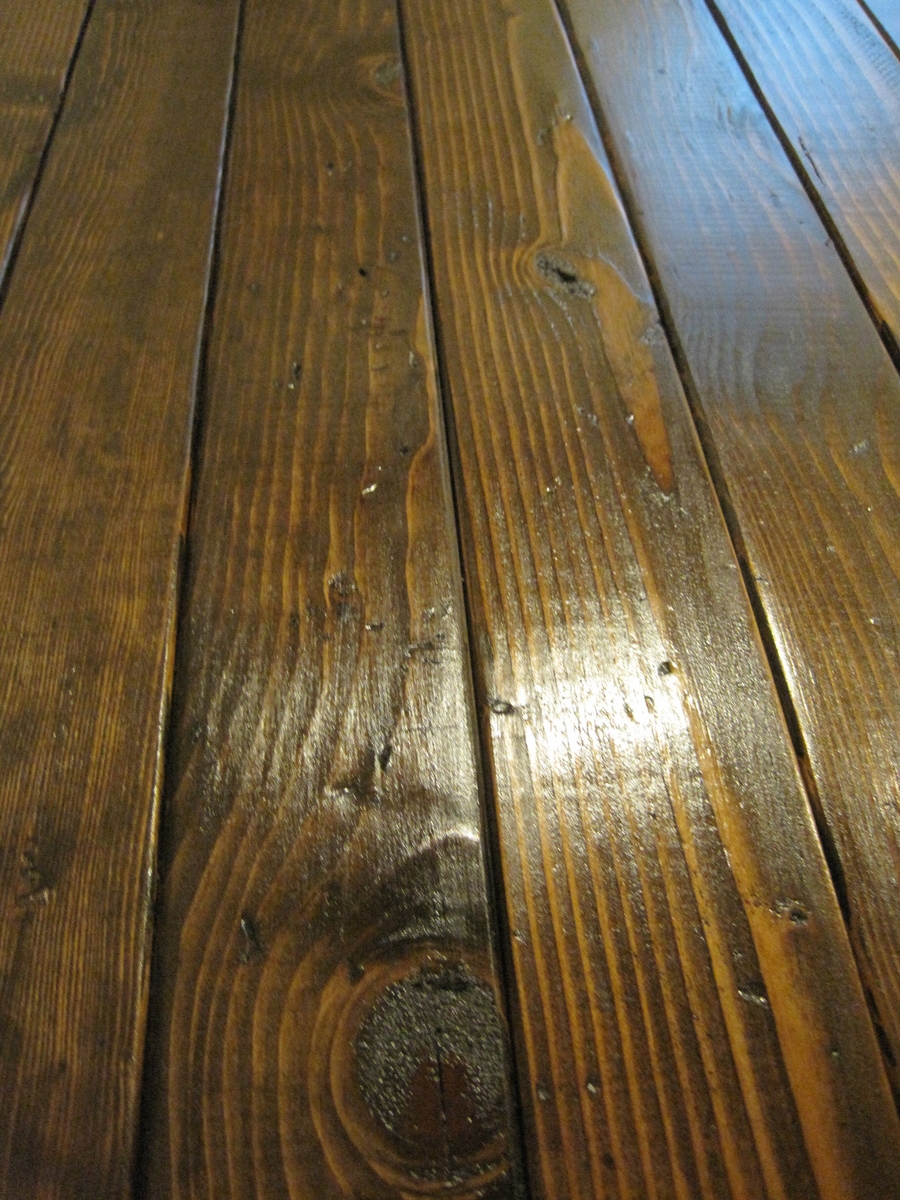
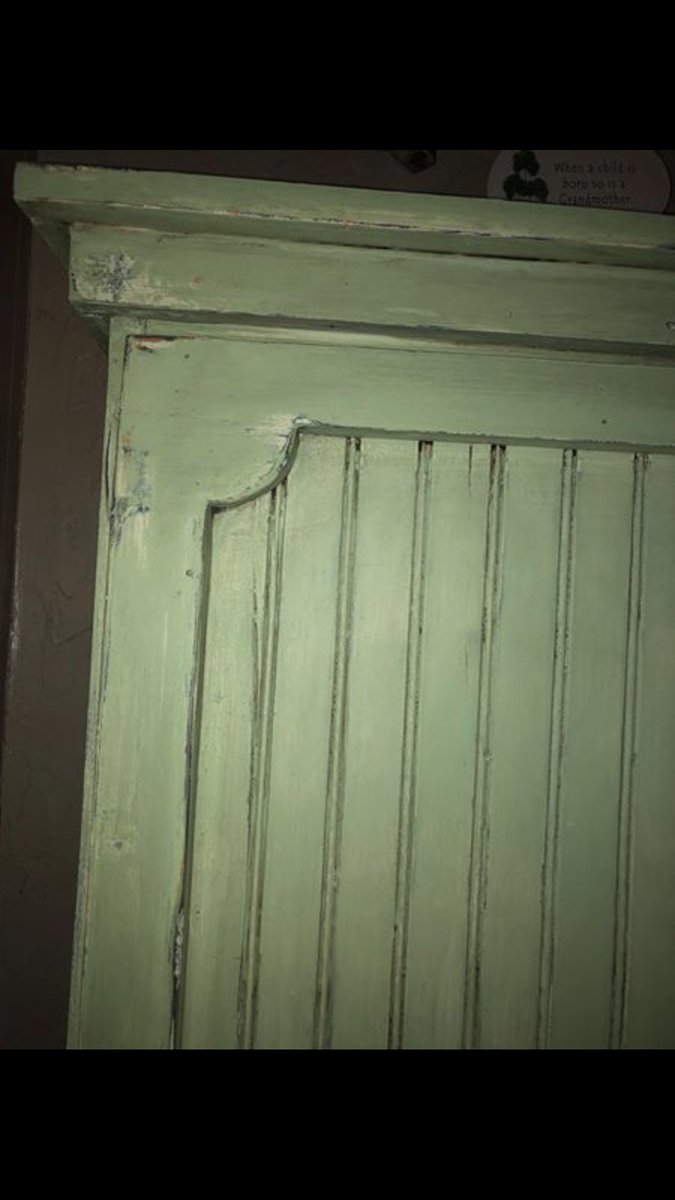
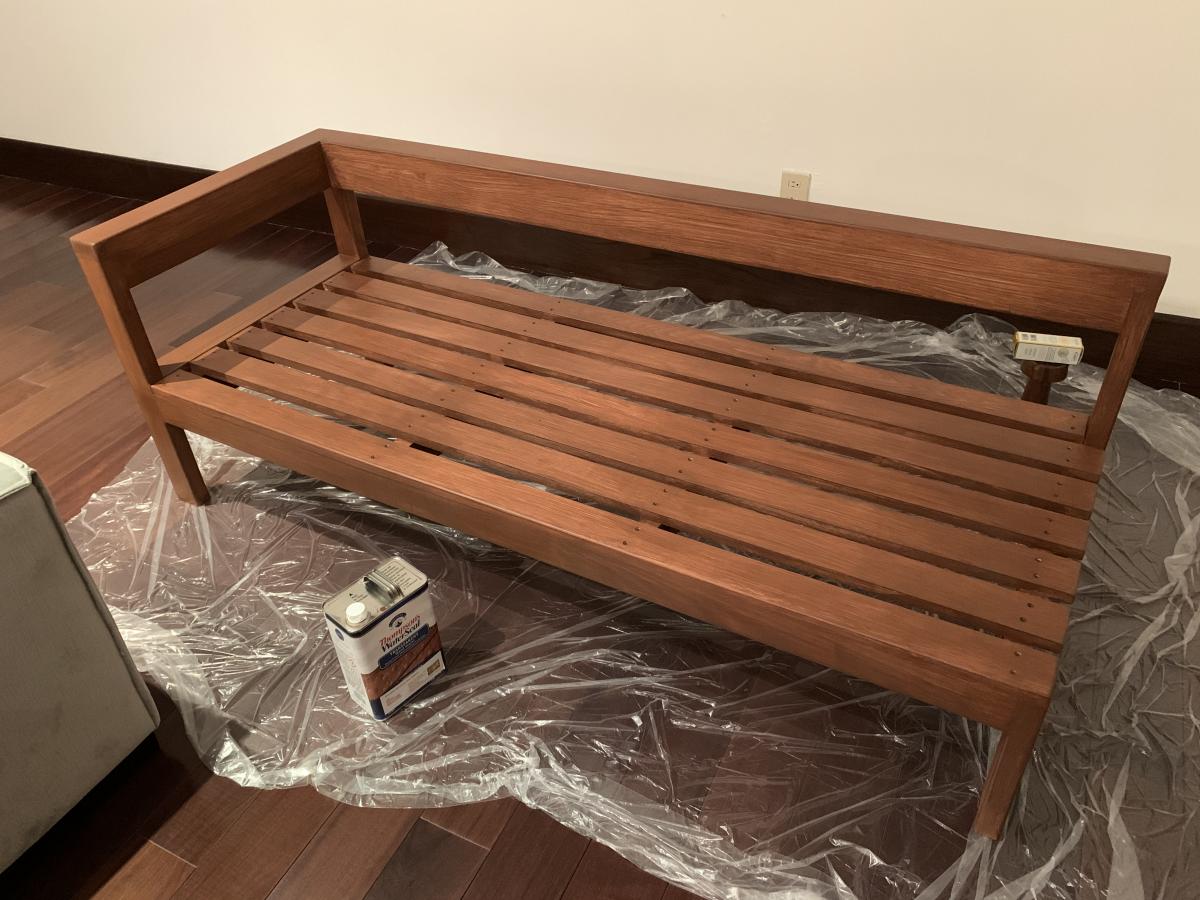
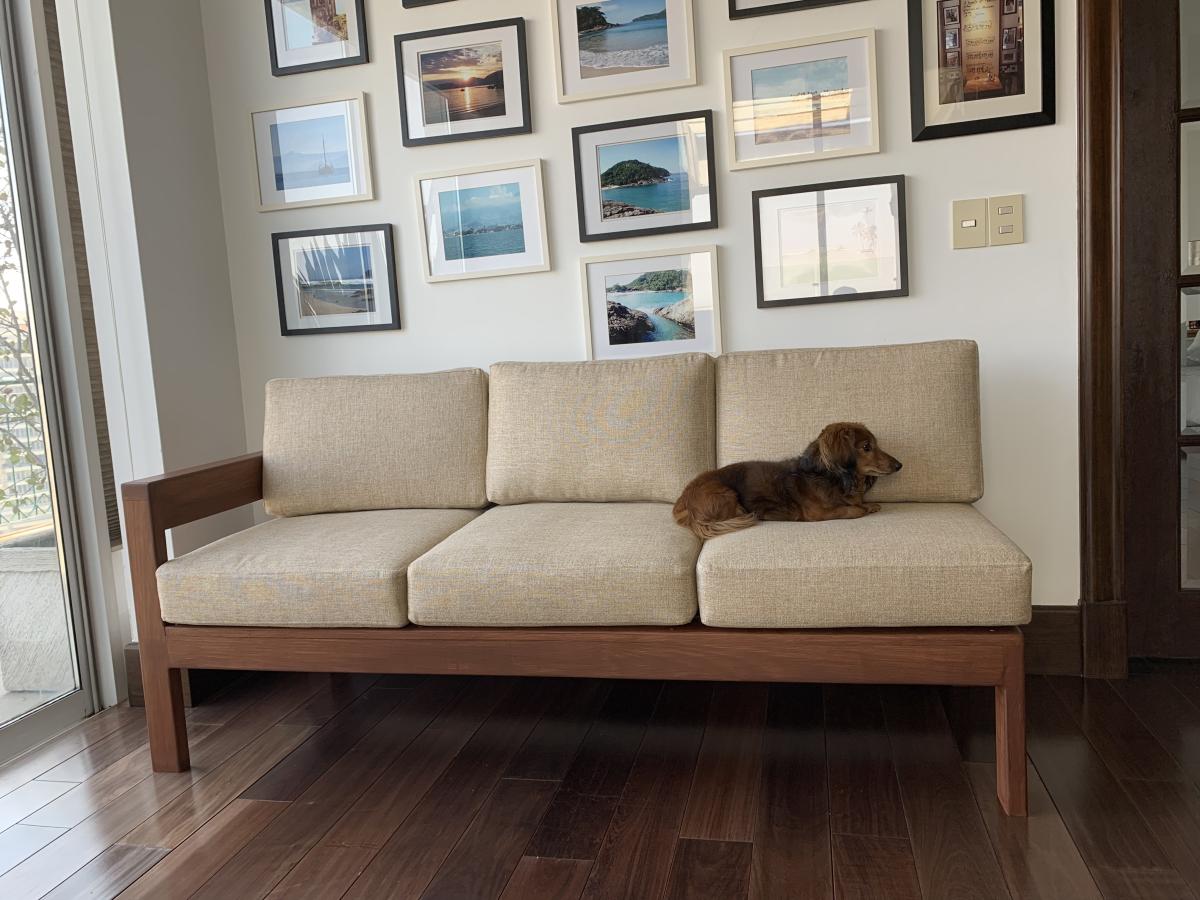
I finished the bed with a good latex paint then sanded where I wanted the aging and then topped the paint off with some Winton Burnt Umber on the sanded areas and rubbed Minwax Antique Oil Finish over the entire piece. See pictures for exact products. I've used these same products in the past to paint furniture I have repainted and aged. I like the finish it gives.
My total price was around $225 but that includes the bed rail system and the brackets.
Enjoy!


Comments
Debbie440
Sun, 12/29/2013 - 07:29
Beautiful......you did a
Beautiful......you did a great job.