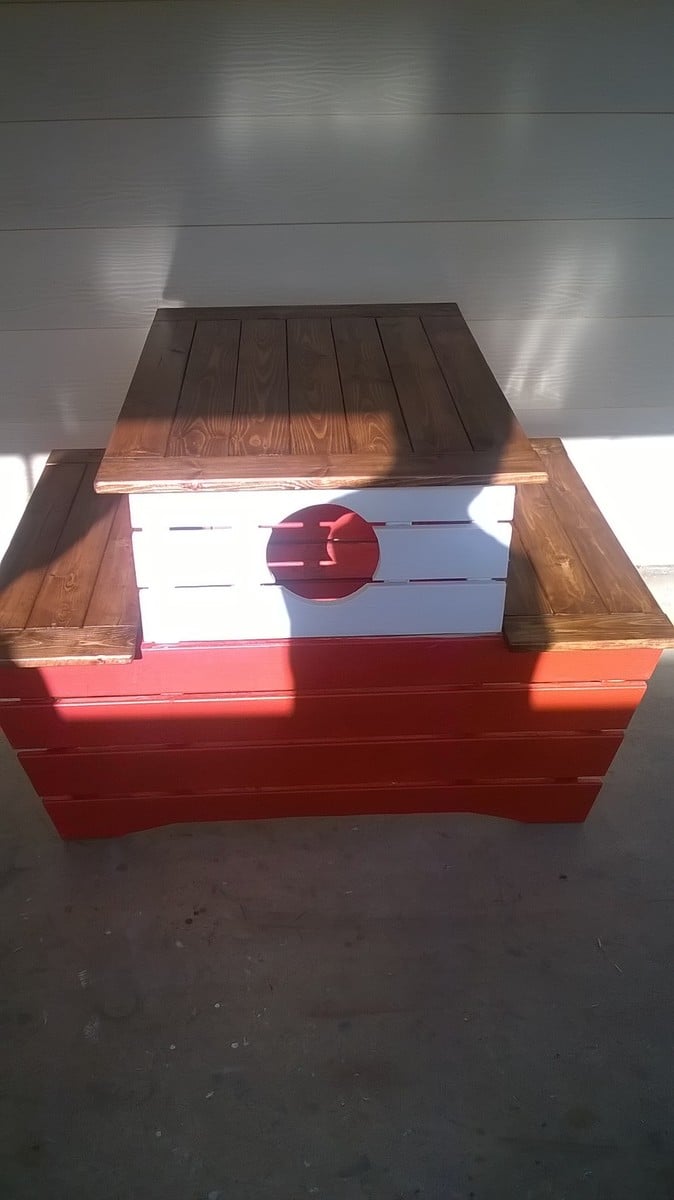
Outdoor Server/Cooler
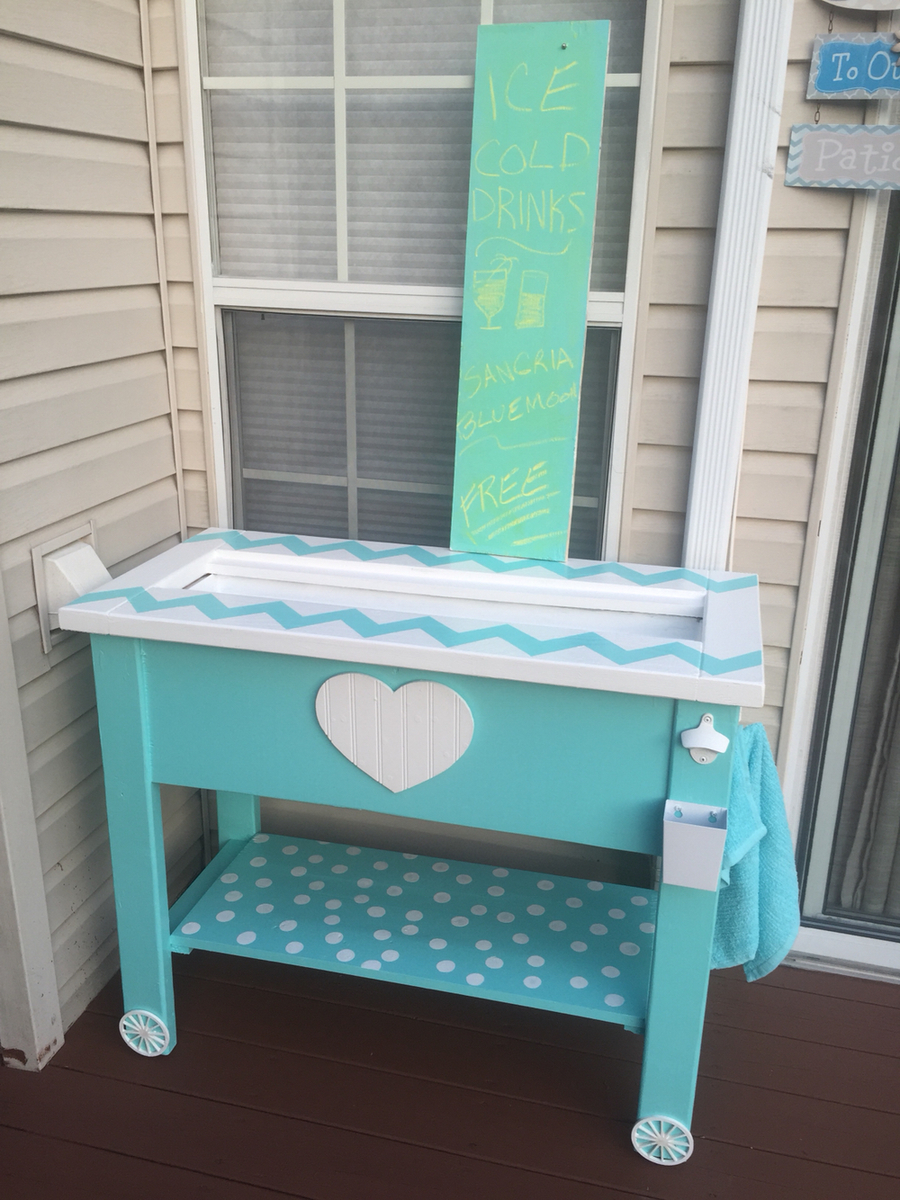
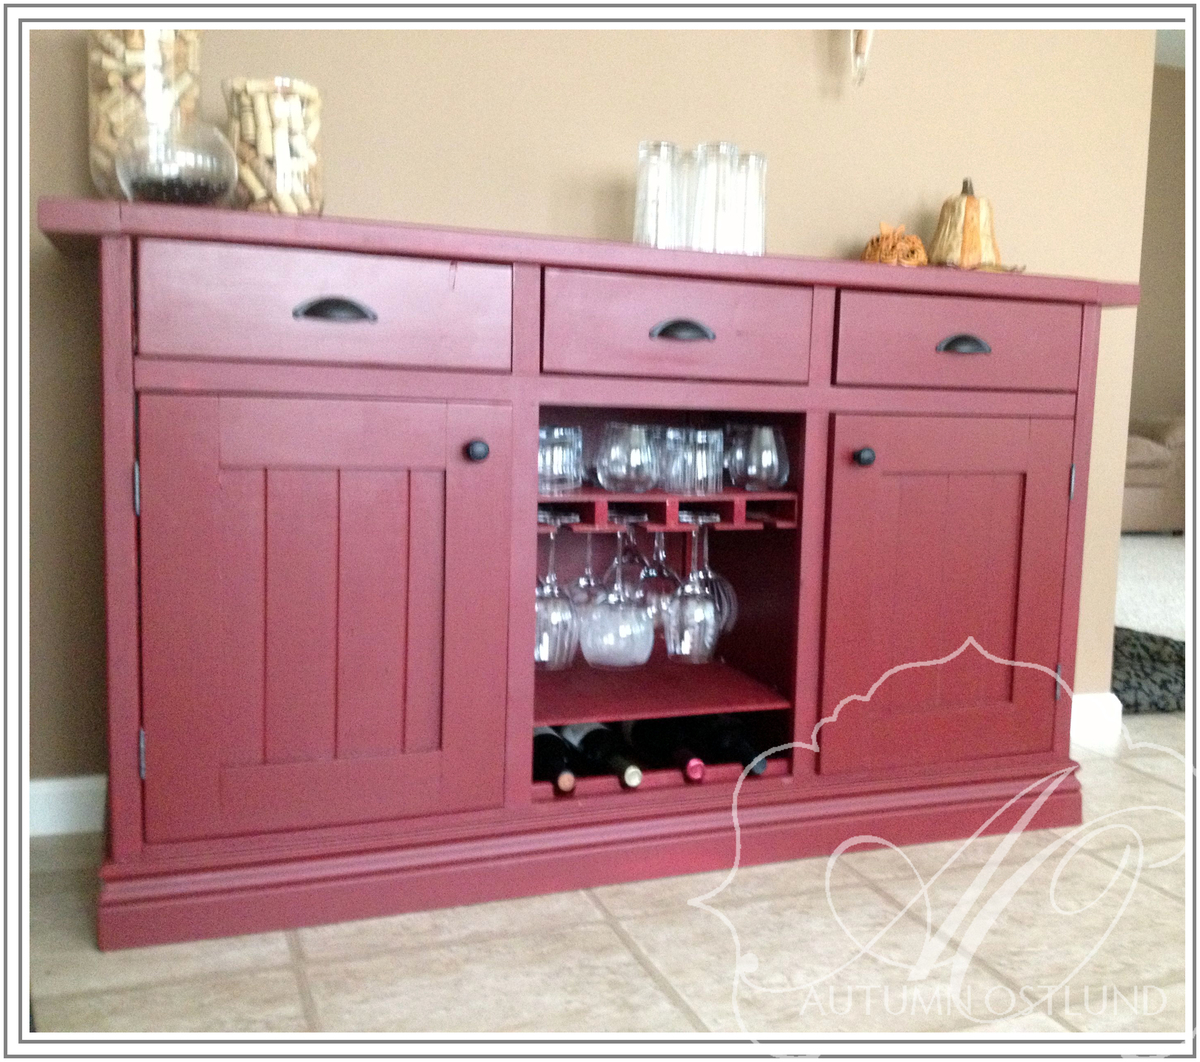
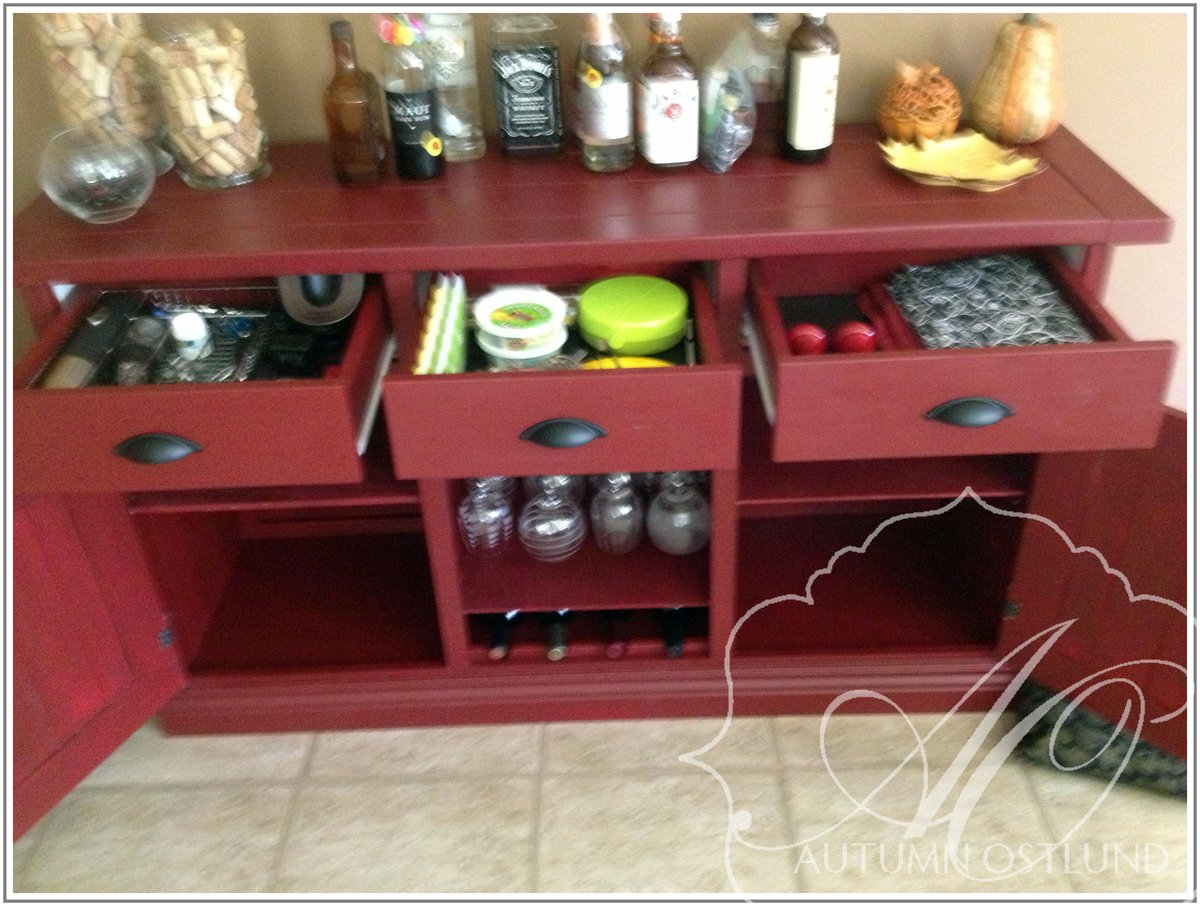
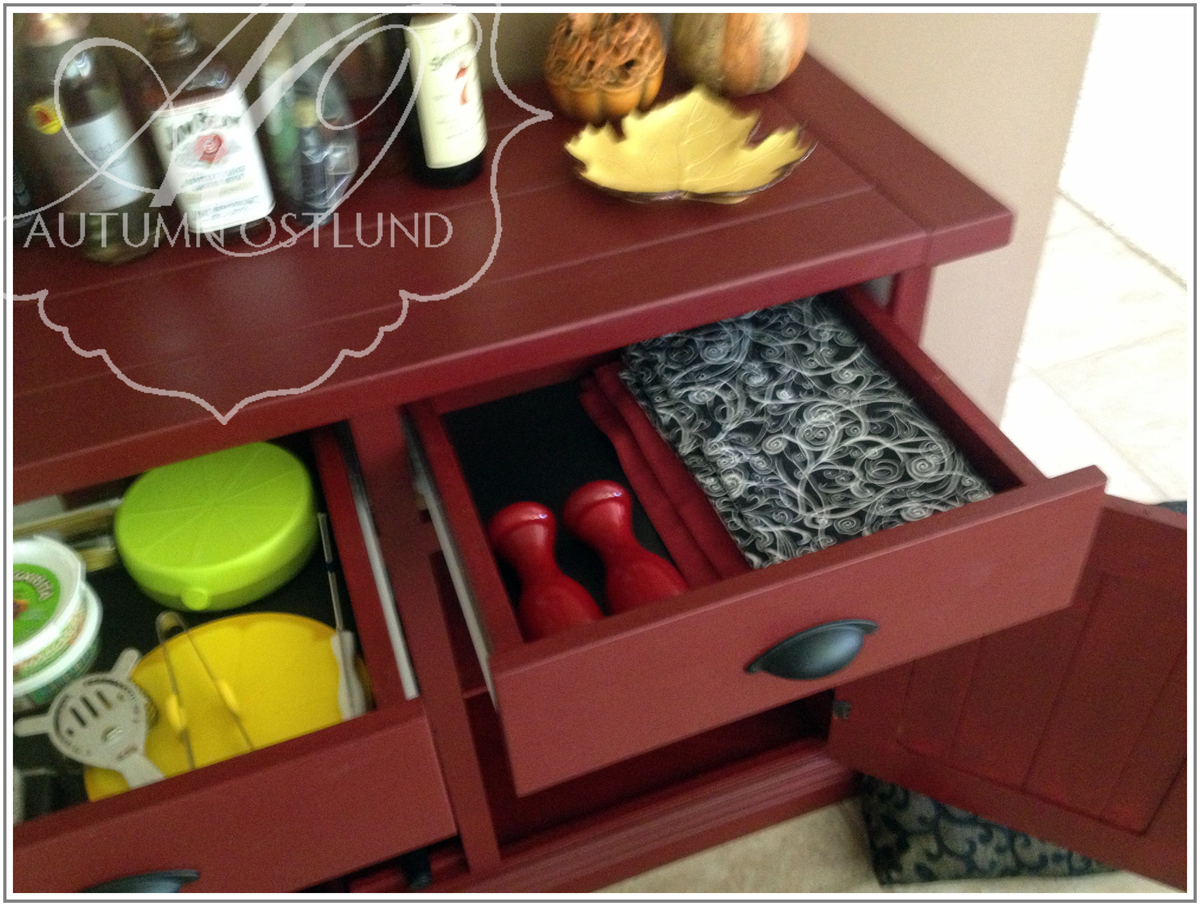
My wife wanted an outdoor server for our back deck. I did so, but decided to add some flare. I built it so the top comes off and a cooler is exposed for our drinks. And to not waste any wood, you turn the top around and I painted with Chalkboard paint so she could write up a menu. Added some color she would like, found a tutorial on chevron, add a few accessories, and viola!
Estimated Cost
$75
Estimated Time Investment
Week Long Project (20 Hours or More)
Finish Used
Benjamin Moore Tropicana Cabana, Polycrylic
Recommended Skill Level
Intermediate