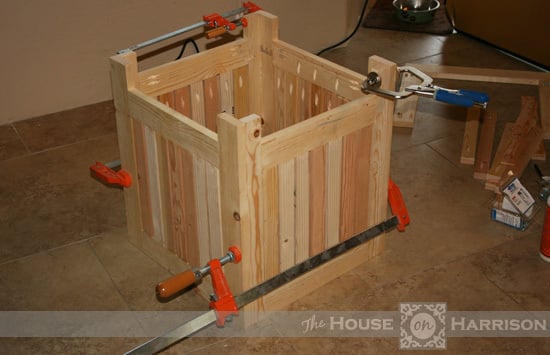
Tall Planter Box
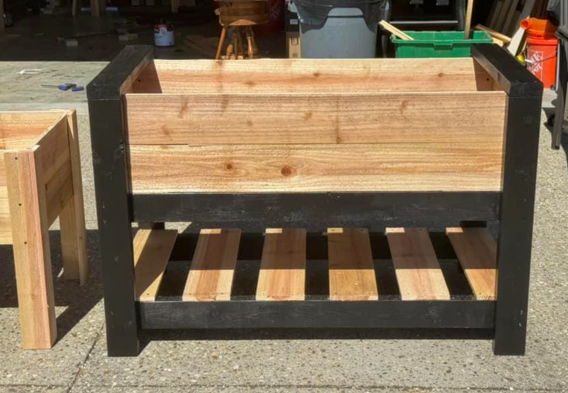
I used cedar and treated 2x4 and painted them with exterior paint. Love the way it turned out.
Jason Stump
Built from Plan(s)
I used cedar and treated 2x4 and painted them with exterior paint. Love the way it turned out.
Jason Stump
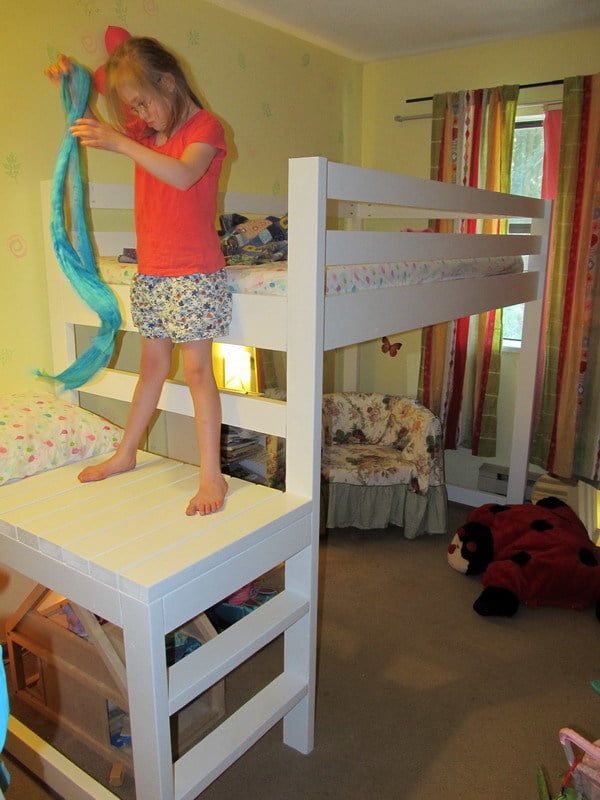
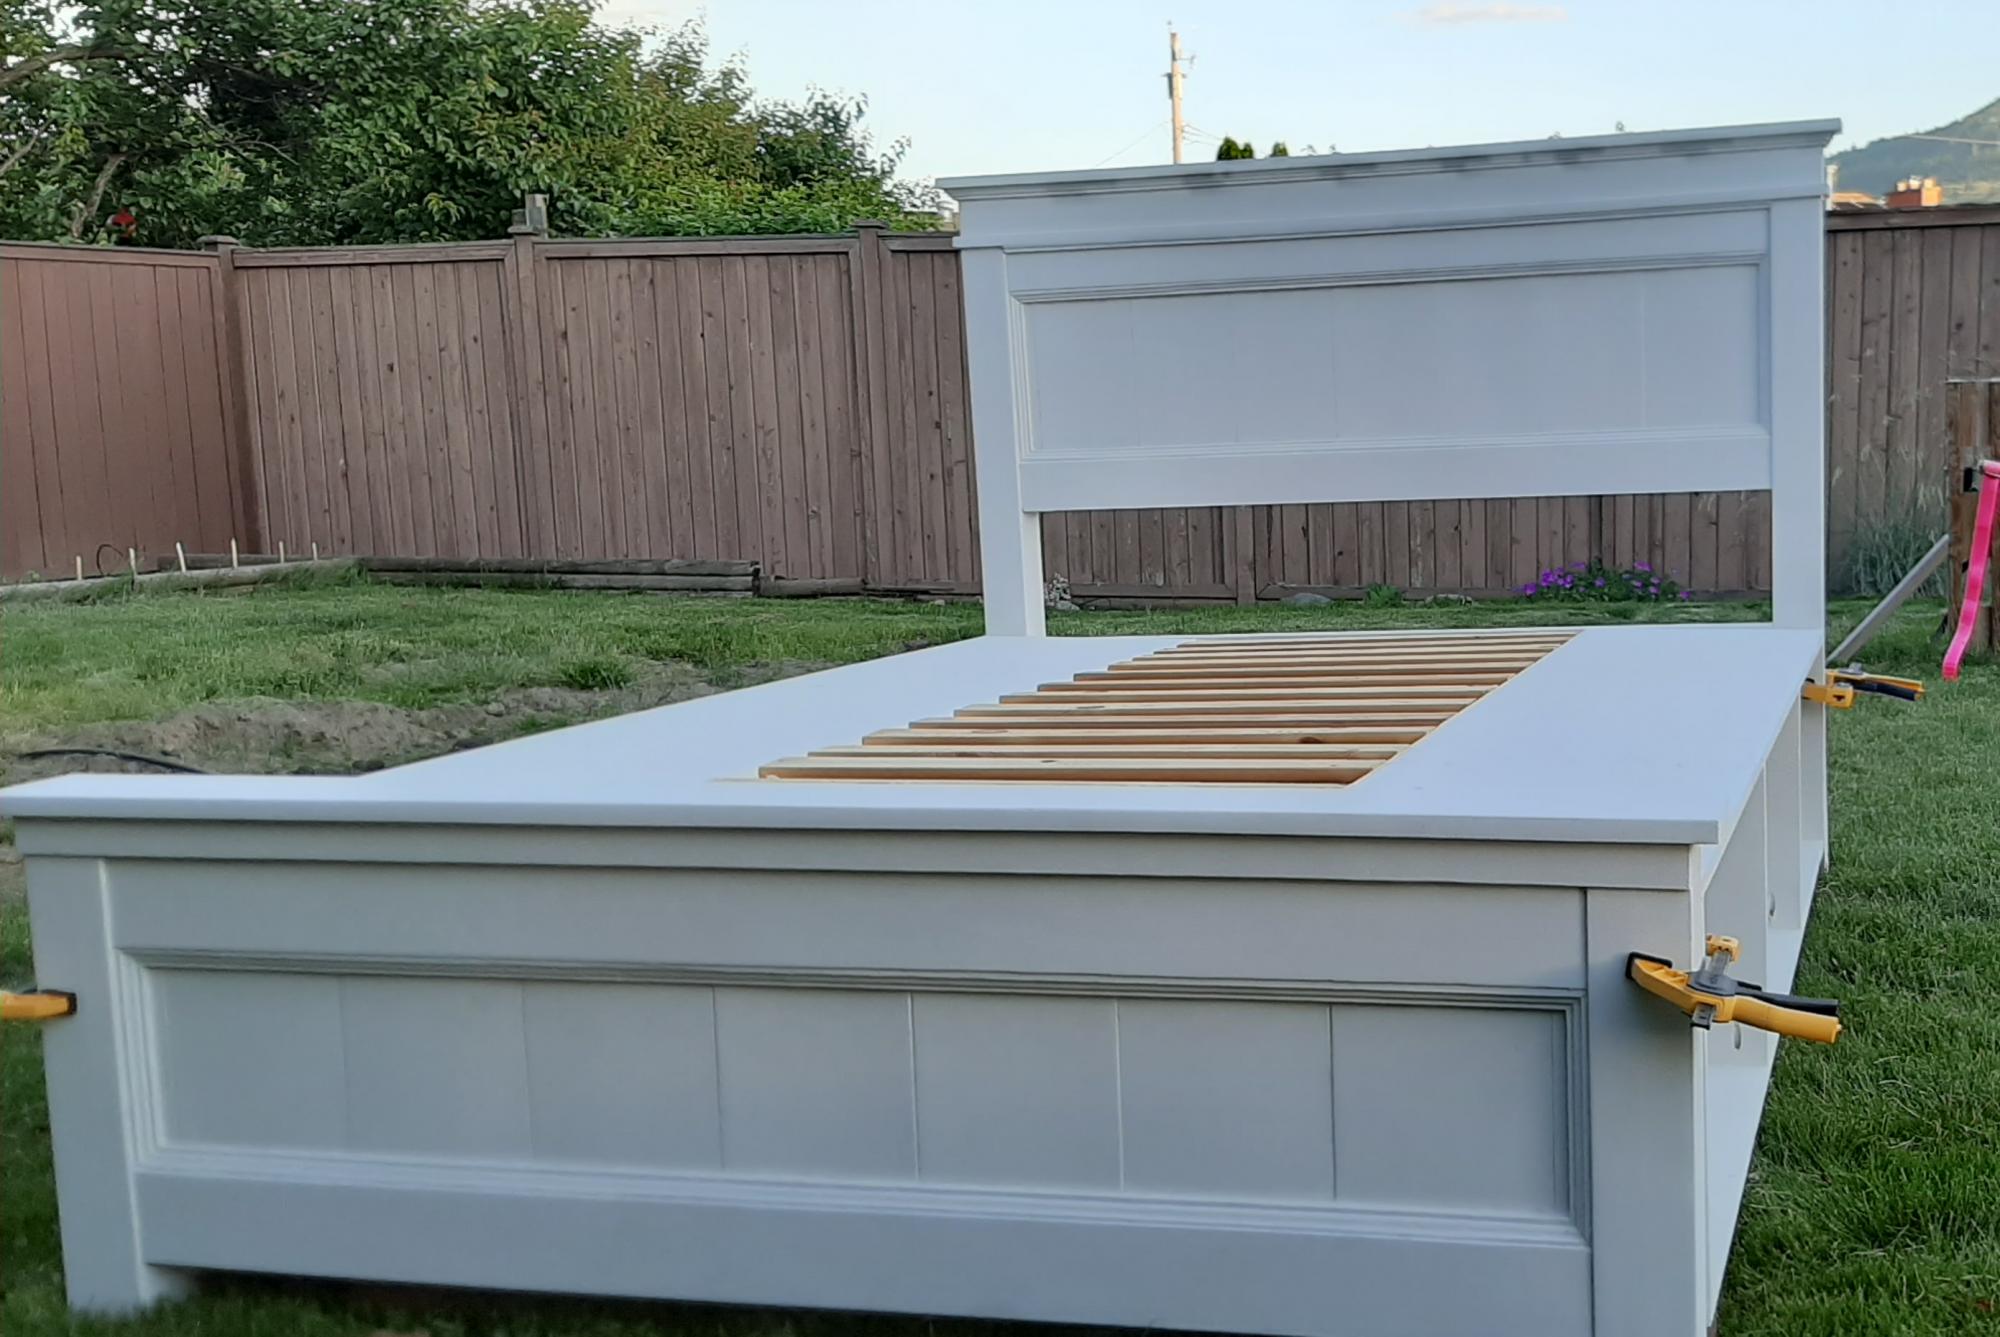
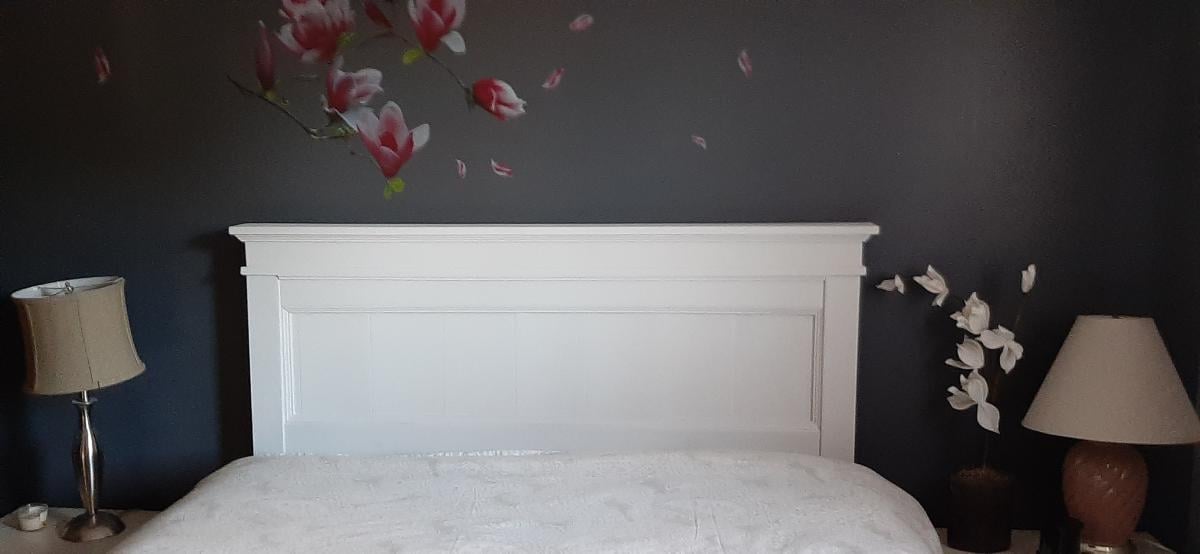
I have been planning on building a bed for Phaedra for a while now, and had figured I'd mix and match some ideas from some of Ana's other plans to get what I wanted. Then she came up with this, and it was perfect! Phaedra is not yet able to use a ladder to get up and down from a loft bed, so I was planning on stairs. Her bedroom is small, only 8'x10', and I hadn't figured out how to manage the stairs so that the bed wouldn't take up the entire room.
I decided against the stairs on this bed, since they would take up too much floor space. Instead I put a couple of 2x4s to make a ladder up to the platform. Phaedra loves her bed, and figured out getting up in no time at all. It took her about 3 days to master getting down.
I decided on paint instead of stain for the bed, because it was what I had on hand. It is CIL Smart from Home Depot in the melamine finish. Hopefully it will stand up well. The cutting and assembling took no time at all, but the painting took me two weeks! Next bed I make will be stained instead.
The best part, because I already had the paint, was that it cost less than $50 for the materials!
Mon, 08/13/2012 - 08:38
Love how the dollhouse fits perfectly under the "step". Nice job, it looks great! I love this plan and am waiting to see what the sex of baby # 6 is before we work on our bedroom arrangements. Right now the youngest has his own (small) room. If we have another boy, they will share this small room and a plan for lofting beds will be needed in a few years. If it is a girl then plans for triple bunks will be needed!
Mon, 08/13/2012 - 11:23
Thanks! The dollhouse fitting there was a total fluke. I had planned on getting a shelf to put it on under the bed, but then I saw that it fit there perfectly. I put some string lights around the rear legs of the platform so she can see well down there. She has played with it more in the last week than in the last couple years!
Tue, 08/14/2012 - 18:21
What a great idea to simply make a little ladder instead of the stairs. My son has a really small room that I wish to re-decorate now that he's starting school.
Love this bed with the small platform, and no stairs will make room for a drawer :)
Was planning on painting, but not sure if I will have the patience ...!
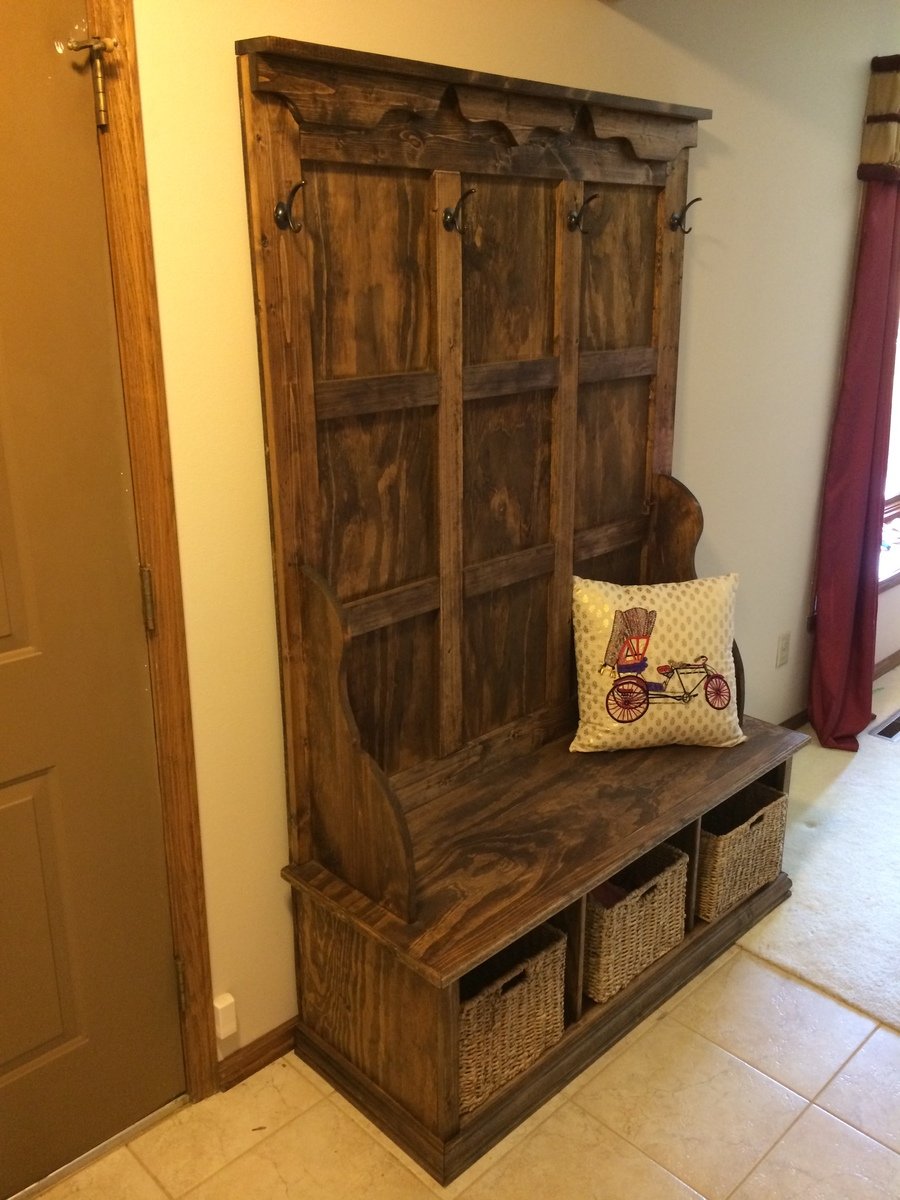
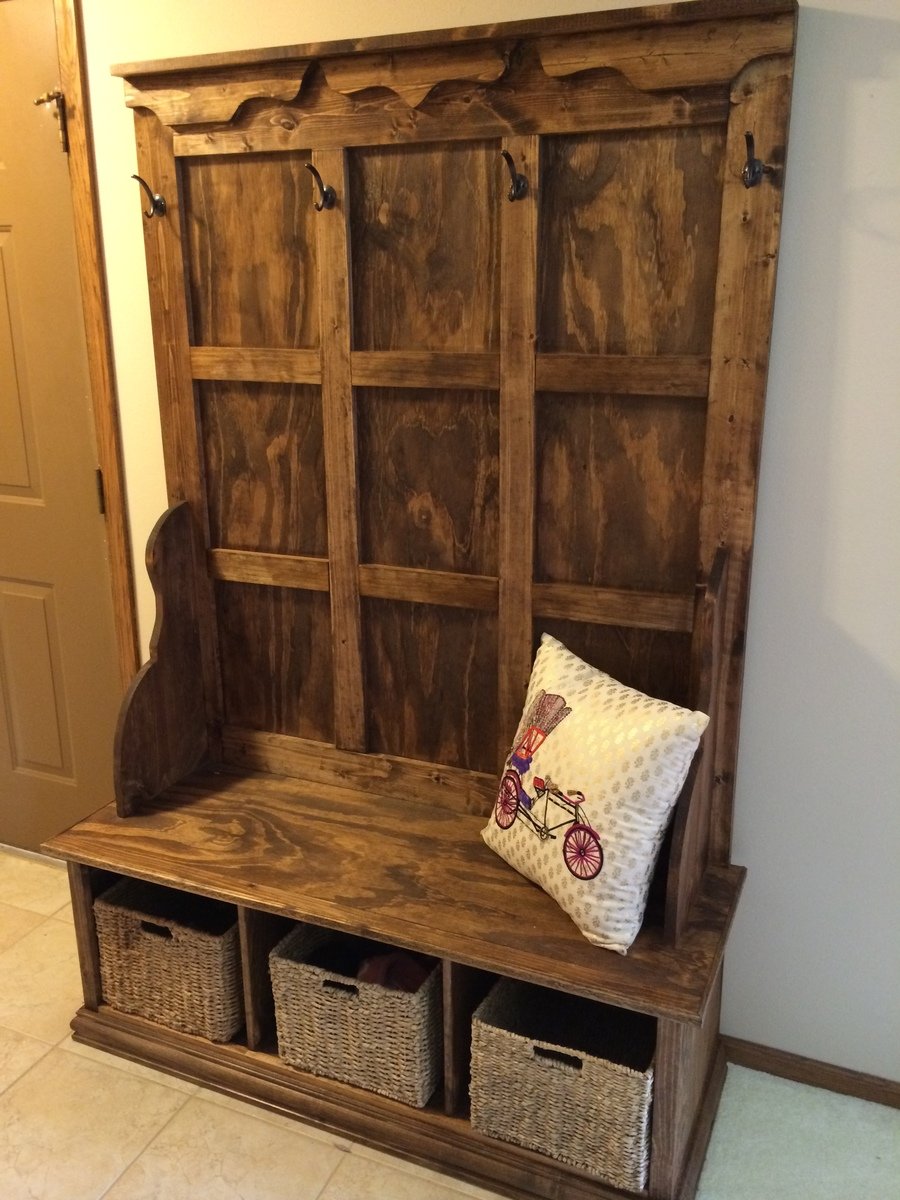
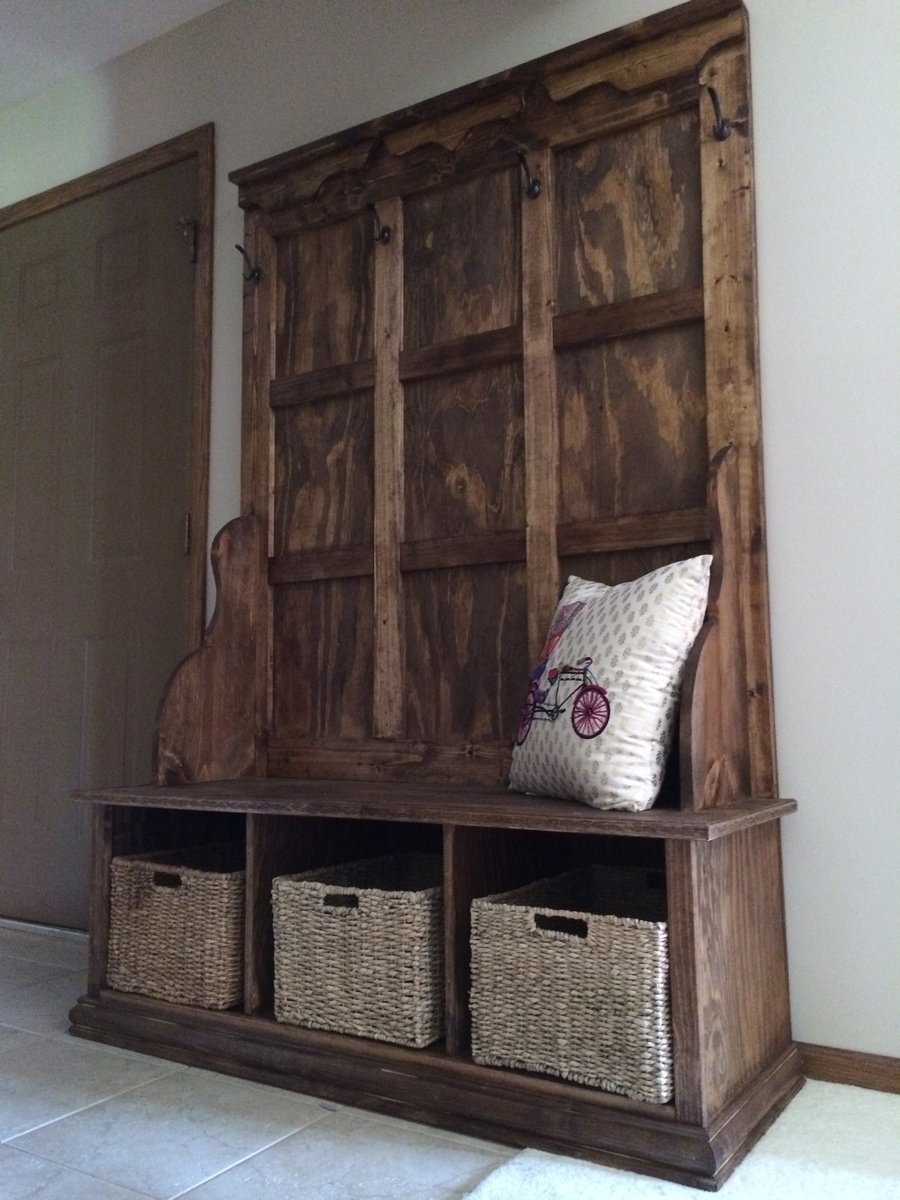
The fancy tree hall fits perfectly across from the coat closet in our entry-way. For the most part, I followed Ana's plans except for the trim and molding. First, instead of using crown molding at the top, I used scrap wood to cut out decorative patterns with my jigsaw. I also cut some decorative crown molding and nailed it to the edges of the bench. Finally, I covered up exposed edges of plywood on the bottom cubbies with cheap molding. I followed the plans to install base molding at the bottom.

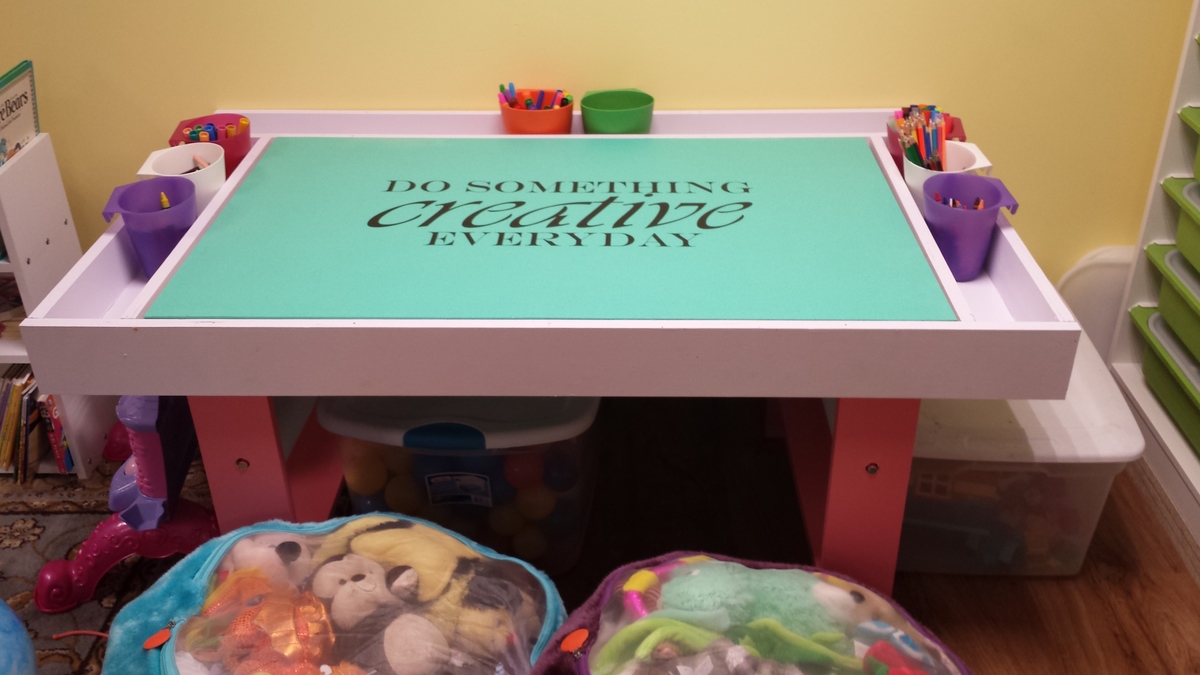
Built from the Art Desk plans. I added an additional tray and a second paper roll. Also made mine from 1 sheet of plywood. Used paint samples we had from previous painting projects, added glitter to make it sparkle.

I used wood from an older Ana white project of a loft bed my daughter had out grown. I liked the look of Ana's Mom bed but wanted storage so I modified the plans slightly. I will add drawers later.

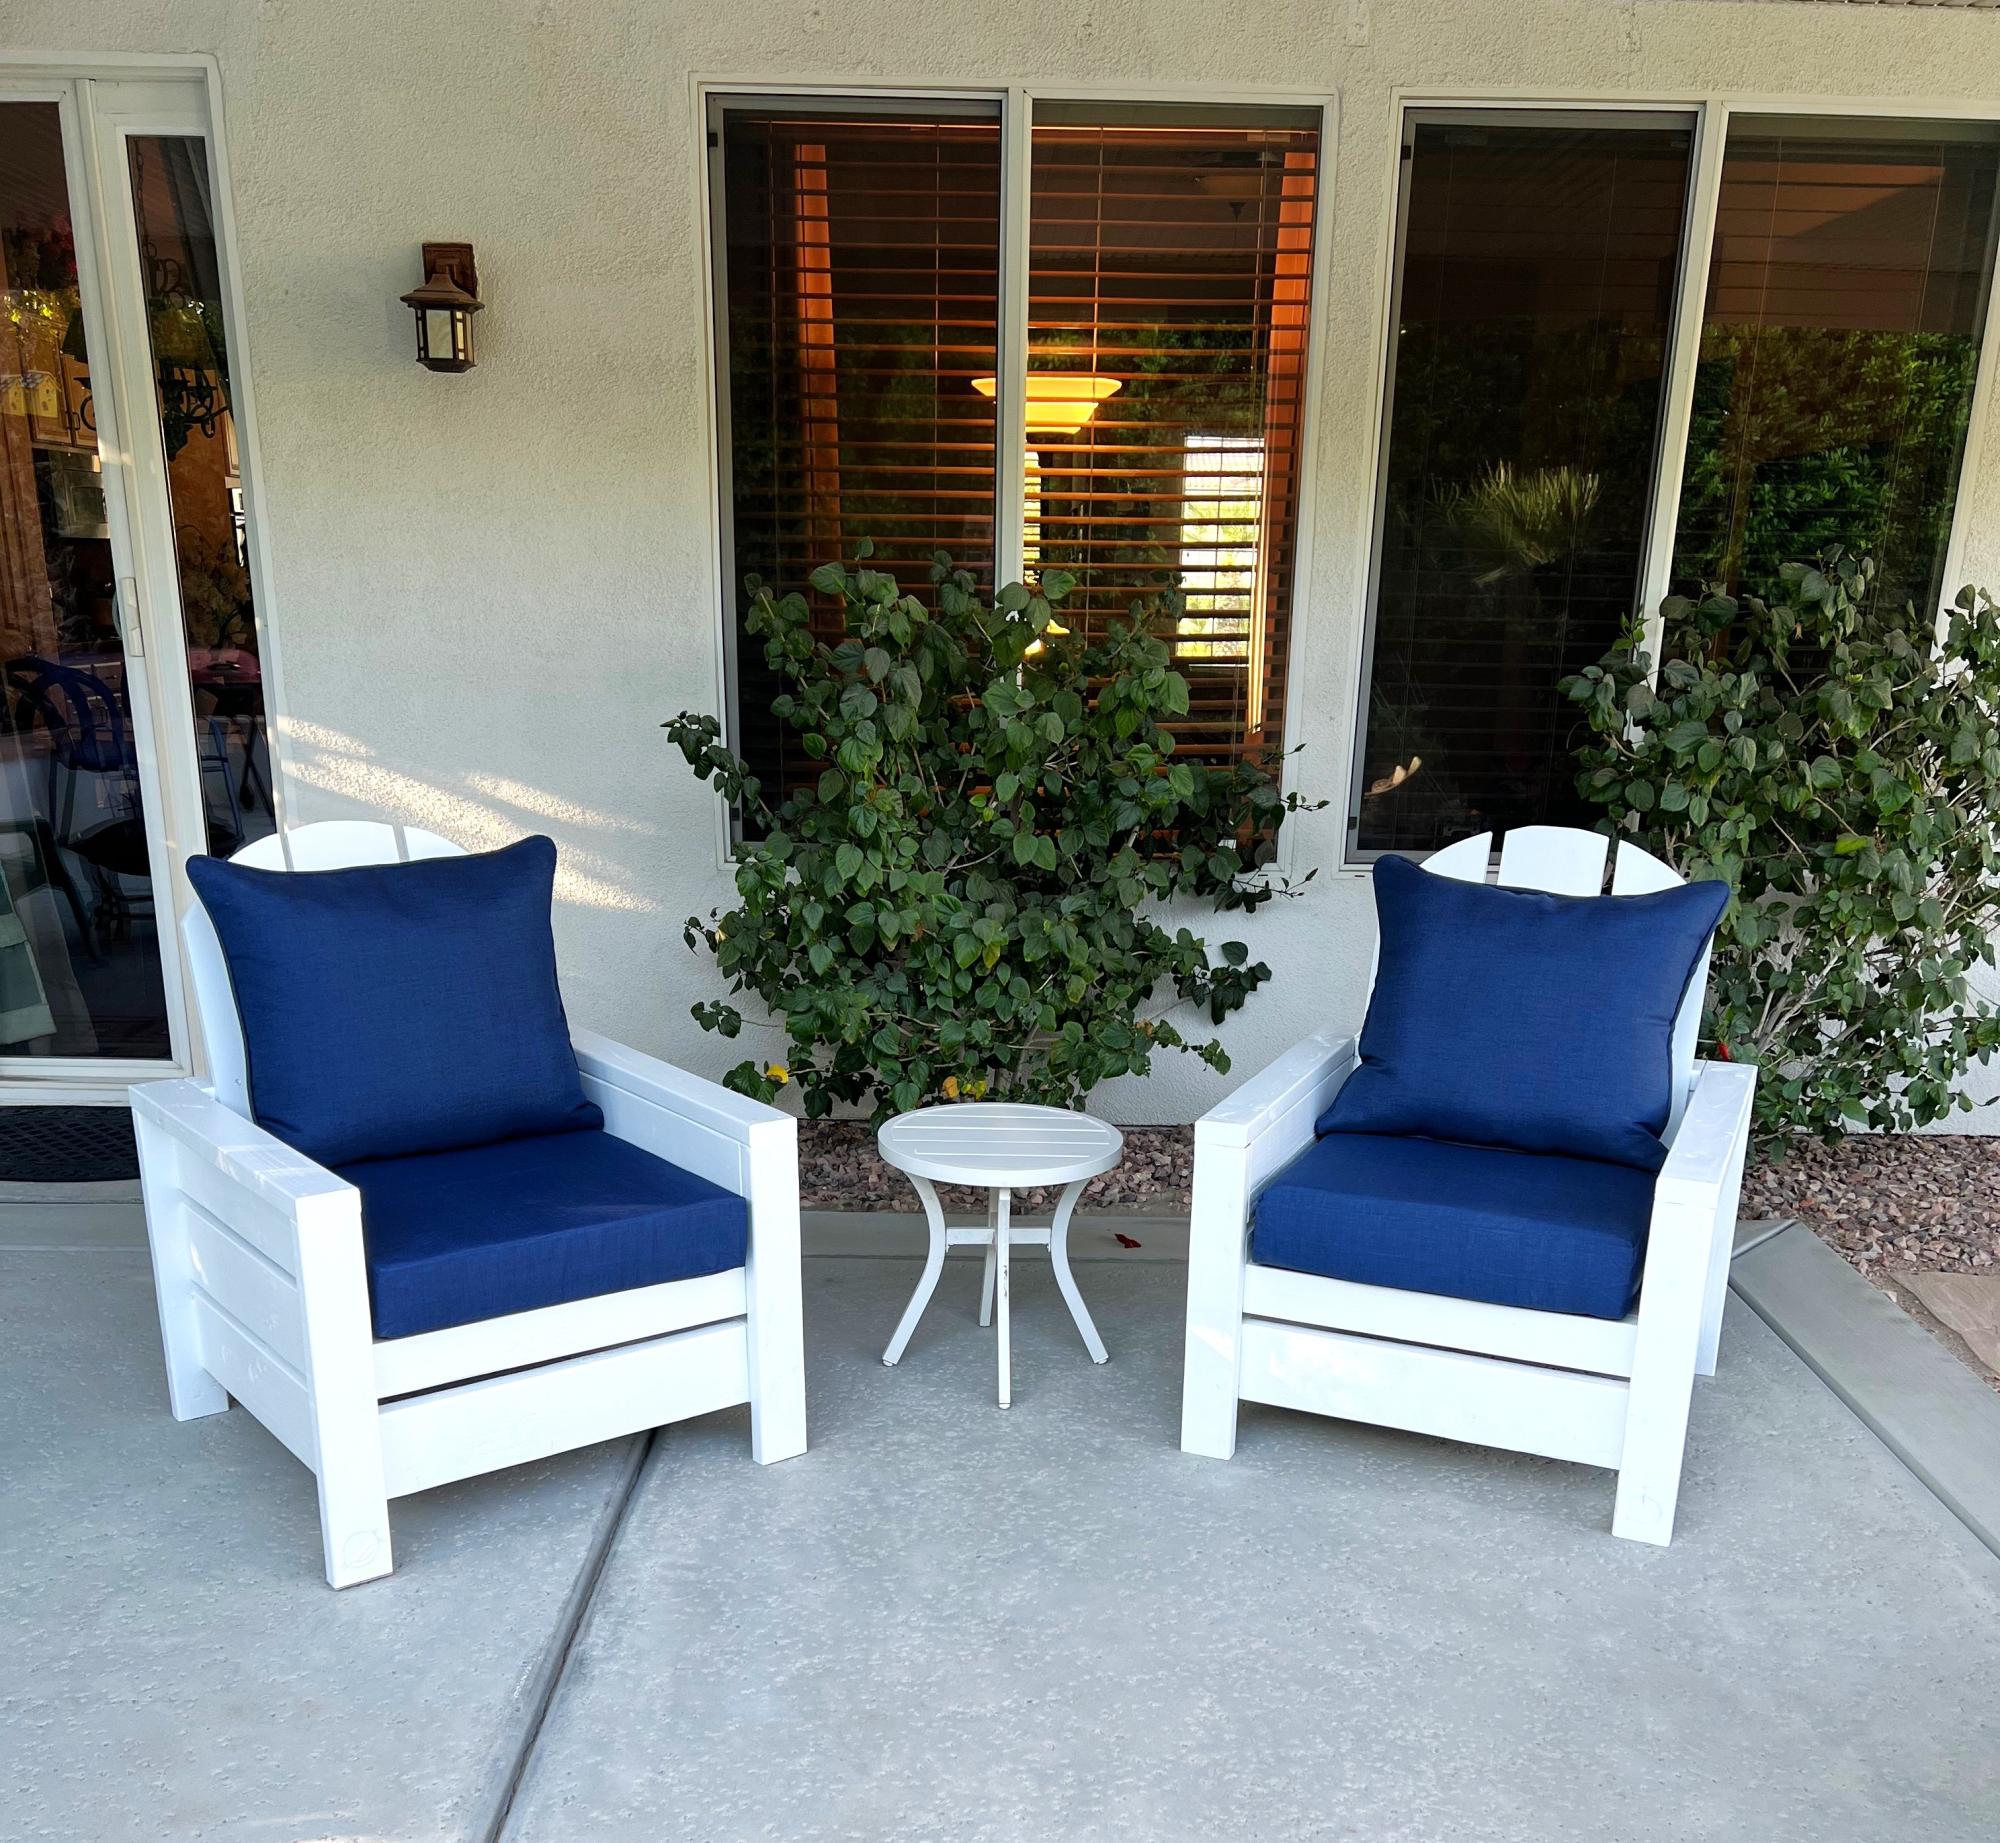
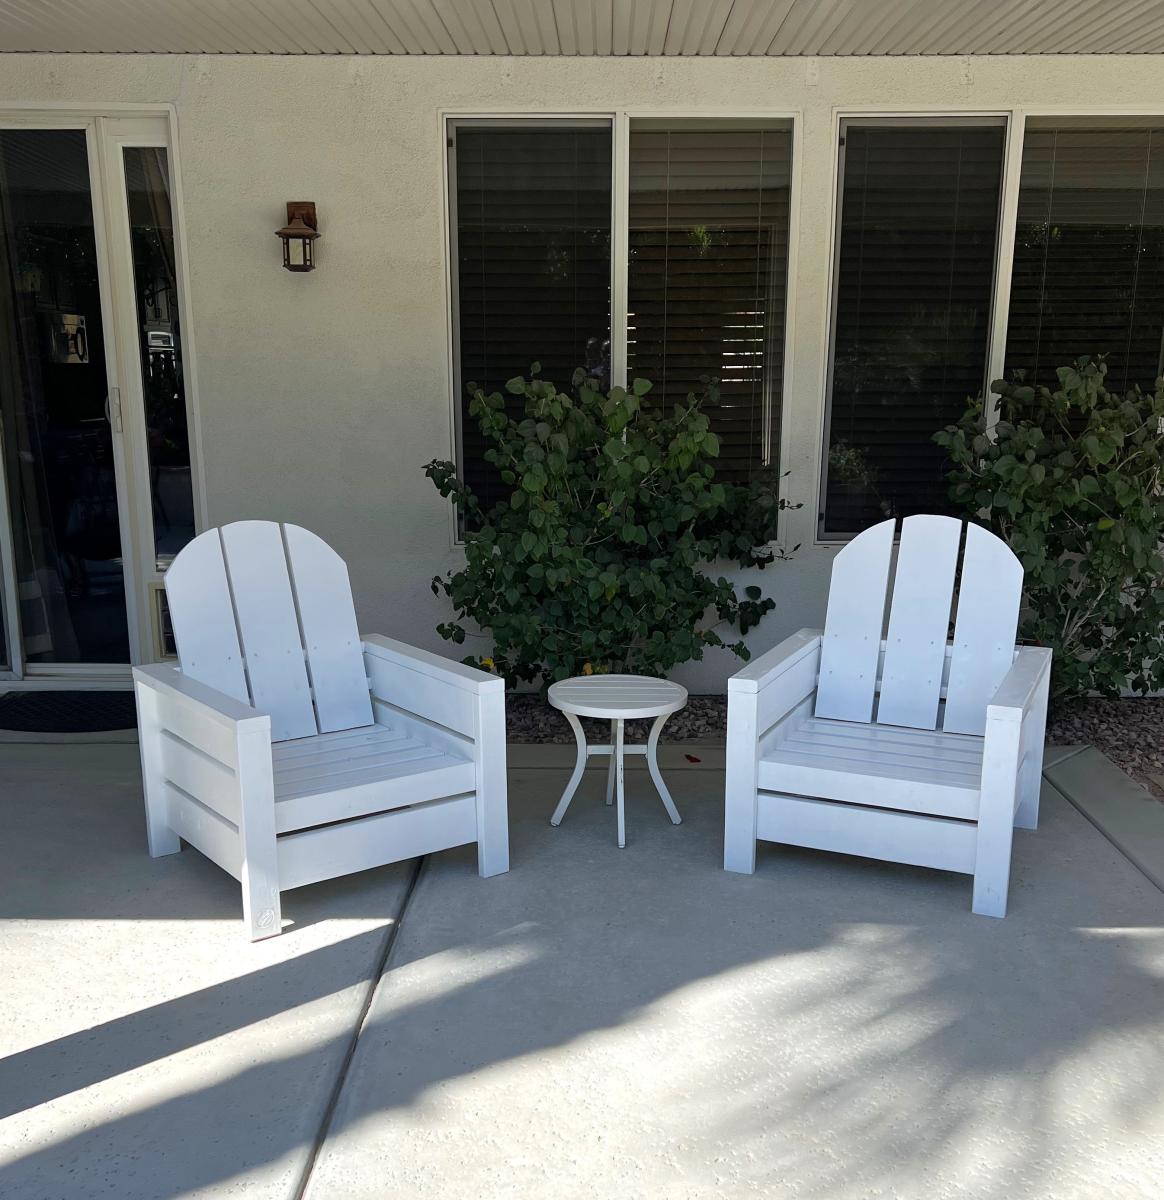
I made the Modern Chairs with a vertical rounded back for more back support. I love these chairs so much and was such a good experience making rounded cuts.
Michelle H.
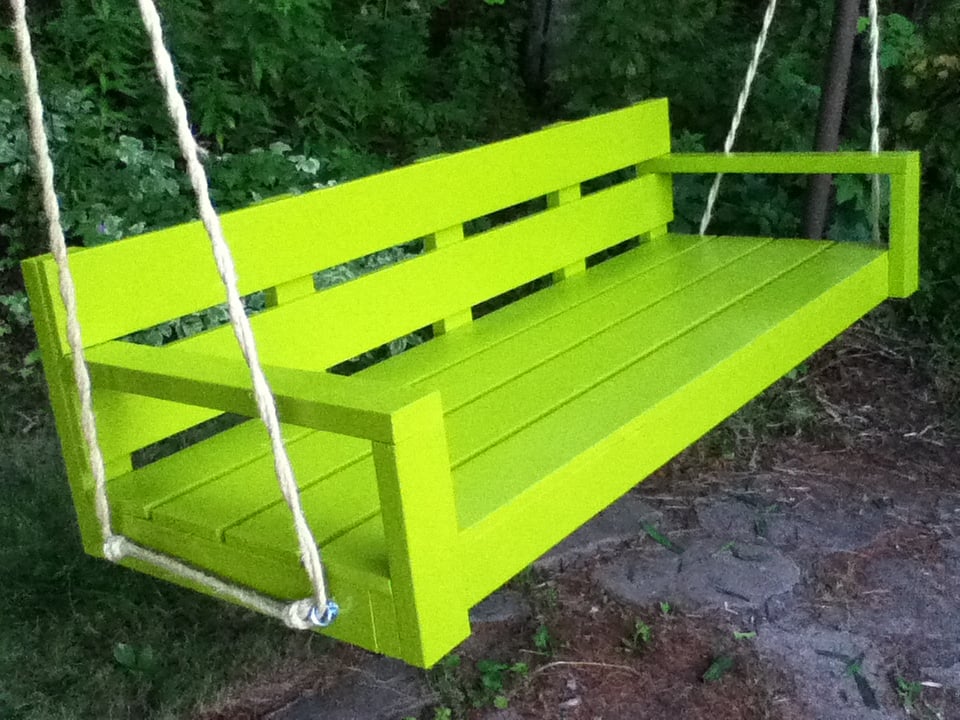
This is my version of the Large Modern Porch Swing. I did a couple of things different. I wanted a nice finish so I cut everything to length then did 3 coats of high gloss exterior paint. It feels pretty indestructible and I know it's covering all the surfaces well.
Since I painted everything ahead of time and I liked the finish I thought about the screws and nails and was able to assemble it using only screws and having none of them visible. I pocket drilled most of them, although without a jig so they're actually toenailed. The seat slats are screwed down with angle brackets underneath and the back slats screwed from the back side. That way there is no need for finishing nails or wood filler.
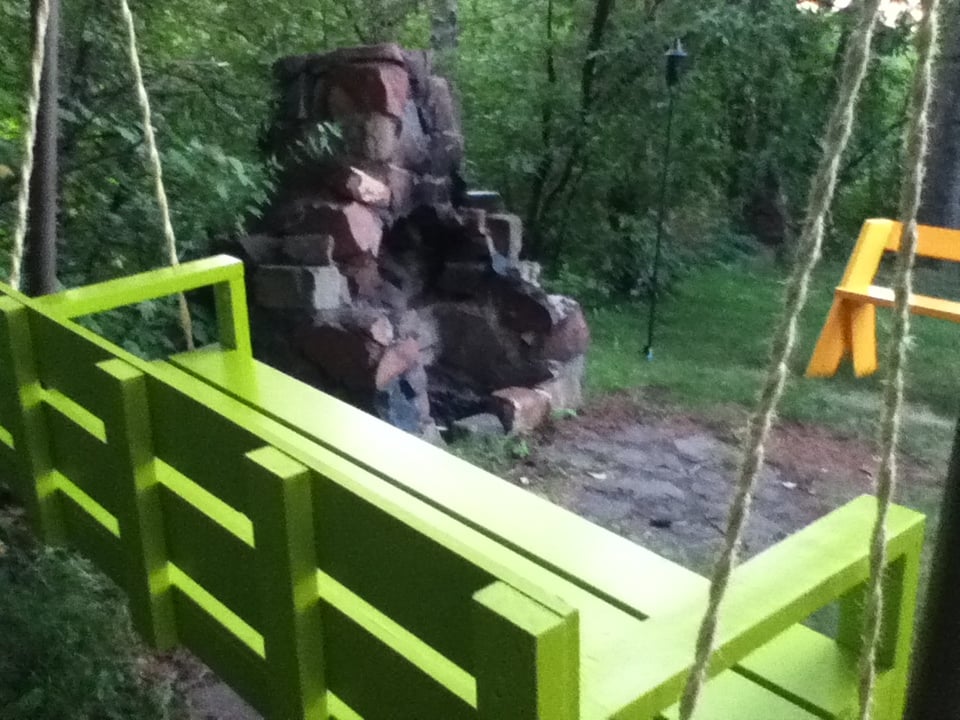
Other than that's it's pretty much to plan. The structure we have may have been for a swing at some point so I had a pipe to attach to. To be extra safe I doubled up the rope and used a pedigree cow hitch. It's very sturdy and if and one line breaks there is another piece as a backup.
I'm really happy with how it turned out. Out of all the porch swings I've seen this one best suits our style and taste.

Wed, 08/15/2012 - 21:44
What is it hanging from? I like the idea of using something other than a wood frame, for increased strength.
Sat, 08/18/2012 - 23:46
We're not exactly sure what it is it's hanging from, it was here when we got the place. I don't have a picture but it's just 2 6.5' pipes cemented into the ground and one 7' pipe joined to them at the top with elbows. It's probably overkill, I think you'd be OK with a well built wooden structure but it's what I had available.
Mon, 04/27/2020 - 08:58
I am not a fan of those attachment point. I made the same swing and used those attachment points. When my son was sitting on the back and the dog jumped up it flipped over backwards. I moved the back attachment hook a few inches from the bottom of the back piece and it's much more stable.
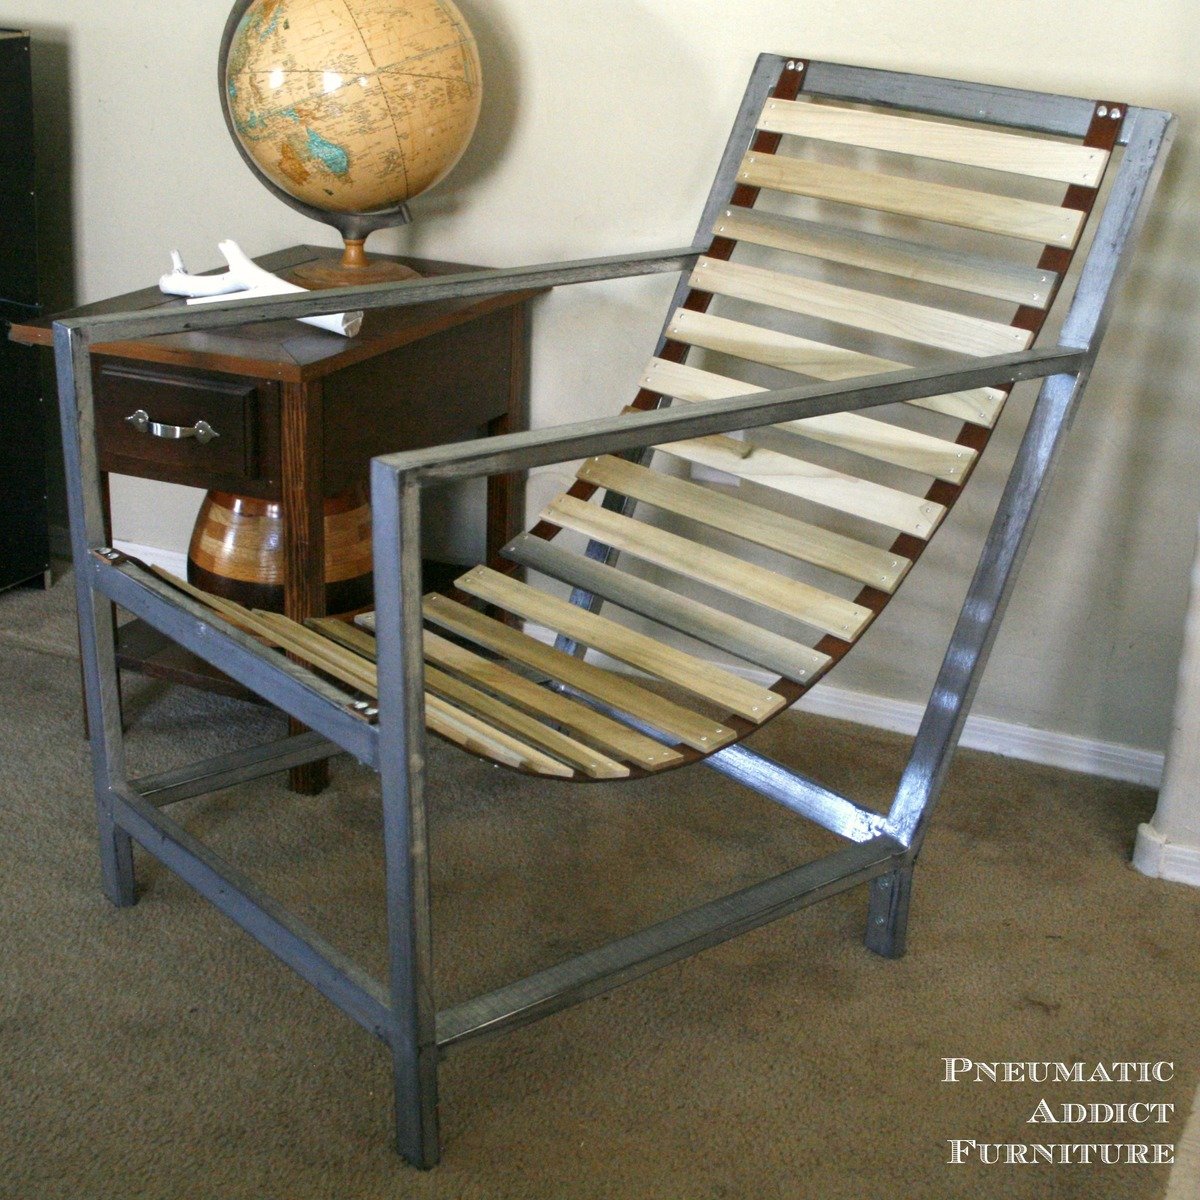
Despite how it looks, this chair was actually pretty cheap and easy to build. The one caveat is that it really needs to be built from hardwood. The minimalist design of this chair requires the strength of solid hardwood. I don't think pine would cut it.
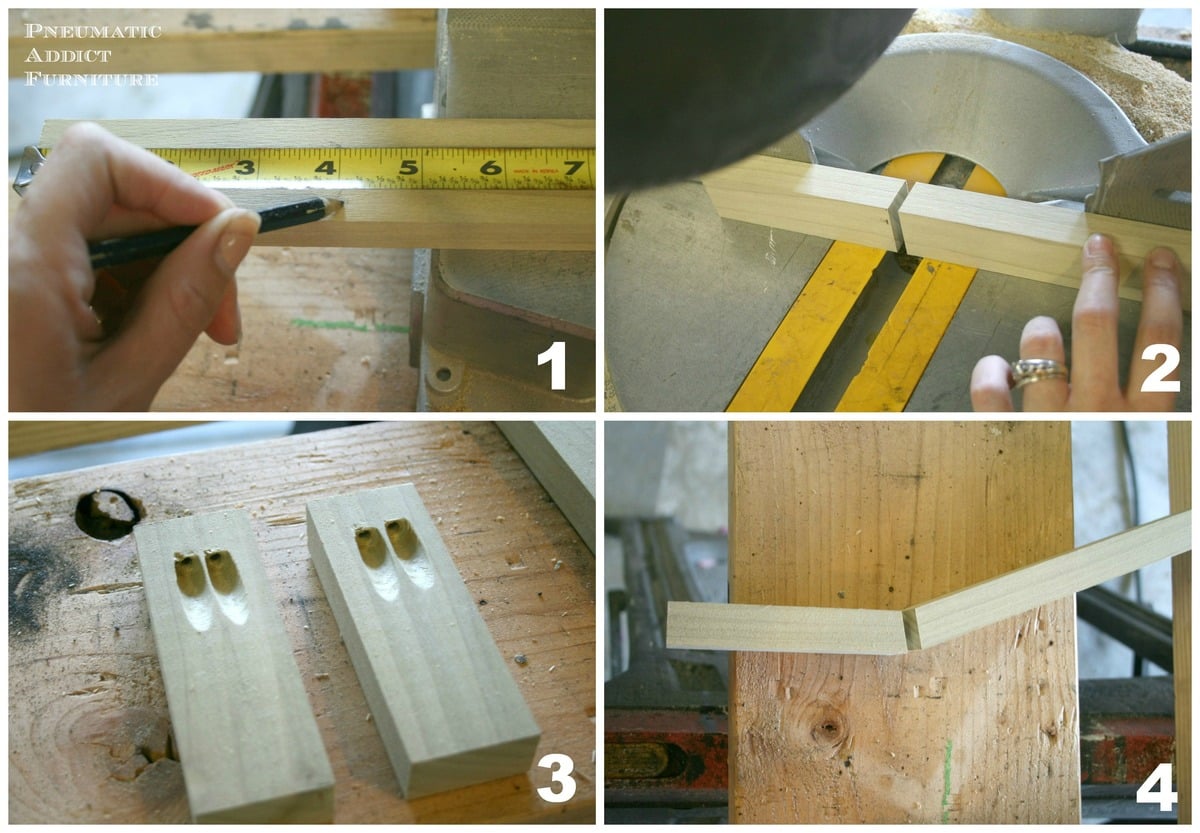
I started by building my angled legs. My chair is nice and lounge-y. If you don't like the relaxed, lounger style, you may want a slightly more shallow angle to your back. The total length of the back is 33". I wanted the leg portion to be 4" tall, so I first cut 2, 33" lengths. Then, measured 4", and cut at a 10-degree angle. I inverted the 2 pieces, and attached them together with glue, pocket holes, and screws.
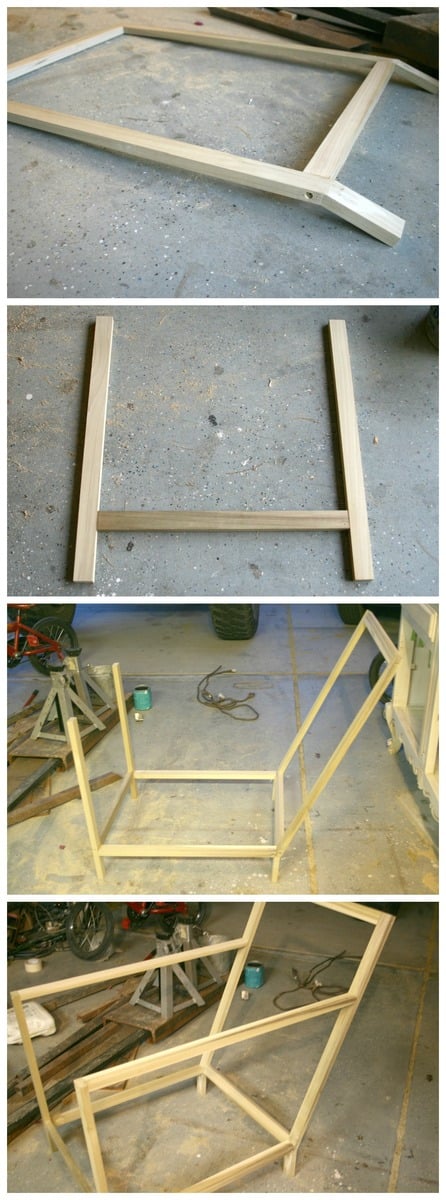
Once I had my angled legs, I put together my back frame, front frame, and finally joined them together with the armrests and side supports. I used wood glue and countersunk, 3" screws at each joint.
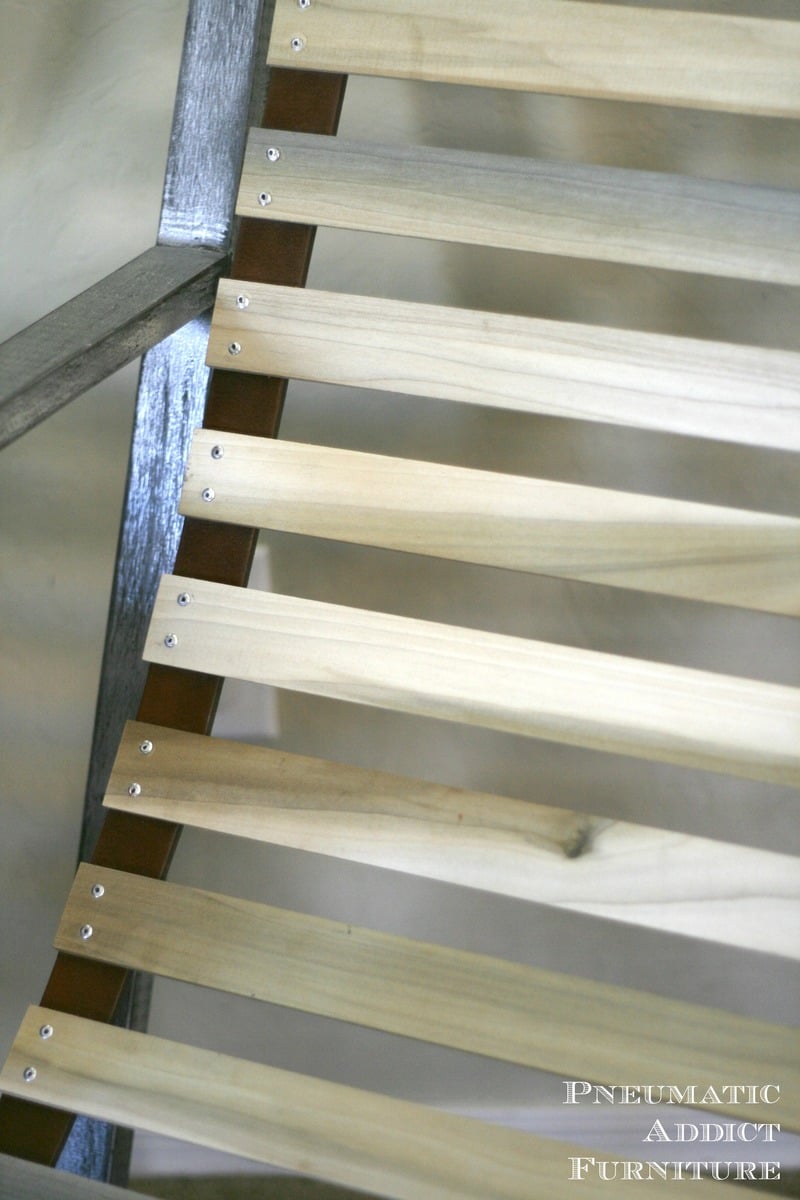
To create the sling, I took two, 52" leather belts, and strung 19" wide slats, 1" apart. I attached the slats to the leather using a pop rivet gun. For this size chair, I used 17, 1.5" wide slats to create the sling. I then attached the sling to the frame using carriage bolts and nuts.

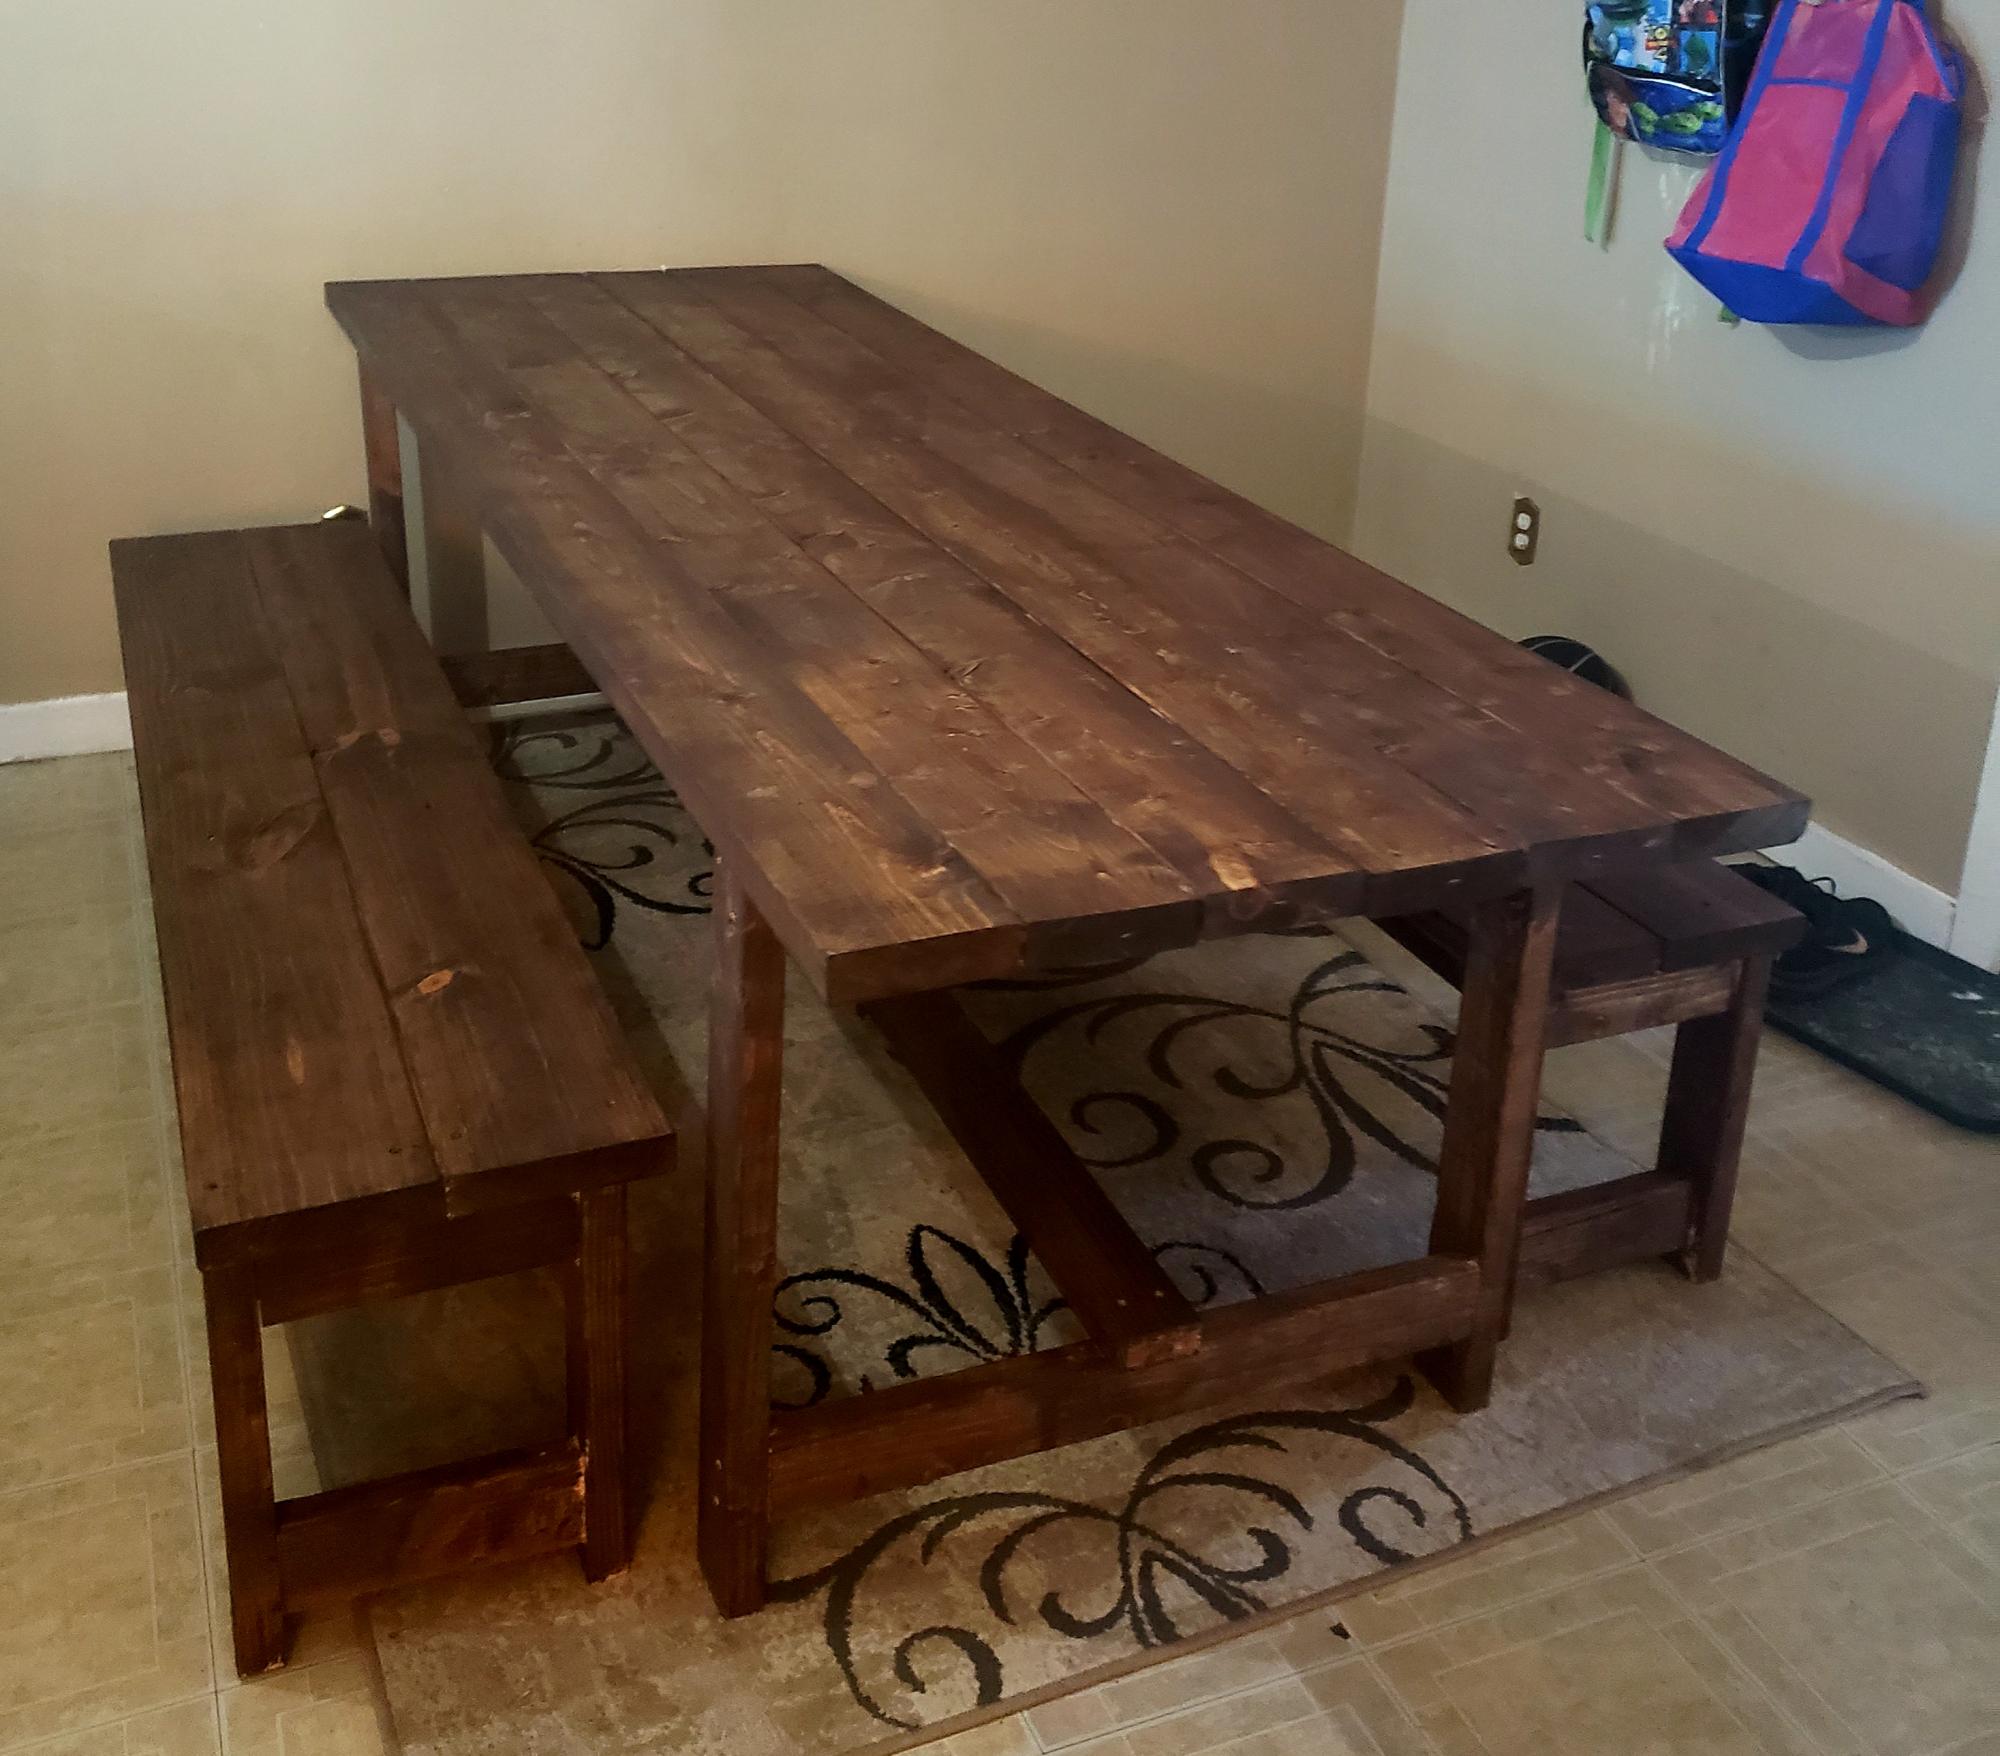
We LOVED this project. It was pretty simple, yet the outcome was beautiful. We used 2x8 boards for the tops of the benches, just to make sure we had enough space. We also have a toddler, so the bigger seating area is perfect for his booster chair. If you wish to use 2x8s like us, you will want to cut your middle support board 7" and the end aprons/stretcher at 10". So for example;
Cut list for one bench (adjusted for 2x8 boards on top):
2 - 2x4 @ 66" - long aprons
4 - 2x4 @ 16-1/2" - legs
4 - 2x4 @ 10" - end aprons and stretcher
1 - 2x4 @ 7" - middle
We used the normal plans for the table. The total came out to be $110 for both the table and 2 benches. That includes all the wood and screws. We were lucky in that we still had stain and wood filler from previous projects. Overall, I would 100% recommend these plans. Thank you ANA White!!!!

Our kitchen is smaller than our last house, so we turned our breakfast nook into more storage and could yet space. I love Ana White’s plans, tips, videos, and community.
Beth Ivy
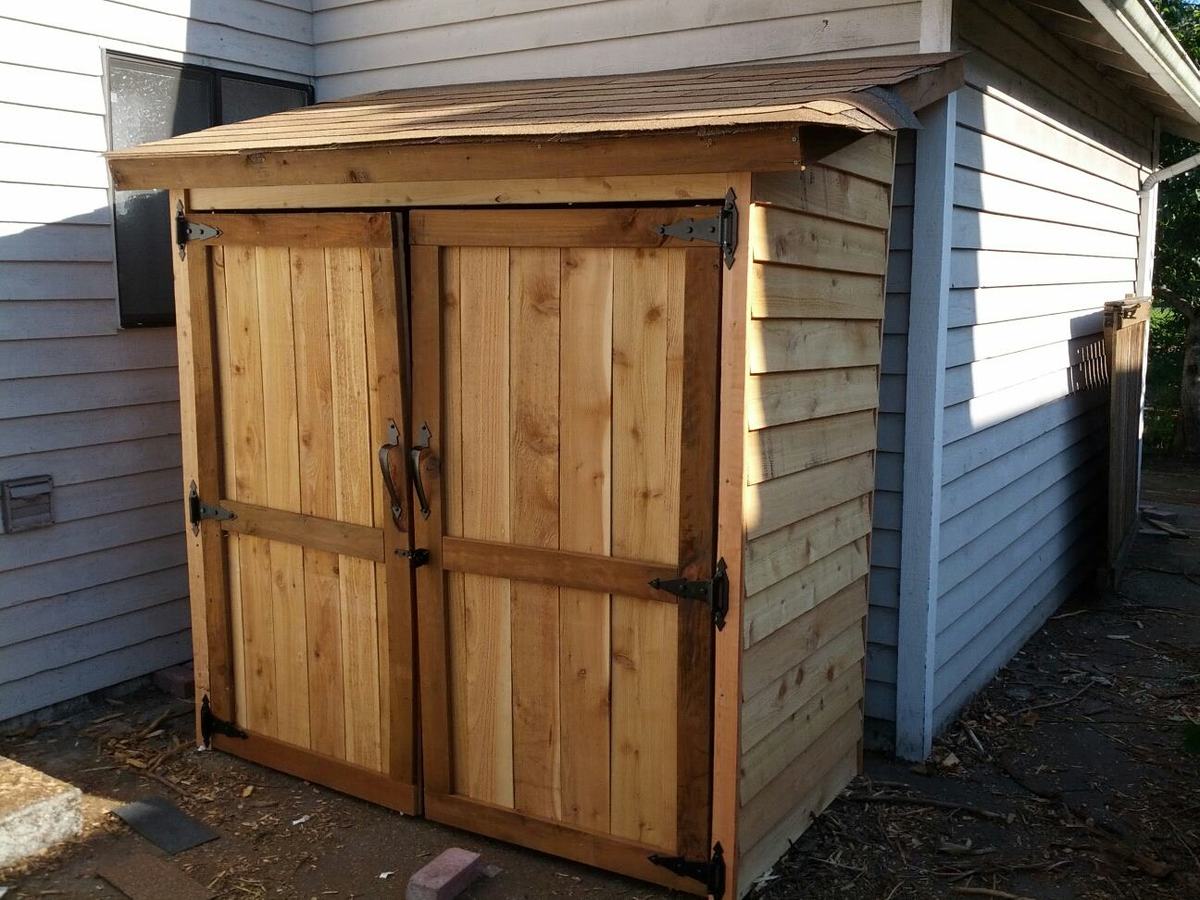
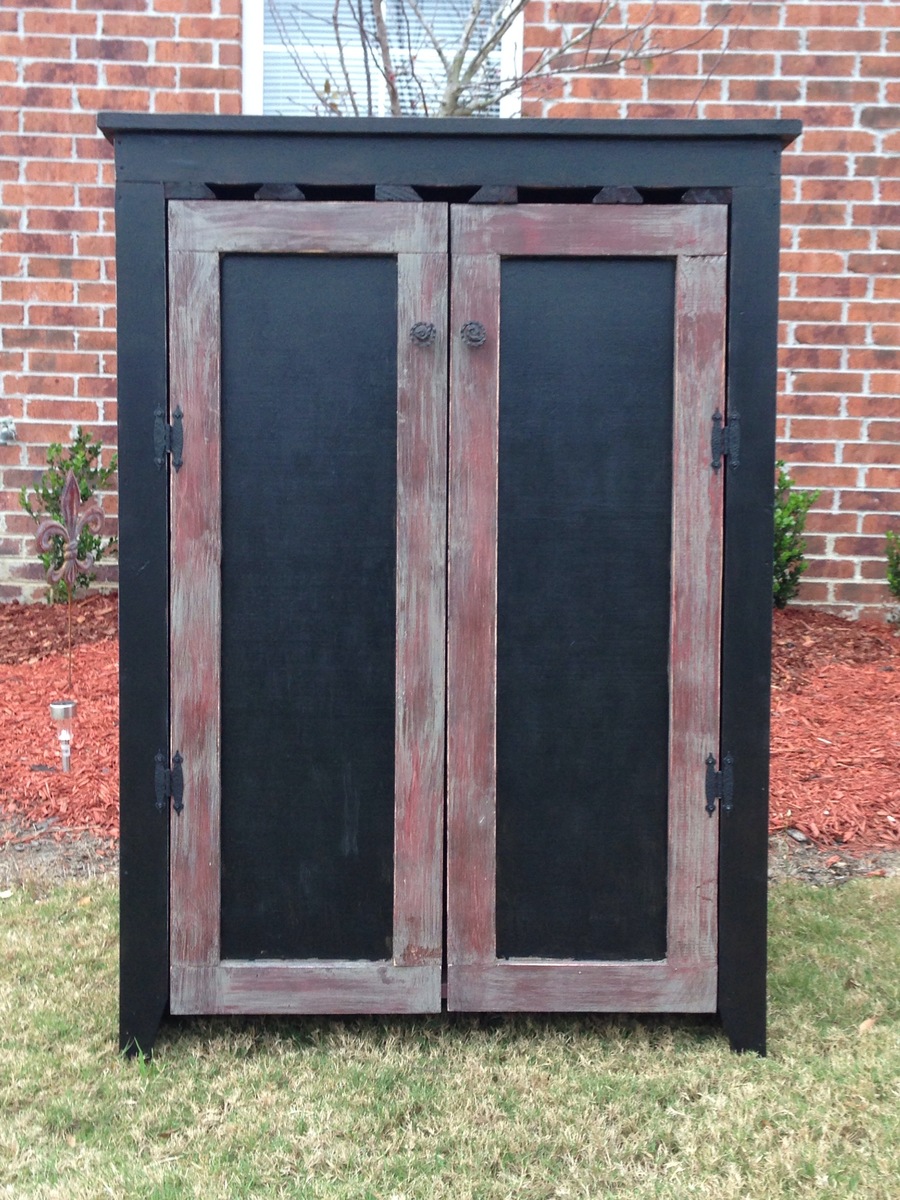
I have been dreaming about building so many things featured on this website, and I finally buckled down and built something. I figured that an outside garden shed would be a bit more forgiving than a project requiring a bit more precision, and from the picture, you can see that it's not perfect! I'm still working on trimming the shingles and I still have to stain/seal it. I've got to admit, when I first picked up the wood for the project at the store, I wondered what I had gotten myself into. But I just jumped in, and here it is.
Thu, 10/11/2012 - 10:45
What a perfect spot for it as well! Really good job with your first project.
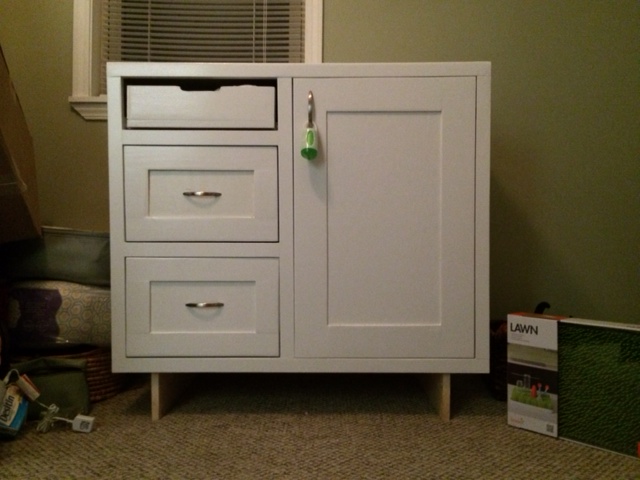
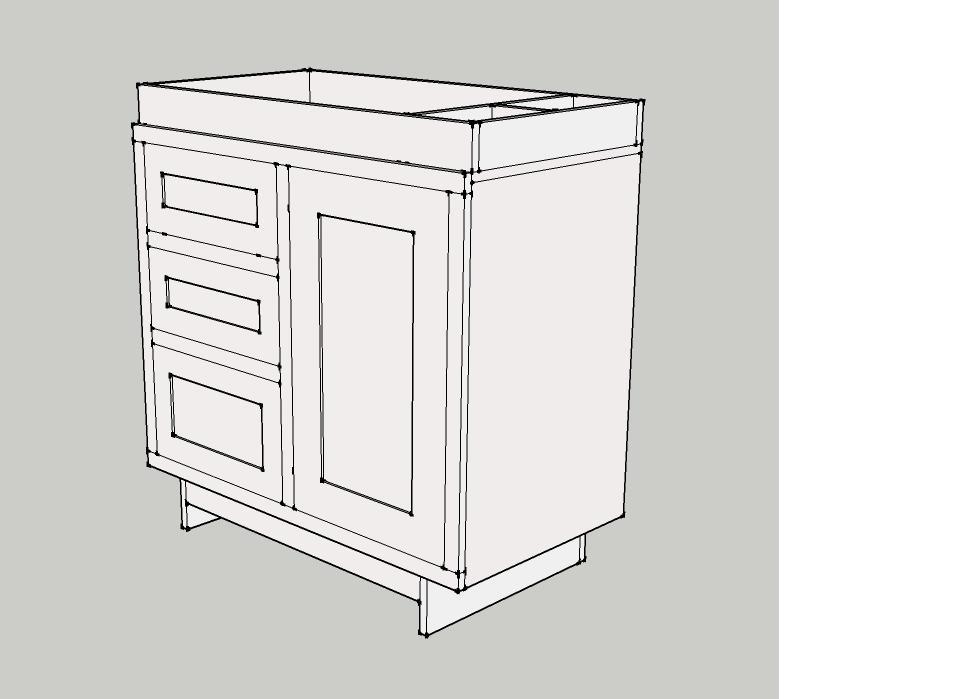
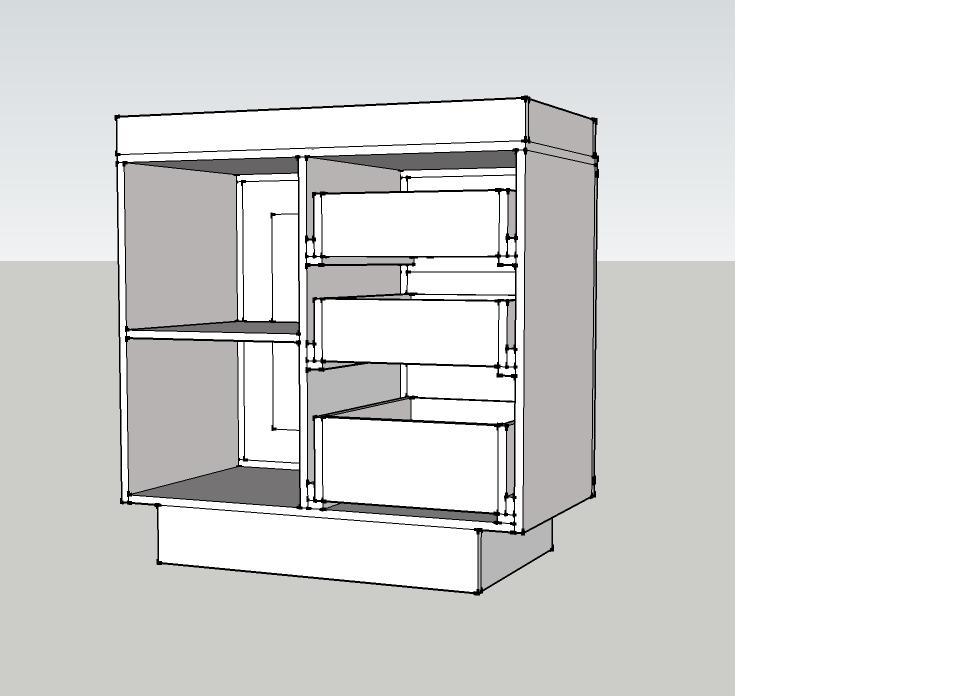
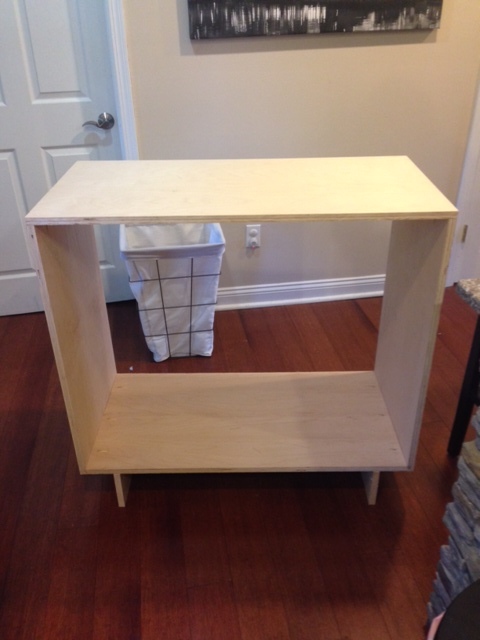
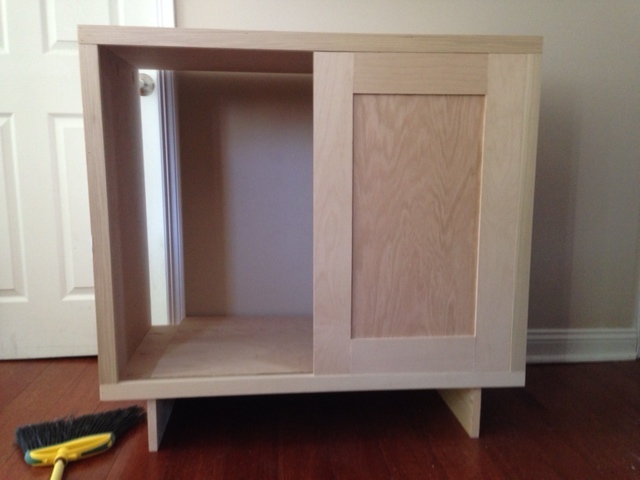
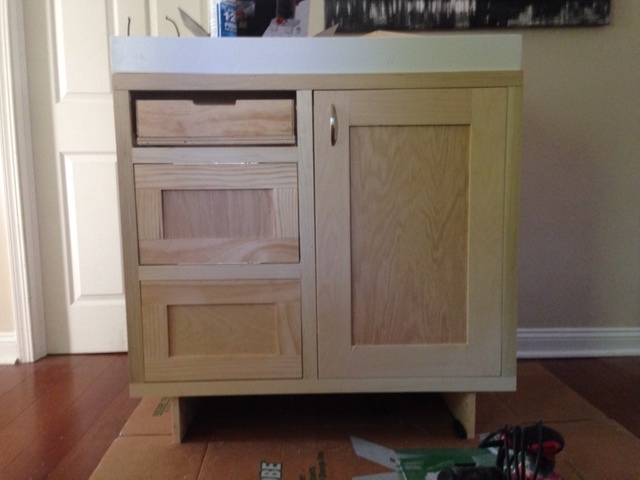
After building the Emerson console for our living room, and seeing how Ana modified the plans for a changing table, I decided to do the same. Although I eliminated one of the doors to make it fit our room a little better and also cut down on plywood costs, I'm VERY happy with how this turned out.
I also decided to use shaker style drawers and a shaker style cabinet door to give it a slightly more polished or modern look. Our baby is due in July and these drawers are already full of diapers and clothes!

Mon, 06/09/2014 - 07:19
I love the modifications you made to this! Definitely looks modern and polished. Great job!
Wed, 06/11/2014 - 12:28
Thank you for the kind words! I visit all of your sites daily so I appreciate the feedback
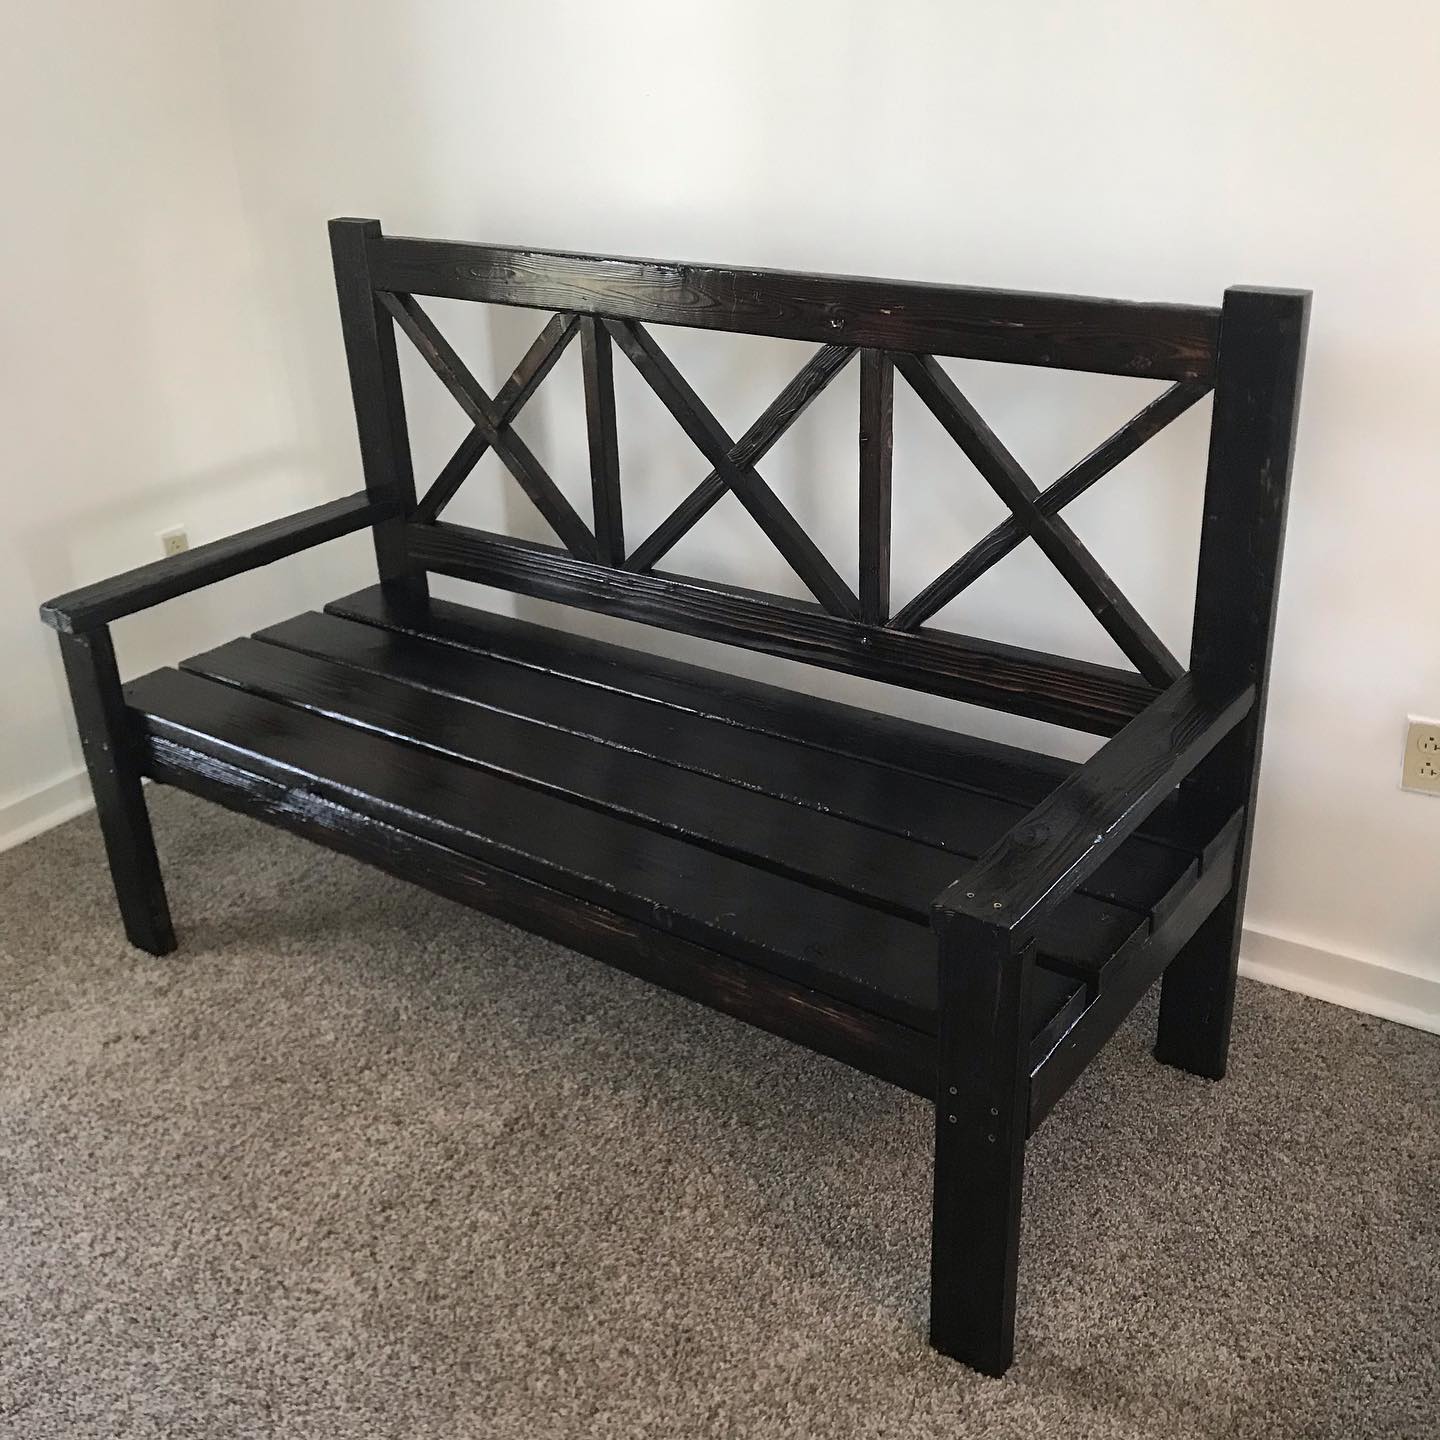
I made this gorgeous bench about two months ago as a gift for my mom on Mother's Day. She loves it and It's currently sitting out by her pool. We love how solid and deep this feels. This was my first project where I was using miter cuts, and it took a bit to get used to. I wish I had a brad nailer to help secure the X pieces on the back board. I used pocket screws and plugs, but it was a bit of a struggle trying to maneuver the drill. I ended up having to use a screw driver to make it fit.
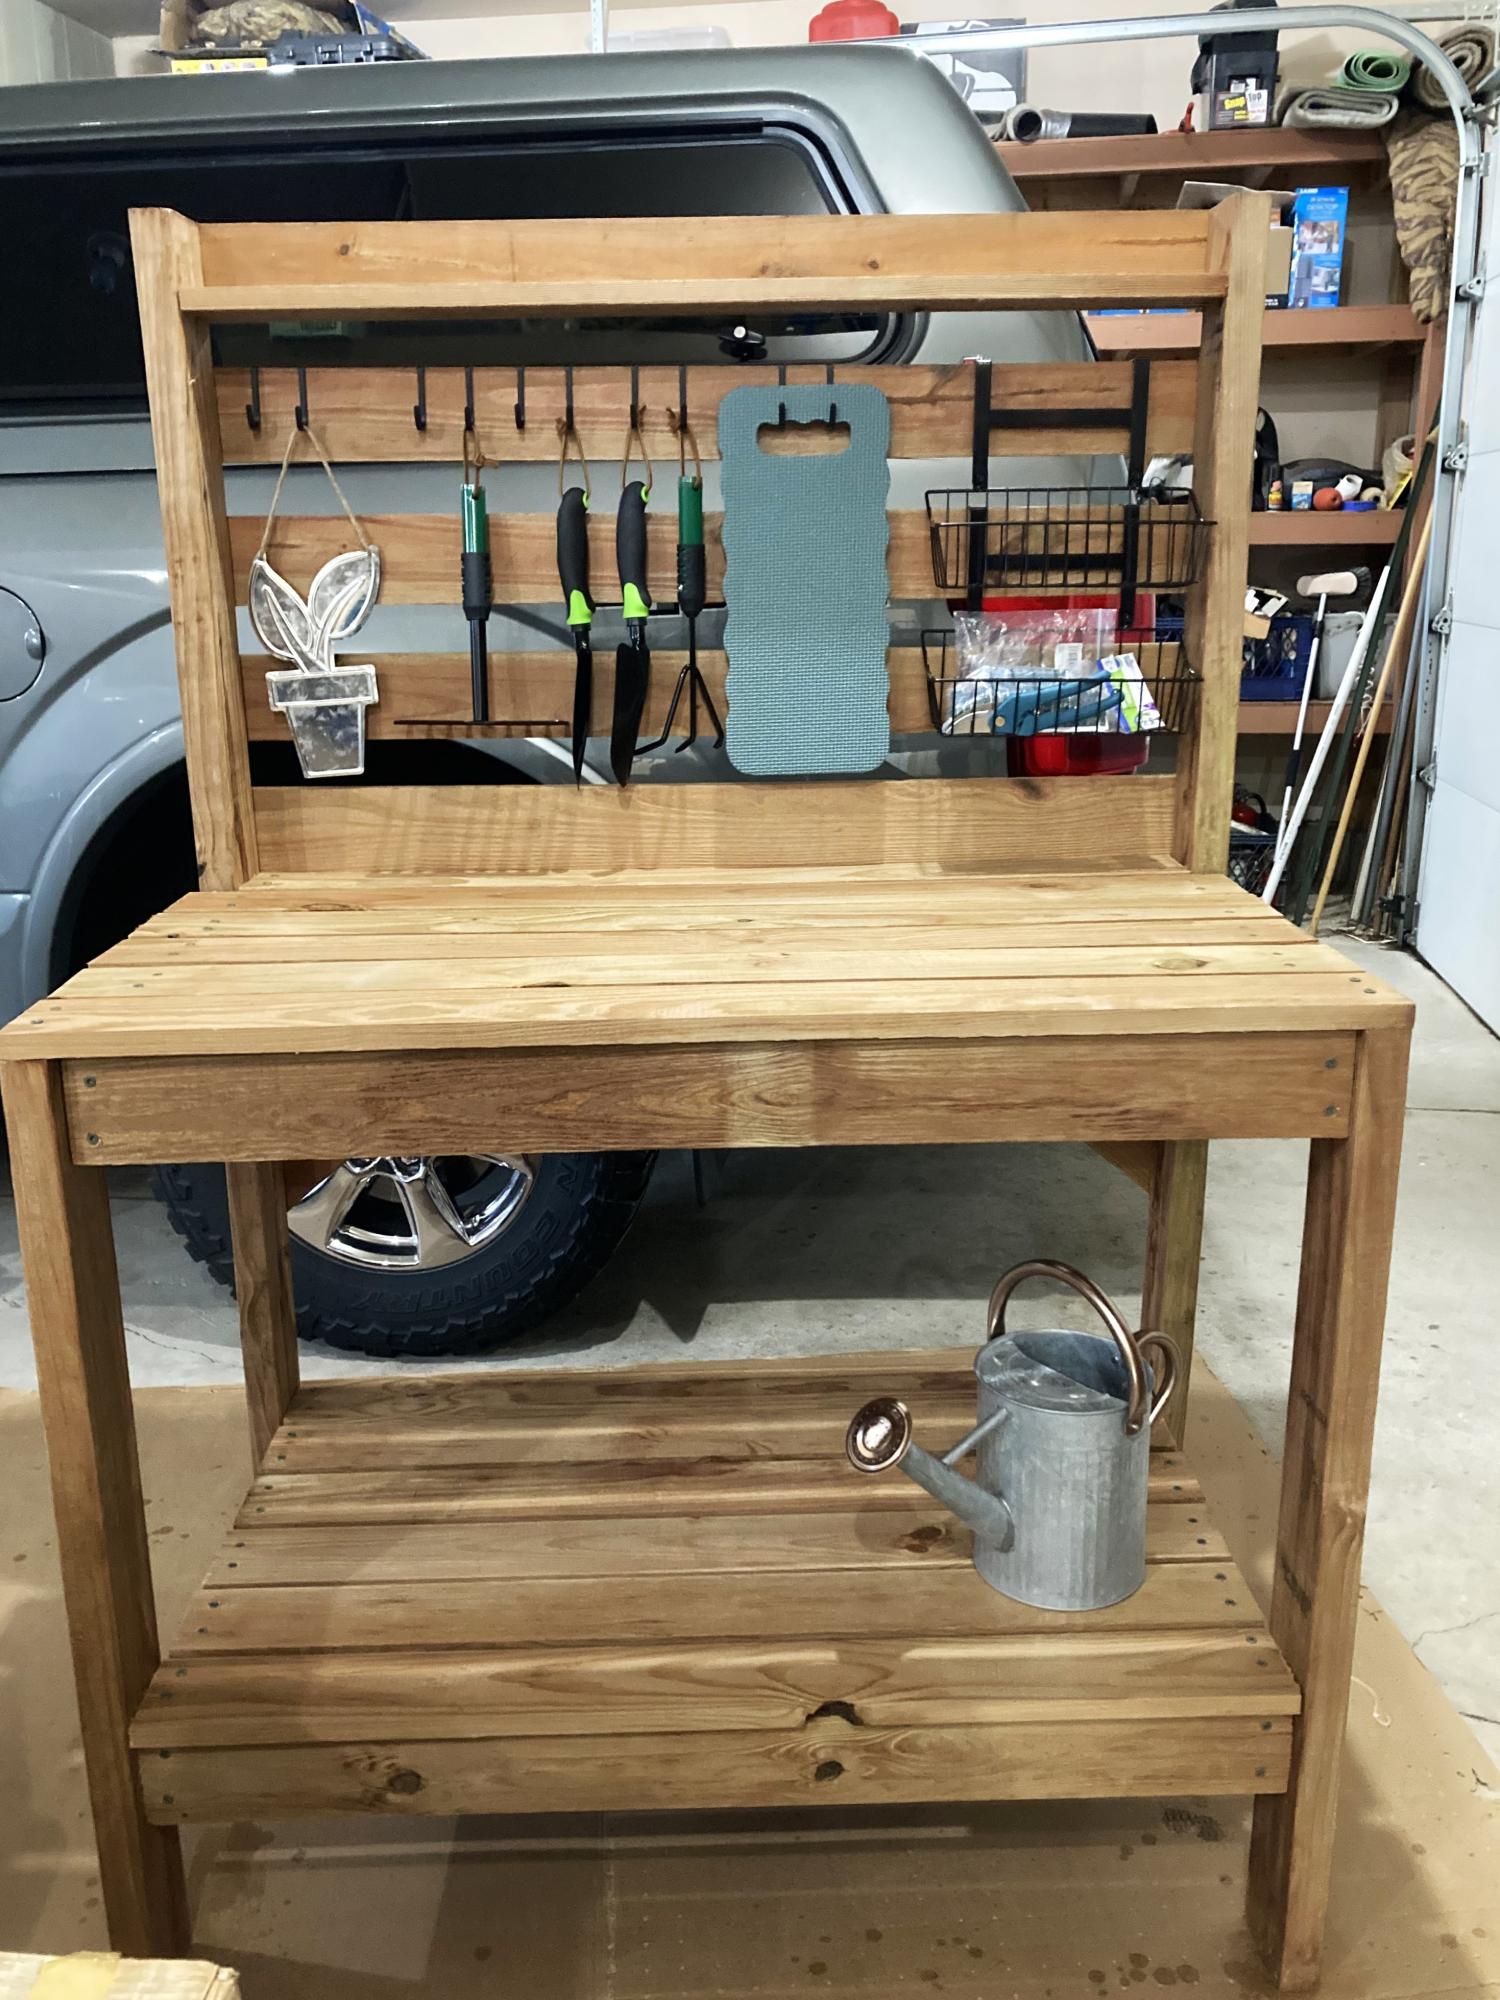
Potting bench I made for my daughter as a housewarming gift to her newly built home. Easy plans! It was a great build.
Kmw
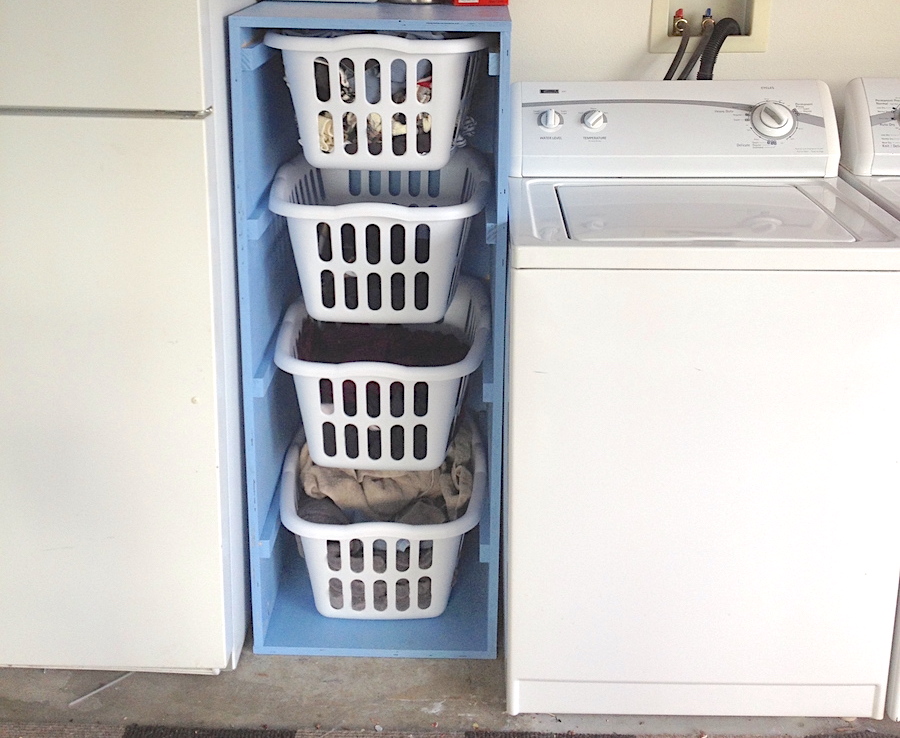
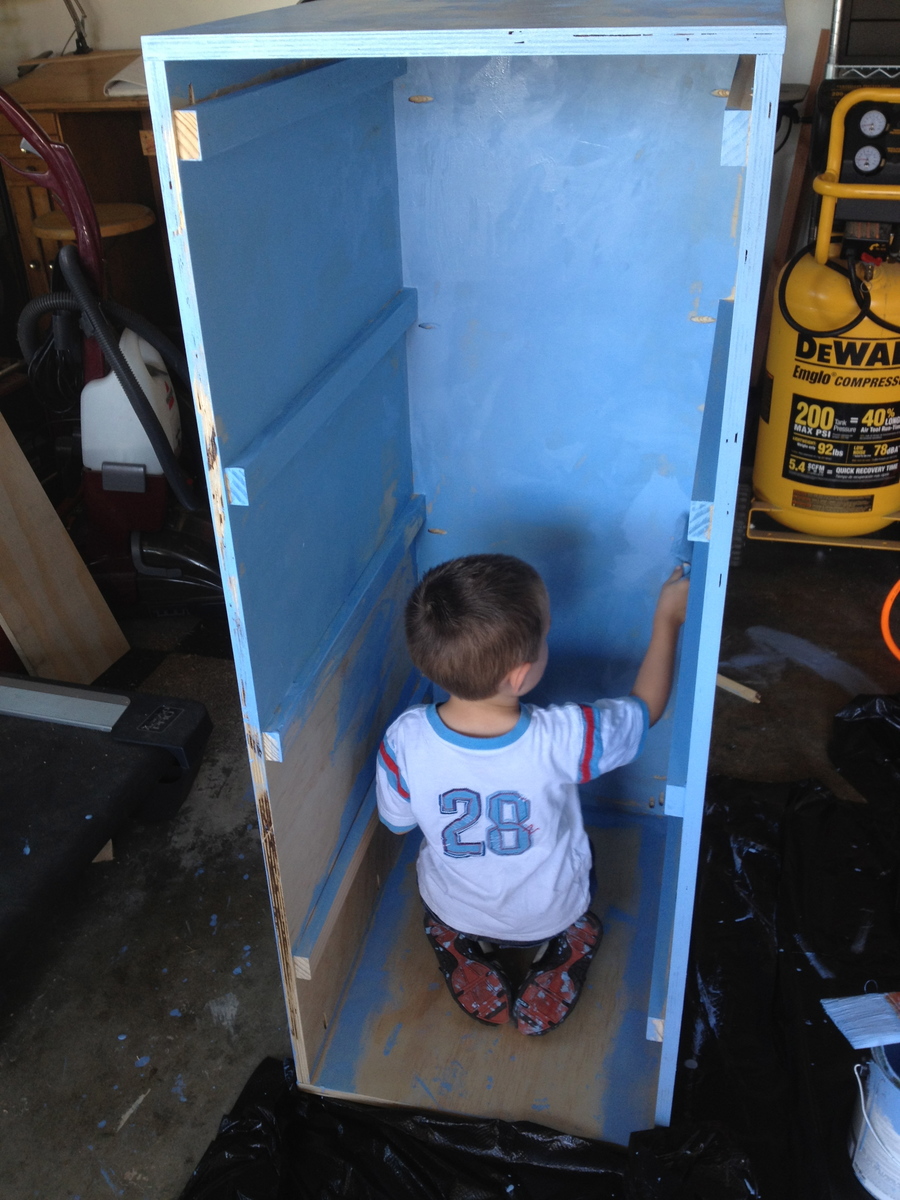
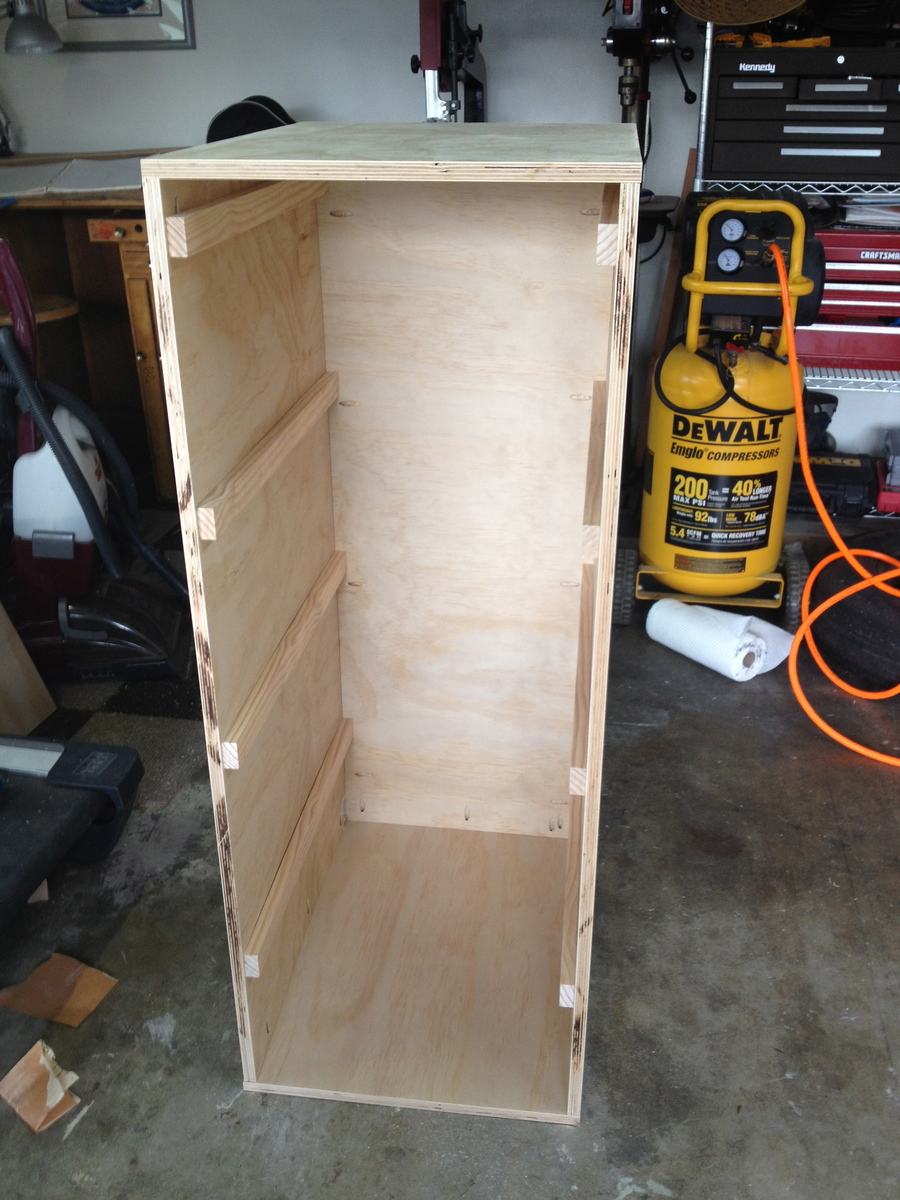
I was tired of having my laundry piled on my garage floor. These plans were the perfect solution. It fits great in the small space I had next to my washer. And it was so easy. I was able to do it all by myself. My husband just had to catch the plywood for me when I ripped it. I was able to find the baskets on the plans at Target and used left over paint from my sons' playroom. My laundry is now always sorted, making it much easier and faster to clean.

We used the plans from the jelly cabinet \pie safe and added a wine rack at the bottom and wine glass rack that the top! I love it! I get so many compliments on it.


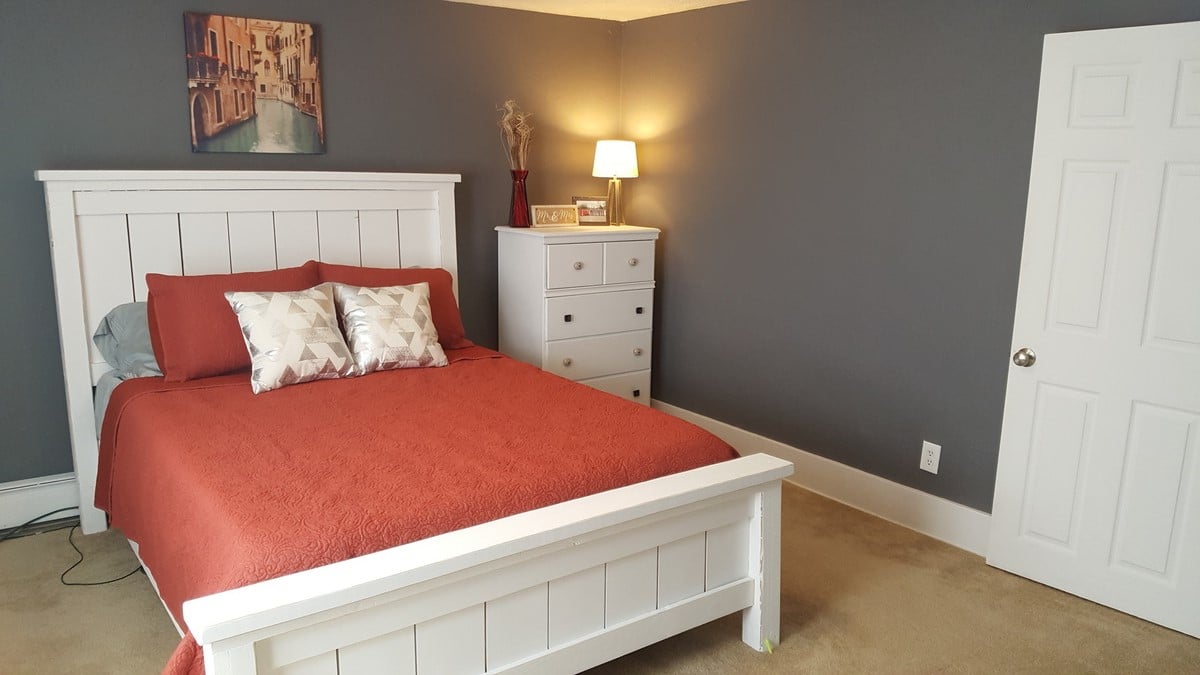
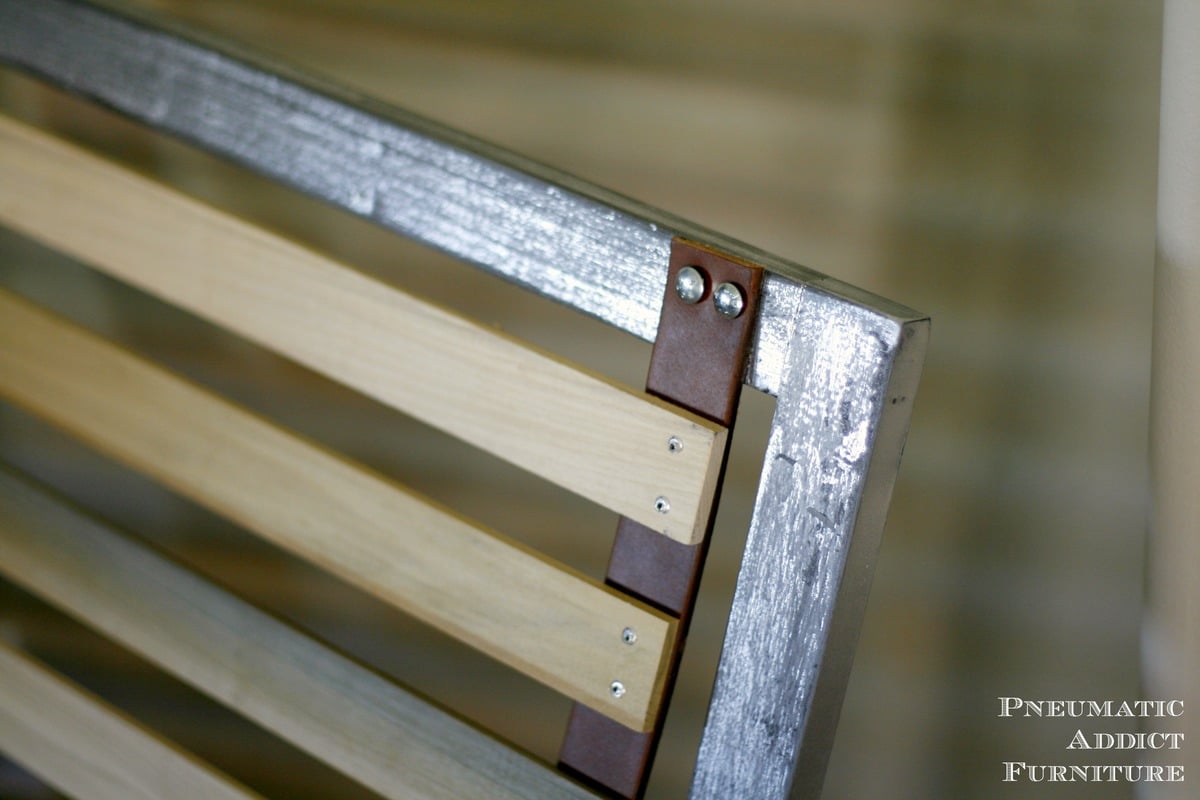
Instead of just screwing the rails to the bed, I used bed rail hooks to connect the bed for easy disassembly.
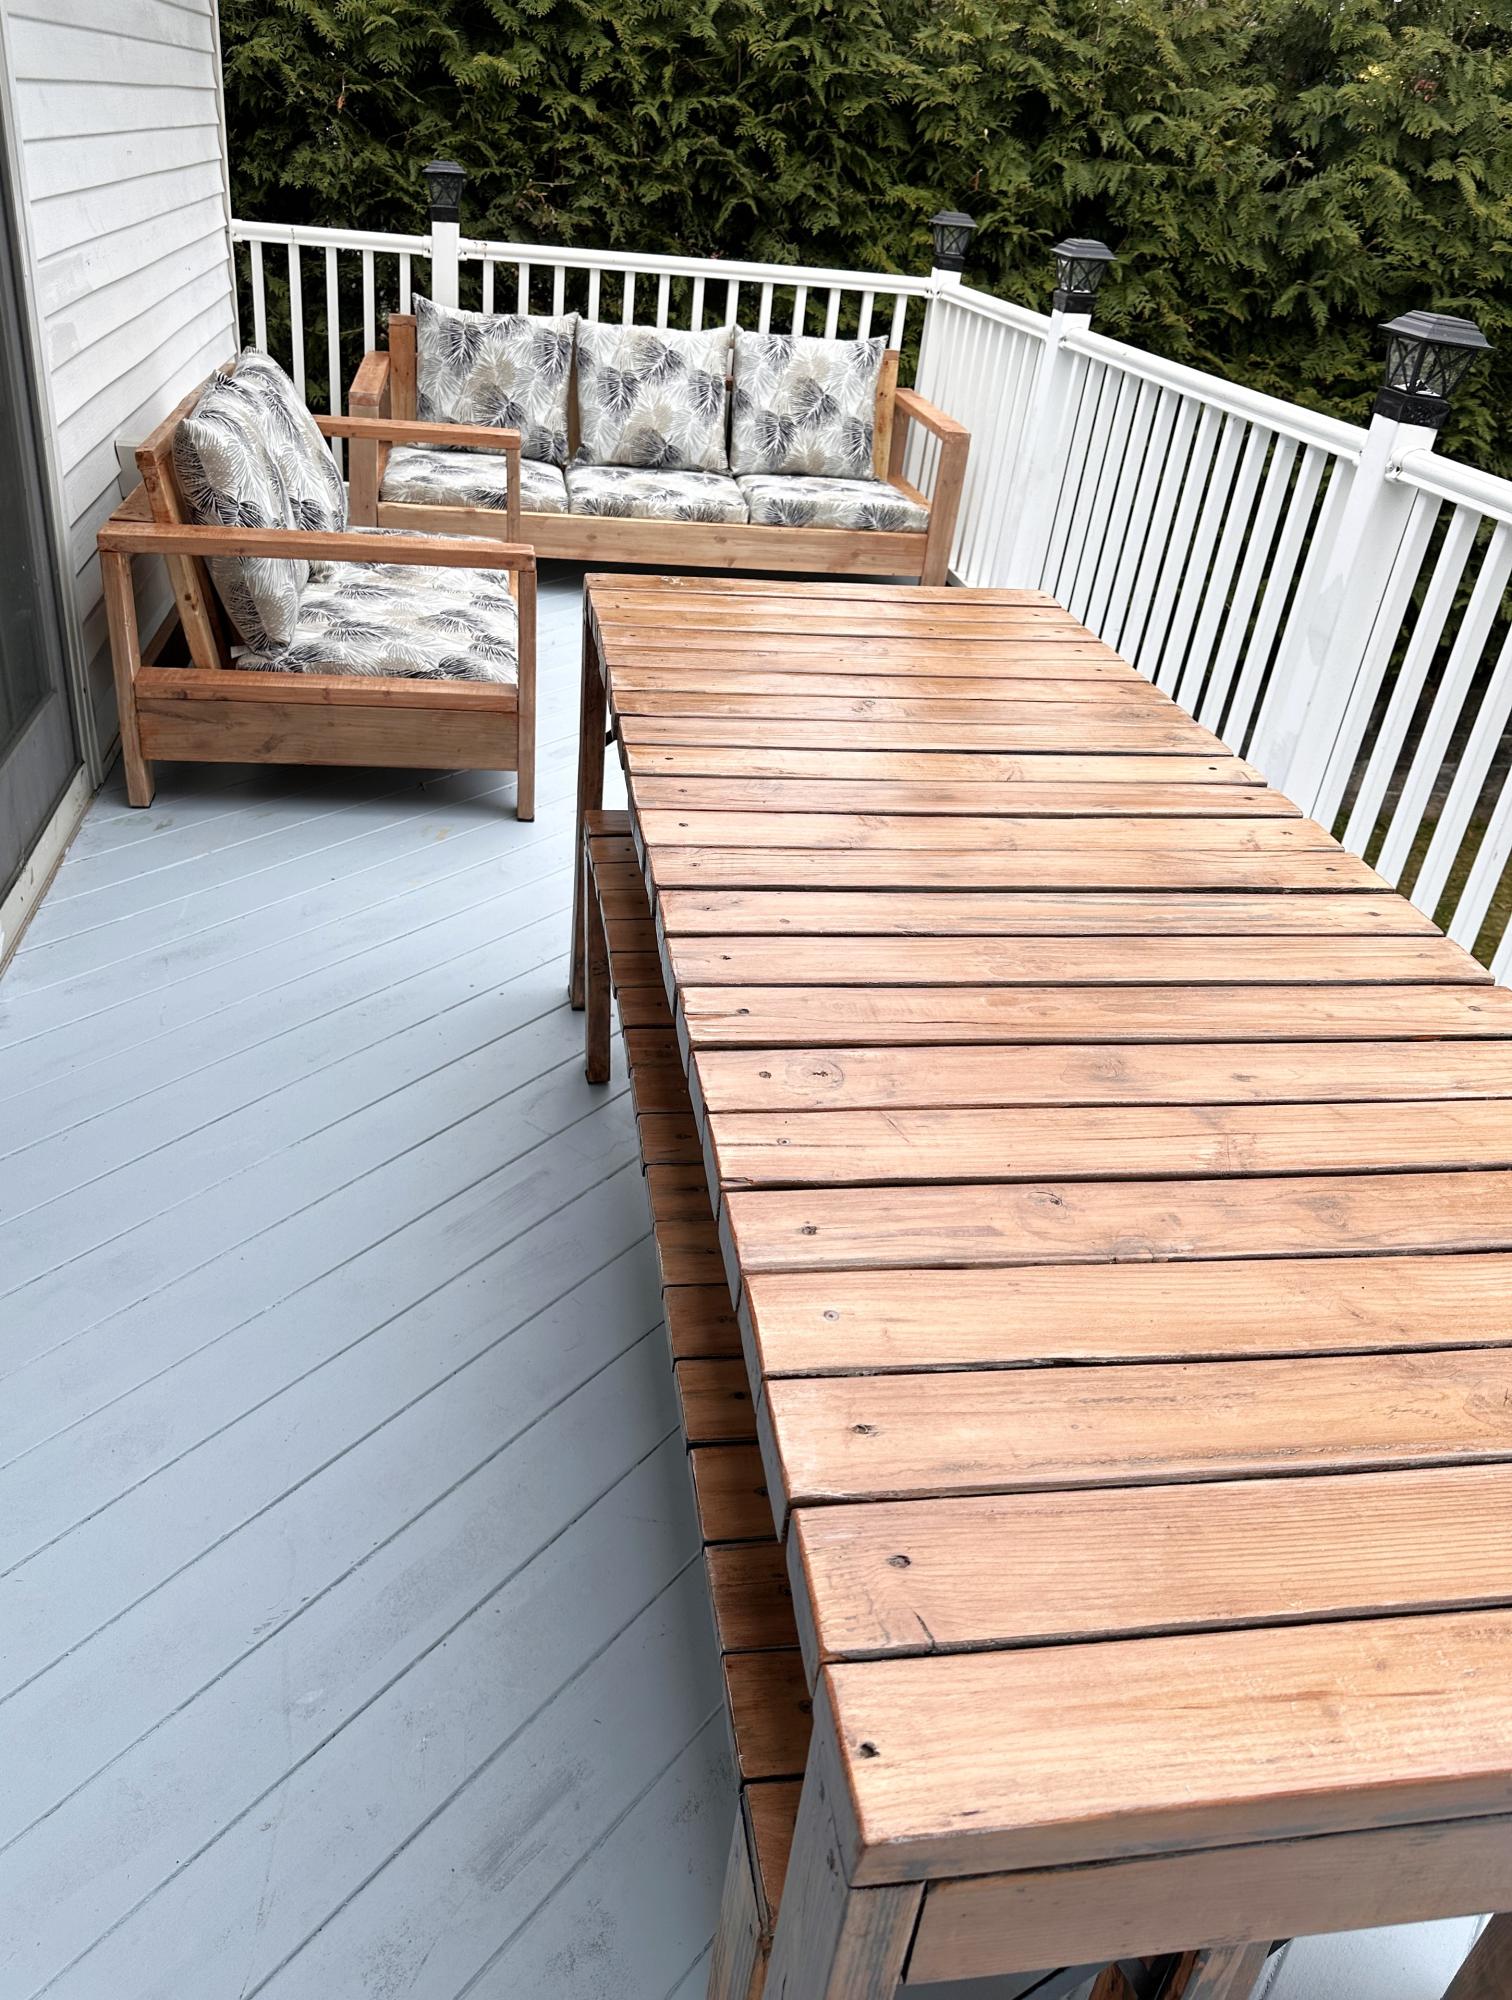
Modern Comfort Outdoor Sofa and Loveseat to go with the Simple Outdoor Dining Table and Benches that I made 2 years ago. I love that the "Modern Comfort" plans don't require angles or a miter saw. I used a circular saw for all of it!

This was such and easy project. It went together in a few hours. The hardest (and most time consuming) part was finishing it. I detailed the build process on my blog if you'd like more info.