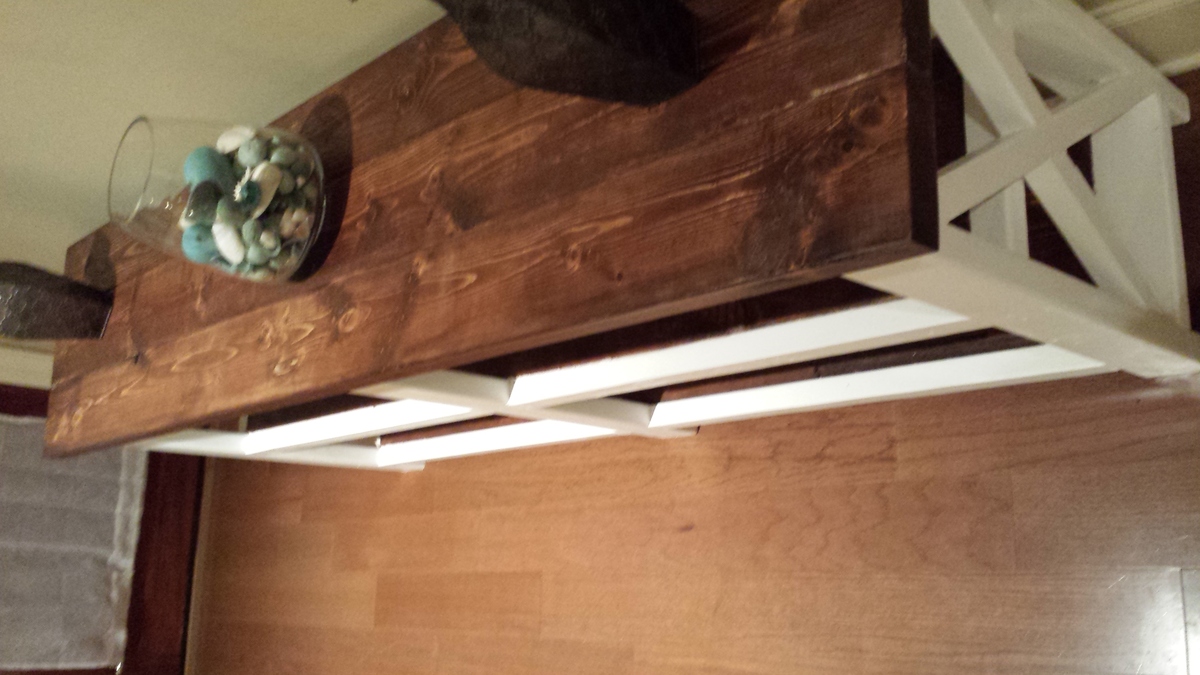
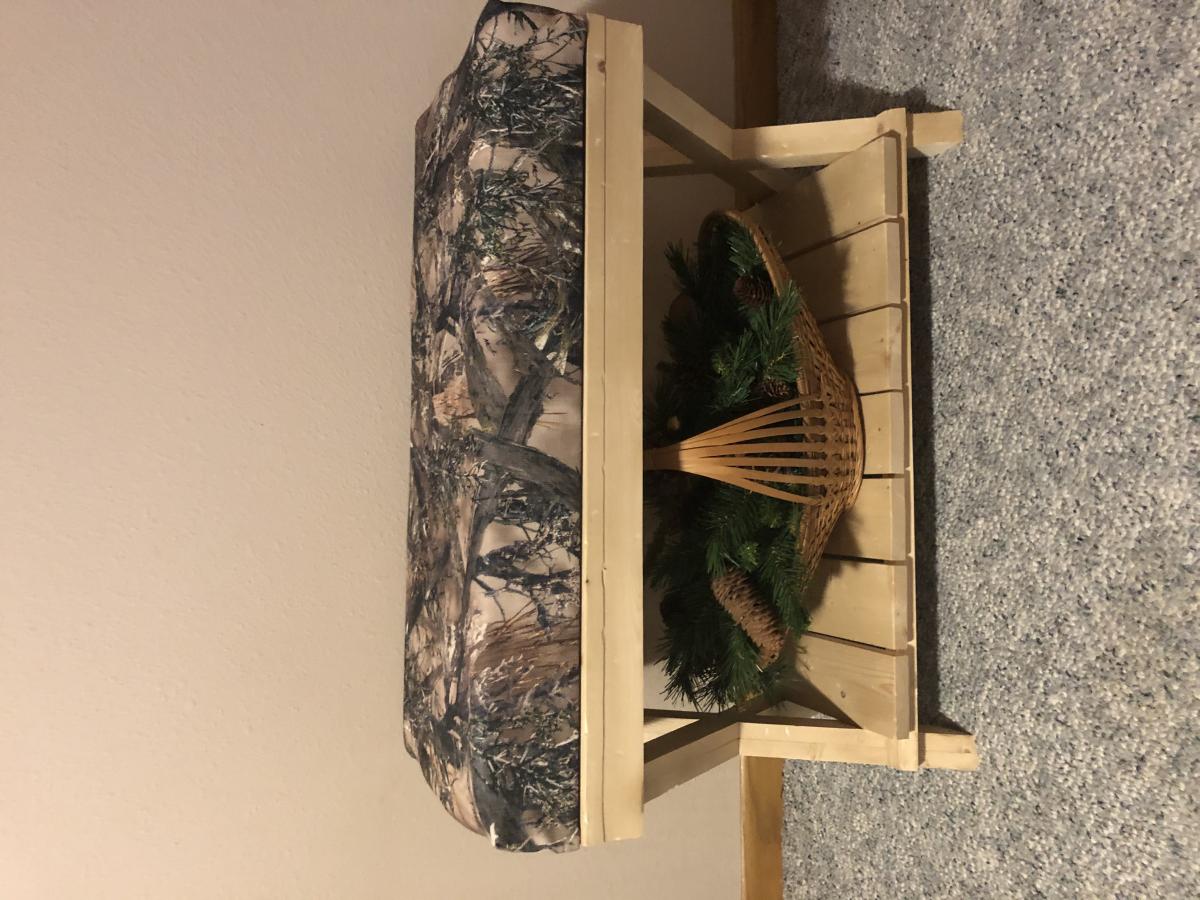
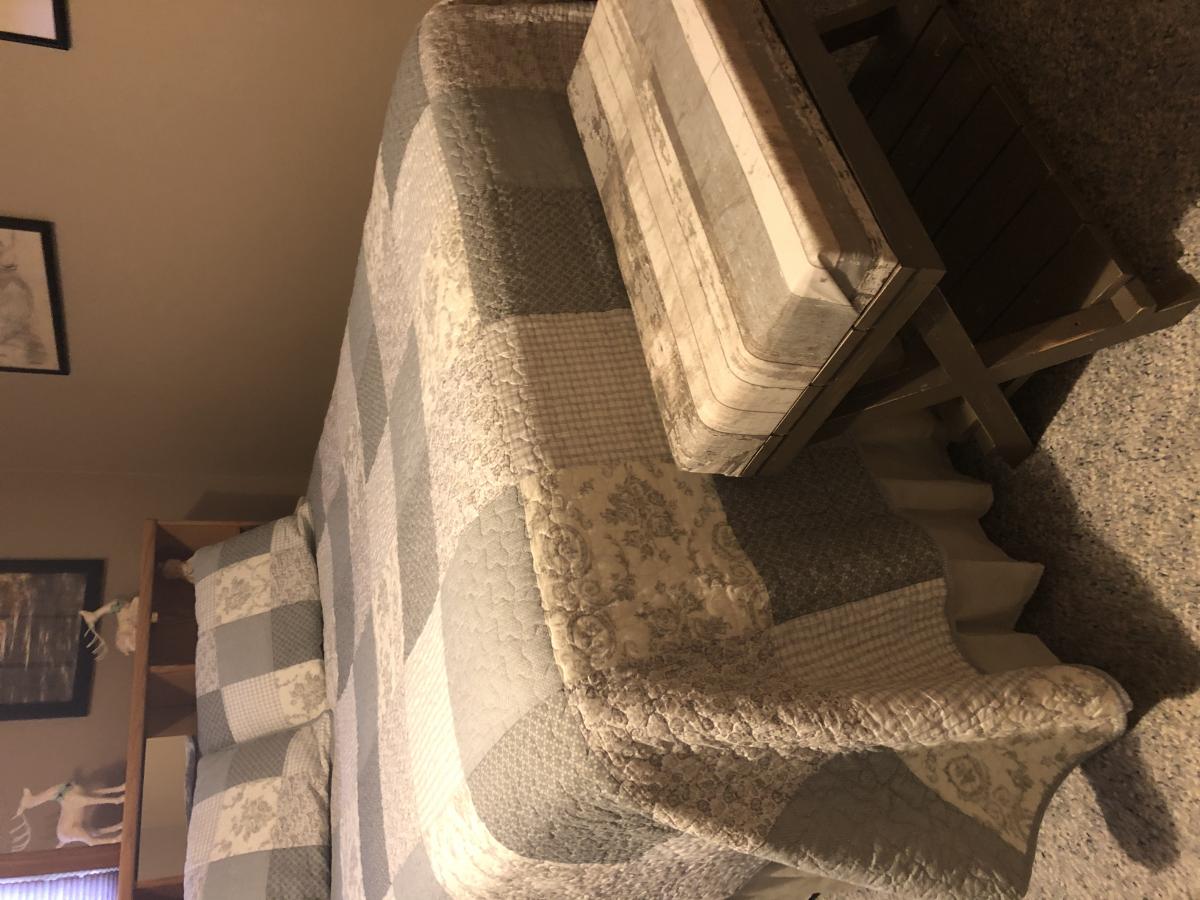
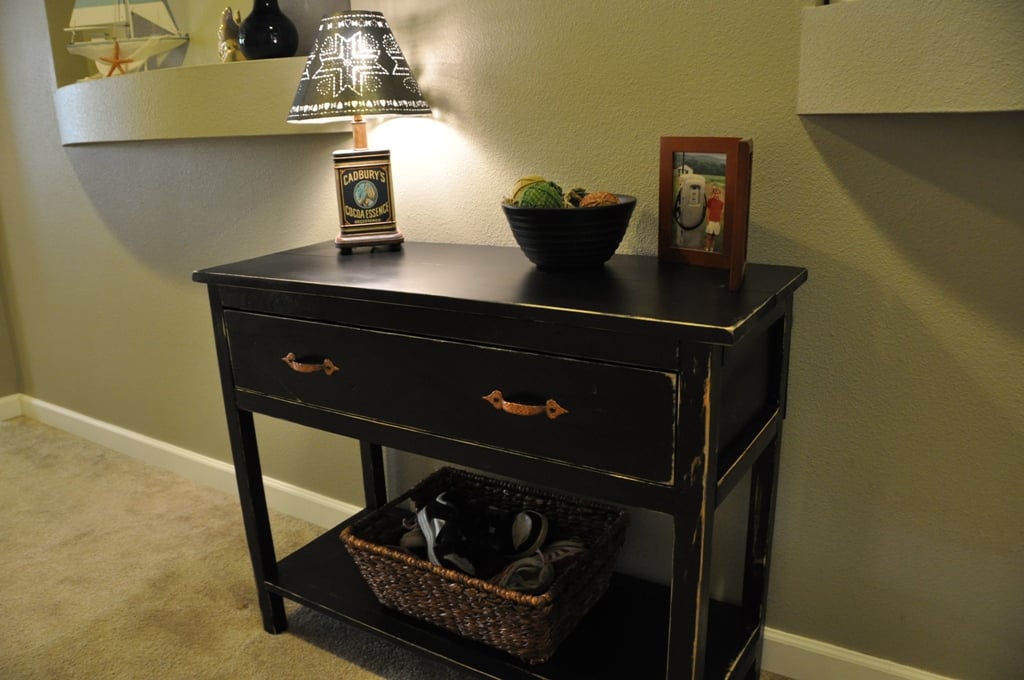
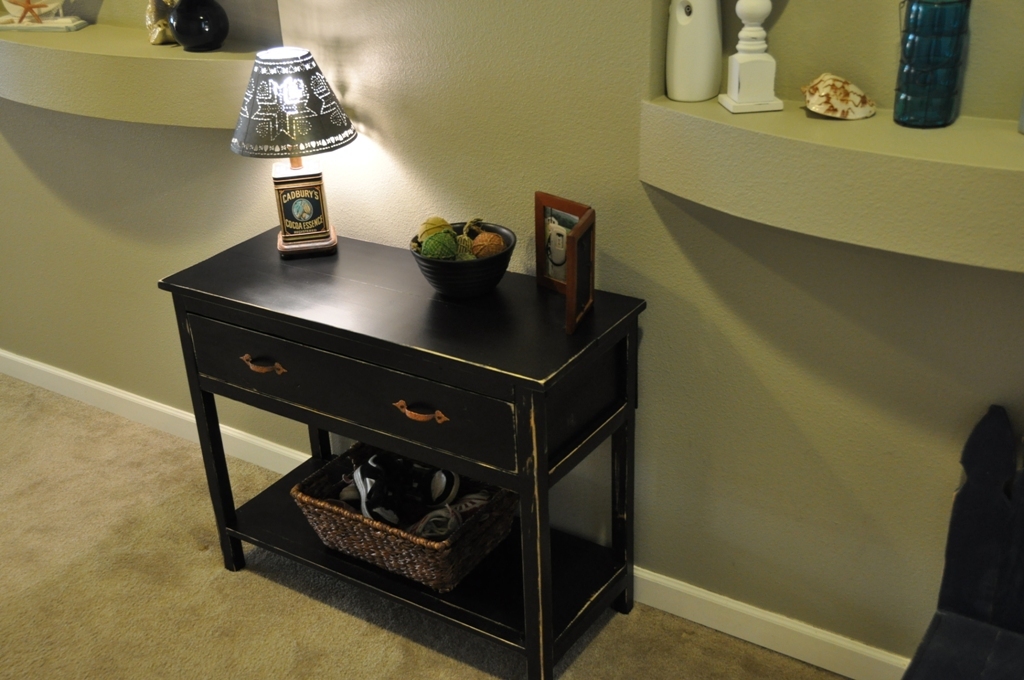
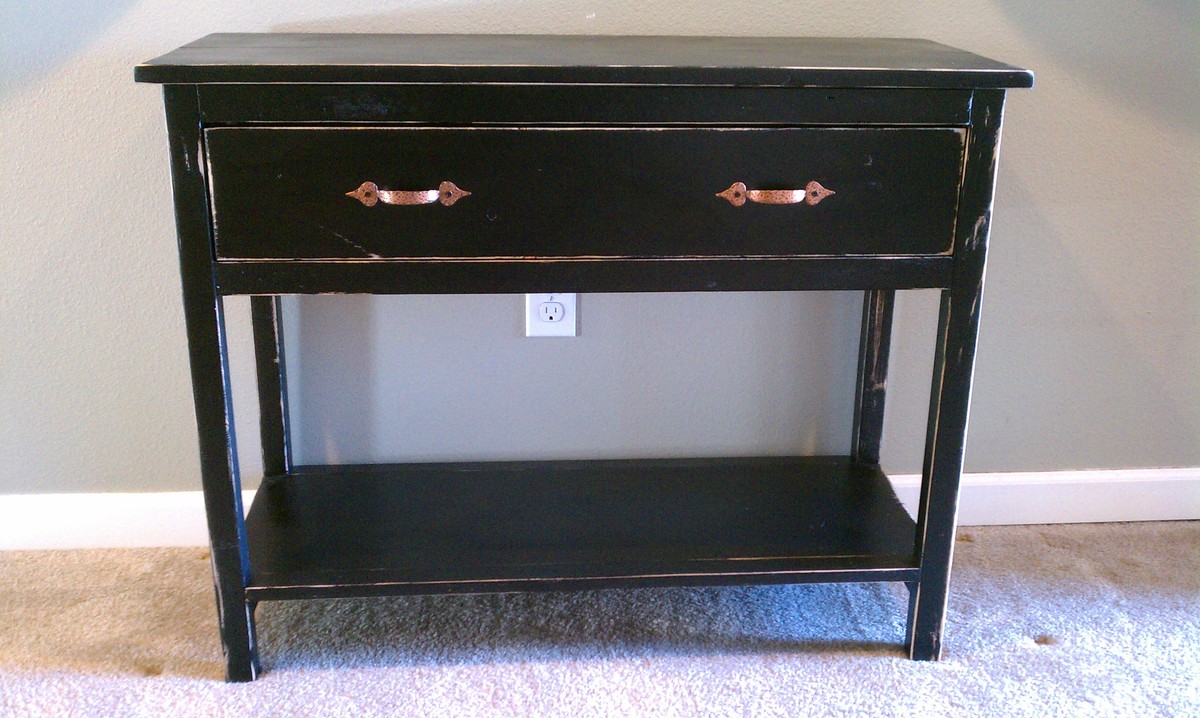
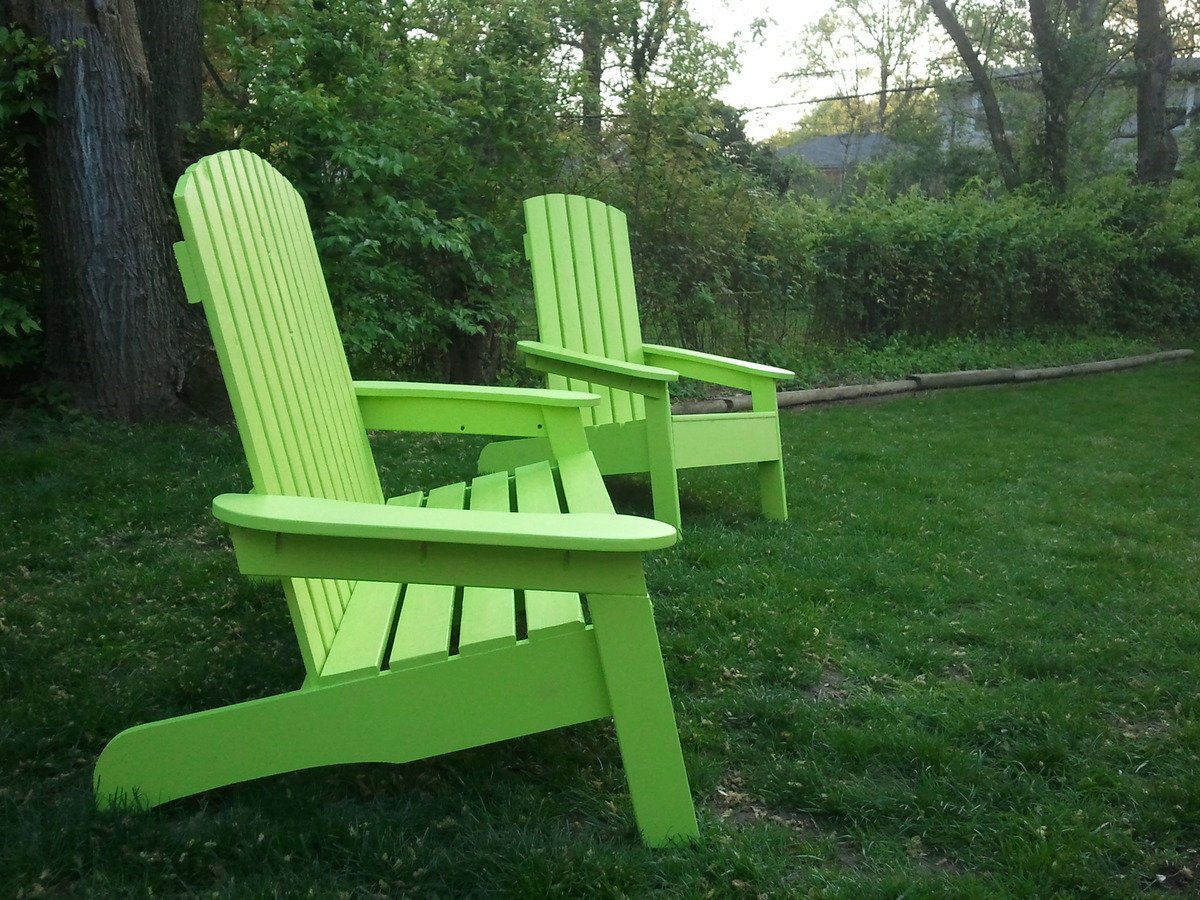
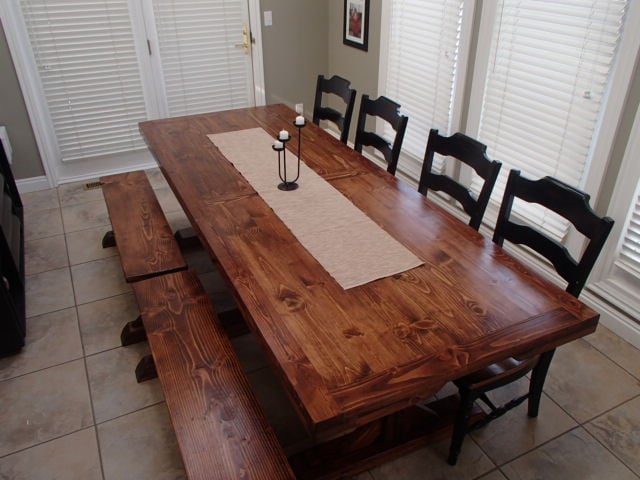
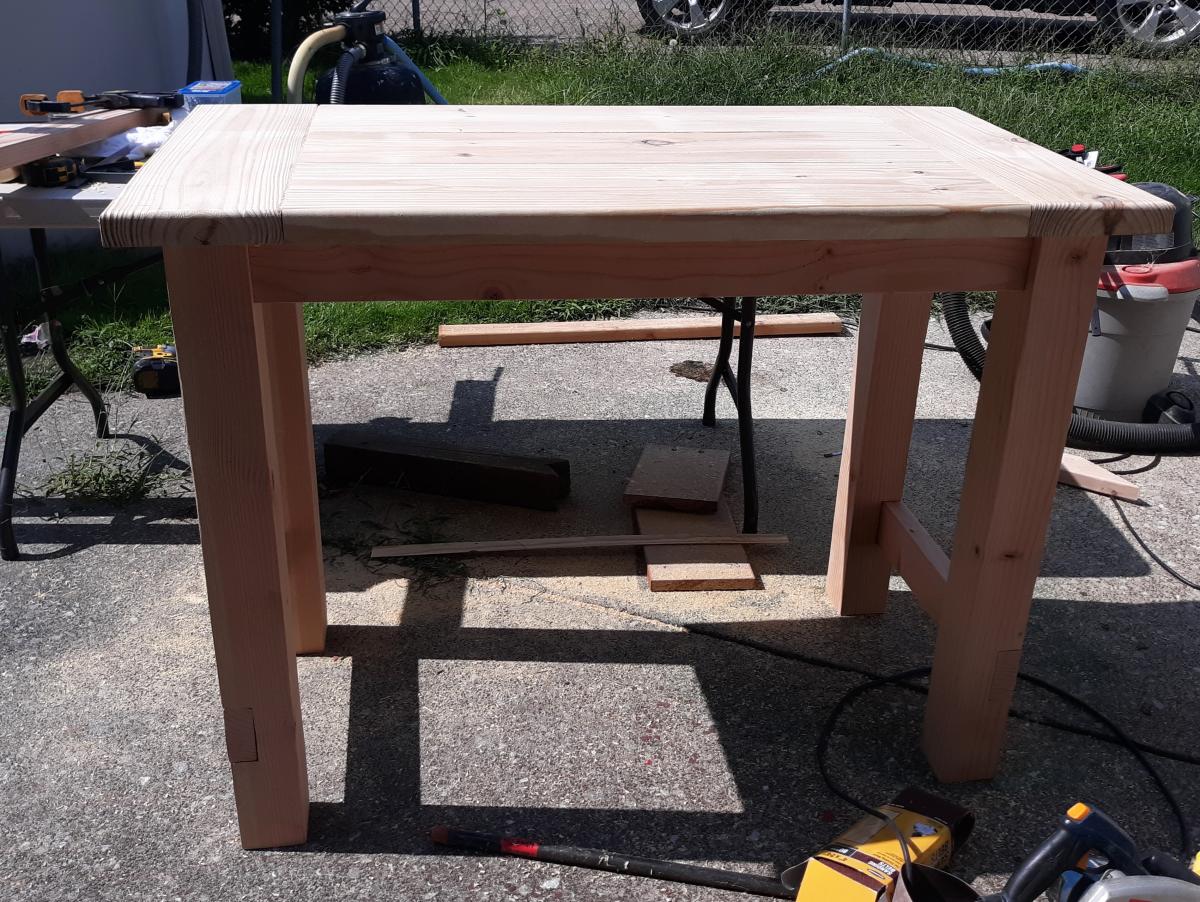
Rustic X Console Table (The Beginning)
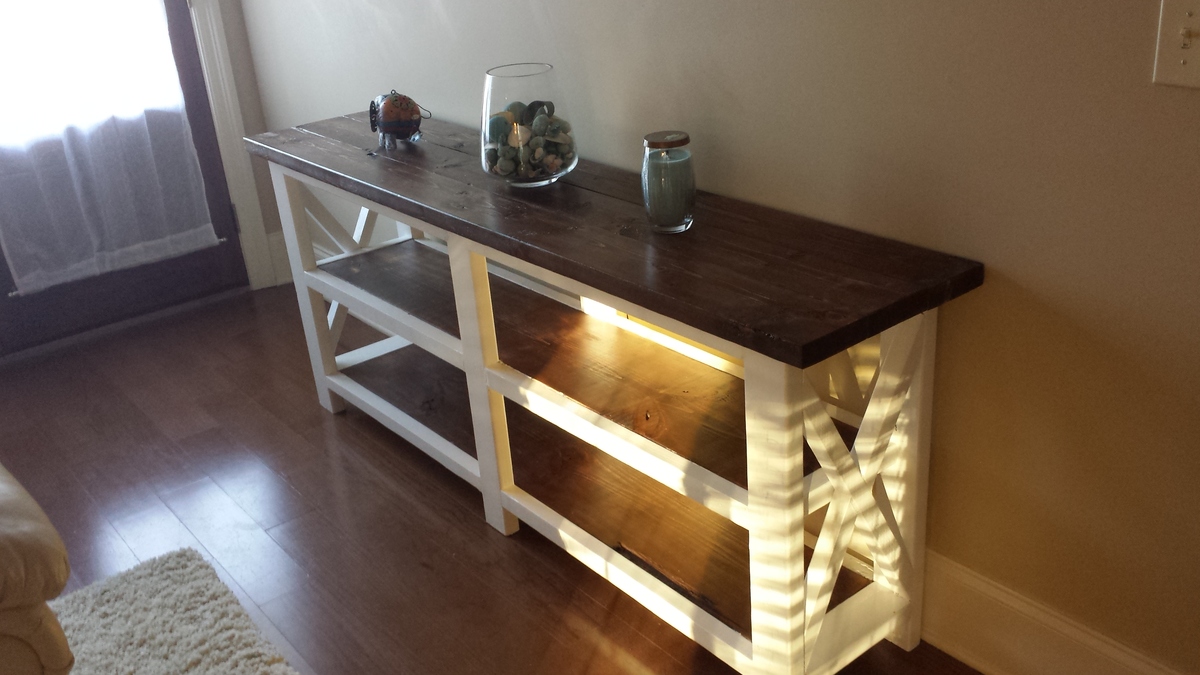
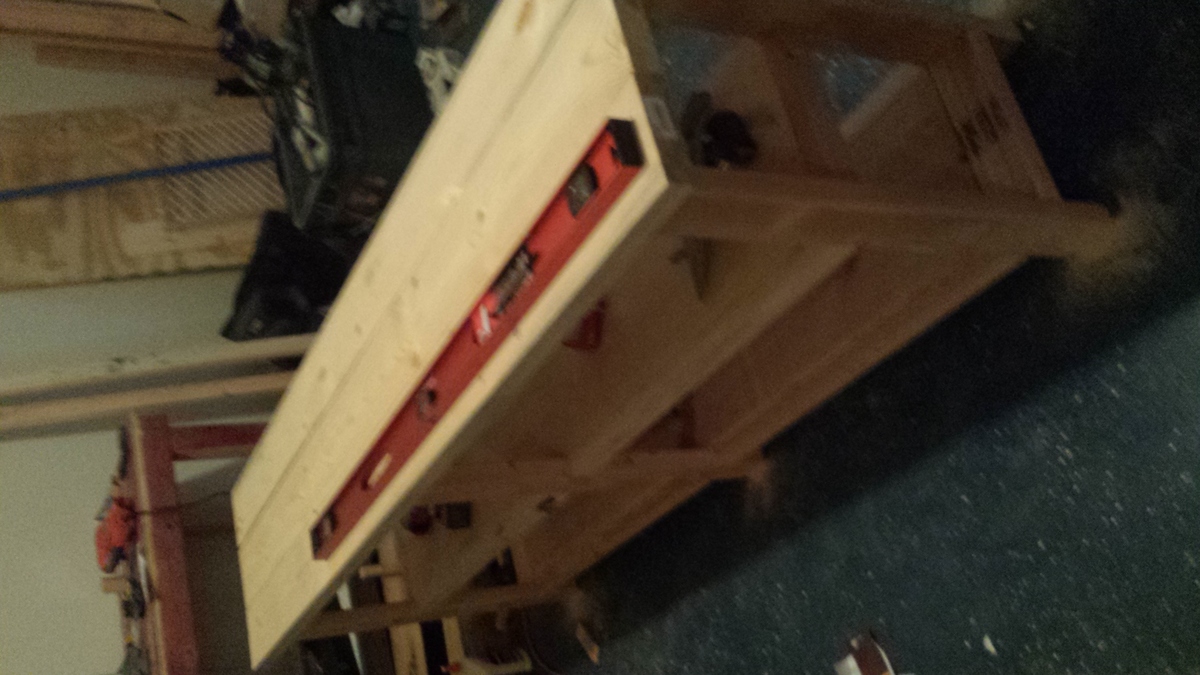
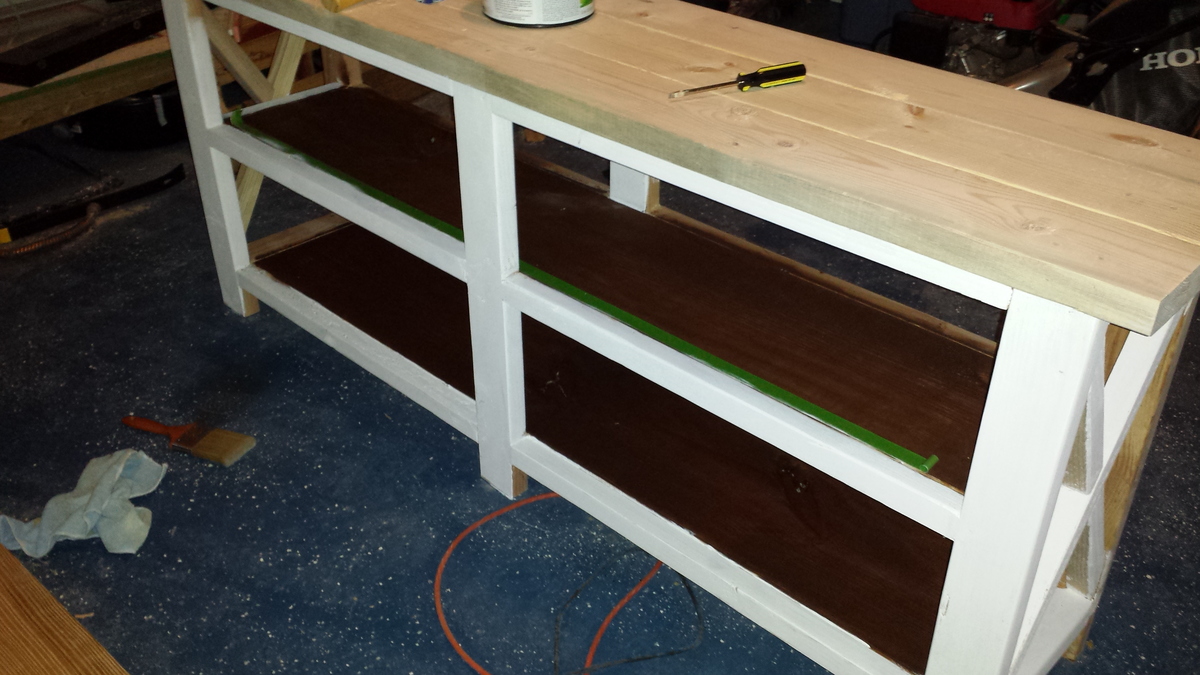
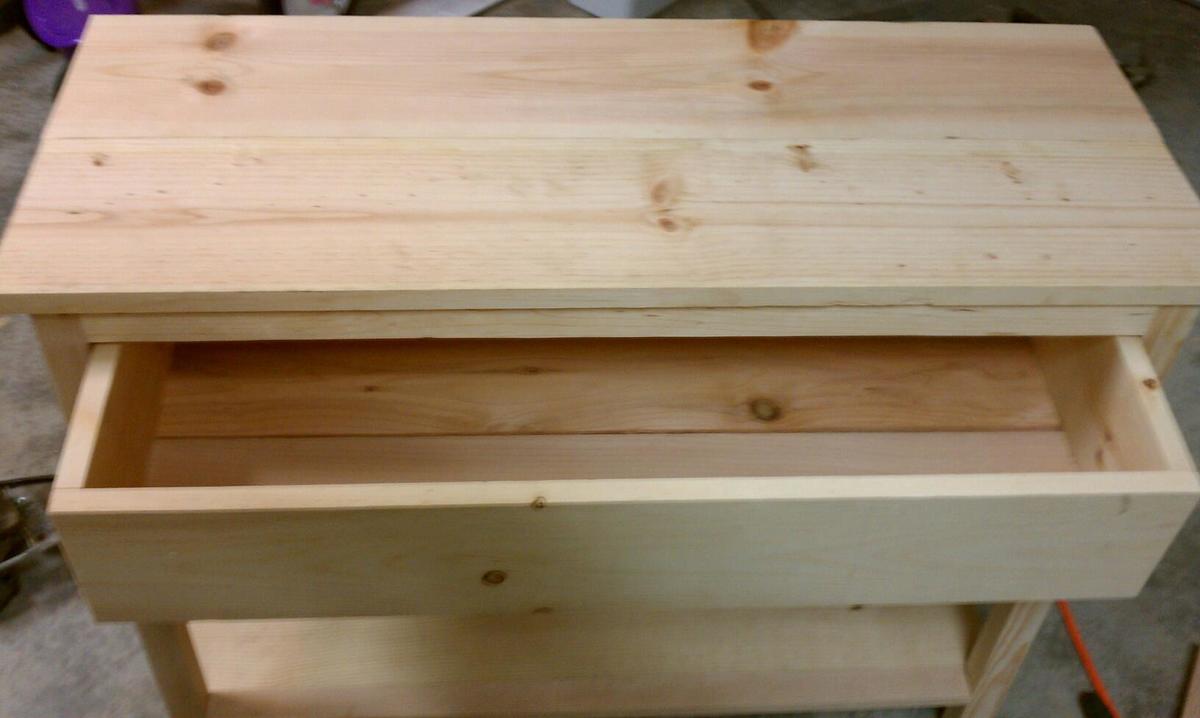
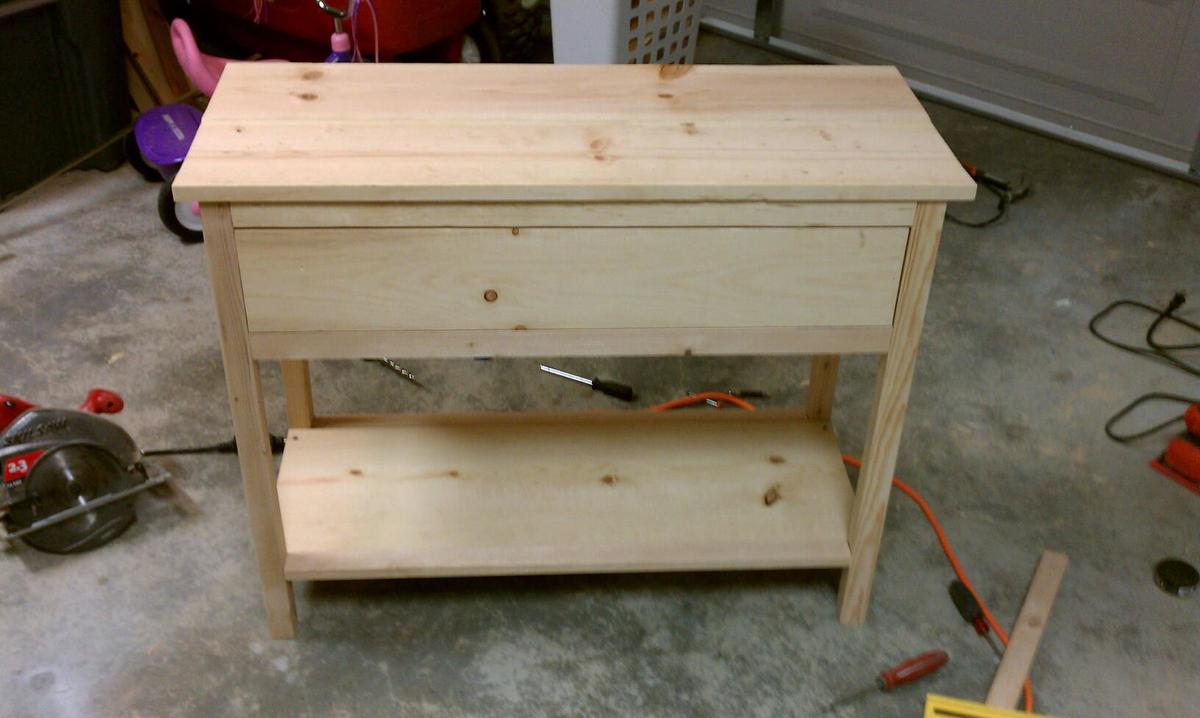
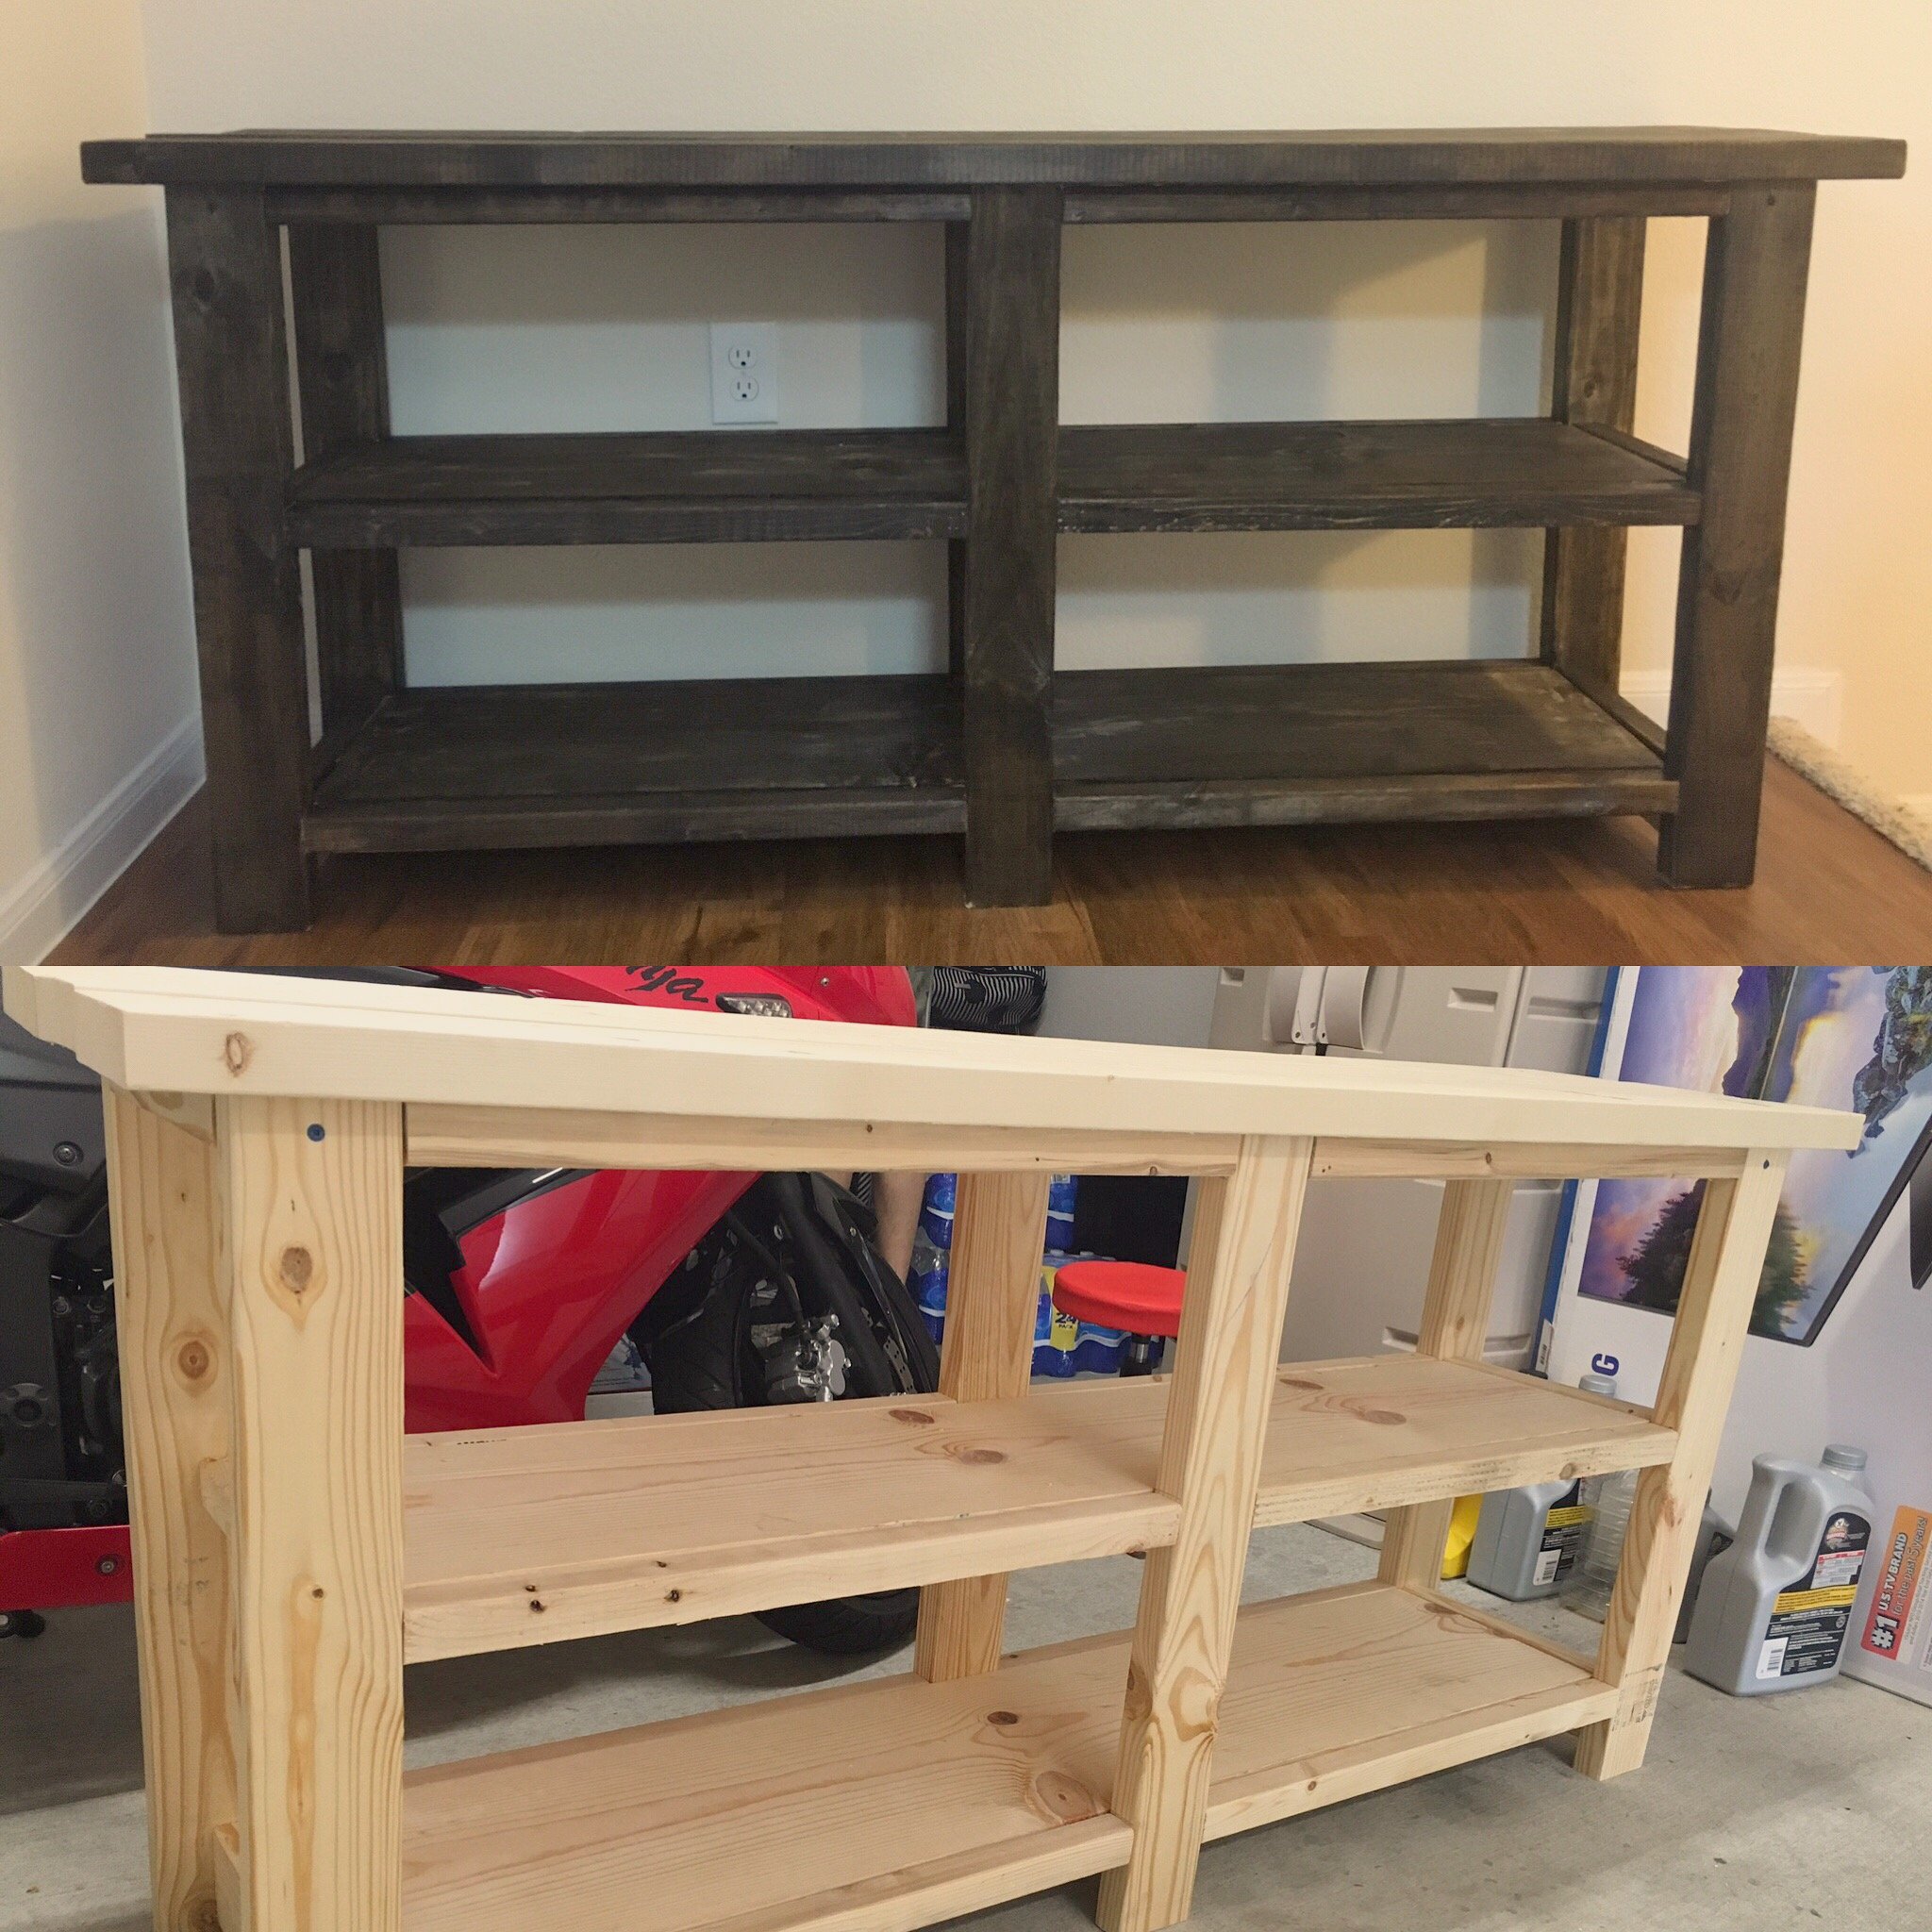
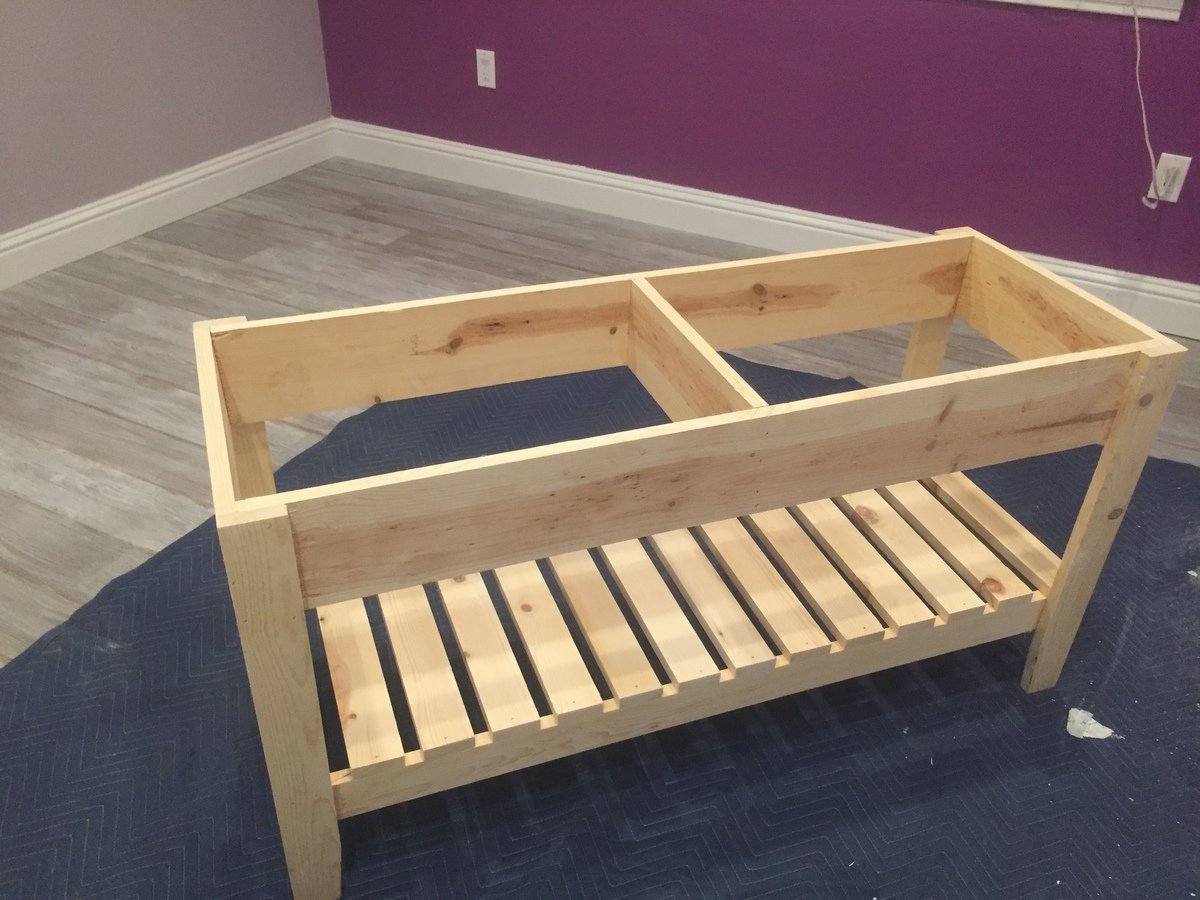
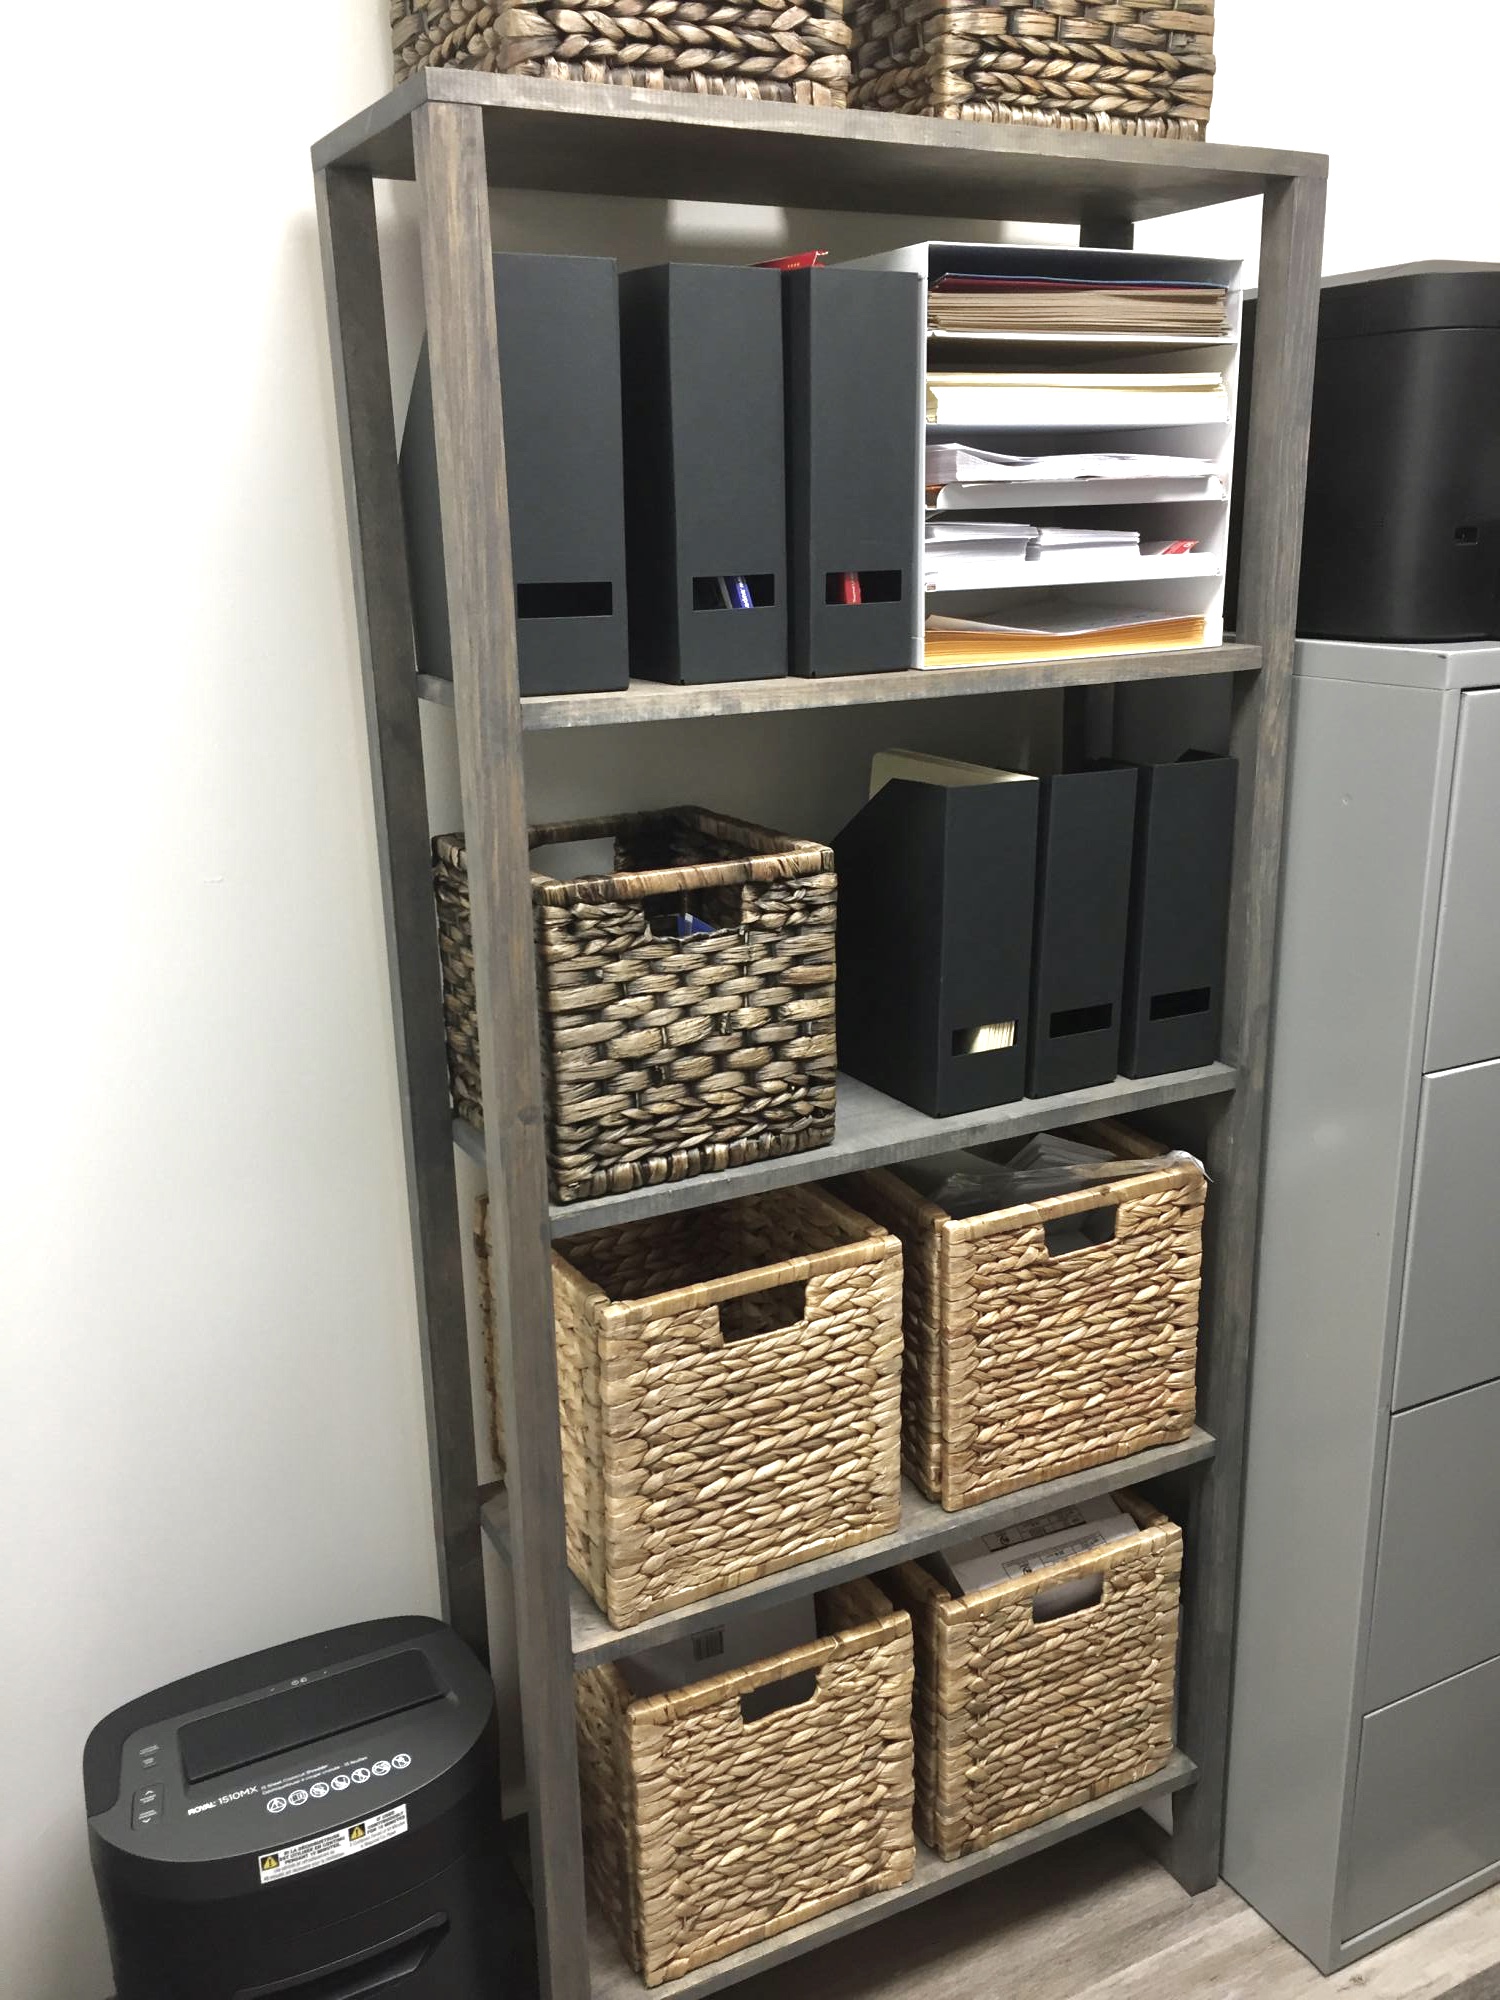
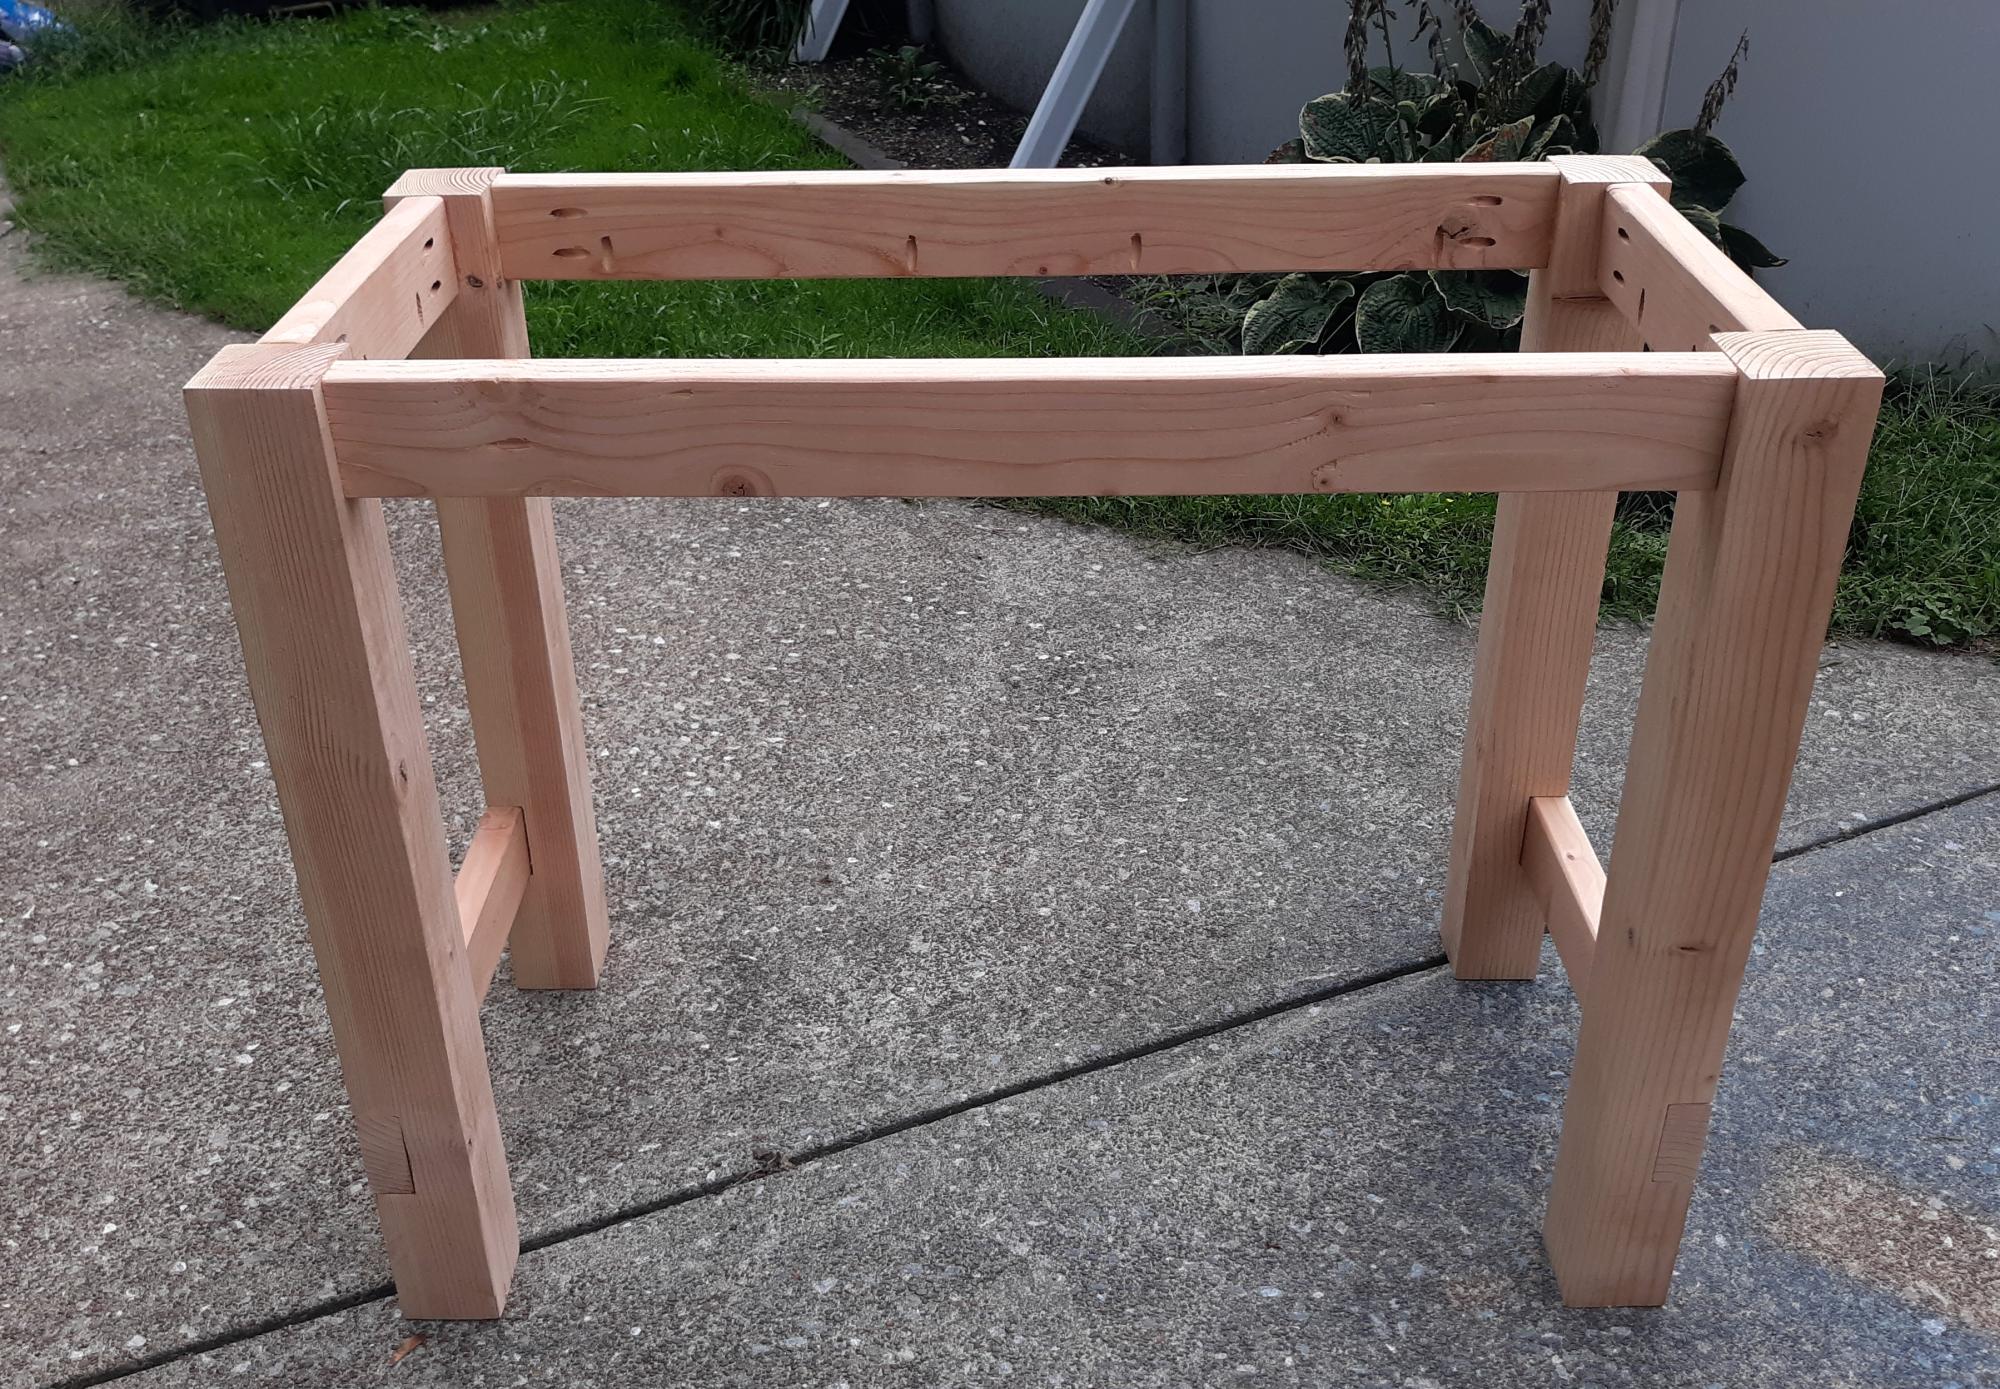
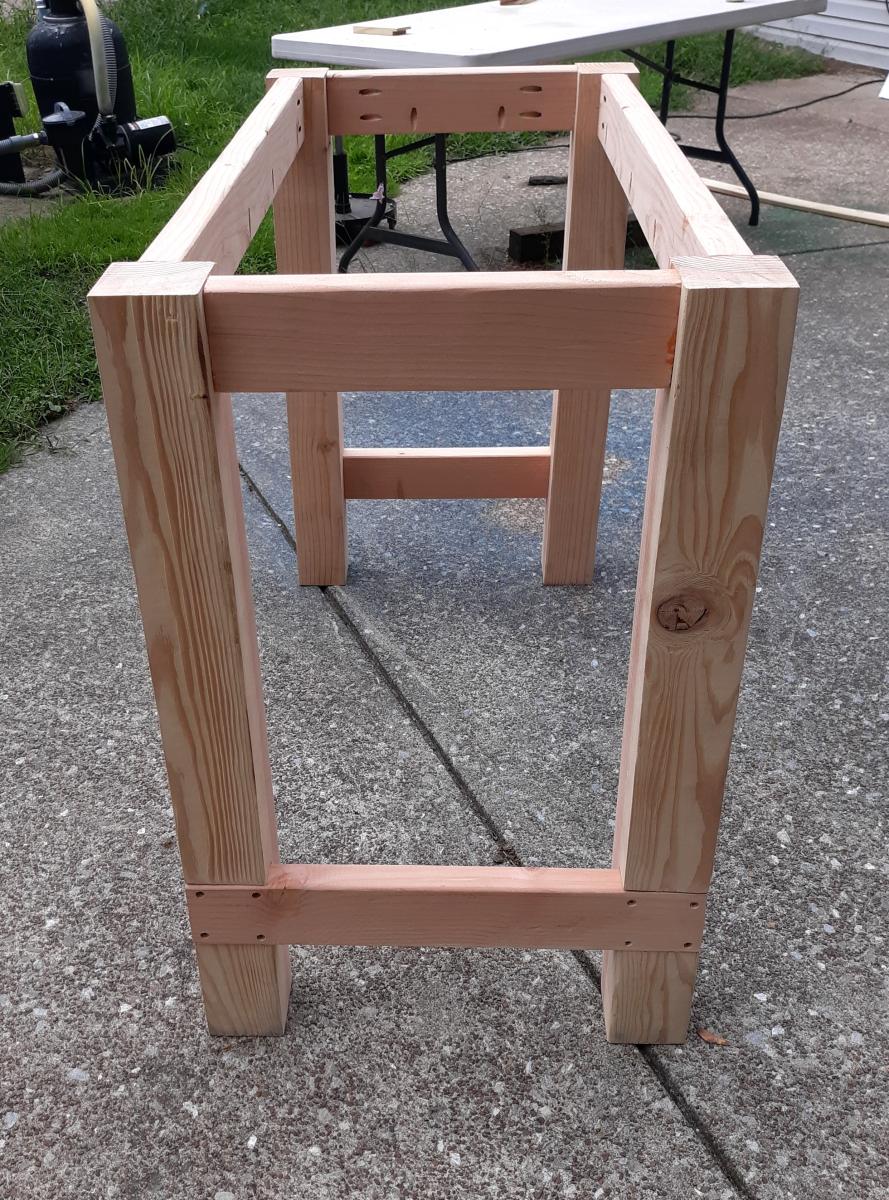
This was my first project and love how it turned out. I have gotten compliments on it, but I unfortunately continue to look at the flaws in it and want to build another one. It was a great project though and I am in the middle of building the coffee table and end table as well. Here it is before we added all the odds and ends on to shelves and top

Built from Plan(s)
Estimated Time Investment
Weekend Project (10-20 Hours)
Finish Used
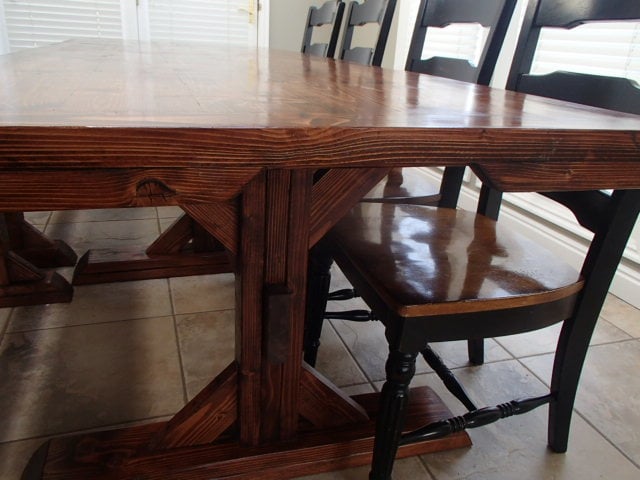
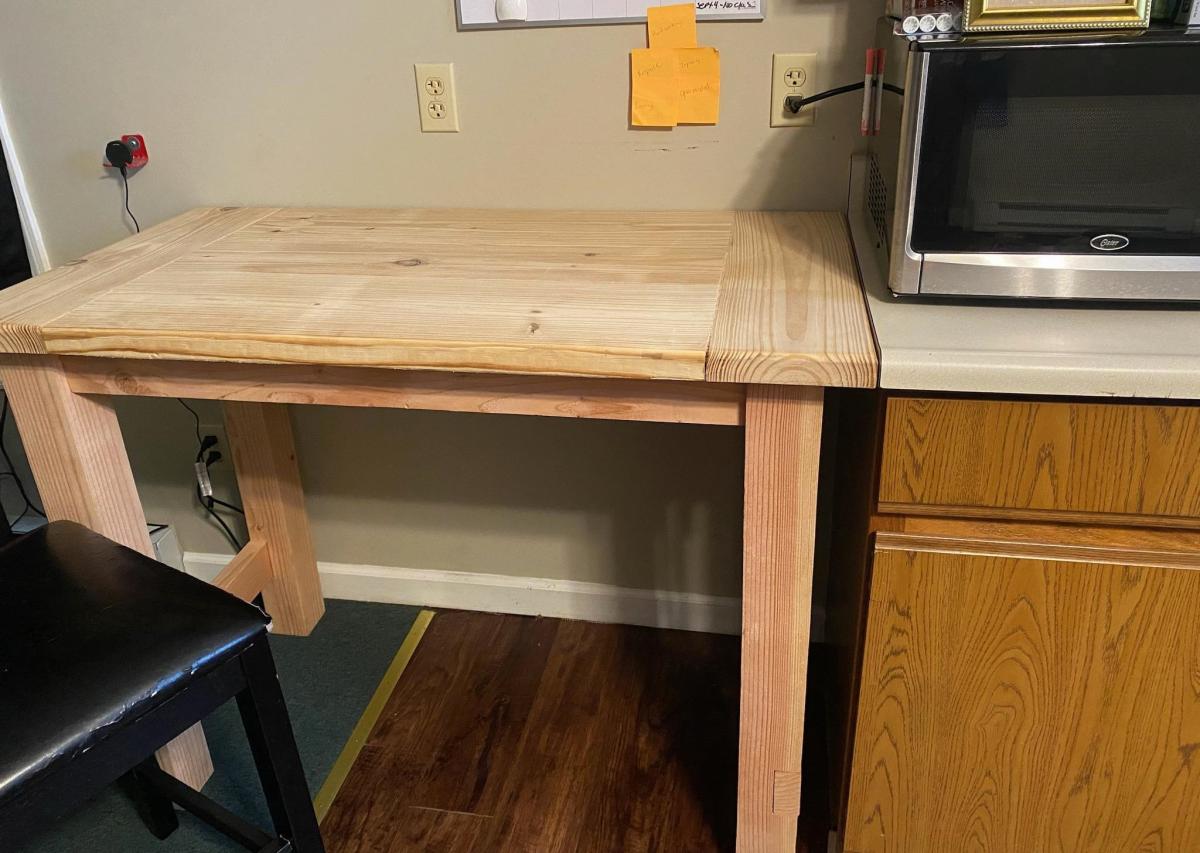
Used rustoleum american walnut for stain and valspar signature ultra white for the paint. Brushed on stain waited a minute and wiped with a rag.
Recommended Skill Level
Beginner


Comments
sojaco
Tue, 01/14/2014 - 08:37
Beautiful!
I love how you finished your console table - I'm now wishing I finished mine like that. I think we all see the flaws in our own work, but this looks fantastic and very professional.
sojaco
Tue, 01/14/2014 - 08:37
Beautiful!
I love how you finished your console table - I'm now wishing I finished mine like that. I think we all see the flaws in our own work, but this looks fantastic and very professional.