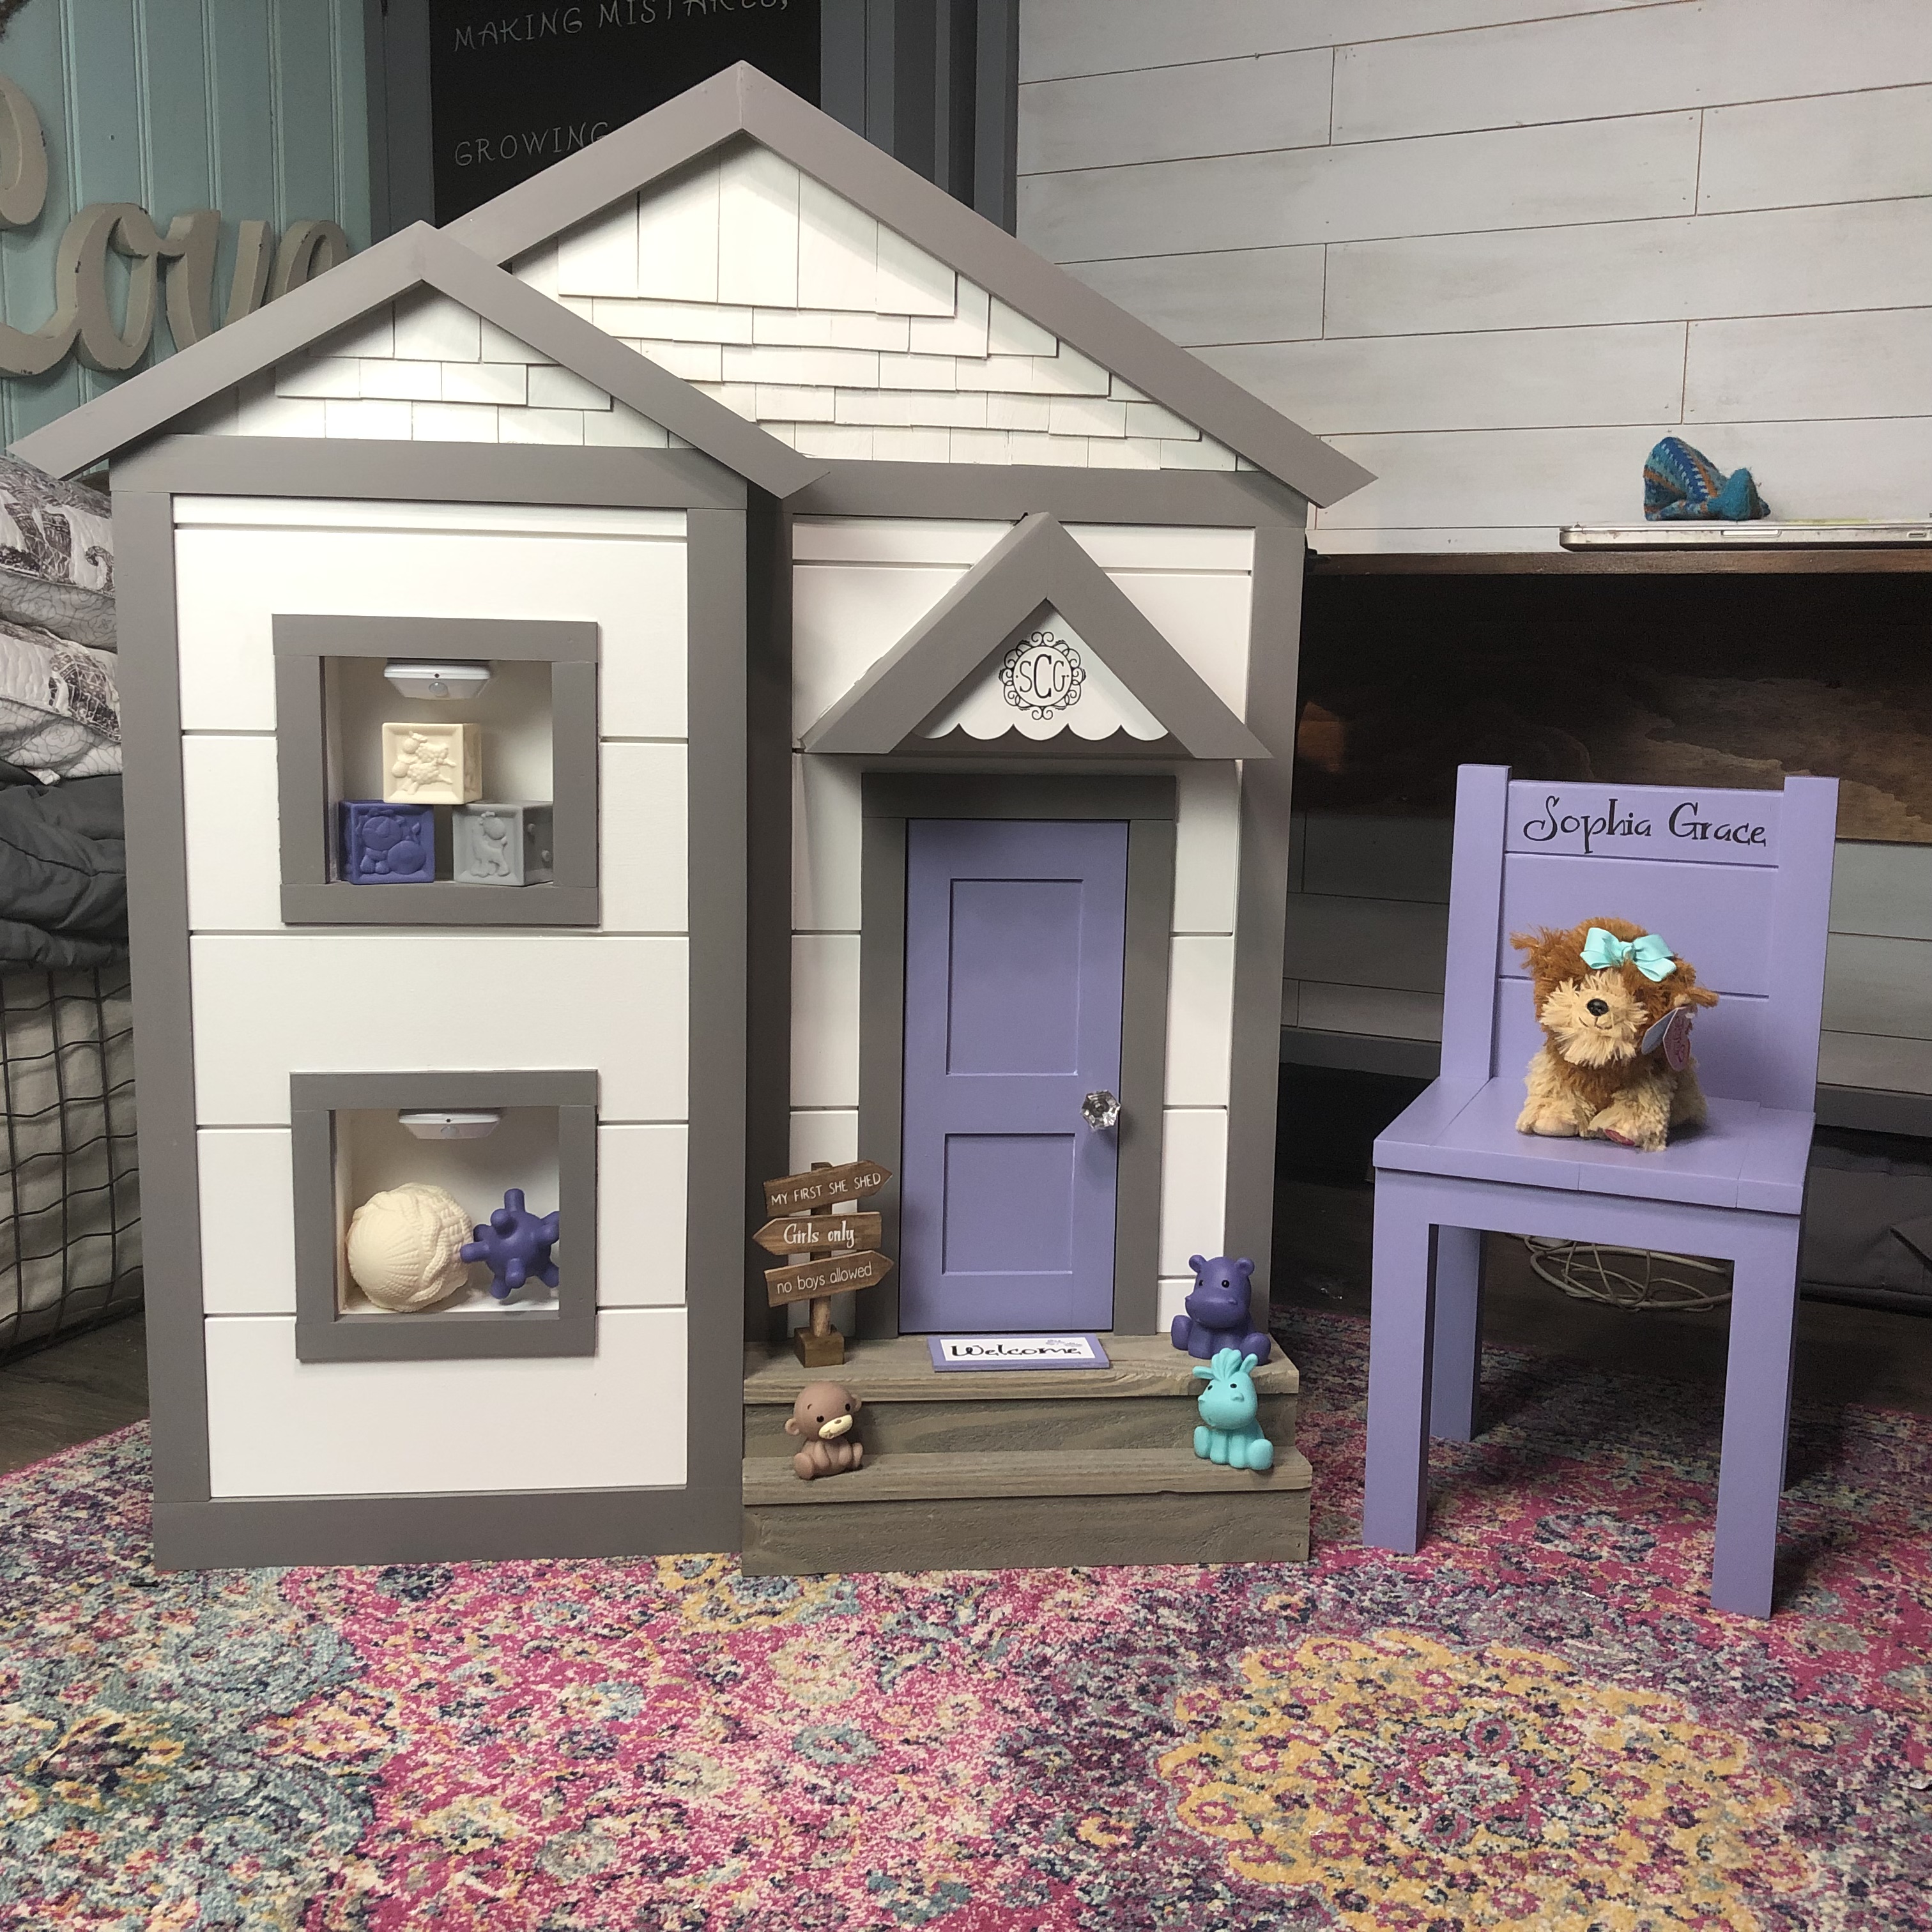
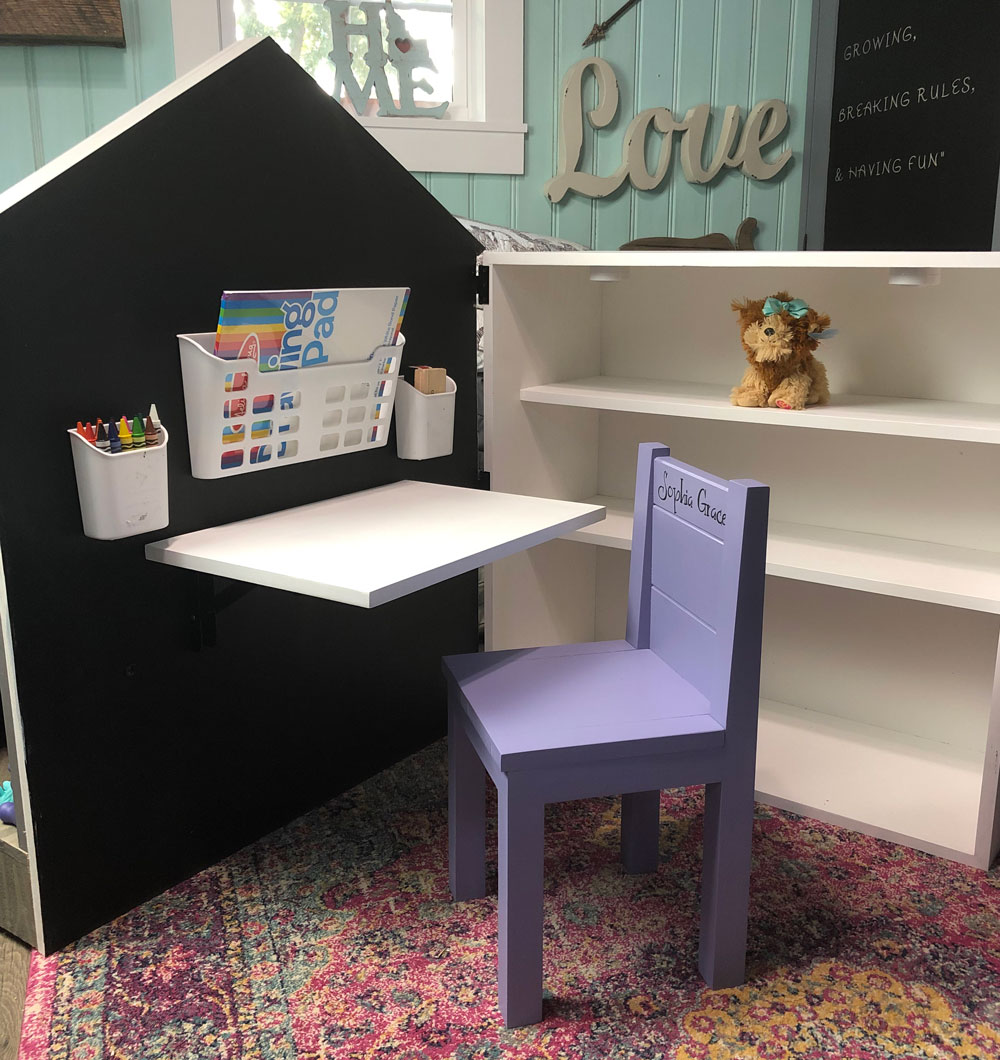
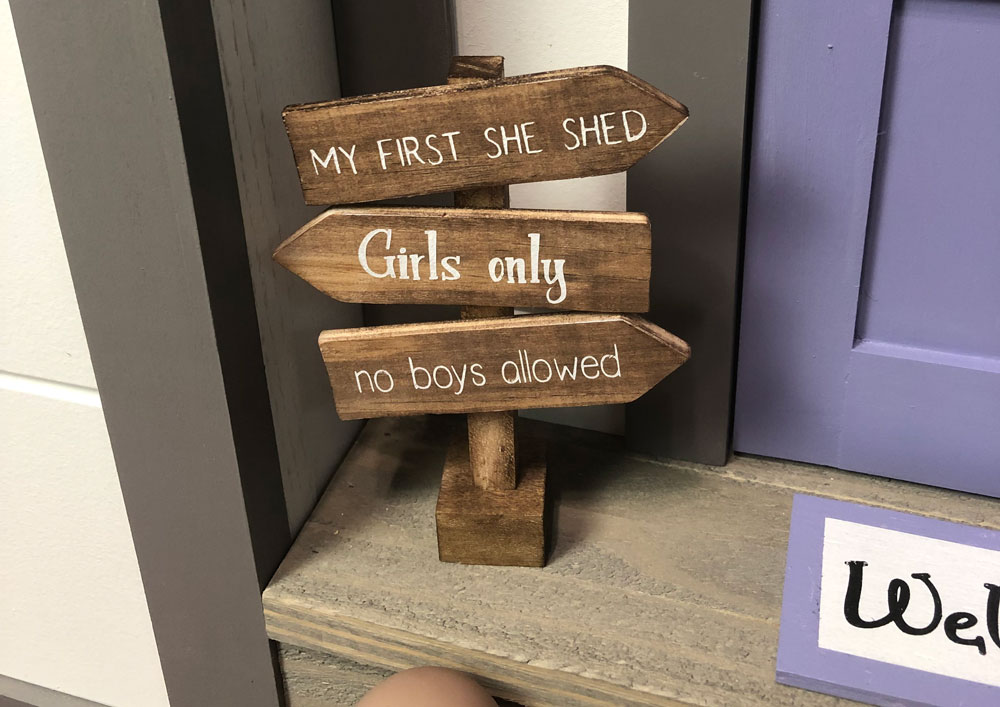
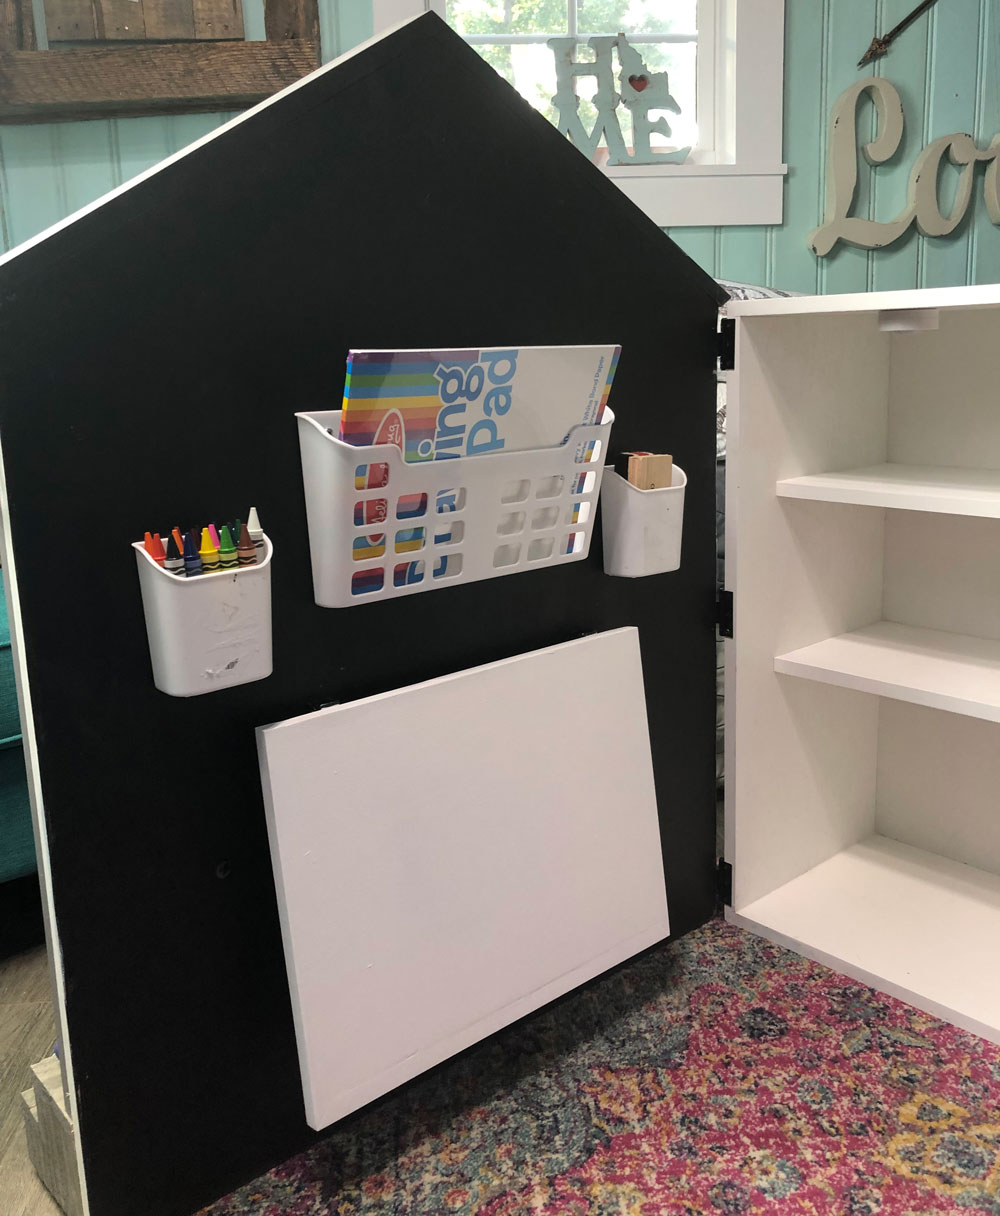
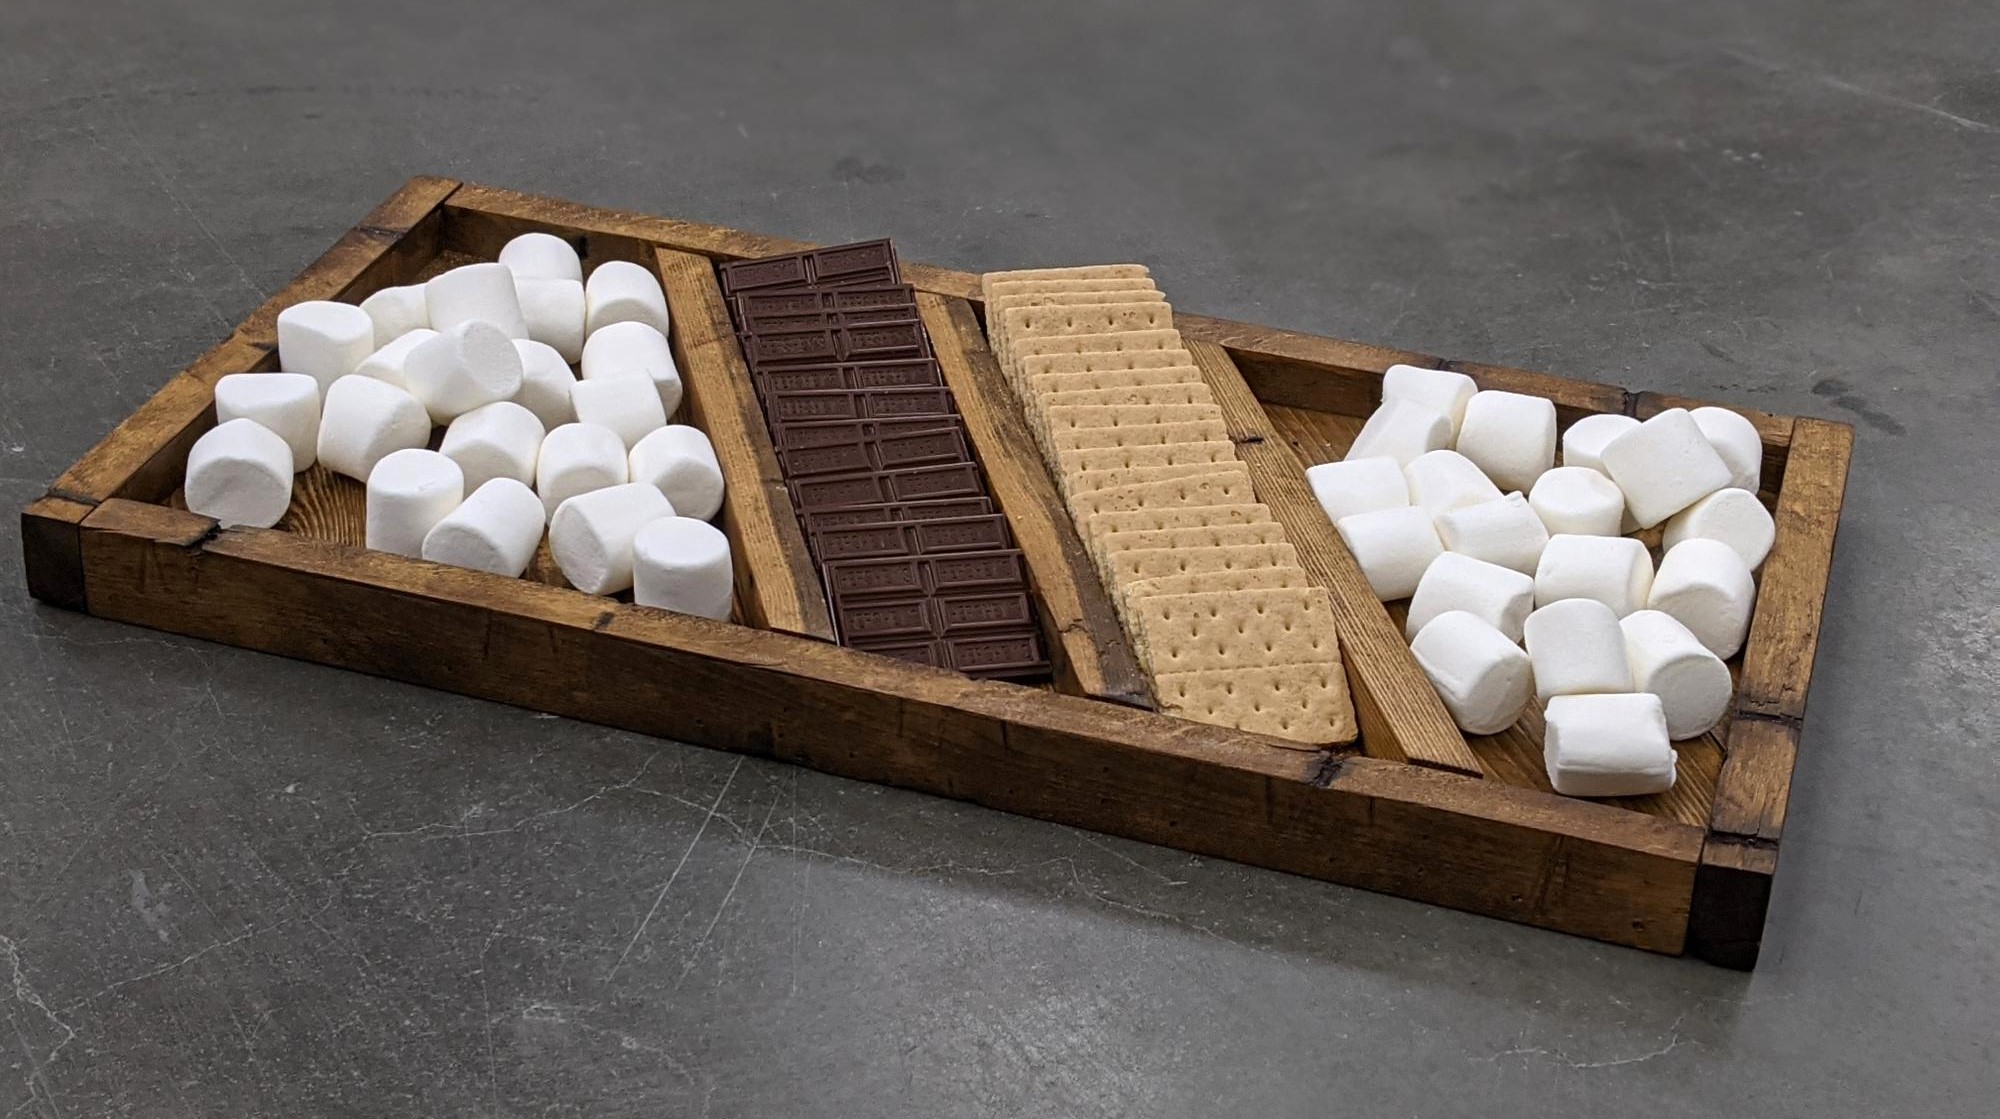
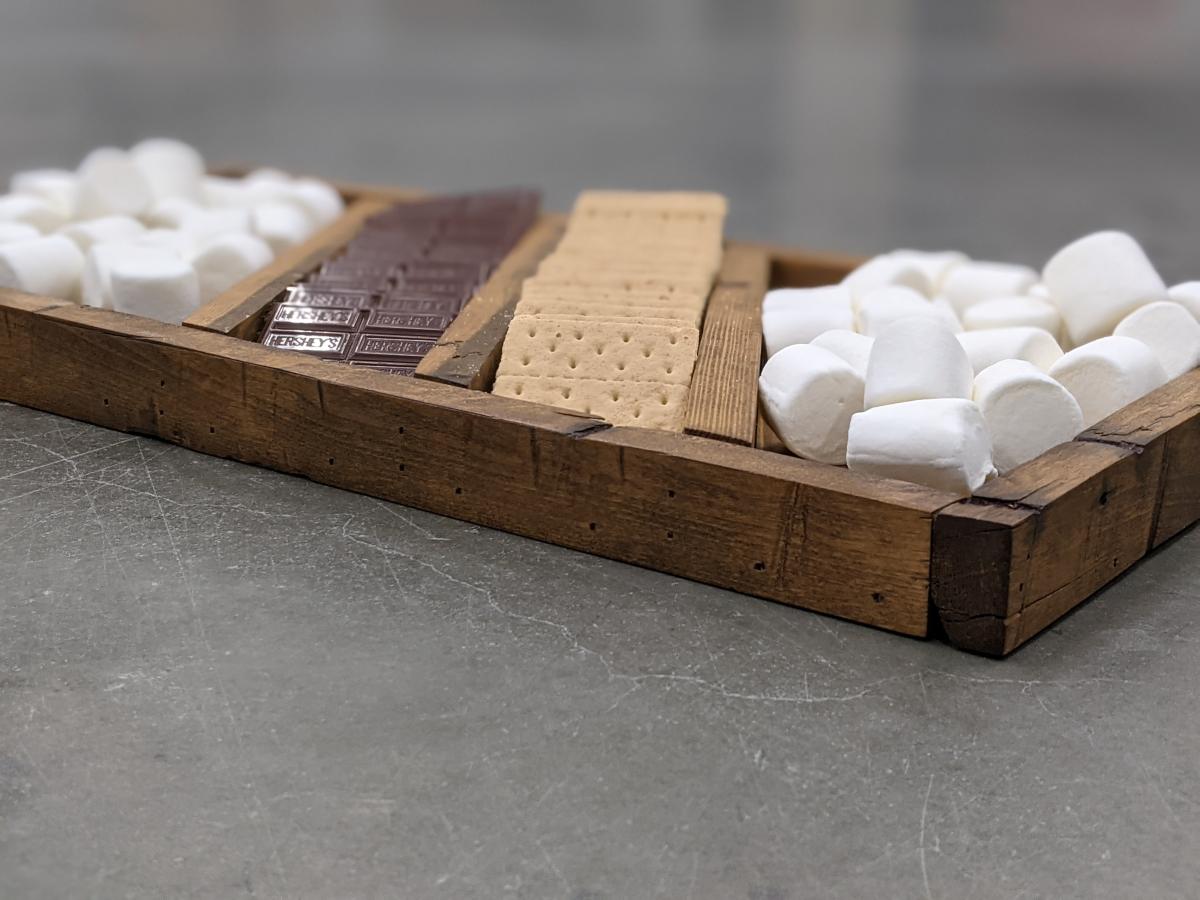
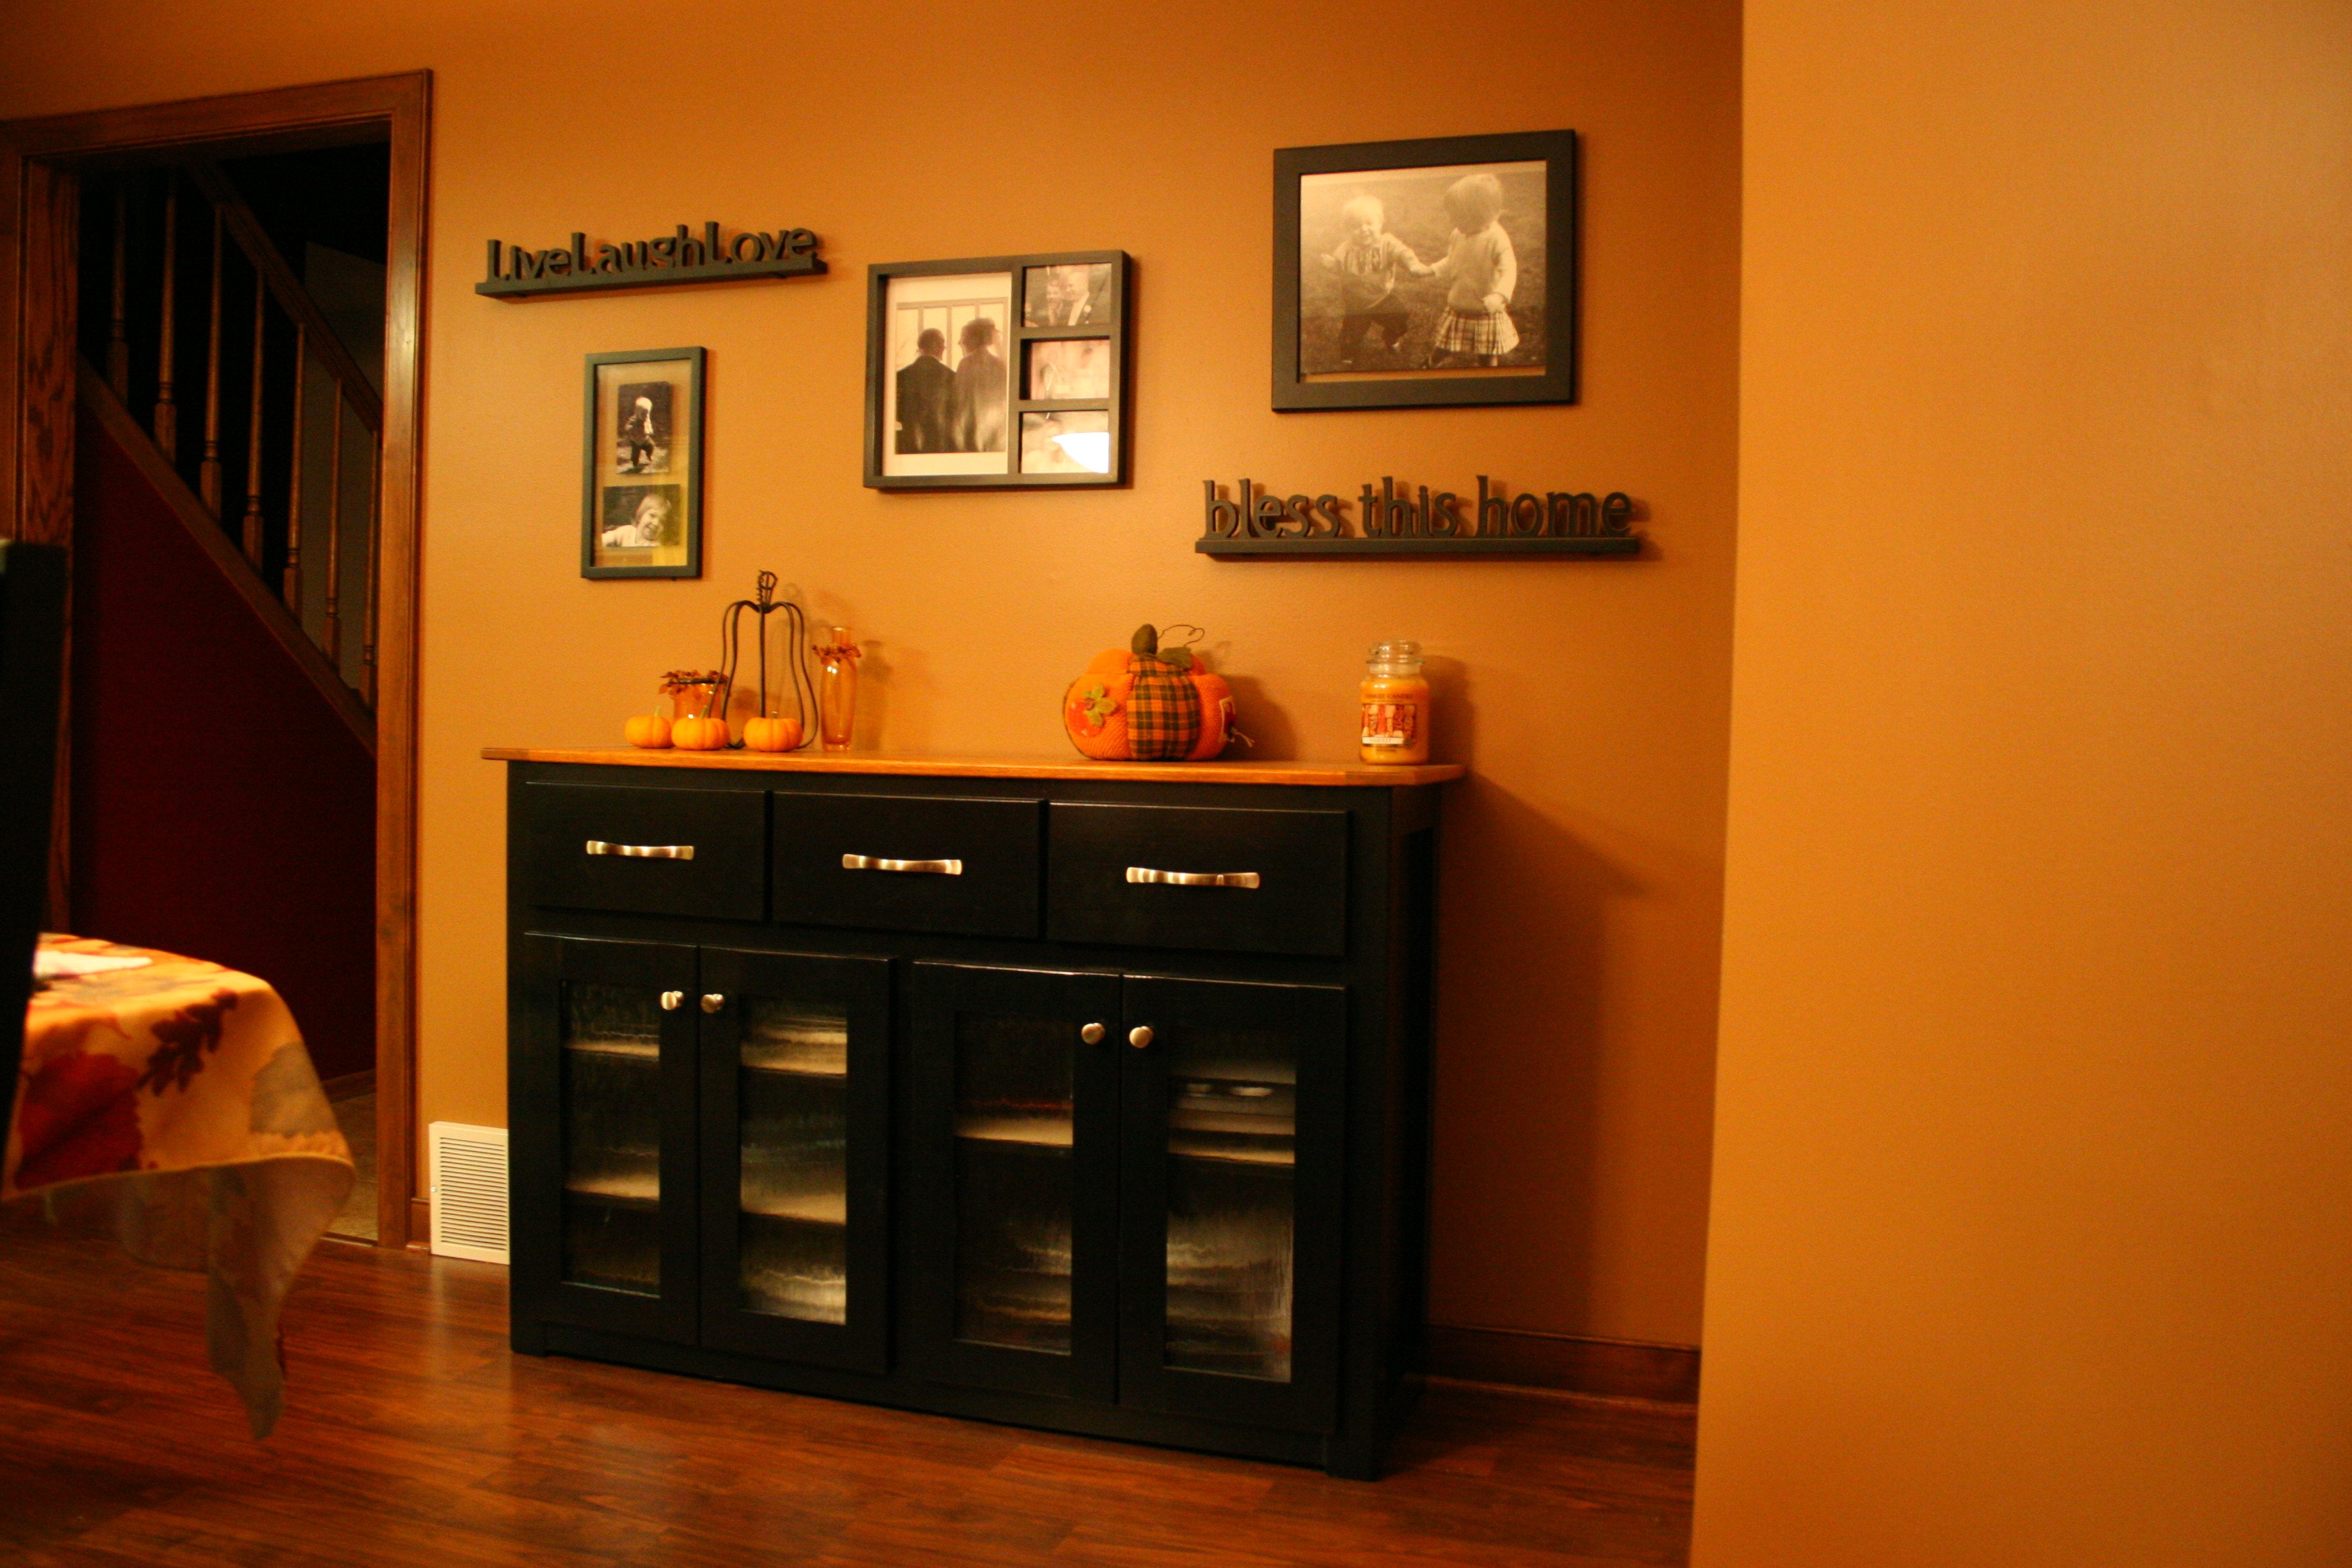
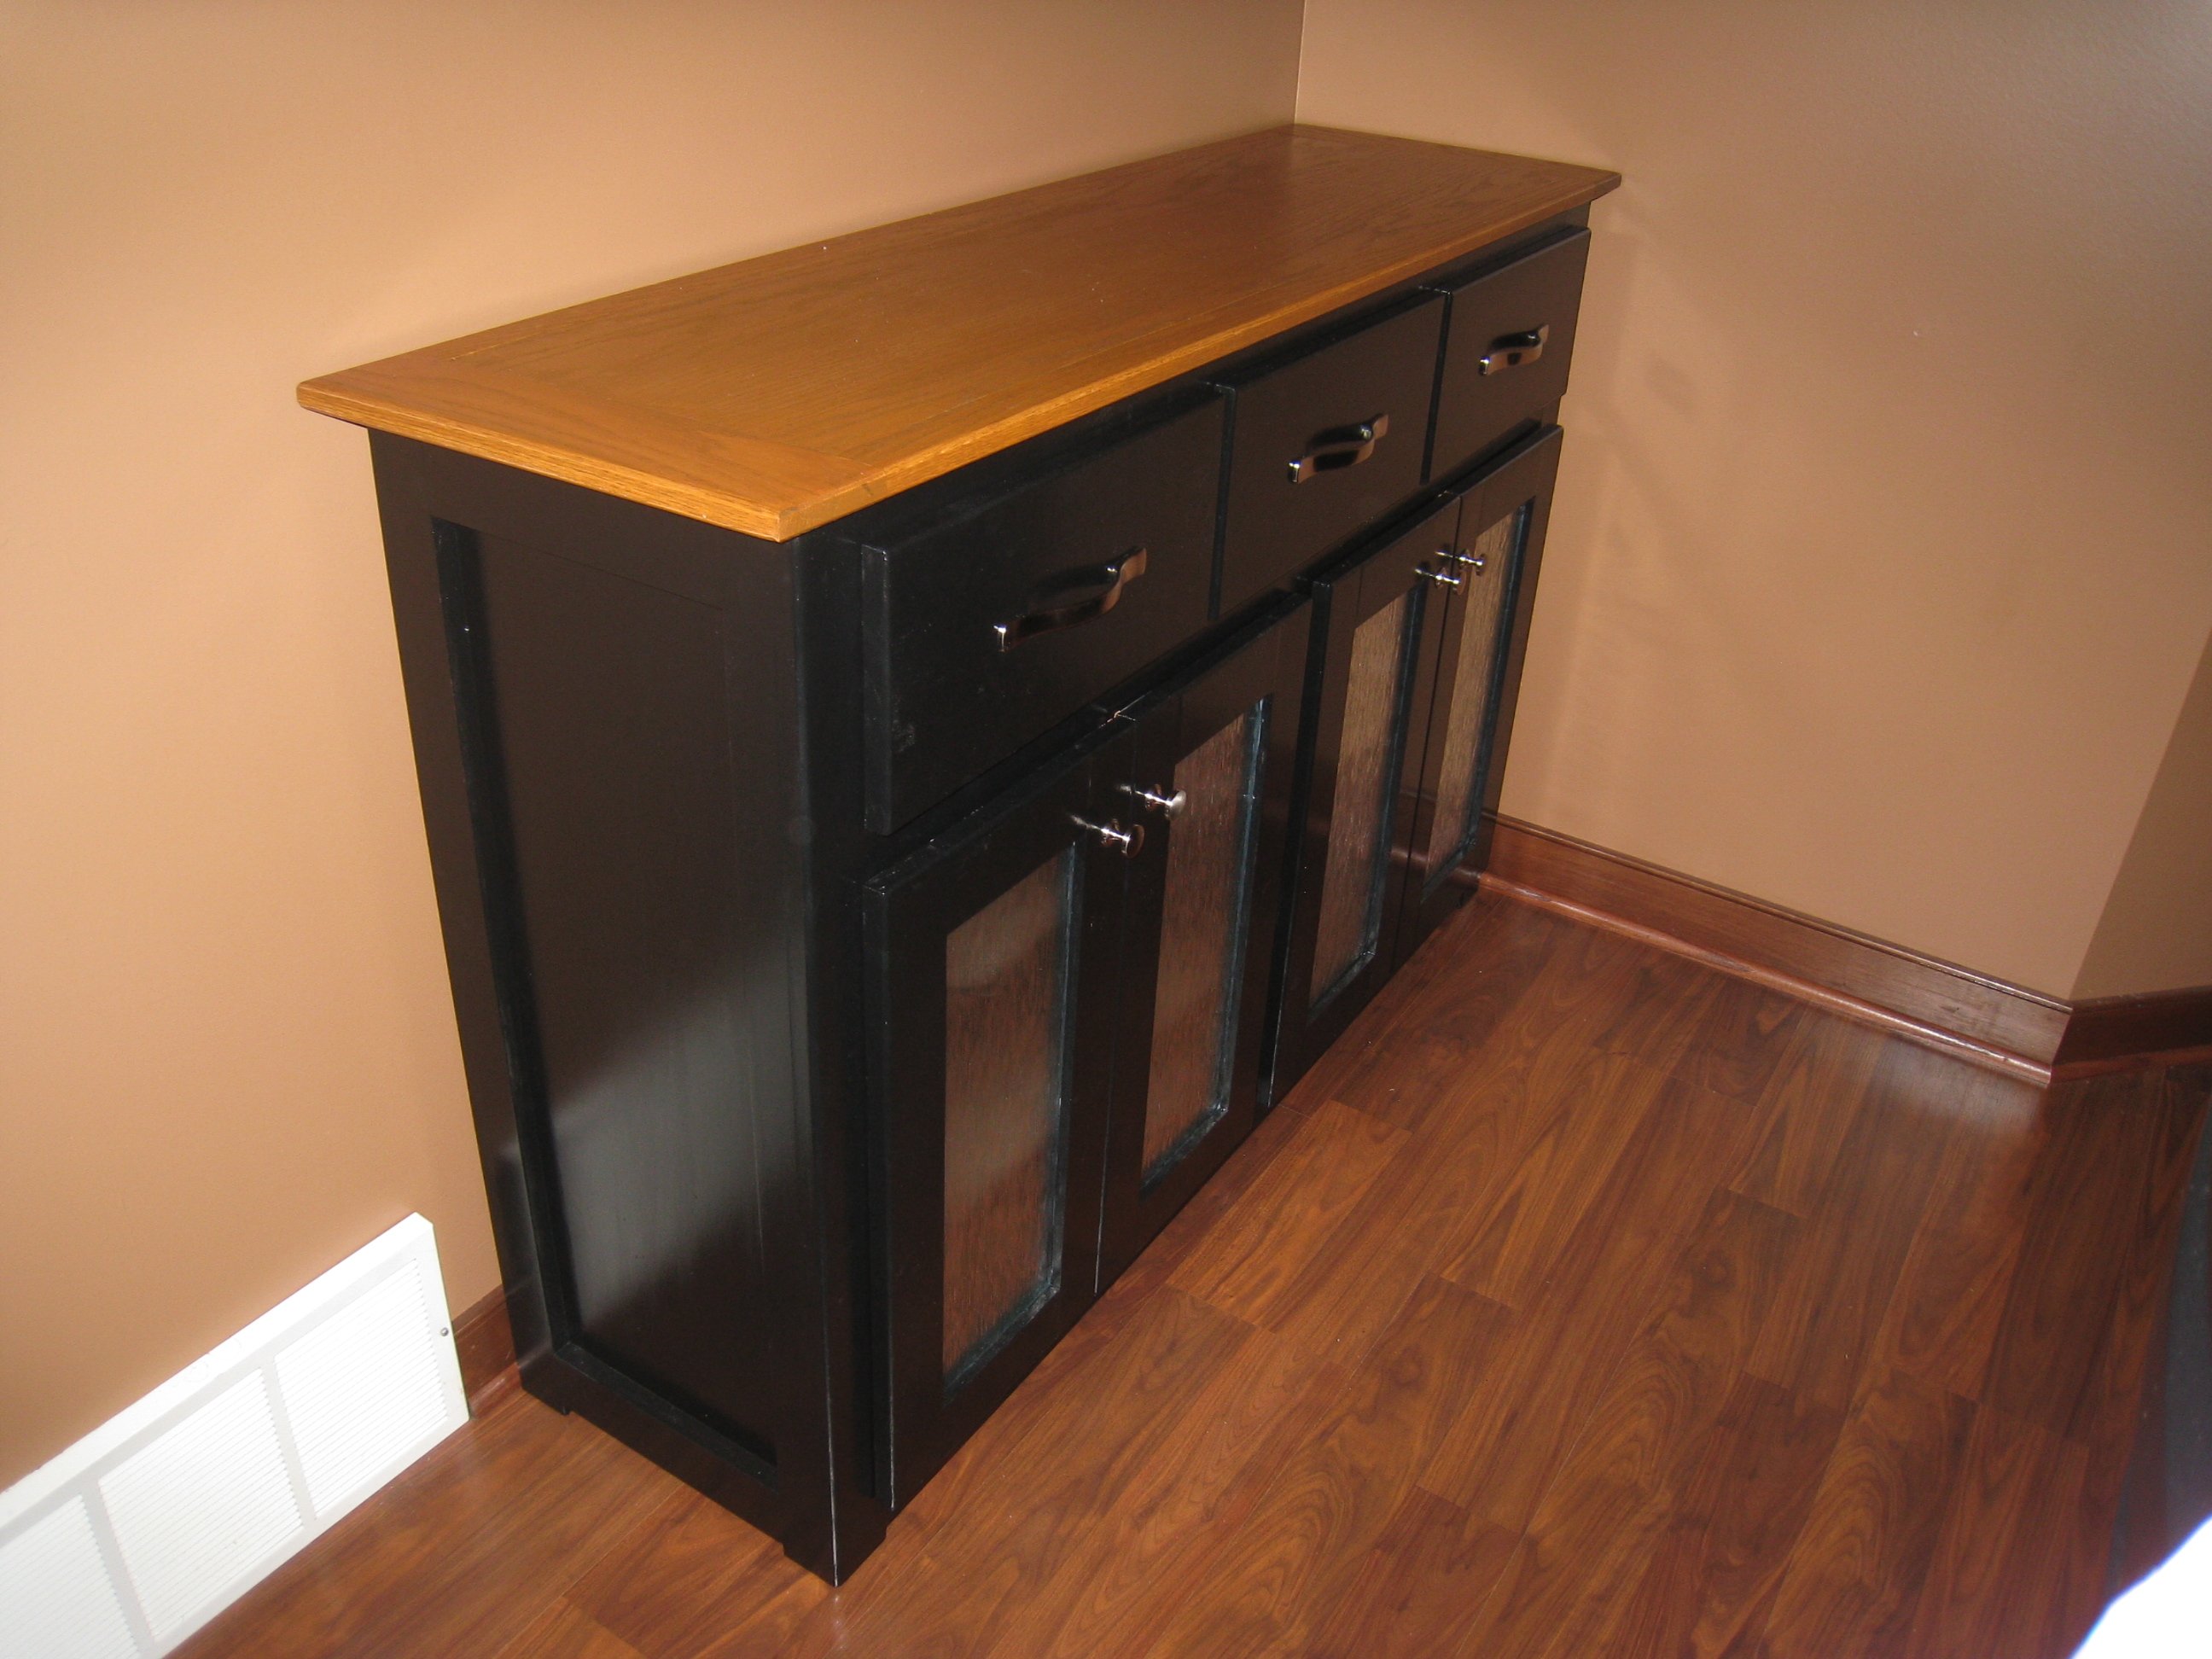
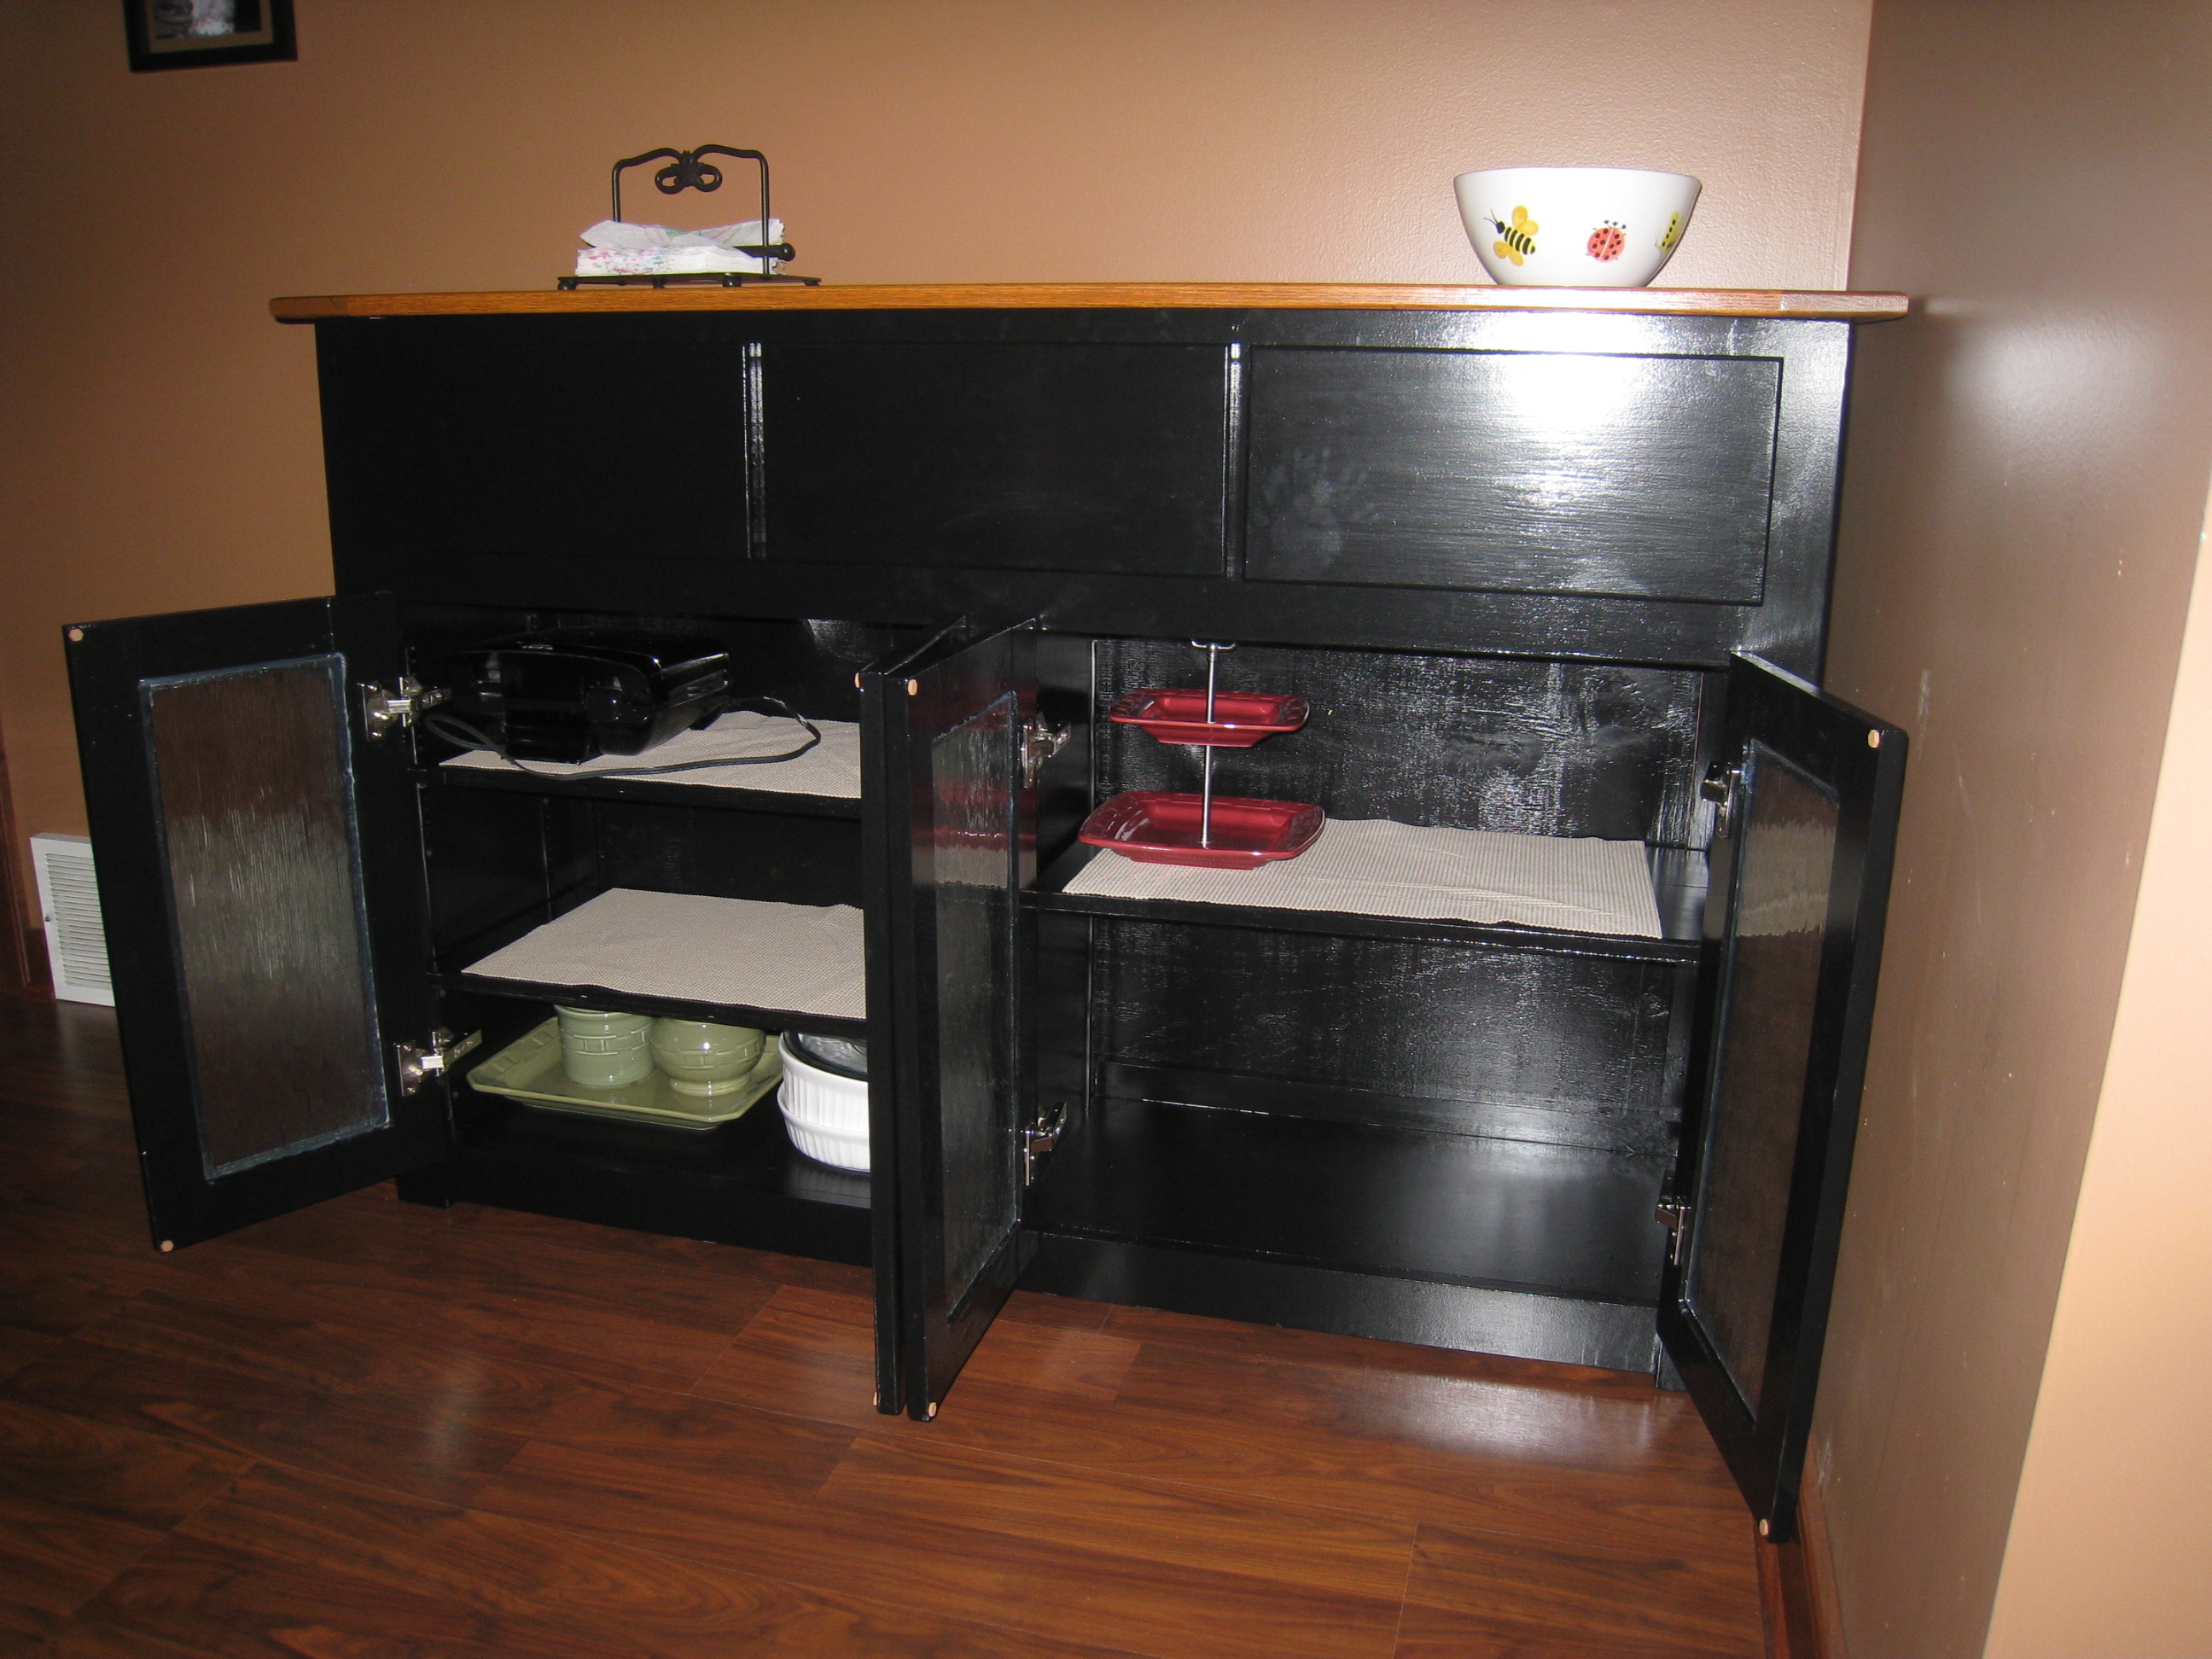
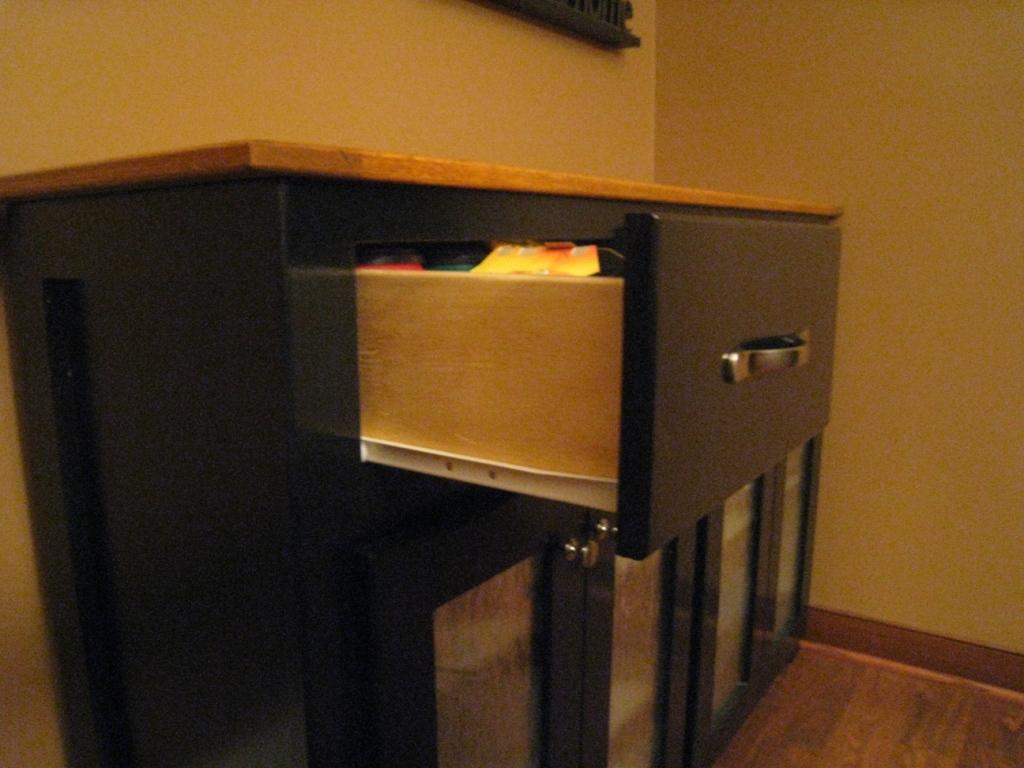
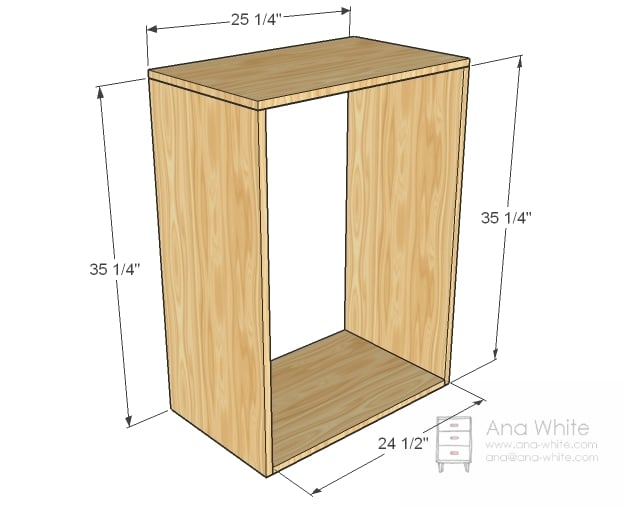
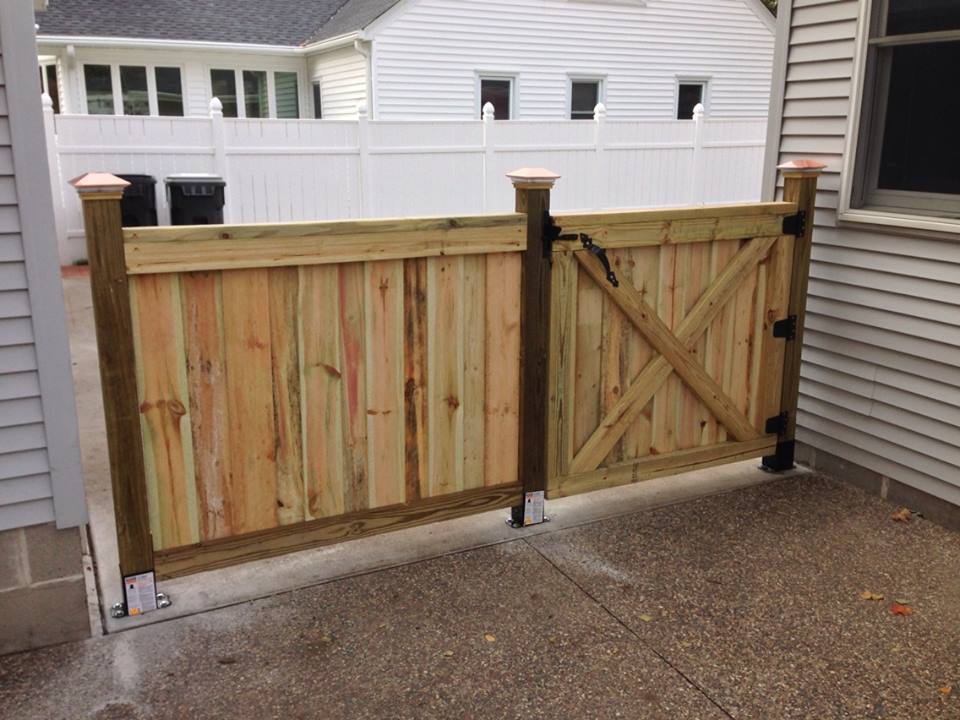
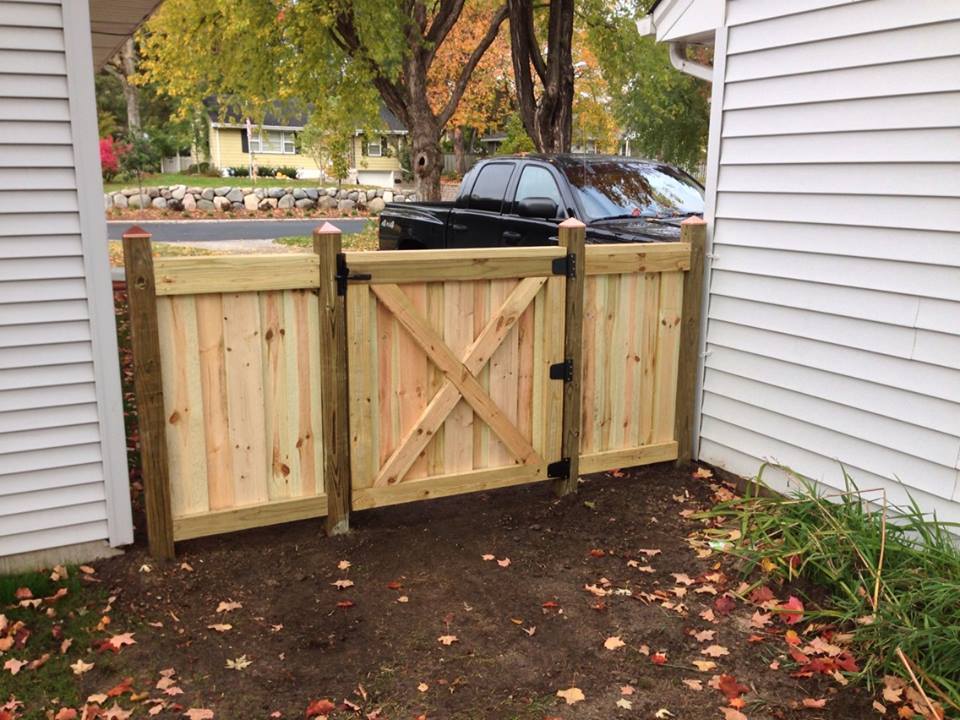
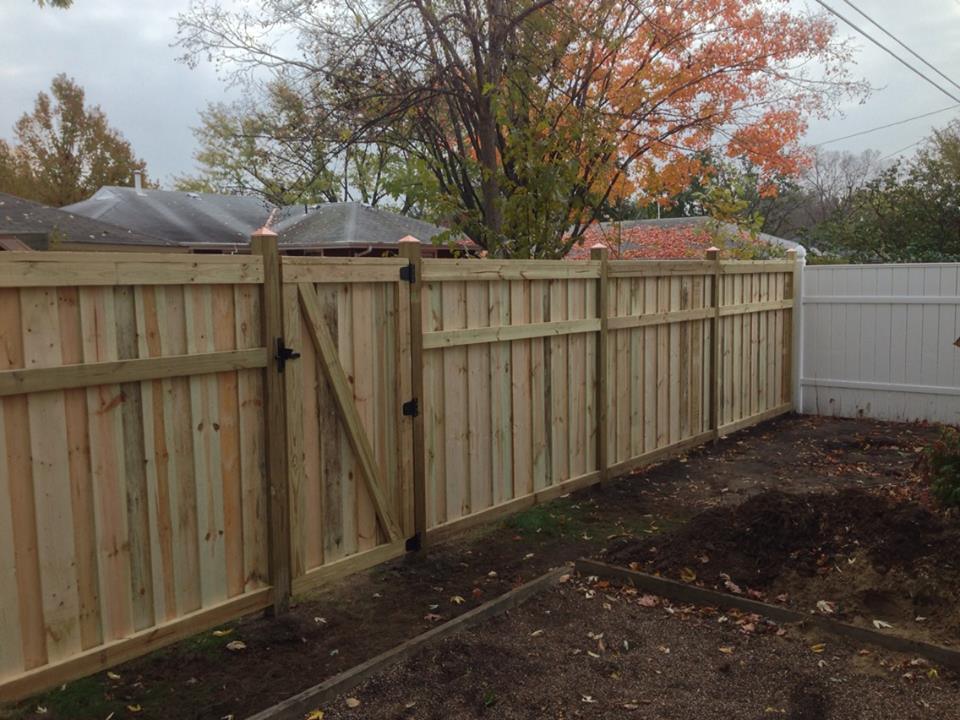
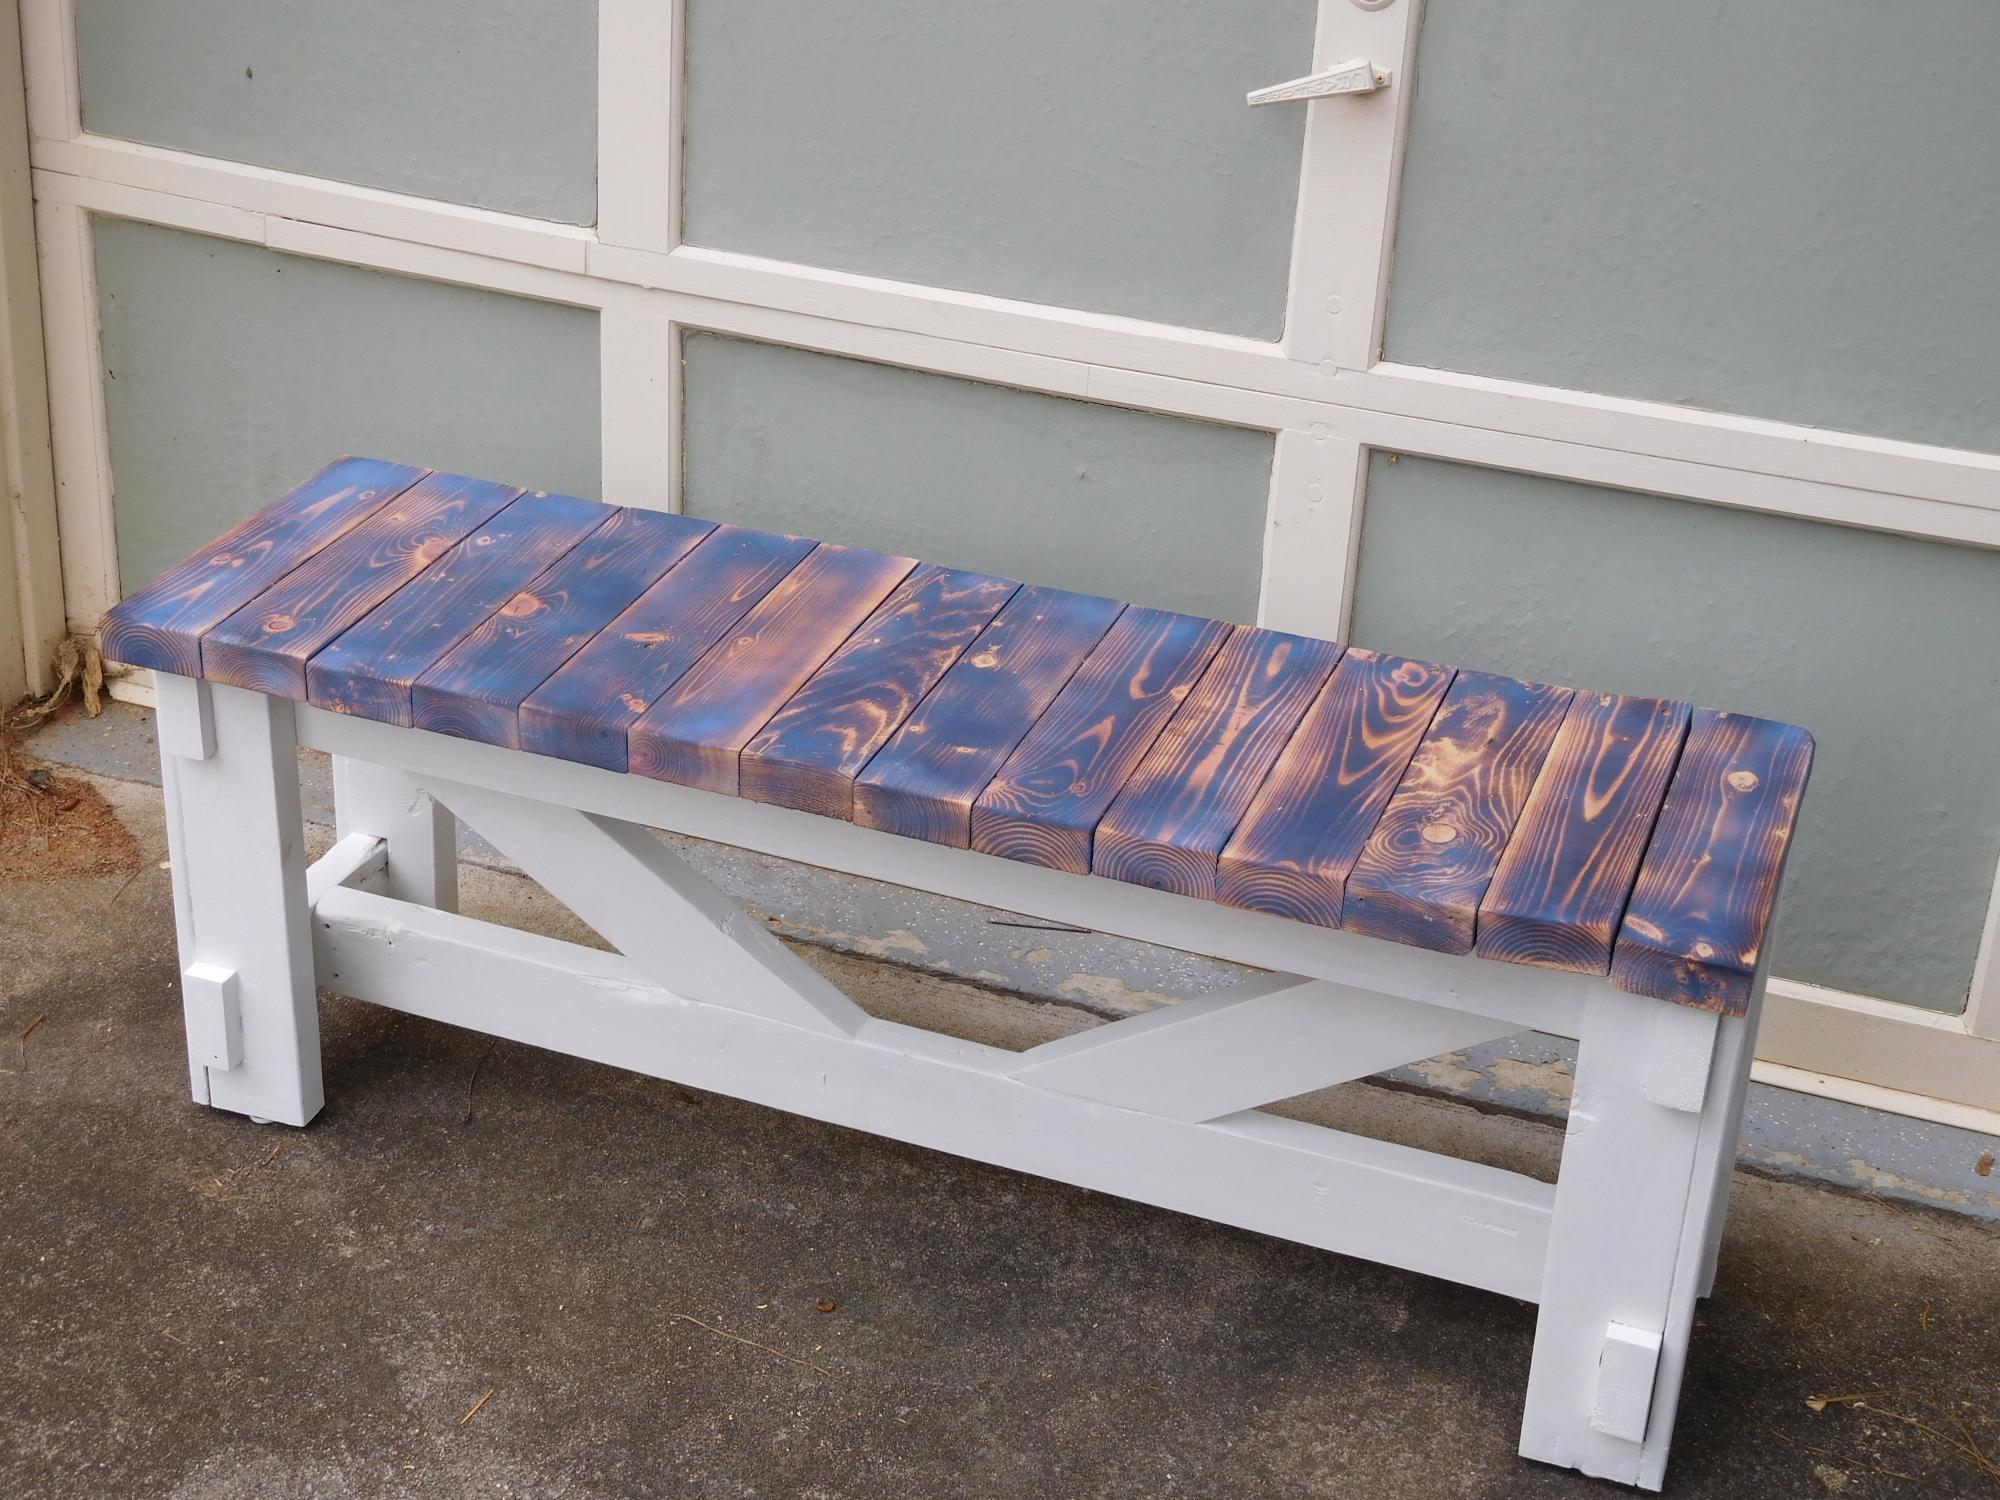
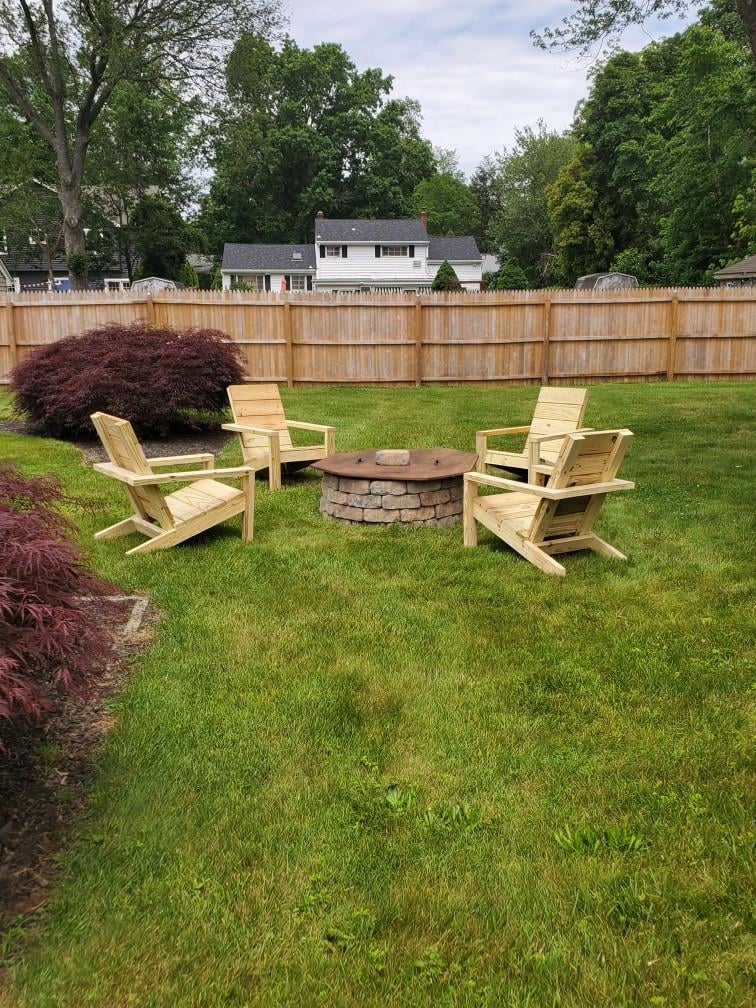
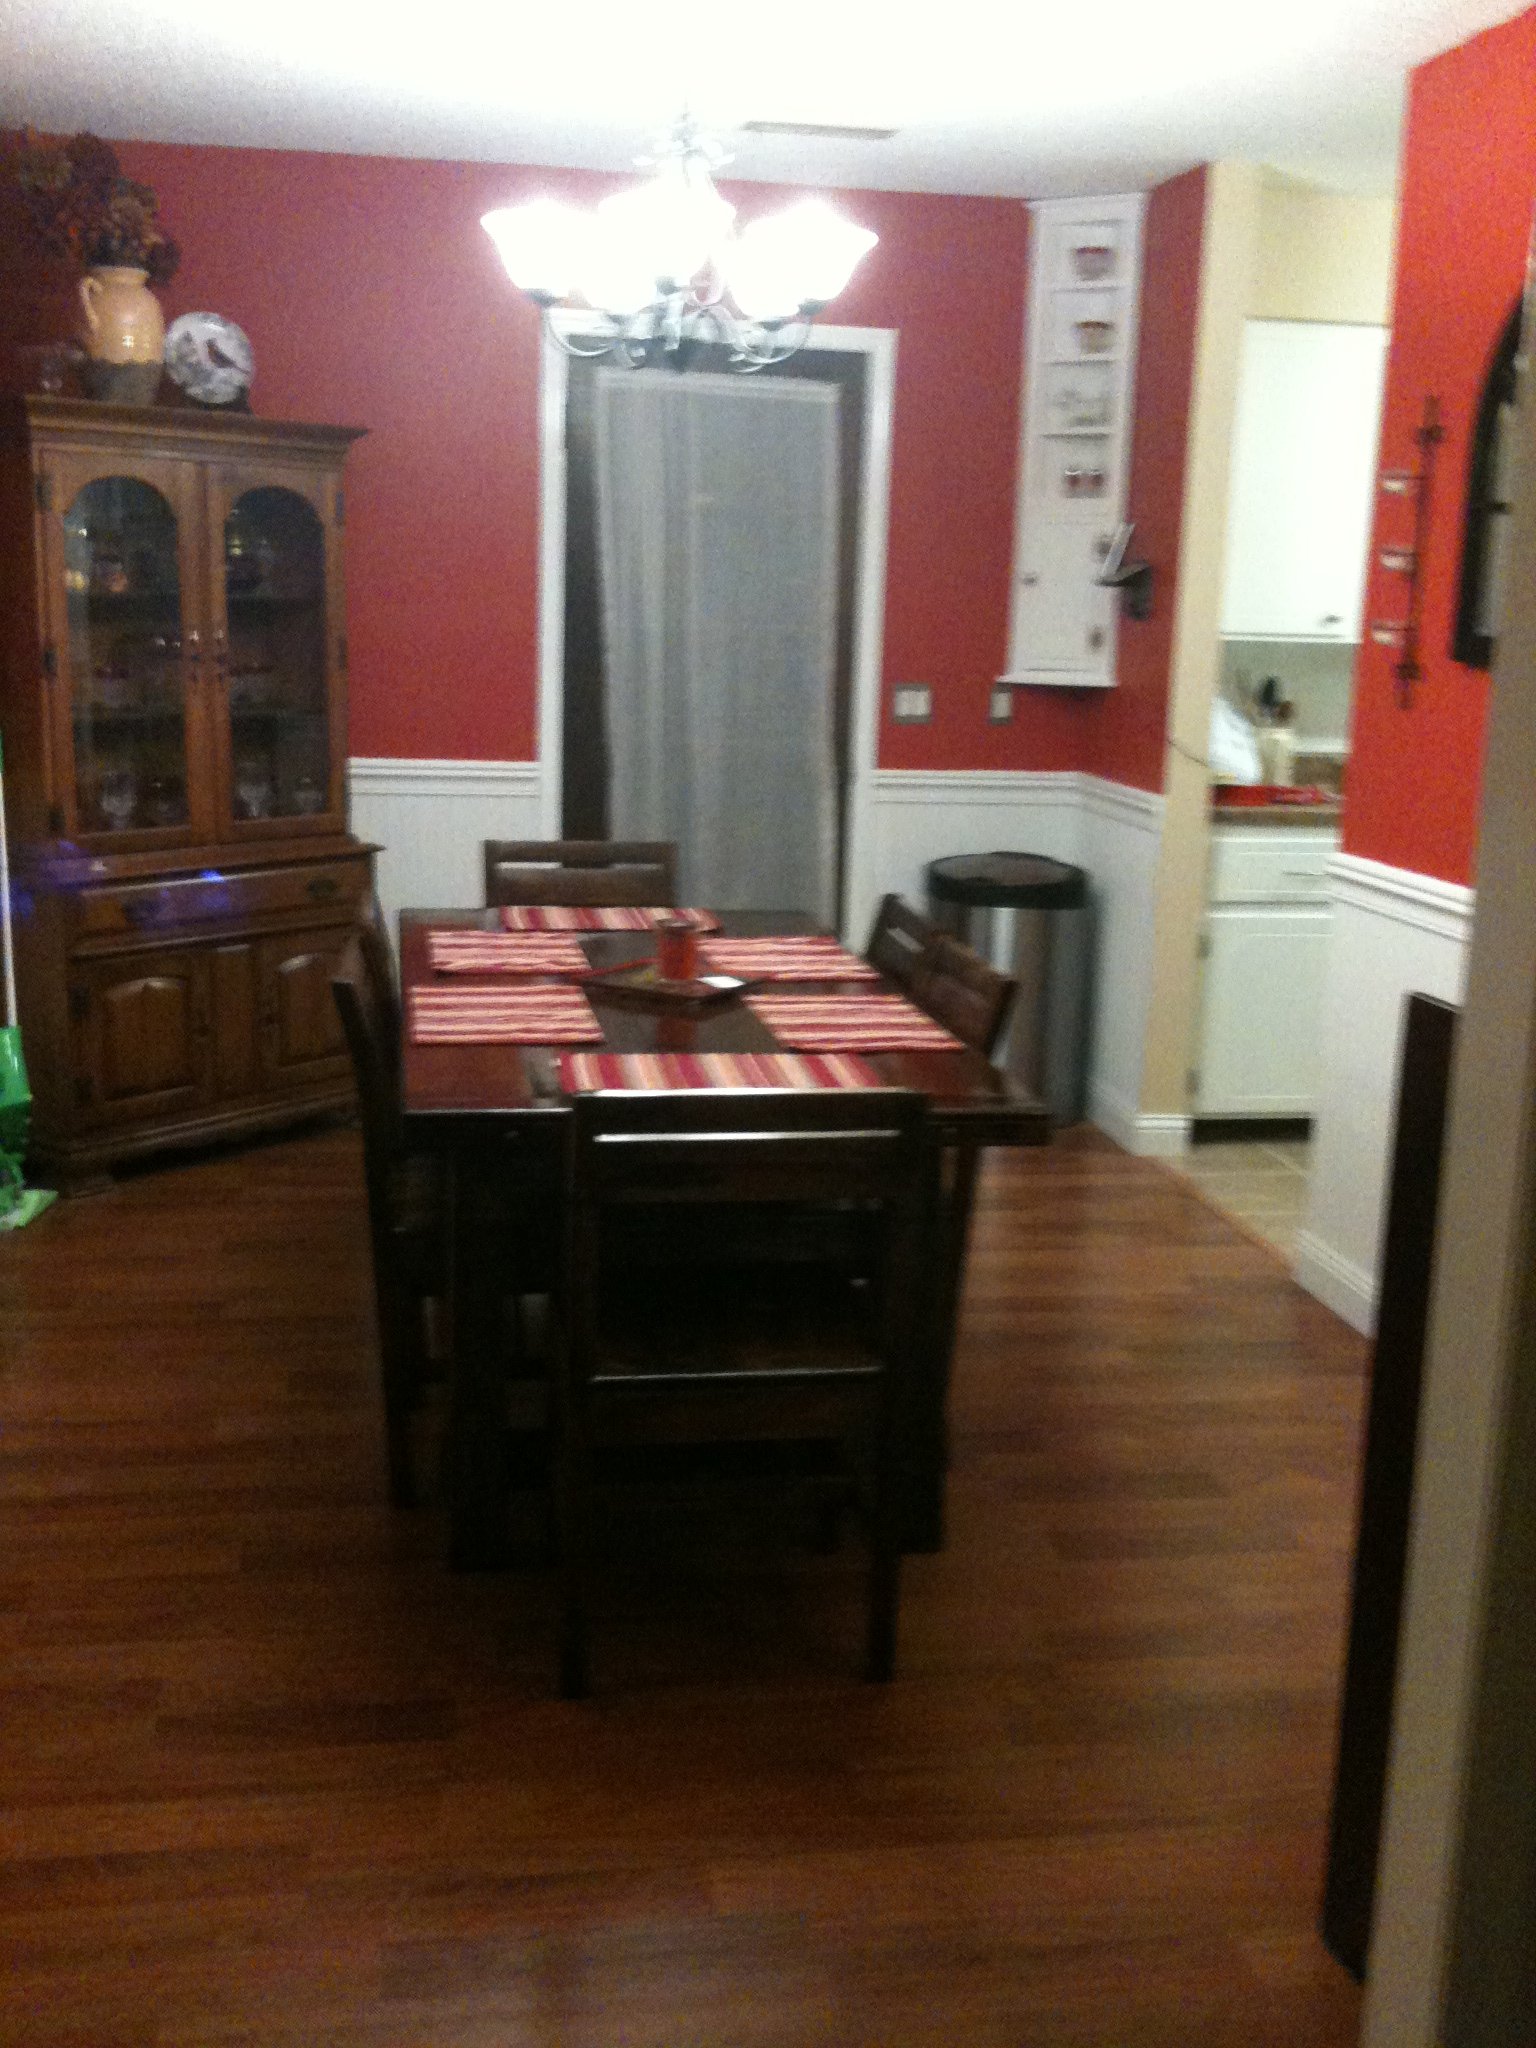
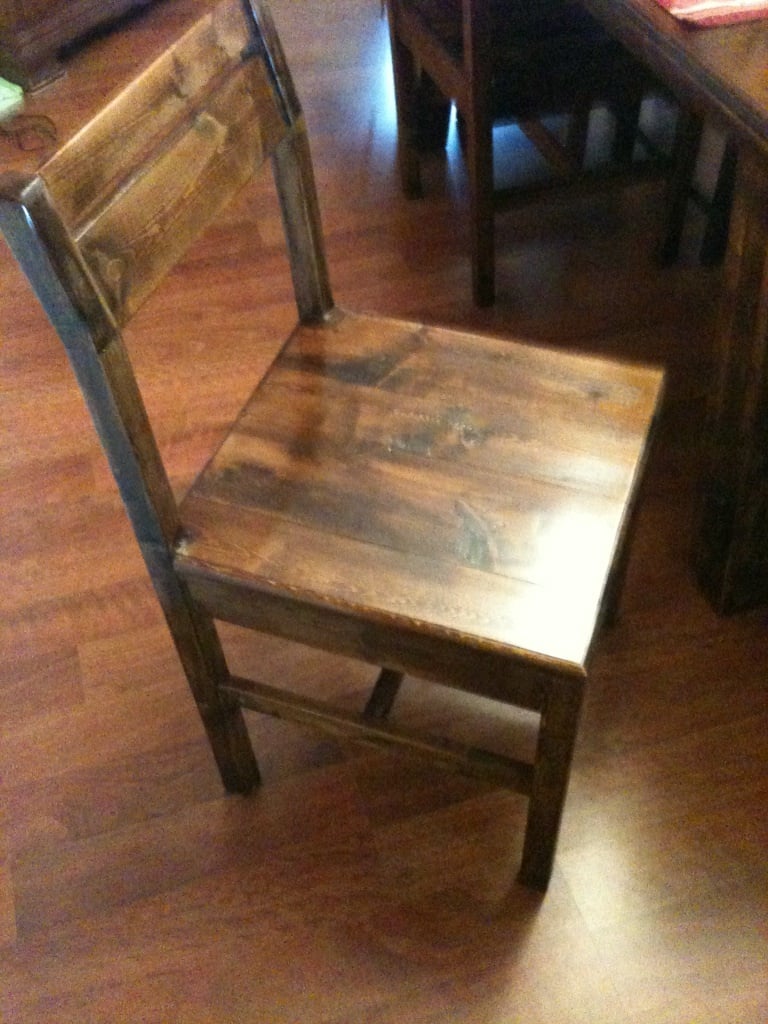
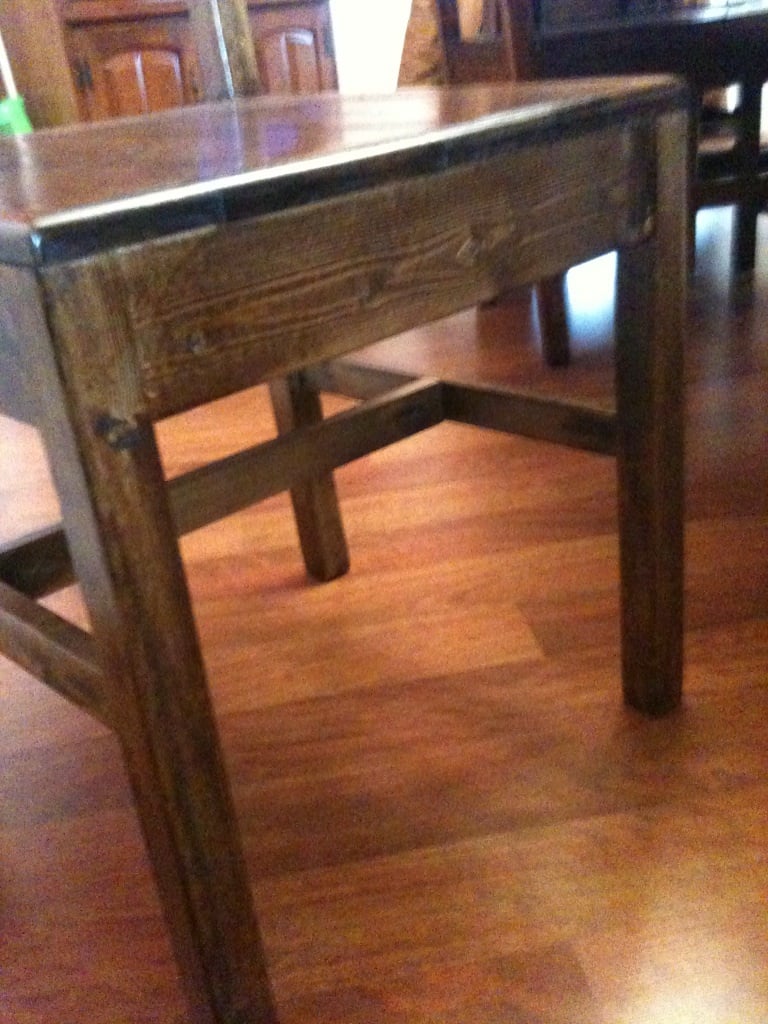
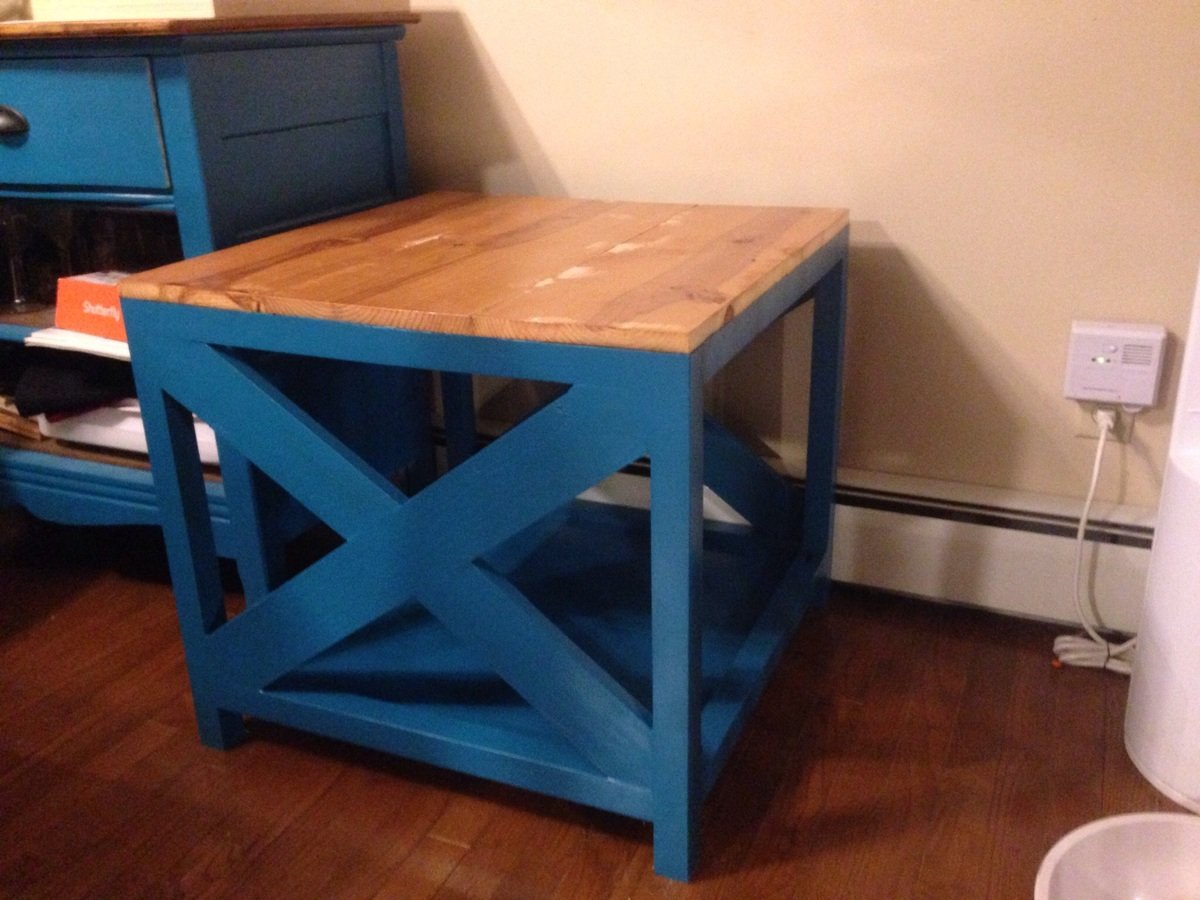
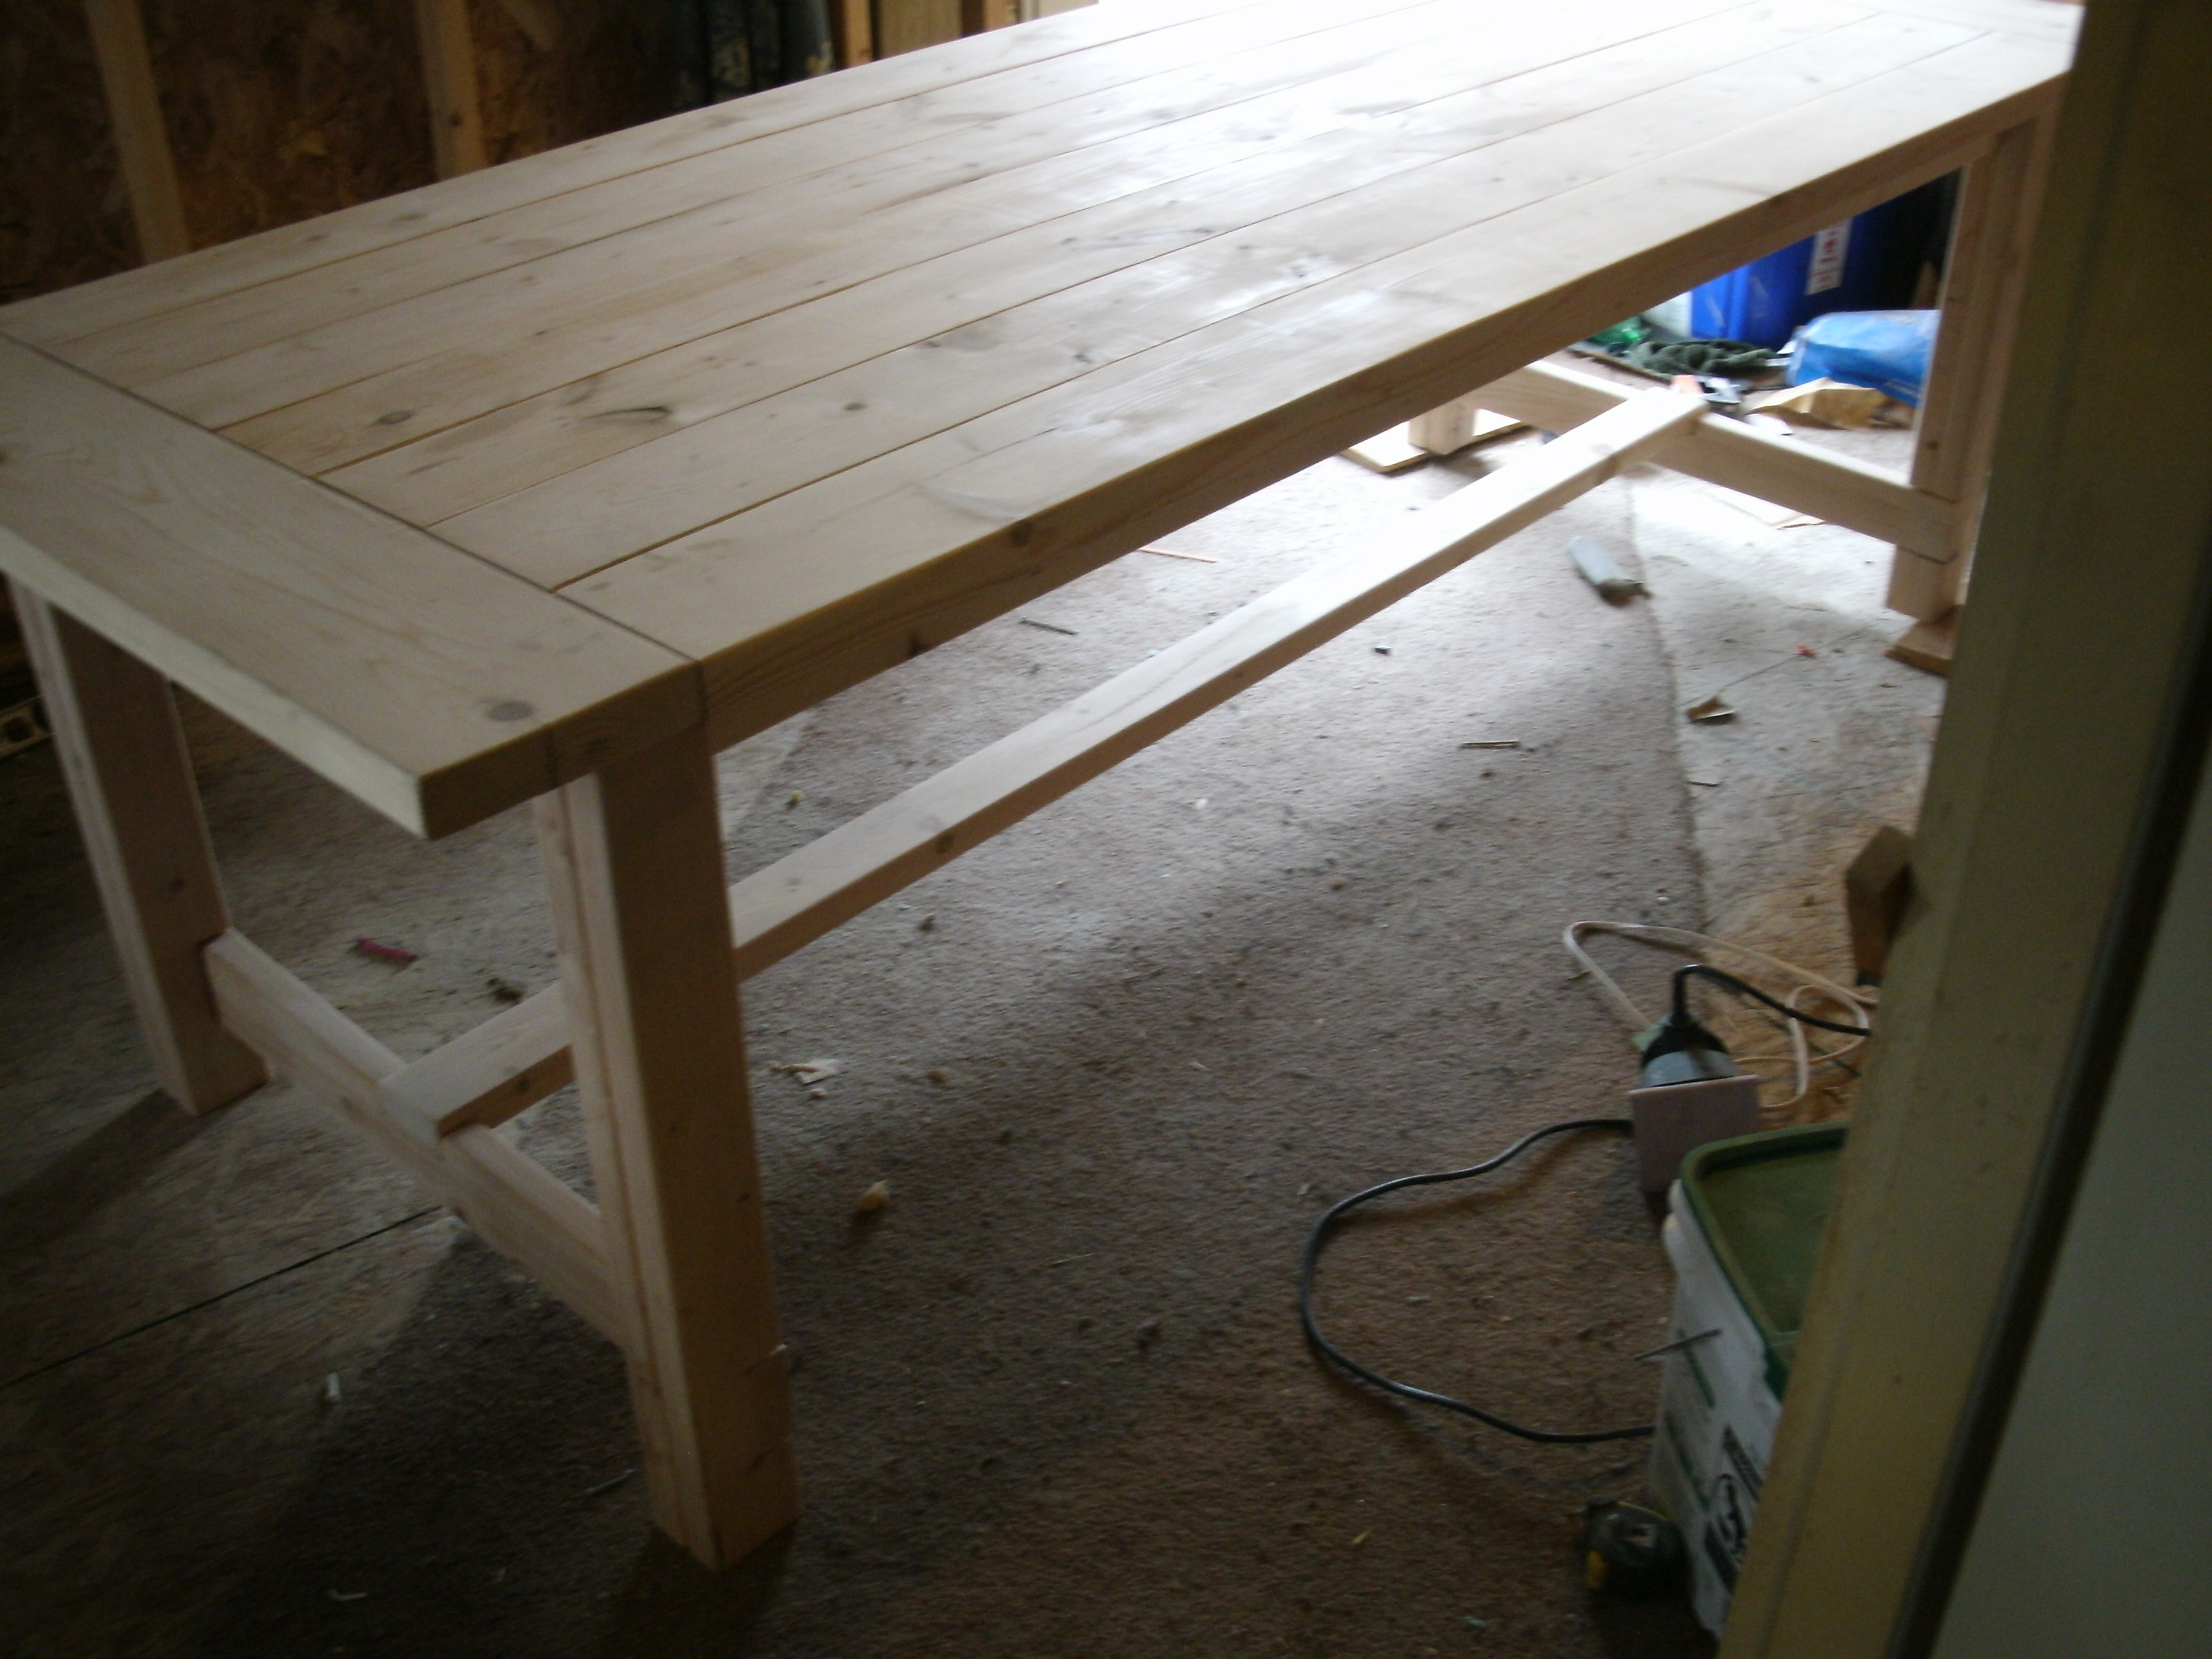
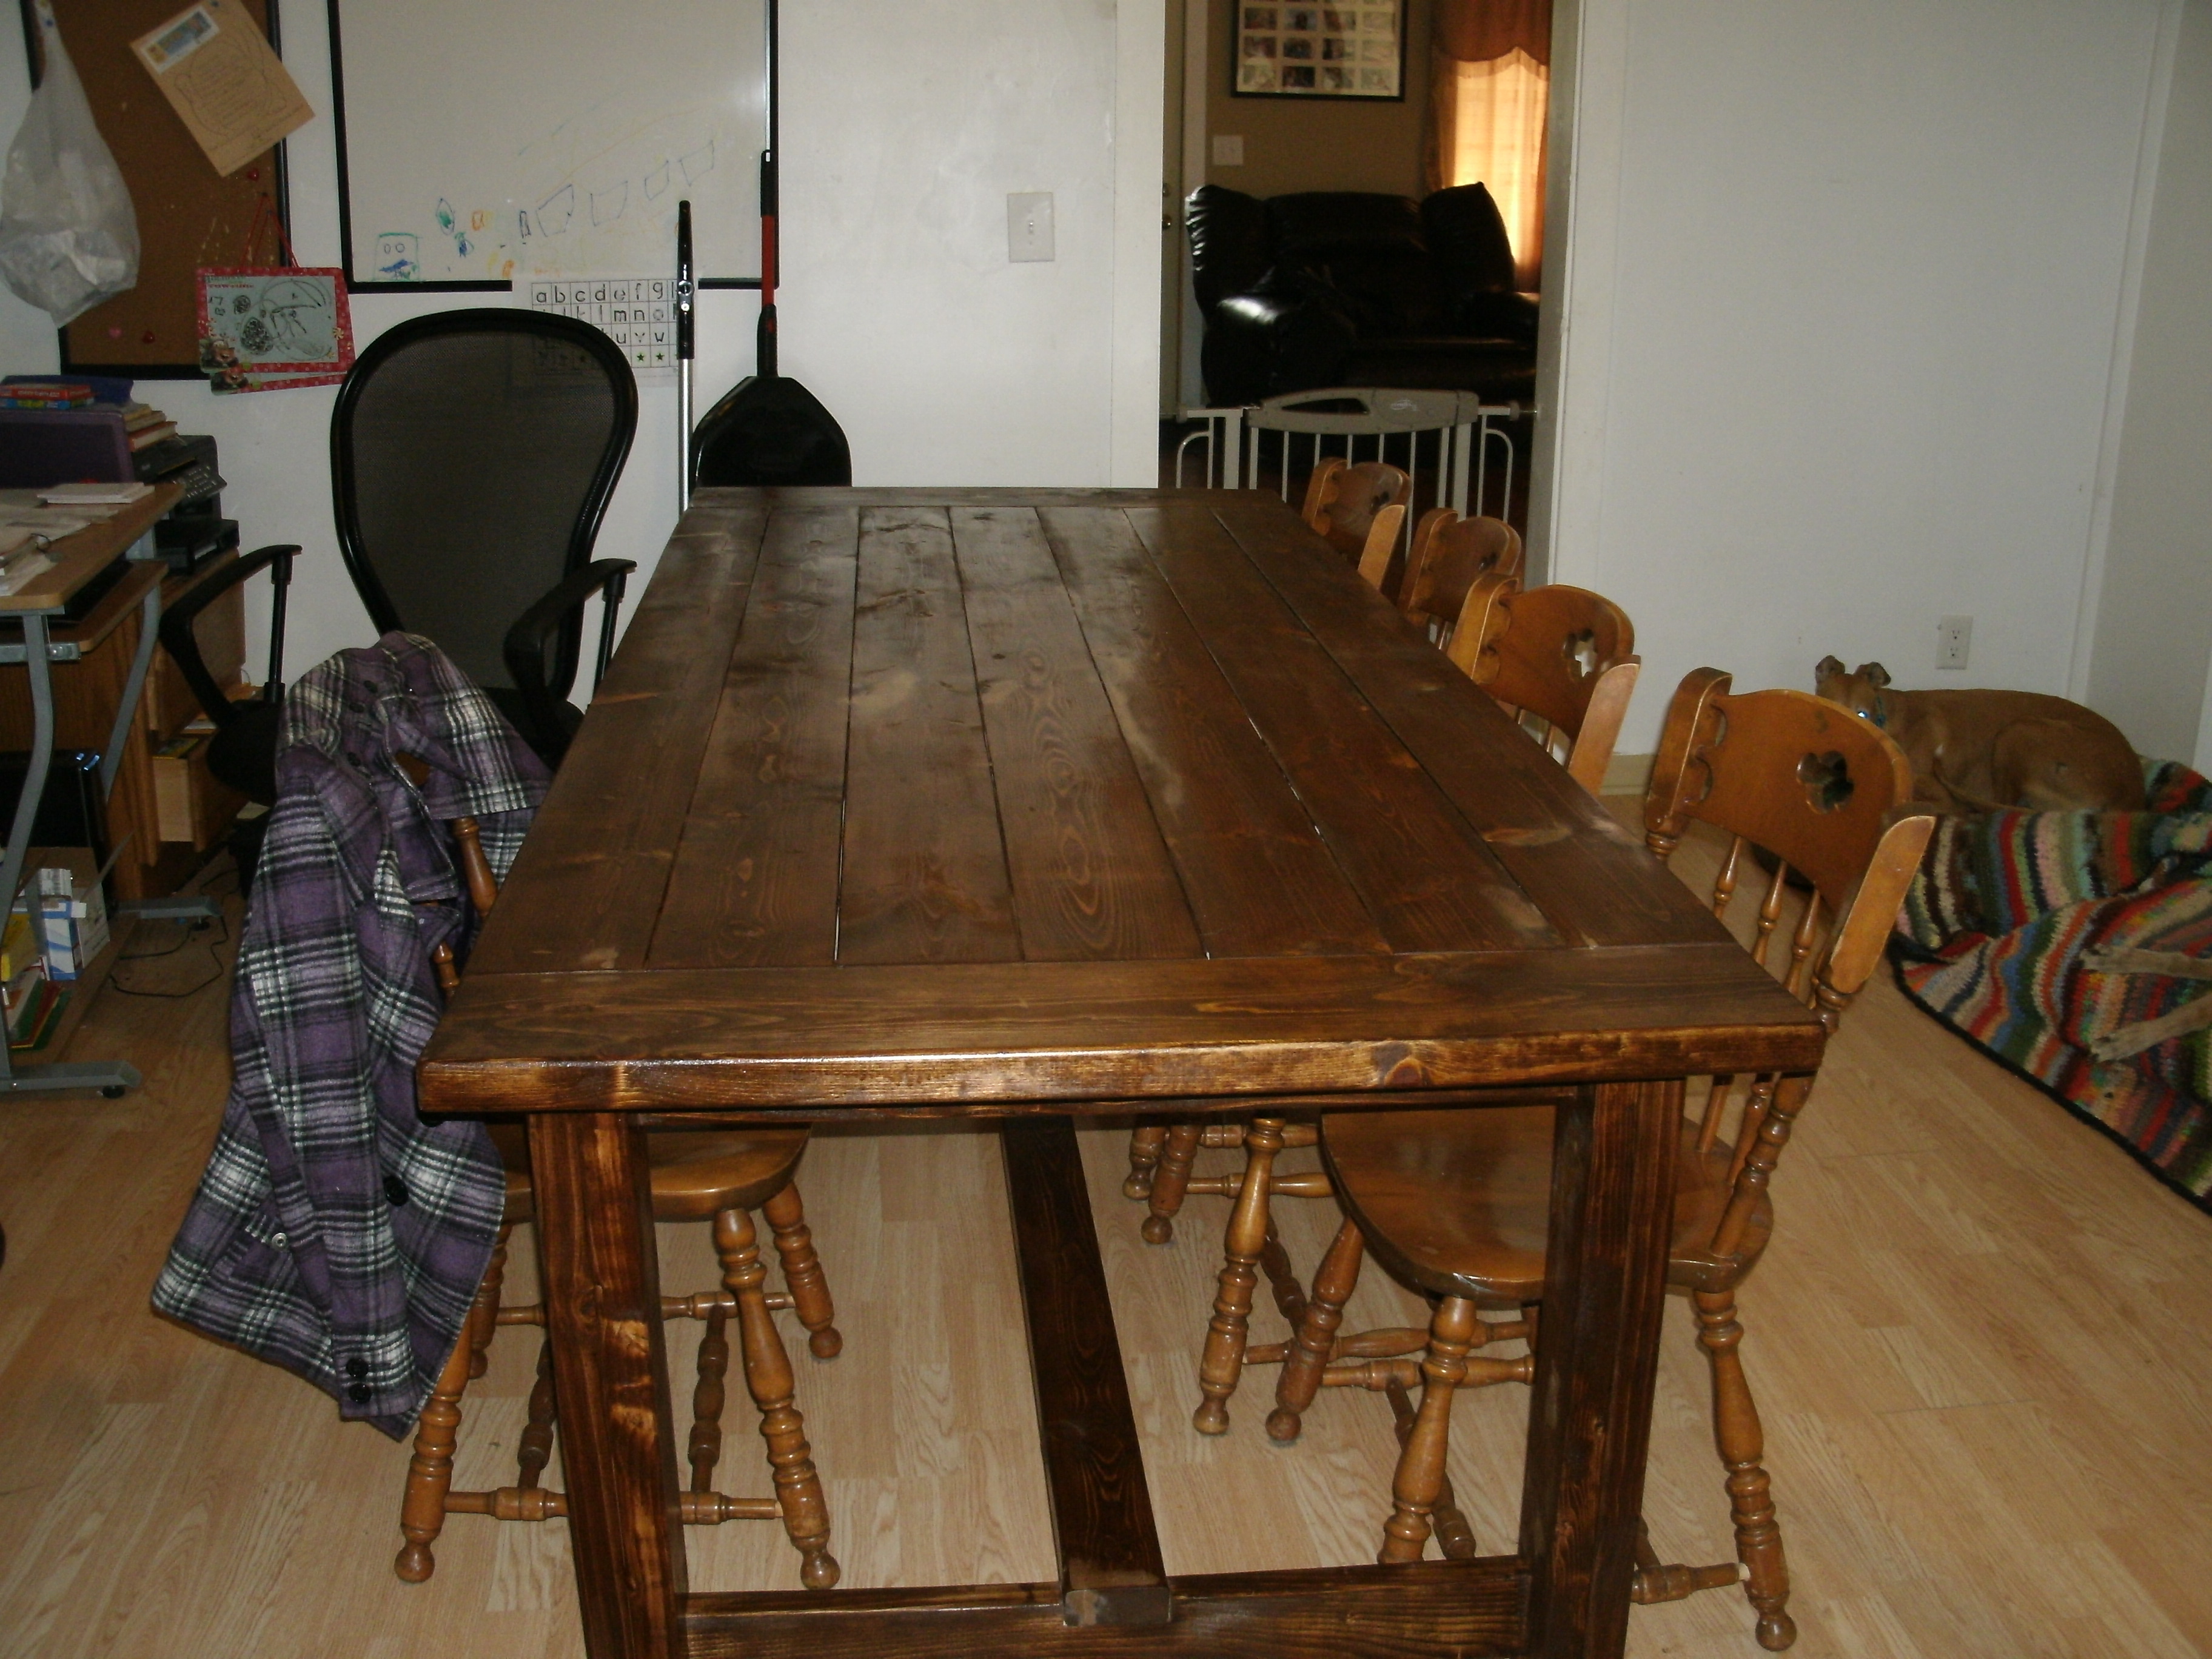
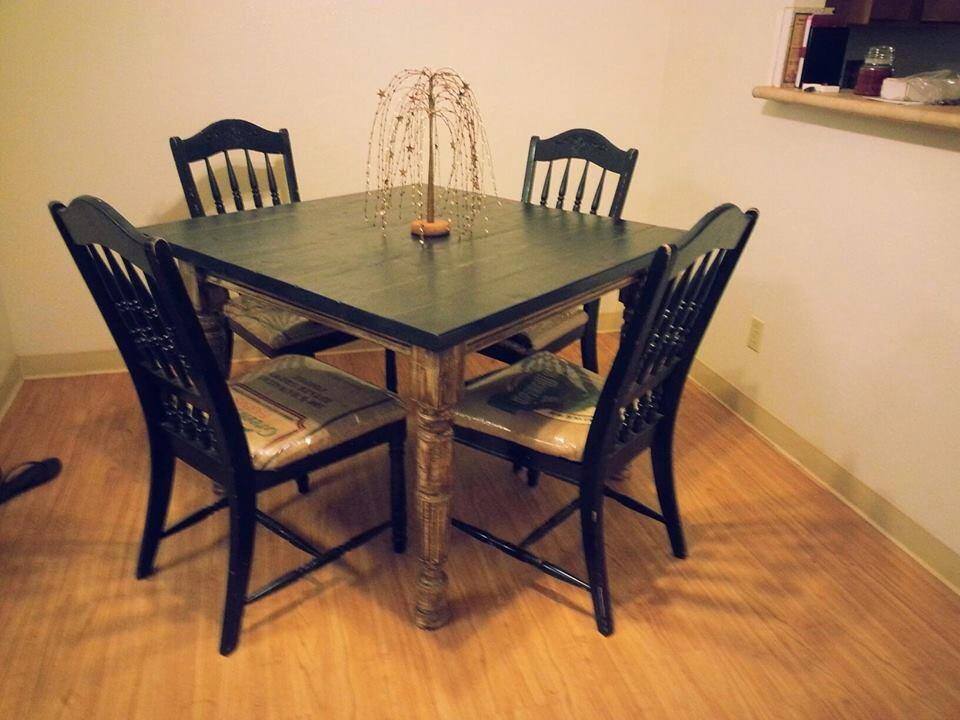
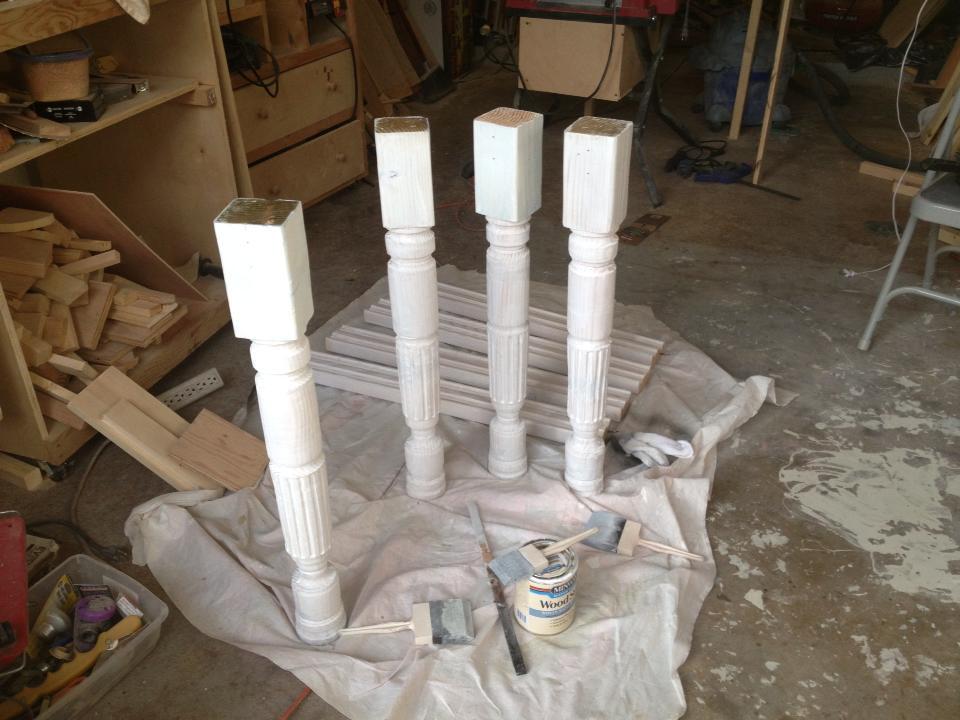
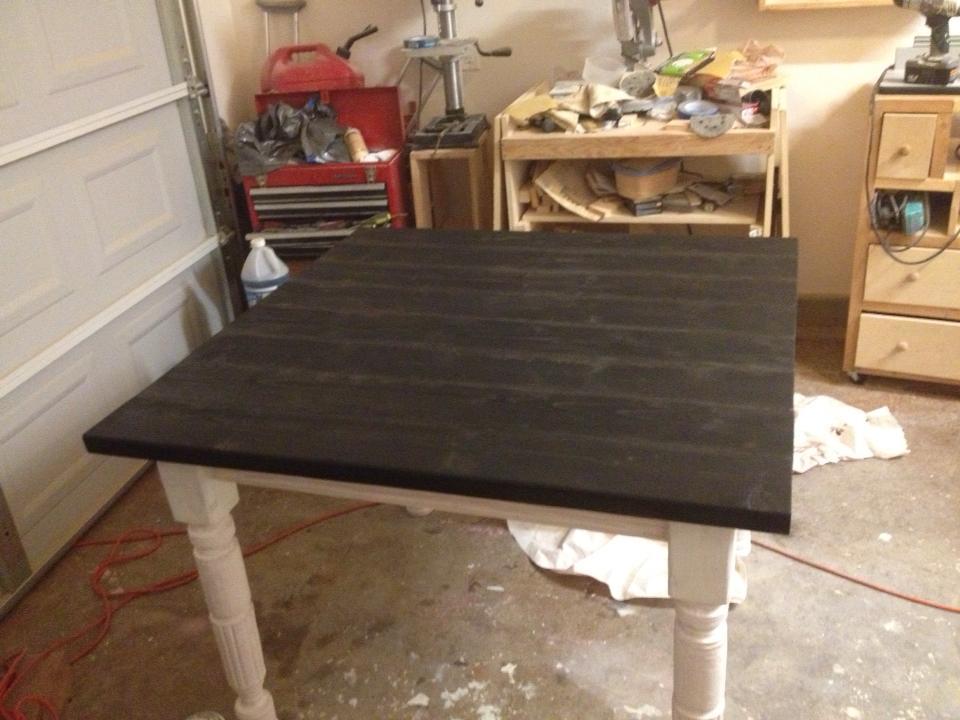
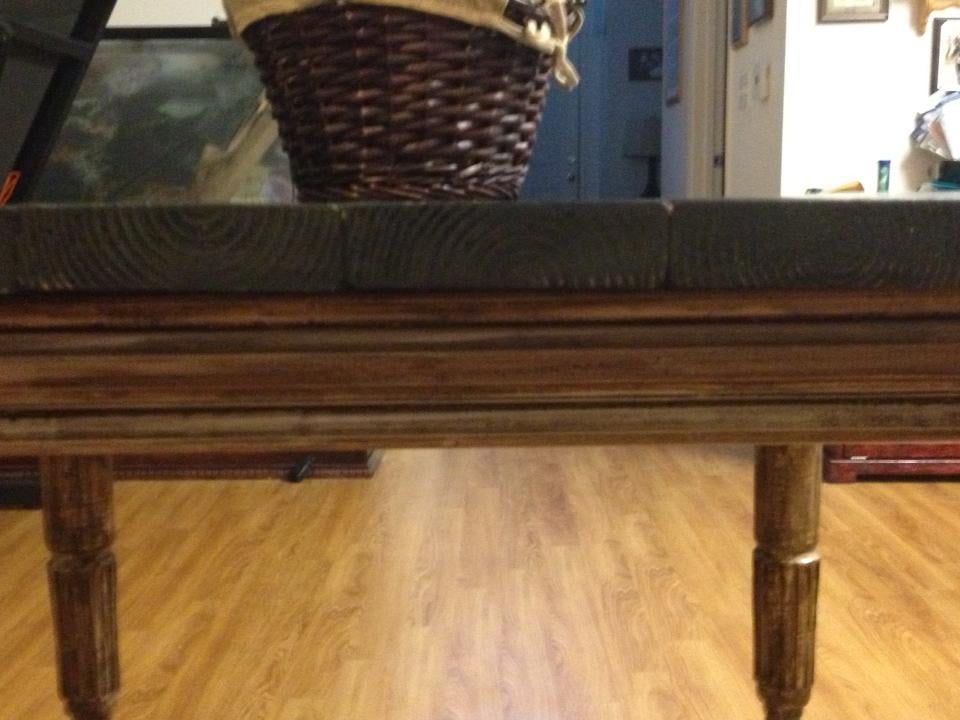
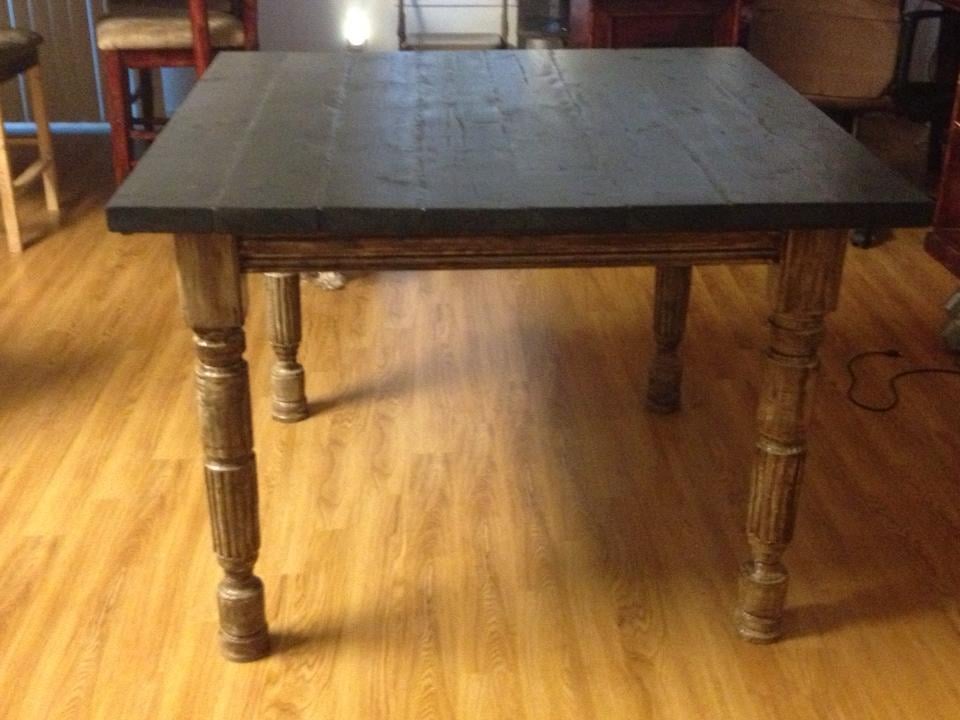
Truss table
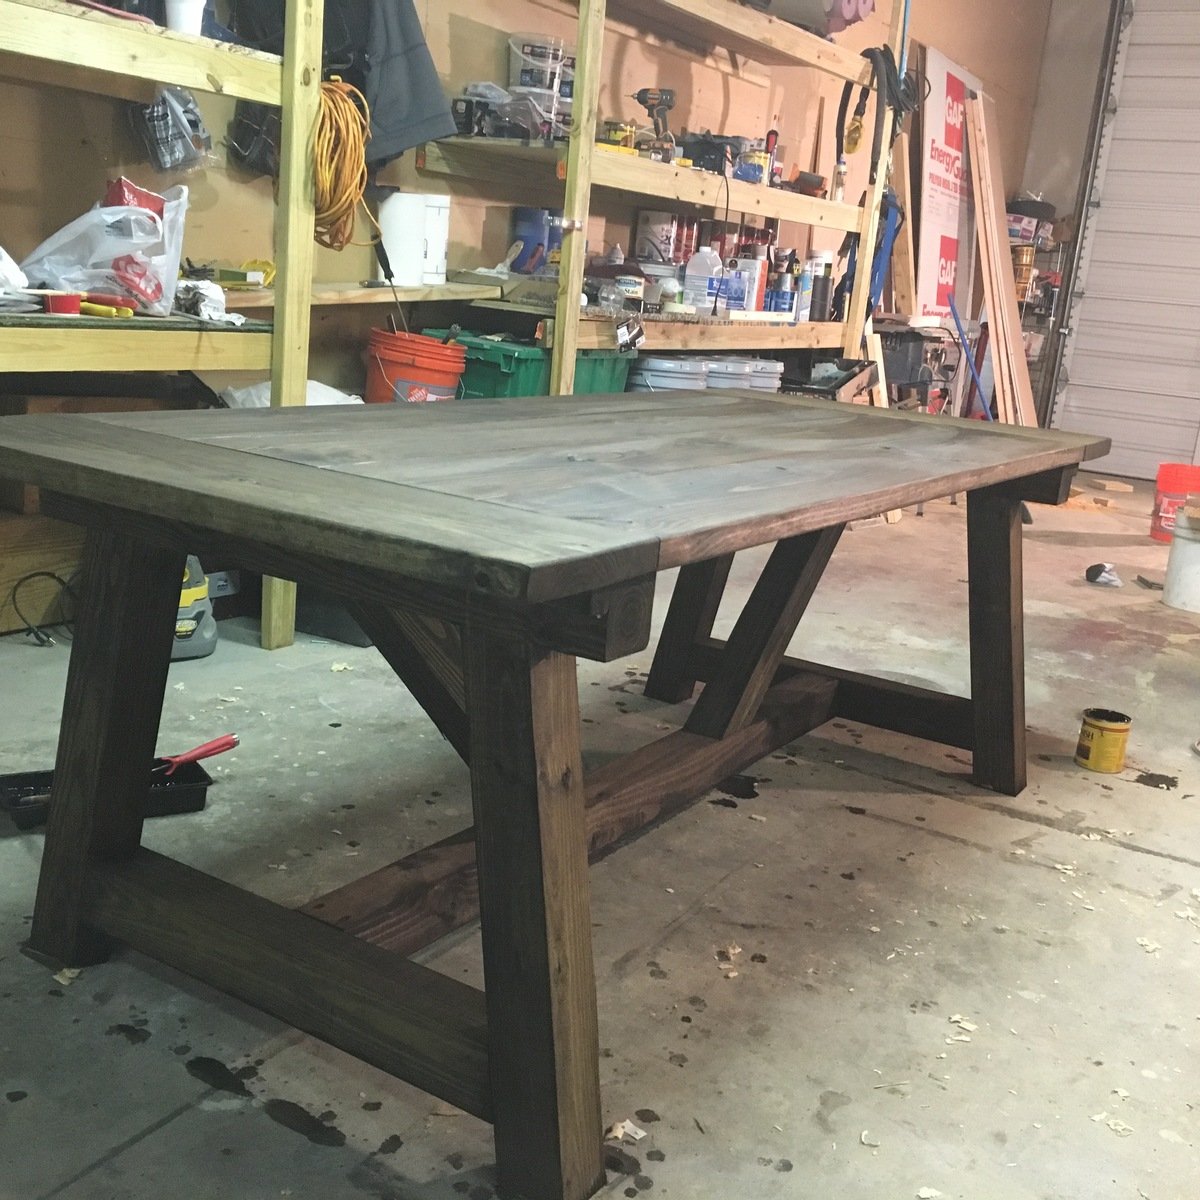
Fun build 4hrs to complete.
One of of the cuts is off says long to short it's long to long.
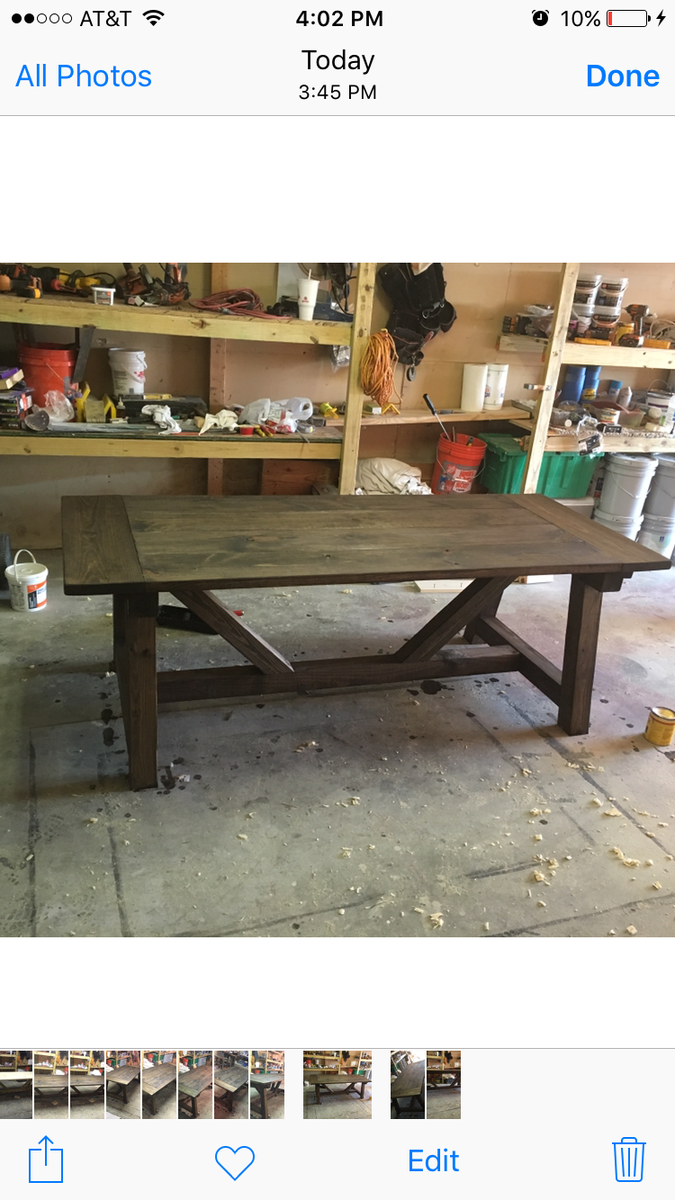
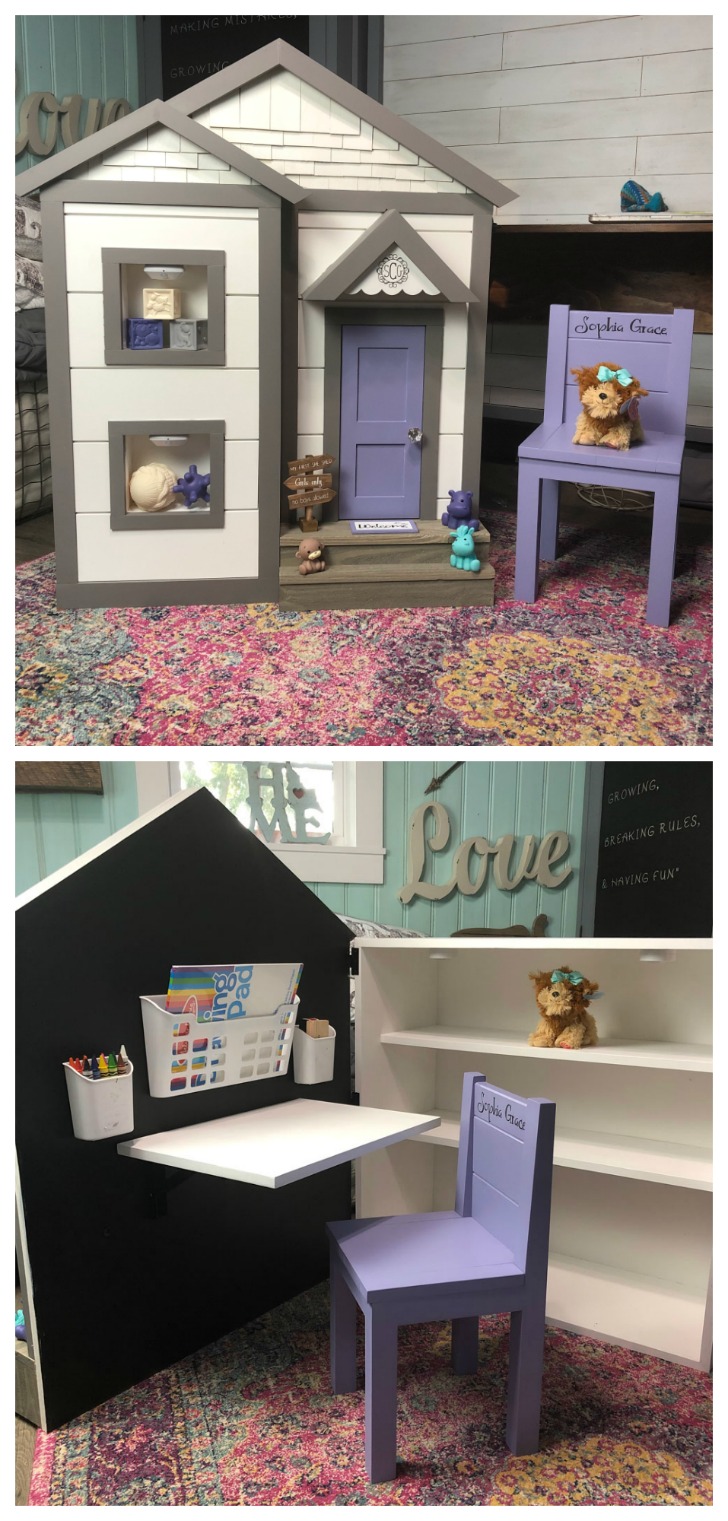
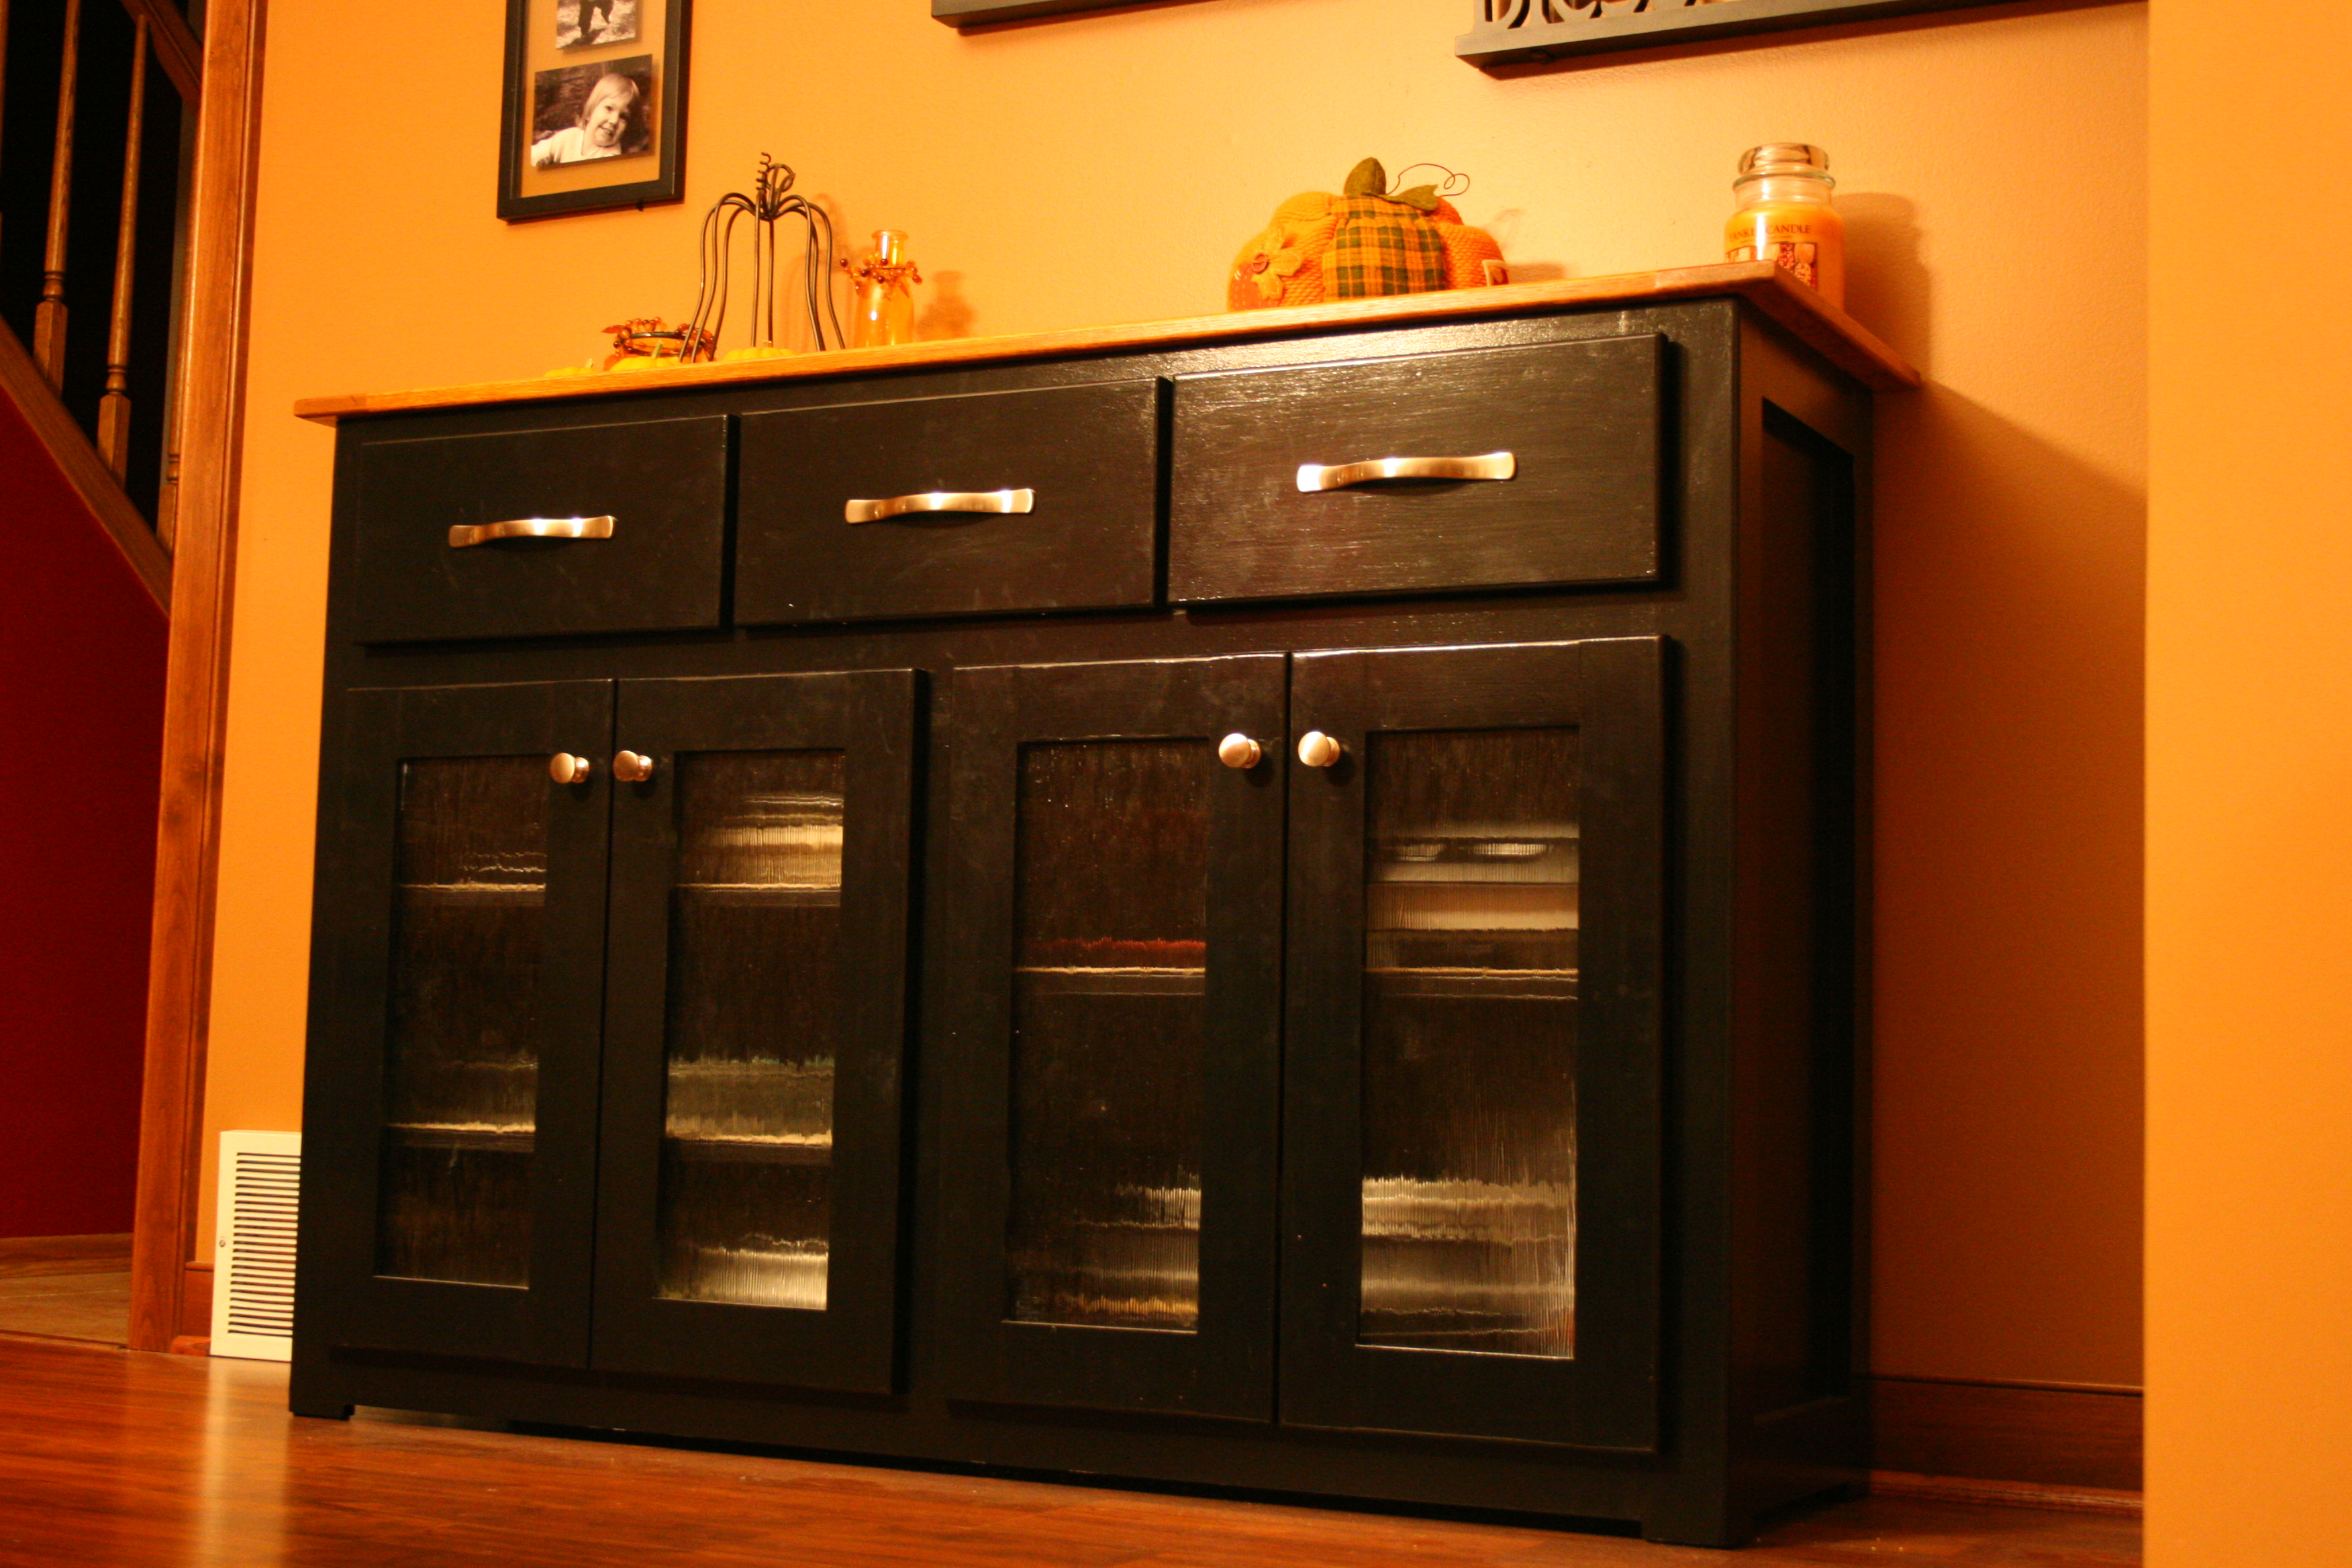
Built from Plan(s)
Estimated Time Investment
Afternoon Project (3-6 Hours)
Recommended Skill Level
Intermediate