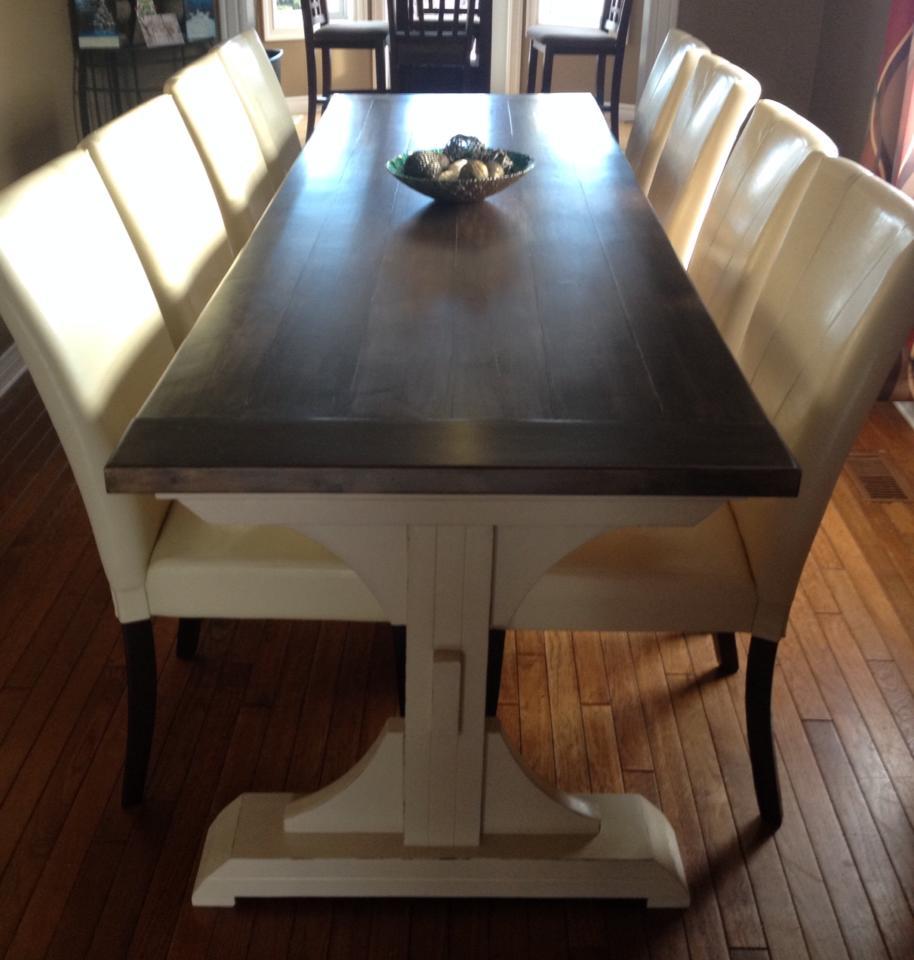
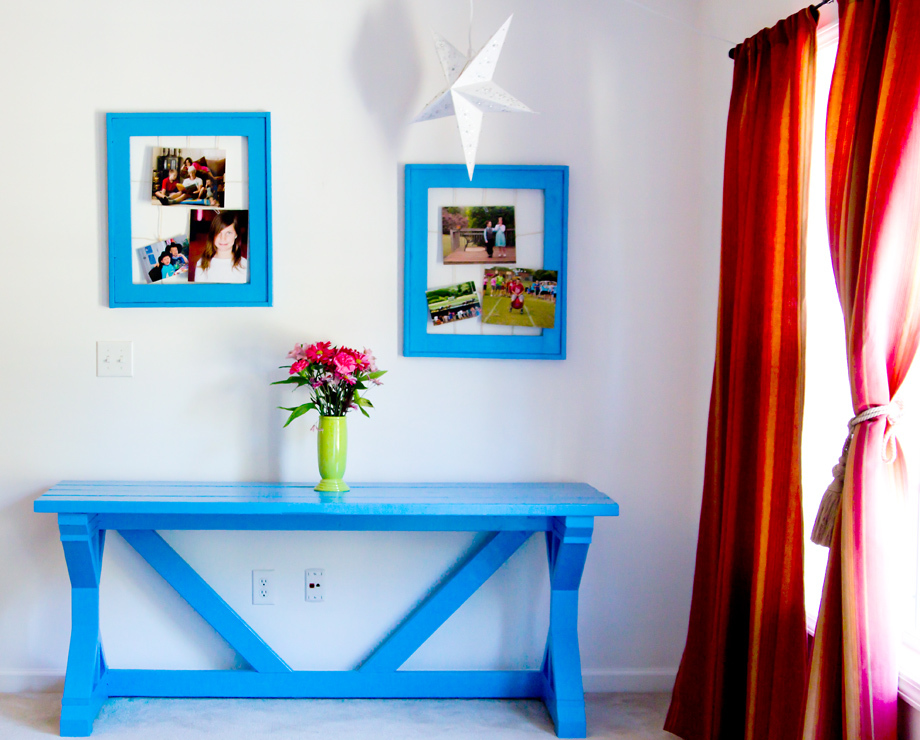
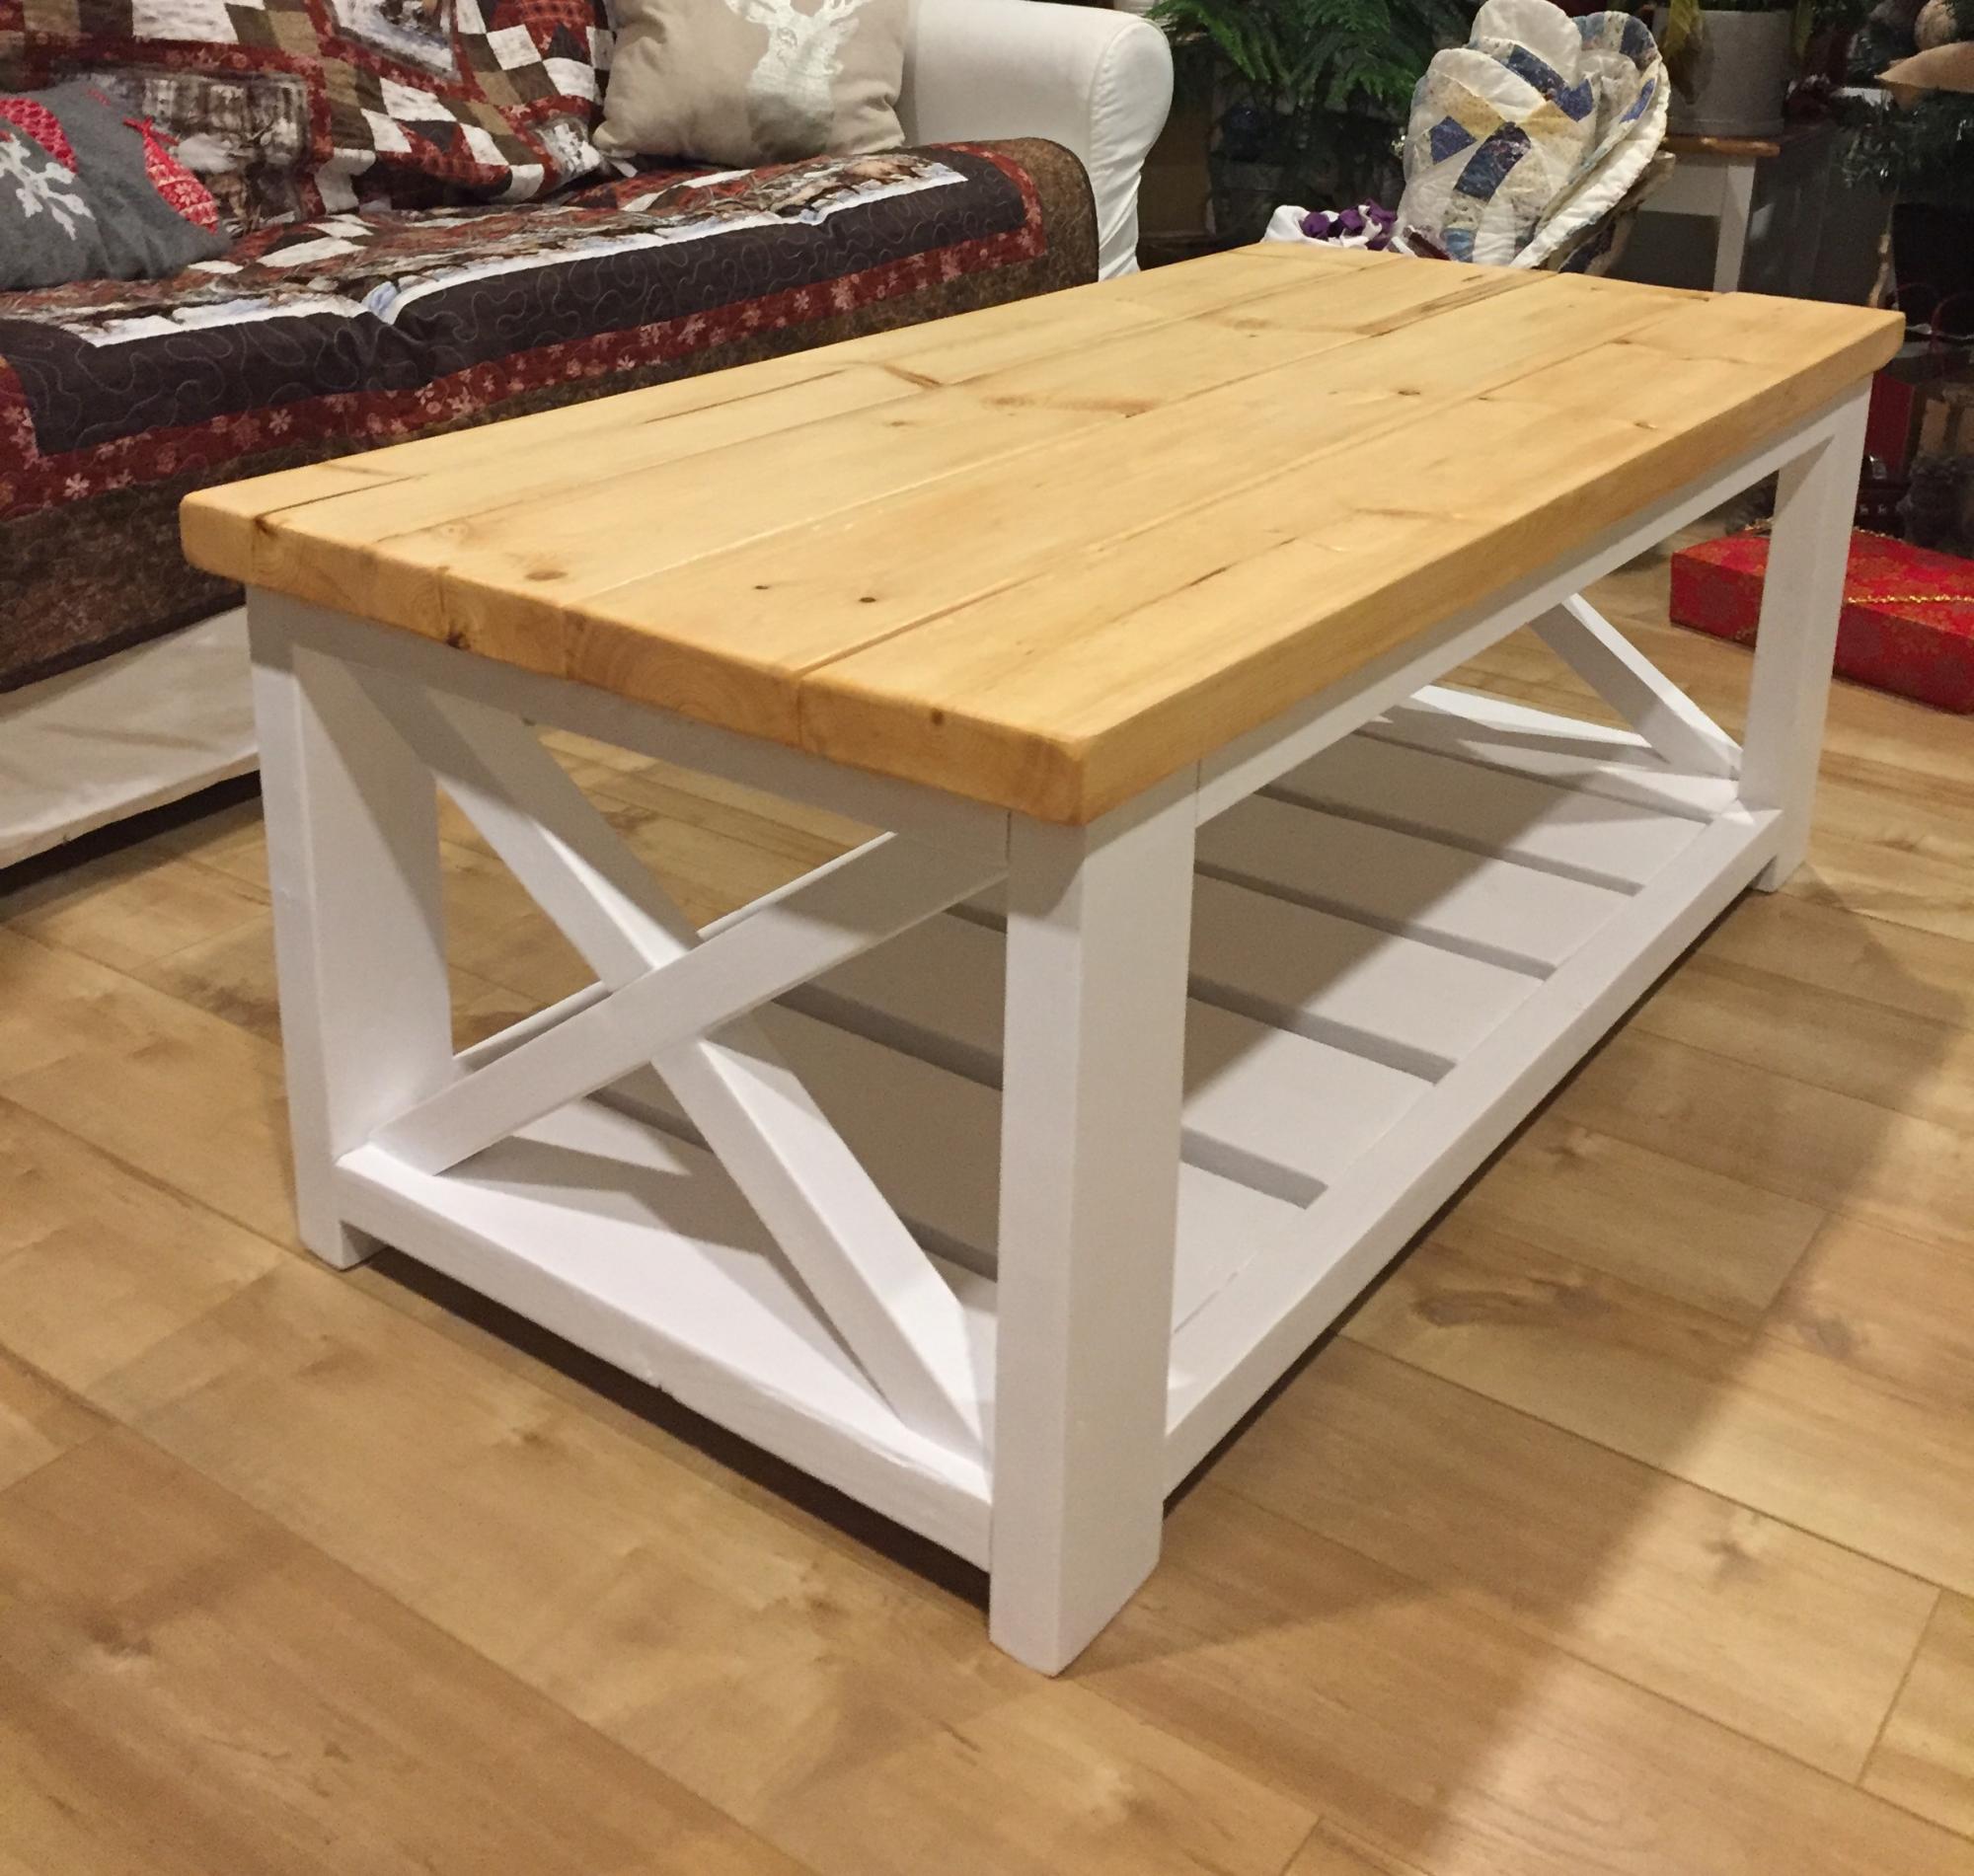
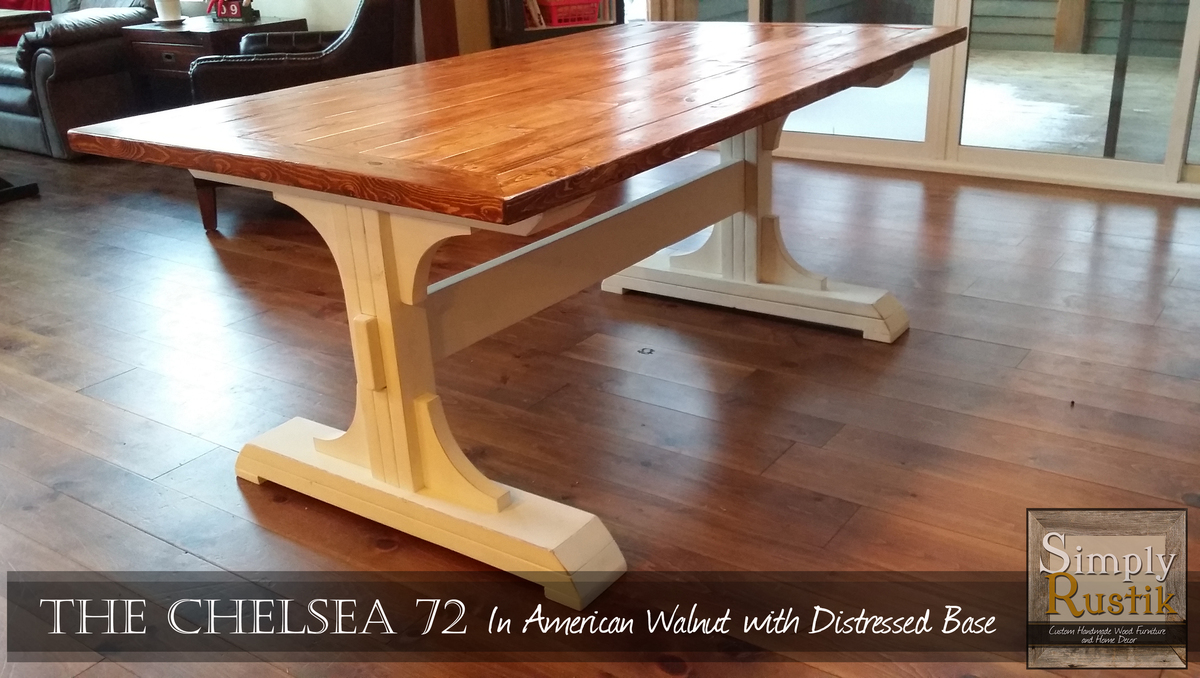
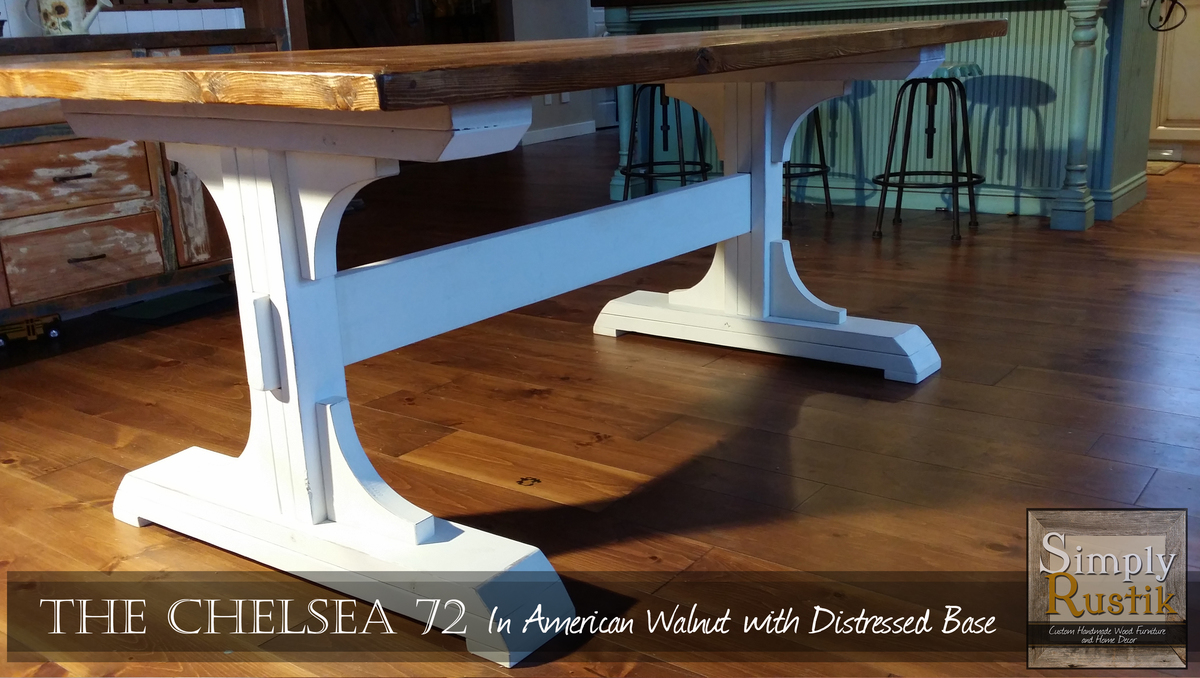
This plan is from Ana's book, "The Handbuilt Home." Construction was completed over a weekend but the stain and finish took some time between cold weather and family needs. We started just before Christmas and finished by Valentines. Thus Tracey's Christmastine Present.
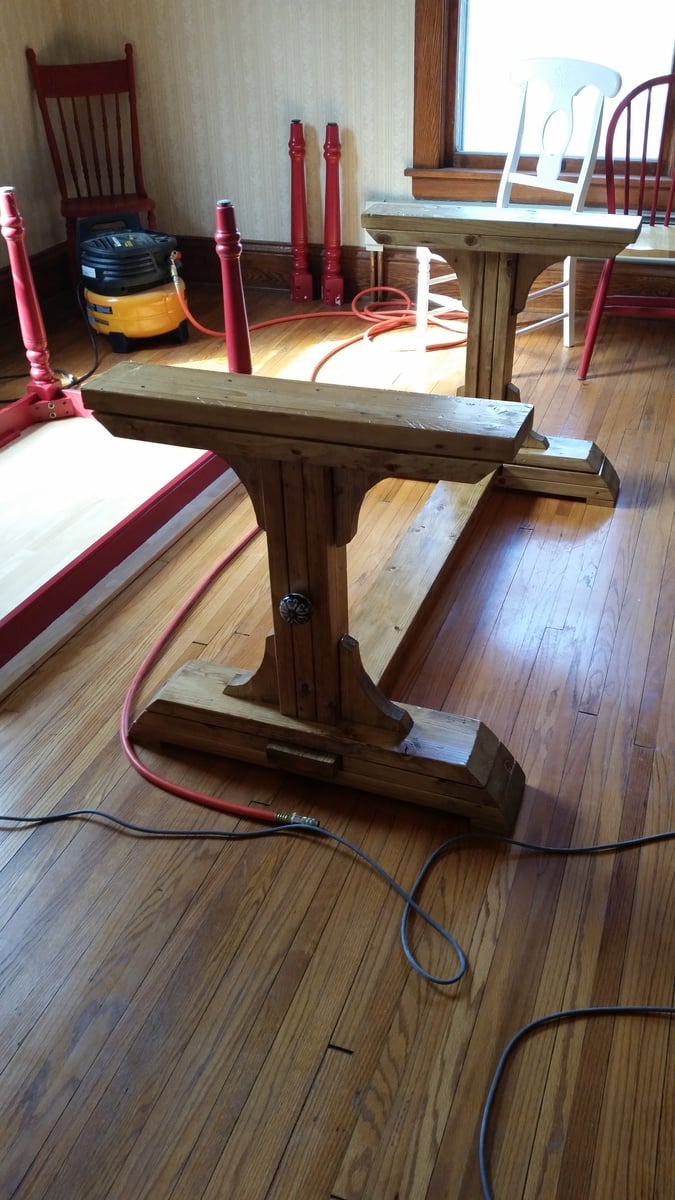
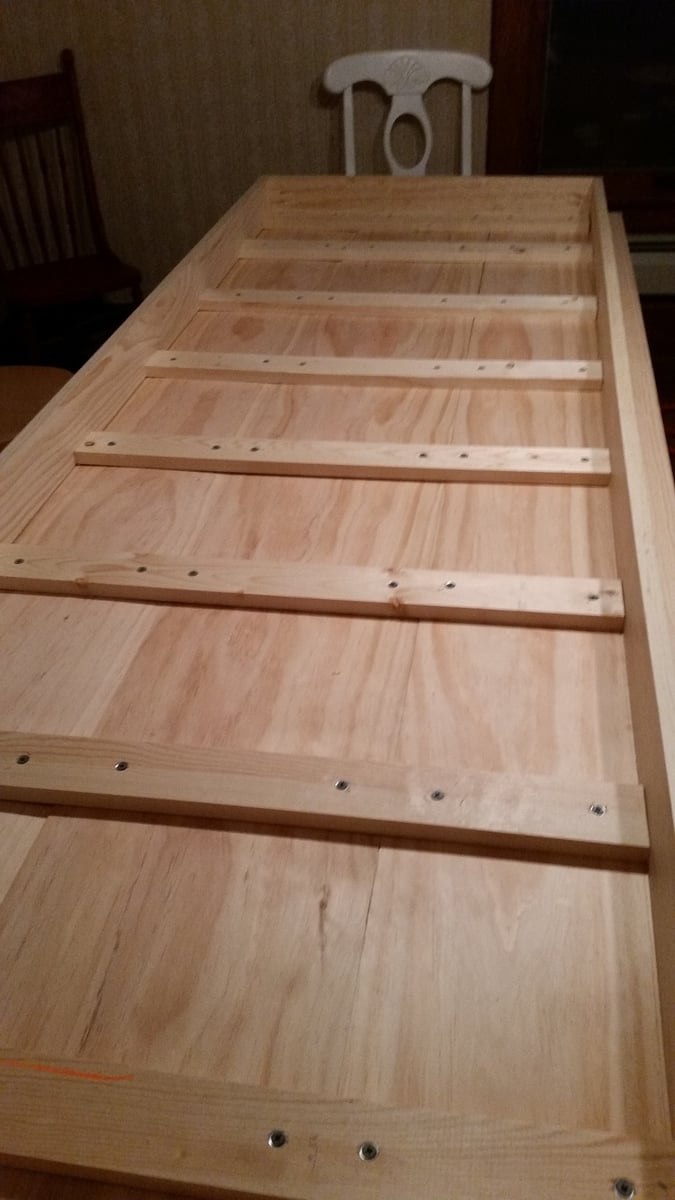
It is a sturdy table but it has some play along the length of the table. I like the plans for the support beam from the website better but we stayed with the book plans. The Pocket Holes were great to use. I am not sure I like finish nailing and glueing the sides to the legs, it seems it needs something stronger but we will see how this works over time.
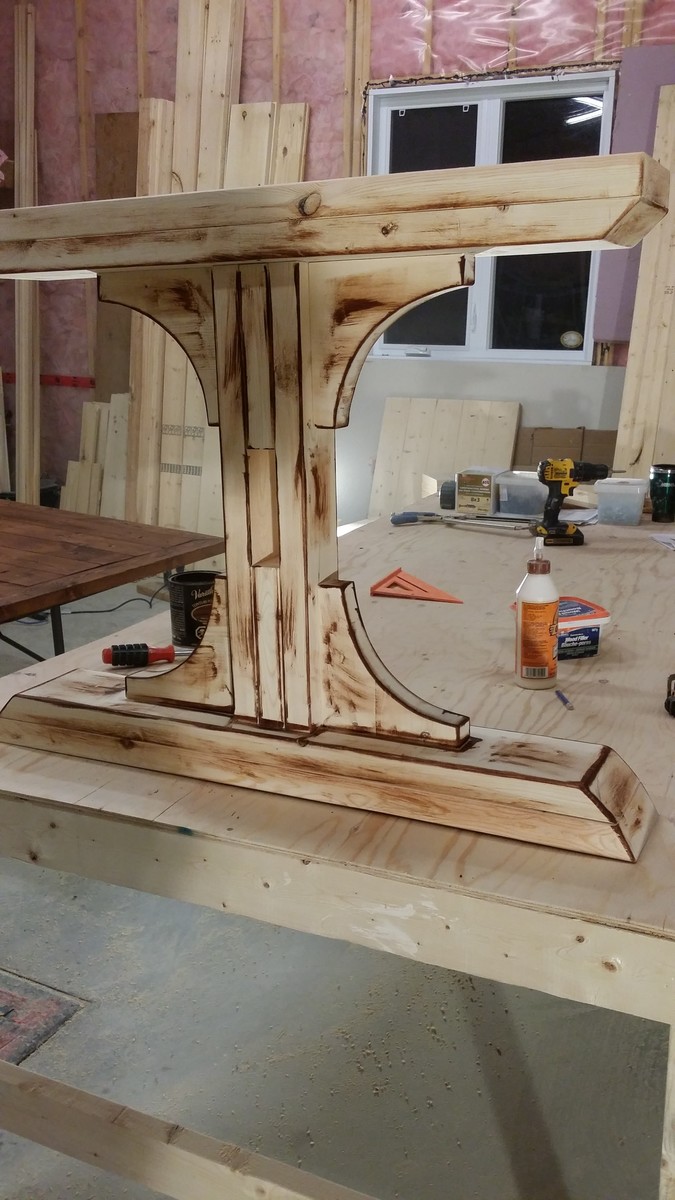
I did not like mixing Pine 1x4's with the Douglas Fir but after seeing the finished stain it has an interesting look. You can see this on the photos of the legs. The wood was purchased from Home Depot and they did not have Doug. Fir 1x4's.
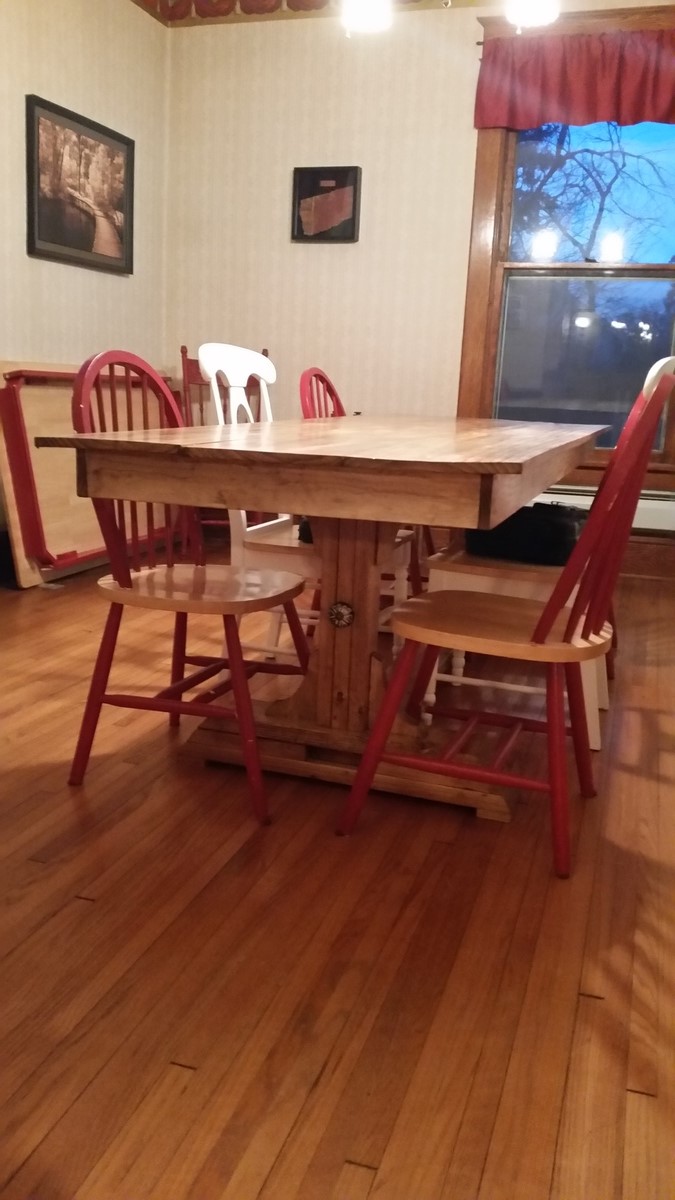
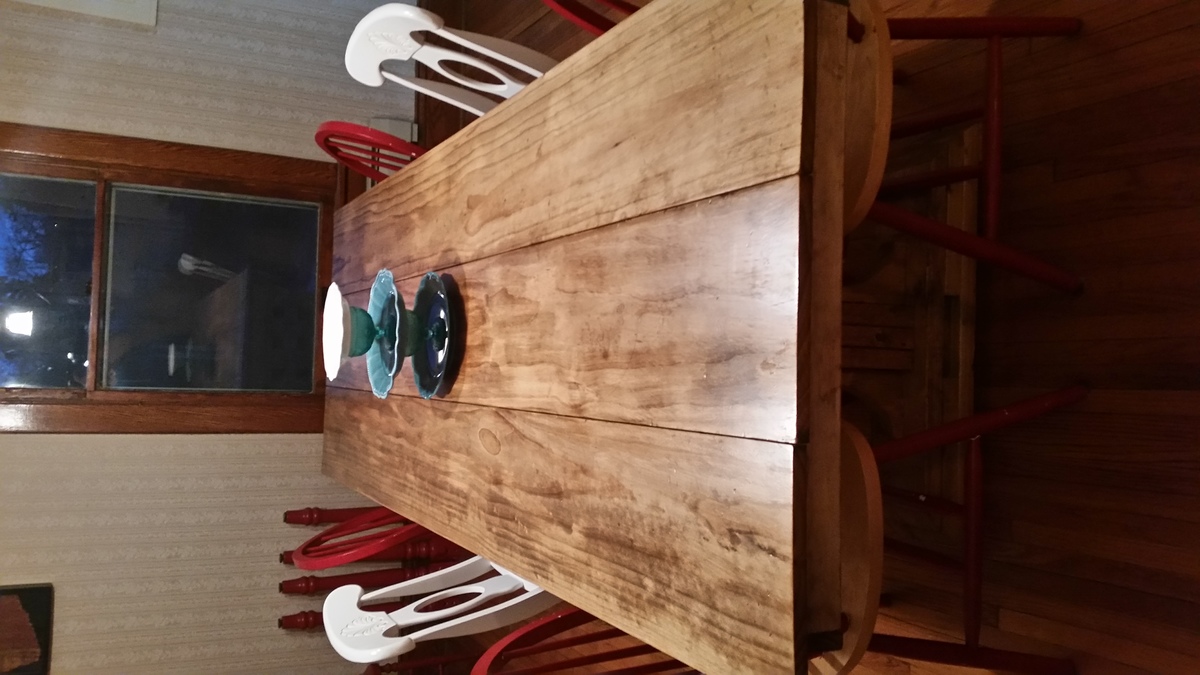
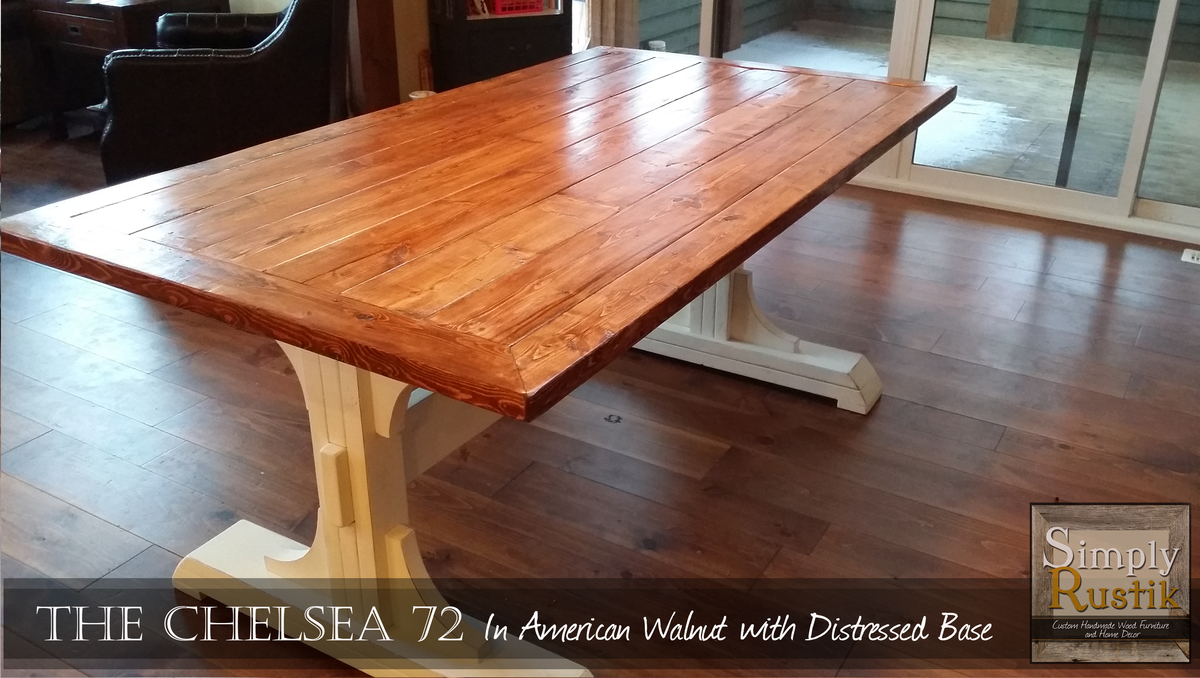
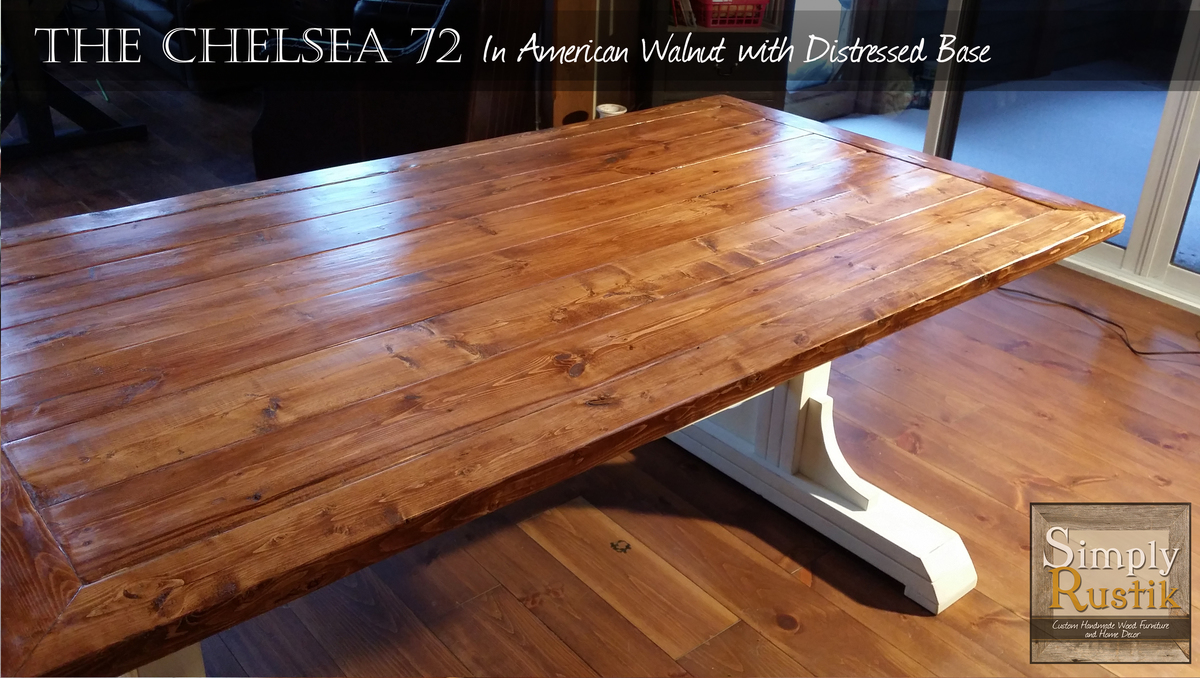
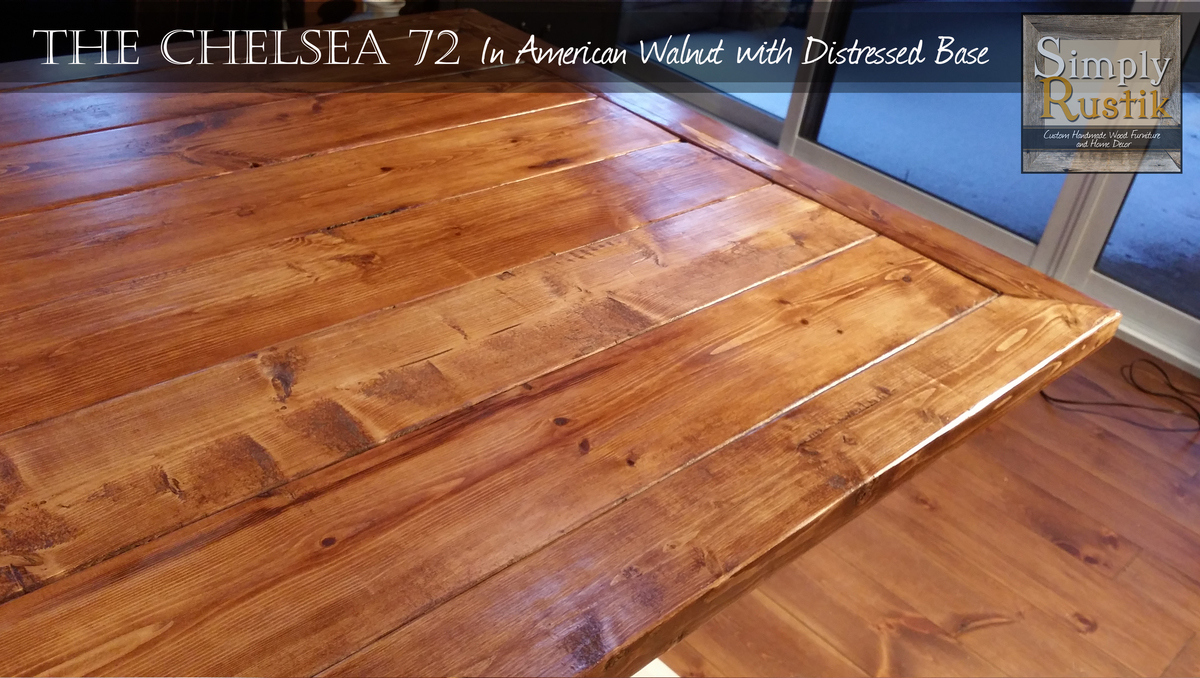
We only used two coats of Poly. Tracey did not want to wait any longer. The wood is soft as evidenced by the handwriting marks in the table from my daughters homework. Hey, she is doing homework at the table! Lots of "Character Marks" to come.
Overall it was a great project and fun to complete. Looking forward to some small tables and picture frames.