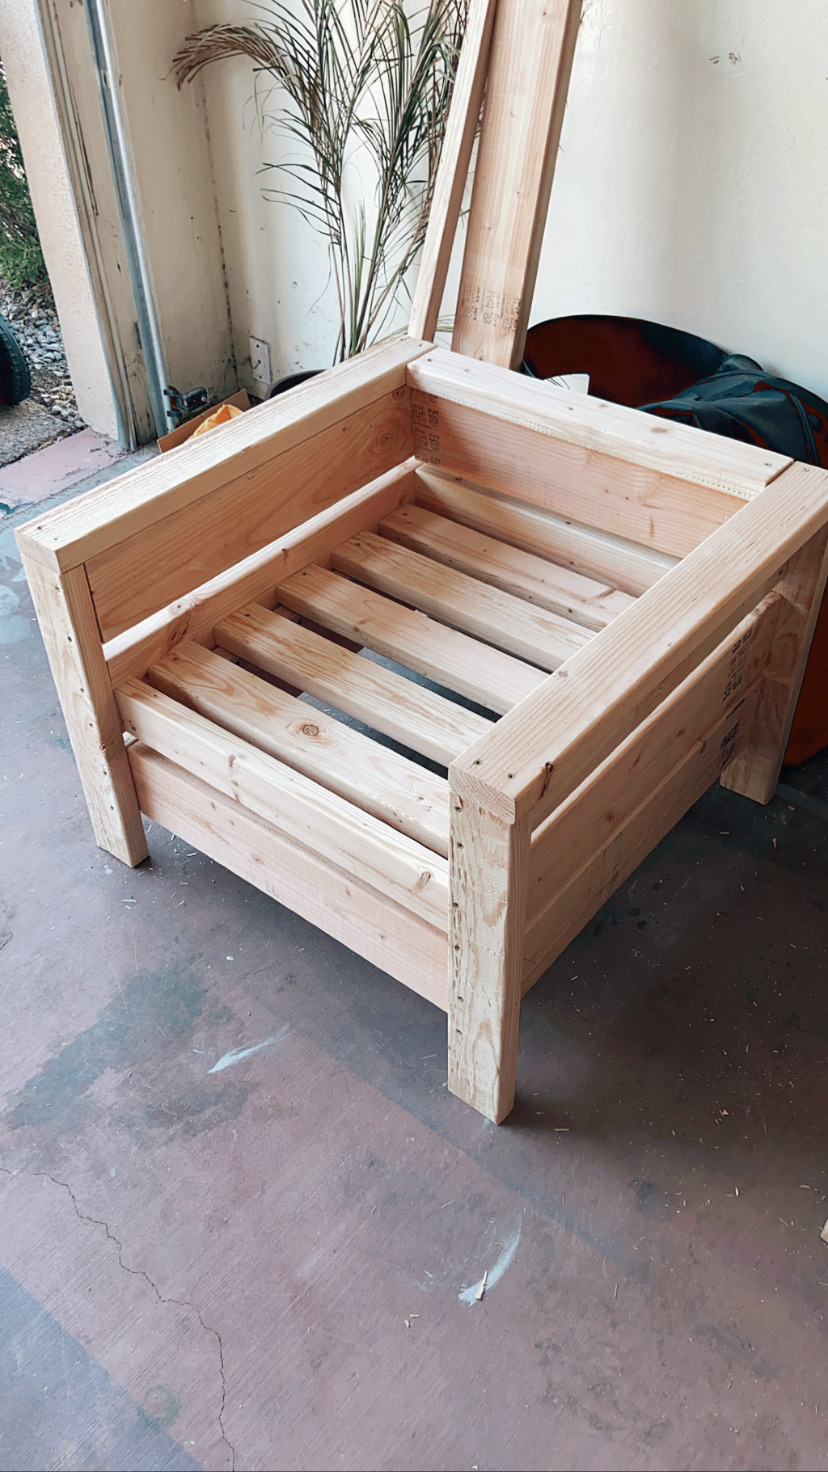
Simple Modern Outdoor Sectional
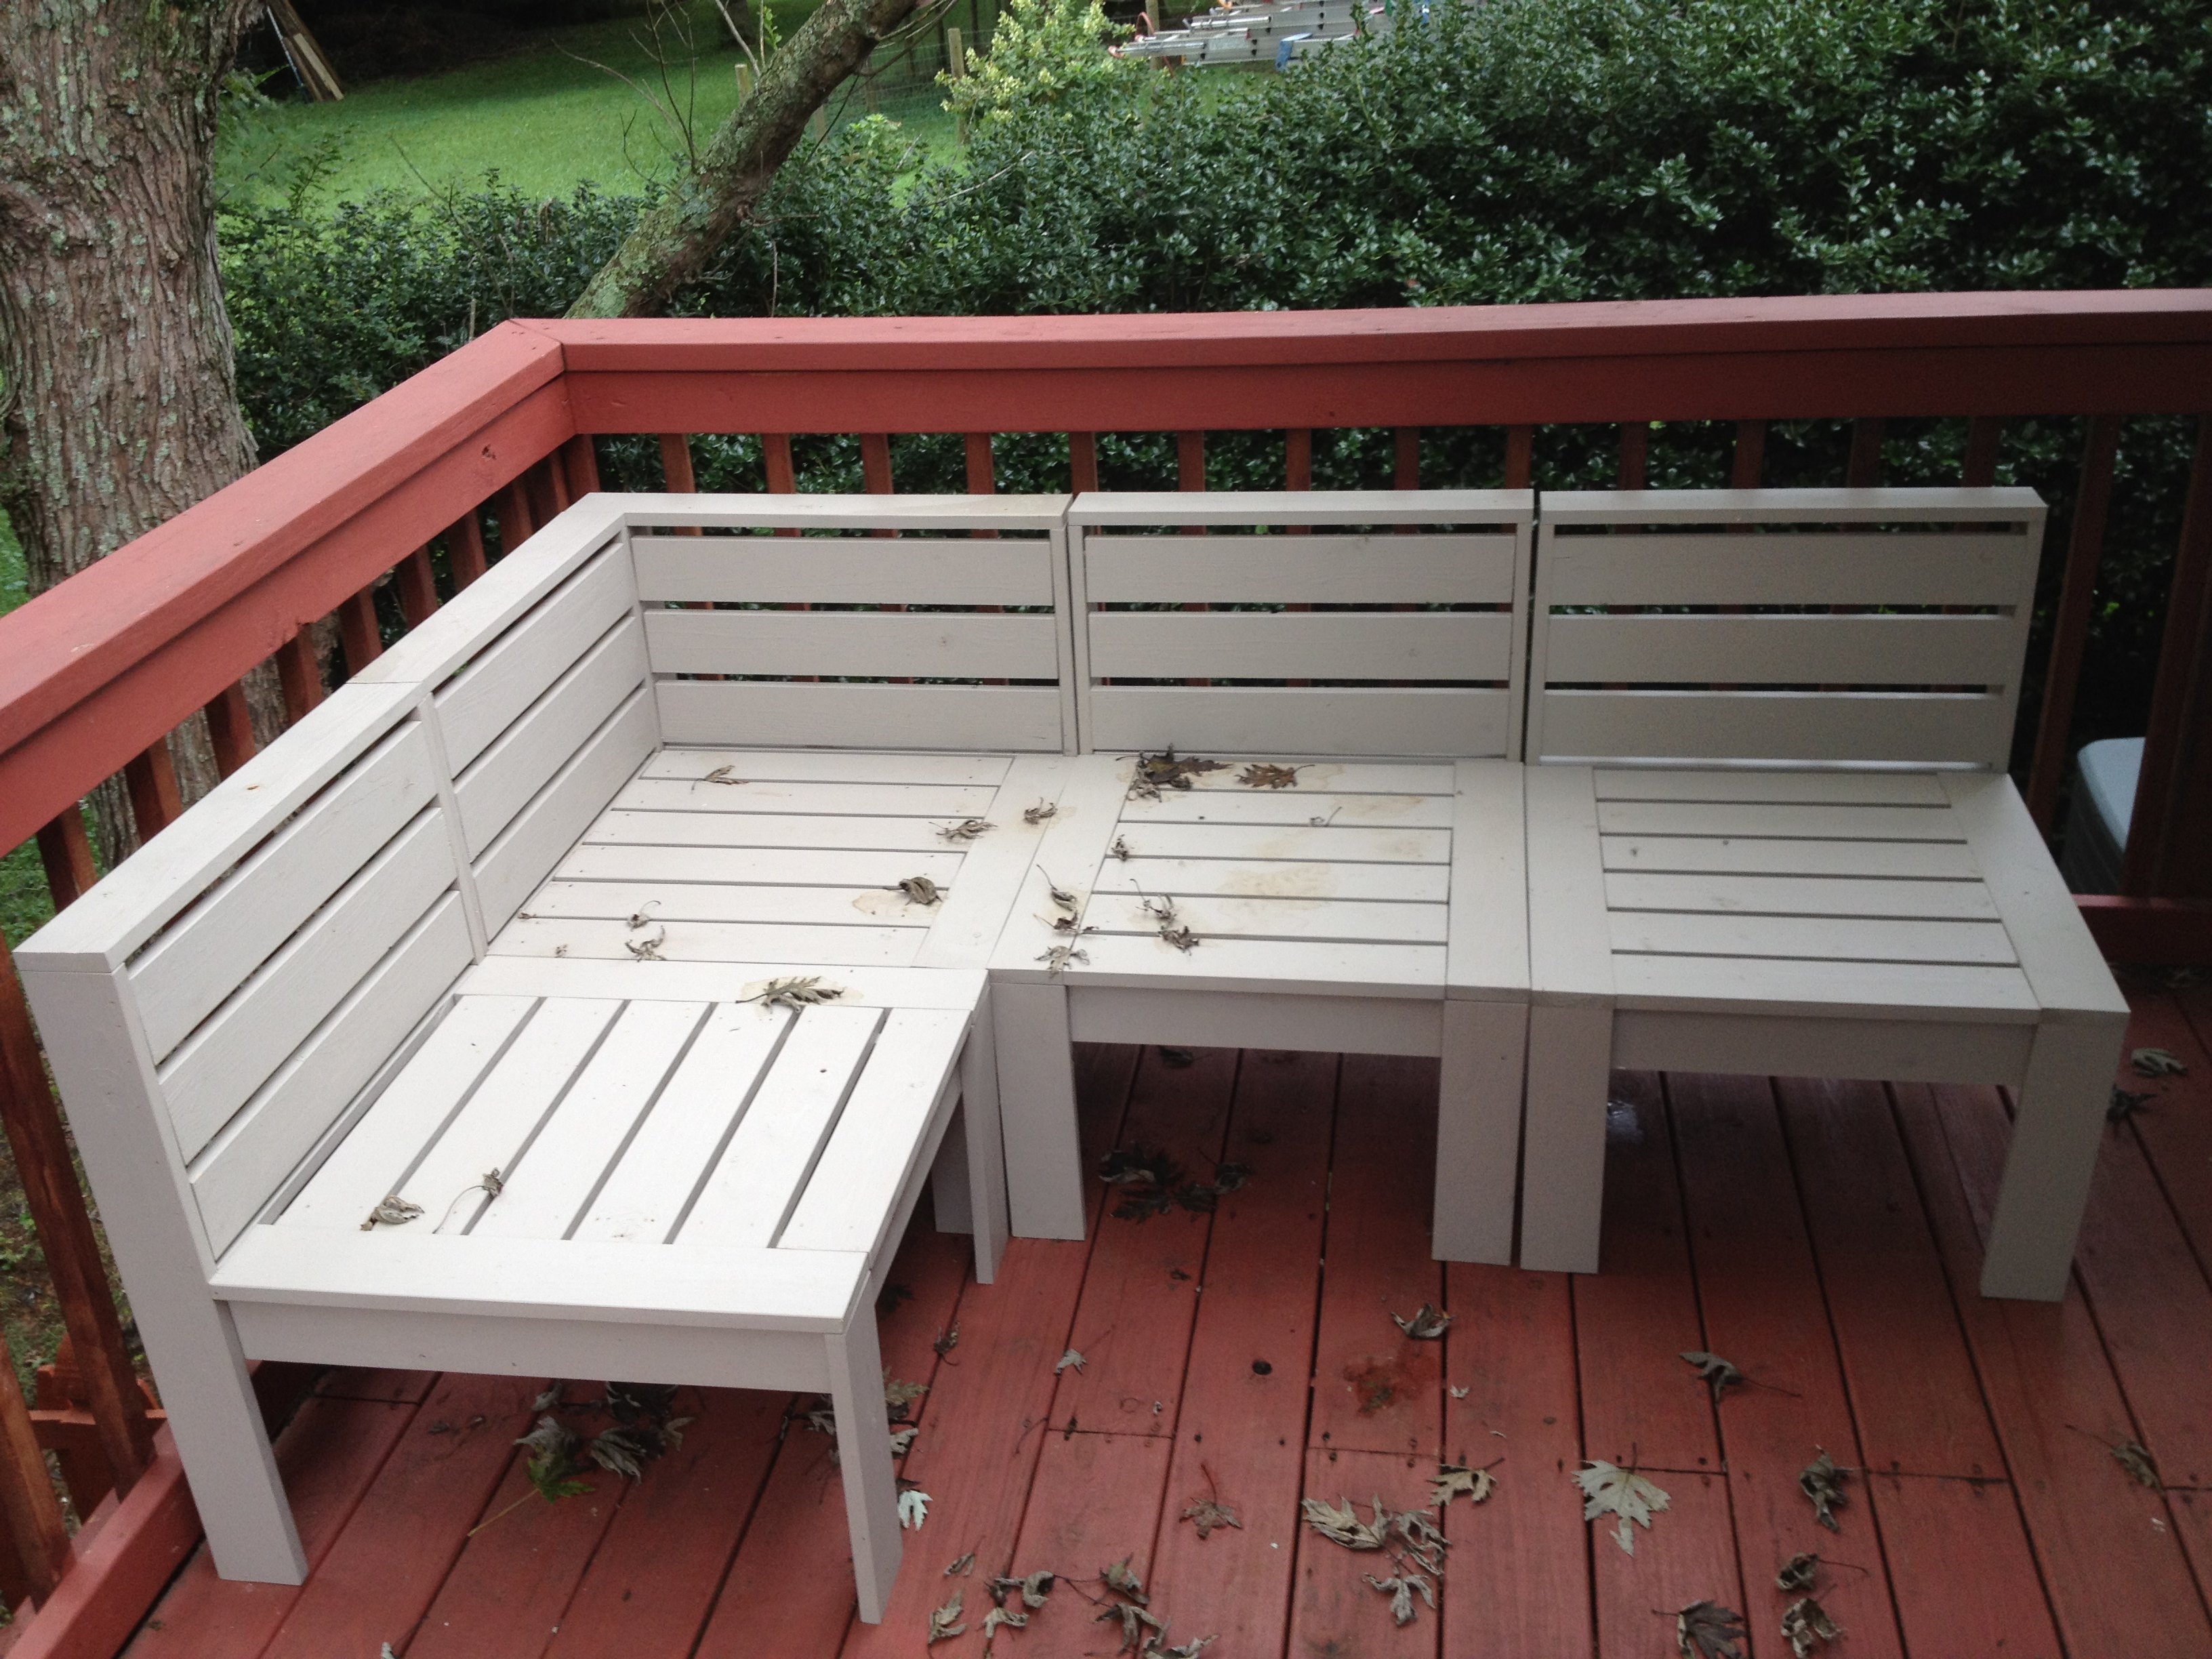
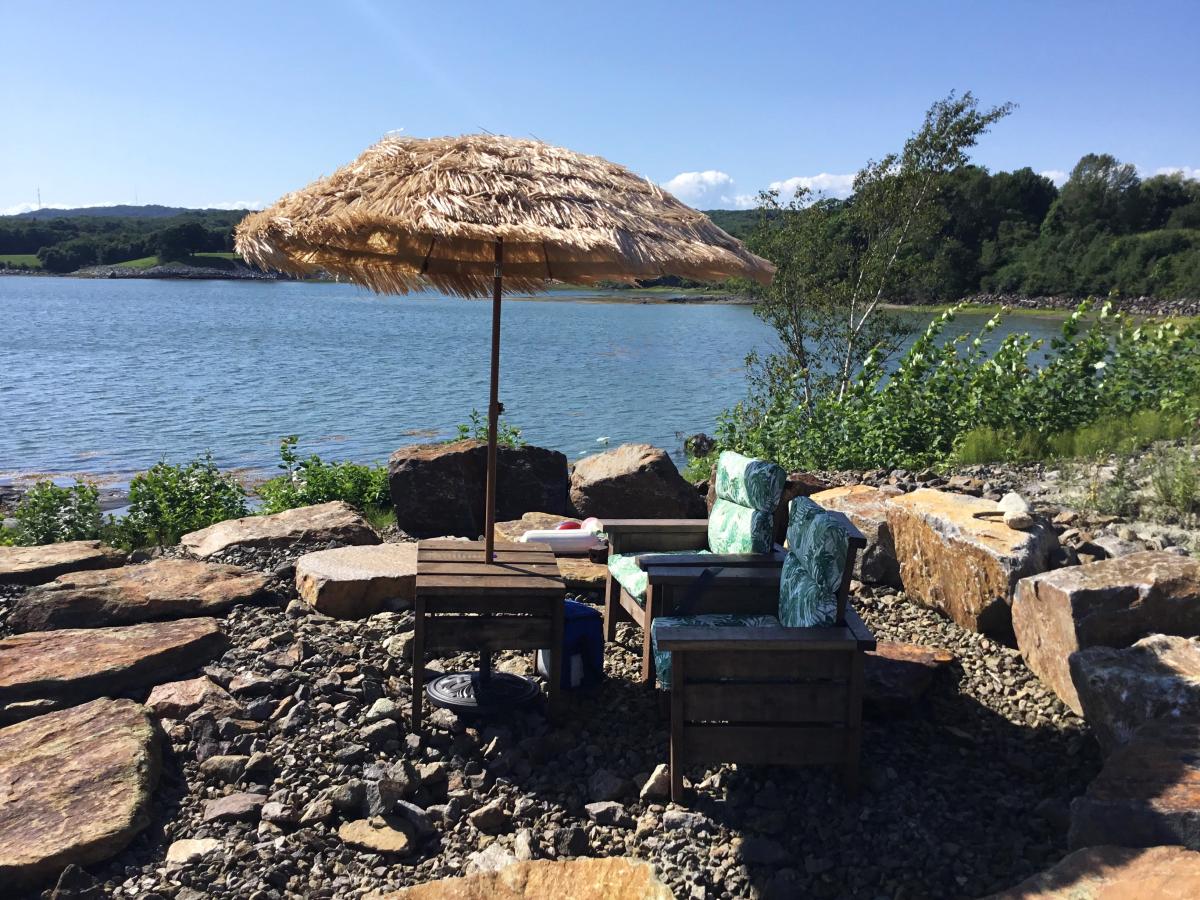
This project my husband and I started together. We live in a very damp and rainy area where cushions would just be more of a pain than a comfort outside.
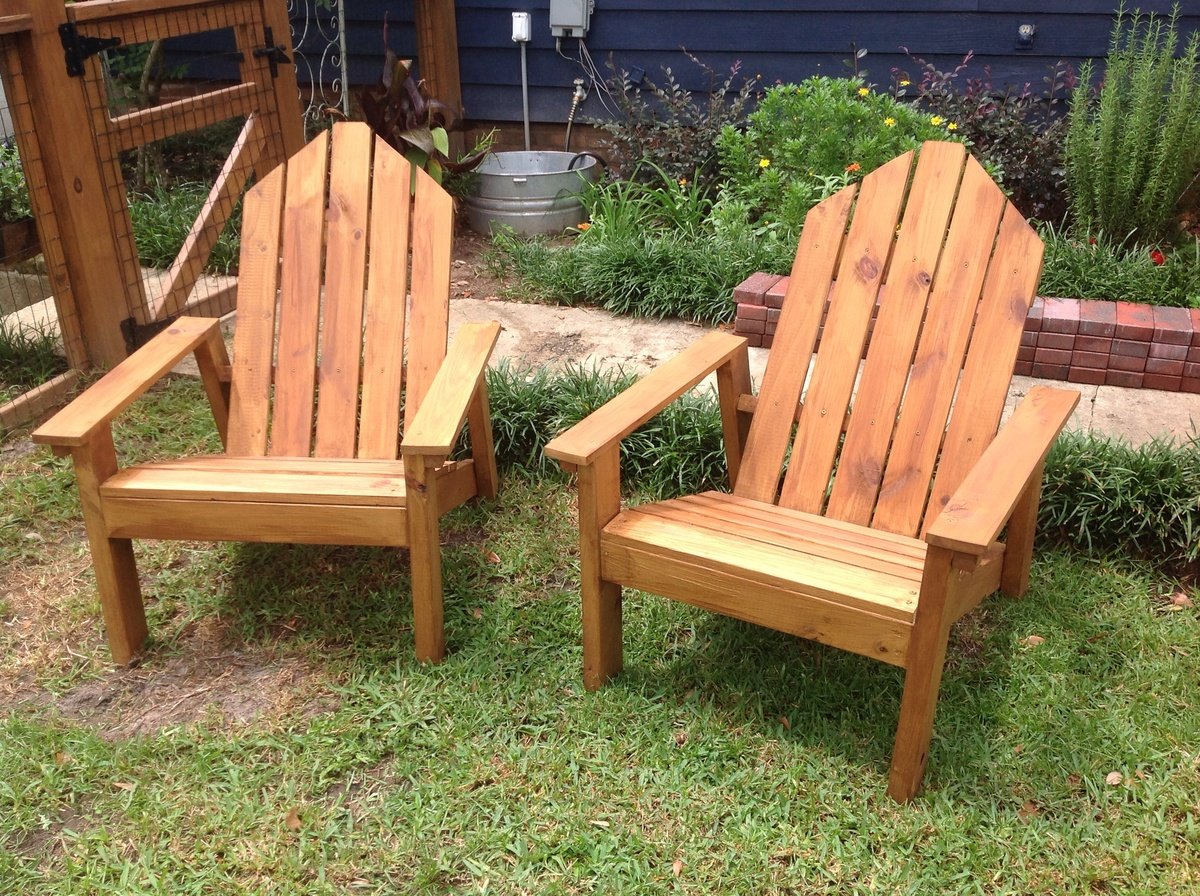
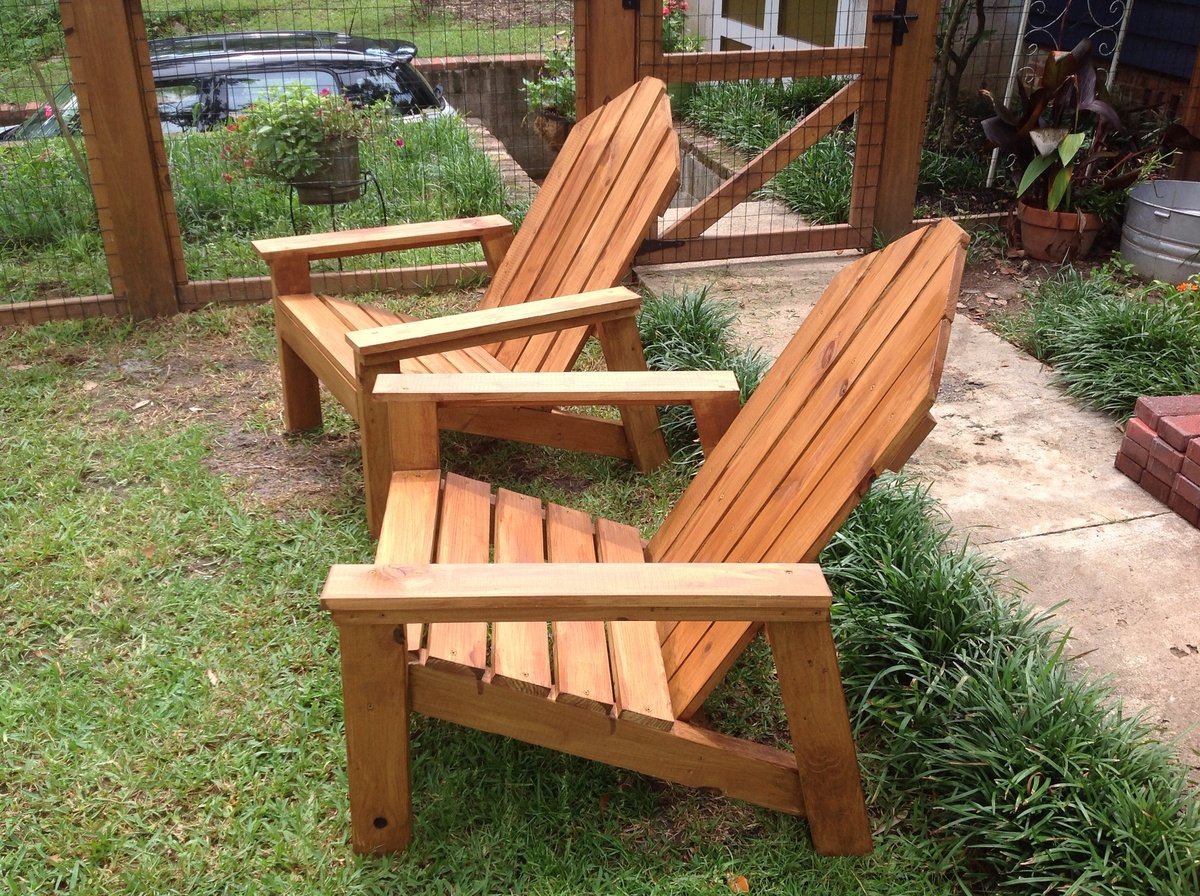
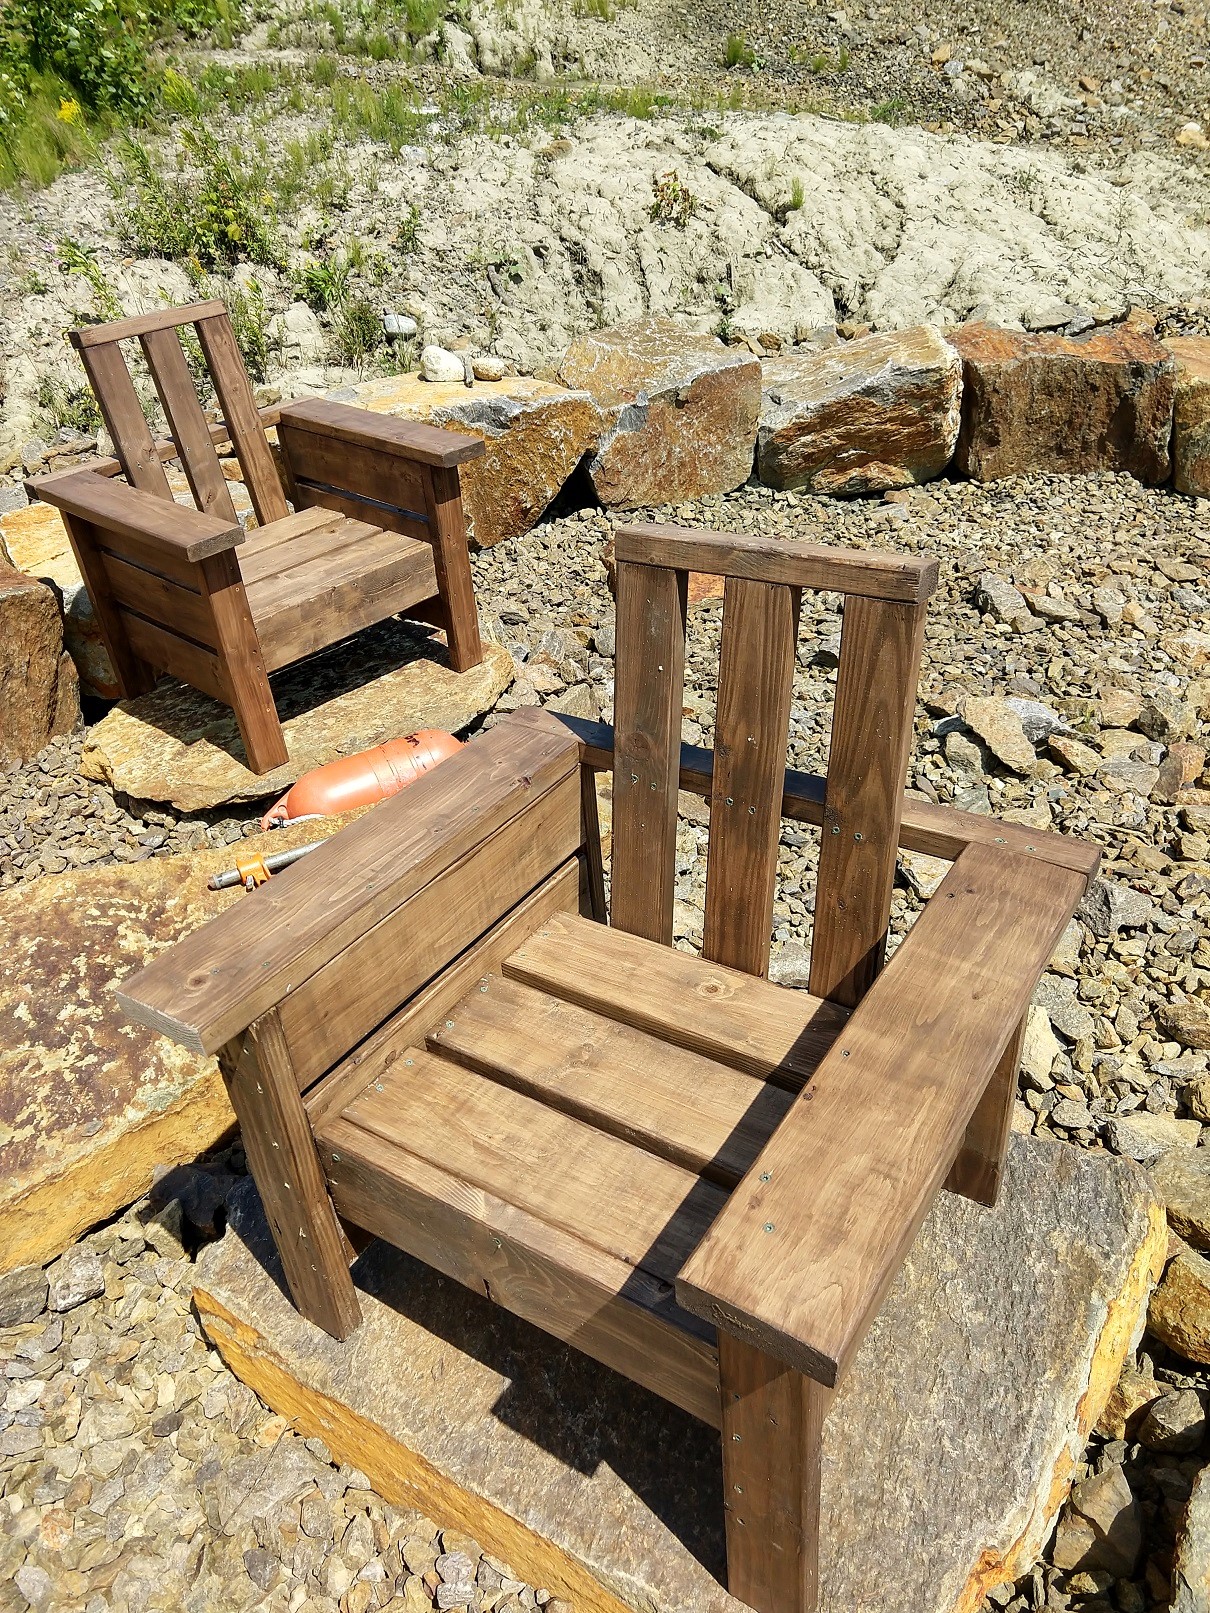
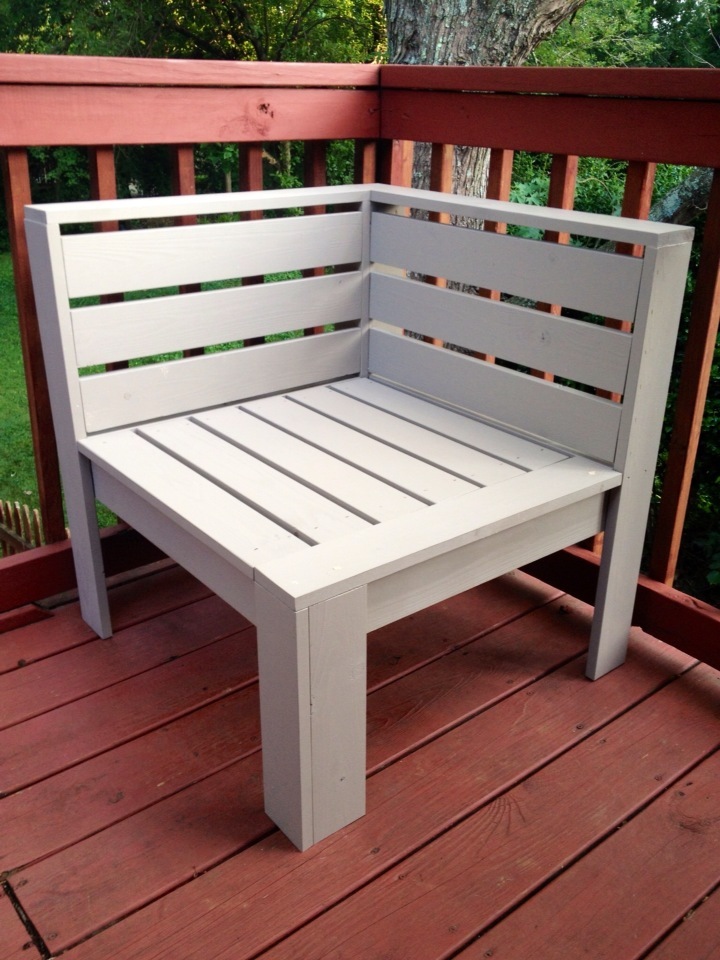
We decided to add slats on the back so the sectional would stand alone without cushions.
Well, after the first corner piece, I got busy and every day my husband would add another piece to it.
I did do much of the sanding and painting. We sanded and painted these before assembly, made life tons easier.
It was white pine with out exterior house paint color. We really love them!
Thank you Ana!!!
Built from Plan(s)
Estimated Cost
$170
Estimated Time Investment
Weekend Project (10-20 Hours)
Finish Used
Behr Exterior Paint and primer in one.
Recommended Skill Level
Beginner