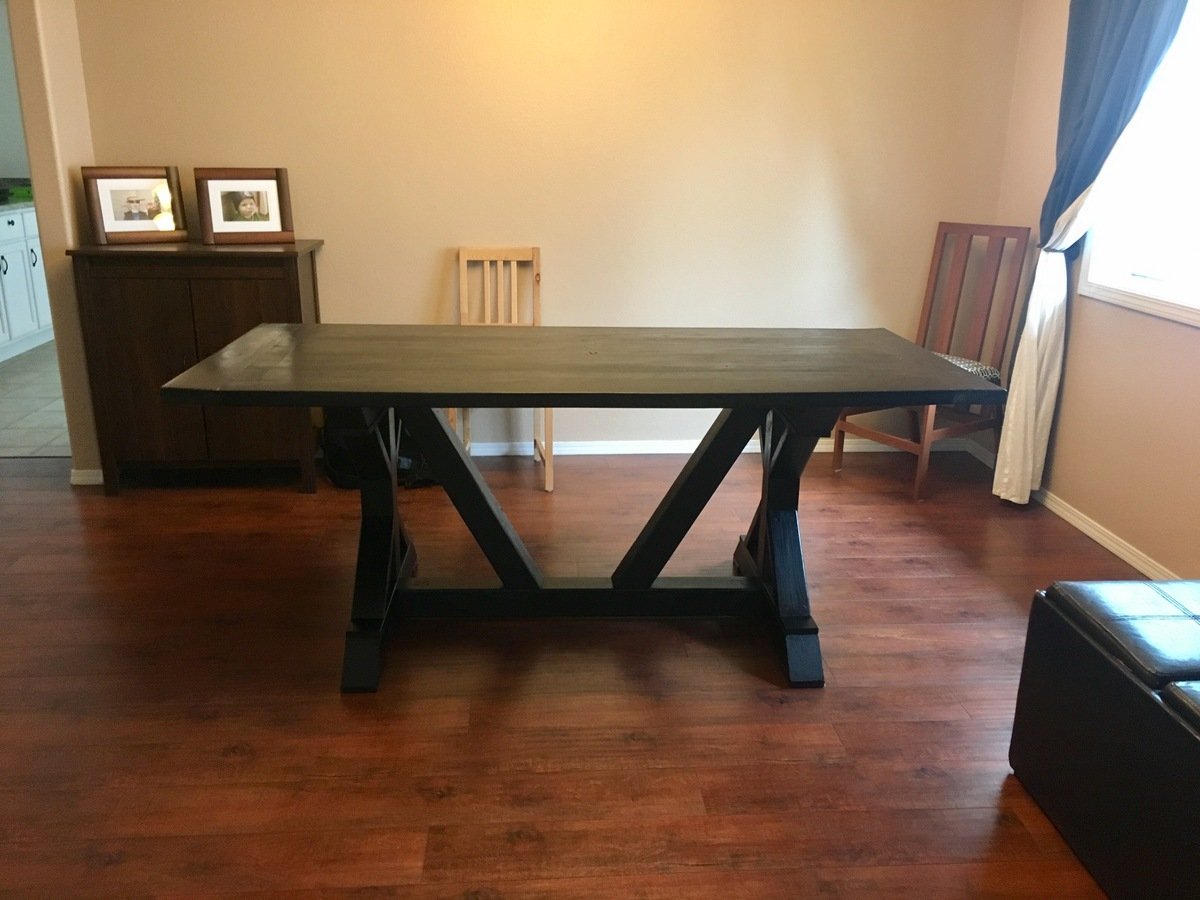
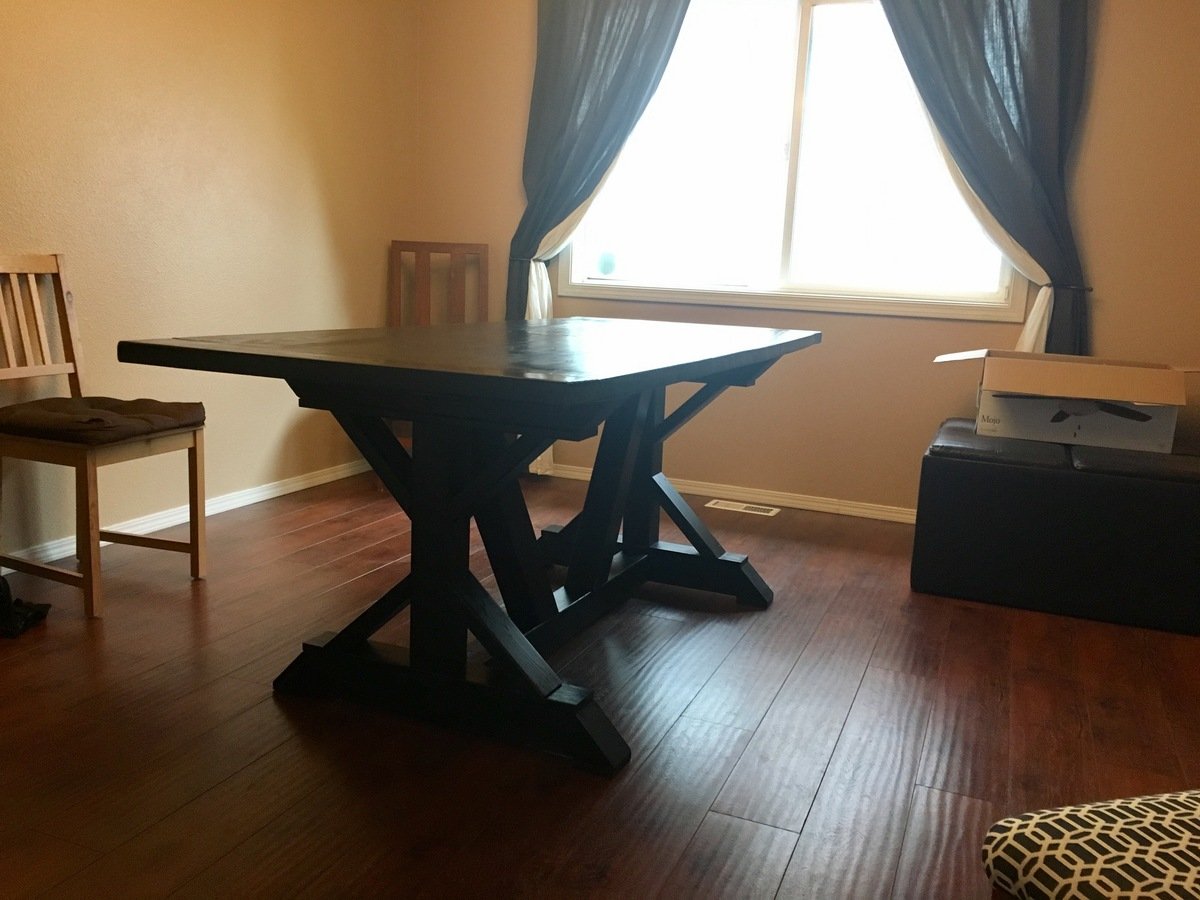
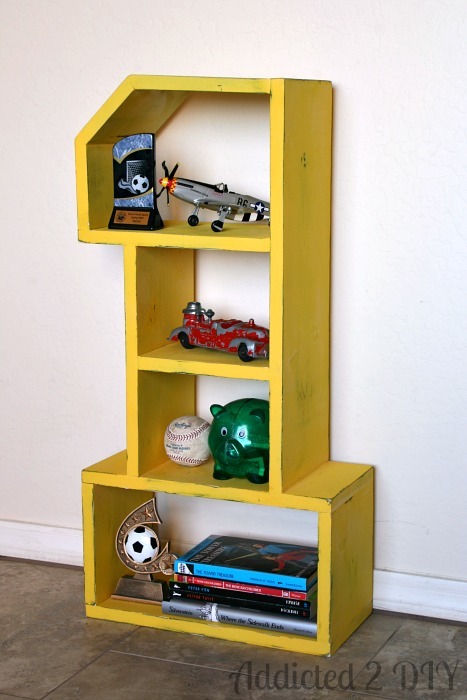
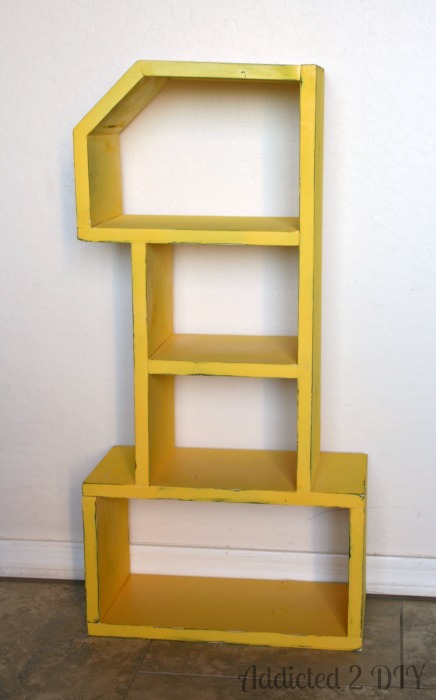
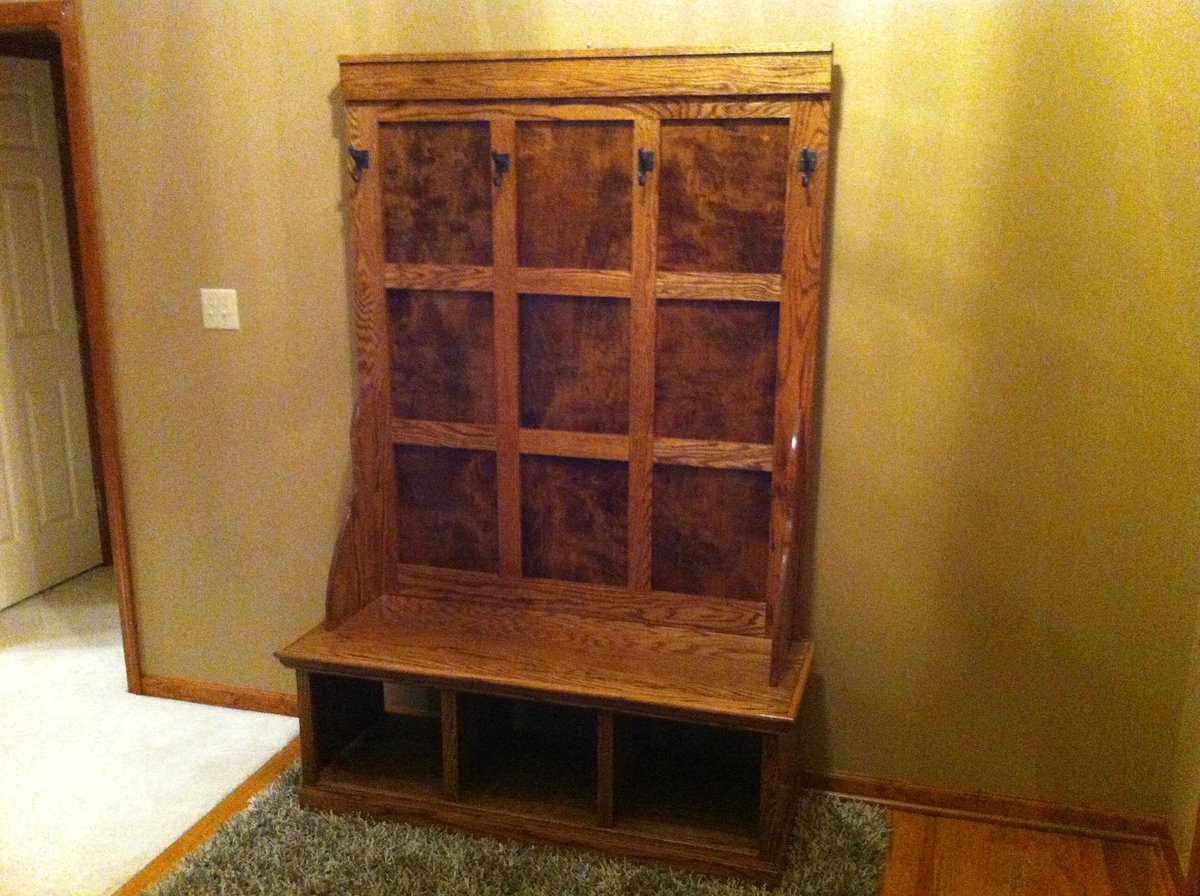
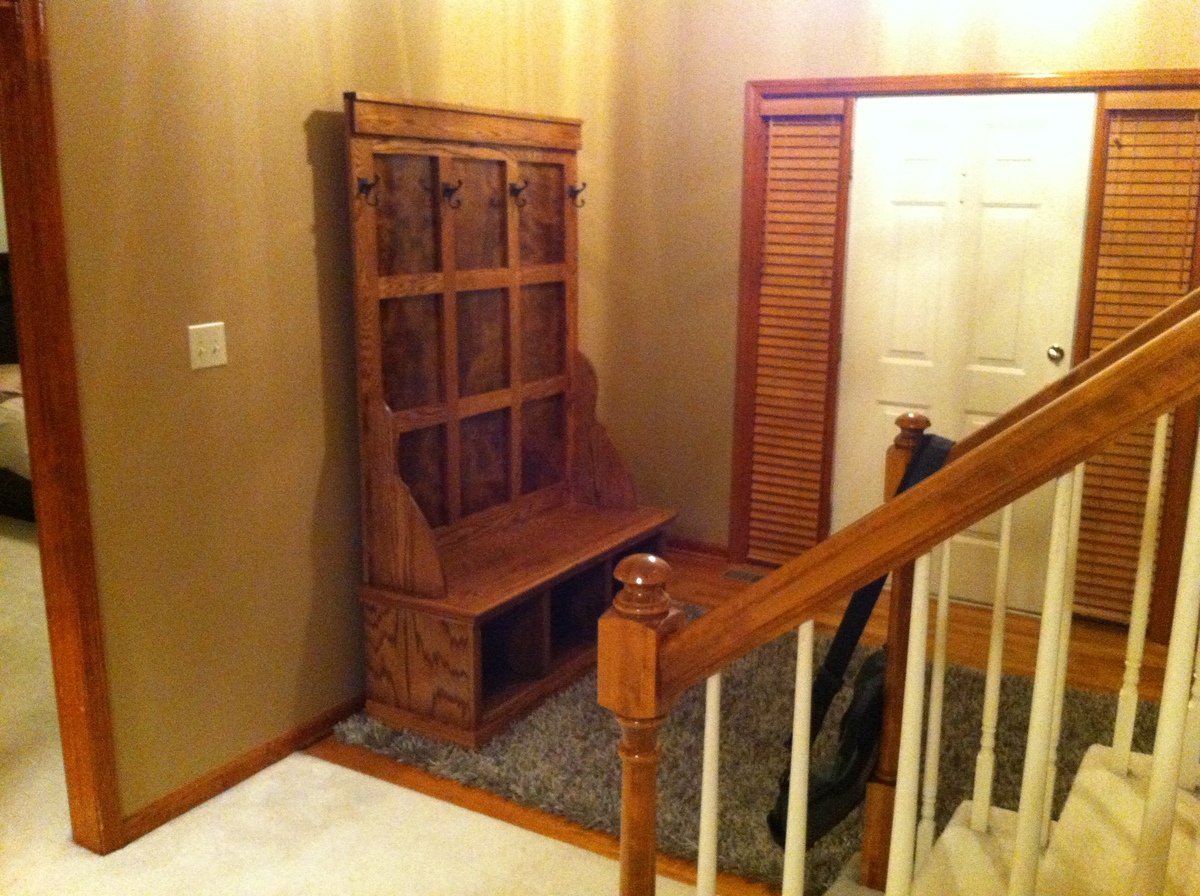
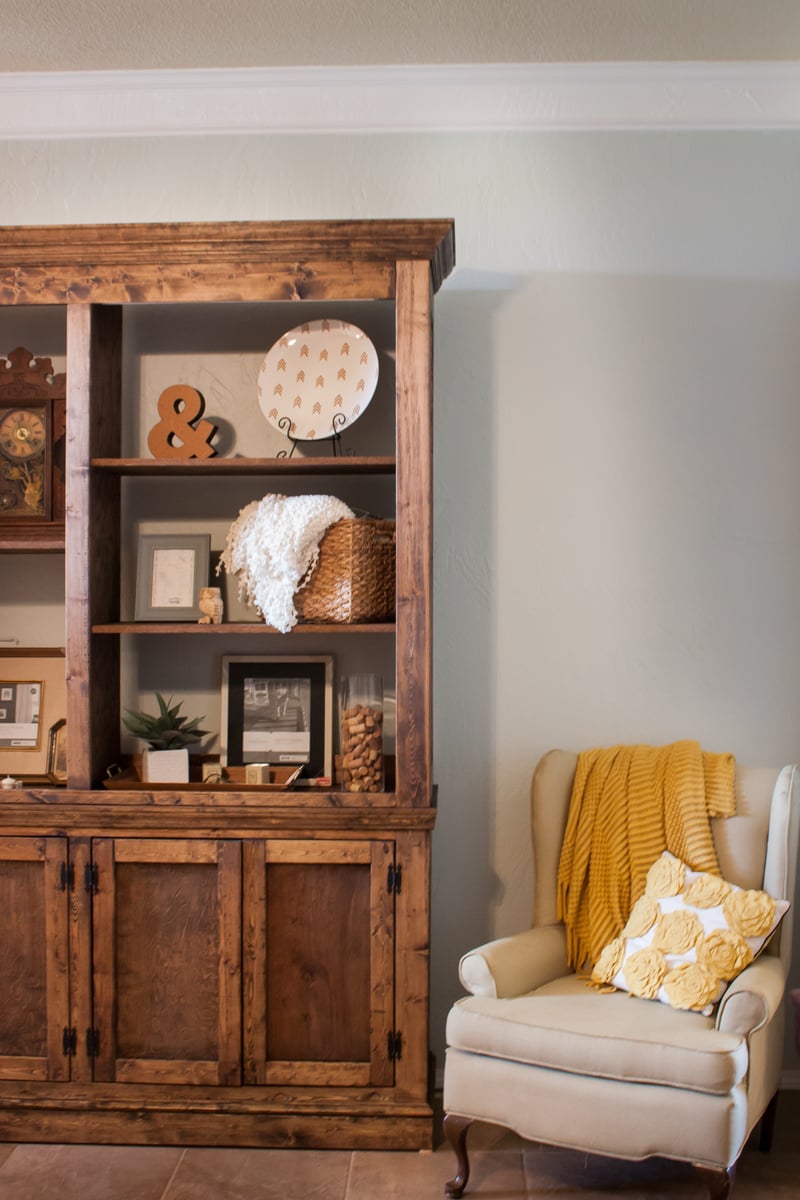
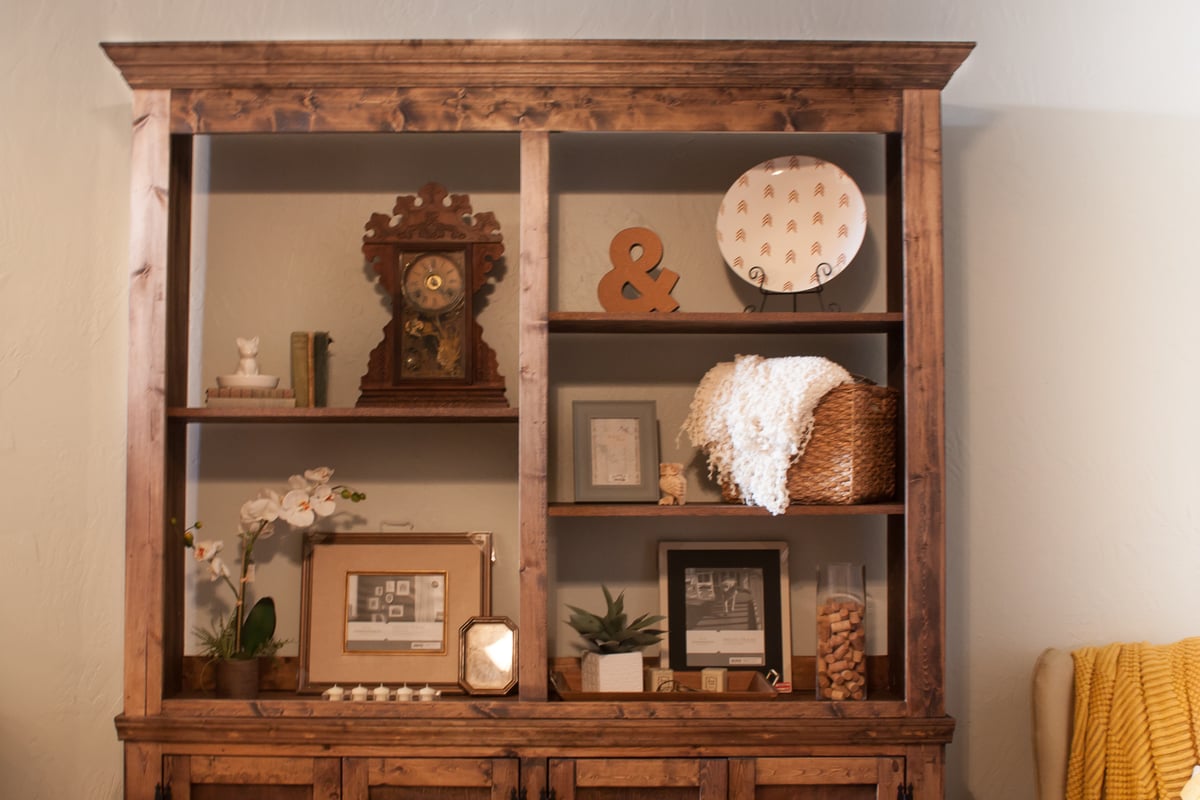
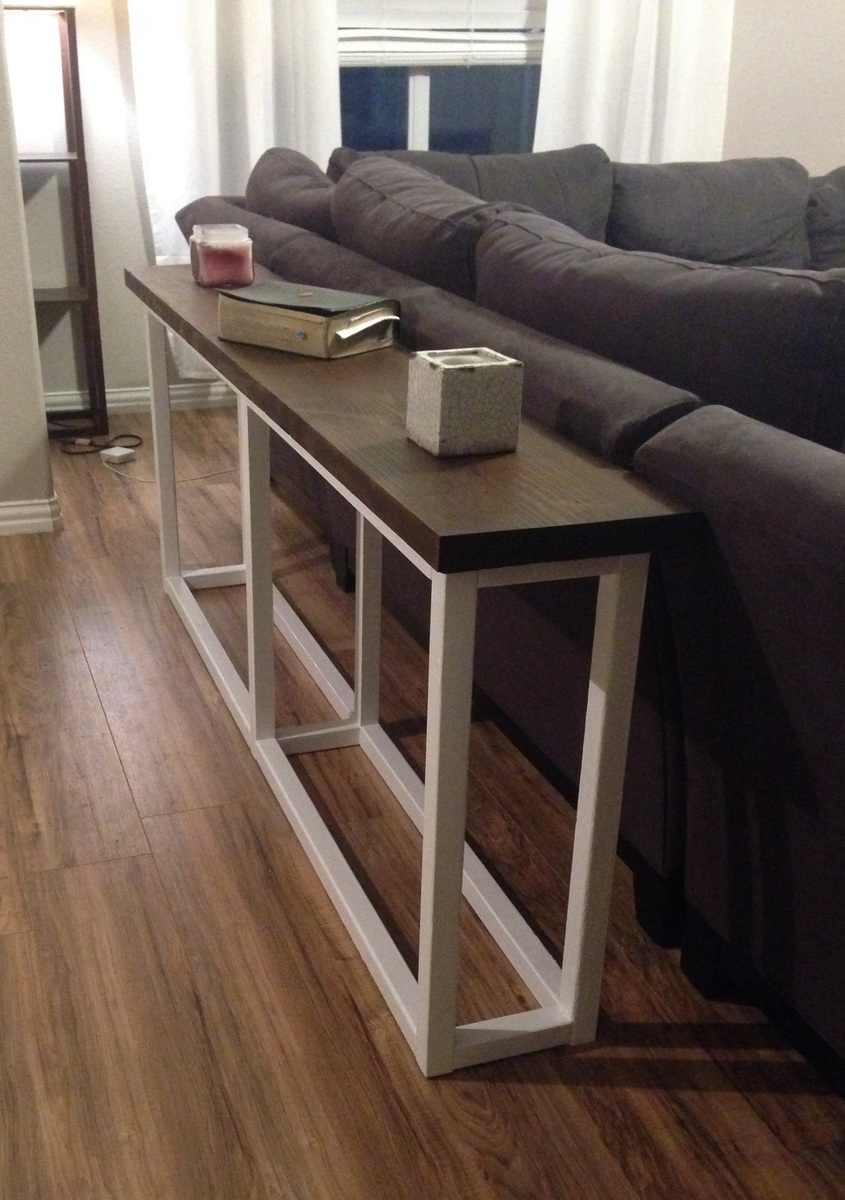
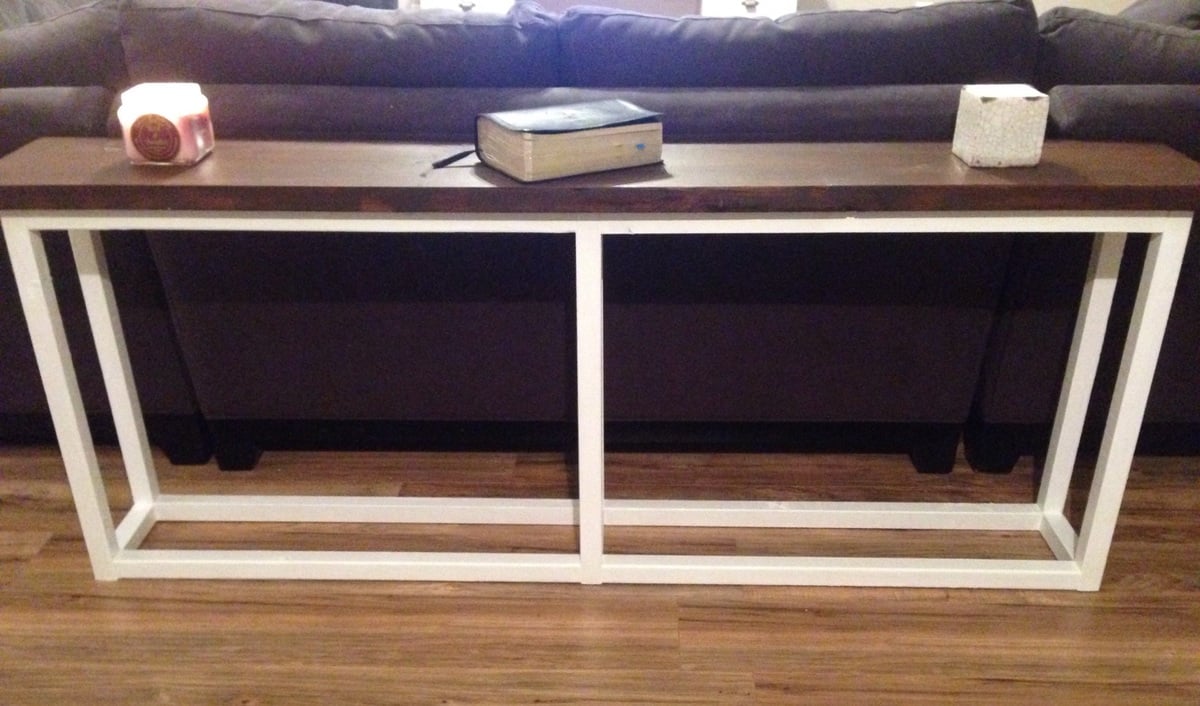
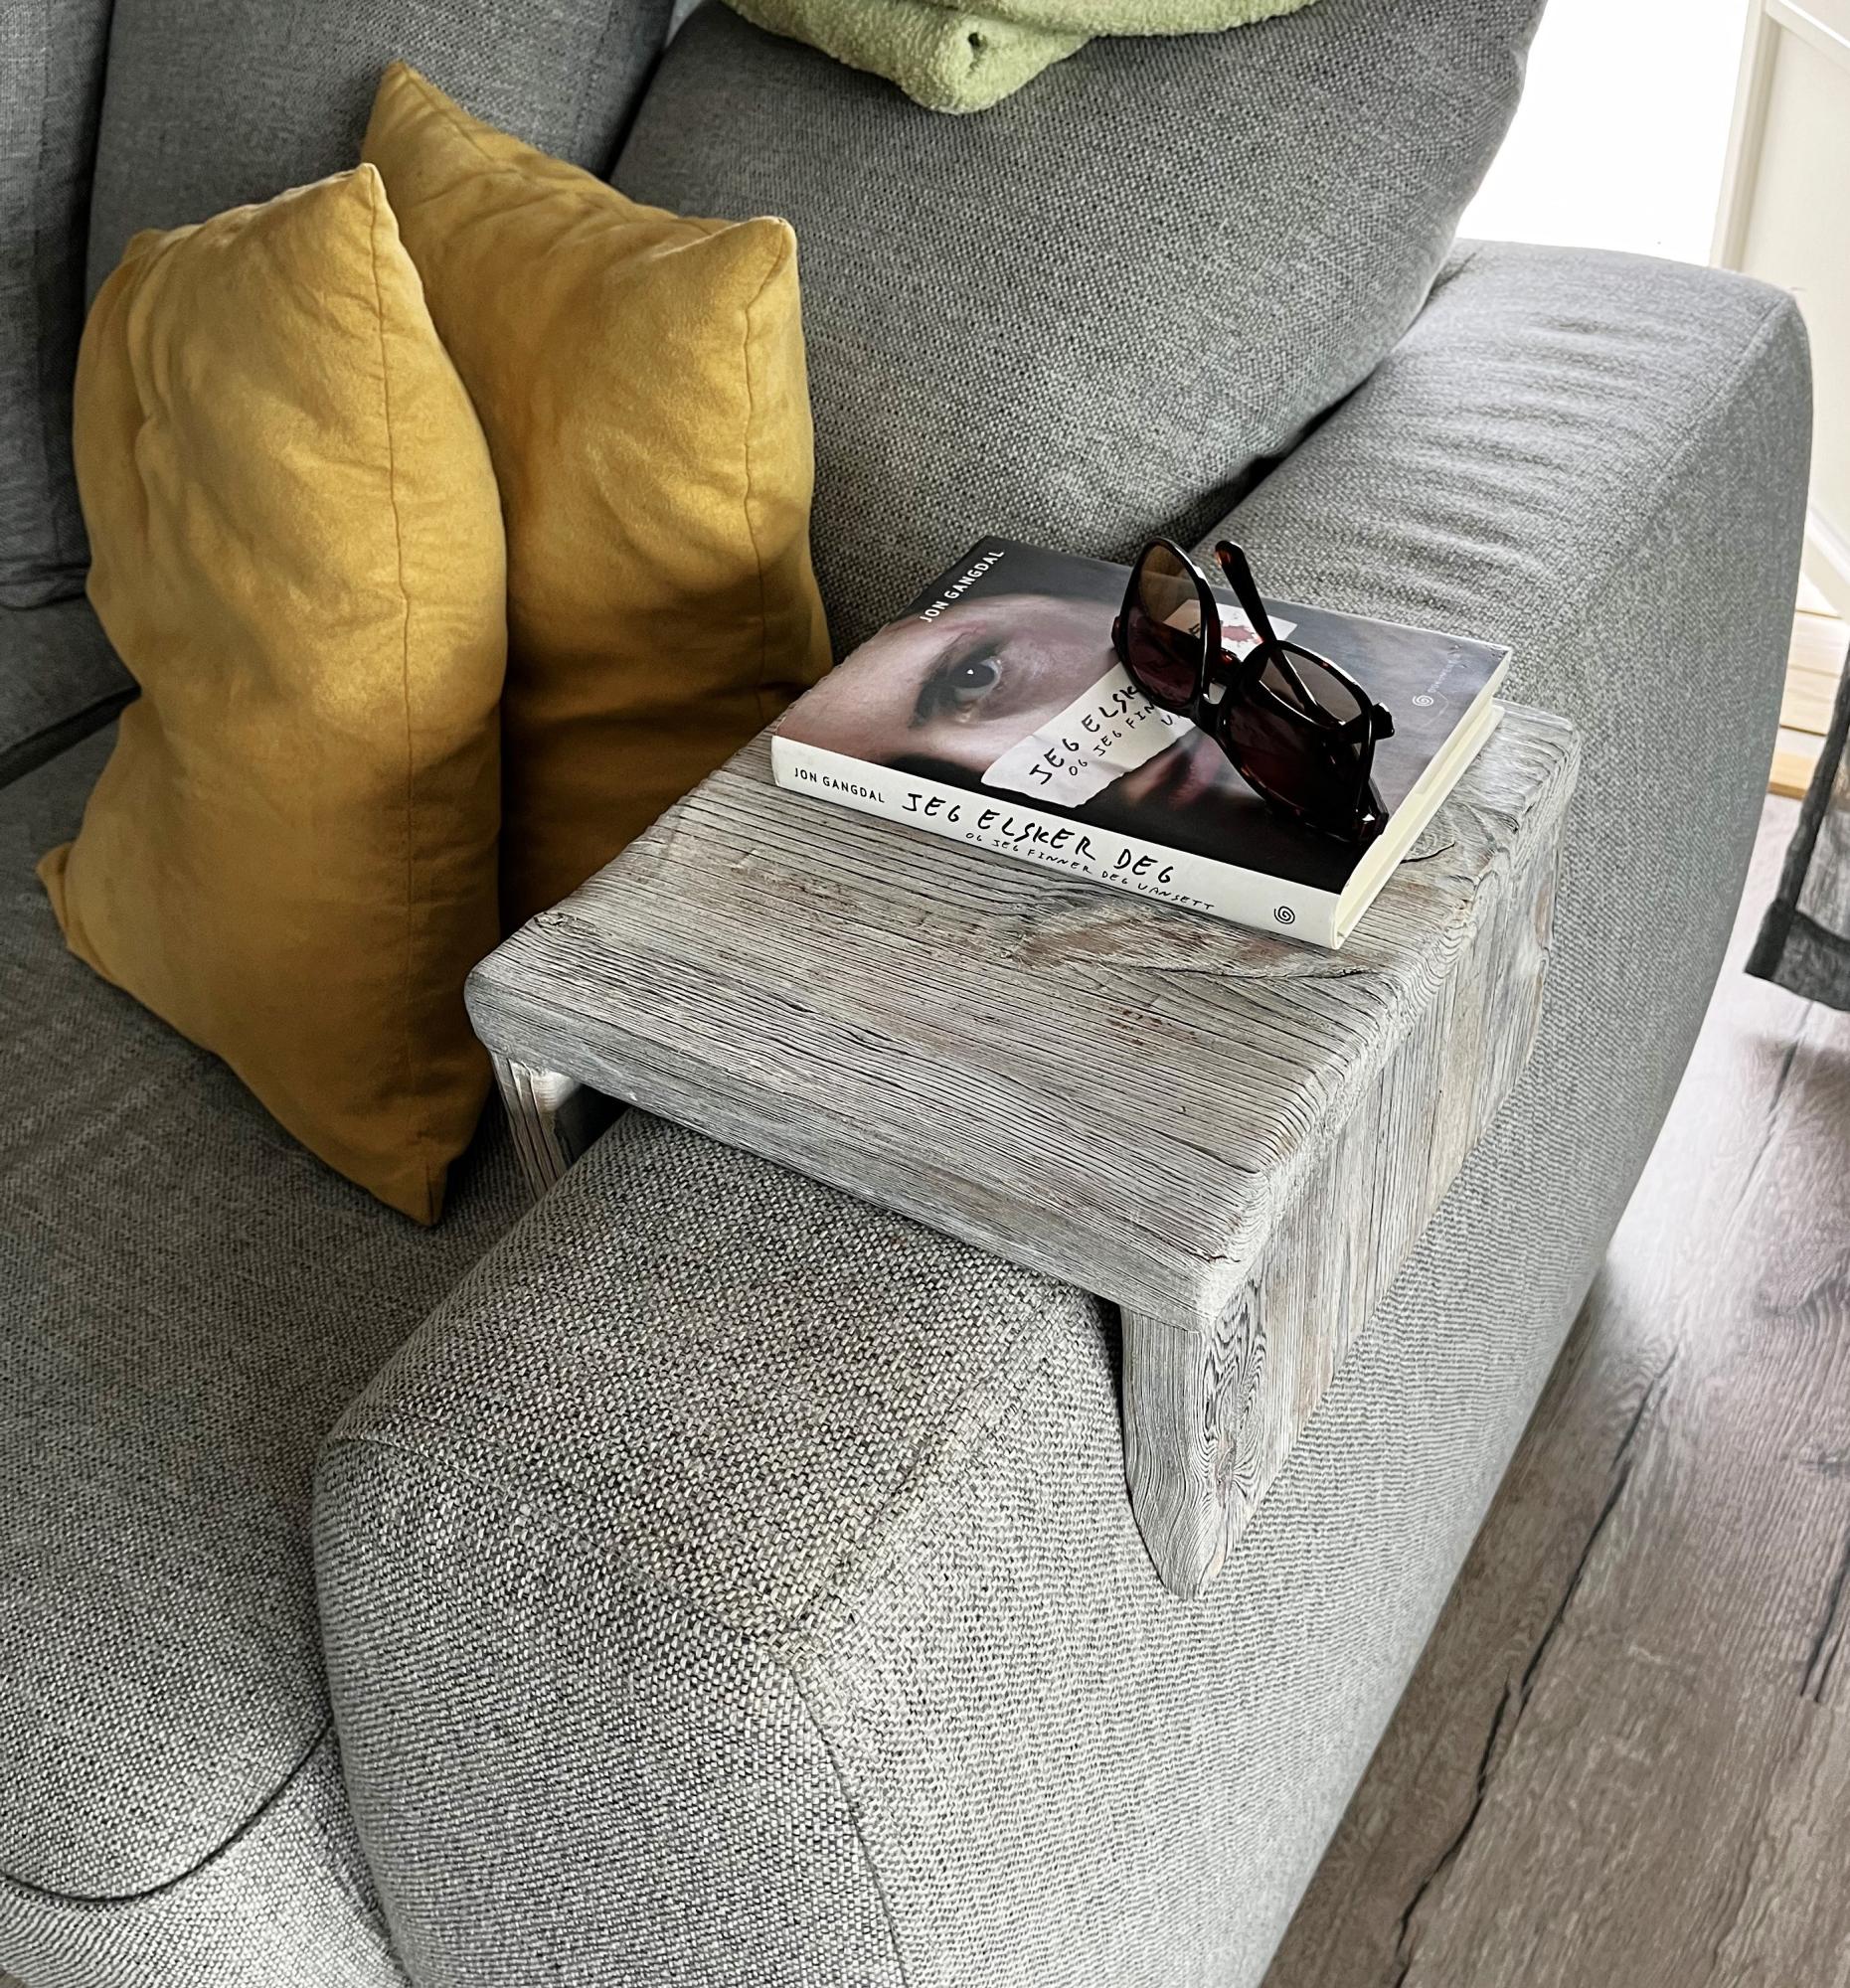
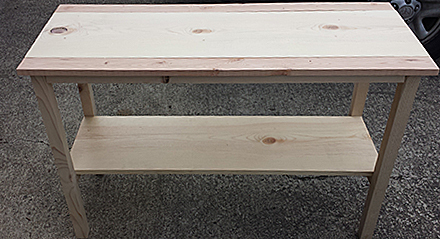
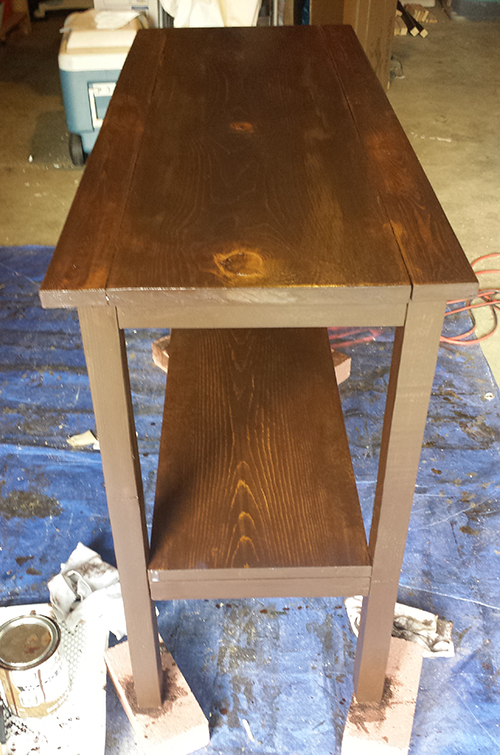
Perfect End Table
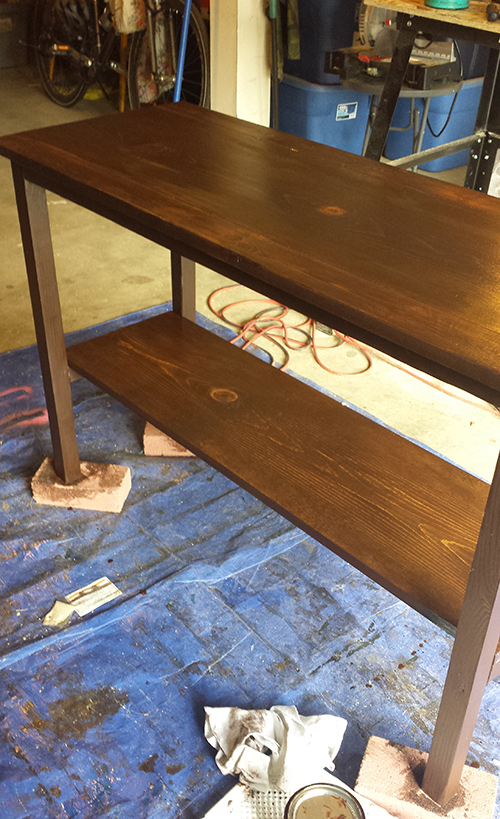
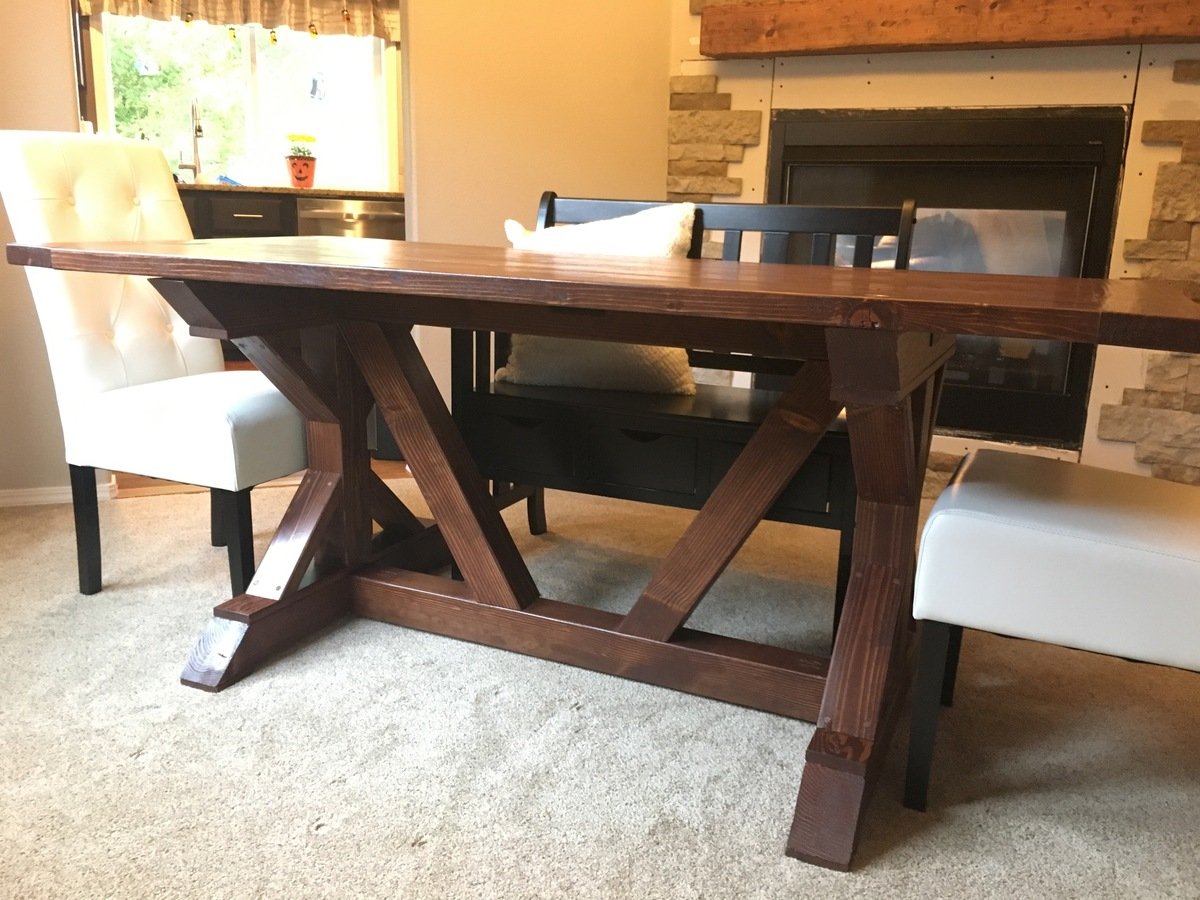
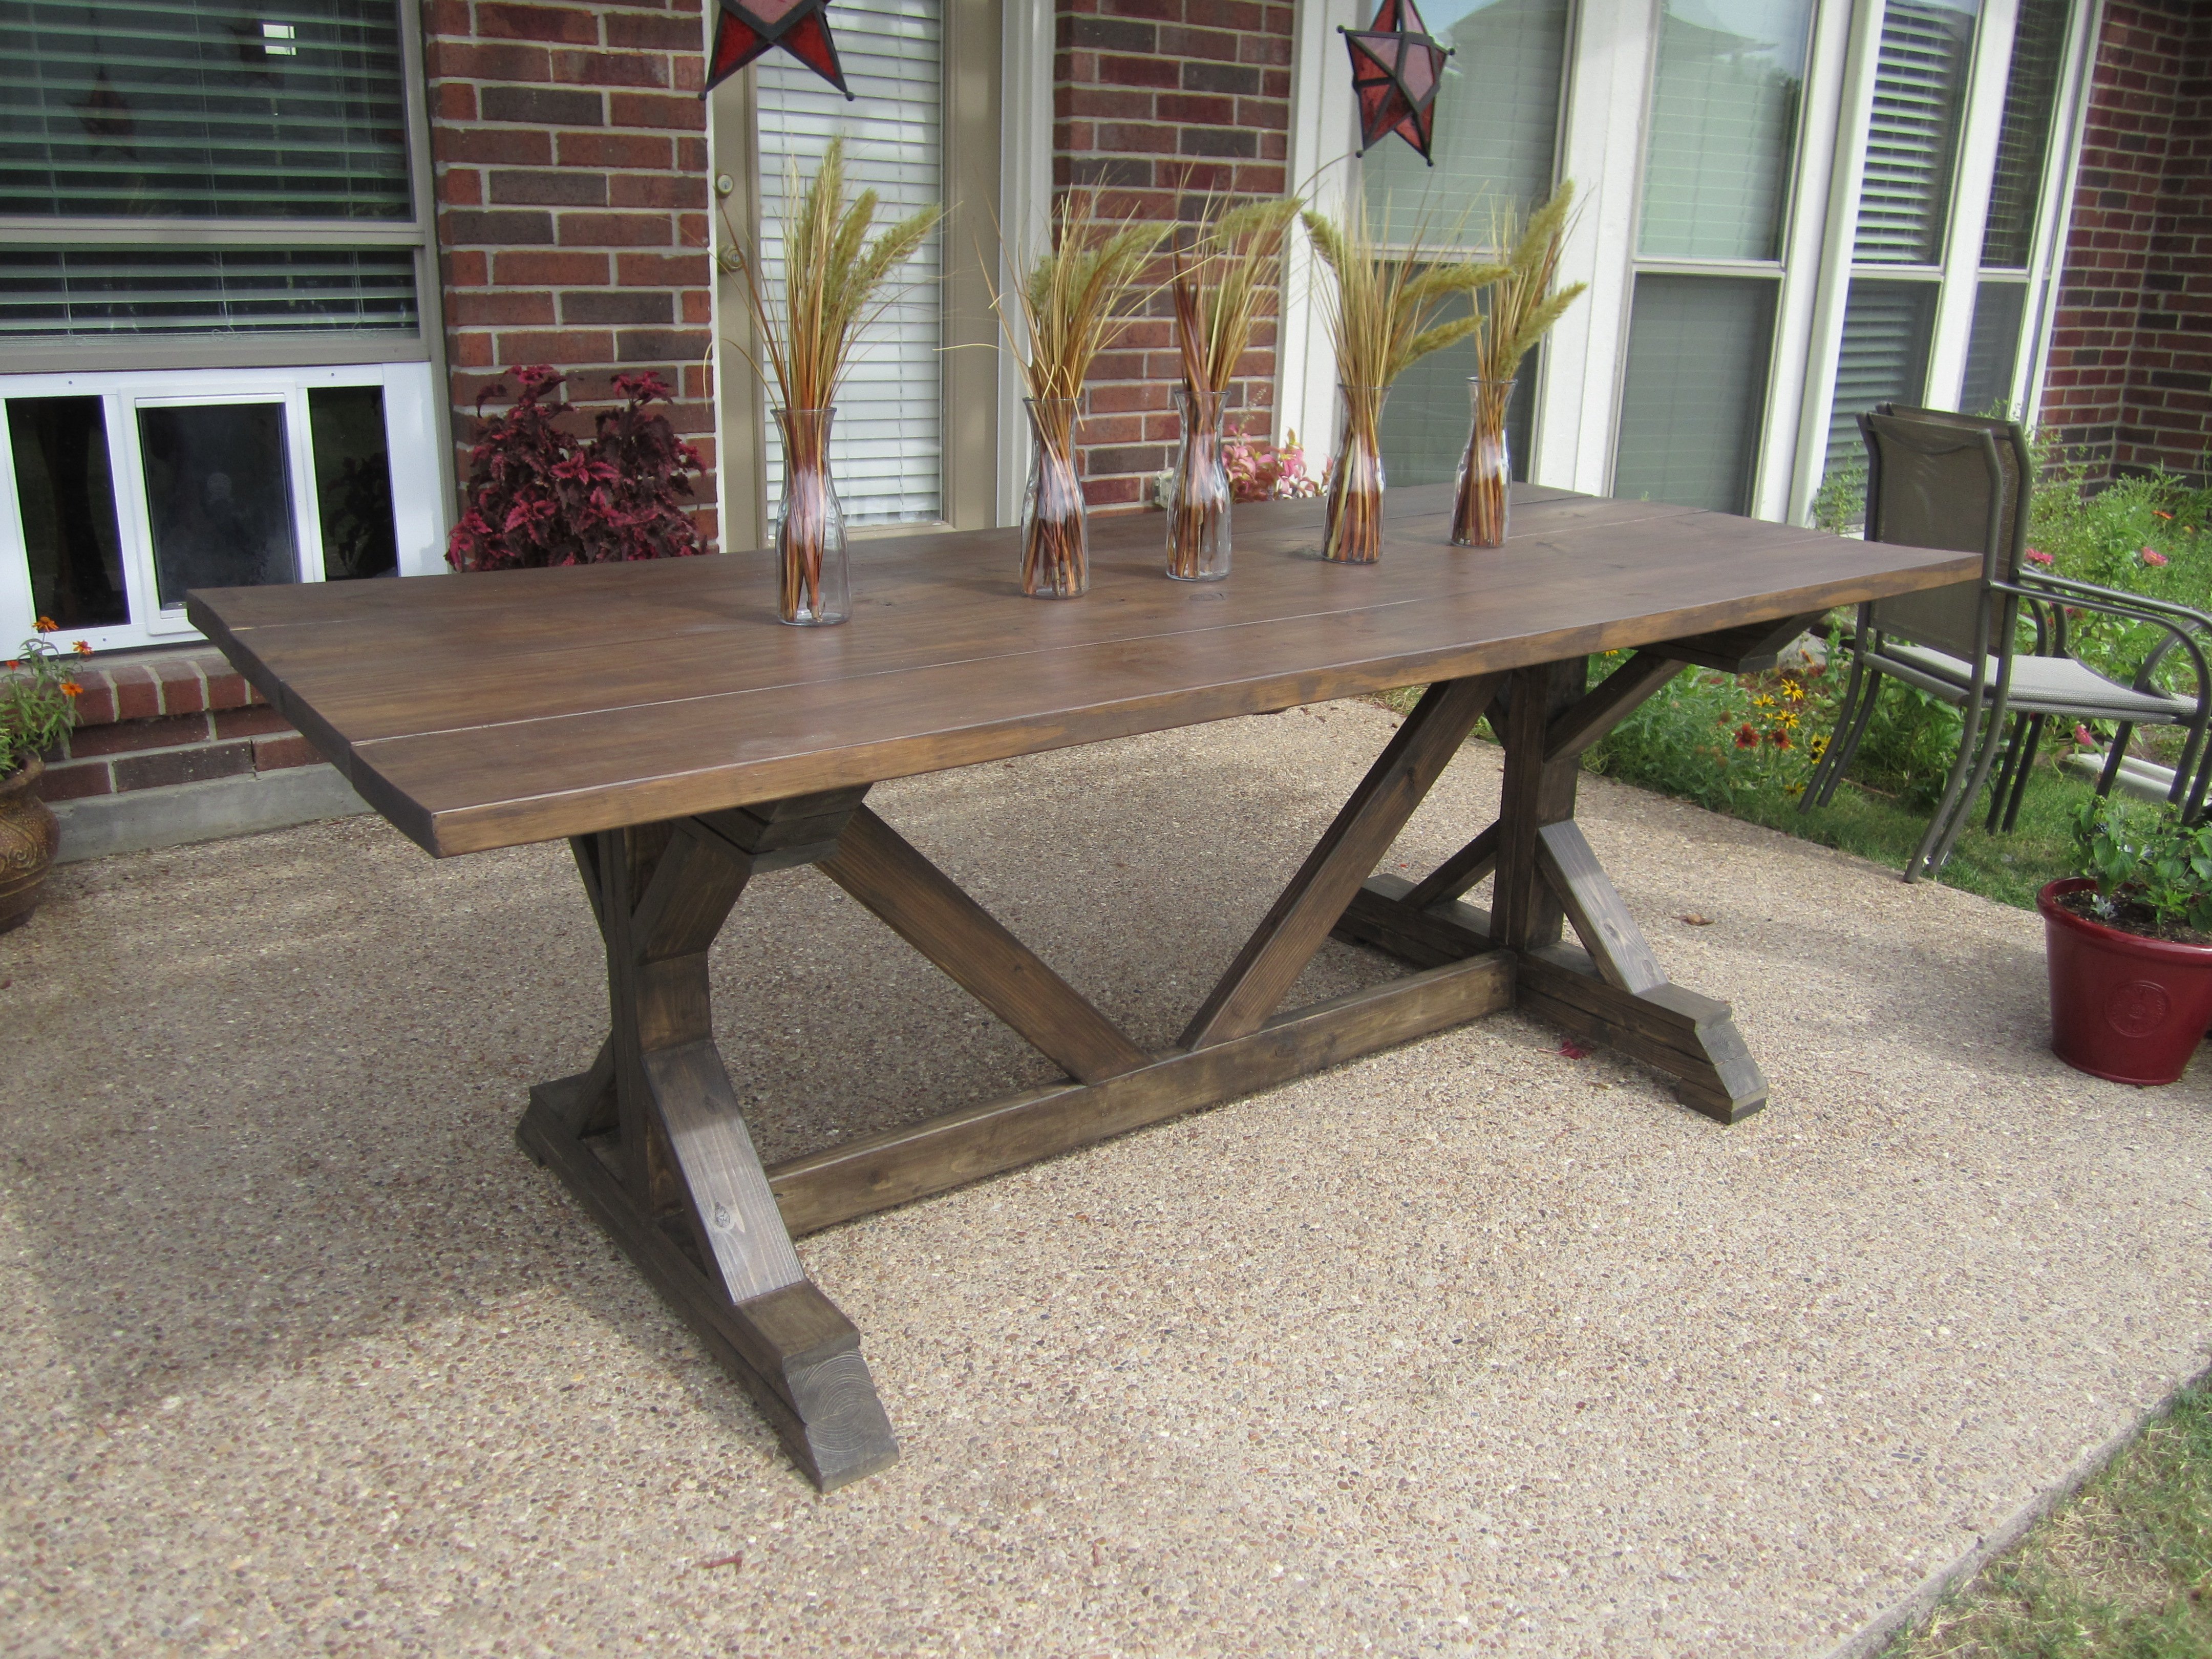
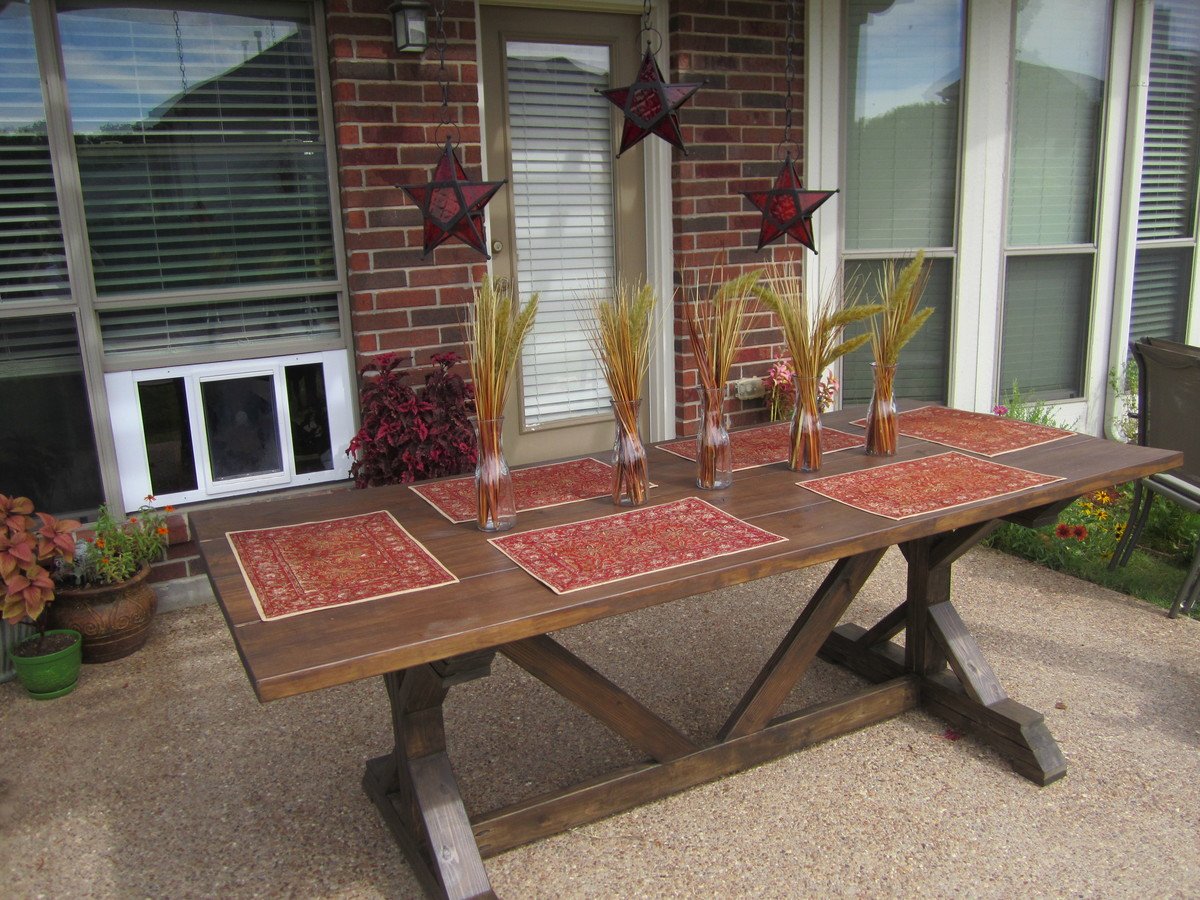
Just a little something to go in the dining room. I like the look of it. If I find another need for one I would definitely make this again accept use a different stain and paint the base white and use a semi-gloss or gloss protective finish.
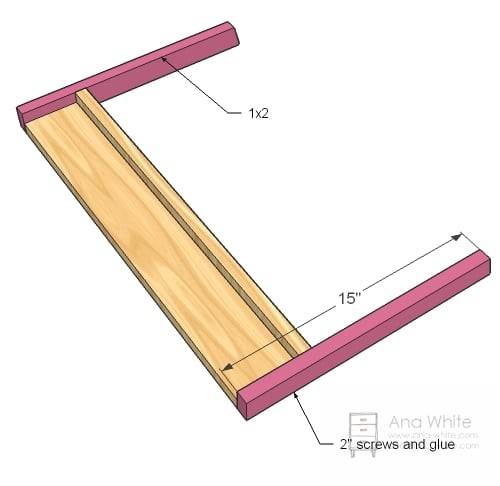
Built from Plan(s)
Estimated Cost
$26
Estimated Time Investment
Afternoon Project (3-6 Hours)
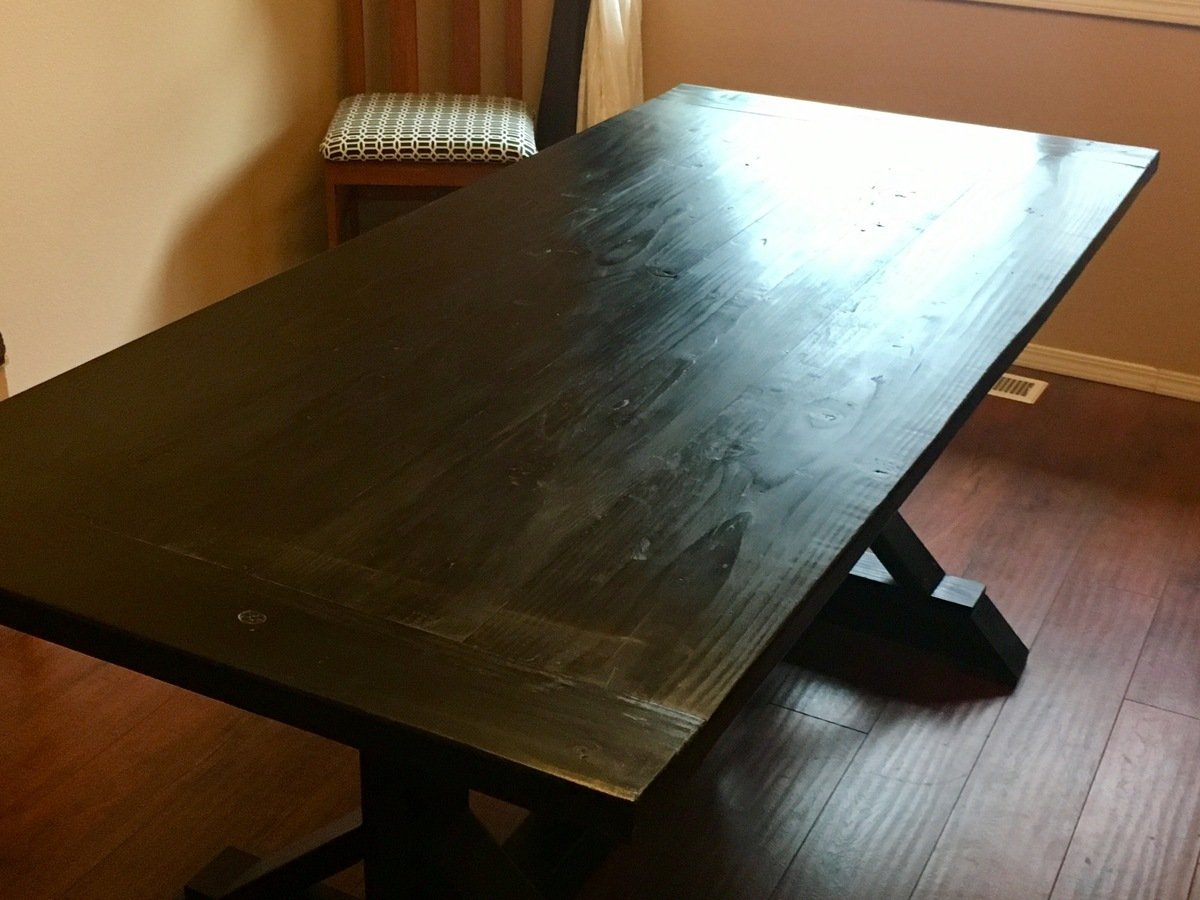
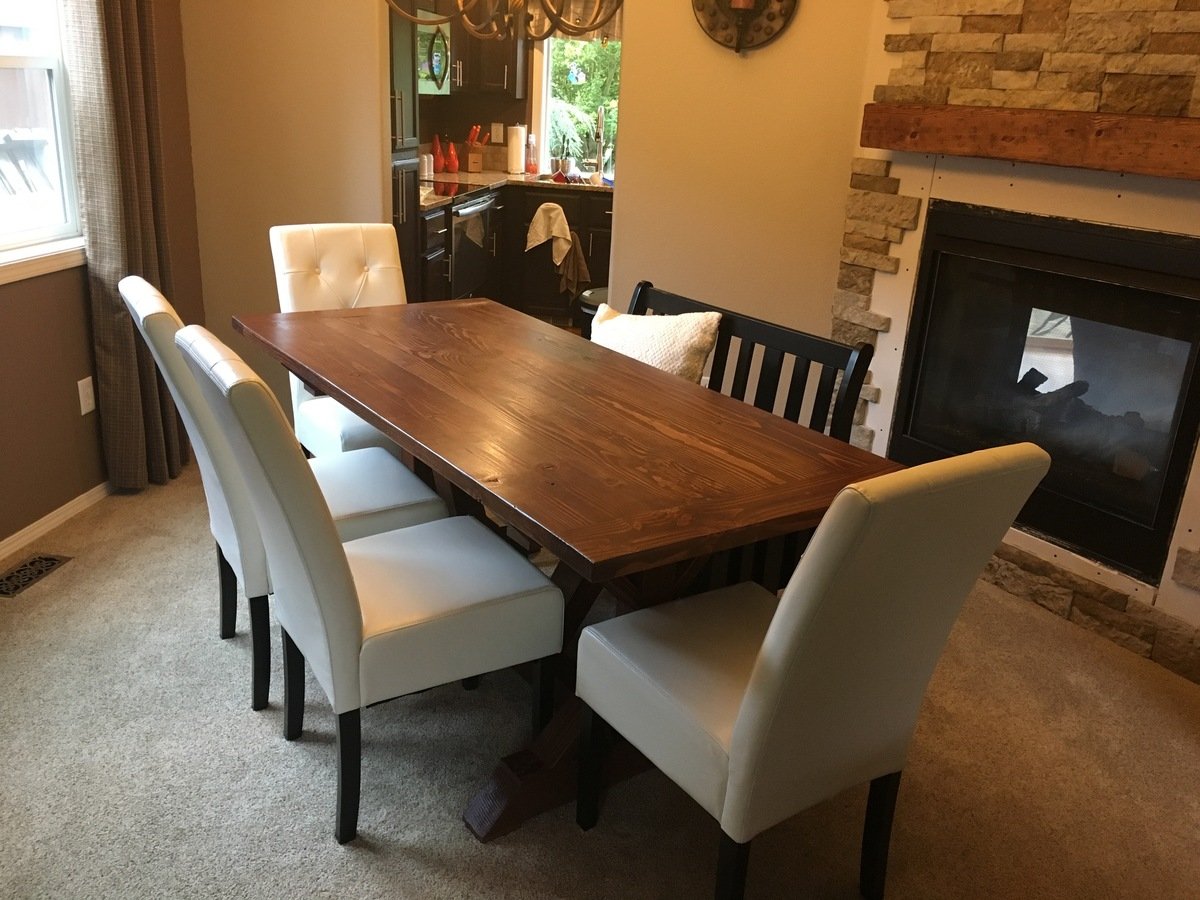
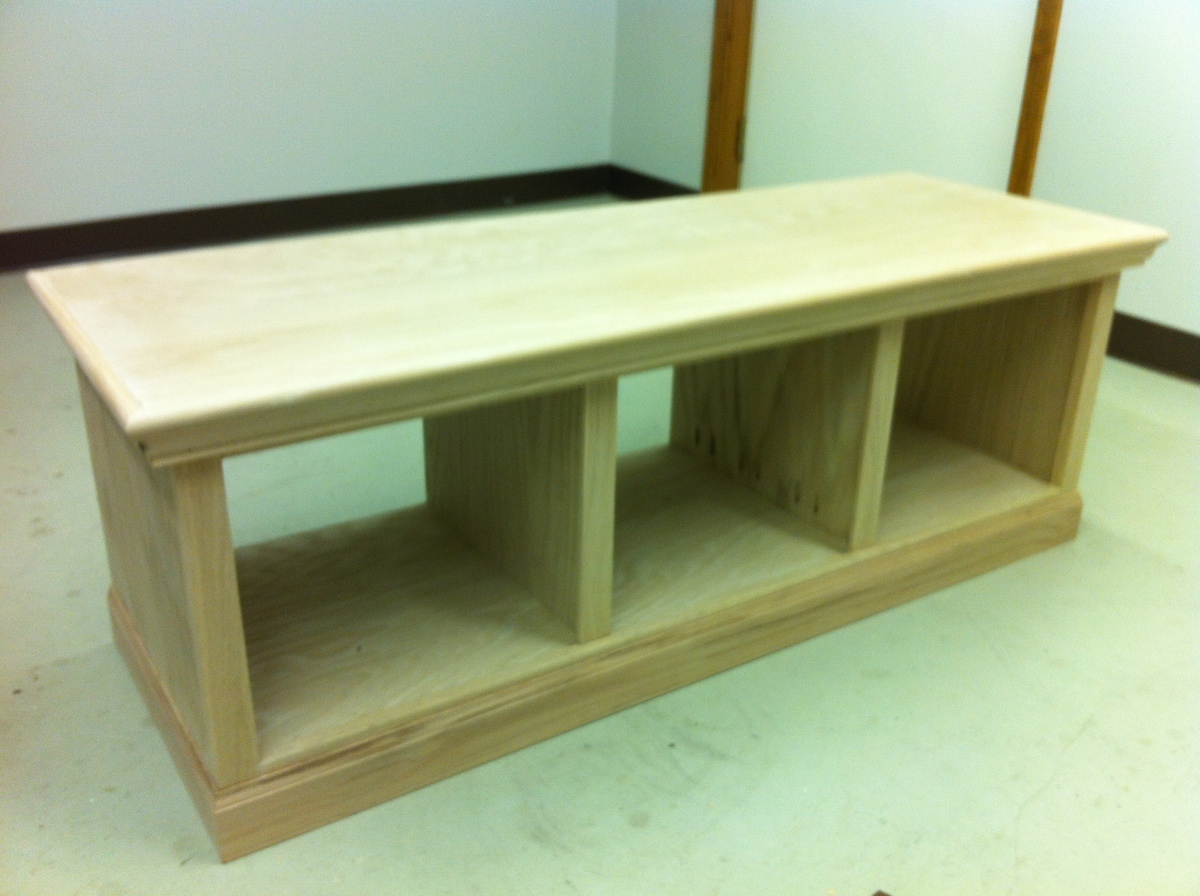
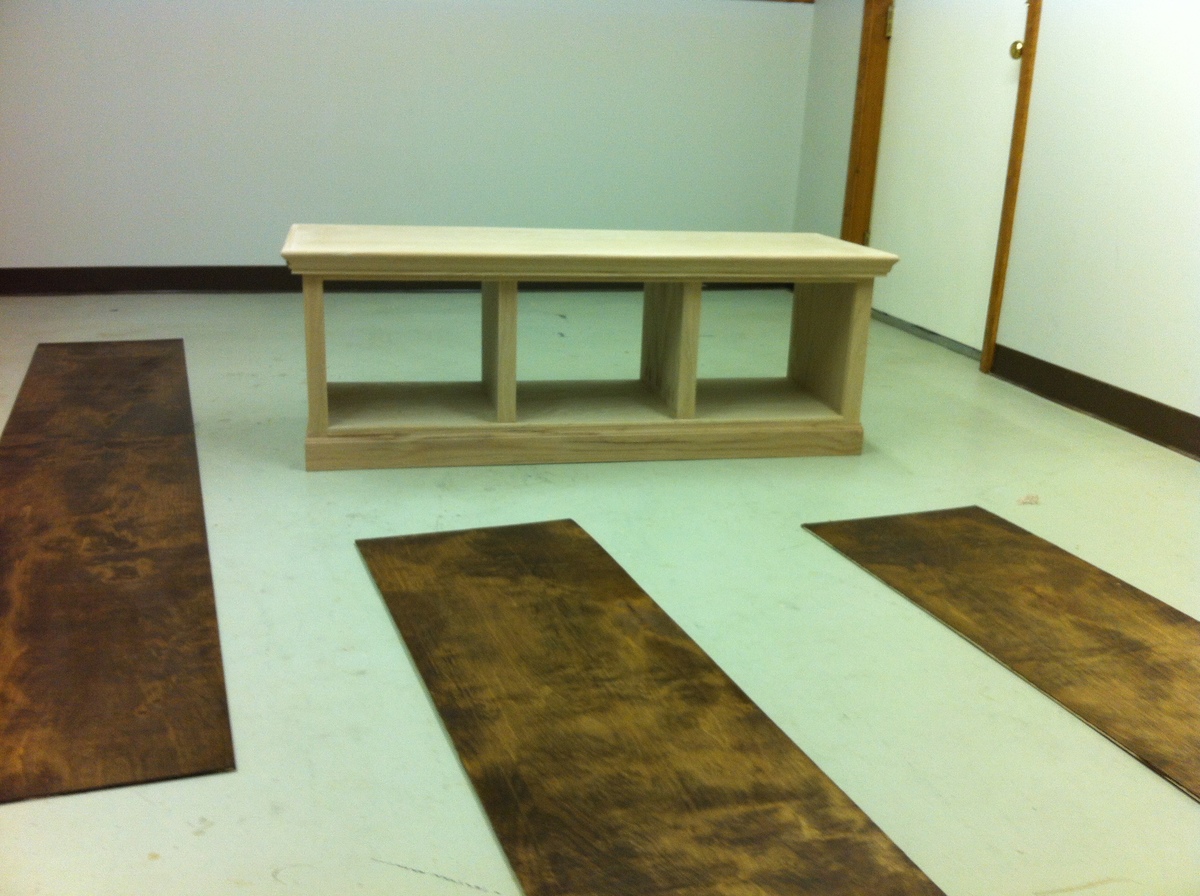
Finish Used
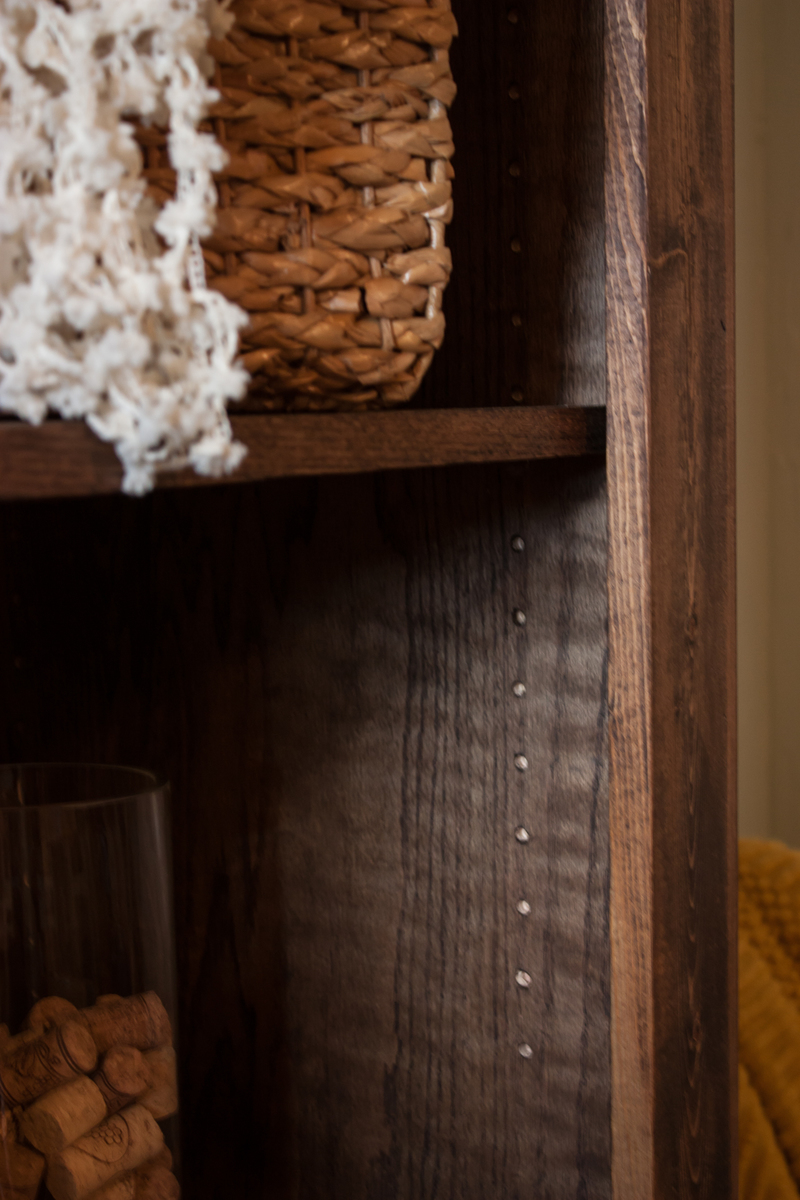
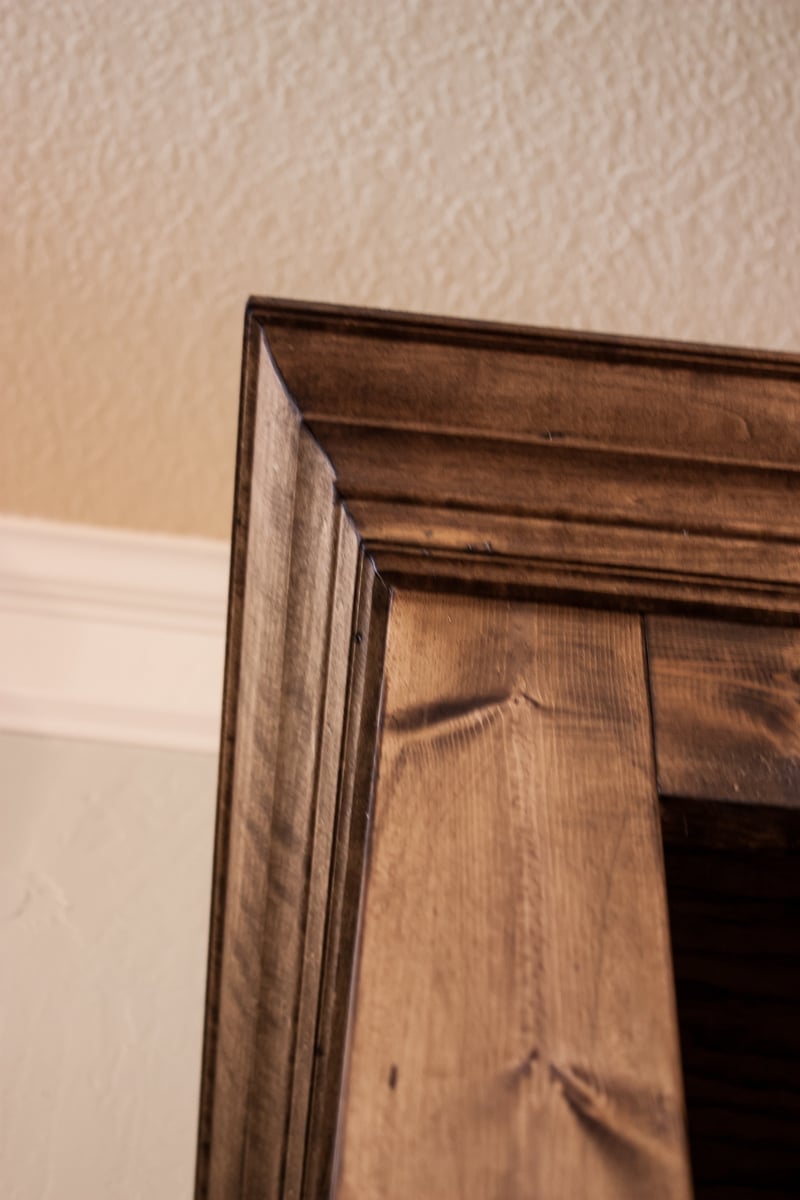
Varathane Dark Walnut (2 coats) and Minwax Polycrylic Satin Clear Finish. 3 coats for the top and bottom shelf and 1 coat all over.
Recommended Skill Level
Beginner