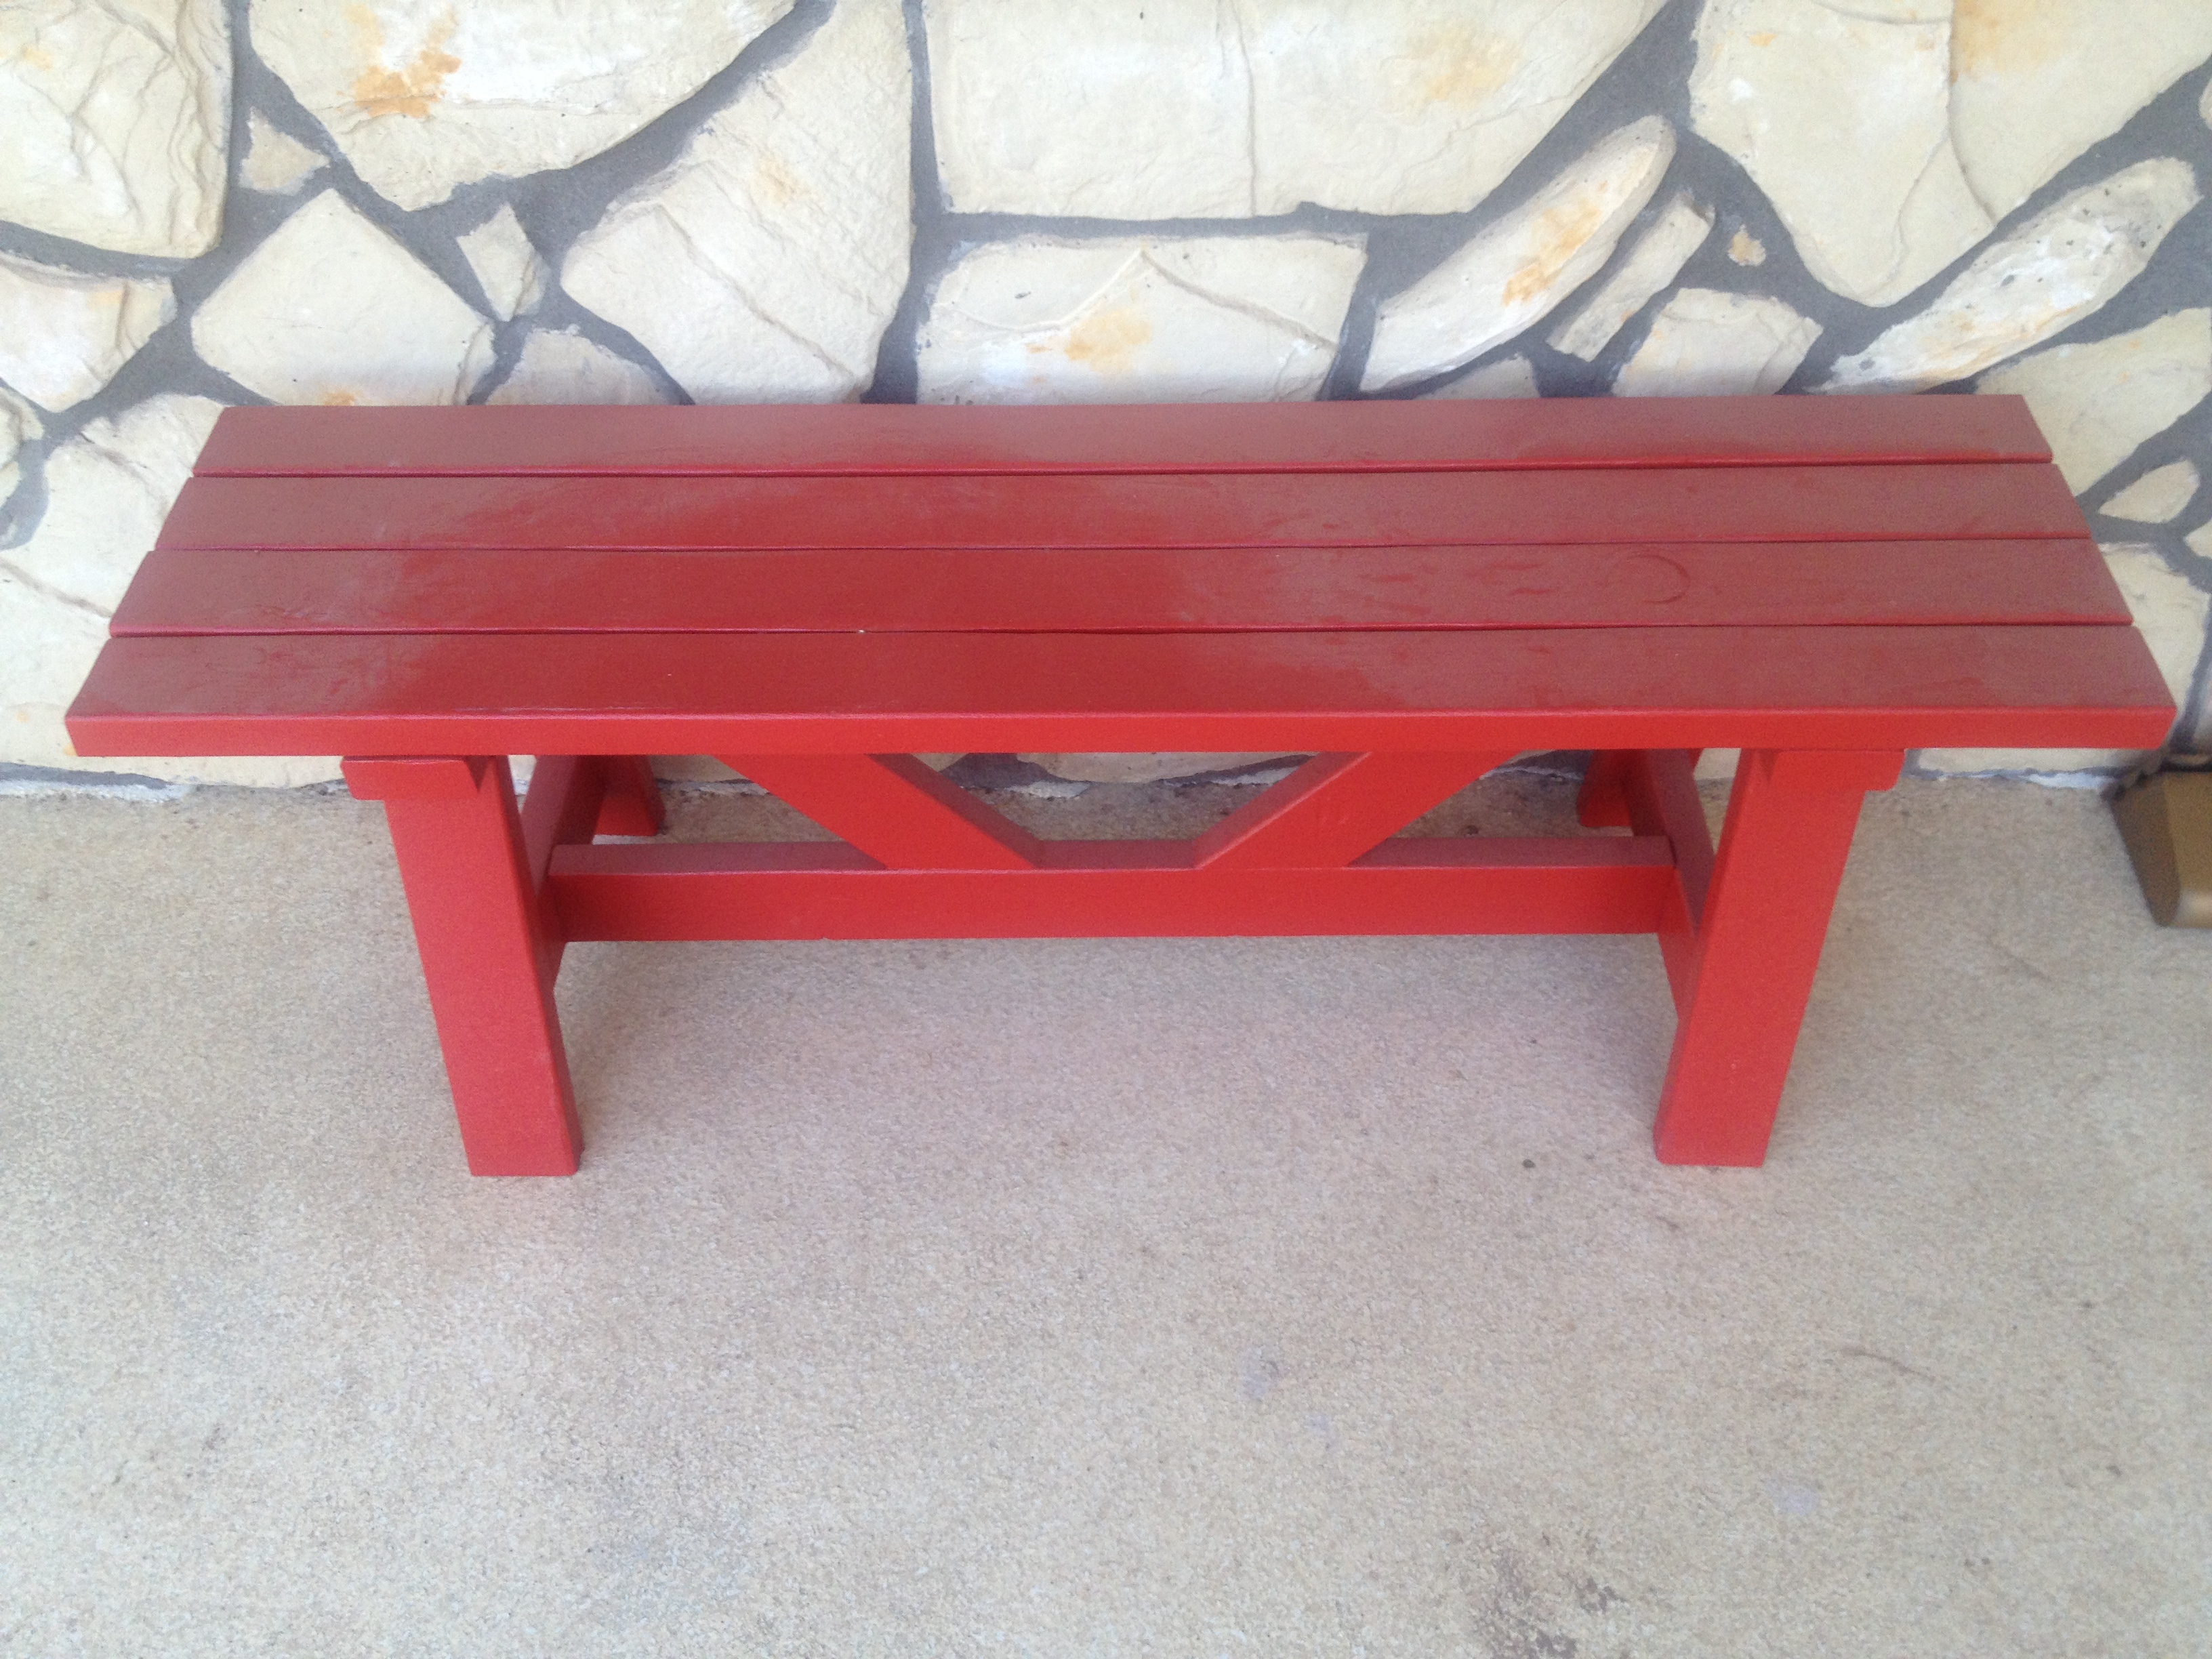
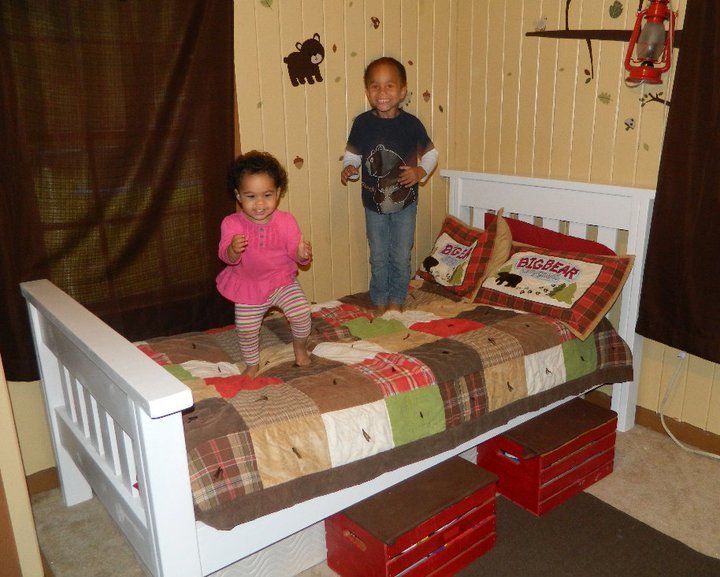
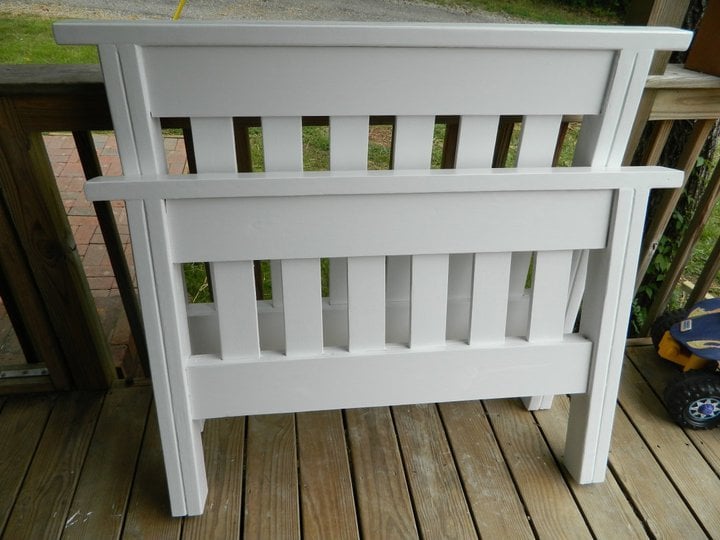
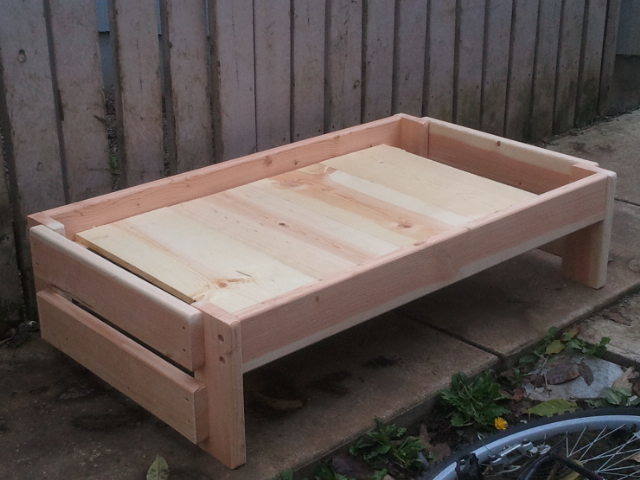
This is a slightly modified version of Ana's Providence bench.
http://ana-white.com/2012/04/plans/providence-bench
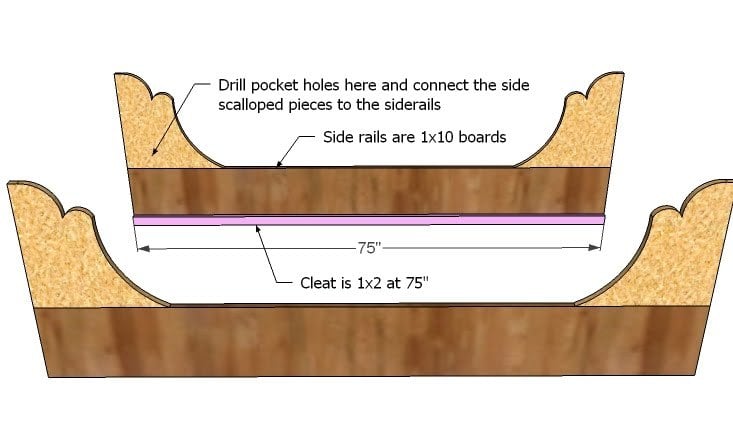
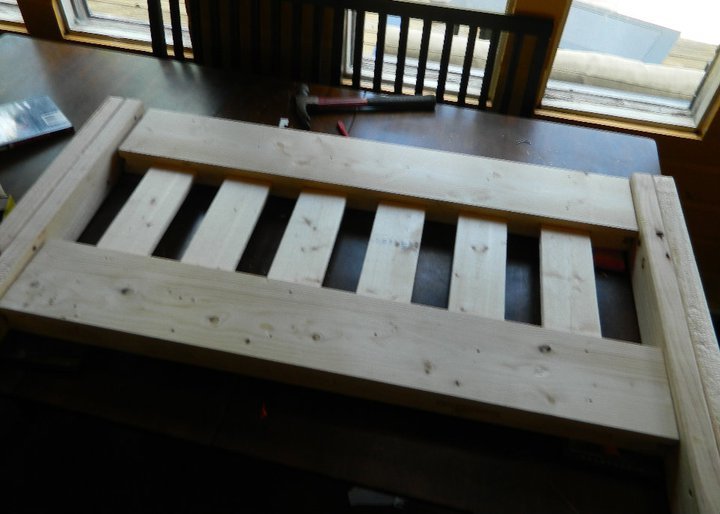
In Step 1, instead of having the bottom supports flush with the end, I decided to center them on the 2x4s.
This means the bottom rail needs to be shortened accordingly.
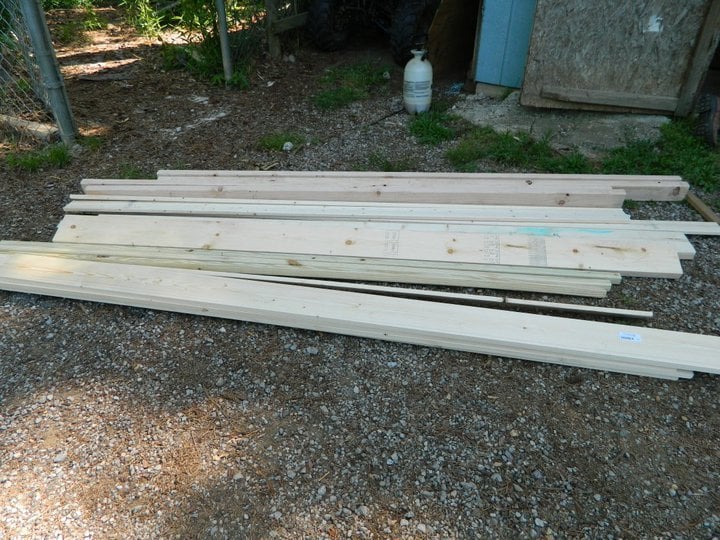
I sanded everything down with 120, and 220 grit sand paper.
I find it easier and quicker to sand larger pieces of lumber than smaller pieces.
Next everything was cut to size, and then primed. I let the primer dry for a few hours, and added the second coat of primer.
I primed all the surfaces, exposed and unexposed. Now some of you may think this was overkill. But since I live in Arizona, I didn't want the wood warping. This also protects if from all the elements.
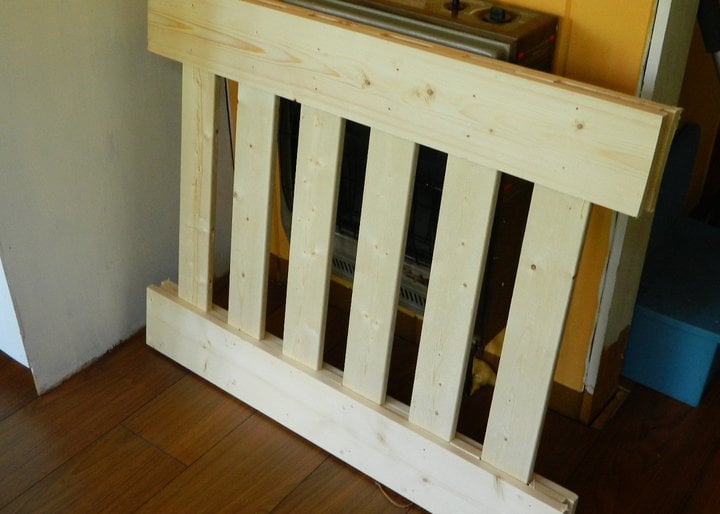
Next day, it was all assembled, this took a few hours, we used a kreg jig to make most of the holes, I didn't have the right kreg screws, so I just used outdoor deck screws.
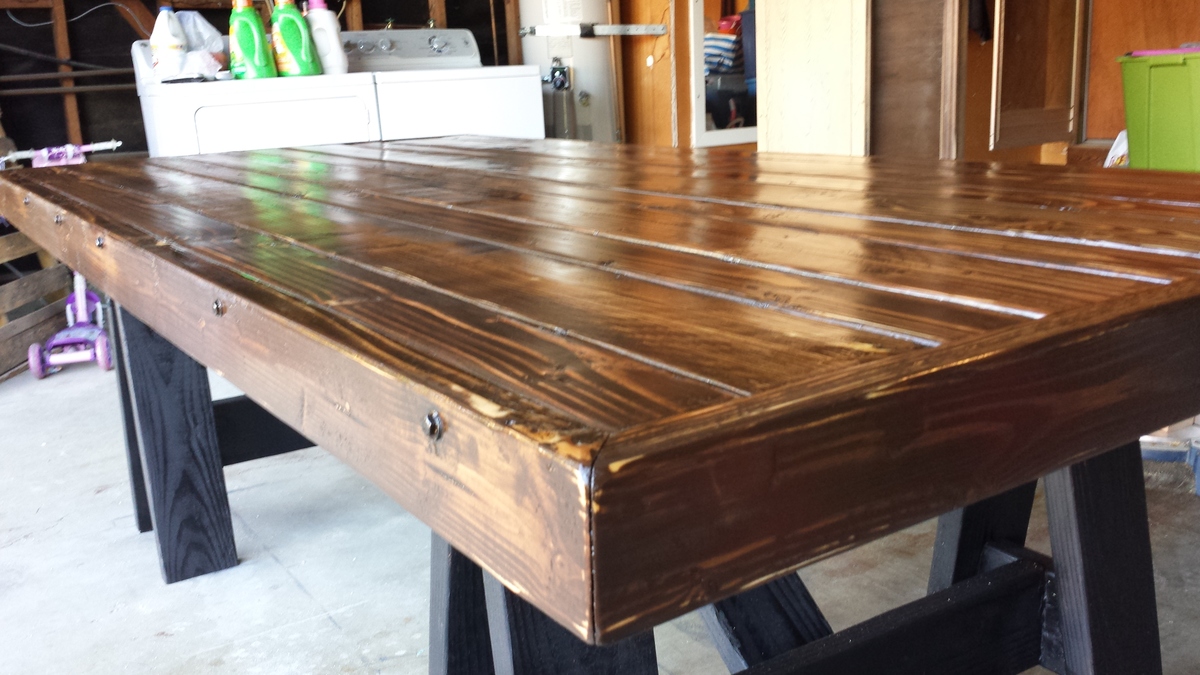
Finishing:
I filled all the holes with wood putty. This needed to be done several times, because putty shrinks, more so in the heat here.
Eventually, sanded it all down with 220 grit lightly, just so that there were no tell tale signs.
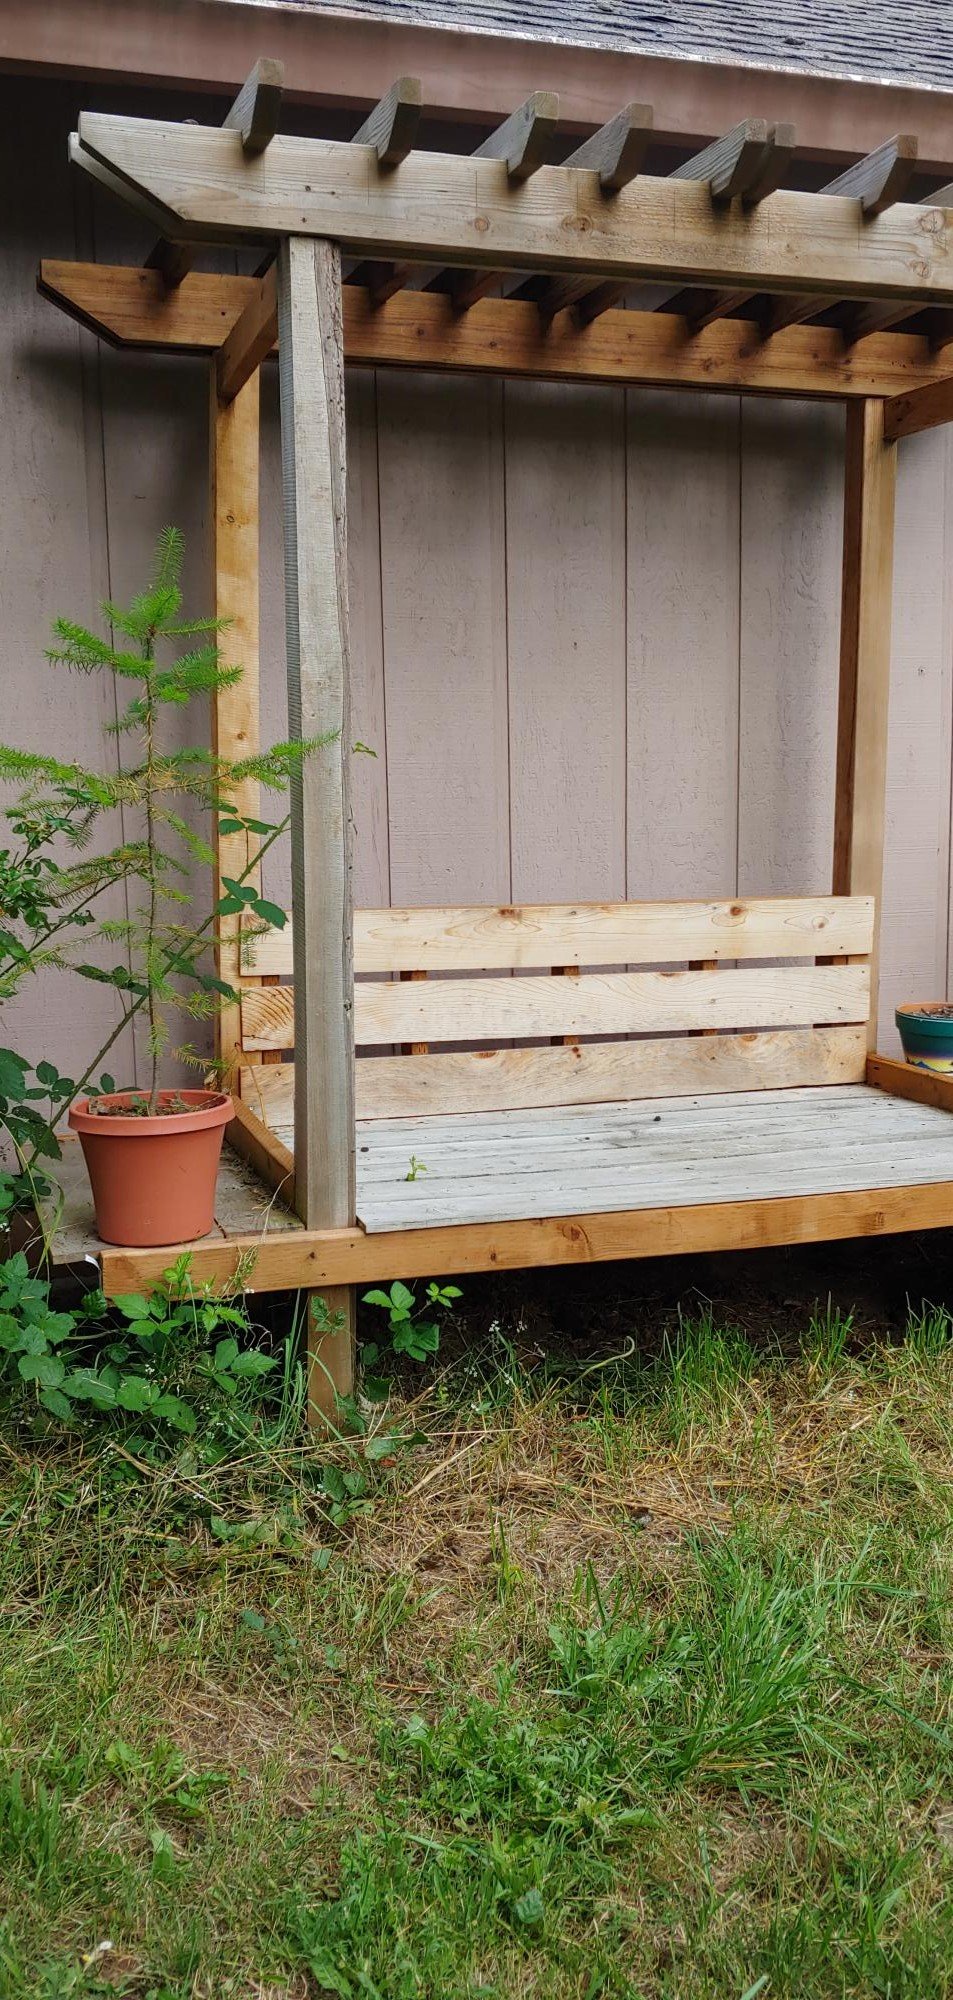
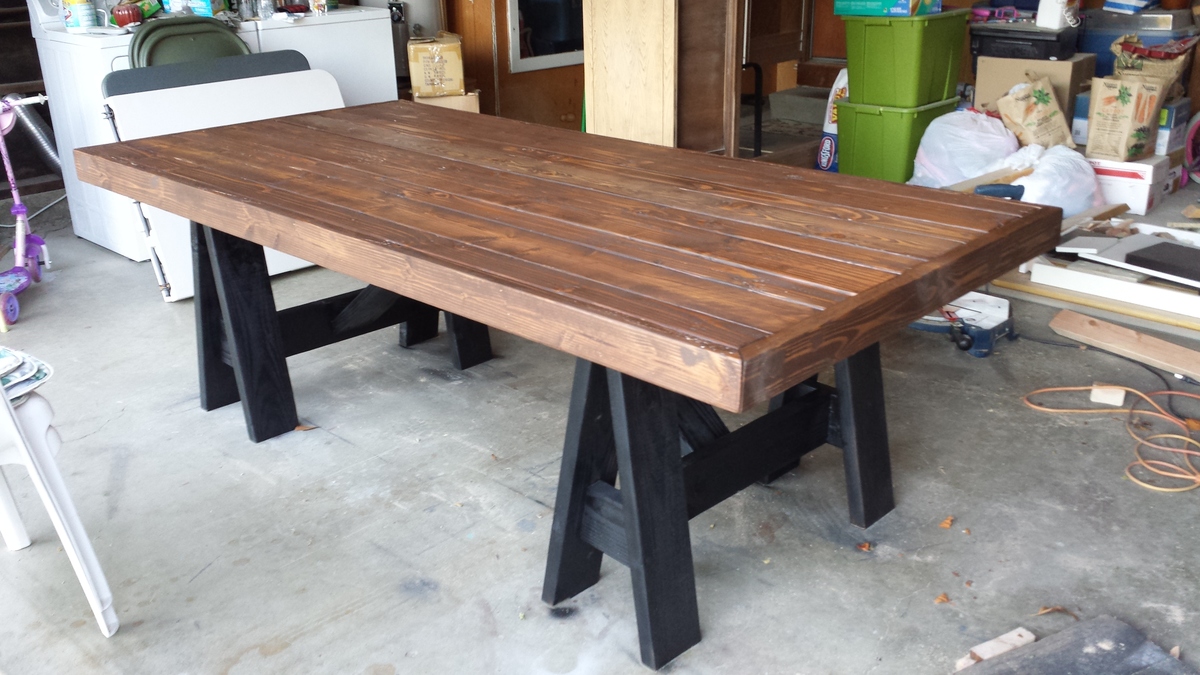
Next painted the bench red a few times. I needed about 2 coats to get it just right..
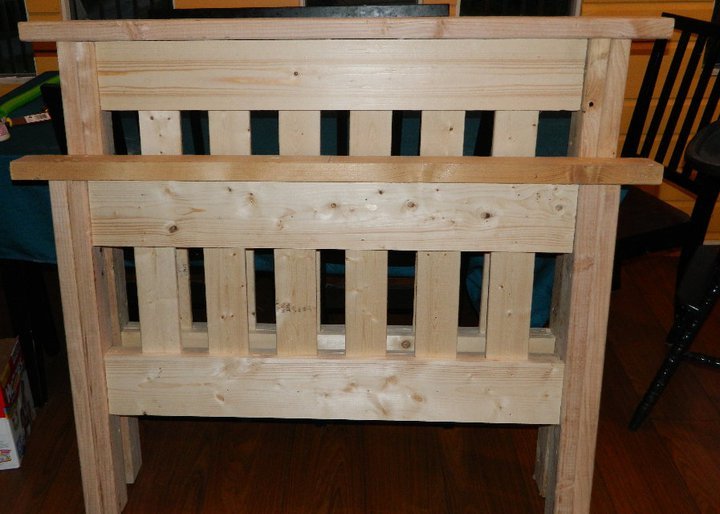
My contractor commented on how sturdy this bench was, coming from him, that's quite a compliment, it turned out to be A LOT sturdier than I thought it would be based on how flimsy those angled supports were...
It matches my red front door and is a great place to have my morning coffee and put my shoes on.


Comments
vic b
Mon, 08/19/2013 - 23:46
just so cute. love it.
just so cute. love it.