Ken and Matt's Farmhouse Table
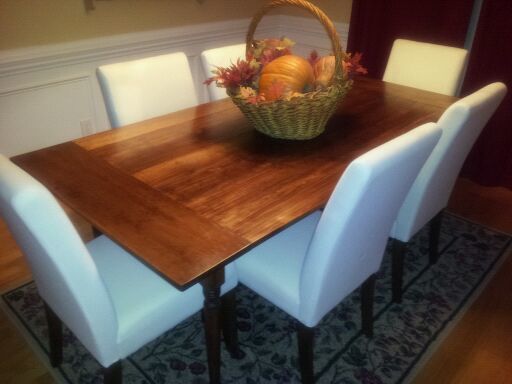
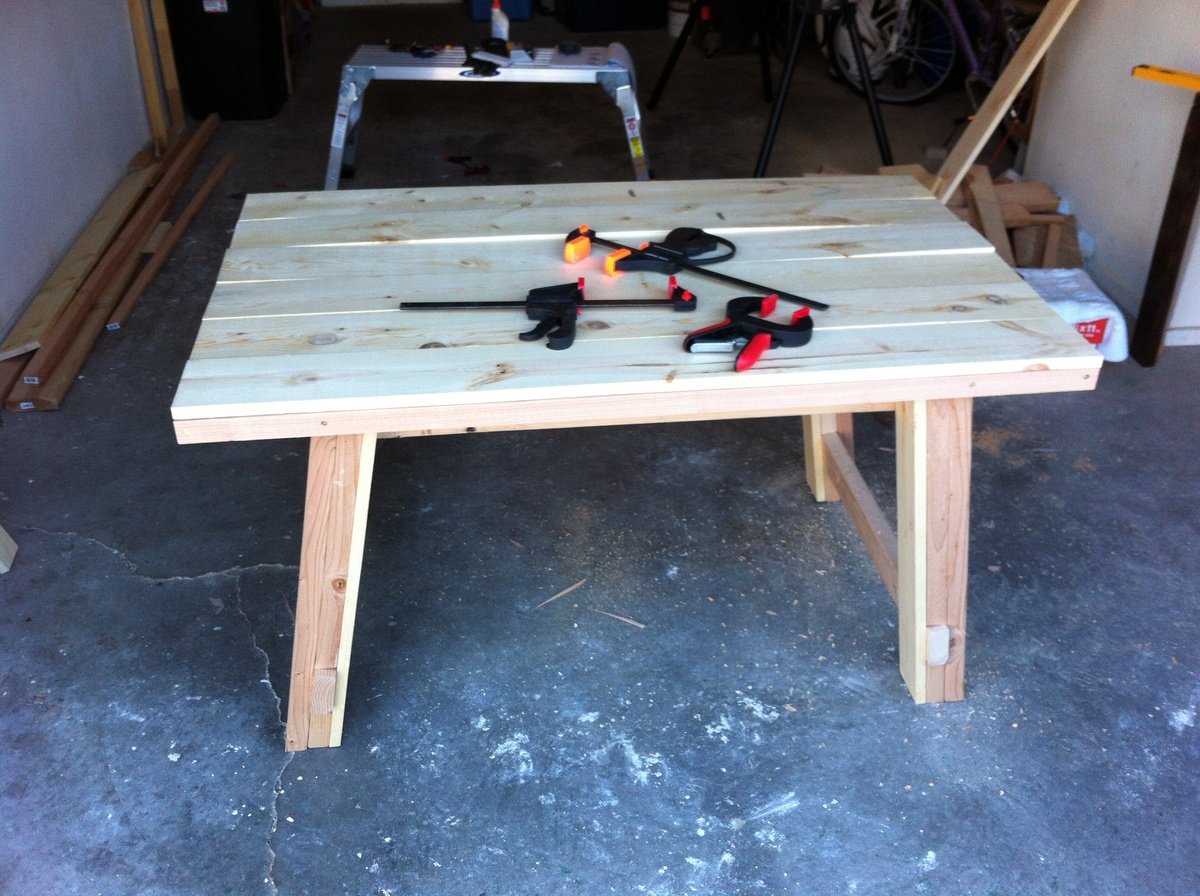
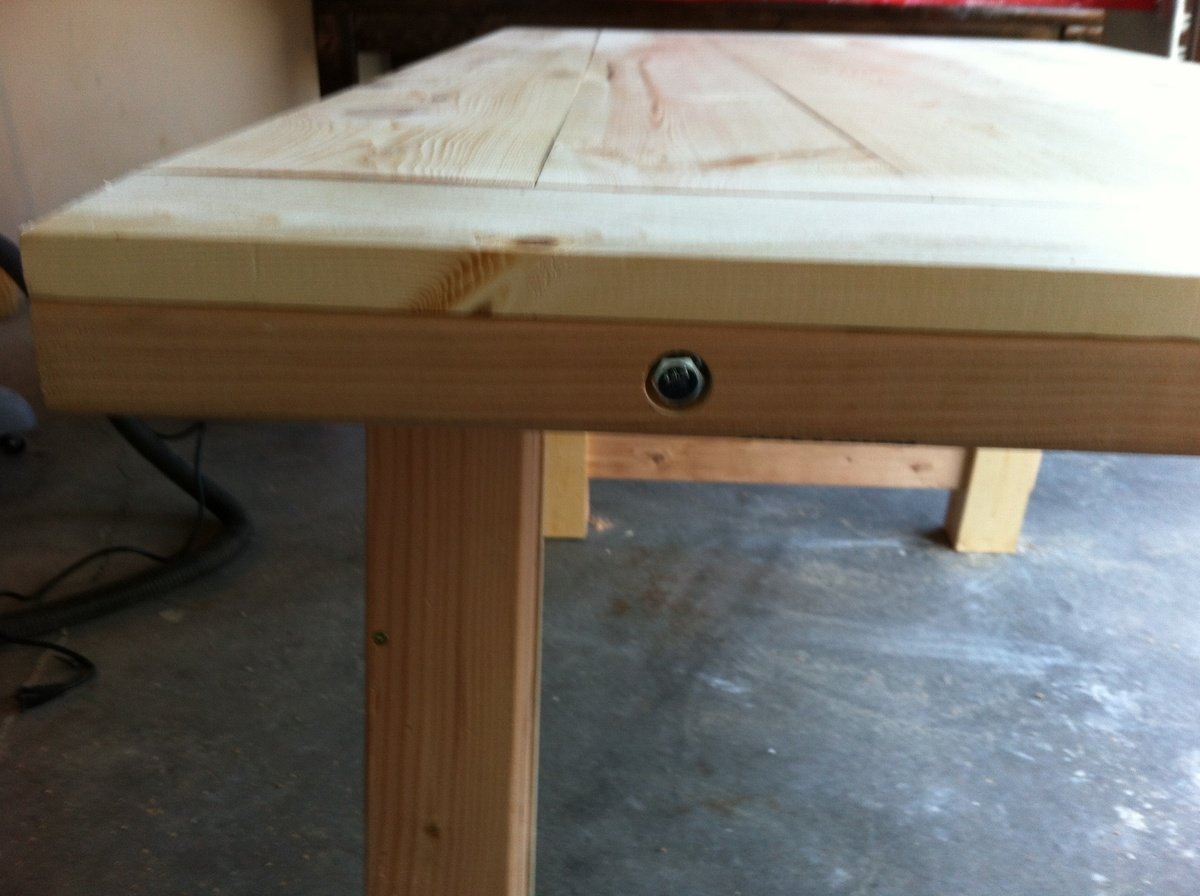
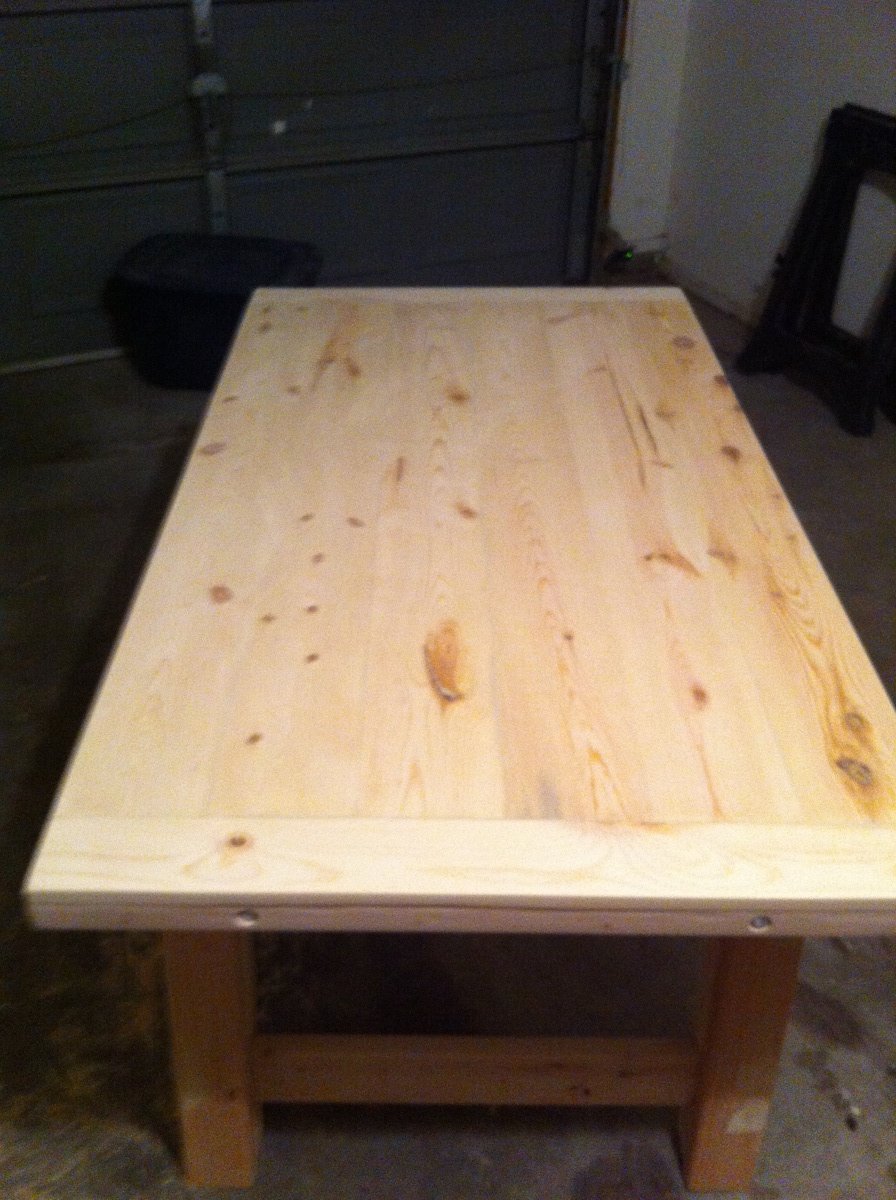
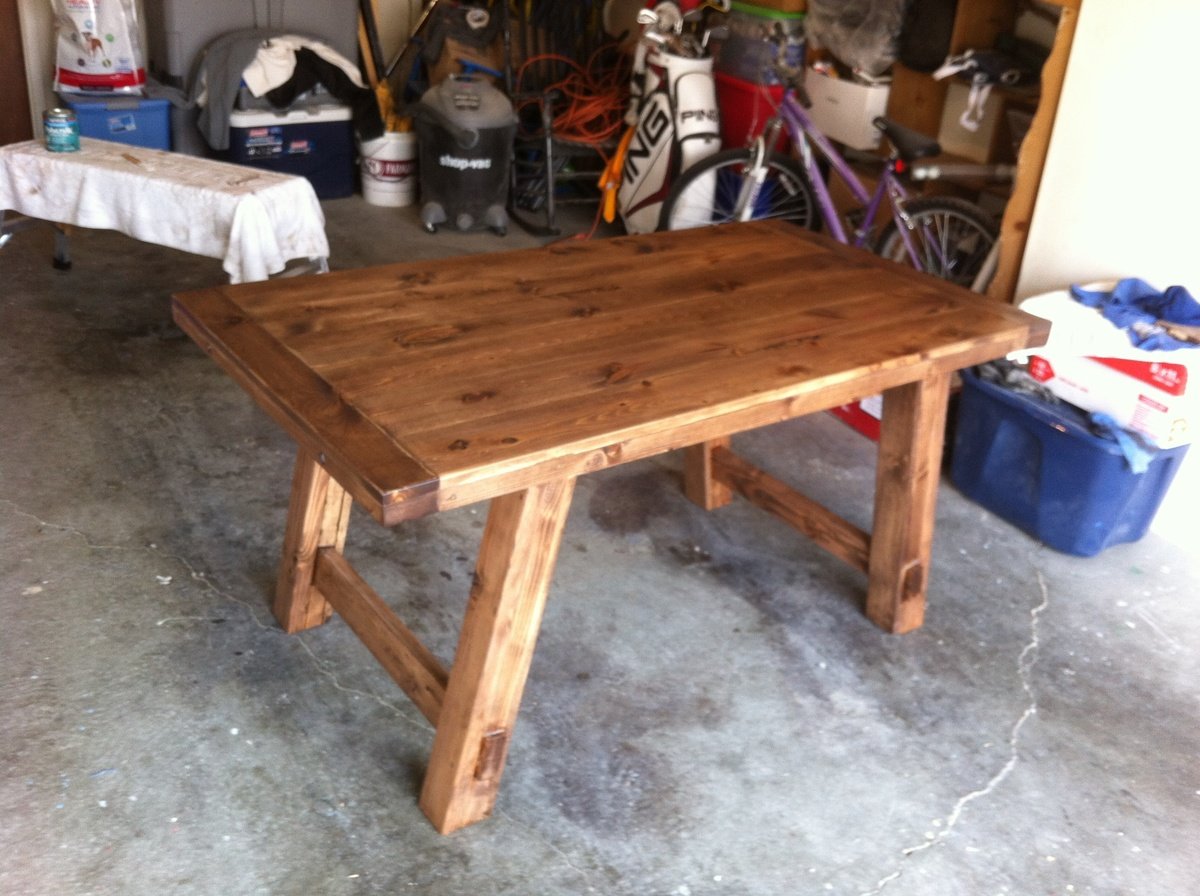
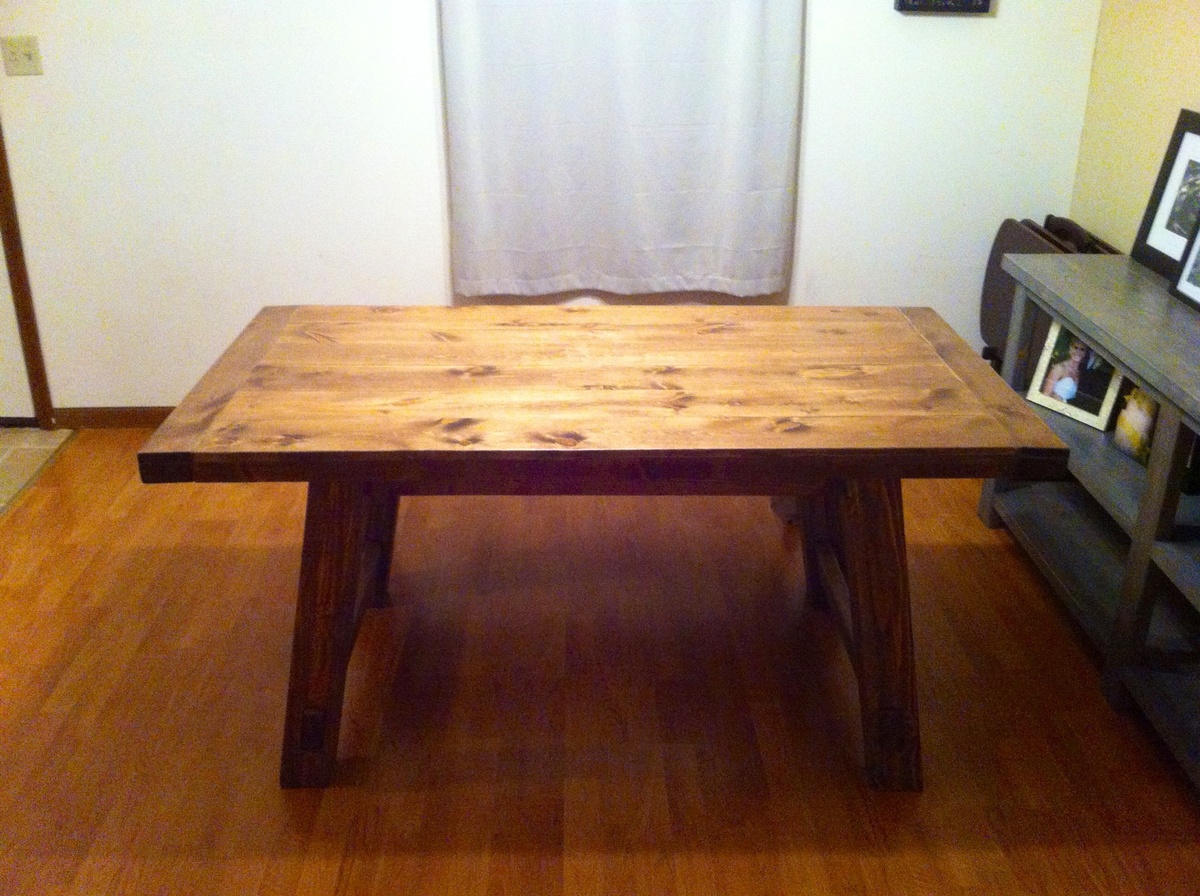
We used the Farmhouse Table plans but made a few modifications to get the look my wife was looking for. We've since built a cupboard to go with it.

We used the Farmhouse Table plans but made a few modifications to get the look my wife was looking for. We've since built a cupboard to go with it.
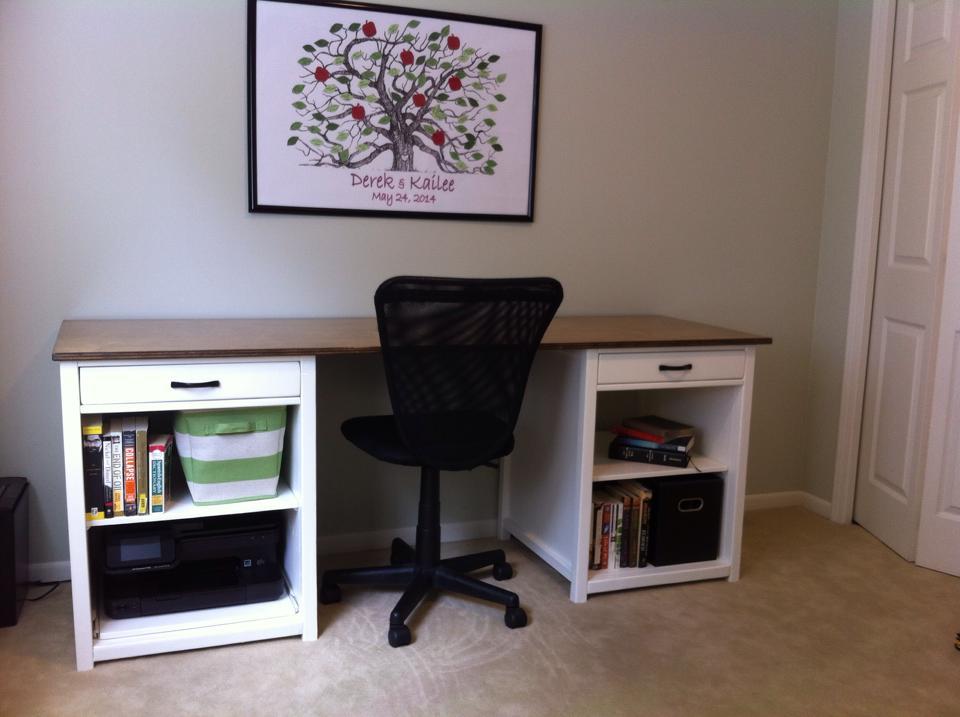
My husband is finishing up his last year of graduate school and needed a big desk for all of his engineering homework.
We changed the plans a bit by making the shelving unit a bit narrower (just wide enough to fit our printer), adding a second shelving unit (which then made the whole desk longer) and making the desk deeper so it would be easier to fit more stuff on top. We also added a sliding shelf so we could pull out our printer.
It ended up being about 72" long, 24" deep, and each shelving unit was about 20" wide.
This desk ended up driving up crazy. Drawers are SO difficult to get exactly square and perfectly lined up. The left one turned out a little bit crooked but we gave up on it and left it like that. This is the major reason I ranked this project as intermediate. In my opinion paint is more difficult than stain, because it filled in some of the gaps between the wood pieces but not all of them.
Our maple plywood for the desk top took our stain kind of funny so I spent a lot of time trying to sand out the messy parts. The polyurethane also went on funny, but when I finally had the third coat perfect and ready to go, someone left a paint can on top of the desktop before the poly was completely dry. I had to sand out the mark and start all over again with the poly. Argh.
Even with all the frustrations, we ended up very happy with this desk. If you look super close you can see the little mistakes, but from a normal distance the desk looks great! My husband can spread out with all of his homework!
Used wood top instead of concrete.
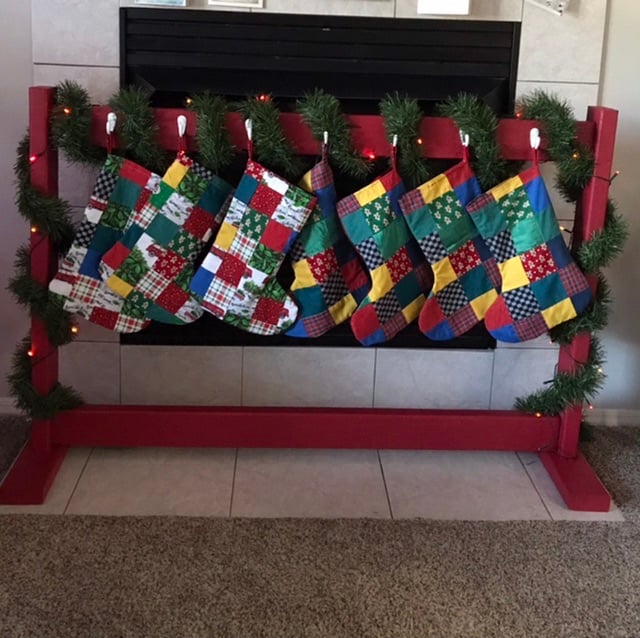
I wanted to show you the stand we made this year, using your plans. It was a big hit! I made the base pieces 15” long for added stability since we put 7 hooks on it and plan to add more to the “backside” as our family is growing.
Thank You for sharing !
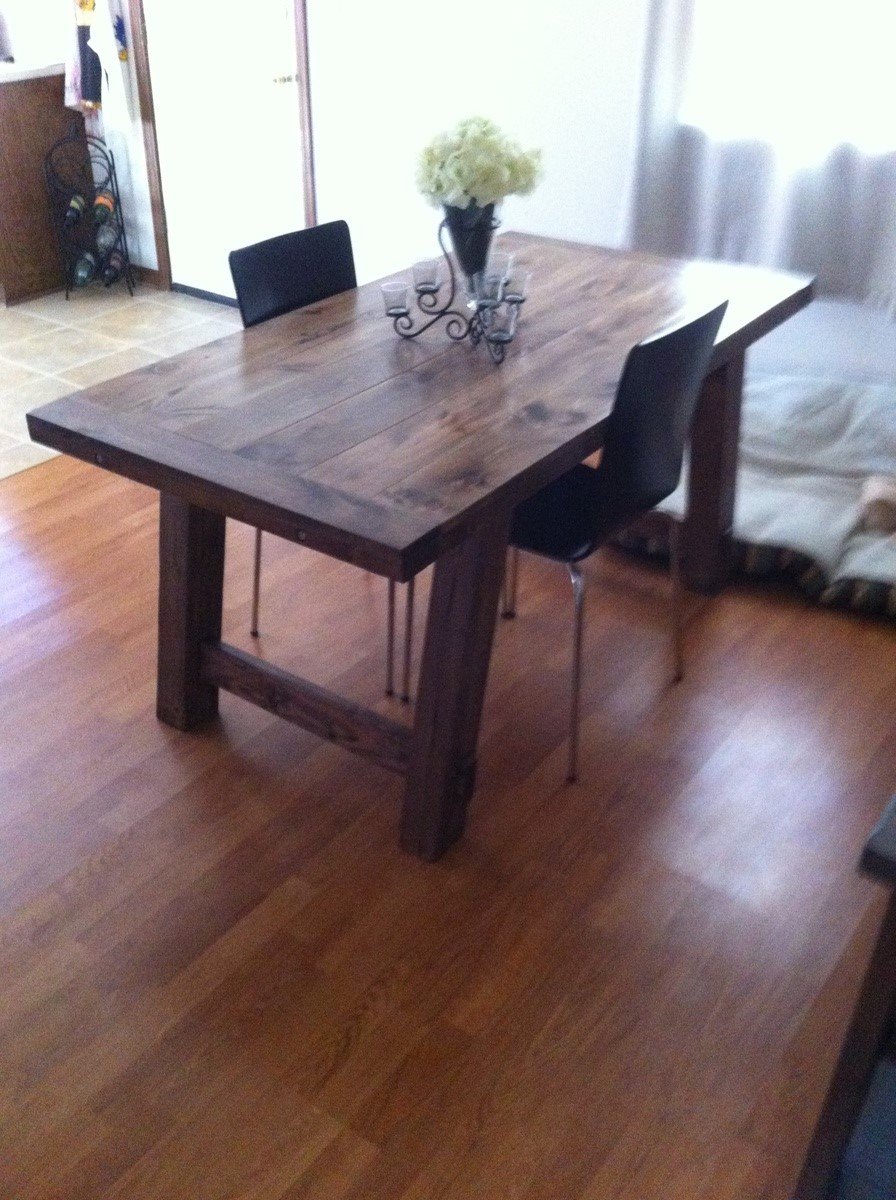
Benchright table from Ana Whites plans. Made it 5 foot long to fit out space.
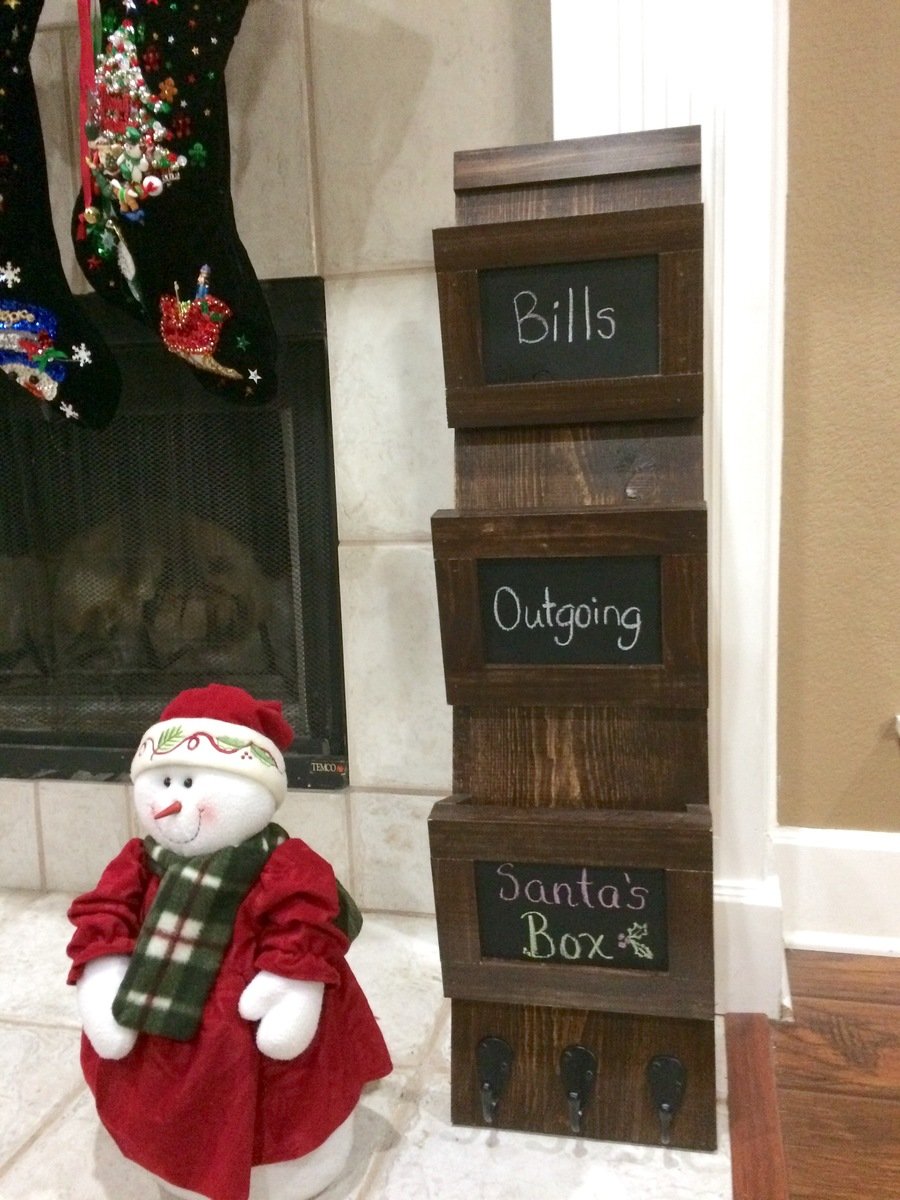
Great quick project. Made two so that I could give one as a gift. Used chalkboard paint so I could change box names. Made bottom box a Santa box for the Christmas season.
Built this using Anna White's "MIMI'S FAUX MANTLE" but instead of using crown molding I elected to use STONE TILES in neutral tones and finished the surround and mantle in white giving the piece a nice soft appeal. The building plans were easy to follow and took about 2 days to complete the whole process (because of drying times) not to mention how reasonable the cost was. I already had the tiles, adhesive, and paint from left over projects.
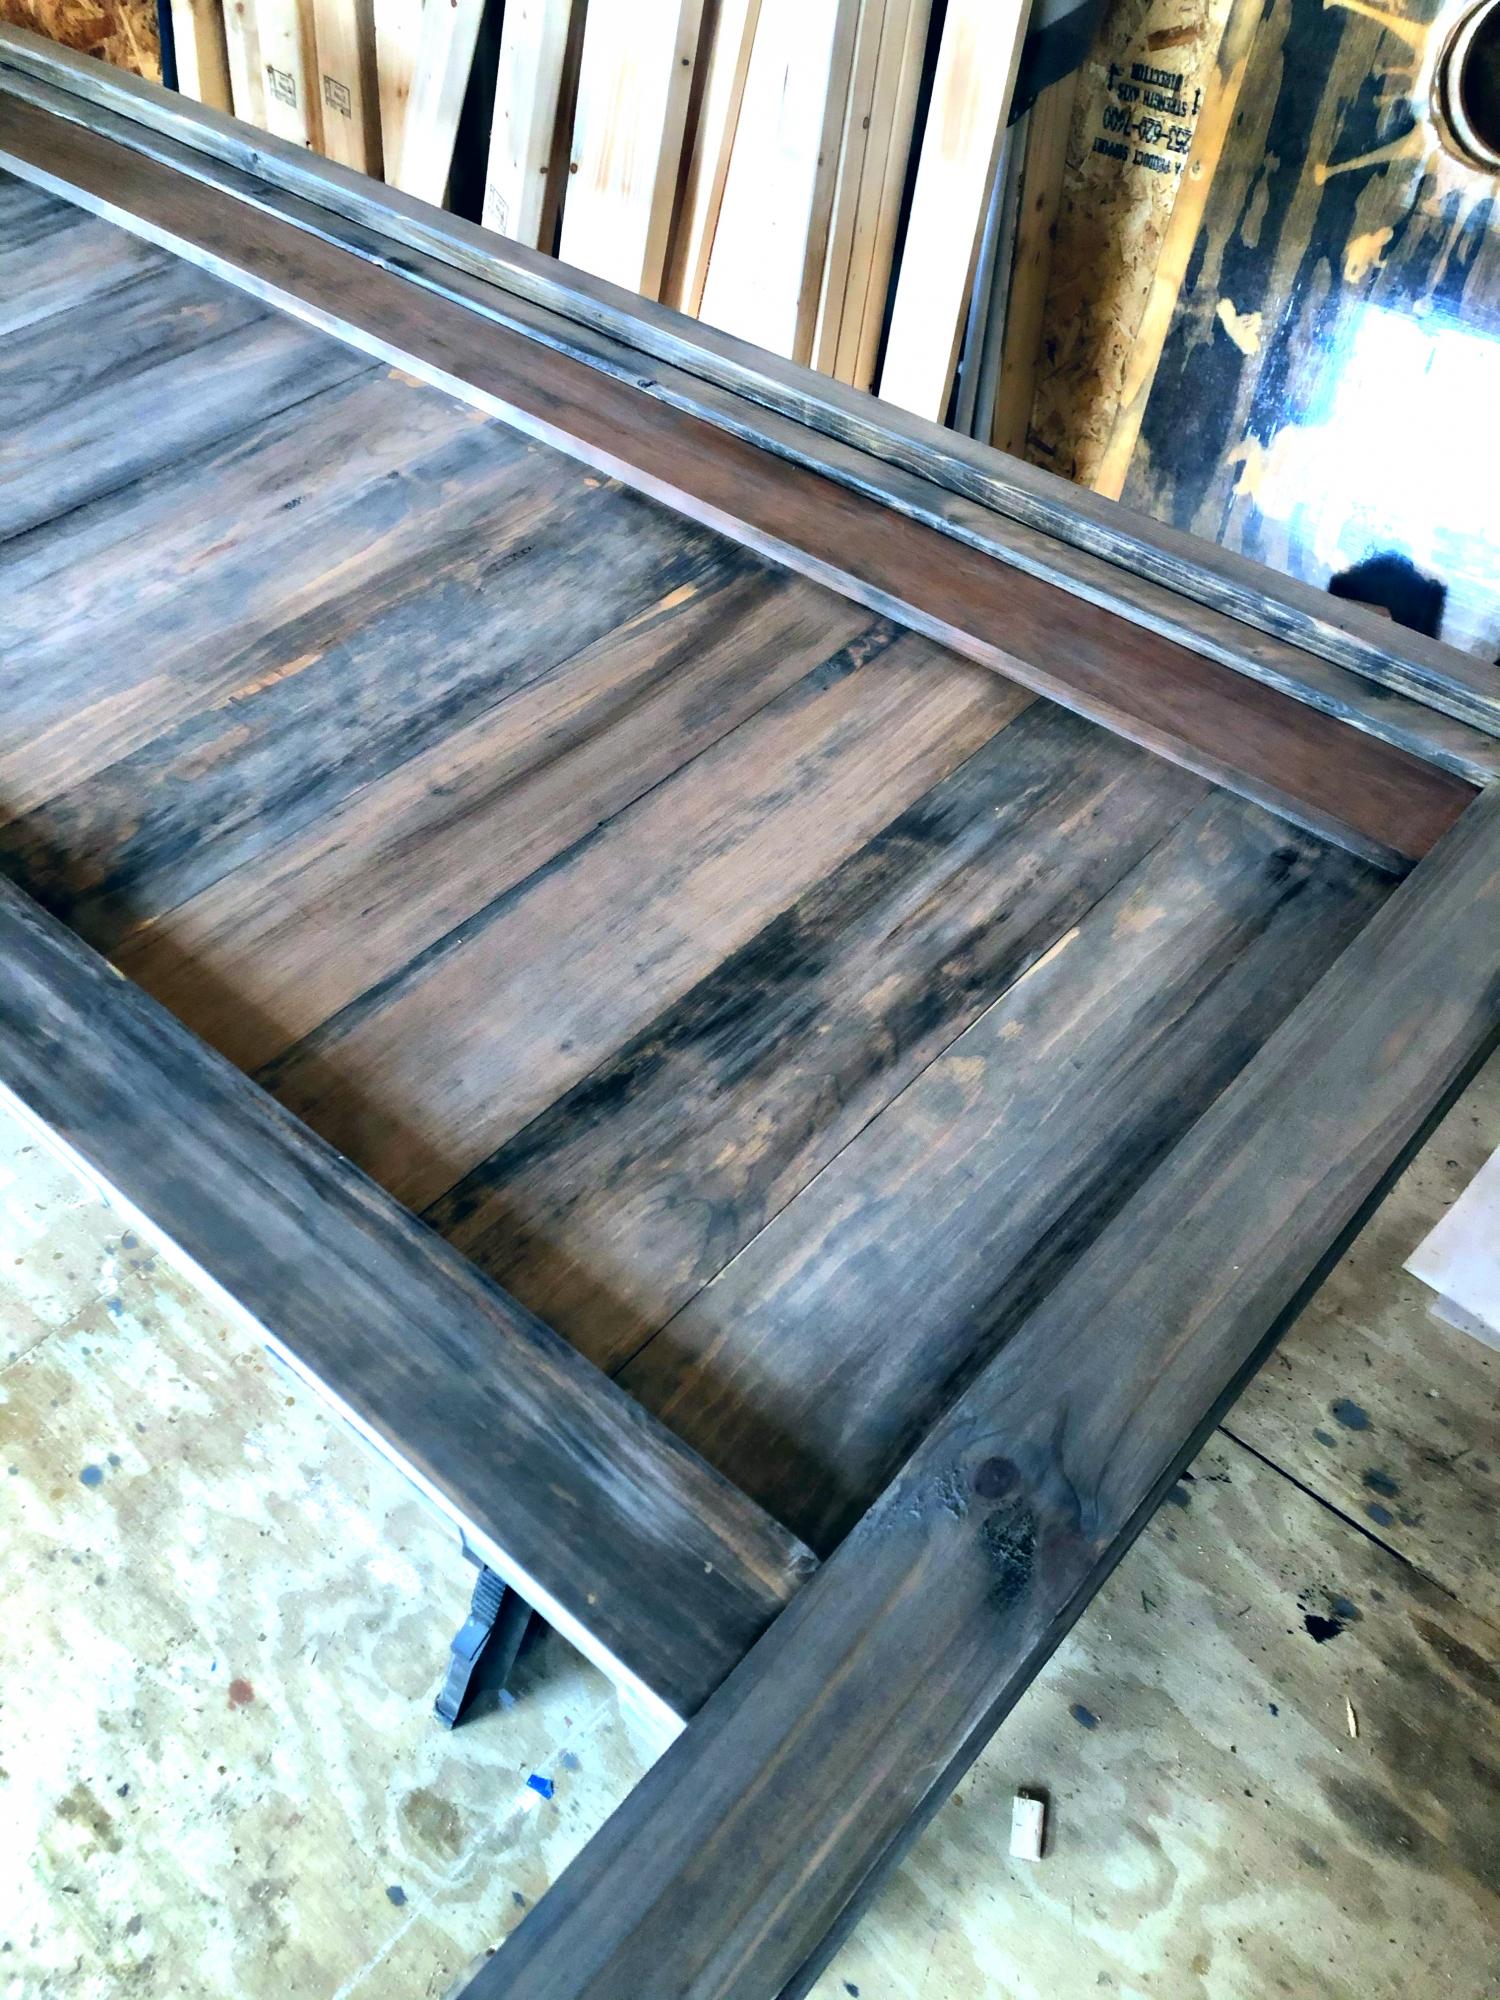
Distressed antique wood finish curing nicely. Minwax common grey, dark walnut, and an off-white latex limewash. Stoked for the mattress to arrive!
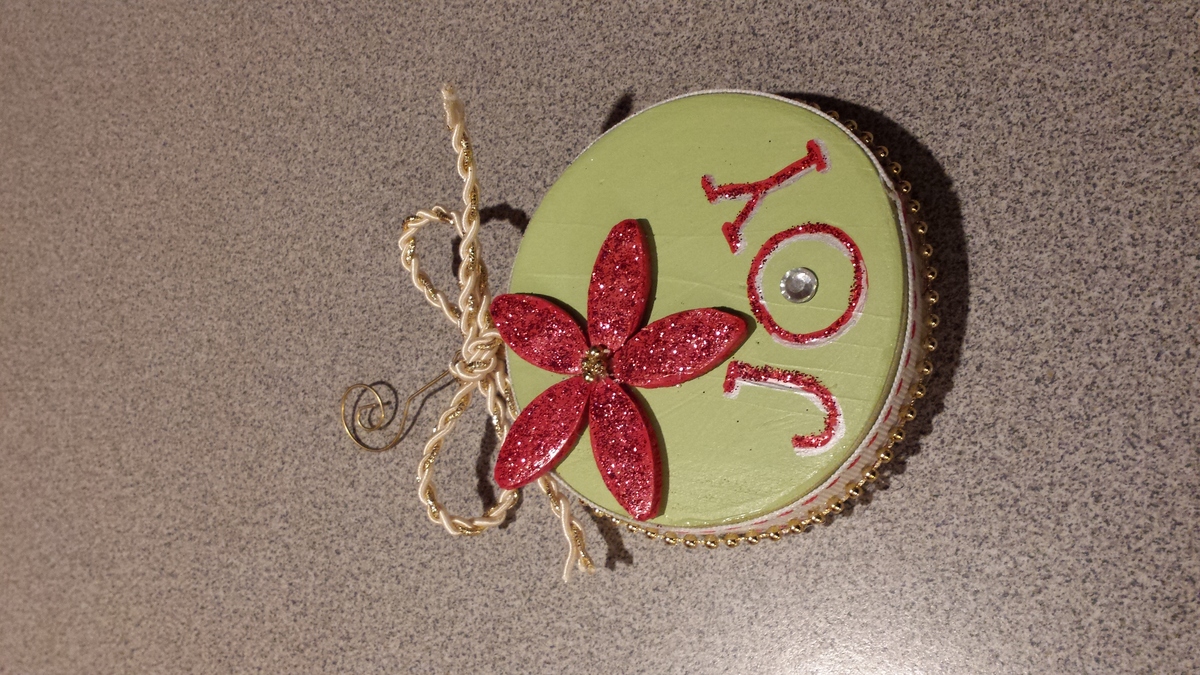
I will be getting together with my girl's group and exchanging ornaments, which are supposed to be handmade. I was determined to use only what I had on-hand. I didn't use a plan and this is what I came up with. I did have to go buy the bling, sparkles and a hook but I had everything else. I'm pretty happy with it. By the way those pedals are made from wood biscuits! Not sure why this is uploading sideways as its not sideways in my file.
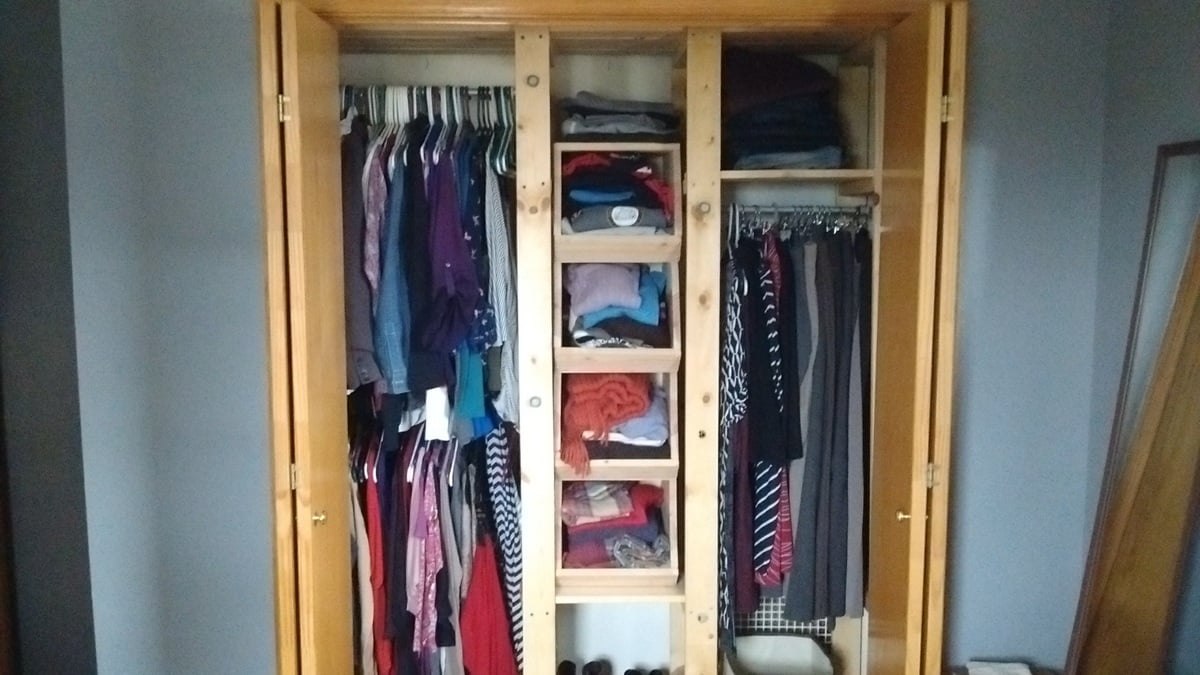
I originally built this for a small closet in an old home. When I moved, I took it with me and was able to rearrange it to fit in a traditional closet. The center section is a modification of a toy storage plan that I use to store folded clothes.
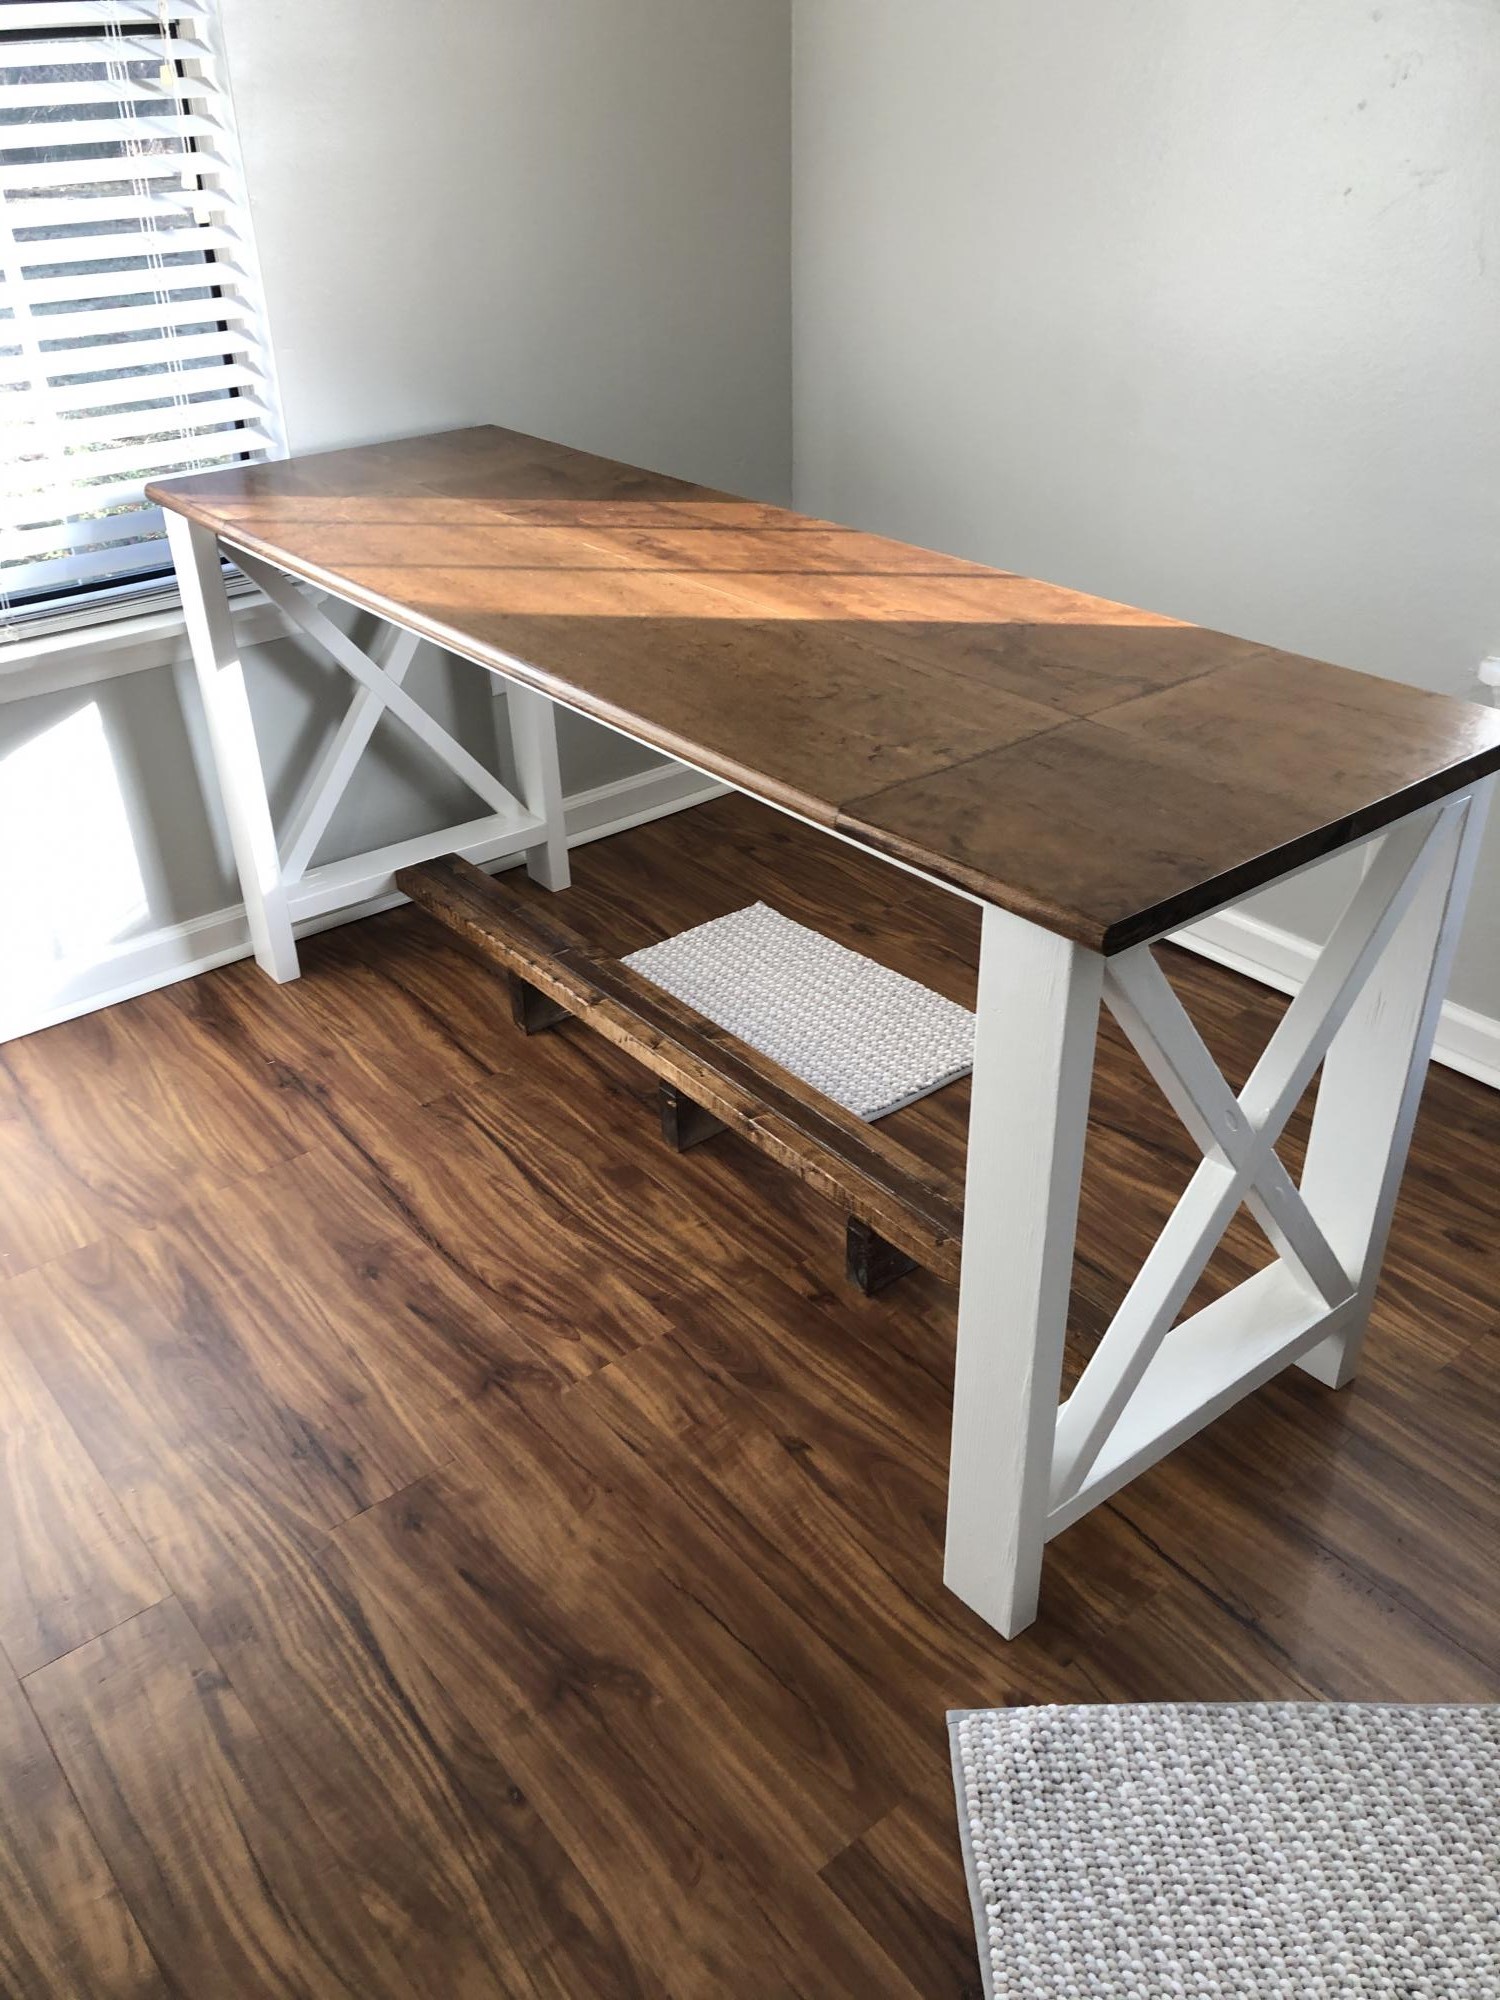
I needed a 6 foot desk, but could not find one online that I liked that was within my budget.. I decided to make this desk and modified it to a 6 foot with a foot rest in the middle so I can have both sides functional and have a spot to put my feet up... I also added 8 shaped fasteners to attach the top to the base.. I was so inexperienced when I started this project that I had to watch videos on how to use a drill and the pocket hole jig...So if I can do this, anyone can, Thanks Ana for inspiring me!! I am on fire to do so many more... !! I need so much more tools now!!!
Mon, 01/04/2021 - 09:54
I am so happy to see your first project, I'm sure there will be more to come! Thanks for sharing:)
My husband and I needed a new coffee table. While browsing this website we found one we liked. We changed it up a little to make it taller. Hubby also added more wood inside of the table to make it heavier.
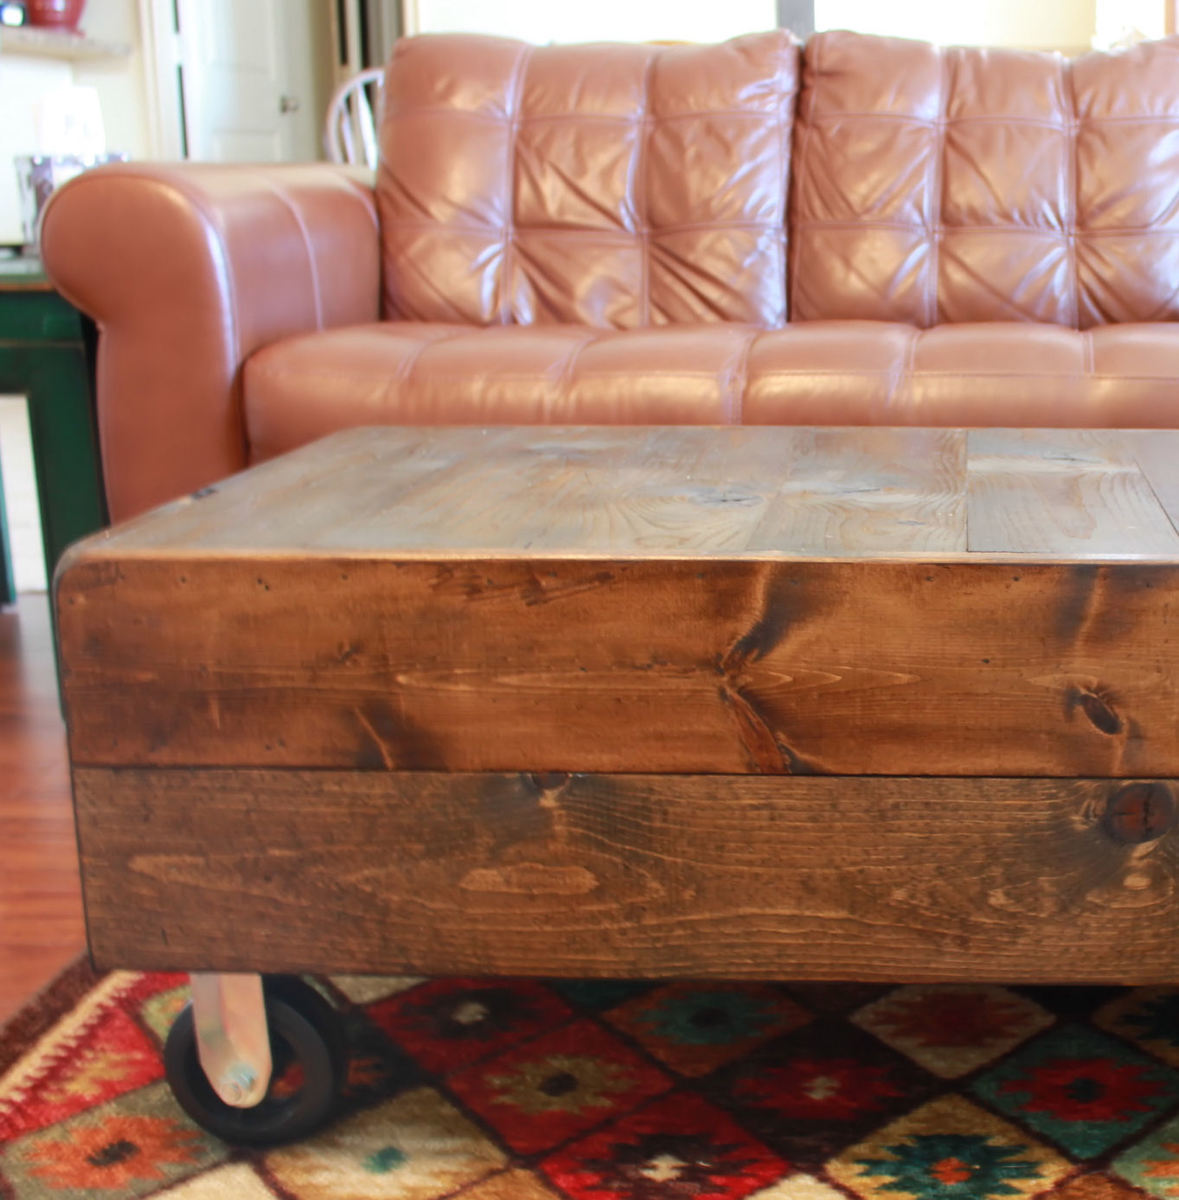
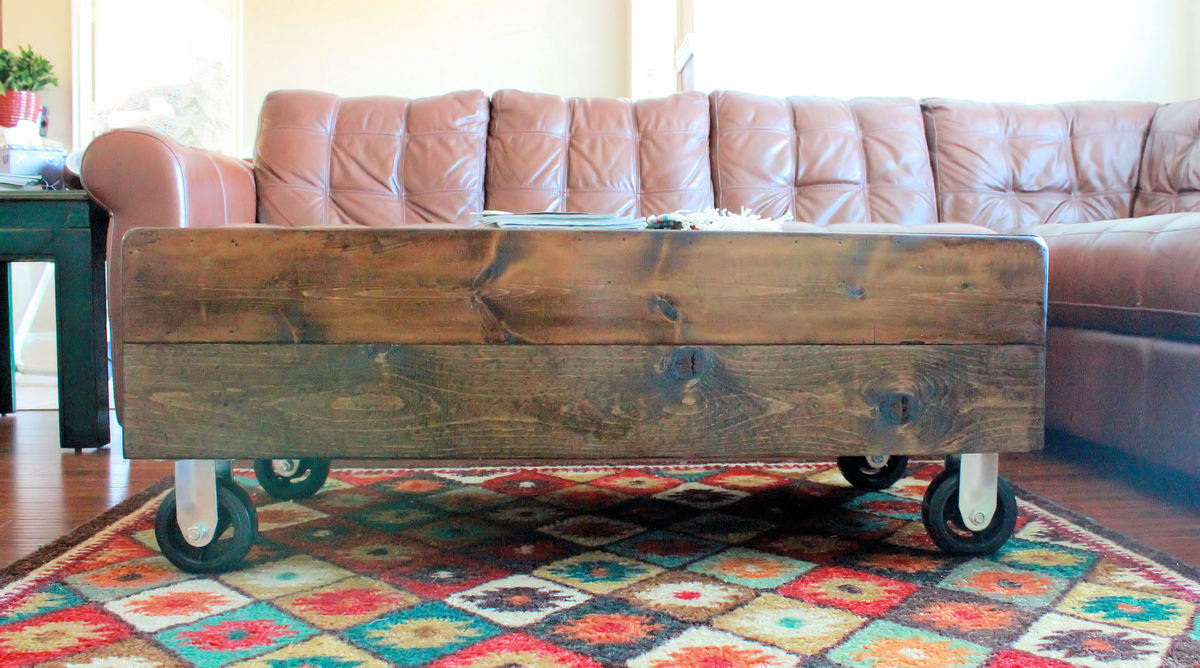
I took the plans loosely from what I saw here, but adjusted the size to fit my needs. I had a bunch of old wood that worked great for a rustic look (nail holes and all), so my only costs on this project were the hardware and some nails for my nailgun. I finished it off with some paint and stain I had laying around, to give it a little character. Great project for under $15 (for me, at least).

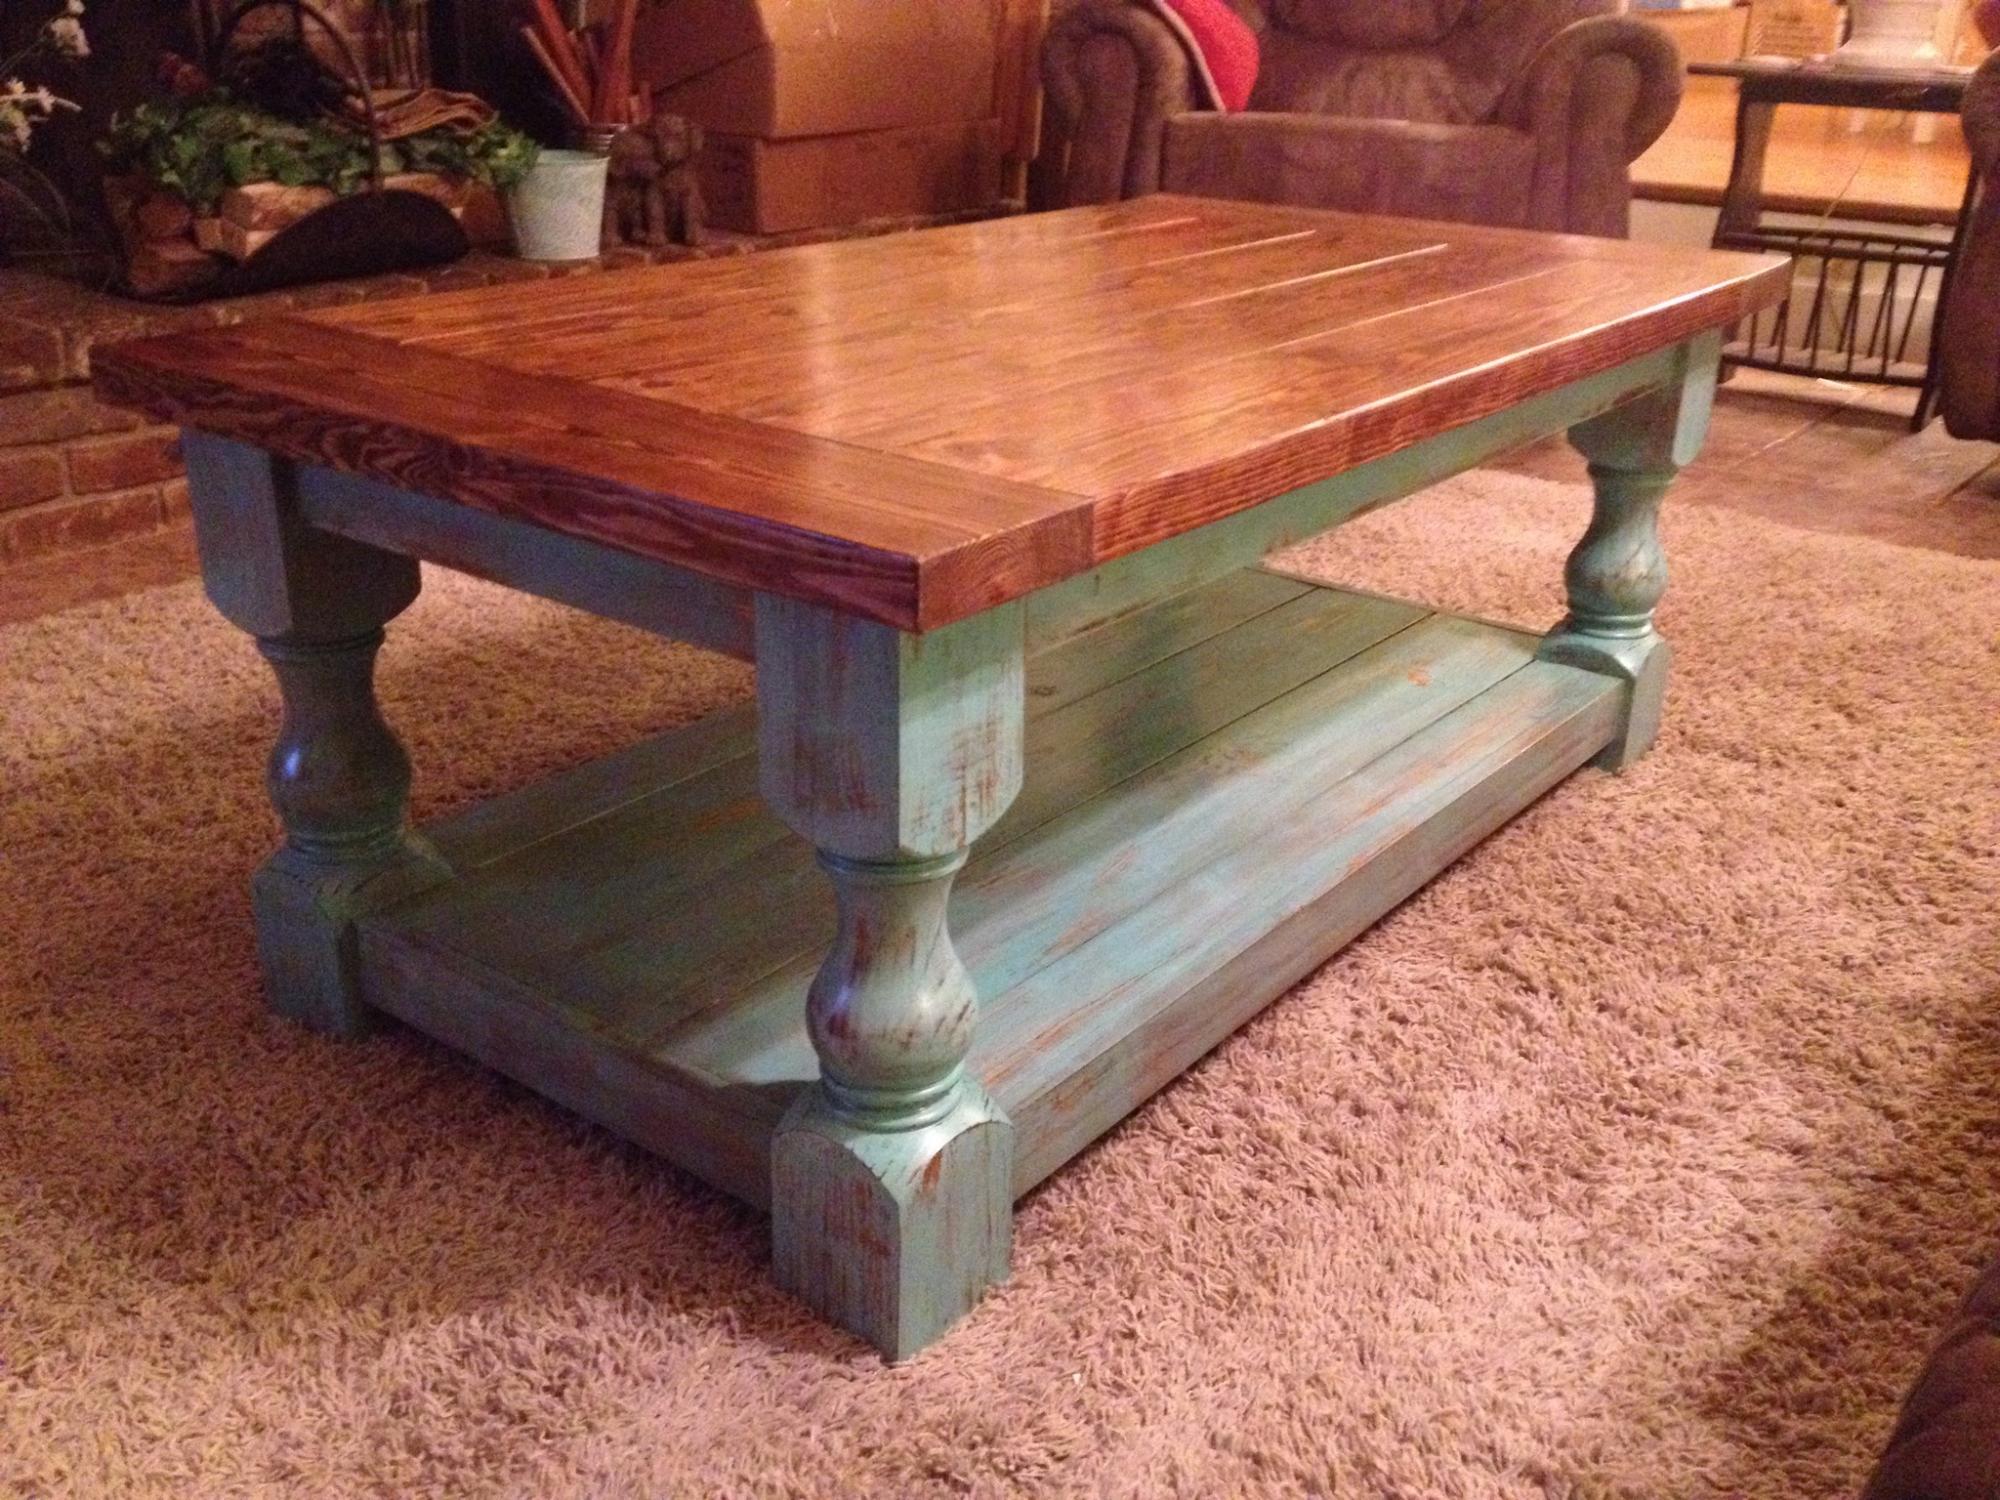
I ran across this when looking for ideas for a coffee table. My wife wanted a rectangular table, rather than a square - simple adjustment. I ordered the legs from
Osborne - great selection and good service.
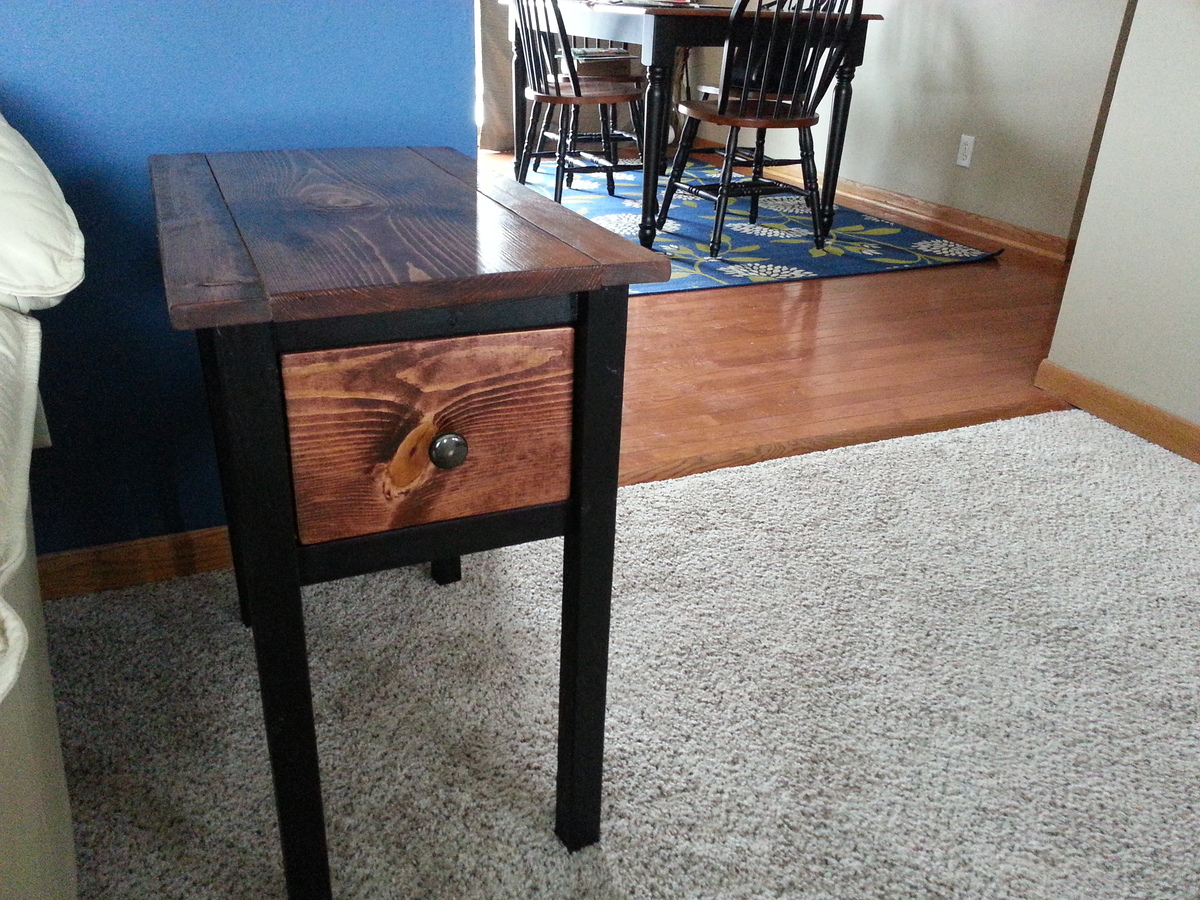
My first coffee table.

I have 3 Grandson's that love to be pirates so I decided to make them a pirate ship teeter totter. After searching the Web for plans and finding nothing I was looking for I decided to just go for it and see what I could come up with. This pirate ship is heavy duty. I use 2x8's, 2x10's and 2x12's for the frame and seats and 1x10's and 1x12's for the inside foot platform. It's 5ft long, 3ft wide and 3ft high. I had to put some stop blocks on it or it would of been a catapult instead of a teeter totter. (I know this because I climbed on and took it for a ride) Everything is connected using pocket holes and pocket hole screws (Thanks to my Kreg jig) I added a pole up the center and added a pirates flag and puts some swords on the sides. The kids sure have fun on it and so do I.


Mon, 12/15/2014 - 12:47
This is super awesome! I love the pirates too! You did an awesome job!
Mon, 12/15/2014 - 13:25
Thank You Ana. I sure had a lot of fun building it. Thanks for all your inspiration and for giving me the confidence to build anything I put my mind to.
Tue, 12/16/2014 - 00:22
Thank You Veronica. It was a fun project to build.
Tue, 12/16/2014 - 15:41
What a super awesome project.. I bet the kids love it! Great job on the paint and other finishing touches.
Bookshelf for our living room
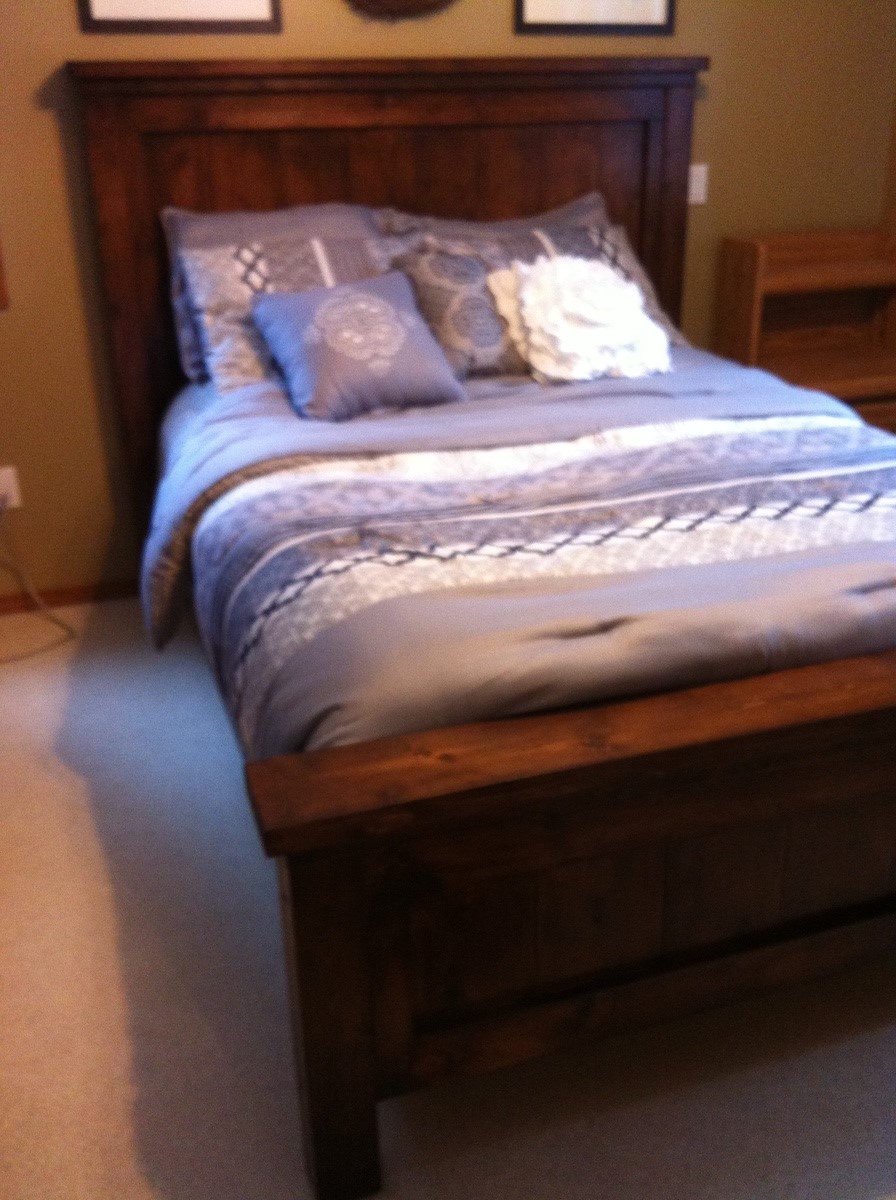
Awesome project. Very simple, doing the sanding and finish requied more time than the cutting and assembly.
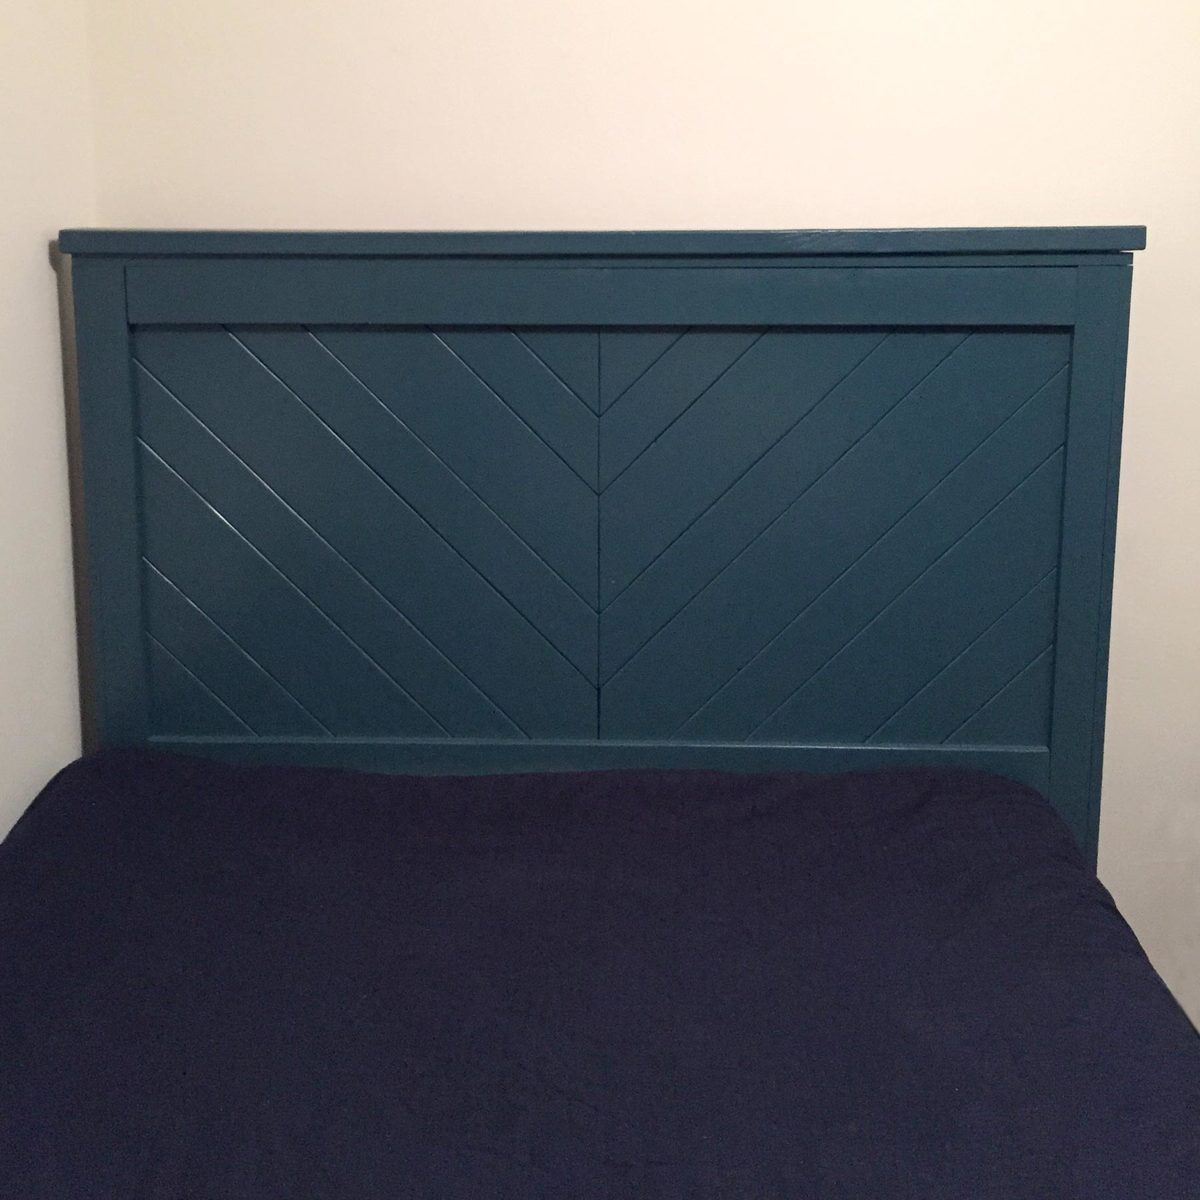
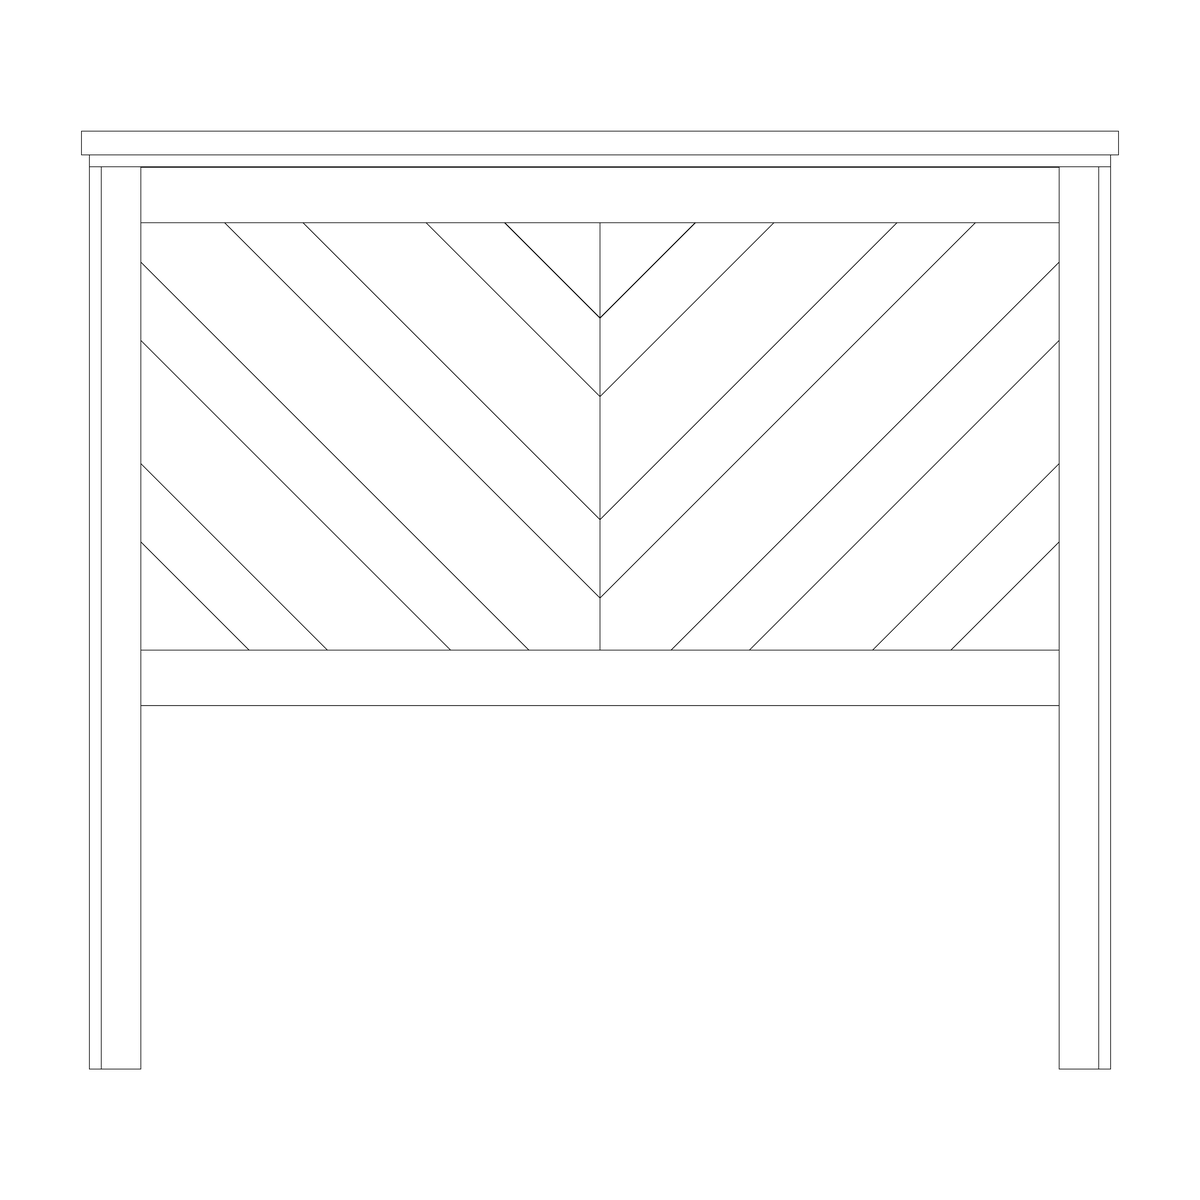
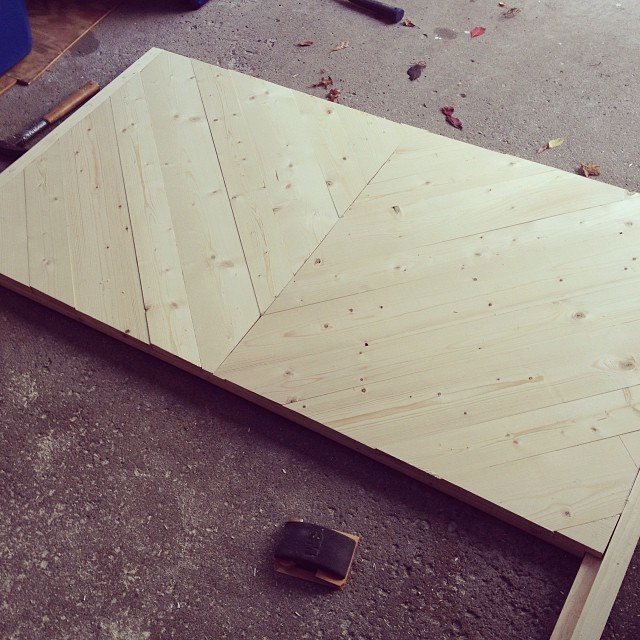
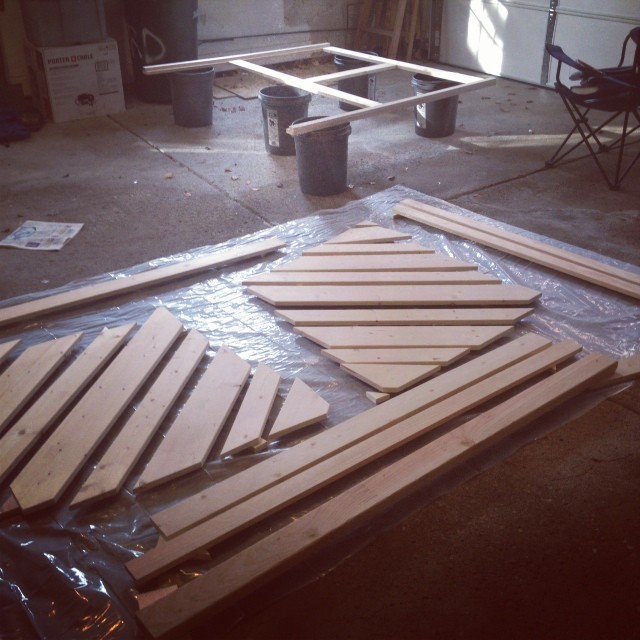
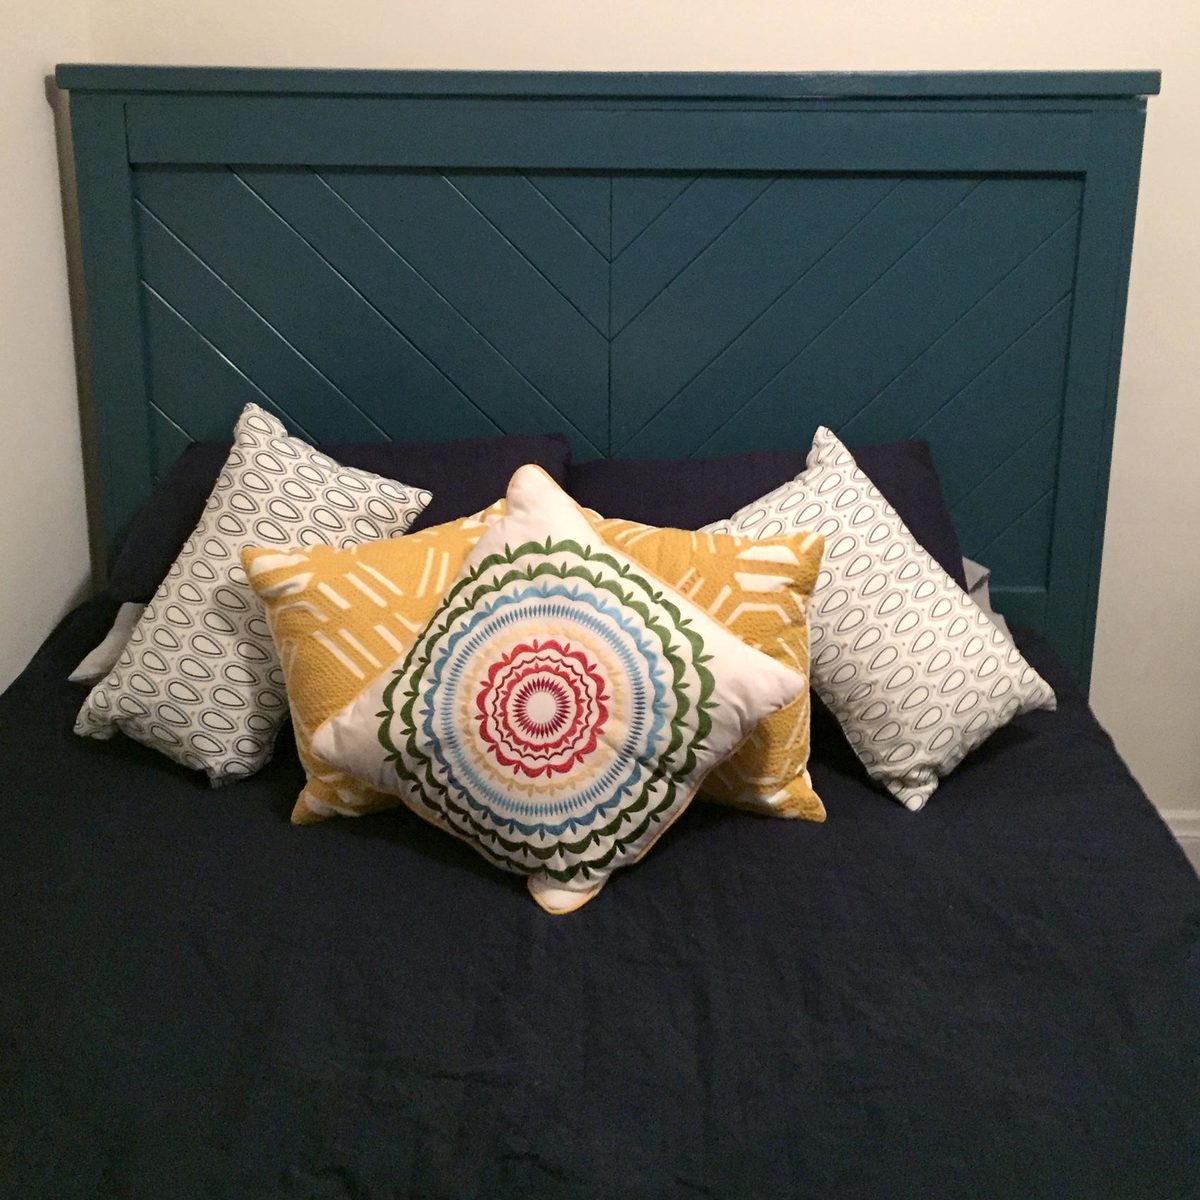
Took the general dimensions from these reclaimed wood plans and modified them to include a chevron back. The most difficult aspect was determining the cut marks for each chevron piece and rounding the edges to bring out the details.
Finished the headboard with a satin-finish, oil-based enamel paint.
Additional pictures and information available on my website.
