Outdoor chair to match the sofa

I built this chair to match the outdoor sofa. I had some extra 2 x 4's after I completed the project. I just substituted 24 inch 2 x 4's for the 72 inch 2 x 4's that the original plans called for.

I built this chair to match the outdoor sofa. I had some extra 2 x 4's after I completed the project. I just substituted 24 inch 2 x 4's for the 72 inch 2 x 4's that the original plans called for.
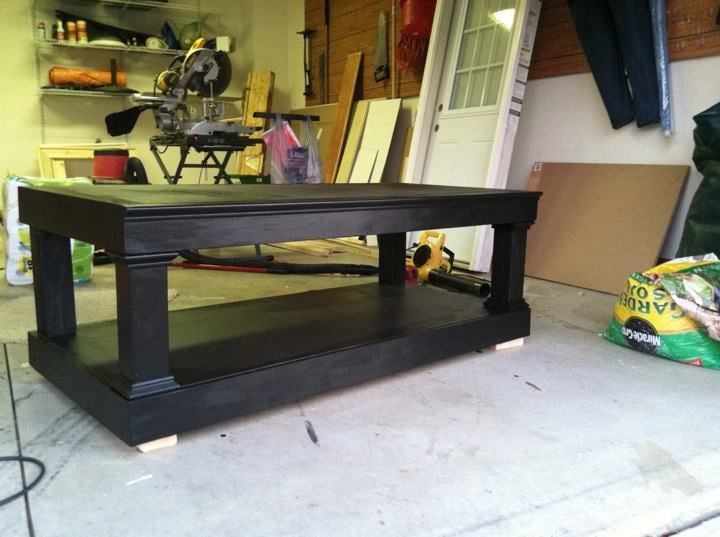
This thing is AMAZING! If I was able to build as often as I do laundry, I would have a much more impressive brag list! Thank you for the plan!
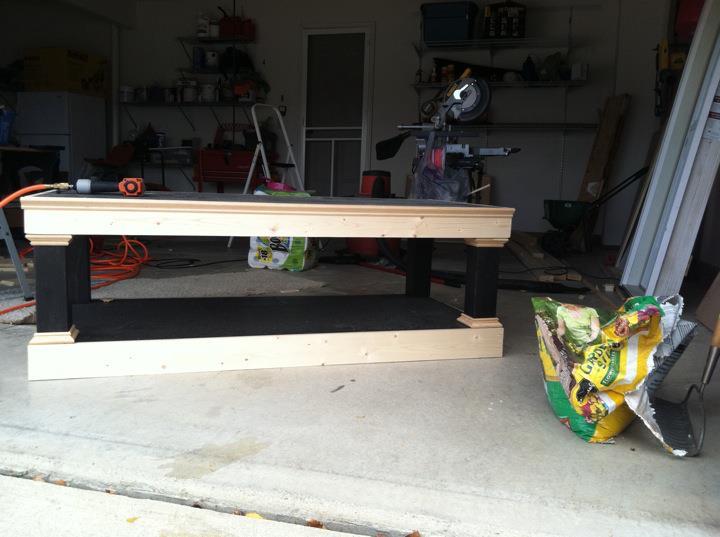
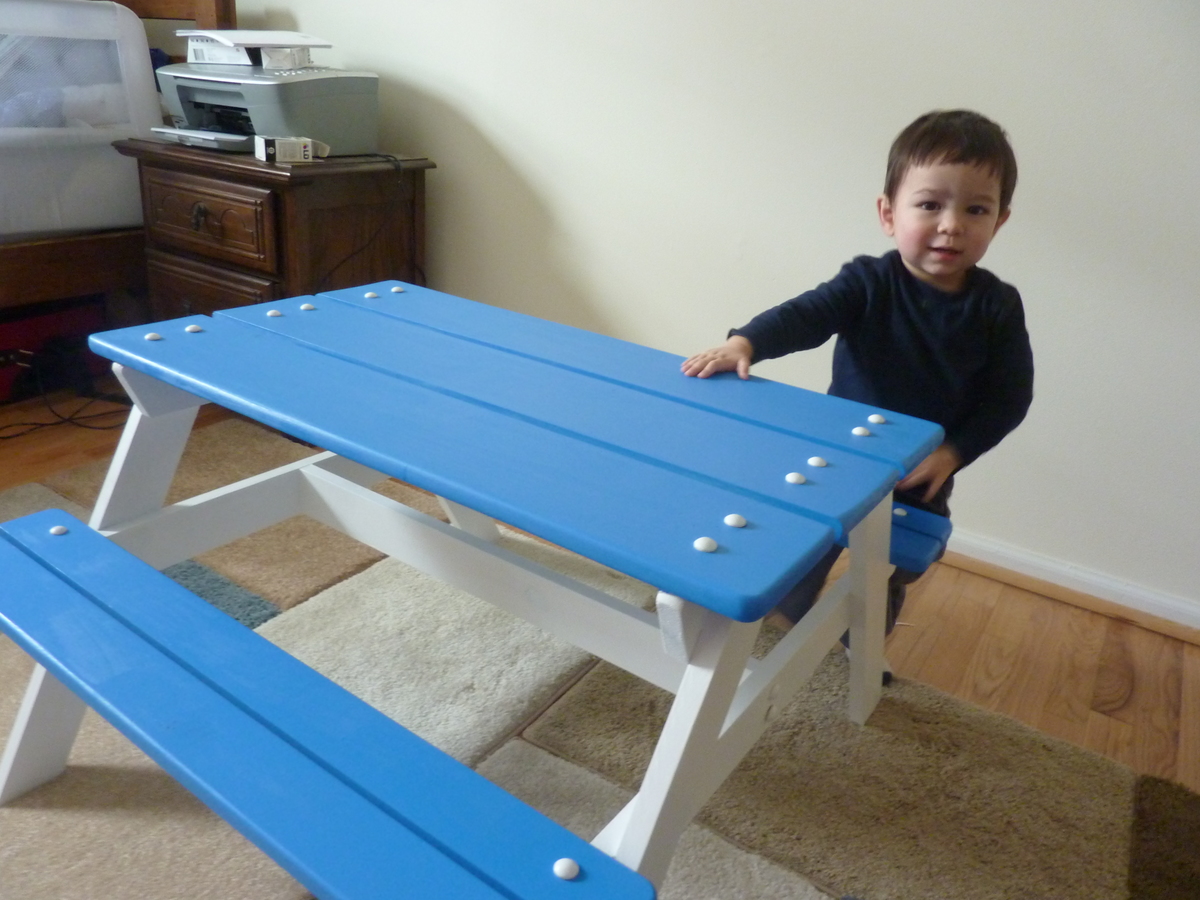
Our first project from Ana-White.com - but certainly not our last! This preschool picnic table was an easy introduction for a couple of newbies. Our one-and-a-half year-old uses it all the time. Thank you!
Wed, 05/20/2015 - 11:25
Looks great! Did you use carriage bolts, or did you add some kind of caps to cover the screws?
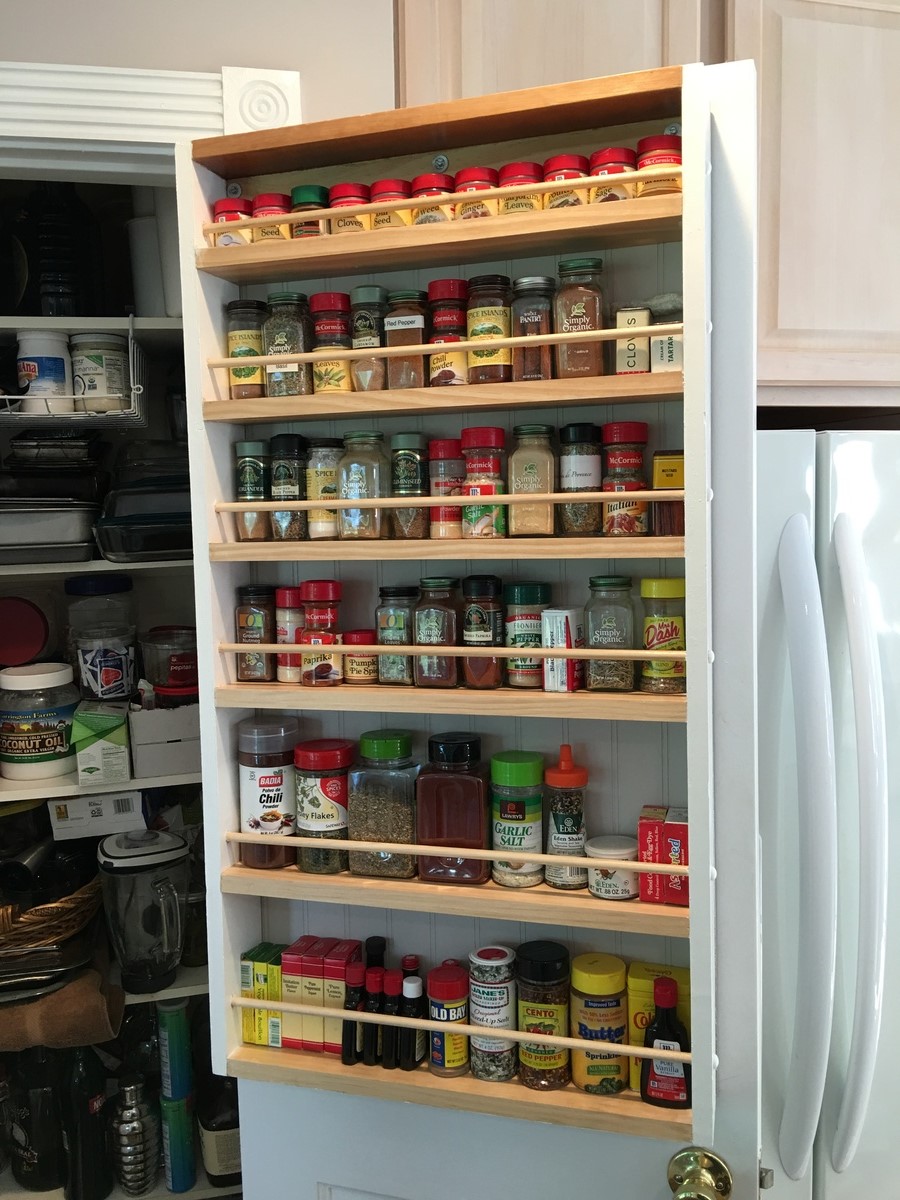
love Ana! We moved from the city to a late 1800's Victorian farm house with no closets, no basement, no storage! This was a great Woodshop 101 project for my husband and me, and gave us extra space in the kitchen. Can't wait to do another Ana project.
Wed, 08/28/2019 - 11:03
This is awesome!!! Thanks so much for sending in a brag post!
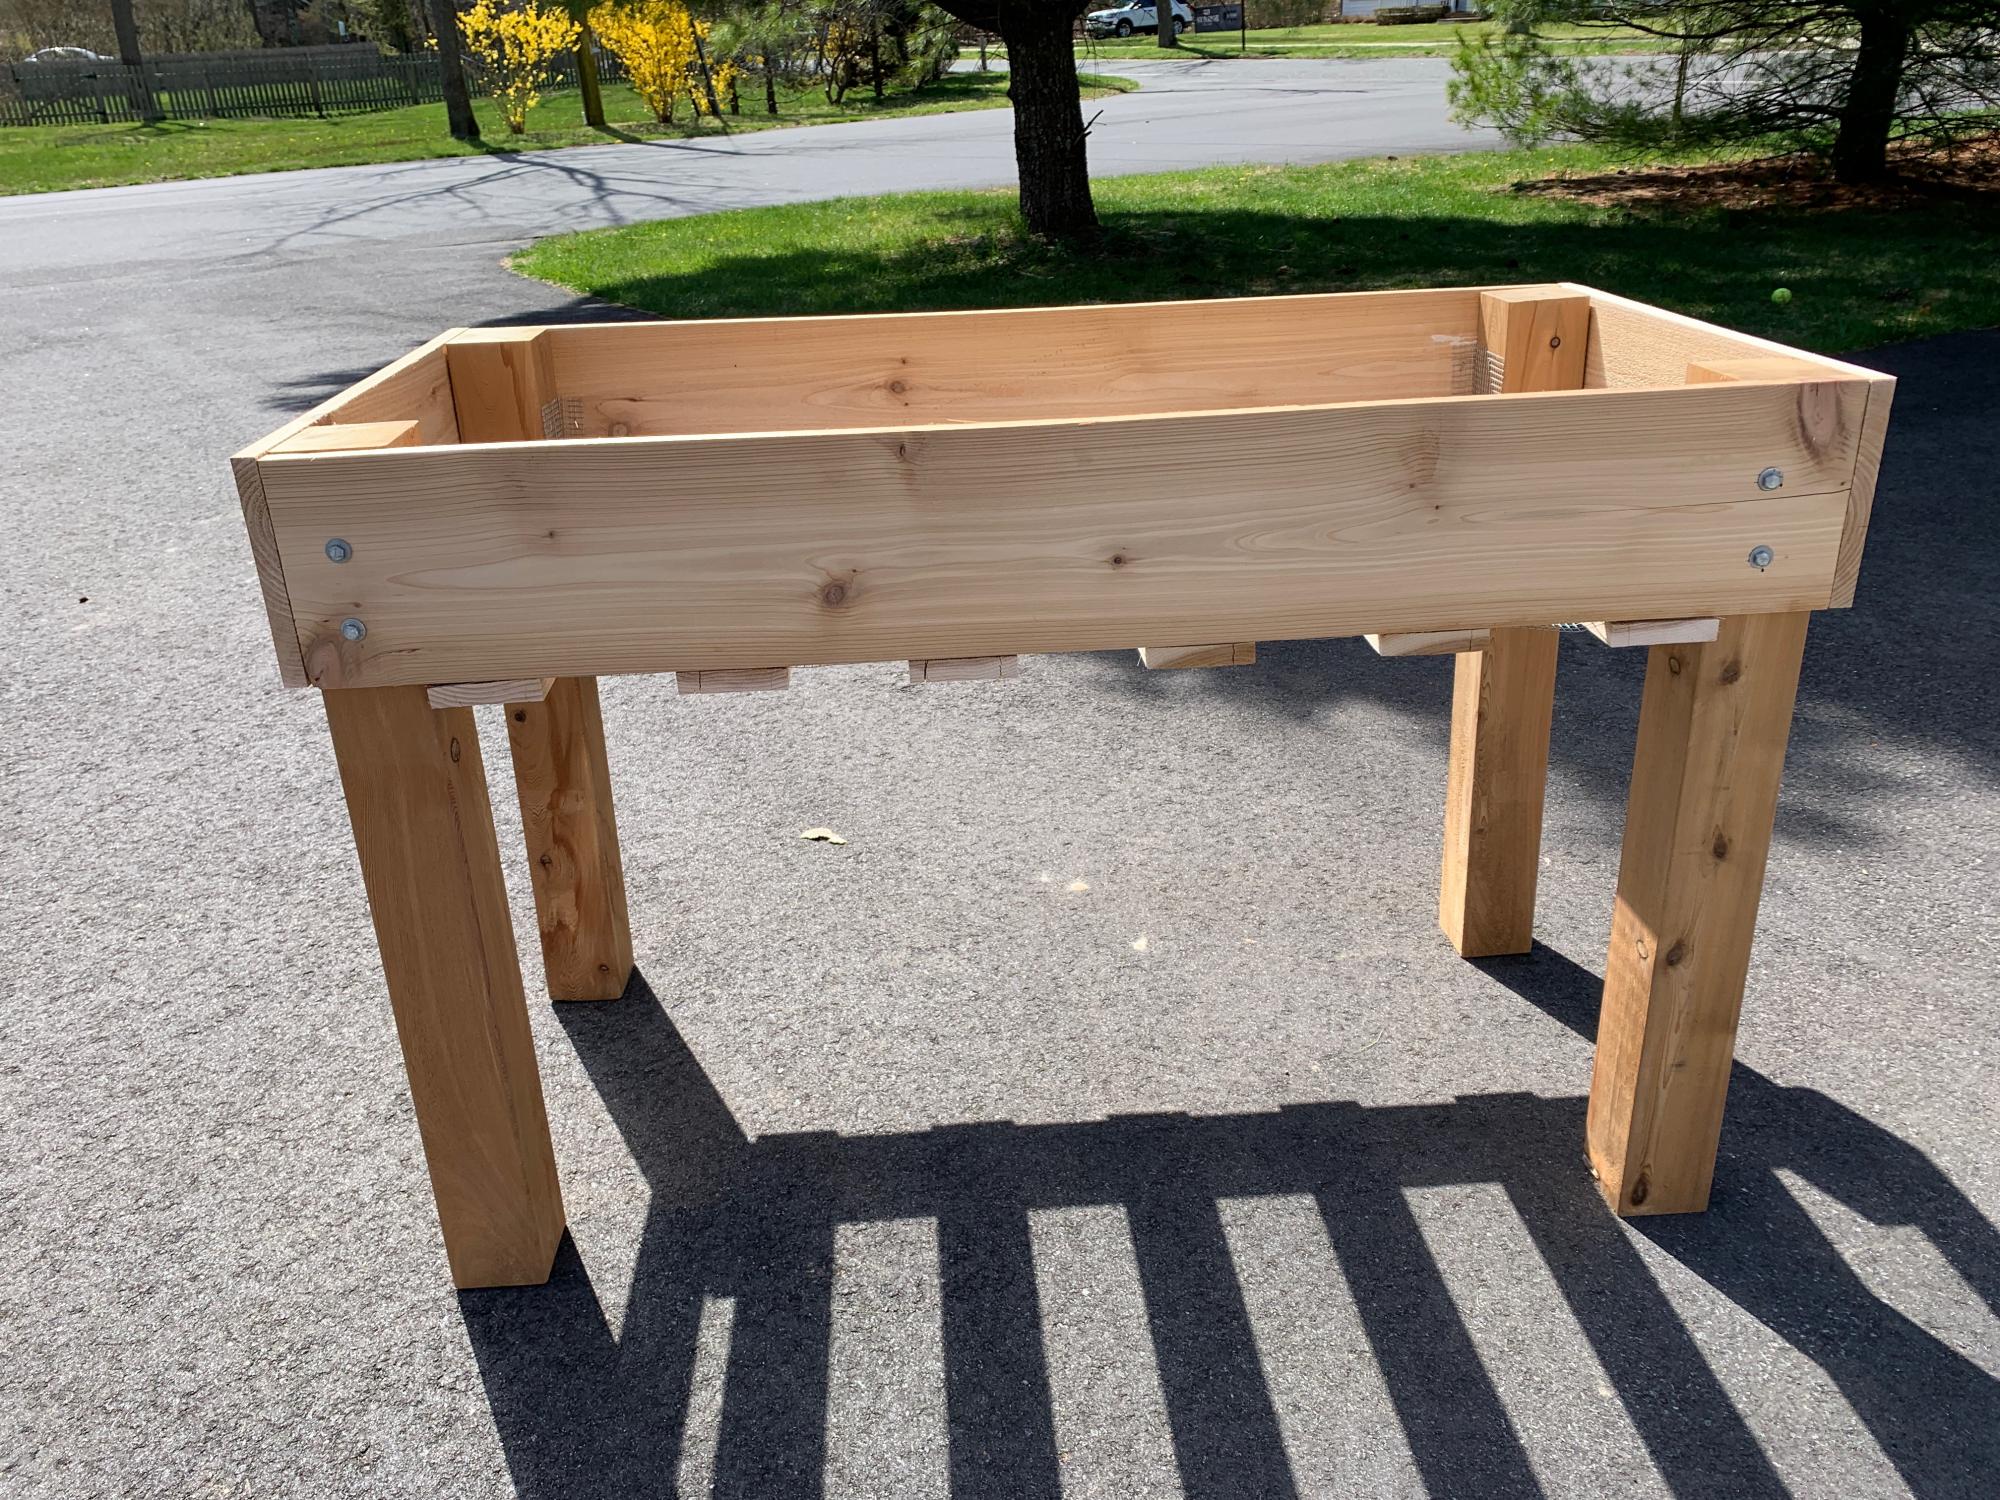
My 15 and 12-year-old sons made two of these for me. Super easy, they followed the step by step instructions which were perfect, easy to read. They made two in only a few hours!
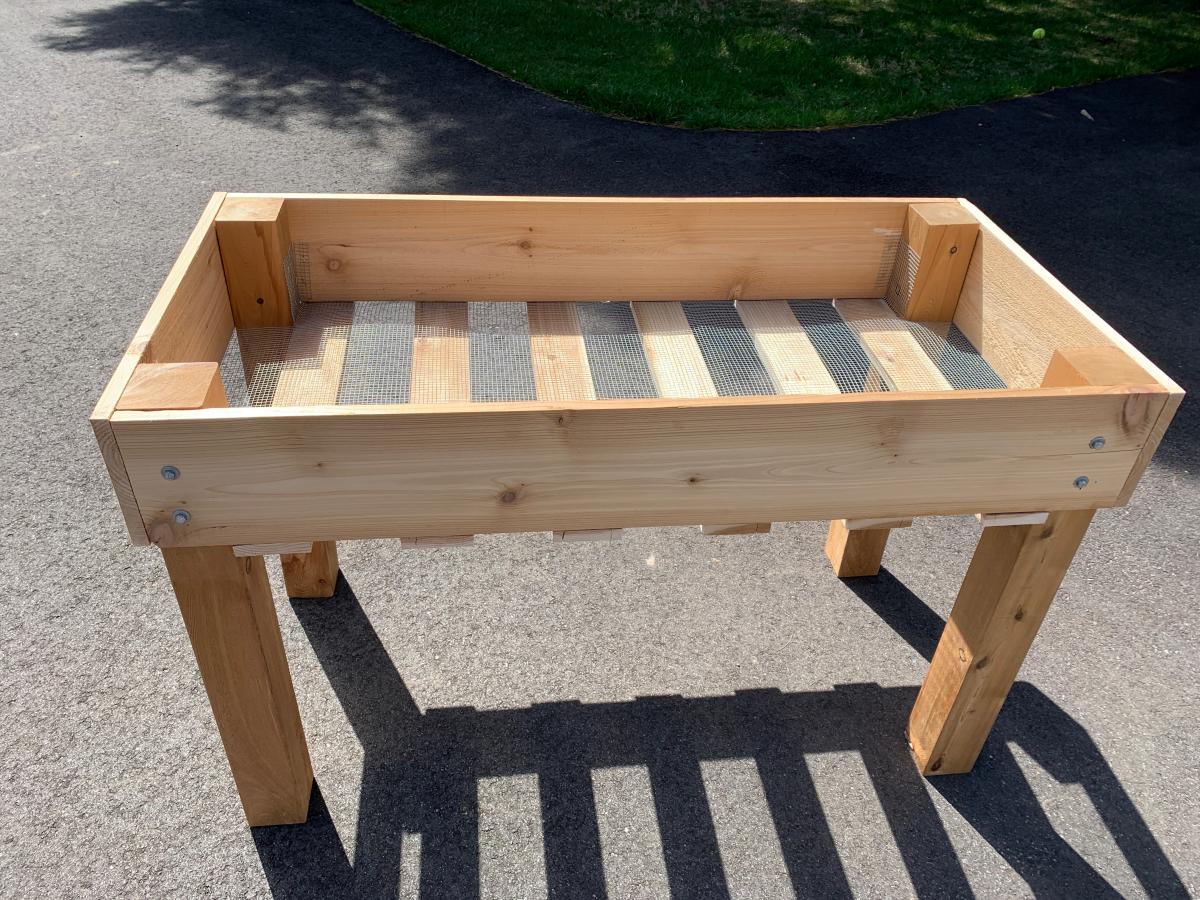

Built from printers triple console plan.
Jkindle

Thu, 11/16/2023 - 11:53
Absolutley love the finish and hardware choice, thanks for sharing!
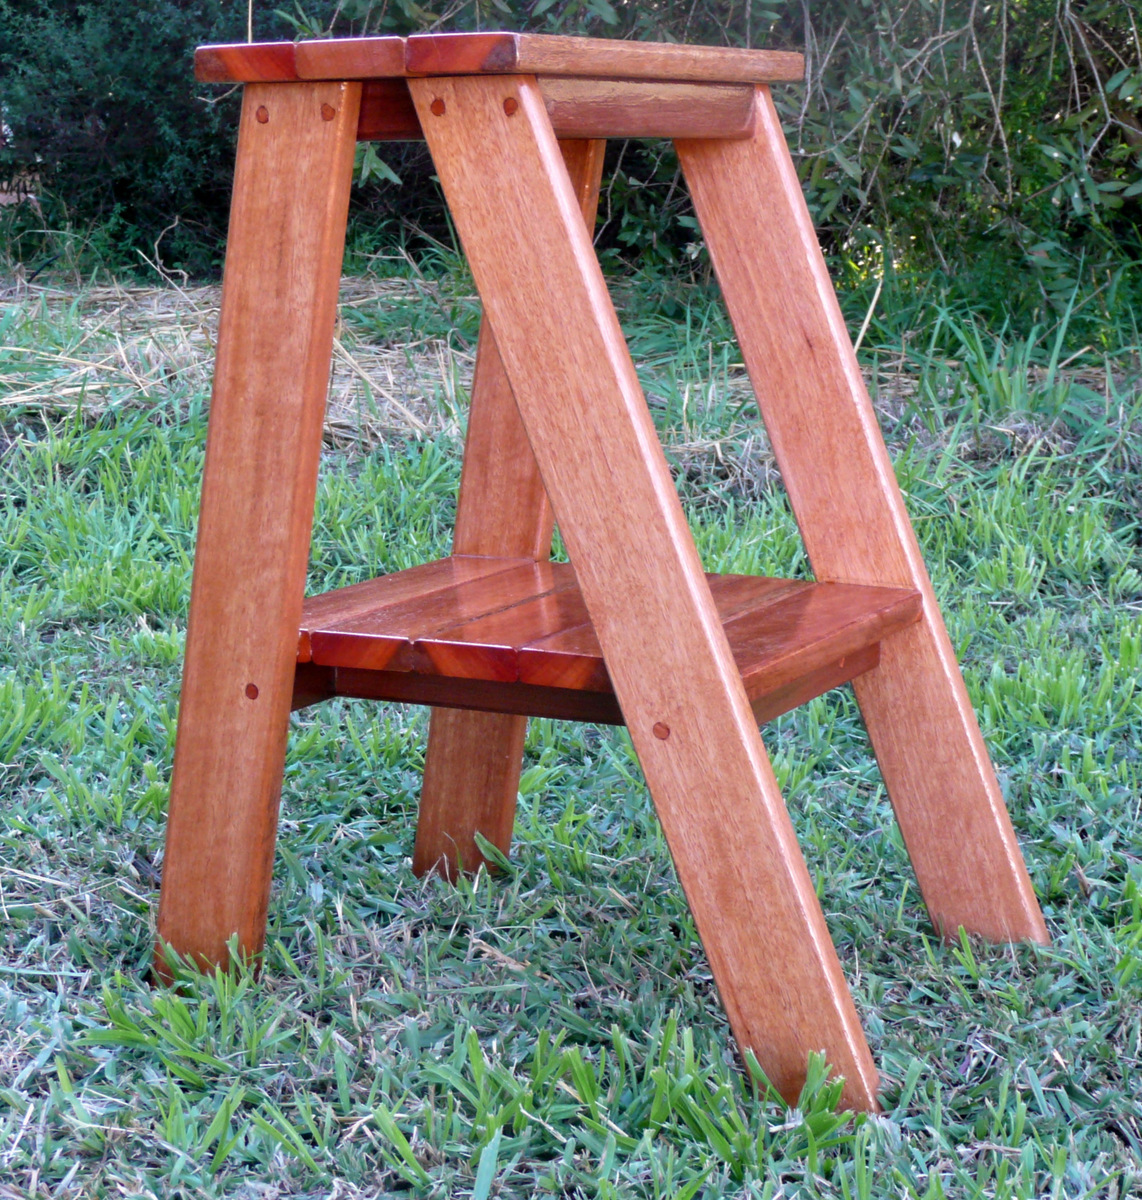
I like the clean lines of this little shelf. Not sure whether it will become a plant stand or bed side table in the spare room. Found it quite tricky to put the bottom shelf in the right spot - even though the legs were fastened with 2 screws each at the top there was still enough give so that pushing a leg out or in a bit created a wobble. Ended up putting glue on and with the help of an extra pair of hands and a spirit level put the shelf into place by trial & error, making sure the whole thing stood nice and firm on the ground. Put on some clamps & came back the next day to put the screws in. Used a plug cutter to cut 'covers' for my screws from off-cuts of the same timber, but didn't quite manage to get the grain aligned so you still see them. Made these from decking boards (very close in dimensions to 1x3 boards) sold as 'forest reds' in the hardware store, which are a mix of eucalypt hard woods.
Tue, 05/29/2012 - 16:35
Your step table, step stool, whatever you want to call it is beautiful. Great Job! I have made four of them. I reinforce the bottom shelf in case you want to use the step-?? to get stuff off high shelves or just paint a room and not mess with a step ladder. My first one is in our kitchen and it is the most used piece of furniture in the room. I got my grandkids and a little girl from across the street to build the others. The loved the experience. You can see pics at my page on Ana-White.
Thanks SOOOOOOO much for the Plans. I had fun building this and my Mother will be so happy to have it.
I'm sure she will be spending more time on the deck this summer.
Cheers, from Toronto
Chris,
I built this chicken coop a few years ago for my cousin. I was happy with the plans, and the ease of the build, and she was happy at how easy it was to move. **This picture does not show the wheels installed.
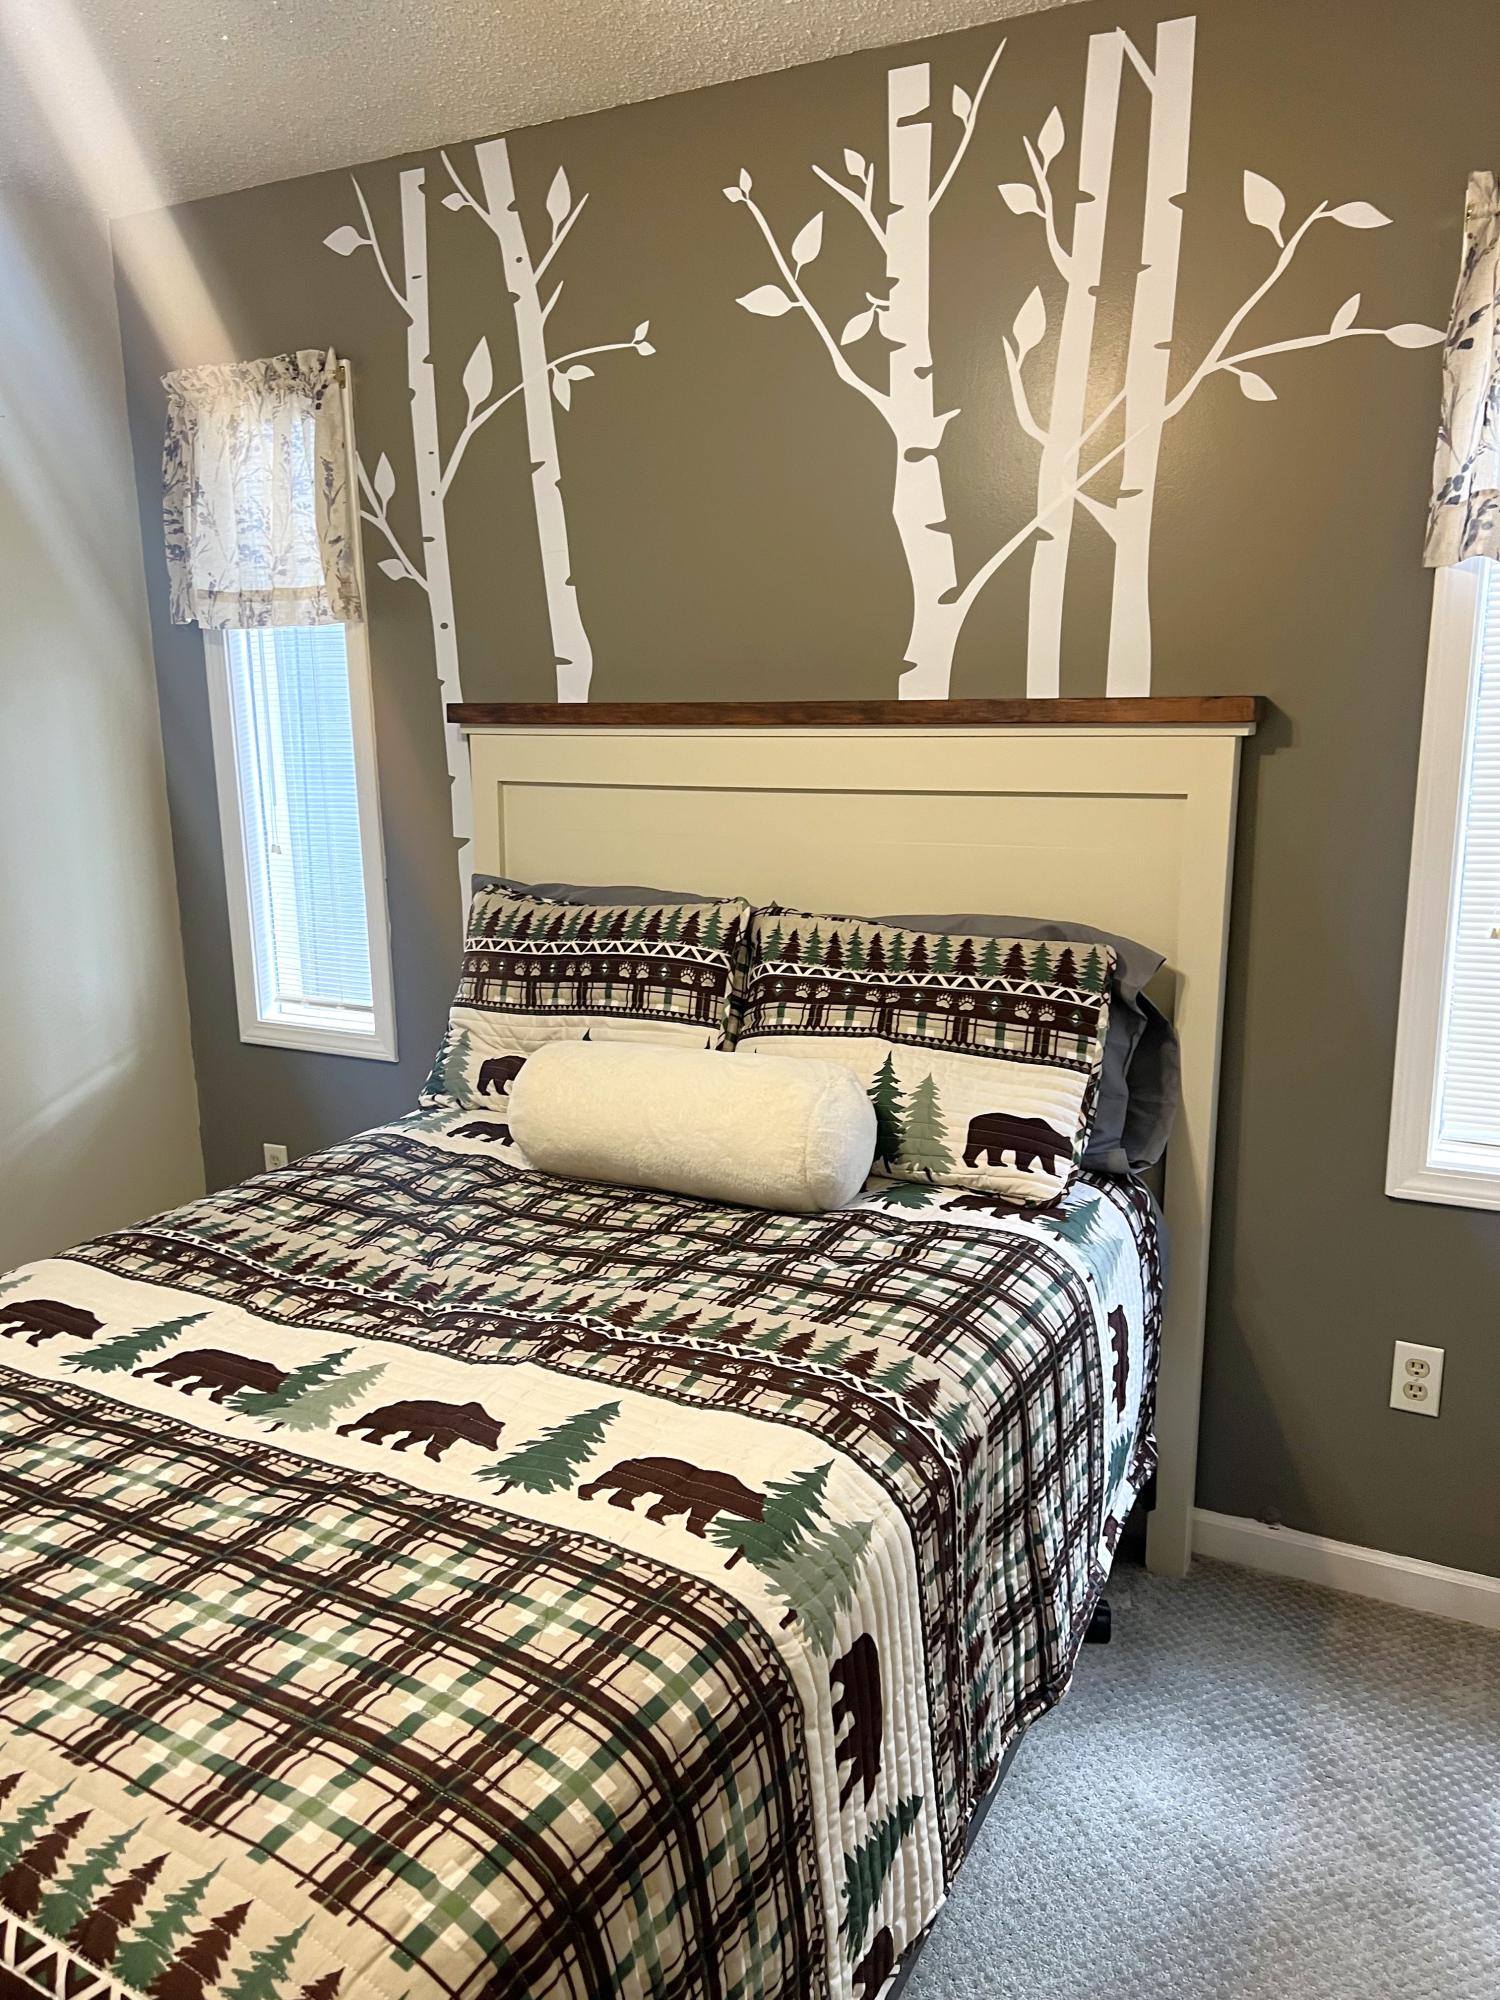
This project was so easy and fun to make. Love the way the instructions are laid out.
David Van Dyk
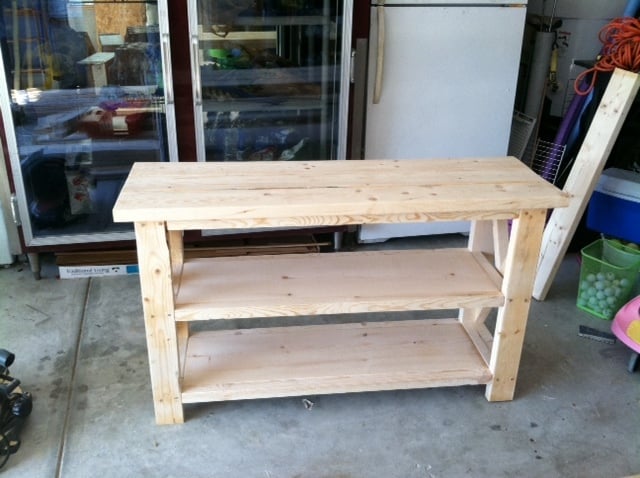
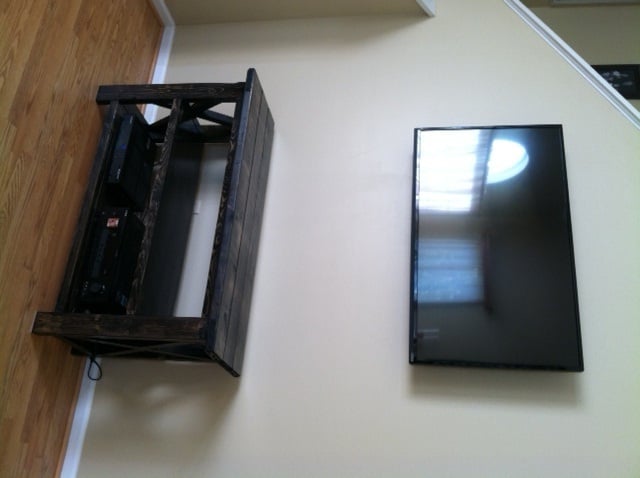
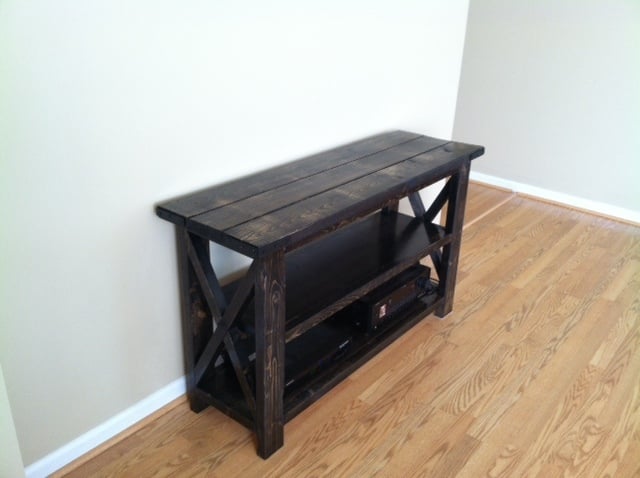
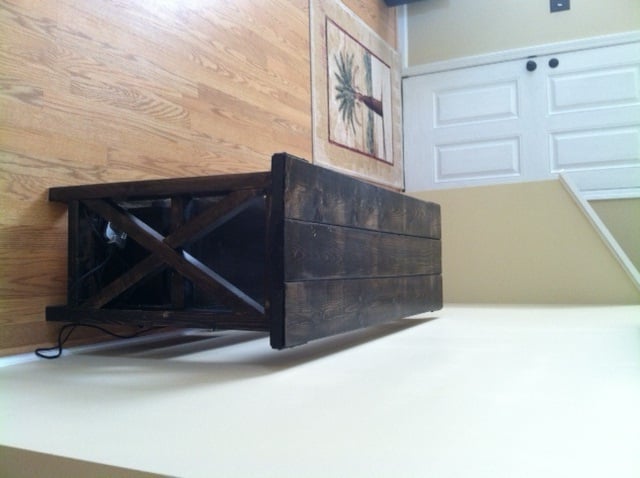
Built a set, used this as an entertainment stand below the TV, mactching coffee table done and end table to go with it. Altered the plans (dimensions) a little to accommodate my room. Love this site! Thanks Ana!
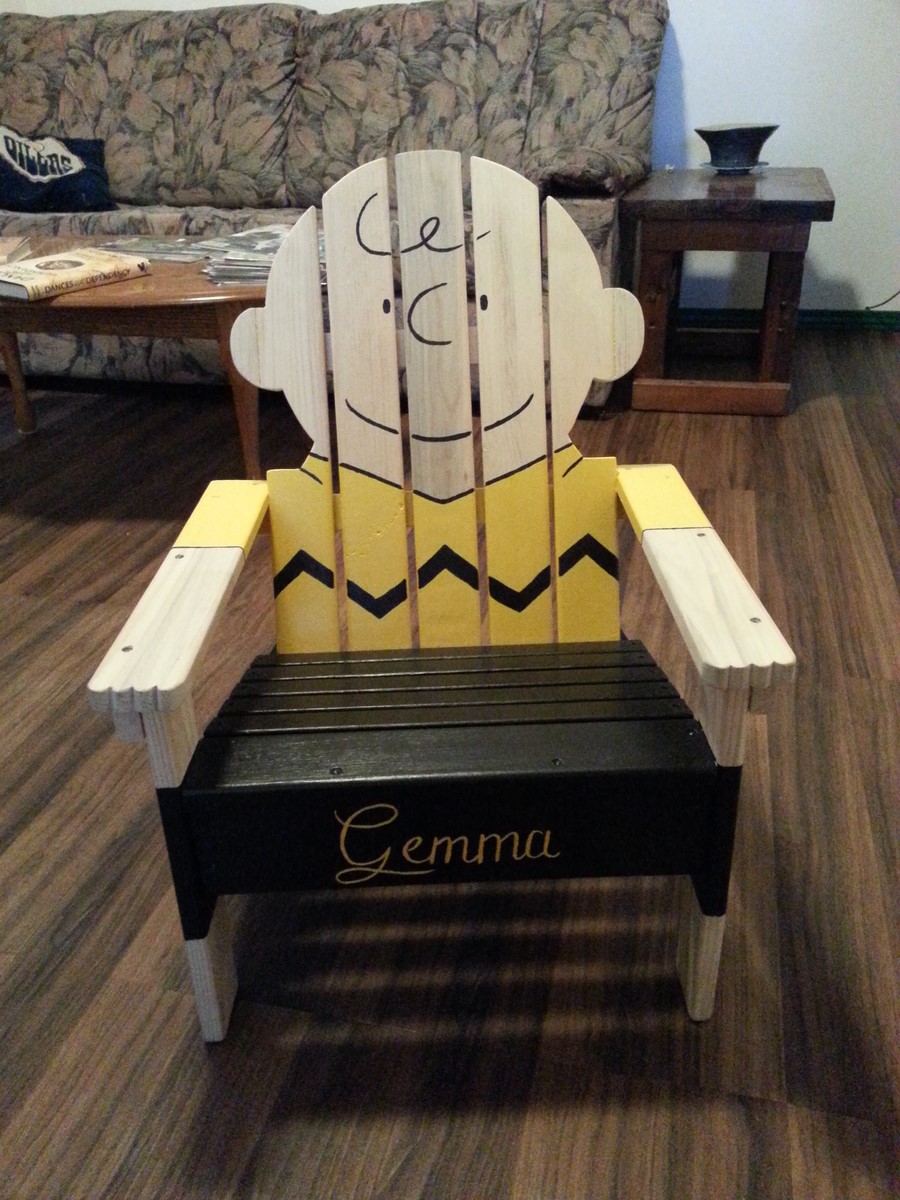
Had just watched the new Peanuts movie.Kind of liked it.
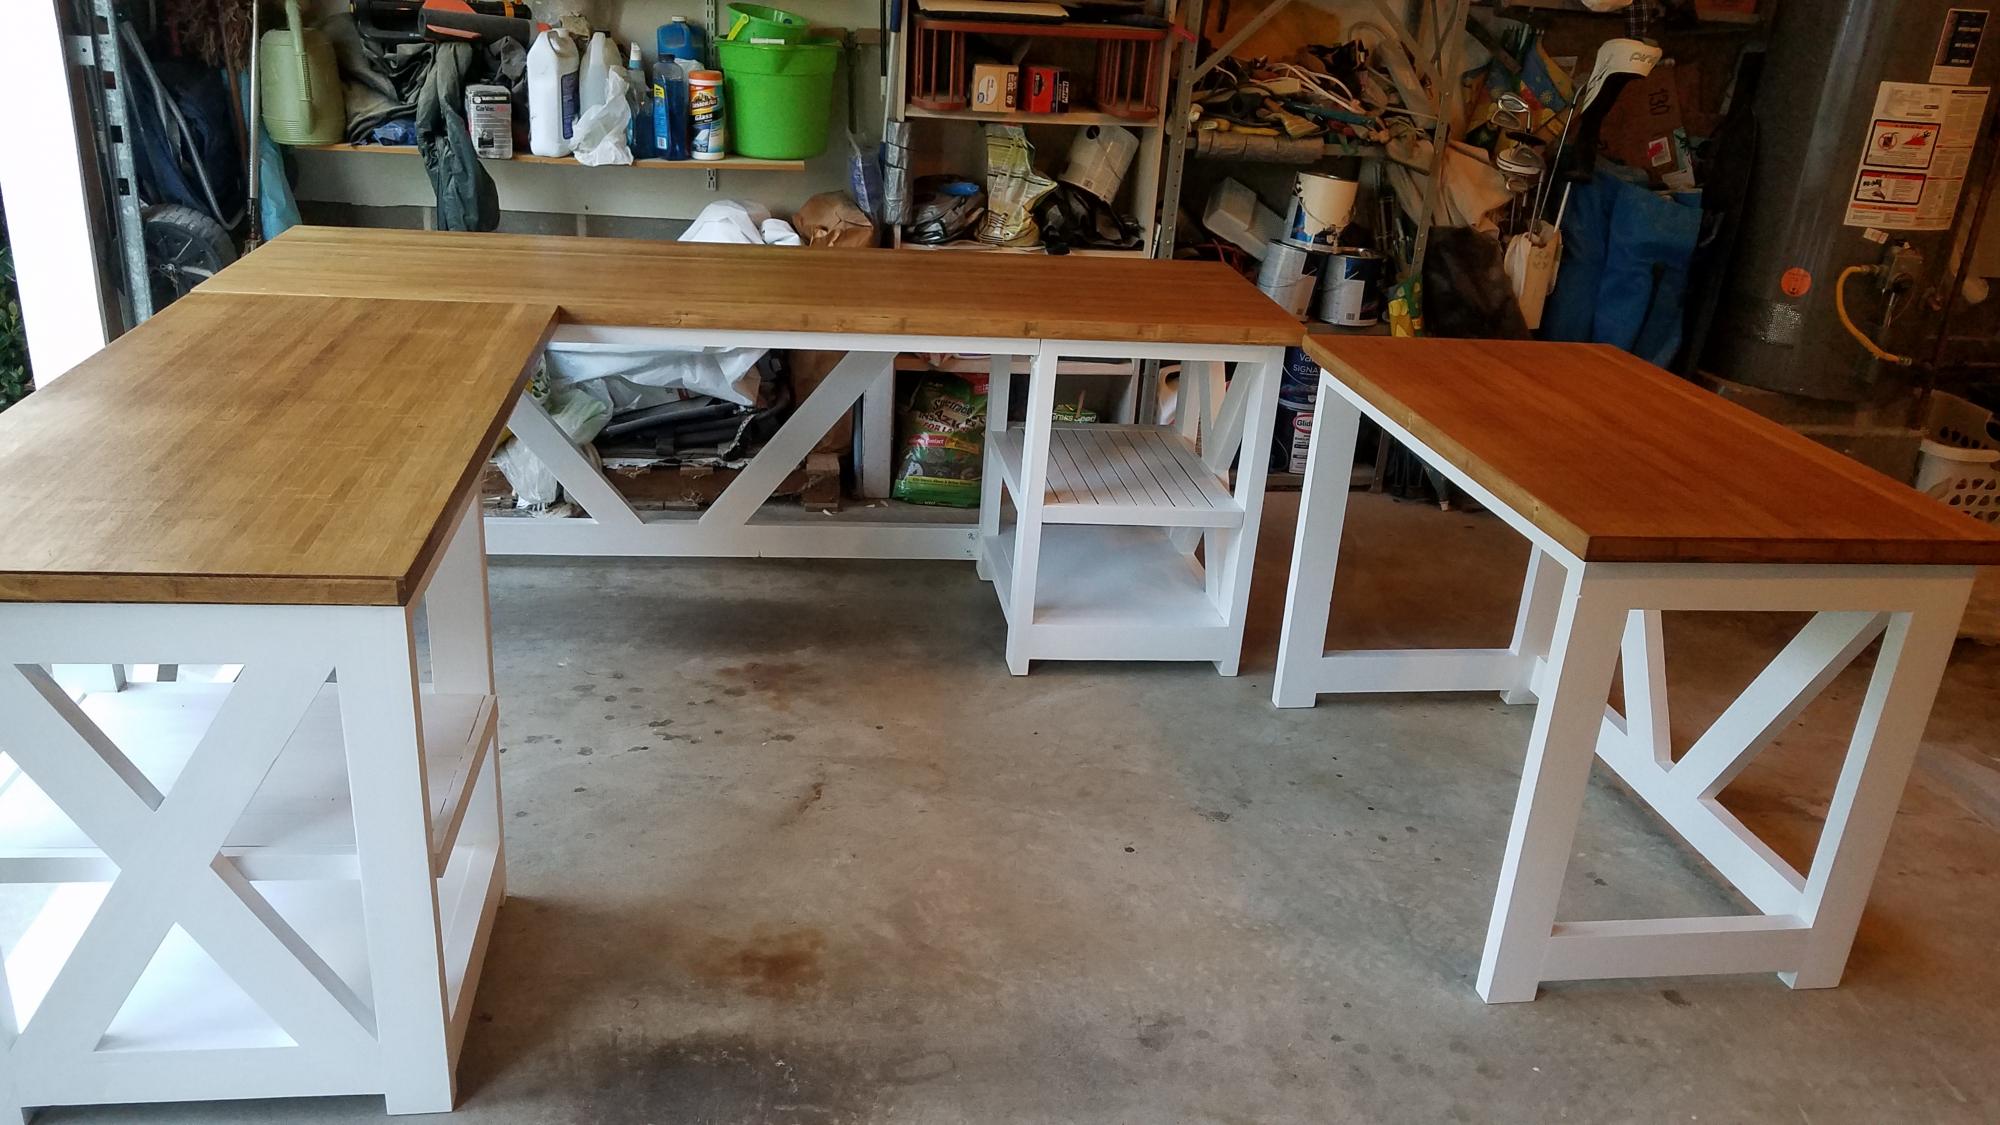
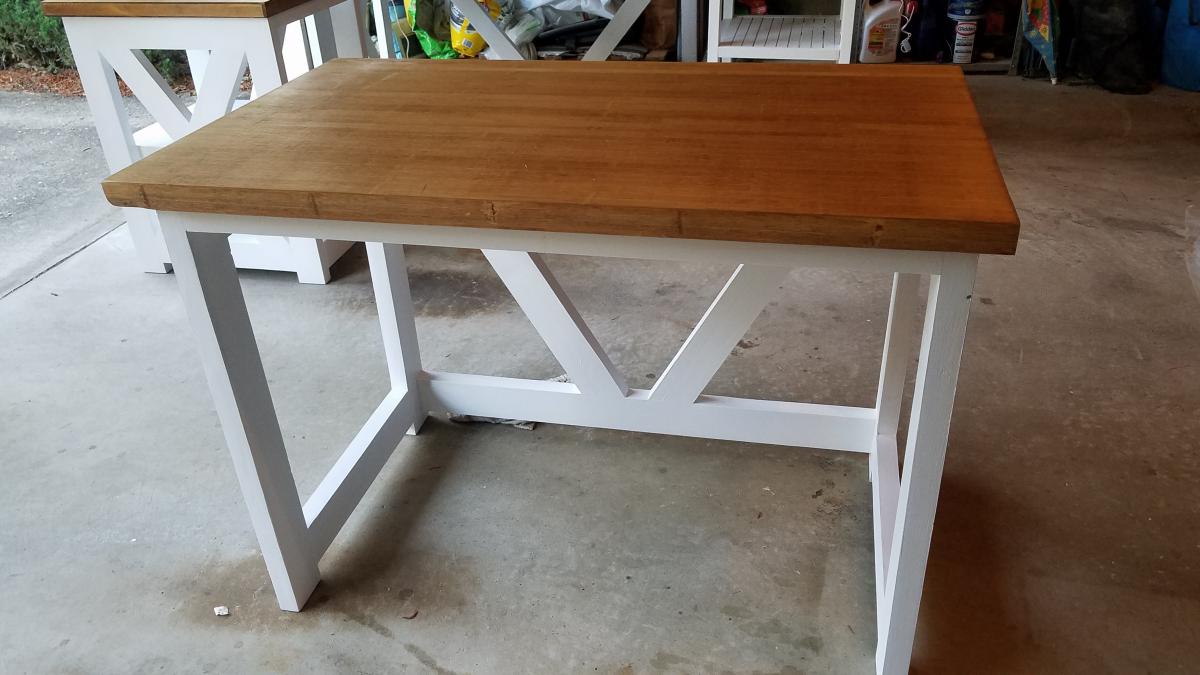
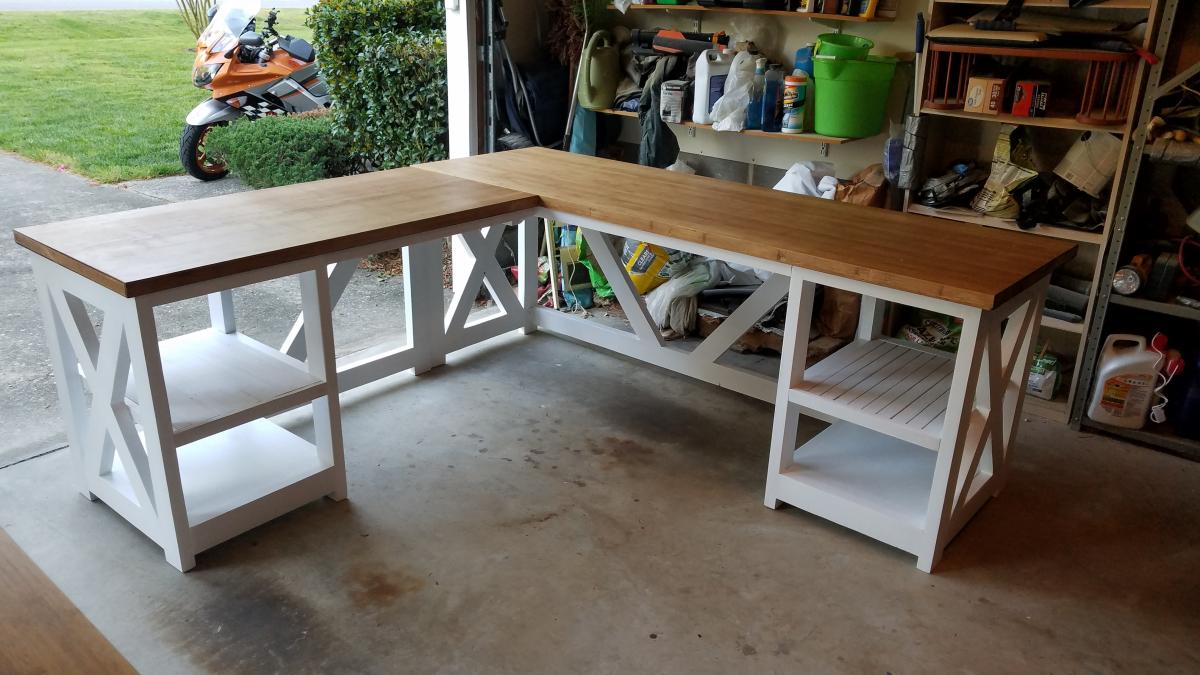
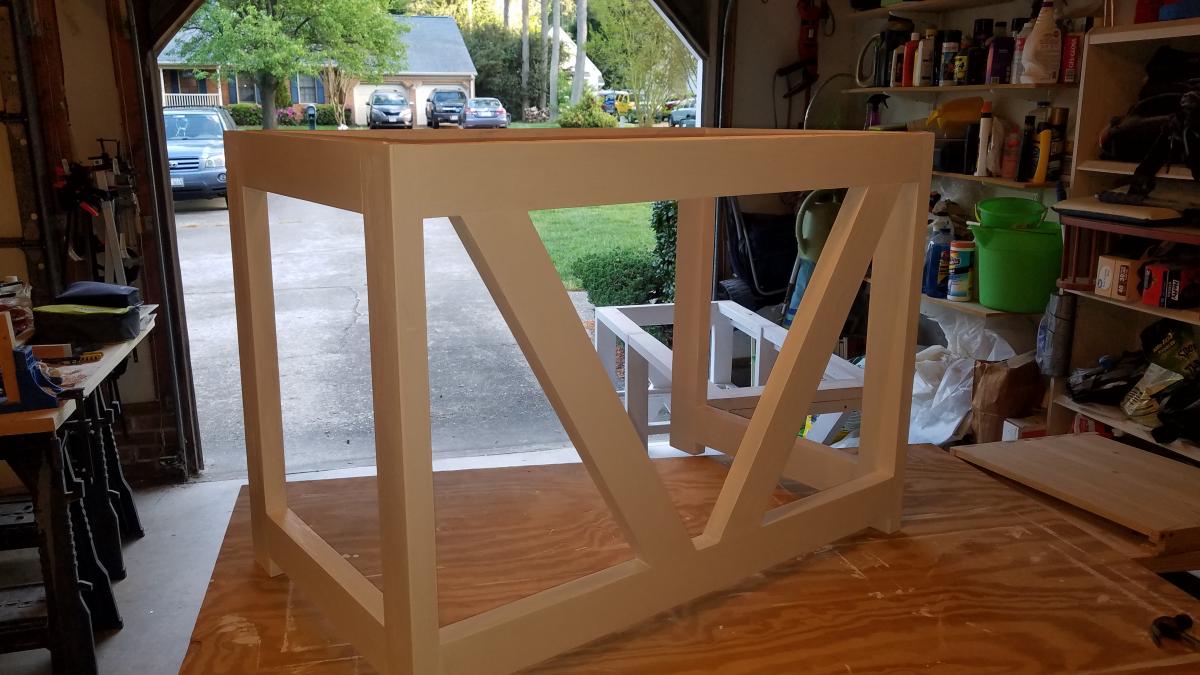
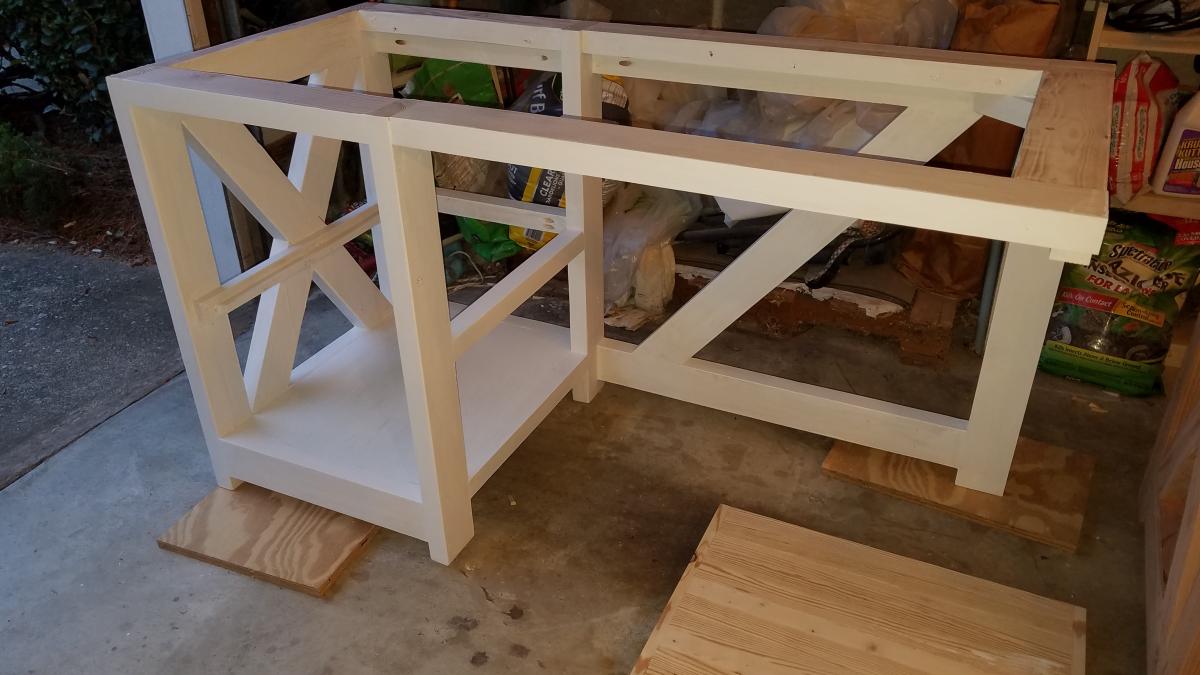
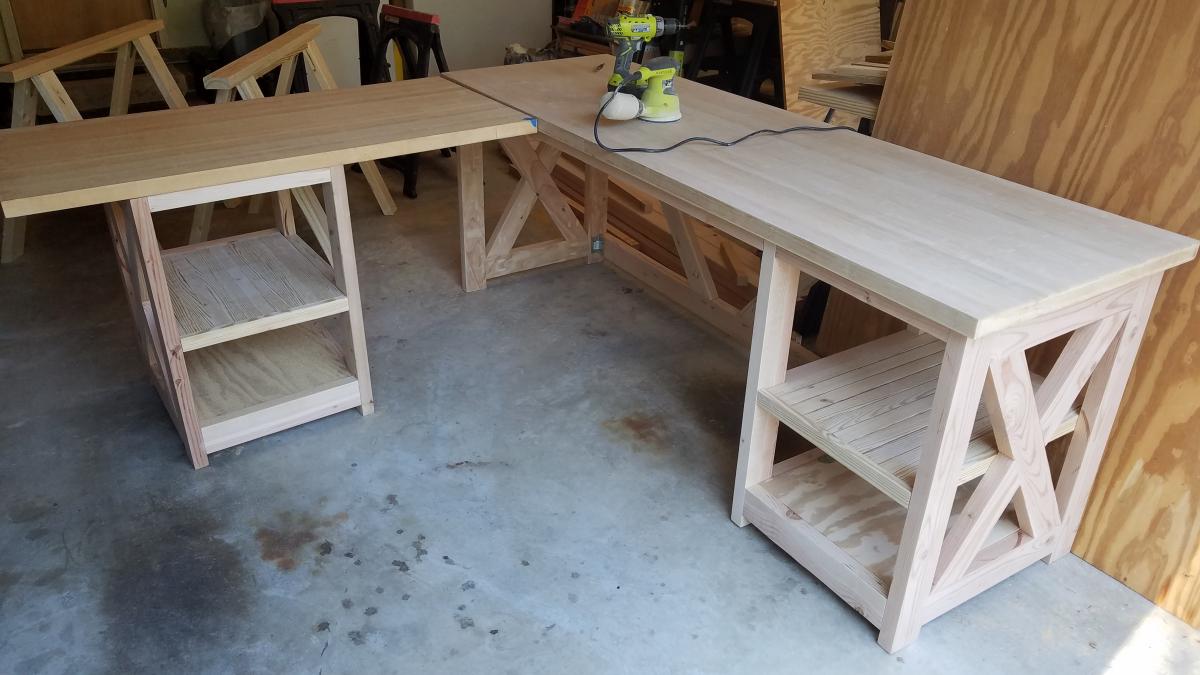
I built this L shape desk based on Ana White's rustic X desk plan. I would not have attempted this without her guidance. Love how this turned out, probably the nicest project I've ever done. Thanks Ana!
Tue, 05/26/2020 - 09:34
This is awesome! My son and I are looking to build an L shaped desk for him and this looks to be the one. Any thoughts on how I would mount a computer tray beneath? Think there is enough clearance below the 2x4 without hitting knees?
Thanks!
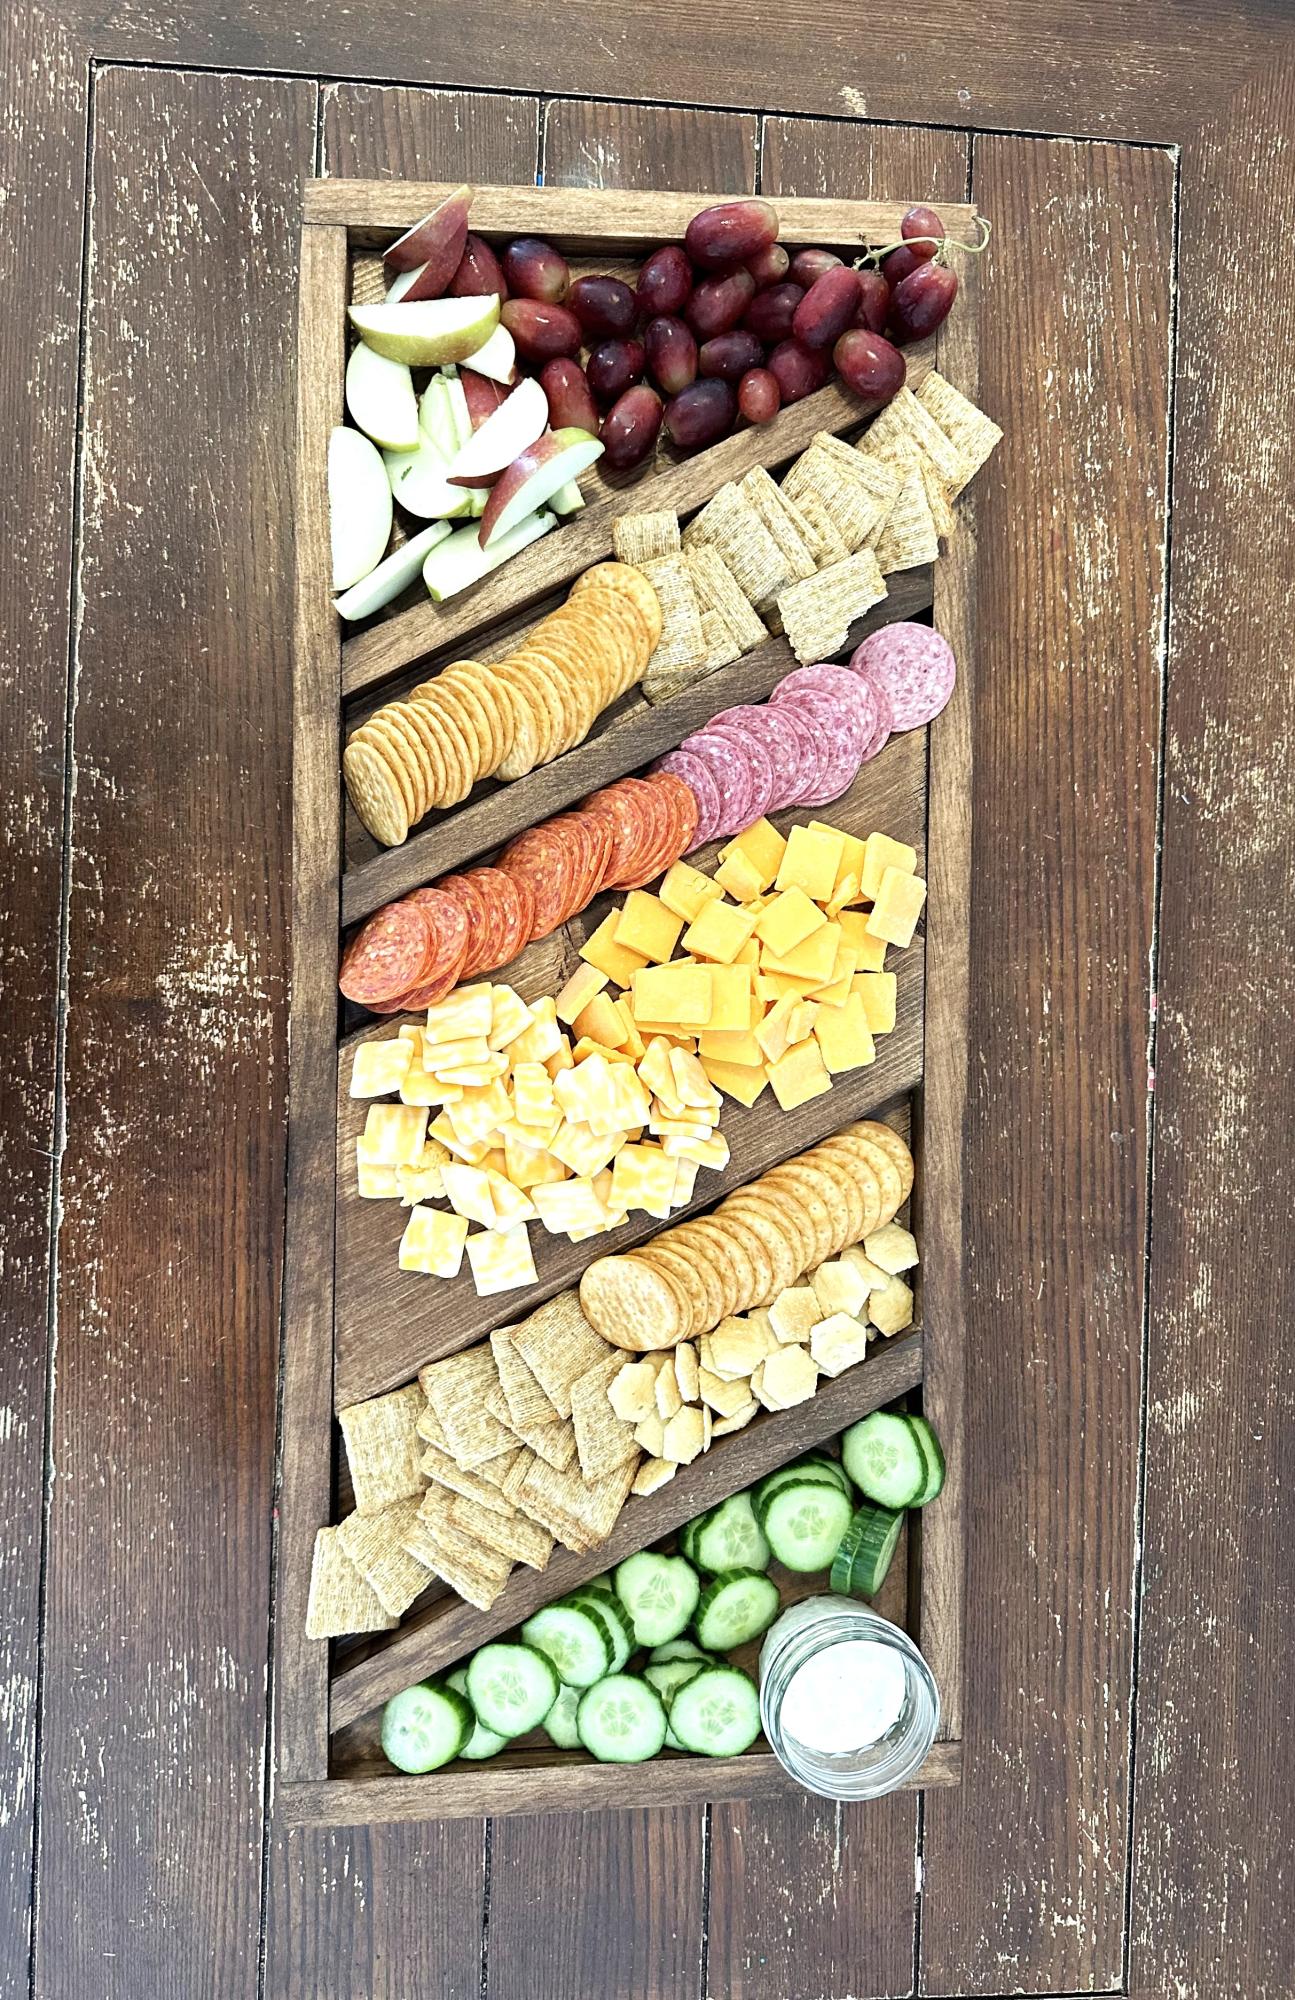
I made this charcuterie board for my niece and her family as a thank you for giving me an old miter saw they were not using… I have made a few now as gifts, and realize ….
Something “ made” means so much more to the recipient,
Because in the making we give our heartfelt generosity…
The stain is Watco food safe finish in hazelnut.
Ltr08
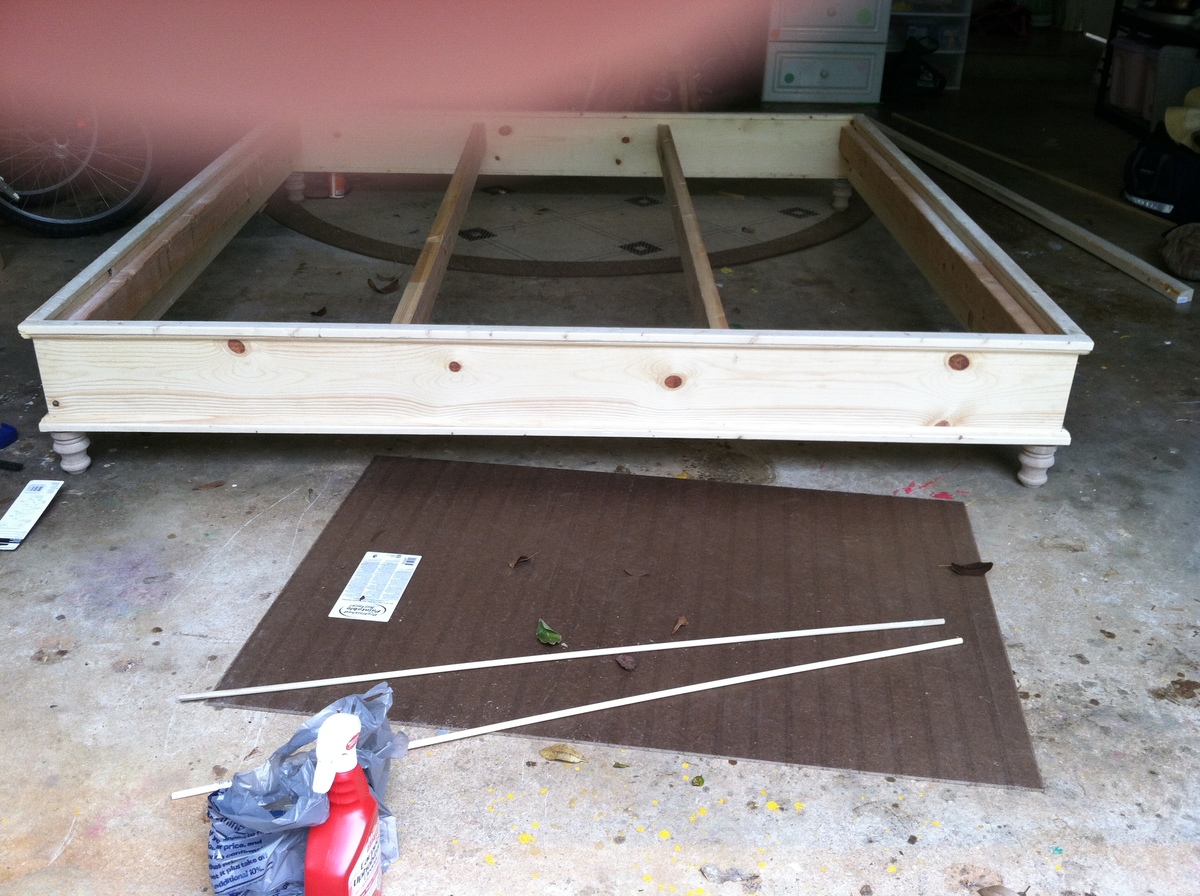
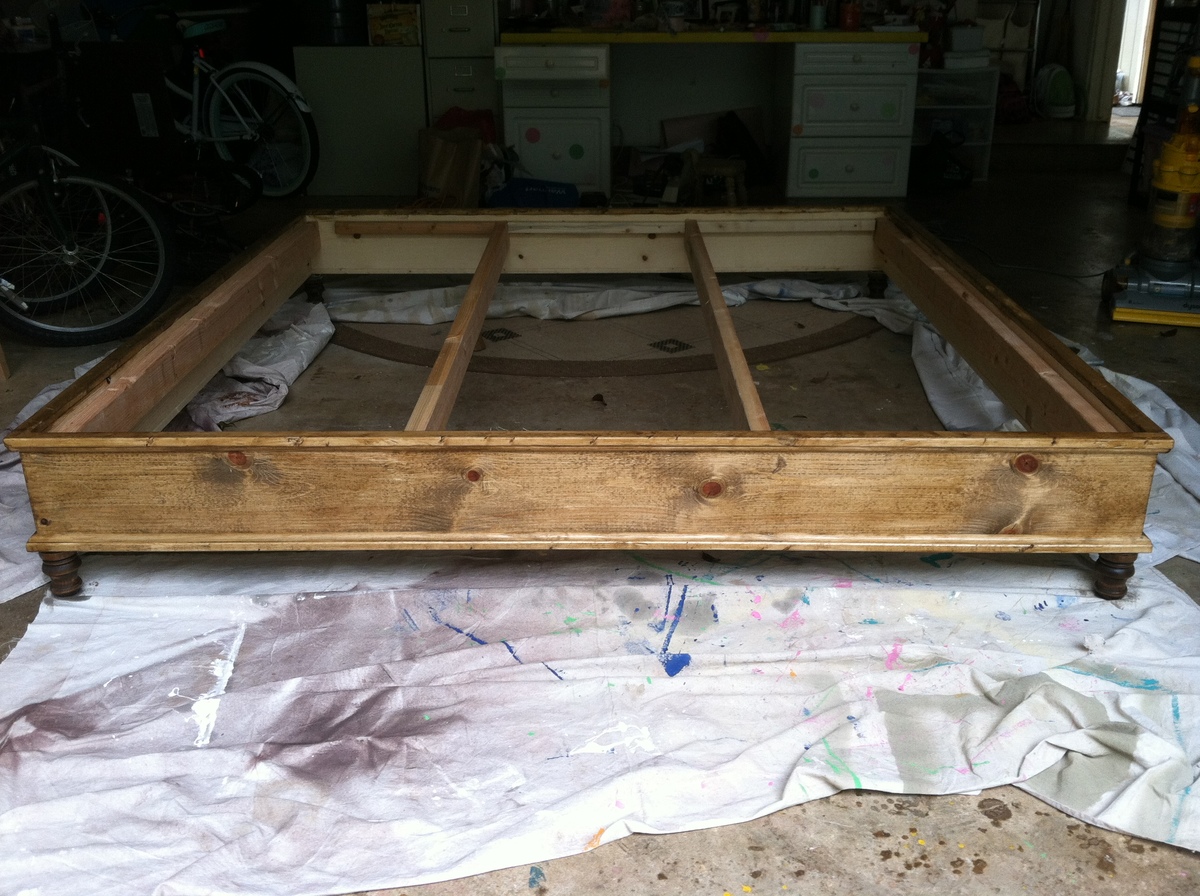
After building my daughter's beds and some outdoor day beds, I finally got around to building a bed for my husband and I. I altered the plans to a king size bed. I added a second 2x4 in the middle for support and around the inside edges as I used the box springs to make the bed taller. Using the kreg jig really made this project so easy. I also used 1x8's instead of 2x8's because I couldn't find those in Hawaii anywhere, except pressure treated wood. It still turned out great.
Thanks for the wonderful plans!
Mon, 06/25/2012 - 19:40
I LOVE this bed! I'm asking my husband to build it and I was wondering if you could email me the dimensions for the plans of a king size Chestwick Platform bed? I'm pretty sure he could figure them out on his own, but I'd love to make it easier for him :) Love your work!
In reply to King platform bed by Katie Saldivar (not verified)
Sun, 07/22/2012 - 11:58
I made the bed 80 x 79
Tue, 10/26/2021 - 10:48
Amazing! can you please provide the cut list for the king size measurements?
Thank you!
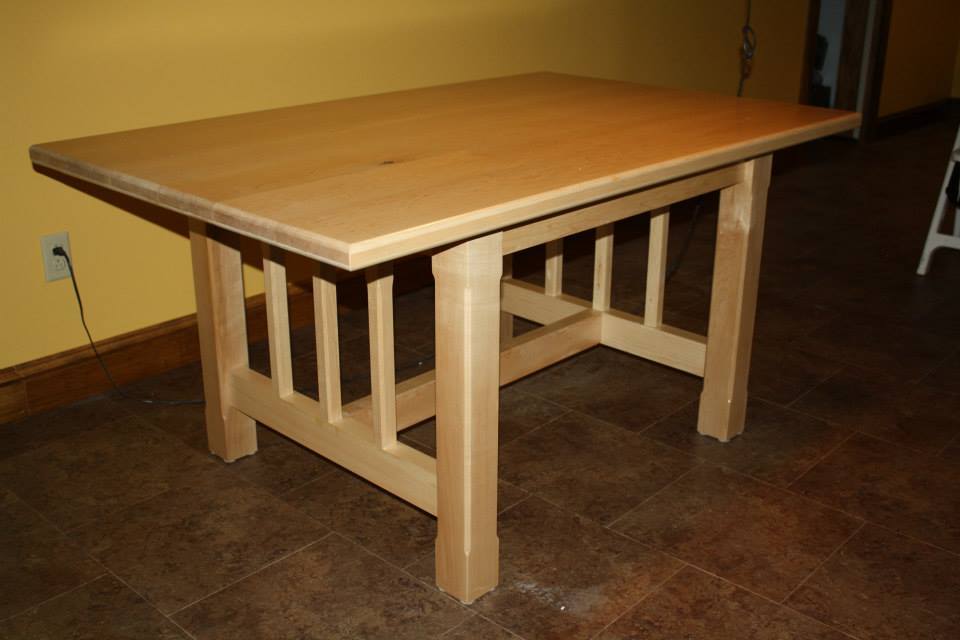
Using the Farmhouse Table plans I just modified them to the dimensions I thought would be best for my space. Tried mortise/tenon joinery on the legs and that took a lot of time since it was my first time. The table top is put together with pocket hole joinery. I love my Kreg Jig.
Several months ago, my sister approached me with the request of helping her build a media console for her home. We left off the doors and drawers in favor of having open shelves. We worked on this project over the course of several weekends and my sister is very happy with the final result!
Like just about every woman, I have LOTS of shoes! Well I couldn’t find an attractive enough shoe rack to fit in with our “Closet” furniture. We use an entire bedroom that our bedroom is connected to because the closet in that bedroom is minuscule. Anyway the closest I came was a simple design from the particleboard stacking closet unit line, you all know what I’m talking about. Well the problem was that they were $10 each & I would have needed like 6 of them & they didn’t come in black, which I tend to like because it doesn’t show dirt & that way all the furniture in the house is interchangeable if I feel like moving things around. I had plywood left over from my bed project so I just copied the design but made it a bigger single unit.

So I used the tryde coffee table plans and modified to size I wanted. For the top I cut off round edges on my table saw and them laminated with glue and pocket screws. I used 2 coats of the chalkboard paint allowing to dry 24 hours for each coat
