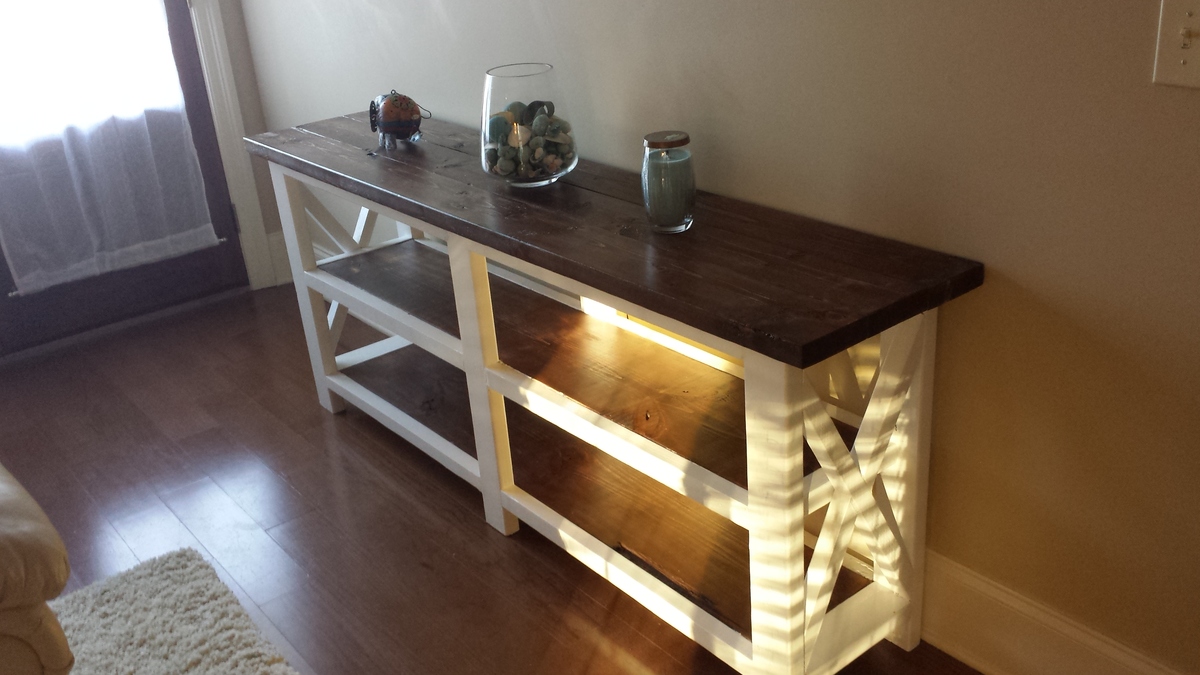
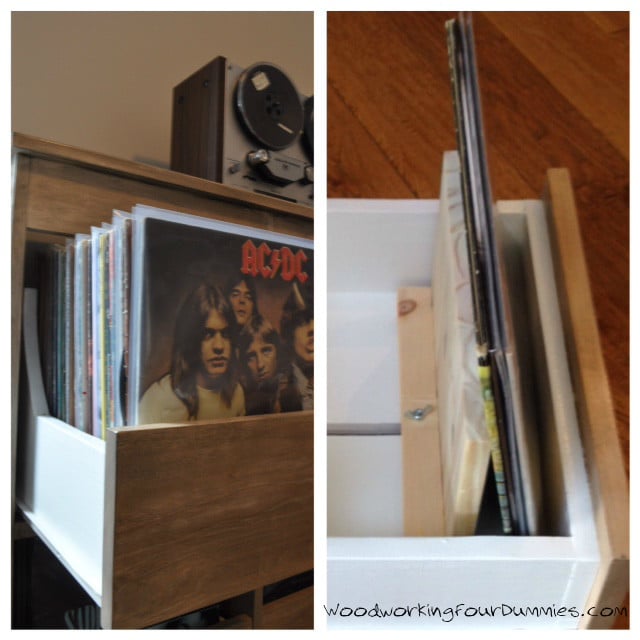
Vinyl Record Storage Cabinet
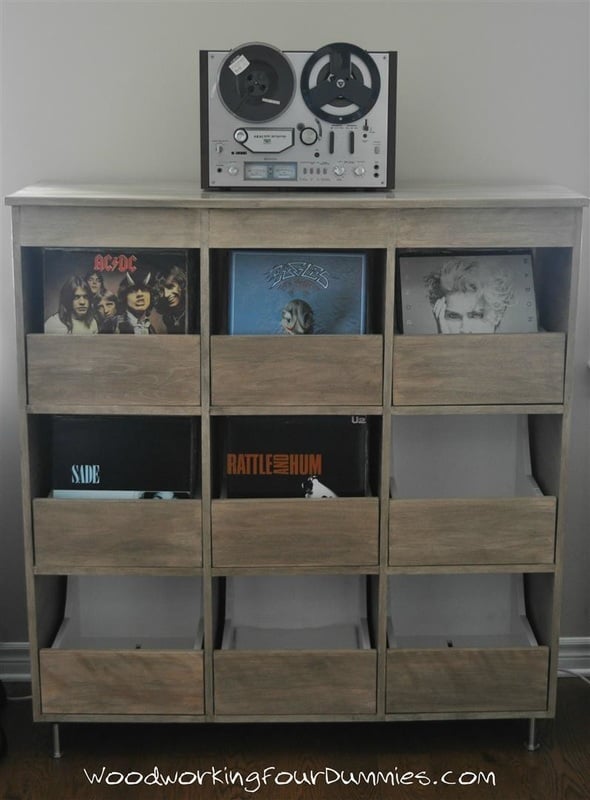
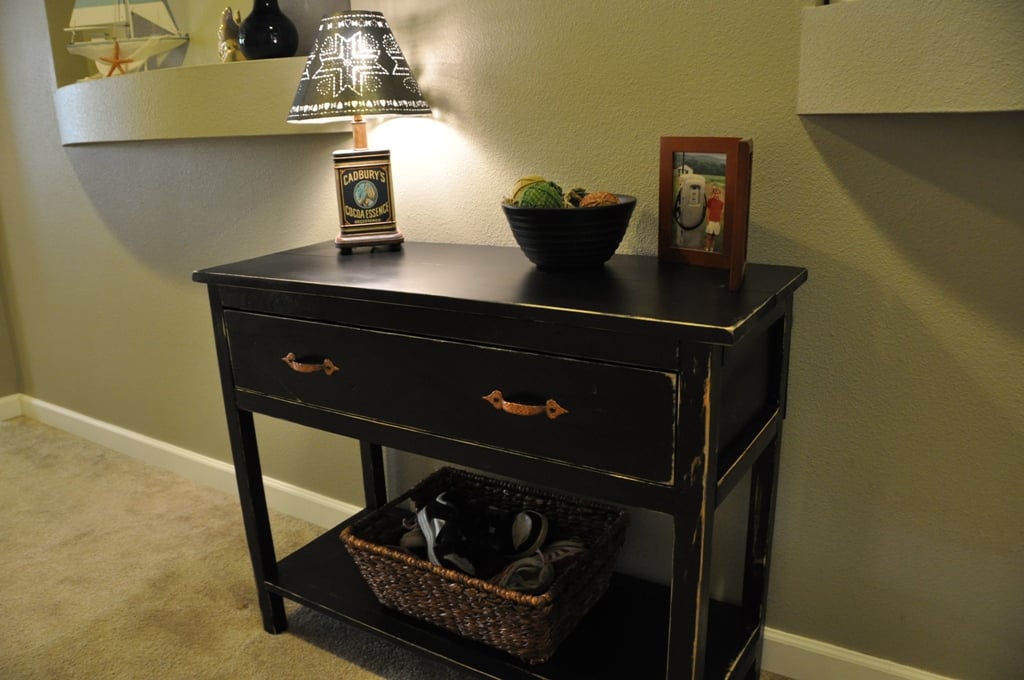
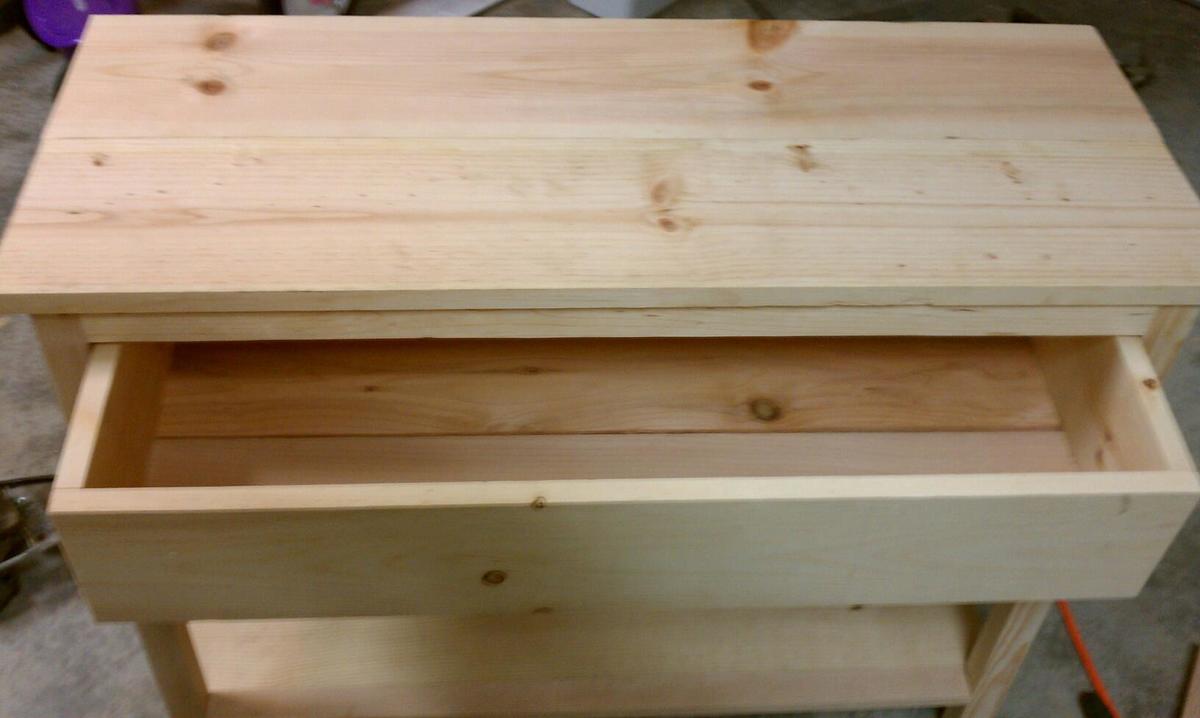
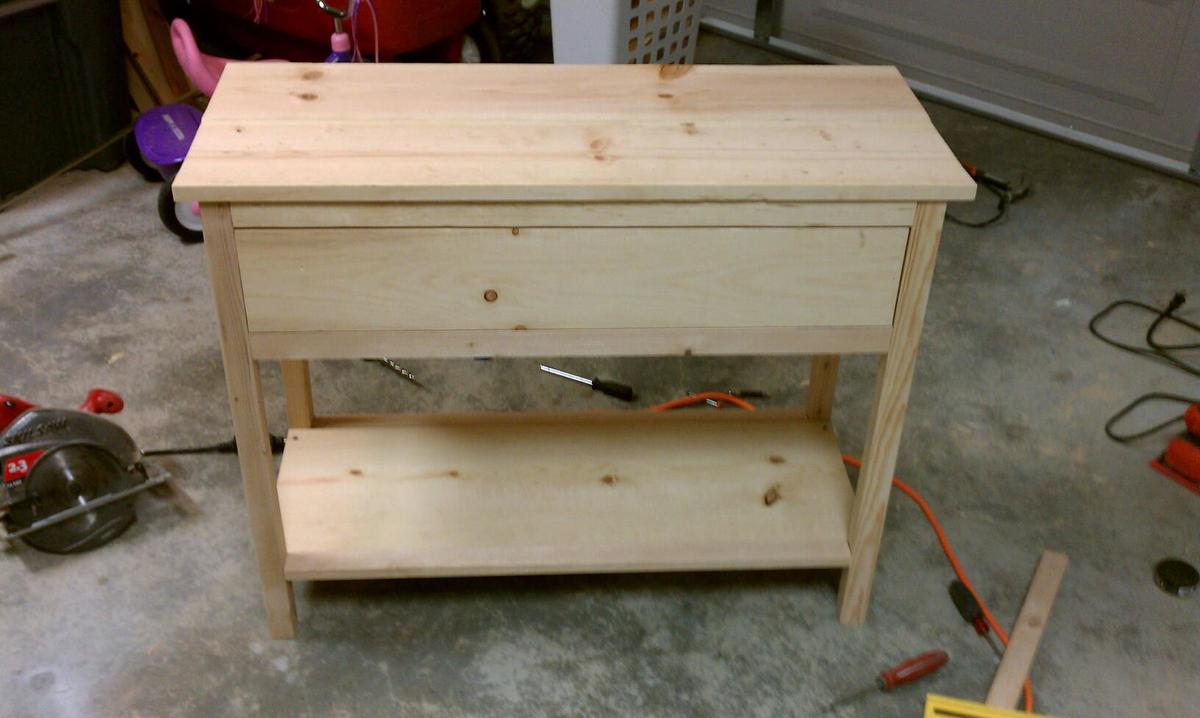
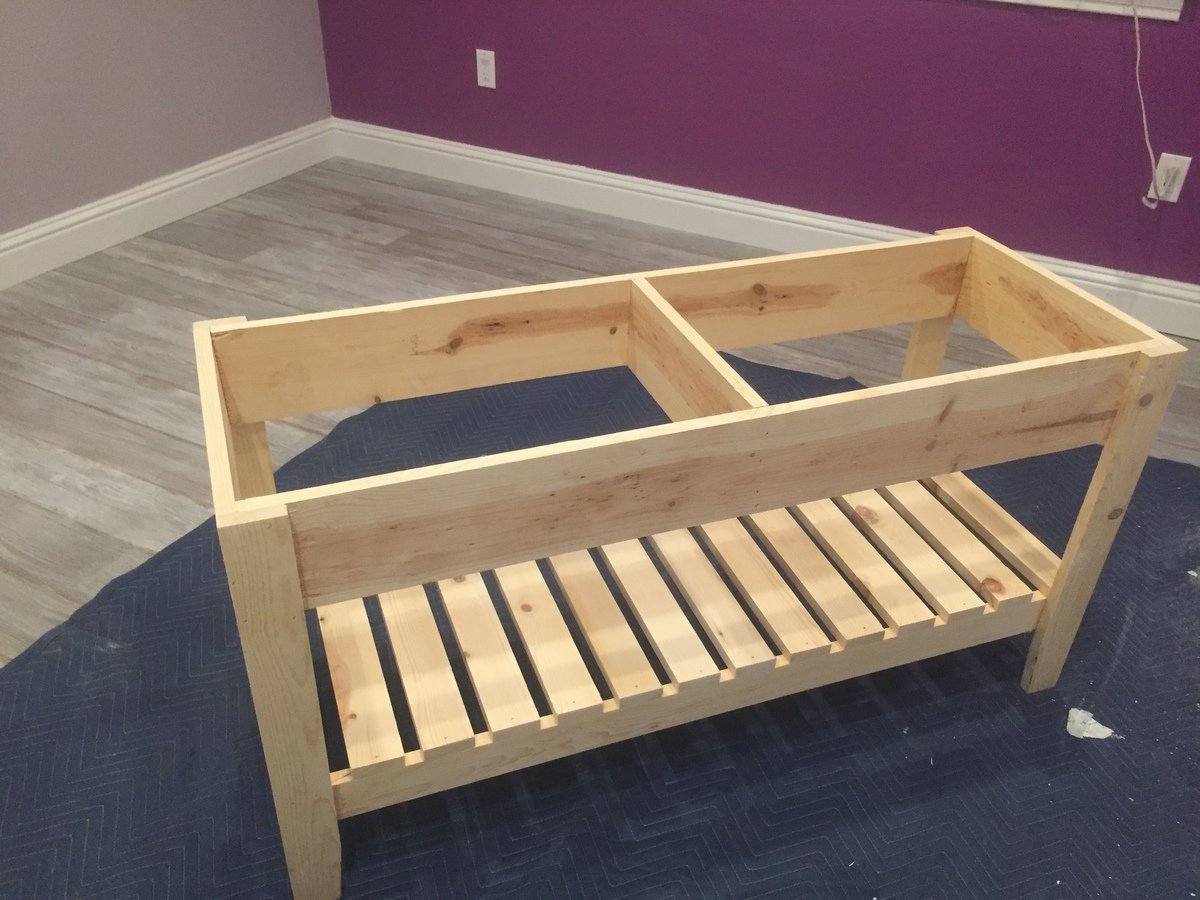
My record obsession was growing rapidly so I needed a solution to store my collection and I wanted some room for growth. I wanted a setup where you could flip through the records like at the record shops. It's often difficult to read the artists and album names when you can only see the spines of the album covers. I decided to make a cabinet with 9 drawers which holds approximately 540 records (60 records per drawer). More details and photos on my blog: http://www.woodworkingfourdummies.com/blog/vinyl-record-storage Cheers, Ian
Estimated Cost
Aprox $400 Canadian
Estimated Time Investment
Week Long Project (20 Hours or More)
Finish Used
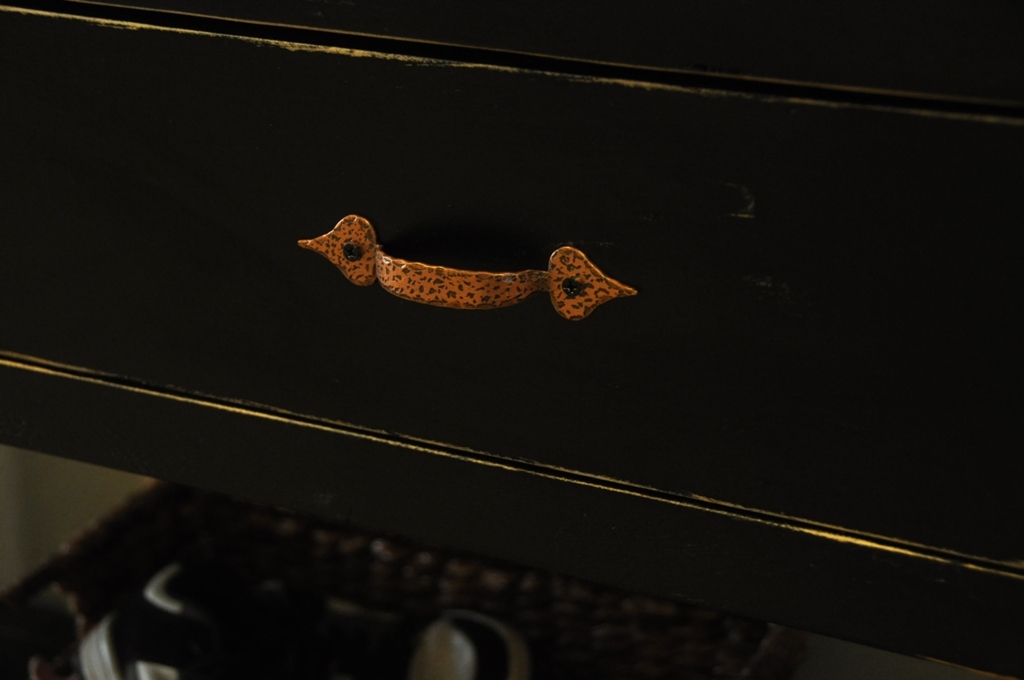
Cabot Grey Stain, Polyurethane
Recommended Skill Level
Intermediate